I recently made a beef and vegetable stir fry. When I say recently, I really mean two months
ago.
I realized that I had way more beef than I needed for the dish, so I put the marinated beef in a freezer bag, along with the marinade, and tossed it in the freezer for later use.
Fast forward two months.
I had a big frozen block of marinated meat. Now what?
Well, a sensible cook would have thawed the beef in the refrigerator for a day. But, I was not in a sensible mood. I was hungry and I wanted to make dinner RIGHT NOW. My solution was undoubtedly unconventional but I promise, the end result was delicious.
Note: I used Canola oil throughout the entire stir-fry process until the very end. I used sesame oil to prepare the leafy celery tops and green onions, which topped the dish. The intermittent and distinct flavor of sesame oil gave the dish an element of surprise.
Ingredients:
1 lb frozen, marinated beef strips
2 Tbs cooking oil (I used canola oil)
2 Tbs fresh sliced ginger
1 onion, julienne sliced
2 medium sized carrots
2 celery stalks (with leafy green tops)
1 quarter head of cabbage
1 tsp sesame oil
2 green onions
2 jalapeños
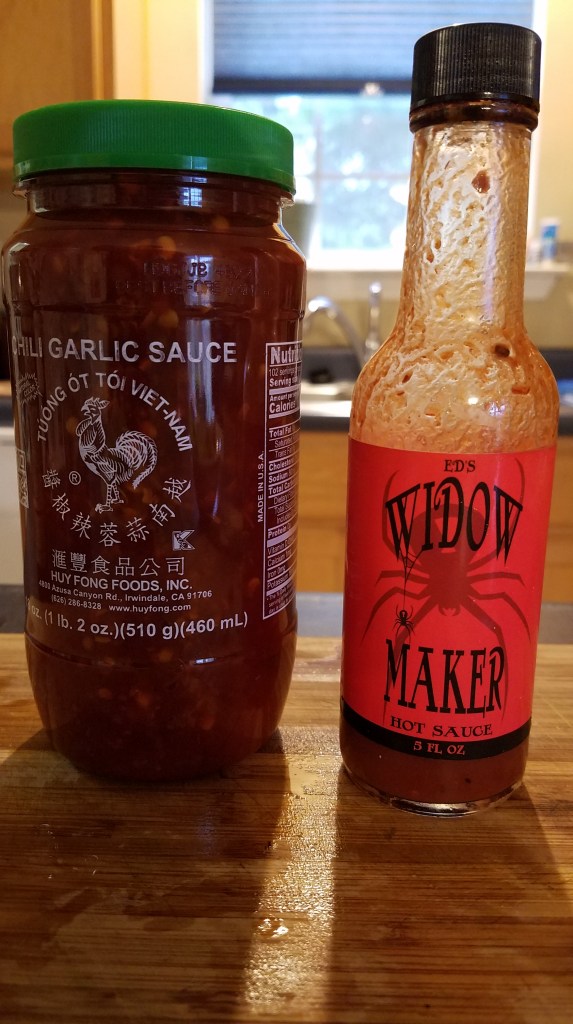
Spicy sauces: Vietnamese chili garlic sauce and Ed’s Widow Maker (local wicked, habanero sauce)
Cooked white rice, enough for to serve four.
Directions:
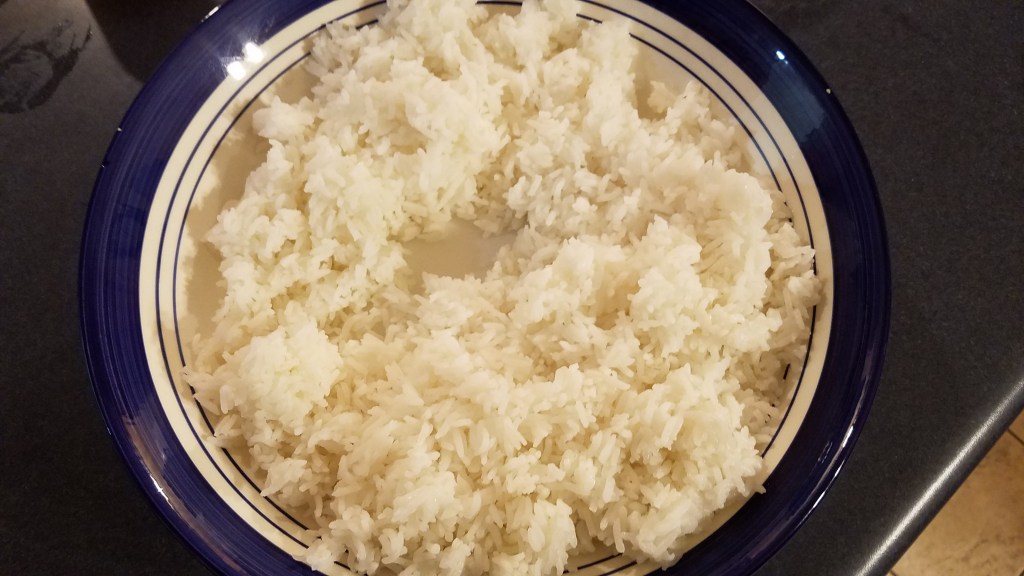
Prepare steamed white rice.
Keep warm.
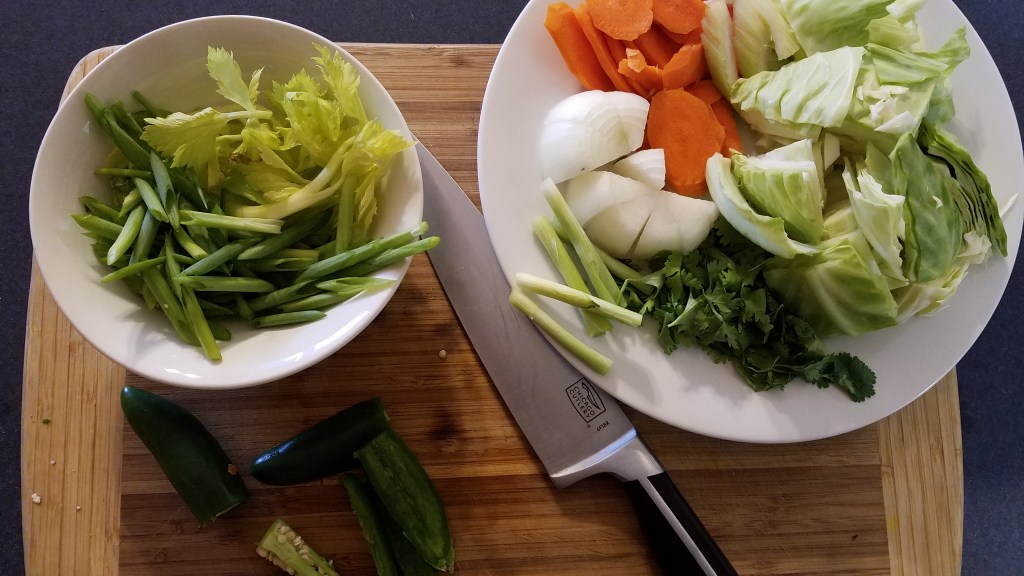
Prepare vegetables. Chop and slice. Set aside.
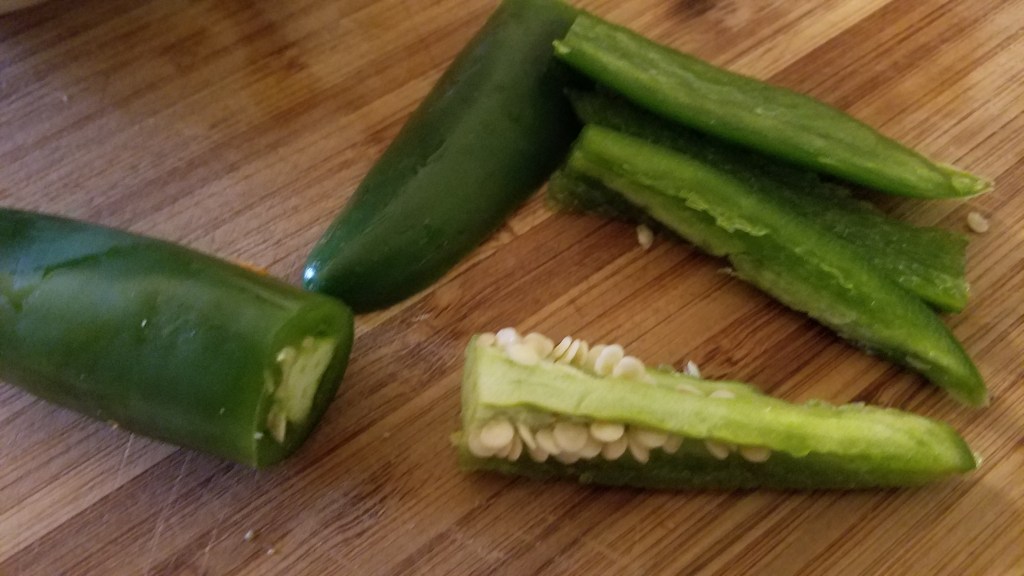
Box-cut jalapenos to remove seeds and membranes.
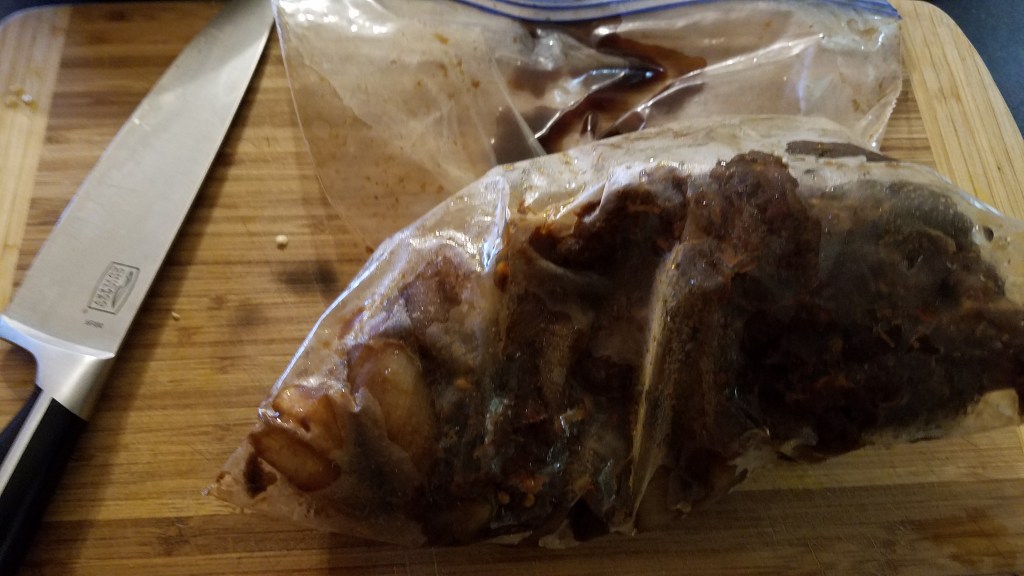
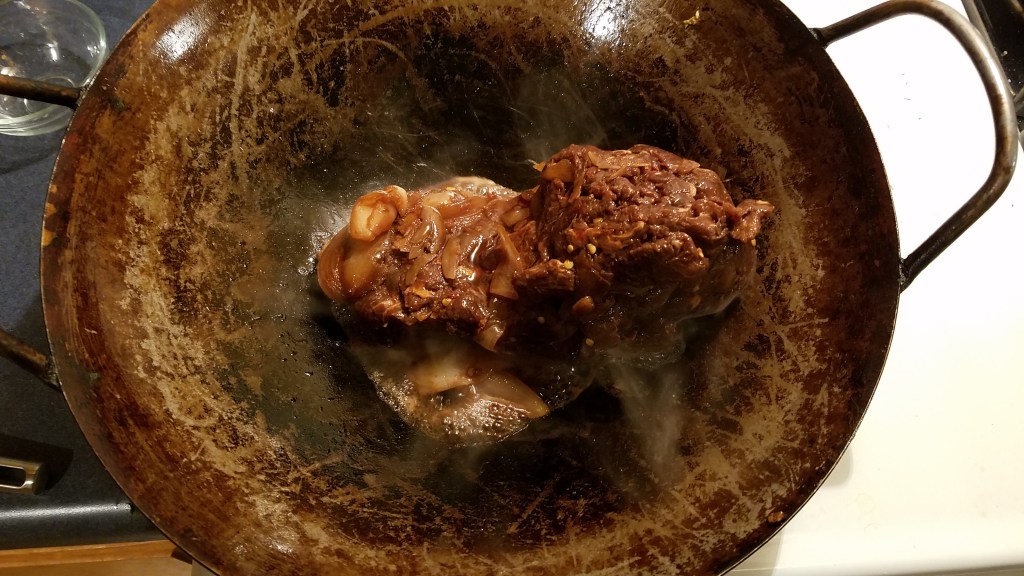
Frozen solid! OMG…what now?
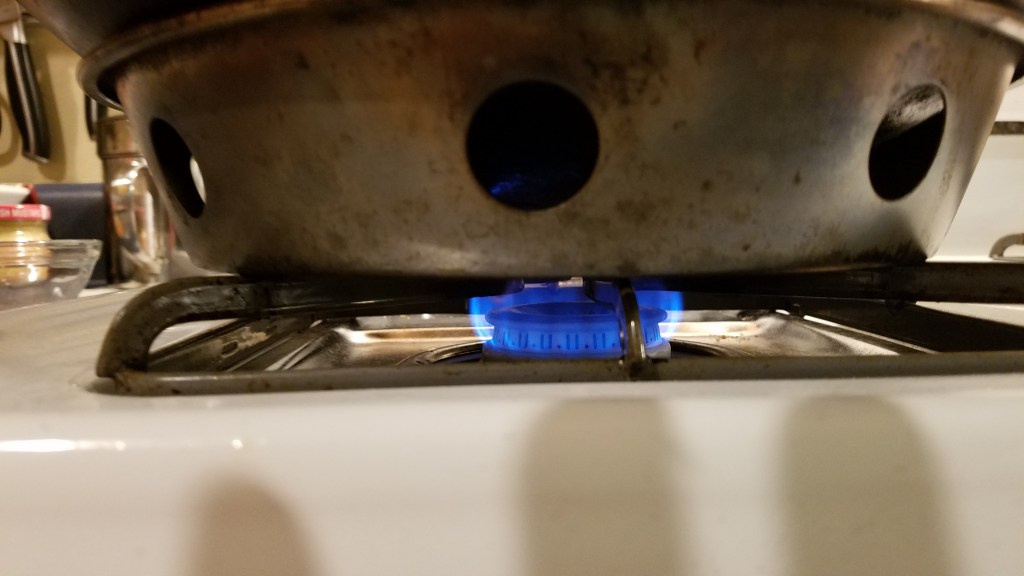
Heat a wok to low heat.
Add 1 tablespoon of cooking oil.
Add the frozen beef. Stir to coat
and cover.
Low heat!
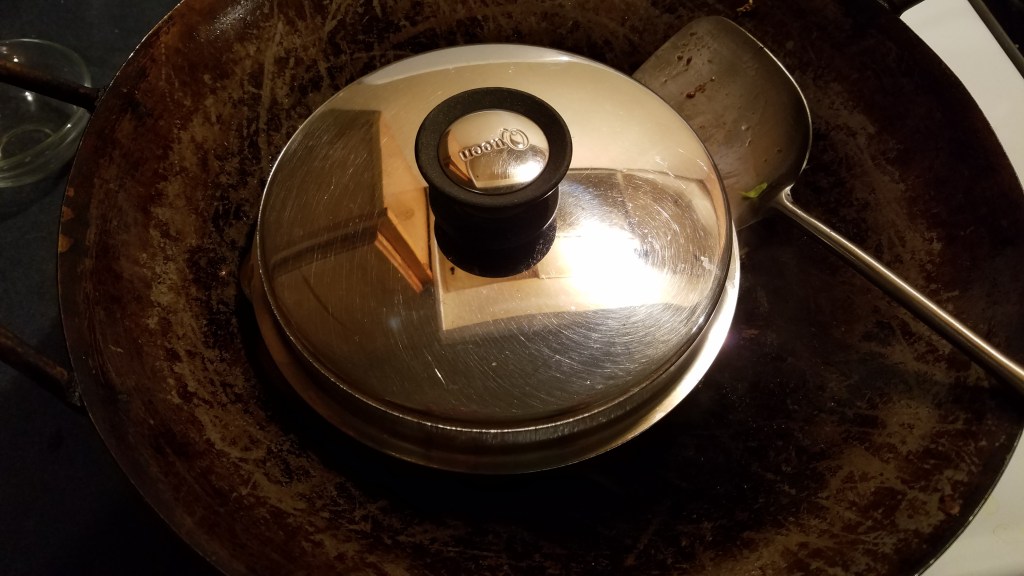
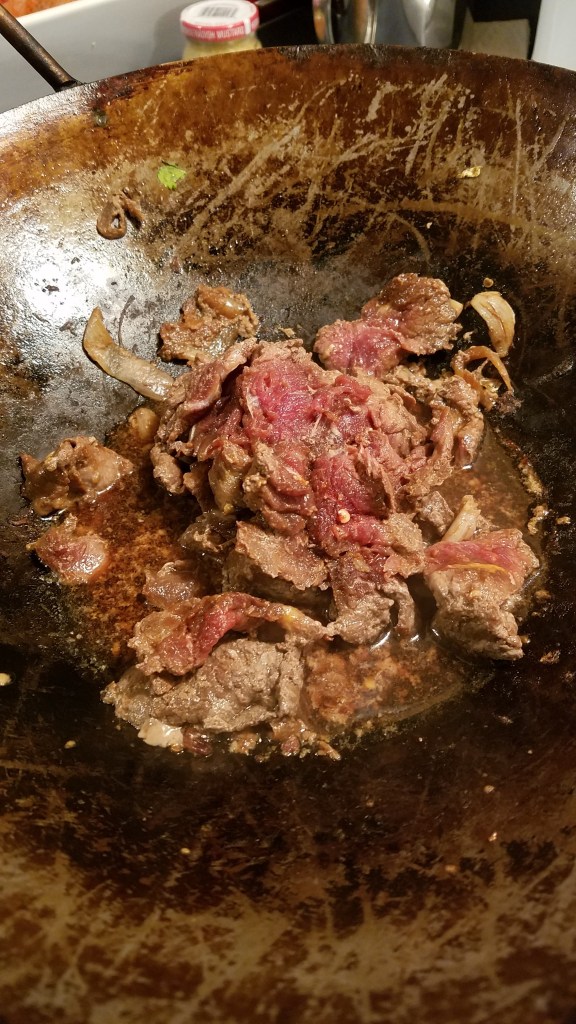
Cover and thaw.
Turn every few minutes and remove portions of beef as they warm and separate from the frozen glob of meat. Set the thawed pieces of meat aside on a plate.
Continue to heat the beef until all of it is thawed. This
took about 10 minutes at low heat, covered.
Remove and set aside.
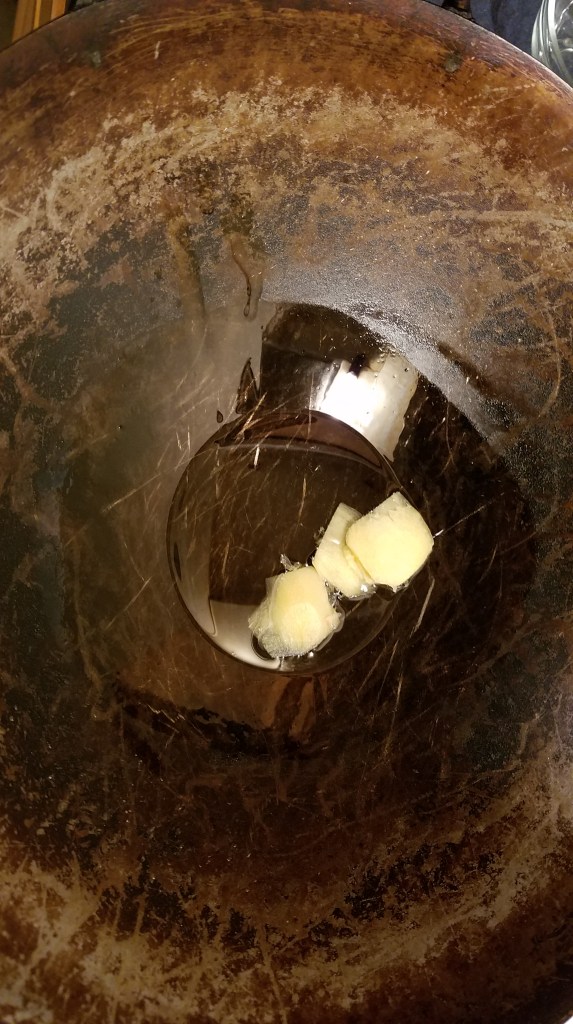
Add one tablespoon cooking oil to wok and crank up the heat.
Add sliced ginger and stir for 30 seconds.
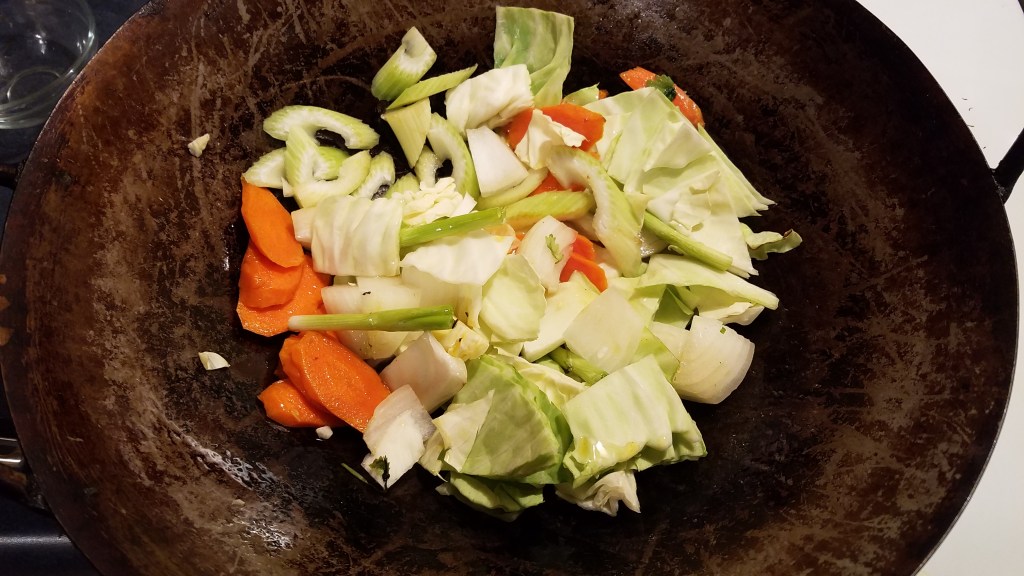
Add the vegetables and stir fry until the vegetables become
tender, but not overcooked.
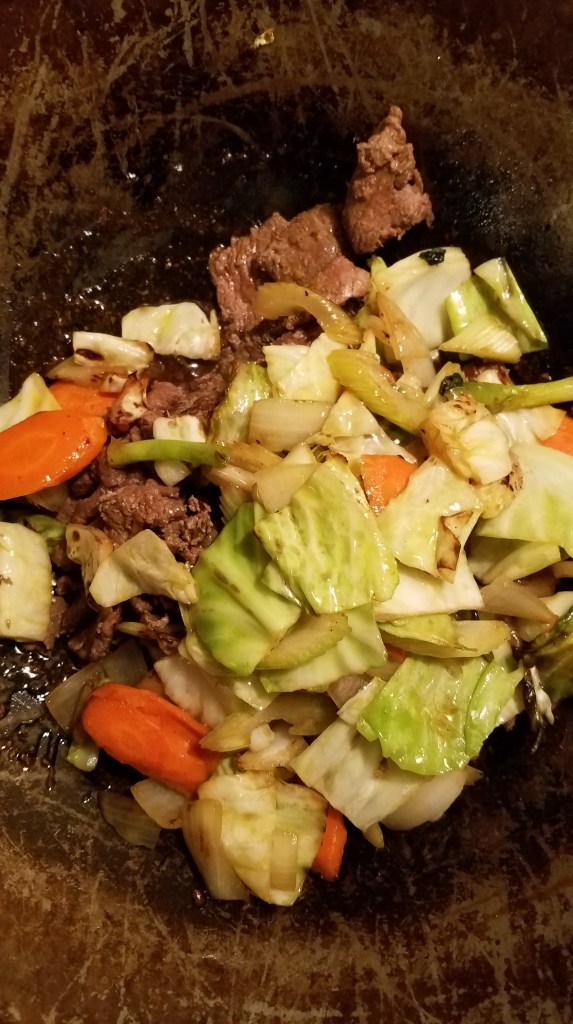
Add the beef and stir over high heat. Turn the heat off and prepare the serving
dish.
Add cooked white rice to a large serving bowl. Create a well in the center, for the stir fry.
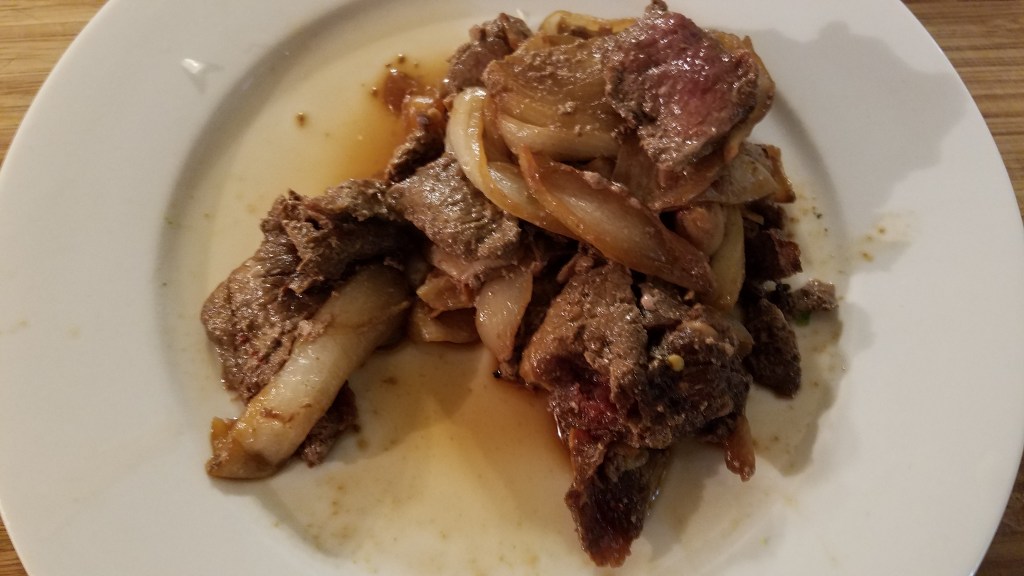
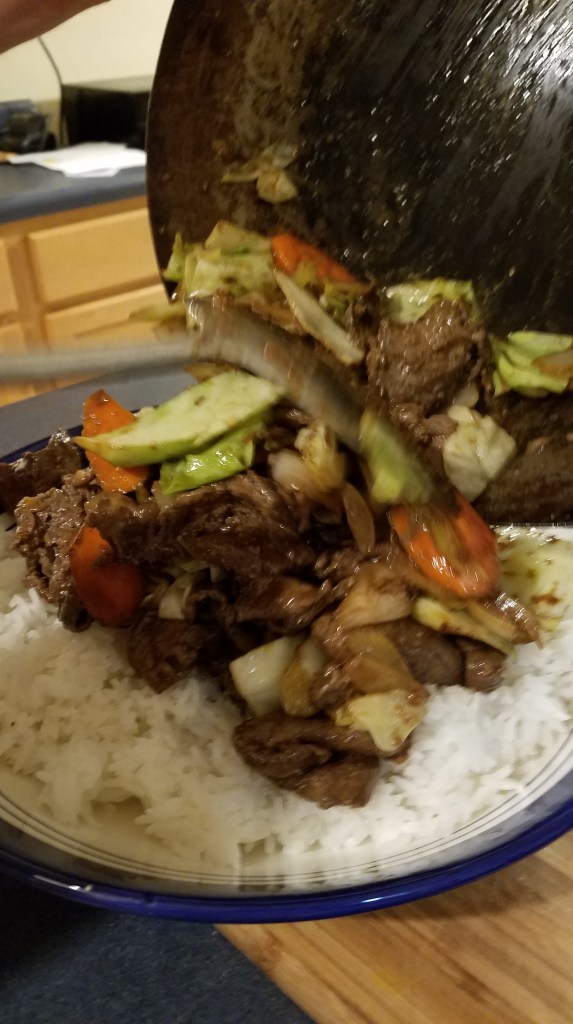
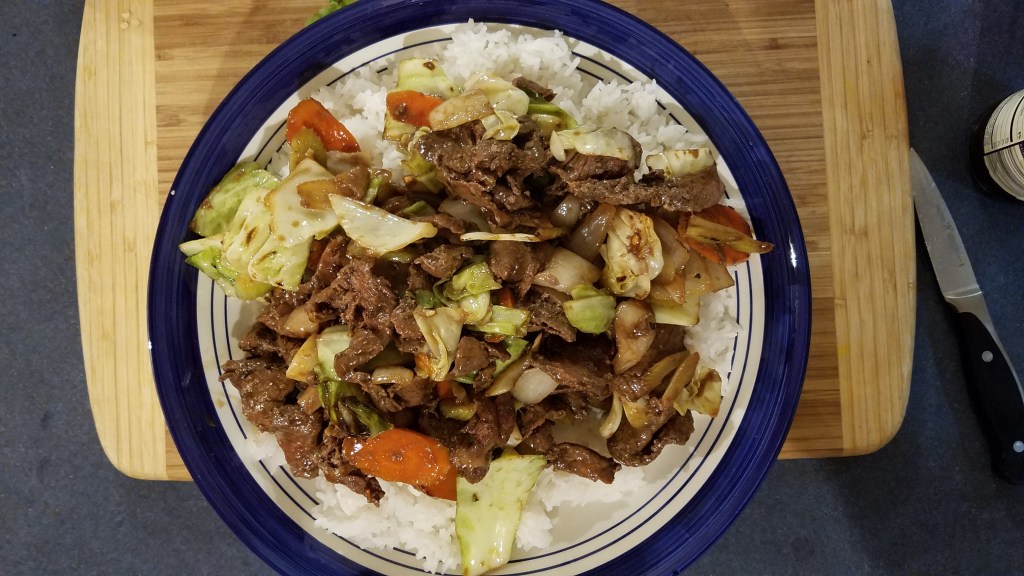
Add the stir-fried beef and vegetables to the bowl.
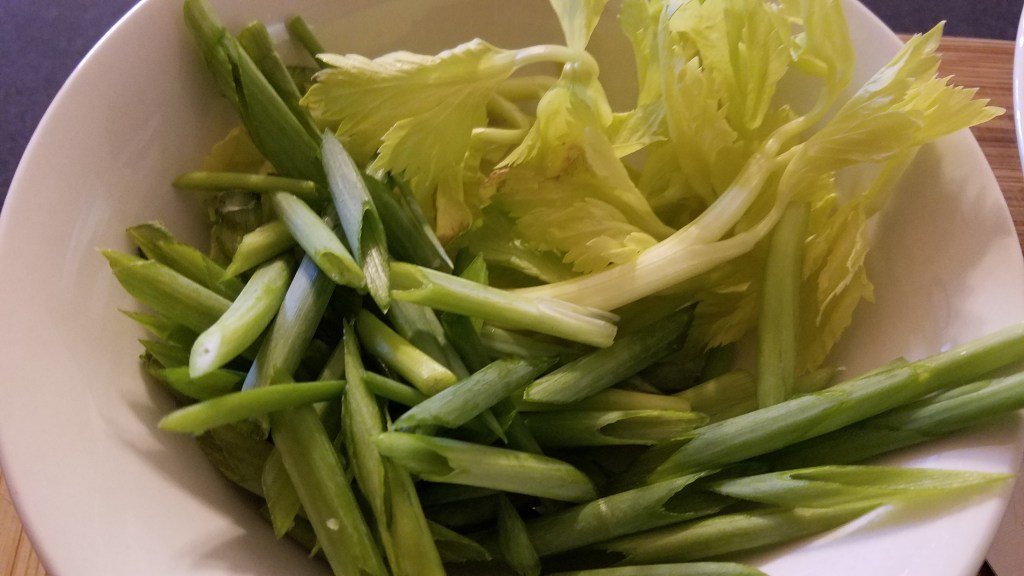
Return the wok to the stove and set heat to high. Add 1 teaspoon sesame oil. Add the celery tops and green onion. Stir fry for about one minute and transfer to the top of the serving bowl.
Serve with additional hot sauces and fresh jalapeño for the adventuresome…no need to punish everyone, I suppose.
Working moms and working dads are challenged every day. On any given day, parents and kids are both worn
out by the time they come home. I have
learned that if I sit down, when I come home, I’m pretty much done for the
day. The longer I sit, the more likely I
am to order Pizza or Chinese food. There’s
nothing wrong with that but I find more satisfaction by staying on my feet and
cranking out a quick, nutritious meal.
Ironically, the more difficult my workday is, the more
likely I am to push through and cook something.
Once I get started cooking I get into a rhythm and the act of cooking
becomes therapeutic and strangely relaxing.
The best part is, I get to talk to my family in the kitchen while dinner
is prepared and then we all get to sit together and have a meal.
Ground beef tacos are super-easy to make and they can be
accompanied by as much or little as you wish.
This time it was just my wife and me having dinner. My kids are young adults now and we don’t all
gather for dinner, like we did in the past.
I miss that, but at the same time, I know that’s just the way life works.
After a long day of work, moms and dads don’t want to waste precious
time or energy.
Use every shortcut. Work efficiently and always make one thing special, or out of the ordinary, and include some sort of fresh vegetables.
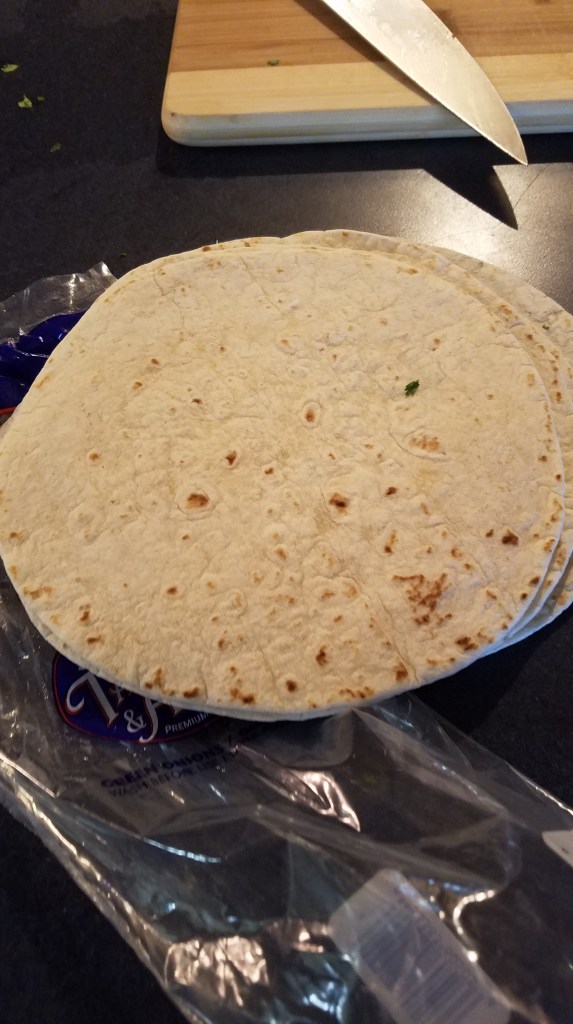
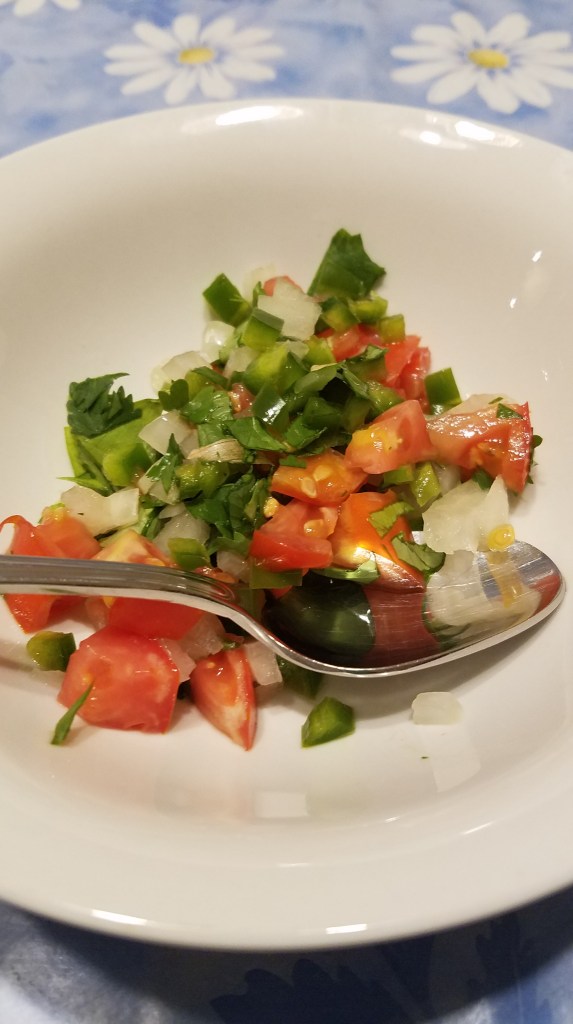
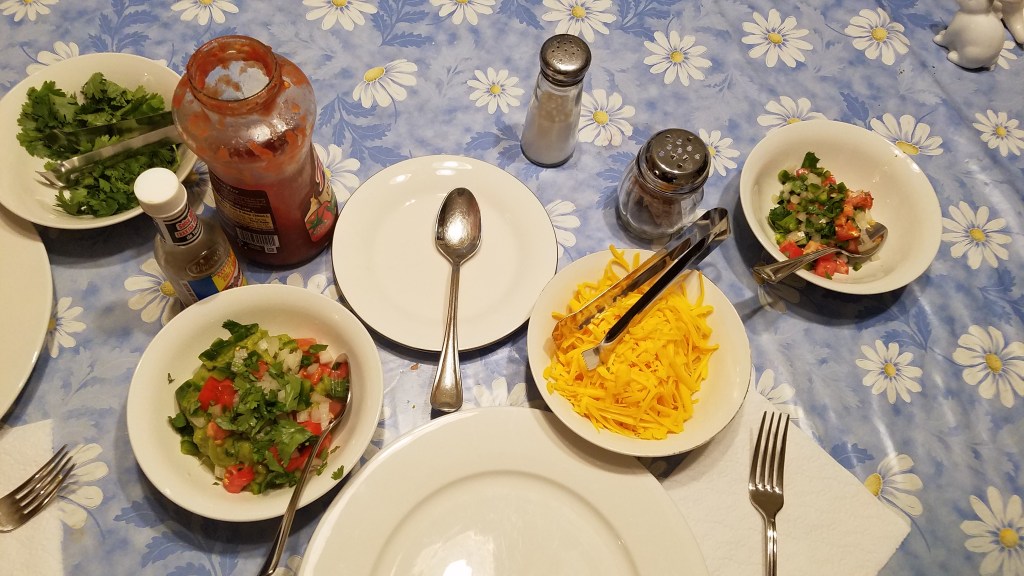
No recipe this time…just pictures. It’s tacos for crying out loud!
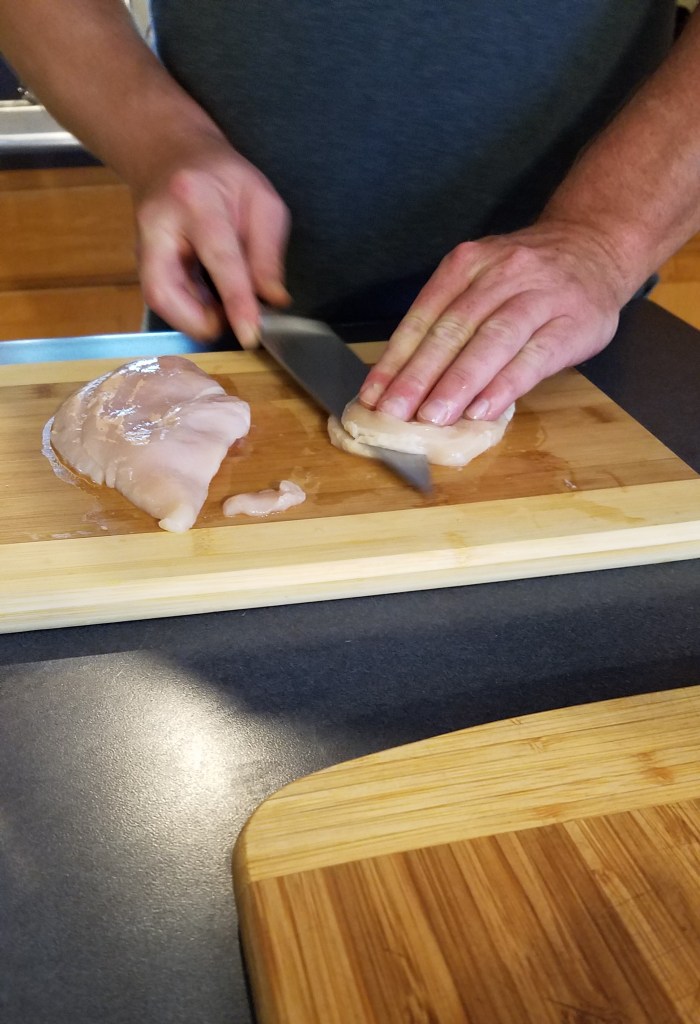
The biggest challenge here is making the chicken breast thin
enough to roll. It needs to be thin in
order to cook evenly and it needs to be thin enough to roll up like a burrito.
You could flatten the chicken breasts by pounding them down
with a mallet but I prefer to slice the breasts horizontally, nearly all of the
way, and then I lay the chicken breast open. If the chicken breast is really thick you can
slice it from the top side and then slice it again, in the opposite direction
from the bottom side, to make a tri-fold.
Before we get going…
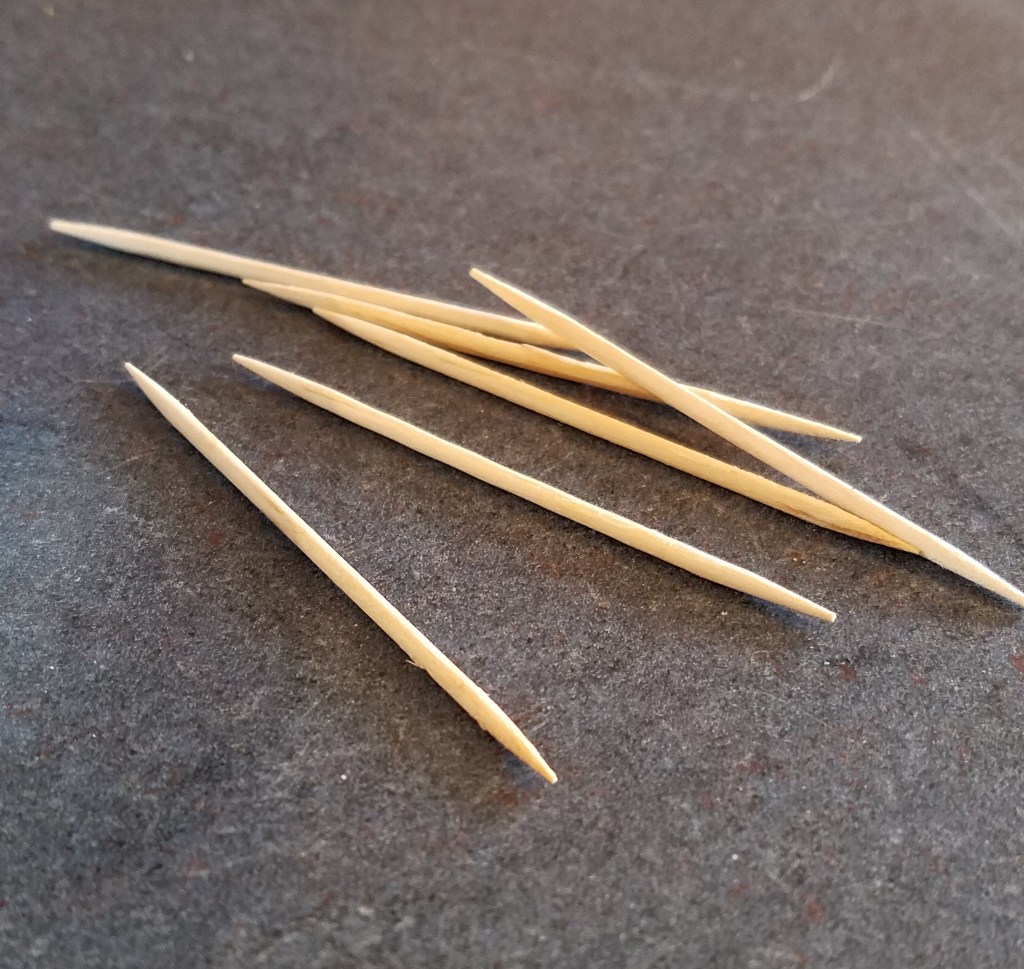
A caution about using
toothpicks to secure food. I use the
same number of toothpicks on each item that I secure. If I need two picks on one chicken breast, I
use two on all of the other breasts, even if I might only need one toothpick for
some. That way, when serving time
arrives, I know that I must remove two toothpicks from each breast. It eliminates the guessing game that comes
when I think, “did I use one or two toothpicks on this one?” Make sure to remove toothpicks before serving!
As with many recipes, you can stuff the chicken with
anything you like. This time around, I
had some ricotta cheese that needed to be used and some prosciutto that was
just itching to be used for something. This
recipe serves three people.
Ingredients:
3 chicken breasts
4 oz prosciutto
1/3 cup parmesan cheese
7 oz ricotta cheese (about half of a 15 oz container)
1 ½ cups Panko bread crumbs
½ cup cooking oil
For the sauce:
1 Tbs butter
1 Tbs flour
½ onion
¼ cup chicken stock
24 oz tomato sauce (I used an 8 oz can and 16 oz tomato
sauce)
¼ cup half-and-half
1 cup shredded mozzarella cheese
4 oz spinach
Directions:
On a clean cutting board, flatten the chicken breasts to ¼”
thick, or carefully slice them.
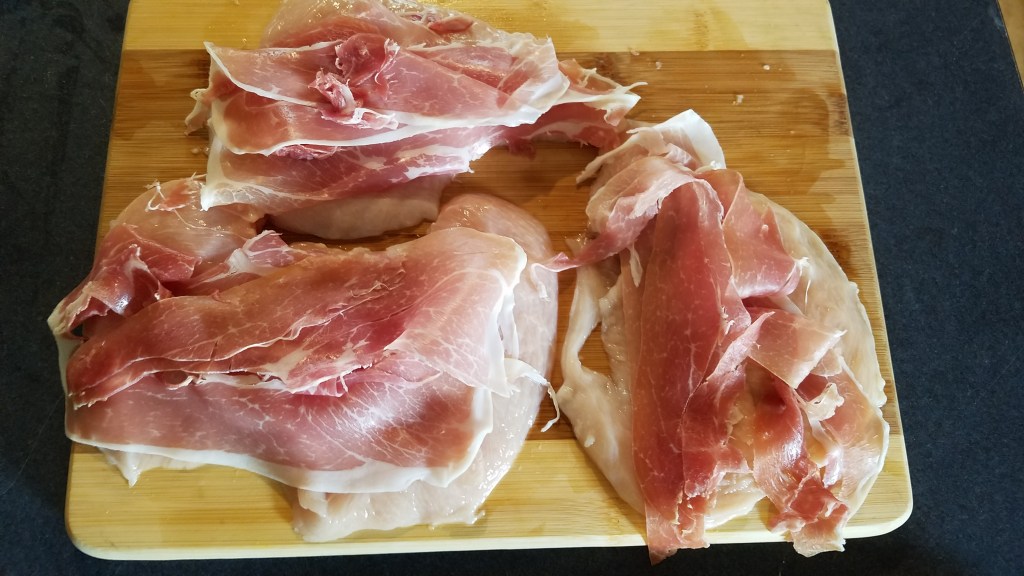
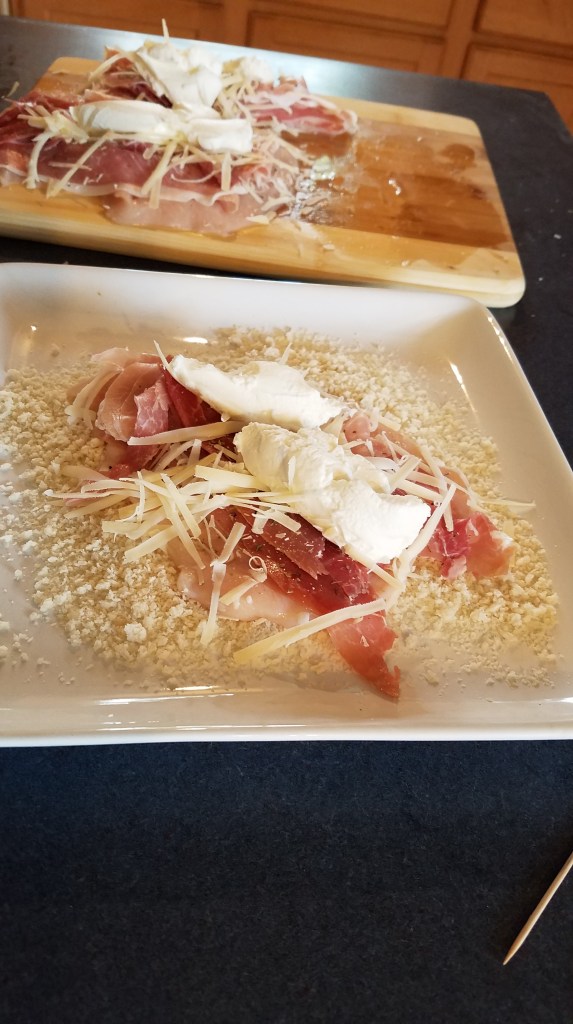
Layer the chicken breasts with several slices of prosciutto
ham.
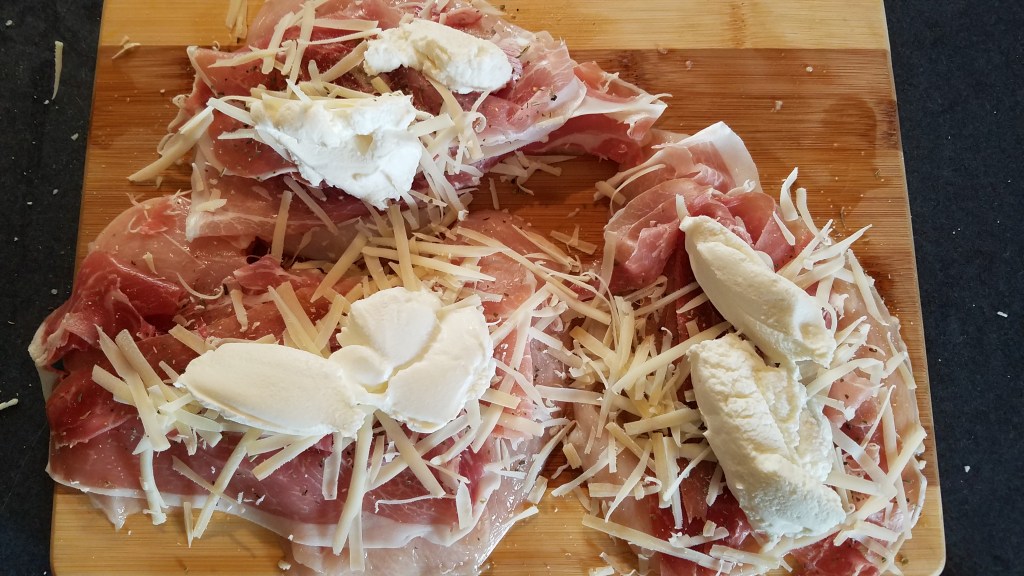
Scatter grated parmesan cheese over the chicken breasts.
Apply a schmear of ricotta cheese to the chicken.
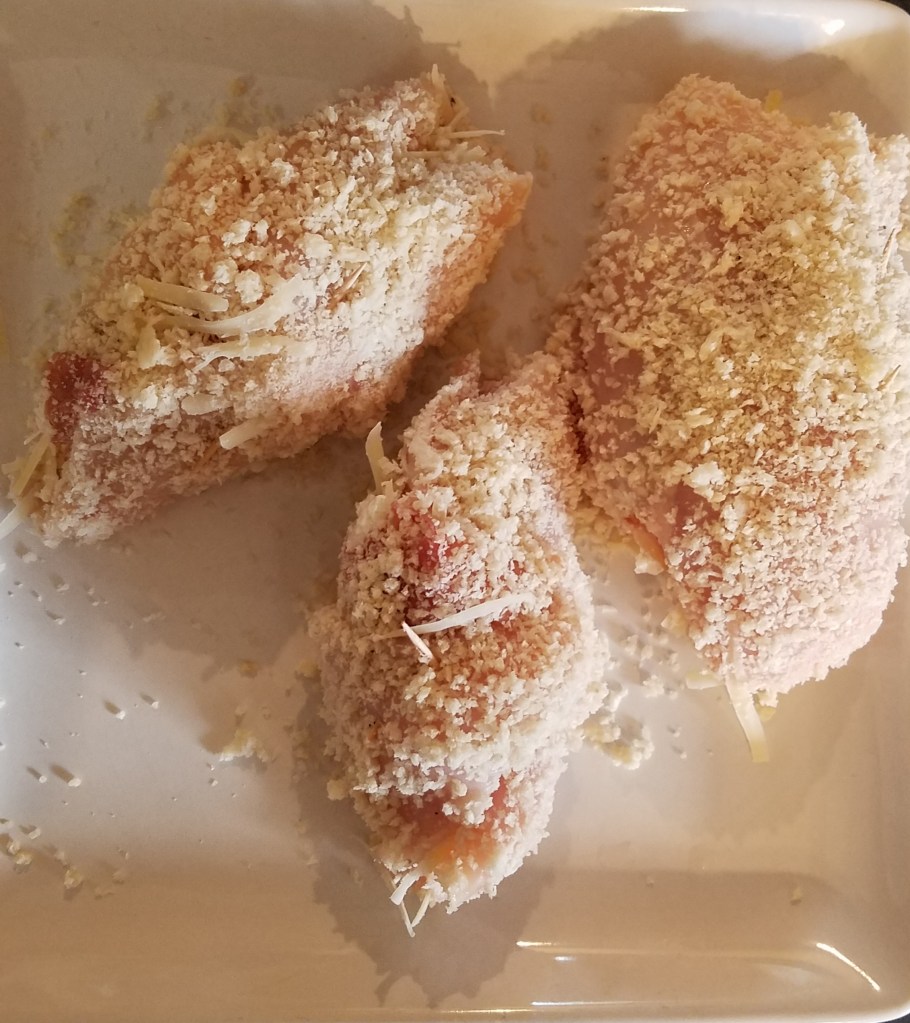
Spread some panko bread crumbs onto a large platter. Lay a chicken breast onto the bread crumbs and press down lightly.
Roll the chicken breast and secure with toothpicks.
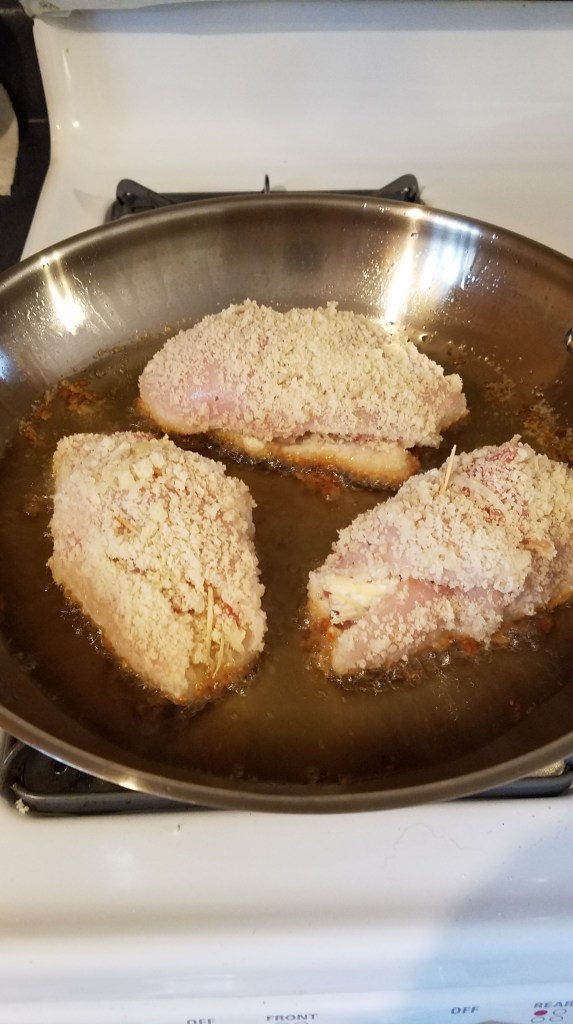
Heat a large skillet to medium heat and add ½ cup cooking oil. When the oil is hot, gently lay the chicken breasts into the pan, being careful to not crowd the pan.
When the bottom side browns, turn it over and cook the other
side. When both sides are golden brown,
remove to a clean plate, lined with a paper towel.
Discard the oil from the pan. I like to reuse oil so I usually dump the oil
in a stainless steel bowl and filter it later and store it in a can.
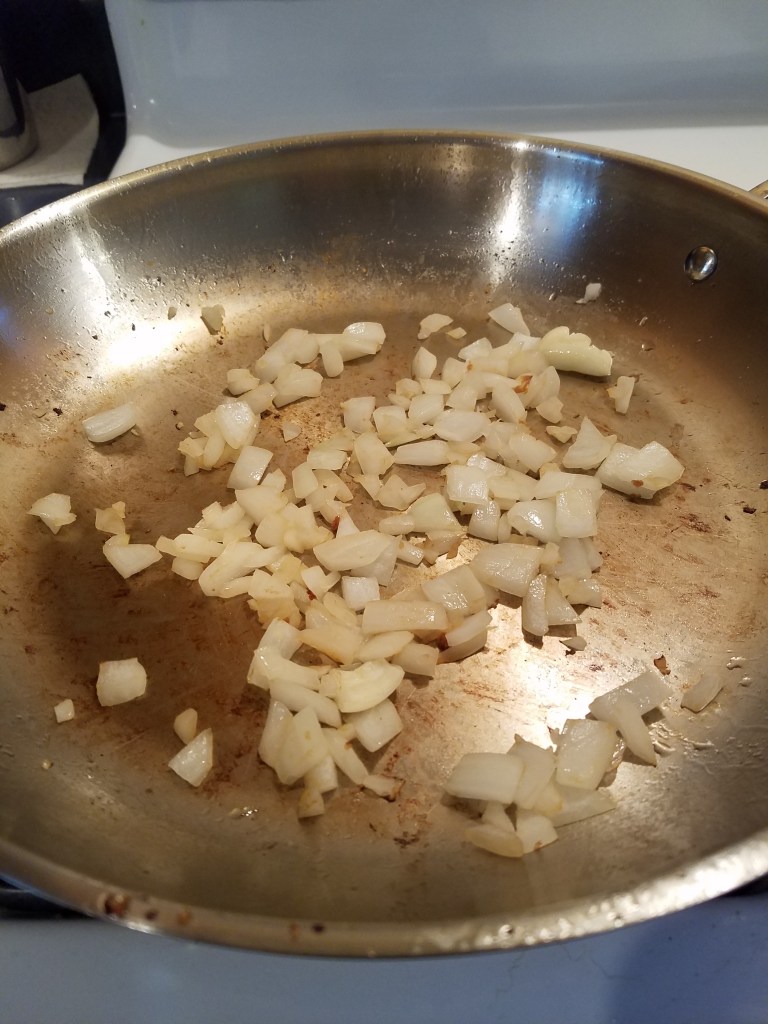
Wipe remaining oil from pan but leave a slight, residual
film of oil. Turn heat to medium high and
add onions. Sautee for a minute until
onions soften. Remove onions and set
aside.
Deglaze the skillet with chicken stock.
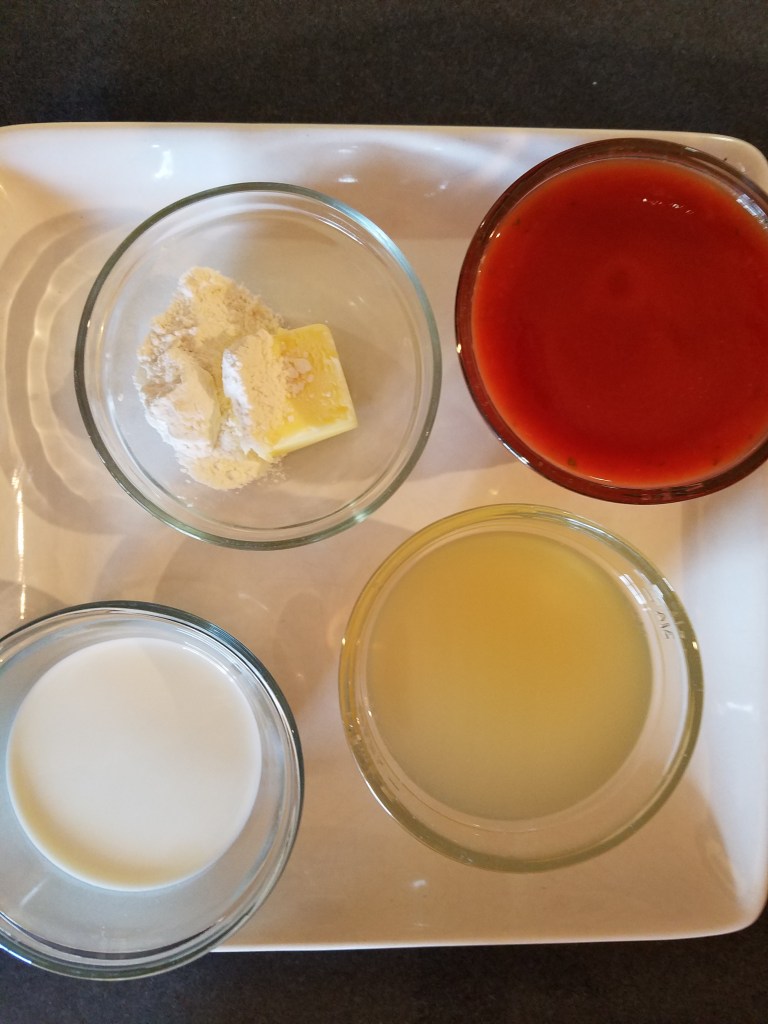
Butter and Flour, Tomato Sauce, Half and Half and Chicken Stock
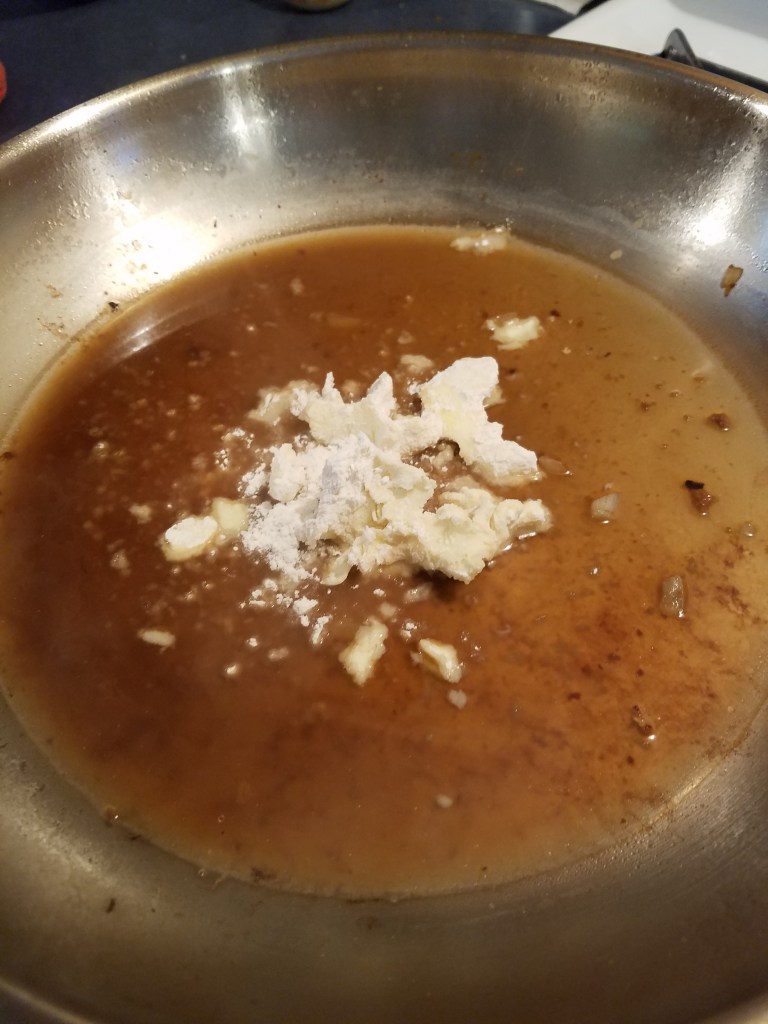
Add butter and flour and whisk to make a roux.
Add cream and tomato sauce.
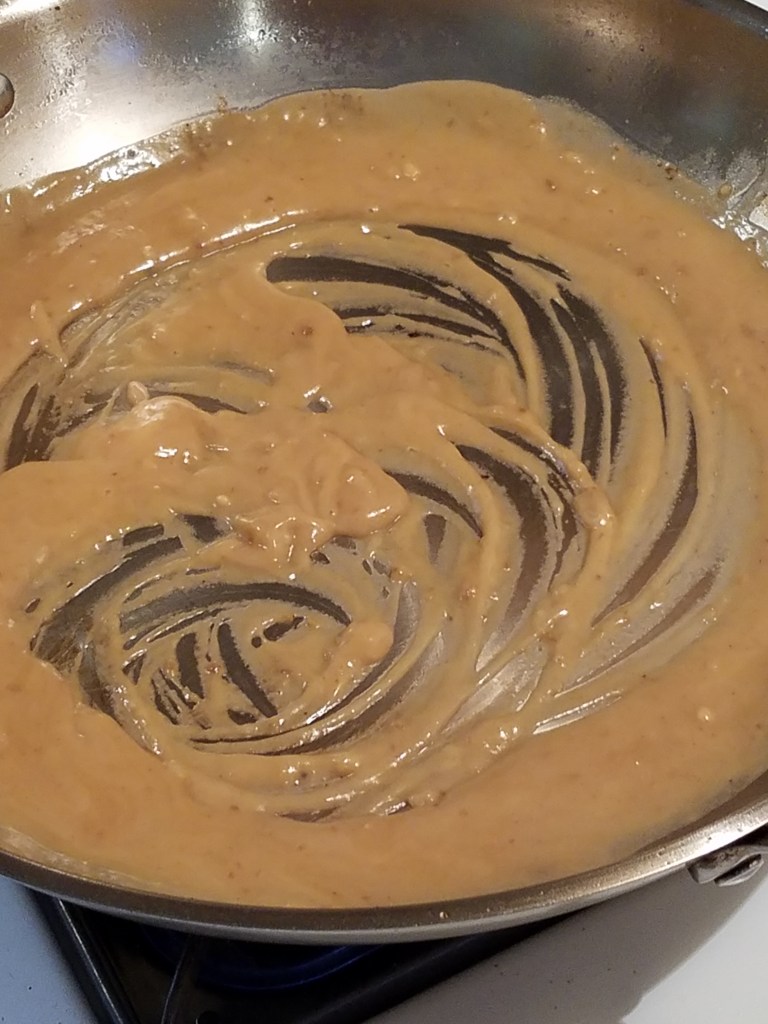
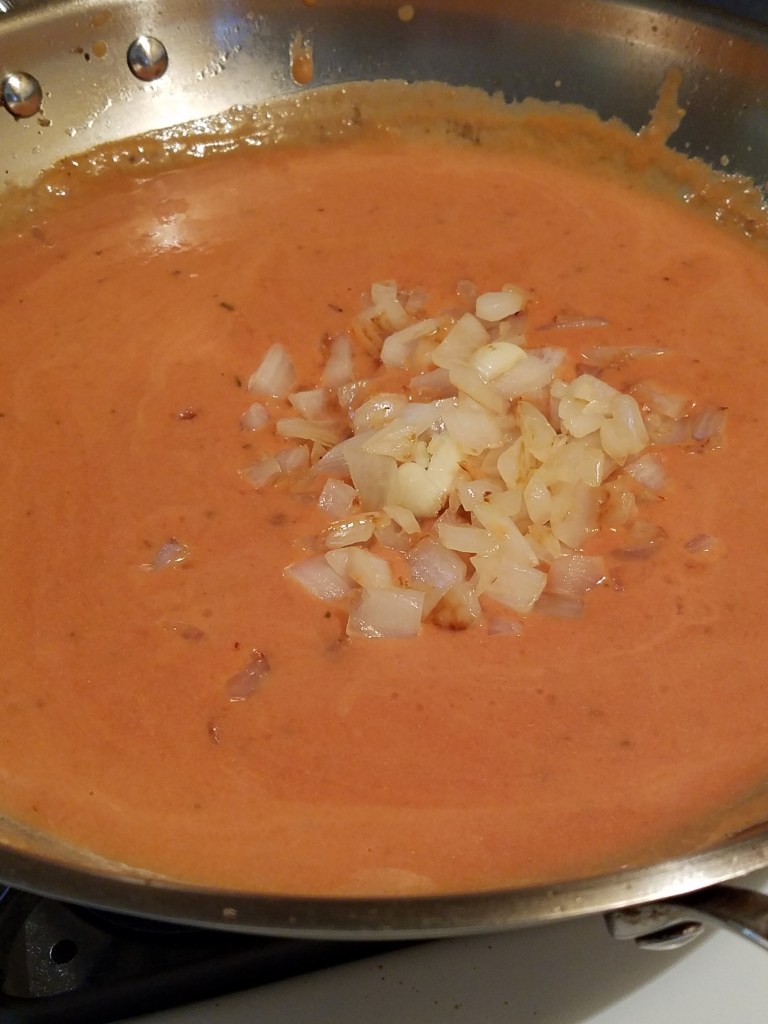
Whisk and sauté until the sauce thickens. Return the onions to the skillet. Lower the heat.
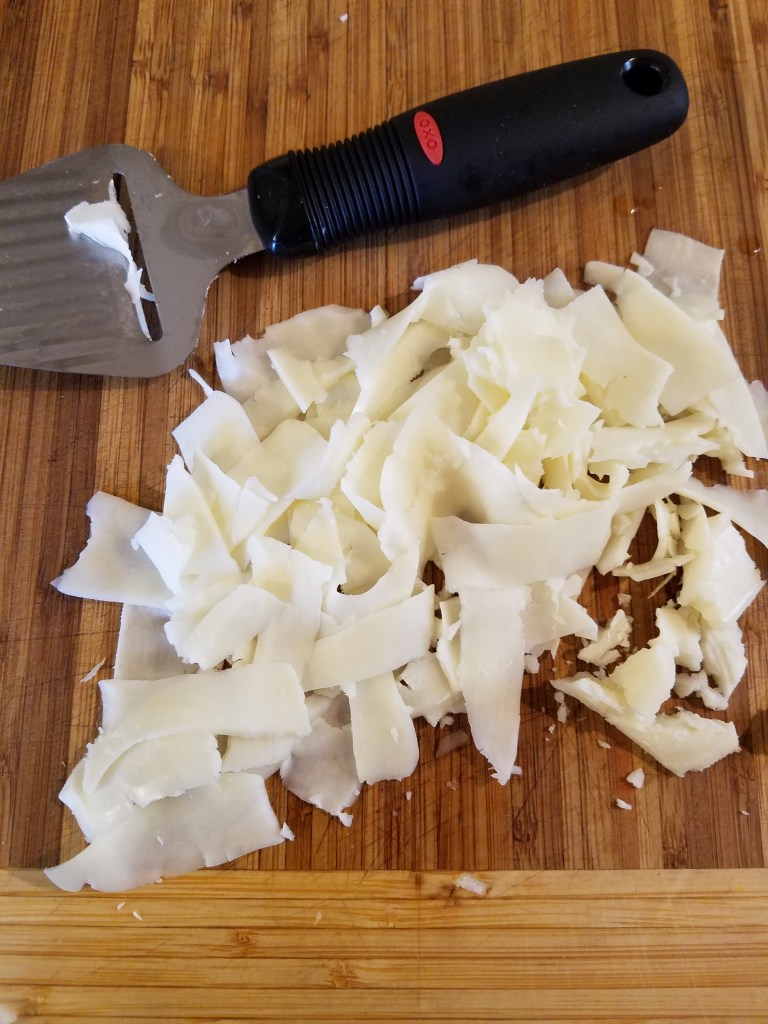
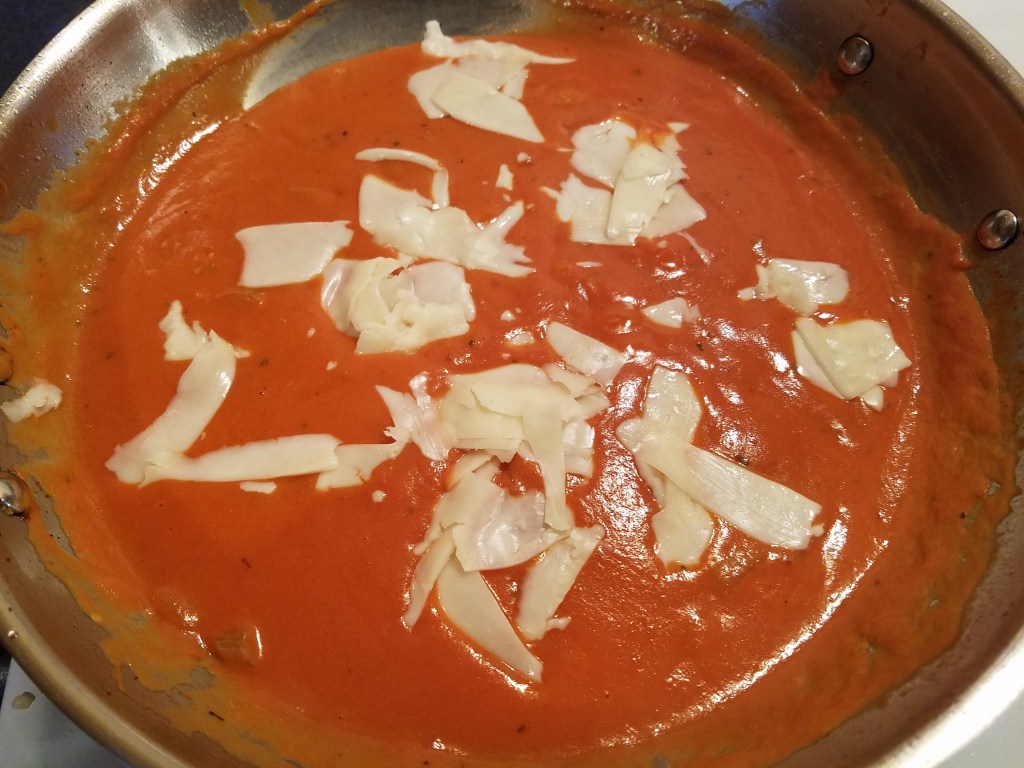
Add mozzarella.
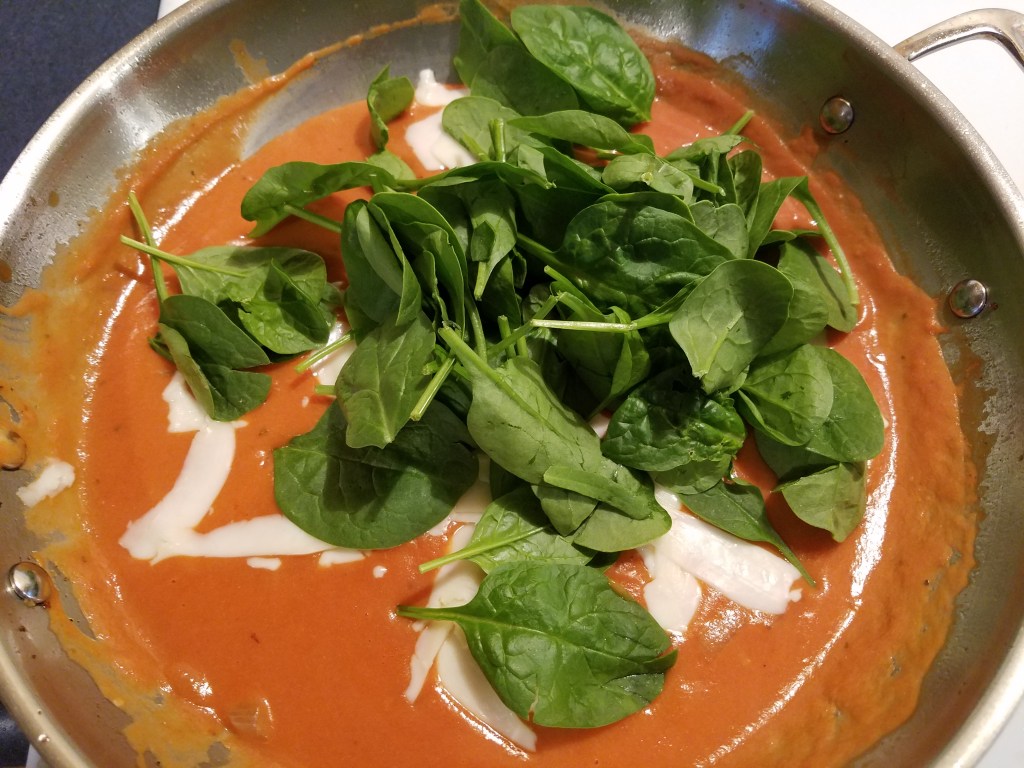
Add fresh spinach and sauté for another minute, or so, until
the spinach wilts.
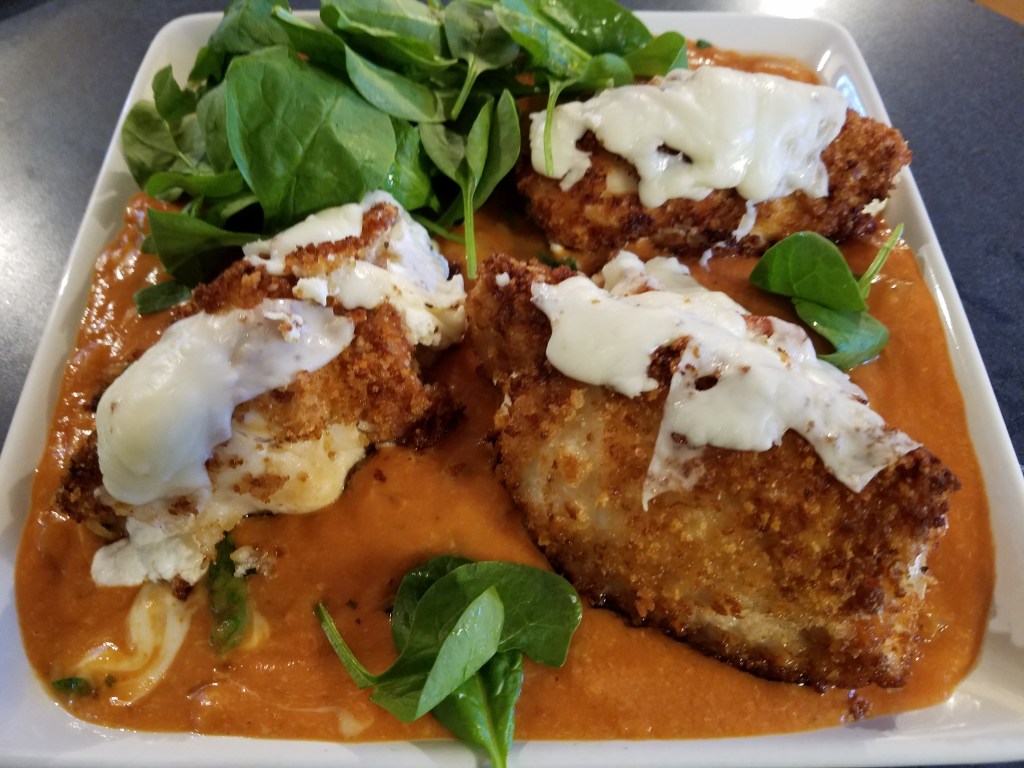
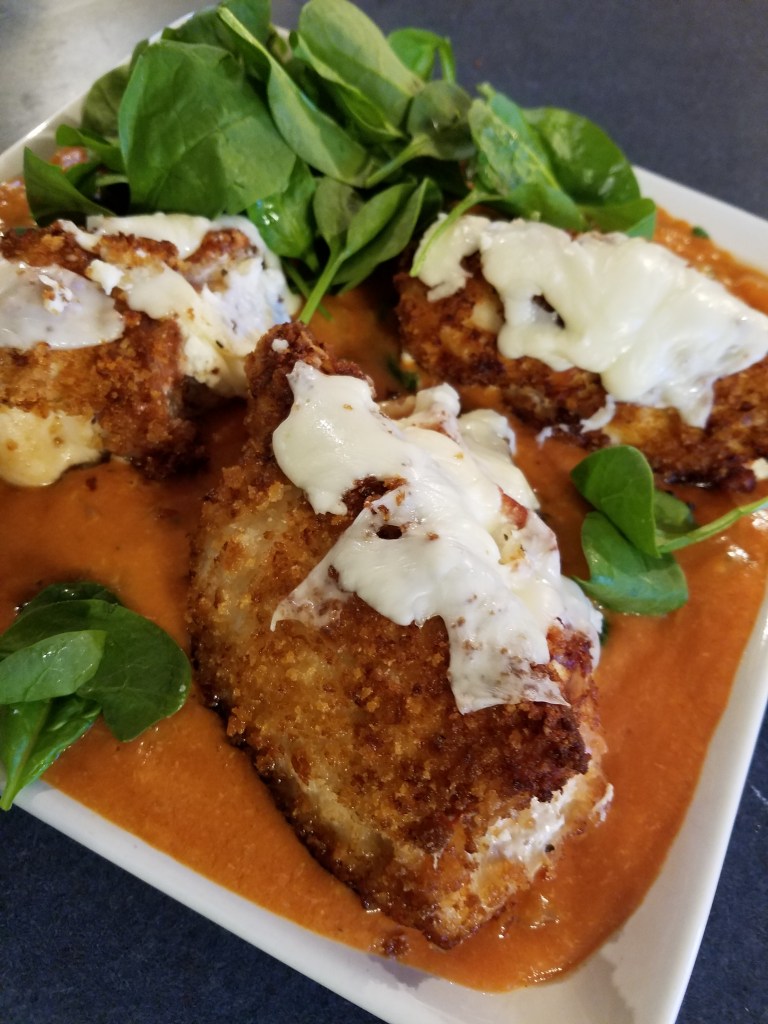
Pour the sauce onto an oven proof serving platter. Arrange the chicken on top of the sauce and add a few slices of mozzarella. Bake in the oven for a few minutes to melt the cheese.
There comes a time in every cook’s life when they realize that they don’t have an ingredient they need for a recipe. Sometimes those moments happen in the midst of preparing a meal. Sometimes cooks just have to improvise. Sometimes cooks just have to “fake it” and force their way through life’s unexpected problems.
I’ve had some long, long days at work recently, which is why my blog posts have become less frequent. A few nights ago, I came home from work and I was craving something spicy. I wanted to make a variation of my Yin and Yang Chicken Wraps because it was quick and easy to prepare. I prepped the vegetables and chicken and just as I was getting ready to fry the chicken, I realized that I didn’t have any eggs.
Eggs are something that I always keep on hand…except this
time.
I usually fry chicken by dipping the chicken in egg and dredging it in flour. That’s Chicken 101. Of course, buttermilk could be used instead of egg… that’s the classic recipe for southern fried chicken. Buttermilk is not something I usually have on hand.
In a moment of inspiration, or desperation, I decided to use milk and Italian dressing instead of eggs.
Why Italian dressing?
Why not? I figured that if I was
going to improvise I might as well try something completely new.
The result was some very crispy and very delicious chicken. The rest of the preparation was smooth sailing and I made some extremely spicy wraps. So, satisfying!
Italian dressing contains oil, among other things, and that, combined with the milk, gave the flour something to stick to and it produced great flavor.
I ate two of the large wraps and went to bed an hour later. Big mistake! The joy I experienced while eating the spicy chicken wraps was perfectly balanced by the upset stomach I experienced 5 hours later as I drove to work the next morning. Yin and Yang, indeed!
So, don’t panic when you find yourself missing an ingredient. Trust your instincts and face adversity bravely. Improvise. Be daring!
Oh, and don’t go to sleep an hour after you eat…especially if you eat something very spicy!
Tacos de Carne Ranchero con Papas Fritas… Steak Ranchero Tacos with Fried Potatoes.
Well, here I go again with another Tex-Mex recipe. I never knew just how often I go to Tex-Mex until I started a food blog. Mexican cuisine is just so versatile that it’s hard to resist.
Growing up in Texas meant that I was surrounded by Tex-Mex. It was only natural that I gravitated to
Tex-Mex when I started cooking. Now that
I live in Mississippi, I suppose I could refer to my Mexican dishes as
Miss-Mex, but it just doesn’t sound as cool as Tex-Mex.
When I cook Mexican food I don’t aim to achieve
“authenticity” in a recipe. I have to
laugh when I see Mexican restaurants that claim to serve “authentic Mexican
food”. I’m sure that those restaurants
mean well but, if you want authentic Mexican cuisine, go to Mexico.
Consider everything that goes into a meal…the vegetables,
the fruit, the meats, the spices. They
are a product of the sunlight, rain and soil of the region that they come
from. Anyone who has moved from one
place to another usually recognizes a difference in the taste of the local
water. Every aspect of our natural world
is unique to specific regions and even though those differences may seem subtle,
they play a major part in authenticity.
The point is, it doesn’t matter what you call it. It just needs to be good. Learn cooking methods from other cultures and
apply them to what you want to make.
This recipe was intended for two to four people.
Ingredients:
1 ½ lbs top round beef roast
1 Tbs garlic powder
1 Tbs red chili powder
2 tsp cumin powder
1 ½ tsp salt
1 tsp ground black pepper
½ tsp chili piquin powder (or cayenne)
3 green onions, separate white from green parts
2 garlic cloves, smashed
2 ripe tomatoes
¼ cup prepared picante sauce
1 medium yellow onion (chop half and slice the other half)
12 corn tortillas
½ cup chopped cilantro
1 cup shredded lettuce
1/2 cup cotija cheese
12 corn tortillas
2 russet potatoes (or 1 very large potato)
1 cup prepared guacamole
1 lime
Directions:
On a clean cutting board, cut the beef into ½” steaks.
Remove the tough connective tissue. Look at the white strips and feel them with your fingers. If they feel tough, cut them out.
Combine the garlic powder, chili powder, cumin, salt, pepper and chili piquin in a small bowl.
Sprinkle the spices over each side of the steaks. Set aside.
Wash and scrub the potatoes. Dice potatoes into ½” pieces.
Heat a skillet to medium/low and add about ¼ cup of vegetable oil. Add the potatoes and fry until golden brown and crispy.
Strain the potatoes and keep them warm until ready to serve. I usually keep them in a bowl on top of the stove, with the oven set to 250°.
Chop the other vegetables and slice the lime into
quarters. Set aside.
Prepare the ranchero
sauce:
Heat a skillet to medium and add 1 tsp cooking oil. Add garlic and chopped white parts of the
green onions and sauté for about 30 seconds.
Add about half of the chopped tomatoes, half of the chopped yellow onion
and the picante sauce. Simmer for
several minutes until the vegetables are fully cooked and soft. Remove the sauce and keep warm.
Prepare the tortillas
Heat a skillet to medium.
Add ¼ cup of cooking oil. When
oil is hot, prepare the tortillas by cooking on each side until the tortillas
are firm, but not crisp.
Store the tortillas in a warm place. The stove top works for me.
Heat a skillet to high heat.
Add 1 Tbs cooking oil. Once the
oil is hot, add the steaks to the skillet.
Leave the steaks alone…don’t mess with them. Once you see a char developing on the bottom
of the steaks, turn them over and cook for another minute, or so. Total cook time should be about 2 or 2 ½ minutes. Don’t overcook them!
Remove the steaks to a clean cutting board.
Slice into ½” strips.
Heat a skillet to low/medium heat and add the steak and
ranchero sauce. Cook for a minute, just
to warm everything.
Prepare the tacos
I like to use two tortillas per taco.
Add strips of steak to each taco.
Add chopped lettuce, cilantro, diced tomato, sliced yellow
onion and chopped green onion. Squirt
some lime juice onto the tacos.
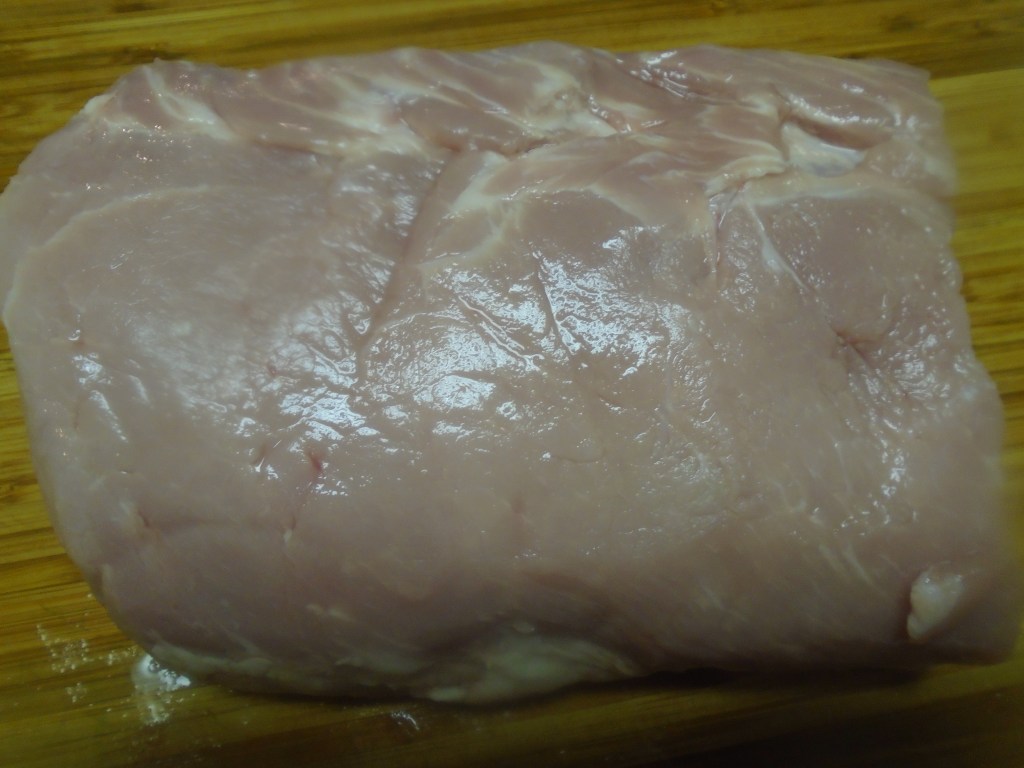
The pork loin is an economical and versatile cut of
meat. A whole loin can weigh as much as
8 pounds. I like to buy the whole loin
and section it off into 2 pound pieces. I
usually apply a different dry rub or marinade to each section. They can be wrapped in foil and plastic wrap
and stored in the freezer for weeks, or even months.
The loin is a very lean cut of meat and can be slow roasted, sliced into steaks or roasted at high temperature for a short period of time, which is what I did for this recipe.
I wanted to make an Asian inspired dish with noodles and as
I was looking at the various types of noodles at the grocery store I couldn’t
decide between udon noodles or rice vermicelli so I closed my eyes for a moment
and thought about what flavor and texture I really wanted. The answer came to me quickly.
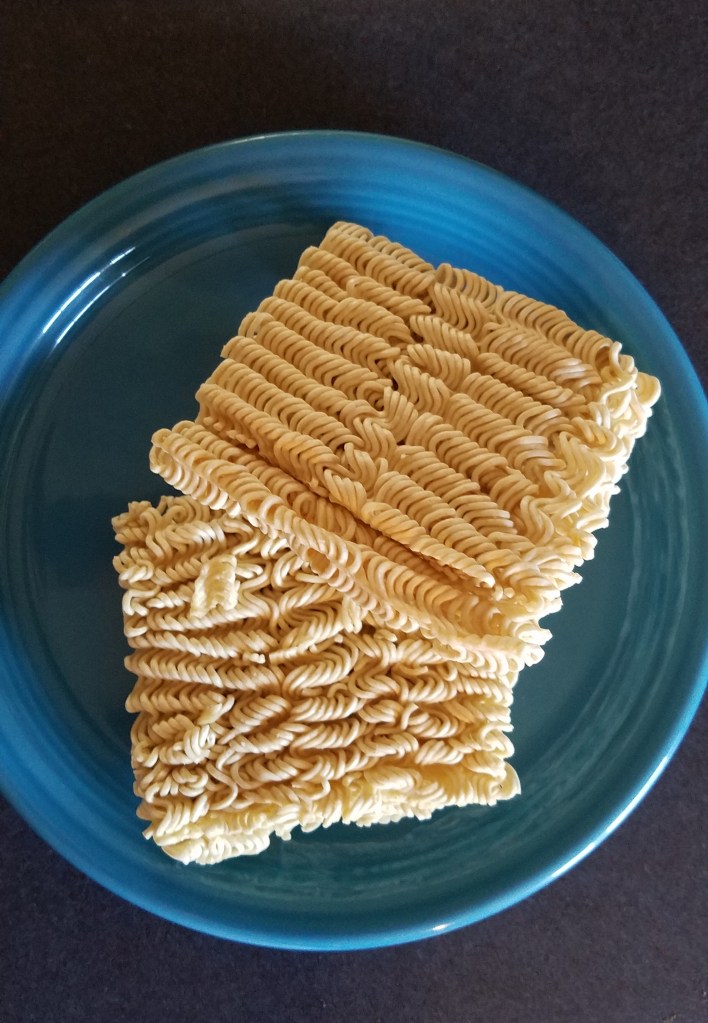
Ramen noodles. Yes,
the inexpensive ramen noodles that can be purchased for as little as 25 cents
per package. Ramen and I go back a long
way. Ramen was there when I needed
something to fit my very tight budget and ramen rarely disappointed me. You can add anything you want to ramen, which
makes it a near-perfect food, in my opinion.
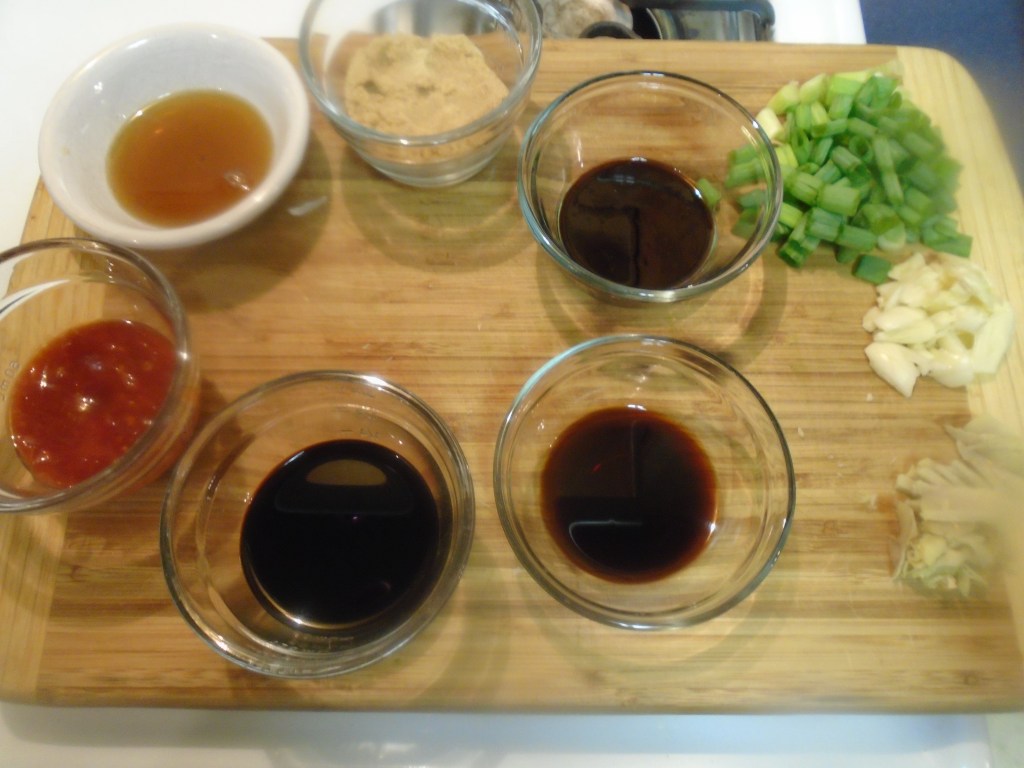
For the marinade:
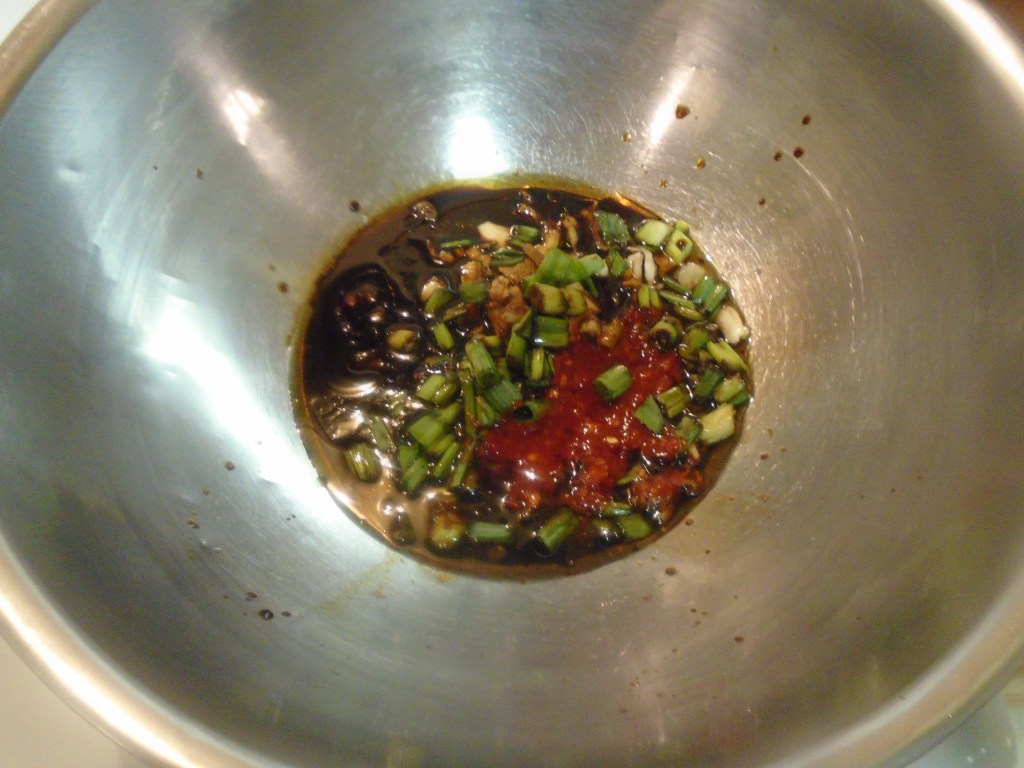
1/3 cup dark soy sauce
4 Tbs cup sesame oil
2 Tbs Worcestershire sauce
1/3 cup packed light brown sugar
3 green onions, chopped
4 cloves garlic, smashed
2 Tbs chopped fresh ginger
4 Tbs garlic chili paste (Sambal)
2 lbs pork loin
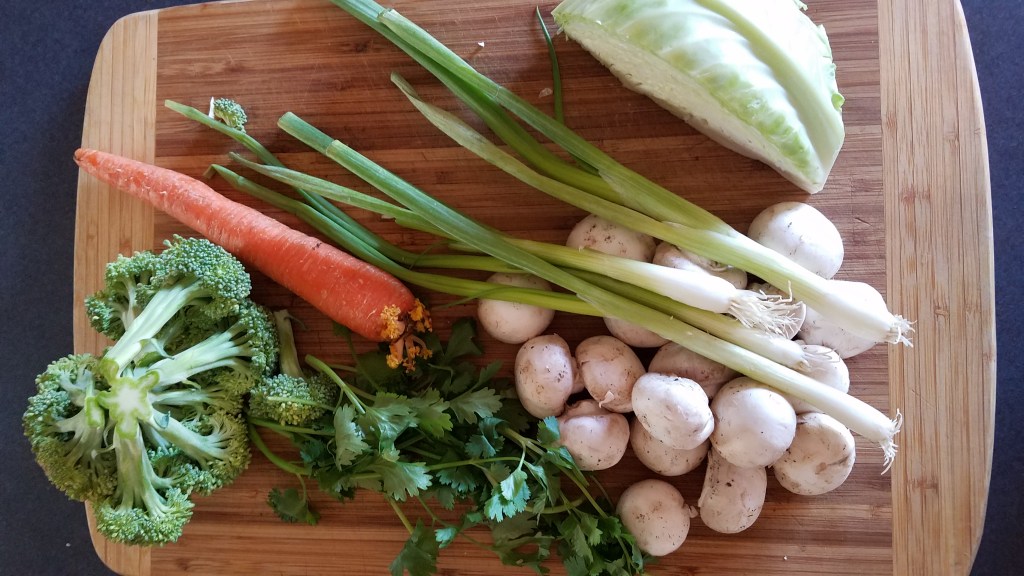
For the stir fry:
4 oz broccoli
1 large carrot
¼ head of cabbage
8 oz mushrooms
3 green onions
¼ cilantro leaves
2 Tbs cooking oil
½ cup marinade, cooked and strained
2 tsp hoisin sauce
2 packs of dry ramen noodles
(You won’t need the seasoning packets)
Directions:
Trim the fat from the top of the pork loin (optional).
Combine marinade ingredients in a large bowl and mix together.
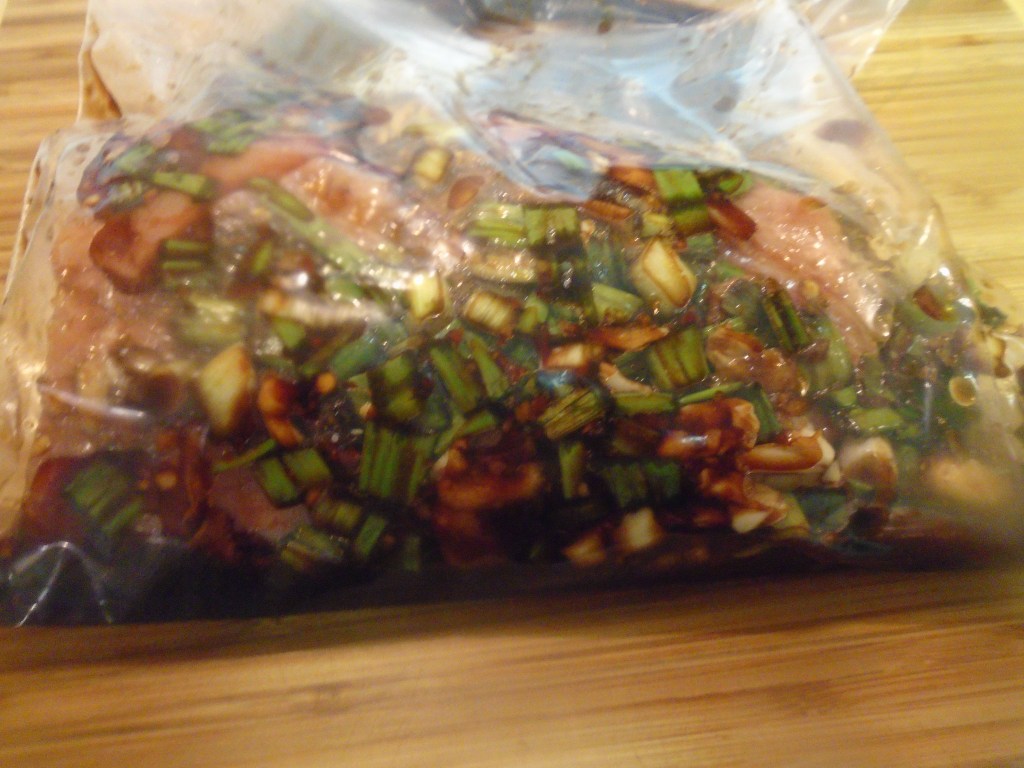
Add the pork loin and marinade to a large, seal-able storage bag. Marinate in the refrigerator overnight or up to 24 hours.
Bake the roast at 425° for one hour, uncovered. While the roast bakes, prepare the stir fry
vegetables.
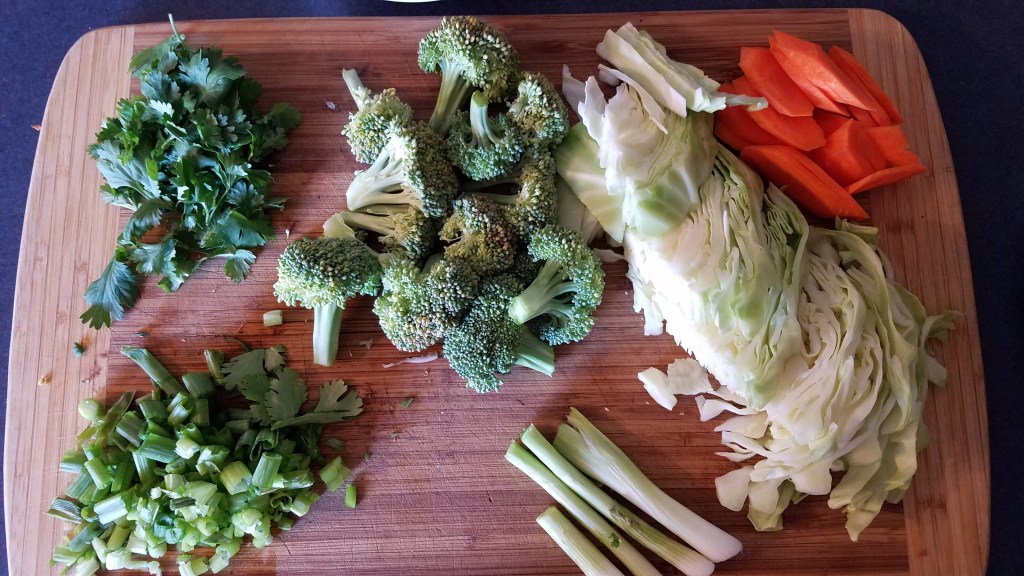
Peel and cut the vegetables.
Separate the white root ends from the green parts. Leave the root parts whole and chop the rest
of the green onions. Slice the cabbage
into ½” strips. Slice the carrots, broccoli
and mushrooms into bite sized pieces. Set
the vegetables aside.
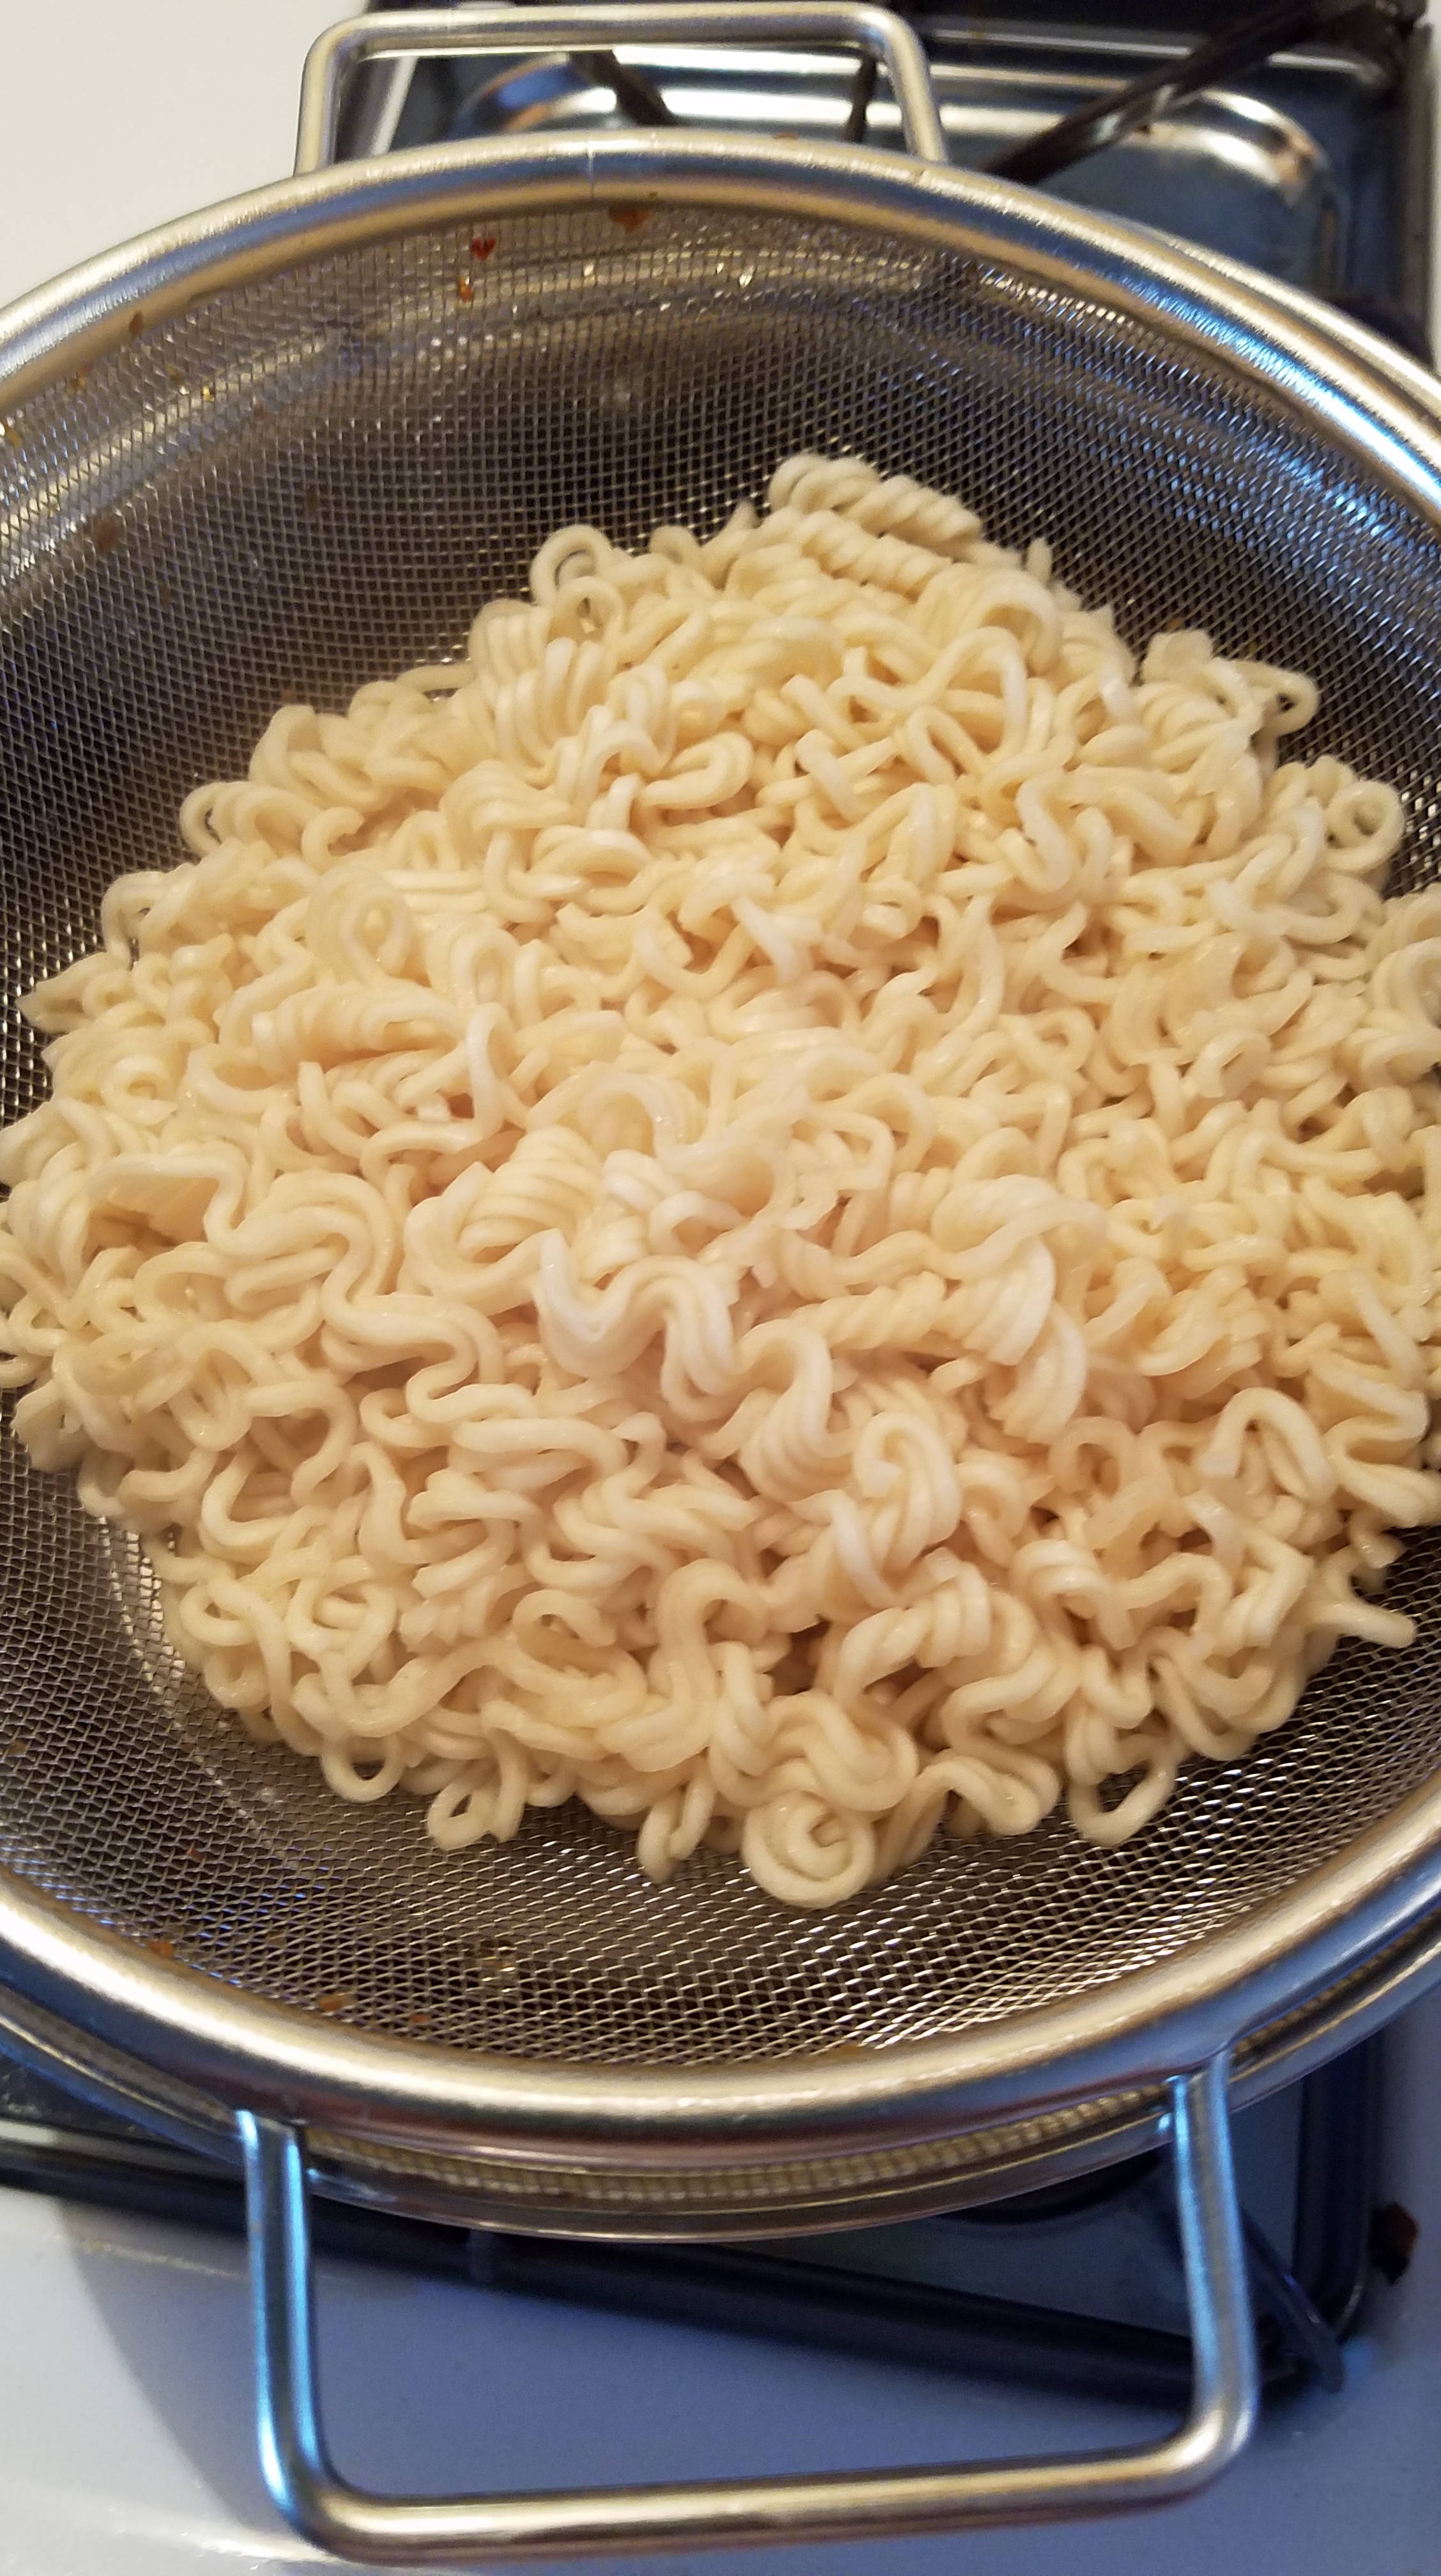
Soften the ramen in boiling water. Do not overcook. Strain the ramen and set aside.
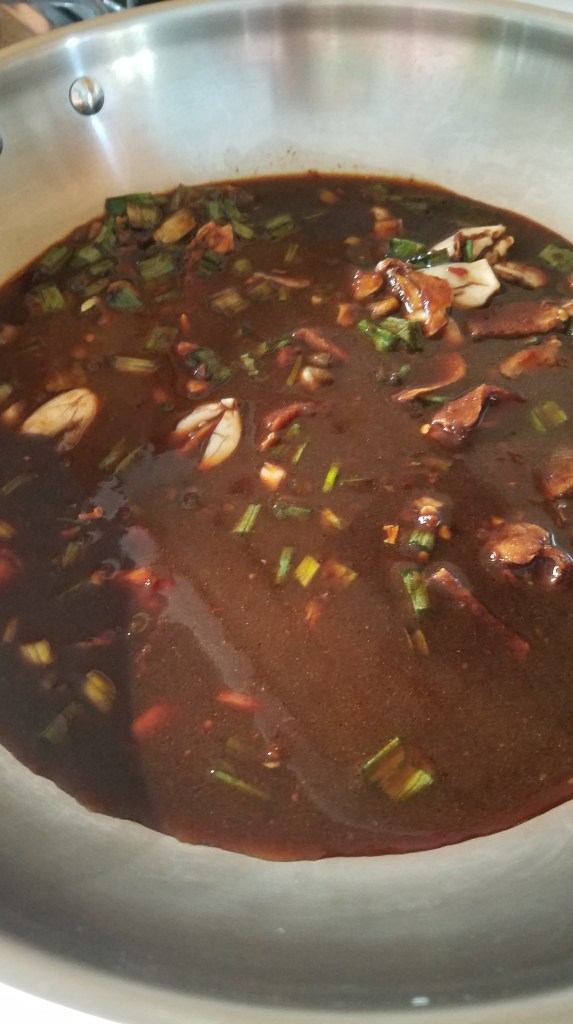
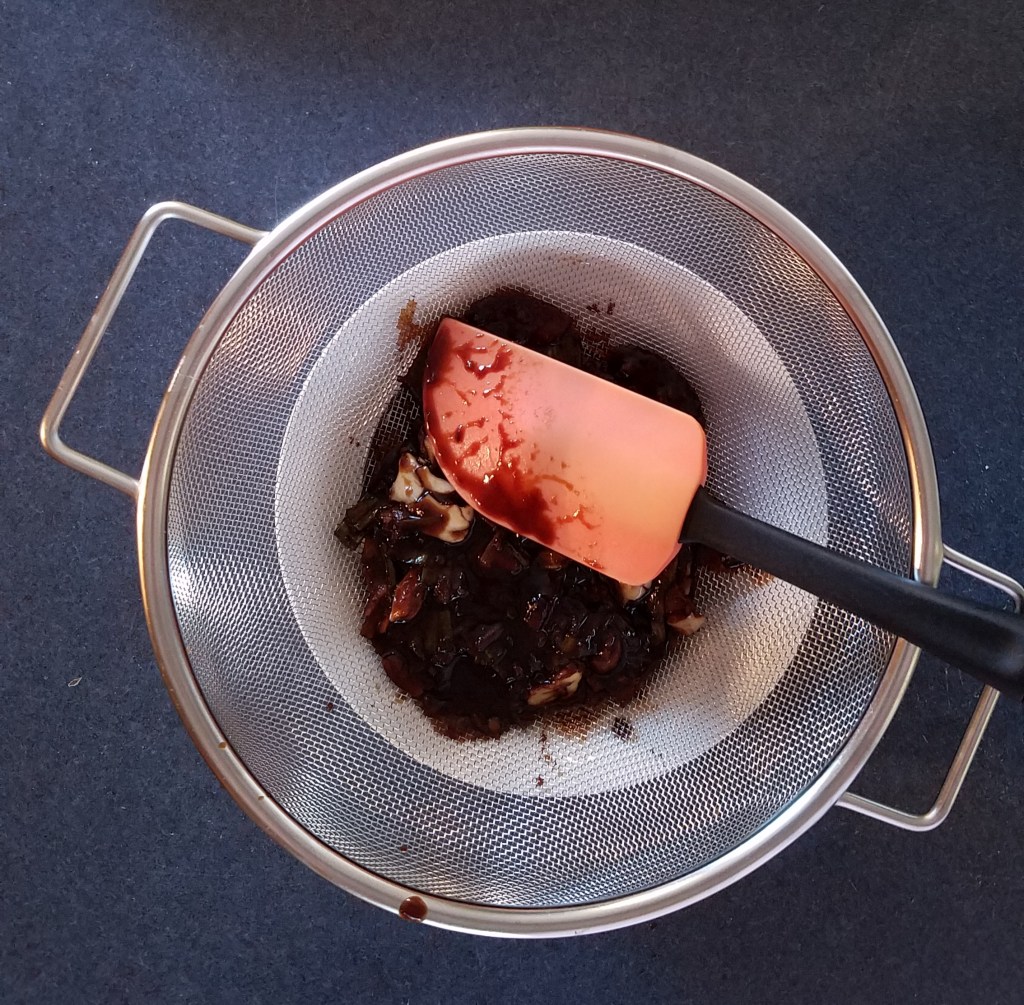
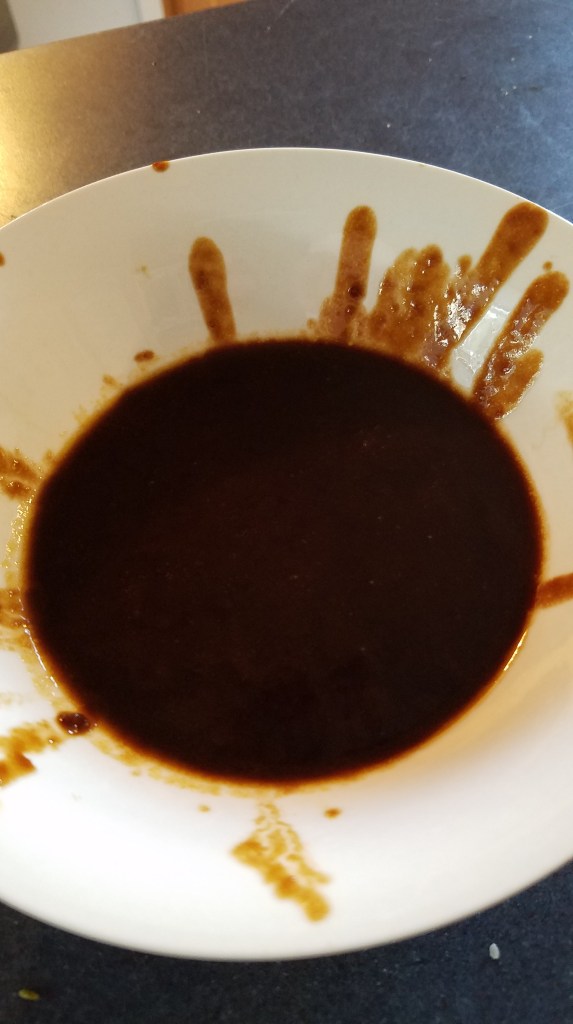
Add the marinade to a skillet and cook until boiling. Strain out the solids and reserve the sauce.
Remove the roast from the oven and cover with a foil tent an
let it rest for 20 to 30 minutes.
While the roast rests, make the stir fry.
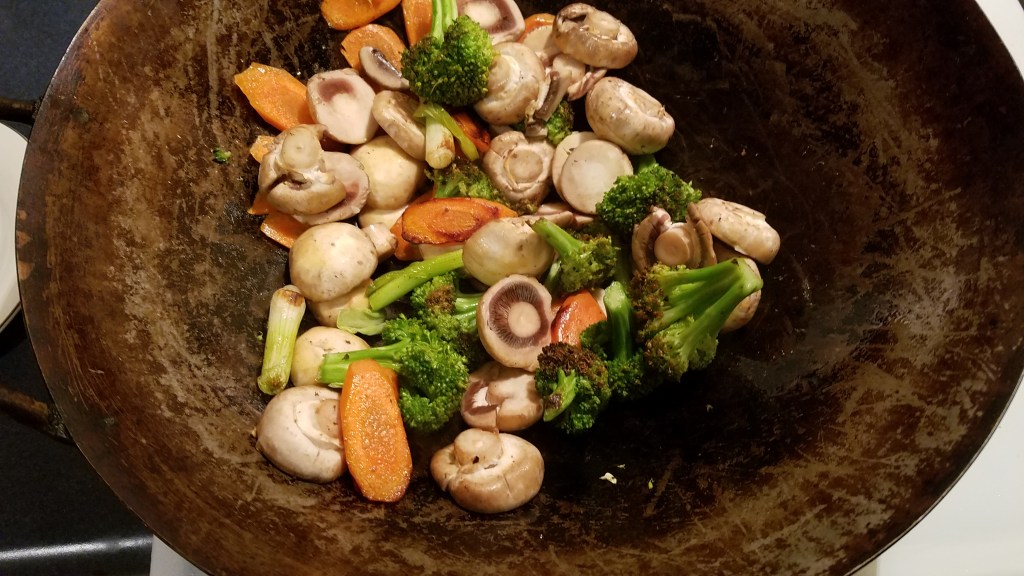
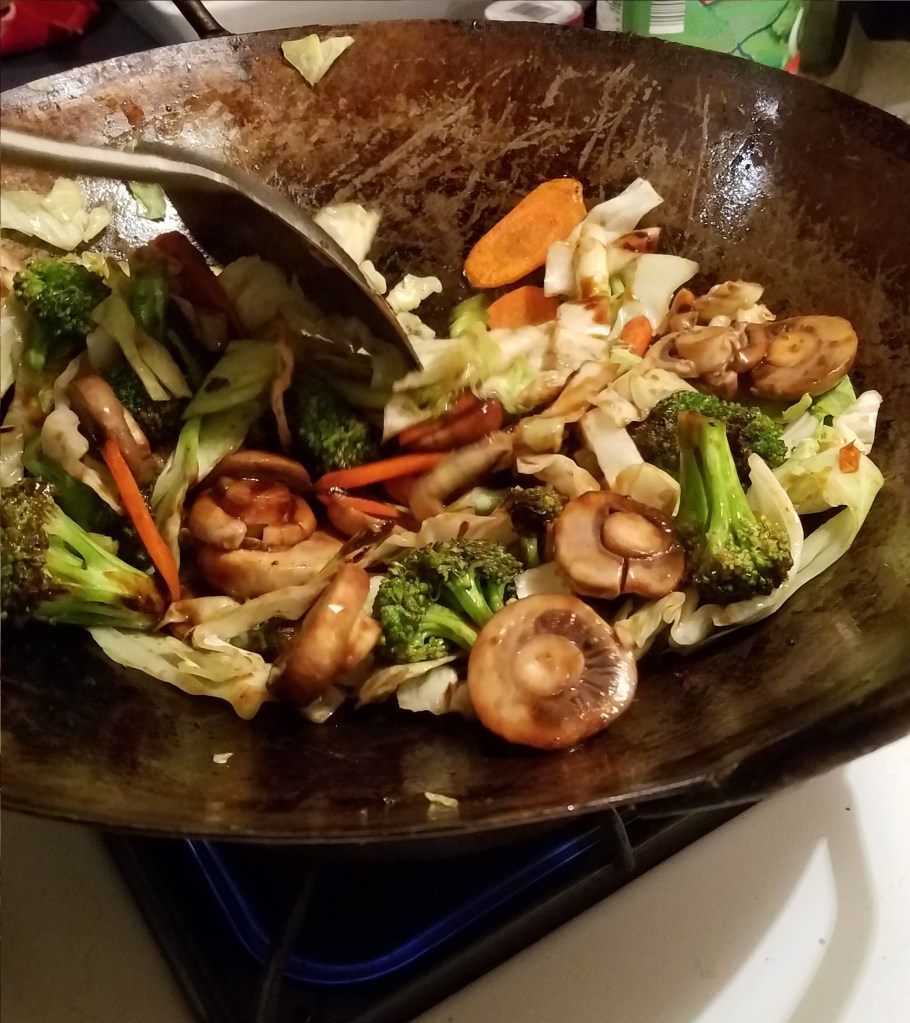
In a hot wok, add two tablespoon of cooking oil. Add the broccoli, carrots and the green onion
roots and stir for a few minutes. Add
the mushrooms and stir for a minute.
Add the cabbage. Stir for a minute and then add ¼ cup of the cooked marinade and the hoisin sauce. Stir to incorporate.
Add the ramen and mix everything together. Add the chopped green onions and cilantro and mix lightly. Turn the heat off and let the stir fry sit in the wok while you slice the pork roast
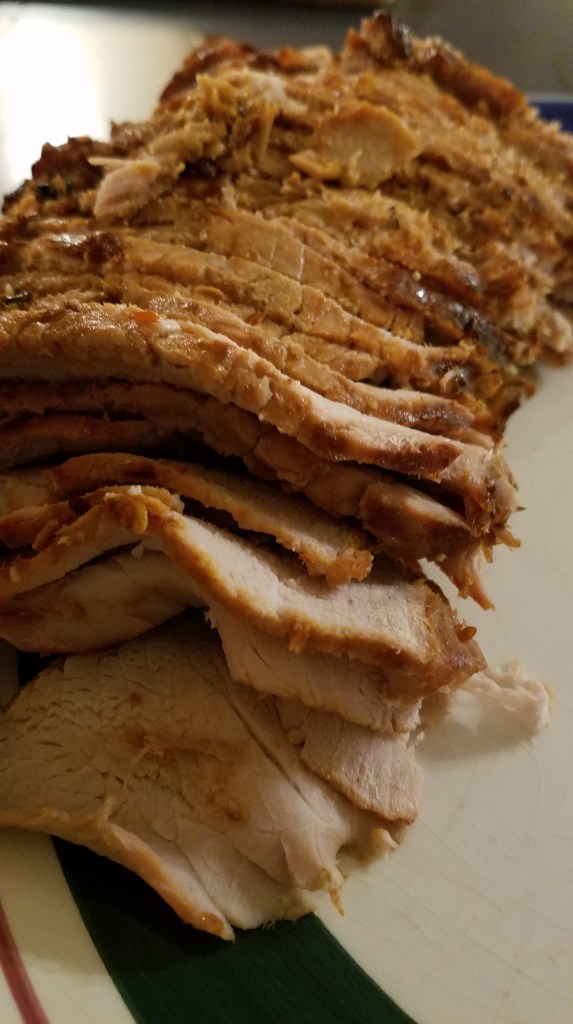
Slice the pork as thinly as you can.
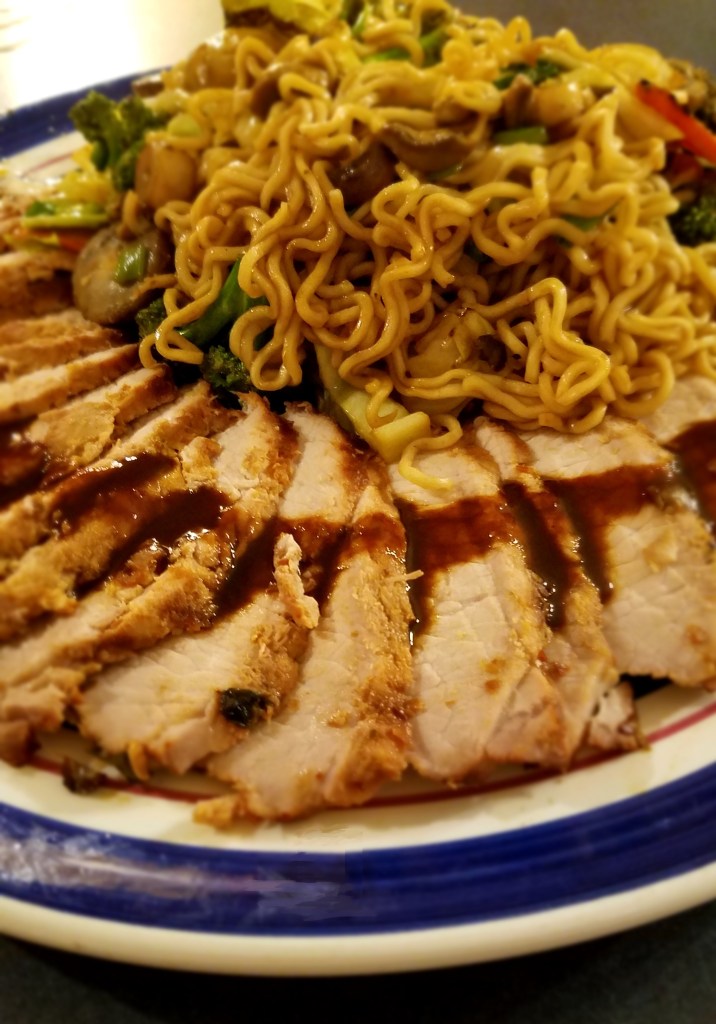
Arrange the slices on a serving platter. Add the stir fry to the serving platter. Drizzle remaining sauce over the sliced pork.
This is a great time-saving meal for a weeknight dinner…very
convenient for working parents who want to make something nutritious, tasty and
quickly. The whole process takes about
an hour, from start to finish. Clean up
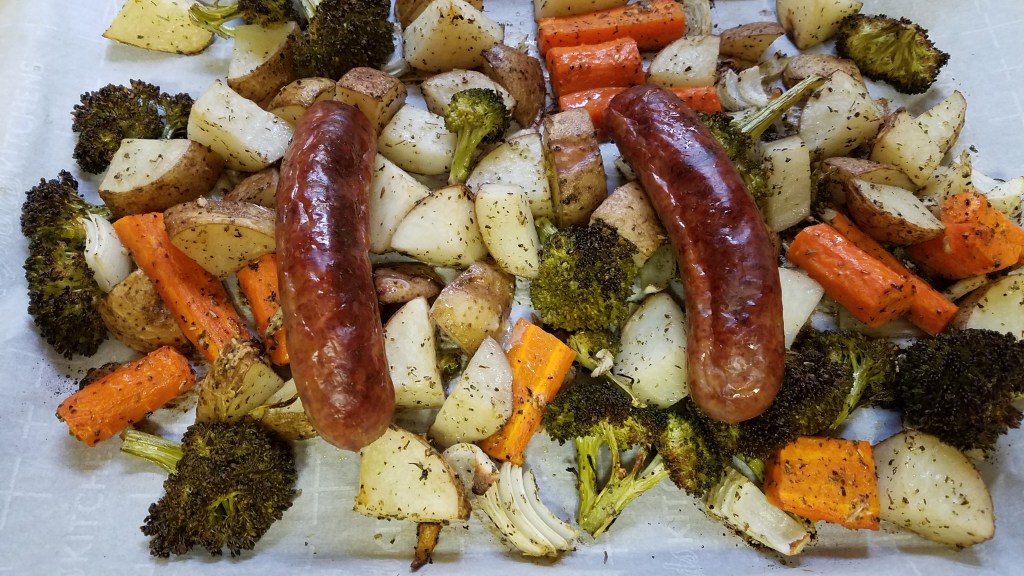
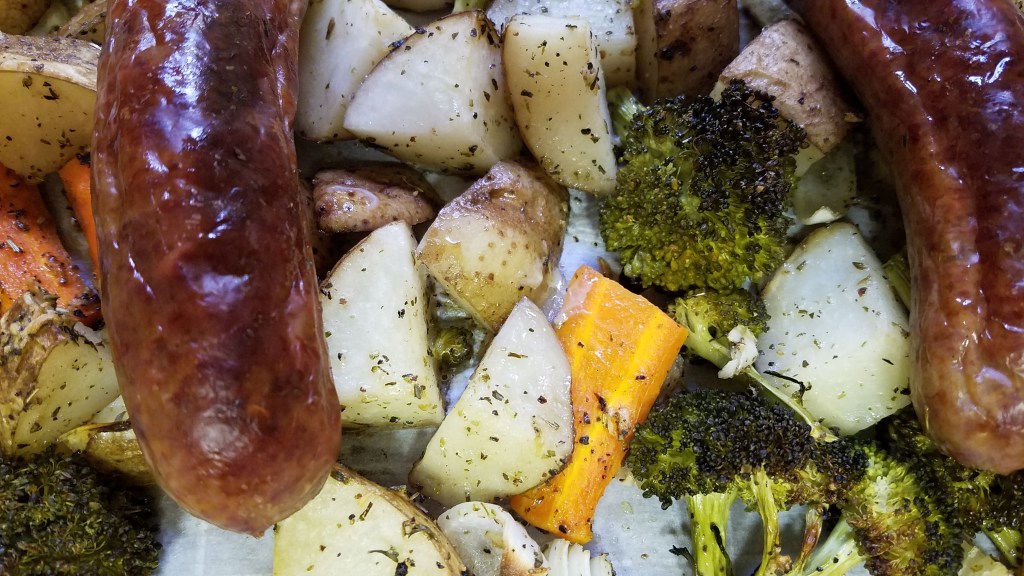
is easy, especially if you line the sheet pan with parchment paper or foil. I used frozen Italian sausage for this and it
cooked completely and browned nicely.
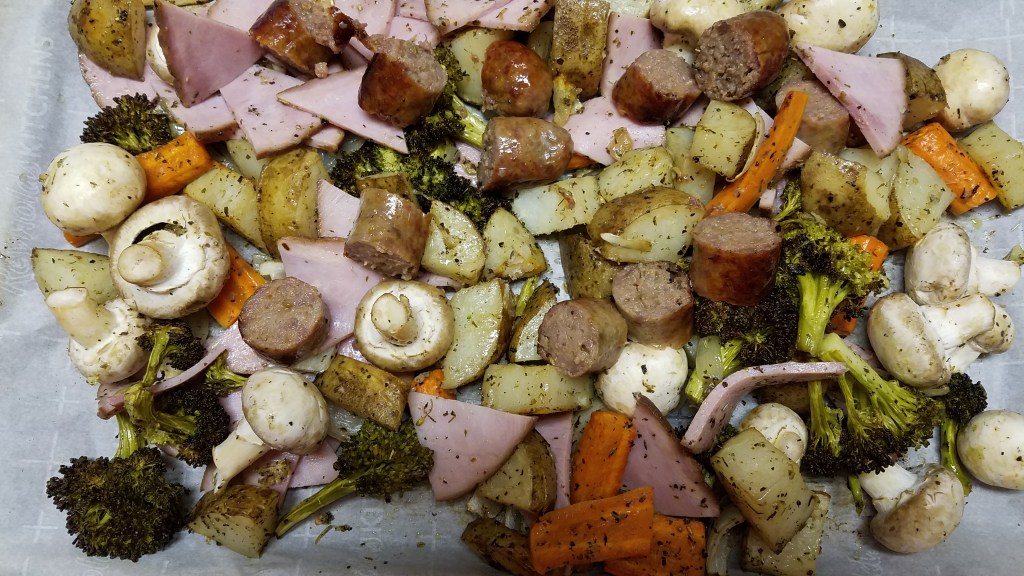
The ham was cured and ready to eat, so I added it near the end of the
cooking process, just to make it warm.
Ingredients:
3 large russet potatoes
2 very large carrots
8 to 10 oz broccoli
½ large onion
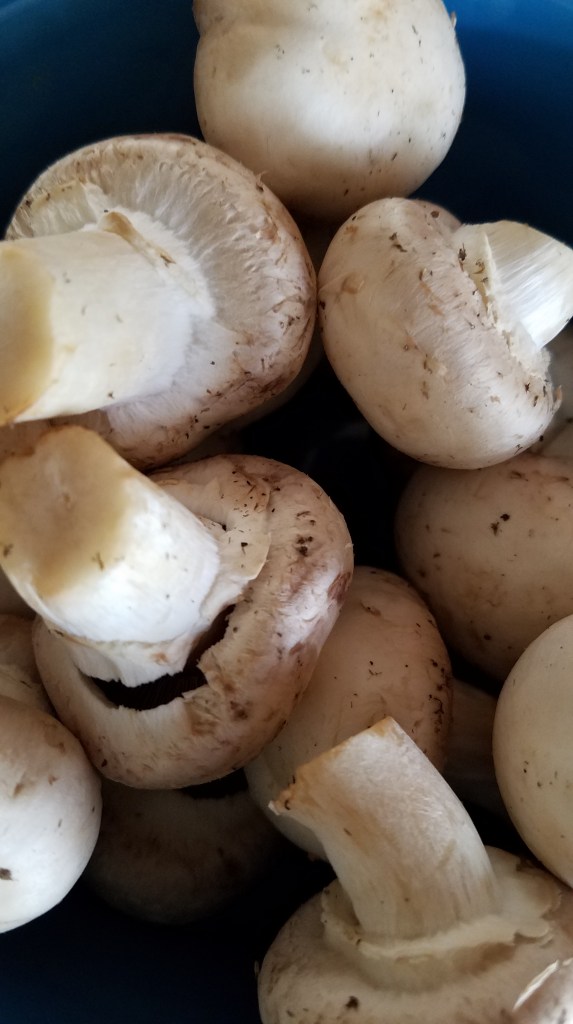
8 oz mushrooms
2 tsp salt
2 tsp fresh ground black pepper
3 Tbs olive oil
2 garlic cloves, smashed
2 Tbs Italian seasoning
2 mild Italian sausage links (about ½ lb)
½ lb cured ham, sliced ¼” thick.
1/3 cup shredded Parmesan cheese
Directions:
Set oven to 350°.
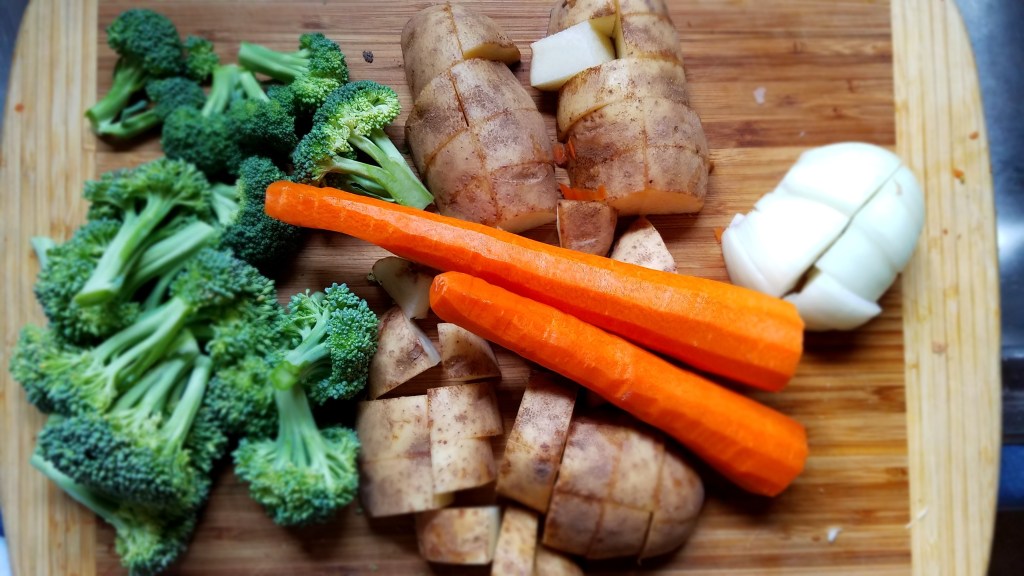
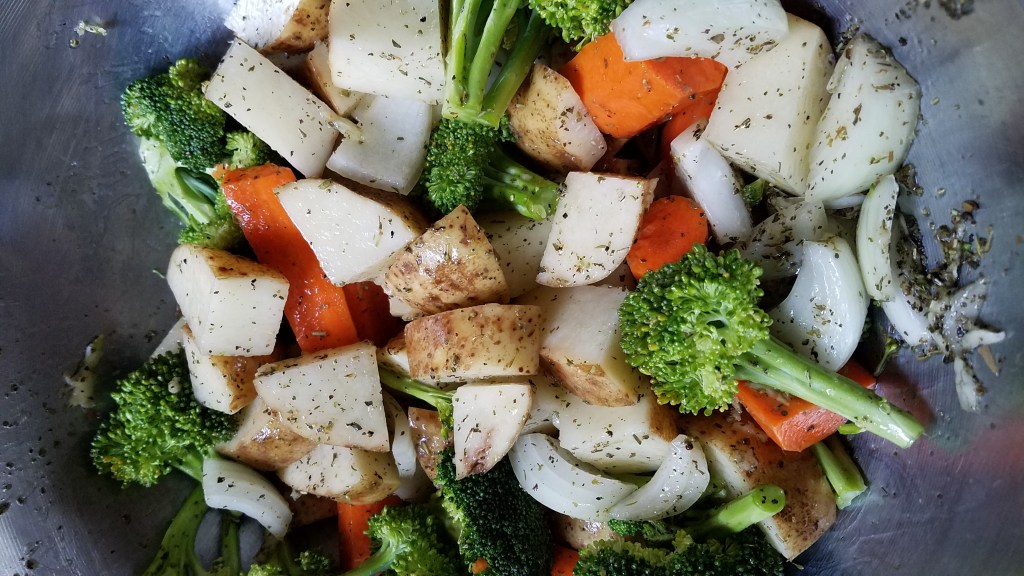
Peel and rough chop vegetables. Cut vegetables into 1” to 1 ½” pieces.
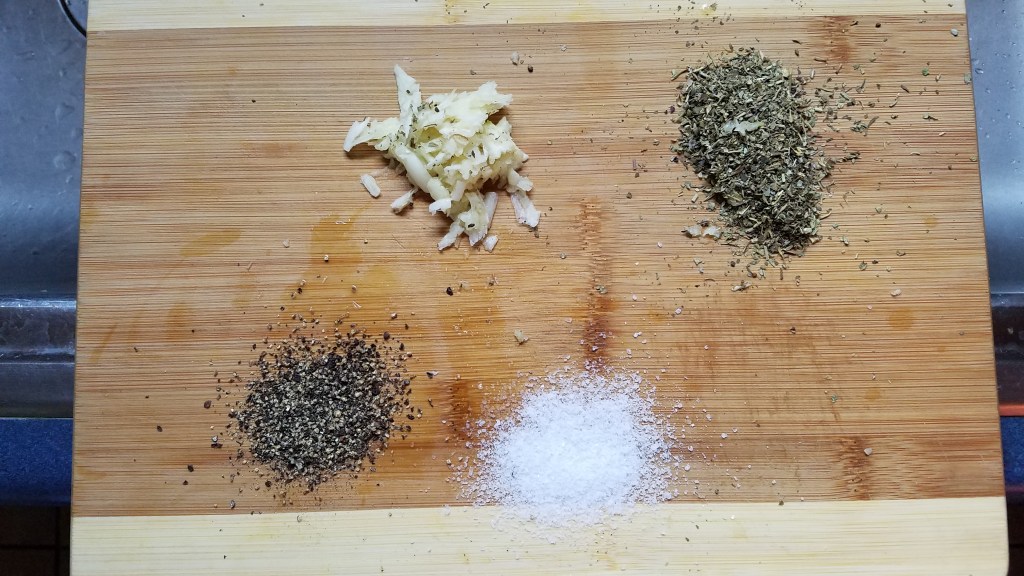
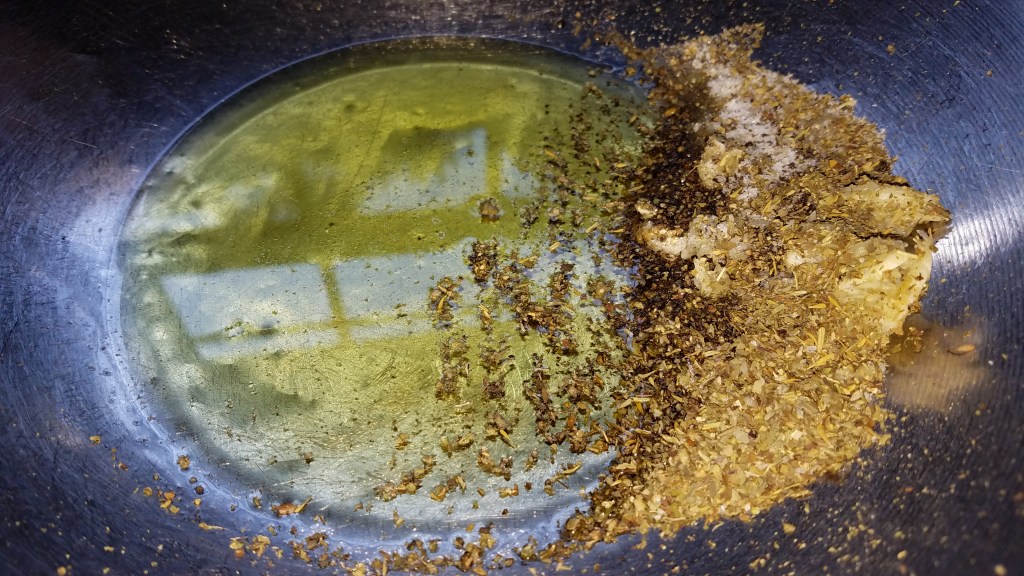
Add oil, garlic, salt, pepper and Italian seasoning to a
large mixing bowl.
Toss vegetables in the oil mixture and turn everything out
to a lined sheet pan.
Add the sausage on top of the vegetables.
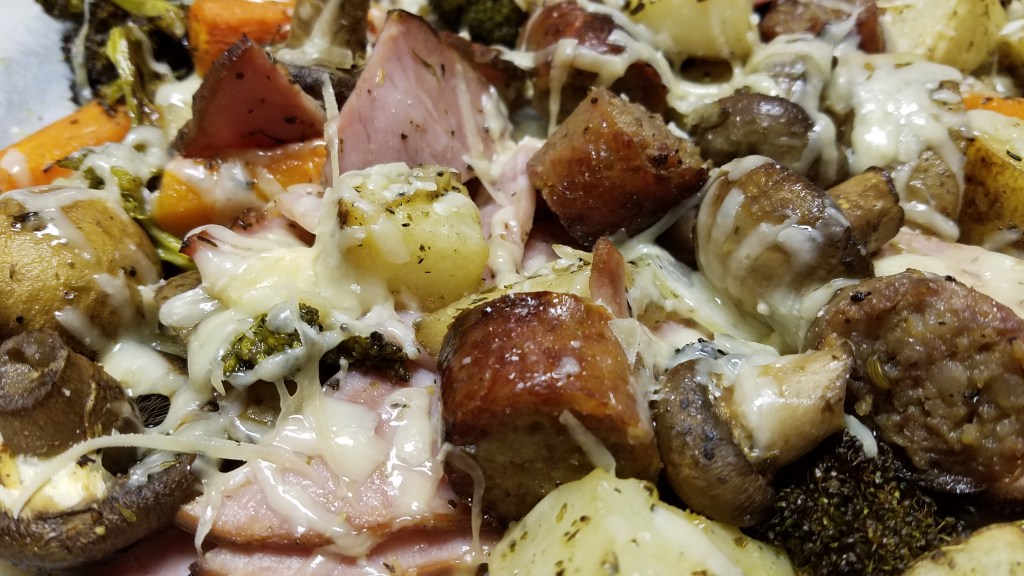
Bake at 350° for 20 minutes. Stir vegetables and turn the sausage over to brown evenly. Bake for another 15 minutes. Add the ham and stir. Top with Parmesan cheese Bake for another 5 minutes. Serve from the baking sheet, or a serving platter.
Most of my entrée recipes contain meat, in some way or
another. Some recipes seem like meat,
meat and more meat. Other recipes lean
toward vegetarian dishes…until I throw in some chicken stock. This is a bona fide vegetarian dish.
Until I started this blog I didn’t give much thought to
other people’s recipes. I have spent the
last twenty-plus years relying on my own instincts and re-imagining dishes that
I have had in the past. But now I find
myself perusing other cooking blogs and WOW,
there sure are a lot of vegetarians and vegans out there!
I have gained an appreciation for what those cooks are
doing. It’s easy for an omnivore, such
as me, to look at vegan recipes and think, “oh, those poor people…they have
given up meat and they must be miserable.”
But, on closer inspection, I have found that vegetarians and vegans are
bravely redefining what it means to be conscientious cooks. Nutrition and
taste can be achieved without meat.
There, I said it.
As I plod along searching for delicious and nutritious ways
to satisfy my soul, I consider every lifestyle diet equally important.
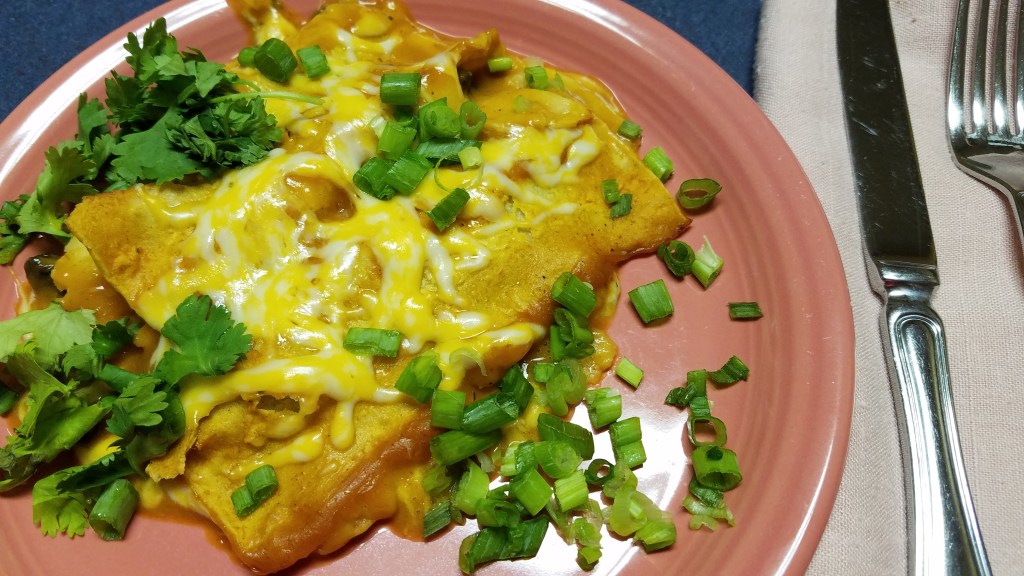
This is one of those
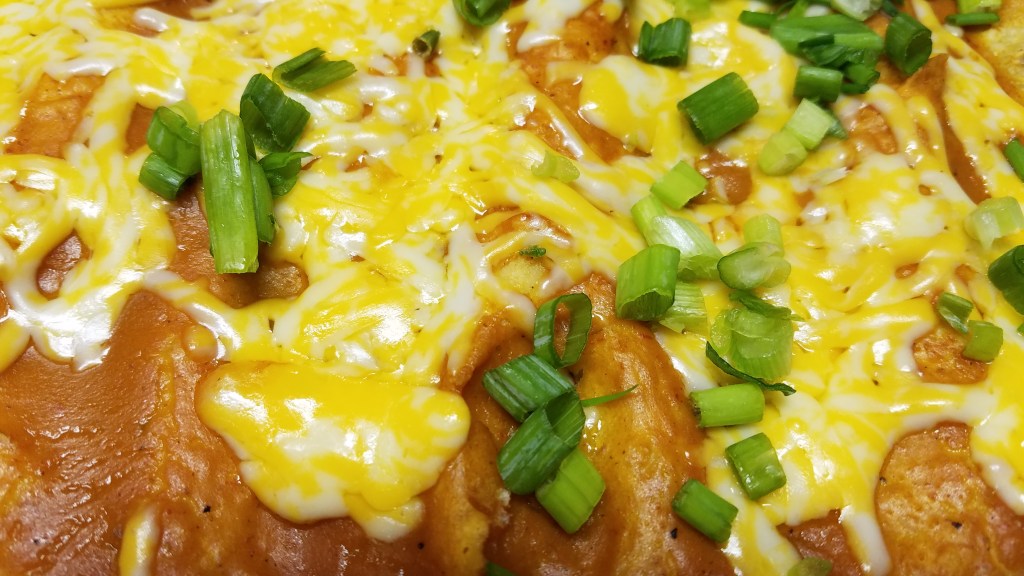
rare meals that came out just as I imagined it would. The creaminess of the tomato based sauce and
the three types of cheese made this a very gratifying dish. It lacked a significant amount protein, which
concerned me a bit but I grabbed a few handfuls of peanuts while I made this
and life was good.
Ingredients:
7 green onions
2 garlic cloves, smashed
4 cups fresh spinach (8 oz)
16 oz fresh mushrooms
3 Tbs olive oil
2 Tbs butter
4 Tbs flour
2 tsp cumin powder
2 tsp chili powder
1 tsp oregano
1 tsp salt
1 tsp black pepper
32 oz vegetable stock
6 oz tomato paste
½ cup half-and-half
8 oz Colby-Jack Cheese
4 oz sharp cheddar cheese
4 oz Mozzarella cheese
12 white corn tortillas
Directions:
Prepare the vegetables:
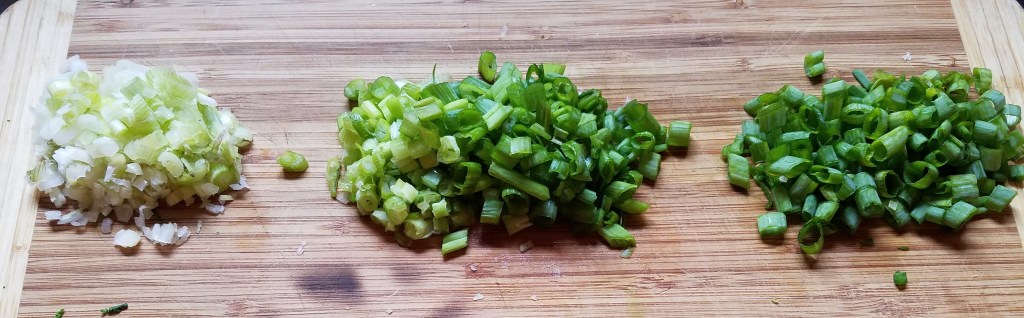
Chop the green onions. Think of the green onion as three parts. There is the white root section, the light green middle section and the dark green tips. Cut and separate the green onions accordingly.
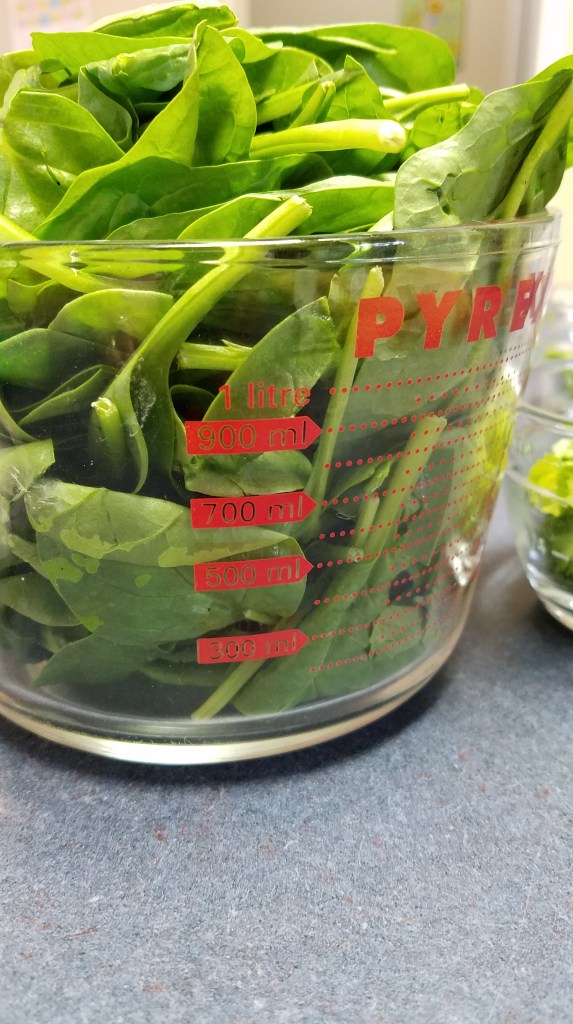
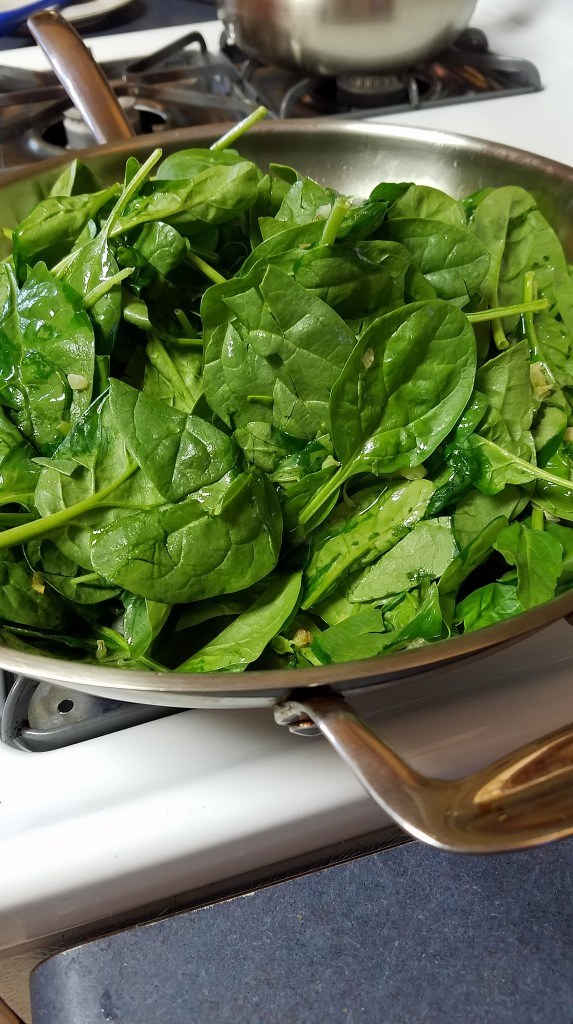
My recipe calls for 4 cups of spinach but I used more. This might be considered a “heaping” four
cups. The beauty of fresh spinach is
that it quickly wilts down to a much smaller amount when it is cooked.
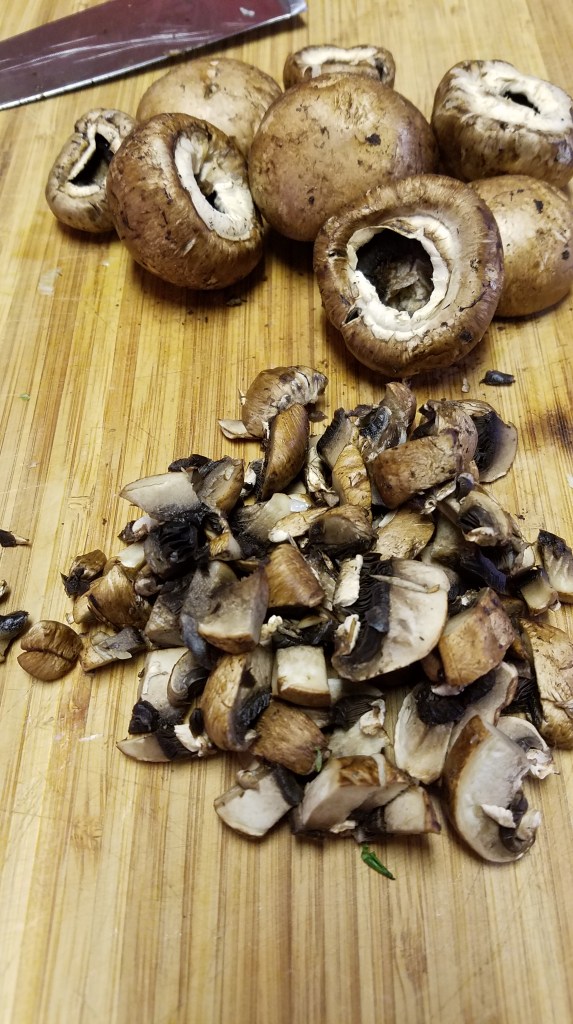
Chop the mushrooms. I
used baby portabella mushrooms because the price was right…any type mushroom
will do.
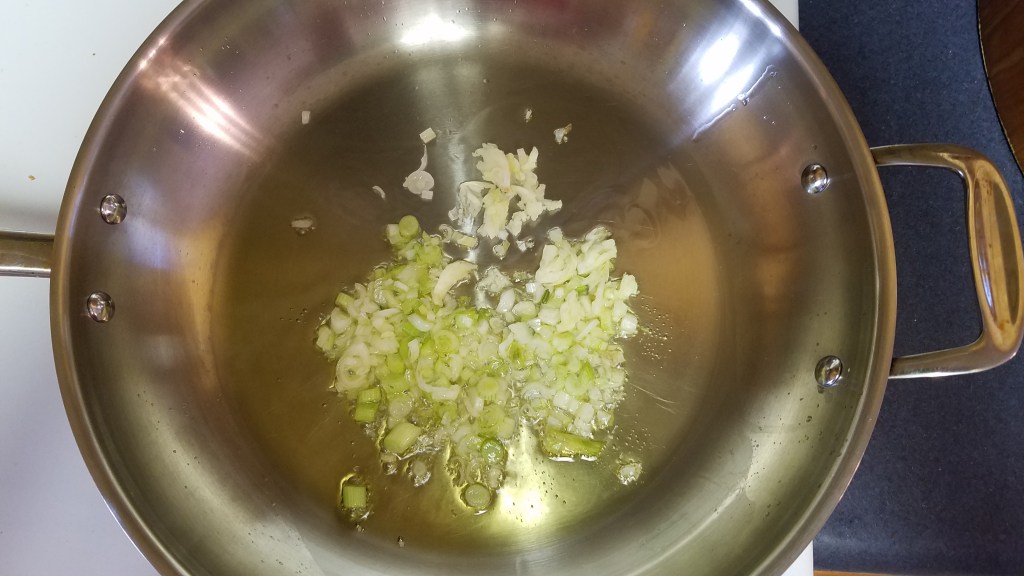
In an oven proof skillet, heat 1 tablespoon olive oil at medium
heat. Add the chopped white ends of the
green onions and garlic. Simmer for one
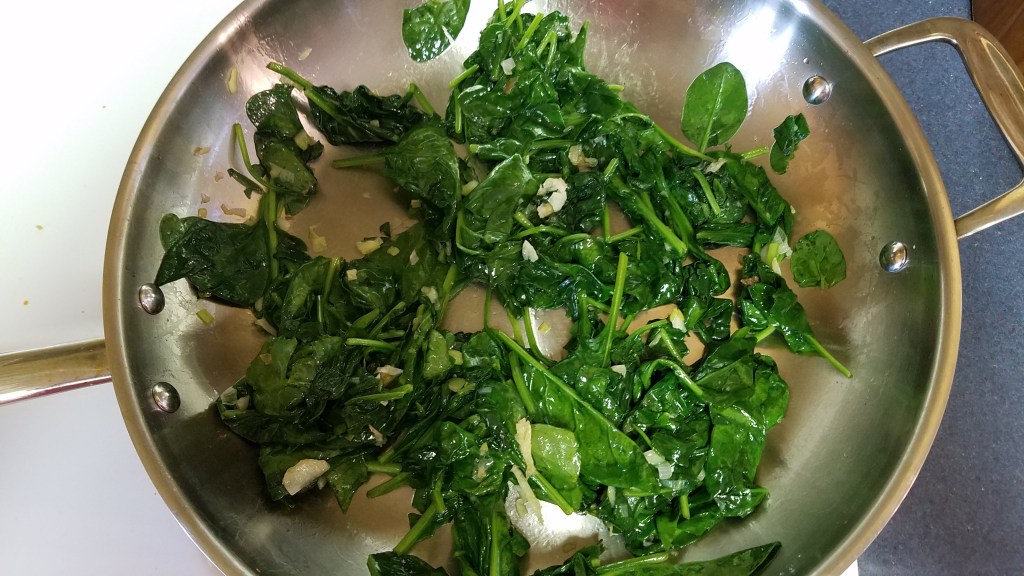
minute. Add the spinach and stir. After a minute, the spinach will begin to
soften and wilt. Add the chopped
mushrooms and stir for another two minutes.
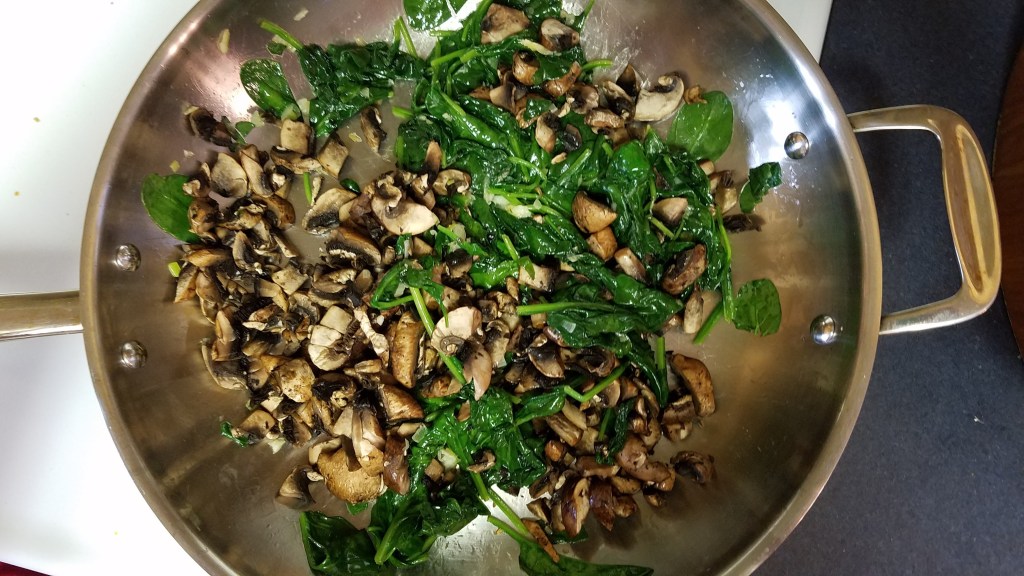
Remove to a bowl.
Spinach wilts quickly
Don’t overcook the mushrooms
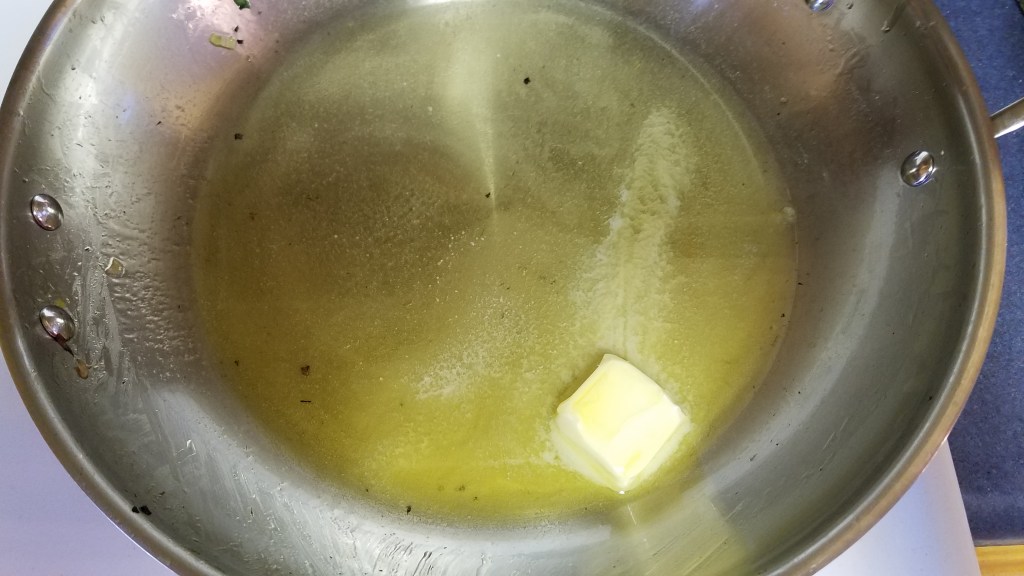
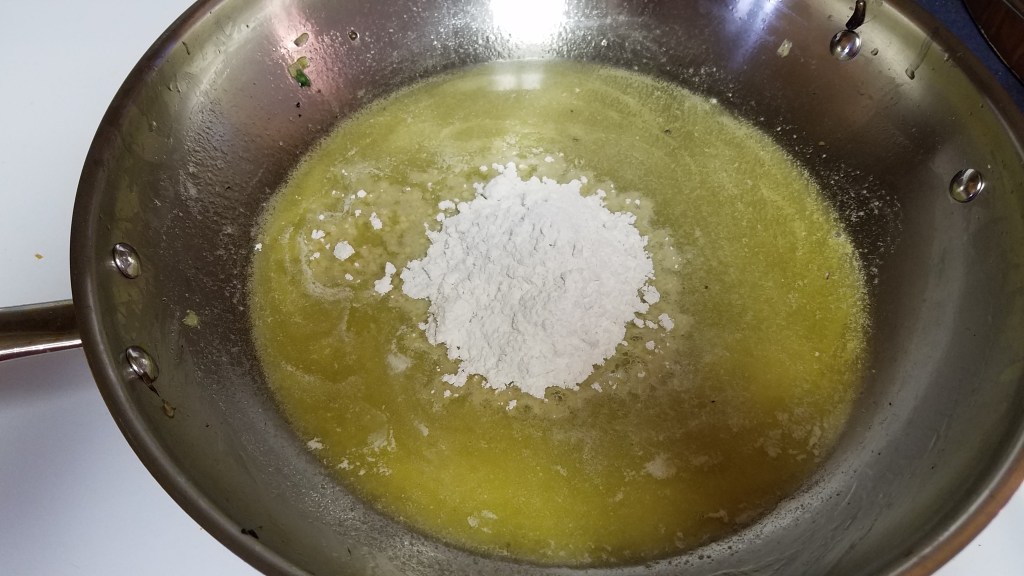
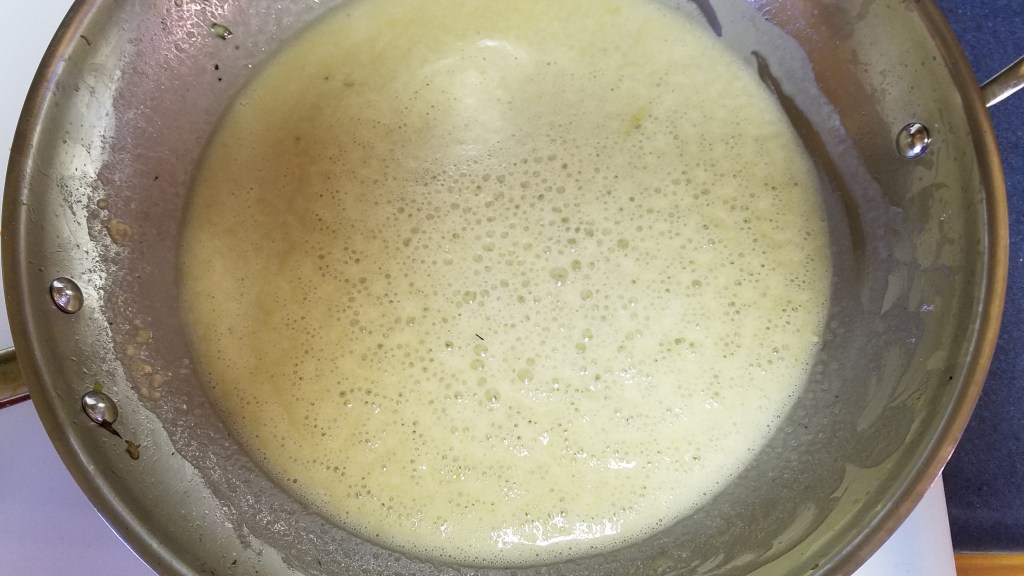
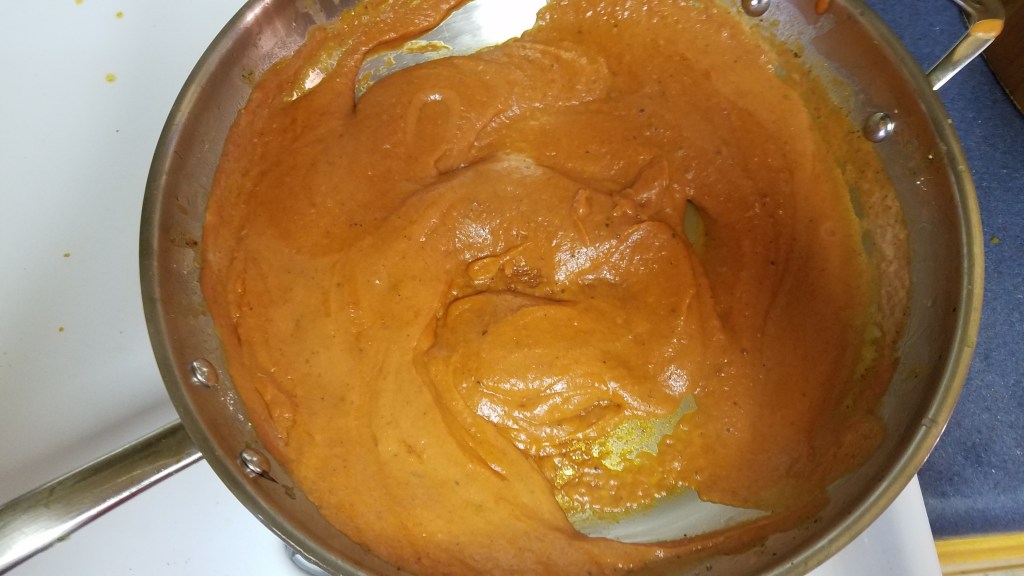
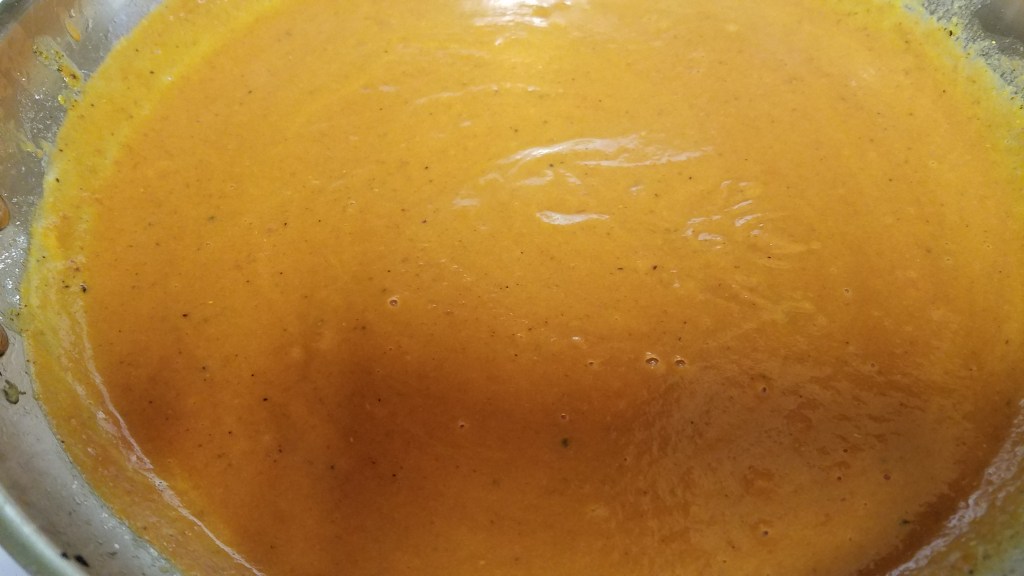
Add 2 tablespoons olive oil and 2 tablespoons butter. Add the flour and whisk to make a roux. Add cumin, chili powder, oregano, salt and pepper and stir to incorporate. Add one half of the vegetable stock, (16 ounces) and tomato paste and whisk to thicken. Add the half-and-half and whisk to mix. Simmer on low heat to allow the sauce thicken. Thin the sauce with the remaining 16 ounces of vegetable stock. Simmer on low while the enchiladas are assembled.
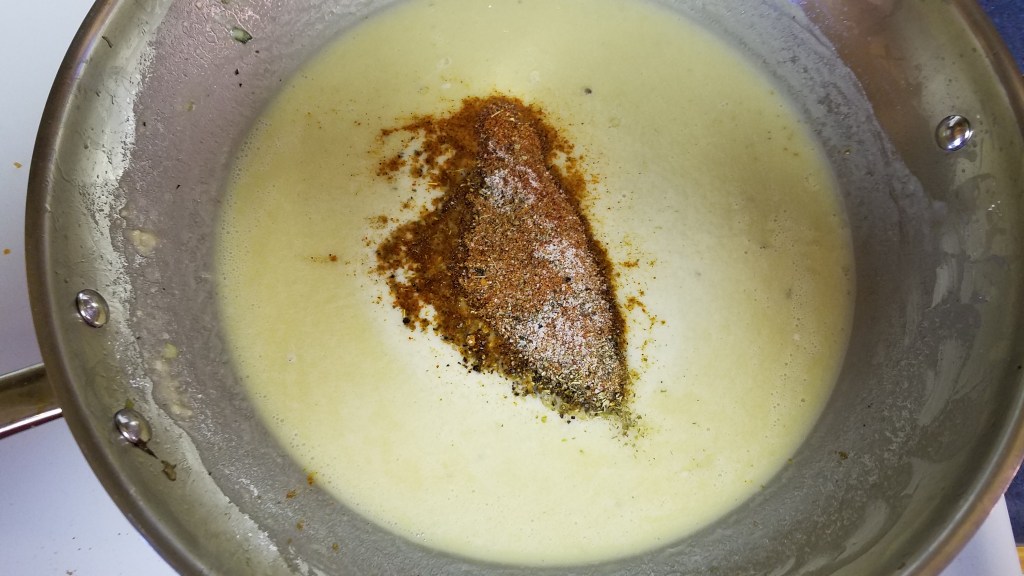
Start roux by adding butter
Add flour and whisk
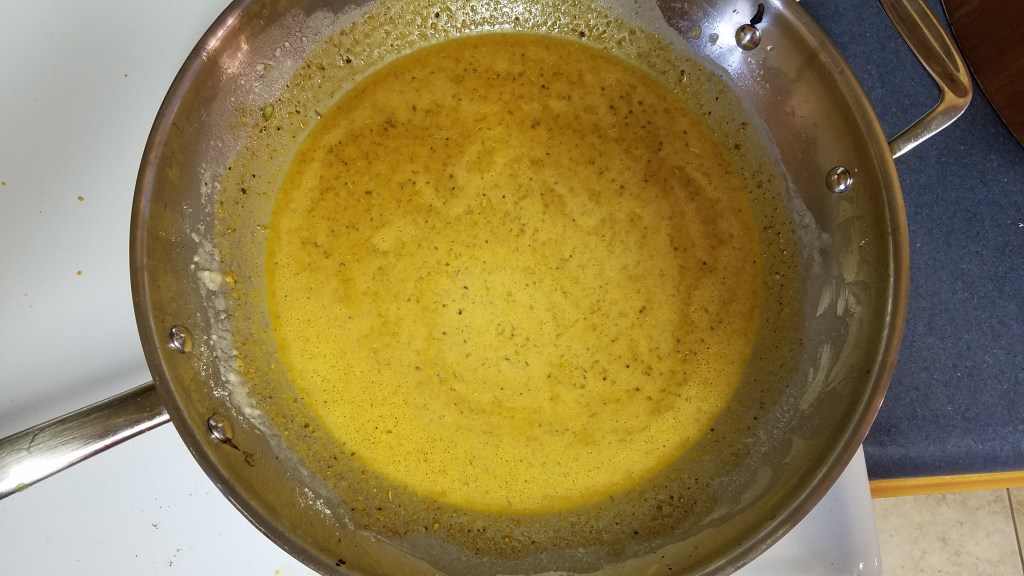
Heat the roux until flour dissolves
Add spices and whisk
Simmer roux
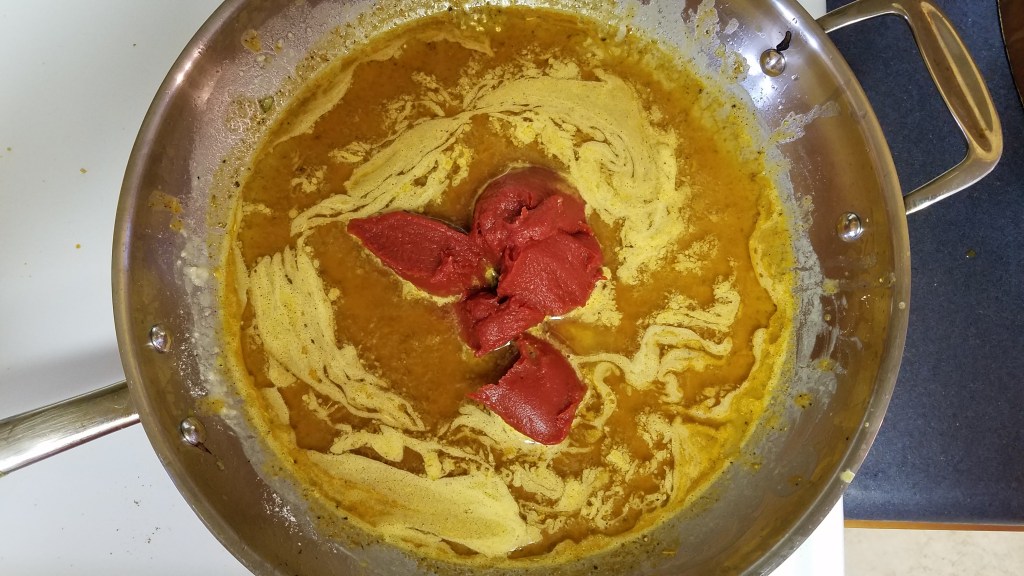
Add vegetable stock and tomato paste
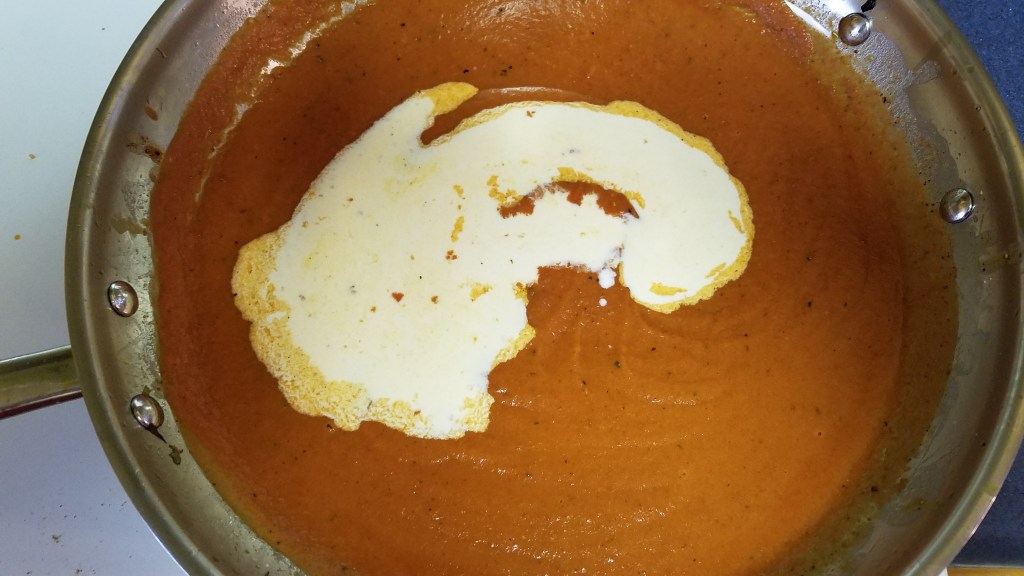
Add the half-and-half.Sauce will become very thick after adding half-and-half.
Add remaining vegetable stock to thin the sauce.
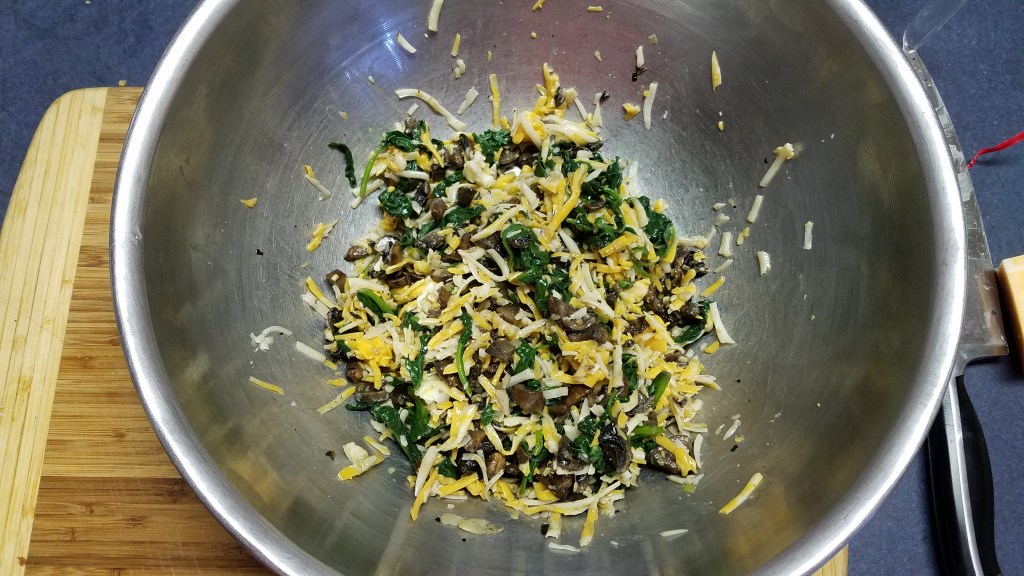
In a large mixing bowl, combine the mozzarella and cheddar
cheese and 4 ounces of the Colby-Jack cheese.
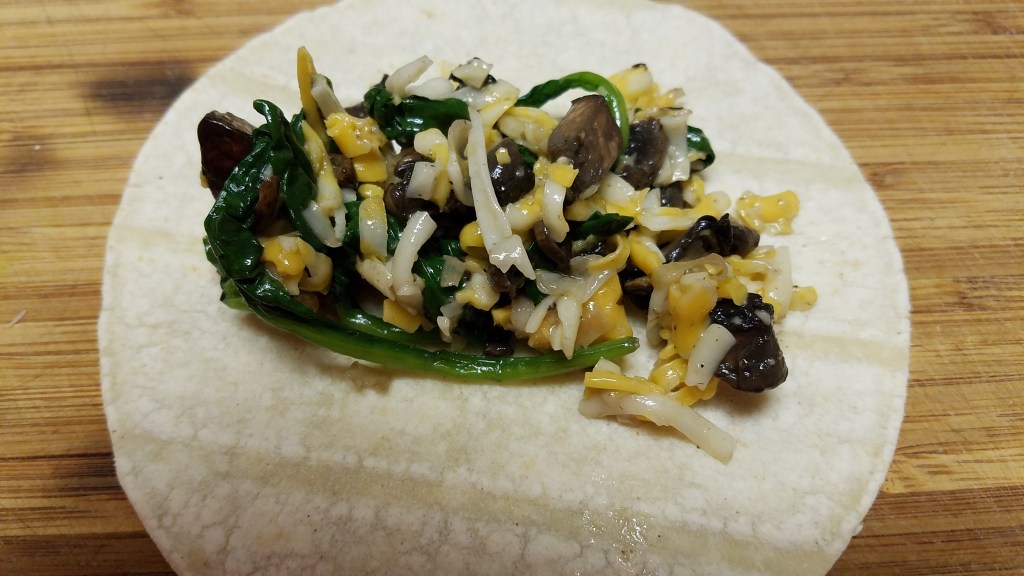
Add the chopped middle sections of the green onions. Add the cooked spinach and mushrooms. Mix thoroughly.
Soften the tortillas in a microwave or wrap in foil and warm
them in a conventional oven.
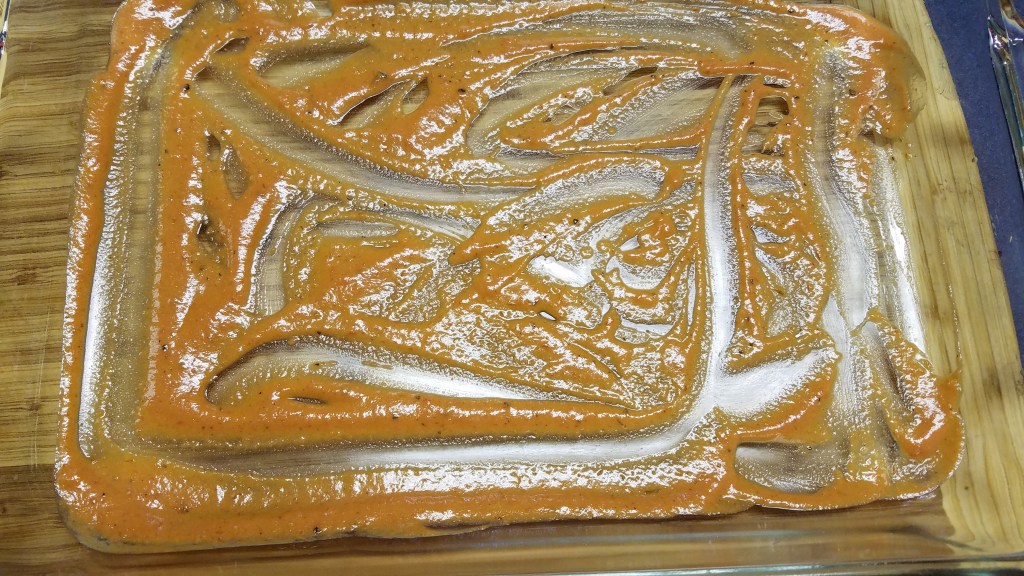
Adding sauce to the pan keeps the enchiladas from burning
Add ½ cup of the enchilada sauce to the bottom of a large
casserole dish. Spread the sauce to
cover the bottom of the dish.
Assemble the
enchiladas:
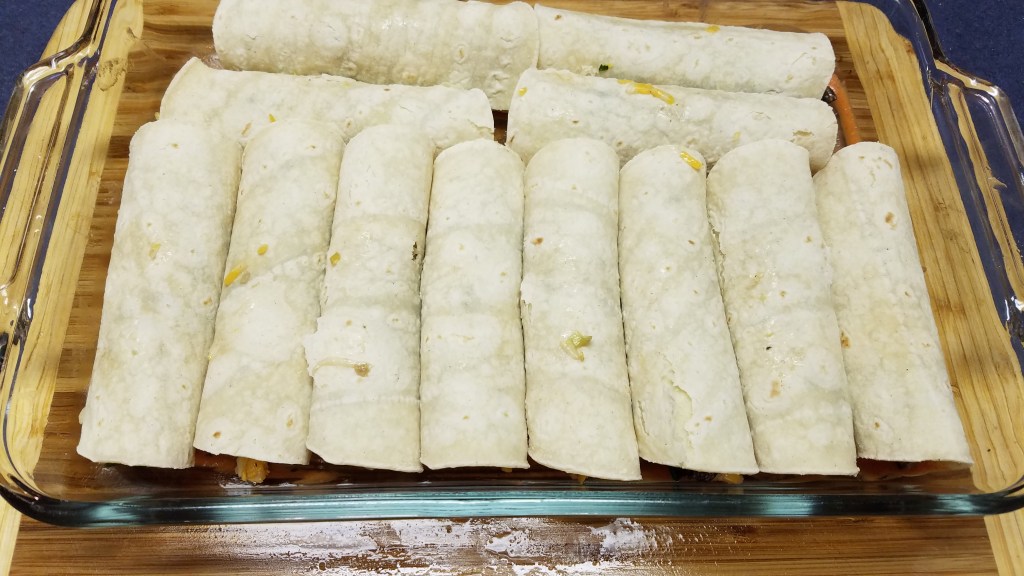
Lay a tortilla on a clean work surface. Add about 1/3 cup of the filling to each
tortilla. Roll and place in baking dish.
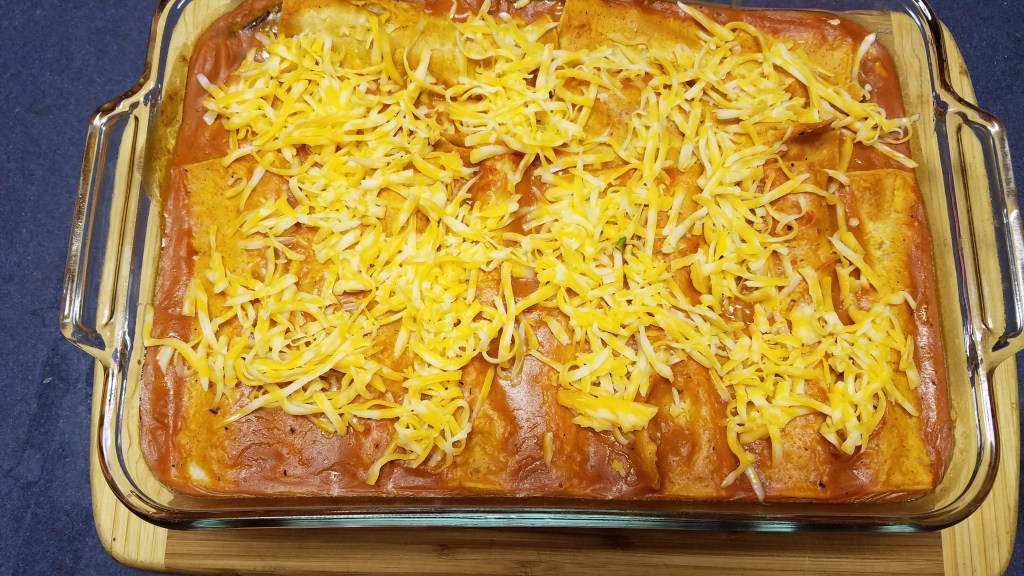
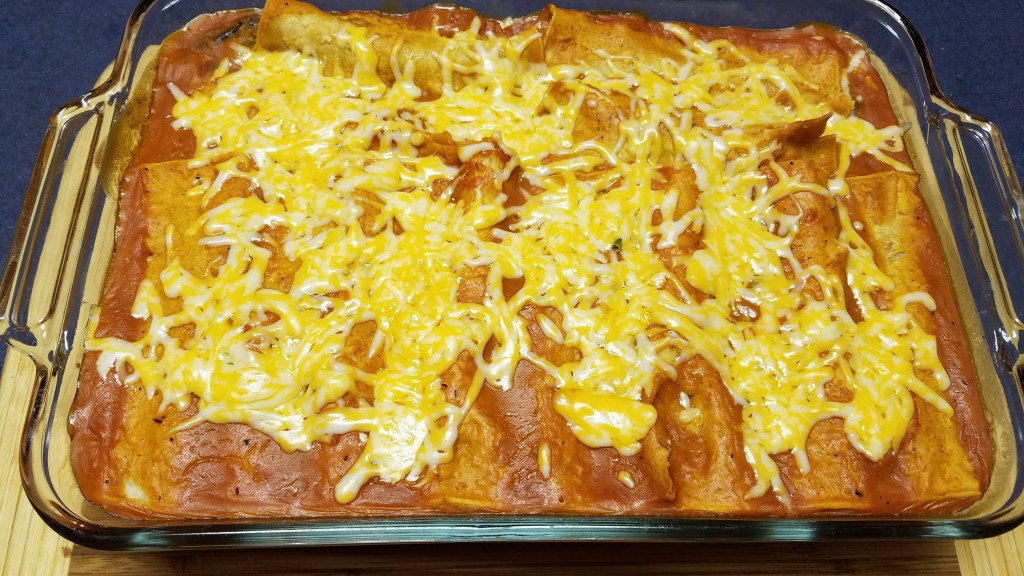
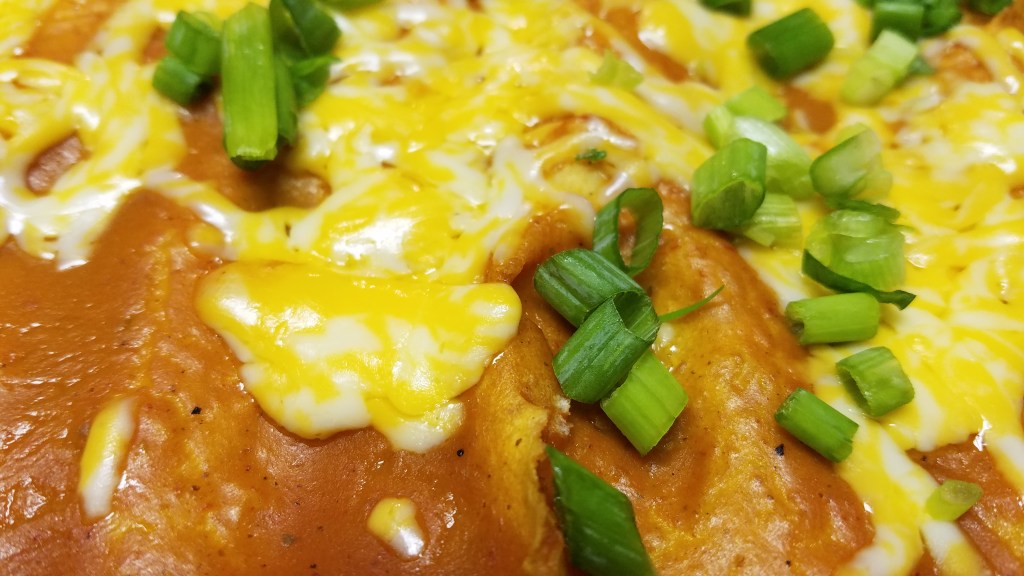
Once all of the enchiladas are in the casserole dish, pour the sauce over the enchiladas and scatter 4 ounces of shredded Colby-Jack cheese on top. Bake at 350° for 30 minutes. Top with chopped green onion tips and cilantro
My cousin recently introduced me to peri-peri. She understands my passion for chilis and all
things spicy and, when she shipped three bottles of peri-peri sauce to me, I
was elated. As I opened the box, a
heavenly aroma of chilis filled the air and as I began to unwrap the contents,
I realized that two of the bottles had broken during shipping. Oh, the horror!
I salvaged the one unbroken bottle and said a solemn prayer
for the two noble souls that didn’t make it.
Peri-peri is a cultivated chili from Portugal. It’s originally an African chili, from Mozambique,
to be exact. “Pillpill” is Swahili for
“pepper”. It is a very spicy red chili. Portuguese
explorers came across peri-peri way back when Portugal was in their exploratory
heyday. The peri-peri chilis were
brought back to Portugal where they were cultivated through selective
breeding.
Since I had never heard of peri-peri, I did what anyone else
living in the 21st century would do…I ran to my computer and searched
the internet for peri-peri. Most of the
results showed recipes for peri-peri Chicken, which was naturally a Portuguese
concoction. Most recipes called for
about 4 ounces of peri-peri sauce which was just about what my lone- surviving,
stalwart bottle contained.
I discovered that the key to this dish relies more on how the
chicken is prepared, rather than the type of chilis that are used. In fact, you can omit the chilis entirely and
still have a great meal! I have to say
that I recommend using some amount of chilis because they add a wonderful
flavor and the act of roasting takes away much of their heat.
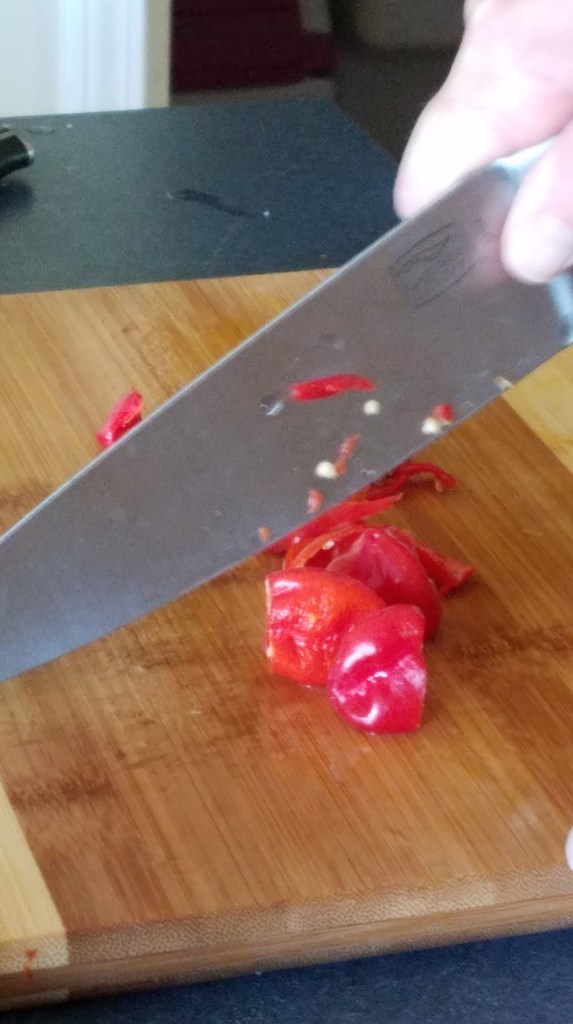
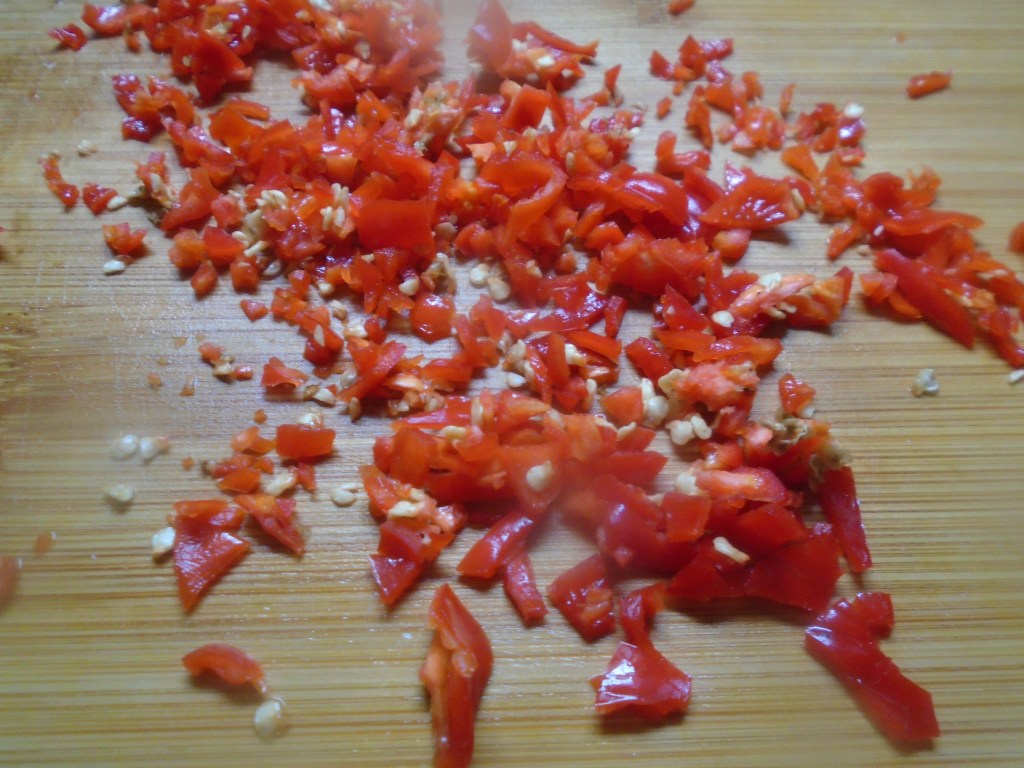
I didn’t have peri-peri sauce on hand this time but I did have lots of red-ripe habanero chilis from my garden that were just waiting for an opportunity to shine.
Chop one-handed!
Don’t touch the habaneros!
I also included things like Italian dressing and Tajin seasoning, for the marinade. The substitutions and additions that I used didn’t take anything away from the quality of the finished product because I stayed true to the spirit of the dish. I grilled the chicken over hot coals. That is the key.
Ingredients:
1 whole fryer chicken
Dry rub:
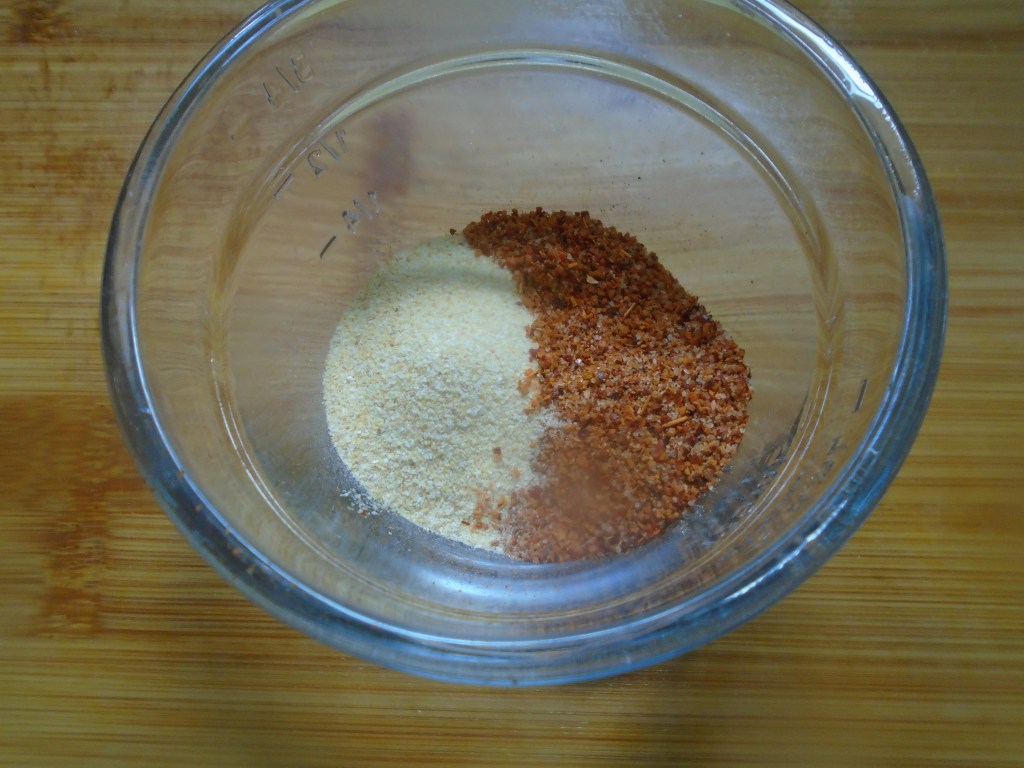
2 Tbs Tajin seasoning
2 Tbs garlic powder
Marinade:
1 ½ cups Italian dressing
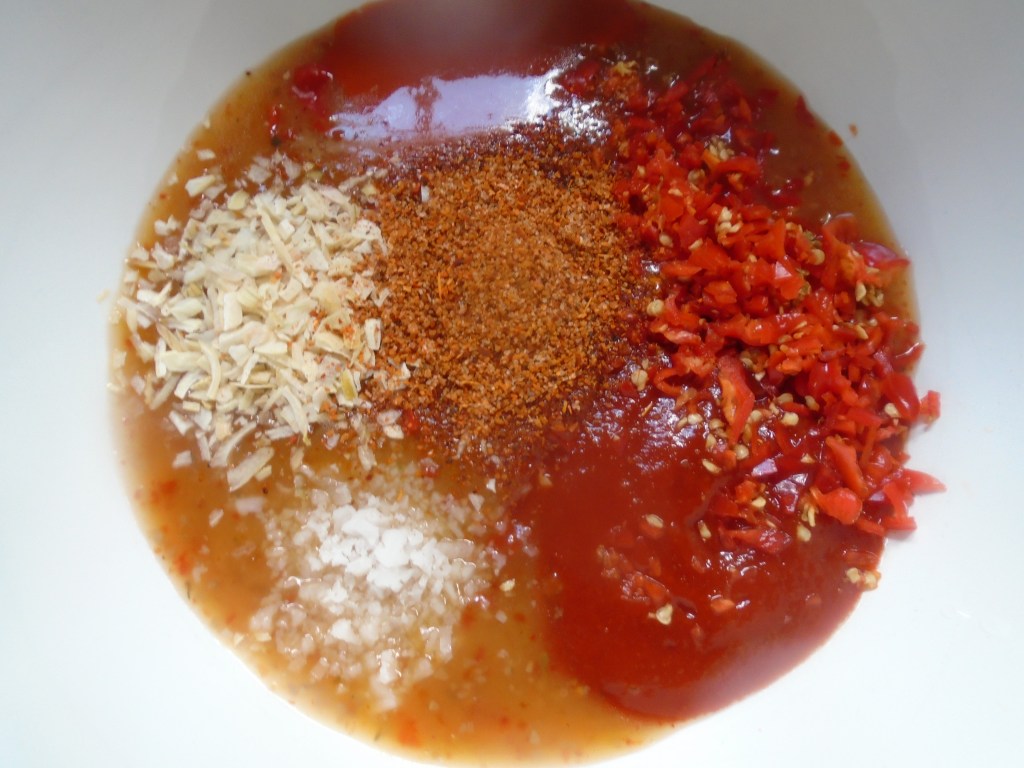
5 habanero chilis, chopped
2 Tbs Tajin seasoning
2 Tbs sriracha sauce
2 Tbs dried onion flakes
1 tsp coarse salt
1 Tbs hot sauce
Glaze:
1 ½ cups marinade
2 tablespoons butter
Juice of 1 lemon
Preparation:
For the rub:
Combine the Tajin seasoning and garlic powder.
For the marinade:
Combine marinade ingredients in a large mixing bowl.
Prepare the chicken:
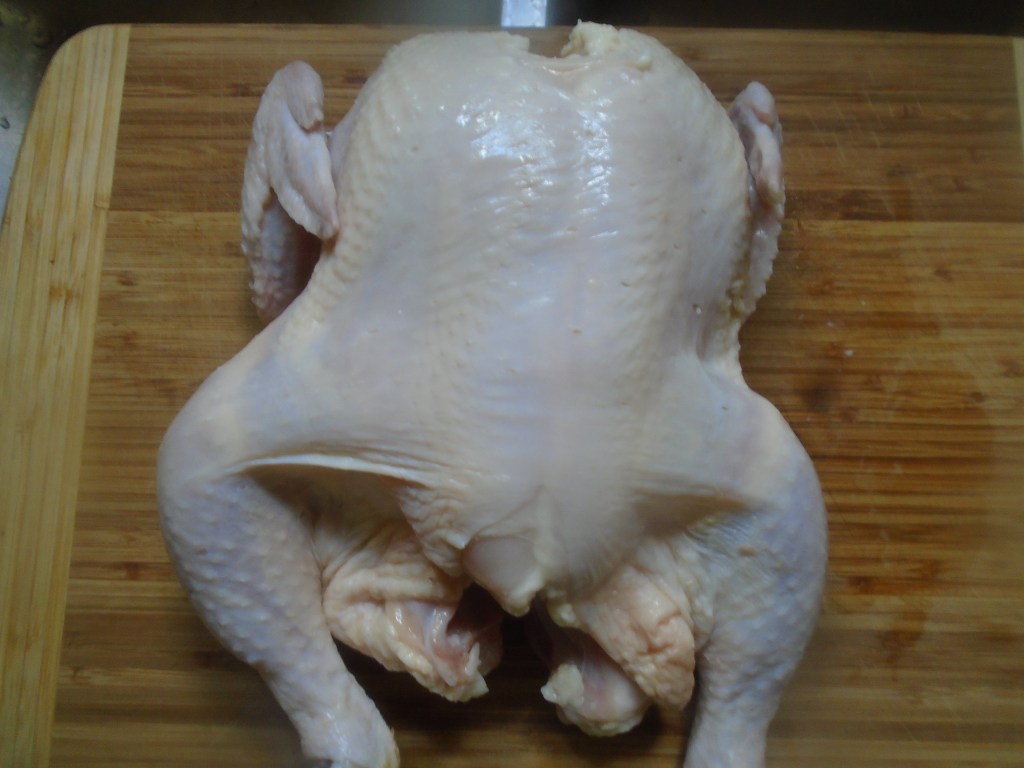
Inspect the cavity of the chicken and remove the neck and
packet of organs, if they are included. Wash
and rinse the chicken. Using kitchen
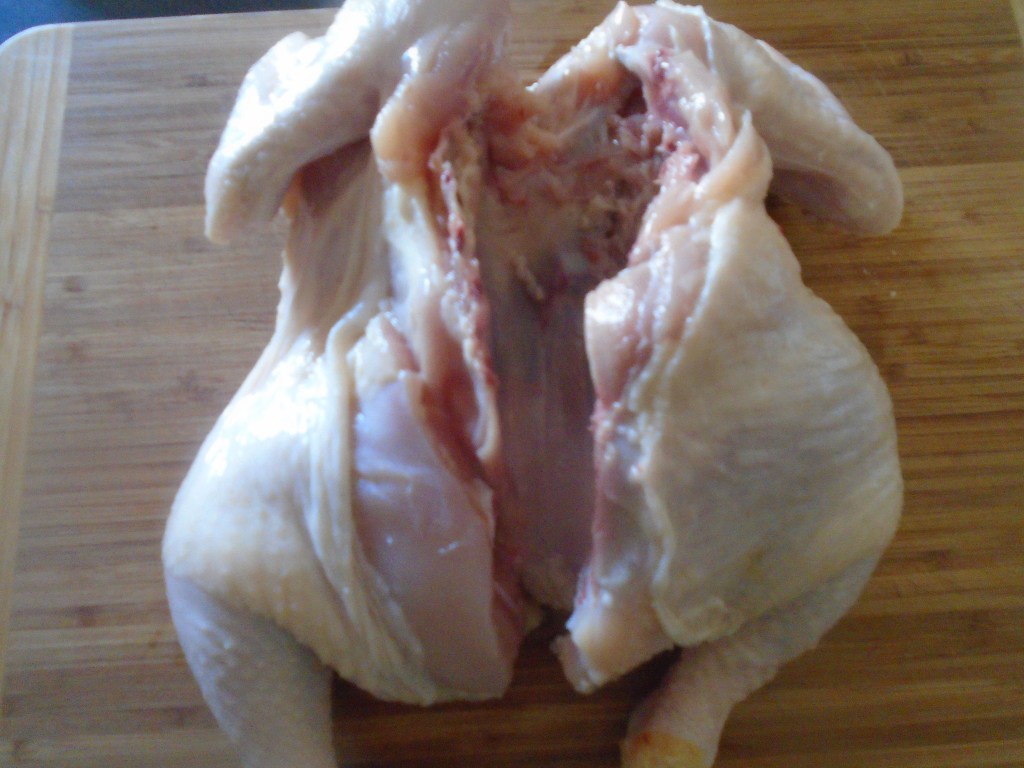
shears, remove the backbone. This is
actually fairly easy to do but it requires a strong grip on the scissors. Feel along the backbone to determine where to
cut. Cut along both sides of the
backbone. Remove the backbone and use it
for chicken stock or, if nobody is looking, discretely discard it and suffer
some guilt later. Same goes with the neck and organs…great for other uses but I promise I
won’t tell on you if you discard them.
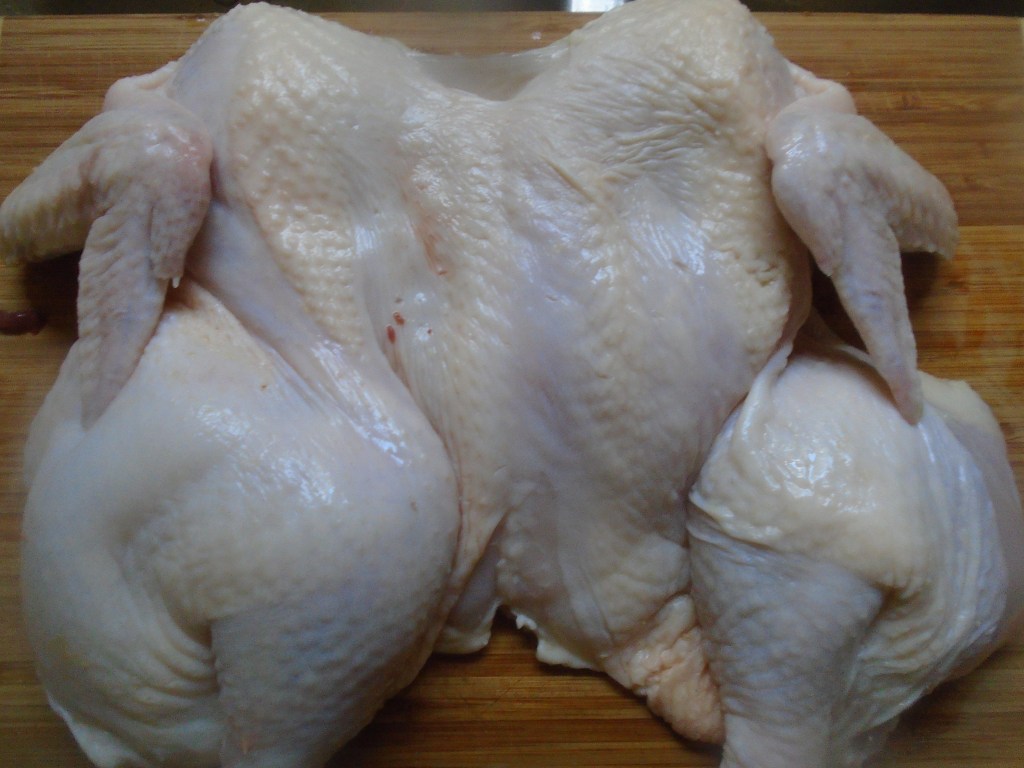
Turn the chicken over on a cutting board so that the breast faces upward.
Double your fists as if you were going to perform the Heimlich maneuver on someone. Press down forcefully between the breasts until the cartilage gives way. Don’t hold back! Lock your elbows and push down with extreme force! (Just think of it as chicken therapy). If you lack the strength to perform this act, that’s ok. Just score the breast meat along the sides of the breast bone and try again. Work your way up and down the middle of the breast with your fist until the cartilage yields and you are left with a flattened chicken.
Apply the rub:
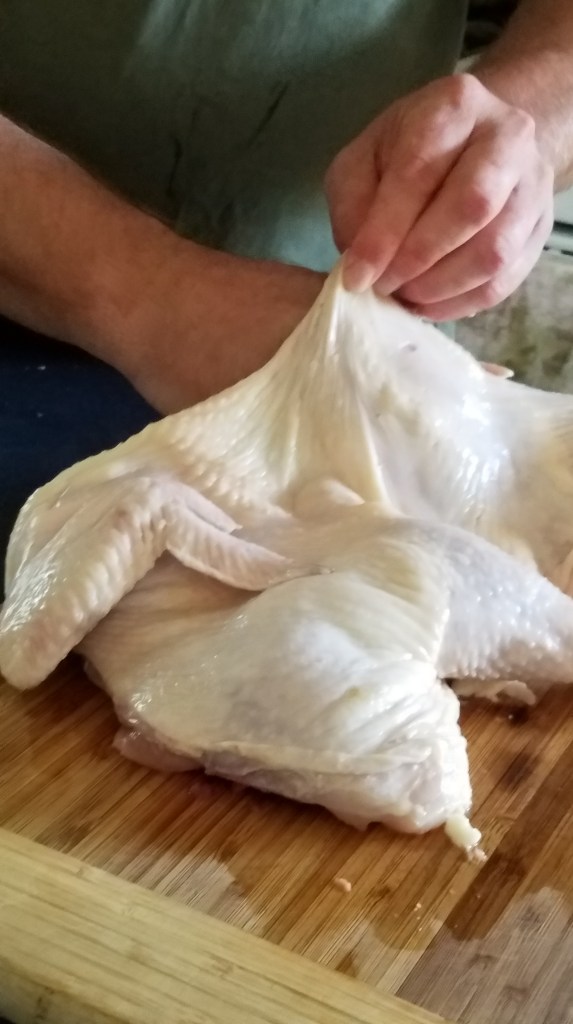
Carefully create an opening between the skin of the chicken breasts and the breast meat. Use your fingers to create the opening and then slide your hand under the skin and continue sliding back to the thighs and leg. Do this gently, to avoid breaking the skin. Once you have separated the skin from the meat, apply liberal amounts of the rub on the meat with your fingers
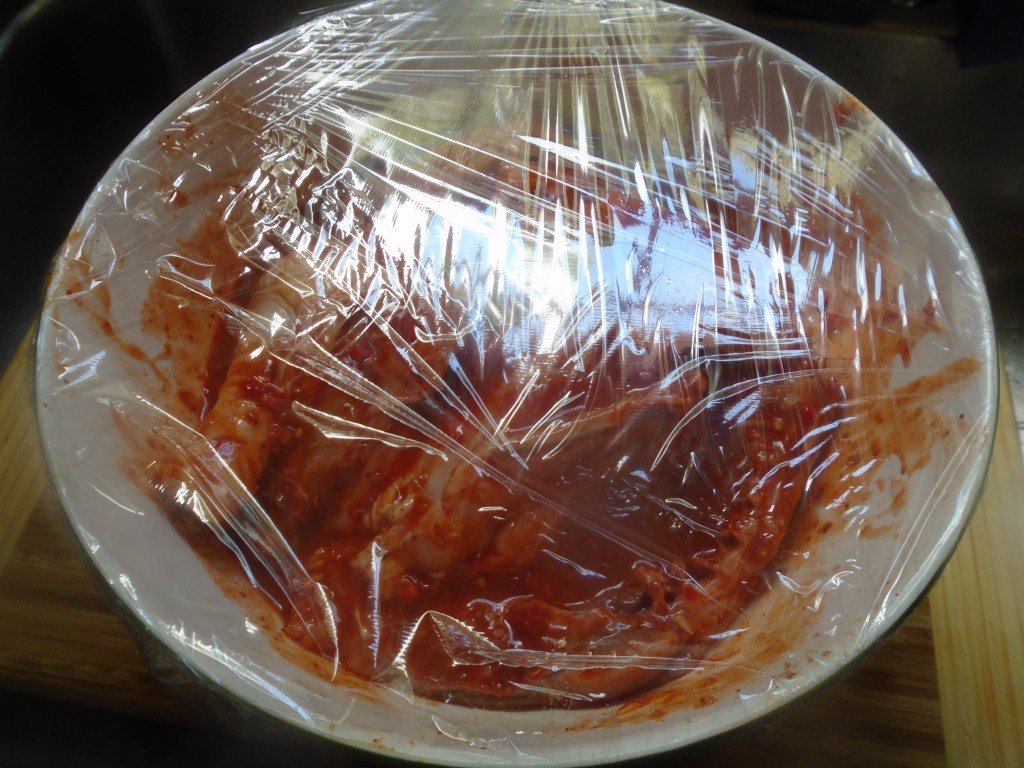
Take the chicken and dredge both sides in the bowl containing the marinade. Coat the chicken thoroughly and then cover
the bowl and refrigerate for at least 4 hours, or overnight.
Prepare the grill:
Heat some charcoal. I
filled one charcoal chimney with coals and the chicken was done in about 1 ½ hours. By the time the chicken was fully cooked, the
coals were nearly spent. If you want
more char on the chicken or if you want the chicken to cook faster, add more
coals and cook hotter. A word of advice: If you add too many hot coals you run the
risk of burning the chicken and the chicken might not cook evenly. I actually liked the way this cooked on the
grill. I never worried about burning the
chicken and the chicken came out nice and moist.
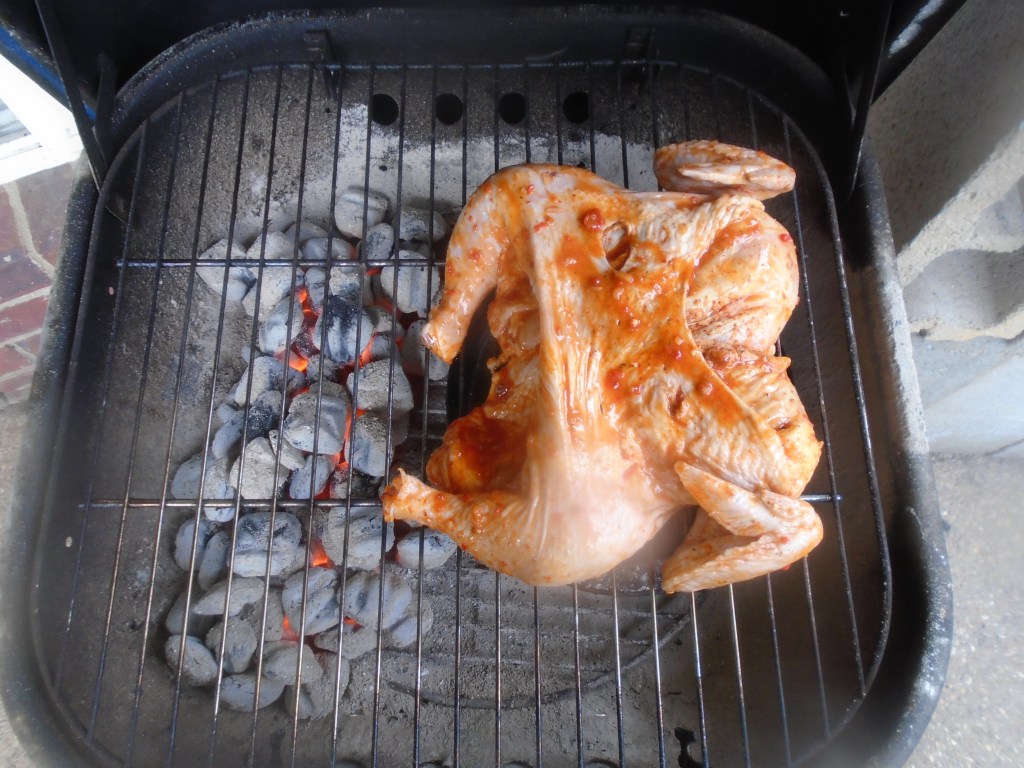
Use indirect heat when grilling the chicken. Add the hot coals to one side of the grill
and place a shallow pan on the other side, filled half-way with water…this
becomes a drip pan and it provides some moist air to keep the chicken from
drying out.
Remove the chicken from the marinade and let it warm to room
temperature. Reserve the marinade…it
will be used for the glaze.
Using two tongs, place the chicken on the grill, breast side up. Point the legs toward the side containing the coals. This will keep the breast from cooking too quickly and drying out. Additionally, this puts the bones of the chicken closest to the heat source, which will cause the bones to heat and cook the meat surrounding them. That’s a good thing.
Let the chicken cook for at least 30 minutes before considering turning the chicken over or repositioning it.
Check the chicken every 15 minutes or so. If the legs look like they are charring too
much, scoot the chicken away from the coals, otherwise, let it ride.
After the chicken has cooked for 45 minutes, press the chicken with a thumb or forefinger to check for doneness. If you are unsure about doneness, use a meat thermometer to check. If the thermometer reads 165° the chicken is safely cooked. If you want to turn the chicken over to crisp the other side, have at it. As I mentioned earlier, my coals were cooling at this point and I wasn’t worried about over cooking, so I turned the chicken and let the top side crisp a bit.
Remove the chicken and keep in a warm place.
For the glaze:
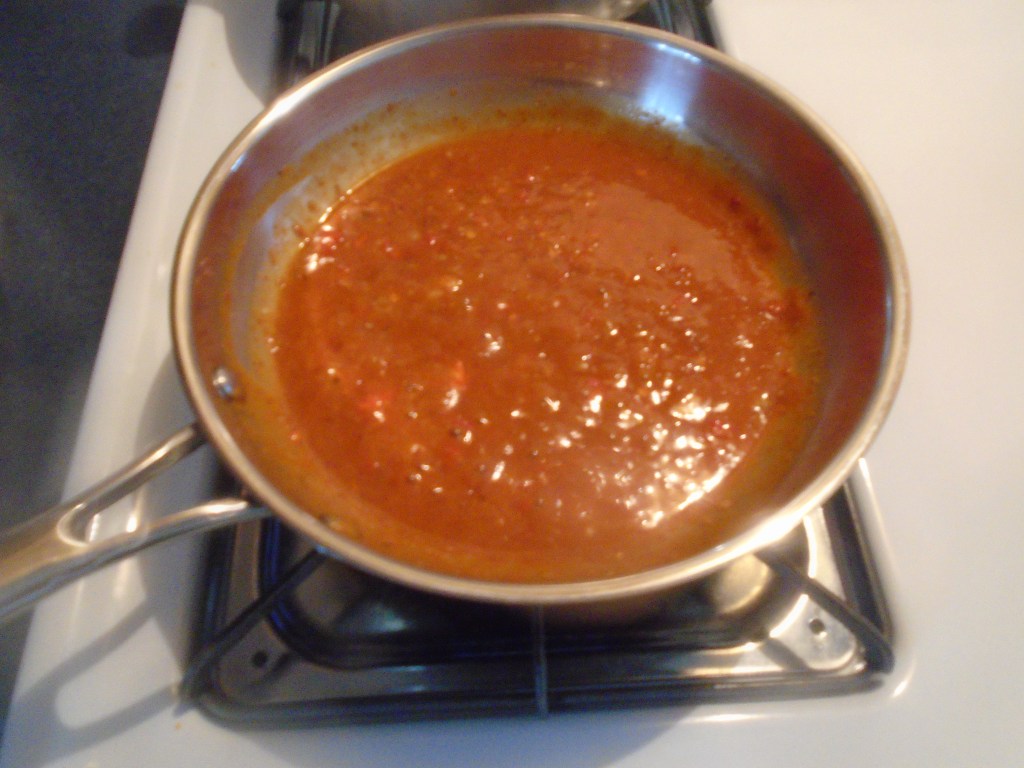
Pour the reserved marinade in a skillet. Heat to a boil and simmer for about 5 more minutes. Contrary to popular belief, a chicken marinade can be used for a sauce but it must be boiled first. Do not use the marinade to baste the chicken…that’s where you run into the risk of bacteria infecting your food. Add the butter and lemon juice to the sauce and simmer for a few more minutes, or until the butter has melted.
Drizzle the glaze over the chicken and serve warm with rice
and vegetables.
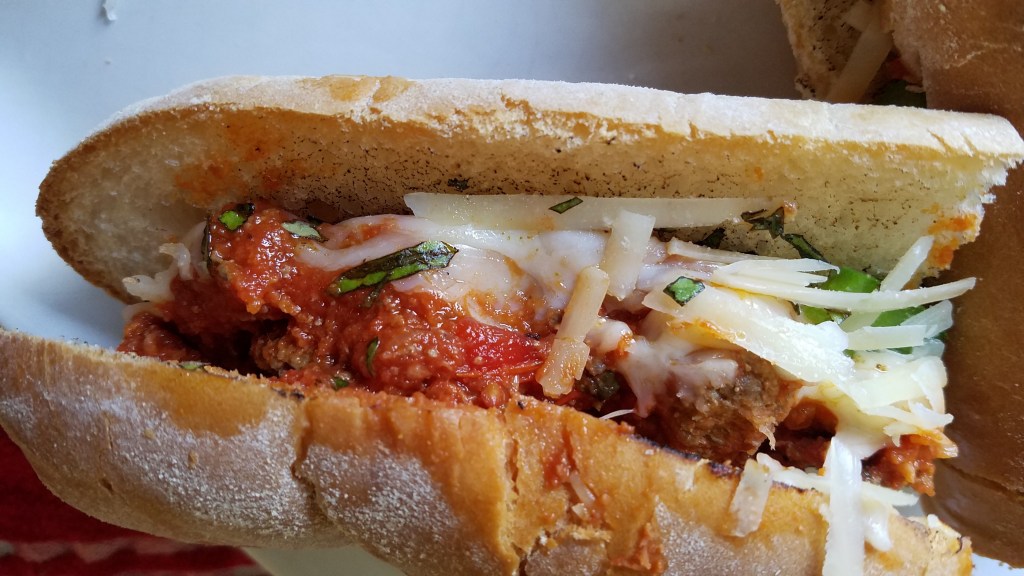
When I make spaghetti and meat balls I almost always make extra
sauce and meatballs. I sometimes use the
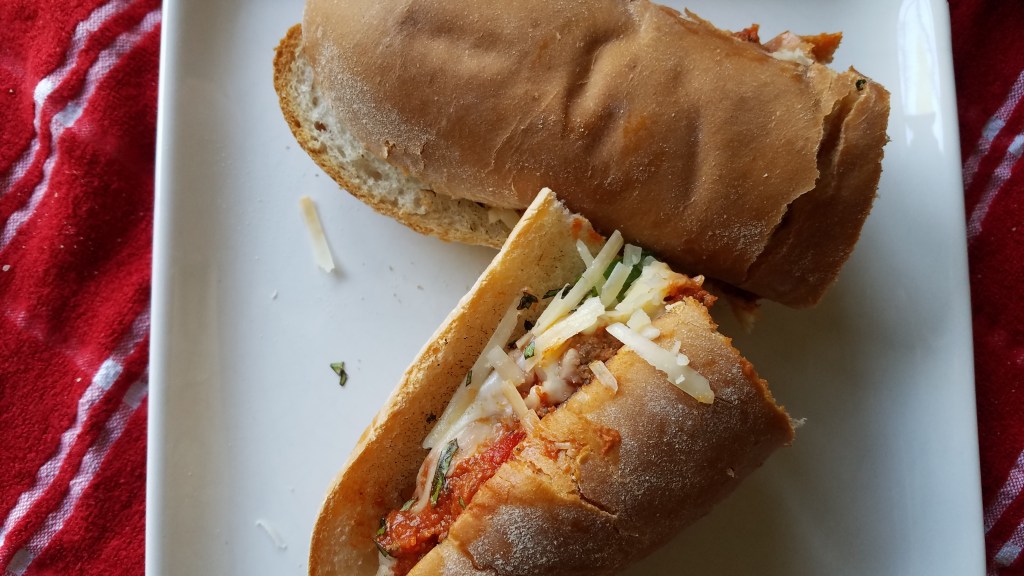
extra sauce to make meatball sub sandwiches.
Ingredients:
2 cups of cooked meatballs in marinara sauce
½ cup dry Parmesan cheese
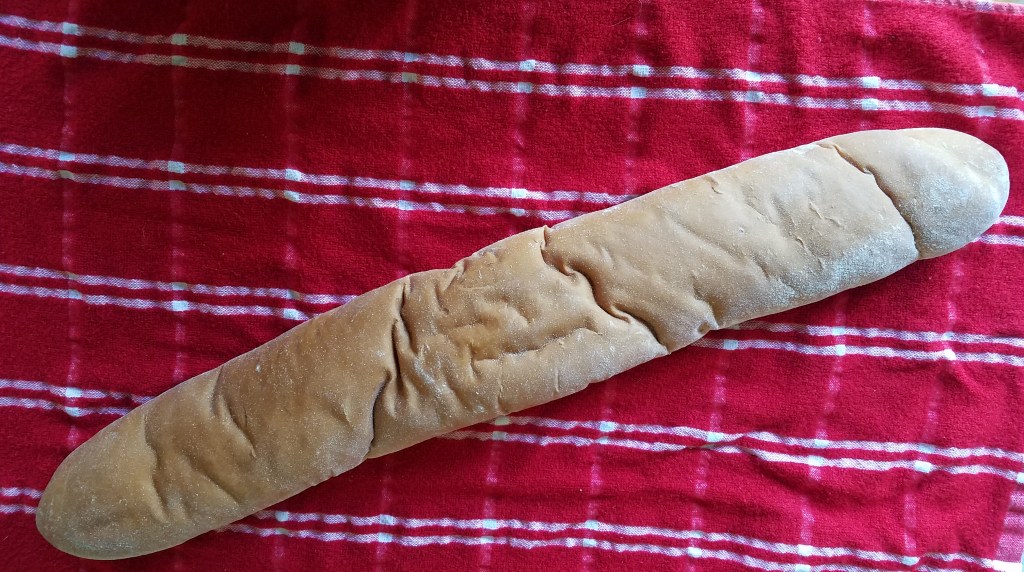
1 large New Orleans style Po’ Boy bread loaf (or any good
French loaf)
1 cup Mozzarella cheese, grated
½ cup fresh Parmesan cheese, grated
1 Tbs olive oil
1 clove of garlic, smashed
¼ bell pepper, sliced into ¼” strips
2 Tbs chopped fresh basil
Directions:
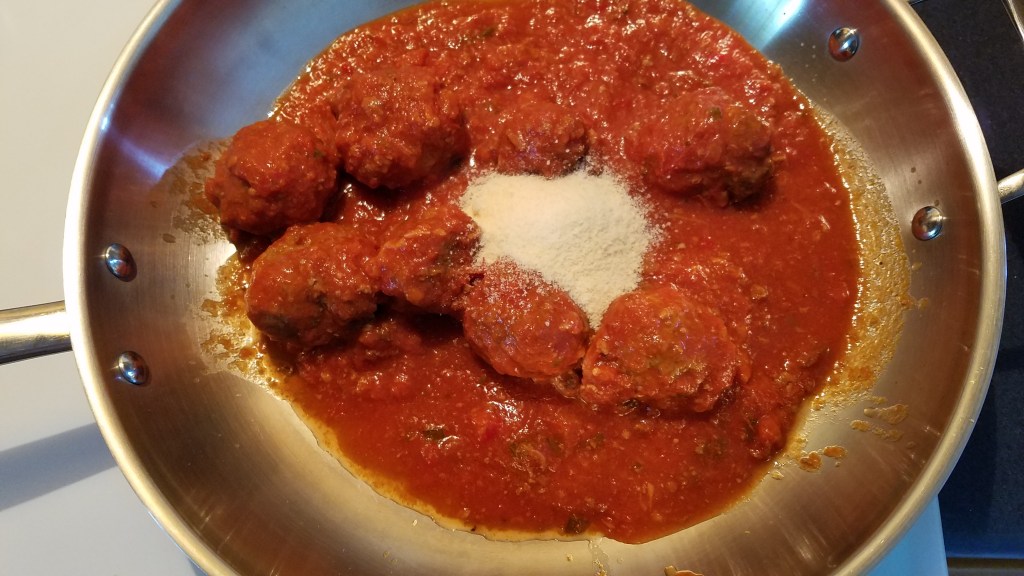
Warm the meatballs and marina is a skillet. Add the dry Parmesan and mix. Simmer over low heat for about 10 minutes.
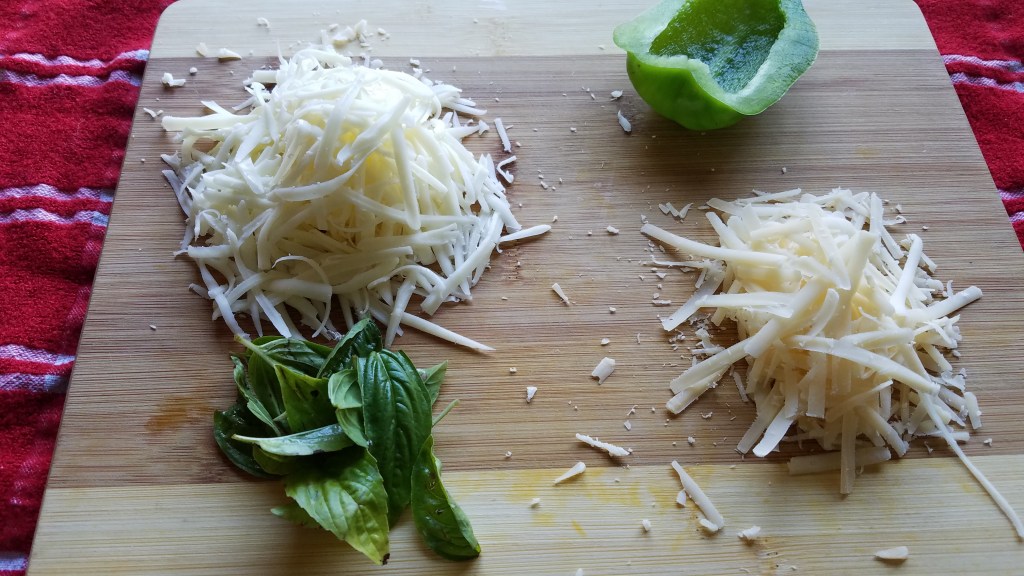
While the meatballs warm, grate the cheese and prepare the
garlic and bell pepper. Chop the
basil. Set aside.
In a small pan, add olive oil and garlic. Heat the pan on low/medium heat and then add
the bell pepper. Sauté for a few
minutes, until the peppers have softened.
Heat the oven broiler.
I used a 24” bread loaf, which made 4 subs.
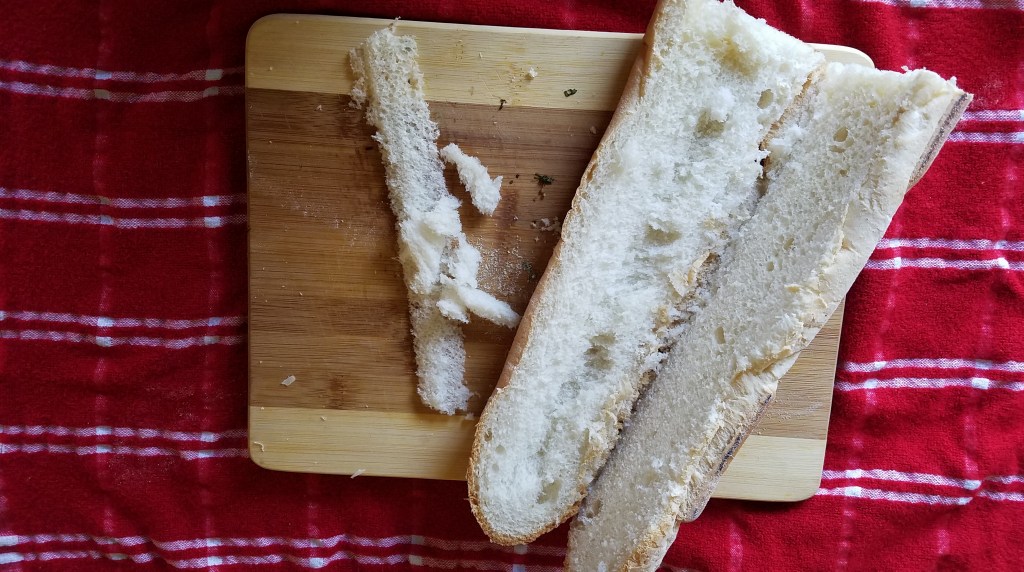
Slice the bread loaf but do not cut through all of the
way. Cut a “V” shaped trough in one of the lengths.
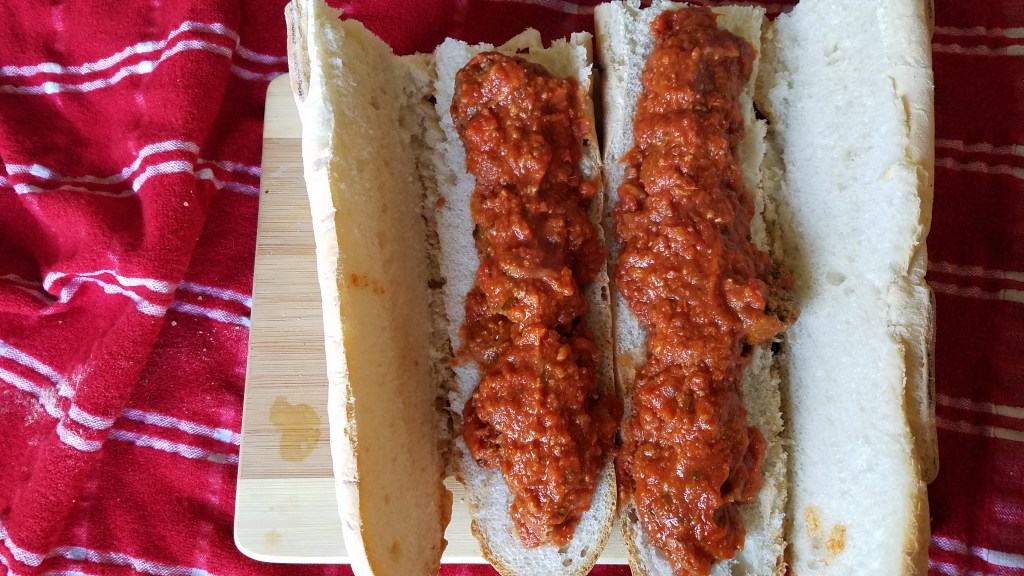
Add the meatballs and marinara to the trough in the bread
loaf.
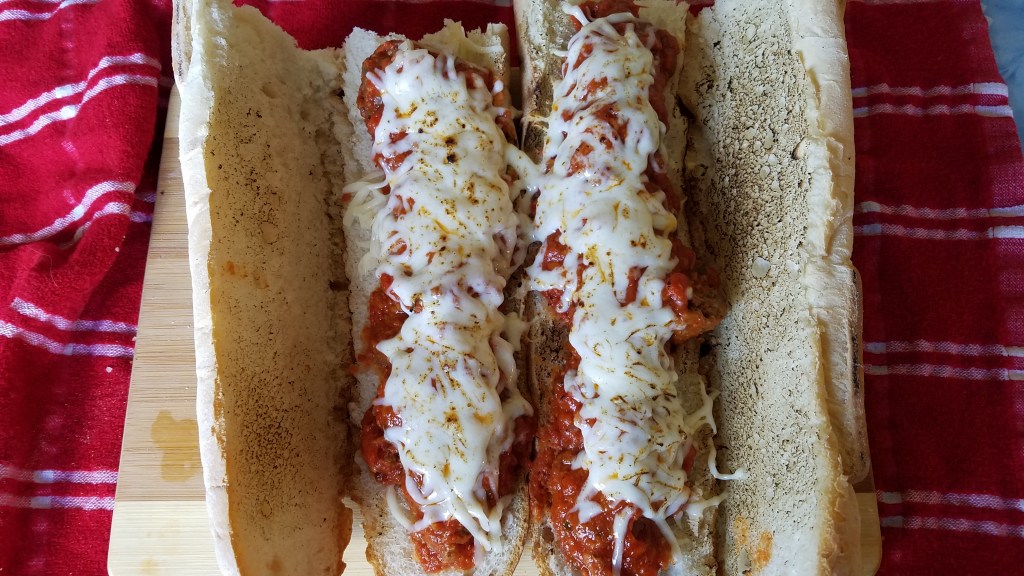
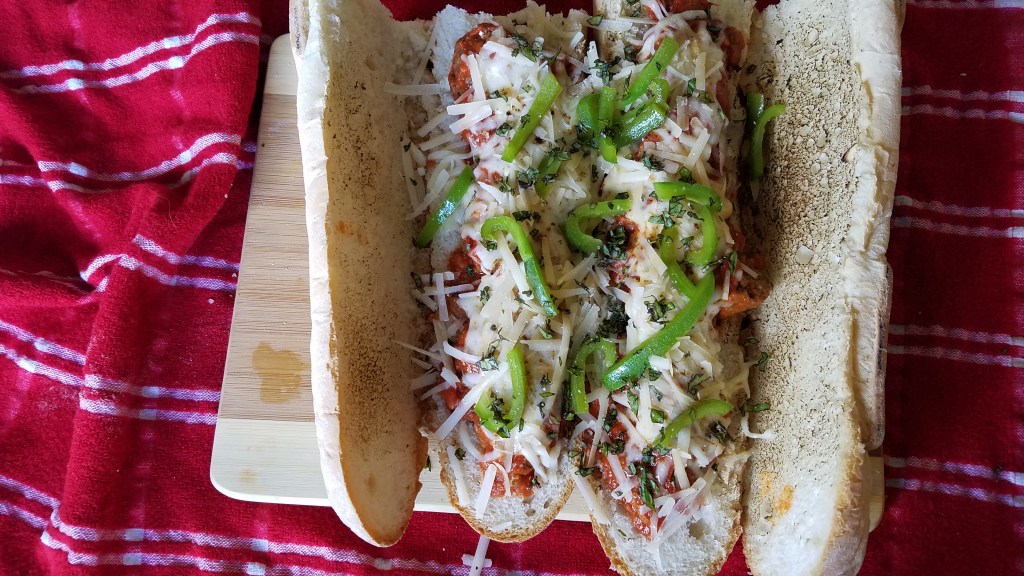
Add the mozzarella and Parmesan cheese. Put the subs under the oven broiler to melt
the cheese.
Remove the subs and layer with the bell pepper and a little more fresh Parmesan cheese and basil.


























 Toothpick Tales