Wings (over the Mid-South)

Well, it had to happen at some point.  I can’t hide the fact that I have become a “wing junkie”.  Spend enough time in the Mid-South and you are bound to get hooked on the darn things.  I never cooked chicken wings until I moved to the Mid-South area, nearly twenty years ago. 

For those of you who don’t know what I mean by “Mid-South”, let me try to explain…

The East Coast and West Coast need no explanation…just look at a map of the United States and it’s obvious.  The Northwest, Central Plains States make sense, too.  It gets a little difficult to define the Mid-West states because they include so many states that I would consider, The North and, it includes Ohio, which can hardly be considered “west”.  The Deep South covers a large swath of land from Virginia to Texas, which makes sense, even though Fort Worth, Texas claims the motto, “Where the West begins.”   The Southwest is plain enough…it’s all of those big states with deserts and mountains.
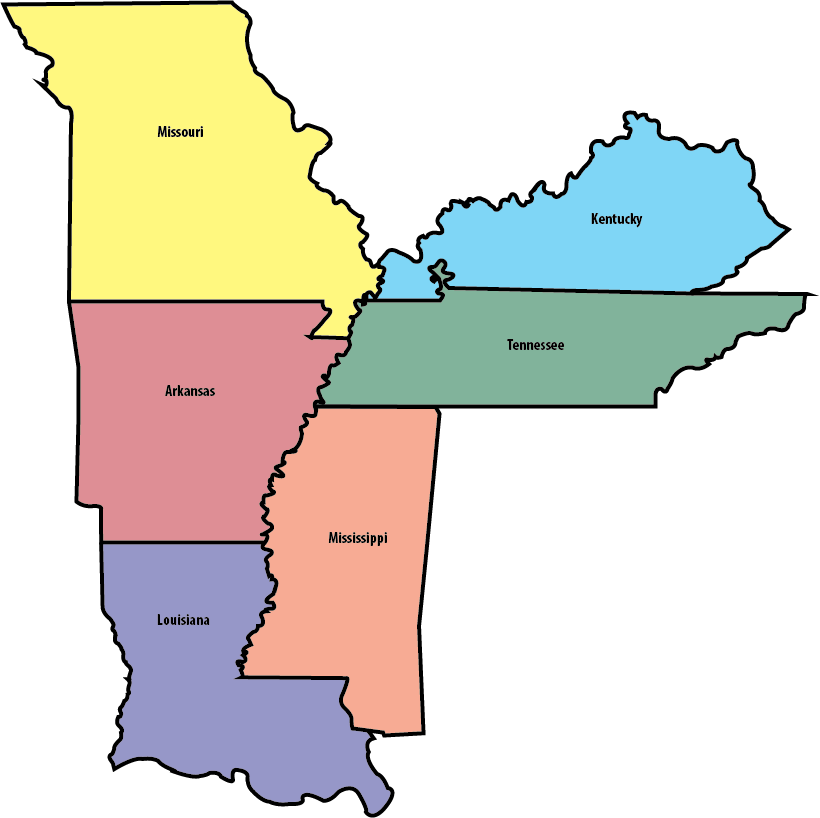
The Mid-South is all of the other states that don’t seem to fit in anywhere else, or maybe they are states that are actually parts of other geographically named areas but they’re just not happy about it.  According to the internet, and who am I to argue with the internet, the Mid-South includes Missouri, Kentucky, Tennessee, Arkansas, Louisiana and Mississippi, which is where I reside.

As I was mentioning, I never cooked chicken wings until I moved to the Mid-South.  If you look at the states that comprise the Mid-South you might think that barbecue is the main attraction, and you are probably right, but chicken wings aren’t far behind.  You can’t throw a rock around here without hitting a chicken wing joint.  I’ve come across some great wing restaurants and I’ve seen my fair share of so-so joints.  My criteria for a good chicken wing joint is crispy wings (preferably whole wings), good sauces, plenty of crisp vegetables and real blue cheese dressing.

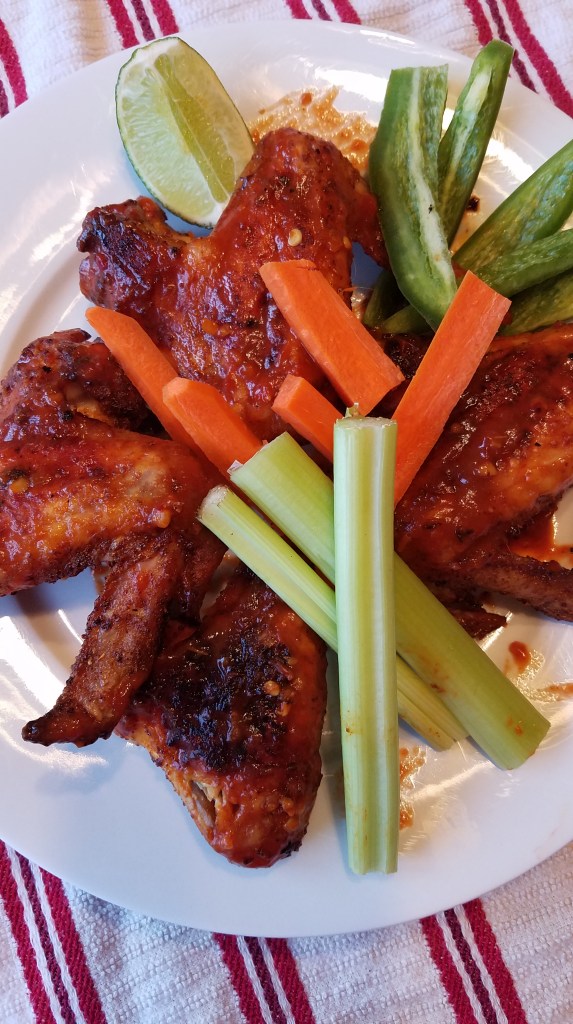
With that, I present tonight’s fare.  Buffalo Wings with honest-to-goodness blue cheese dressing and fresh vegetables.

Note:  Seasonings can be whatever you like.  I don’t know if I have ever made chicken wings the same way twice.  I prefer them very spicy, but that’s just me.  The spice I used on these may seem extreme but, as they bake, they lose some of the spiciness and just carry the flavor of the spices.

Ingredients:

10 whole chicken wings (or about 2 lbs)

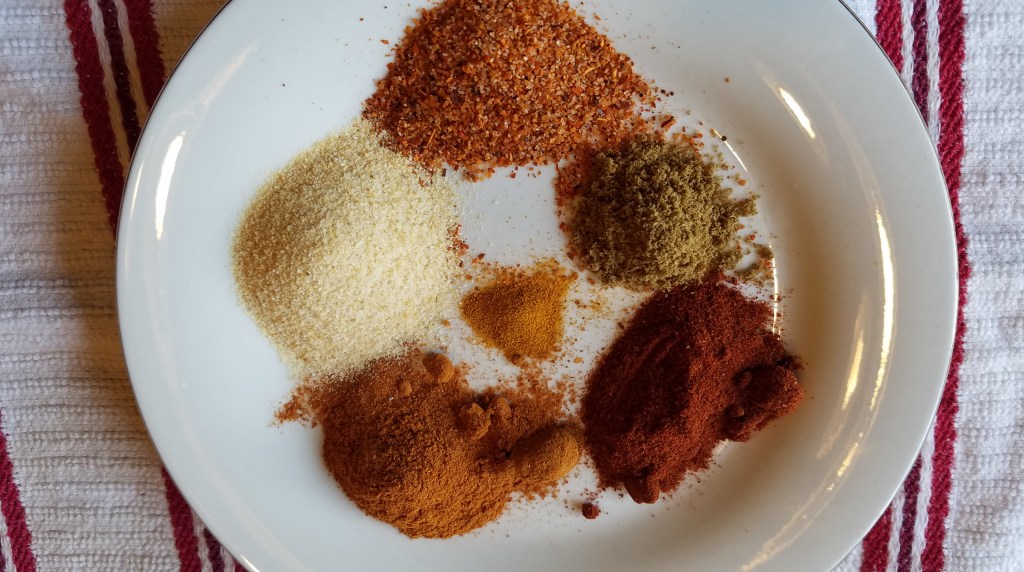
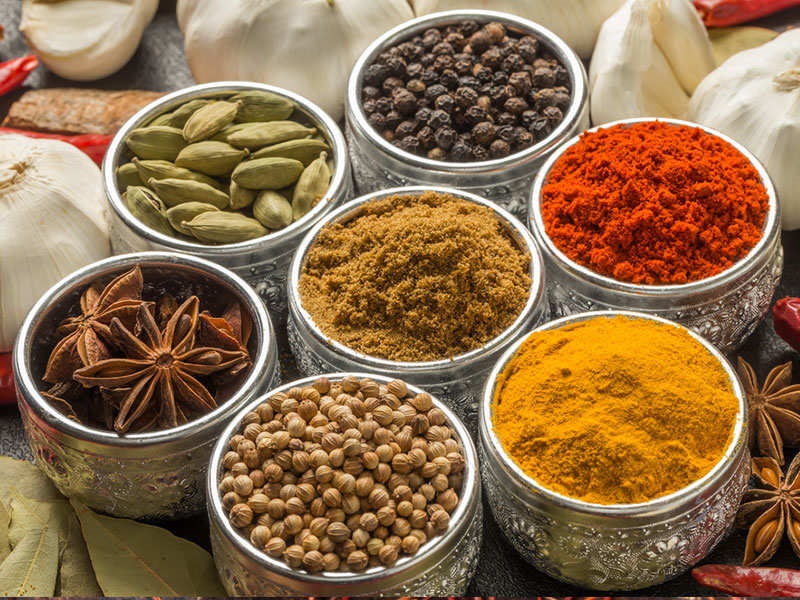
2 Tbs Tajin seasoning (contains flavors of chili, lime and sea salt)

2 Tbs smoked paprika

2 Tbs cayenne powder

2 Tbs garlic powder

1 Tbs cumin powder

1 tsp turmeric powder

For the blue cheese sauce:

8 oz crumbled blue cheese

1 cup mayonnaise

½ cup half-and-half

½ cup sour cream

1 Tbs Worcestershire sauce

1 Tbs lemon juice (or 1 tsp vinegar)

The fruit and vegetables:

3 ribs of celery (sliced into sticks)

2 large carrots (sliced into sticks)

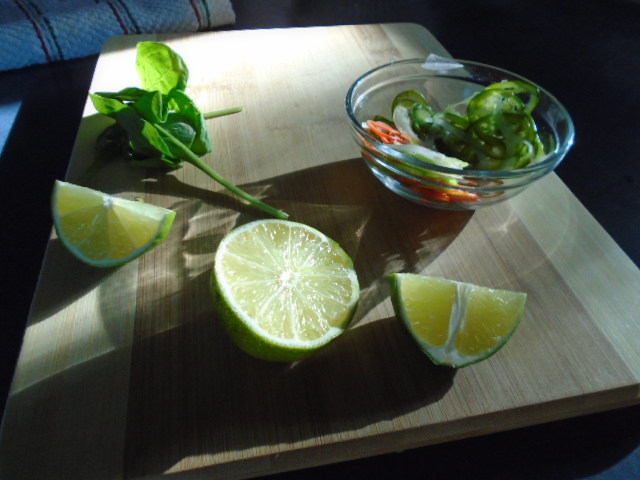
2 large jalapeños (sliced into sticks and seeded)

1 lime (quartered)

Directions:

Heat an oven to 400°.

Wash the chicken wings under cold water and allow them to air dry for 20 minutes.  The skin of the wing needs to dry before adding the spice rub.
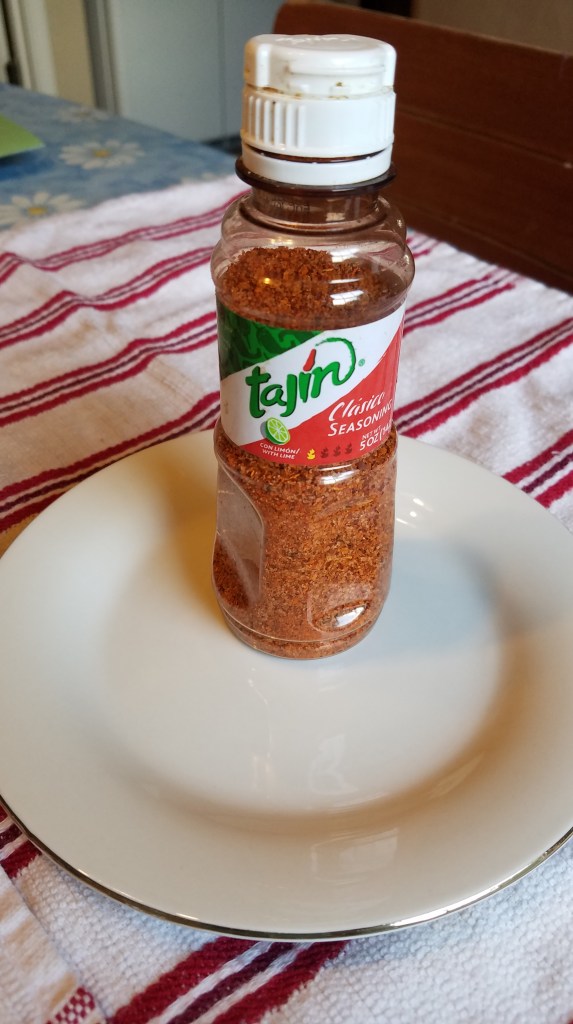
Tajin seasoning

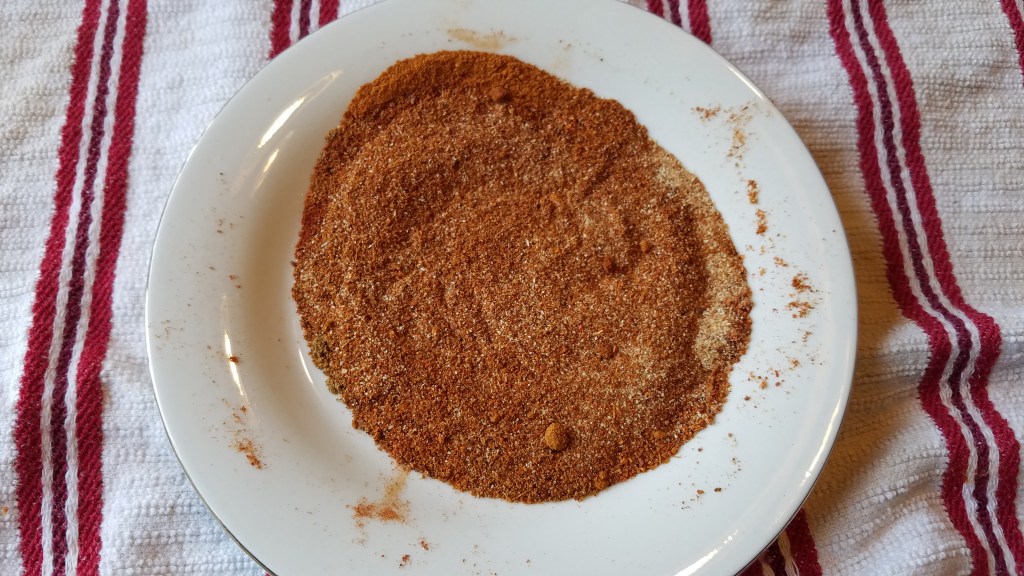
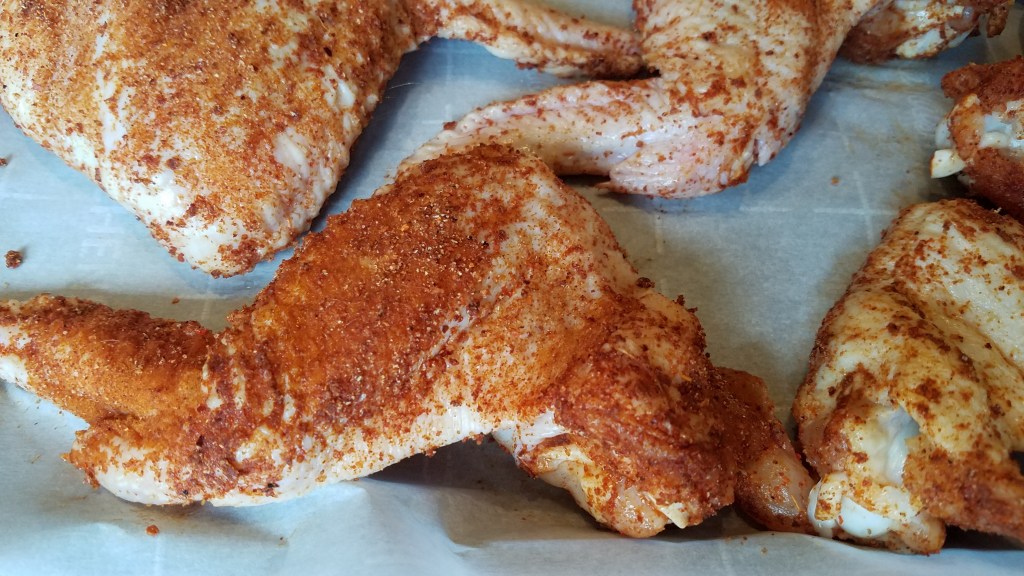
In a large mixing bowl, add the spices.  Toss the whole wings in the spice mixture.  Allow the wings to rest for about 10 minutes, to allow the rub to fully adhere.

Cover a baking tray with parchment paper.  Lay the wings on the pan and stretch them as wide as they can go.  Doing this will maximize the crispiness.
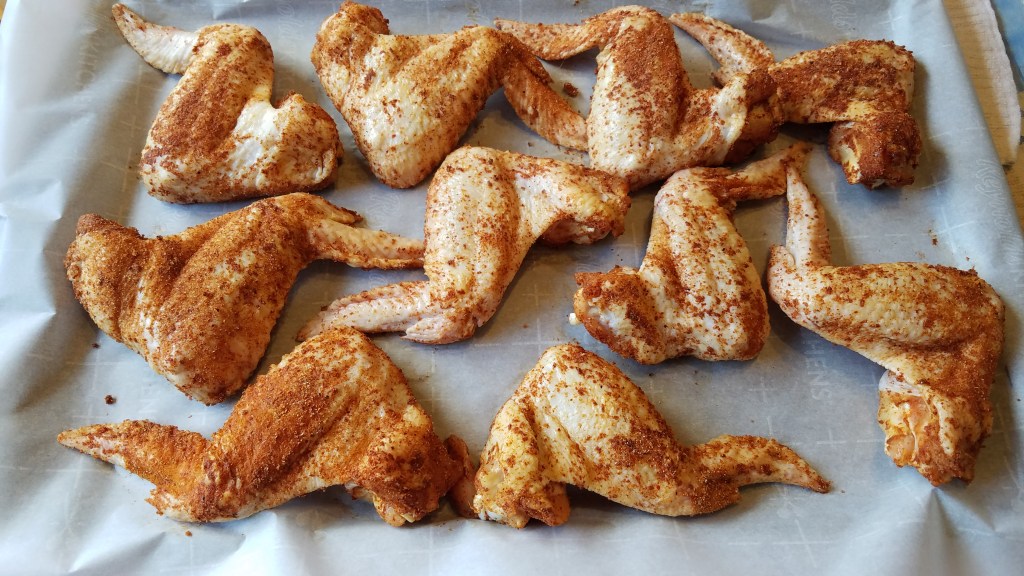
Bake for 45 minutes and then turn the wings over to bake on the other side.  Turn the oven down to 350° and bake for another 30 minutes. 

While the wings bake, make the sauce and prepare the vegetables.

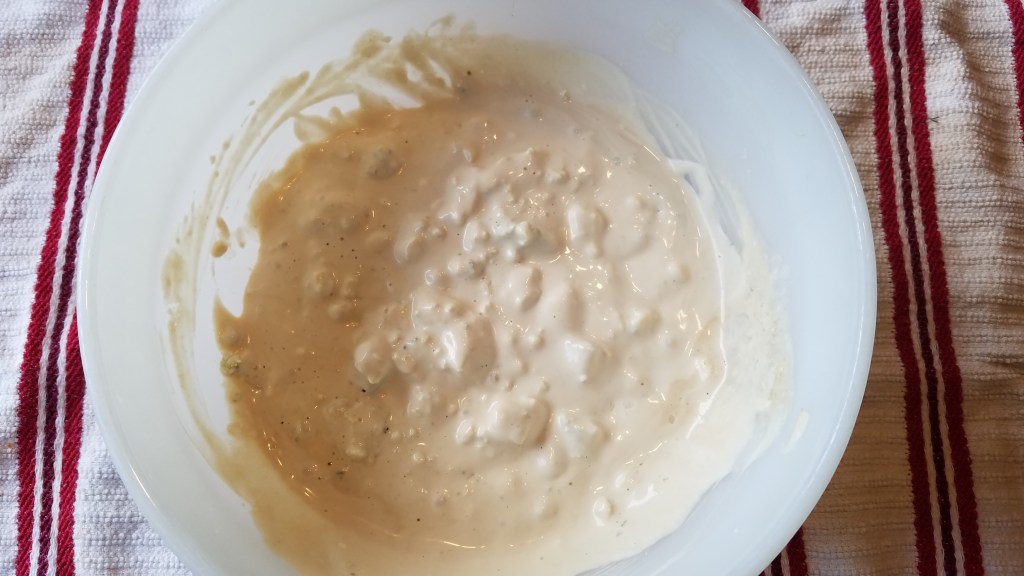
Prepare the sauce by mixing half of the blue cheese with the rest of the sauce ingredient.  Beat with a spatula until creamy.

Add remaining blue cheese and gently incorporate.
Peel the carrots and slice all of the vegetables into sticks.
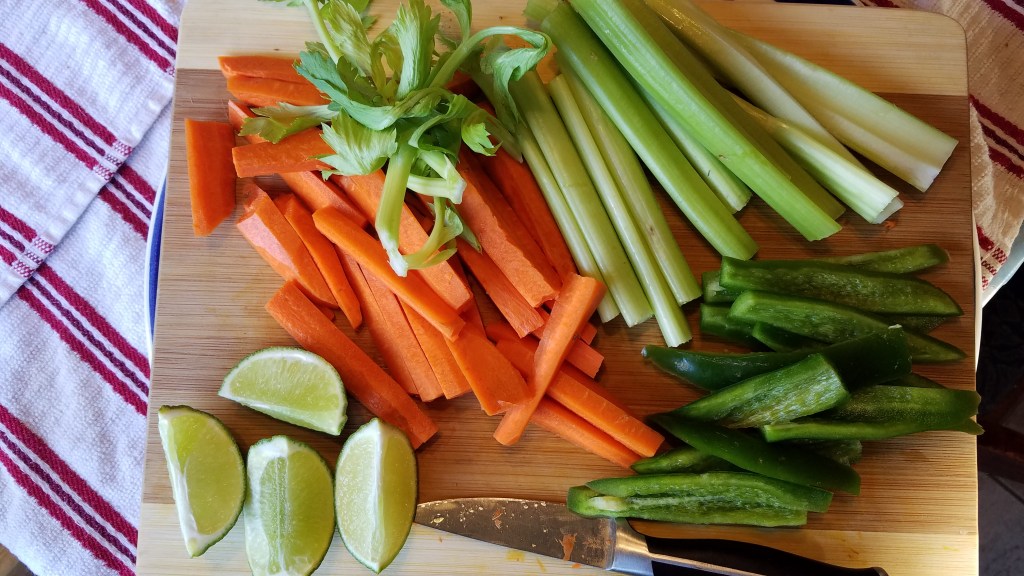
Slice the lime into quarters.

Arrange the vegetables and lime on a platter.

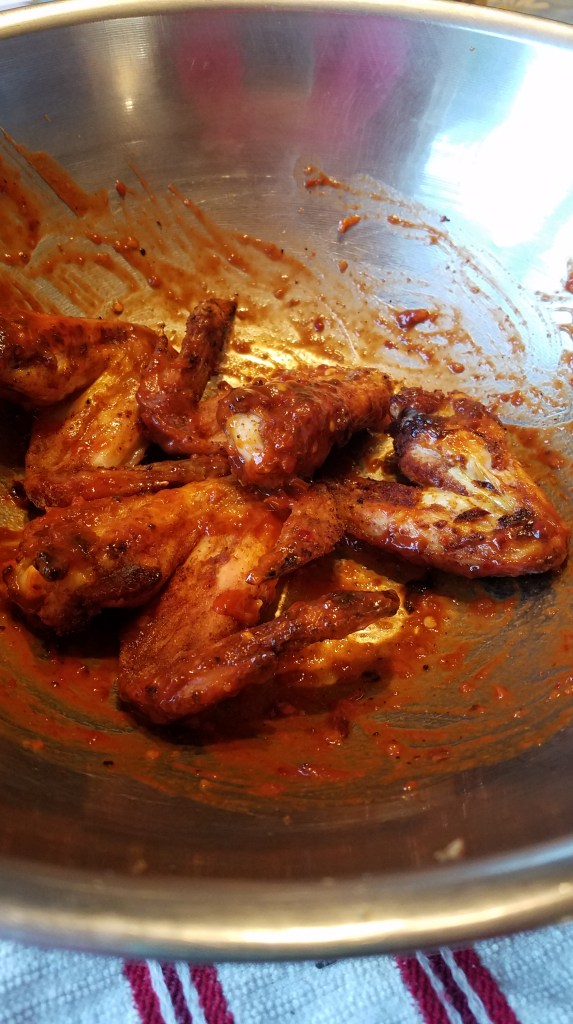
Pull the wings from the oven and apply the hot sauce of your choice, or serve as is.
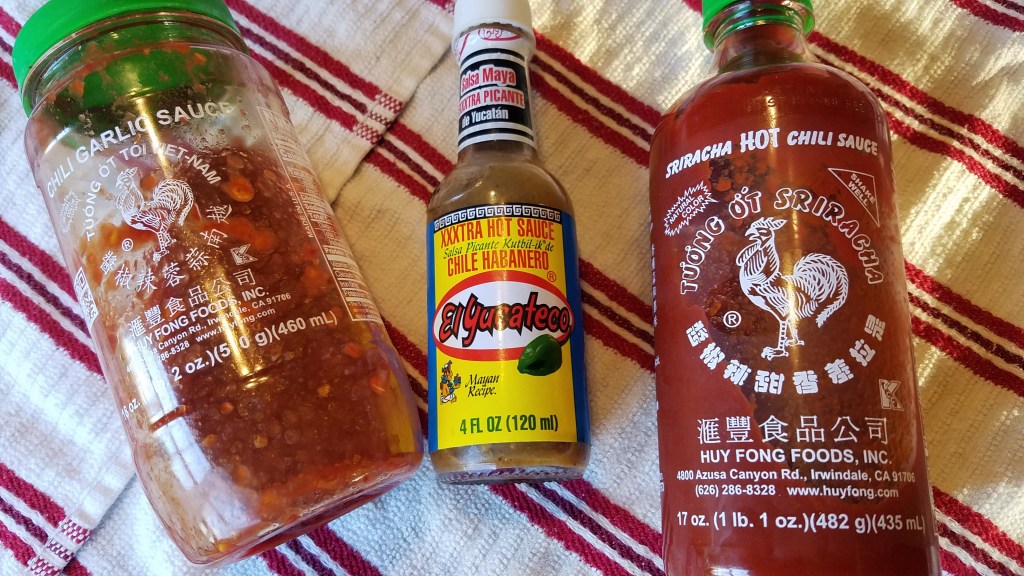
I used equal parts of these 3 sauces on my wings and left the rest without sauce

Arrange the wings on the platter with the vegetables and lime wedges.
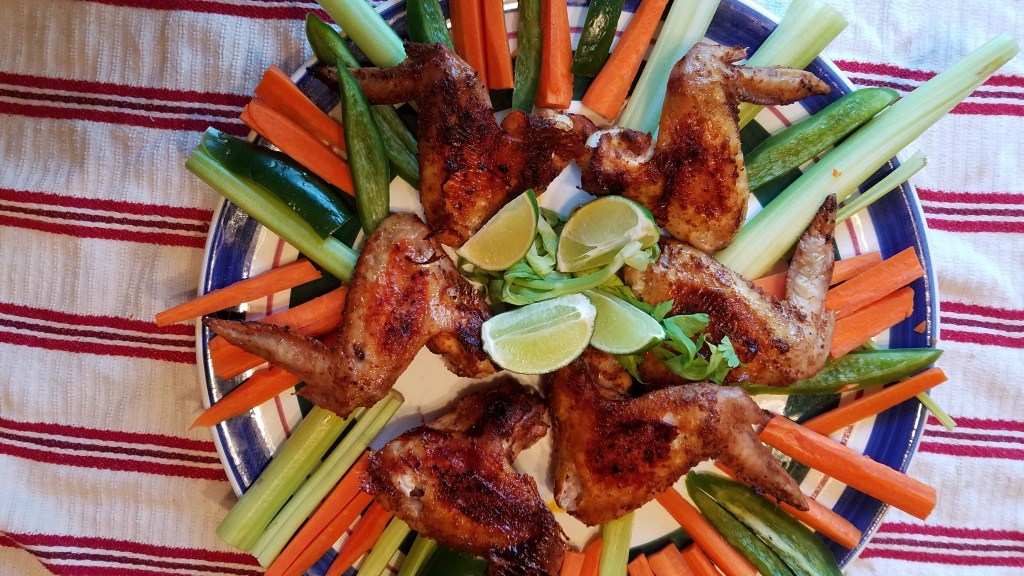
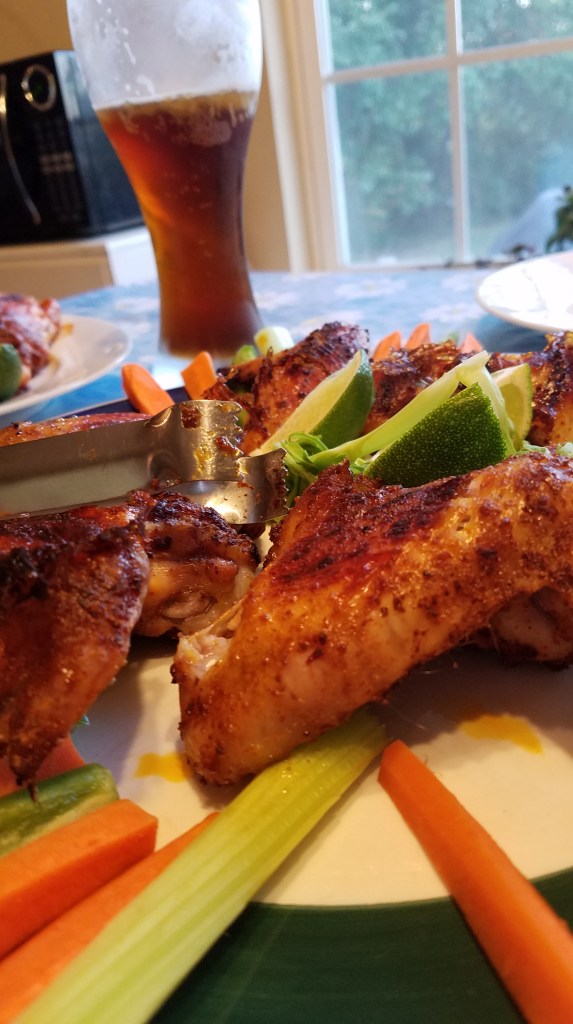
Serve with chilled blue cheese sauce.
Shrimp with Creamy Garlic Butter and Pasta

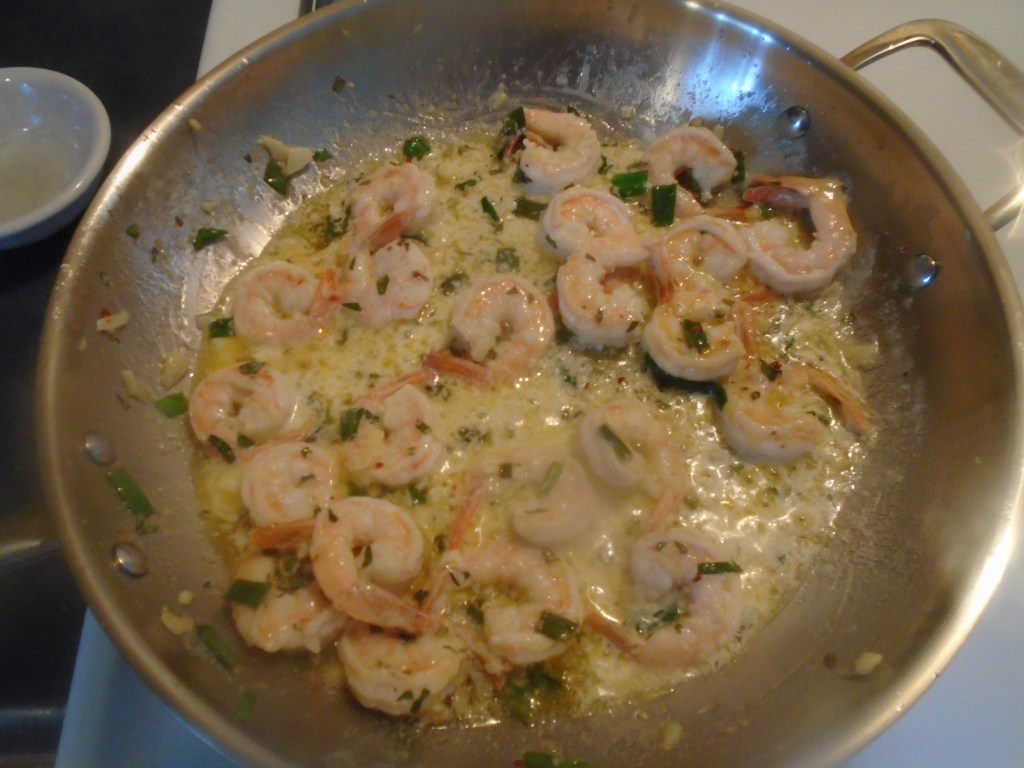
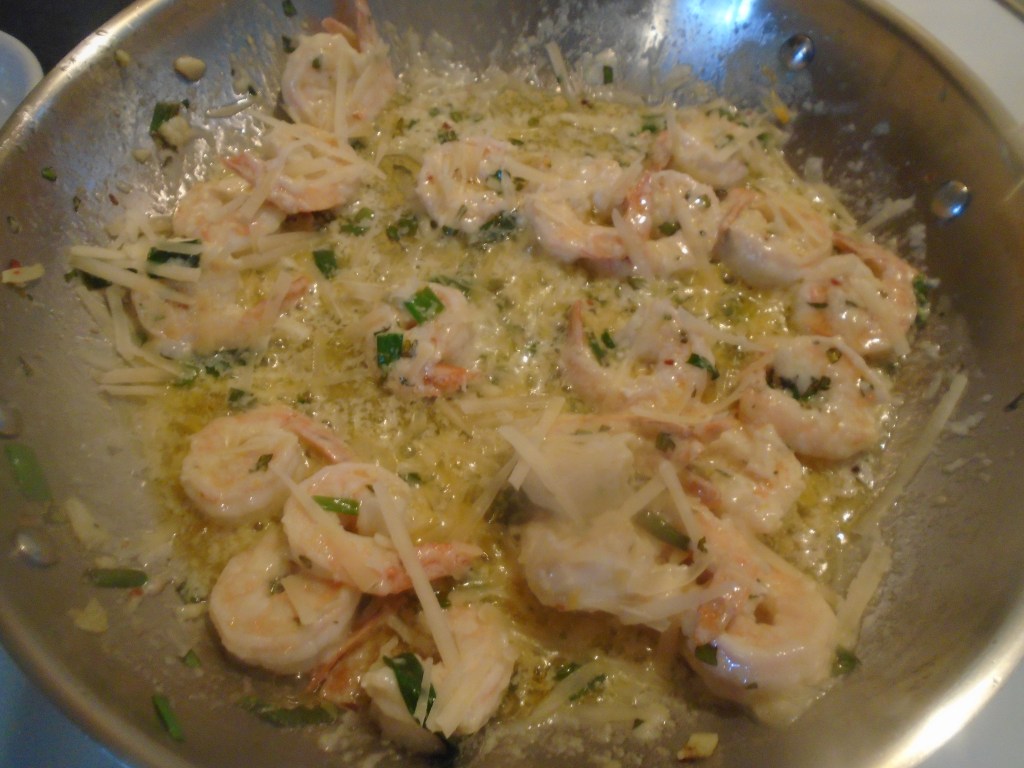
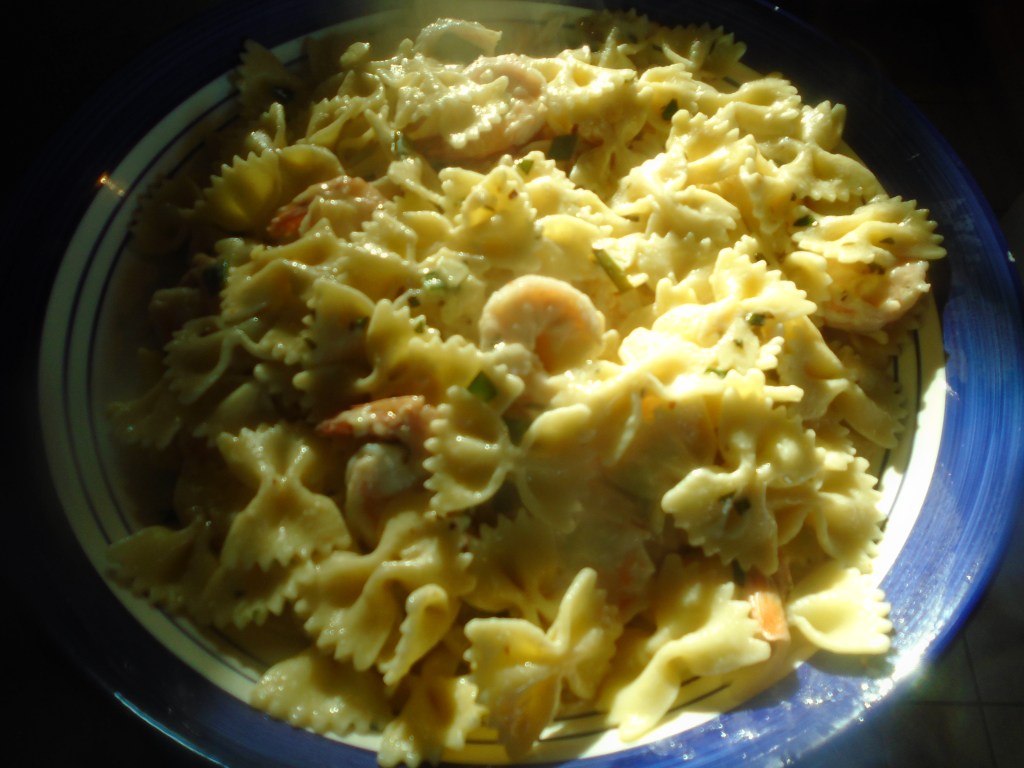
This dish is a bit like Shrimp Scampi but, not so bold and intense in flavor.  The creaminess, provided by the half-and-half, along with the pasta turns a wild Shrimp Scampi into something gentle and soothing.

Ingredients:

4 Tbs unsalted butter

1 Tbs olive oil

1 tsp coarse salt

1 tsp red chili flakes

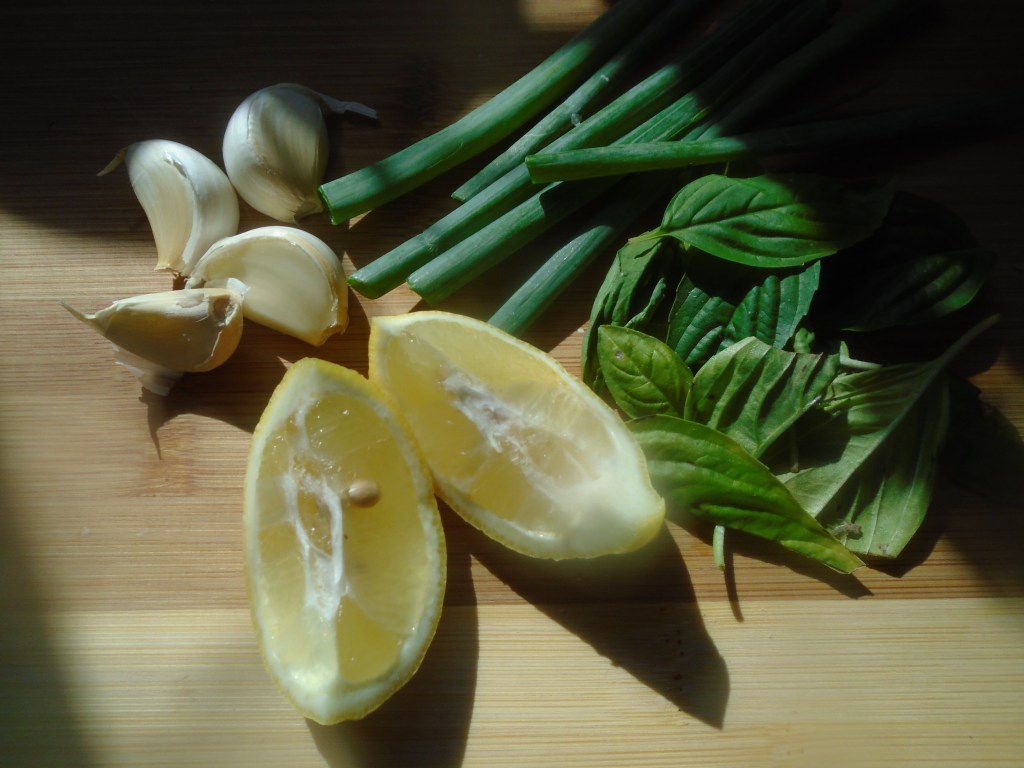
4 garlic cloves

1 lb large, raw shrimp, deveined and peeled

2 green onions

¼ cup fresh basil

Juice of 1/2 lemon

½ cup shredded Parmesan cheese

½ cup half-and-half

12 oz dry pasta (I used Farfalle – butterfly pasta)

Ingredients for the sauce thickener:

1 Tbs softened butter

1 Tbs flour

Ingredients for the garnish:

½ cup diced tomatoes

2 root ends of green onions

1 Tbs olive oil

1 tsp vinegar

½ tsp oregano

¼ tsp garlic powder

Directions:

You should prepare all of the ingredients in advance.  Shrimp cooks very quickly and you want to have all of the other ingredients ready when you need them.

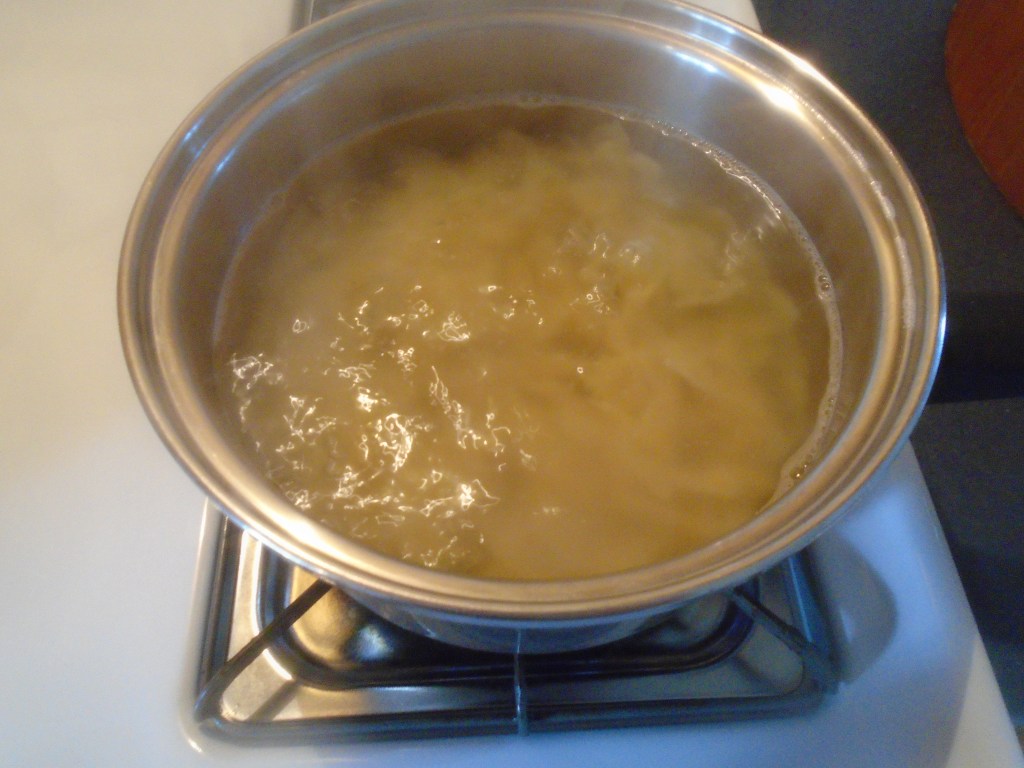
Boil the pasta to al dente.  Normally I would use lots of water but this time, I wanted the noodles to keep some of their starchiness so that the sauce would cling to it better.

While the pasta cooks…

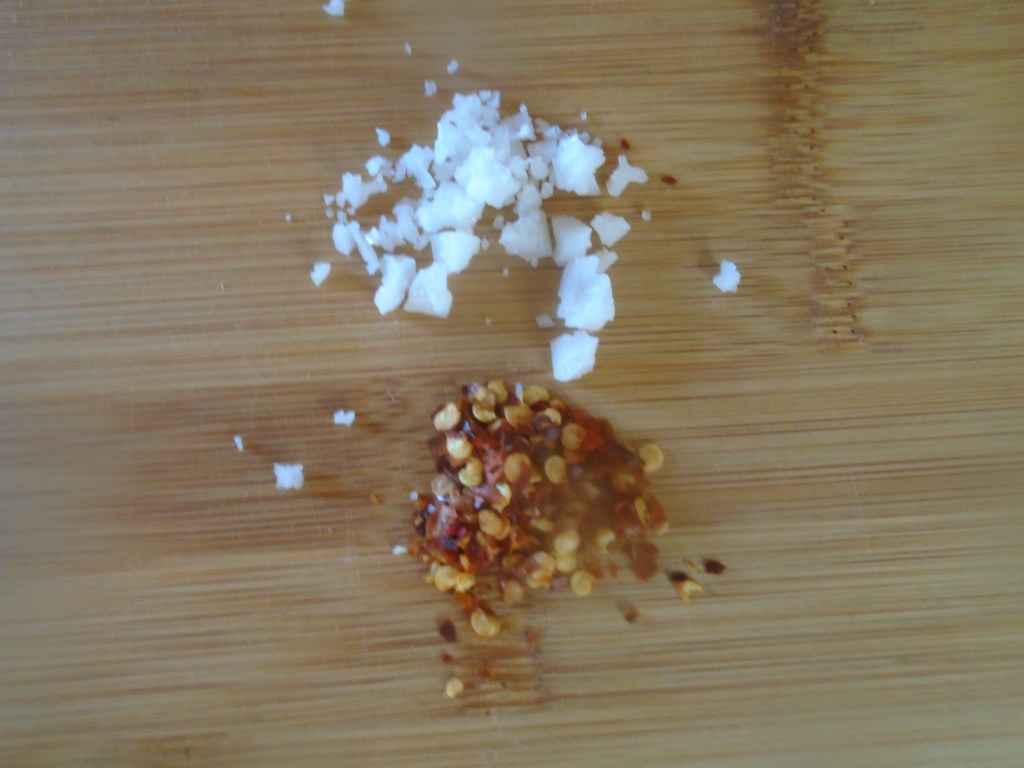
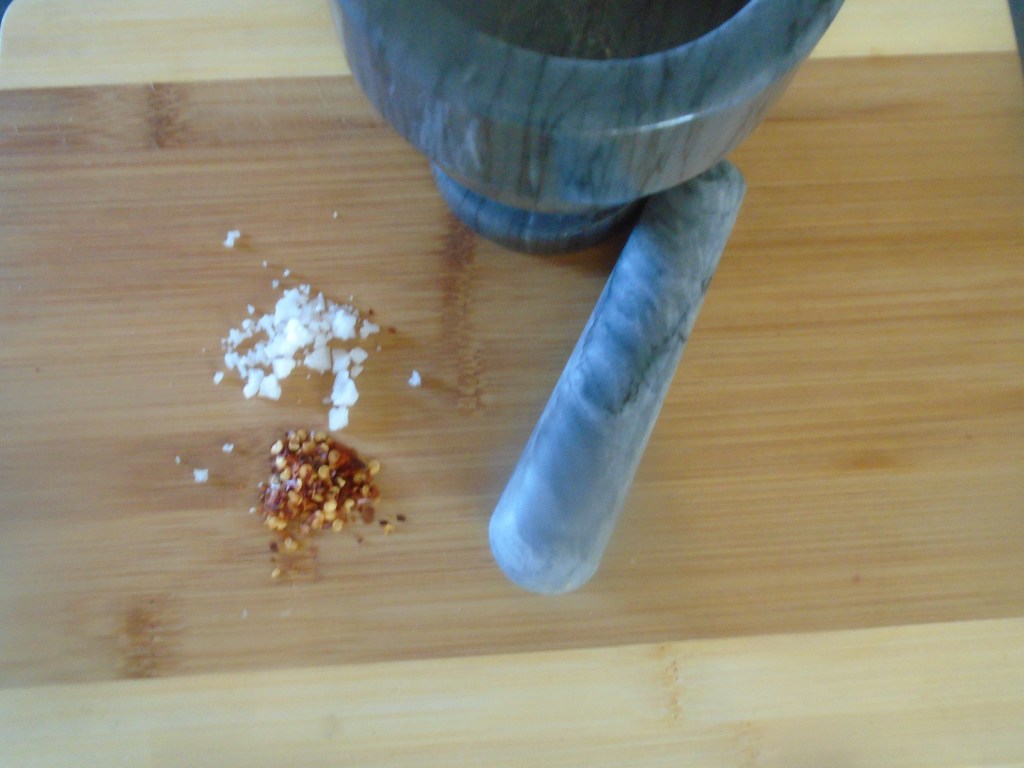
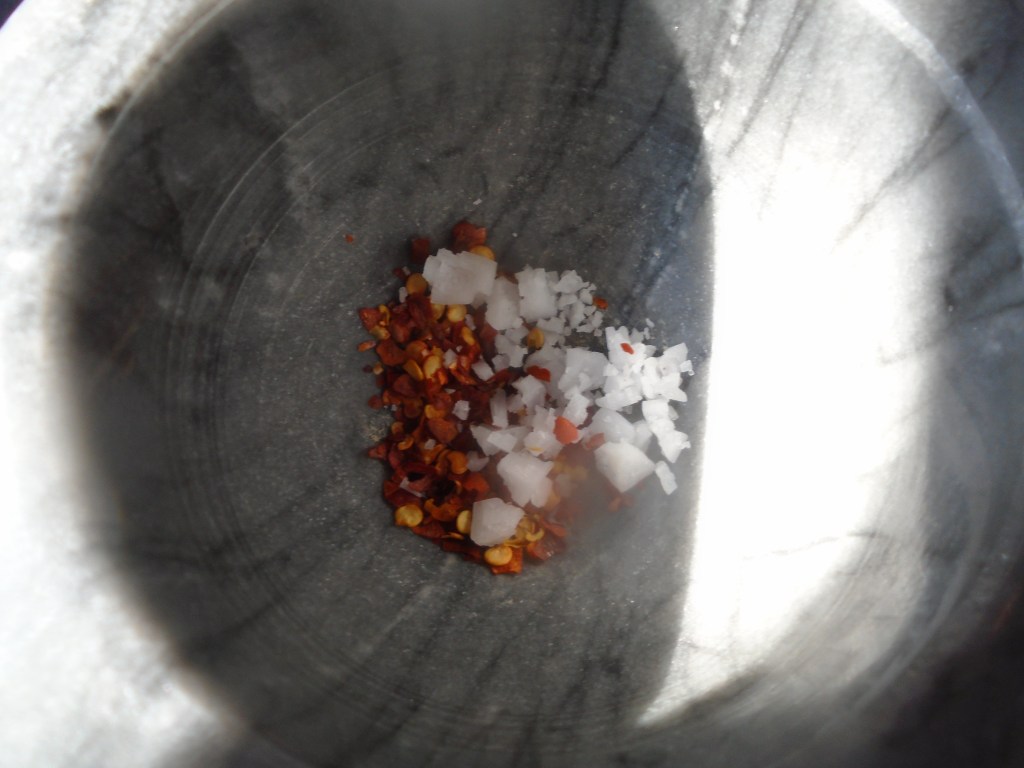
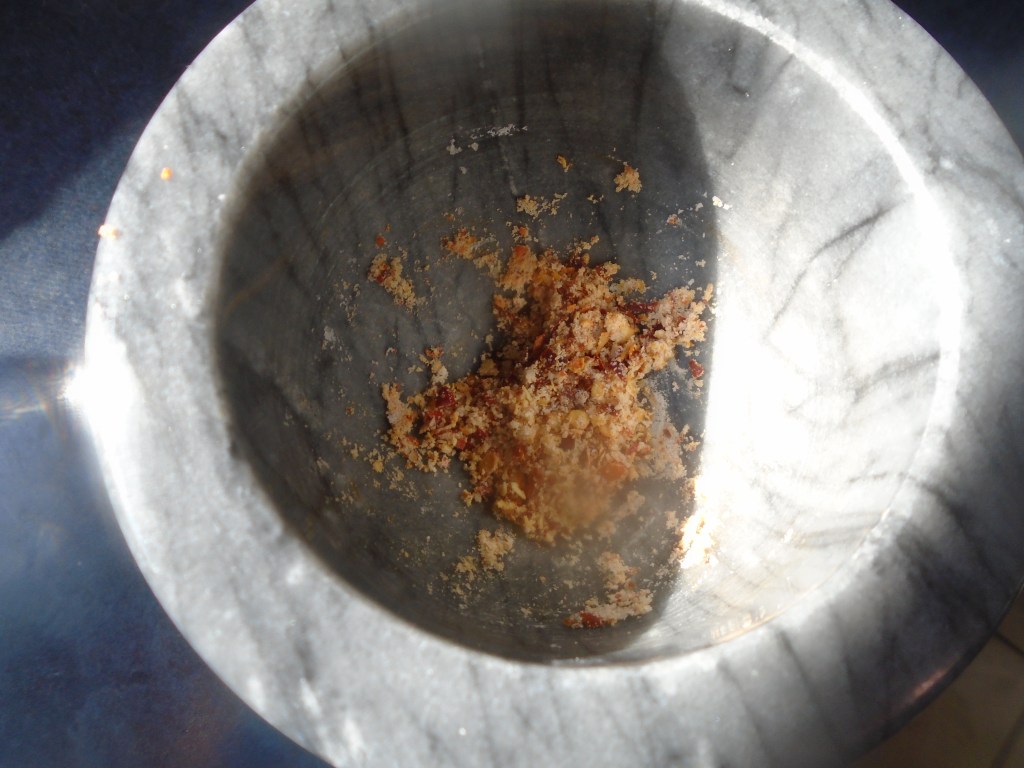
Pulverize coarse salt and red chili flakes in a mortar and pestle.  Set aside.

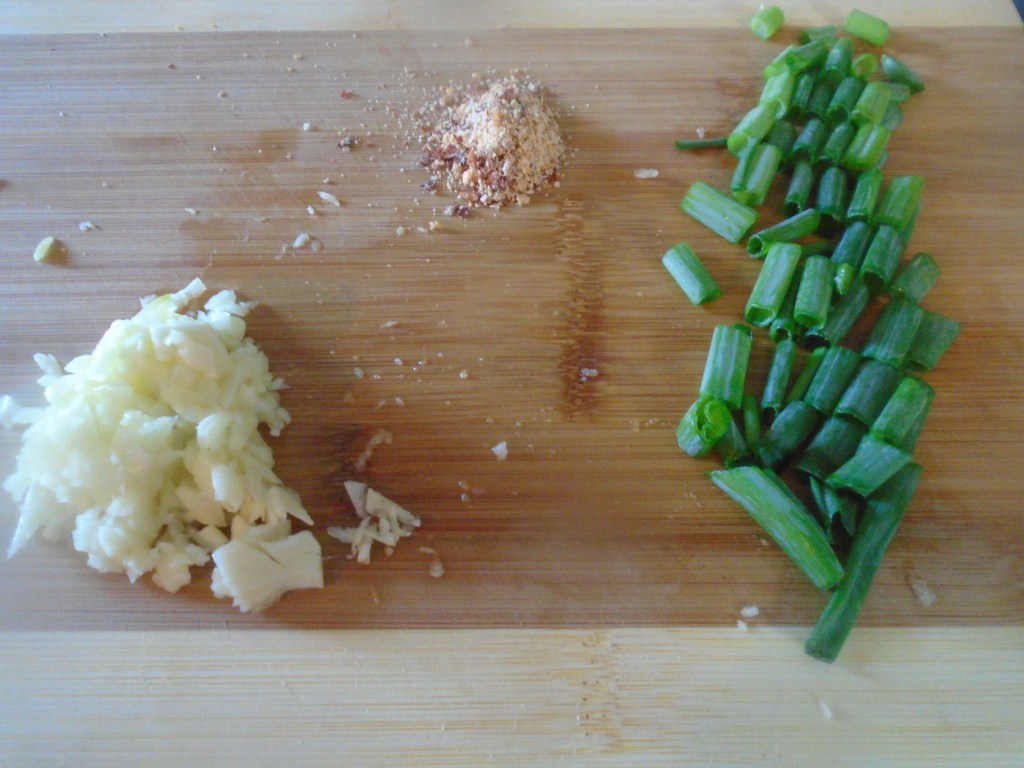
Chop the garlic and slice the green onions.  Reserve the root portions of the green onions.  Set aside.

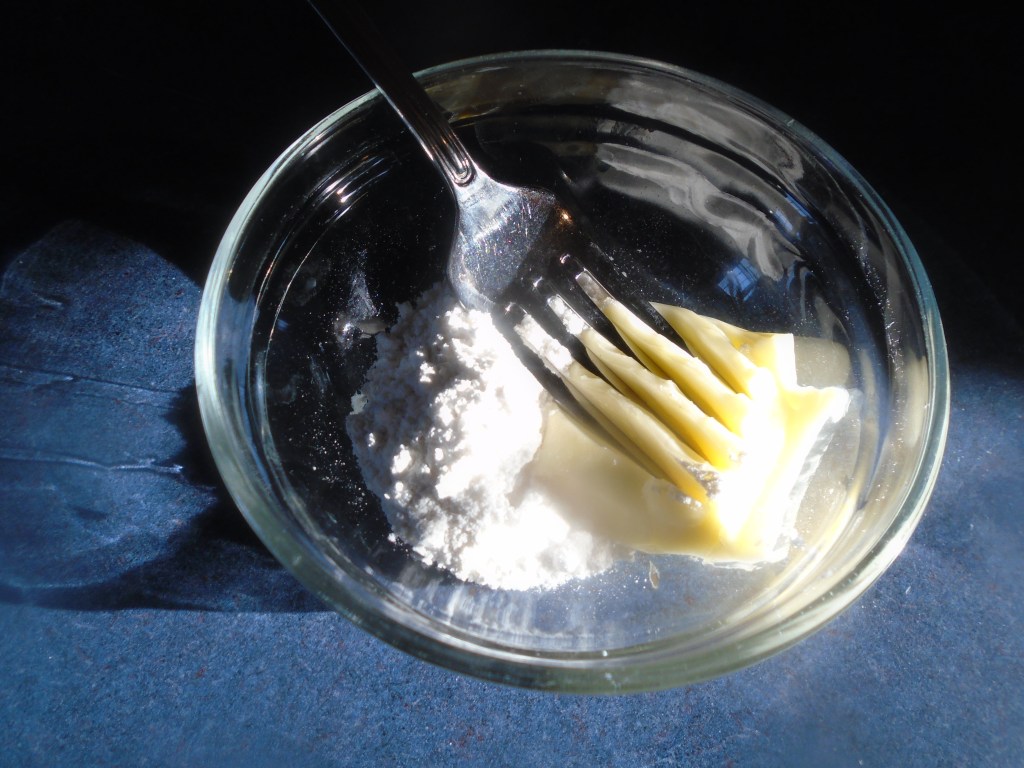
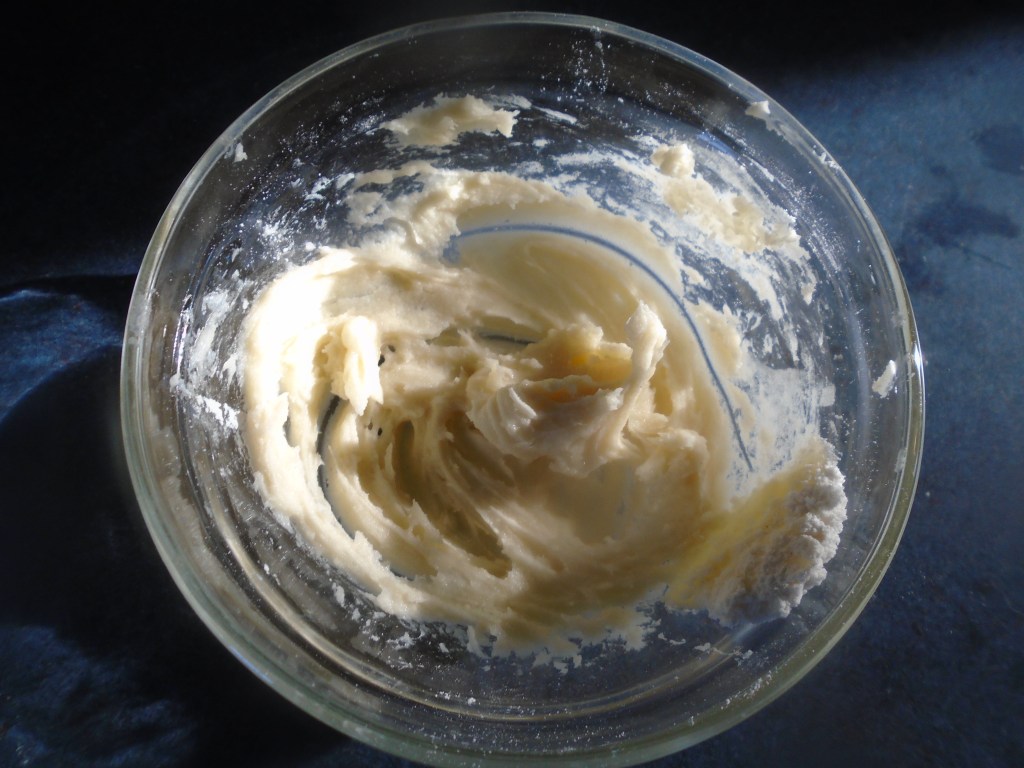
Prepare the sauce thickener by blending the flour with the softened butter.  I like to use a fork for blending.  Set aside until needed.

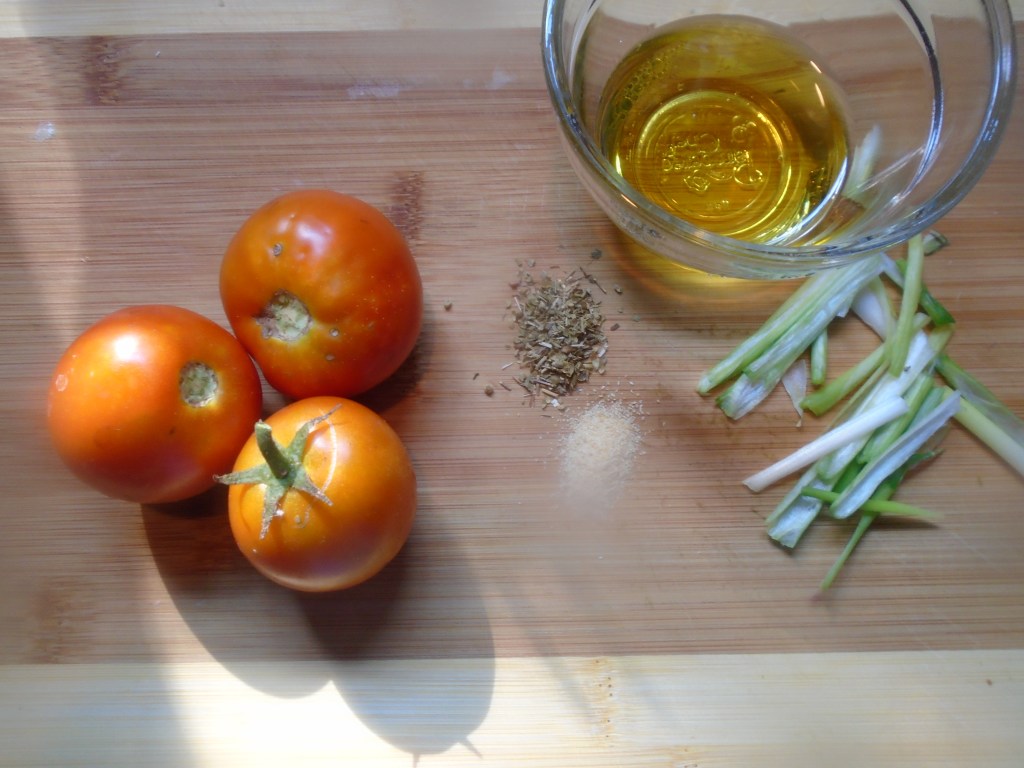
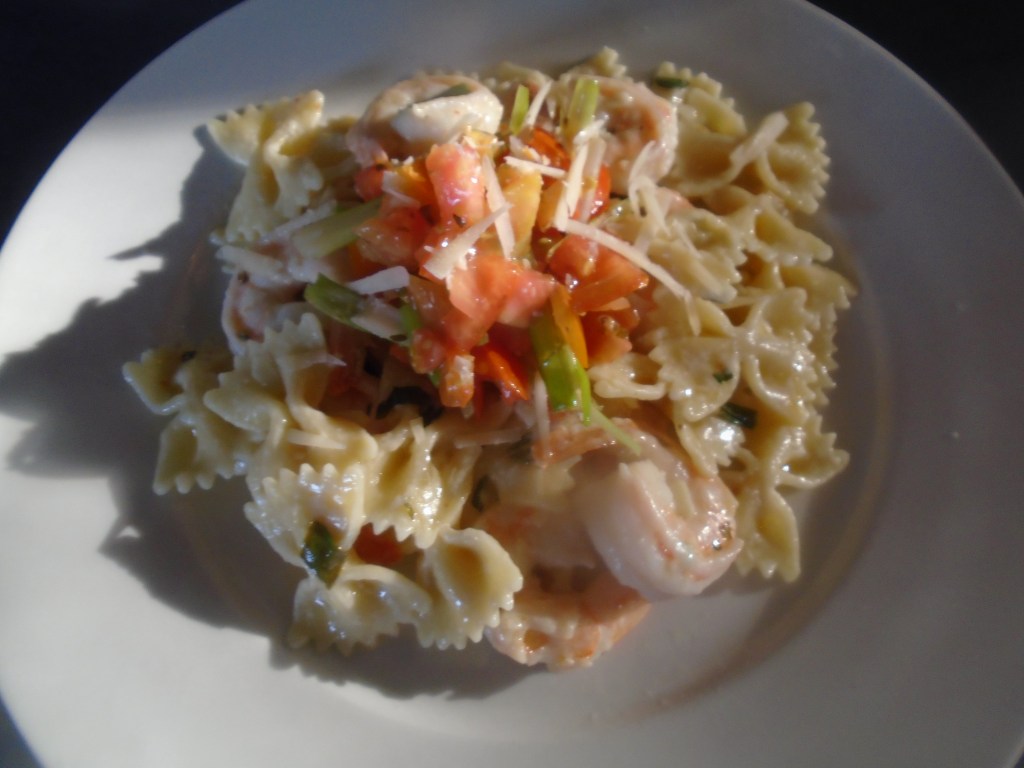
Prepare the garnish by dicing the tomato and roots of the green onion.

Drain the pasta but do not rinse.  Set aside.

Strain the garnish to remove the olive oil and vinegar.  Set the garnish aside.

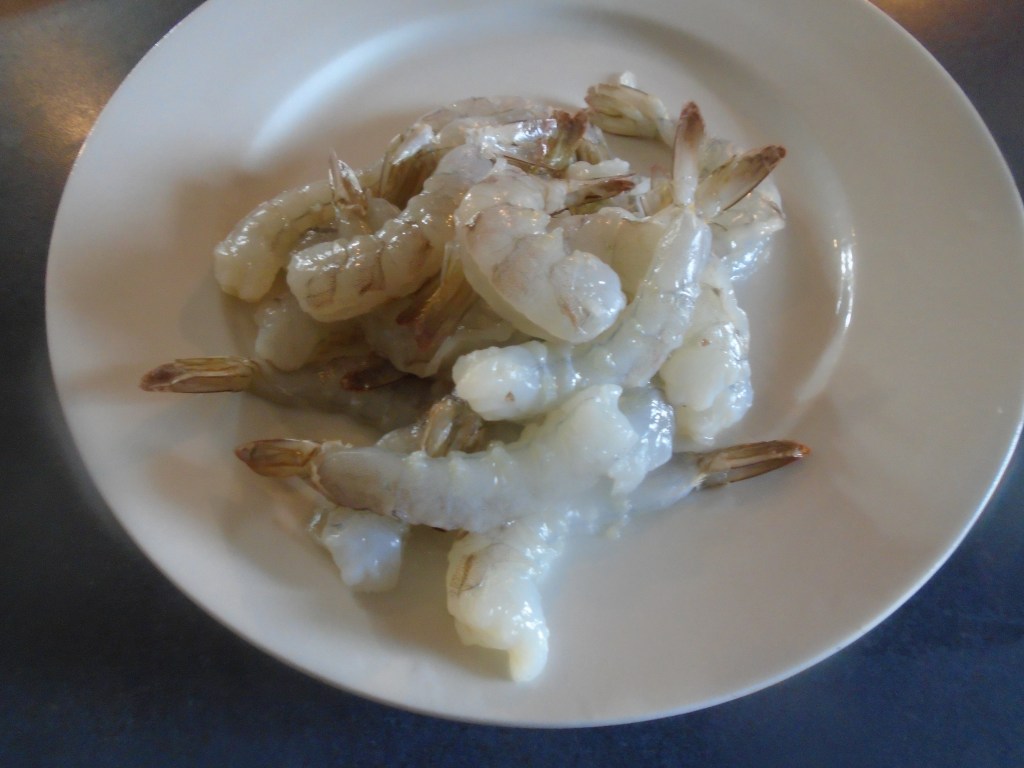
Rinse the shrimp under cold water and remove the shells. 

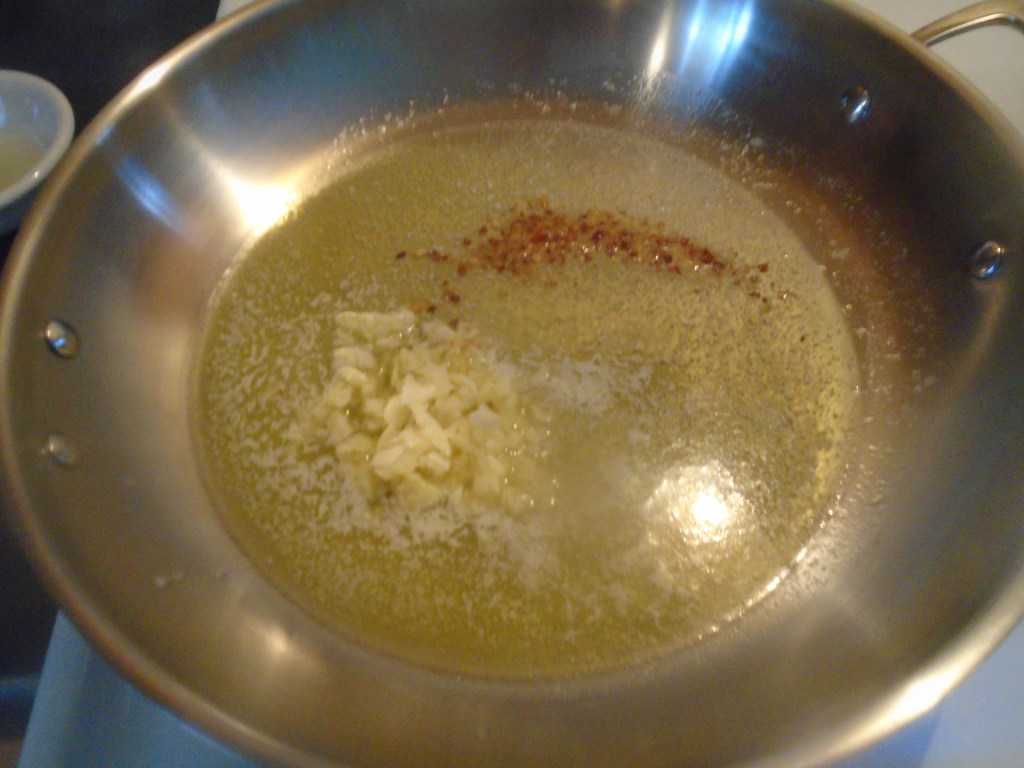
In a large skillet, add 4 tablespoons of butter and 1 tablespoon of olive oil.  Simmer at low heat. 

Add the garlic and crushed salt and red chili flakes.  Simmer at low heat for about two minutes.  This will allow the garlic to mellow a little. 

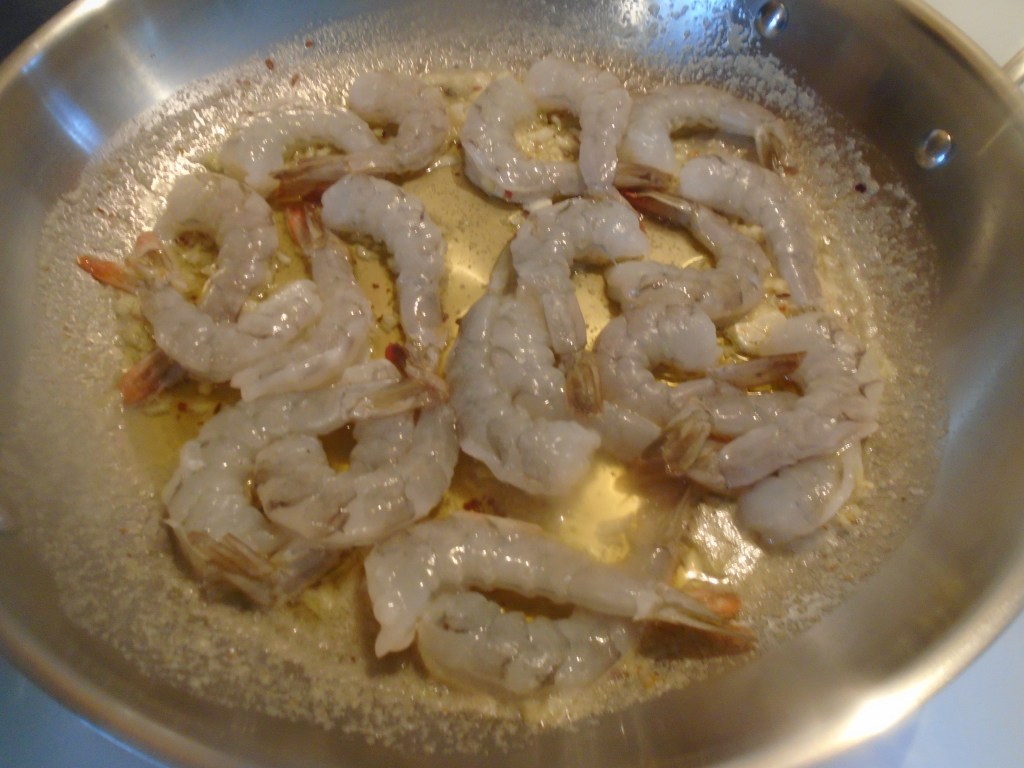
Add the shrimp to the pan.  Turn the heat to low/medium. 

Stir the shrimp until they turn from translucent to slightly pink.

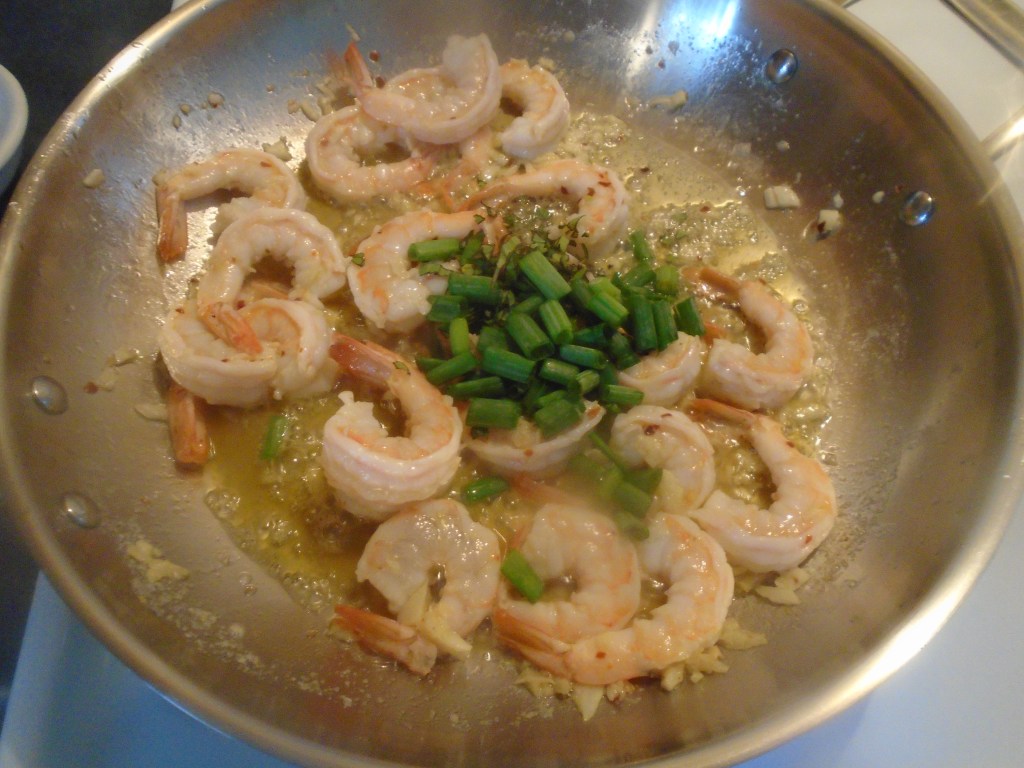
Add the green onion, basil and lemon juice to the pan and stir for about a half minute.

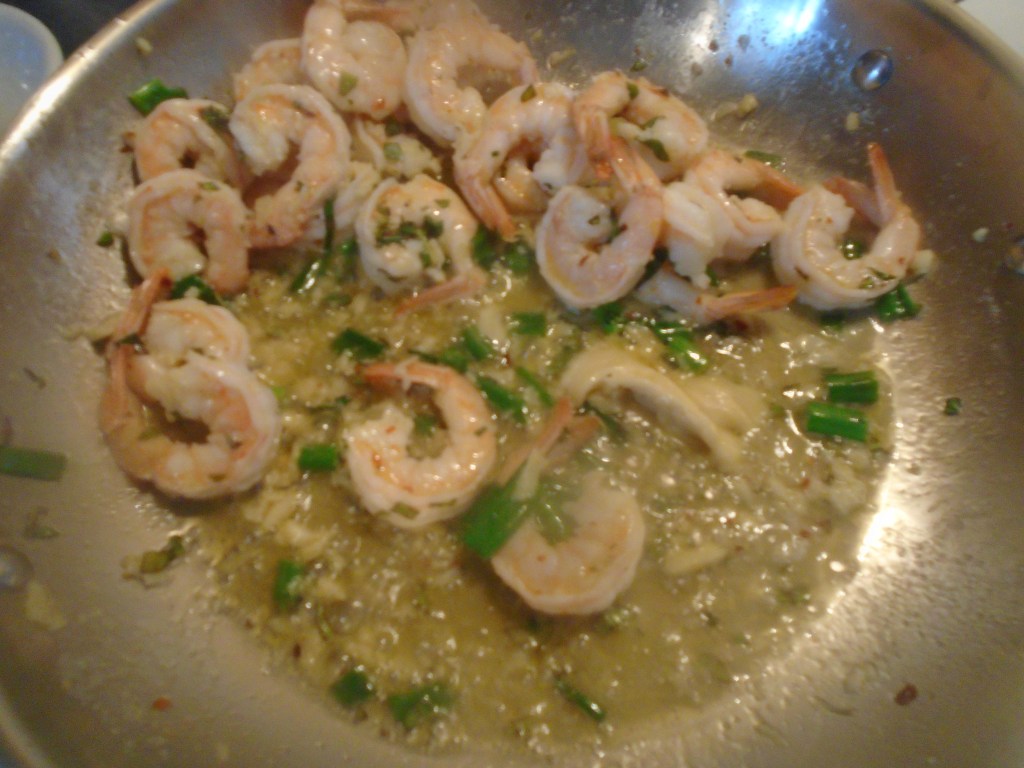
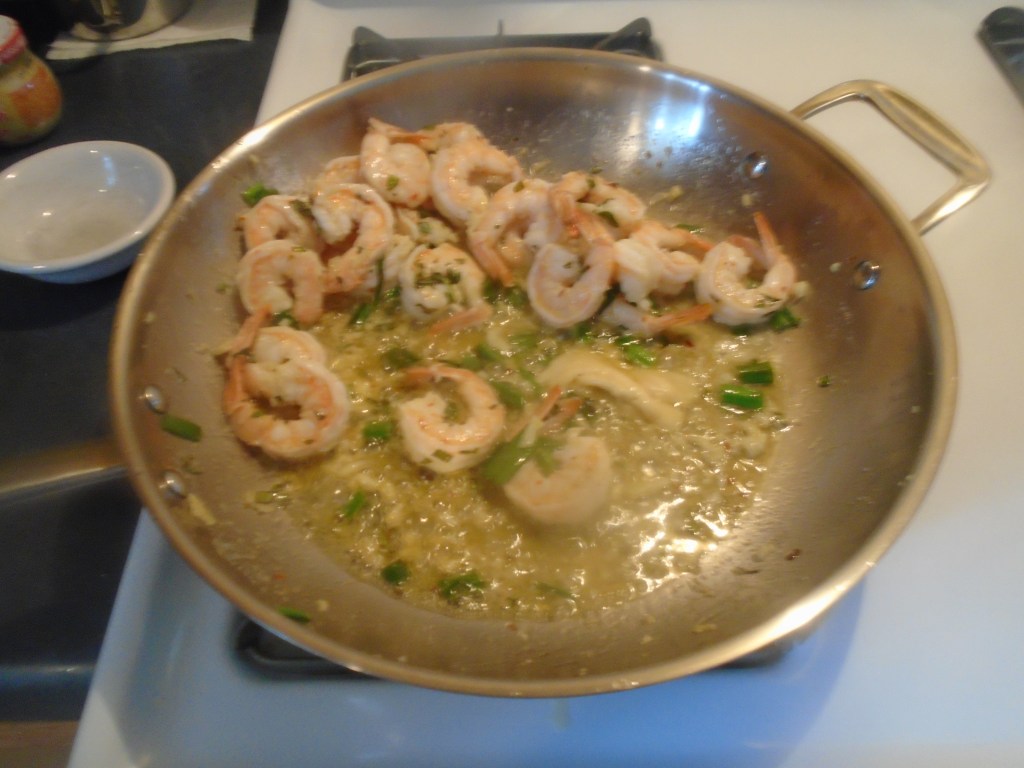
Add the sauce thickener and mix with the buttery sauce.  It should thicken within a minute or so. Add the half-and-half and stir. 
Add the Parmesan cheese.

Turn the heat off and add the pasta.  Stir a few times and remove to a serving bowl.

Top with the tomato and onion garnish.

Dinner #1: Spaghetti with Meatballs

There are some meals that I can cook in my sleep, with one hand tied behind my back.  Spaghetti is one of those meals.  Long ago, when I when I was just establishing myself as a home cook, I had a very limited repertoire.  It wasn’t because I lacked a willingness to experiment and it wasn’t due to a lack of creativity, training or knowledge that curtailed my culinary endeavors to a mere handful of recipes. 

Being a parent of very young children changes a person in many ways and one of those inevitable changes is a parents’ diet.  I don’t regret anything about having children.  One of the greatest things about having children is watching them grow up to become living, breathing, free-thinking adults.  I wouldn’t trade the experience of raising children for anything.

Young children don’t have refined, educated palettes.  Surprise!  For a long time, my wife and I didn’t even think about making something like Steak with Roquefort Cheese Sauce, Bratwurst with Sauerkraut or Tandoori Chicken.  Heck, we were lucky if we could sneak a vegetable past our kids every now and then without them noticing. 

We realized pretty quickly that our meals repeated week after week.  Four or five basic recipes stayed in constant rotation.  It got to a point where I assigned a number to the meals.  Monday nights were spaghetti and Friday nights were homemade pizza so, Spaghetti became Dinner #1 and Pizza became Dinner #5.  Dinners 2,3 and 4 varied over the years and they entered and exited the rotation as young taste buds changed.  They included simple meals like, chicken nuggets and tater tots, tacos with salad and fish sticks, with macaroni and cheese.  Our weekends were “anything goes” days.  It might be barbacoa tacos, pan fried chicken or a pasta casserole.  We made sure to include fresh fruit as often as possible, especially because the only vegetable our kids would willingly eat was raw carrot sticks. 

Eh, they survived.  And, so did we.  I look back on those days fondly.

Fast forward nearly twenty years and Dinner #1 is still one of my favorite go-to meals.  I have made spaghetti over 1,000 times in my lifetime.  That’s not a guess…that’s real math at work! 

Now that my children are grown, I have more free time which means I can add flair to simple recipes, like spaghetti and meatballs.  For this version, I used homemade tomato sauce.  I also employed some extra tricks to make this meal a little more special.  Plain tomato sauce tends to be acidic.  I could have added a few tablespoons of sugar or honey to balance the sauce but I used Marsala wine, roasted garlic and fire roasted bell pepper, which provided all of the necessary sweetness and it gave the sauce an additional depth of flavor.
This recipe will feed about 6 people.

Ingredients:

24 oz tomato sauce (store-bought sauce is perfectly fine)

1 whole garlic bulb

¼ cup fresh basil

½ red bell pepper

½ onion

¼ cup Marsala wine

1 lb. ground beef (80/20)

½ cup bread crumbs

1 Tbs dried oregano

2 tsp dried rosemary (ground)

2 eggs

¼ cup grated, dry Parmesan cheese

1 tsp black pepper

1 tsp salt

½ cup grated, fresh Parmesan cheese

For the spaghetti noodles:

4 quarts water

12 oz dry spaghetti noodles

1 Tbs kosher salt

1 bay leaf

1 Tbs olive oil

Directions:

If you are using store-bought tomato sauce, feel free to skip to the section on Preparing the Meatballs.

Otherwise…

Heat an oven to 300°.

Prepare the herbs, onion, garlic and bell pepper.

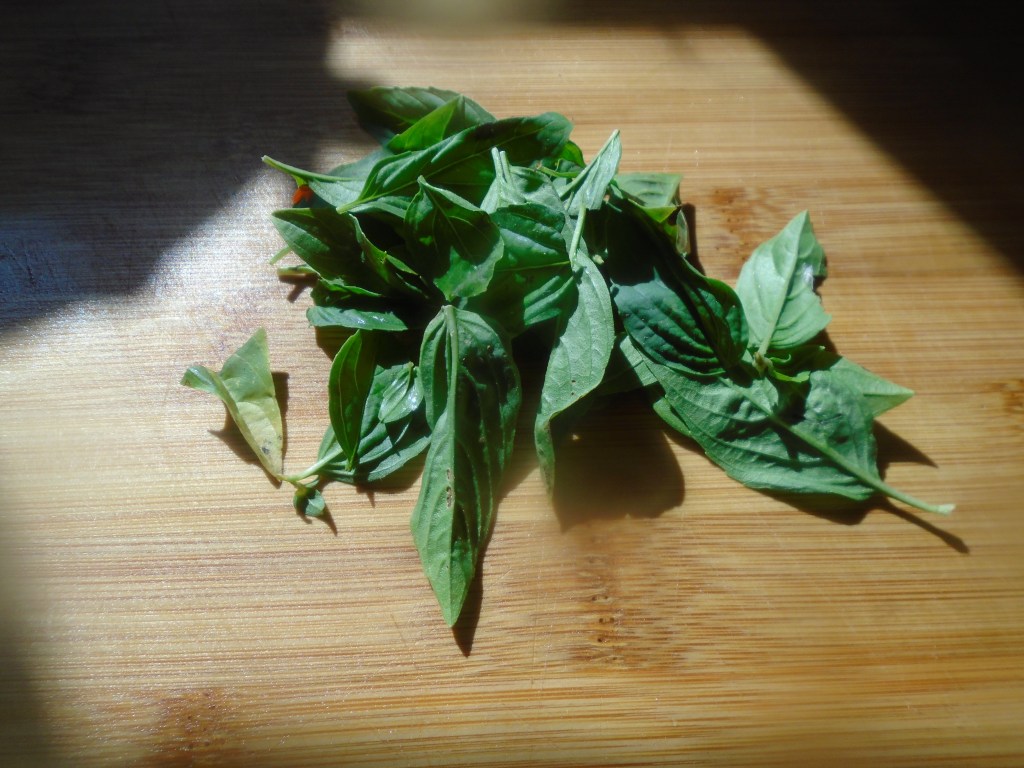
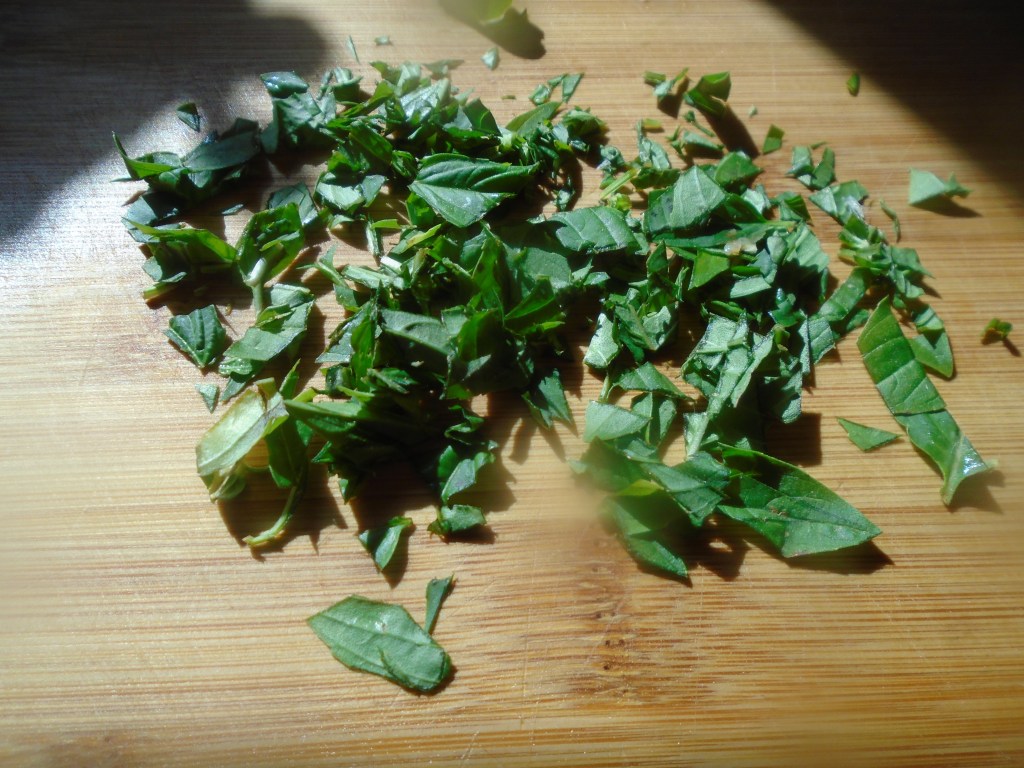
Roughly chop the basil and set aside.

Chop the onion into ¼” pieces and set aside.

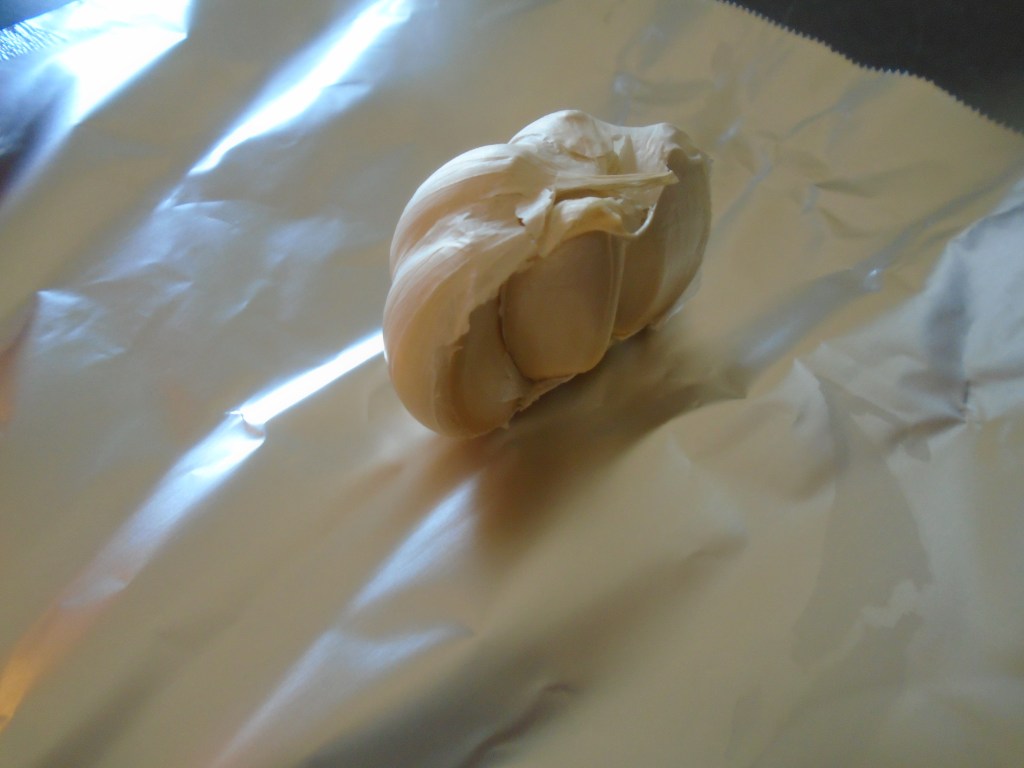
Separate the garlic bulb in half.  One half of the garlic will be roasted in the oven and the other half will be minced, fresh.

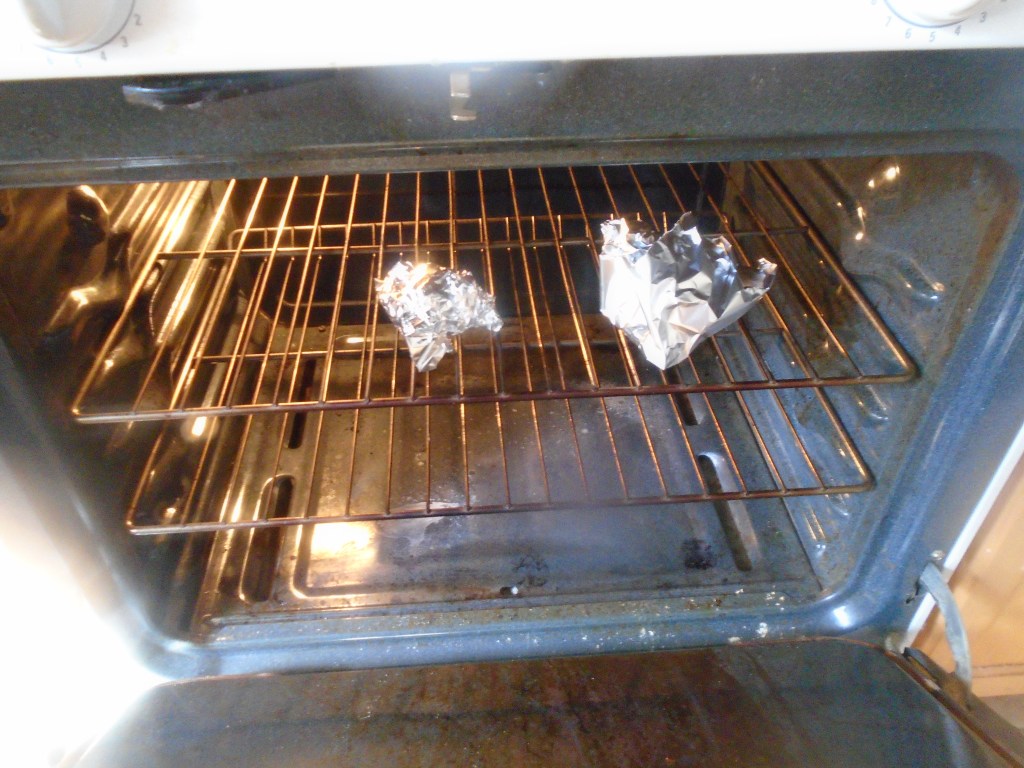
Wrap one half of the garlic bulb in aluminum foil and place on the rack, in the oven.

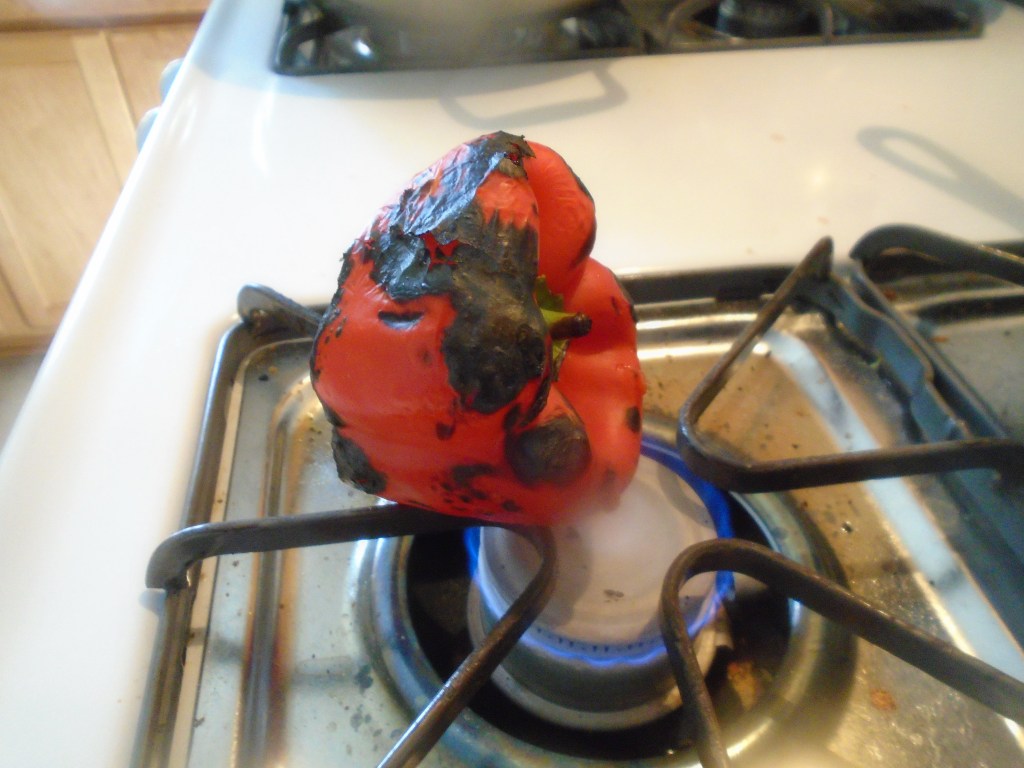
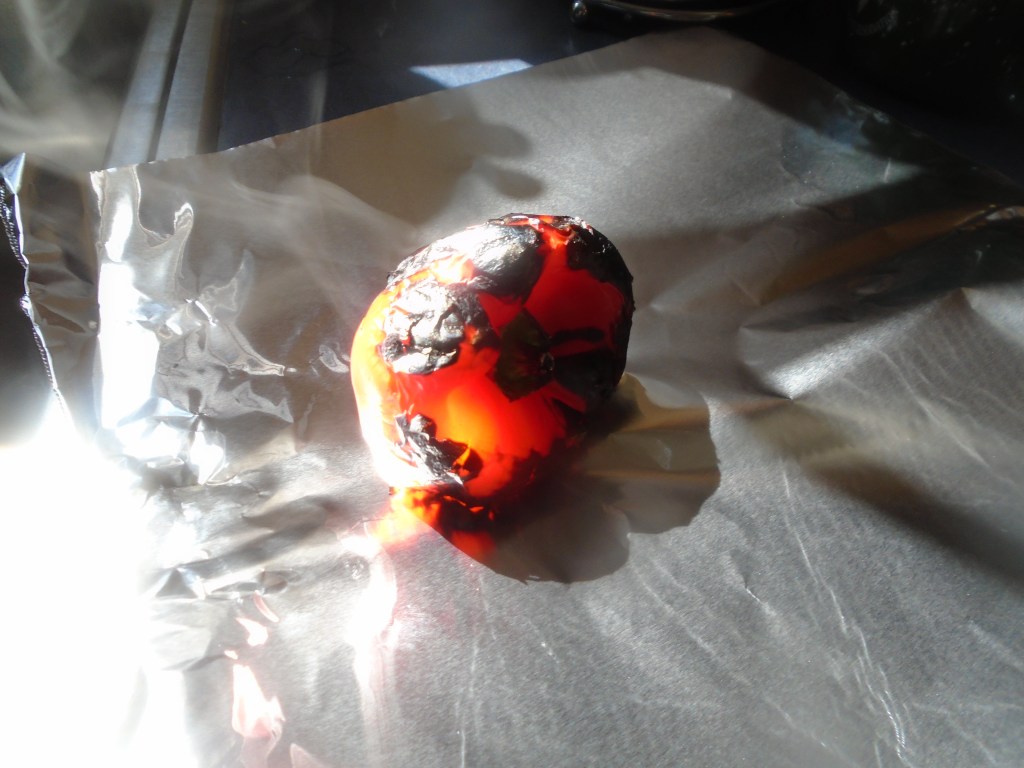
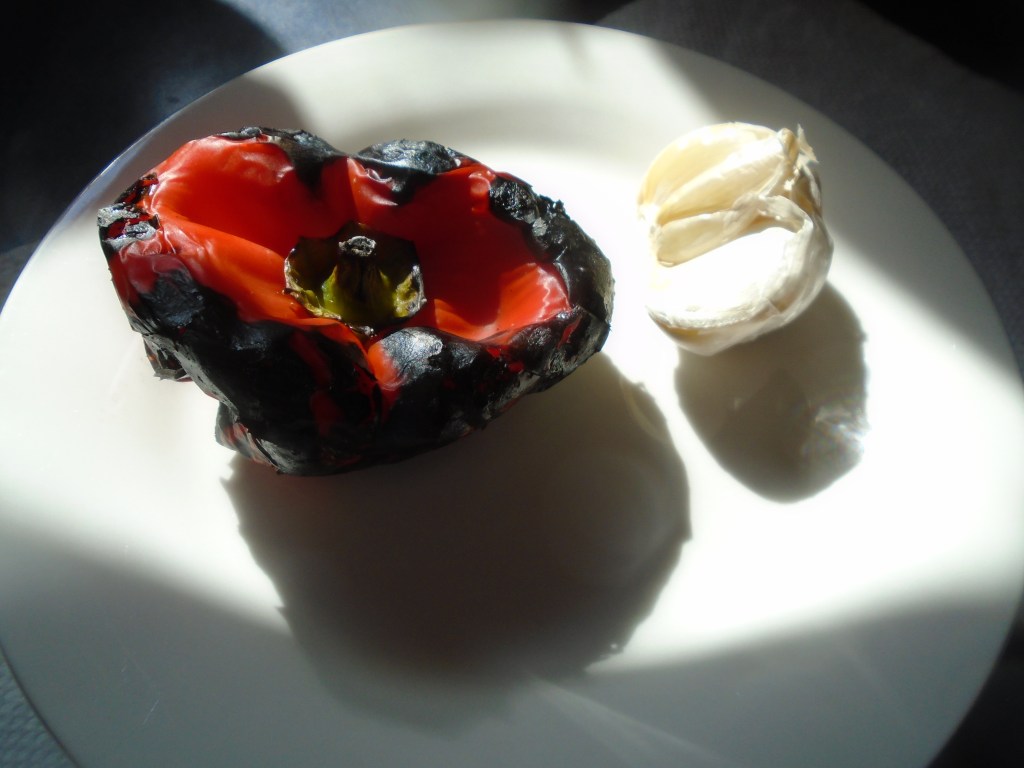
Rest the half bell pepper on a stove burner and char the pepper over low heat.  Rotate the pepper for several minutes to all the pepper to char on all sides. 

Wrap the pepper in foil and put it on the oven rack, with the garlic.

Allow the garlic and red pepper to bake in the foil for about 20 minutes. Remove the garlic and pepper.

Unwrap the red pepper and allow it to cool for a few minutes.  Rinse under water to remove the charred parts. 

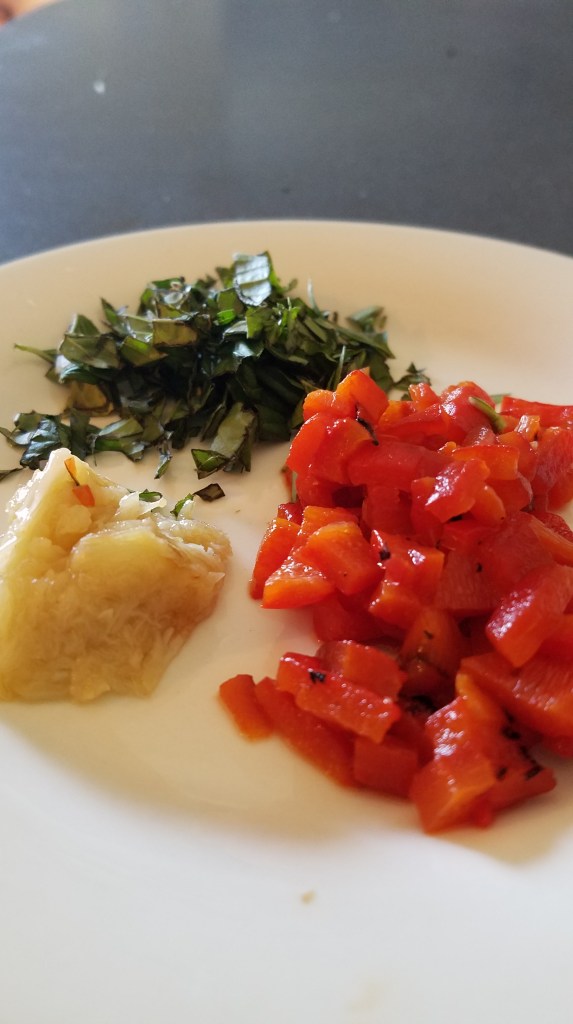
Slice the top and stem of the pepper and discard.  Lay the remaining red pepper on a clean surface and dice into ¼” pieces.  Set aside.

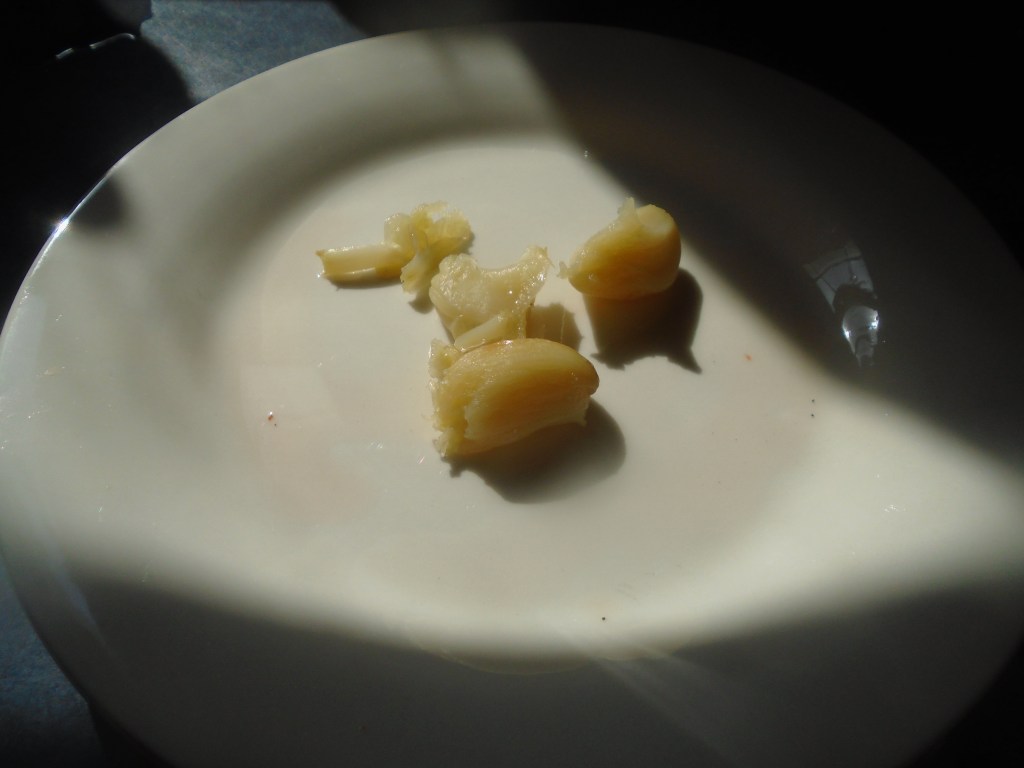
Remove the roasted garlic from the foil and squeeze the soft garlic from the papery husks.  Mash the garlic into a paste with the broad side of a kitchen knife and set aside.

Mince the cloves of the other half of the garlic bulb and set aside.

Preparing the Meatballs:

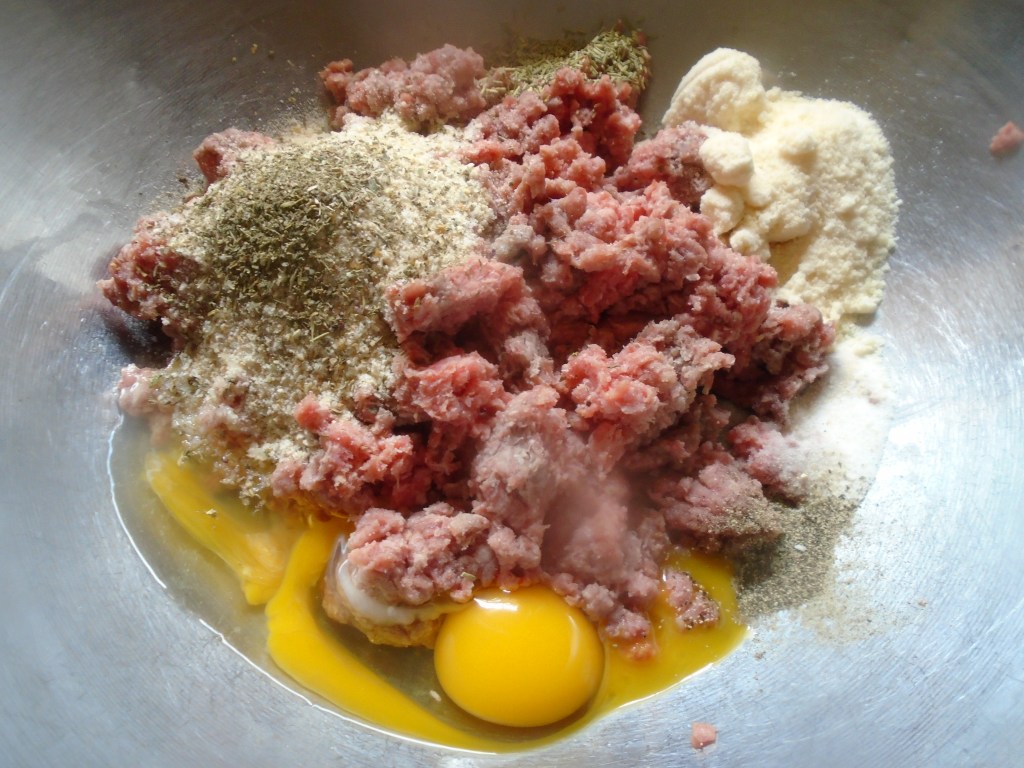
In a large mixing bowl add the ground beef, bread crumbs, eggs, dry Parmesan cheese, oregano, rosemary, salt and pepper. 

Mix until all of the ingredients have combined. 

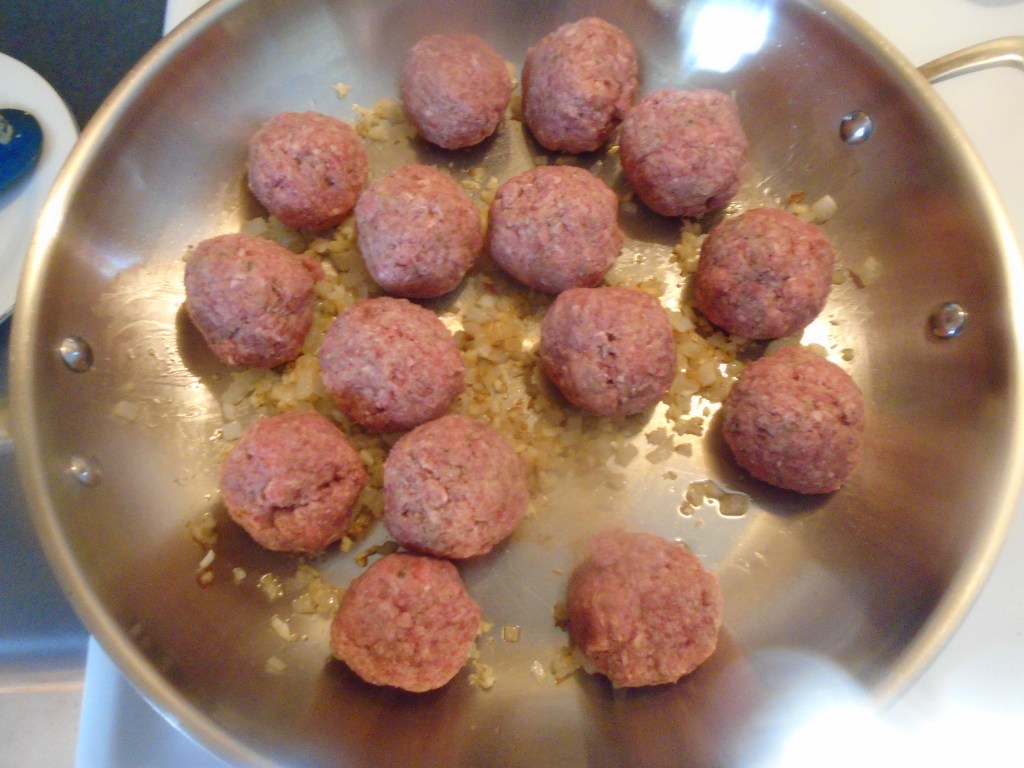
Form into 1” balls and leave the meatballs in the mixing bowl. 

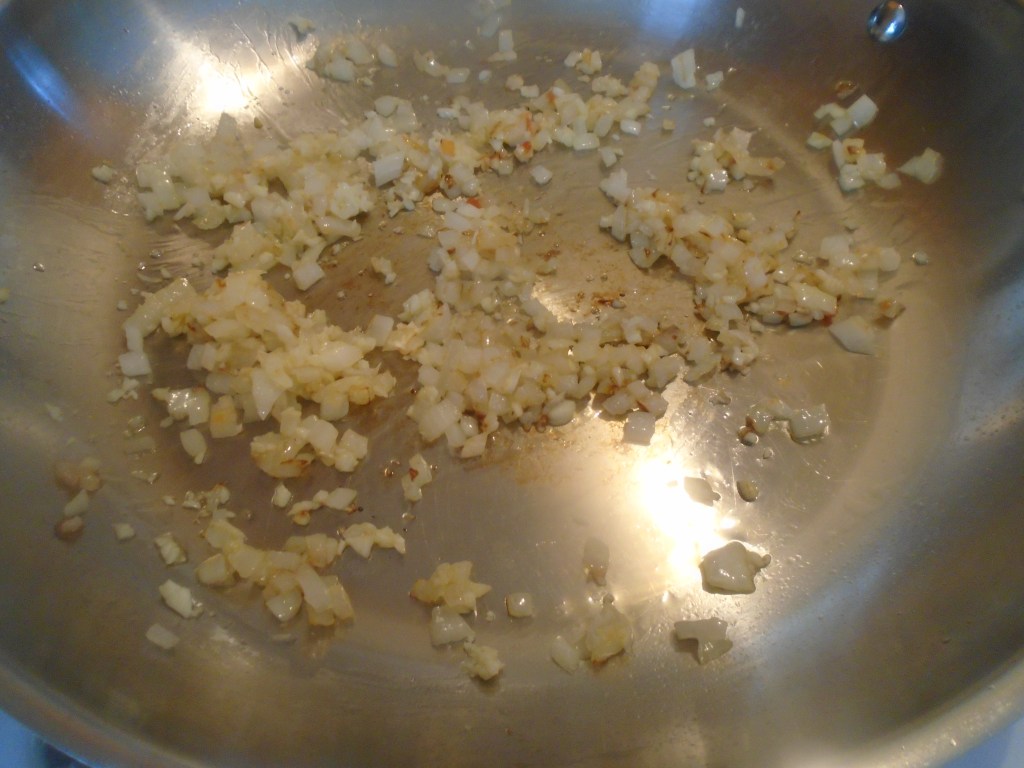
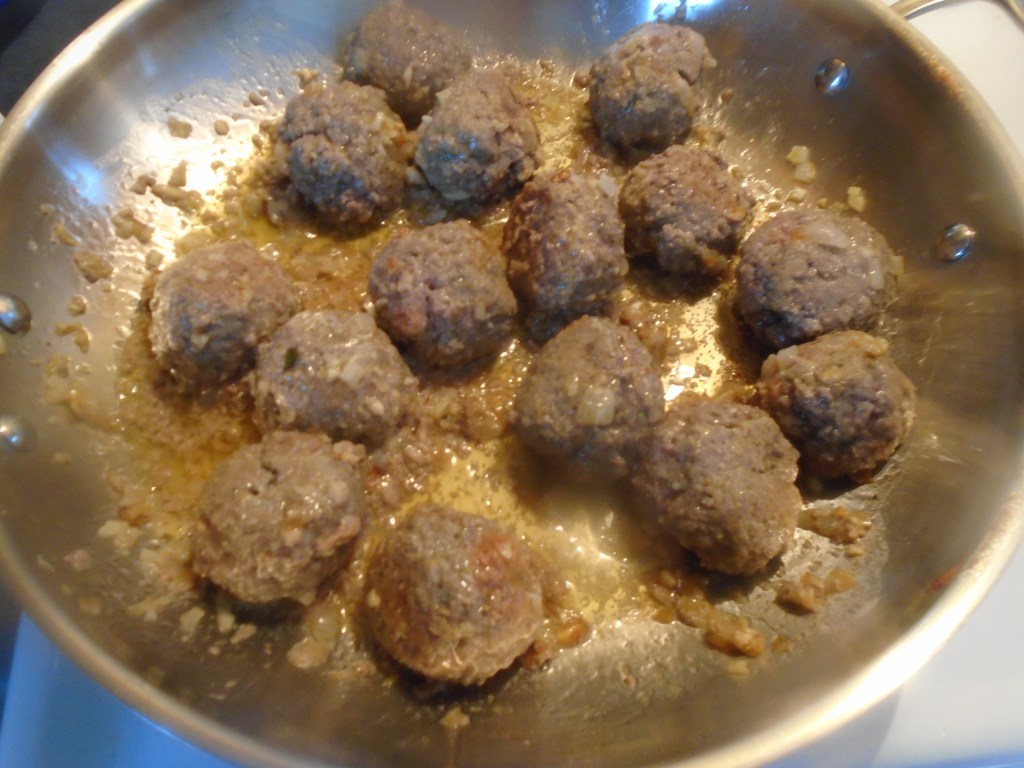
In a large skillet, set the heat on the stove to low and add a tablespoon of olive oil.  Add the onions and sauté until slightly softened.  Add the garlic and sauté for 1 minute. 

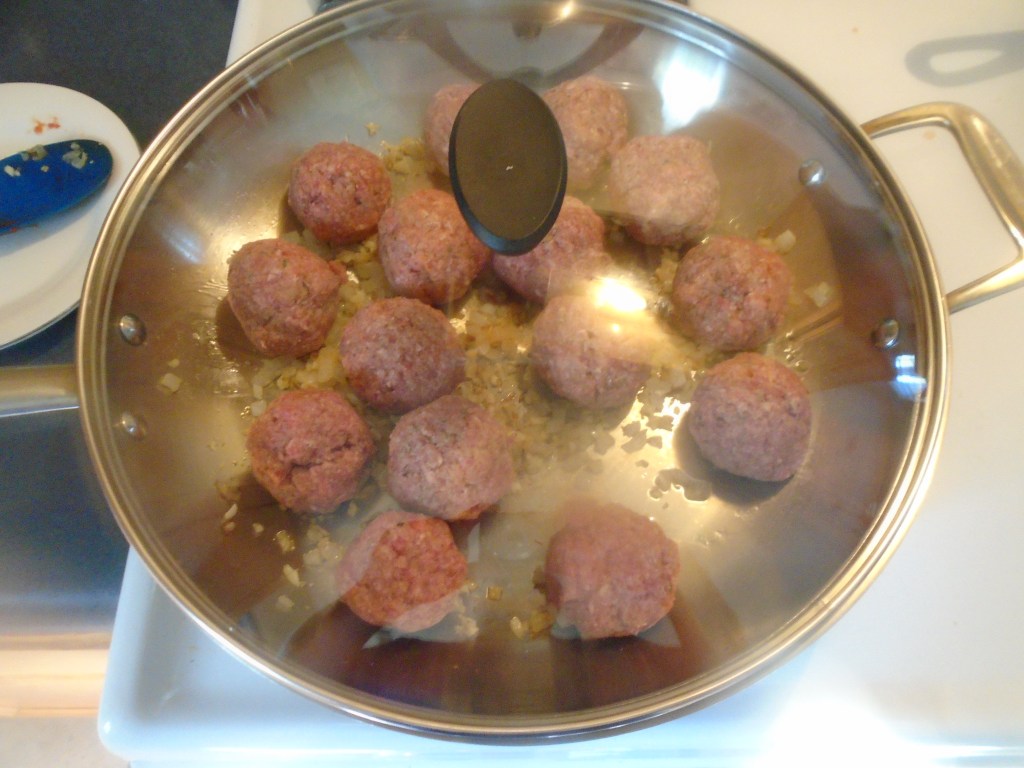
Add the meatballs and cover the pan.

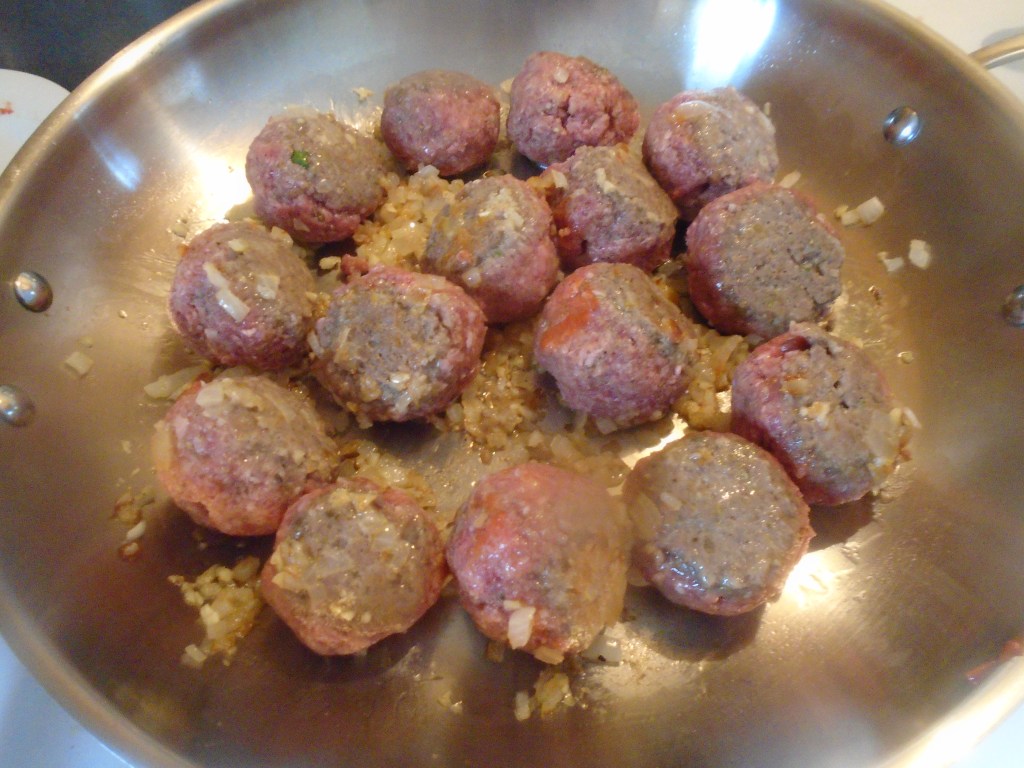
Simmer the meatballs for about 5 minutes at low heat and then turn them over.  Cover the pan and cook for another few minutes.  Keep turning the meatballs every few minutes until they become firm.

Strain the meatballs to remove the grease.  Return the meatballs to the pan. 

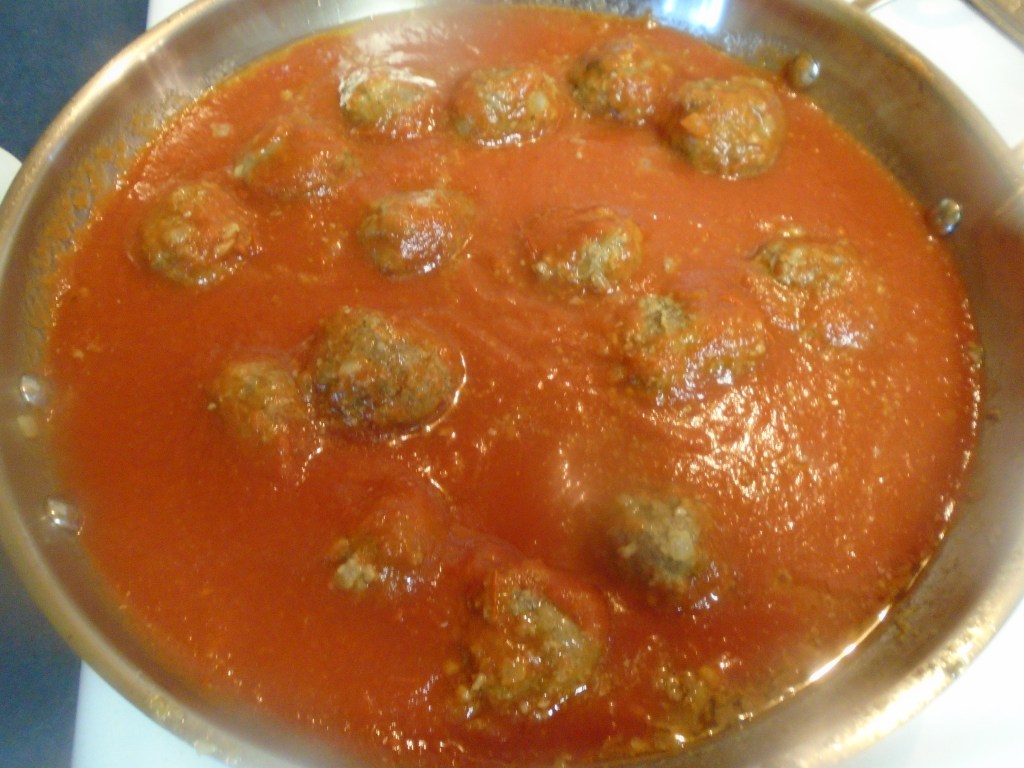
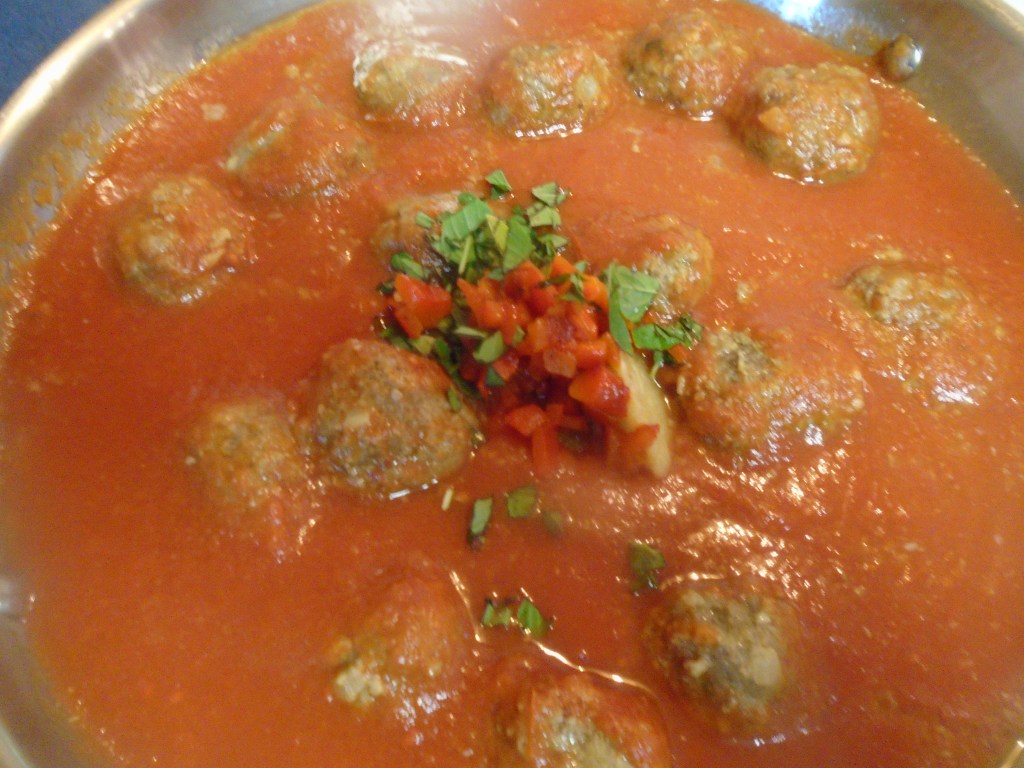
Add the tomato sauce to the meatballs.  Stir the meatballs in the sauce and add the Marsala, roasted garlic, roasted bell pepper, fresh garlic, chopped basil, oregano, rosemary, salt and black pepper.  Stir briefly to incorporate.

Cover and simmer for 30 minutes. 

While the sauce is finishing, prepare spaghetti noodles in a large stock pot.  Add the water to the pot and bring to a boil.  Add a tablespoon of salt, a bay leaf and 1 tablespoon of oil.  Add spaghetti noodles and cook until the noodles are al dente.

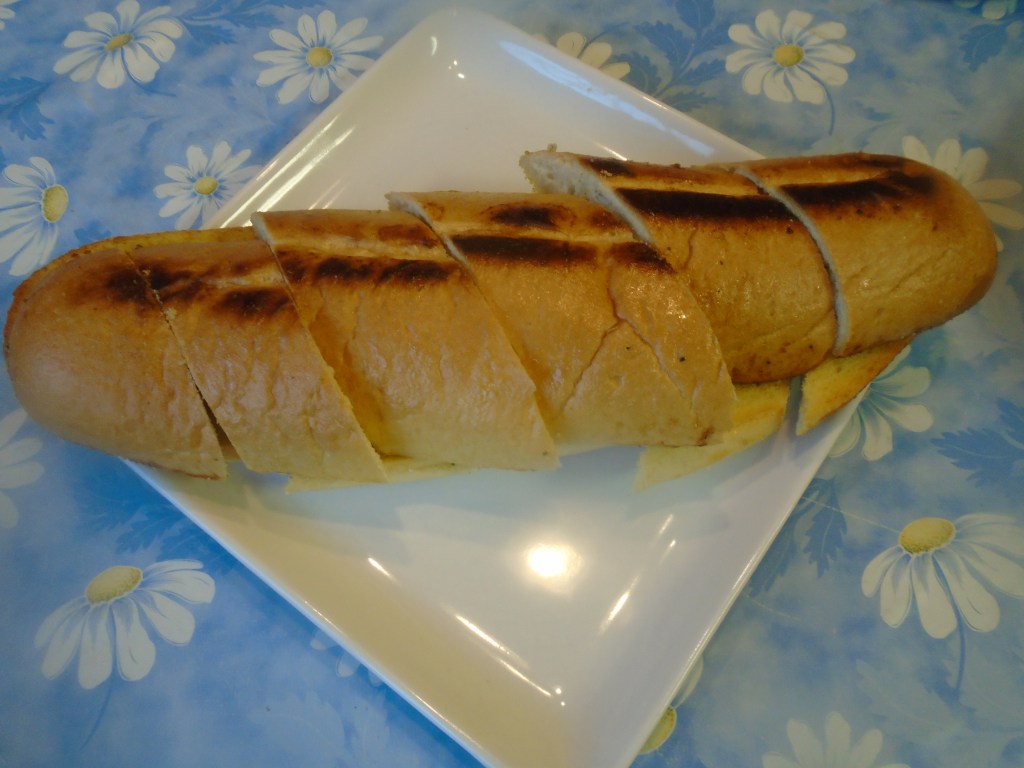
Serve with fresh Parmesan cheese, garlic bread and salad.

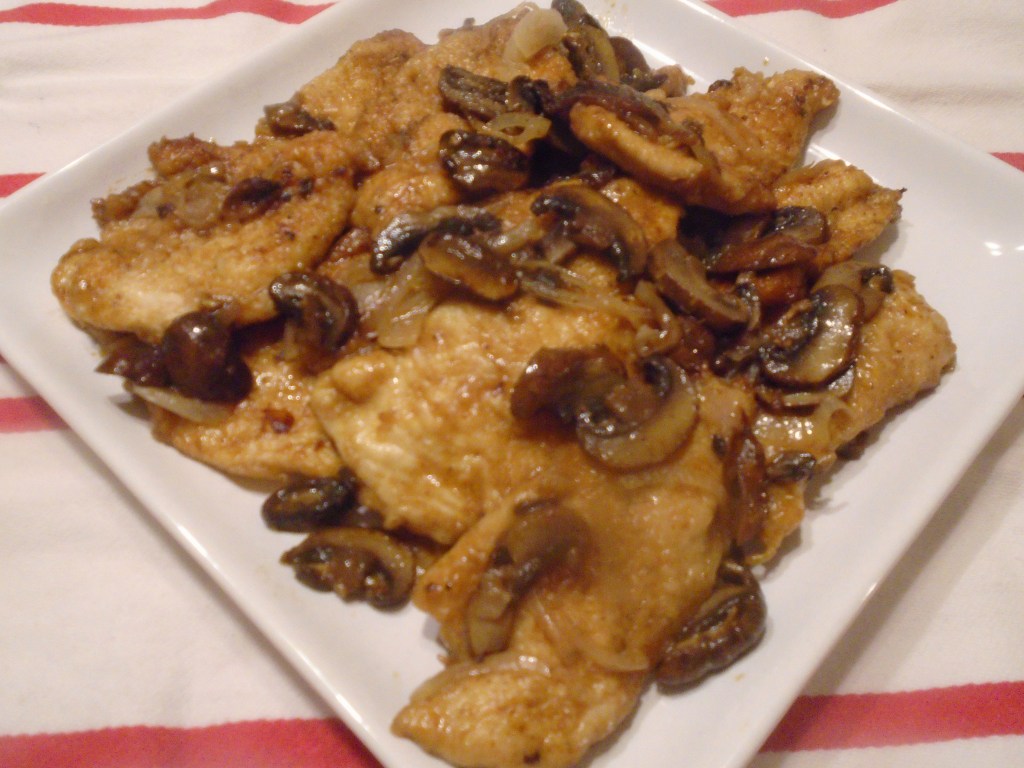
Chicken Marsala

I don’t make Chicken Marsala very often, mainly because I rarely have Marsala wine on hand but, every time I make this I tell myself that I should always keep a bottle of Marsala within arm’s reach.  The sauce that the wine produces is rich and smooth.  A good Marsala sauce results in a beautiful balance of sweet and savory flavors.  Heavy cream can be added to the sauce to make it luxurious, to the point of decadent. 

Note: Most recipes for Chicken Marsala call for some cooking sherry to be added, along with the Marsala wine.  Cooking sherry is another thing that I rarely keep in stock, so I skipped it.  Marsala and sherry are both sweet wines and I didn’t think I would lose any significant flavor by omitting the sherry. 

Ingredients:

¼ cup flour

½ tsp salt

¼ tsp black pepper

½ tsp dried oregano

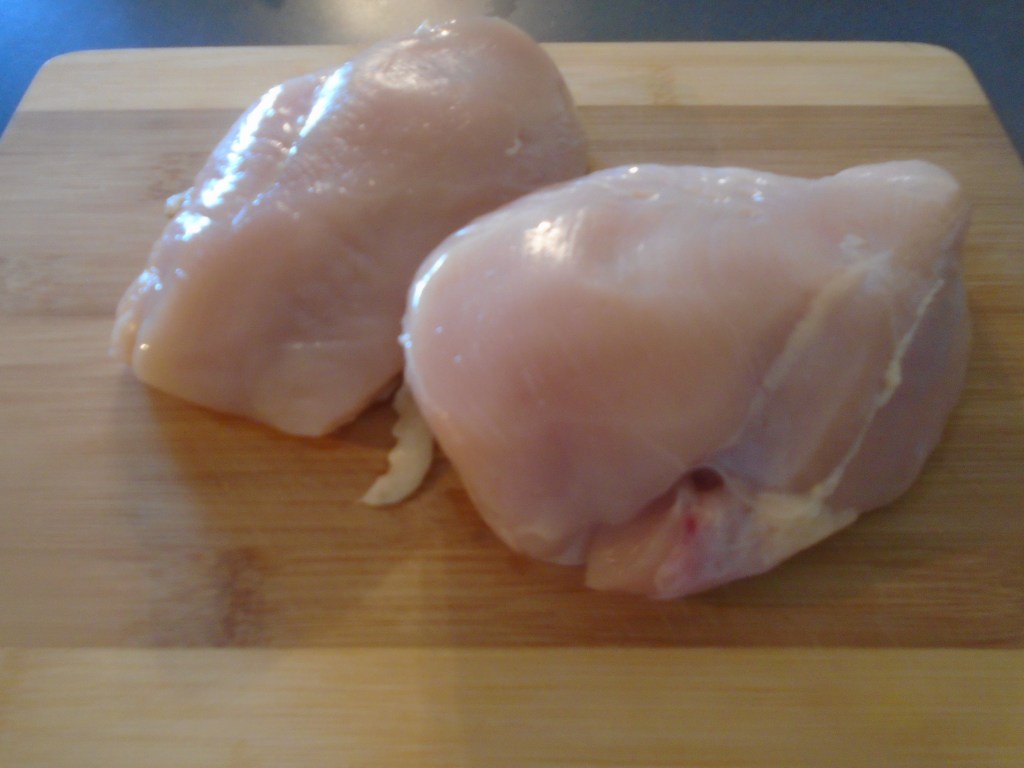
4 chicken breasts, sliced ¼“ thick

4 Tbs butter

4 Tbs olive oil

1 cup thinly sliced shallots

1 ½  cup sliced mushrooms (an 8 oz package)

½ cup Marsala wine

Directions:

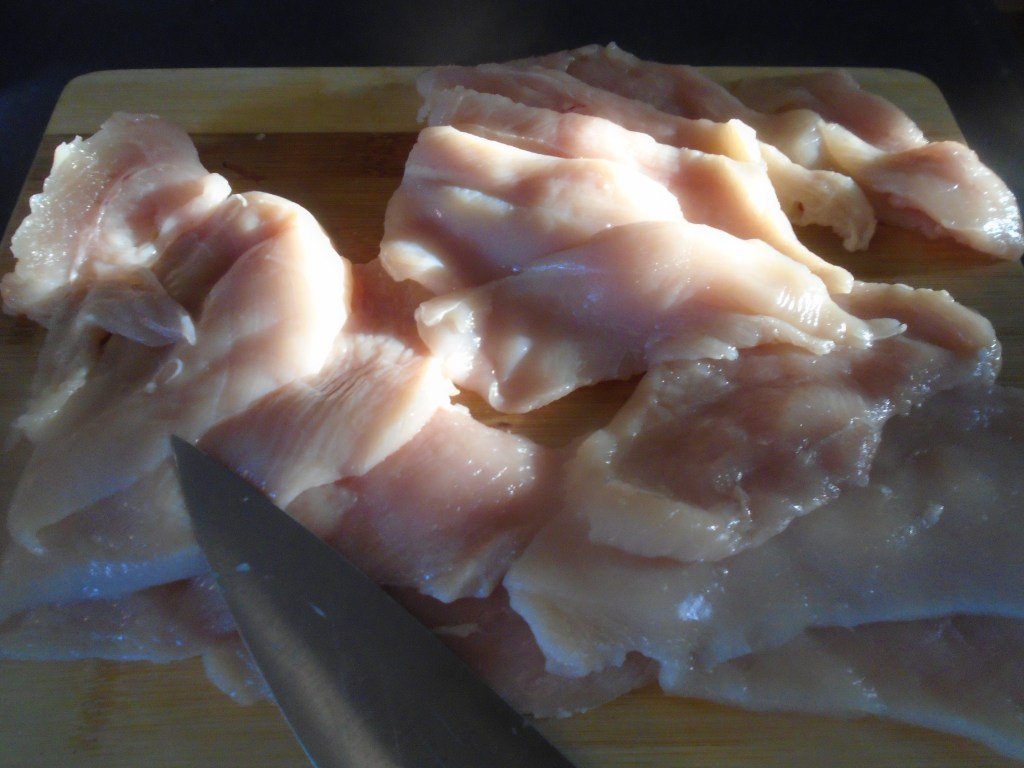
Slice the chicken breasts horizontally into ¼”slices.

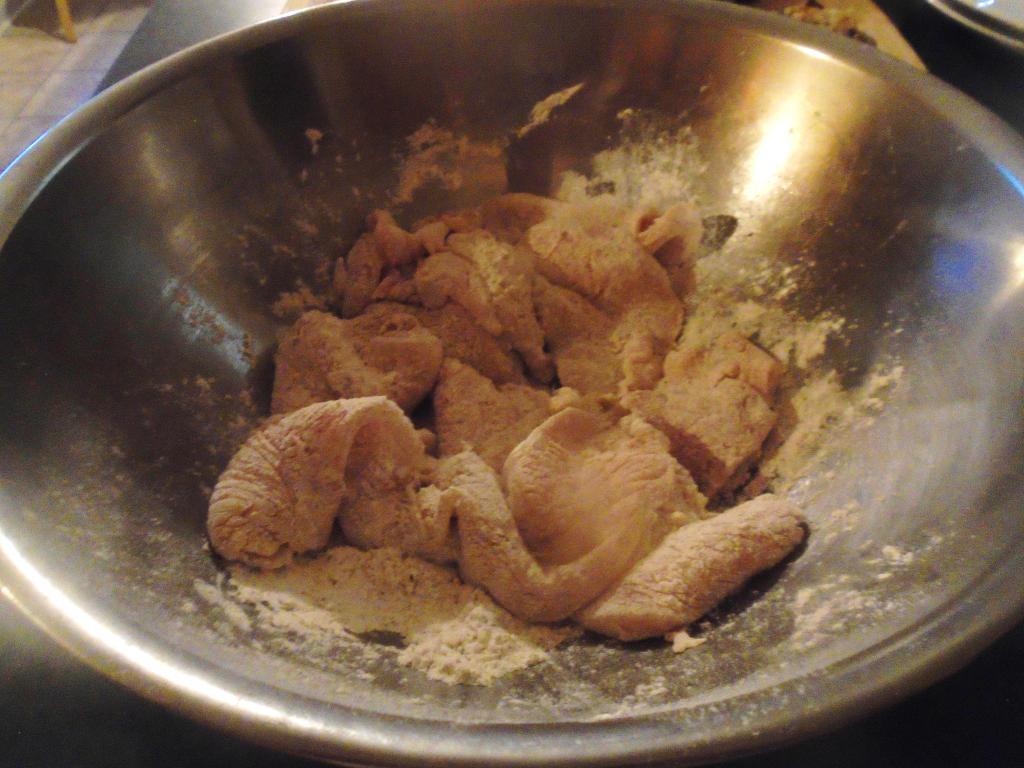
Mix the flour, salt, pepper and oregano together in a bowl.  Coat the chicken in the flour mixture and set aside for several minutes.

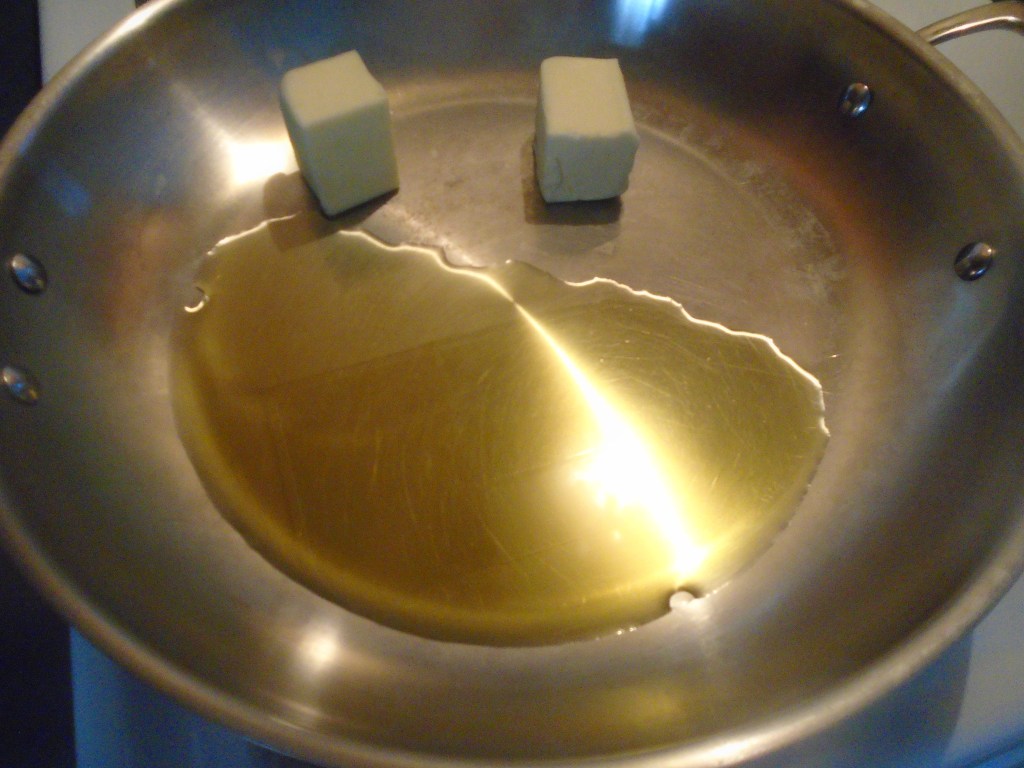
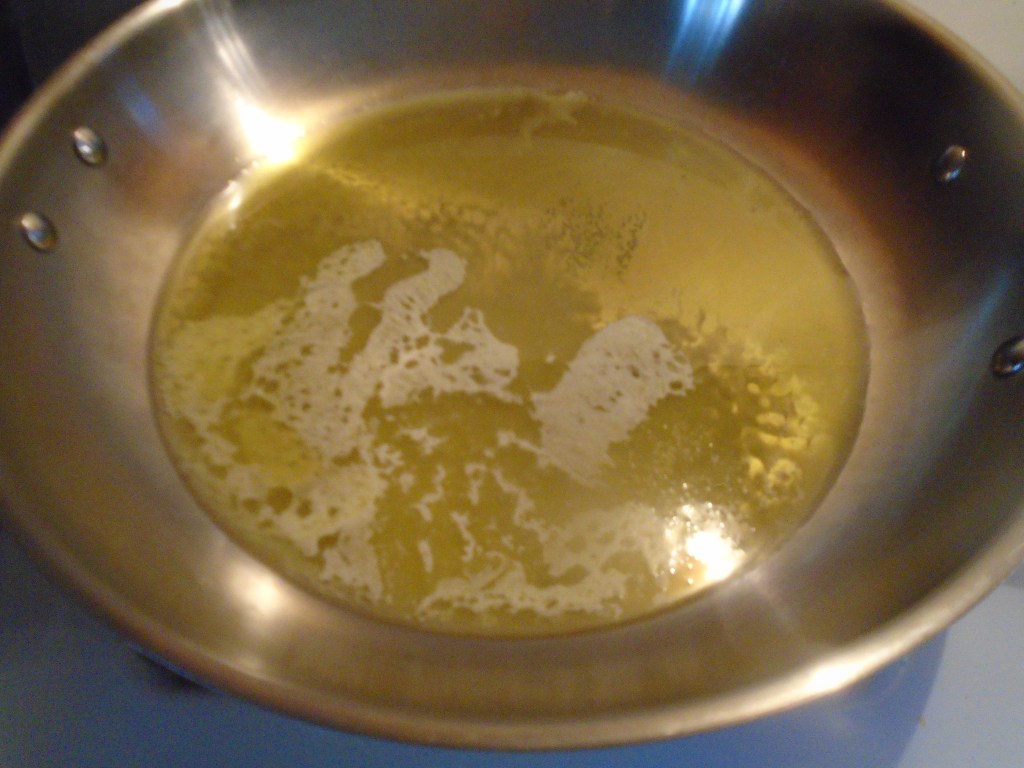
In a skillet, melt the butter and oil over at medium/low heat. 

Add the shallots and simmer for 1 minute.  Remove the shallots and reserve. 

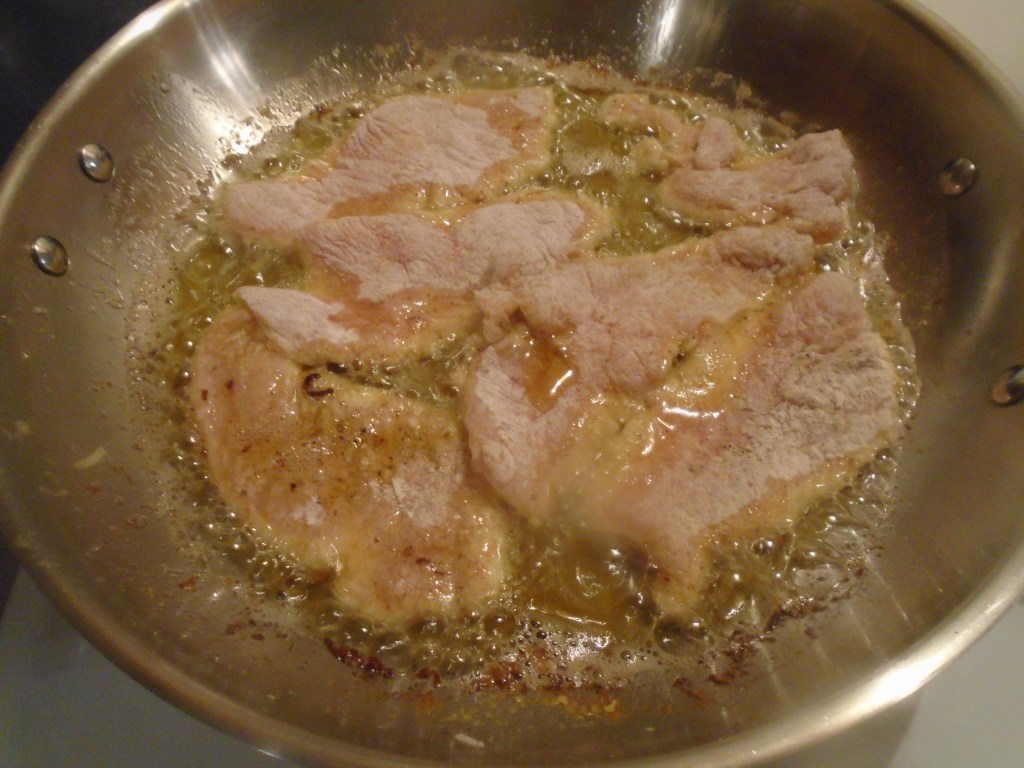
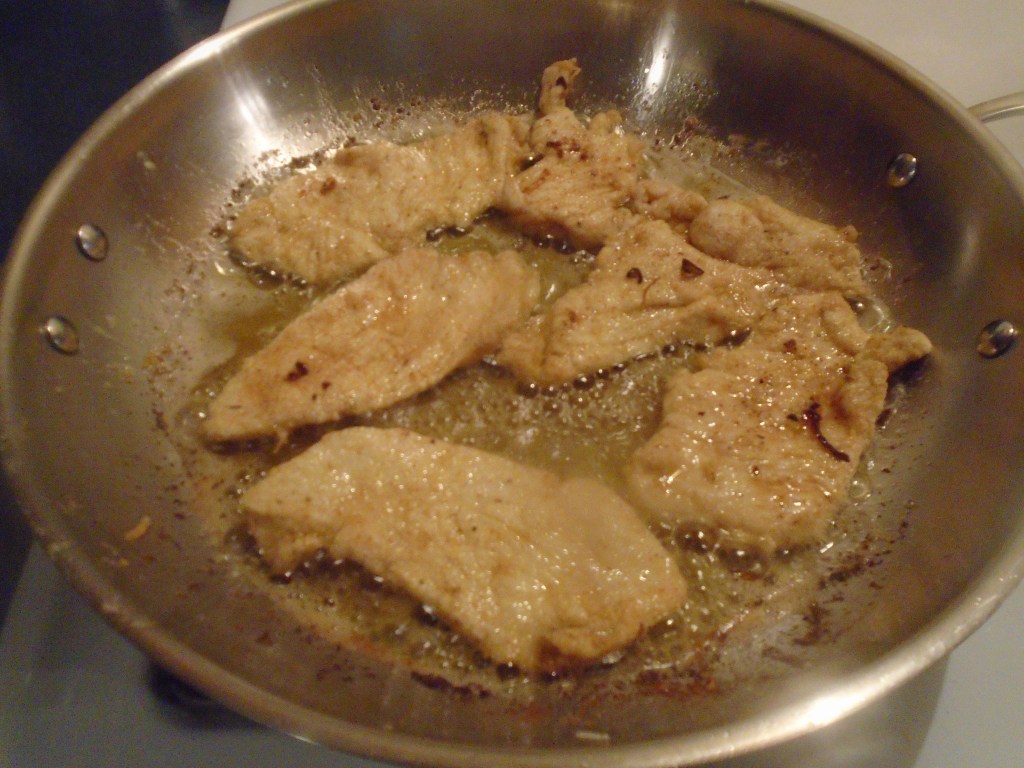
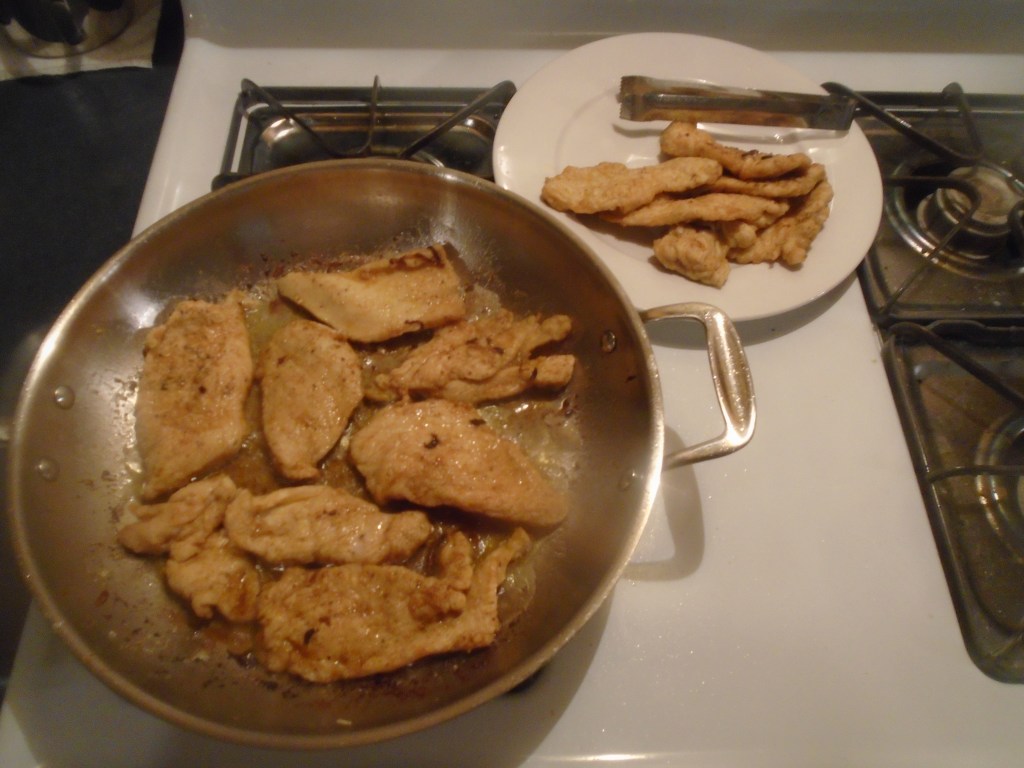
Place the coated chicken in the pan, and brown, slightly.  Do not crowd the chicken.  You will probably need to make two batches.  Turn the chicken after a minute, or so, and then once again to lightly brown the other side. 

Set the first batch of chicken aside to a warm area.  Add the second batch of coated chicken to the pan.

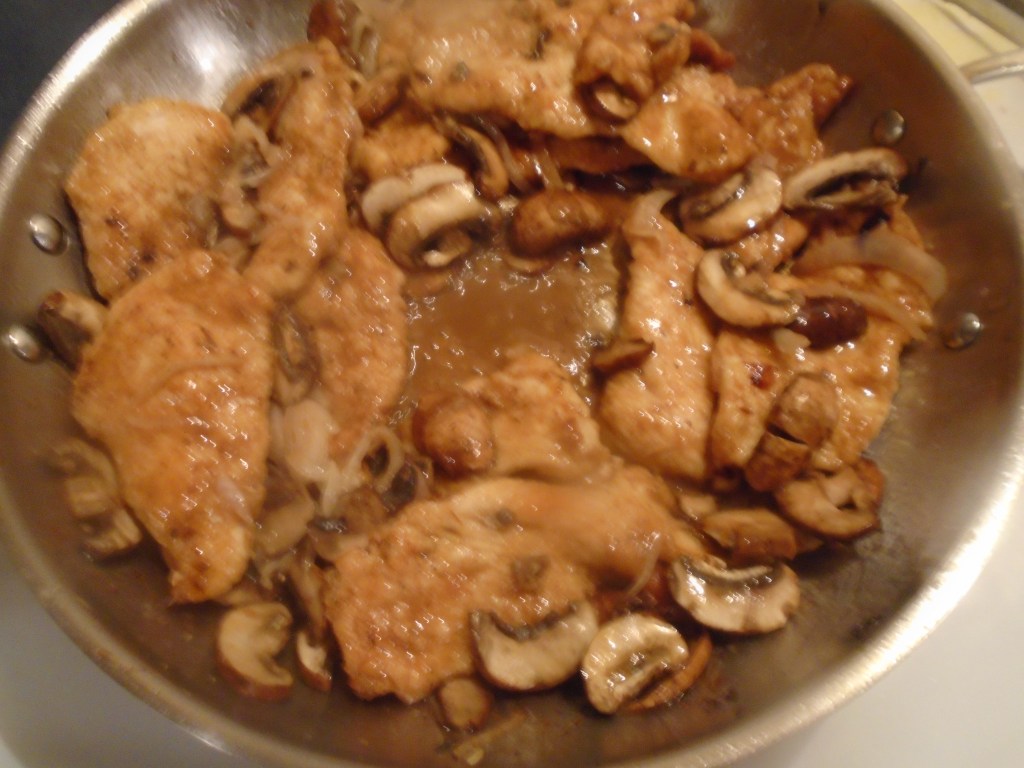
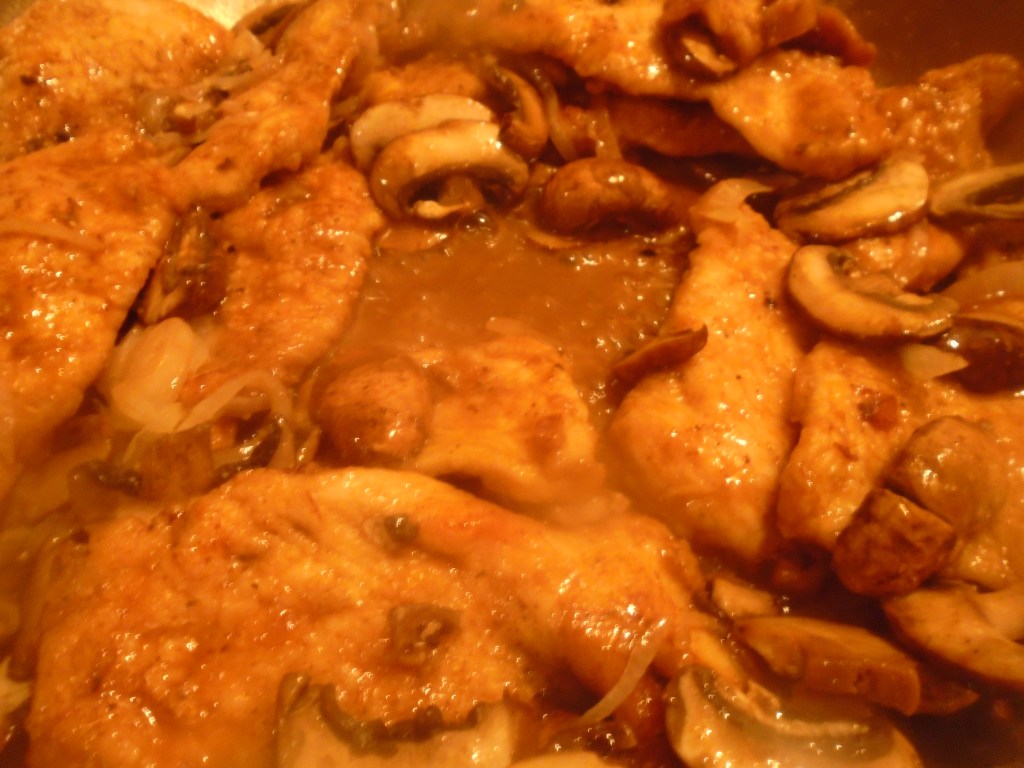
Once the second batch of chicken is done, add the first batch back to the pan. Add the mushrooms and shallots to the pan.  Finally, add the Marsala wine.  Cover and simmer for 10 minutes, turning the chicken one more time during the process.

A wonderful brown sauce forms in a matter of a few minutes. 

Masala – Marsala

This week’s confession is truly astounding, even for someone like me, who has committed so many kitchen atrocities over time that I am sure I will end up in Kitchen Hell, when it’s all said and done.

All kidding aside, this was truly a remarkable faux pas.  I’m the sort of person that likes to be the smartest kid in the class and, if it’s obvious that I am not the smartest, I like to the one that says the most clever things.  Earlier this week I confused Masala with Marsala. 

For those of you who might be scratching your heads, wondering what the difference is between the two, I’ll tell you.  The difference is “R”.  (See what I mean about trying to make up for a lack of intellect by attempting to be clever?)

Masala is a mixture of many spices.  It’s a term used by people from India and Pakistan, among other places.  It is not just one particular spice mix.  The mix can contain any number of spices.  Masala is the flavor foundation for many dishes.

Marsala is a sweet, fortified Italian dessert wine, often used for cooking. 

An innocent mistake, for sure.  And, if that was where my story ended, I could have laughed it off and gone on with my life with nobody being the wiser. 

Several months ago, while visiting my favorite Indian spice market, I struck up a conversation with the proprietor, as I usually do.  He is always willing to stop and talk with me and he has been a tremendous guide, while I attempt to unravel Indian cuisine.  On this occasion, I told him that I was considering making a masala pizza, at least that is what he probably heard.  I actually said Marsala, because I was thinking about making a chicken Marsala pizza.  That was the moment I ran off the rails. 

You see, I have made chicken Marsala before and I have made many dishes with masala, although I’ve never really thought about calling the spice mixture, masala.  I must have had a bizarre synaptic short-circuit which caused me to switch masala with Marsala.  The proprietor, being the gentleman that he is, just stared at me when I suggested the masala pizza.  He gave me a sort of quizzical, pitiful look.

Well, months later, here I am ready to make the pizza.  I wanted to try a test run with the chicken Marsala, before moving on to the pizza.  I went back to the Indian market to pick up some items for other dishes and when I saw the proprietor, I told him that I was really going to make the masala pizza, but I what I actually said was, “Marsala”.  I told him that I was deliberating on how to approach the pizza.  I didn’t want to use traditional Italian marinara and mozzarella because I didn’t think they would pair well with the Marsala sauce.  I asked him if he had a suggestion for a creamy sauce that I could make, instead of using Mozzarella.  After a moment, he suggested coconut milk and followed that with suggesting tapioca starch to thicken the coconut milk.
Coconut milk?  I’ve taken some interesting turns while creating new food but coconut milk didn’t seem like a very good idea for pizza but, I told him that I would give it a try.

As I left the store and headed to the wine store, to pick up some Marsala wine, it suddenly dawned on me that I had been utterly confused.  You see, the proprietor of the spice market speaks perfectly.  Despite the tell-tale Indian accent, his diction and vocabulary is precise and clear.  He speaks better English than most people I encounter, on any given day. 

“Masala”, was what he was saying, and he made sure to say masala each time after I said “Marsala” to him.  The nerve cells in my brain finally made the jump.  I had been enlightened!  I also suffered from incredible embarrassment. 

As I drove to the wine store I convinced myself that the only way to redeem myself was to perform an act of penance.  I would make two pizzas.  One would be inspired by masala and the other would be inspired by Marsala
One final interesting event rounded out the day and convinced me that fate is a very real thing.  I was checking out some other blogs and I came across this blog,  https://ishitasood.com/ .  It’s tagline reads, “The Biggest and Only Indian Blog on Italy”.  Ishita is the author and she has produced some very interesting posts.  One post in particular struck a chord with me… https://ishitasood.com/confessions-of-a-passionate-blogger/

In the blog she offers some words of encouragement, including the following: “It is okay to be vulnerable.”

And that was exactly what I needed to hear.  It is what I needed to remember.  I am an imperfect human and so is everybody else.
I will work on these recipes with an open heart and an open mind.
“Sunrise, Sunset”

I started this blog in late July of this year and now we are about halfway into September.  You might be thinking that this is a prelude that will lead into a rambling account of all of the fun that I have had so far and how much I have enjoyed bonding with other fellow bloggers. 

Well, all of that is true but, I only mention the time frame because of how it relates to photographing the food that I have made.  Most of the food that I have documented on the blog has been made during late afternoons and evenings. 

Our kitchen sits on the western side of our home and we have a window, over the sink, that faces west.  My wife photographs most of what is posted and she has produced some beautiful shots.  But, I know what lies ahead.  Autumn and Winter.  The sun is setting earlier with each passing day and pretty soon, I will be making dinner long after the sun has set. 

That means I won’t have the dramatic lighting that the setting sun is providing now.  We will be faced with the challenge of making food look good under the bland overhead lighting of our kitchen.  I don’t relish the thought of setting up elaborate lighting schemes and I don’t want my kitchen to turn into a photo studio.  Fortunately, my wife and I are creative and resourceful people.  We will try to find ways to put up some interesting photos, despite the lack of natural sunlight. 

So, if you find yourself yawning at my posts during the winter, I will understand. Come back next spring and catch a glimpse of the sun again.   

Tres Tacos (Three Tacos)

In my never-ending attempt to rid my refrigerator of leftovers I found myself falling back on a familiar theme: Tex-Mex.  Mexican cuisine can be made with all sorts of things and that’s what makes it so easy to rely on, when having to decide what to scrape together for dinner.

For this meal, corn tortillas tied everything together.  I made three different types of tacos, two with beef and one with turkey.  All of them shared some of the typical taco toppings like lettuce, tomato, onion, cilantro and sour cream.  Each one had at least one signature ingredient and each had a different kind of cheese.

Each taco had its own, unique quality.  Everyone that ate them had their own favorite.

This was fun to make but, I have to admit, it didn’t come together as quickly as I wanted.

I had some tomatoes from the garden that needed to be used so I cooked them down to a sauce and added jalapeños, onion and garlic.  I pureed the sauce after it cooked for about 40 minutes.  Normally, I would use picante sauce from a jar but I just can’t resist fresh sauce, when I have the ingredients in my garden.

One more comment before we jump into the recipe.  I sometimes use two corn tortillas per taco, instead of just one.  These tacos are prepared like “street tacos”, which is to say they resemble authentic Mexican tacos.  They are not the crispy corn tortillas that you might find at a grocery store, or ones that you might get at a fast food restaurant. 

The tortillas are heated just to a point where they are still soft and pliable.  Doubling up on the tortillas means that the tacos are more durable.  I hate tacos that fall apart in my hands!

Ingredients:

½ cup beef barbacoa

½ cup cooked ground beef

½ cup cooked ground turkey

1 cup prepared spicy tomato sauce

1 Tbs chipotle in adobo sauce (diced)

¼ cup sautéed sliced mushrooms

½  cup borracho beans, drained

¼ cup spicy mayo/sour cream sauce

½ cup grated cheddar cheese

½ cup cotija cheese

½ cup grated Monterey Jack cheese

¼ cup diced tomatoes

½ cup shredded lettuce

¼ cup diced onion

½ cup cilantro

6 pitted black olives, chopped

¼ cup sour cream

18 corn tortillas

lime wedges

Directions for the salsa:

If you don’t want to make fresh salsa, use a store bought salsa of your choice…otherwise, this is what I did to make the salsa for this dish.

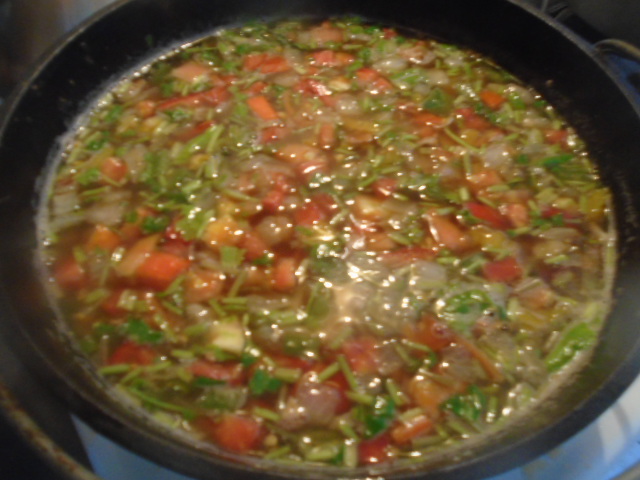
Dice 6 to 8 small to medium sized tomatoes.  Add to a large pot and simmer at low heat.  Dice ½ onion and smash 3 garlic cloves and add those to the pot.  Add 1 tsp dry oregano and 1 Tbs cumin powder.  Simmer at low/medium heat for 30 to 40 minutes, stirring occasionally to prevent the sauce from burning on the bottom of the pot.  Puree the contents.  Now you have fresh sauce!  Set this aside.

finished salsa

While the sauce is cooking, prepare the rest of the ingredients for the tacos.  You will be chopping, peeling and slicing vegetables so keep a bowl handy for the refuse. 

carrot, mushroom, lime and olives
onion, tomato and cilantro

Peel, chop and dice all of the vegetables.  Set aside.  Grate the cheese and set aside.

Break apart and crumble the meat.  Lay the meat in separate piles on a baking sheet lined with parchment paper and warm in the oven at 250° for about 15 minutes.

Heat a pan, or a comal, on the stove to low/medium heat.  Add a little oil and cook the tortillas on each side.  Add a little more oil after two or three tortillas are cooked.  The tortillas should cook for about 20 seconds on each side.  Remove to a plate and keep warm.

I kept forgetting what I was going to put on each taco so I decided to write it down on a 3×5 index card.  Not a bad idea, especially for someone with the attention span of a gnat, like me.

Even after writing this down, I still switched the cheese on two of the tacos…go figure!

Directions for assembling the tacos:

I recently got some taco holders as a gift and, although I don’t use them often, they made it easy to assemble tacos and they made a nice presentation.

I worked on all three tacos simultaneously.

For the barbacoa taco:

Start by adding some barbacoa.  Add borracho beans, followed by salsa and cheddar cheese.

For the ground beef taco:

Start with ground beef.  Add minced chipotle sauce, salsa and cotija cheese.

For the turkey taco:

Add ground turkey, followed by mushrooms, followed by the mayo/sour cream sauce, Monterey Jack cheese and black olives.

Top all three tacos with lettuce, tomato, onion, carrot, cilantro and finally, a small dollop of sour cream. Serve with lime wedges.

Swiss Mushroom *Turkey* Burgers

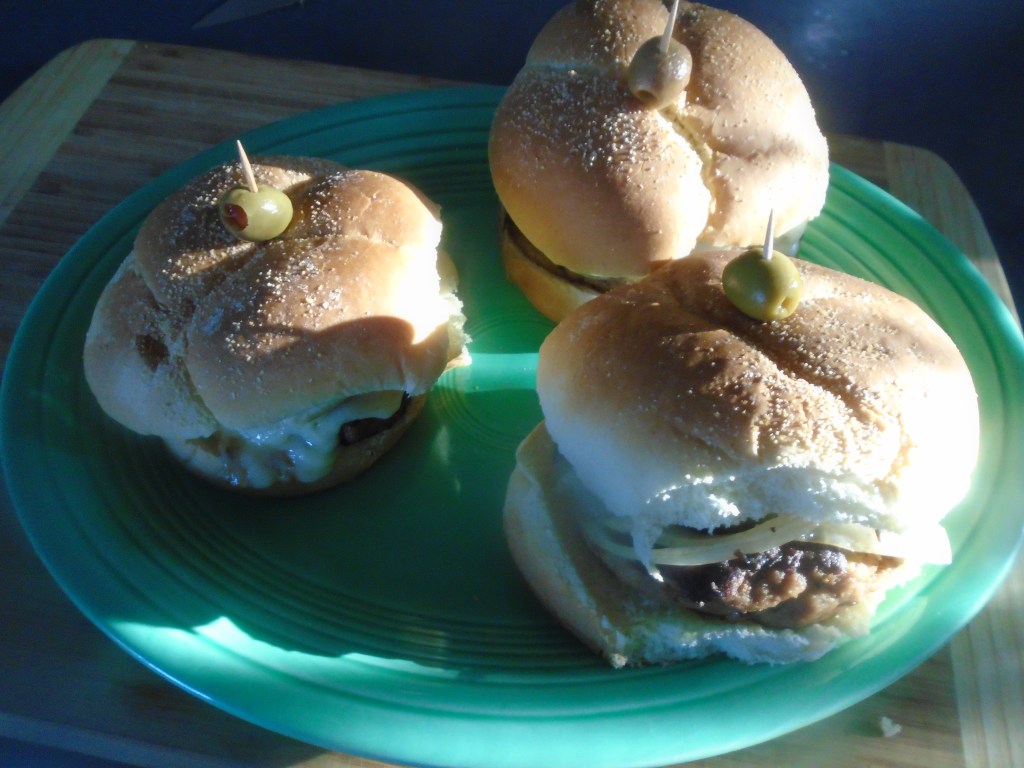
I made turkey burgers a few days ago and I had some burgers left over and I decided to make them again.  I didn’t want to recreate the same burger because that would be boring.  So, I decided to make Swiss mushroom burgers. 

Take a look here if you want to see how to make the burger…

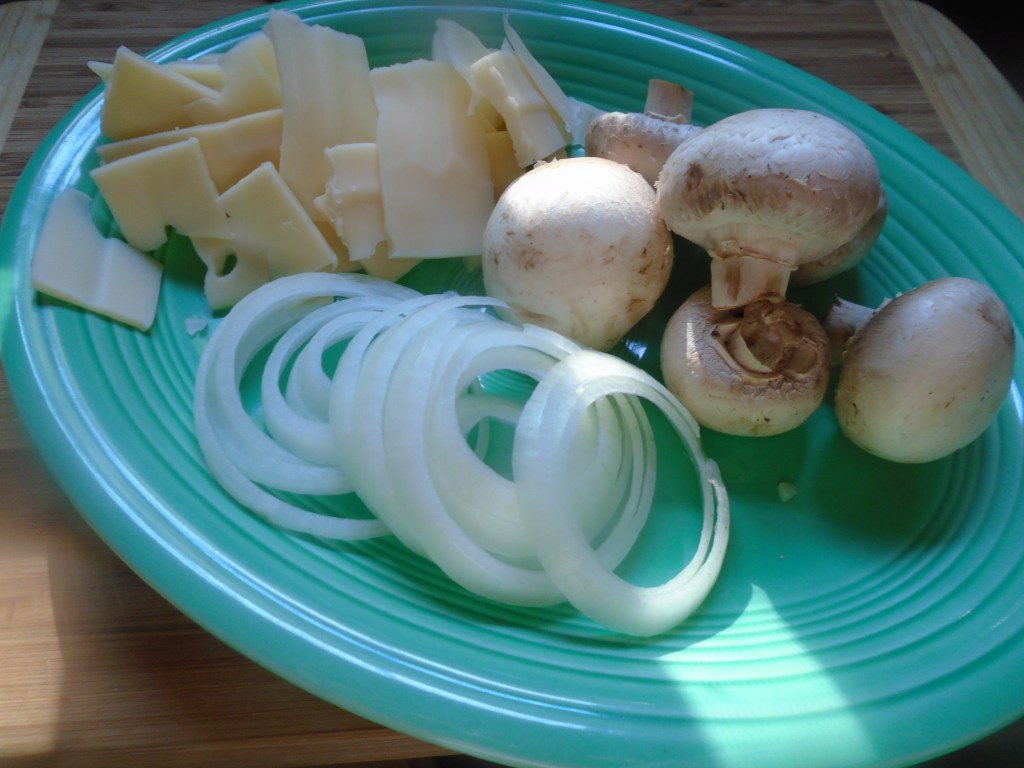
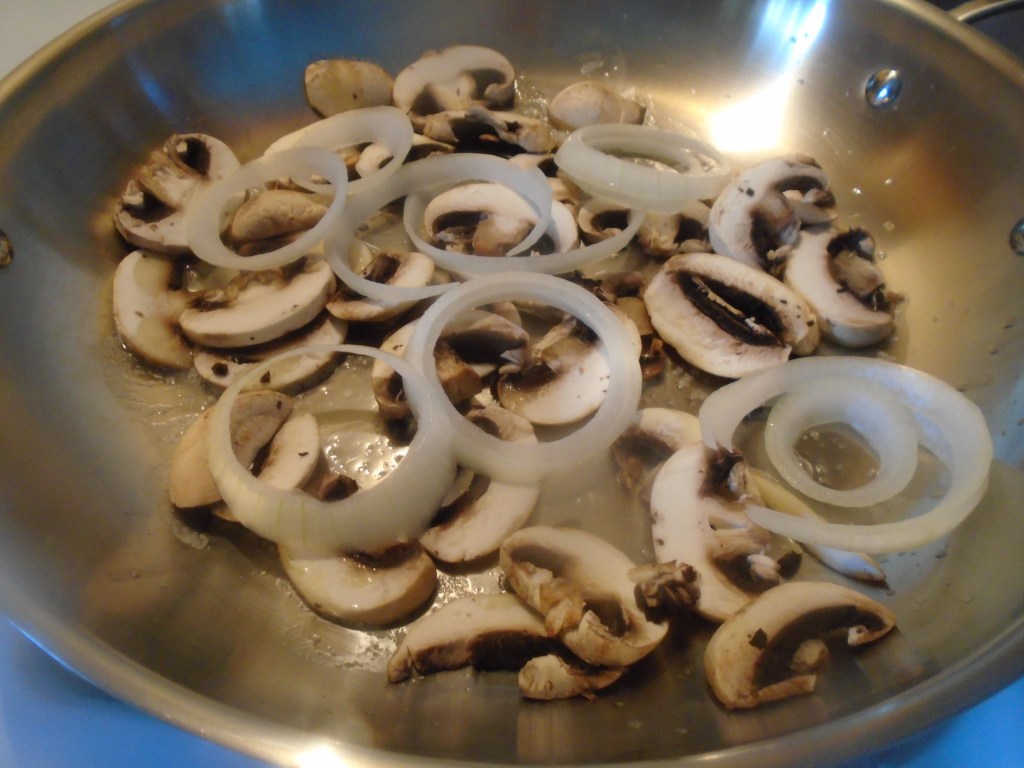
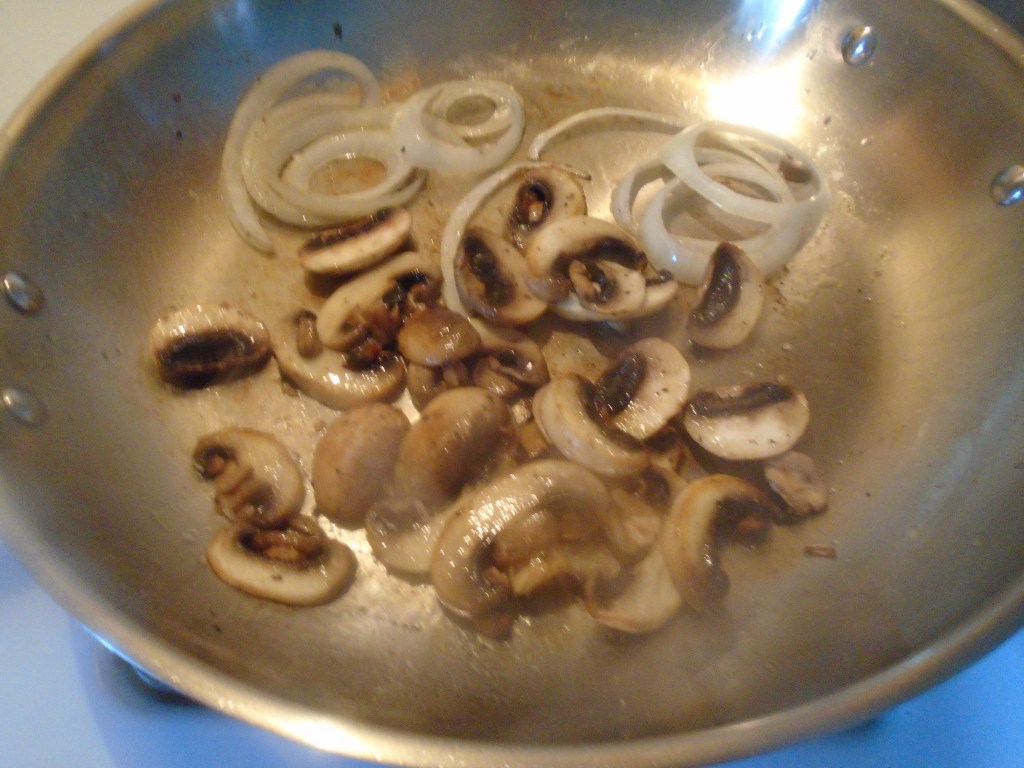
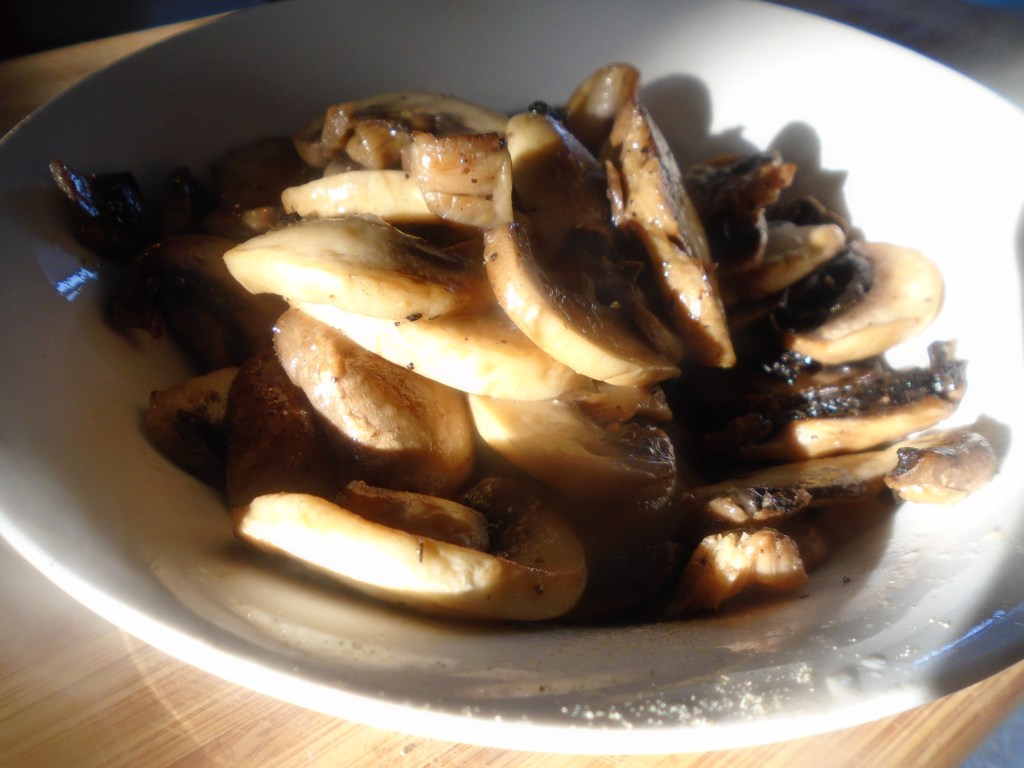
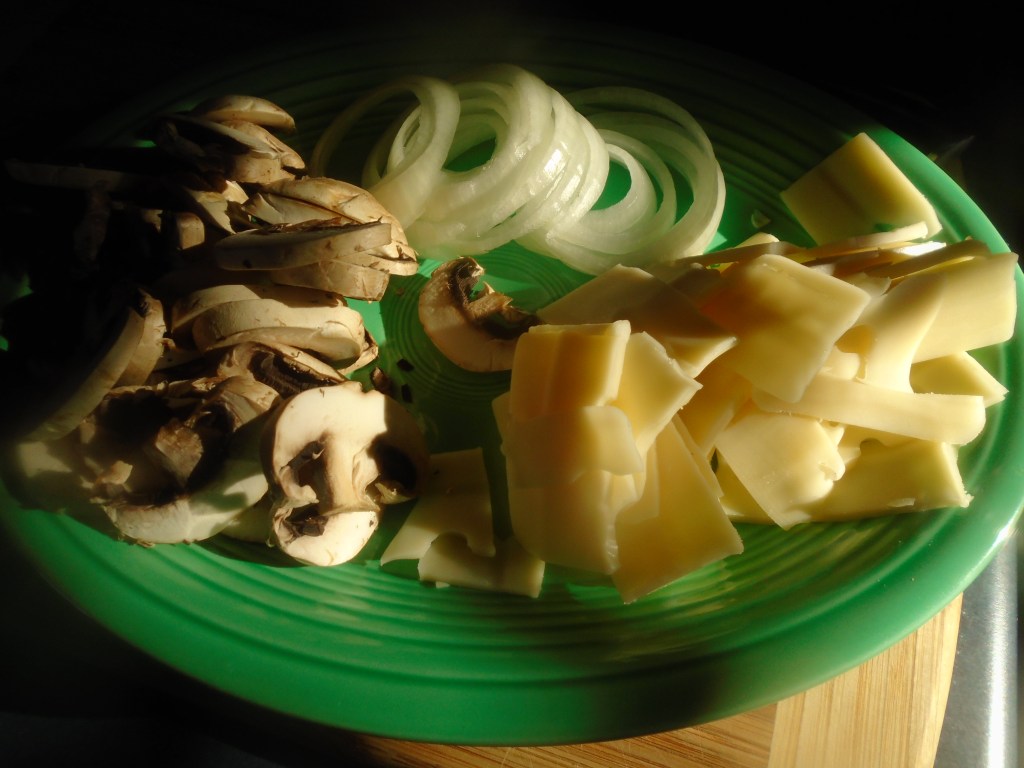
All I had to do was slice some cheese and sauté some mushrooms and onions.  How easy!

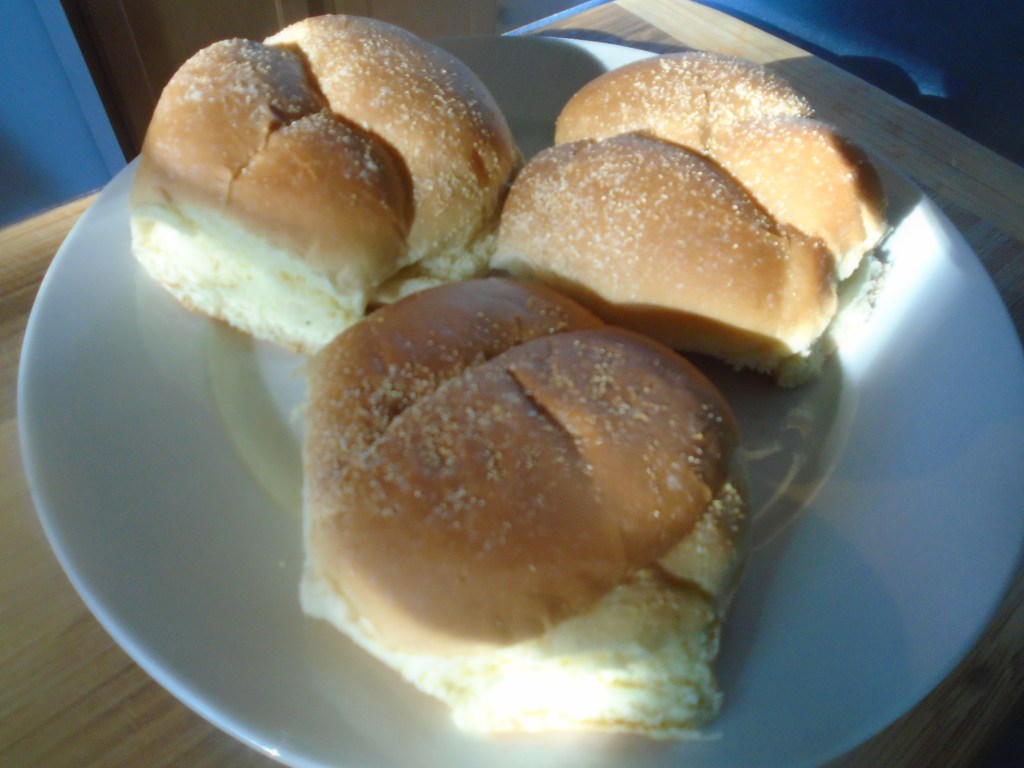
I used different buns than the last time I made turkey burgers…again, I wanted the burgers to have a different look as well as a different taste. 

I’m not going to list the measurements for the ingredients.  Add as much cheese, mushroom and onion to the burger as you like.  Go ahead, pile on the cheese…nobody’s looking!

Ingredients:

Precooked turkey burgers

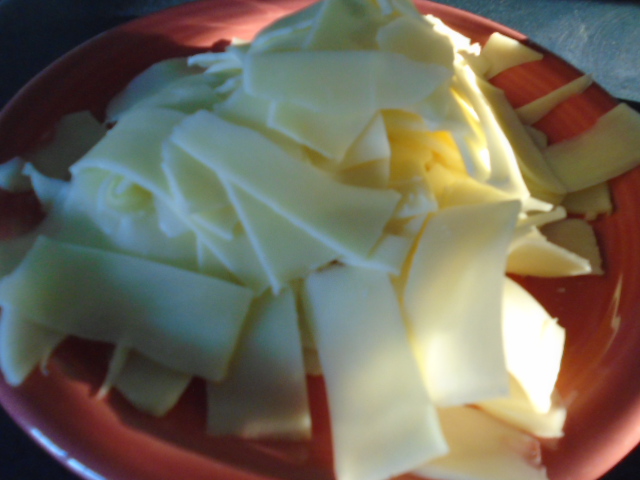
Sliced Swiss cheese

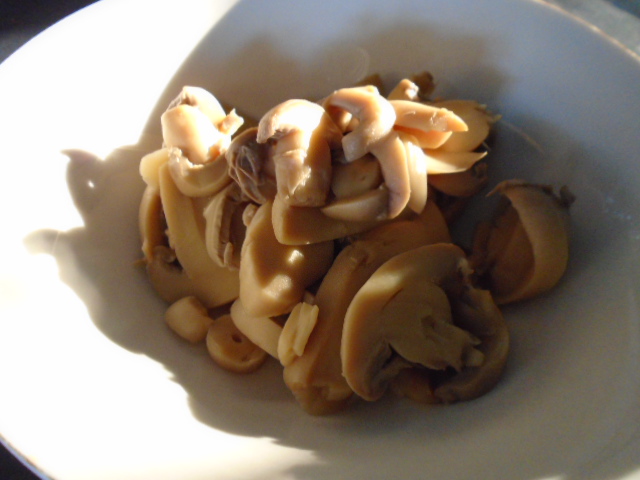
Sliced fresh mushrooms

Sliced onions

Sourdough ciabatta buns

Greek seasoning – just a pinch

Spicy mayo/sour cream sauce (Two parts mayo, one part sour cream and a splash of sriracha sauce) *left over from the Yin and Yang Chicken Wraps*

Directions:

Warm the burgers in a 275° oven for about 10 minutes.

While the burgers heat, slice the mushrooms and cheese.

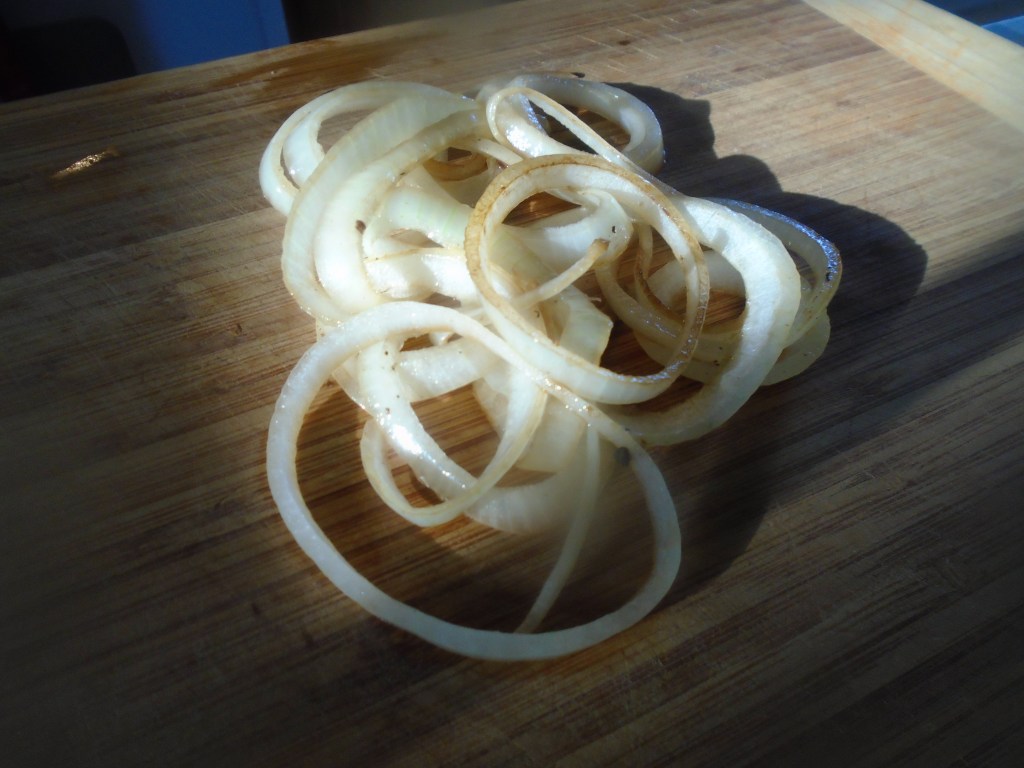
Sauté the onions and mushrooms in a pan with a little butter.  Don’t overcook the mushrooms.  Sprinkle a little Greek seasoning on the mushrooms.  Set aside.

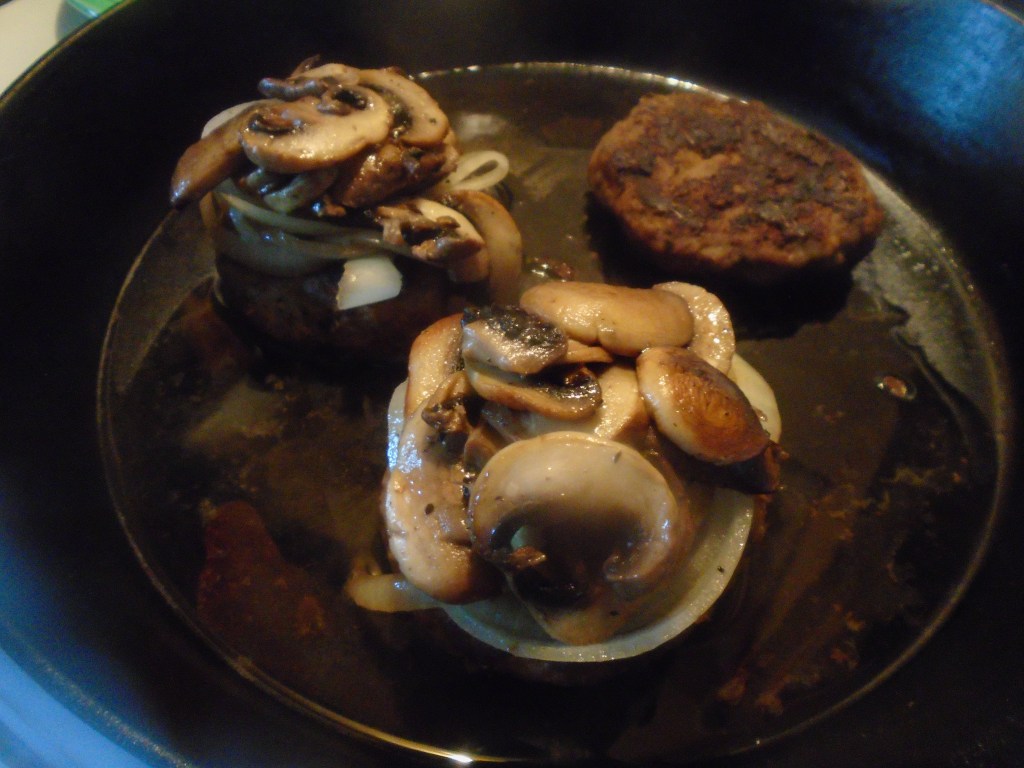
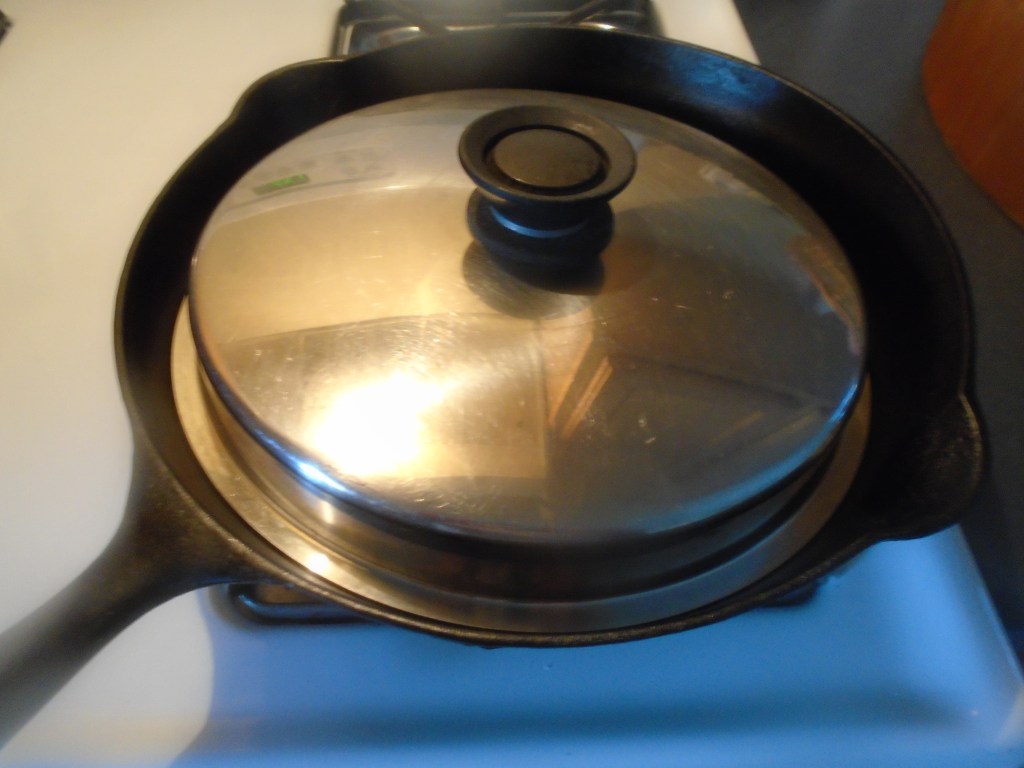
Pull the burgers from the oven and put them in the pan and add a splash of water to the pan.  Lay the mushrooms on top of the burgers and pile the cheese on top of that.  Cover and heat at low/medium for a couple of minutes, just long enough to melt the cheese.

Top with a toothpick and green olive.

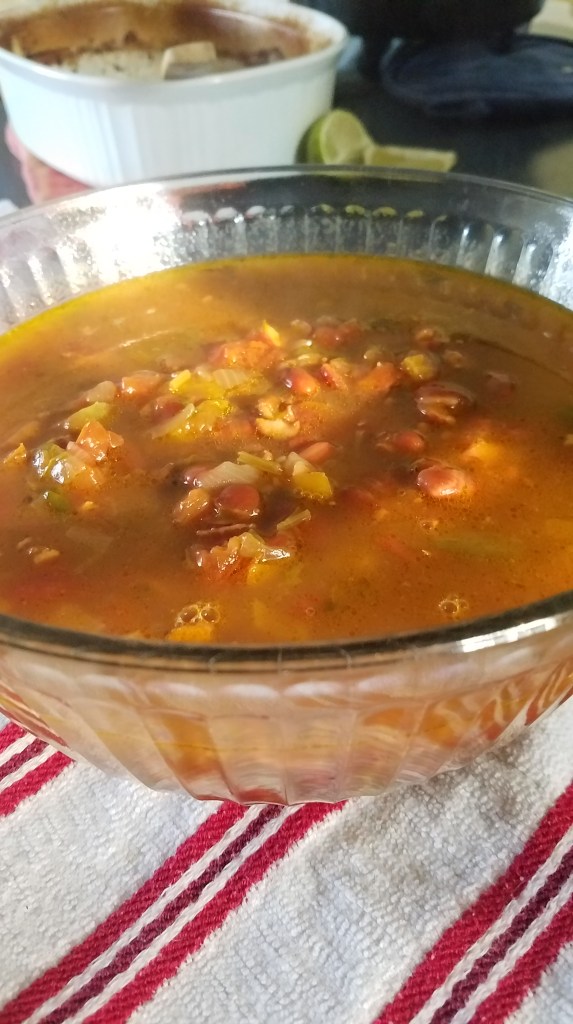
Borracho Beans (Frijoles Borrachos)

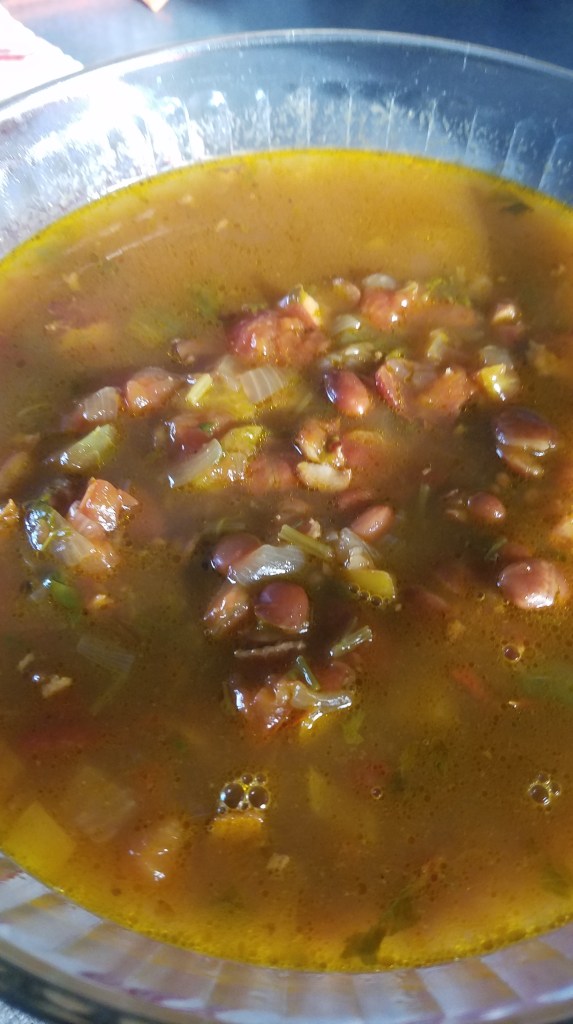
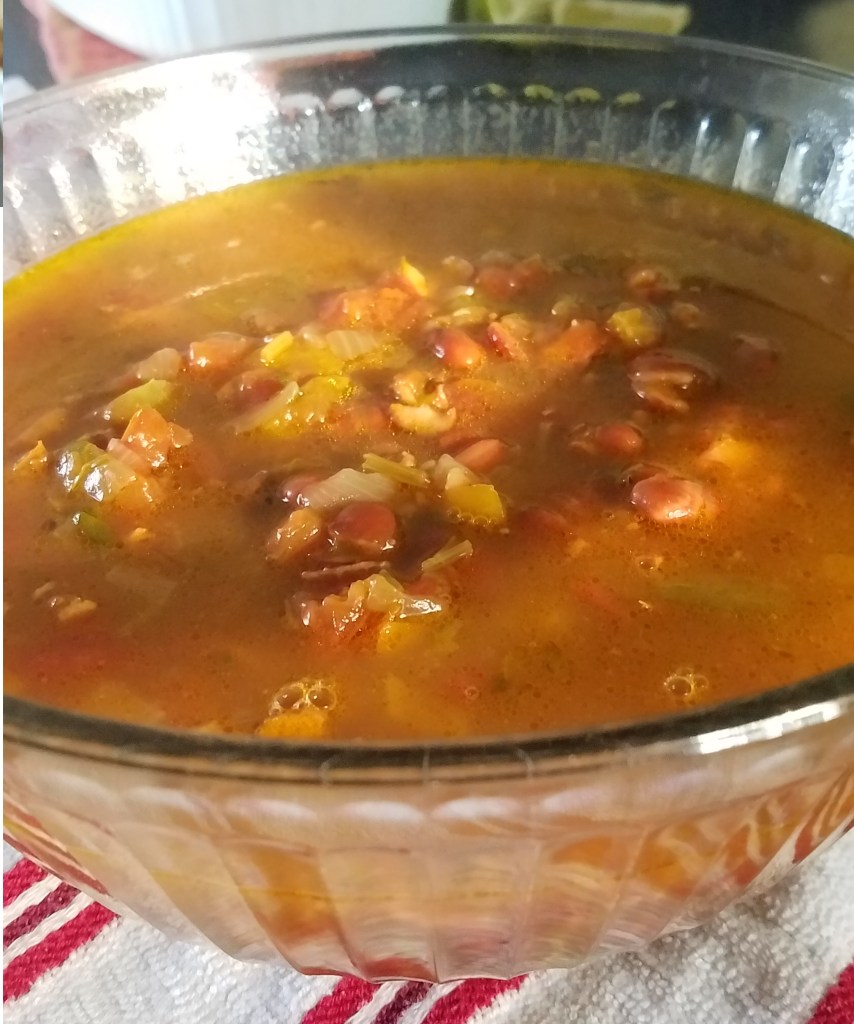
Borracho translates to “drunk” in English, so these are “Drunk Beans”.  I suppose they are called this because one of the ingredients is beer.  The alcohol cooks out and, honestly, I can’t detect the flavor of beer in the final soup.  I guess I include the beer out of habit.

The soup is very flavorful and satisfying.  It warms the heart, as any good soup or stew should.

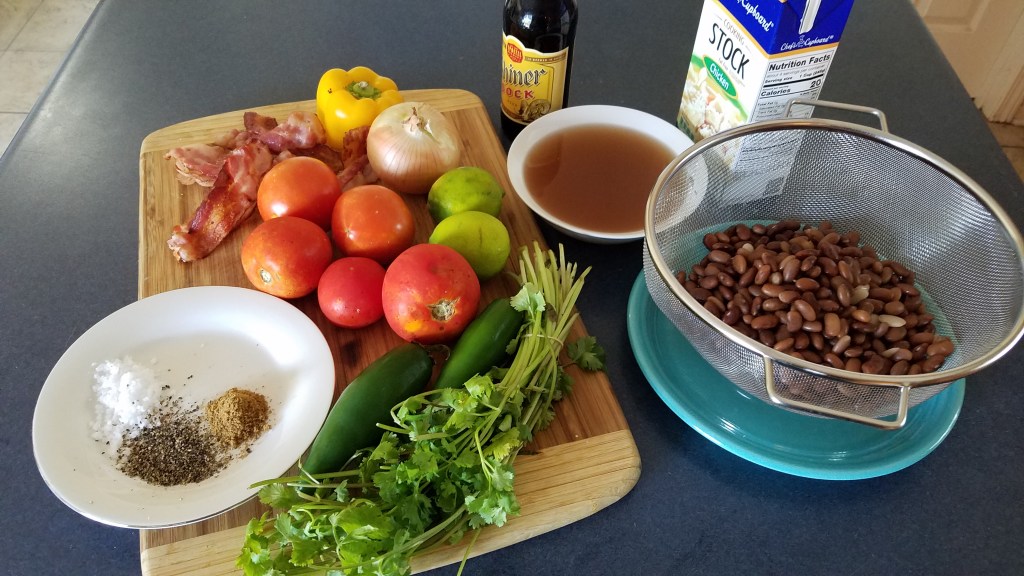
Ingredients:

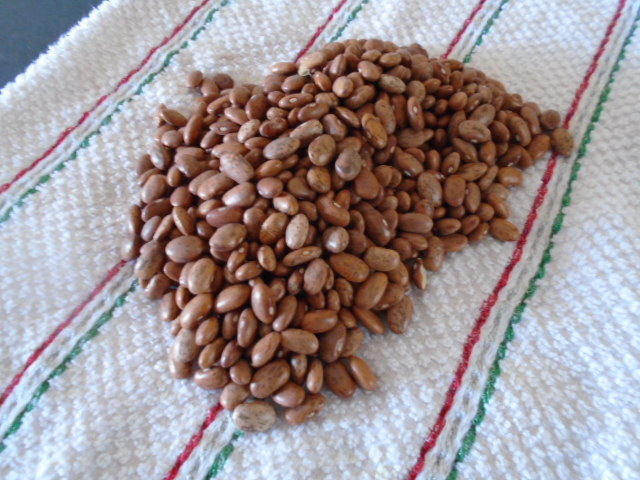
1 lb dried pinto beans

½ lb of Bacon

1 onion, chopped

2 jalapeños or serrano chilis, chopped

2 cloves of garlic, chopped

4 or 5 tomatoes, chopped (or a 15 oz can of diced tomatoes)

1 bottle of beer (I used Shiner Bock)

4 cups Chicken Broth (32 oz carton)

1 tsp ground cumin

1 cube of tomato bouillon

½ cup chopped cilantro

½ tsp salt

¼  cup fresh lime juice (about 3 limes)

Directions:

Wash and sort the beans.  Remove any shriveled beans and stones.

Presoak the beans.  You can soak them in water overnight or, you can use a faster method.  I prefer the fast method.

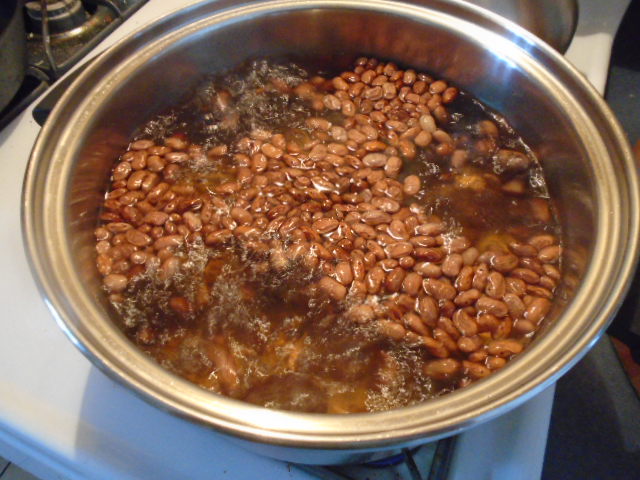
Fill a large pot with water and bring it to a rapid boil.  Add the dry beans and boil for two or three minutes.  Turn the heat off and cover the pot.  Allow the beans to soak for an hour.  Reserve 1 cup of the water from the beans and drain the rest of the soaking water. 

Put the beans in a 7 quart Dutch oven (or a large oven-proof pot).

Cook the bacon in a pan.  Don’t overcook it.  Remove the cooked bacon and keep bacon fat in the pan.  Chop the cooked bacon into ½ inch pieces and set aside.

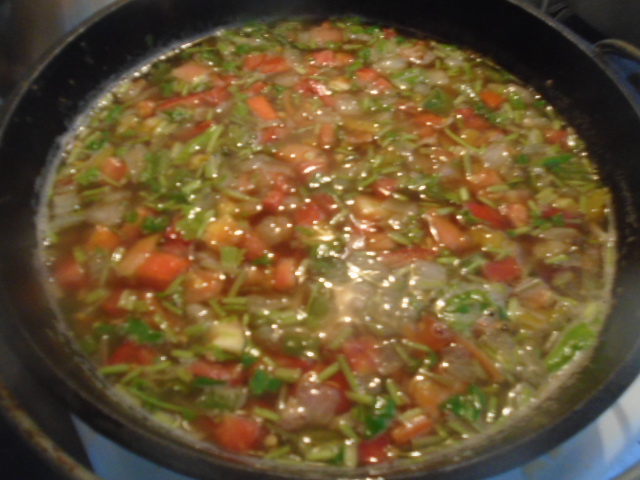
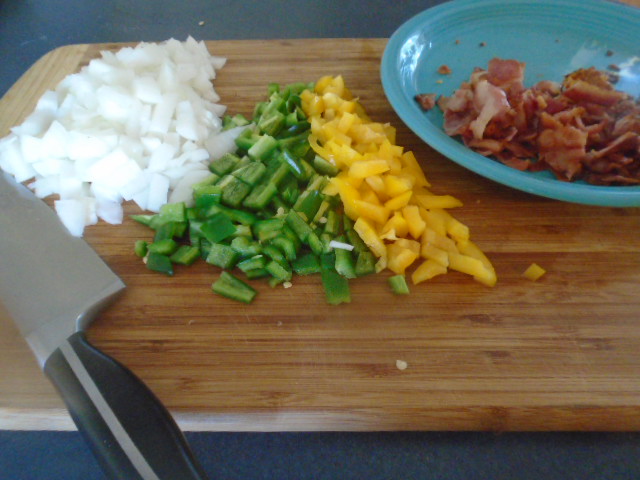
Chopped onion, jalapeño and yellow bell pepper

Add the onions, jalapeños and garlic to the pan and simmer on medium heat.  Stir until the onions are softened…about 3 minutes.

Notice the slice of red habanero. I stirred it along with the other peppers and onions for about 30 seconds and then I removed it.
Add everything to the pot and cook for 5 hours.

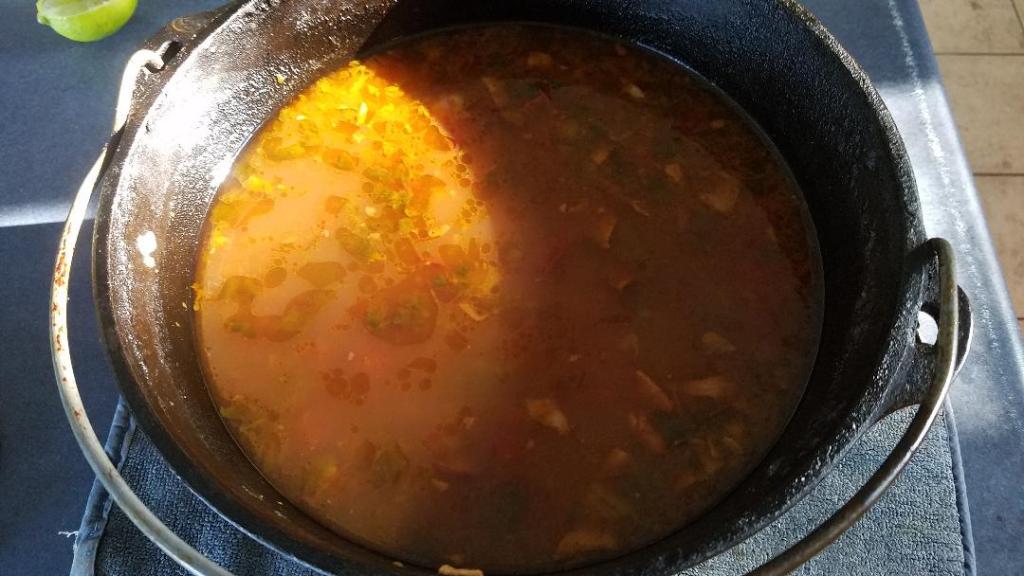
Add all of the ingredients to beans in the Dutch oven, except for the lime juice.  Stir to combine.  Cover the Dutch oven and cook on the stove top at low heat for 4 or 5 hours.  Stir every hour, or so.  When the beans have softened, the soup is ready to eat.  Turn off the heat and add the lime juice.
After 5 hours of simmering…ready to eat.

Barbacoa de Res

Before we get down to business let me just say that barbacoa is a very special thing.  Barbacoa is more than just slow cooked meat.  Much more.  Preparing barbacoa is a time-honored tradition in Mexico.  The tradition spread to Texas years ago, along with the Mexican immigrants who introduced the cuisine.  Anywhere you find a sizeable Mexican population you are bound to find barbacoa. 

The origins of barbacoa are steeped in history and culture.  Ancient cultures, and not-so-ancient cultures, adhere to the notion that the animals we eat should be respected and treated with reverence.  When an animal is slaughtered it should be treated with dignity and it should be thanked for the sustenance that it provides to us.  Using all parts of the animal pays respect to the animal.  This ritual is a sacred rite and one that is increasingly disappearing in our modern culture.

Barbacoa is typically served on weekends.  It is presented to family and friends as a celebration of life.

Cooking methods vary from place to place.  Traditionally, barbacoa is made from young goat (cabrito), lamb (borrega), beef (res) or pork (cochina).  The entire animal is often used, including entrails and stomach.  If you want to make barbacoa the traditional way you will need to dig a pit, line it with fire resistant bricks, slaughter and butcher an animal, obtain some agave leaves (hojas de maguey), prepare an intensely hot fire and layer all of the ingredients in the pit, cover the pit with sheet metal and wait for several hours. 

I don’t have an underground brick oven…but don’t think for a minute that I haven’t considered making one!  I have had authentic barbacoa on a few occasions and words can’t sufficiently describe how rich and wonderful  the experience was. 

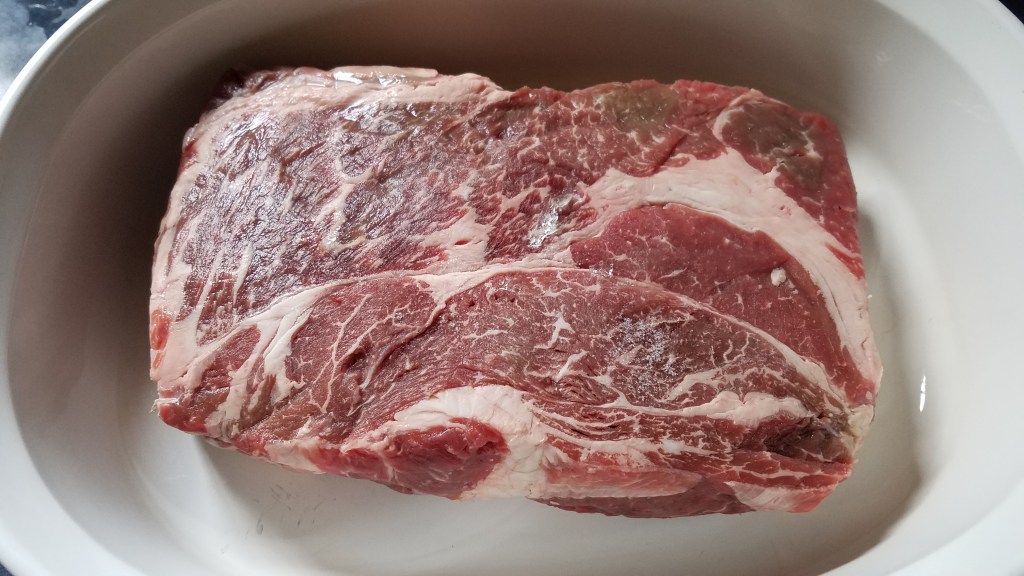
Since I don’t have an underground pit, I buy beef shoulder roasts (chuck roast) and braise the meat in a Dutch oven, or a covered casserole dish.  Sounds simple, when you compare this to the effort involved with the traditional method, right?   

The chuck roast is a tough, muscular cut of beef, which means it contains a good amount of collagen.  When you cook it at a low temperature for a long period of time, the collagen dissolves and becomes gelatinous, and that is what makes the meat moist and succulent.  

If you have the luxury of living in a place where you can get fresh beef from a butcher, ask the butcher for a “blade roast”.  A blade roast is a shoulder roast that contains part of the shoulder blade.  As the roast cooks, the bone imparts rich flavor and the meat that is next to the bone becomes very tender. 

In Mexico, barbacoa is served with soft, warm corn tortillas.  Here in the states, we tend to use warm flour tortillas.  Both kinds of tortillas are equally good in my mind, when it comes to barbacoa tacos.  If you want to make this meal even more special, find freshly made corn tortillas or homemade flour tortillas.  See my recipe here for homemade tortillas

Okay, let’s make some barbacoa!

Ingredients:

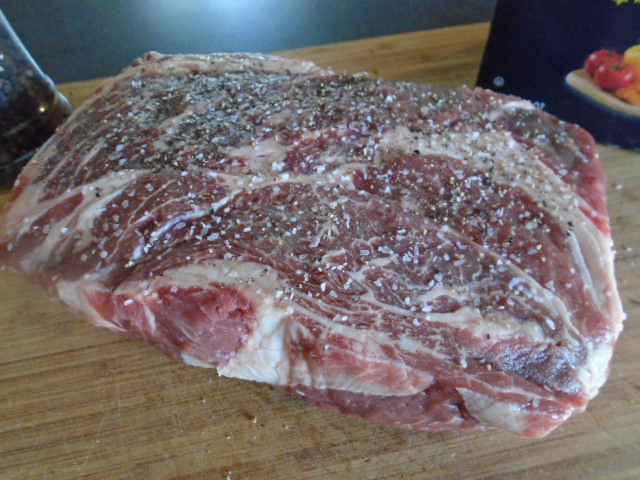
Beef shoulder roast (chuck roast) 3 to 5 lbs.

2 Tbs cooking oil

2 cups chicken stock (or vegetable stock)

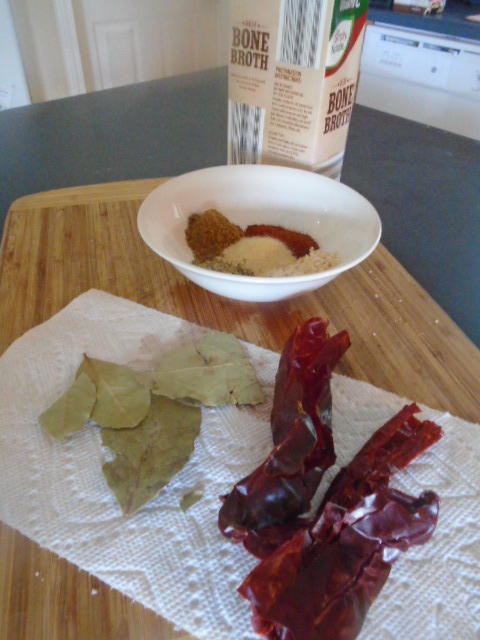
3 or 4 dried guajillo chilis, stemmed and seeded

3 or 4 bay leaves

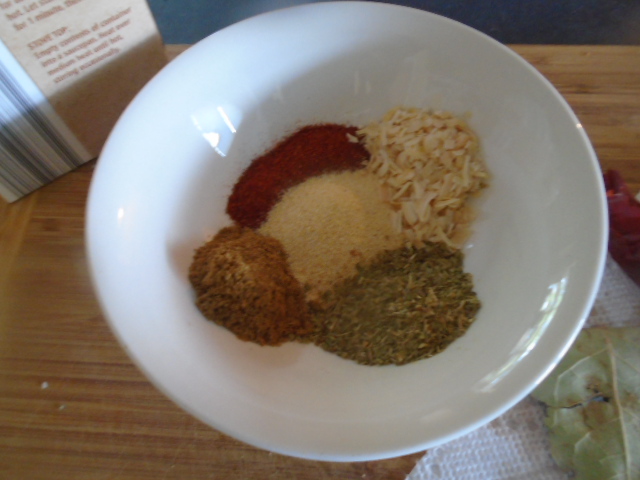
2 Tbs dried onion flakes

2 Tbs paprika

2 Tbs cumin powder

2 Tbs garlic powder

2 Tbs oregano (Mexican oregano is preferred)

Directions:

Heat an oven to 225°.

Apply salt and pepper to the raw meat. 

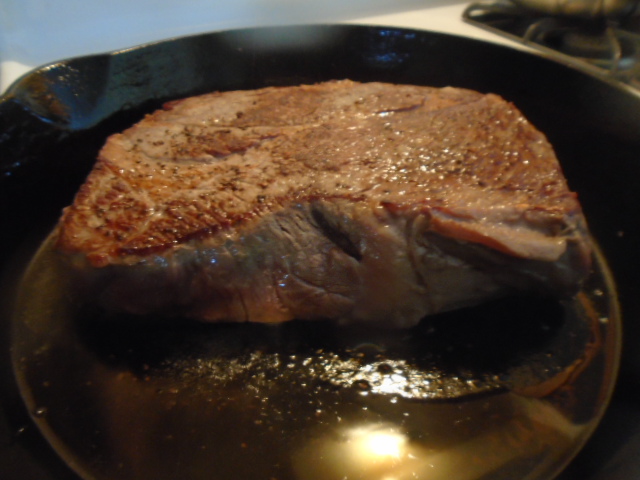
Sear the meat in a hot skillet, with a little oil.

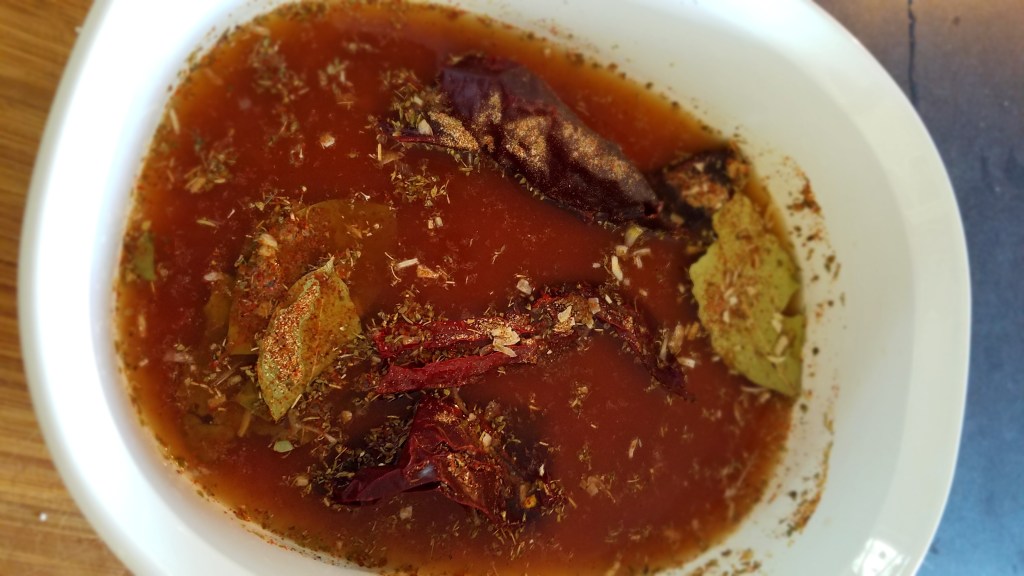
Add the stock, bay leaves and most of the spice mix to a Dutch oven or casserole dish. 

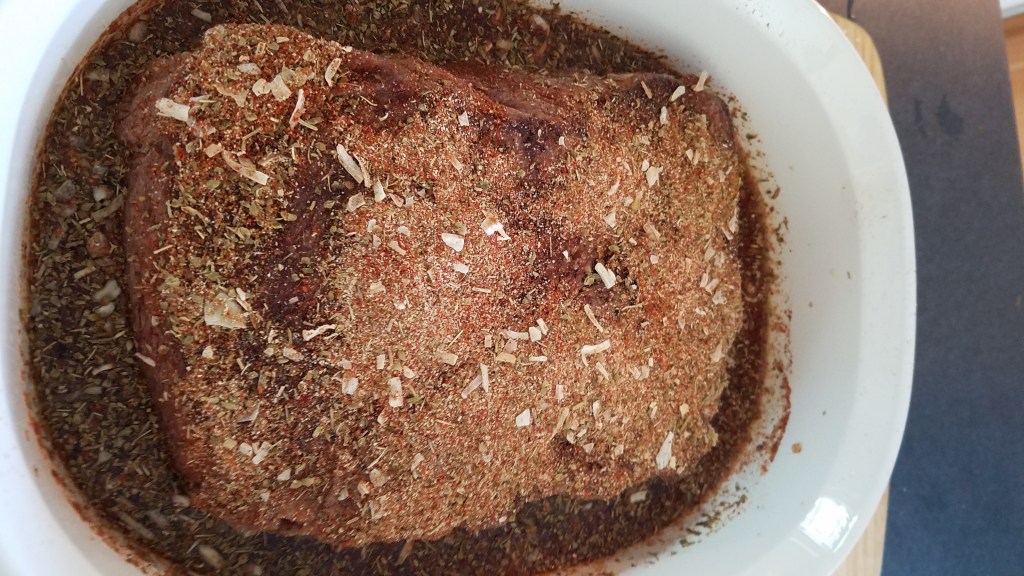
Spread the rest of the spices on top of the meat and cover.

Braise in the oven for 5 hours.

Pull the meat from the oven and let it rest for 10 minutes.

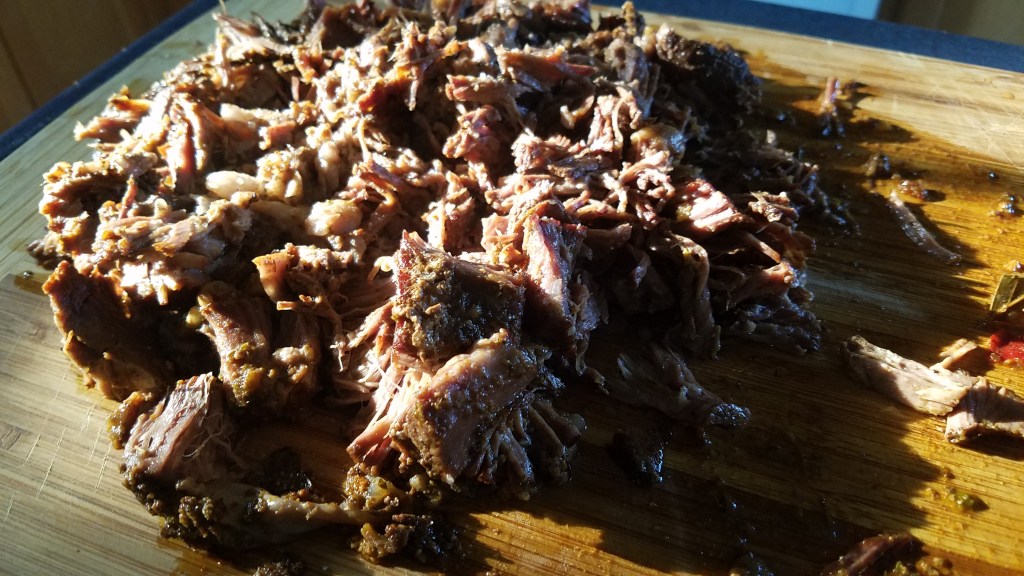
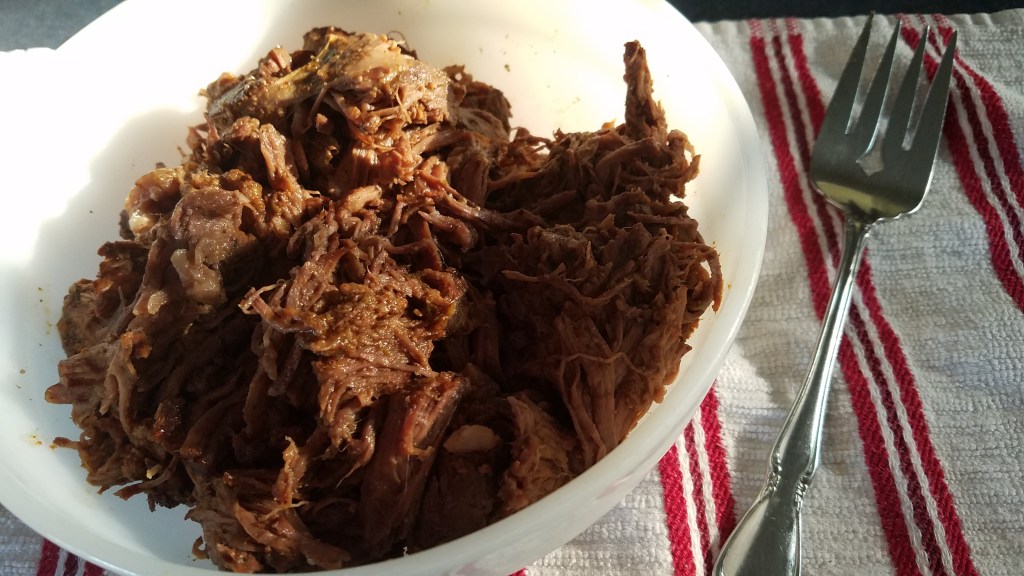
Shred the meat with two forks and transfer to a serving bowl.  (Make sure to remove any stray bay leaves and chilis before shredding.)

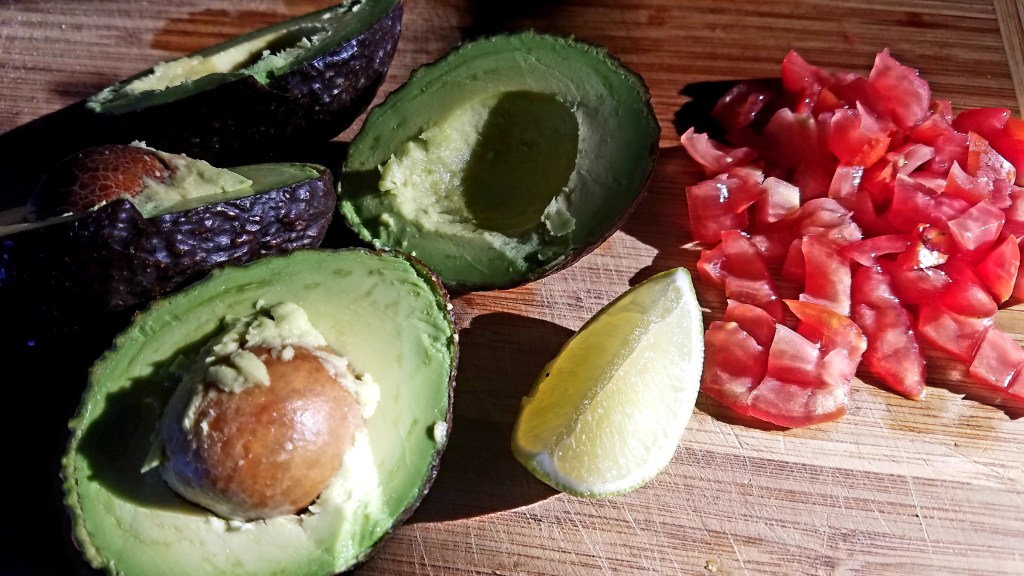
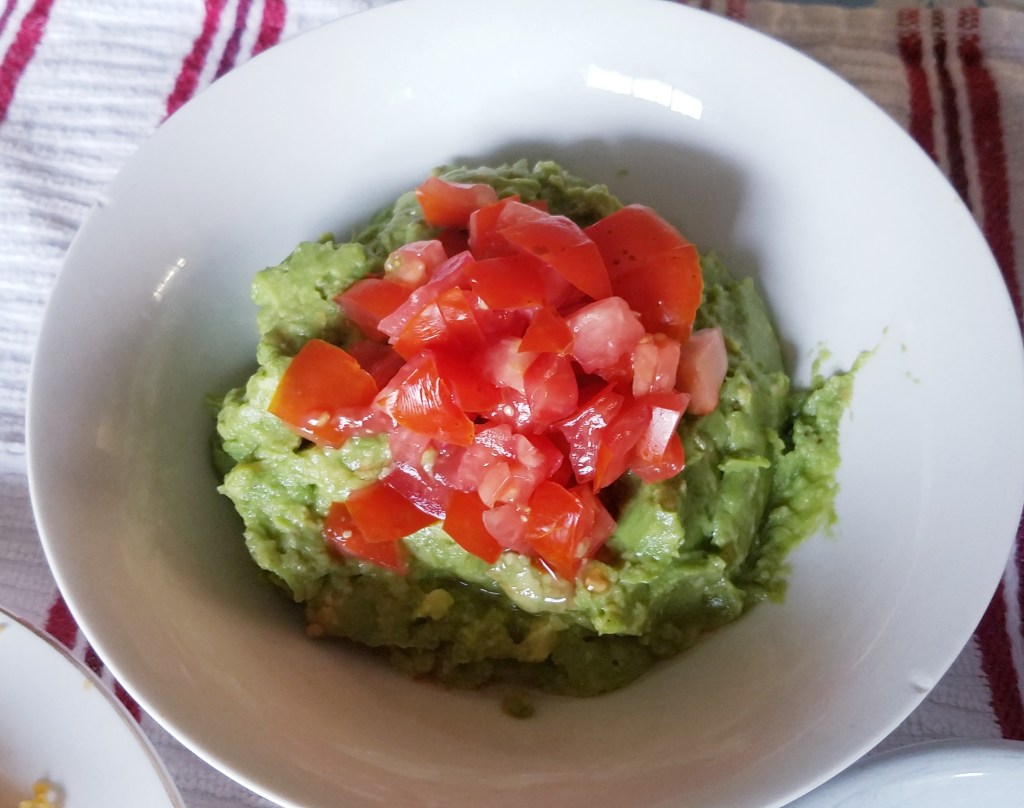
Serve with warm tortillas, guacamole, fresh tomatoes, onions, cilantro and lime wedges. 

To complete the meal, include side dishes like refried beans, borracho beans, fried potatoes or Spanish rice.

Above all, as you sit down to eat, consider the ranchers and farmers that made the meal possible.  Consider the sacrifices that we all make for each other as we try to make each other happy, safe and healthy.