Several days ago, as I was driving home after an arduous,
long day of work, I wondered what I should do for dinner. It was just going to be my wife and I for
dinner. I started to think about fish. And then, I thought about shrimp, and then I
realized that what I was wanting was something akin to the classic British, “fish
and chips”. Then I thought about mac and
cheese, and how that mac and cheese goes so well with fried shrimp, or fried
fish. And then, I realized I didn’t have
any fish. Chicken. Yes, chicken, instead of fish. The synapses in my brain jump around in quirky
ways like that most of the time. I
really enjoy my drives home, except when I
find myself driving next to people texting on their cell phones!
I allowed myself an hour to prepare the meal. Time at home is precious for me during this busy
part of the year. I typically have about
4 to 5 hours after I get home to prepare a meal, eat it and digest it before I trot
off to bed.
Mac and cheese…check.
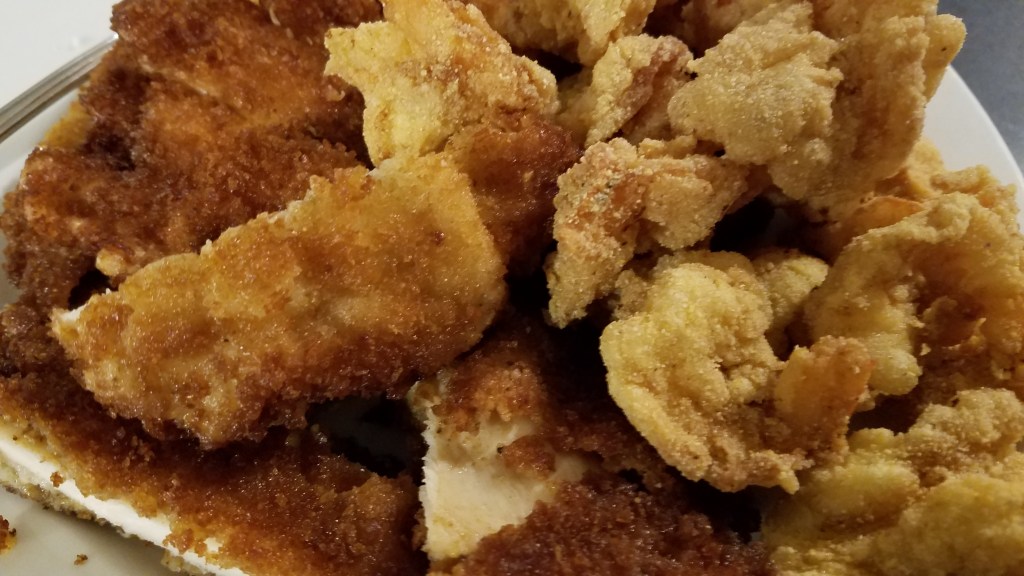
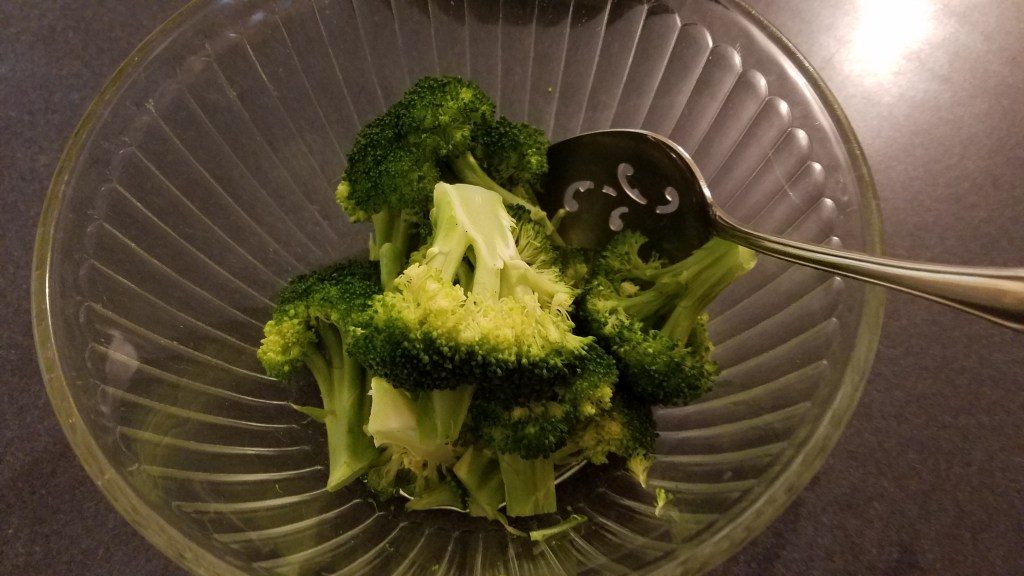
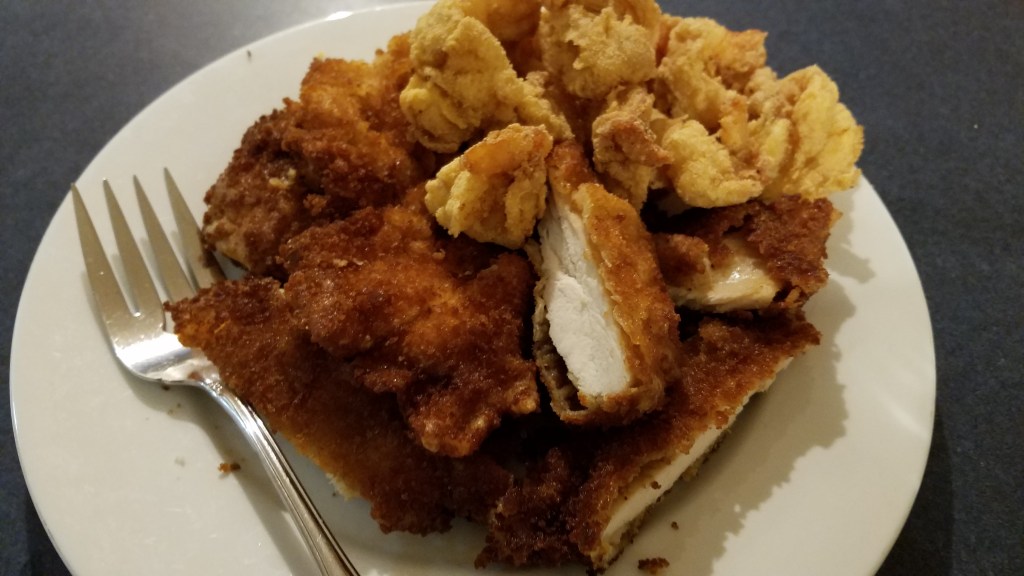
Chicken and shrimp…a quick prep and fry…check. Steamed broccoli…a few minutes in the
microwave…check.
The most time consuming part of the meal was the mac and
cheese. The rest was a flurry of flour
and cornmeal and chopping a few things.
Easy.
I made enough mac and cheese for six people and I made
enough chicken and shrimp for two or three.
My son and his girlfriend joined us, just as we were
cleaning up after dinner. We had enough
chicken and shrimp left to share and plenty of mac and cheese. It was all gone in a matter of a few minutes. Mac and cheese saved the day…Perfect!
Ingredients:
1 ½ cup fresh broccoli
½ cup cooking oil
2 medium sized chicken breasts, thinly sliced
10 raw jumbo shrimp, peeled and deveined
1 1/2 cup flour
1/3 cup cornmeal
2 eggs
1 tsp garlic powder
½ tsp cayenne pepper
Directions:
Cut the broccoli into large, bite-sized pieces. Place in a microwave safe bowl. Seal with plastic wrap and set aside.
Cut chicken into 3” to 4” pieces.
Butterfly cut the shrimp.
I do a back butterfly, cutting into the backside, instead of the
underside. Set aside.
Heat the oil in a skillet at medium/high heat.
Pour the flour onto a plate.
Dredge the chicken in flour, egg and then flour again. Drop chicken in pan and pan fry to golden
brown, remove to a paper towel lined plate.
Keep warm.
Add the cornmeal to the remaining flour and mix with a fork.
Dredge the shrimp in flour and cornmeal mixture, egg and
then flour and cornmeal mixture again. Drop
the shrimp into the hot oil and cook for about 1 minute, or until the shrimp
begins to brown and feels firm to the touch.
Lay the shrimp on the paper towel lined plate, along with
the chicken, and keep warm.
Put the covered broccoli in the microwave and cook for about 2 minutes, or until the broccoli has softened. Serve with mac and cheese and ketchup or spicy ketchup.
Maybe it’s because I’m a guy, but I see mac and cheese like
a good pair of blue jeans. It goes with everything
and any occasion. Just as you can wear
blue jeans with a worn out t-shirt, or a sweatshirt, or a pull-over sweater, or
a crisply ironed shirt and tie, so goes mac and cheese.
Mac and cheese rarely takes top billing, when it comes to
planning a dinner but I guarantee that if it’s really good mac and cheese, you
won’t have any leftovers.
True to my style, I prepare mac and cheese differently
almost every time I make it. I can’t tell
you how many bad versions I’ve made but I can say I have made some good
ones. I have a tendency to let my free
spirit roam and I start improvising, even when I have a perfectly good recipe
in front of me. I guess that’s what
makes me, me. If you want to make really
good mac and cheese, follow the recipe by Kelsey Nixon, from the Food
Network. https://www.kelseynixon.com/mac-cheese/
Kelsey’s recipe is easy to follow and, as far as I’m
concerned, flawless. The secret is
Muenster cheese. Muenster cheese is
perhaps the best melting cheese ever. And,
if you learn nothing else from that recipe, know that homemade mac and cheese starts
with a béchamel (white sauce). A béchamel
is simply a roux with warm milk added to it.
I didn’t have Muenster on hand this time so I opted for Colby-Jack. Both Colby-Jack and cheddar cheese melt well but if over-heated they can break down, and there goes the lovely cheese sauce.
I should also note that I did not take photos throughout the
cooking process. I was hungry and I was
in a hurry. Such is the life of a
working man.
1 Tbs kosher salt
2 cups elbow macaroni
3 strips cooked bacon
¼ cup butter
¼ cup all-purpose flour
4 cups milk
1 tsp dry mustard (essential!)
1 Tbs hot sauce
8 oz sharp cheddar cheese
8 ounces Colby-Jack cheese
In a 4 quart pot, boil water and add kosher salt. Add pasta and cook until soft…just a bit
beyond al dente. Reserve 1/3 cup water
from cooked pasta and set aside. Strain the
pasta and set aside.
In a large heavy saucepan, over medium/low heat add the
butter. Once the butter has melted, add
the flour to make a roux. Heat for just
a minute or two.
Heat the milk in the microwave, or stove top, to near boiling. Slowly introduce 3 cups of the milk to the roux. Turn the heat down (or off) while adding and mixing the milk. Add the pasta water and dry mustard (and a little black pepper if you like). Add the hot sauce and stir to combine. Turn the heat up and bring the sauce to a boil. Once the sauce begins to boil, turn the heat down.
Set the heat to low and slowly add the Colby-Jack and sharp
cheddar cheese. Gently stir with a
spatula but do not over stir. Low heat
and minimal stirring helps reduce the possibility of the sauce breaking. Add the other cup of warm milk and gently
stir. Add the pasta and stir to coat the
pasta.
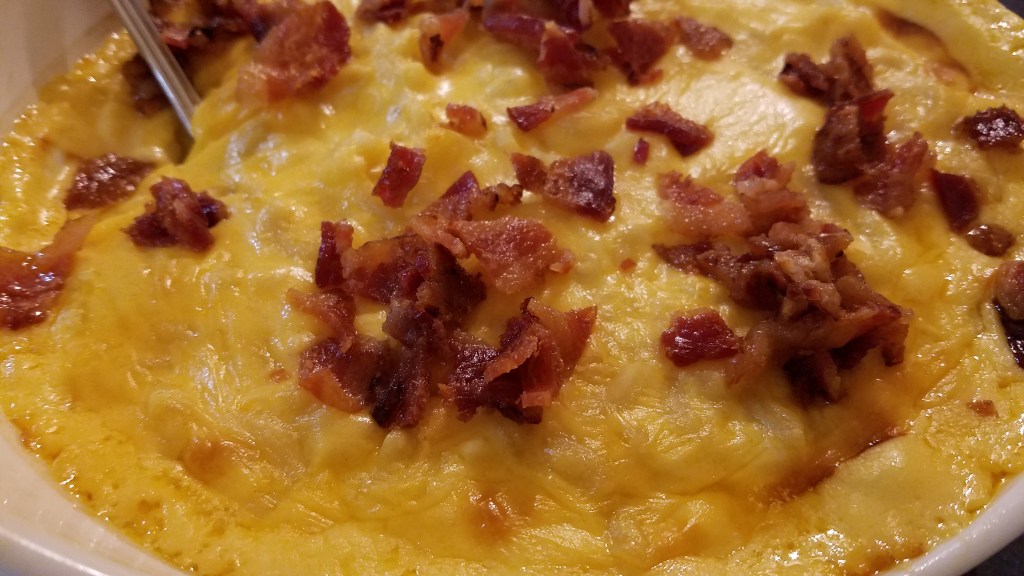
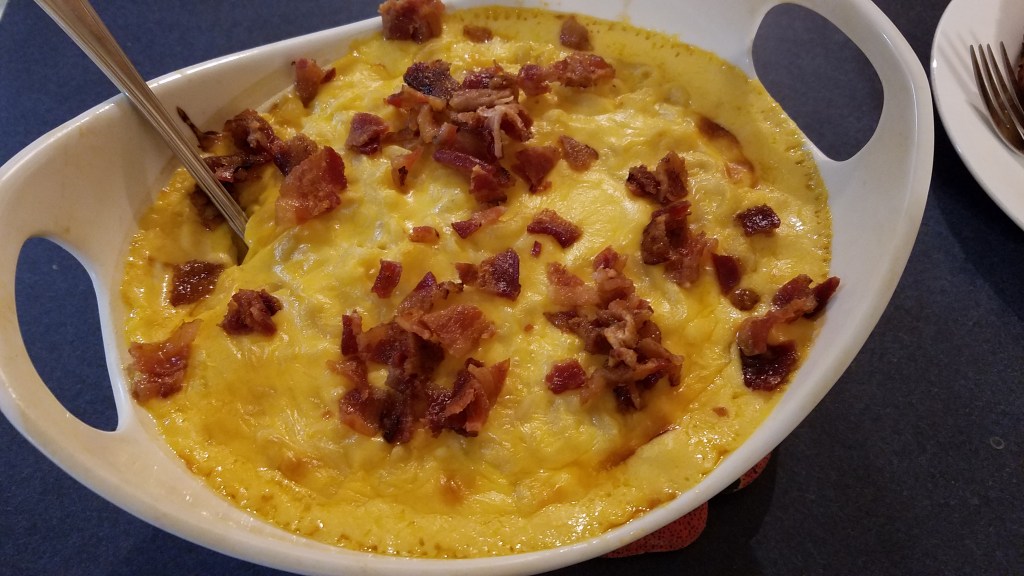
Turn out to an oven proof serving bowl and place in a 350° oven for 15 minutes.
Remove from oven and top with crumbled bacon
I served this with steamed broccoli, bite-sized fried
chicken and crunchy, fried shrimp.
I usually don’t start thinking about what to make for dinner
until I’m in the car, on my way home. On
a good day, it’s a 20 minute trip. When
there’s heavy traffic it can take 40 minutes.
The good thing about the drive home is that I pass my favorite grocery
store ALDI. I will sometimes pop in to
buy just a few items and then head on to the house.
On this particular day, I didn’t want to make any
stops. I just wanted to get home. I wasn’t coming up with any ideas for dinner
and my mind started to wander. By the
time I pulled into the driveway, I knew what I was going to do.
I wouldn’t call this a meal, because it’s just chicken on a stick but, it was something that I wanted to try and I knew that it wouldn’t take too long to make.
I decided on making this two different ways. I wanted to see if I preferred the marinated
version or the version that uses a dry rub for the chicken. As it turns out, I liked both.
Ingredients (for both
versions):
1 lb. chicken breast meat, sliced in 1” long strips
1 lb bacon
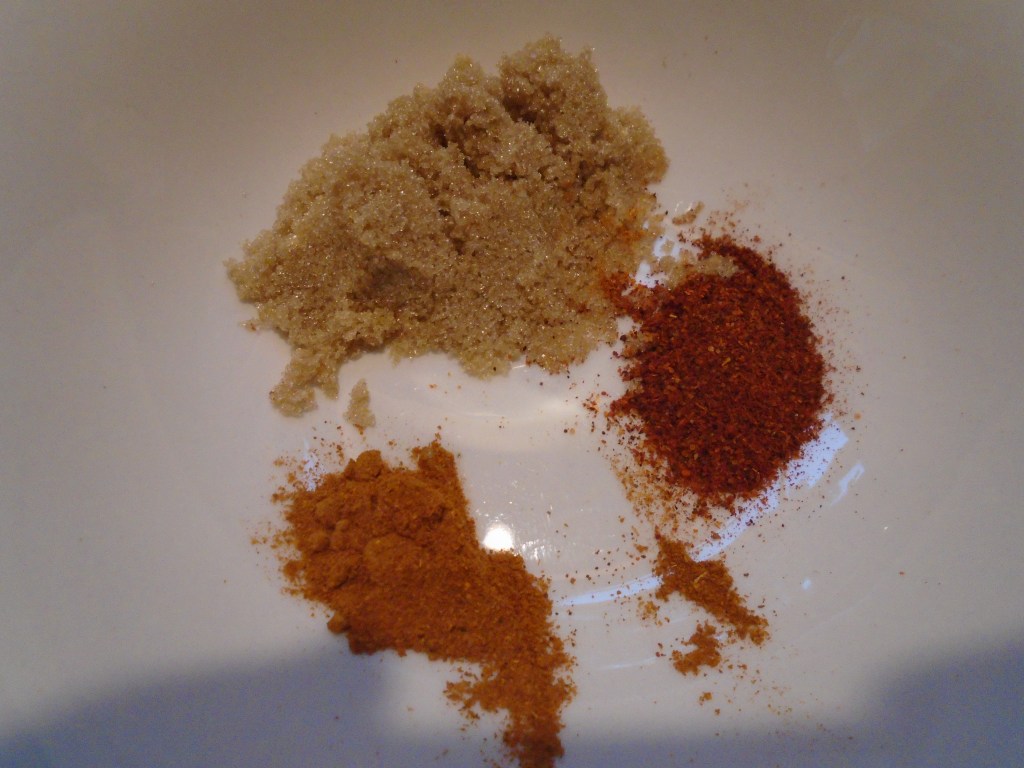
3 Tbs brown sugar
1 Tbs chili powder
1 Tbs cayenne powder
12 wooden skewers
Version 1:
Ingredients for the marinade:
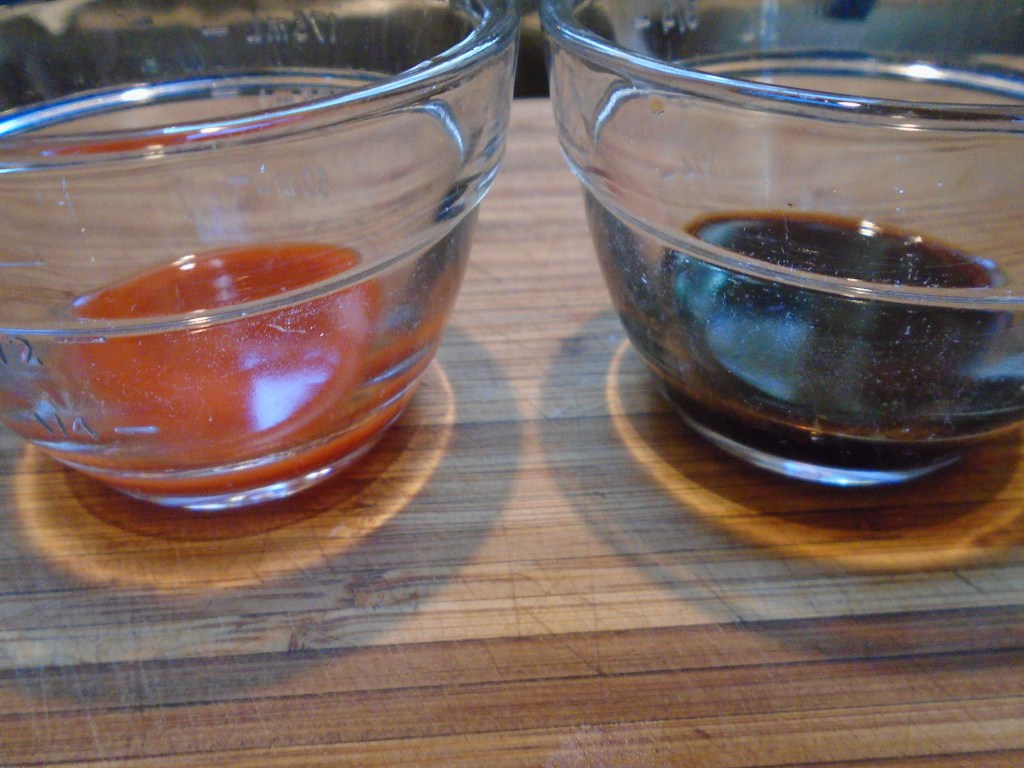
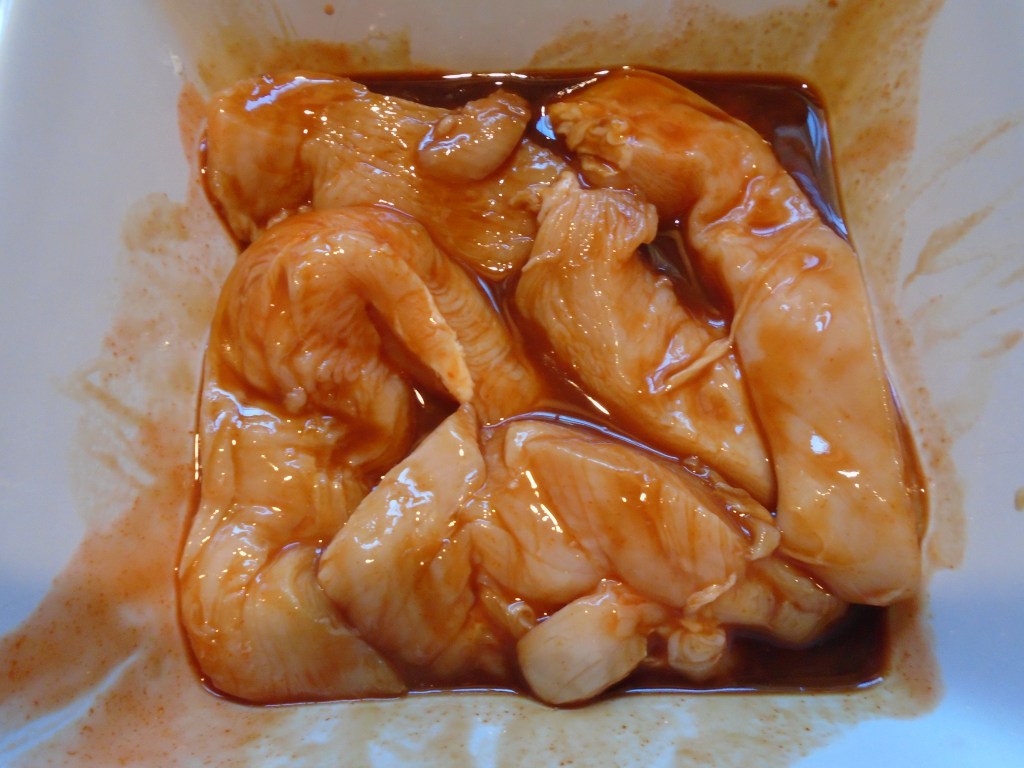
3 Tbs soy and 2 Tbs hot sauce
Version 2:
Ingredients for the
dry rub:
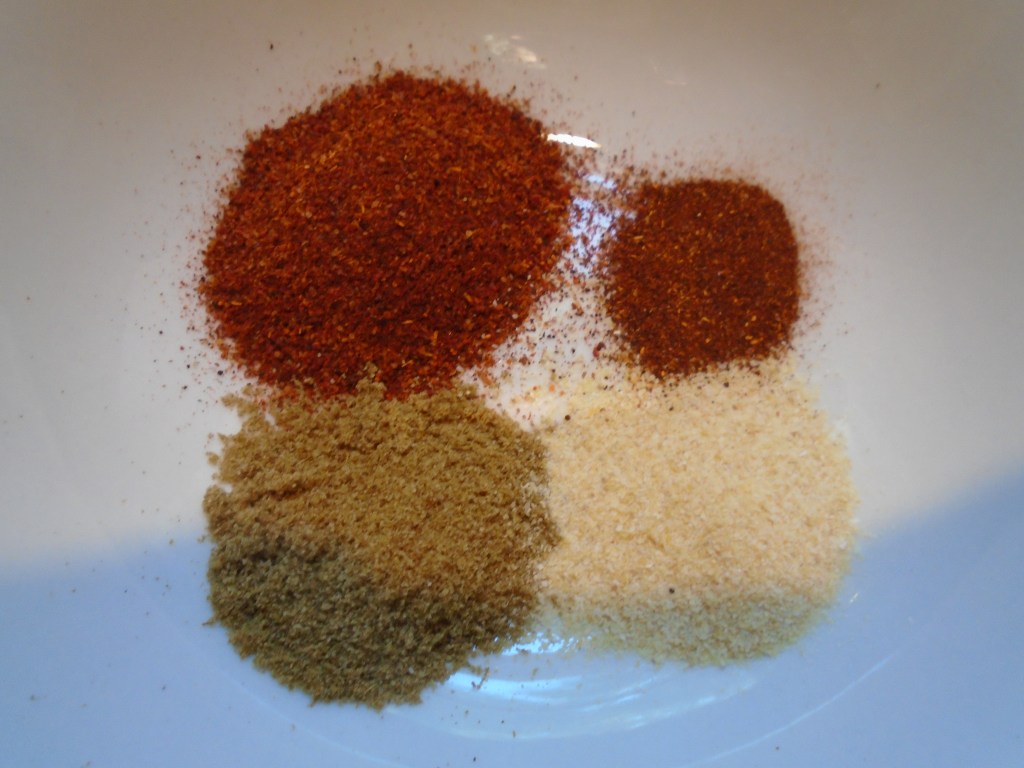
2 Tbs chili powder, 1 Tbs garlic powder, 1 tsp cumin, ½ tsp
paprika
Note: after tasting
this, I will use ½ tsp cumin next time.
I like cumin but it overpowered the other flavors.
Directions:
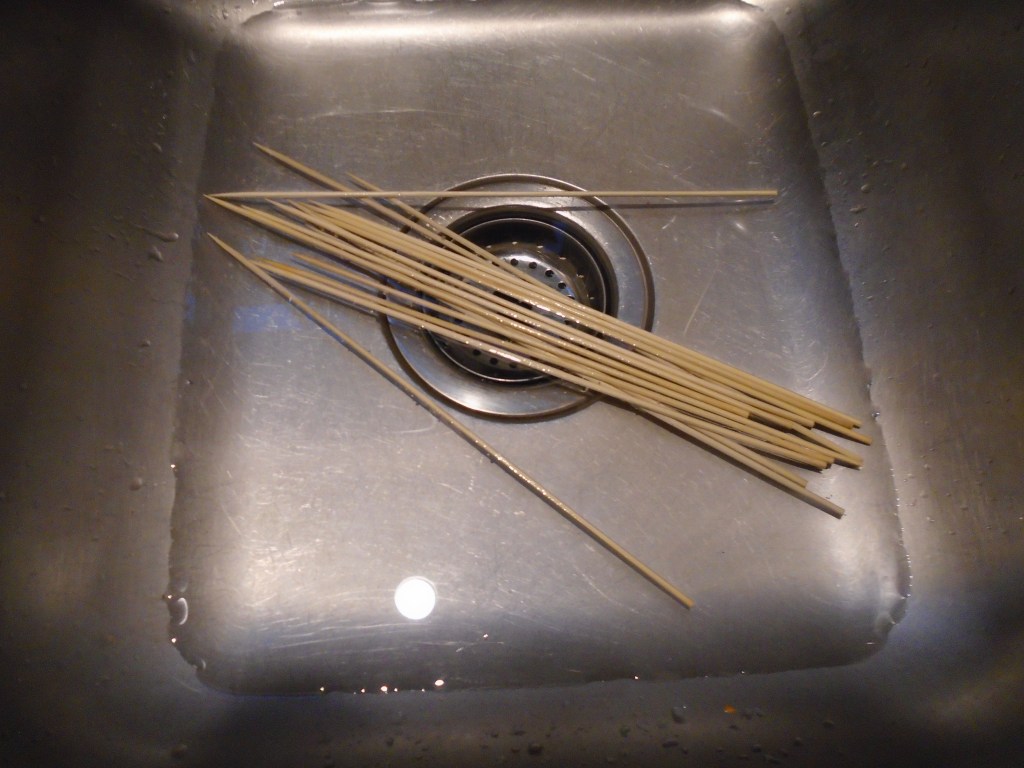
Soak the wooden skewers in water for at least 15 minutes.
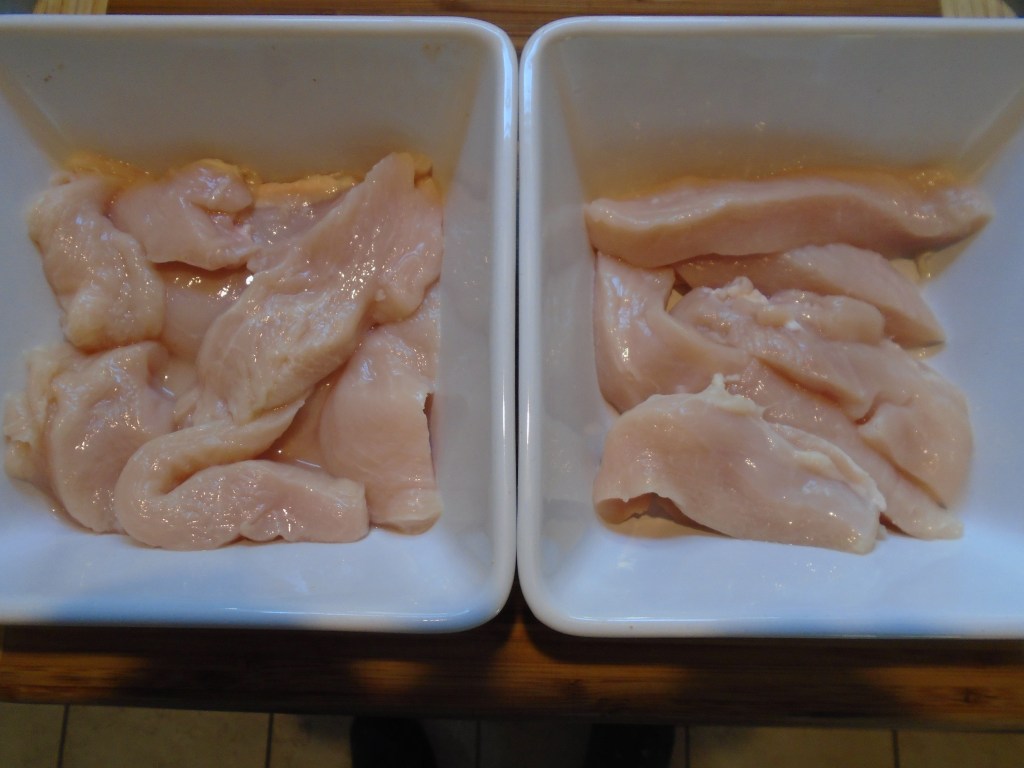
Cut the chicken in 1” thick strips. Divide equally.
Mix the marinade ingredients and pour over one half of the
chicken. Marinate for 30 minutes.
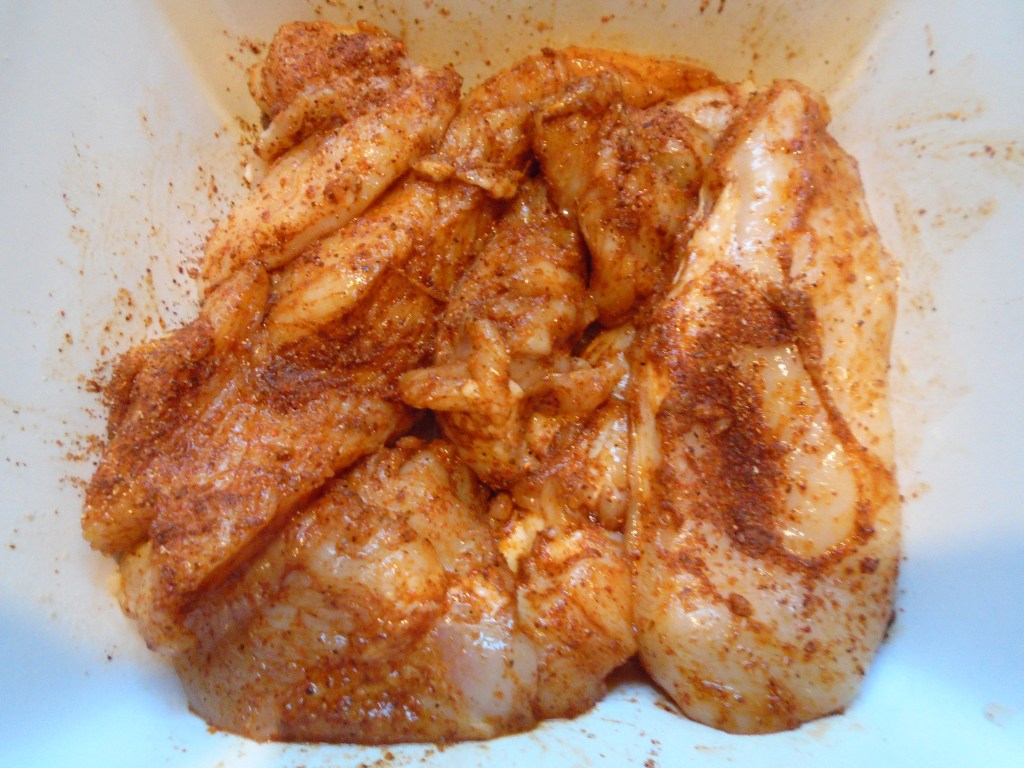
Mix the ingredients for the rub. Cover the other half of the chicken with the
rub. Set aside.
Mix the brown sugar, chili powder and cayenne powder
together. Lay the bacon on a clean
surface. Sprinkle both sides of the
bacon with the sugar and chill powder mixture.
Set the oven to 350°.
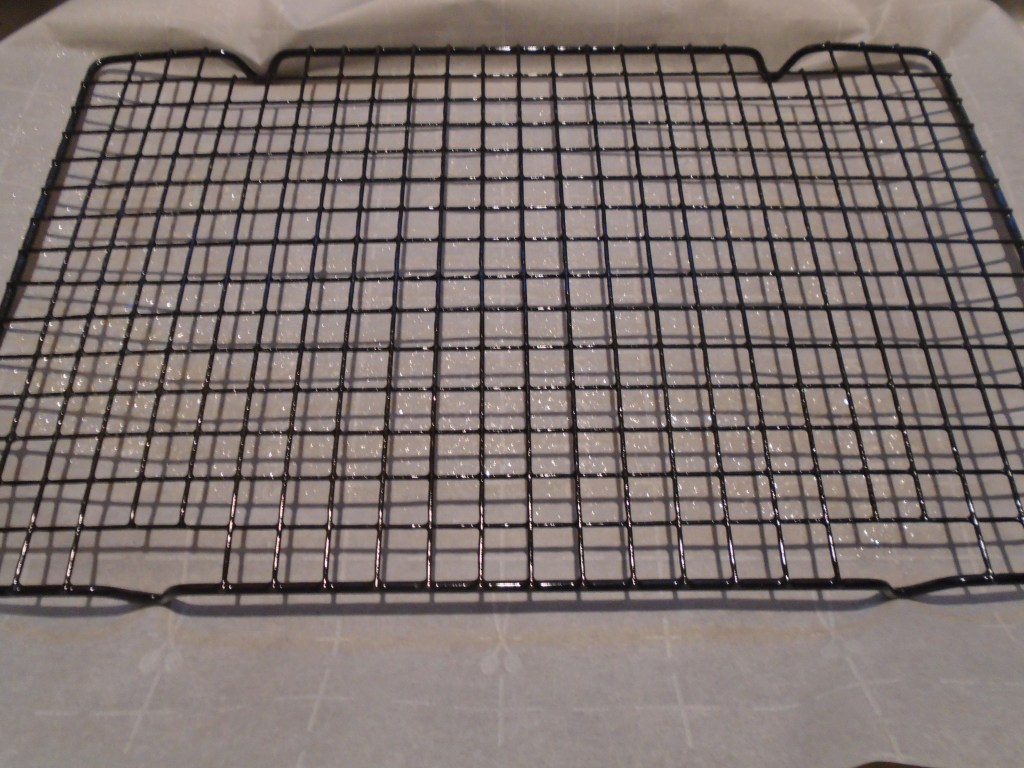
Lay a metal rack on a backing sheet.
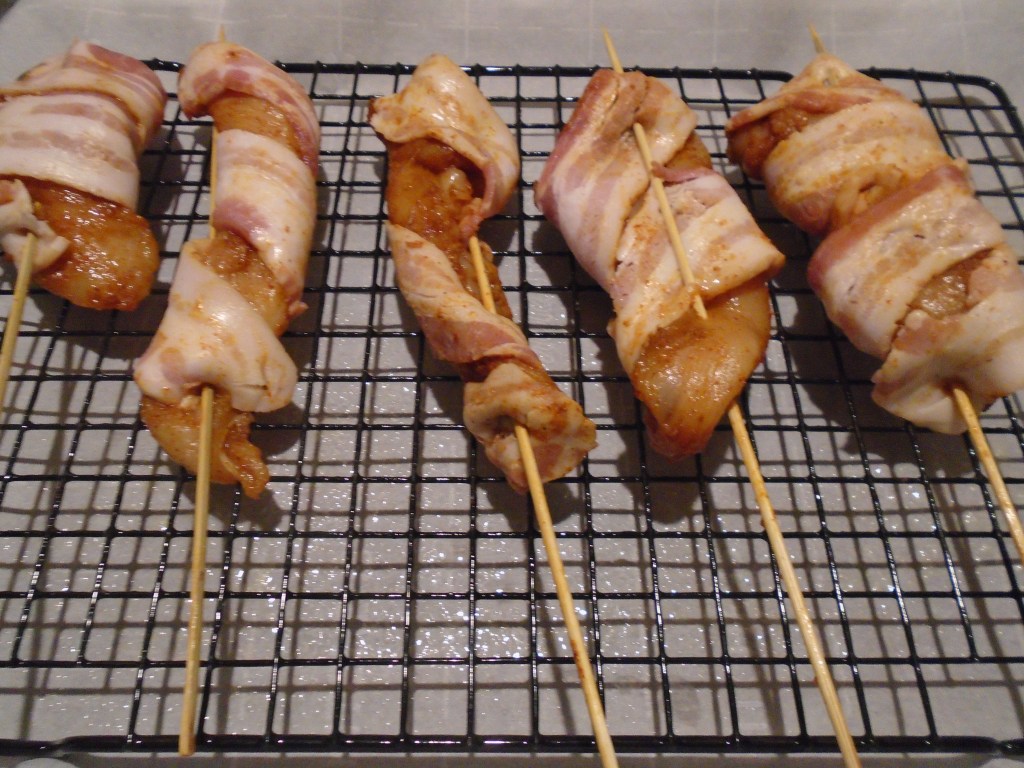
Wrap a slice of bacon around a piece of chicken and run a skewer through one end of the chicken and then pierce the other end. Lay the skewered chicken on the rack. Continue wrapping and skewering the chicken. Once the rack is full, put it in the oven.
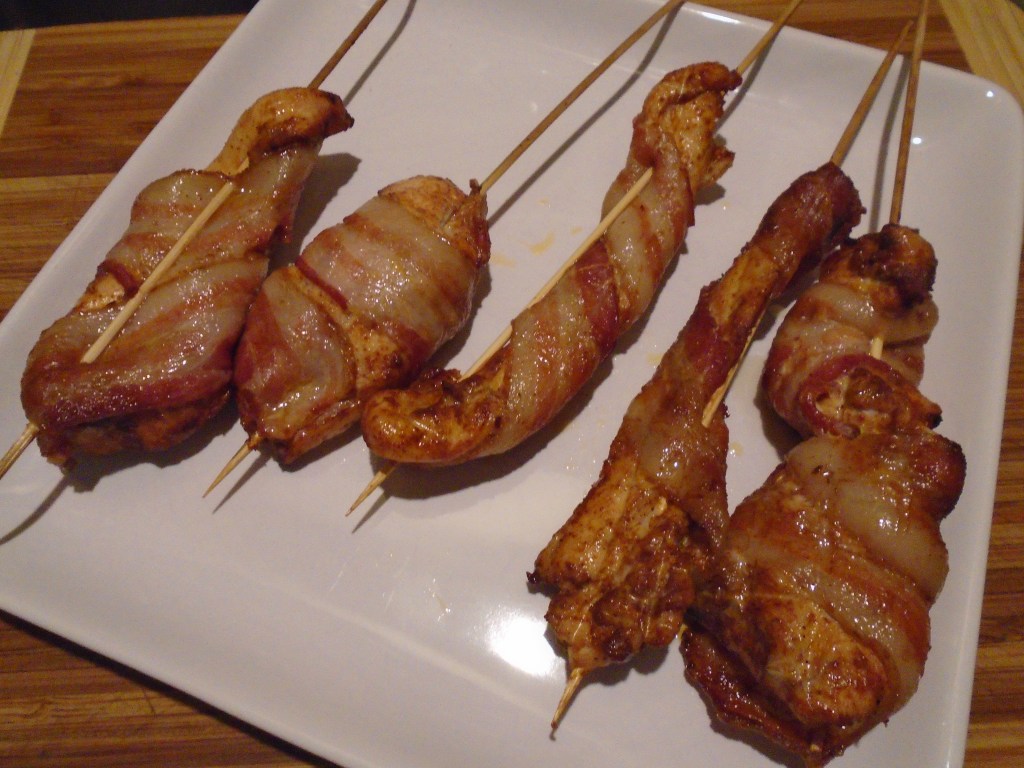
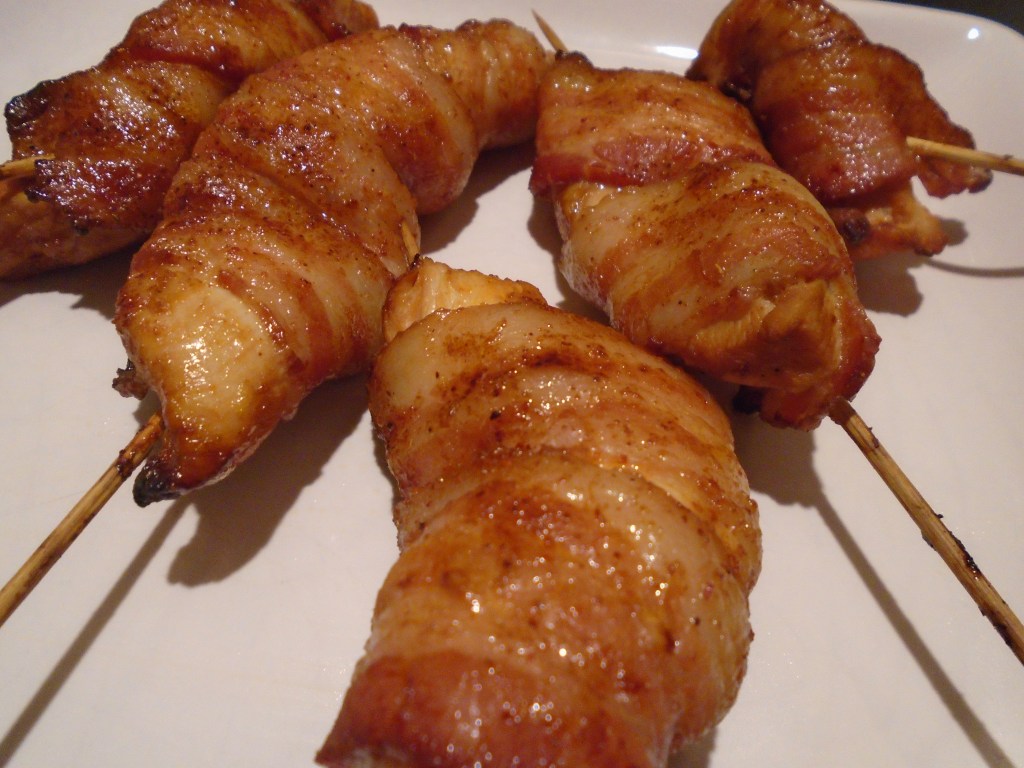
Bake for to 20 to 25 minutes, or until the bacon begins to crisp and the chicken feels firm.
Remove the chicken to a serving platter. Serve with a dip of your choice.
I’m still adjusting to cooking for two or three people
instead of four, or more. It seems like
it would be simple enough to divide a recipe in half but, when it comes right down
to it, my brain still tells me to keep cooking on a larger scale. Some dishes lend themselves well to leftovers
while some others don’t. Leftovers are
great for lunches the next day but after a few days of cooking too much food,
the refrigerator tends to become packed with lots of little storage
containers. I find myself going through
the refrigerator every weekend and tossing uneaten leftovers.
This meatloaf would be perfect for leftovers, if I had made
the full recipe. A meatloaf sandwich, with
some potato chips and applesauce might make a nice lunch.
So, here is the modest meat loaf…one that can be shared by
two or three people.
Ingredients:
1.25 lbs ground chuck (80/20)
1 egg
1 cup rolled oats
1 tsp Cajun seasoning
1 tsp onion powder
1 tsp paprika
½ tsp garlic powder
½ tsp salt
½ tsp dried oregano
3 Tbs ketchup
1 tsp Worcestershire sauce
For the potatoes and
green beans:
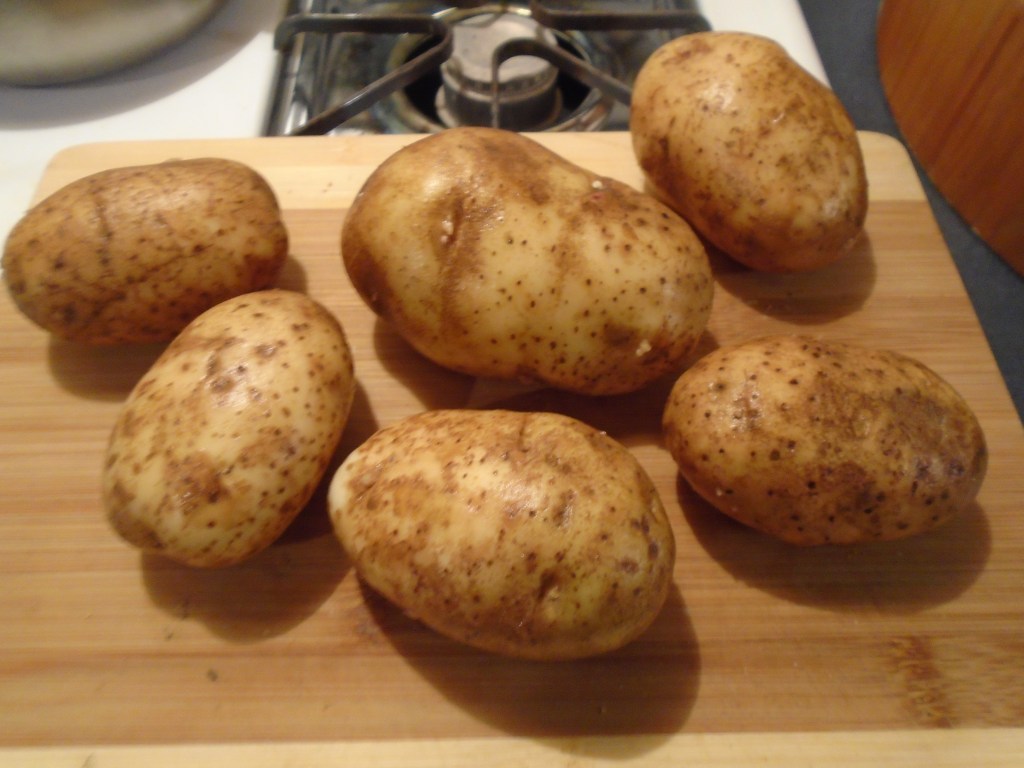
5 small russet potatoes
2 cups cooking oil
½ lb fresh green beans
1 garlic clove, smashed
1 Tbs honey
1 Tbs butter
¼ cup water
Directions:
Wash and dry the potatoes.
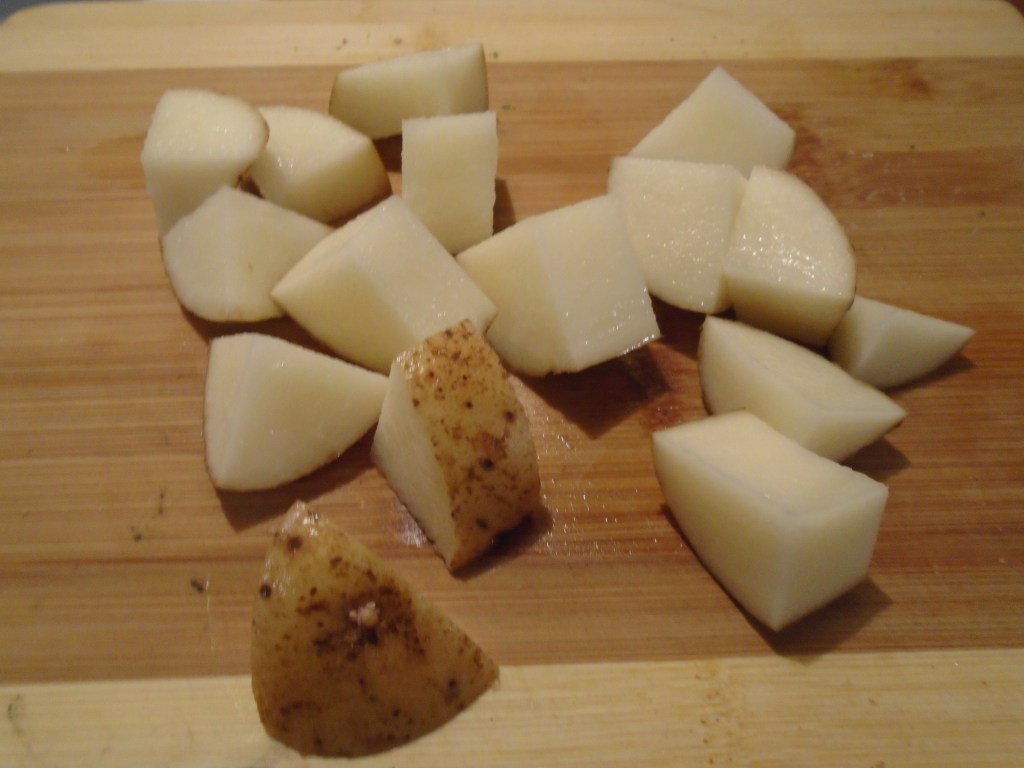
Cut the potatoes into large, one inch pieces. Add 2 cups of oil to a large skillet and set
the heat to low. Add the potatoes and
let them fry for about 45 minutes. Frying at a low temperature results in
crispy potatoes with creamy interiors.
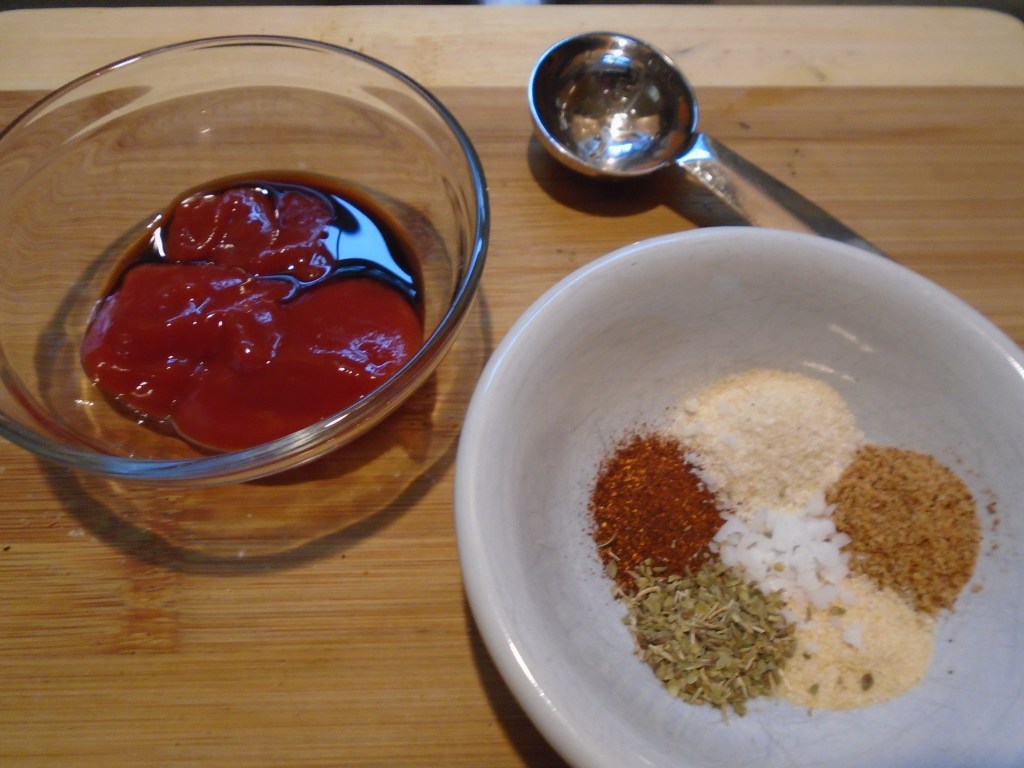
Combine the Cajun seasoning, onion powder, paprika, garlic powder, salt and
oregano in a small bowl and mix.
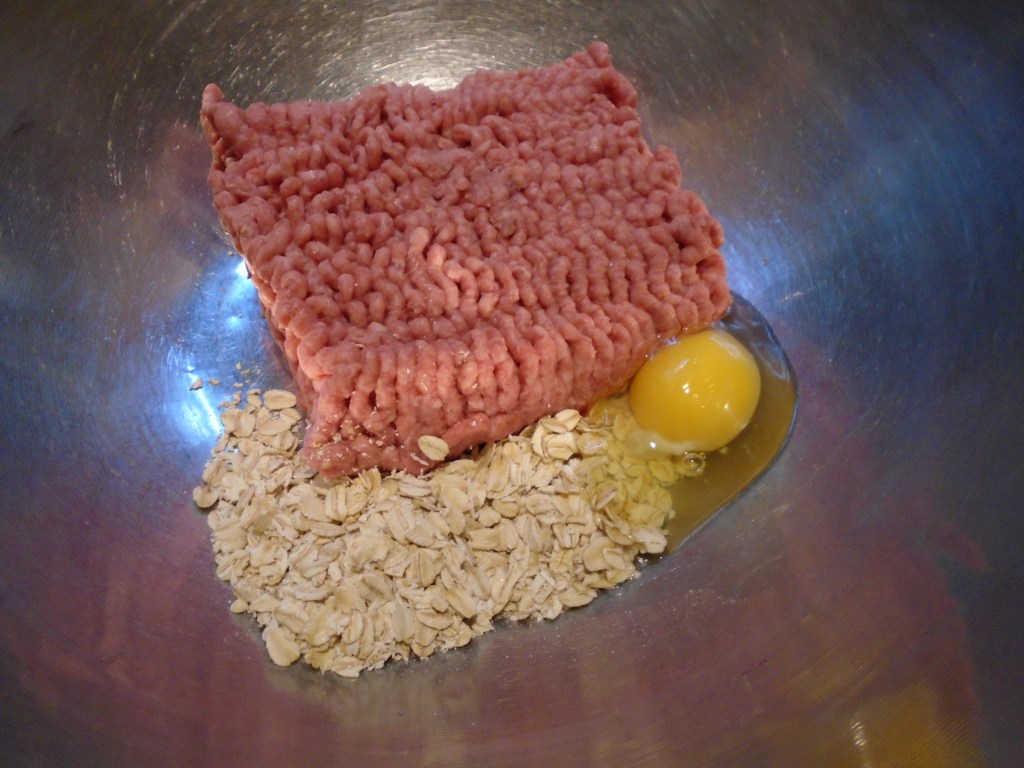
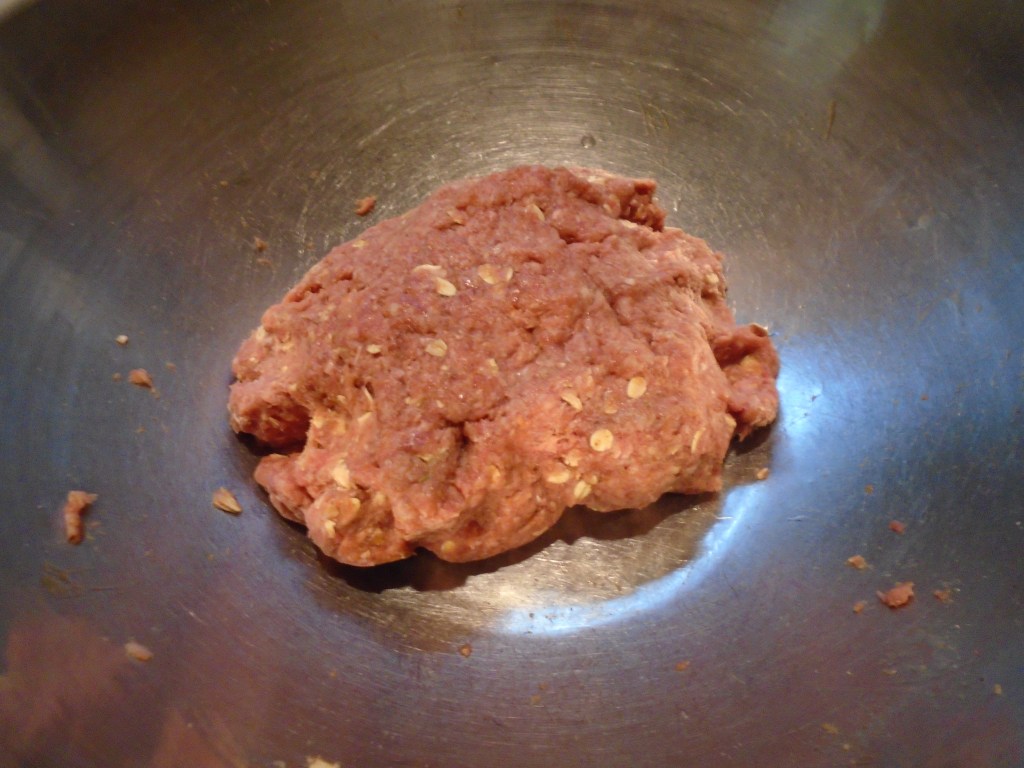
In a large mixing bowl, add the ground beef. Add the oats and egg. Mix to combine.
Add the spices, ketchup and Worcestershire sauce. Mix thoroughly.
Put the meat mixture in a 9” x 5” non-stick loaf pan. Cook uncovered in a 325° oven for 45 minutes.
While the meat loaf and potatoes cook, wash the green beans
and snip off the ends. Set aside until
the potatoes are done.
Once the potatoes are cooked, drain in a strainer and
reserve the oil for another day. Keep the
potatoes in a warm area until ready to serve.
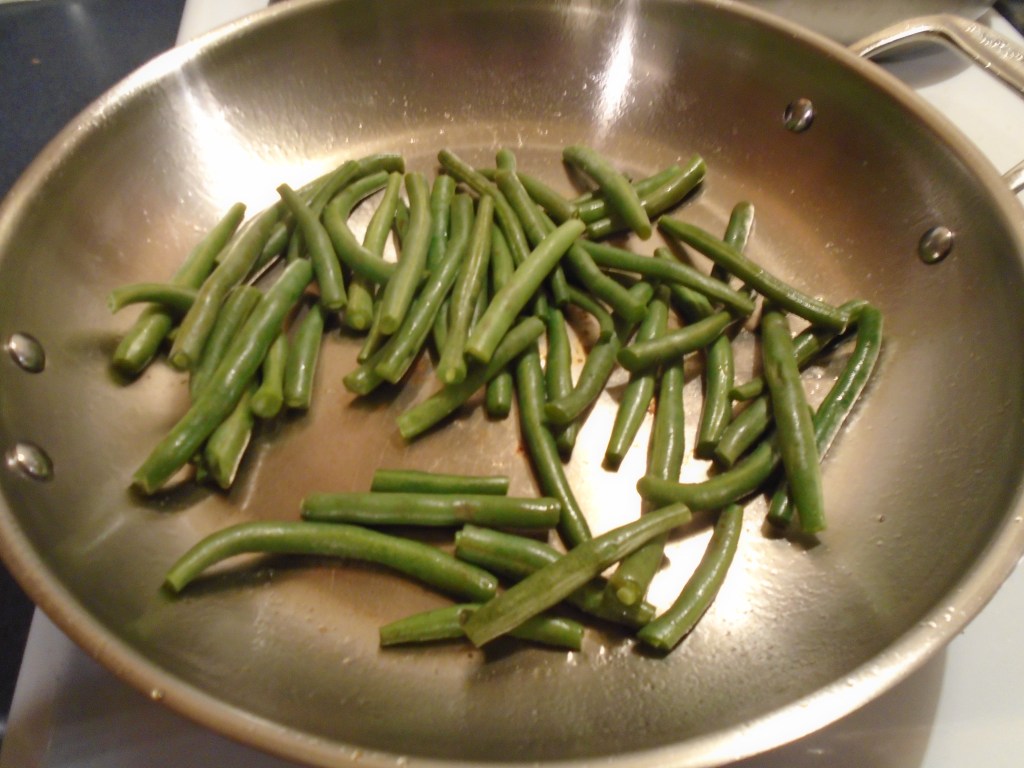
Put the green beans in the skillet and return to the stove. Set the temperature at medium low and toss the green beans for a few minutes.
Add the garlic, honey and butter and stir. Add the water and simmer, covered for 15 minutes.
While the green beans steam, remove the meat loaf from the oven
and place on a serving dish. Keep warm.
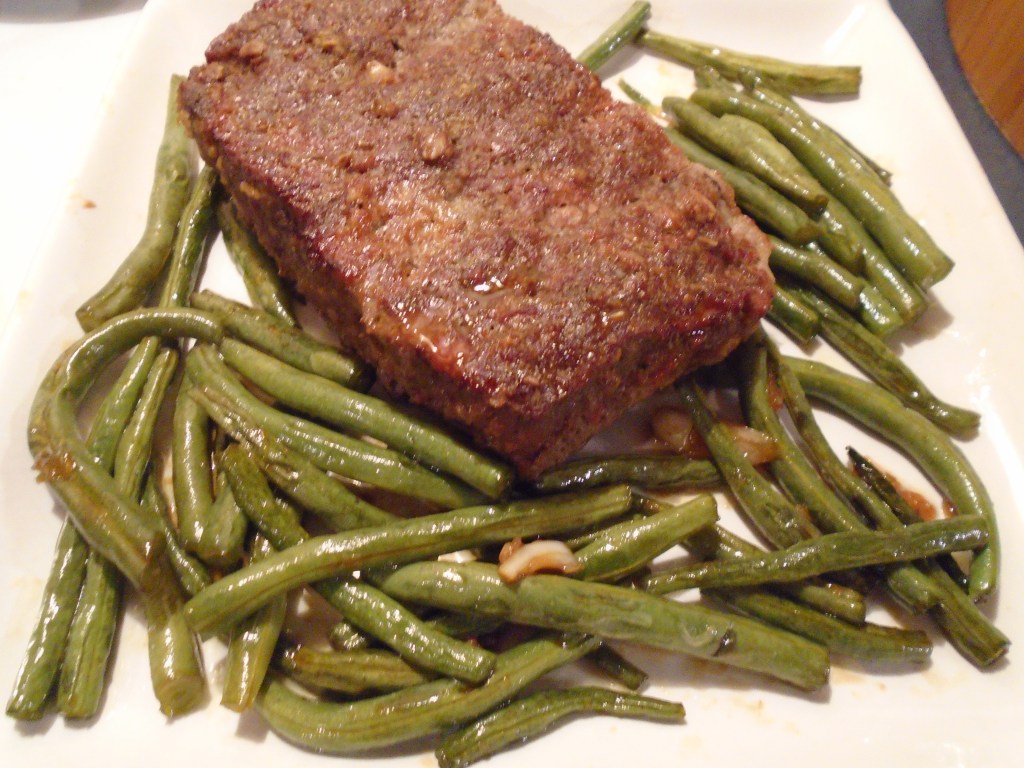
When the green beans have softened and are cooked to your
liking, arrange them on the plate with the meat loaf.
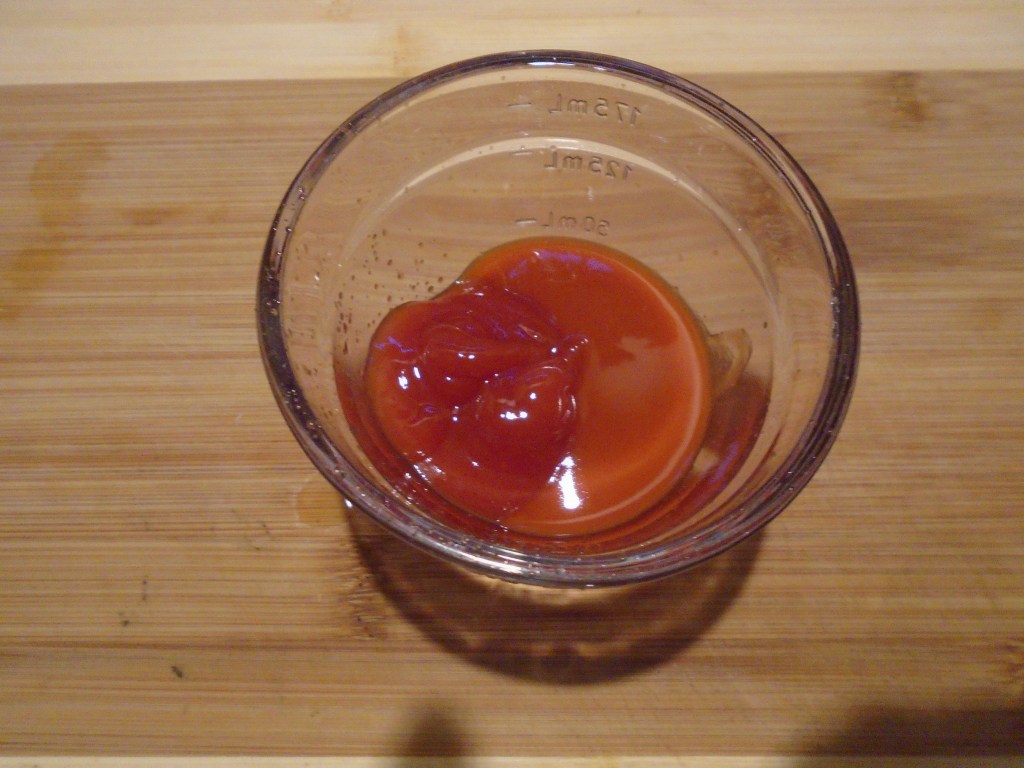
The amount of Cajun seasoning in this recipe shouldn’t be over-powering. If you want to add some kick, make a side dish of ketchup and hot sauce (2 parts ketchup to 1 part hot sauce).
First things first, this isn’t a copy-cat version of the
Little Caesar’s classic.
But, since I brought up Little Caesar’s Crazy Bread I feel
the urge to share my thoughts on that ingenious invention. Long, long ago, in a past career, I was once
versed in food cost and clever marketing.
I remember when Little Caesar’s came out with Crazy Bread. My first thought was, “Well… some marketing
guru just earned a big bonus!”
The idea behind Little Caesar’s Crazy Bread is so simple
that it needs no explanation, but really, it does. Successful restaurants make money when they
focus on selling mass produced low food cost items. Conversely, they run the risk of going
belly-up if they dabble too much in high food cost items…especially high food
cost items that have a short storage life.
Dough is cheap. Little
Caesar’s knows that. That’s why they can
sell a large pizza for $5. Throw on a little sauce, some cheap cheese and one
topping and sell the pizza for five bucks.
They don’t make a ton of money off of the pizza but they sell a lot of
them. Overall food cost for the pizza is
probably between 1 and 2 dollars.
About 20 years after Little Caesar’s came into being, they figured out how to increase their profit margin with a gimmick. Crazy Bread is nothing more than bread dough with a dusting of dried parmesan cheese. They’re very cheap to make. They sell 8 bread sticks for just few dollars. The ingenious part of their scheme is the sauce. What’s a bread stick without marinara sauce? Oh, sure you can eat a bread stick without sauce but wouldn’t it be much nicer to dip the soft bread stick in warm marinara sauce? Mmmmm. Is a 4 ounce cup of marina sauce worth 60 cents? You bet! And that’s where they make the money. Here we are, nearly 40 years after Crazy Bread was introduced and it’s still going strong.
Don’t get me wrong, I don’t have anything against Little Caesar’s
or their Crazy Bread and I’m all for capitalism. I just find this sort of stuff fascinating!
OK, enough of that…let’s dig into some of my crazy bread.
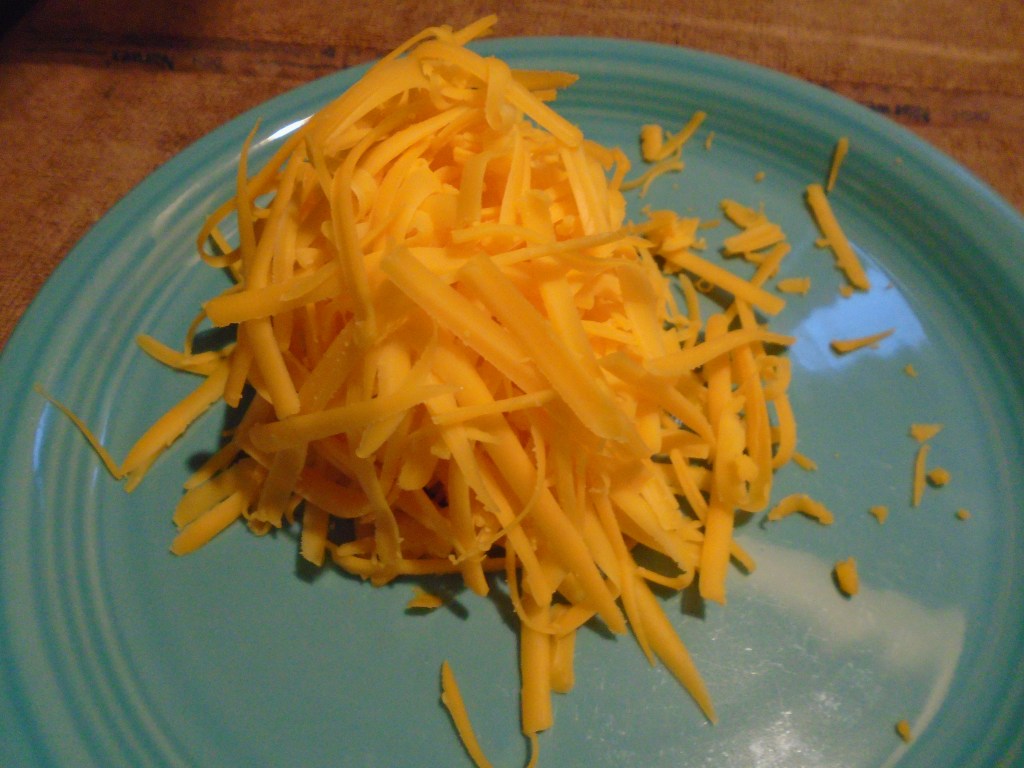
As I have mentioned previously, I have been working long hours and I don’t have much time to make elaborate meals, or much time to document them for my blog! I came home rather late one night, recently and knew I had to come up with something quick to prepare. My first thought was to check the refrigerator for things that might spoil, if not used soon. Raw meat always tops the list of things to check. I saw a pound of sweet Italian sausage and knew that it had been in the refrigerator for about three days. A pasta dish came to mind but I really didn’t want to make a big production. And then my mind went to bread. I didn’t stop to think. I started to make a quick, simple bread dough. While the dough rose I browned the sausage in a pan and shredded some extra sharp cheddar cheese.
Total time to prepare from start to finish: 1.25 hours. It was worth the wait!
Ingredients:
3 cups flour
1 packet instant, fast rising yeast
1 1/4 cup warm water
1 Tbs garlic powder
1 tsp crushed red pepper flakes
2 tsp sugar
1 Tbs honey
1 lb sweet Italian bulk sausage
1 cup grated extra sharp cheddar cheese
Directions:
Mix 2 cups flour, yeast and garlic powder with a whisk. Set aside.
Add the honey and sugar to a large mixing bowl.
Heat the water in a microwave or stove top to about
100°. Add the water to the mixing bowl
and whisk to blend with the sugar and honey.
Slowly add flour mixture and stir with a spatula.
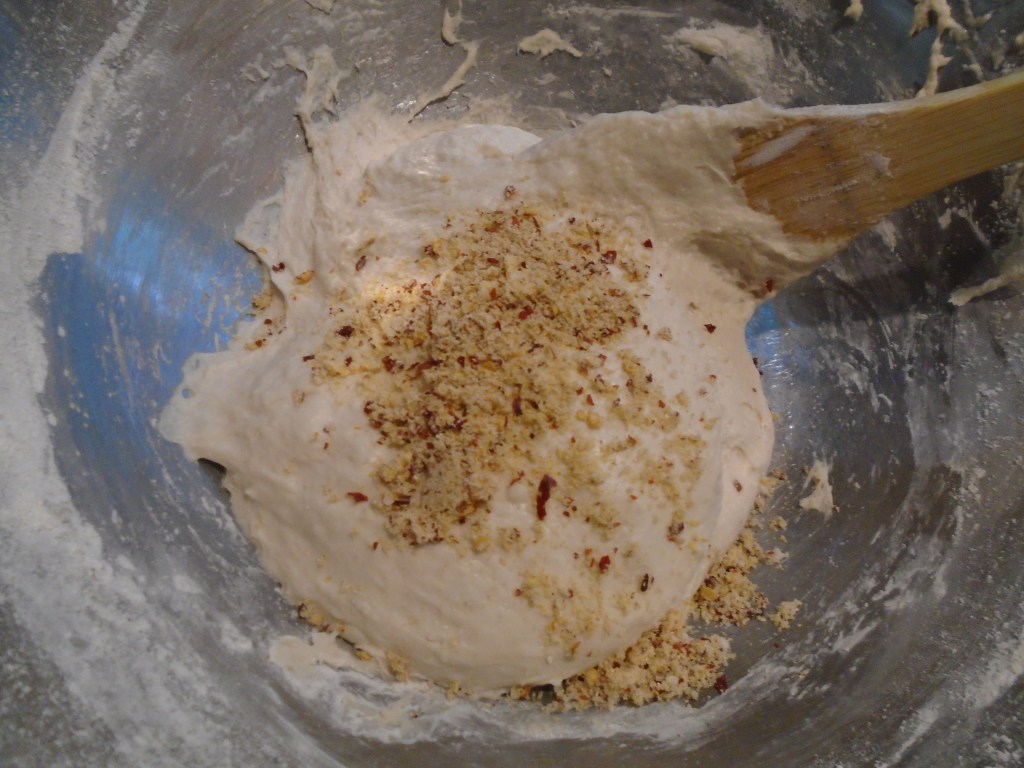
Add the crushed red pepper and garlic powder. Mix to combine thoroughly. Slowly add the rest of the flour and mix by spatula and then by hand.
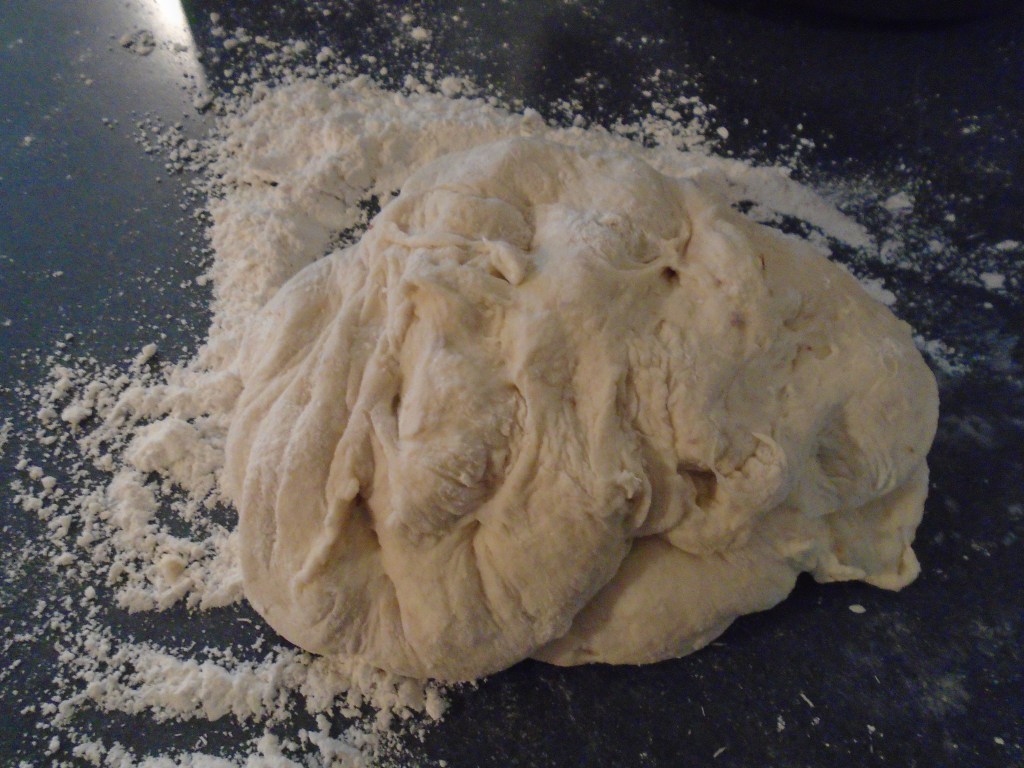
Turn the dough out to a lightly floured surface. Knead for a few minutes until the dough
becomes a firm and forms a ball.
Return the dough to the mixing bowl, cover with foil and
keep in a warm place. Let the dough rise
for at least 45 minutes.
While the dough rises, brown the sausage and shred the cheese.
Once dough has doubled in size, add the cooked sausage and
grated cheese.
Mix the dough thoroughly and let it rise in a warm place for
5 or 10 minutes.
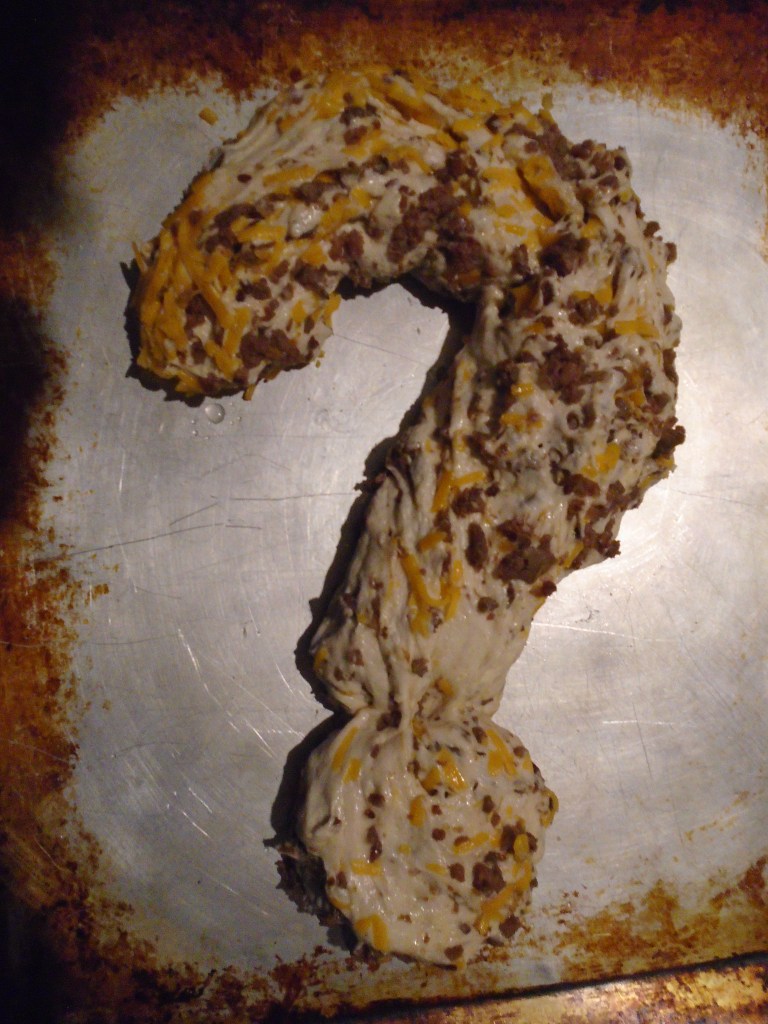
On a lightly greased baking sheet, form the dough into the
shape of your preference. Since this is
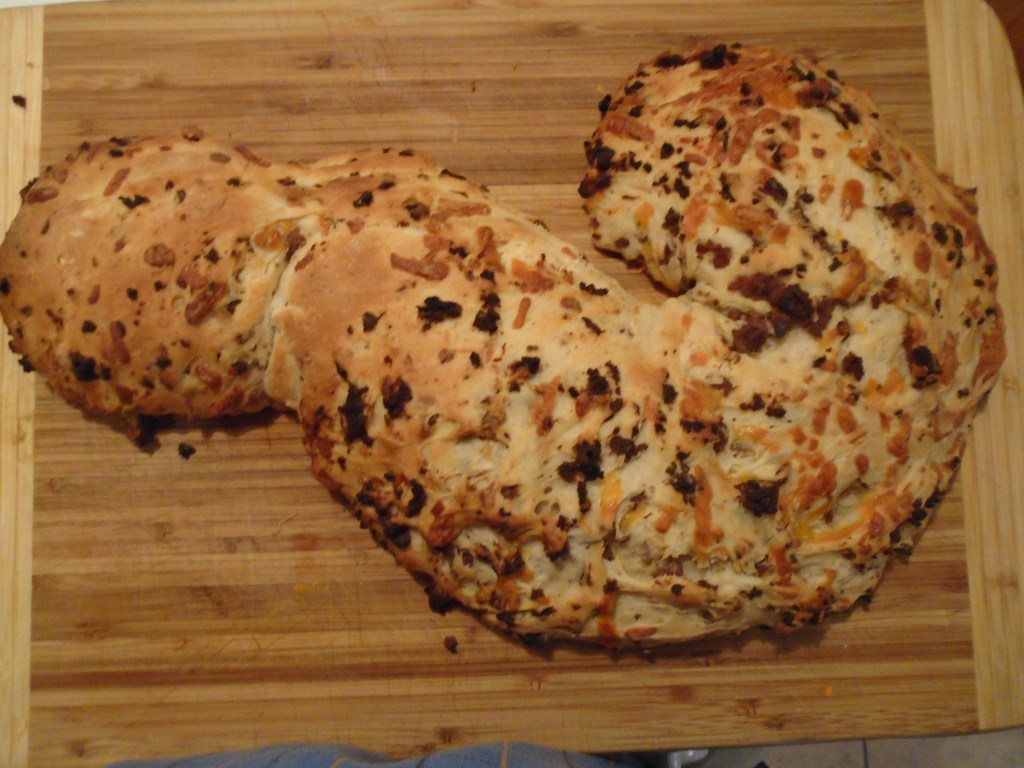
crazy bread I decided a question mark shape would be appropriate.
Bake at 400° for about 30 minutes. Remove and allow the bread to cool for a few
minutes before serving.
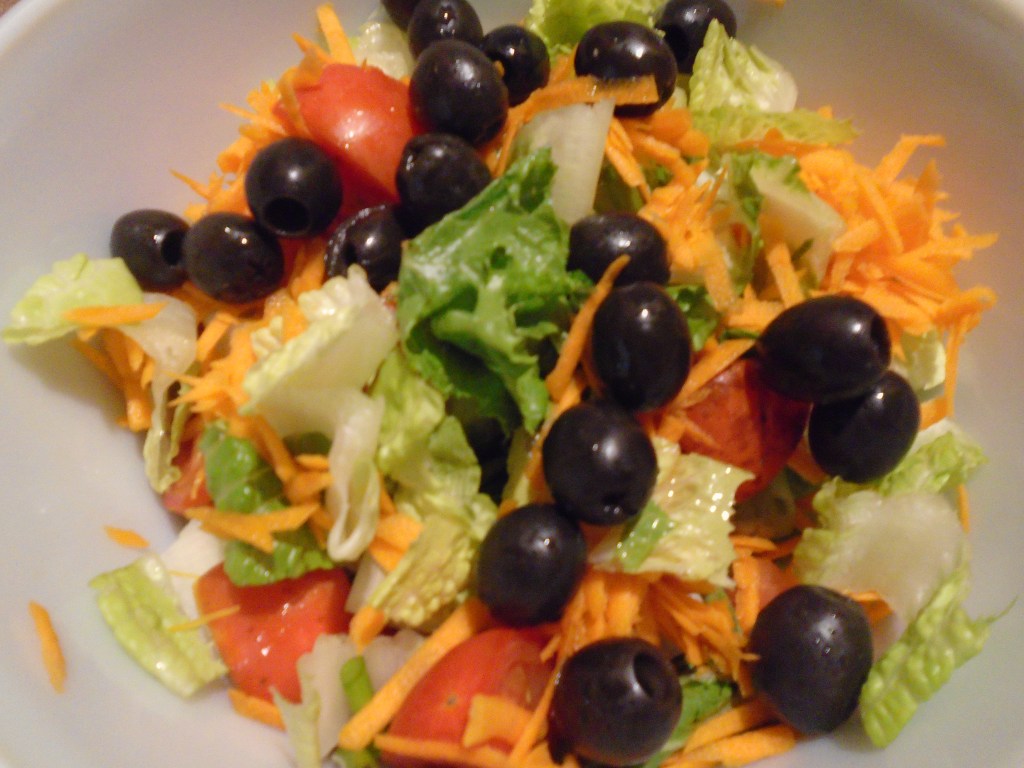
Serve with a fresh salad.
This is the first time I have made bread this way and I was
pleasantly surprised. I imagine using
breakfast sausage next time and serving with scrambled eggs and fresh fruit.
Sometimes I conceive a meal by following my instincts,
rather than following a recipe. It makes
me feel like I am creating something brand new.
On this particular weeknight, I allowed my taste buds to tell
me what I wanted to make and my mind followed.
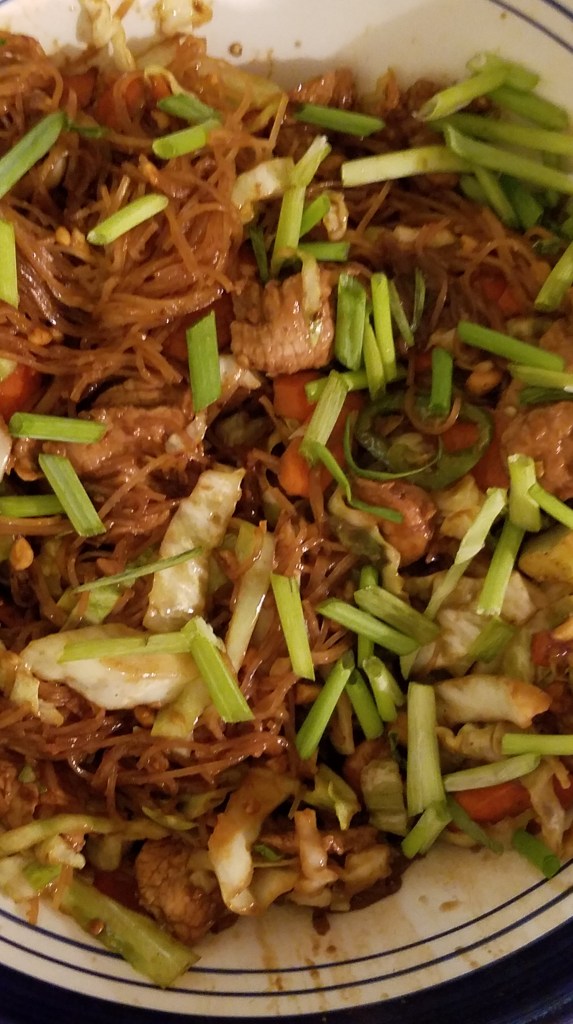
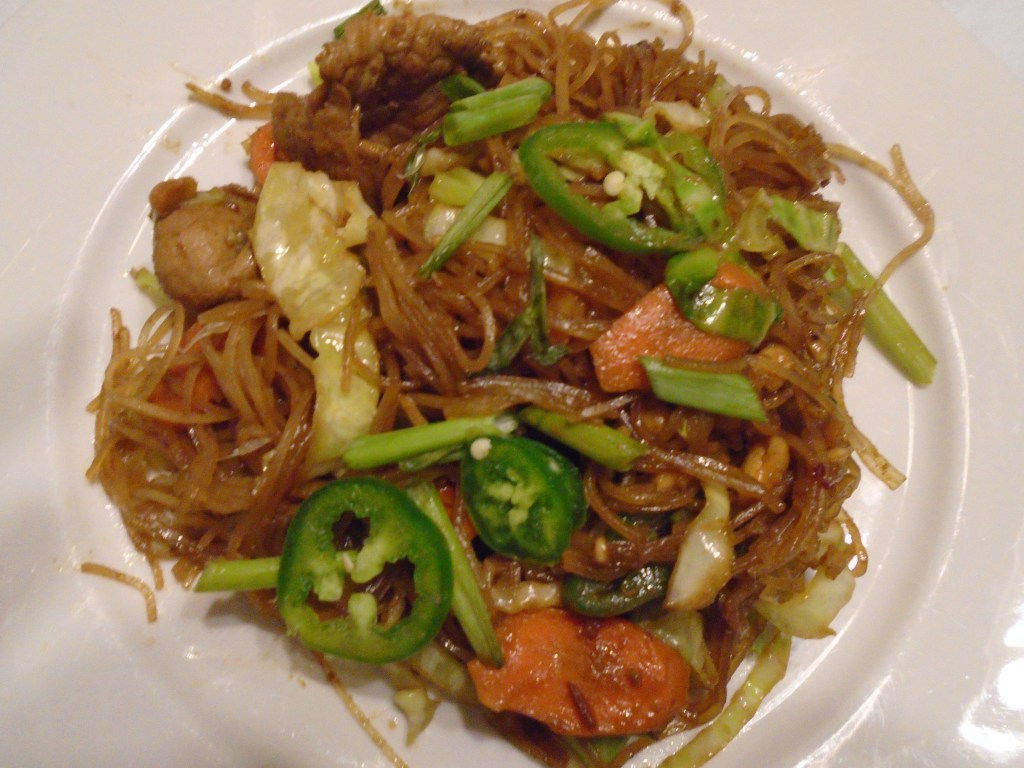
I knew I wanted to include shrimp, because I’ve been craving shrimp. I knew I wanted to use Cambodian rice
noodles, because I have had some in my pantry for a few months. From that launching point, my mind quickly assembled
the rest of the items that would bring the dish together. Pork, vegetables, sesame oil, peanuts, fish
sauce, garlic, green onions and so on.
I resisted the urge to look up recipes on the internet. I’m not saying that looking up recipes on the
internet is cheating but I sometimes find that internet searches just affirm
what I already know. Once a person has
made several stir-fry dishes, the process becomes instinctive and
intuitive. Deciding what to include in a
stir-fry is only limited by the imagination of the cook. My imagination and creativity runs deep and I
have learned not to think about “success” or “failure”, when cooking. Maybe that’s because I have become more comfortable
in the kitchen over the years, or maybe it’s because I pretend to be fearless when
I am creating something. It could be a little of both.
I approach stir-frying like I approach painting, in an
abstract style.
When I paint an abstract painting I usually follow this thought
process:
What is my state of
mind? How do I want to convey my
thoughts and emotions?
That leads to, what
colors would be best to get my point across?
What sort of shapes do I see?
What will be the focus of the painting, or will there be a main focus? Etcetera.
The thinking process goes on as long as I need it to and then my hands
start working quickly.
Mix the paint on the pallet.
Lay out my brushes. Act
quickly. Act without thinking. Let the creative part of my mind dictate my
actions but allow the reasonable part of my mind to make critical
decisions.
Is the finished work a masterpiece? That’s not for me to decide. The real question I ask is, “does this satisfy me?”
The same goes with cooking, especially stir-fry
cooking.
How am I feeling
today? What kind of meal would complete
this day in a meaningful way?
I decide what flavors I want to use. I decide what meats, vegetables and starches
will achieve what I want to convey my thoughts.
I decide how I want the finished dish to look, when it is presented.
Is the finished work a masterpiece? That’s not for me to decide. The real question I ask is, “does this satisfy me?”
Anyone who eats a meal or sees a painting leaves with their
own memories, thoughts and feelings. The
intention of the cook or the painter is irrelevant. I don’t know why that makes me so happy, but
it does!
Ingredients:
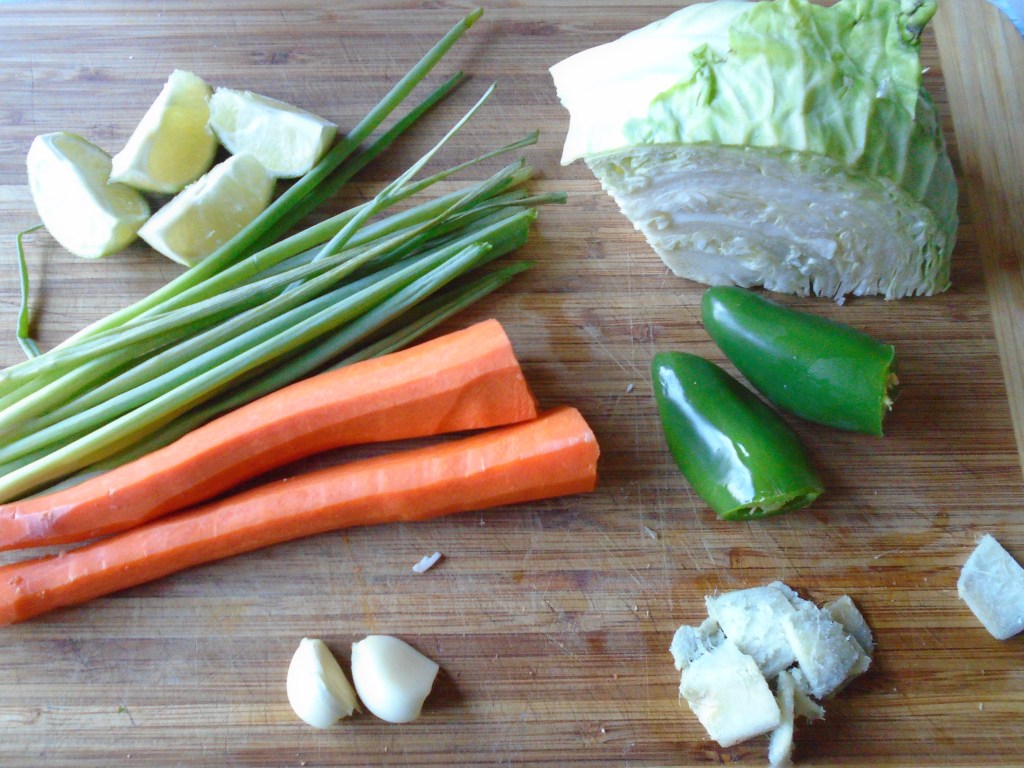
1 garlic clove, smashed
7 roots of green onion
1 Tbs sesame oil
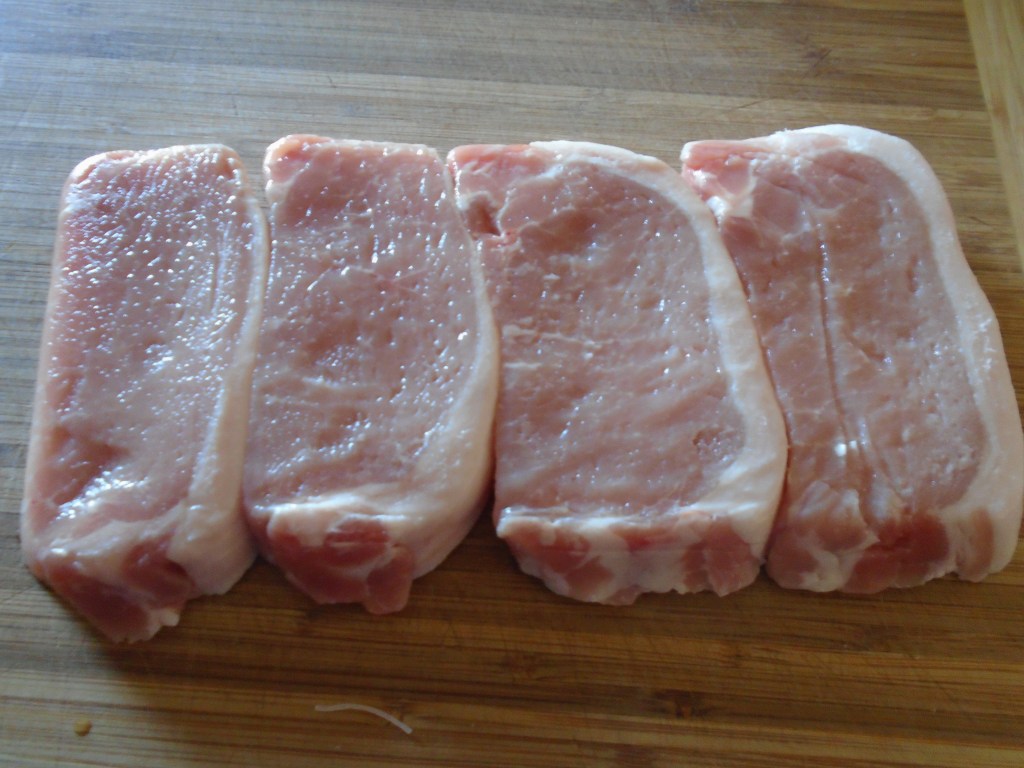
1 lb lean pork, shaved thin
12 medium sized shrimp, peeled and de-veined
1 tsp sesame oil
5 oz thin Cambodian rice noodles
For the marinade:
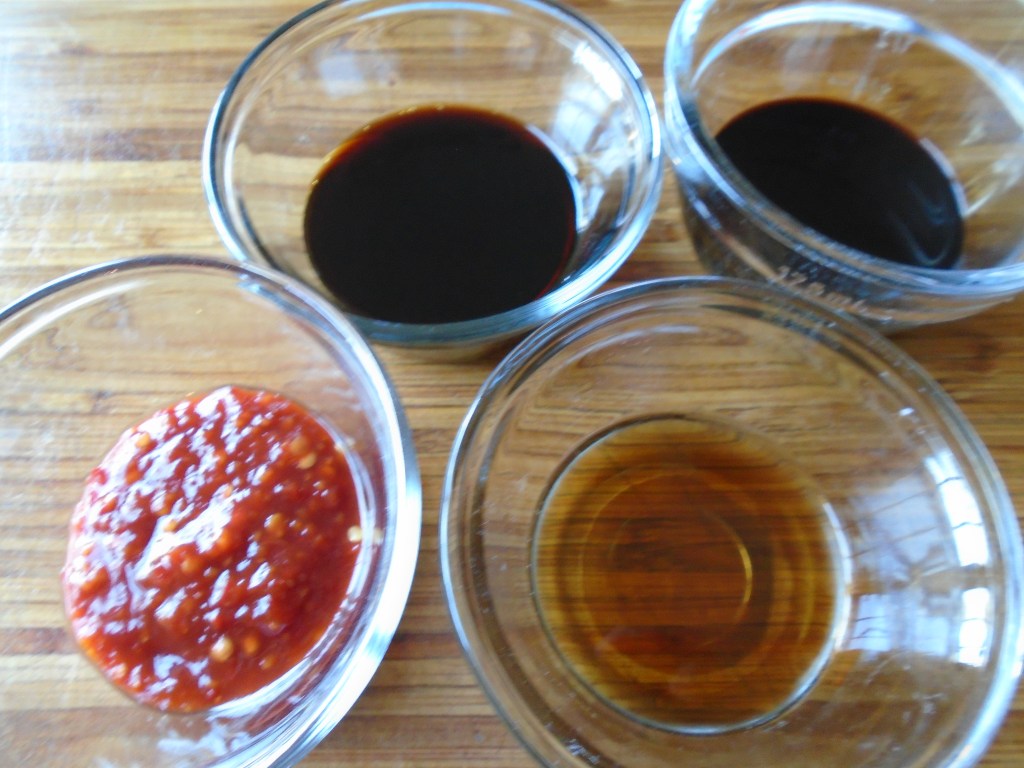
¼ cup dark soy sauce
¼ soy sauce
¼ cup Vietnamese chili garlic paste (Sambal Olek works
nicely, too)
¼ cup Vietnamese fish sauce (smells funky, tastes great)
For the stir-fry:
2 carrots
7 green onions (just the greens)
¼ head of cabbage, sliced thin
2 Tbs ginger, sliced very thin
2 jalapeños, sliced
1 lime, quartered
For the peanut sauce:
¼ cup soy sauce
1 ½ Tbs Hoisin sauce
1 Tbs peanut butter
1 Tbs brown sugar
½ cup roasted peanuts, crushed
Directions:
Prepare the
vegetables:
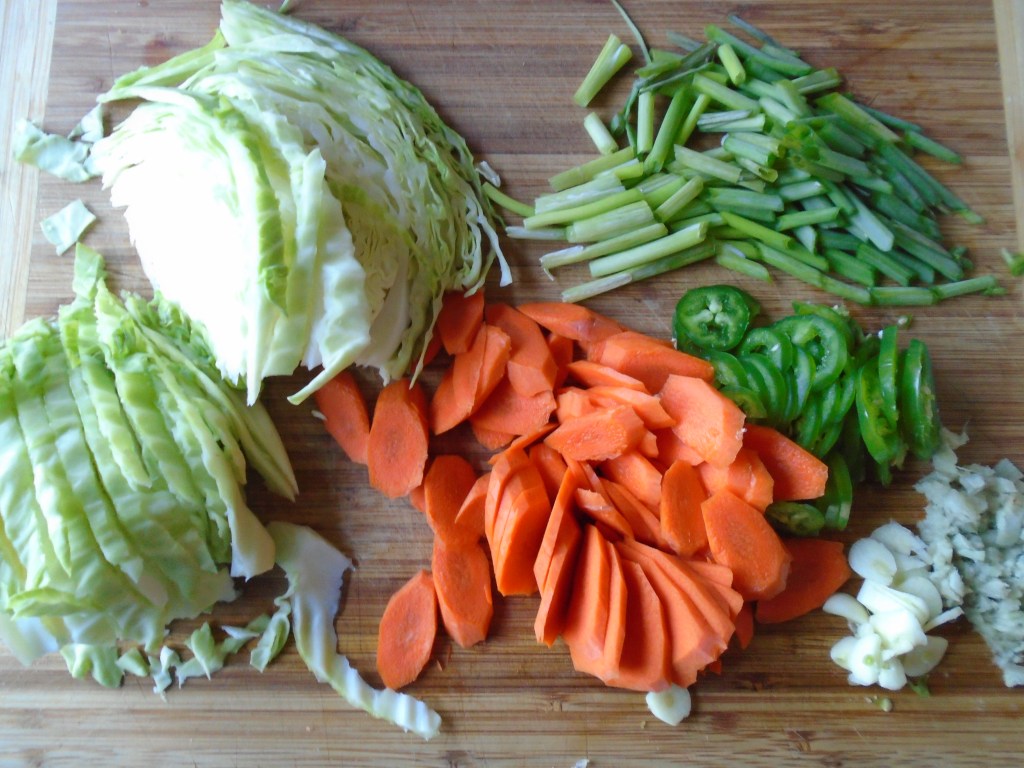
Slice the garlic, ginger, cabbage, carrots, and jalapeños
and green onions. Arrange separately on
a large plate until needed.
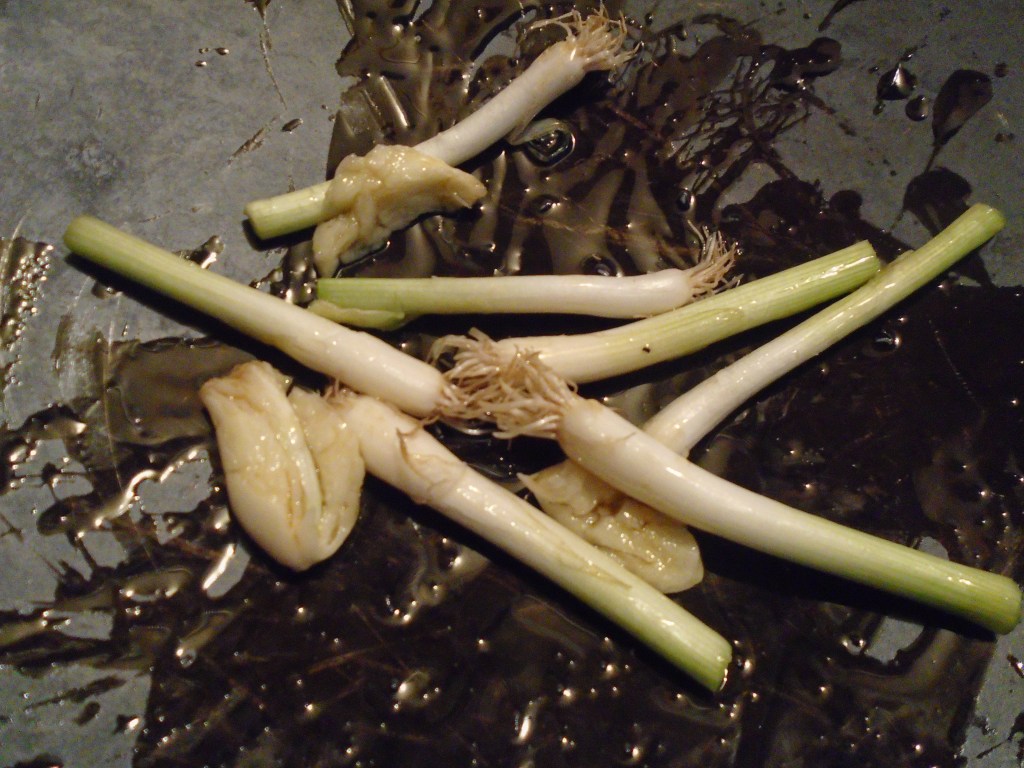
Add 1 tablespoon oil to the wok and add the roots of the
green onion roots and garlic. Simmer at
low heat. Turn off heat after 1
minute. Continue to allow the onion and
garlic to flavor the oil.
Prepare the marinade:
Combine dark soy sauce, soy sauce, chili garlic paste and
fish sauce in a bowl.
Prepare the pork and
shrimp.
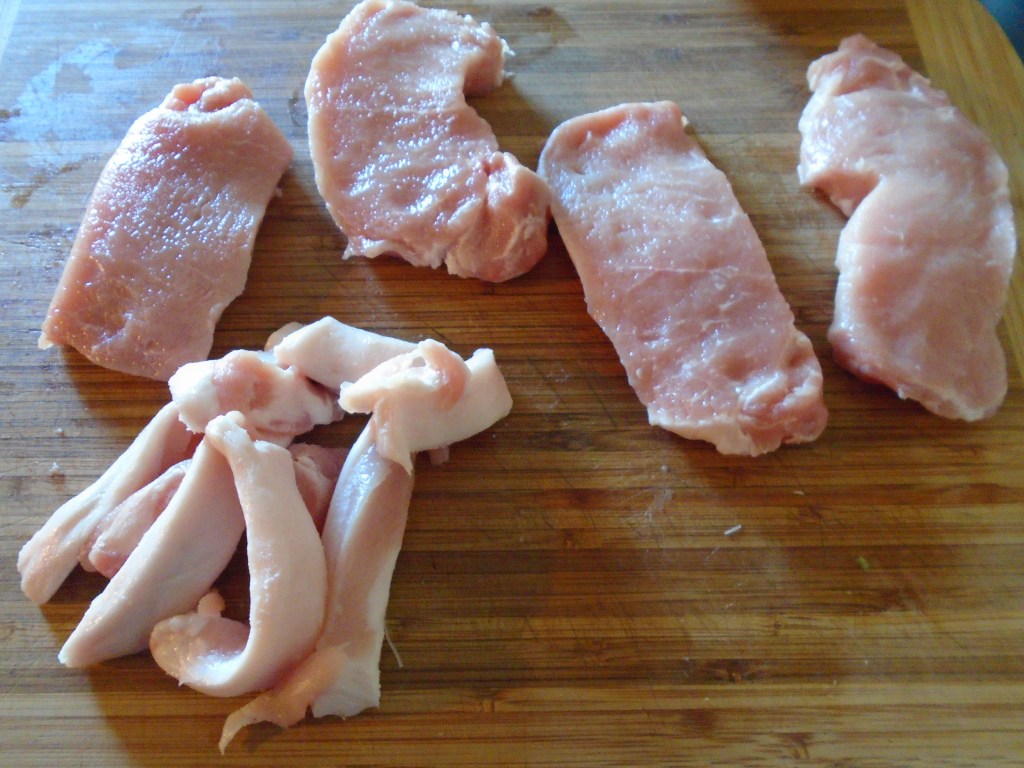
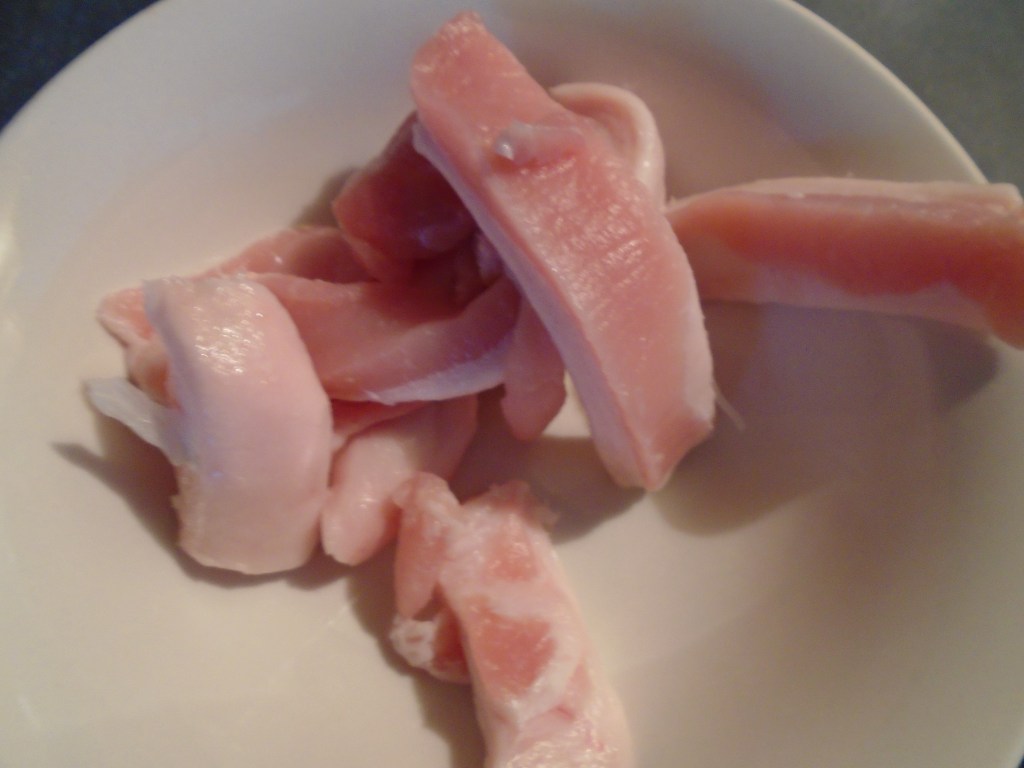
Remove the fatty edges of the pork and reserve.
Use the pork fat to flavor the oil
Slice the pork thinly and store in a bowl.
Peel and de-vein the shrimp.
Store in the bowl that contains the pork.
Add the marinade to the pork and shrimp. Store in the refrigerator until needed.
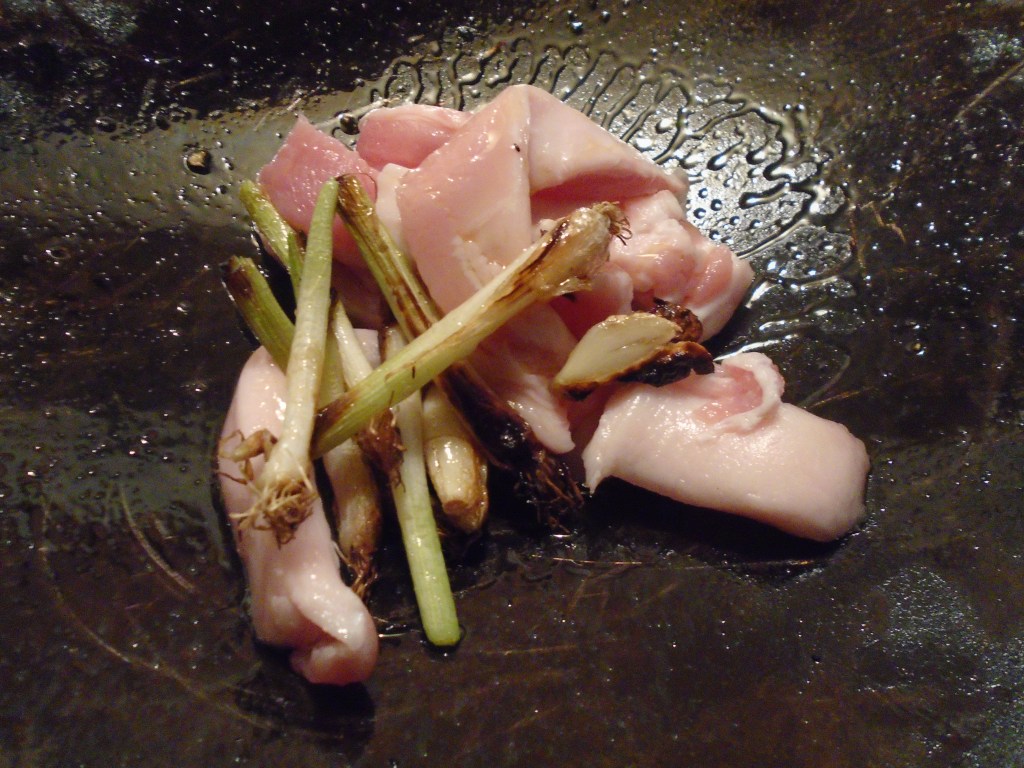
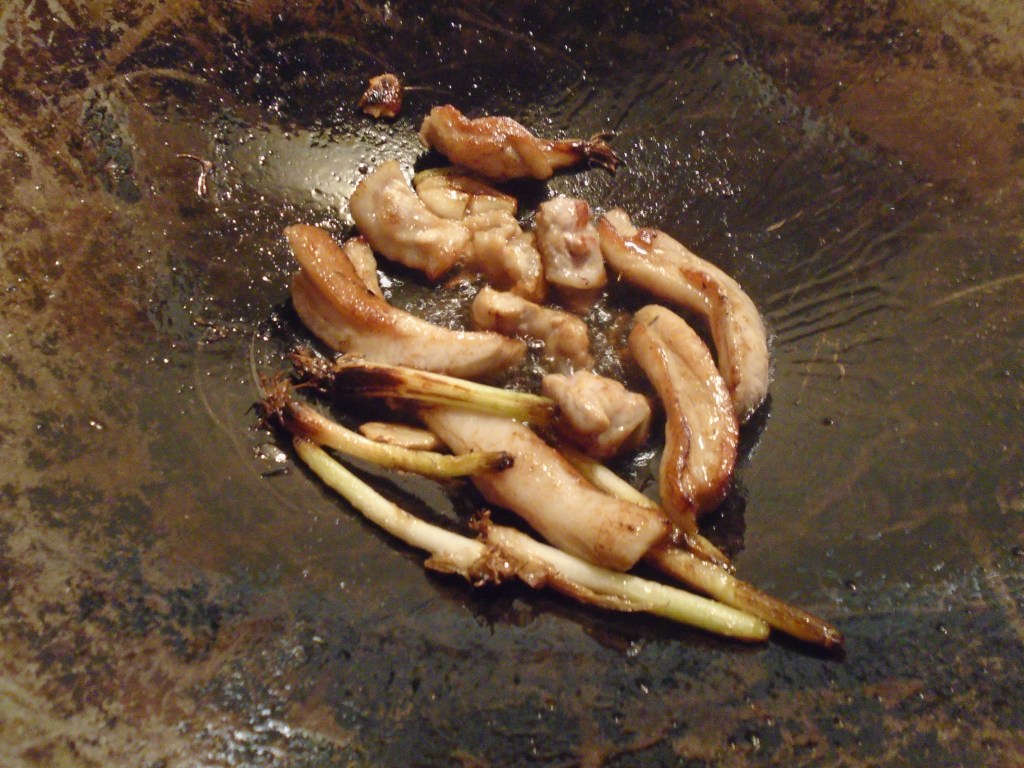
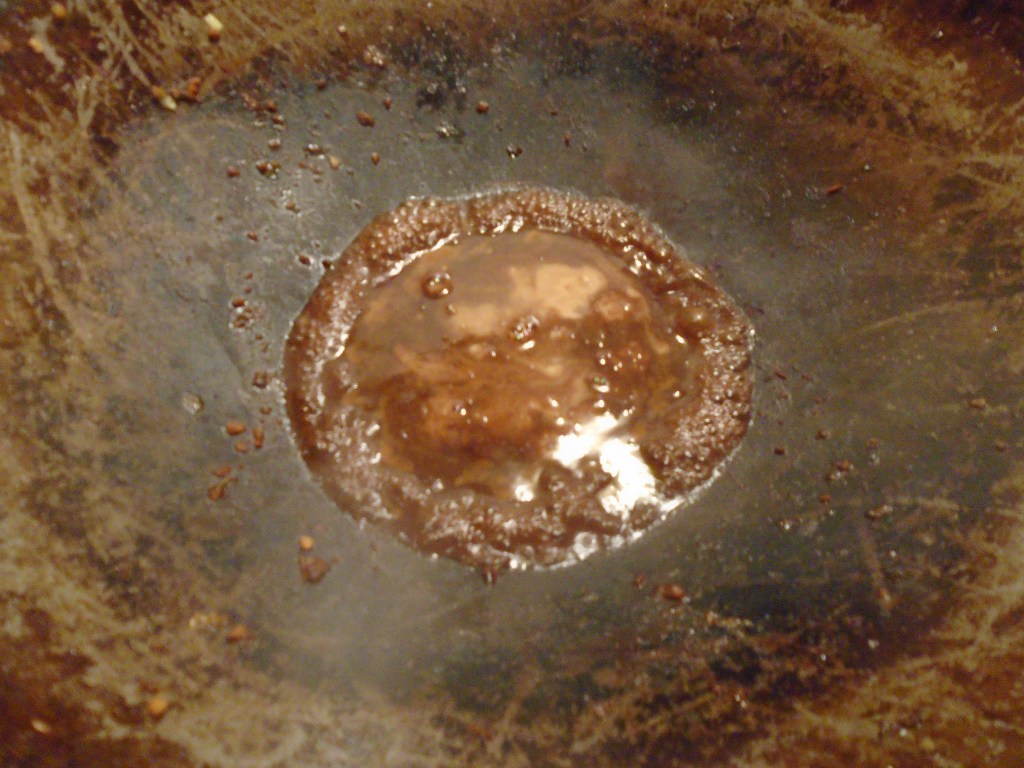
Add pork fat to the wok. Turn up heat and cook while stirring. Remove the onions, garlic and pork fat after they char (just a few minutes). Discard the garlic, onions and pork. Leave the flavored oil in the wok.
Use pork fat to flavor the oil
Discard after charring
Prepare the peanut sauce:
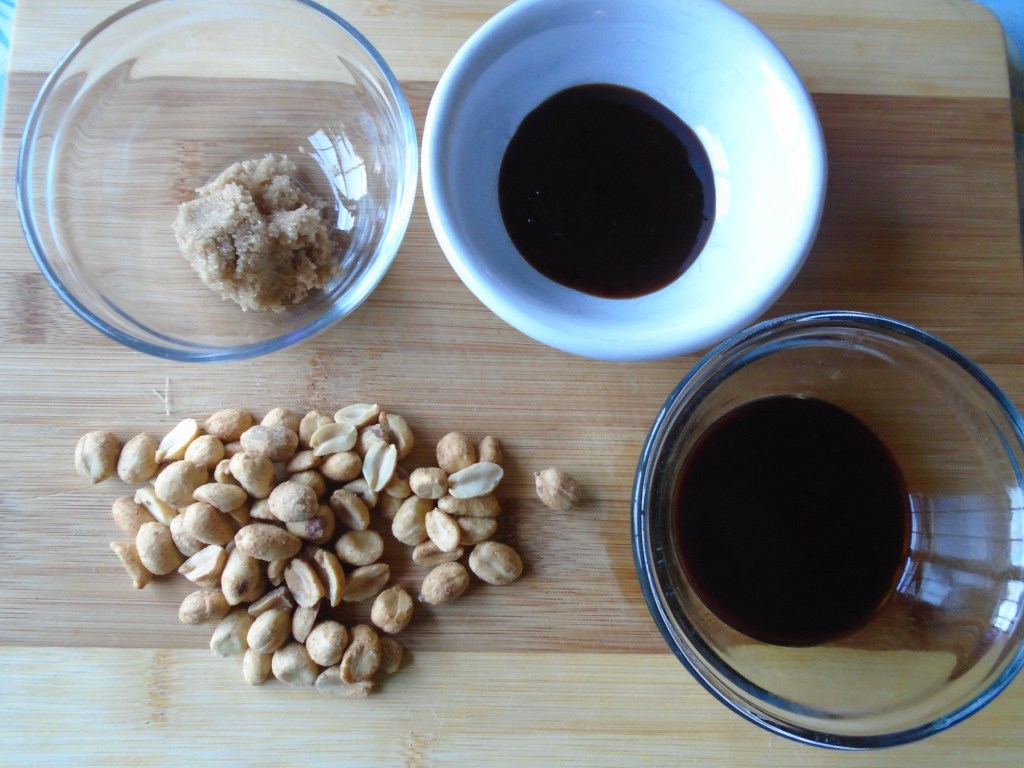
Add one tablespoon of peanut butter…not in photo.
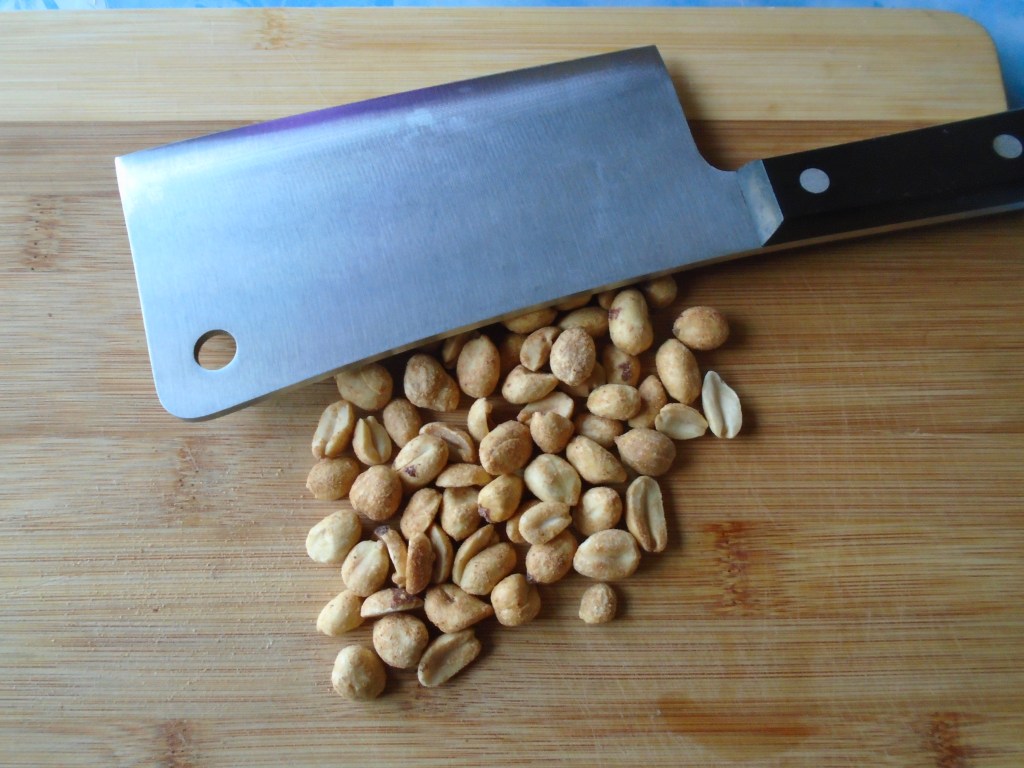
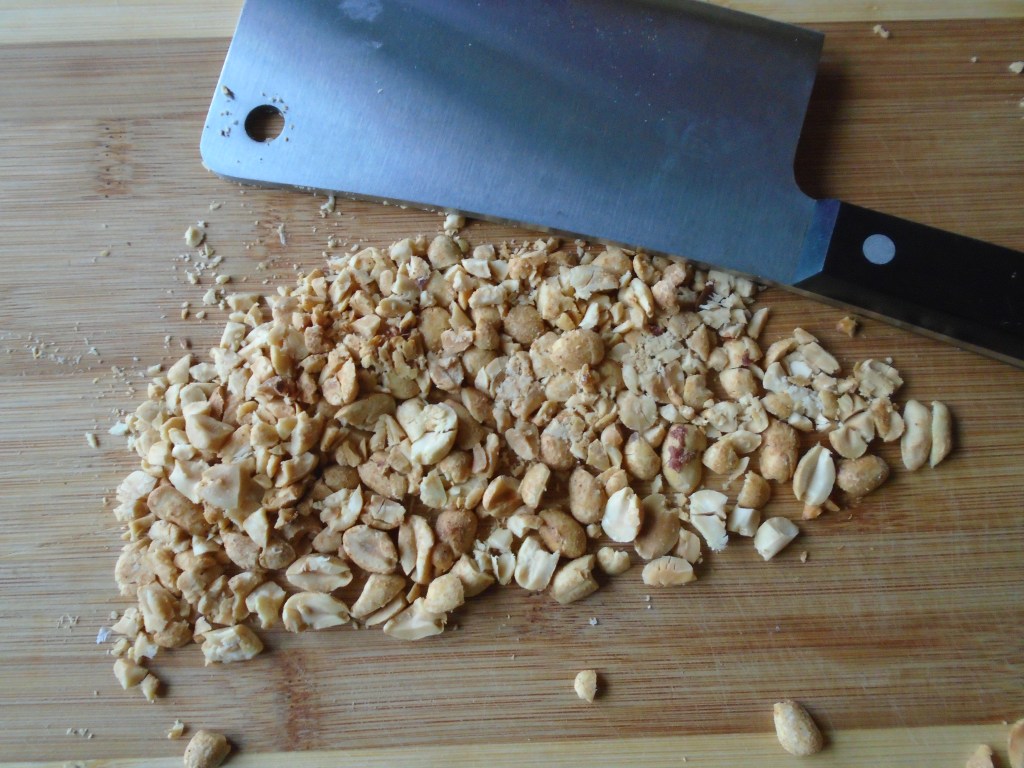
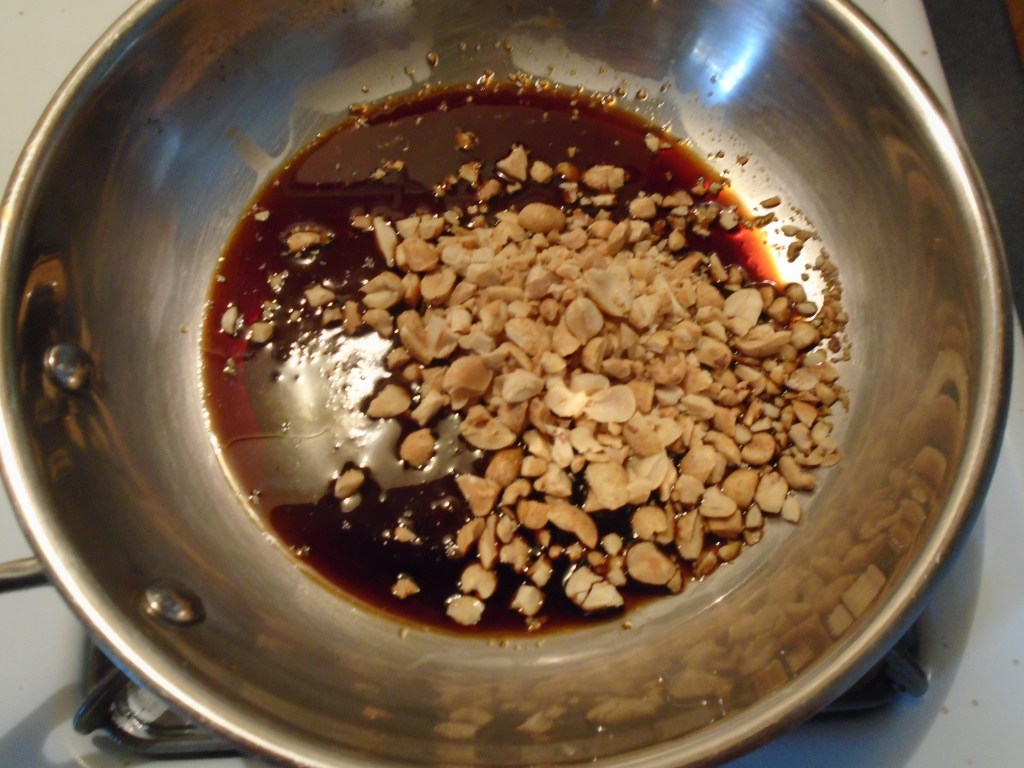
Crush the peanuts with the broad side of a knife.
Combine soy sauce, Hoisin sauce, peanut butter, brown sugar and crushed roasted peanuts in a bowl. Transfer to a hot skillet and stir to combine for a minute. Set aside cooked sauce.
Quarter the lime and reserve until serving time.
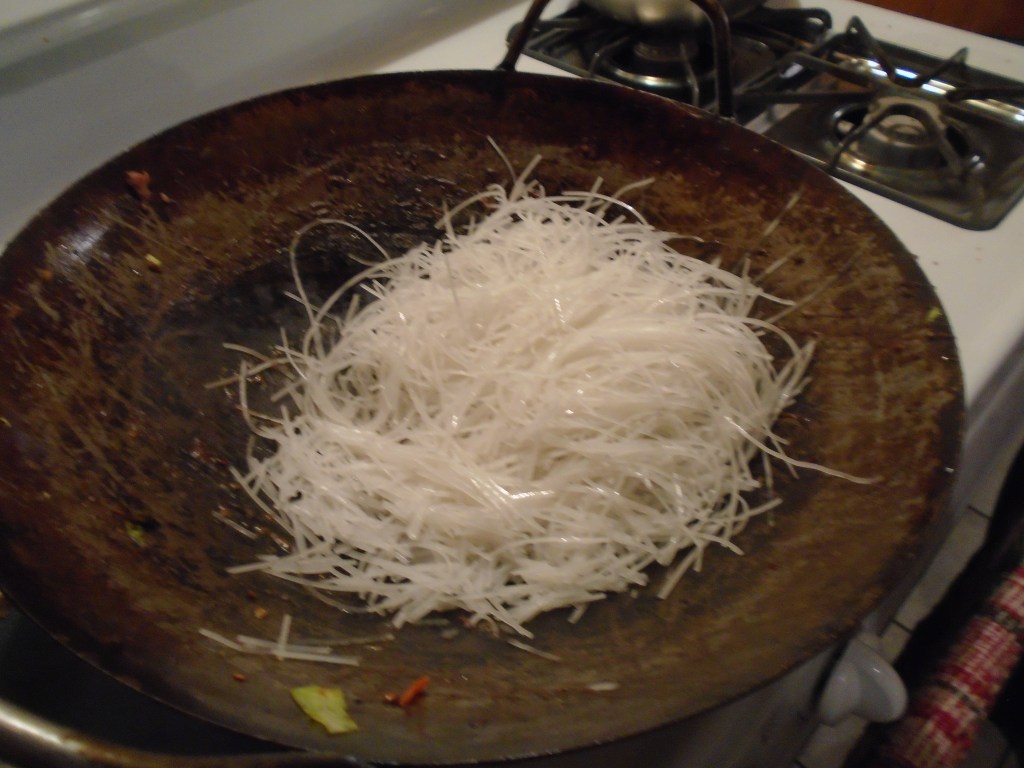
Prepare the noodles:
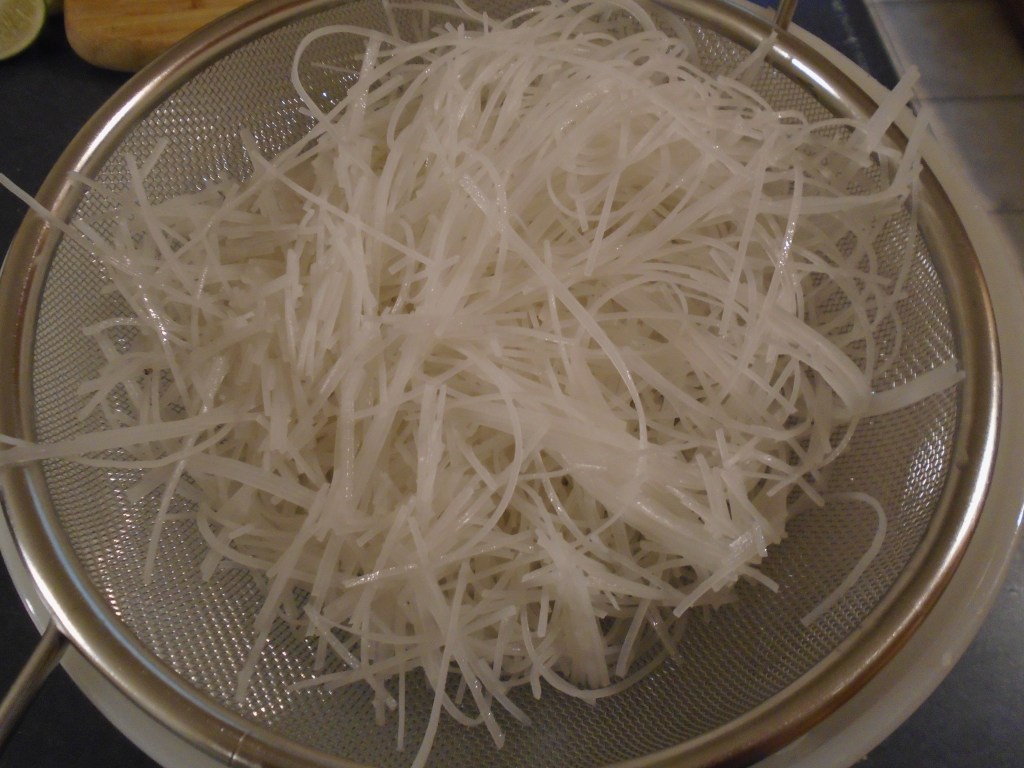
Prepare the rice noodles, according to the instructions on
the package. In this case, I soaked the
rice noodles in cold water for about 5 minutes until they became soft, but not
mushy. Strain out the water and set the
noodles aside, until needed.
Time to stir-fry!
All of the prep work is essential. Make sure to have everything prepped before you crank up the wok. Seriously…there’s nothing worse than going full force into stir frying and realizing that you have forgotten to cut some vegetable or meat or realizing that you haven’t prepared a sauce. Take a moment to review all of the items that you are going to include in the stir-fry and make sure that they are ready to go! Take the marinated meat out of refrigerator and keep it close, on hand. Keep some oil near the wok. Make sure to have your serving plate ready to receive the finished food.
Now, go!
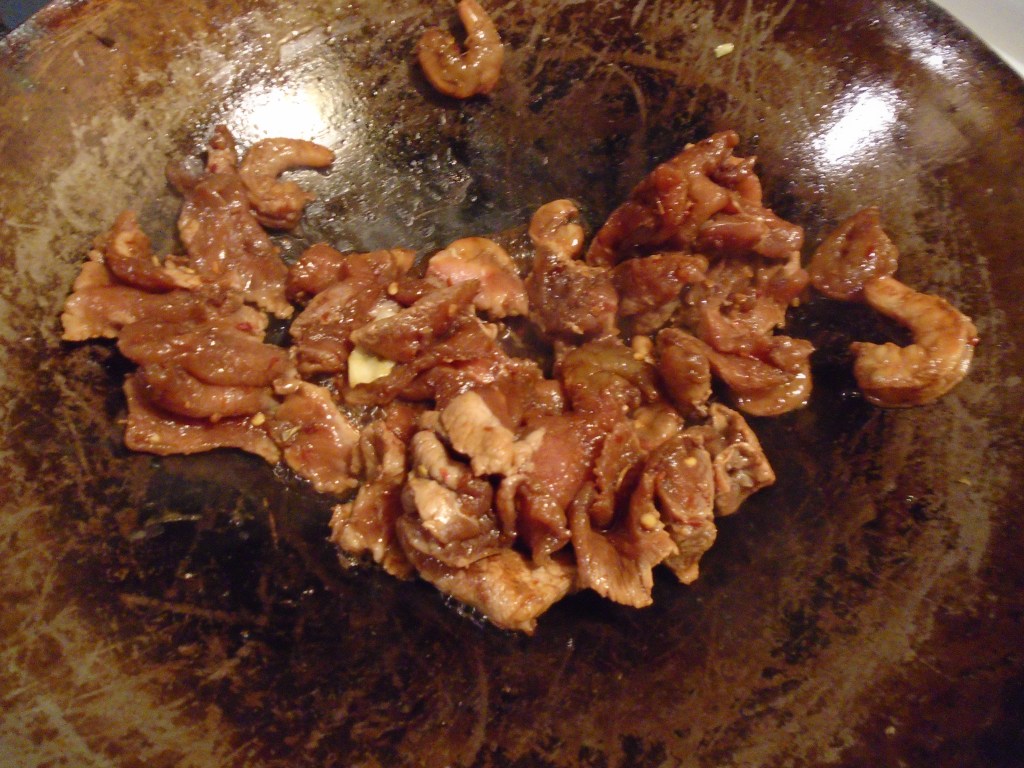
Add 1 tablespoon of sesame oil to the wok. Cook the shrimp and pork at high heat. Stir constantly until the shrimp and pork are cooked. This should only take a minute, or so. Remove to a bowl and store in a warm place.
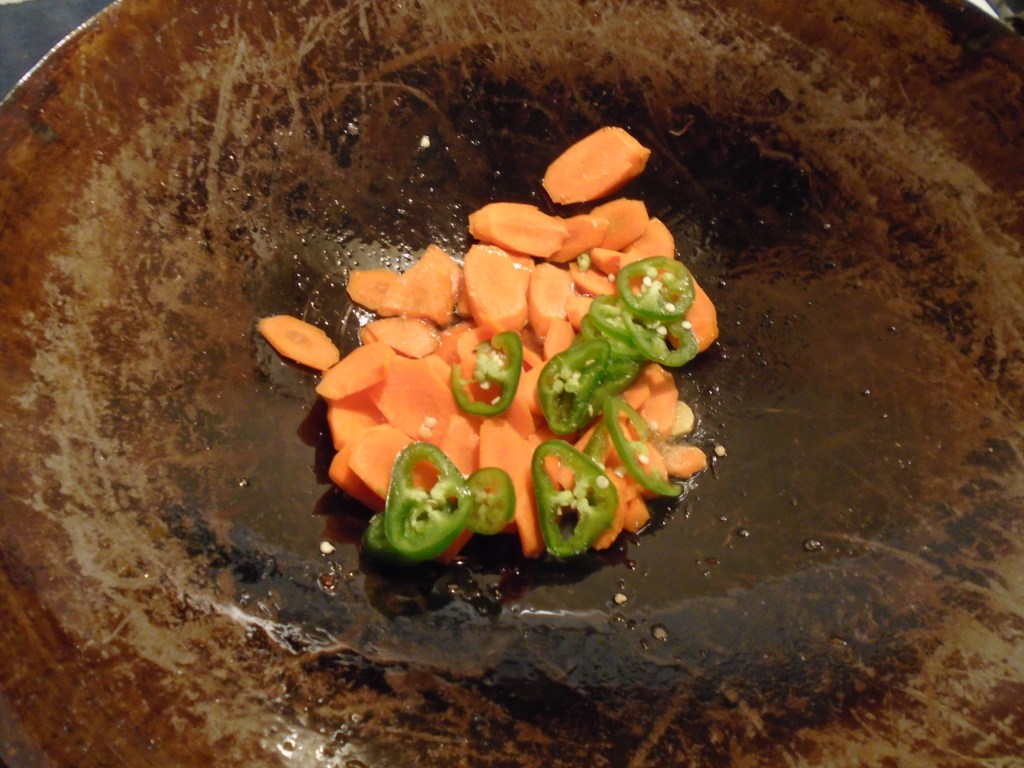
Add a tablespoon of oil to the hot wok and add the sliced ginger and a little bit of green onion. Stir for a moment and then add the carrots and jalapeños. Stir for a minute, to allow the carrots to soften.
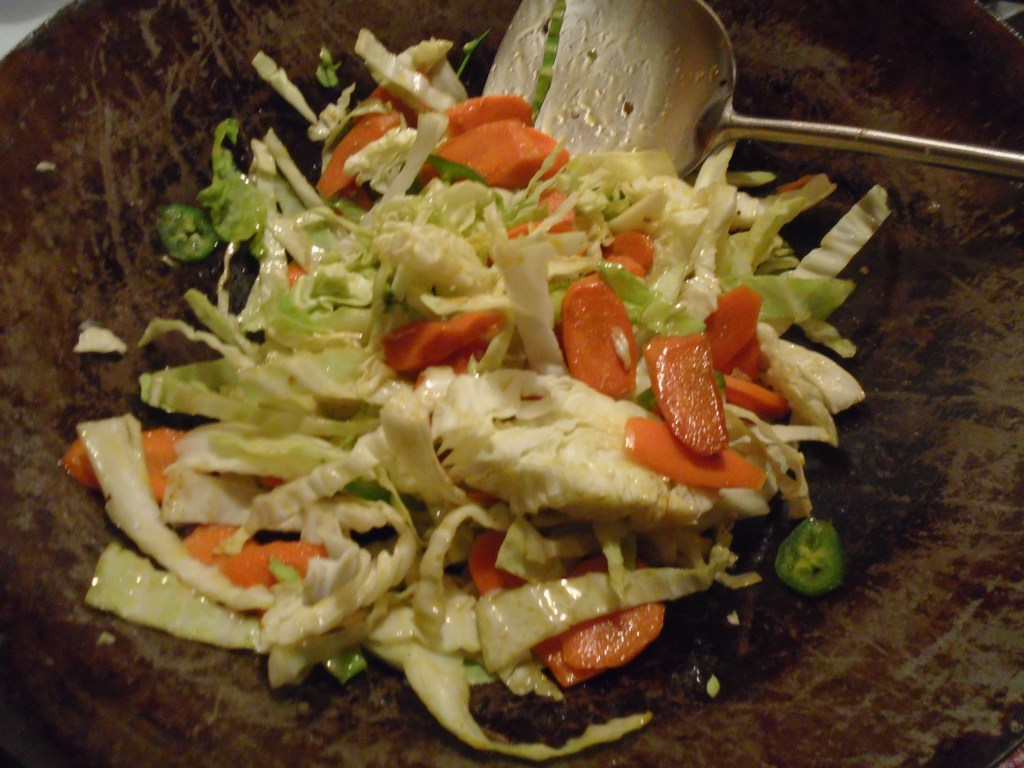
Add the cabbage and stir constantly. Once the cabbage has wilted and softened a little, remove all of the vegetables to a large bowl. Don’t remove the liquid from the wok.
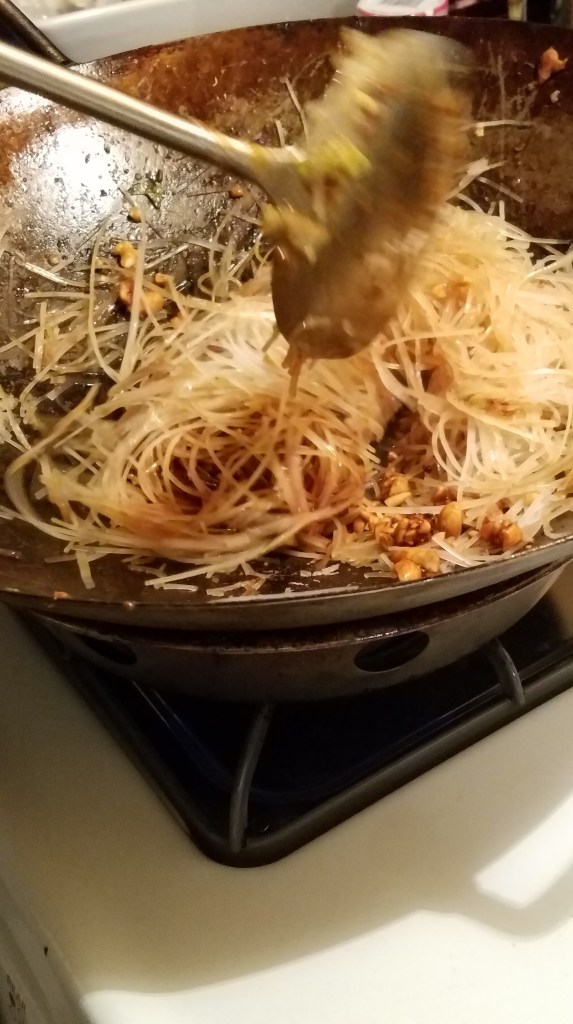
Add the noodles and stir constantly. Once the noodles have absorbed some of the liquid in the wok, add the peanut sauce. Stir to incorporate.
Return the vegetables and shrimp and pork to the wok. Stir with the noodles and turn out to a large serving platter. Top with green diced green onion and lime slices.
If you have seen some of my previous posts you might remember Dinner #1: Spaghetti. For many years I relentlessly cranked out the same dishes (with some subtle variations) week after week. Getting kids to eat healthy food was a real trick.
Pizza was always Dinner #5. Friday, the last day of the work week, was a day when I knew I could really relax and spend some time in the kitchen.
I still come home Friday evenings and think, “how about pizza?”
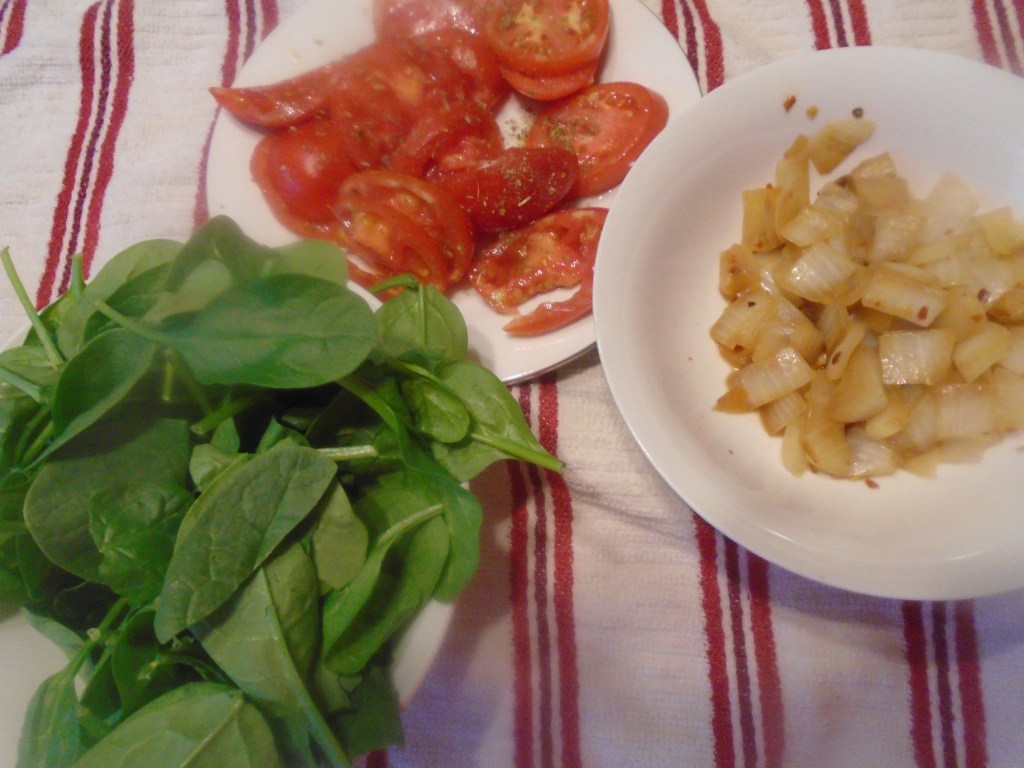
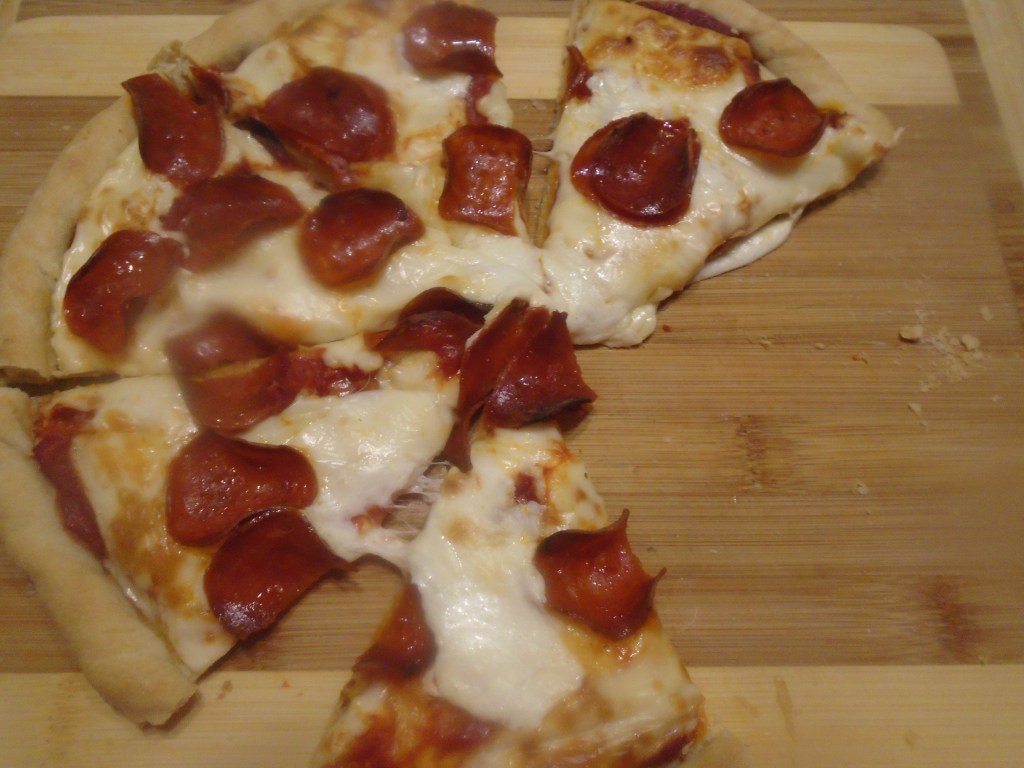
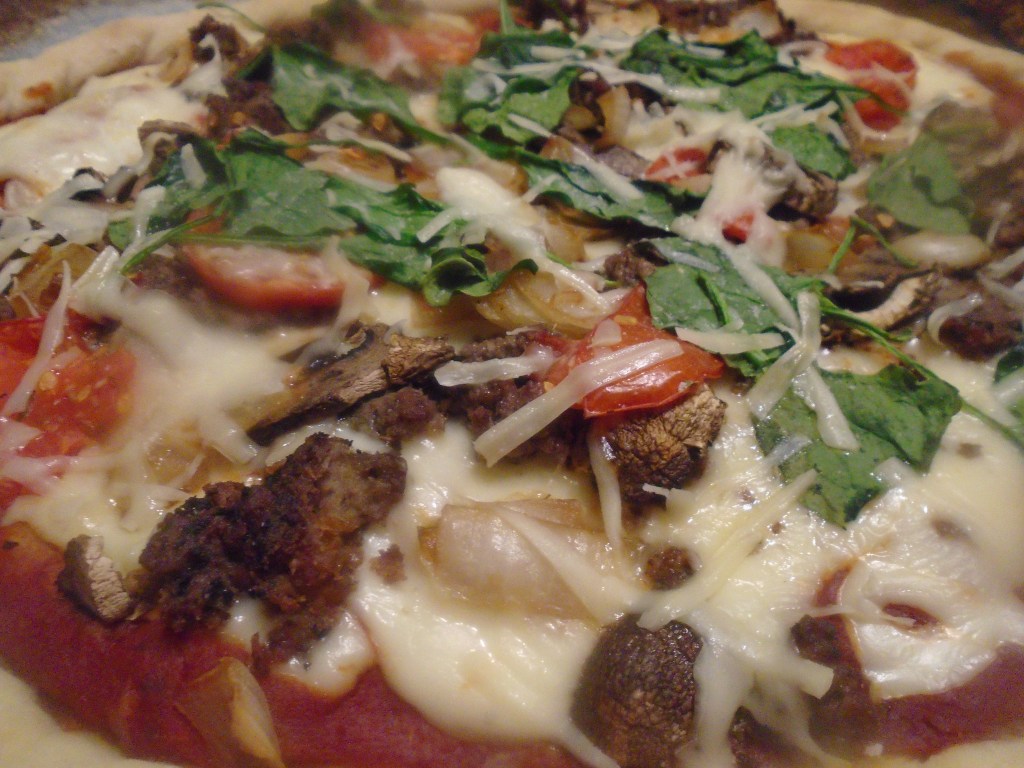
This time, I made three pizzas. Hamburger with mushroom and onion, Pepperoni and Italian cold cuts with spinach, mushroom, and tomato.
A quick rundown of some of the ingredients and then straight to the pizza…
Ingredients
Capocollo and Calabrese. These Italian cold cuts are perfect for pizza and many grocery stores sell them packaged together, in 6 to 12 ounce portions. They are a little pricey by weight but I don’t spend more than $5.00 and they can make two large pizzas!
Pepperoni. Oh, no! I accidentally picked up turkey pepperoni at the store. I don’t like turkey pepperoni but, I put a char on it and pretended I was eating the real deal.
Mozzarella. I bought “fresh mozzarella” at the store on an impulse. It’s a step up from the brick of mozzarella but I’m not so sure that it’s worth the cost. Real, fresh mozzarella is a treasure. I want to make my own! Freshly grated Parmesan is always a good thing!
If you want to see how I make pizza dough, check it out here.
Portions are arbitrary when it comes to pizza. Put whatever you want on your pizza and use as much as you want, but use some common sense. My cautionary advice is, if you think you’re putting on too much cheese, you are. If you think your pizza toppings are excessive, they are. Simplicity is key to really good pizza.
Well, I couldn’t resist.
I had to try a little bit of the wicked ghost pepper powder that I made
a few days ago.
It’s funny. Normally, when describing a recipe, I might say, use a tablespoon of this and a teaspoon of that but, when it comes to ghost pepper, I think much smaller.
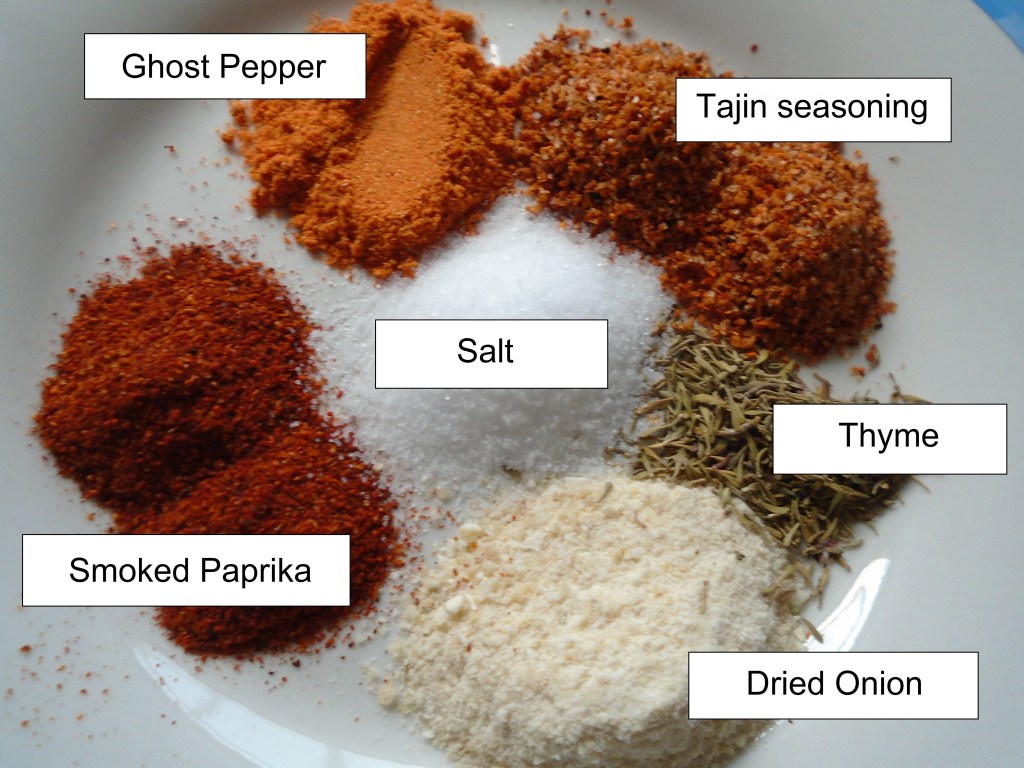
As an example, here is the rub that I used for two large
chicken breasts, before breading and frying them.
1 ½ Tbs dried onion flake (crushed into a powder)
2 tsp smoked paprika
1 Tbs salt
2 tsp Tajin seasoning
1 tsp dried thyme
1 tsp ghost pepper powder
If I did the math right, the amount of ghost pepper in the
spice mix is about 13%. At first thought,
13% doesn’t sound like much but, when that 13% is ghost pepper, it’s impressive. The curious thing is, when I use a spicy rub
on chicken, prior to frying, much of the spiciness diminishes during the
cooking process. So, even though this
was a robust amount of ghost pepper, the spice rub didn’t make the chicken
unbearably spicy.
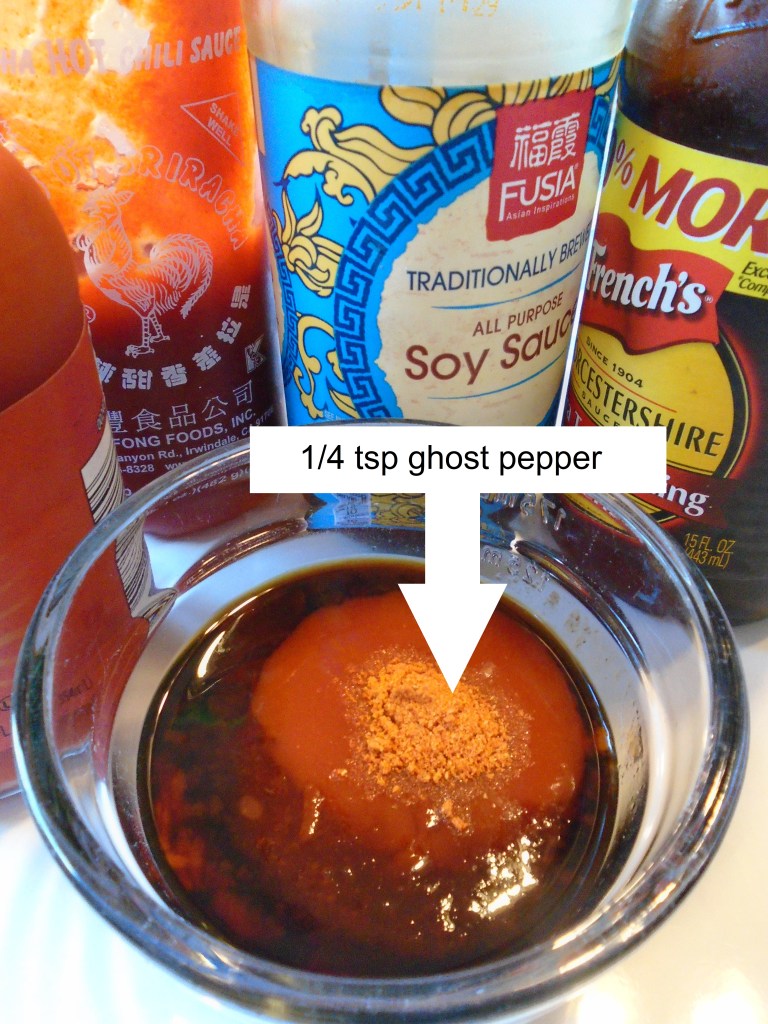
However, the sauce that I prepared for the chicken bumped up the heat, just enough to make me grin with satisfaction.
3 Tbs soy sauce
2 Tbs sriracha sauce
2 Tbs Louisiana hot sauce
1 Tbs Worcestershire sauce
¼ tsp ghost pepper powder
See the difference in the ratio of ghost powder in the rub compared to the sauce?
The total amount of sauce is about ½ cup and the amount of ghost pepper powder in the sauce is a mere ¼ teaspoon. But that’s plenty! Any more ghost pepper and the sauce would be ridiculously hot.
I like this sauce. The overriding flavor comes from the soy sauce and Worcestershire sauce. The heat provided by the hot sauces and ghost pepper gives it a nice, spicy kick.
A parting thought…
Tread lightly when adding spice to your sauces. You can always keep a secret stash of wicked sauce on the table. Don’t wreck a great meal for others just because you want to push your own taste buds to the extreme. Same goes with sugar or salt. Be kind. Be bold. Come back for more when you’re hungry! – The Pick
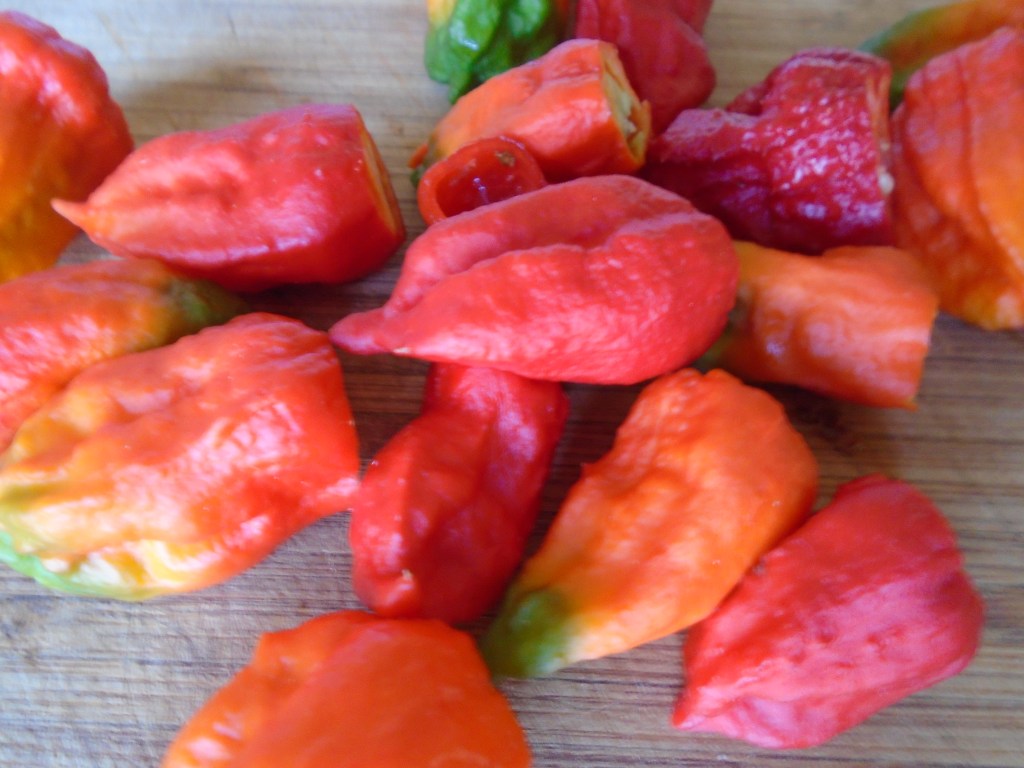
Of all the peppers that my garden produced this season, these
are by far the hottest. They are
insanely hot! It’s hard to find a way to
use them in recipes. I wouldn’t dare
throw one in a stir-fry and I wouldn’t want to take even a small bite of a
fresh one. I like to dry them and crush
them into a powder. Once they are in
powder form, I can add a small pinch to sauces or flour dredges when I want a
serious kick.
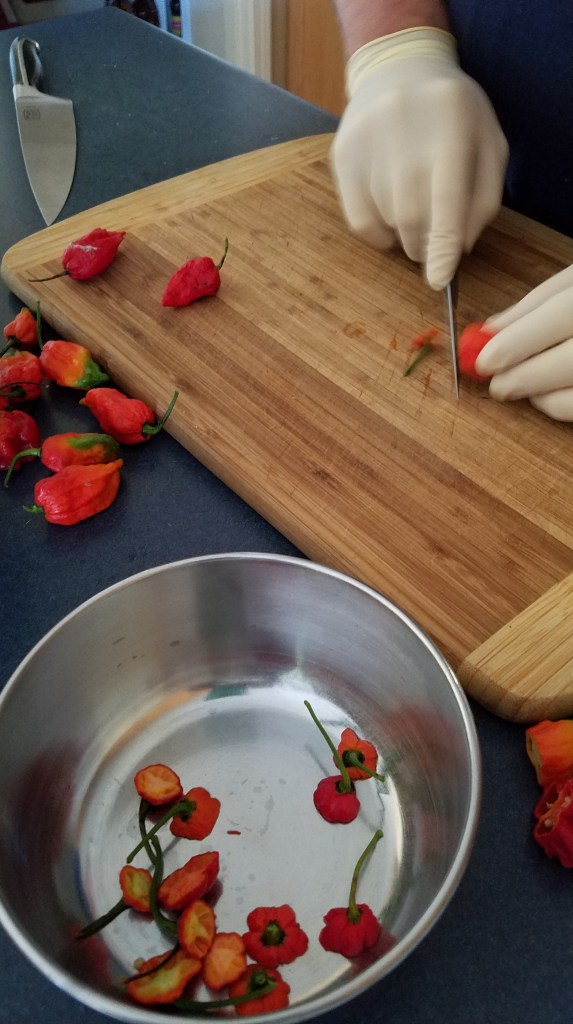
I wear latex gloves when I work with the peppers. In order to prepare the peppers for the food
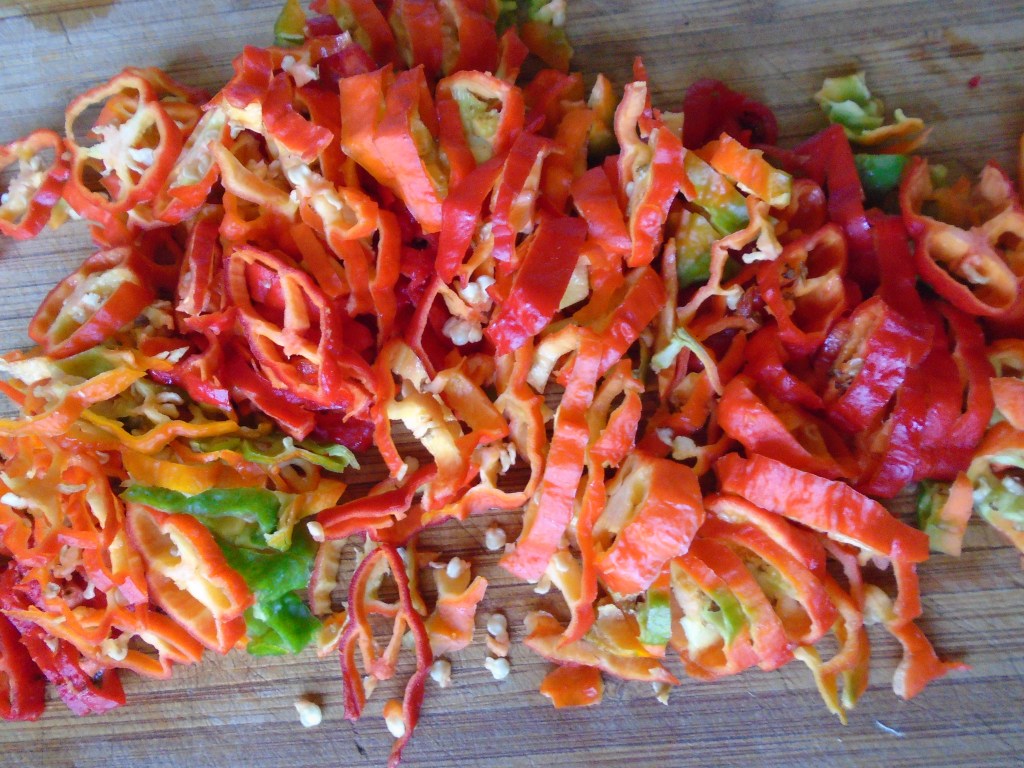
dehydrator, I cut off the stems and slice the peppers into small rings.
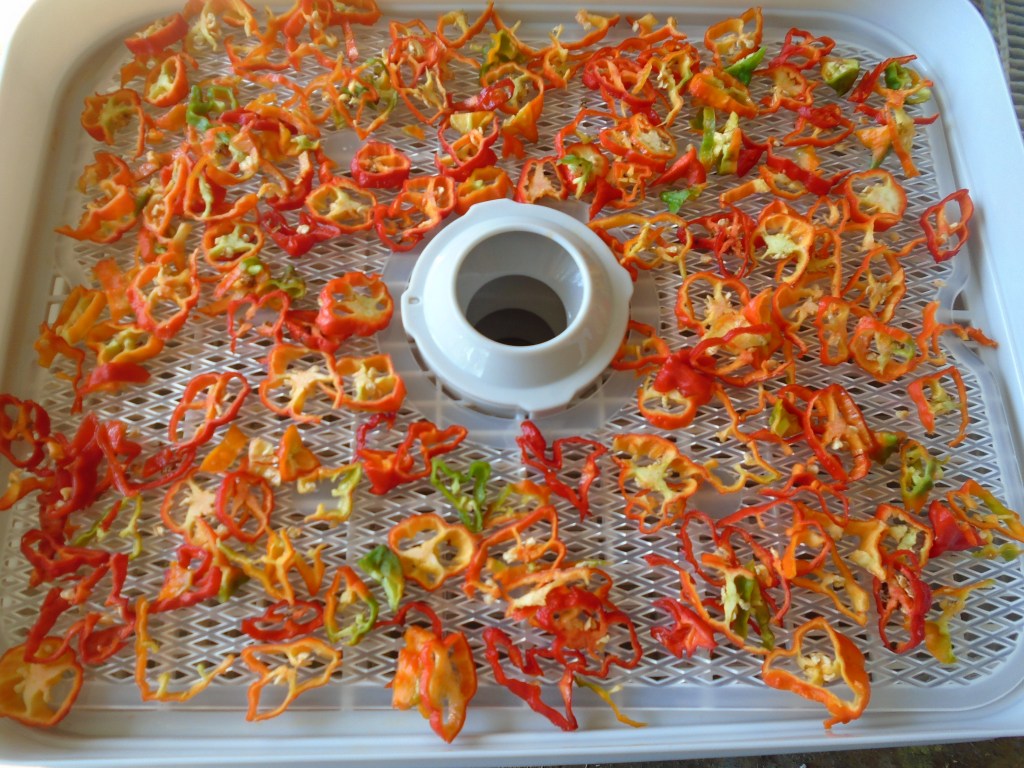
Then I lay them on the dehydrator tray and I make sure to
allow space for the air to circulate evenly.
I put the dehydrator in the garage and ventilate by opening the garage
door. The air that comes out of the
dehydrator is nearly lethal. Seriously. I take shallow breaths when I am near the
chillis.
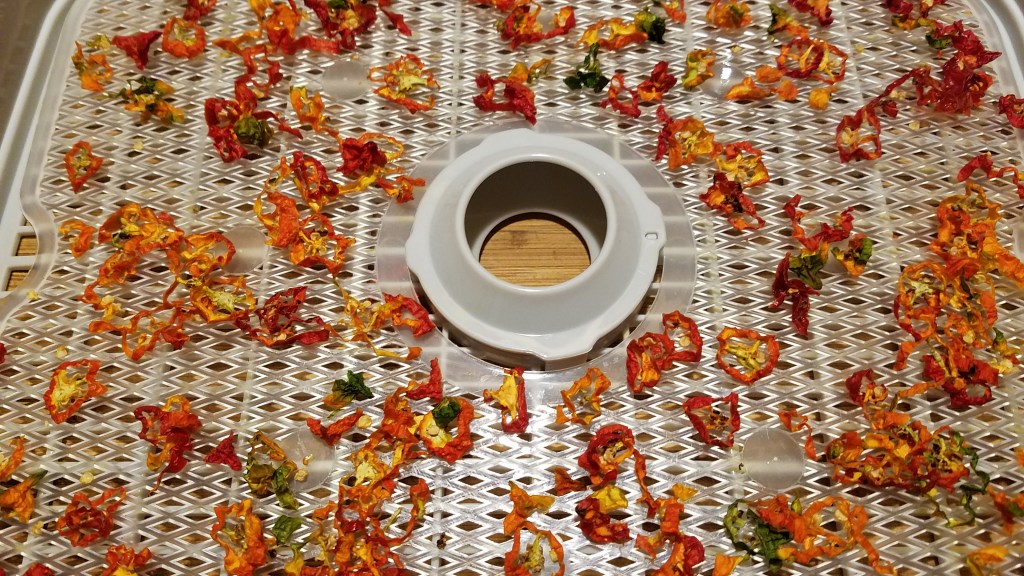
I set the dehydrator at 100° and let it run for 12 hours.
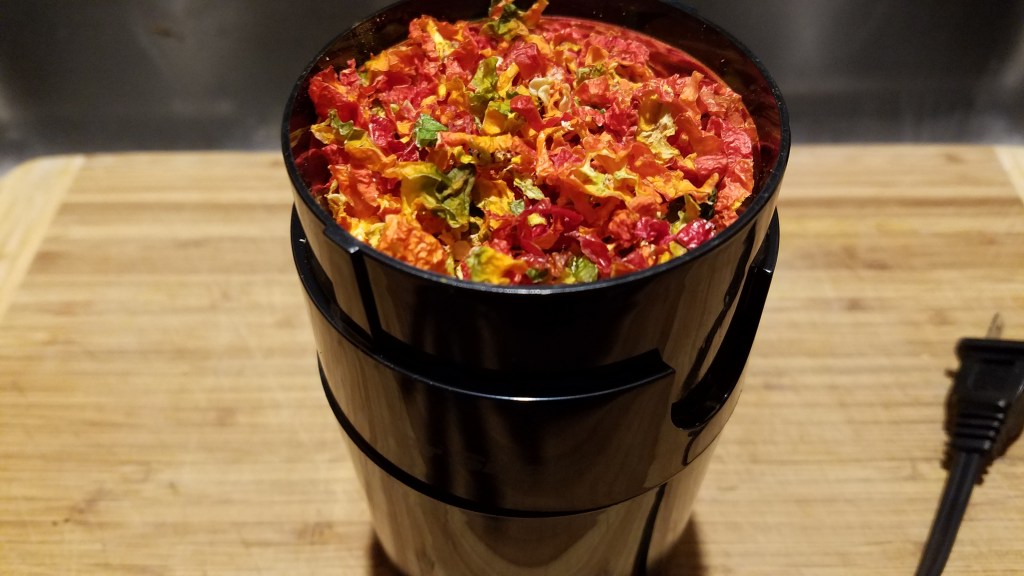
Once the peppers are dry and crisp, I put them in a spice
grinder and pulverize them.
I don’t use this spice grinder for anything else because no
matter how much I clean it, it still hangs on to some of the oils and residue
of the chillis. I made the mistake of
using my coffee grinder once and suffered the consequences. I cleaned the grinder several times but the
coffee beans picked up the heat from the chillis for the next several
grinds. The subsequent coffee brews were
painful.
This is a ridiculous amount of spice! It will be used sparingly over the next several years.



















 Toothpick Tales