My cousin recently introduced me to peri-peri. She understands my passion for chilis and all things spicy and, when she shipped three bottles of peri-peri sauce to me, I was elated. As I opened the box, a heavenly aroma of chilis filled the air and as I began to unwrap the contents, I realized that two of the bottles had broken during shipping. Oh, the horror!
I salvaged the one unbroken bottle and said a solemn prayer for the two noble souls that didn’t make it.
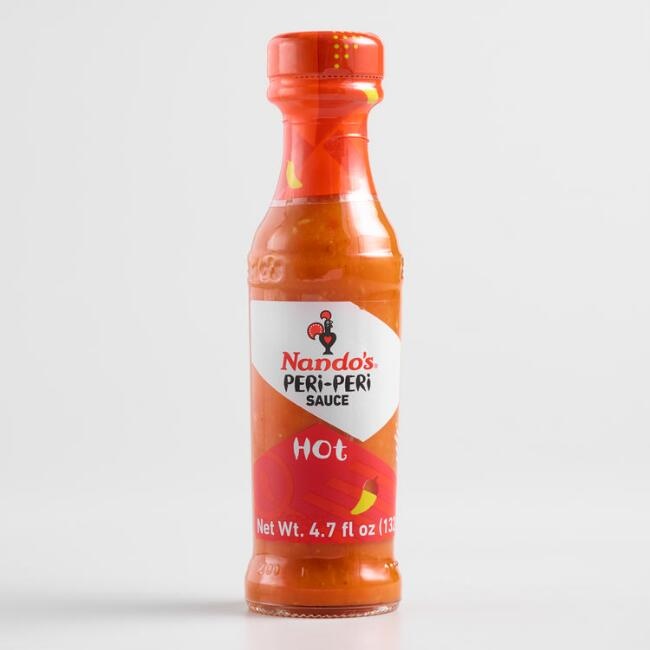
Peri-peri is a cultivated chili from Portugal. It’s originally an African chili, from Mozambique, to be exact. “Pillpill” is Swahili for “pepper”. It is a very spicy red chili. Portuguese explorers came across peri-peri way back when Portugal was in their exploratory heyday. The peri-peri chilis were brought back to Portugal where they were cultivated through selective breeding.
Since I had never heard of peri-peri, I did what anyone else living in the 21st century would do…I ran to my computer and searched the internet for peri-peri. Most of the results showed recipes for peri-peri Chicken, which was naturally a Portuguese concoction. Most recipes called for about 4 ounces of peri-peri sauce which was just about what my lone- surviving, stalwart bottle contained.
I discovered that the key to this dish relies more on how the chicken is prepared, rather than the type of chilis that are used. In fact, you can omit the chilis entirely and still have a great meal! I have to say that I recommend using some amount of chilis because they add a wonderful flavor and the act of roasting takes away much of their heat.
I didn’t have peri-peri sauce on hand this time but I did have lots of red-ripe habanero chilis from my garden that were just waiting for an opportunity to shine.

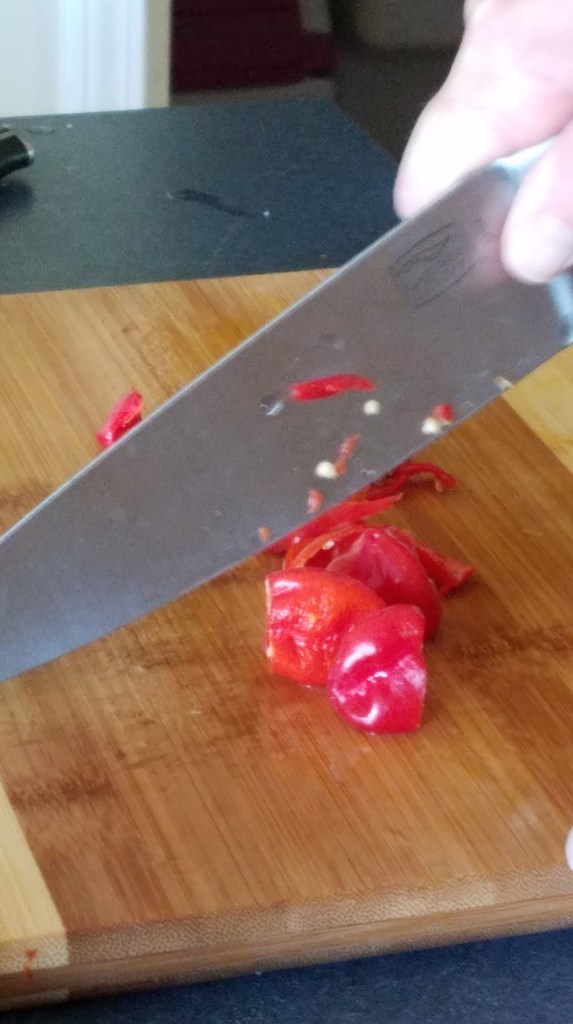
Chop one-handed! 
Don’t touch the habaneros!
I also included things like Italian dressing and Tajin seasoning, for the marinade. The substitutions and additions that I used didn’t take anything away from the quality of the finished product because I stayed true to the spirit of the dish. I grilled the chicken over hot coals. That is the key.
Ingredients:
1 whole fryer chicken
Dry rub:
2 Tbs Tajin seasoning
2 Tbs garlic powder
Marinade:
1 ½ cups Italian dressing
5 habanero chilis, chopped
2 Tbs Tajin seasoning
2 Tbs sriracha sauce
2 Tbs dried onion flakes
1 tsp coarse salt
1 Tbs hot sauce
Glaze:
1 ½ cups marinade
2 tablespoons butter
Juice of 1 lemon
Preparation:
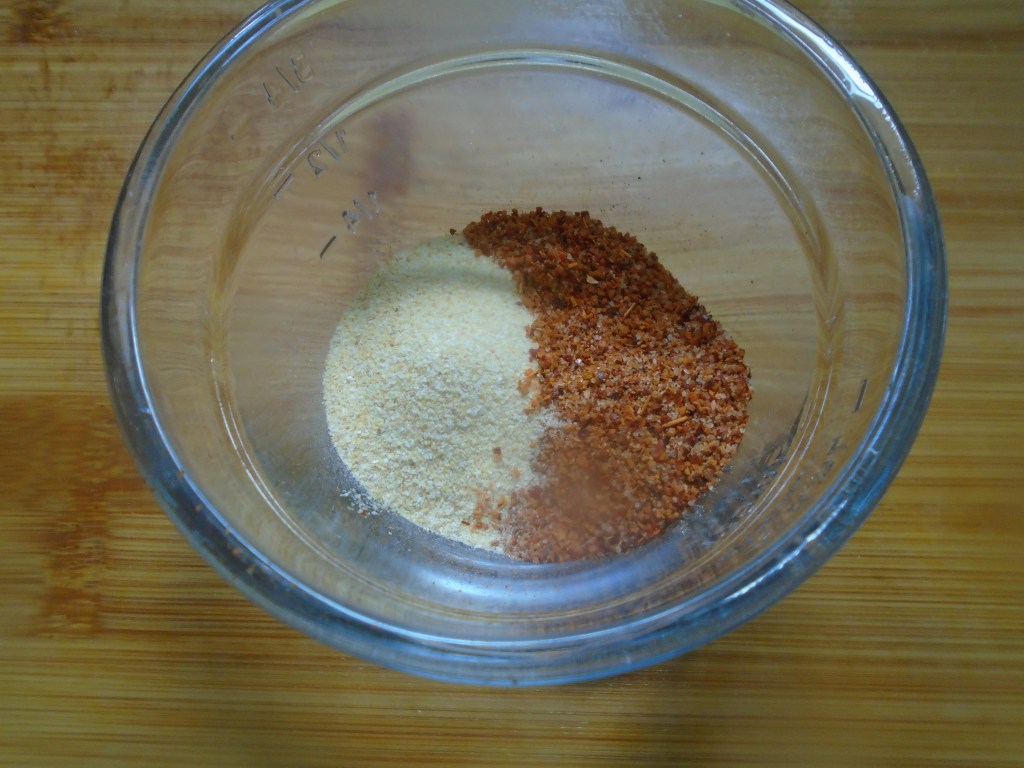
For the rub:
Combine the Tajin seasoning and garlic powder.
For the marinade:
Combine marinade ingredients in a large mixing bowl.

Prepare the chicken:
Inspect the cavity of the chicken and remove the neck and packet of organs, if they are included. Wash and rinse the chicken. Using kitchen shears, remove the backbone. This is actually fairly easy to do but it requires a strong grip on the scissors. Feel along the backbone to determine where to cut. Cut along both sides of the backbone. Remove the backbone and use it for chicken stock or, if nobody is looking, discretely discard it and suffer some guilt later. Same goes with the neck and organs…great for other uses but I promise I won’t tell on you if you discard them.
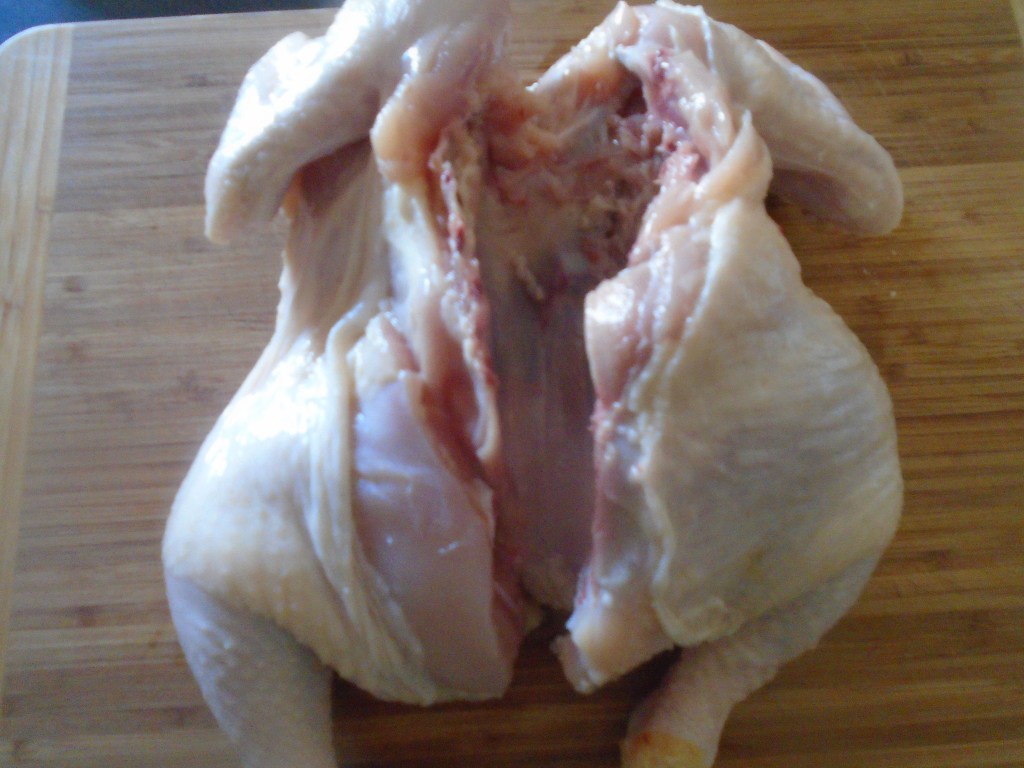
Turn the chicken over on a cutting board so that the breast faces upward.
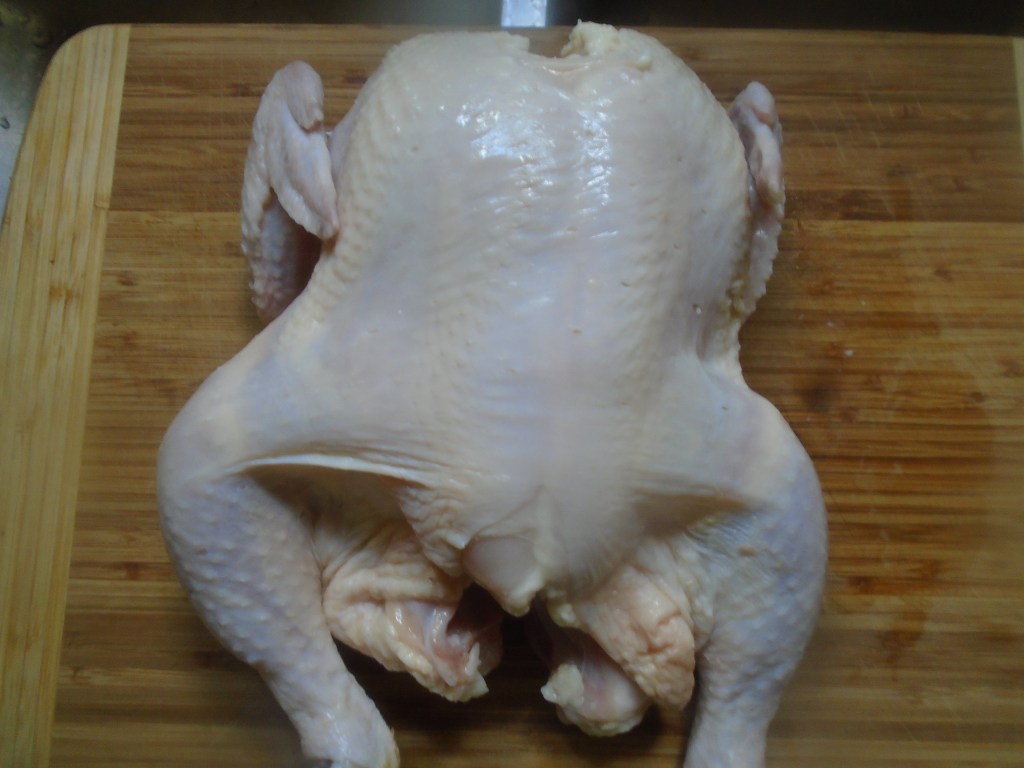
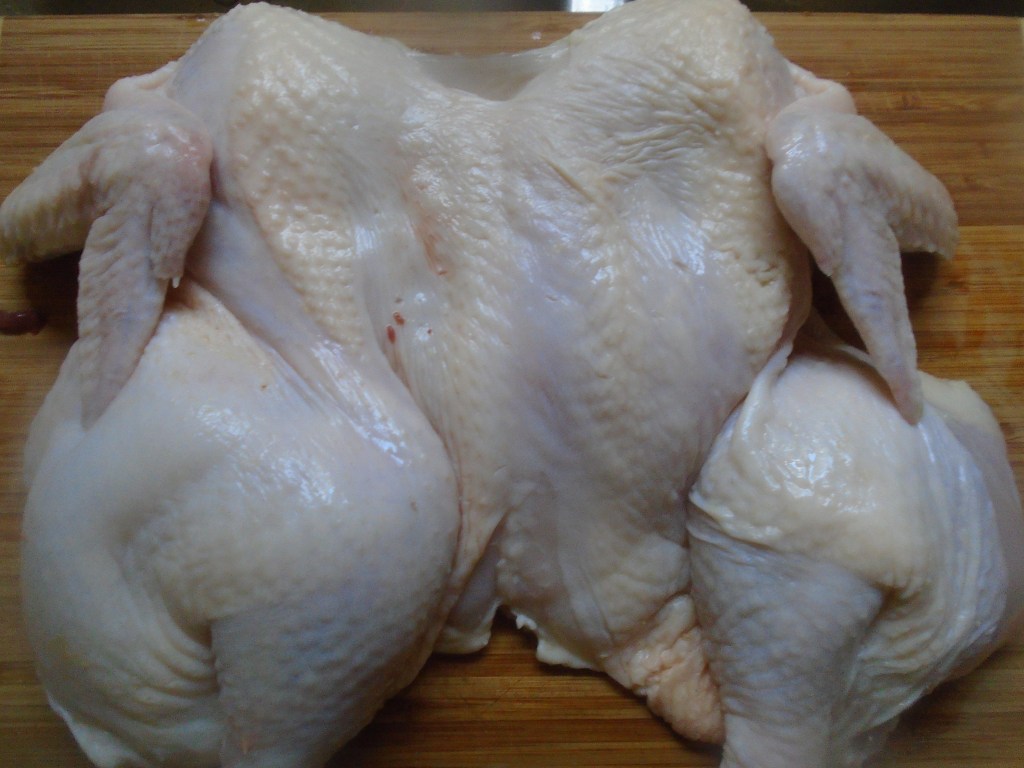
Double your fists as if you were going to perform the Heimlich maneuver on someone. Press down forcefully between the breasts until the cartilage gives way. Don’t hold back! Lock your elbows and push down with extreme force! (Just think of it as chicken therapy). If you lack the strength to perform this act, that’s ok. Just score the breast meat along the sides of the breast bone and try again. Work your way up and down the middle of the breast with your fist until the cartilage yields and you are left with a flattened chicken.
Apply the rub:
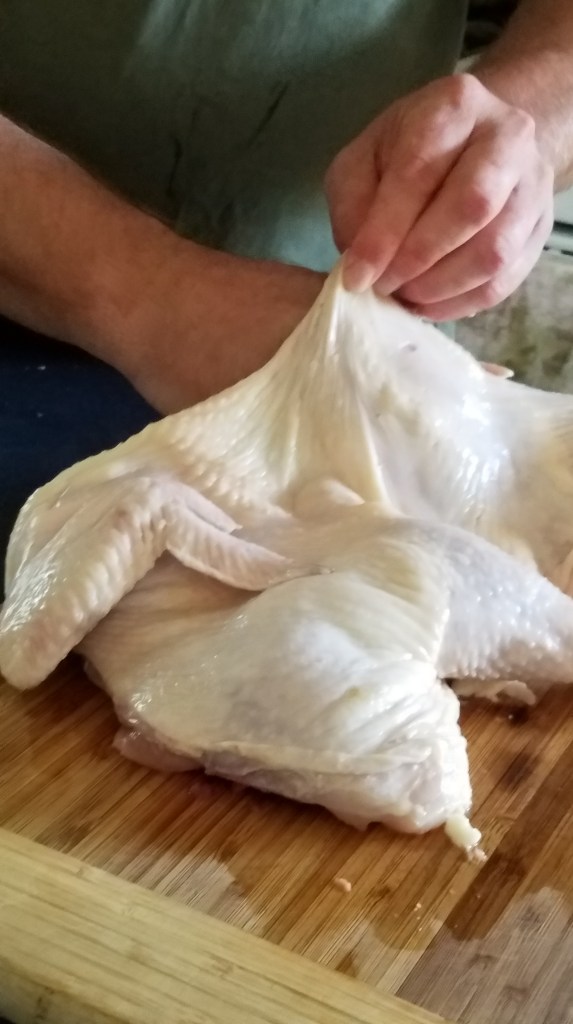
Carefully create an opening between the skin of the chicken breasts and the breast meat. Use your fingers to create the opening and then slide your hand under the skin and continue sliding back to the thighs and leg. Do this gently, to avoid breaking the skin. Once you have separated the skin from the meat, apply liberal amounts of the rub on the meat with your fingers

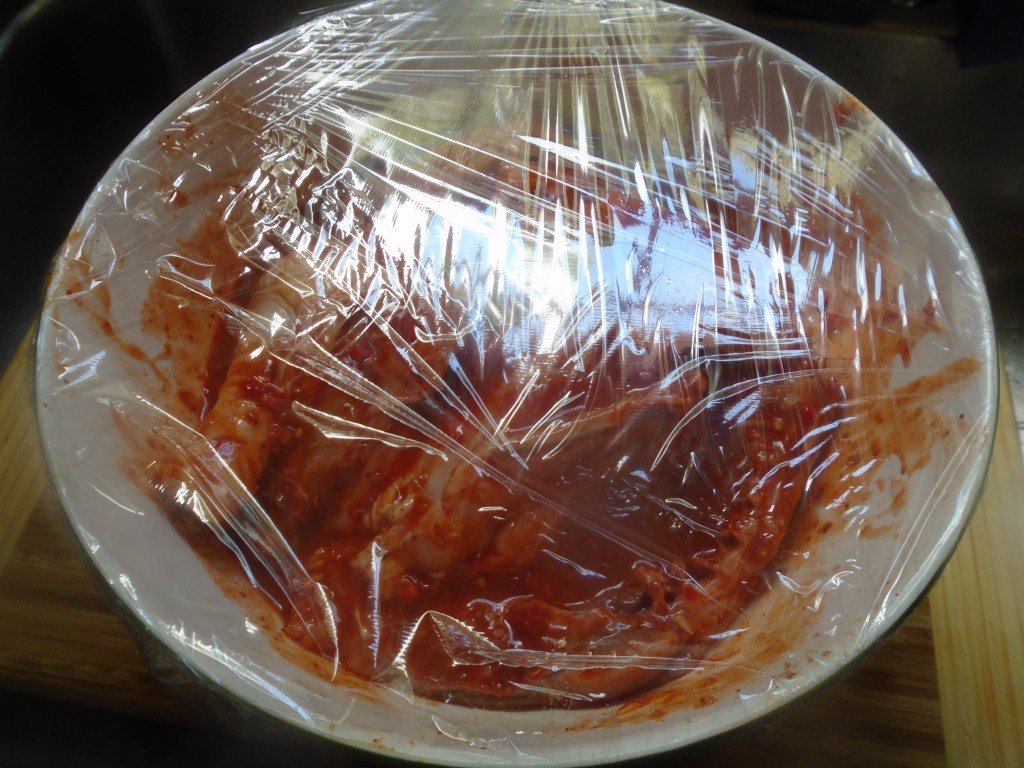
Take the chicken and dredge both sides in the bowl containing the marinade. Coat the chicken thoroughly and then cover the bowl and refrigerate for at least 4 hours, or overnight.

Prepare the grill:
Heat some charcoal. I filled one charcoal chimney with coals and the chicken was done in about 1 ½ hours. By the time the chicken was fully cooked, the coals were nearly spent. If you want more char on the chicken or if you want the chicken to cook faster, add more coals and cook hotter. A word of advice: If you add too many hot coals you run the risk of burning the chicken and the chicken might not cook evenly. I actually liked the way this cooked on the grill. I never worried about burning the chicken and the chicken came out nice and moist.

Use indirect heat when grilling the chicken. Add the hot coals to one side of the grill and place a shallow pan on the other side, filled half-way with water…this becomes a drip pan and it provides some moist air to keep the chicken from drying out.
Remove the chicken from the marinade and let it warm to room temperature. Reserve the marinade…it will be used for the glaze.
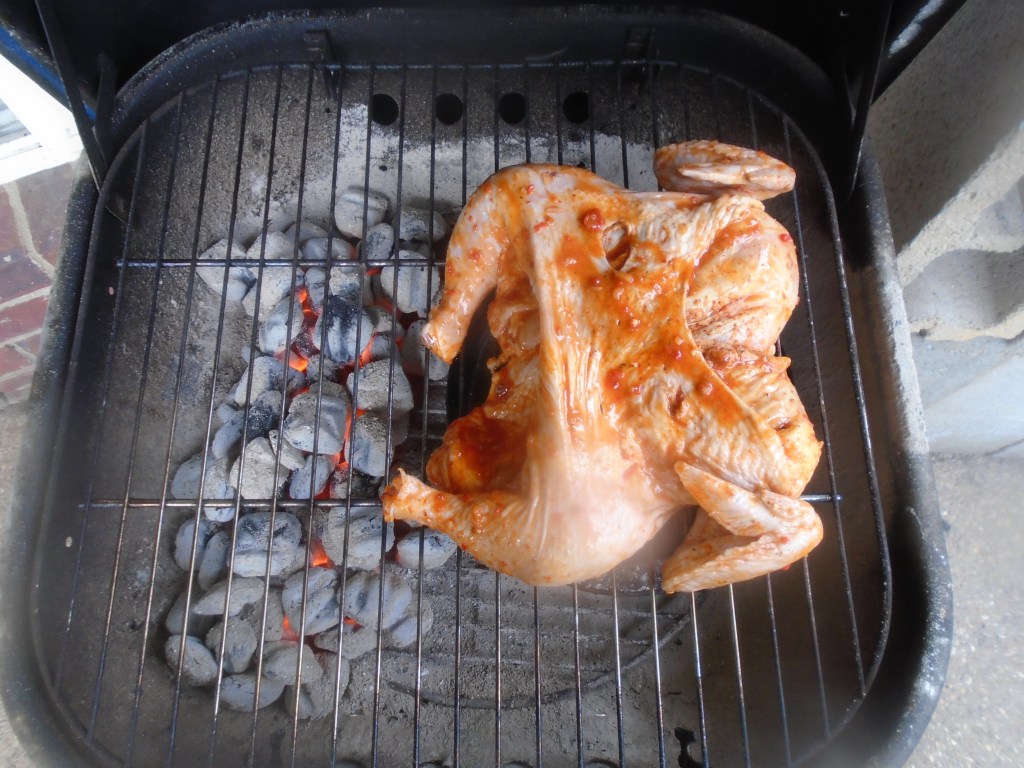
Using two tongs, place the chicken on the grill, breast side up. Point the legs toward the side containing the coals. This will keep the breast from cooking too quickly and drying out. Additionally, this puts the bones of the chicken closest to the heat source, which will cause the bones to heat and cook the meat surrounding them. That’s a good thing.
Let the chicken cook for at least 30 minutes before considering turning the chicken over or repositioning it.
Check the chicken every 15 minutes or so. If the legs look like they are charring too much, scoot the chicken away from the coals, otherwise, let it ride.

After the chicken has cooked for 45 minutes, press the chicken with a thumb or forefinger to check for doneness. If you are unsure about doneness, use a meat thermometer to check. If the thermometer reads 165° the chicken is safely cooked. If you want to turn the chicken over to crisp the other side, have at it. As I mentioned earlier, my coals were cooling at this point and I wasn’t worried about over cooking, so I turned the chicken and let the top side crisp a bit.
Remove the chicken and keep in a warm place.
For the glaze:
Pour the reserved marinade in a skillet. Heat to a boil and simmer for about 5 more minutes. Contrary to popular belief, a chicken marinade can be used for a sauce but it must be boiled first. Do not use the marinade to baste the chicken…that’s where you run into the risk of bacteria infecting your food. Add the butter and lemon juice to the sauce and simmer for a few more minutes, or until the butter has melted.


Drizzle the glaze over the chicken and serve warm with rice and vegetables.

Thank you for following my blog!
LikeLike
Looks incredibly delicious! Though for myself I would decrease the spiciness level dramatically… 🙂
LikeLike
I just finished some leftovers from this meal. It really wasn’t very spicy. You would think it would be with all of the habaneros and sriracha but a lot of that gets muddled during the grilling process.
LikeLiked by 1 person
Good to know! 🙂
LikeLike
Oh how we love our chilies! We found that if we marinated the chicken overnight w/peri peri and lemon juice before we grilled it gave it an amazing flavor. It’s all about those chilies and marinating, isn’t it? Now we think…do the rub and the marinate and life is good.
LikeLike