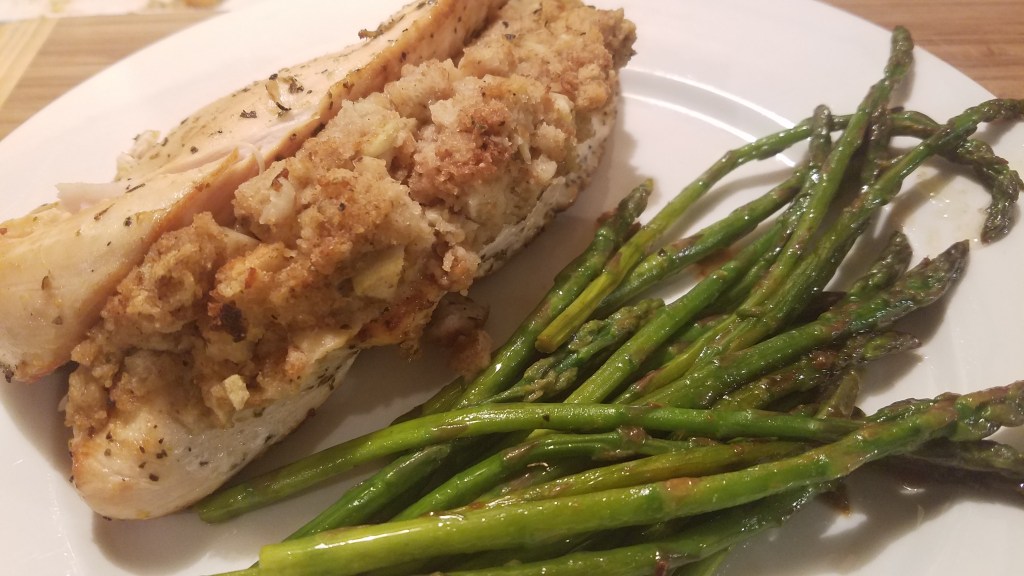
Chicken with Stuffing

Chicken with Stuffing

The turkey went fast this Thanksgiving.   We had enough left over turkey to make a big batch of turkey, biscuits and gravy but that went quickly, too.  The leftover green beans,  yams, mashed potatoes and macaroni and cheese have all been eaten.  Why is it that dressing is always the last remnant of Thanksgiving at my house?  Maybe it’s because we always make too much of it.  The dressing was very good this year, mainly because my wife made it.  She knows how to balance the flavors.  I tend to get heavy handed when adding herbs and spices. 

But, the fact remains.  I have all of this dressing to deal with.  Some types of leftovers make great additions to other future meals.  Vegetables and meat can be added to omelets or salads…that’s easy.  But dressing, or stuffing, depending on your preference, is pretty much singular, in nature. 

I was portioning some extremely large chicken breasts the other day and I decided to use a few of the breast pieces to make stuffed chicken. 

Ingredients for the marinade:

¼ cup olive oil

Juice of 1 lemon

1 Tbs dry Italian seasonings

1 tsp cracked black pepper

½ tsp salt

Ingredients for the stuffed chicken:

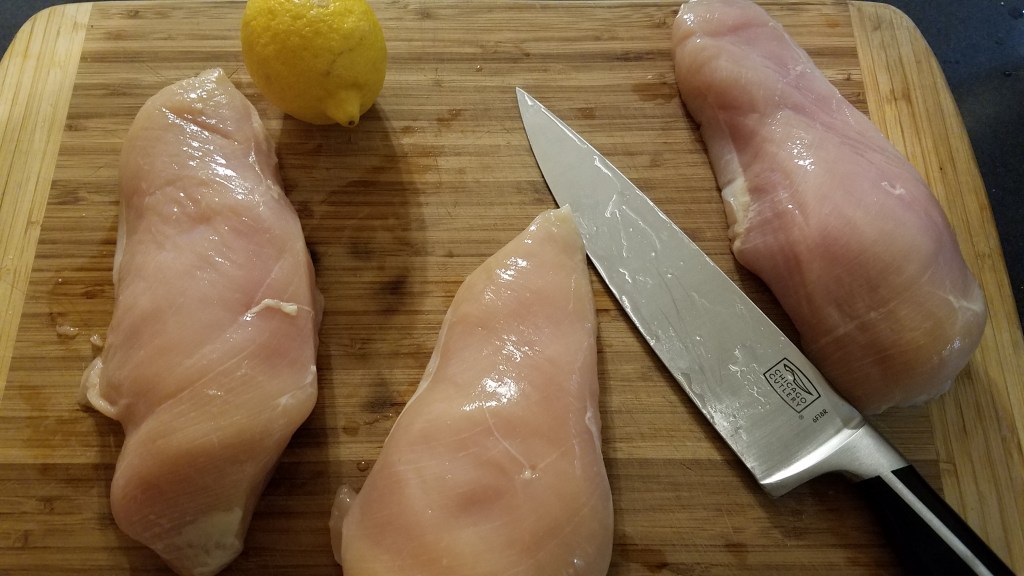
3 monstrously sized chicken breasts

3 cups prepared and cooked bread stuffing (dressing)

Directions:

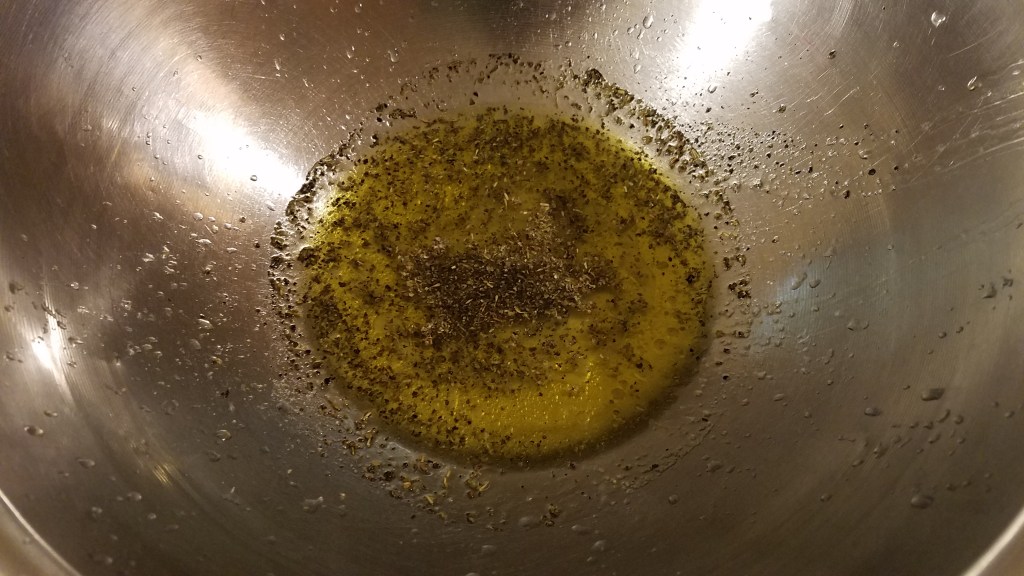
Combine the marinade in a large bowl.
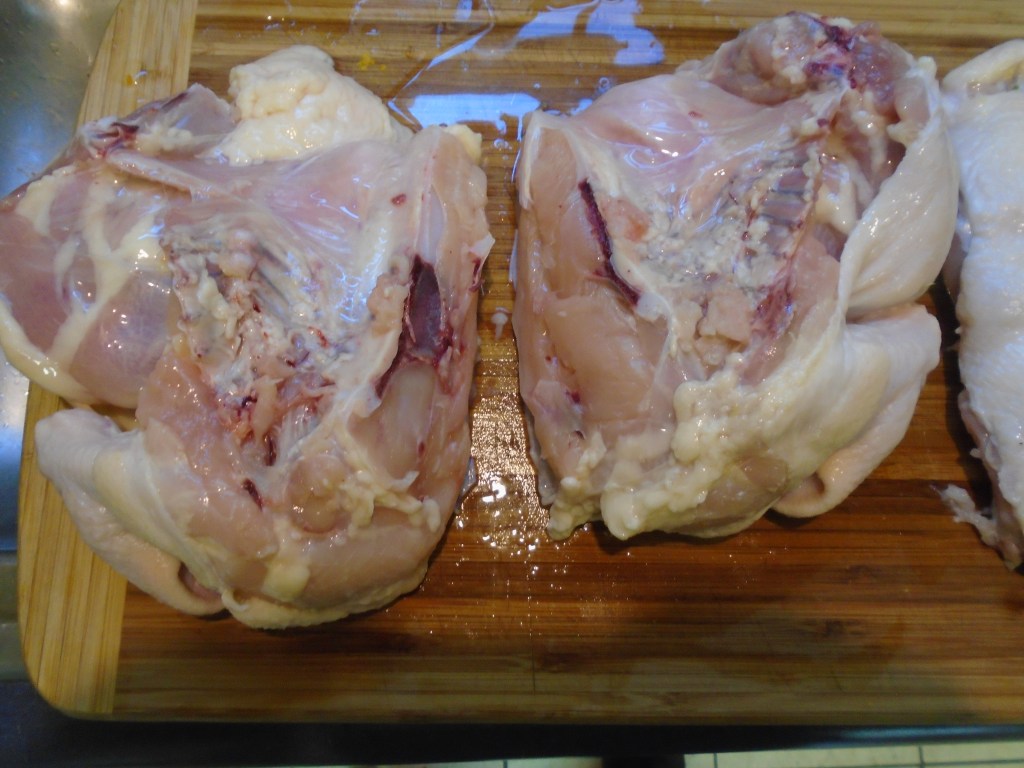
Butterfly slice the chicken breasts, leaving about half an inch of the breast uncut.
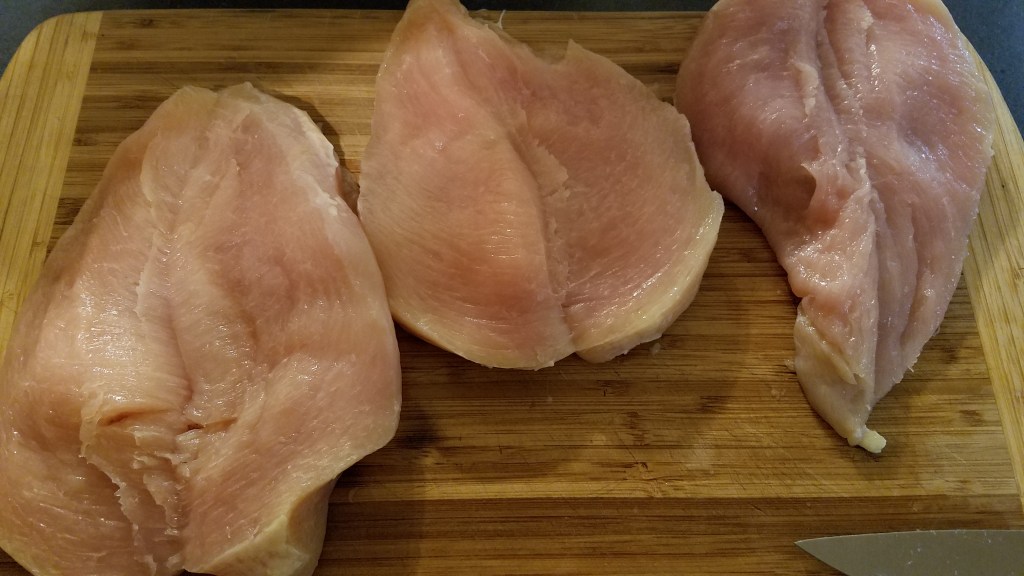
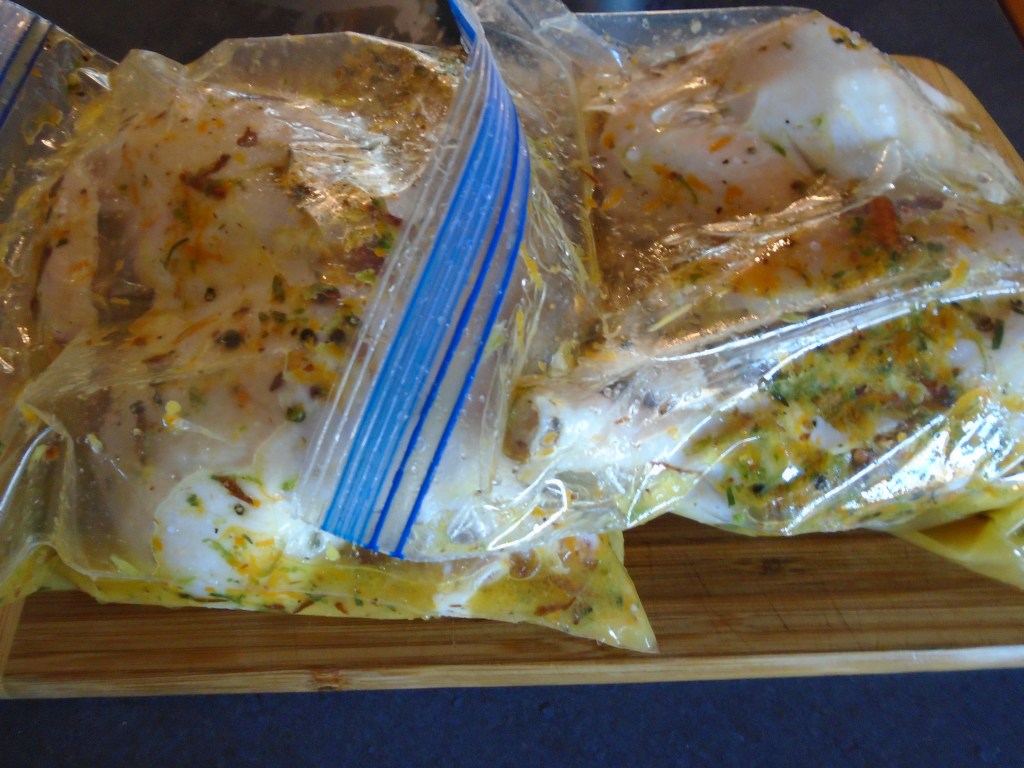
Lay the chicken breasts open and put them in the bowl containing the marinade.  Allow the chicken to marinate for a half hour, turning occasionally.
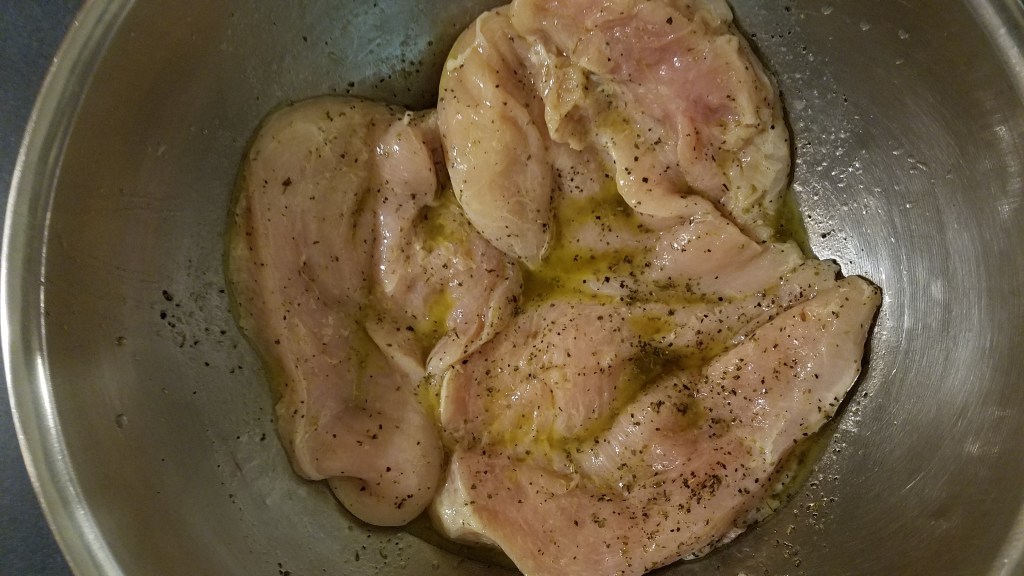
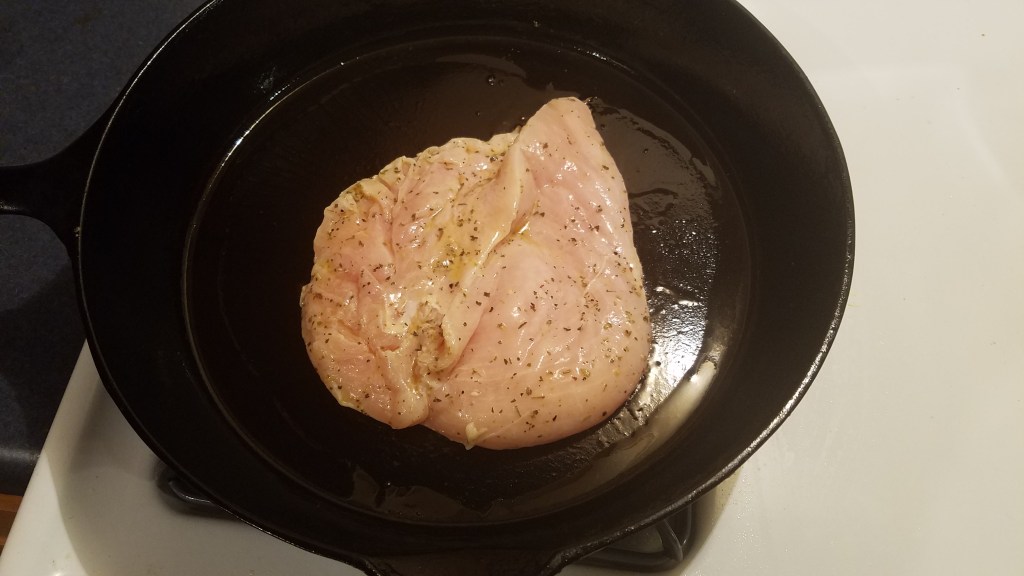
Heat a cast iron skillet to high.  Once the skillet is hot, sear the cut sided of the chicken.  Sear for about 1 minute and turn the chicken over to briefly sear the other side, about 10 or 15 seconds.  Remove the chicken to a work surface.  Sear the remaining chicken breast in a similar fashion.
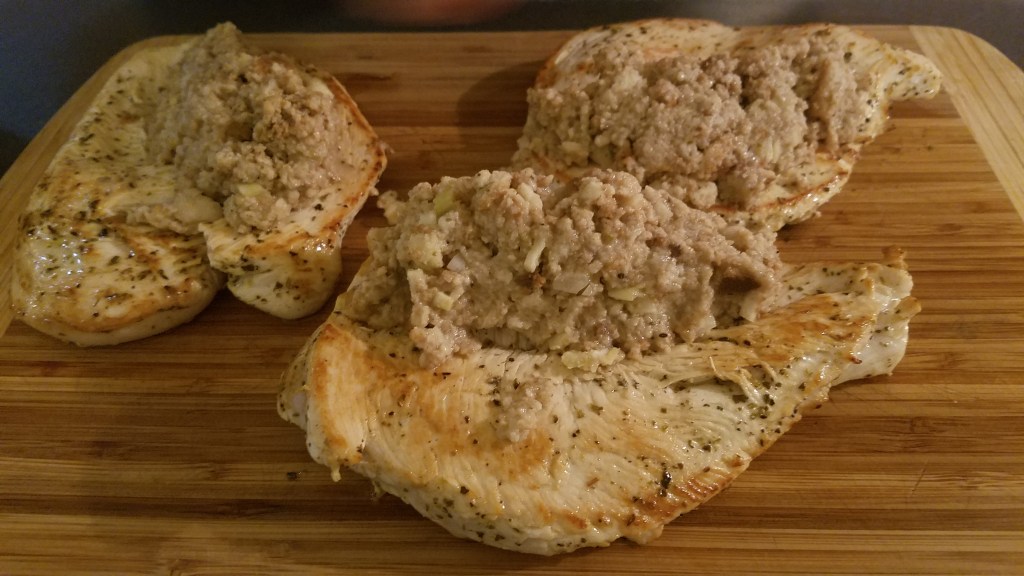
Lay the chicken breasts on a work surface with the cut side facing upward.

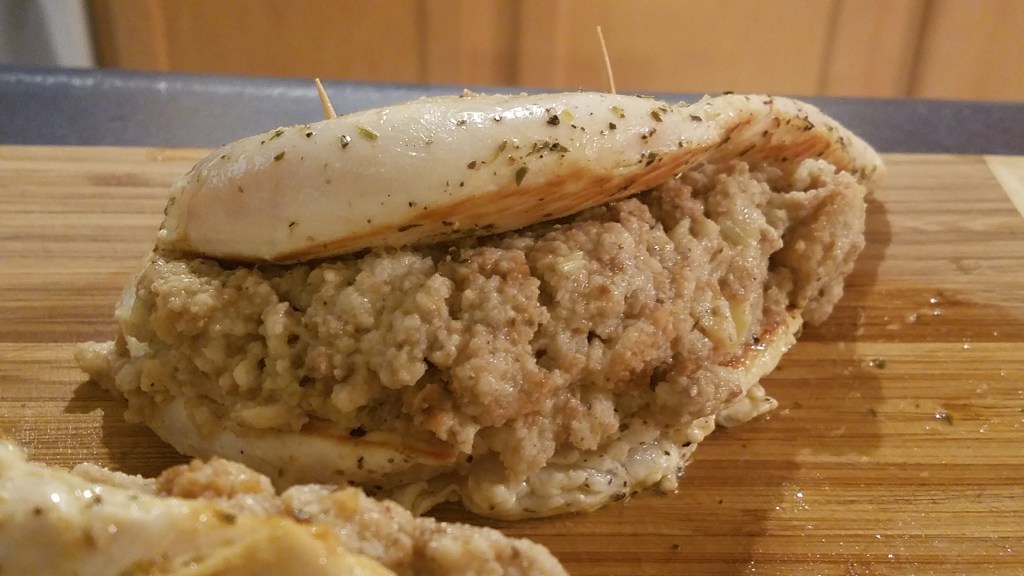
Compress some stuffing in your hands and lay the stuffing on one side of the chicken.  Fold the chicken over along the seam and secure with toothpicks.  Repeat the process with the other chicken breasts.
Return the chicken to the skillet and bake at 300° for 30 minutes, uncovered.  Turn the heat up to 350° and bake for another 10 minutes.

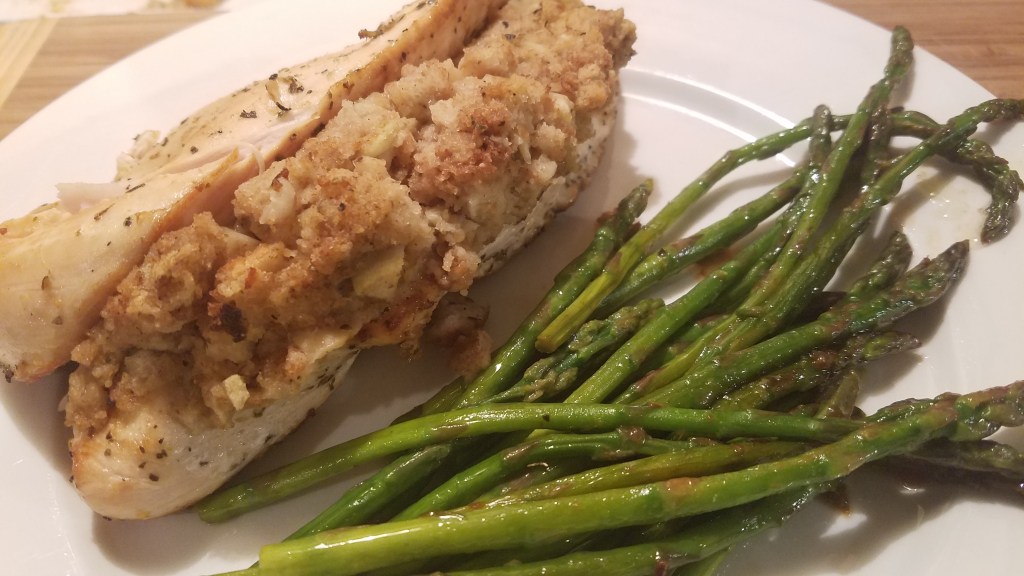
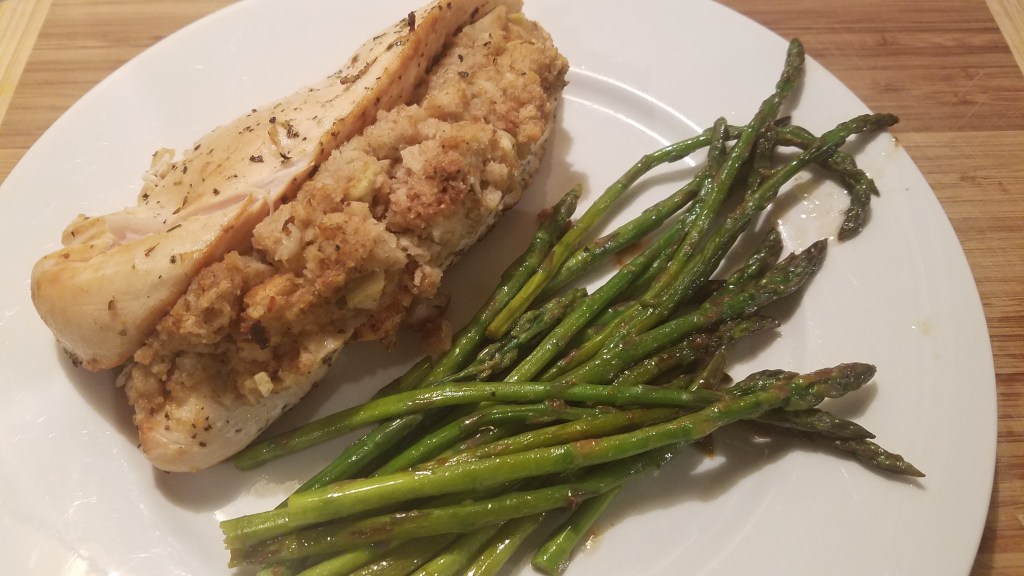
Serve hot, along with a vegetable or salad.  I served this with asparagus…

Skinny Asparagus in Lemon, Garlic Butter Sauce

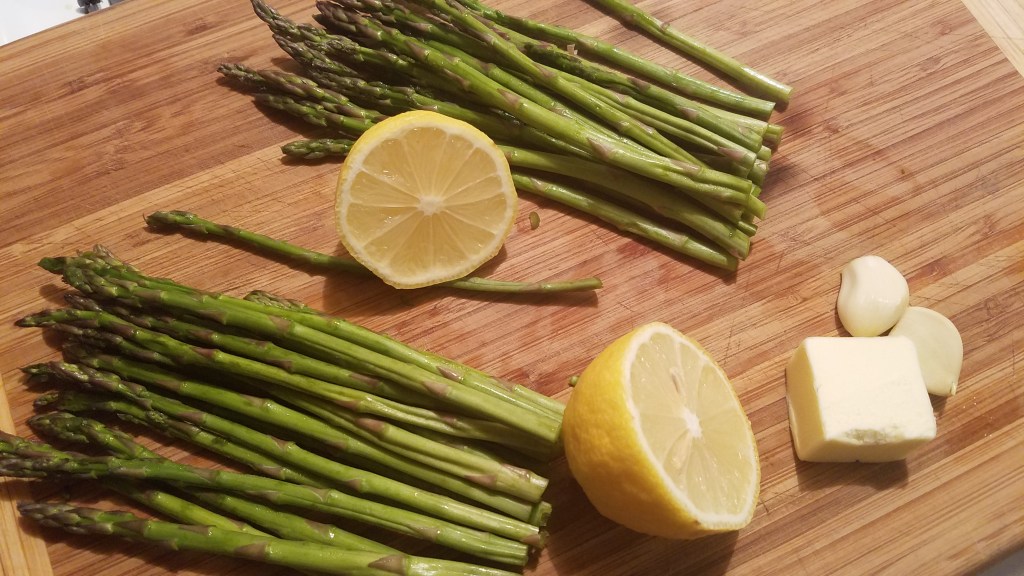
Maybe it’s just me but I don’t remember seeing pencil-thin asparagus in stores until a few years ago. It’s probably just me… When it comes to asparagus I let the price determine which kind I will use. Naturally, the thicker variety is better suited for grilling and the thinner variety is perfect for pan frying, quickly.

Ingredients:

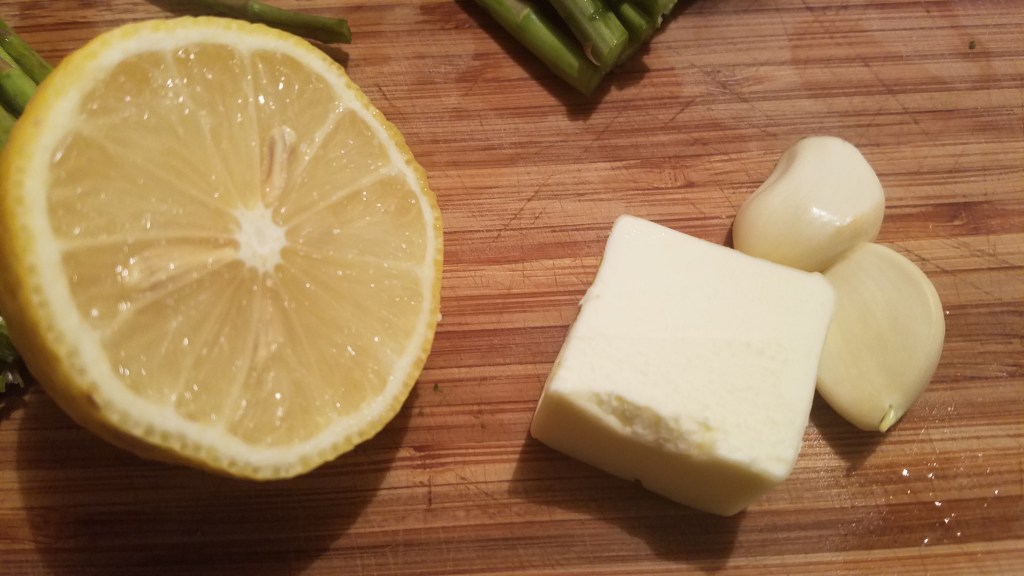
½ lb skinny asparagus

1 Tbs butter

2 garlic cloves, smashed

Juice of ½ lemon

Directions:
Once the chicken has been removed from the skillet, wipe the skillet with a paper towel to remove most of the residual oil.
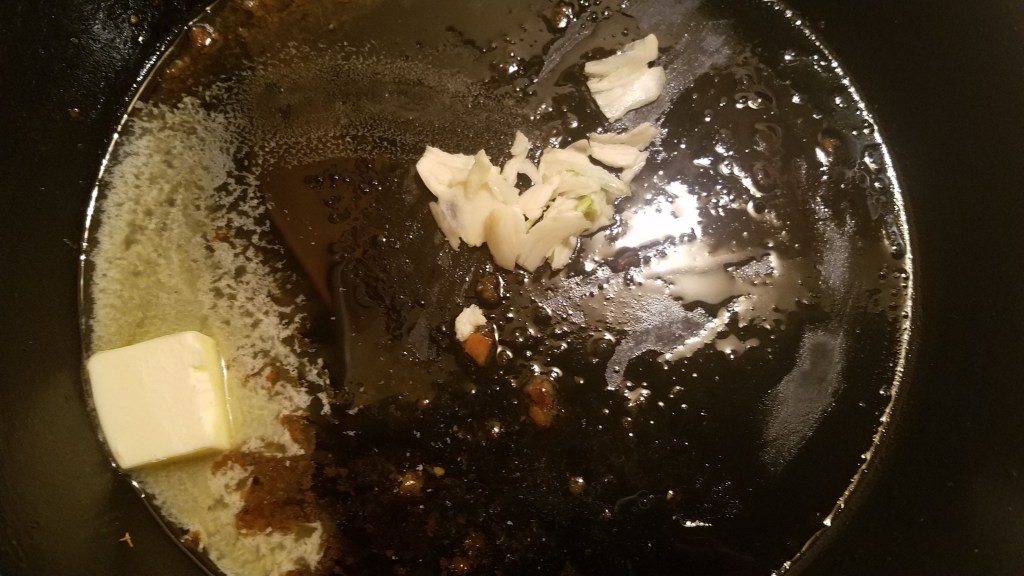
Add the butter and garlic and sauté the garlic for about a minute, or until the garlic begins to turn light brown.

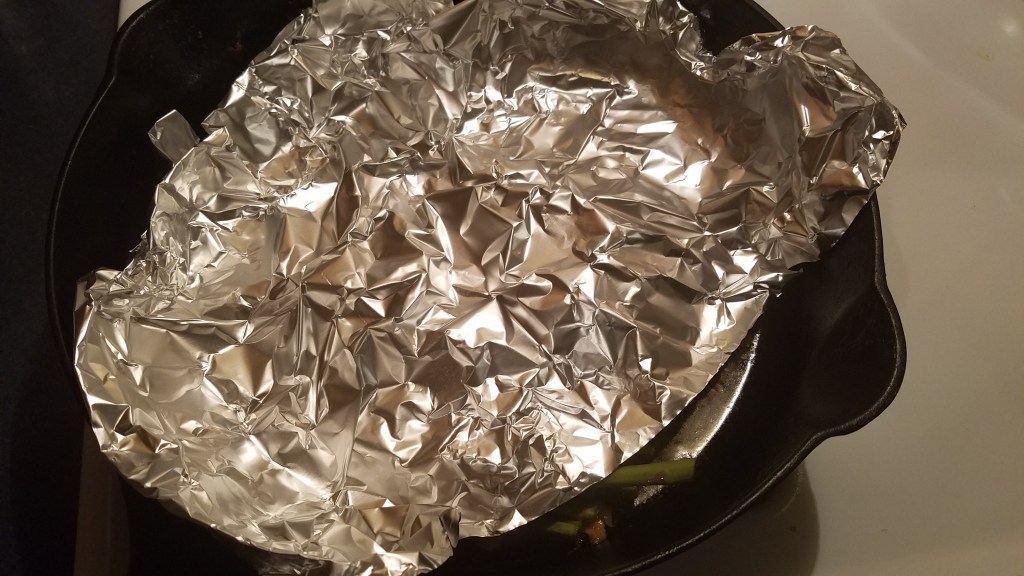
Set the heat to low and add the asparagus.  Stir briefly and cover.  I used a piece of aluminum foil. I like the flexibility I get with foil. Let the asparagus steam for about 4 minutes.  Uncover and gently stir the asparagus for another minute.
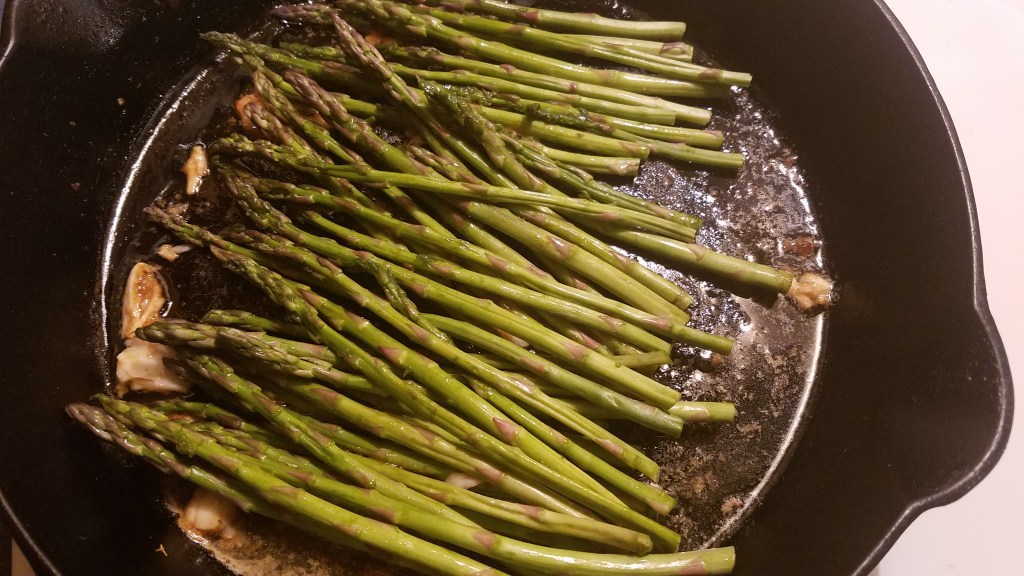
Remove the pan from the heat and serve hot.
Preparing Enchilada Sauce

Salsas Verde y Roja

Some good friends are coming to visit next weekend and I want to make something special for them.  One of my friends is a native Texan, currently living in Boston.  Now, I know that good Mexican restaurants can be found all over the country nowadays but you can’t always find good homemade Mexican food. 

I am nearing the zenith of peak season at my work and I have only had one day off this week.  I thought it would be wise to get some of the prep work out of the way so that I don’t have to slave away in the kitchen while my friends are here.  I want the dinner to come together quickly so that I can spend time visiting with my friends, rather than bouncing around in the kitchen like a madman.

I’m preparing enchiladas  – –  some red, some green.  I’m making the sauces today and I’ll keep them in the refrigerator until I need them.  I almost bought canned enchilada sauce today, which would be perfectly fine, but a 20 ounce can of the stuff was selling for over $3.00, and I just couldn’t bring myself to pay that much for salsa, when I can make it for less than half the cost.  Plus, what kind of food blog would this be if I just showed pictures of me opening cans of stuff and dumping them in a pot?

Red Enchilada Sauce (Salsa Roja)

Ingredients:

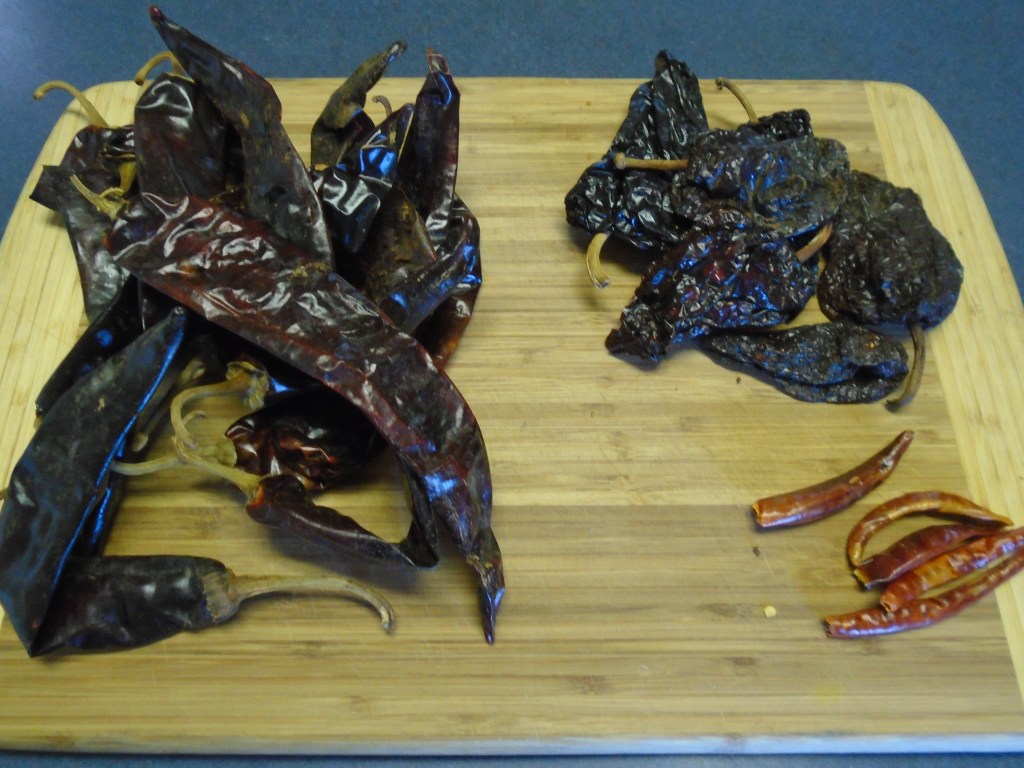
12 guajillo chiles

4 or 5 ancho chiles

2 to 5 chiles de arbol (these are spicy!)

1 Tbs olive oil

2 garlic cloves, smashed

1 medium sized yellow onion, roughly chopped

1 tsp salt

1 tsp cumin

1 tsp dried oregano

Directions:

Bring 4 cups of water to a boil in a heavy pot. 

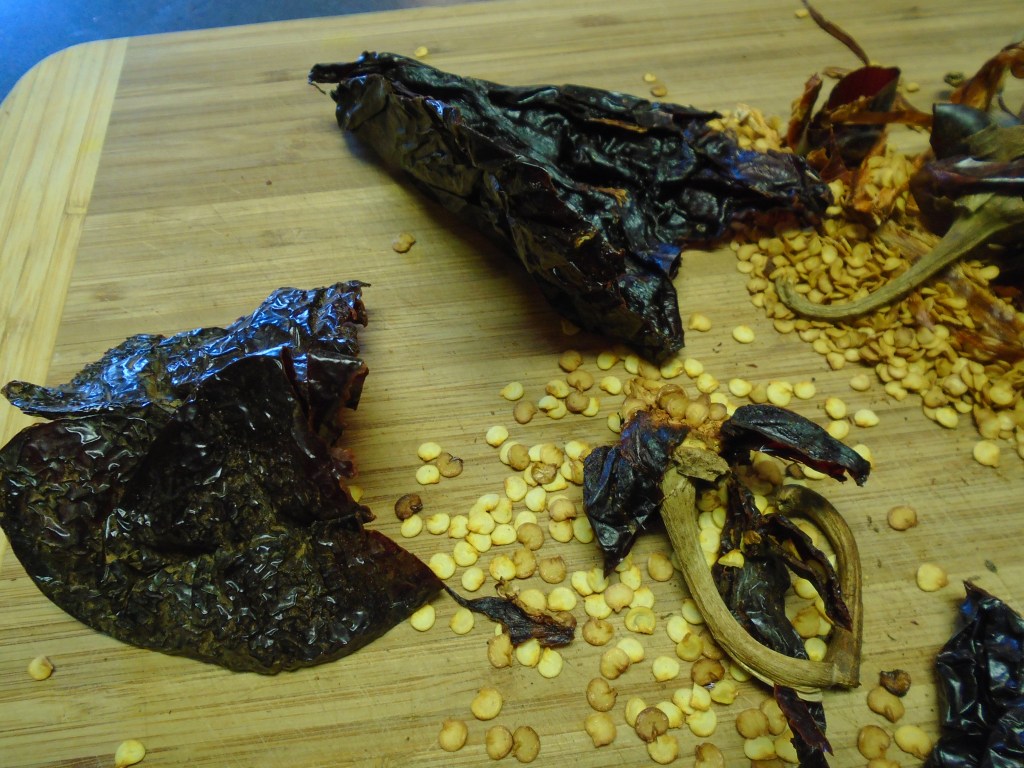
Cut the stems off the chili pods and remove the seeds and loose pieces of fibrous ribs from the interior.  Add the chiles to the boiling water, turn the heat off and cover the pot with a lid.  Allow the chiles to steam for at least twenty minutes.

Garlic, Salt, Cumin and Oregano

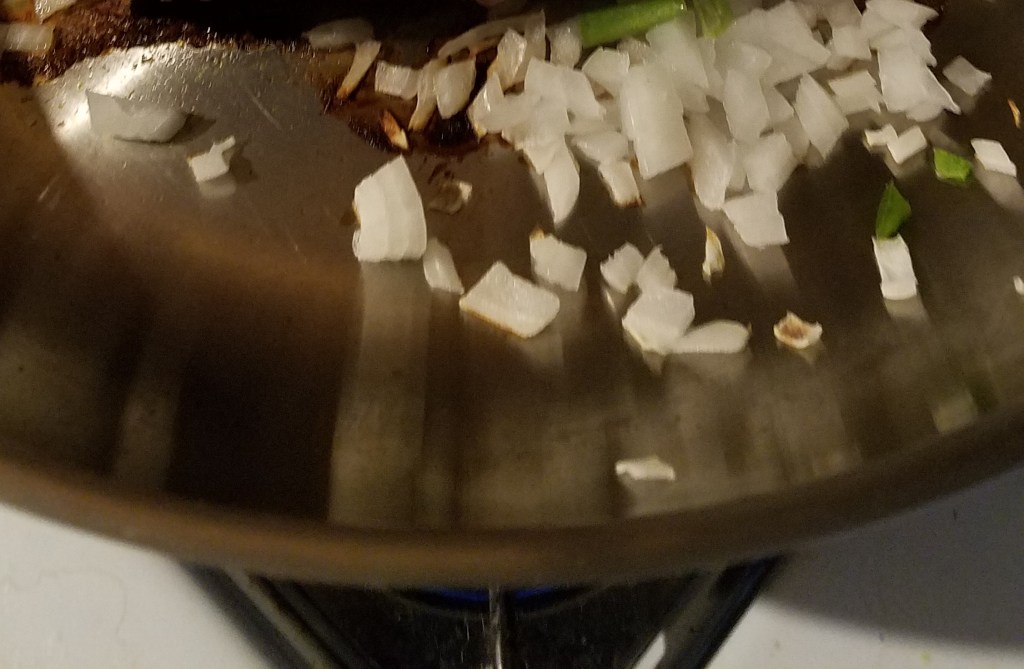
In a large skillet, add olive oil and sauté the garlic and onion for a few minutes.  Add the salt, cumin and oregano and stir.  Turn the heat off and let it rest for a few minutes.

Strain the chiles and reserve the water.  Remove the chiles de arbol and set aside.

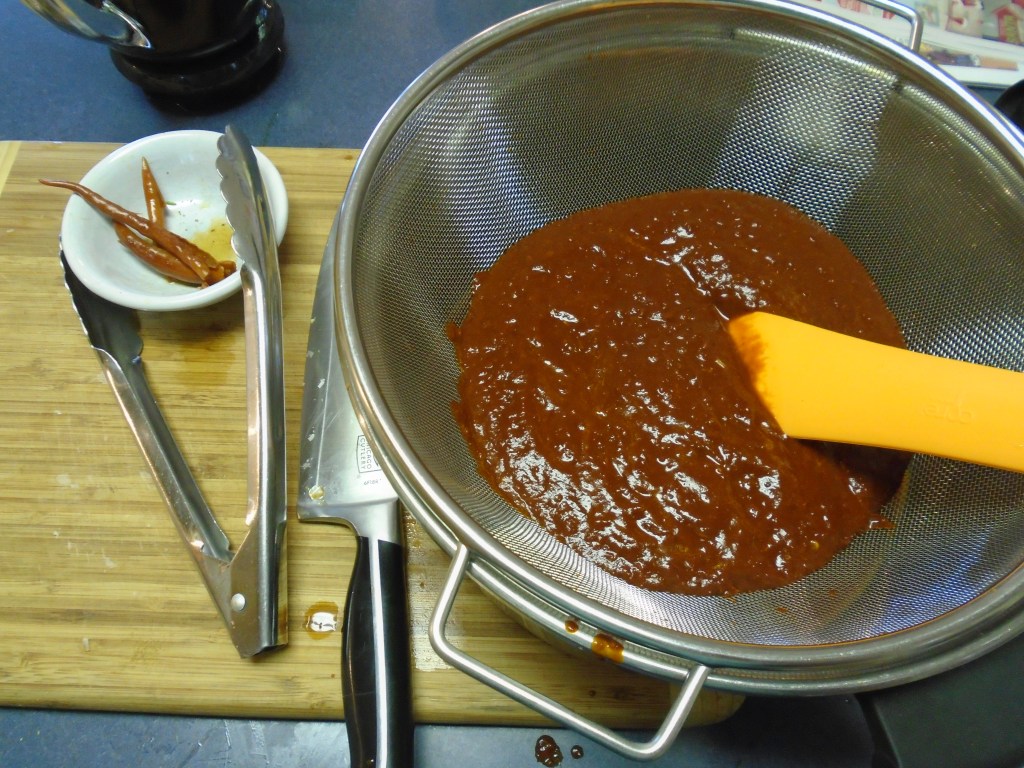
Add the softened chiles to a blender.  Add the sautéed garlic, onion, salt, cumin and oregano.  Add about 2 cups of the chili water to the blender.  Pulse a few times and then puree the mixture.  Taste the sauce.  If you want more heat, add more chiles de arbol.  Strain the mixture and keep the pulp. 

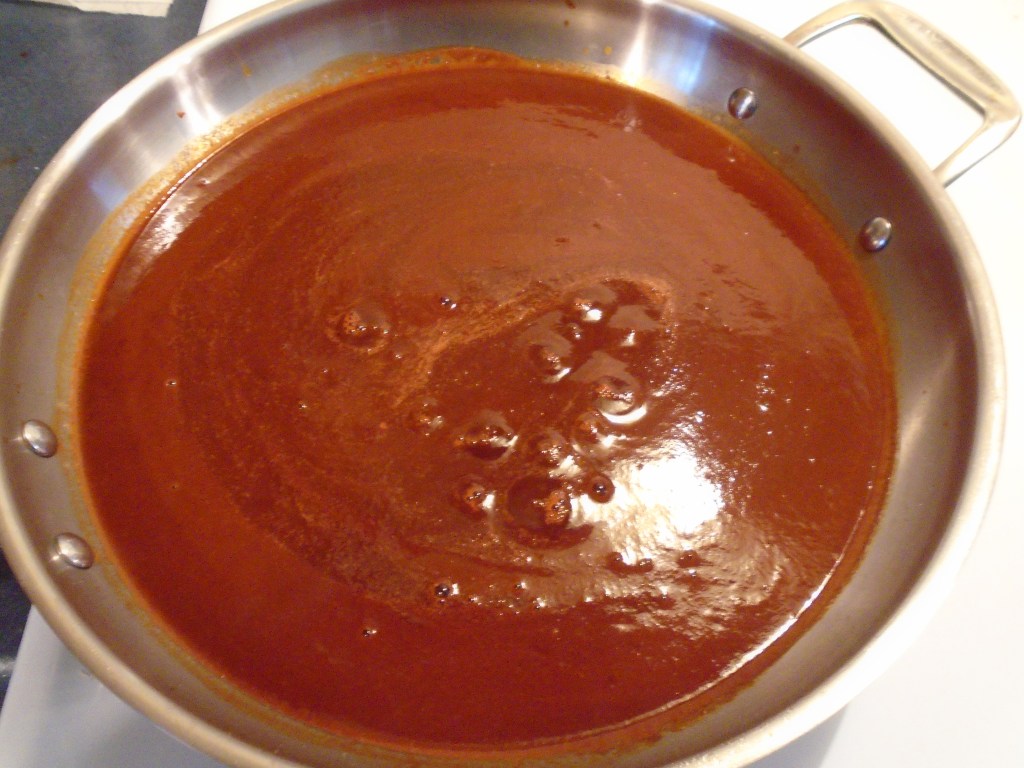
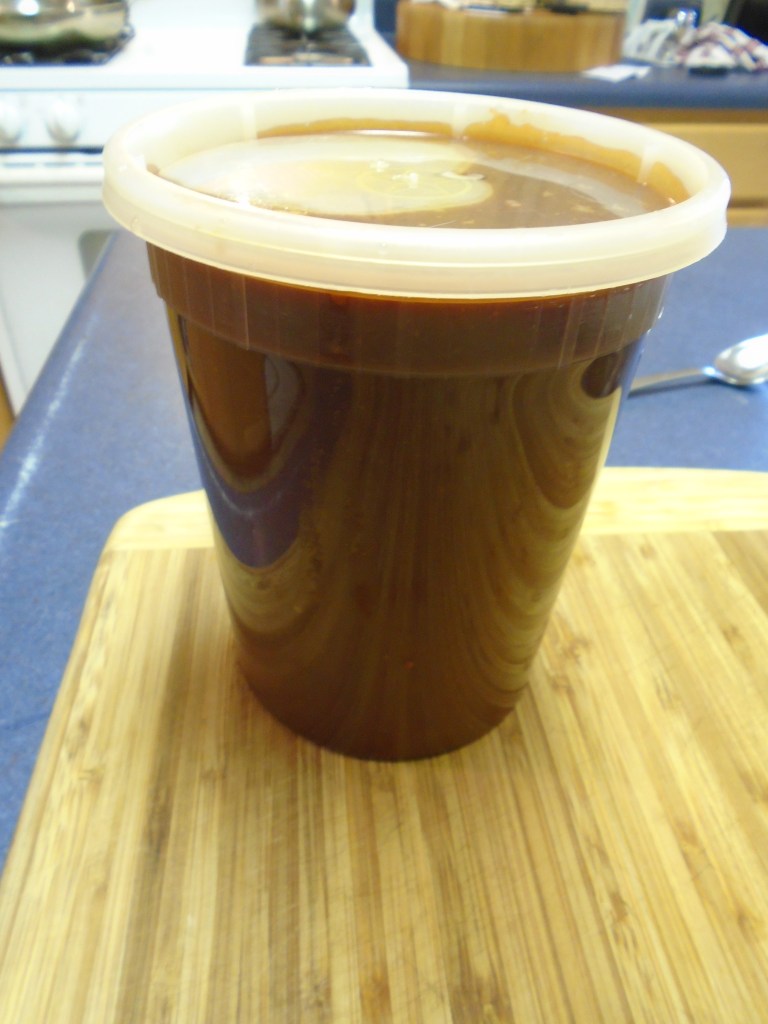
Add the sauce to the large skillet and add the strained pulp back to the blender.  Add the remaining two cups of chili water and puree again.  Strain again and add the liquid to the skillet.  Discard the pulp.  Simmer the sauce for about 10 minutes on low heat.  Allow the sauce to cool before transferring to a storage container.  The sauce will stay fresh for about a week in the refrigerator.  This should make 4 cups of sauce.

Green enchilada sauce (Salsa verde)

Ingredients:

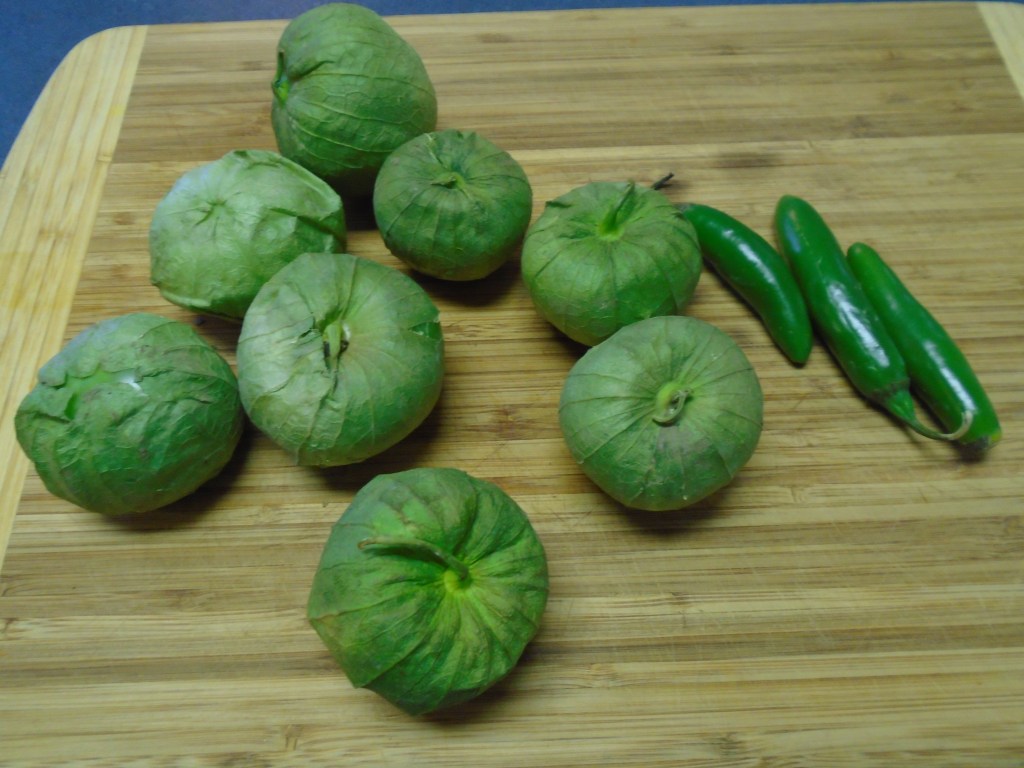
8 tomatillos

2 or 4 fresh serrano chiles

½ small yellow onion

¼ cup cilantro, leaves and stems

3 garlic cloves, roasted

1 tsp salt

1 to 2 tsp  sugar

Directions:

Peel the husks away from the tomatillos and remove the stems from the serranos.

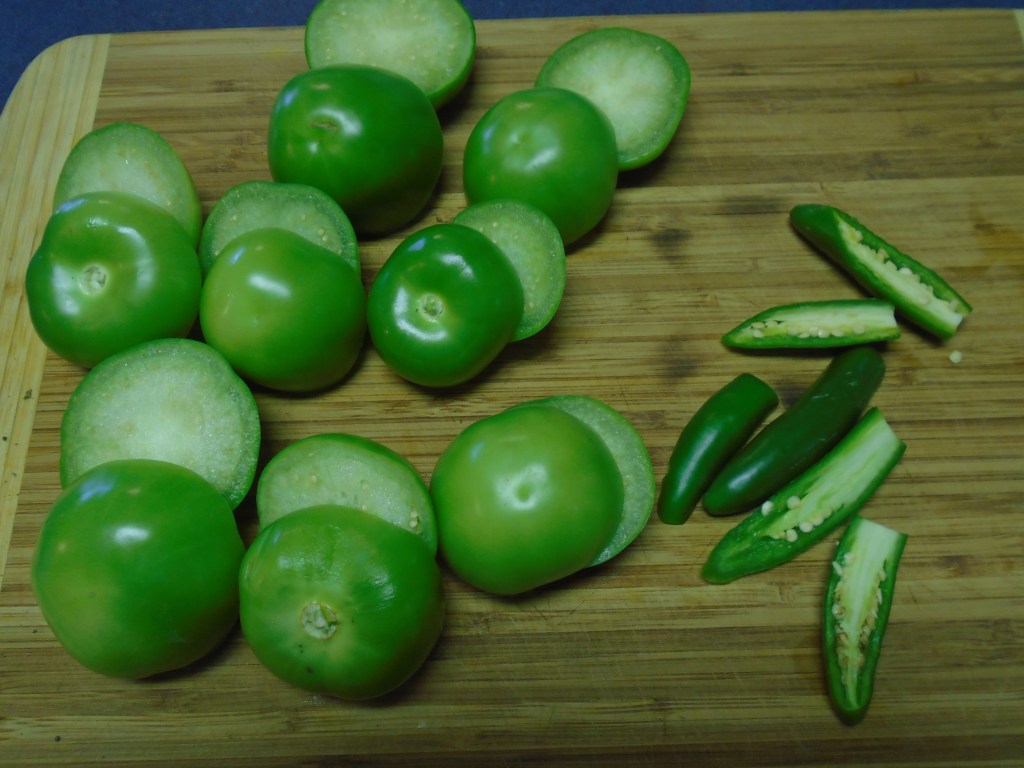
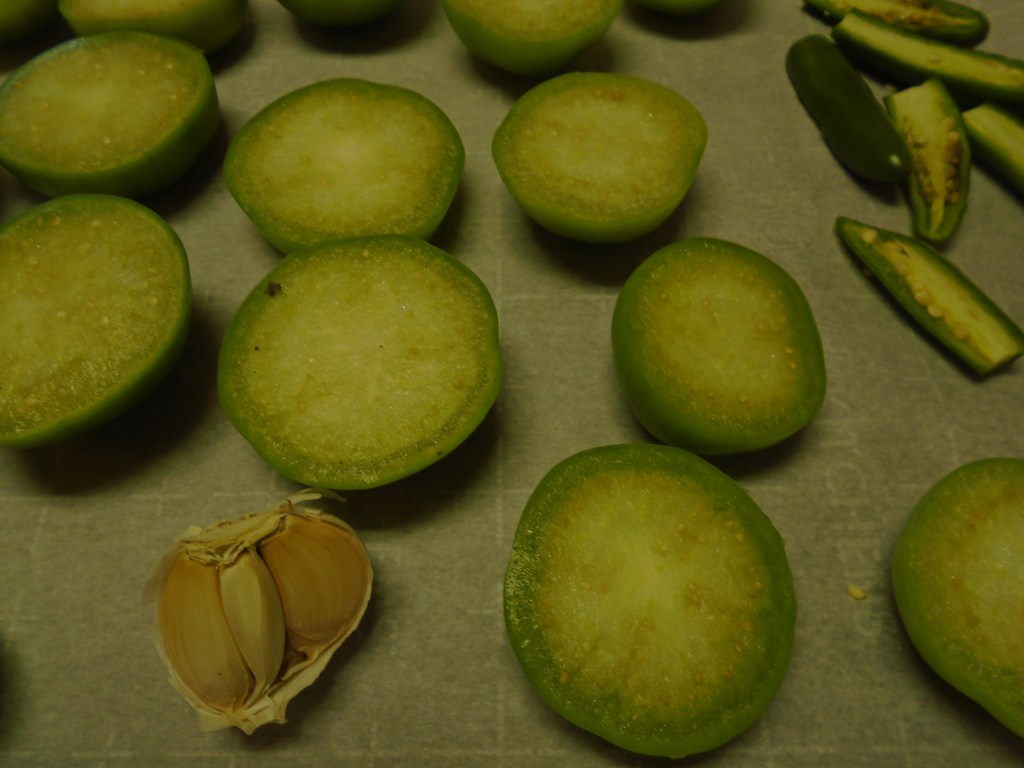
Slice the tomatillos in half, along their equator.  Slice the serranos, lengthwise.

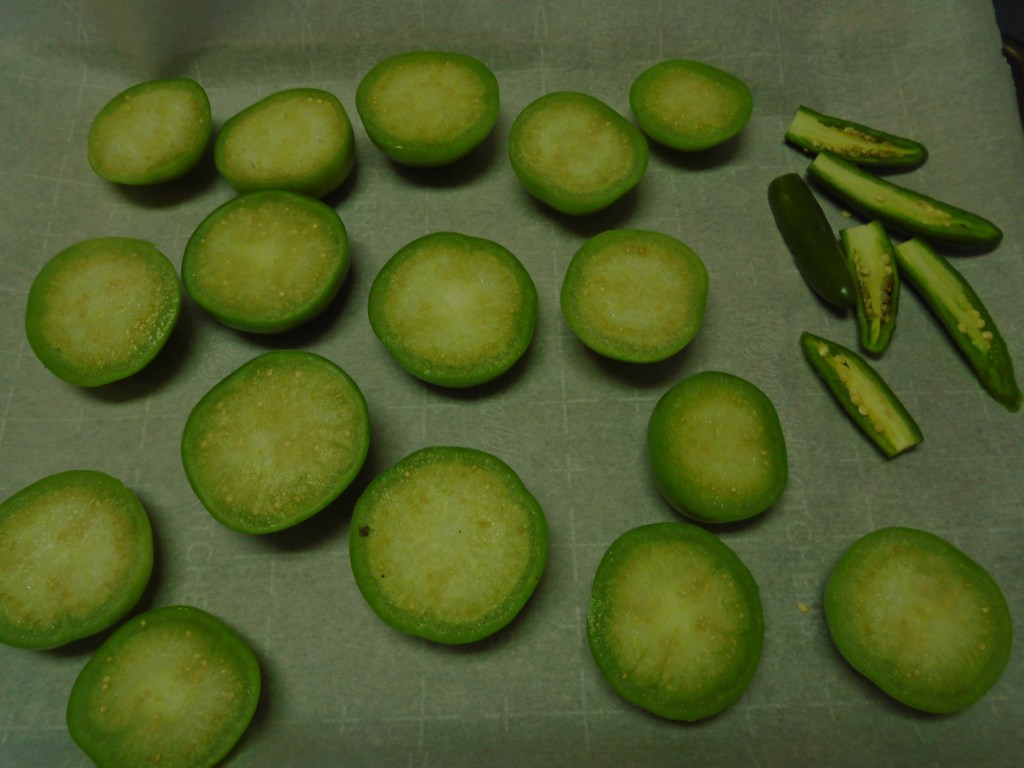
Lay the tomatillos on a backing sheet.  Add the cut serranos and garlic cloves to the baking sheet and place in a 400° oven for about 15 minutes, or until the tomatillos begin to char.  Remove the chiles, tomatillos and garlic from the oven. 

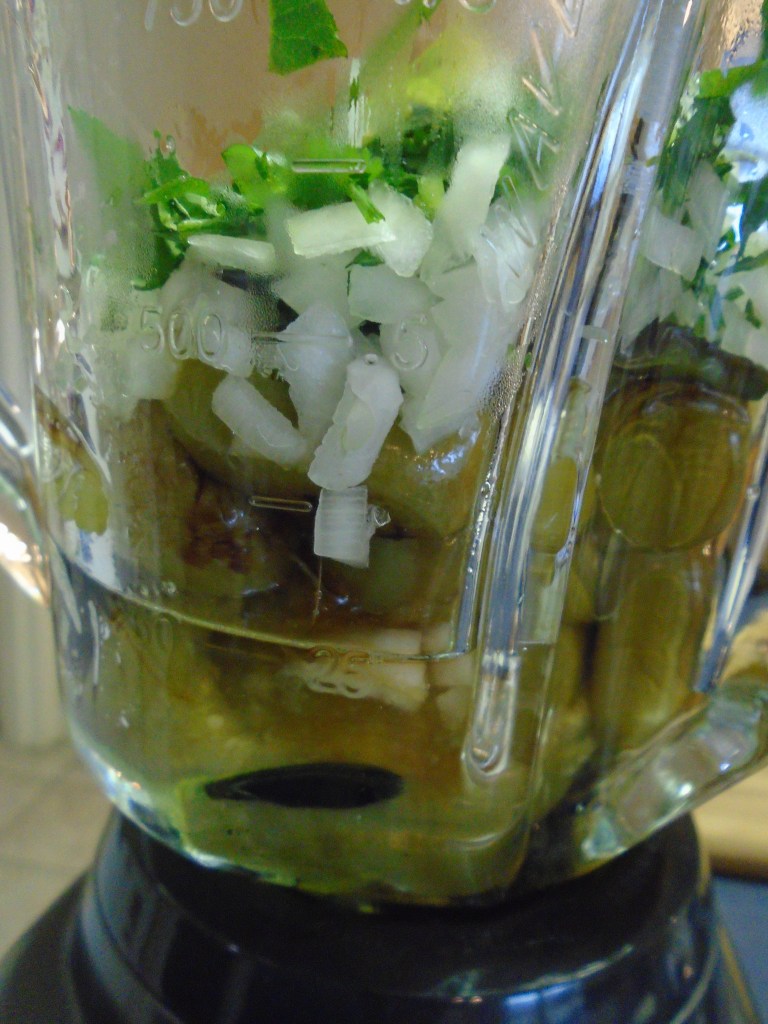
Place the roasted tomatillos and garlic in a blender.  Add the salt.  Add one or two serranos to the blender…reserve the remaining serranos, for now.

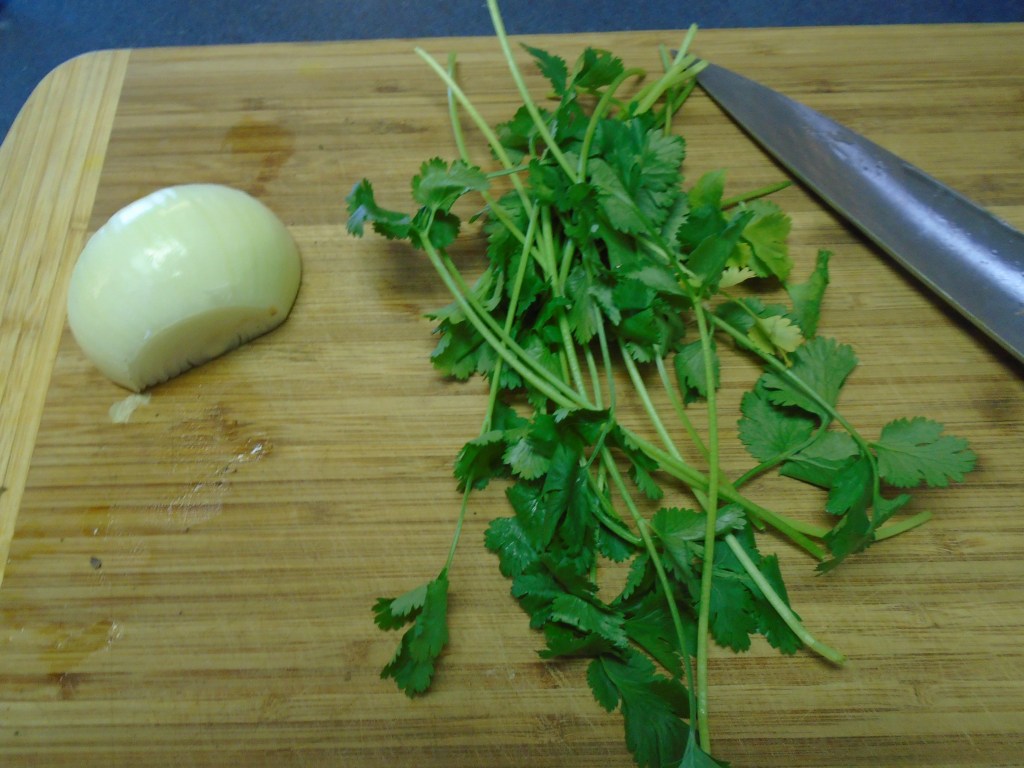
Chop the onion into ¼” pieces.  Chop the cilantro, including the stems.  Cilantro entero!.

Add the onion and cilantro to the blender. 

Puree the mixture in the blender and then taste (after the blender has been turned off, thank you.)  It will probably have a bitter taste.  Add a little sugar and blend again.  Taste and add a little more sugar.  Two teaspoons of sugar should be enough to tame the sauce.  If you want a little more heat, add some more serrano.  Blend again and taste.  The sauce should have some kick but I recommend keeping it fairly mild. 

That’s it!  The salsa verde is ready.  This should make about one pint of sauce.  Store covered in the refrigerator for up to one week. 

Asian Spring Rolls

I intended to use ground chicken for the spring rolls but all I could find at the store was ground turkey so, here we go.  I suppose this could be an opening act for a Thanksgiving dinner or maybe an appetizer served during a football game.  It’s also a good way to use leftover turkey after Thanksgiving. 

Make sure to use spring roll wrappers, not egg roll wrappers. Spring roll wrappers are more dense and they are thinner than egg roll wrappers.

Ingredients:

1 Tbs soy sauce

1 green onion, chopped

1 garlic clove, smashed

1 tsp rice wine vinegar

1/4 tsp ground black pepper

1 tsp cornstarch

1 lb ground turkey

2 Tbs cooking oil divided

2 cloves garlic, finely minced

1 tsp fresh ginger, grated

1-2 stalks green onion, chopped

1/2 head of cabbage, about 8 ounces, shredded

2 carrots julienne cut

2 Tbs oyster sauce

50 frozen spring roll wrappers, defrosted

2 cups cooking oil

Cornstarch Slurry:

    1 Tbs cornstarch

    1/4 cup water

Dipping sauce:

1/2 tsp sesame oil

3 Tbs soy sauce

1 tsp Hoisin sauce

1 tsp Garlic Chili Paste

Instructions:

Prepare the Filling:

In a large bowl, combine the soy sauce, green onion, garlic, vinegar, pepper and cornstarch.  Add the ground turkey and mix well.  Marinate for at least 10 minutes.

Chop, mince and grate the various stir-fry vegetables. 

Heat a wok over high heat.  When hot, add 1 tablespoon of cooking oil. Add the turkey and stir-fry until browned.  Remove the browned turkey and set aside in a bowl.

Turn the heat down to medium.  Add a tablespoon of cooking oil.   Add the green onion, garlic and ginger and stir-fry for 30 seconds.  Add the carrots and cabbage.  Stir well and turn the heat up to medium-high.   Stir fry the vegetables for 2 minutes, or until the carrots have softened.  

Return the cooked turkey back to the wok and stir.  Add the oyster sauce and toss to coat. Turn the mixture out to a strainer and let liquids drain.   Wet ingredients don’t make good spring rolls!

Wrapping Spring Rolls:

Make a cornstarch slurry with cornstarch and water.  Open the spring roll wrapper package, peel the wrappers apart from each other and cover them with a moistened paper towel. 

Lay a wrapper on a clean surface.  Position the wrapper with a corner facing toward you .  Add about 1 tablespoon of filling to the bottom point of the wrapper.  Fold the left and right sides in toward the middle (the wrapper should look like an envelope). Starting from the bottom of the wrapper, roll upward and apply pressure with your fingers to prevent air pockets.  Dip a finger in the cornstarch slurry and paint the top corner of the wrapper.  Finish wrapping and secure the wrap by gently pressing along the seam.  Stage finished spring rolls on parchment paper, or wax paper and keep them covered with a damp paper towel.

Frying Spring Rolls

Add about 2 cups of oil to a wok and turn the heat to high.  The depth of the oil should be about 2 inches.  Once the oil is hot, carefully slide spring rolls into the oil, one at a time.  I fried about 8 spring rolls at a time, to avoid overcrowding. 

Turn the egg rolls over while the fry.  When they are golden brown and crispy, remove to a paper towel lined plate and keep warm.

Mix the dipping sauce ingredients together in a small bowl.

Arrange the spring rolls on a serving platter and place the dipping sauce in the middle of the platter.

Two Sandwiches

Well, Thanksgiving’s just around the corner and you know what that means…

Bánh mì and Cheesesteak sandwiches!

Yes, it’s an odd pairing and no, it has nothing to do with Thanksgiving. 

Once again, “Necessity” grabbed hold of the wheel of invention and I just sat back and enjoyed the ride.  Working on Saturdays disrupts my rhythm and I usually wind up feeling out of sorts as I head back home from work.  I didn’t have anything in particular planned for dinner, since this particular Saturday was more like a regular weekday for me.  That changed when I learned that we were expecting guests for dinner.  While I was still at work, I recalled what was in my refrigerator.  We had a small pork loin and a some thinly sliced beef.  Both cuts of meat had been in the refrigerator for several days and they would spoil within a day or two, if not cooked.

It seemed to me that sandwiches would be a good solution.  Quick and easy.  I asked my wife to pick up a couple loaves of French bread at the market and I got straight to work, after I came home from work. 

These sandwich recipes are inspired by two classic sandwiches.   I didn’t set out to make the quintessential version of  either sandwich.  I just wanted to whip up some decent sandwiches. 

I used items that we already had at home, so some improvisation was employed.  I normally wouldn’t use cocktail carrots because they give me the creeps.  They remind me of amputated limbs and they develop a weird white coating on them, as they lose moisture in the refrigerator.  Other than that, they are perfectly fine. 🙂

The key to really good Bánh mì and cheesesteaks relies on the quality of the bread that is used.  We are fortunate to have a grocery store nearby that stocks authentic New Orleans style French bread. 

Bánh mì sandwich

Ingredients:

10 stubby little carrots (cocktail carrots)

1 onion, very thinly sliced

2 cloves of garlic, smashed and sliced thin

¼ rice wine vinegar (or white vinegar)

2 Tbs sugar

1 lb pork loin

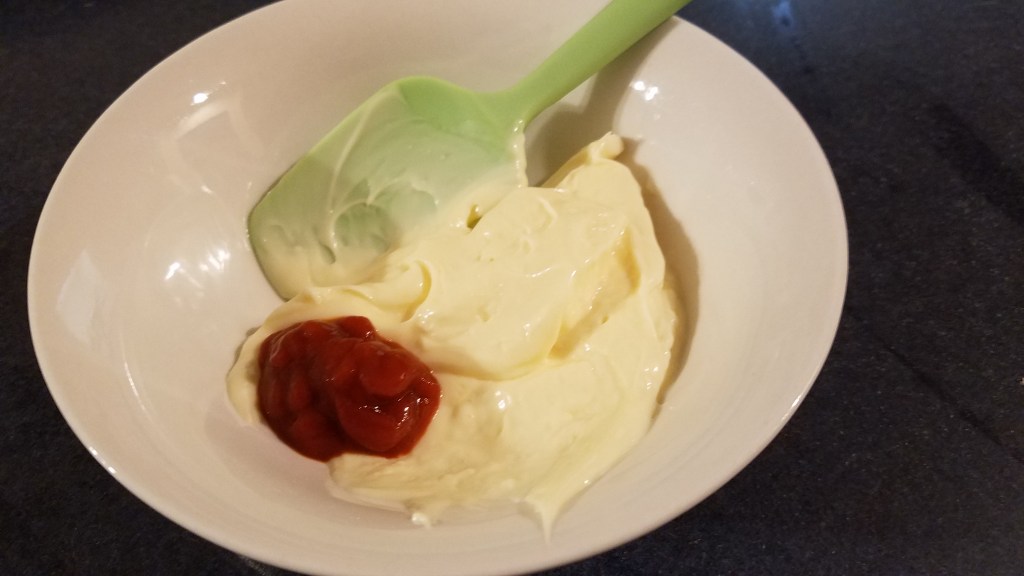
2 Tbs ketchup

1 tsp Hoisin sauce

1 tsp soy sauce

2 green onions

¼ cup cilantro leaves

1   24” New Orleans style French bread loaf  (Cartozzo’s Bakery)

¼ cup mayonnaise

1 tsp Sriracha sauce

Directions:

Heat the oven to 400°.

Slice the onions and garlic and grate the carrots.  These all need to be very thin. 

Add the onions and carrots of a bowl and add the rice vinegar and sugar.  Mix together and set aside for an hour.

Slice the green onions lengthwise, very thin. Separate the cilantro leaves from the stems. Set these aside.

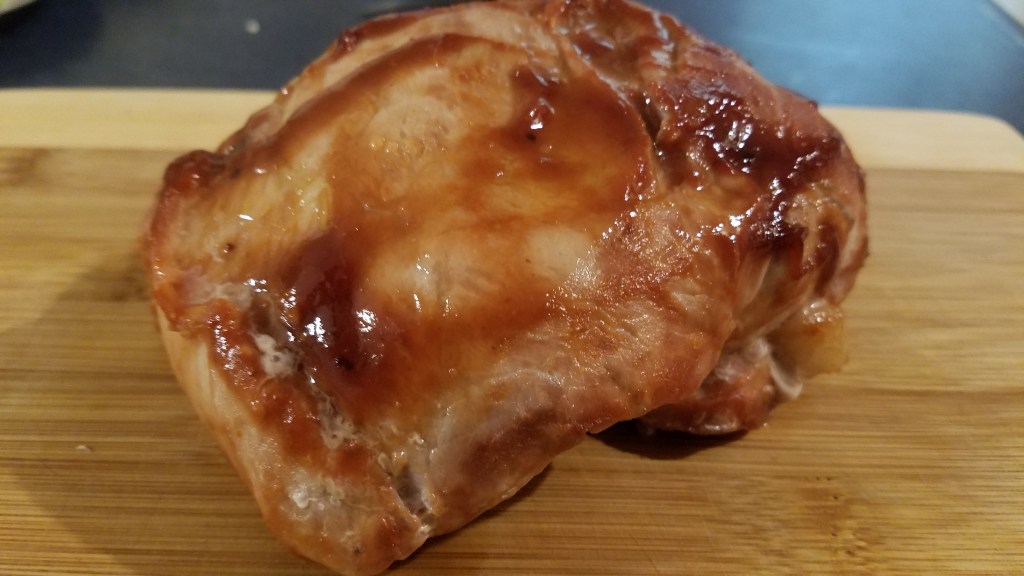
In a small bowl, mix the ketchup, Hoisin sauce and soy sauce.  Smear the sauce onto all sides of the pork loin. 

Put the pork loin in a ceramic baking dish and bake in the oven for 30 minutes. 

Remove the pork loin after 30 minutes and loosely cover with a foil tent.  Rest the pork for 15 minutes before slicing.

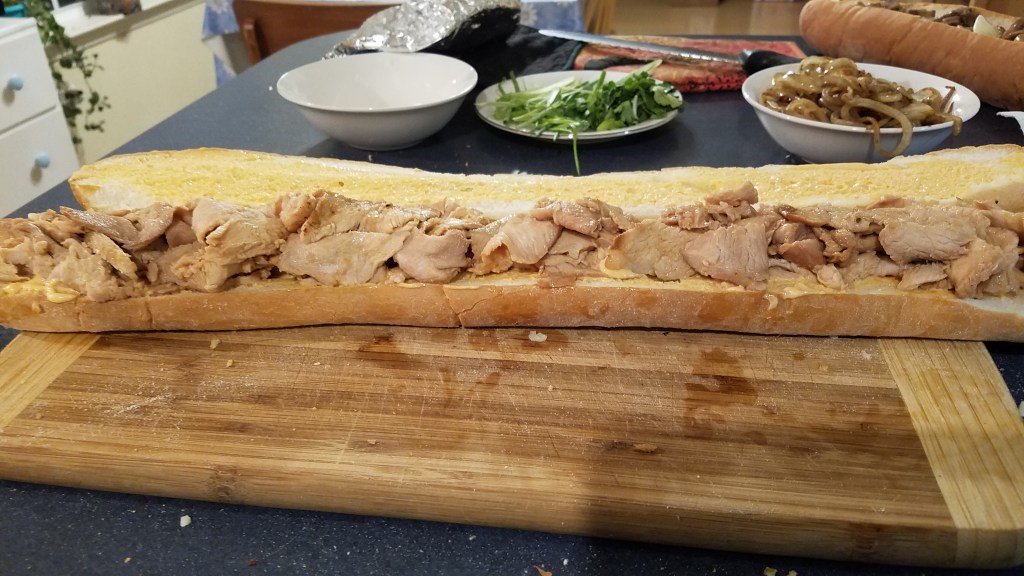
Slice the pork as thinly as possible.  Return the sliced pork to the baking dish and mix thoroughly with the sauce and baked drippings.  Seal the dish with aluminum foil and keep in a warm place until ready to serve.

Slice the French bread lengthwise.  I chose to cut all of the way through but, I could have cut just deep enough to open the loaf like a book.  Either way is fine. Warm the bread in a 200° oven for 10 minutes.  Pull the bread out when the crust is warm and slightly crisp. 

Mix the mayonnaise and Sriracha in a small bowl.

Slather the mayo mixture on both sides of the warm French bread. 

Arrange the pork on the bottom slice of the bread.

Add sliced green onions.

Top with the pickled onion and carrot mixture.

Sprinkle cilantro on top of the onion and carrot.

With a  bread knife, cut the assembled sandwich into four equal pieces (four 6” sandwiches).

Cheesesteak sandwich

Ingredients:

16 oz Muenster cheese, sliced

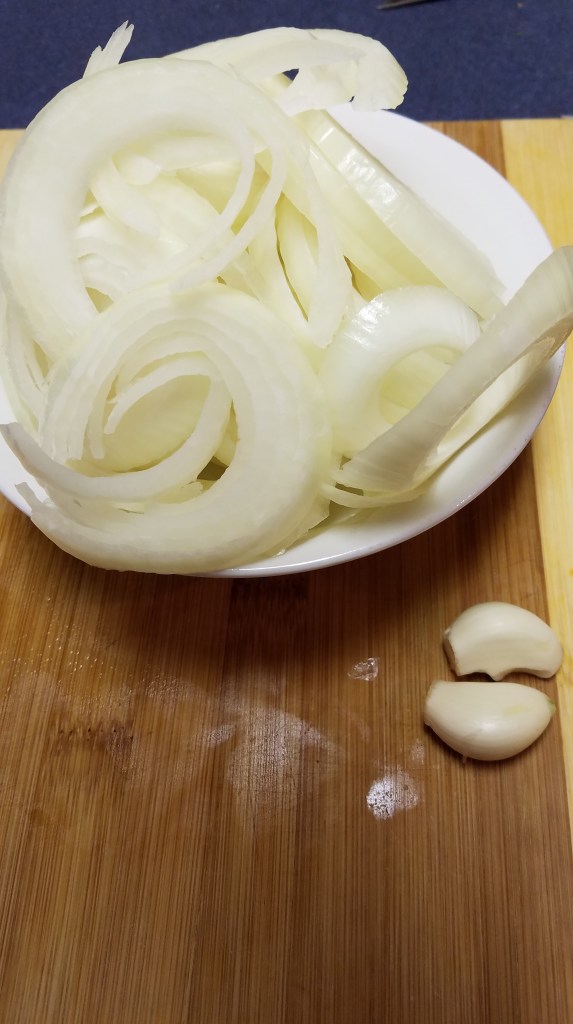
1 onion, sliced in ¼” rings

2 cloves garlic

1 tsp olive oil

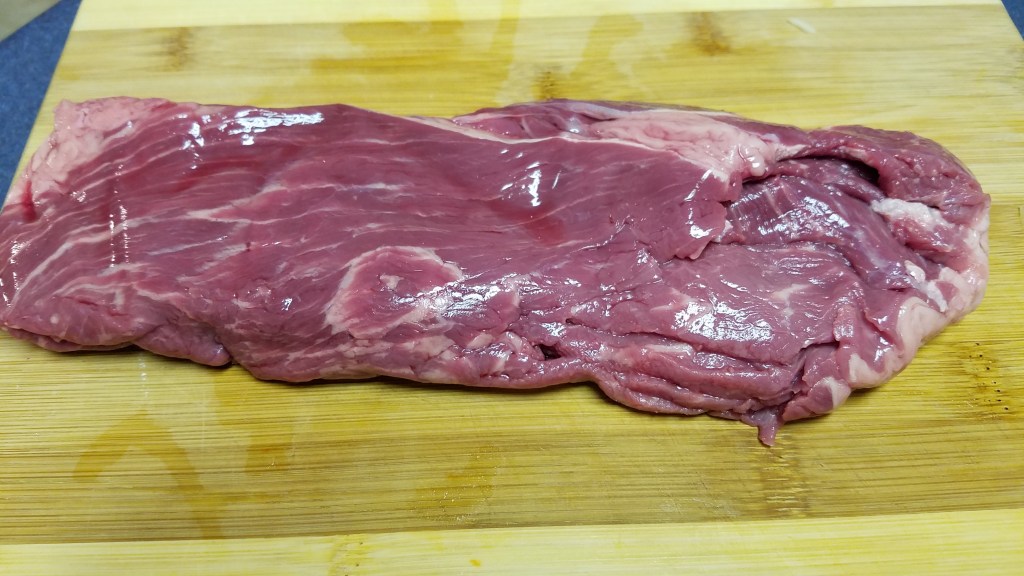
1 lb thinly sliced beef

1 8oz can sliced mushrooms

8 oz marinara sauce

1   24” New Orleans style French bread loaf 

Directions:

Note:  I used a wok to prepare the onions and sliced steak.  Cheesesteaks are best when cooked quickly at high heat and a hot wok is probably the next best thing to a hot flat top grill. 

Slice the Muenster cheese and set aside.

Slice the onion into ¼” rings.  Set aside.

I used a pre-sliced cut of beef.  The slices are very thin which makes it easy to cut the meat into thin ribbons. 

Slice the meat into ribbons and set aside.

Sauté the onions and garlic in a teaspoon of olive oil.  Remove the onions after they soften. Smash the cooked garlic cloves and mix with the onions.

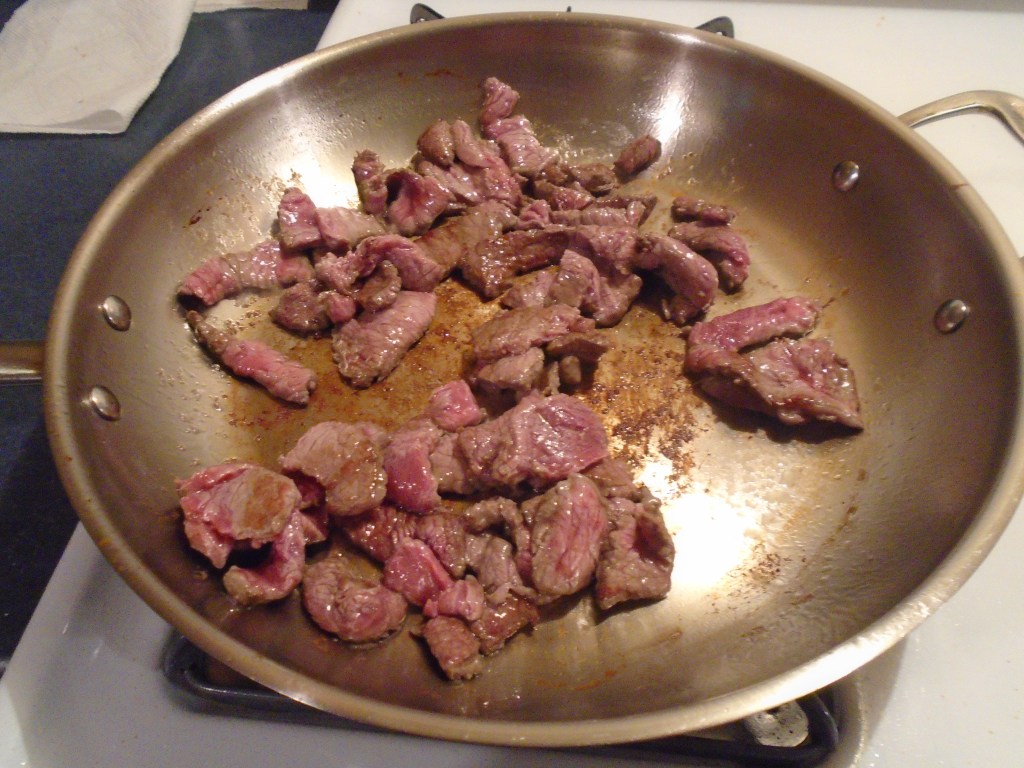
Stir-fry the beef until no longer pink (about two minutes). Remove and keep warm.

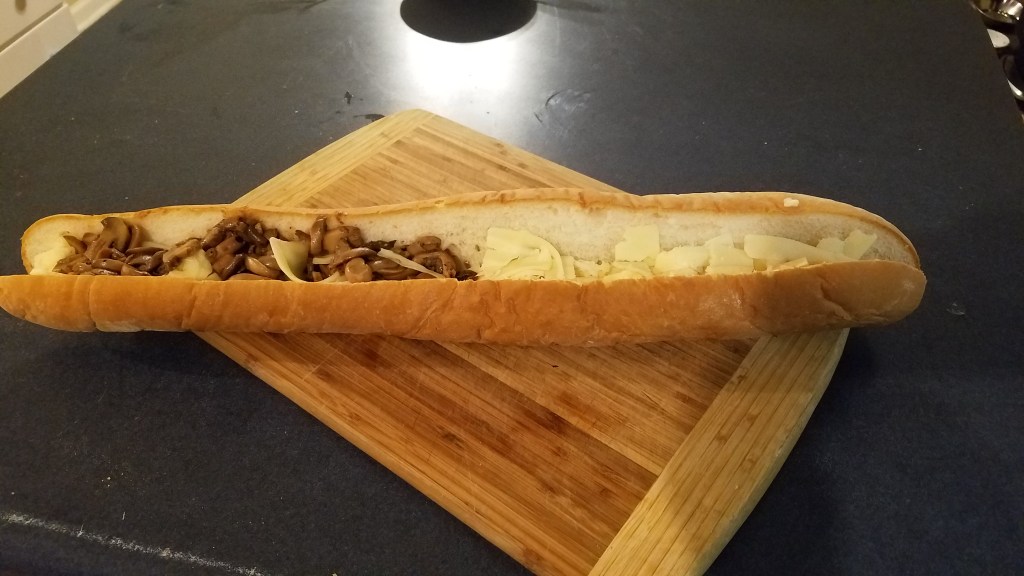
Slice the French bread lengthwise.   Layer the sandwich with the sliced cheese. I added mushrooms to one half of the sandwich.

Bake in a hot oven until the cheese begins to melt.

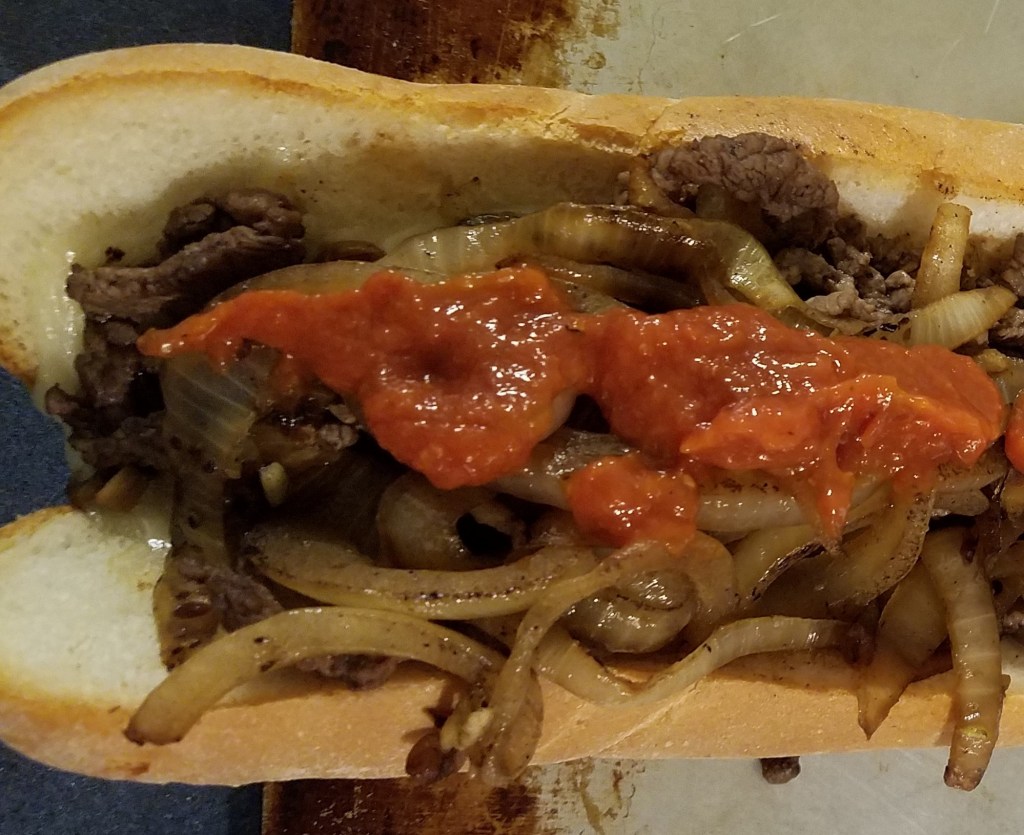
Remove the bread and top with the cooked beef.  Add the sautéed onions.
Top with warm marinara.

Cut the sandwich into four equal pieces ( four 6” sandwiches).

Pear Tart: Good Things Gone Bad… and then Good Again

It all started so innocently.  I just wanted to find a way to use some pears.  “How about a tart,”  I thought. 

A true tart has exposed fruit filling on top.  I actually made a pie, since I used a top crust.  But, I called it a tart anyway because I’m a rebel.

Ingredients for the pie crust:

½ cup lard

¼ cup butter

3 cups flour

¾ tsp salt

¼ cup cold water

Ingredients for the pie filling:

8 Bartlett pears

Juice of ½ lemon

3 Tbs flour

½ tsp cinnamon

¼ tsp cardamom

Ingredients for the egg wash:

1 egg, beaten

1 Tbs sugar

¼ tsp cinnamon

Directions:

Cut butter into smallish pieces chill in the freezer, along with the lard, for about 20 minutes.

Sift flour and salt together. 

Cut butter and lard into flour.  Continue to use a cutting action until the flour mixture resembles corn meal, in texture.  Cover and return to refrigerator to chill.

Rinse, wash and peel pears.  Quarter the pears by cutting the pears in half, lengthwise and then cutting them in half again.  With a  paring knife, cut a small arc across the ridge of the slice pear to remove the seeds and hard membrane. 

Add the pear pieces to a large mixing bowl.  Add juice of ½ lemon and toss the pears to coat.  Set aside.

Mix together 1 tablespoon flour, ½ tsp cinnamon and ¼ tsp cardamom in a small bowl.  Sprinkle the mixture over the pears and give the pears a few tosses.

Remove flour mixture from refrigerator.  Add water, 1 tablespoon at a time.  Gently incorporate the water and continue adding water until the dough begins to hold together.  Divide the dough into two equal parts.  Set one part aside. 

Lay one of the dough halves onto a lightly floured surface.  Form the dough into a ball and press down to flatten into a disc.  Turn the disc over and roll out with a rolling pin.  Start in the middle of the disc and roll toward the edges.  Continue rolling until disc is 10” to 11” wide. 

Center the pie crust on a 9” glass pie pan.  Press the dough down gently to conform to the pan.  Pour the pears into the pie pan.

Roll out the other half of the dough and center it on top of the pears, in the pie pan.  Press the two pie crusts together at the seams to seal them, or use a fork or other tool to seal the edges.

Prepare the egg wash for the pie crust by whisking and egg in a small bowl.  Apply the egg wash with a pastry brush.  Sprinkle some sugar and cinnamon on top.

Place the pie pan on the middle rack of a 400° oven.  Bake for 30 minutes and then turn the oven down to 350°.  Bake for another 20 minutes. 

Rest the pie pan on a cooling rack for an hour before slicing.  The pie filling will thicken as it cools. 

This is when things took an unexpected turn.  I was impressed with how well the crust baked.  I could rotate the pie within the pie plate with just a little effort which meant that the crust did not stick to the pie pan, while it baked.  I decided to invert the pie pan and inspect the bottom pie crust.  I figured that I had already taken pictures of the competed pie so I had nothing to lose.  Once I had the pie resting  upside down on a cutting board, I felt along the surface of the crust.  It didn’t feel as crisp as the top crust, which makes sense, because it wasn’t exposed to air while it baked. 

The oven was still hot and I wanted to give the pie a few more minutes in the oven to crisp the bottom crust.  I inverted the pie again and set it on a metal rack.  As I took the metal rack to the open oven, the pie slid off and crashed onto the open oven door.  It all happened so quickly, yet it seemed like slow motion at the same time.

The pie was a total wreck.  There was no way to hide the massive damage.  It all happened so quickly that I didn’t even find time to curse.  I just stood there and stared, numb and unblinking.  I grabbed a piece of pear that had  broken free from the crust and tasted it and I came up with a plan.

Pear Tart a la Mode

Ingredients:

1 broken pear tart

1 cup brown sugar

3 Tbs hot water

½ gallon, high quality vanilla ice cream

Directions:

Break apart a pear tart and put the chunks in large mixing bowl.  Set aside.

Heat 1 cup brown sugar in a heavy bottomed stainless steel pan, at medium-low heat.  When the sugar melts, reduce heat to low and stir for one minute.  Remove the pan from the heat.  Carefully add the hot water.  It will sputter and put on a spectacular show.  Return the pan to low heat and stir for another 2 or 3 minutes, or until the sugar has turned reddish brown.  Remove and cool.  The cooled sugar should have a crunchy quality to it.

Put 1 ½ cups of the broken pear tart in a large serving bowl.  Add 1 large scoop of ice cream (about 1cup) to the bowl.  Top the pie and cake with caramelized sugar and sprinkle some raw brown sugar on top, for good measure.

Scalloped Potatoes with Cold Cuts

I haven’t been making regular trips to the grocery store lately.  Time constraints mixed with a dash of laziness is a recipe for invention.  Despite the lack of grocery shopping, my pantry and refrigerator are still full of all sorts of odds and ends, which is a good thing. 

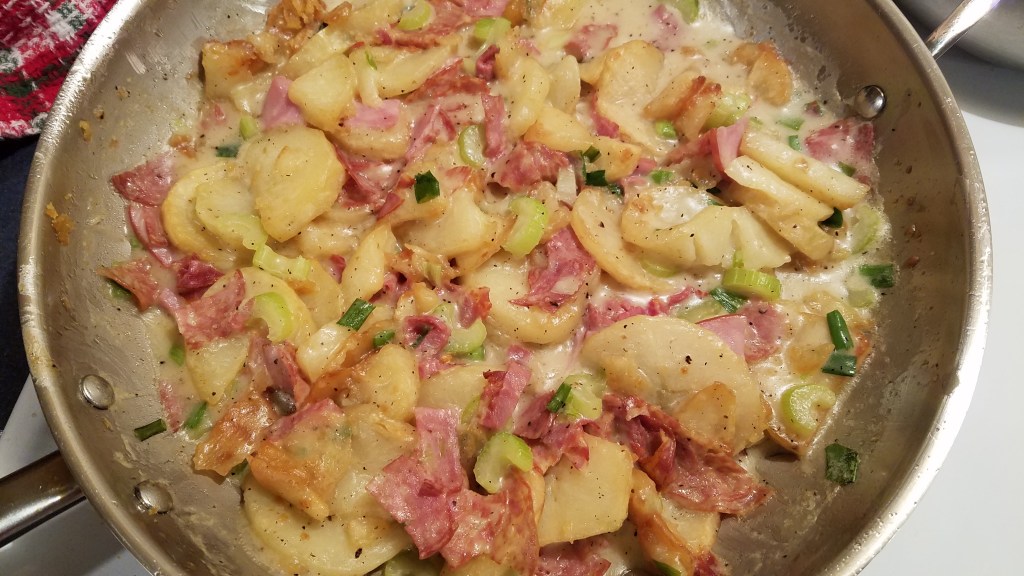
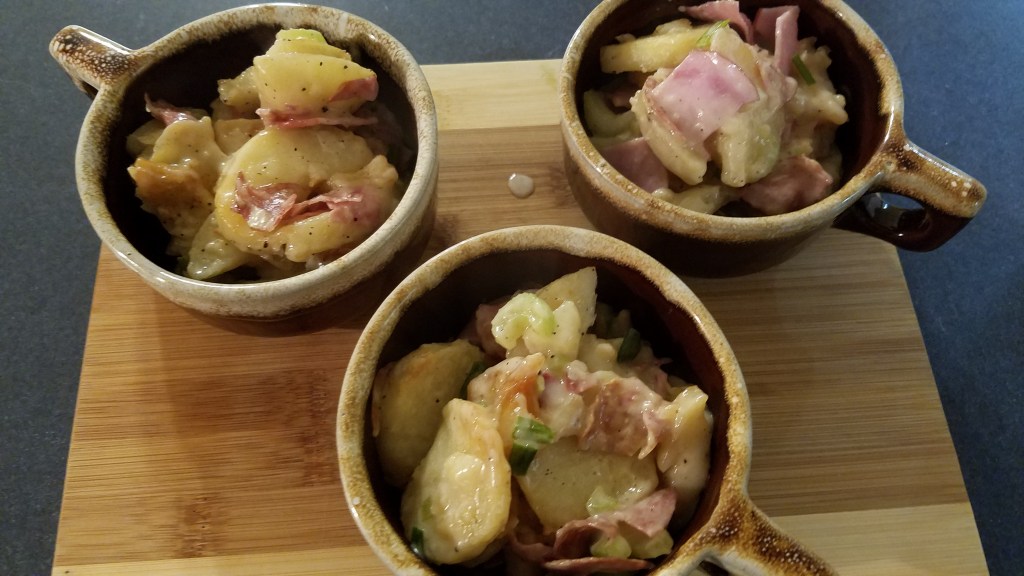
This meal came together quickly and it provided a warm, hearty end to a cold and dreary day.  This was made to serve three, but it could stretch to serve four.  The various cold cuts added to this dish turned simple scalloped potatoes into something special.

Ingredients:

3 large russet potatoes

3 cups cooking oil

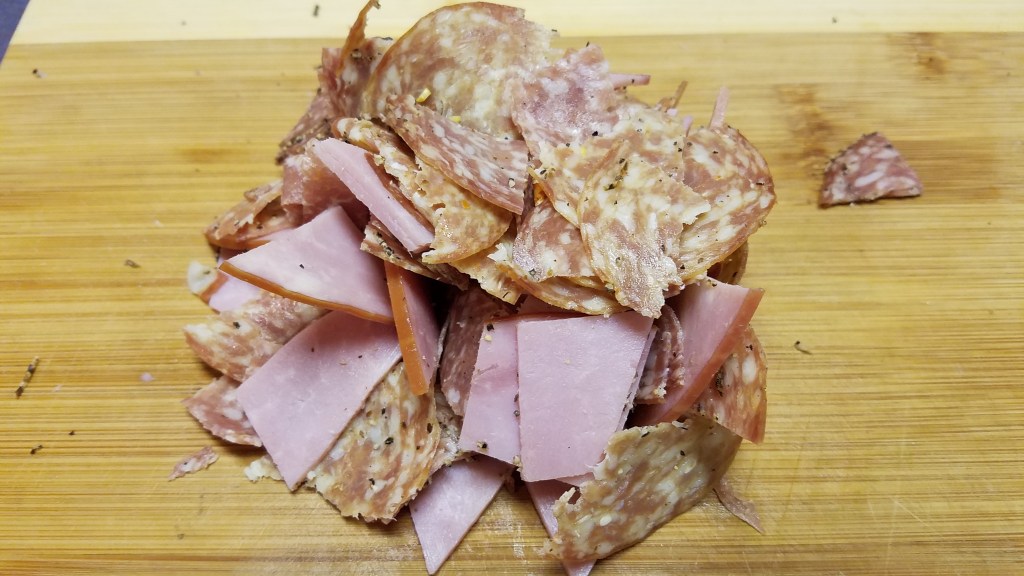
6 oz cold cuts (capocollo, calabrese, pepper salami and cured ham)

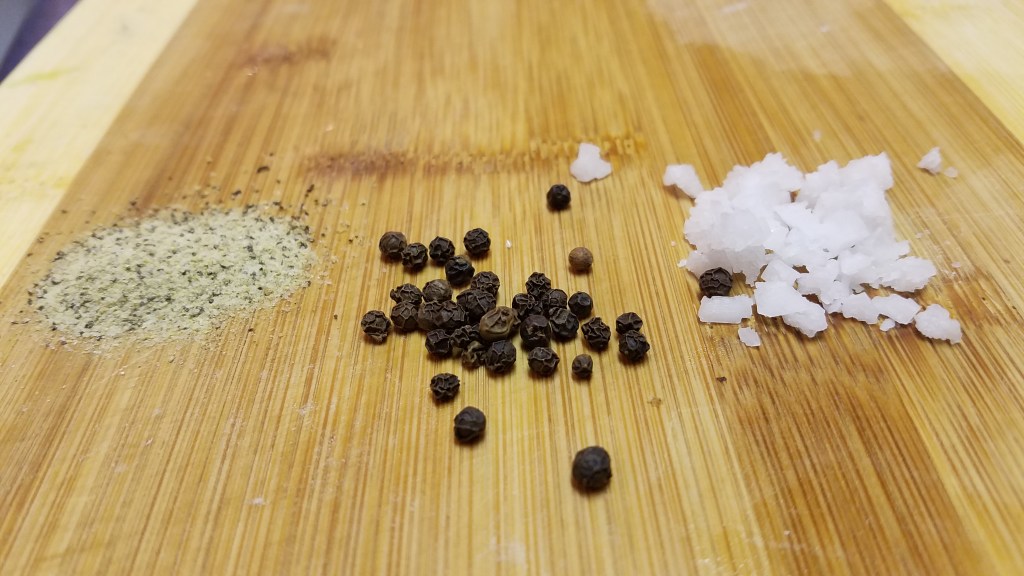
1 tsp coarse salt

½ tsp whole black pepper

½ tsp Cavender’s Greek Seasoning

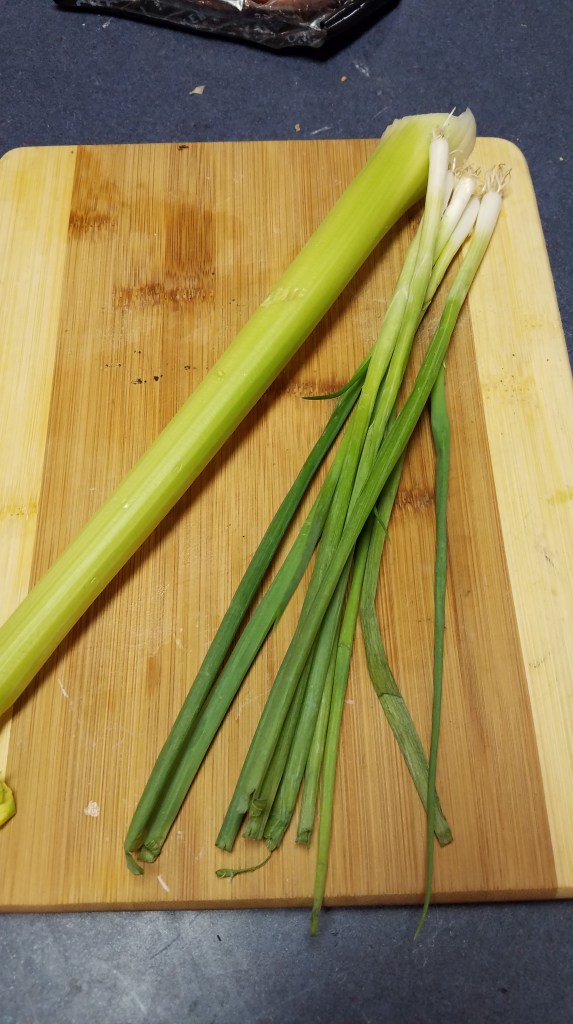
5 green onions

1 celery stalk

4 Tbs butter

4 Tbs flour

2 cups chicken stock

¼ cup heavy cream

Directions:

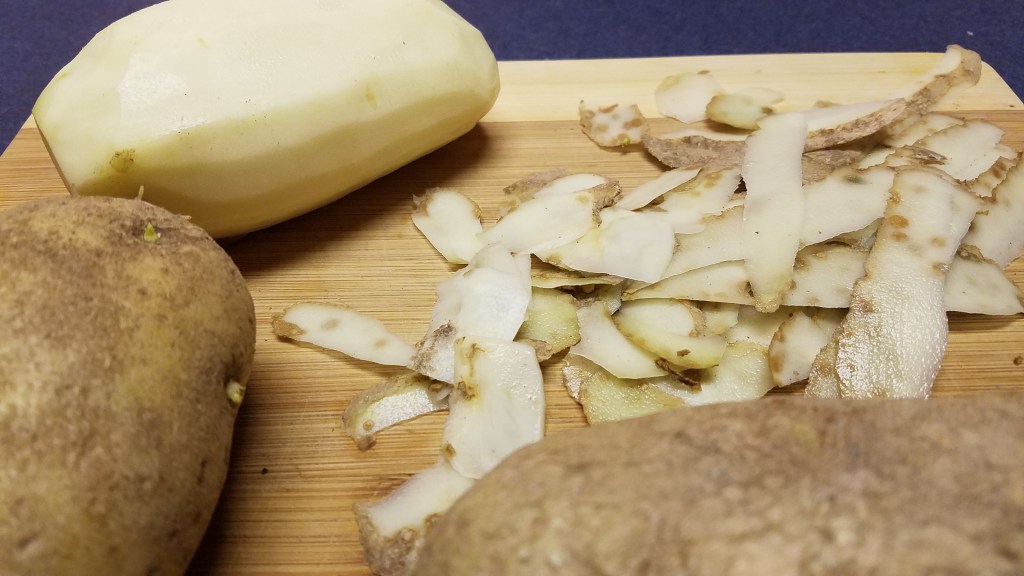
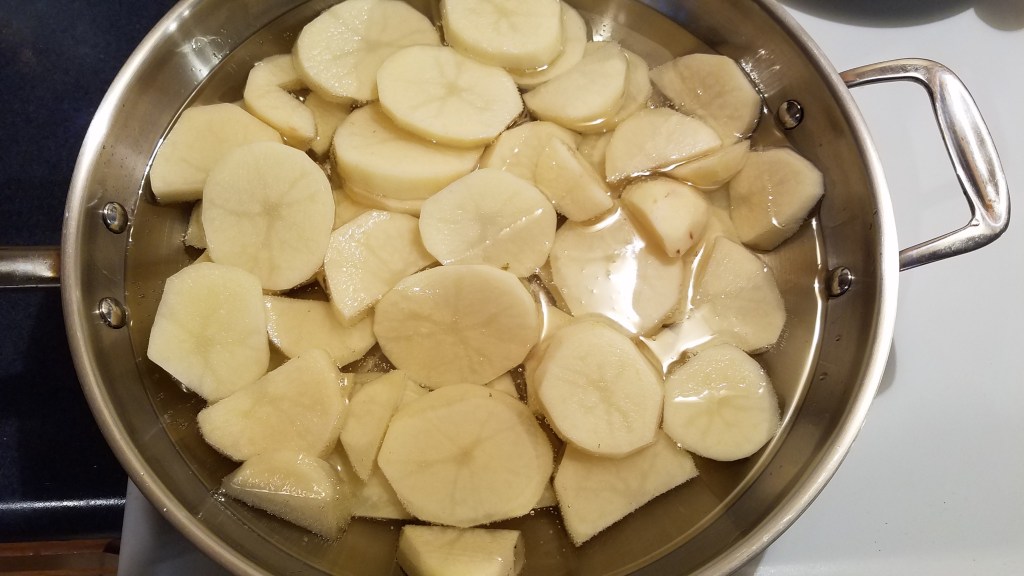
Peel the potatoes and slice them into ¼ discs. 

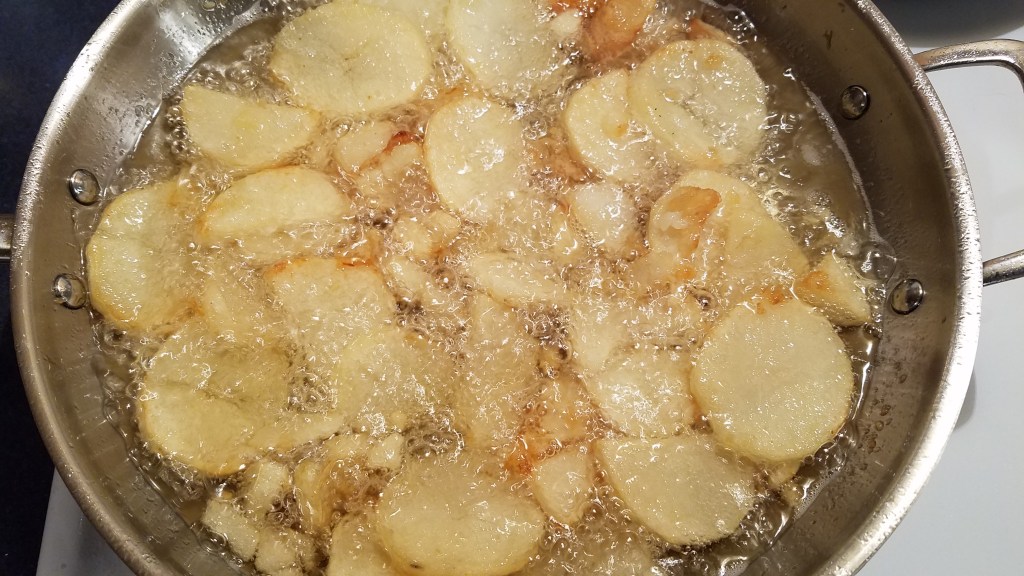
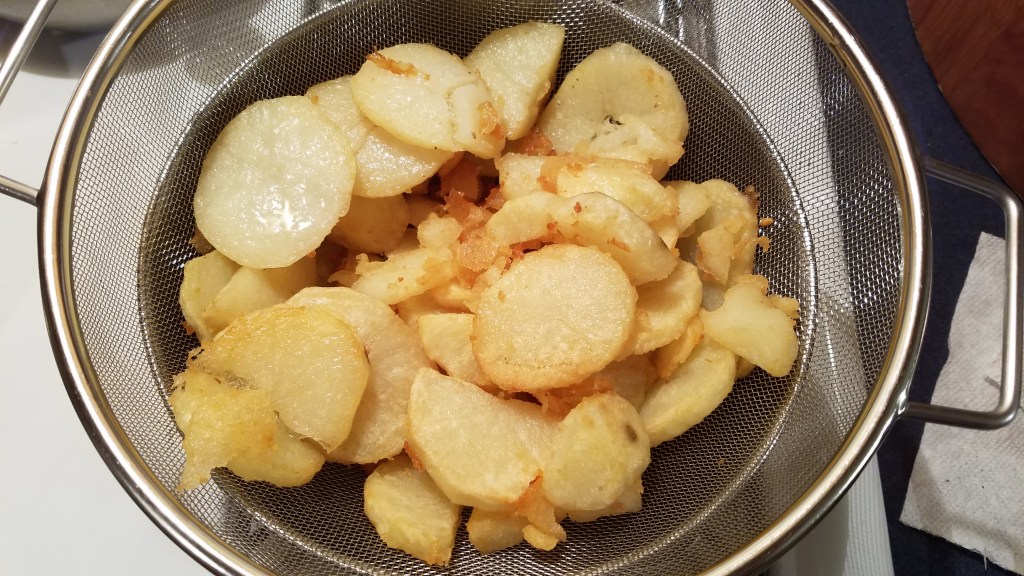
Fry the potatoes in the cooking oil.  Once the potatoes begin to turn golden brown, strain them and set aside.

While the potatoes cook, prepare the other ingredients.

Cut the cold cuts into ½” pieces.  Set aside.

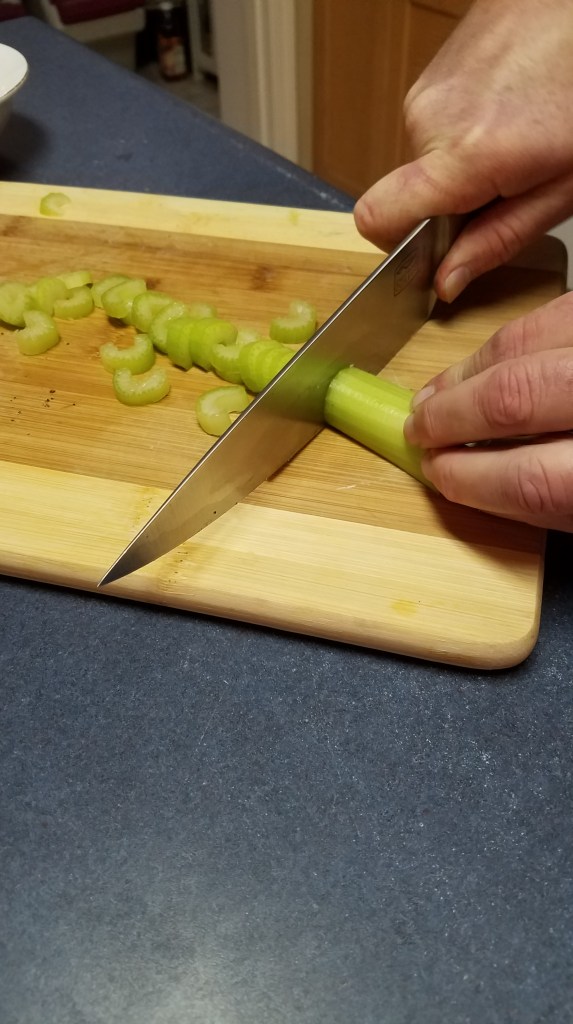
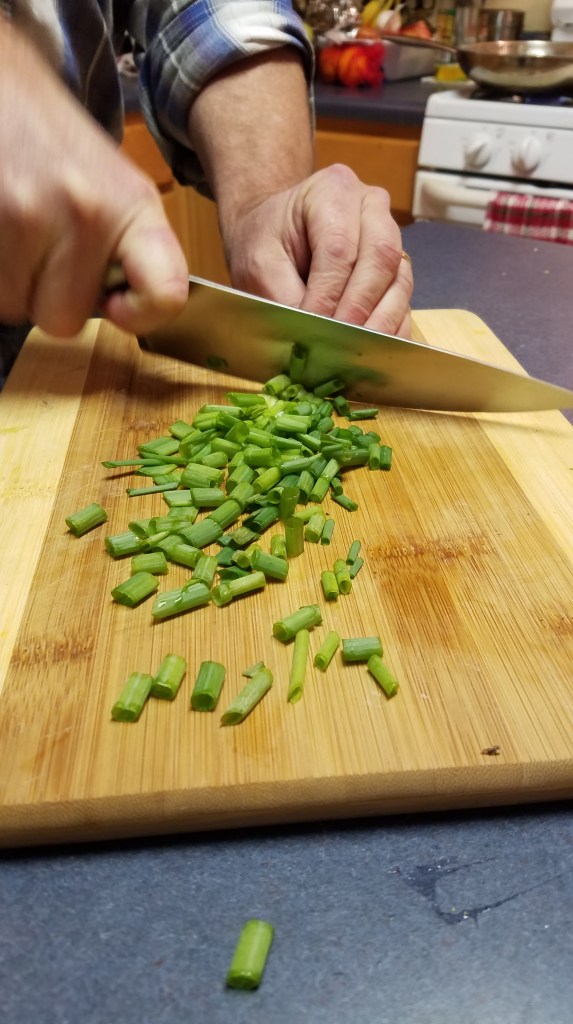
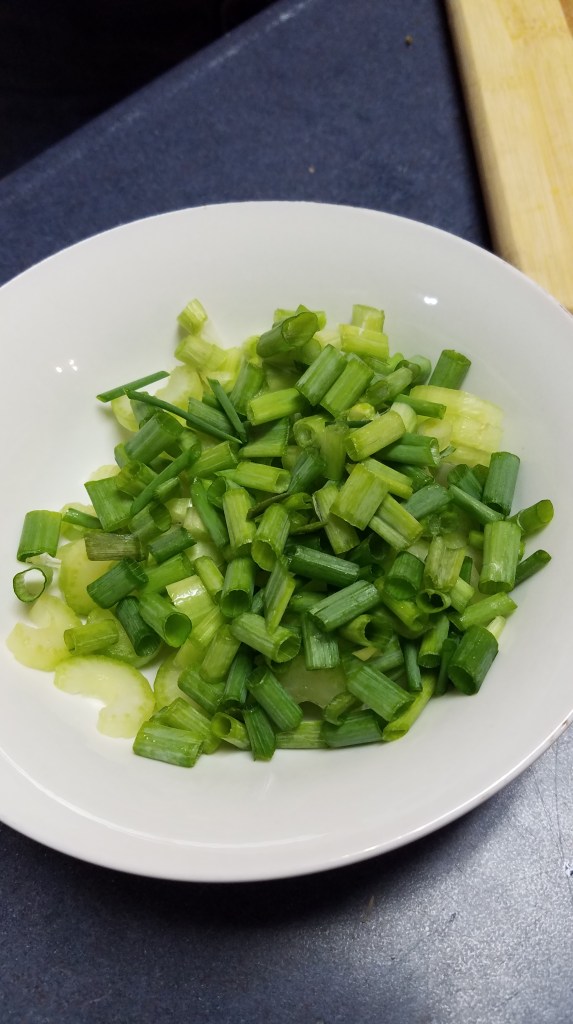
Chop the celery and green onions.  Set aside.

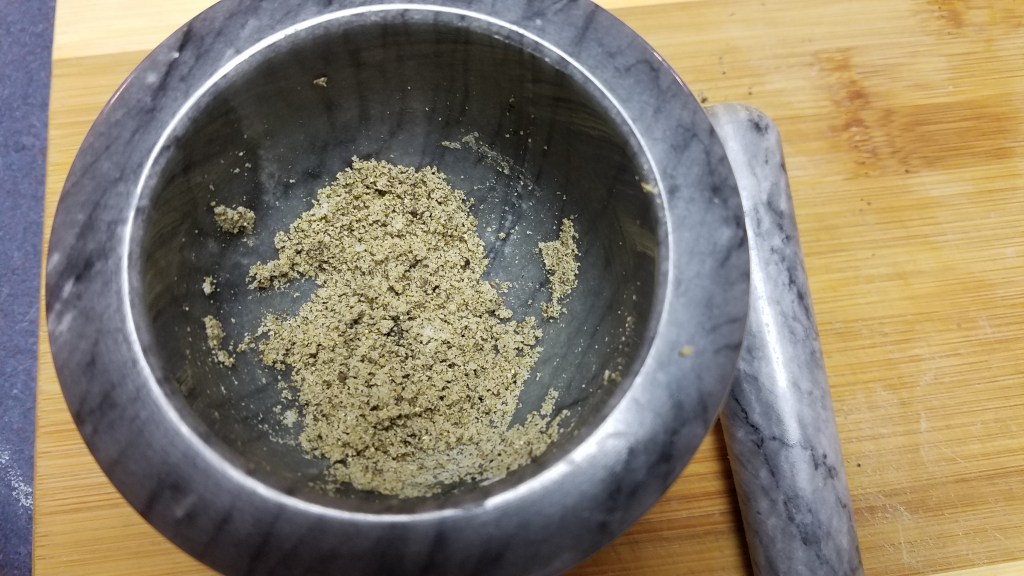
Grind the salt, pepper and Cavender’s Greek seasoning in a mortar and pestle.  Set aside.

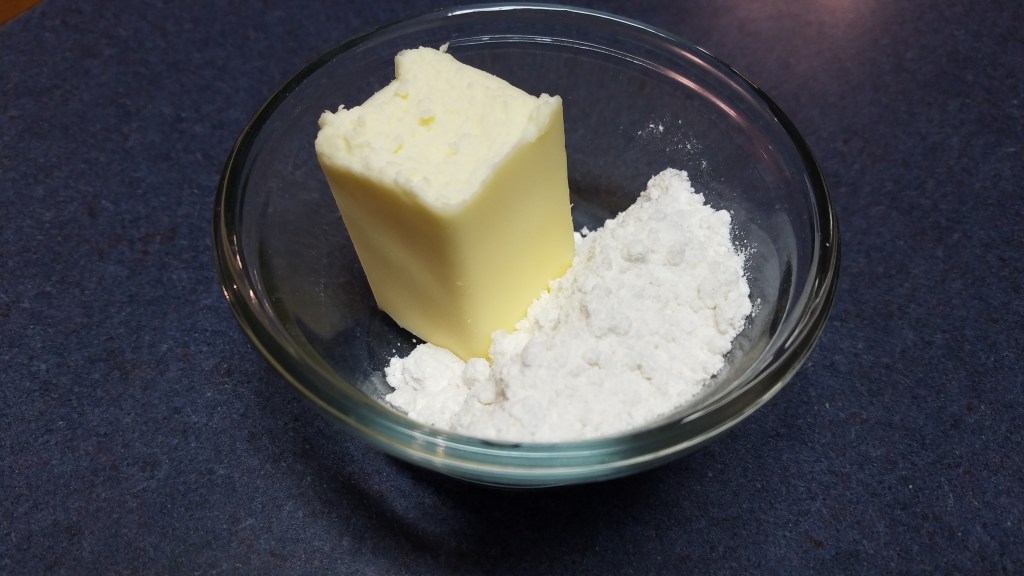
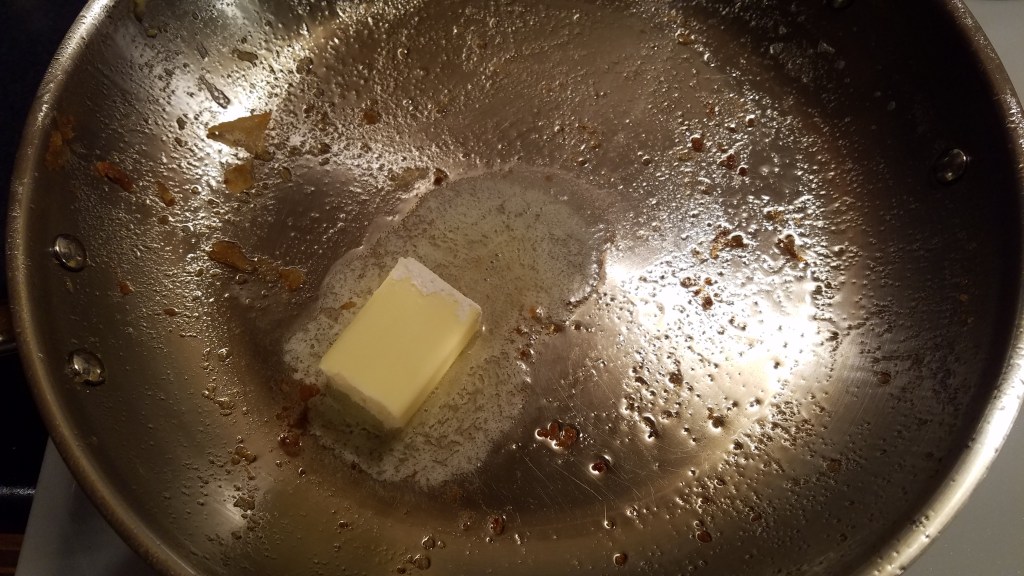
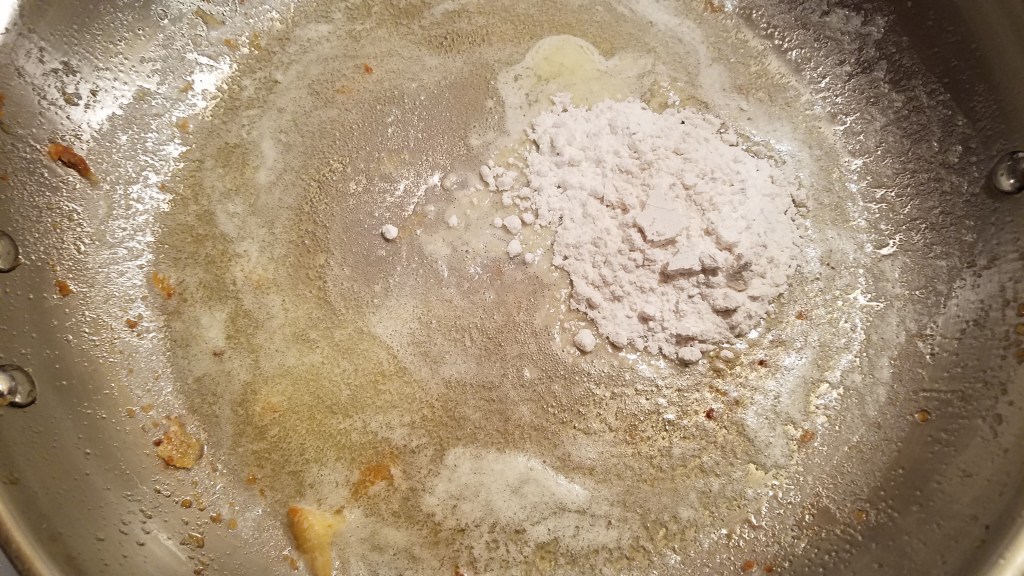
Using the same skillet that was used to fry the potatoes, turn the heat to low and add the butter.  When the butter melts, add the flour and whisk to form a roux.

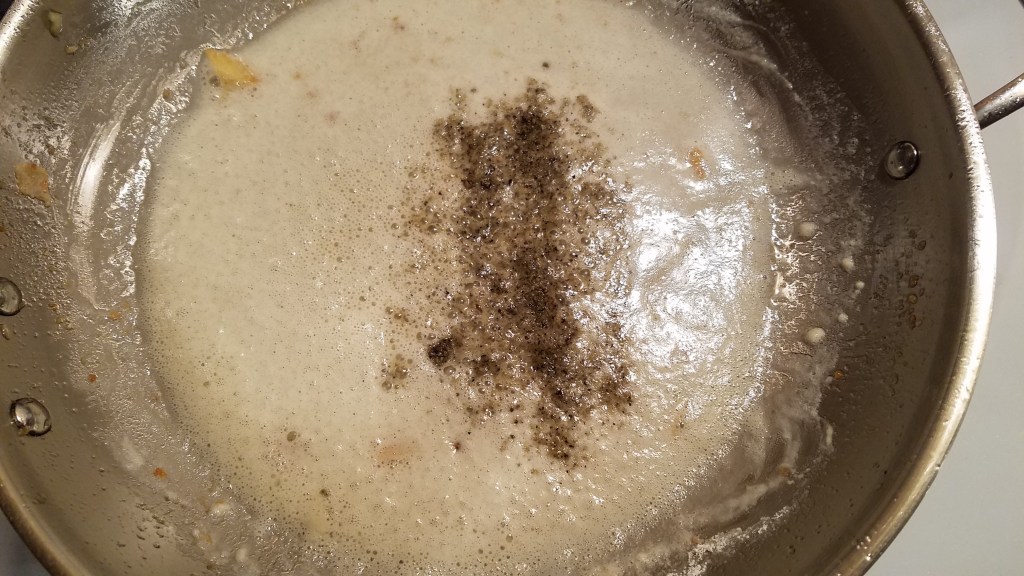
When the roux begins to bubble and becomes frothy, add the seasonings.  Whisk.

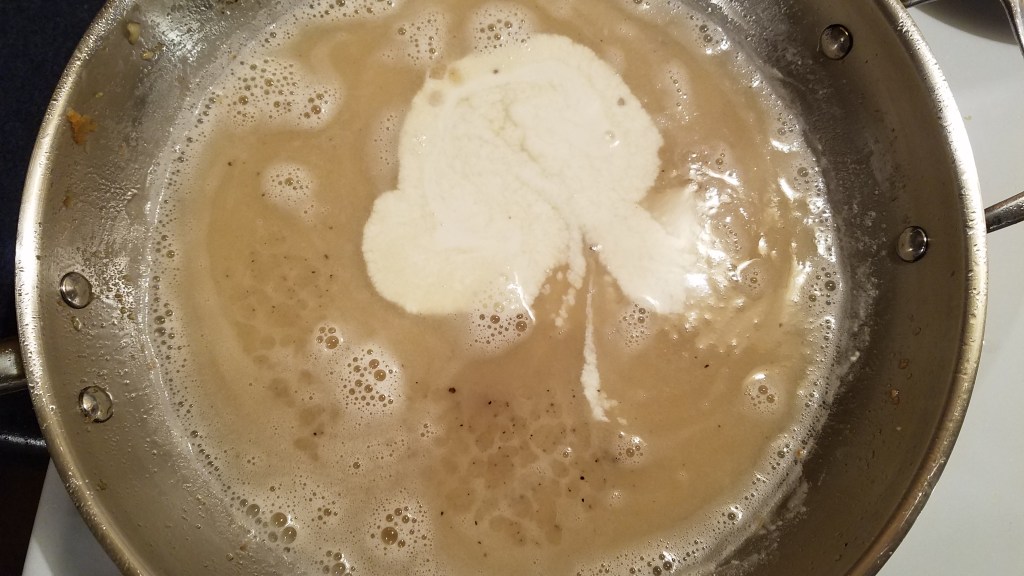
Slowly introduce 1 cup of the chicken stock and whisk.  Add the cream and continue whisking.  As the sauce thickens, add the remaining cup of chicken stock.  Whisk until the sauce thickens again. 

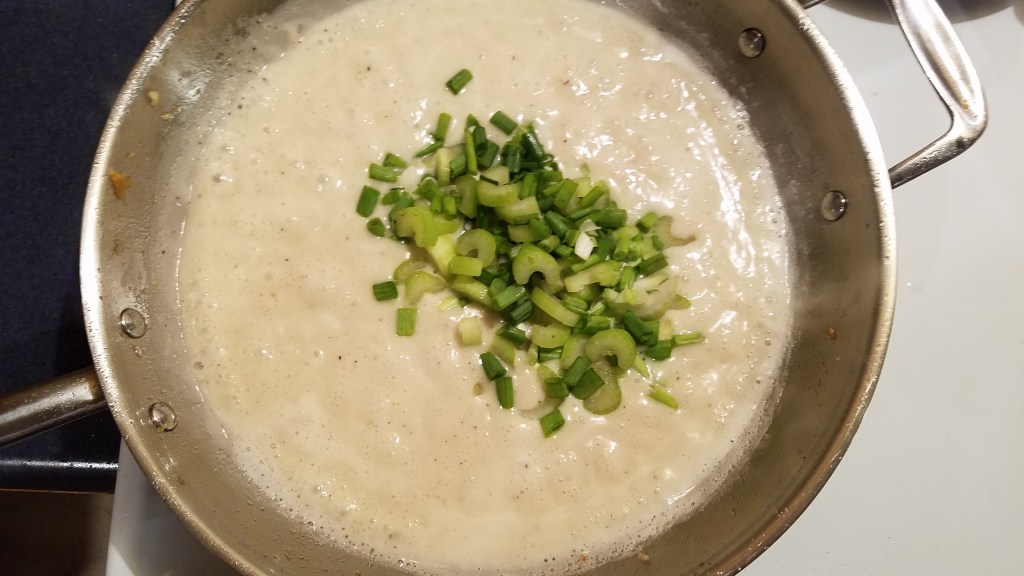
Add the celery and green onions and stir to incorporate.

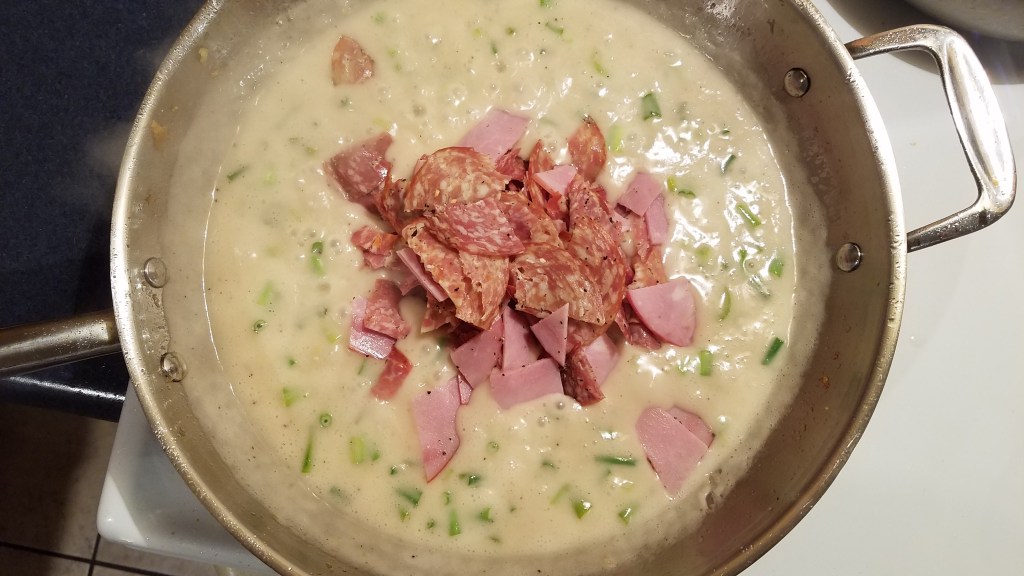
Add the cold cuts and stir.  Simmer for about 3 minutes, while stirring occasionally.

Fold in the potatoes and simmer for a few minutes.

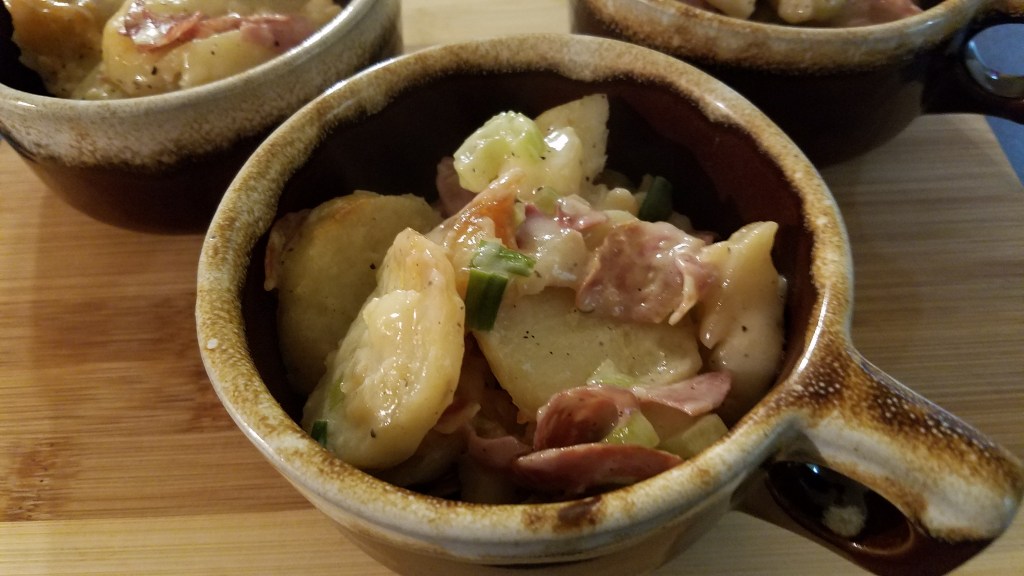
Scoop out portions to serving bowls. 

Extra Pasta – Braised Beef in Marinara

I had lots of left over penne rigate from the other day and I decided to bring it back for another spin.  The pasta was originally sautéed with diced tomatoes, garlic and anchovy and then tossed in a satiny-buttery sauce.  The dish was simple and mild, which makes it a great starter for this bolder dish.

This is a quick meal, especially because the pasta was already cooked.  Thinly sliced beef cooks in a matter of a few minutes.  From start to finish, including the salad, this took about 30 minutes to make.  The cotija cheese is used like dried Parmesan in this recipe.  It adds a slightly sharp flavor and it helps to thicken the sauce. 

Ingredients:

1 Tbs olive oil

4 green onions (separate the white and green portions)

16 oz tomato sauce

1 Tsp Italian seasoning

8 oz can of sliced mushrooms

Thinly sliced beef

½ cup cotija cheese

16 oz cooked pasta (penne rigate)

Directions:

Dice green onions.  Separate the white parts from the green.  Set the green parts aside.

In a large skillet, set to medium heat, add olive oil and sauté the white parts of the green onions for one minute. 

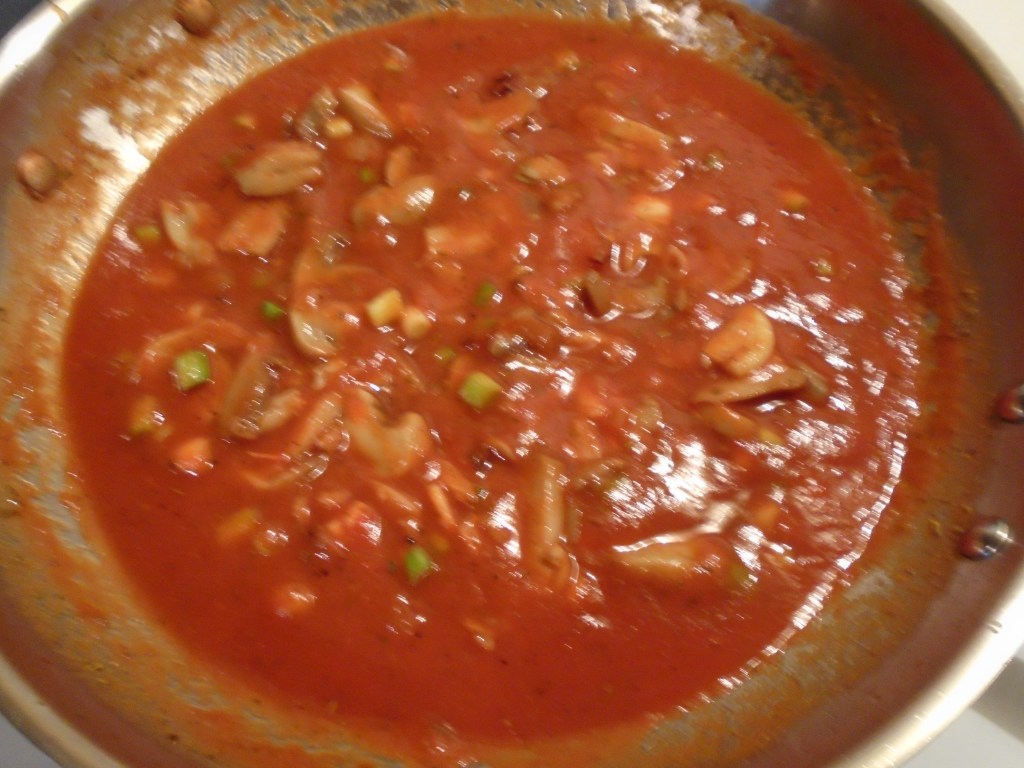
Add tomato sauce, Italian seasoning and mushrooms.  Simmer for 5 minutes. 

Add cotija cheese and whisk to incorporate.  Simmer for an additional 5 minutes.

Remove sauce to a bowl and keep warm.

Add 1 Tbs olive oil to the pan.  Set heat to high.  Add the strips of beef and stir constantly  until cooked to  rare (about 2 minutes).

Return the sauce to the pan, turn the heat to low and stir with the meat for a few minutes.

Add the cooked pasta to the skillet and stir to coat the pasta with the sauce.

Turn the mixture out to a serving bowl and top with green onions and a dusting of cotija cheese. 

Serve with a fresh salad.

Smoked Cornish Game Hens

I love the smell of smoke drifting through the neighborhood.  I especially like it when it emanates from my own backyard!  There is something about the change from summer to fall that makes me want to cook fowl outdoors.  Chicken, turkey, whatever.  This recipe combines bright citrus tones, savory spices and a gentle, smoky flavor. 

Ingredients:

2 Cornish game hens

Marinade for the hens (see below)

Marinade Ingredients:

3 cups olive oil

3 full heads of garlic, peeled and smashed

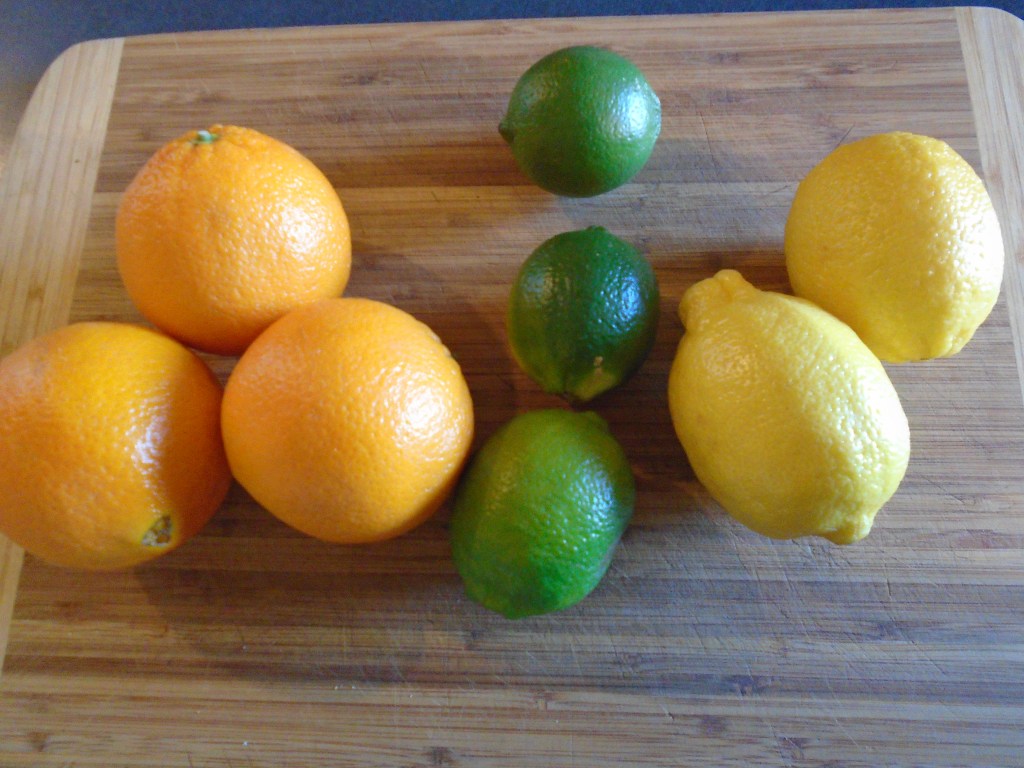
3 oranges

3 lemons

3 limes

1 cup orange juice

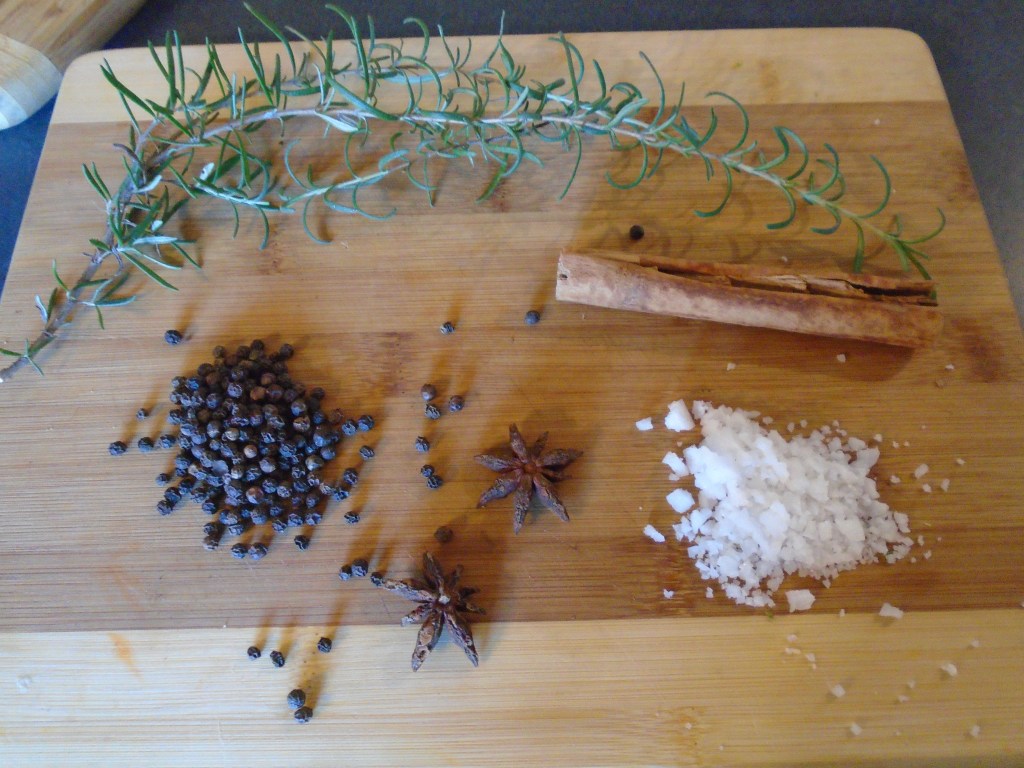
¼ cup rosemary, chopped

¼ cup kosher salt

¼ cup coarse black pepper

2 star anise pods

1 Thai cinnamon stick

Directions:

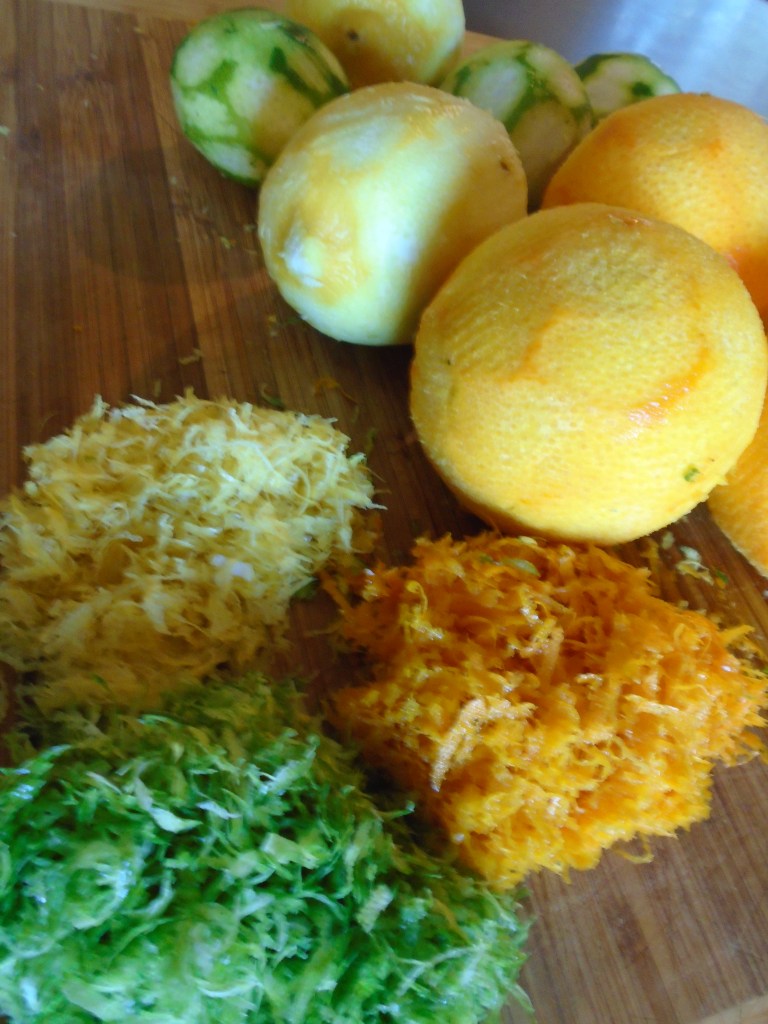
Zest the citrus fruit

Add the juice and zest from the fruit to a bowl.  Add the orange juice and oil to the bowl.

Using a mortar and pestle, grind the rosemary, salt, black pepper, anise and cinnamon. 

Add the ground seasonings to the bowl, along with the juice and zest.

finished marinade

Keep the rinds and pulp from the fruit to use as an aromatic.  In a large pot of water, add rinds and pulp.  Set heat to very low and add other aromatics, such as cinnamon sticks, star anise, sage, all spice berries…really, anything that strikes your fancy.

Put on stove, low heat…fill the house with the aroma!

Cut the hens in half, (remove back bones and split the bird in half with a large kitchen knife).

whole hen
Pretty side up!

Marinate the chicken for 12 hours, or overnight.  Turn the chicken occasionally, to allow the marinade to soak in.

Refrigerate overnight

I used oak for the smoking process.  Oak lends a nice smoky flavor without imparting a heavy flavor.  I didn’t bother measuring or monitoring the temperature of the coals or the smoker, or the birds.  I knew that I had used plenty of coals and that the birds would cook evenly, since they were split.  Smoking meat this way is not advised but,  I happened to be in a very confident mood that day and I turned everything over to fate. 

Directions for smoking the birds:

Start a batch of charcoal for a smoker.  Hot charcoals maintain even and steady heat for the smoker and they ignite the wood, used for the smoke.  Once the coals are hot (gray), add some pieces of oak.  Let the oak char for about 20 minutes.  Add some more oak and char for another 15 minutes.  Once the wood has turned into nice coals and the smoke has thinned a little, prepare the grill for smoking.

On a clean grill, add the hens, cut side down, with leg portions pointed toward the center of the grill.  Smoke the birds for 1 ½ hours.  I finished cooking in a 300° oven for 15 minutes, just to make sure that they were cooked all the way through.

Let the hens rest for a few minutes before separating into breasts, legs and wings.

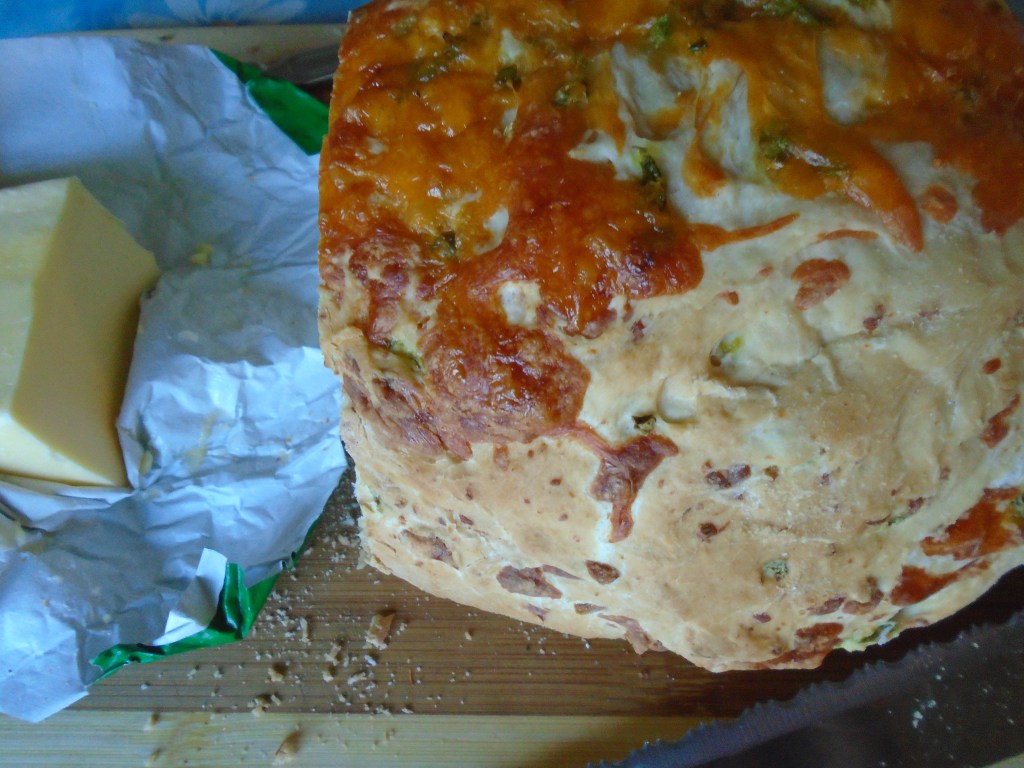
Serve with pasta with fresh tomato sauce, garden salad and warm Jalapeño Cheddar Cheese Bread with pads of butter.

Pasta with Fresh Tomato Sauce:

Summer is gone but I still enjoy the taste of fresh tomatoes from the garden.  That’s because I filled a 2 gallon storage bag with ripe tomatoes.  I didn’t wash the tomatoes before freezing them.  Whenever I want a tomato, I open the bag, pull one out, let it thaw at room temperature for about 15 minutes and then I rinse it under tap water.  The skin peels off right away and I’m left with a wonderful, fresh tomato.  For this recipe, I used two tomatoes.

Ingredients:

2 *fresh* tomatoes

1 lb penne rigate

1 anchovy (packed in oil)

3 garlic cloves, smashed

1 tsp olive oil

2 Tbs butter

½ tsp dried oregano leaves

½ tsp dried basil leaves

½ cup feta cheese

Directions:

Boil water in a large pot.  Add the penne rigate and cook to al dente.  Drain the water but do not rinse.  Reserve 1 cup of the pasta water.

While the pasta cooks…

Chop tomatoes into ½” pieces.  Set aside.

Crush anchovy and garlic together in a mortar and pestle.  Set aside.

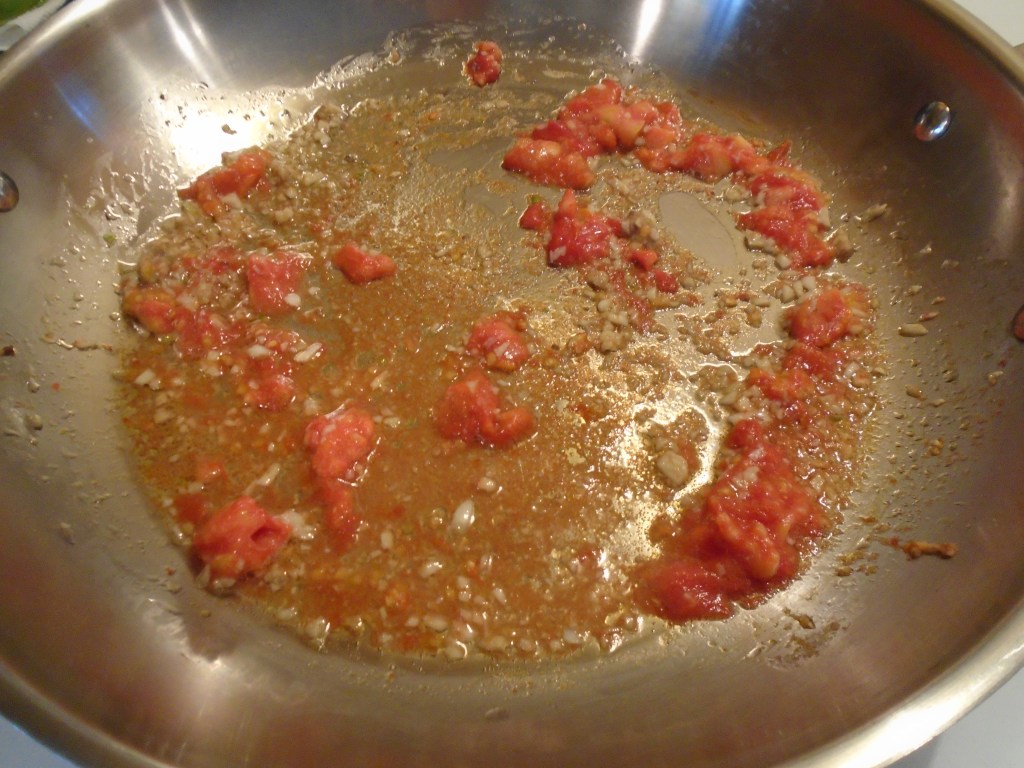
In a large skillet, set to medium/low heat, add olive oil.  Add half of the tomatoes, garlic and anchovy. Cook down to a sauce (about 10 minutes). 

Add a cup of pasta water and cook down for another 5 minutes. 

Add the spices and butter.  Simmer for a few minutes and simmer for a few more minutes. 

Add the cooked pasta and stir to coat the pasta.

Turn out to a serving bowl and top with feta cheese.

Jalapeño and Cheddar Cheese Bread

My wife makes this bread and it doesn’t sit on the table very long!  Next time she makes it, I’ll pay better attention and share the recipe along with directions.  It’s always the highlight to any meal it accompanies!