I started this blog in late July of this year and now we are about halfway into September. You might be thinking that this is a prelude that will lead into a rambling account of all of the fun that I have had so far and how much I have enjoyed bonding with other fellow bloggers.
Well, all of that is true but, I only mention the time frame because of how it relates to photographing the food that I have made. Most of the food that I have documented on the blog has been made during late afternoons and evenings.
Our kitchen sits on the western side of our home and we have a window, over the sink, that faces west. My wife photographs most of what is posted and she has produced some beautiful shots. But, I know what lies ahead. Autumn and Winter. The sun is setting earlier with each passing day and pretty soon, I will be making dinner long after the sun has set.
That means I won’t have the dramatic lighting that the setting sun is providing now. We will be faced with the challenge of making food look good under the bland overhead lighting of our kitchen. I don’t relish the thought of setting up elaborate lighting schemes and I don’t want my kitchen to turn into a photo studio. Fortunately, my wife and I are creative and resourceful people. We will try to find ways to put up some interesting photos, despite the lack of natural sunlight.
So, if you find yourself yawning at my posts during the winter, I will understand. Come back next spring and catch a glimpse of the sun again.
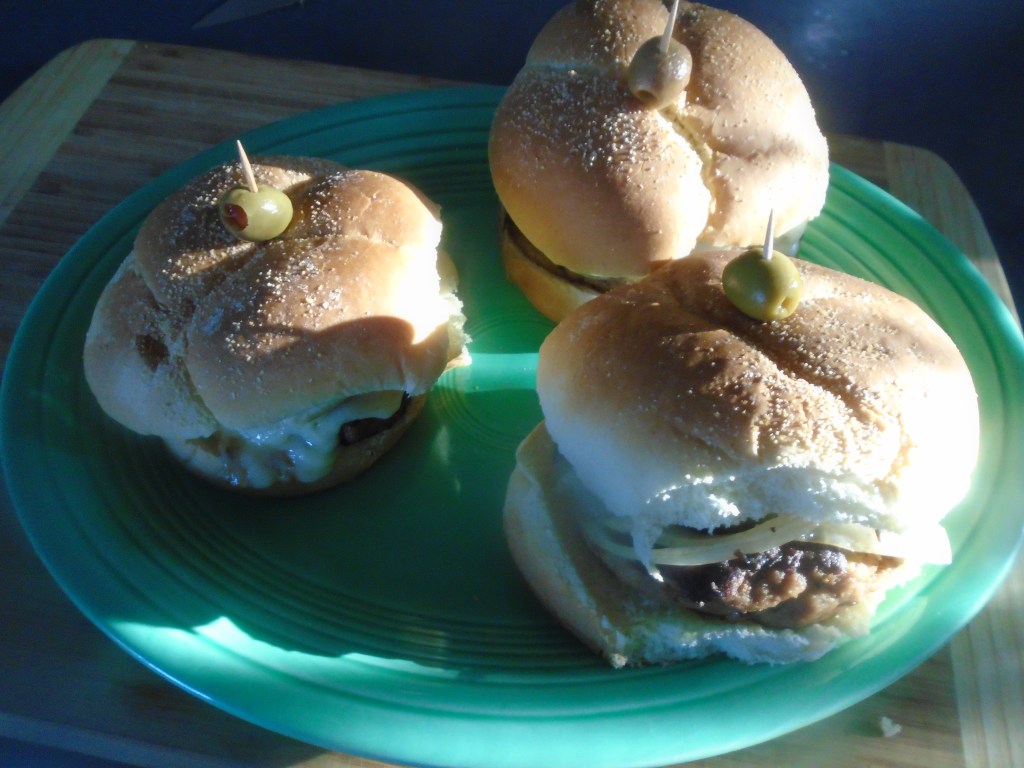
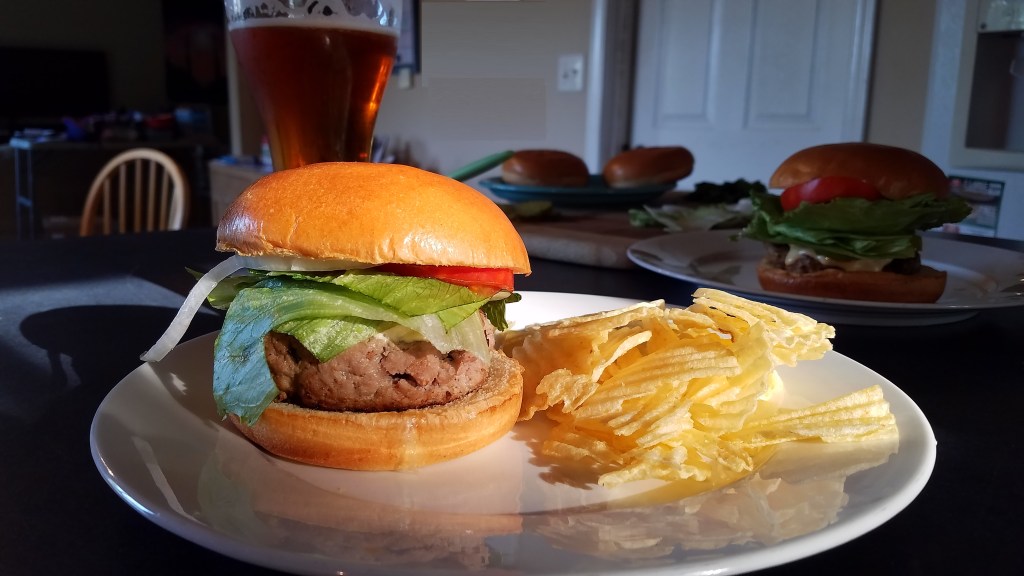
I made turkey burgers a few days ago and I had some burgers left over and I decided to make them again. I didn’t want to recreate the same burger because that would be boring. So, I decided to make Swiss mushroom burgers.
Take a look here if you want to see how to make the burger…
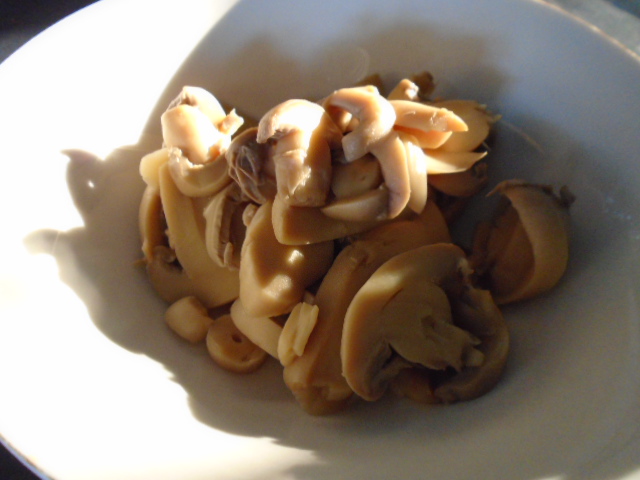
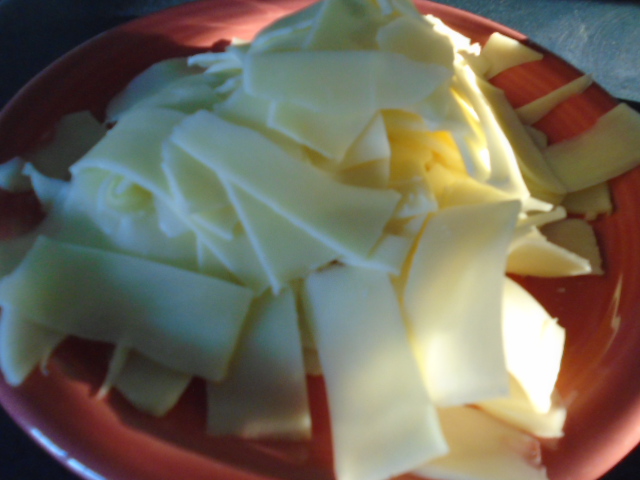
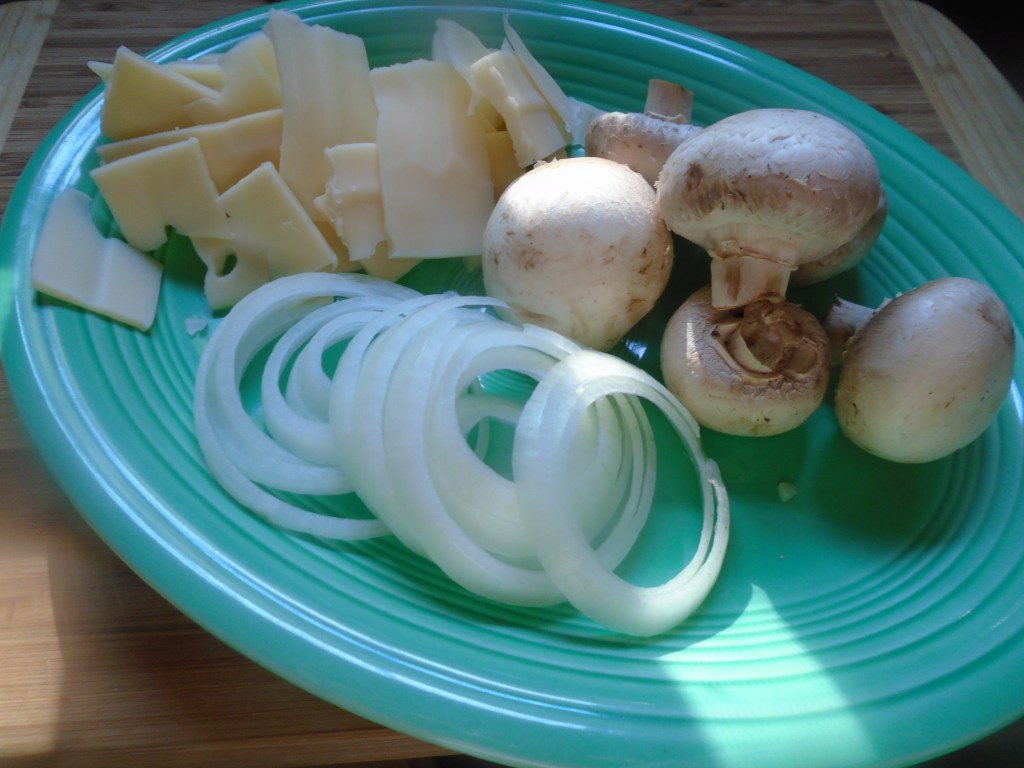
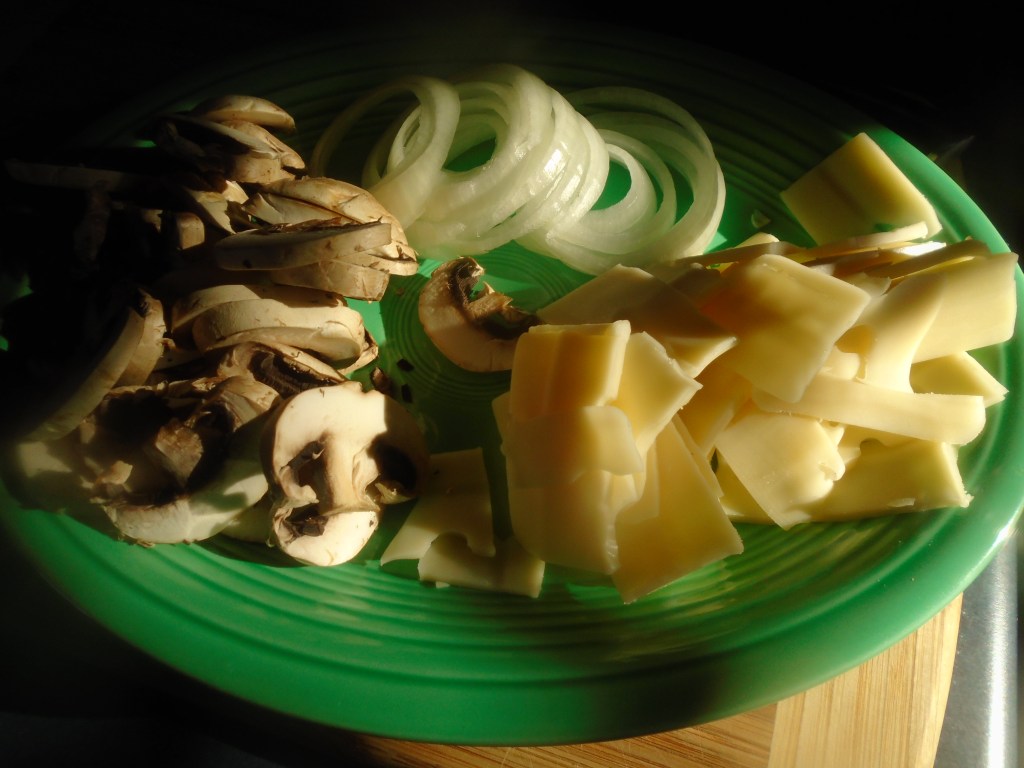
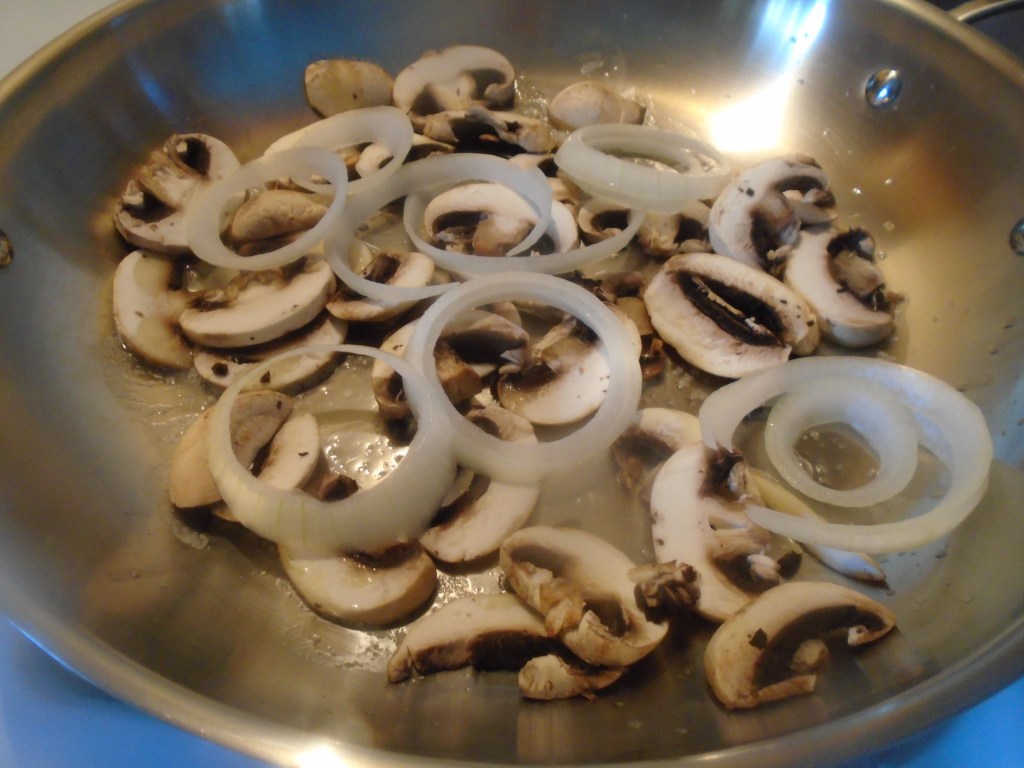
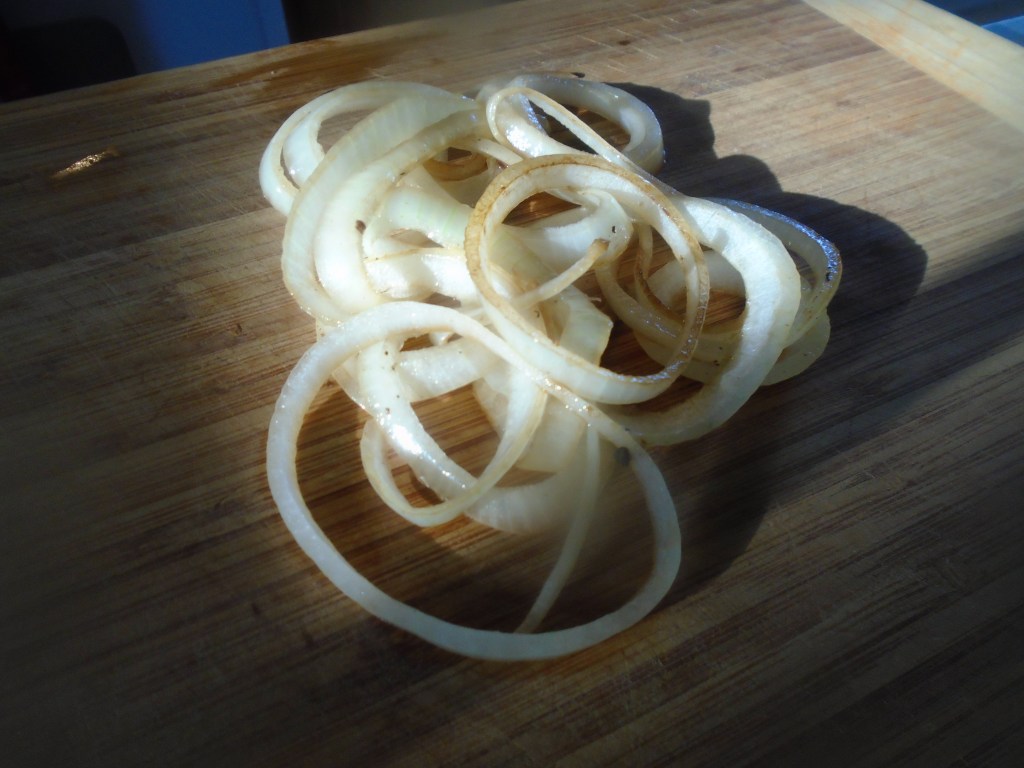
All I had to do was slice some cheese and sauté some mushrooms and onions. How easy!
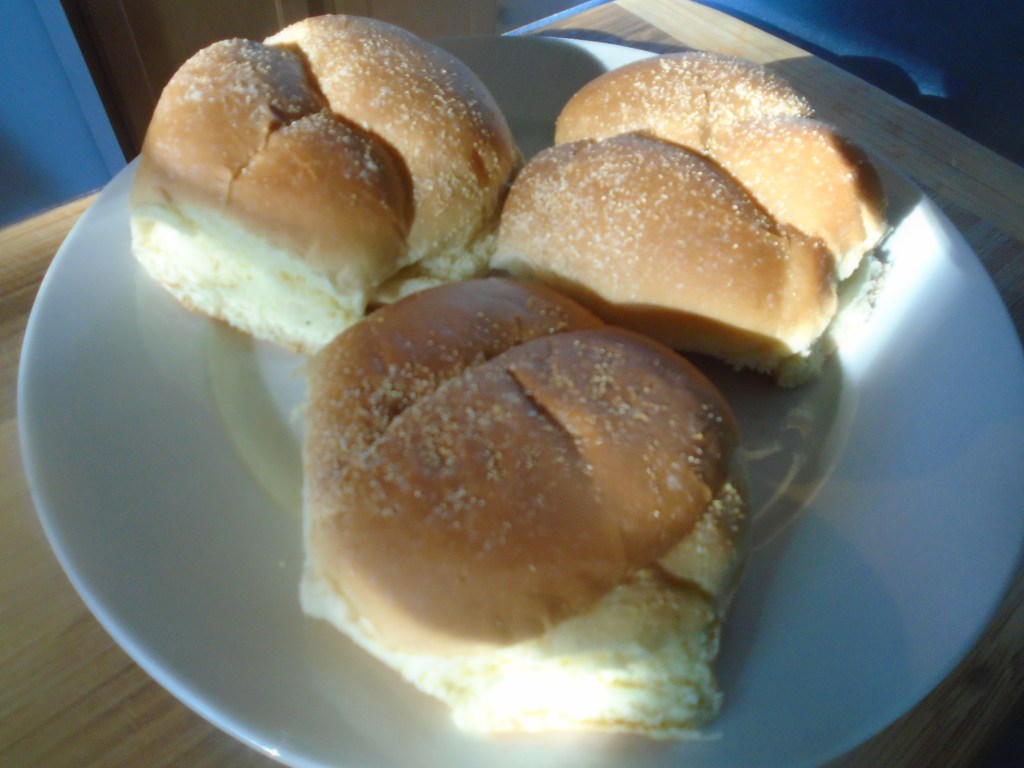
I used different buns than the last time I made turkey burgers…again, I wanted the burgers to have a different look as well as a different taste.
I’m not going to list the measurements for the
ingredients. Add as much cheese,
mushroom and onion to the burger as you like.
Go ahead, pile on the cheese…nobody’s
looking!
Ingredients:
Precooked turkey burgers
Sliced Swiss cheese
Sliced fresh mushrooms
Sliced onions
Sourdough ciabatta buns
Greek seasoning – just a pinch
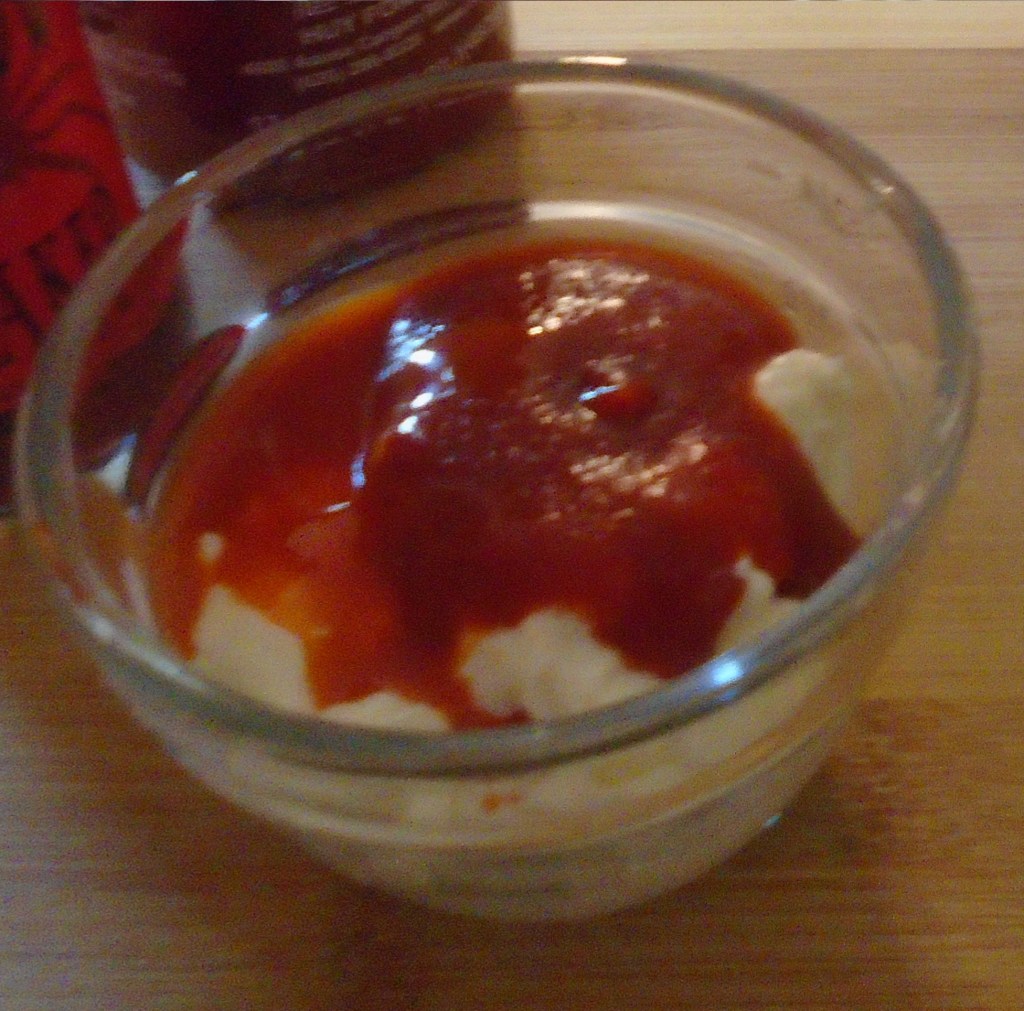
Spicy mayo/sour cream sauce (Two parts mayo, one part sour cream and a splash of sriracha sauce) *left over from the Yin and Yang Chicken Wraps*
Directions:
Warm the burgers in a 275° oven for about 10 minutes.
While the burgers heat, slice the mushrooms and cheese.
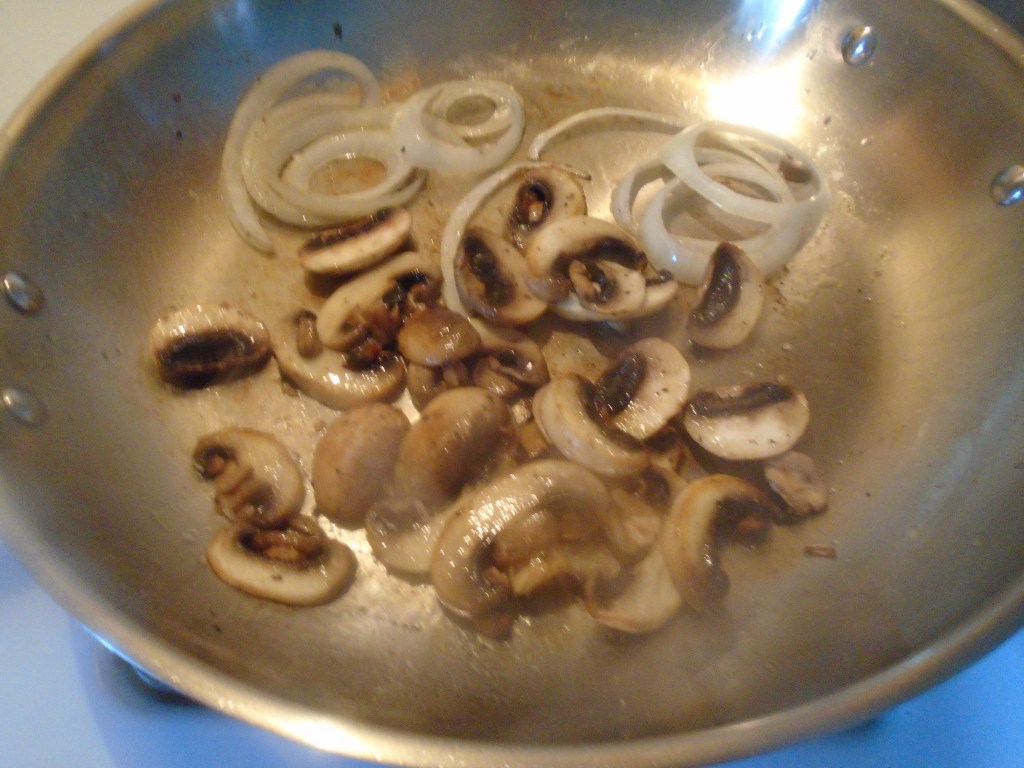
Sauté the onions and mushrooms in a pan with a little
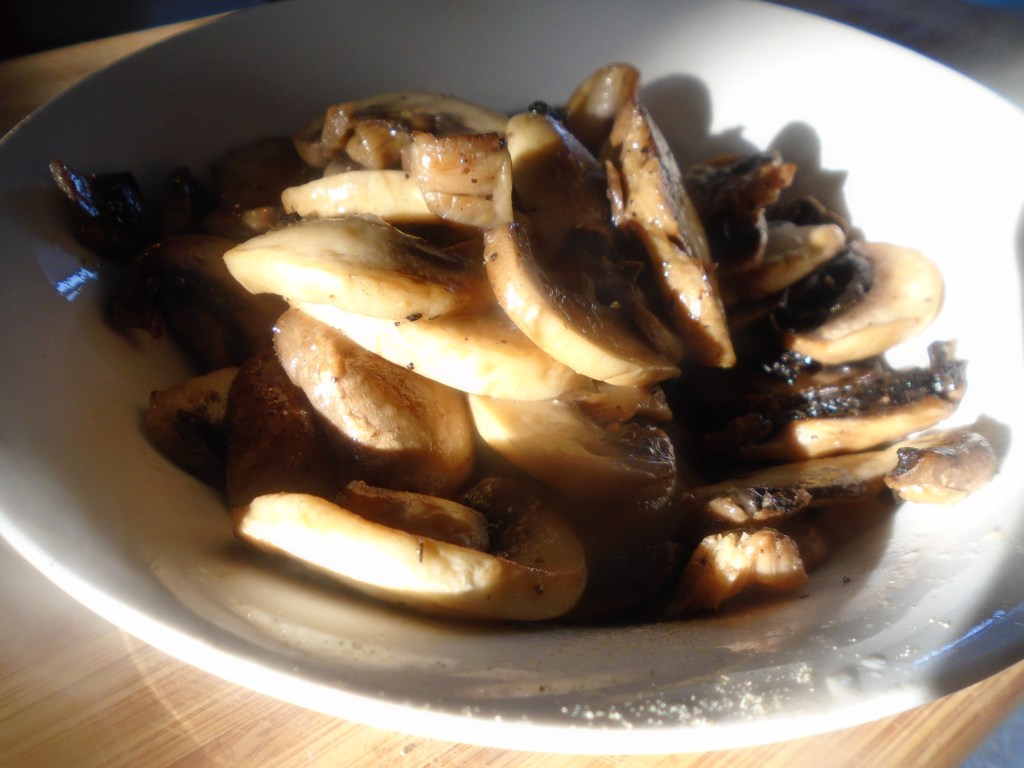
butter. Don’t overcook the mushrooms. Sprinkle a little Greek seasoning on the
mushrooms. Set aside.
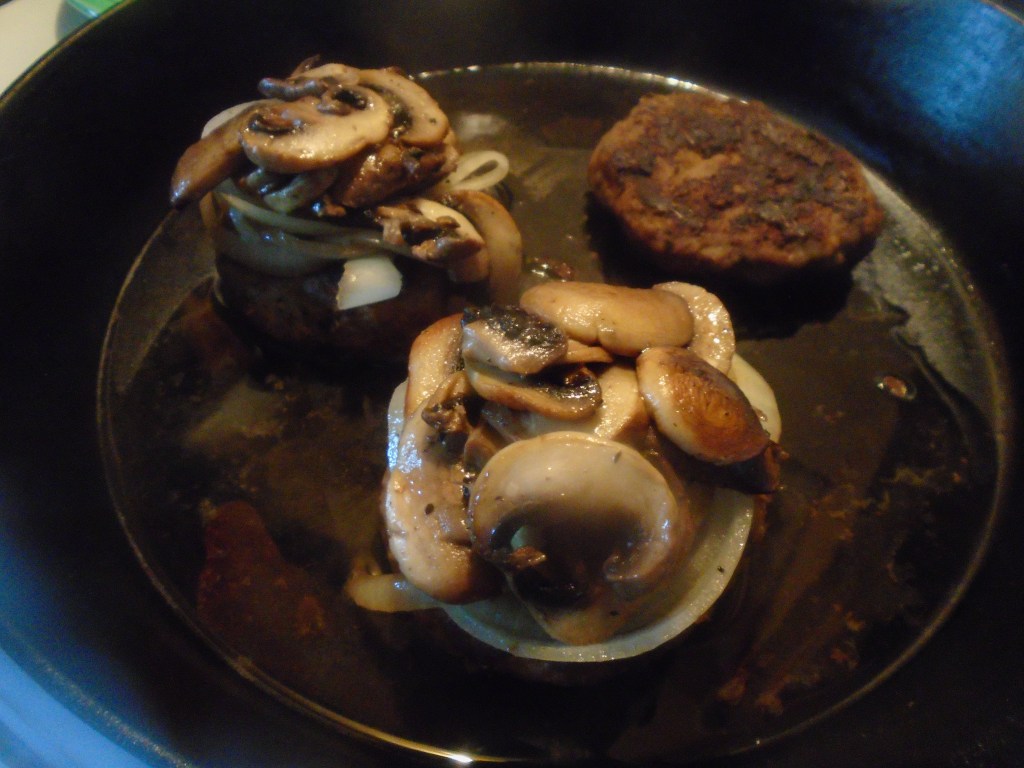
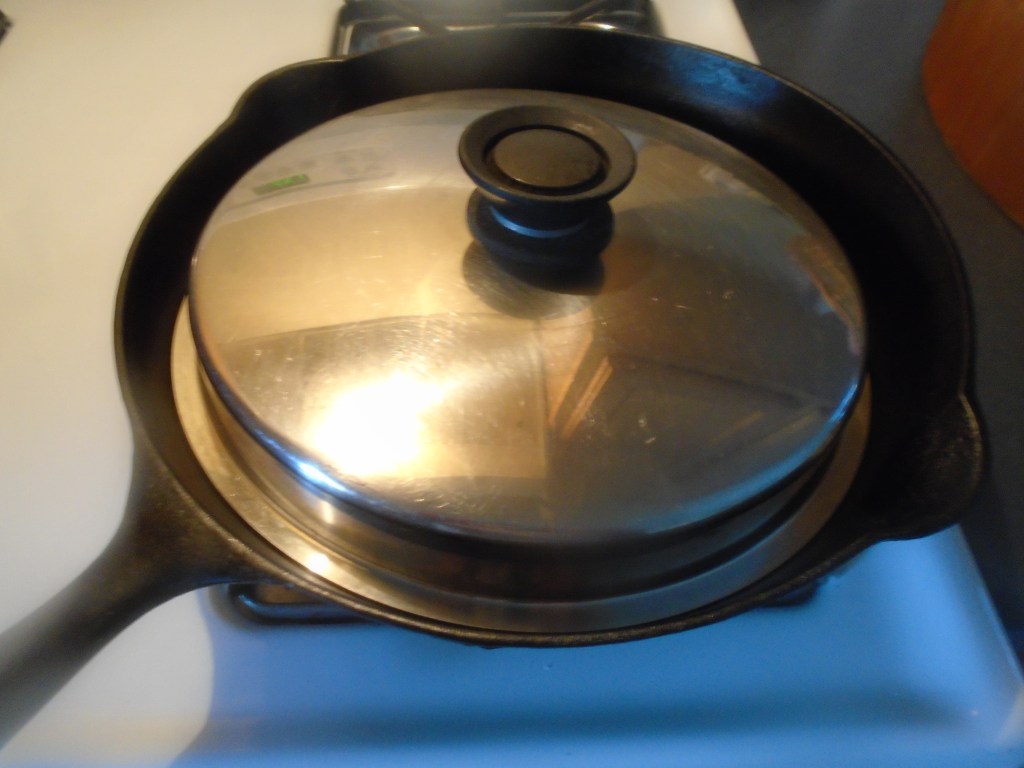
Pull the burgers from the oven and put them in the pan and add a splash of water to the pan. Lay the mushrooms on top of the burgers and pile the cheese on top of that. Cover and heat at low/medium for a couple of minutes, just long enough to melt the cheese.
Sometimes I crave very spicy food. And by sometimes, I mean about once a week. I don’t always act on the impulse but when I
do, I go all out.
I’m not the kind of person that goes around bragging about
eating super-hot-spicy peppers and I’m not the kind of guy that likes to trick
people with wickedly spicy food. I just like
the stuff. Spicy food makes me happy. It brings me peace when I need it. I tend to crave very spicy food after a stressful
day at work. I feel as though I can burn
away a bad day with blistering hot food. Sometimes I just want something very spicy for
no reason at all. Like I said, I just
like the stuff.
I call this Yin and Yang Chicken Wraps because it exists in perfect balance. Admittedly, it contains things that are not so healthy yet, it contains things that are very healthy for you. Think of it as the dichotomy of Good and Evil.
Evil: fried chicken, flour tortillas and mayonnaise.
Without evil, could we appreciate good? Without good, could we perceive evil? Oh yes, this is going to be some very
philosophical food!
Another aspect of yin and yang provided by this recipe relates
to taste sensations. Spicy and
Soothing.
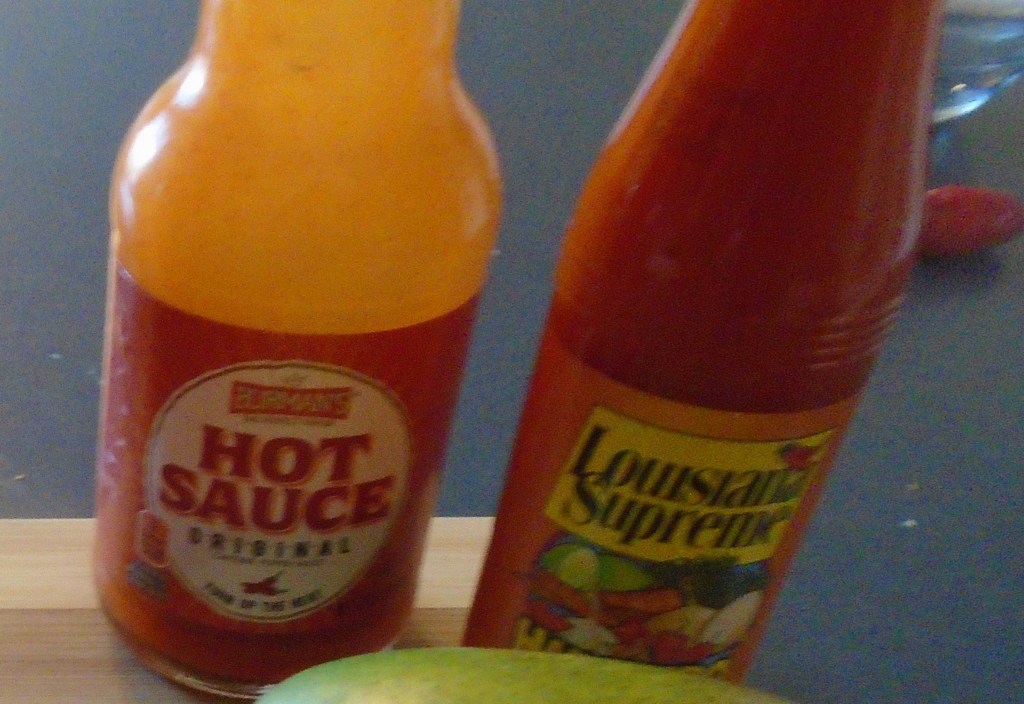
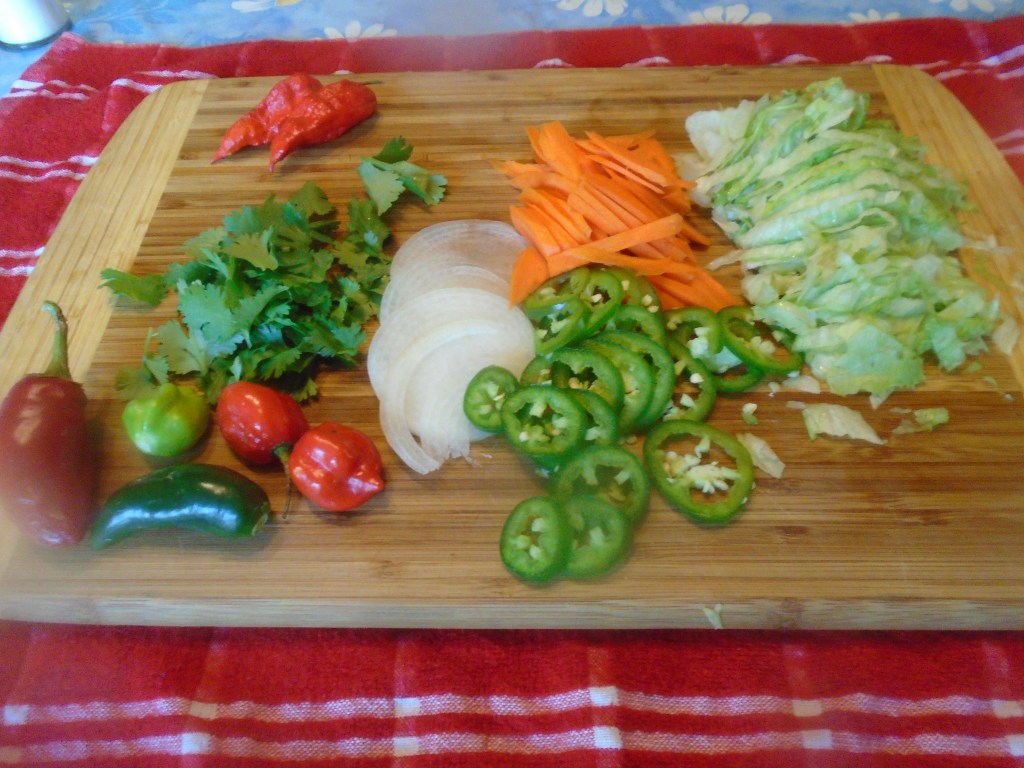
Spicy: all of the peppers and hot sauces
Soothing: mango, lettuce, sour cream and cilantro.
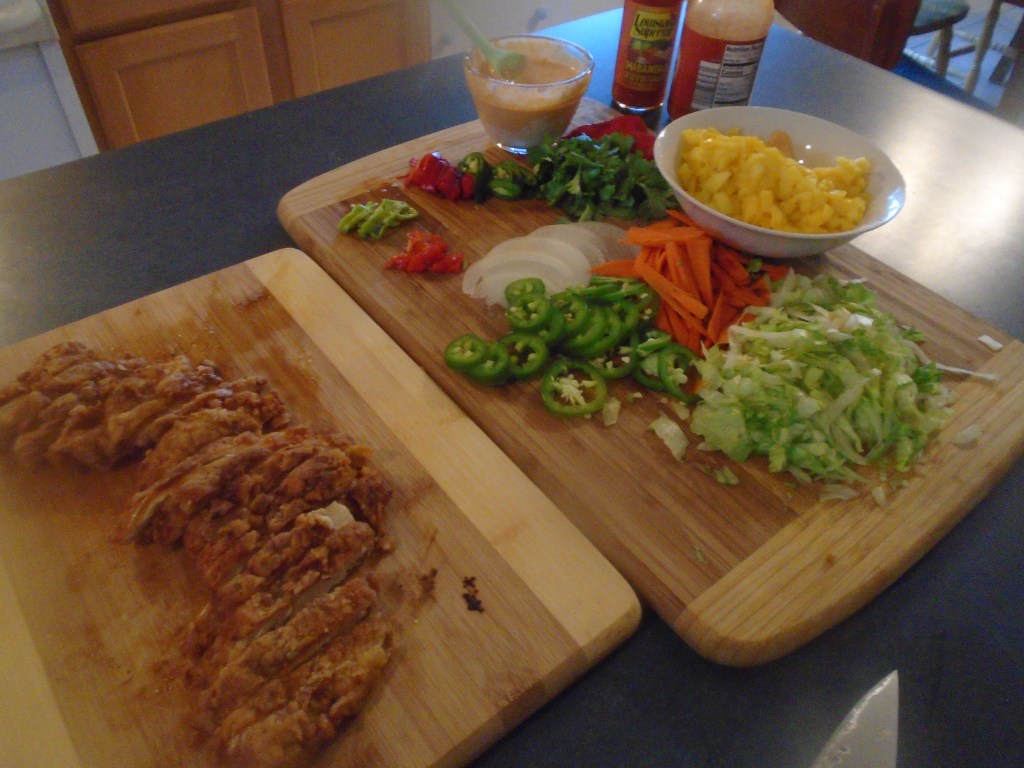
This recipe is relatively quick and easy to make. In fact, if you pare it down to the core, it’s
really just fried chicken strips with hot sauce and some vegetables, wrapped
into a large burrito. The ingredients may
change, based upon what I have at hand.
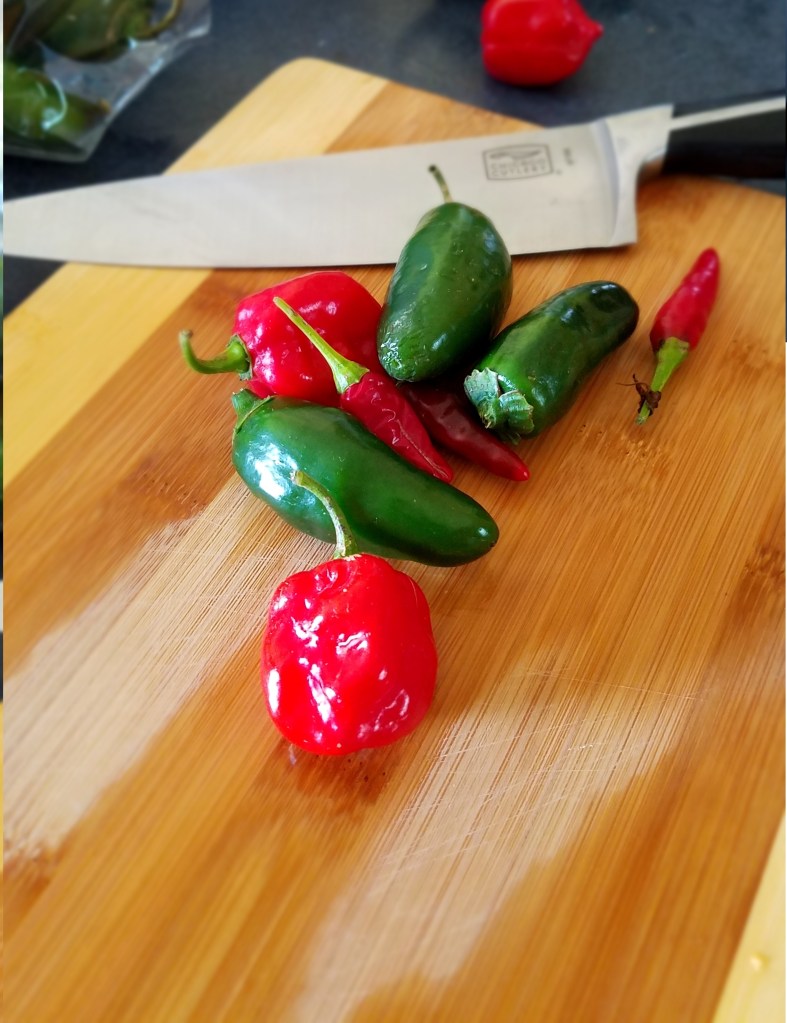
Since I am growing chili peppers in my garden, I have lots of ways to bring
spicy heat and bold flavors.
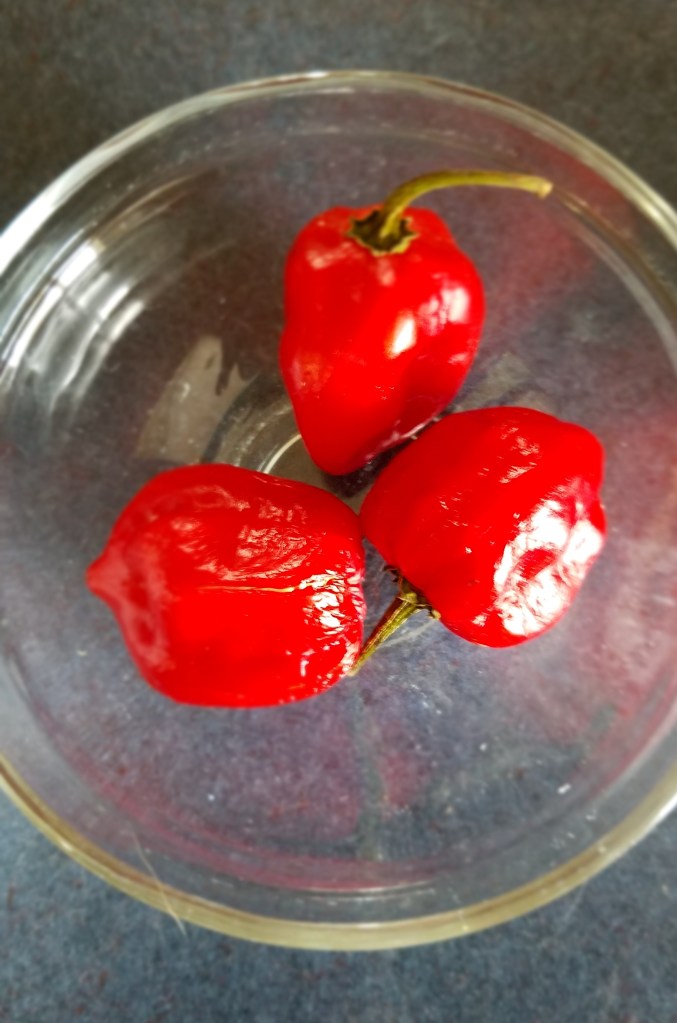
red habaneros
Habaneros are the key in this particular recipe. If you have never tried fresh habanero, you should try them. Be careful, though. Habaneros are VERY spicy. Slice a tiny sliver from a fresh habanero and pop it into your mouth. Bite once and spit it out. You will get a big dose of heat from the spice but not so much to knock you down. You will also get to experience a most unique chili flavor. There’s no other chili pepper like the habanero. The taste is vibrant and unlike any other chili I have tasted.
If you want to try cooking with habanero but are concerned
about being blown away by the excessive heat, try adding a slice or two to a
stir fry. Stir it with other items in
the wok and pull it out after 10 or 15 seconds.
You will get the flavor and some of the heat. If you like it, add a little more but beware,
you can always add more habanero to a dish but you can never take it away. Once it imparts its heat, you can’t undo it.
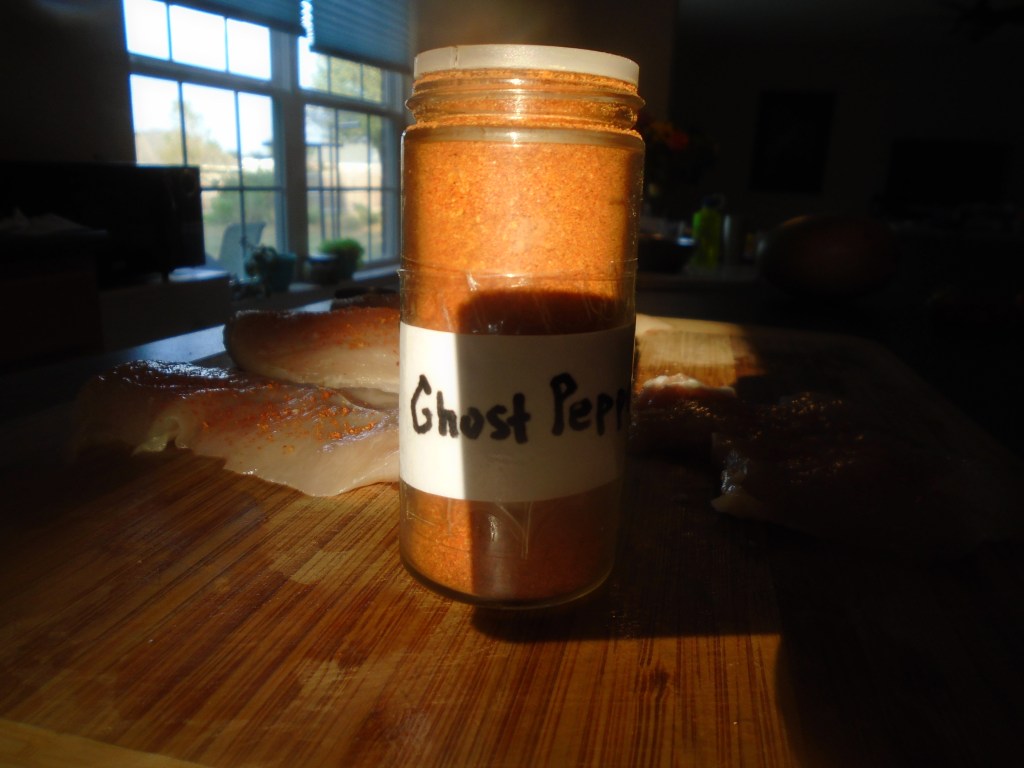
Notice that I also use ghost pepper powder. Ghost pepper (Bhut jolokia) makes the habanero seem sweet and innocent, by comparison. Ghost peppers provide extremeheat and very little flavor. Any flavor a ghost pepper might provide is hidden behind screaming fire. I grow ghost peppers and dehydrate them and grind them into a powder.
A word of warning: set your dehydrator outdoors or in a ventilated, open garage. The fumes are practically lethal. And, once in powder form, the ghost pepper is as strong as mace. I’m serious. You should use latex gloves and a mask and goggles when working with dried ghost pepper. I don’t, but I should.
The way I use ghost pepper in this recipe gives some spice
to the chicken but, after frying, the spiciness dissipates remarkably. You will get a bigger kick from the habanero
and jalapeño…believe me.
If you want to make a tame version of this, skip all of the peppers
and hot sauce and use everything else.
Ingredients:
3 chicken breasts
2 Tbs garlic powder
2 Tbs paprika
2 cups flour
3 Tbs cornstarch
2 eggs
1/3 cup cooking oil
1 mango, peeled and chopped
3 habanero chilis, thinly sliced
3 jalapeños, sliced
1 tsp ghost pepper powder (optional)
¼ onion, thinly sliced
½ cup cilantro
½ cup carrots, sliced
1 cup lettuce, julienne sliced
1 Tbs Salt
4 burrito sized flour tortillas
Ingredients for the
sauce:
½ cup mayonnaise
¼ cup sour cream
3 Tbs sriracha hot sauce
Mix the sauce (mayonnaise, sour cream and sriracha). Set aside
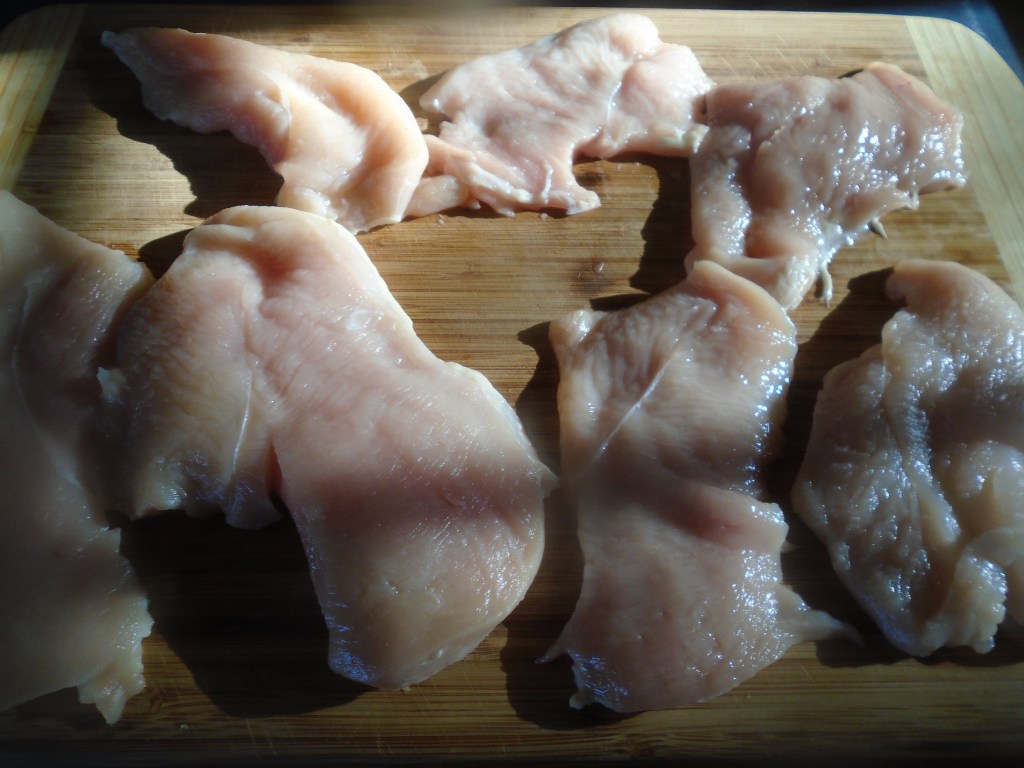
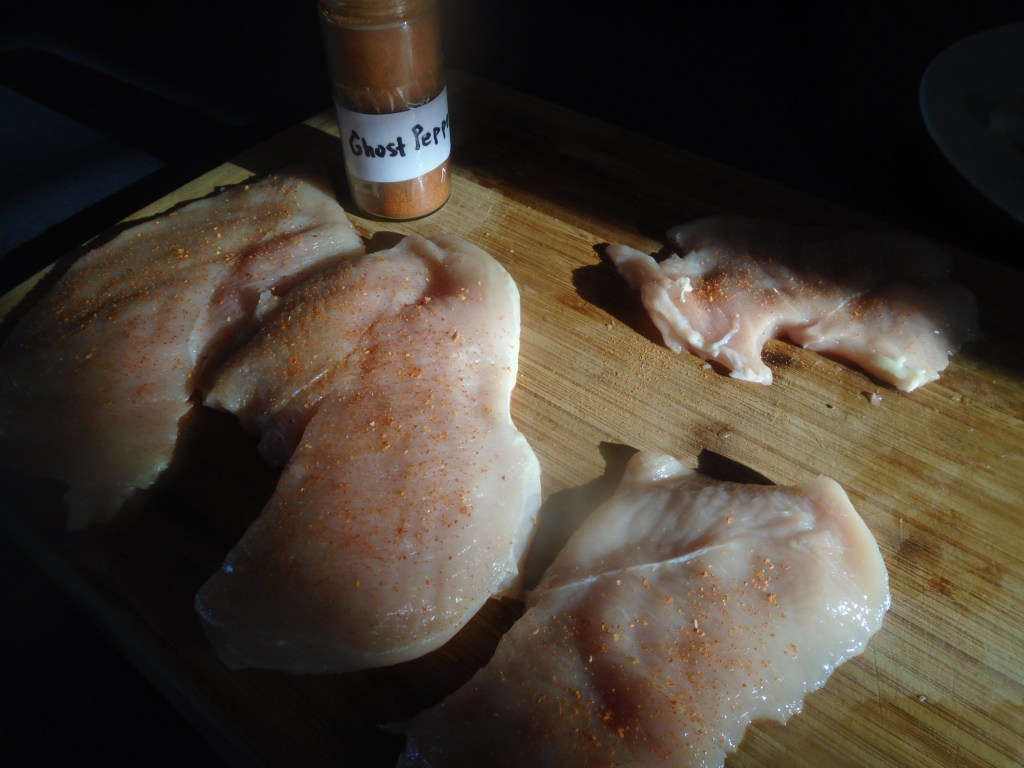
Lay the chicken breasts on a cutting board and slice them scallopini-style. Hold the chicken breast in place with the
palm of your hand. Slice the breast in
half horizontally, starting at the thickest end and work your way to the
thinner end. Dust the chicken with paprika
and ghost pepper powder.
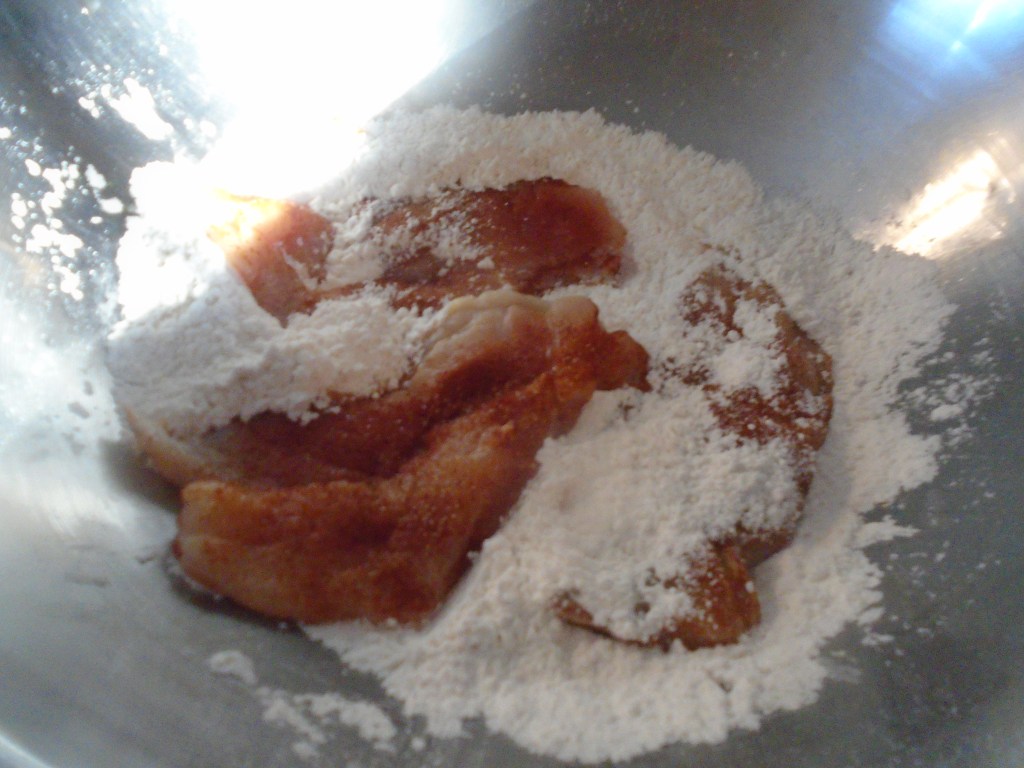
Prepare the flour dredge by whisking the flour and cornstarch in a large mixing bowl.
Dredge the chicken in the flour mixture and let the chicken
rest in the bowl for 10 or 15 minutes.
The flour will mix with the moisture on the surface of the chicken and
the chicken will become tacky, to the touch.
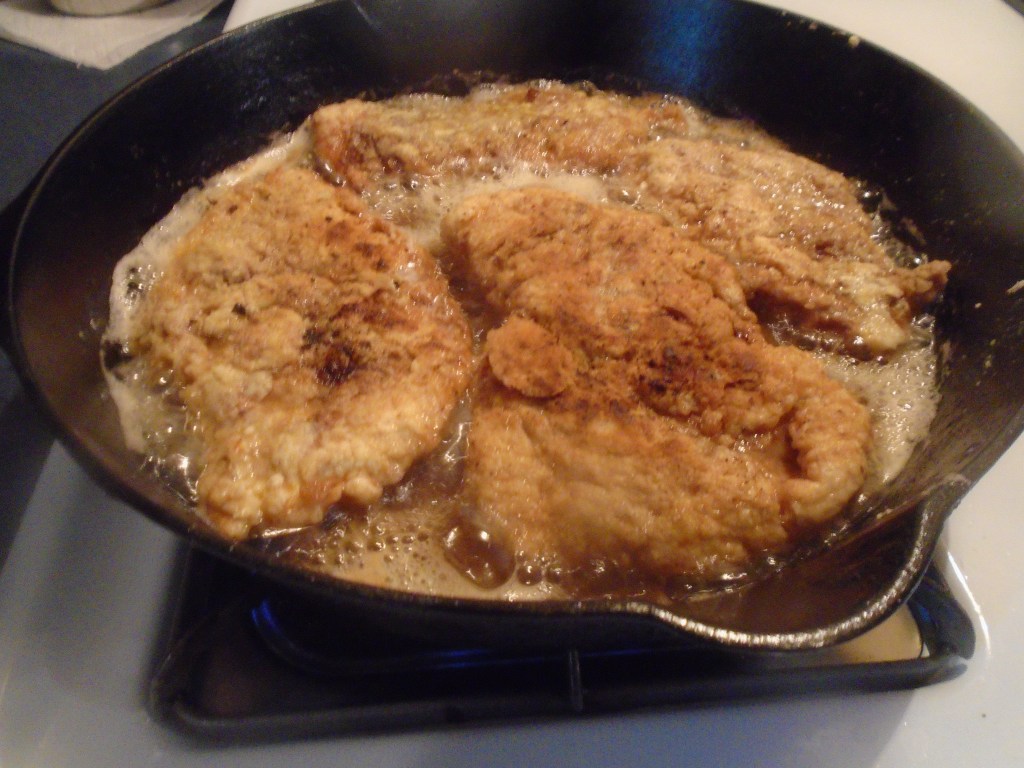
While the chicken rests, add the cooking oil to a skillet
and set the heat to medium.
Mix the eggs in a shallow dish.
Dip the chicken in the egg and then dredge the chicken in
the flour mixture again. Shake off
excess flour and lay the chicken in the hot oil. Do not crowd in the pan. You will probably need to fry in two batches.
Since the chicken has been sliced in half, it will cook
quickly. Turn the chicken after a few
minutes and turn again. Keep turning the
chicken every few minutes until the chicken is crisps and becomes golden brown. Remove to a paper towel lined plate. Sprinkle a little salt on the chicken. Slice the chicken into ½“ strips.
Warm the burrito sized tortillas in a microwave oven until
they are soft and pliable.
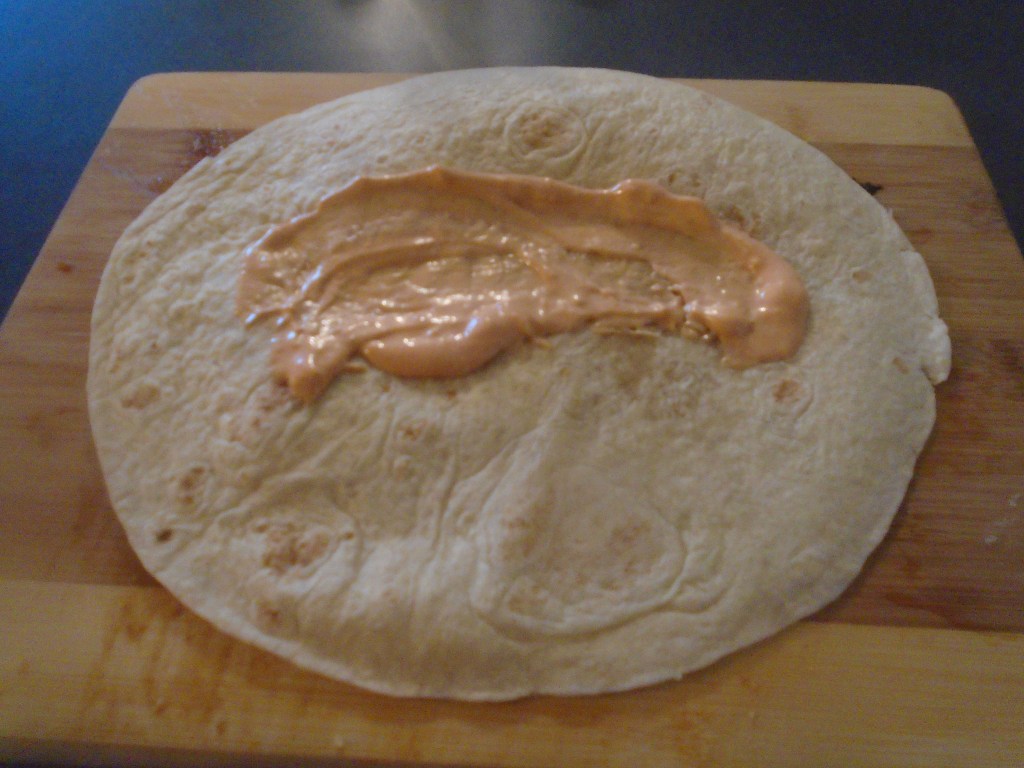
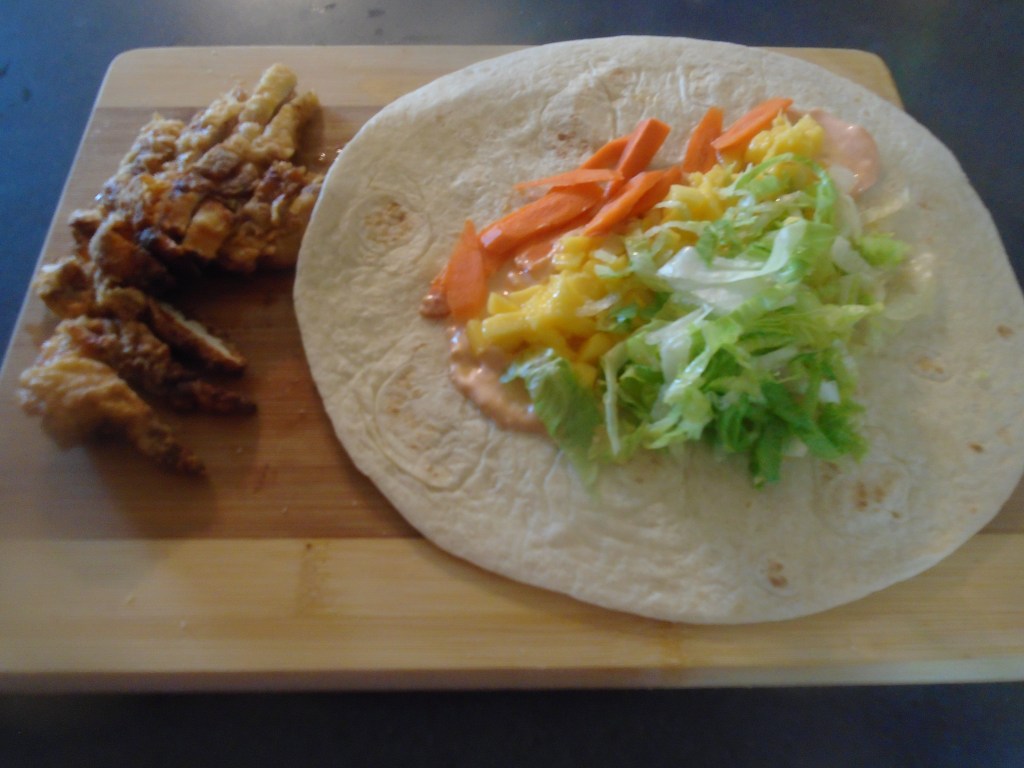
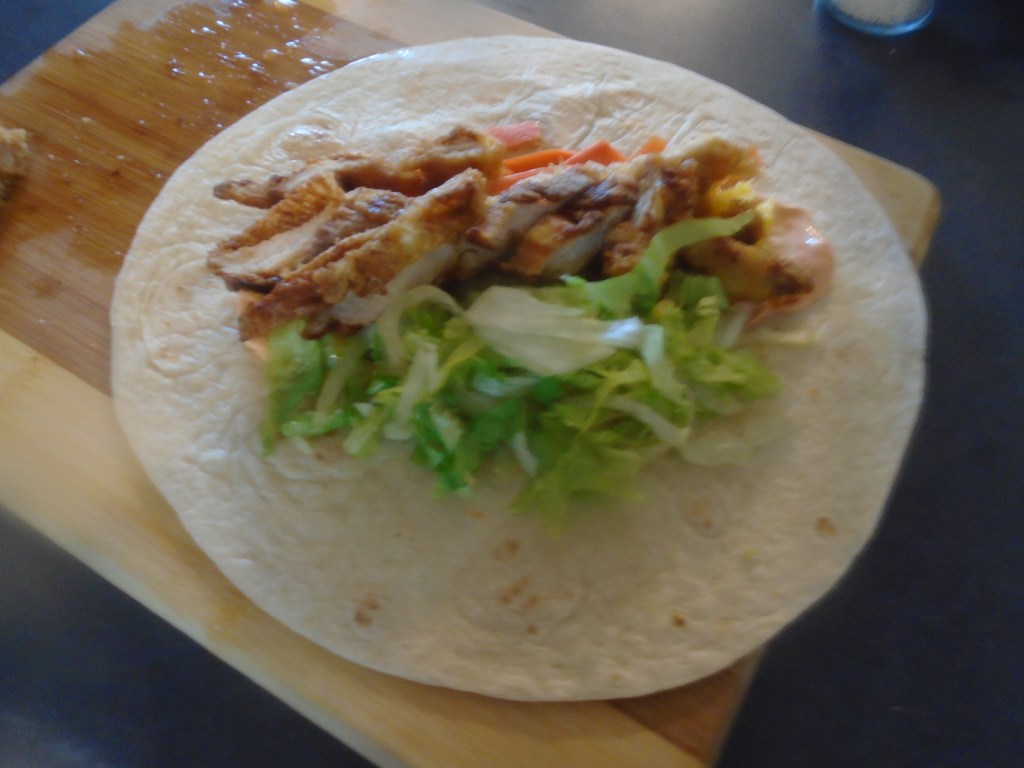
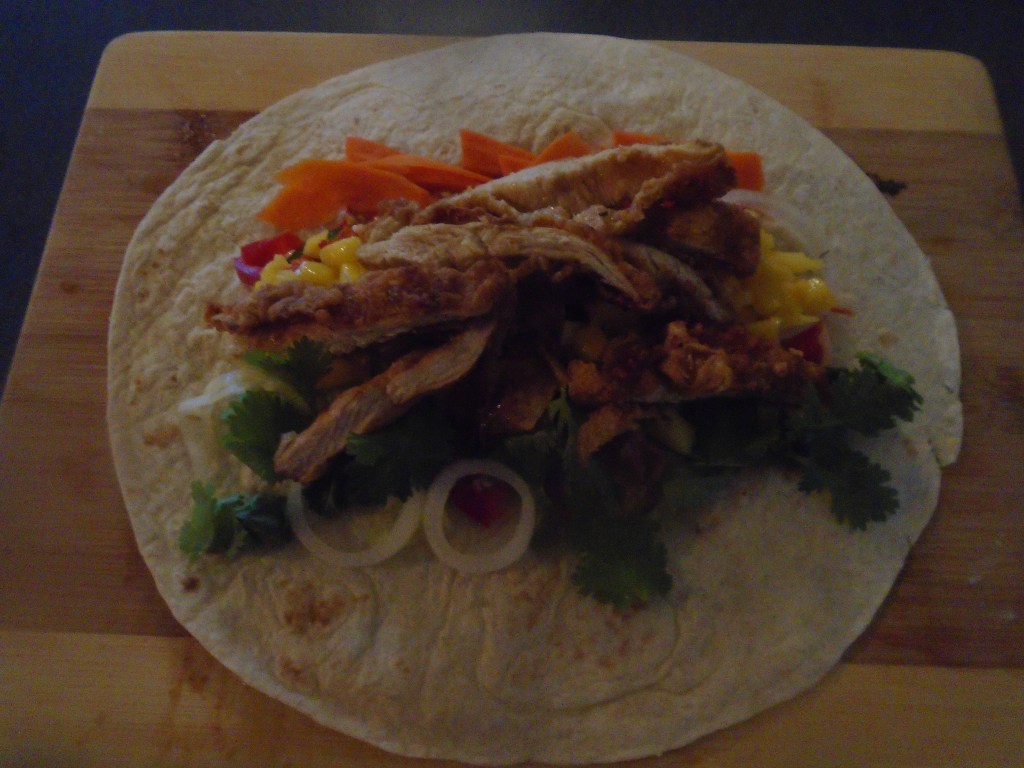
Lay a tortilla on a clean work surface. As you prepare the wrap you will want to lay
everything down horizontally. Smear some
of the sauce in the center of tortilla.
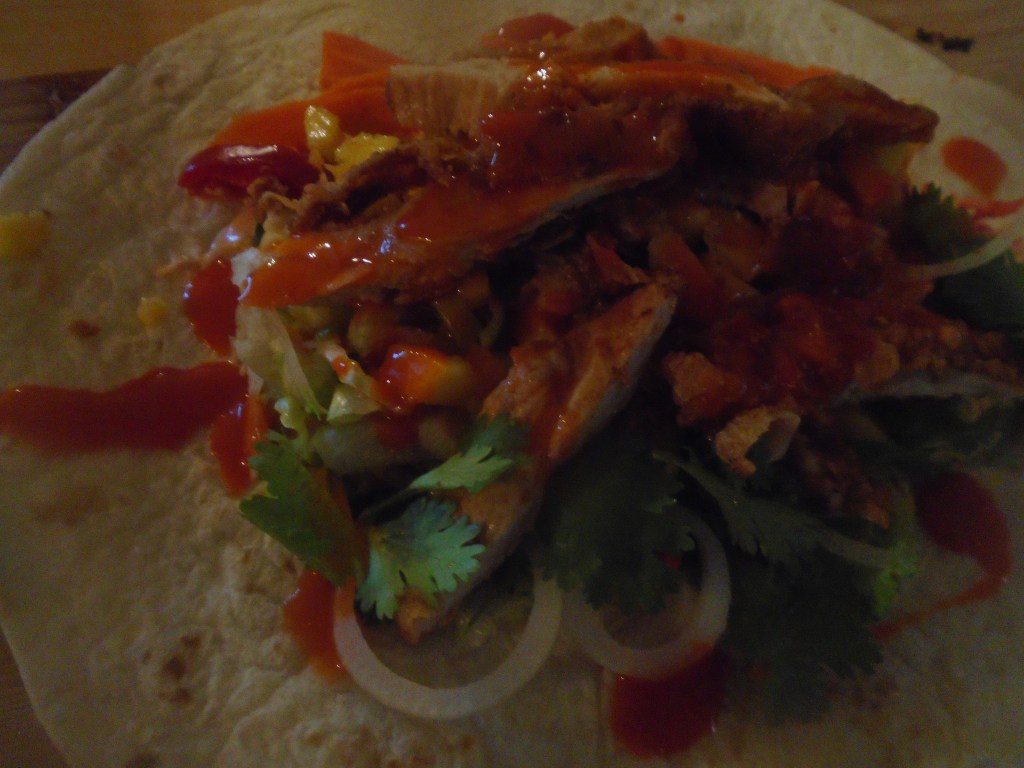
Lay the vegetables, herbs and mango down on top of the sauce. Lay some chicken on top of the vegetables.
Add hot sauce, if desired.
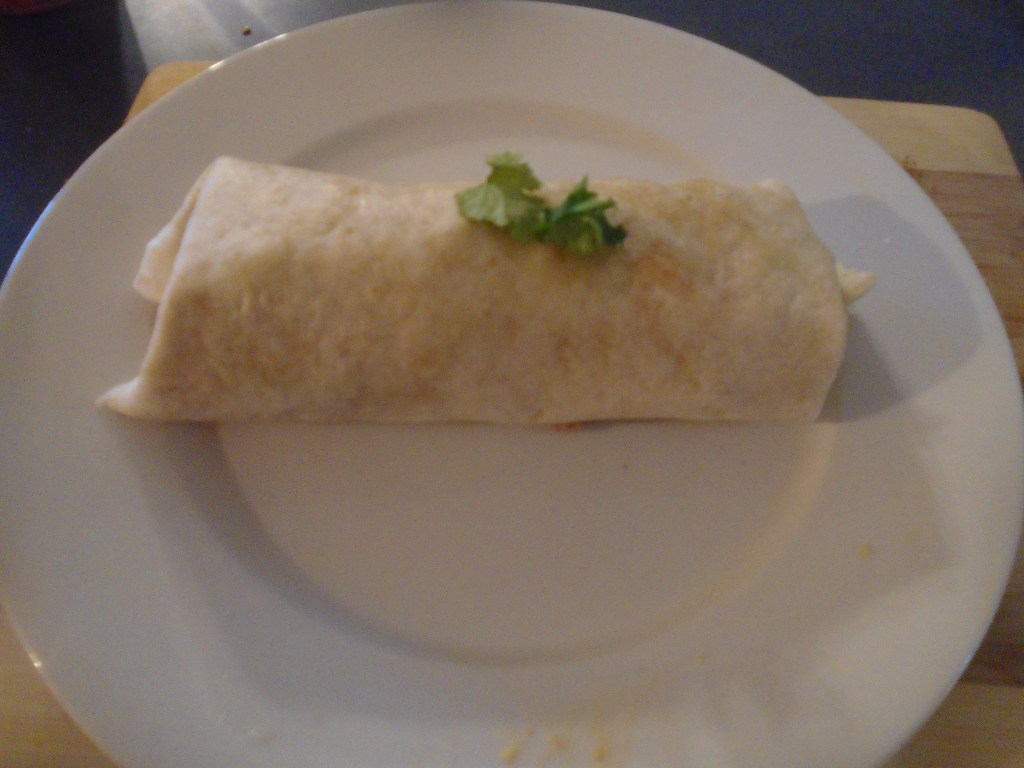
Wrap the tortilla by folding the sides inward, toward the
middle and roll the tortilla.
Serve with your favorite drink. Milk, if you want some relief from the heat. Beer, if you’ve had a particularly rough day.
It seems to me that ground turkey gained popularity sometime
during the 1980’s. People were turning
away from red meat and they were looking for something that was healthier. I didn’t jump on the turkey wagon right
away.
But, as time passed, I kept trying new things and ground
turkey was something I finally got around to.
If you want reduce the amount of fat in your diet, get ground turkey
breast. Most ground turkey in
supermarkets combine the light and dark parts of the turkey, which might have as
much or more fat content than very lean beef.
Aw, who cares…
Control your portions, get some exercise and get a good night’s sleep and stop worrying so much.
One of the things I dislike about some recipes that call for
ground turkey is that they attempt to mimic the texture and flavor of
beef. That seems dishonest to me. I don’t want to be fooled by food. I want something straightforward and
honest.
I remember when my kids were little and they were going through their chicken nugget phase. Once, when I was picking up a bag of chicken nuggets at the store, I saw some chicken nuggets that were dinosaur shaped. Really…? Who were they trying to fool? Oh…kids, that’s right. Well kids, guess what? You’re not really eating miniature dinosaurs. You’re eating a glob of crunchy processed chicken.
Alright, enough of that!
Let’s make some honest turkey burgers.
Ingredients:
1 lb ground turkey
1 egg
1/4 cup bread crumbs
2 Tbs mayonnaise
1 Tbs garlic powder
2 Tbs Worcestershire sauce
2 Tbs chopped basil
1 Tbs kosher salt
1 Tbs ground black pepper
1 Tbs cooking oil
4 Hamburger buns (I used brioche buns)
(Burger toppings…lettuce, tomato, pickles, etc.)
Ingredients for
sauce:
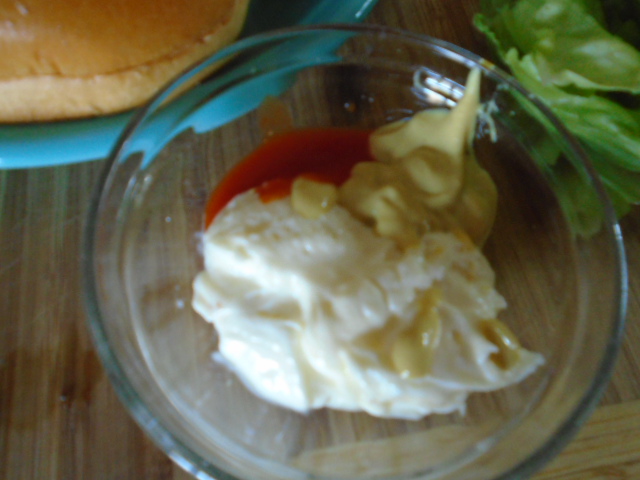
2 Tbs mayonnaise
1 Tbs Dijon mustard
½ tsp hot sauce
Directions:
Mix the ingredients for the sauce in a small bowl. Set aside.
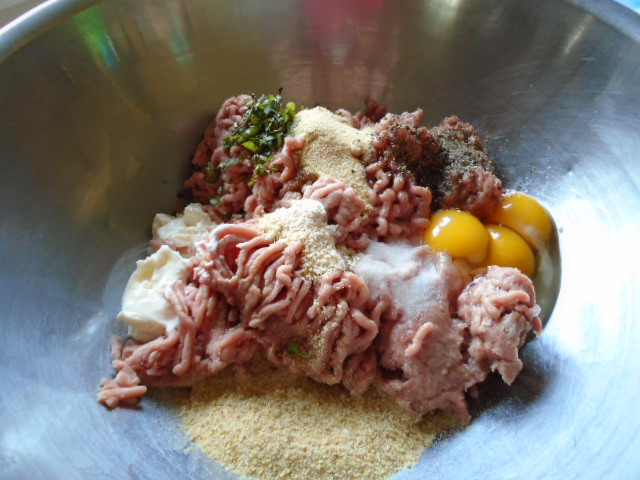
This is a double batch…I used 3 eggs.
In a large bowl, mix together turkey, egg, garlic,
Worcestershire sauce, 2 tablespoons of mayonnaise and basil, and season with
salt and pepper. Form the mixture into
four balls. Don’t be alarmed to find
that the mixture is a bit “wet”. This
isn’t beef. Don’t worry. Slightly moisten your hands under tap water
as you form the patties. This will keep
the patties from sticking to your hands.
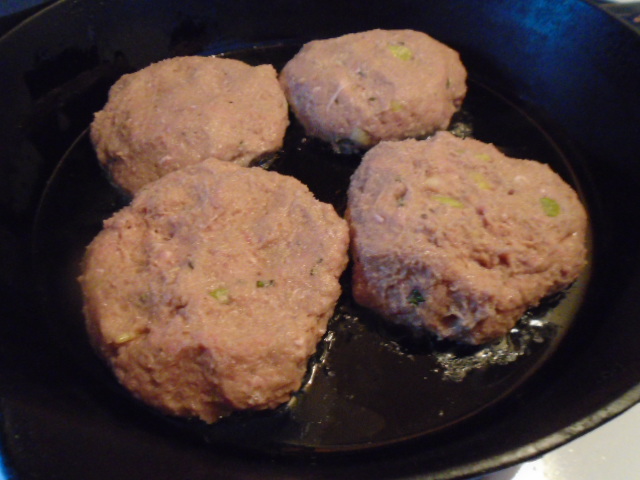
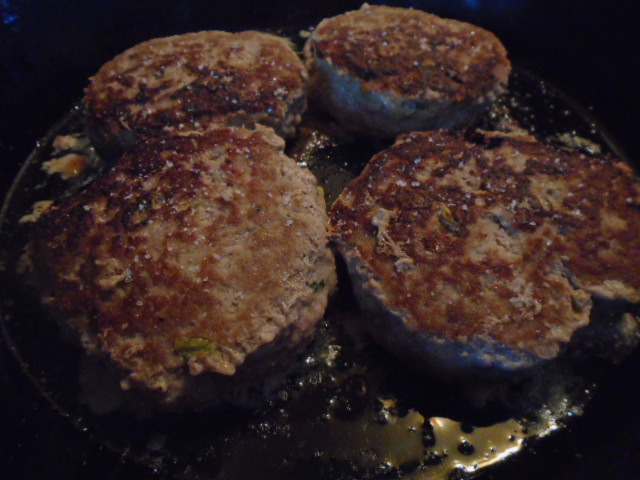
Heat a skillet to medium heat and add the cooking oil. Add the patties to the pan. I actually added the round balls of meat to the pan and pressed them flat with my hand. That made it easier to form the patties. Cook for about 2 minutes and then flip the burgers. Sprinkle a little salt on the burgers and cook for another two minutes and turn one last time.
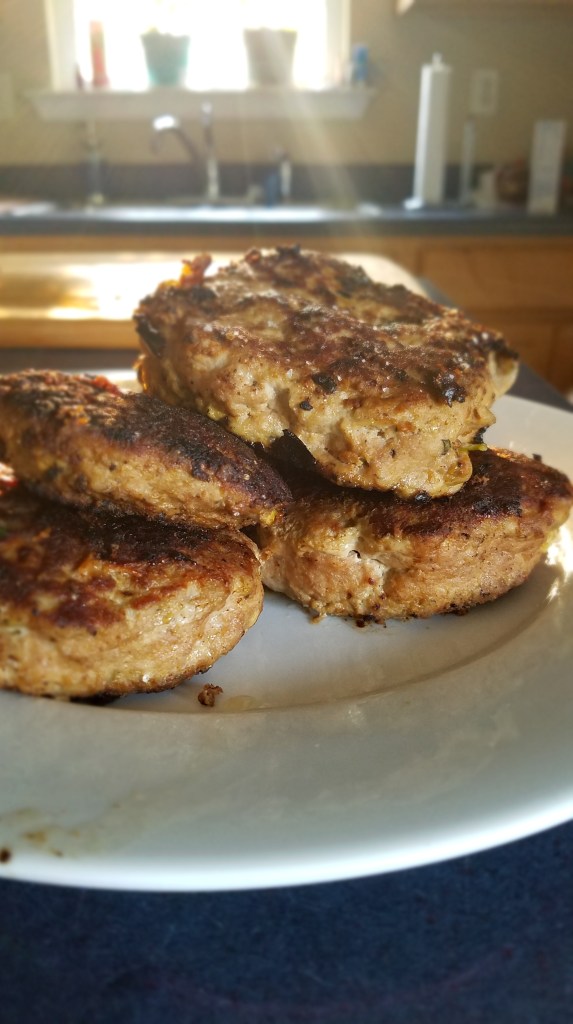
Let the burgers cook for another minute, or so, until they
are golden and cooked through. Remove to
a plate and keep warm.
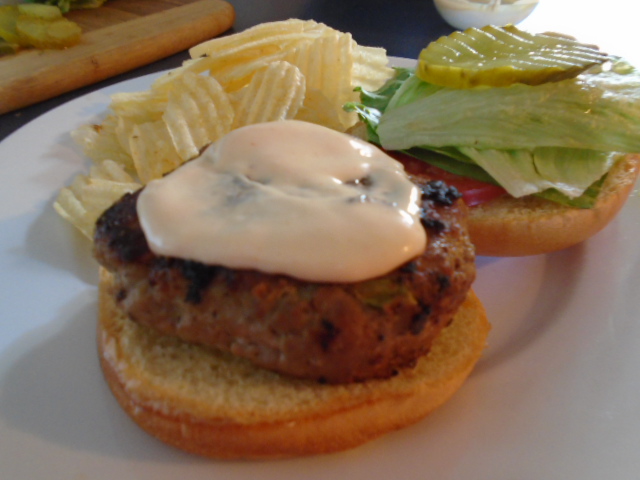
Smear a thin amount of sauce on the top bun. Place a burger on the bottom bun and apply a
generous portion of the sauce to the burger.
Add your favorite burger fixings to the burger.
Recently, I was expecting dinner guests and I didn’t have a
plan for the meal. This happens every
now and then and, when it does, I usually resort to something I can practically
do in my sleep. Maybe tacos. Maybe spaghetti. No, let’s do pizza again.
I know what my family likes on their pizzas so I normally
just make them according to what I know to be their taste preferences. If I’m making two pizzas, I might make one
with half pepperoni and the other half pepperoni and Italian sausage. The other pizza might be an “everything pizza”,
meaning all of the veggies and assorted meats.
I might slip some anchovies in on the other half of the “everything
pizza”, but I have to make sure to put up warning cones around that half of the
pizza and announce, “this side has anchovy!”
It never fails, someone always inadvertently gets a slice with
some anchovy. Life is unfair sometimes.
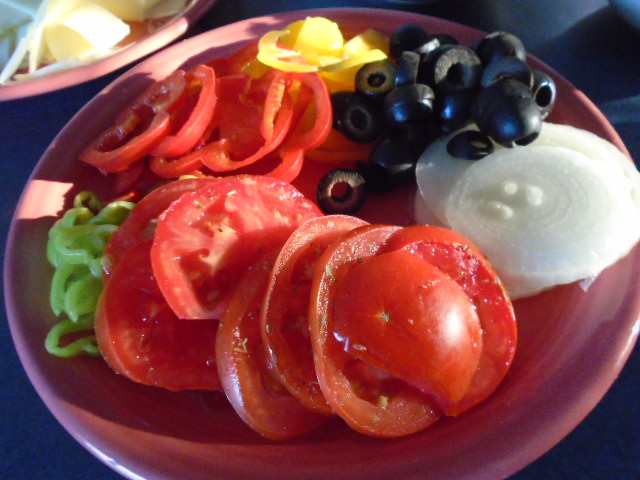
But, this time I didn’t know what all of the guests like on
their pizza…or even if they liked pizza at all, for that matter. So I thought, why not lay out all of the
toppings and allow the guests to dress their own pizza.
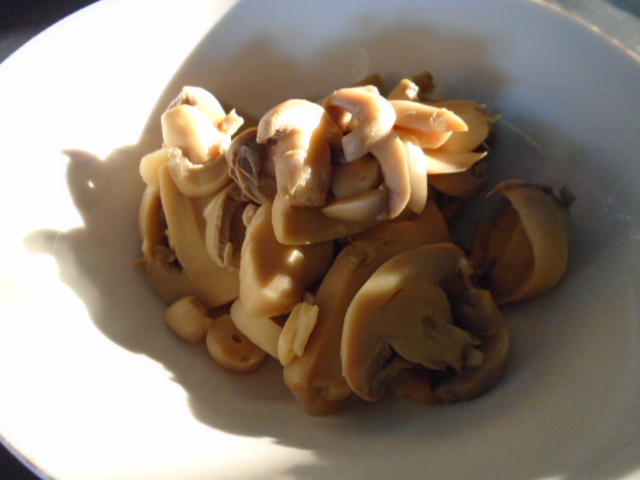
I prepared the vegetables and meats and cheese and I even
put out a container or marinara, so that they could add as much as they wanted.
It turned out that the dinner party fizzled out and it was
just my wife and I. We wound up making
nearly identical pizzas…go figure.
I still think this is a pretty neat idea for a party. It allows people to congregate in the kitchen, which seems to occur naturally, anyway. And, it gives everyone the illusion of being able to control their own destiny. I like that.
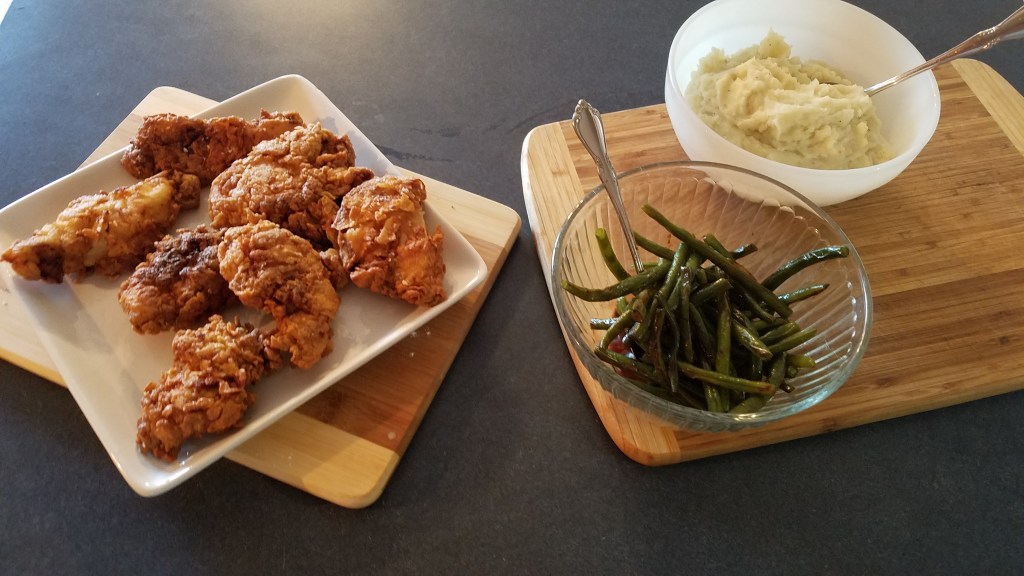
Sometimes I embrace the South with open arms and a willing
heart, and this is one of those times.
Of course my willing heart will probably resent the heavy dose of
cholesterol that the fried chicken will impart but the rest of me is fully
satisfied by this delicious, crunchy delight!
I like to think that this sort of indulgence is okay, every
now and then, as long as it is followed by rigorous exercise and several days
of green salads and fresh fruit. At
least that is what my brain tells my arteries and my heart every time I indulge
in this sort of foolish behavior.
What is it about recovering from a cold that makes me turn
to the most unhealthy foods? Maybe it’s
just my newly awakened taste buds that make me crave the decadent things in
life.
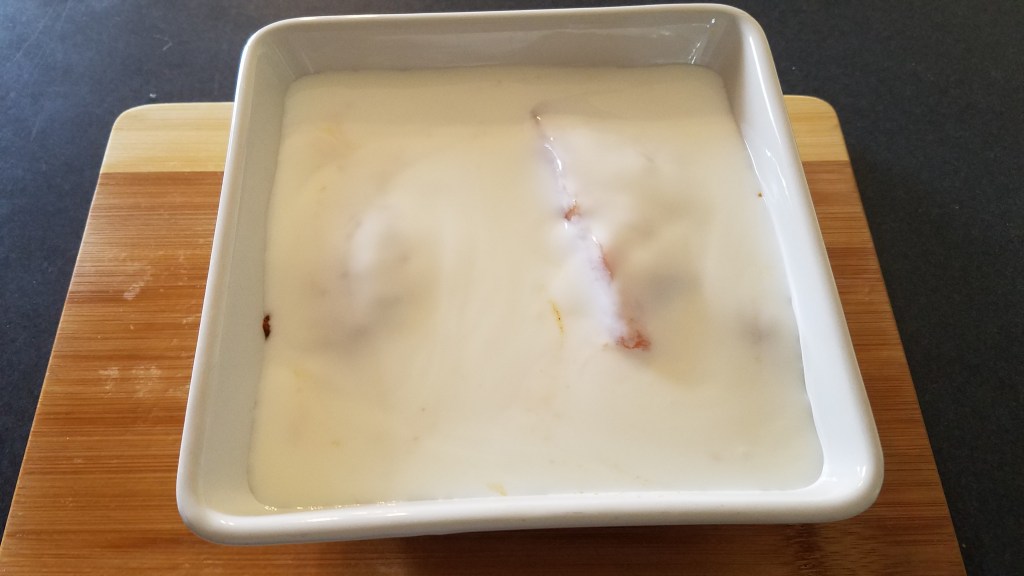
Buttermilk is key here. Crispy, fried chicken can be achieved by other means but the combination of the buttermilk and the flour/cornstarch dredge makes this chicken staycrispy.
Ingredients:
4 chicken breasts
4 Tbs cayenne powder
3 Tbs garlic powder
2 cups buttermilk
2 cups flour
3 Tbs cornstarch
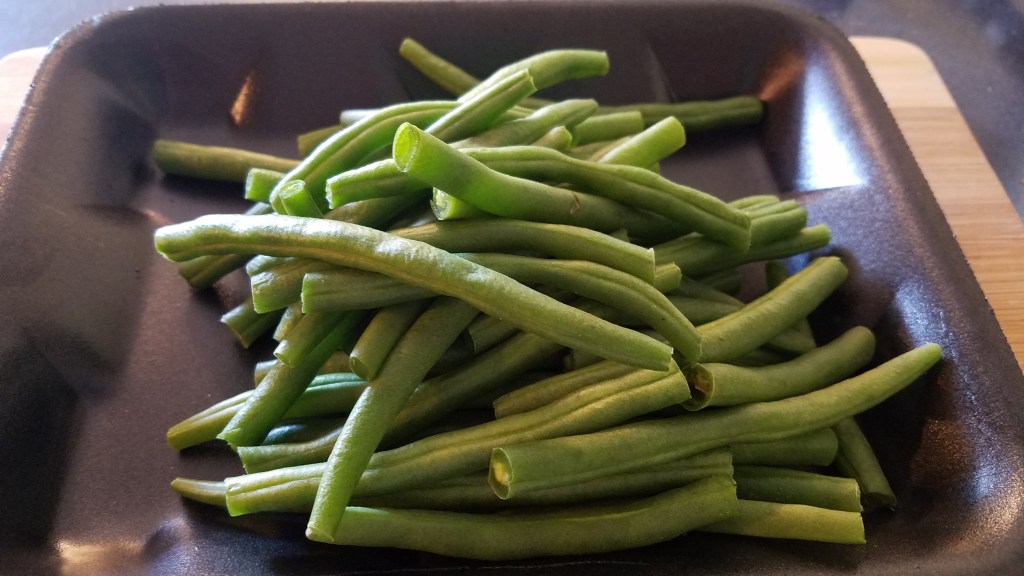
3 cups fresh green beans
¼ cup chicken stock
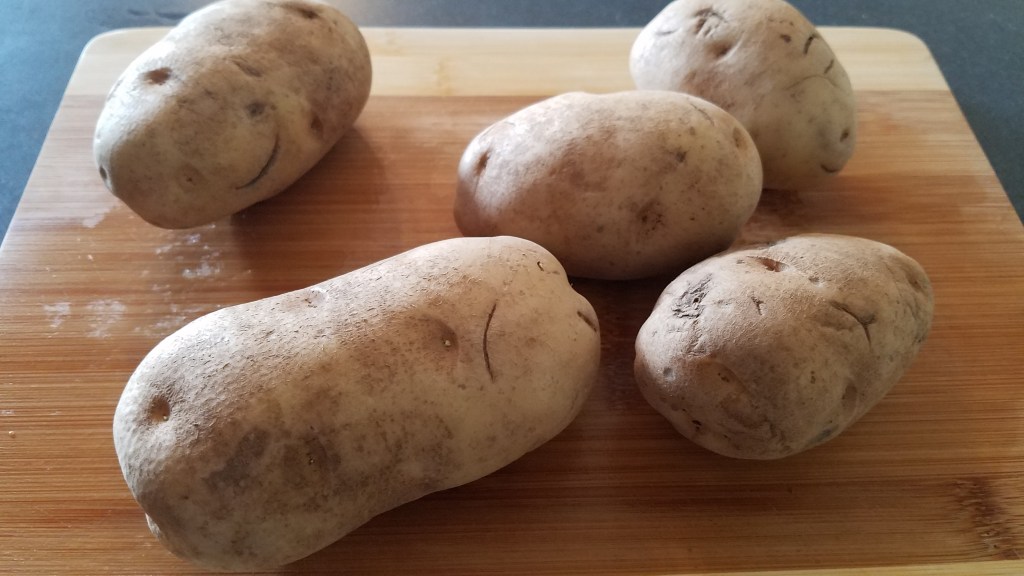
4 or 5 medium russet potatoes
4 Tbs butter
3 Tbs sour cream
¼ cup whole milk
2 tsp all-purpose Greek seasoning (Cavender’s)
Directions:
Cut the chicken breasts by separating the tender from the
rest of the breast. Place the chicken
pieces in a mixing bowl and dust with 2 tablespoons cayenne and 1 tablespoon
garlic powder. Allow the chicken to rest
for 10 minutes. Cover the chicken with
buttermilk and refrigerate for one hour.
Wash the green beans and snip off the stems. Set aside.
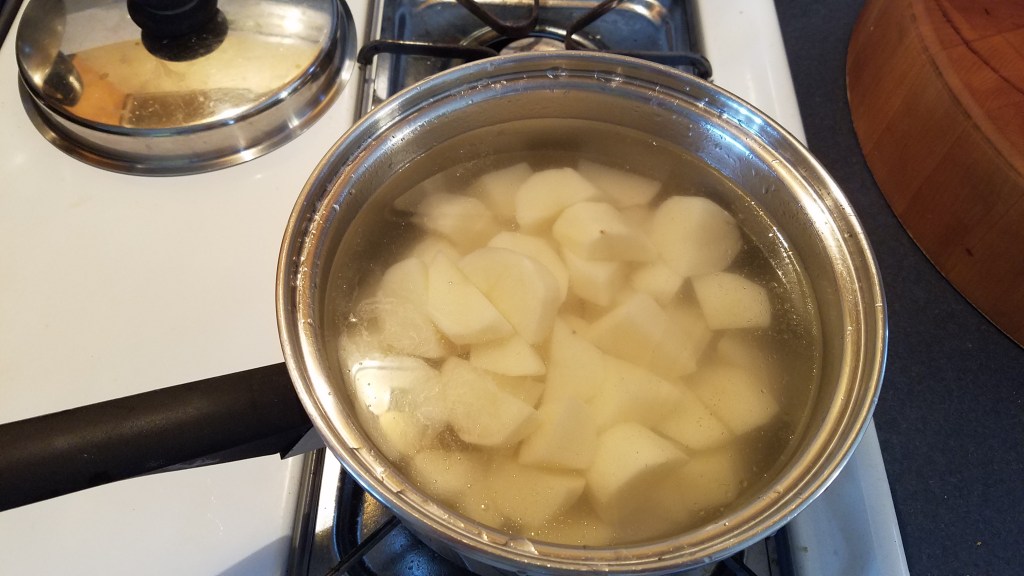
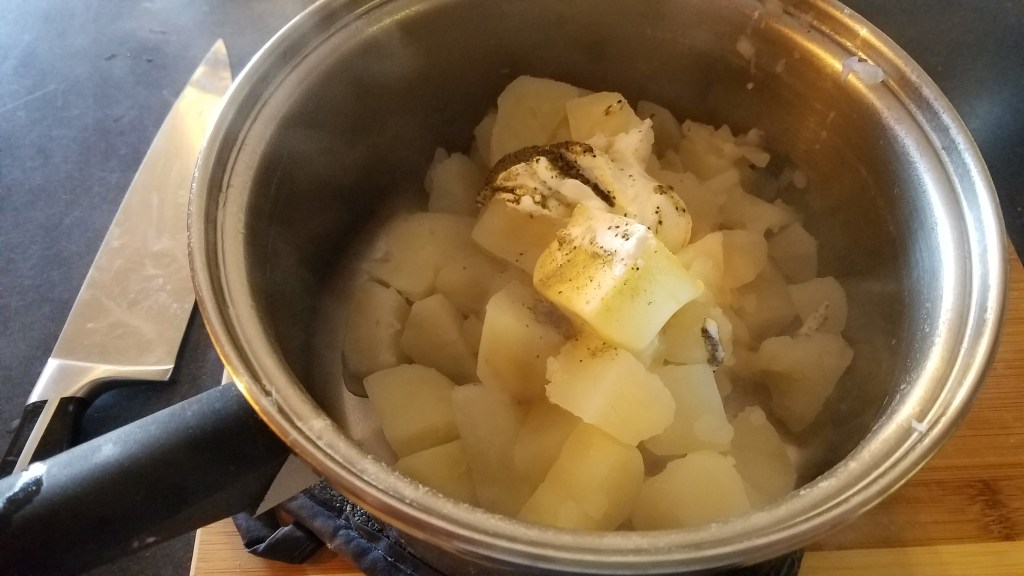
Peel the potatoes and cut into roughly 1” to 2” cubes. Add the potatoes to a 4 quart pot and cover
with water. Boil the potatoes until they
are soft. Strain the cooked potatoes and
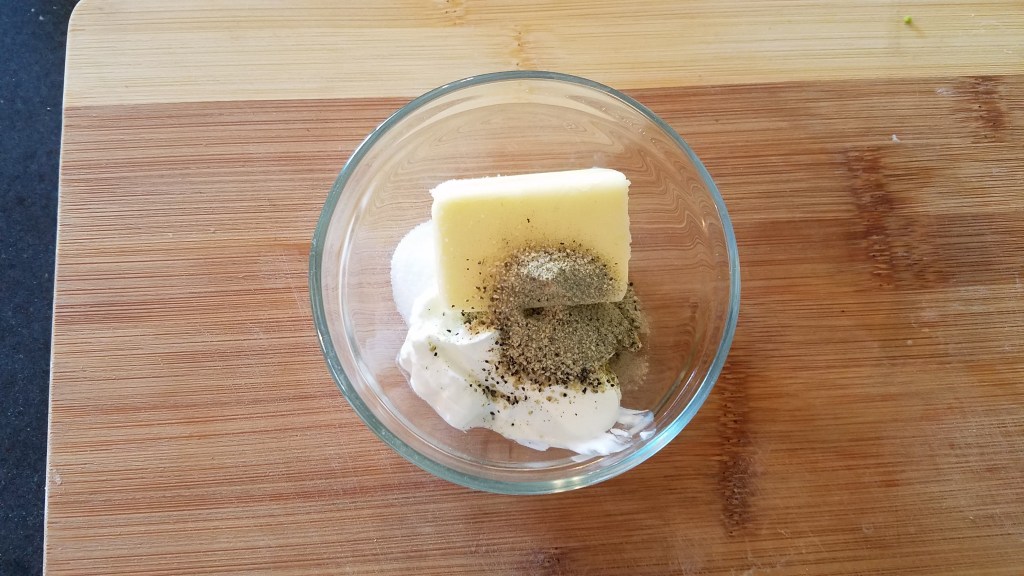
return to the pot. Add the butter, sour
cream and Greek seasoning. You can substitute
the Greek seasoning with salt and pepper but if you have never added Greek
seasoning to mashed potatoes you are missing a real treat. There is something so very right about Cavender’s
Greek seasoning!
Add some splashes of milk and beat the potatoes with a fork
or spatula. Add more milk until you get
the creaminess that you desire. I
usually use about ¼ cup of milk. Cover
the potatoes and keep in a warm place.
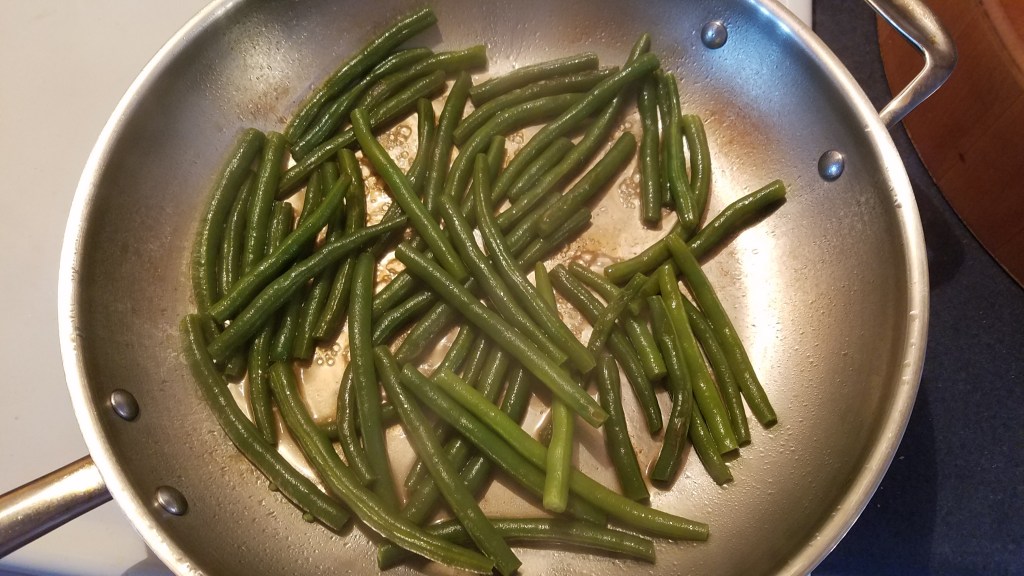
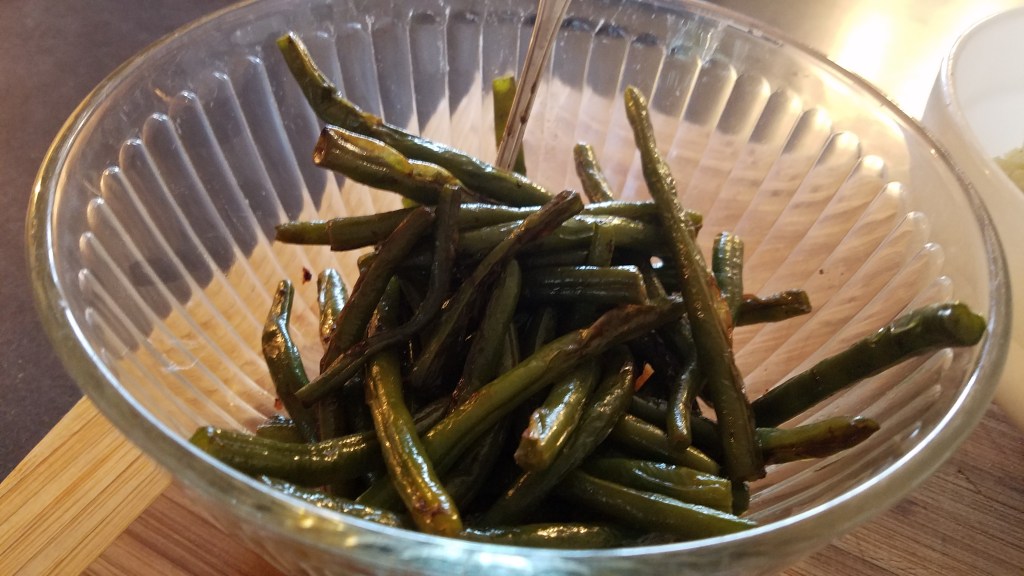
Add 1 tablespoon of butter to a hot skillet and sauté the
green beans for a minute. Add the
chicken stock, turn the heat down to low and cover. Stir the beans occasionally until they are
tender. Keep warm until ready to serve.
And now, for the chicken!
Mix two cups of flour, 3 tablespoons of cornstarch, 2
tablespoons of cayenne powder and 1 tablespoon of garlic powder to a large
mixing bowl. Whisk until thoroughly
blended. Dredge the chicken pieces in
the flour mixture and let the chicken rest in the bowl for 5 to 10 minutes.
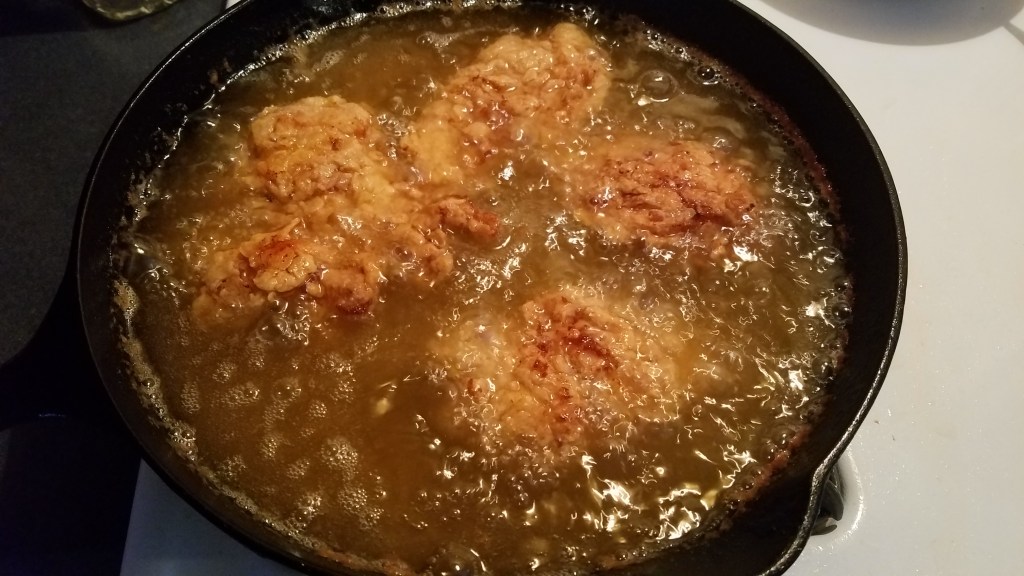
Heat a skillet and add enough cooking oil to fill the
skillet about half way. The oil needs to
be good and hot before adding the chicken…350° is just right.
Dredge the chicken in the flour again and add the chicken pieces
to the hot oil. Don’t start messing with the chicken right away. Let it cook for a few minutes before turning
over with tongs. Keep turning the chicken
until it is golden brown all around.
Boneless chicken breasts cook quickly…maybe 10 minutes total. Once you think the chicken is done, take a
large piece out and cut it. If the
chicken is white and firm in the middle (not pink), the chicken is cooked. Remove to a paper towel lined platter and
keep warm. Sprinkle some salt on the
chicken…because anything fried deserves a little salt.
Serve hot.
Eat salads and fresh fruit for the next several days. Get plenty of exercise and get good sleep!
I know when I’m over a cold when I start thinking about food
again.
I have been working overtime at work, which means waking up at
4:00 am and getting home around 5:00 pm.
That doesn’t leave much time for dinner preparation and relaxing before going
to bed.
I was on my way home, enjoying the rush hour traffic, when it
dawned on me that I had not gone to the grocery store recently and I didn’t
know what I would make for dinner. So, I
stopped off at the grocery store and started thinking about what was in my
refrigerator and what I might buy for dinner.
I knew I had some cooked white rice at home. White rice is like a blank canvas. Anything is possible when you have rice.
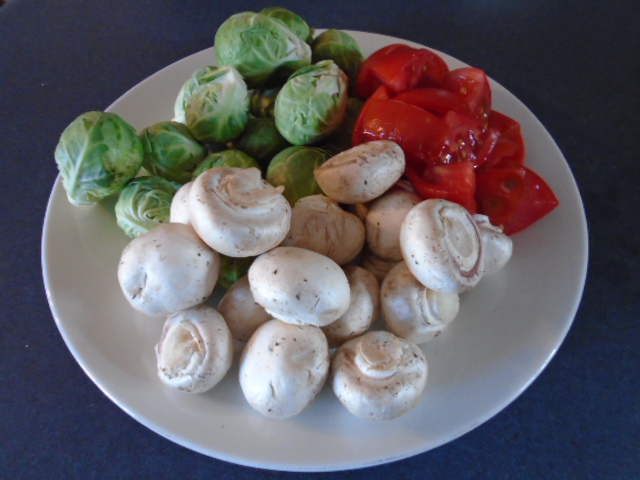
Since I didn’t have a clue about what I was going to buy at the store I decided to look for good deals on vegetables and meat and let that be my guide. The first low-priced vegetable I found were Brussel sprouts. I’m not a huge fan of Brussel sprouts but I stuck with my plan and picked them up. I found some whole button mushrooms at a really good price and I grabbed those. I still had fresh tomatoes from the garden and I had onions and garlic at home. So, the vegetables were a done deal.
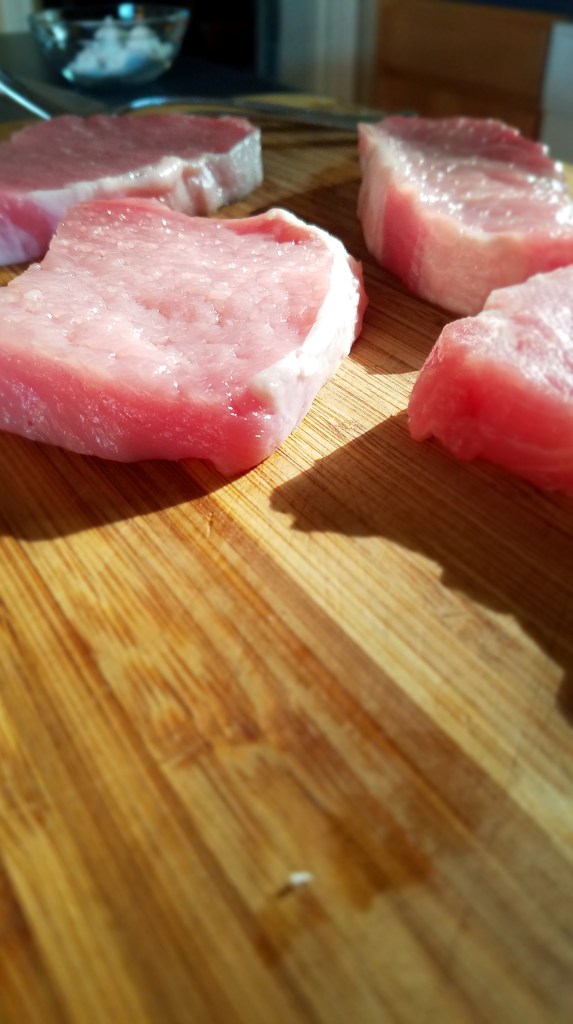
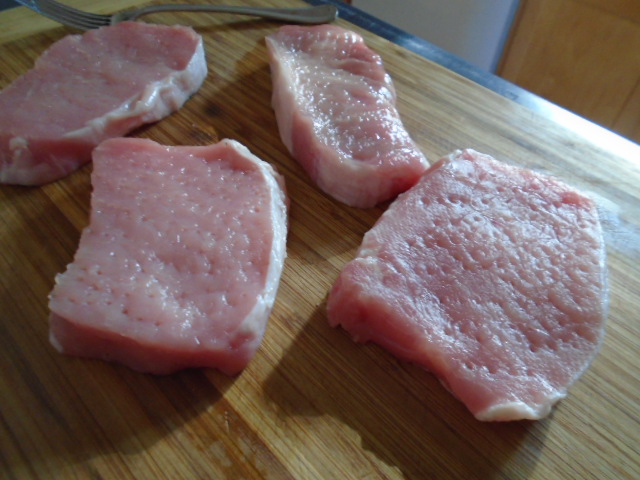
I went to the meat case and found a good deal on center cut pork
chops. They looked good and the price
was very good. I spent less than $8.00 for
everything and it was enough food to make a meal for 4 to 6 people.
For the rest of my trip home I thought about what I would do with
all of this stuff. I started thinking
about pork schnitzel, which got me thinking about paprika. I love a good schnitzel but just thinking
about the work that goes into making schnitzel made me tired. I
wanted the paprika, without the fuss.
I thought about stewing the Brussel sprouts with tomatoes and
onion and mushroom and serving with the rice and I quickly kicked that idea out
of my head. Yuck! Brussel sprouts! What was I thinking?
And then, as I pulled into the driveway, it all came
together. Sauté the Brussel sprouts and put
a char on them to get a nutty flavor.
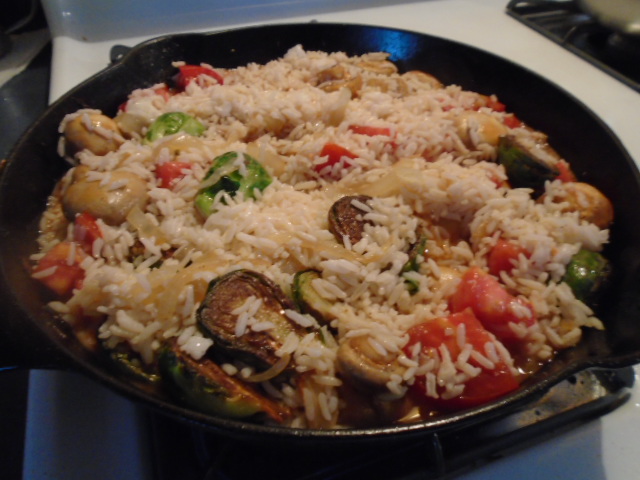
Add that to cooked pork chops, tomatoes, sautéed mushrooms and rice and cook
it all in one pan. Coming home after
working overtime means that I have about one hour to make dinner, one hour to
eat it, and one hour to relax and digest the food before heading off to
bed. Making dinner in one pan means quick
prep and quick clean up. I knew I was
over my cold now. I can’t make those
sort of mental leaps when I am sick.
I dumped all of the groceries on the counter and pulled the rice
out of the refrigerator. I put the cast
iron skillet on the stove and started warming it. My daughter came into the kitchen to welcome
me home and we had a wonderful time sharing stories about our day as I began
prepping the food. She asked me what I
was making and, as I often do when I’m not sure, I said, “I’m making something for dinner.” My daughter has watched me work in the
kitchen long enough to know when I am winging it.
Skillet Pork
Chops with Vegetable and Rice
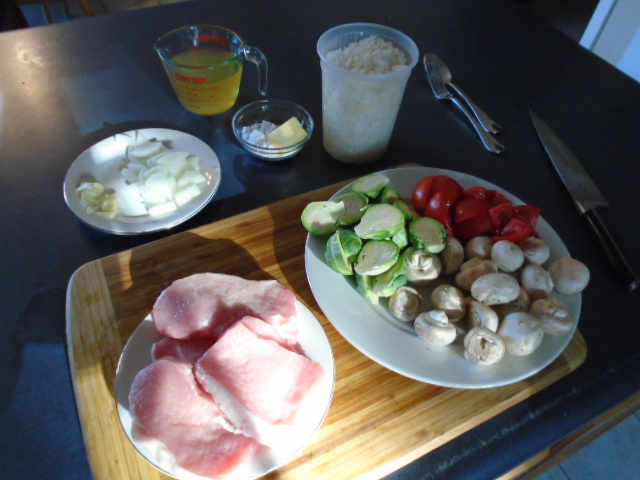
Ingredients:
4 center cut pork chops
1 quart cooked white rice
2 cups Brussel sprouts, sliced in half
16 oz white button mushrooms
2 medium sized tomatoes
½ yellow onion, sliced
2 garlic cloves, smashed
2 Tbs butter
2 Tbs flour
2 cups chicken stock
½ cup tomato sauce
Directions:
Heat an oven to 325°.
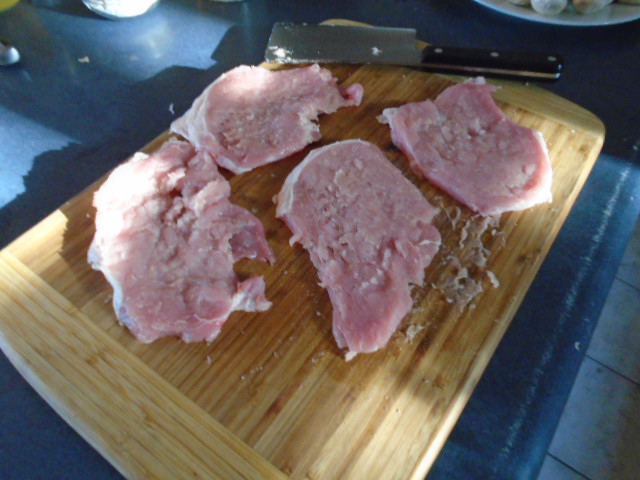
Tenderize the pork chops by piercing both sides with a fork. Flatten the pork chops with the broad side of
a meat cleaver or mallet.
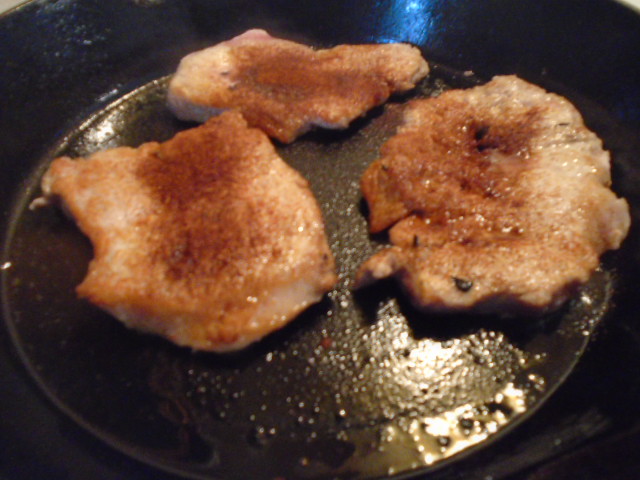
Heat a cast iron skillet over high heat. Add about 1 tablespoon of oil to the
pan. Lay the pork chops in the pan and
dust liberally with paprika. Allow the
chops to sear for about one or two minutes and then turn. Dust the other side of the chops with
paprika. Turn once more after a minute
and remove after another 30 seconds. Set
the chops aside.
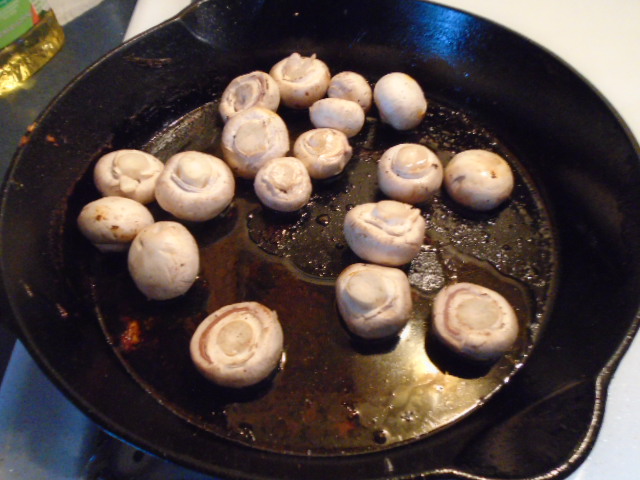
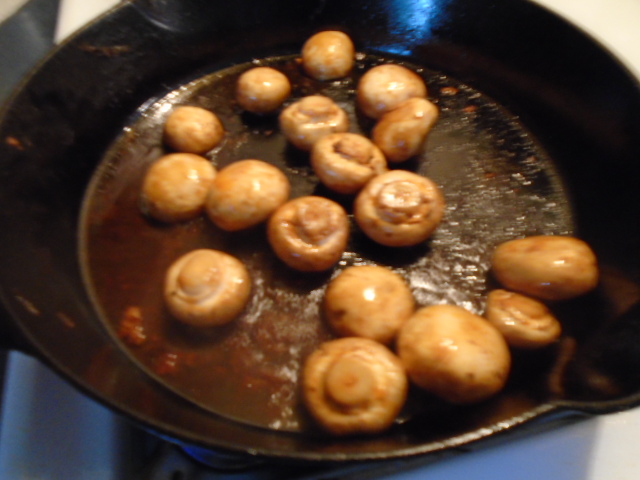
De-glaze the skillet with a half cup of chicken stock. Add the whole mushrooms, onion and garlic to the skillet and stir. Allow the mushrooms to absorb the flavor from the pork and stock. Remove the mushrooms to a large mixing bowl.
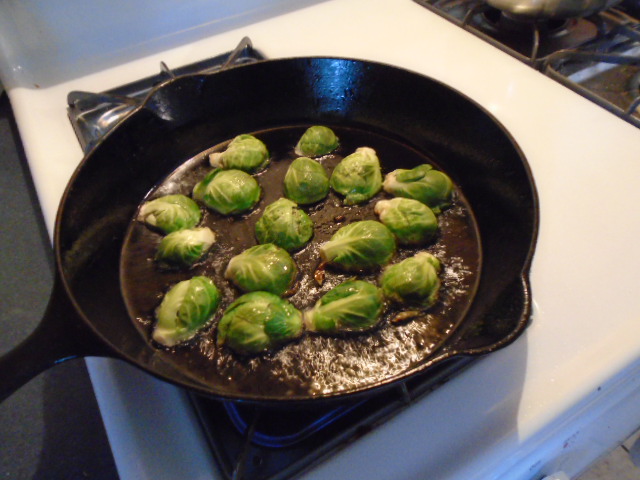
Add the Brussels sprouts to the hot skillet, placing them cut side
down. Don’t mess with them. Let them char for about two minutes. Turn them with a spatula and brown the other
side for a little while. Remove the
Brussel sprouts to the large mixing bowl.
Add the tomatoes and cooked rice to the large mixing bowl.
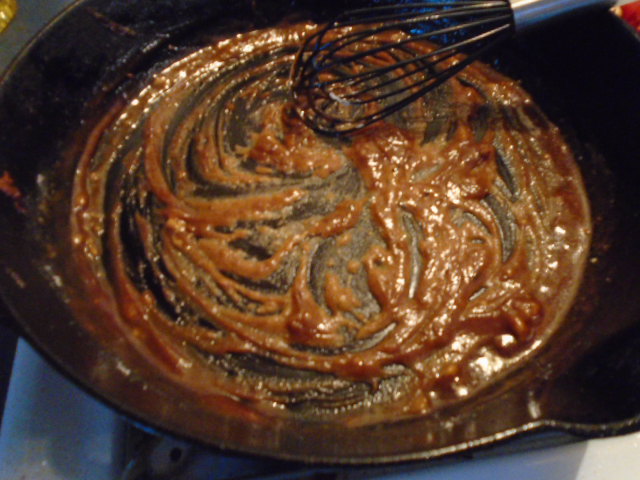
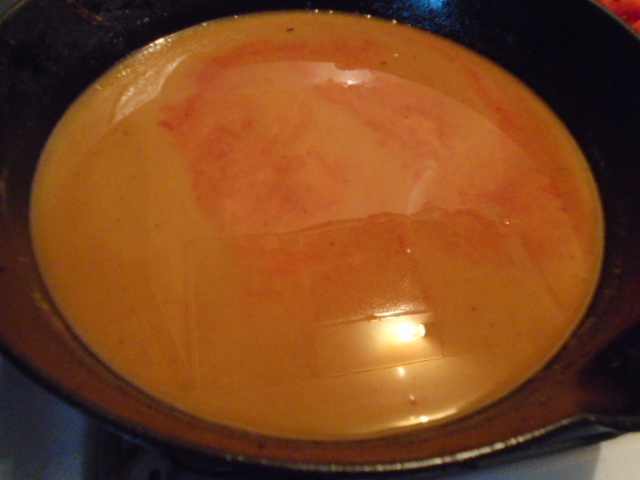
Turn the heat down to low. Wipe the skillet with a paper towel to remove any charred bits. Melt the butter in the skillet and add the flour and whisk to make a roux. Once the flour has incorporated, add the chicken stock and tomato sauce. Stir to thicken into a sauce.
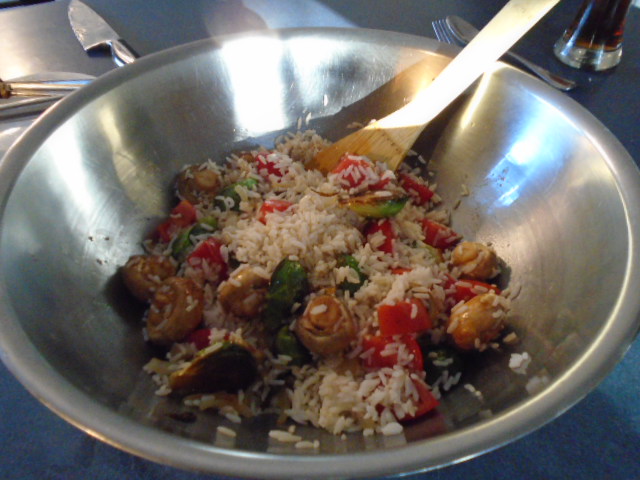
Mix the items in mixing bowl with a spatula. Add the prepared sauce and mix.
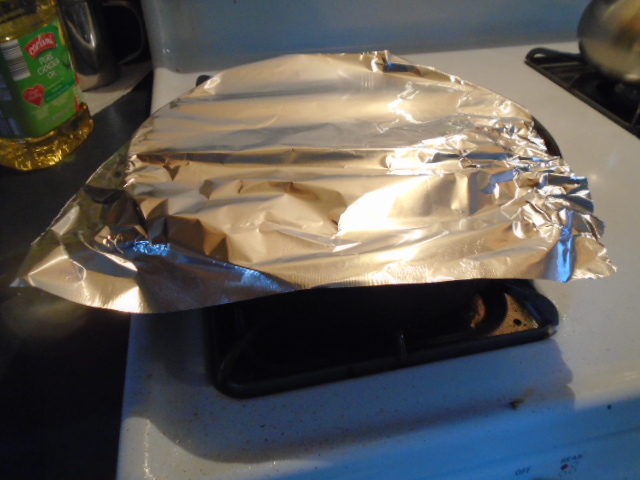
Arrange the seared pork chops on the bottom of skillet. Cover with rice, vegetable and sauce mixture. Cover the skillet and cook in a 325° oven for 25 to 30 minutes.
How do you like my “redneck” lid for the skillet? Hey, it works and it’s one less thing to clean!
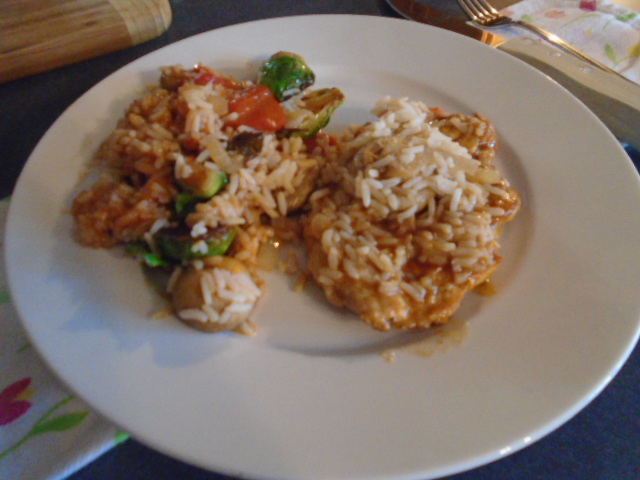
To serve, pull a pork chop from the bottom of the skillet and lay on a serving dish. Ladle the rice mixture next to the chop.
Believe it or not, I wanted this to be my first post on my
blog. You see, I wanted to show an
example of the humble beginnings that have led me down the culinary path where
I find myself today. But I chickened
out. After giving it some thought, I
thought it might be a little too lowbrow to open with.
But now, I present…the fried egg sandwich.
There was a time when this was a real treat for me. Several days of eating nothing but ramen can
have that effect on someone, I suppose. This
recipe originally called for two pieces of bread, an egg and some garlic
salt. Simple and surprisingly delicious.
Ingredients:
2 Tbs butter (or margarine)
Cheap white bread – 2
slices
An egg
Cheap bologna – 1 slice (optional)
Cheap processed American cheese – 1 slice (optional)
Garlic salt – as much as you want
Dill pickle slices – optional
Directions:
Fry and egg in butter.
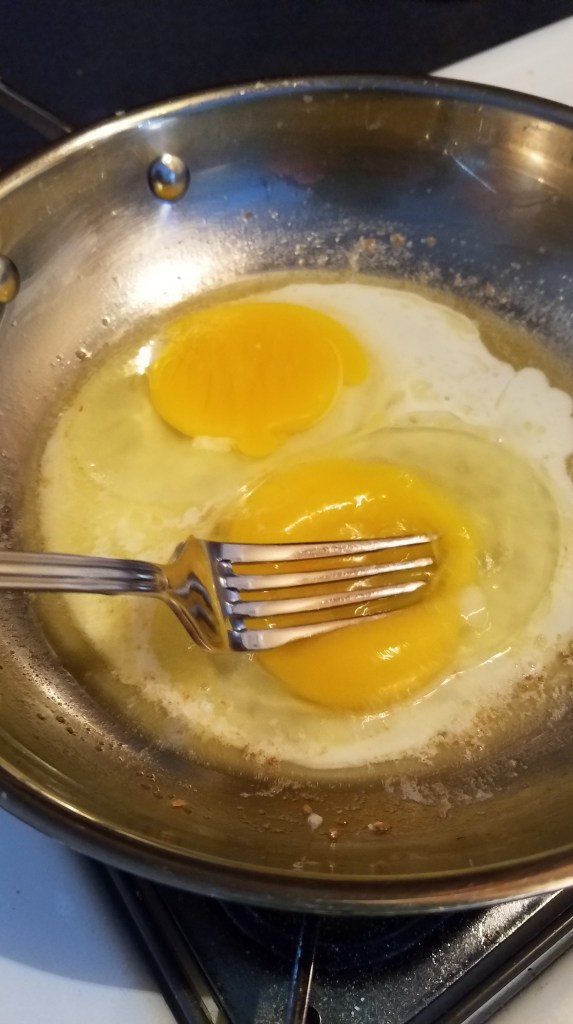
Break the yolk with a fork, but don’t mix the egg. Cook the egg just to the point where the yolk
becomes firm. Set the egg aside.
Add a little more butter to the pan and add a slice of bread. Lay the egg on the bread. Sprinkle copious amounts of garlic salt on the egg. Top with the other slice of bread. Toast both sides of the sandwich and serve.
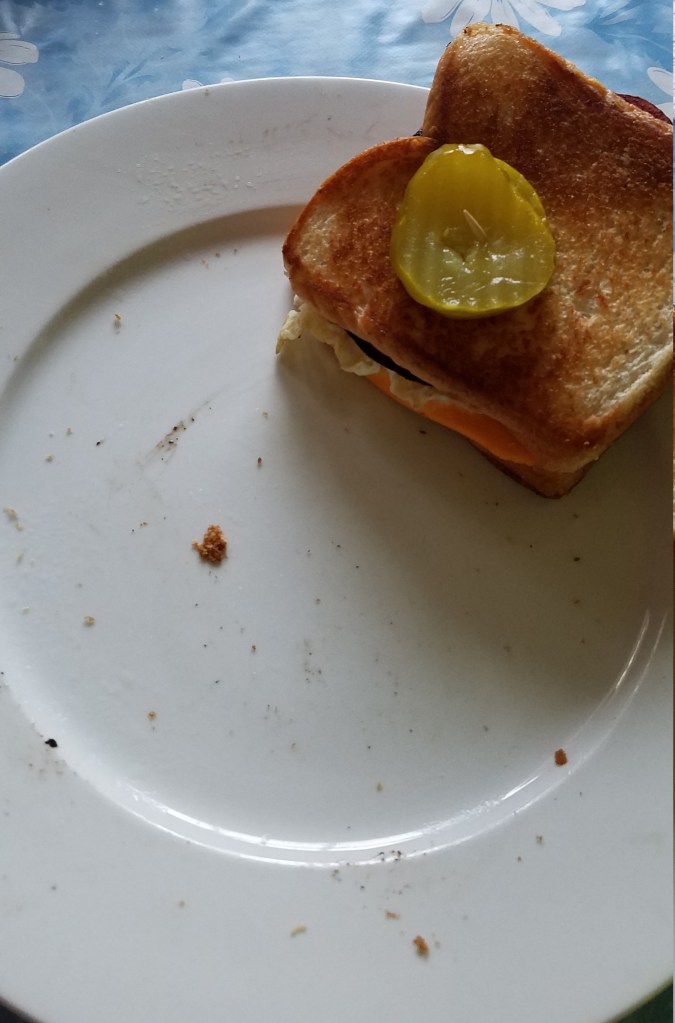
If you choose to add the bologna and cheese, pan fry the bologna until the edges char. Add the bologna and cheese to the sandwich before toasting in the pan. I rarely made it this way, years ago, because I didn’t usually have bologna and cheese on hand. But I almost always had an egg and cheap white sandwich bread. Yum!
And of course, the sandwich is even better with some pickles and a toothpick!
I haven’t come down with a cold during the summer months in
a long time and this one came at me quickly and with a vengeance. I slept for two days and, on the few
occasions I got out of bed, I staggered around the house like Frankenstein’s monster,
wandering aimlessly from room to room, only to collapse back into bed after a
few minutes.
At one point, during a semi-lucid moment, I thought it would
be “fun” to submit a post about my favorite chicken broth recipe but I was so
exhausted that my fingers refused to type and my brain was operating on emergency
reserve power. I really don’t have a
favorite chicken broth recipe, but I like to think that I do, when I’m
sick.
I’m feeling a little better now…still drained of energy but
at least my brain is firing on more than one cylinder.
So, let’s see if I can reconstruct the broth I made while I
was feeling ill. I’m glad I took a few
pictures because I can barely remember making this, even though it was only a
few days ago!
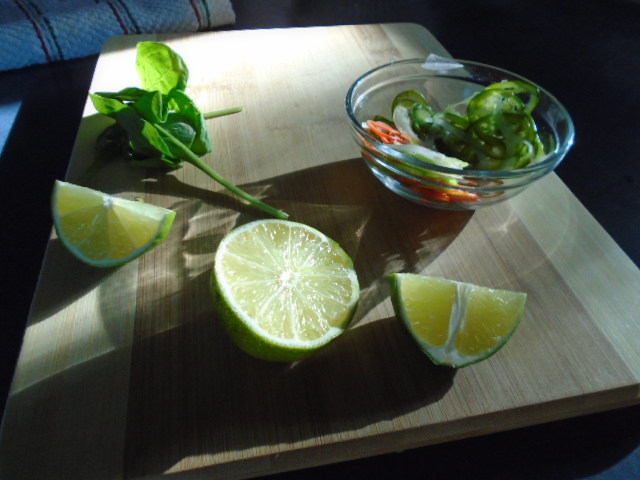
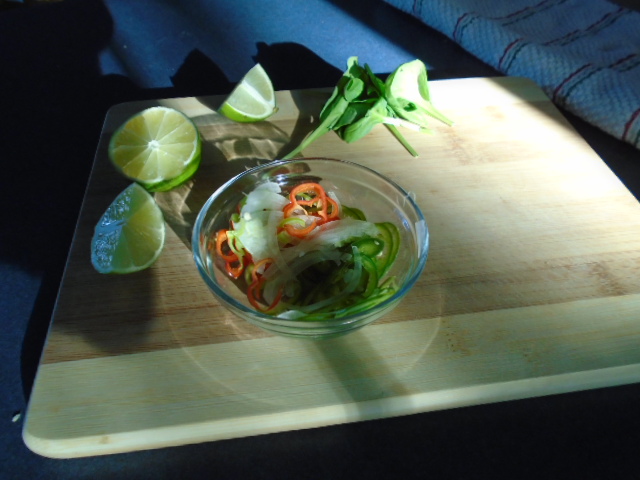
Use a mandoline to slice the chilis and garlic. I couldn’t tie my shoes because I was so deliriously sick but did that stop me from using a razor sharp kitchen instrument…heck no! Slice the lime into quarters…again with the sharp tools! Set these aside before you hurt yourself.
In a 4 quart pot, add the chicken broth and simmer over
medium/low heat. Add the garlic and soy
sauce. Add the Thai noodles. Simmer for a few minutes. Hover over the stove for a moment before
realizing that the noodles will probably take FOREVER to cook.
Walk away and forget that you are cooking something. Go back to the kitchen for a glass of water
and remember that you have something on the stove. Check to see if the noodles are soft. They probably won’t be. Lean over the broth and slowly breath in
through your nose and out through your mouth several times. Toss a sliver of habanero or jalapeño into
the pot and keep breathing. This is the therapeutic
part of the program. You may not enjoy the
broth when it is done but you will at least have had a moment to clear your
sinuses!
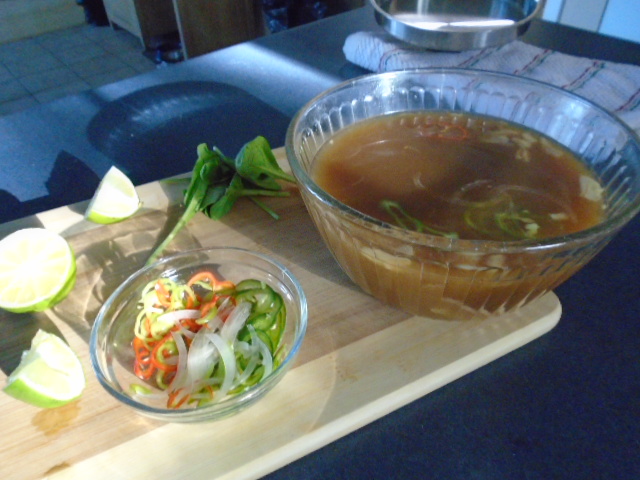
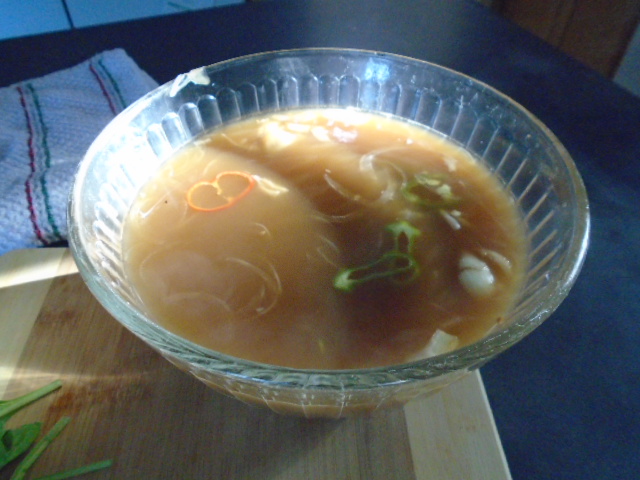
Once the noodles have softened, Pour the broth into a large
bowl. Add the spinach, onion and as much
of the chilis as you dare to. Squeeze
some lime juice into the broth.
Why on earth did I add the Thai noodles? The darn things are so wide and slippery that they defy chopsticks, forks and spoons. The only way I could eat them was to slurp them from the bowl. And, since I was sick, that was totally acceptable.
I was pondering what to make for dinner the other day. I didn’t really want to cook but I was
hungry. Sound familiar? I opened my refrigerator and saw several small
containers of leftovers. After a quick
survey of the items it became obvious that Nachos was the best, and easiest
solution.
This was one of those times when the amount of the leftovers
was exactly what I needed to make a meal.
Ingredients:
1 cup Shredded chicken (left over from chimichangas)
½ cup refried beans (left
over from chimichangas)
¼ cup tomato sauce (left over from salsa roja)
3 Tbs diced onion (left over from chimichangas)
1 chipotle pepper in adobo (left over from chimichangas)
2 slices processed American cheese (left over Egg sandwiches)
1 cup sliced Muenster cheese (left over from white cheese
sauce)
2 smoked serrano chiles (left over from salsa verde)
Restaurant style tortilla chips – not leftovers!
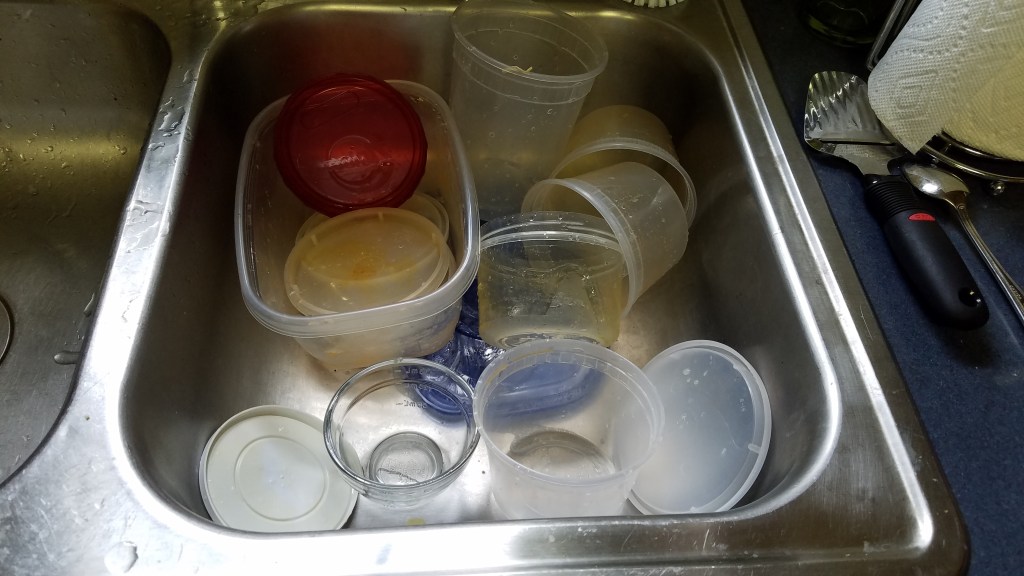
Just look at the amount
of empty storage containers this meal provided. This is what victory feels like for the home
cook! I couldn’t be any more proud!
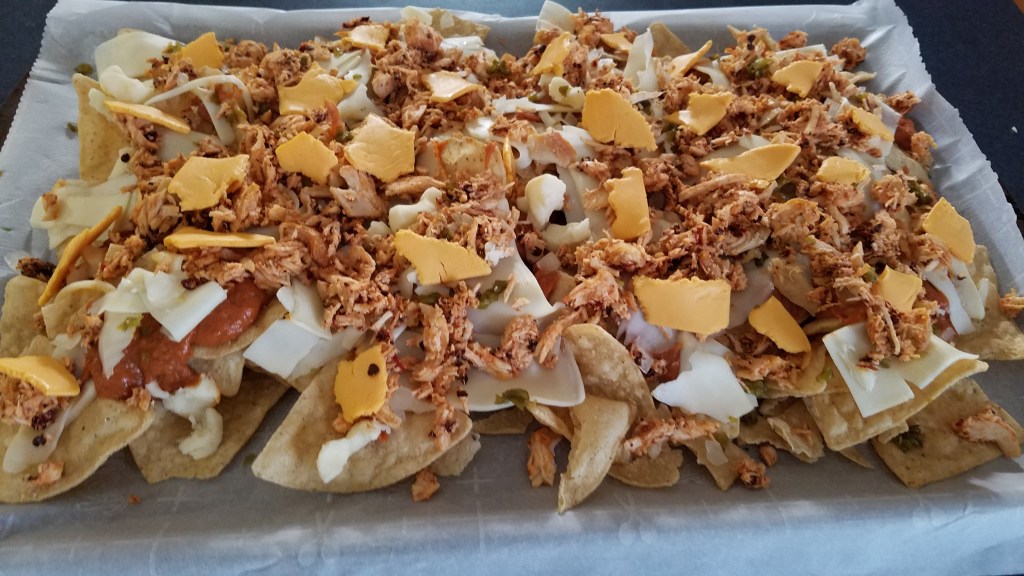
Directions:
Distribute tortilla chips on a baking sheet covered with
parchment paper. I like to use parchment
paper because it makes for very easy clean up.
Lay the slices of Muenster cheese across the tortilla chips.
Slice the serrano chiles and scrape away
the seeds. Mince the serranos and
sprinkle on top of the cheese. Mix the
refried beans with the tomato sauce and drop dollops of the bean mixture on top
of the cheese. Mash and mince the
chipotle pepper and adobo sauce and combine with the shredded chicken. Mix by hand and distribute the chicken over
the refried beans. Sprinkle the diced
onions over the nachos. Finally, tear
apart strips of the American cheese and place on top of the nachos.
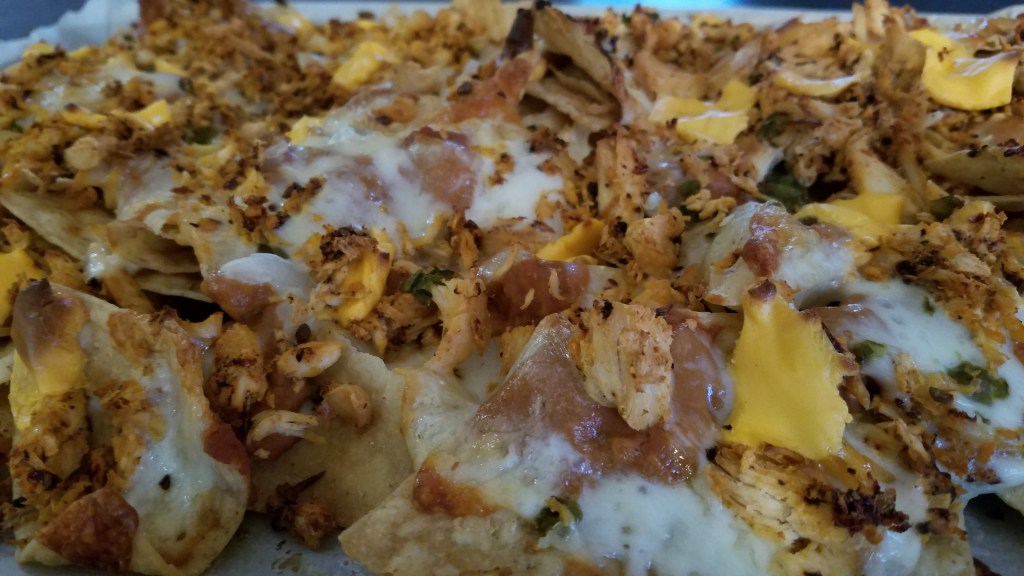
Bake in a 400° oven for five to ten minutes, or until the
cheese melts.
Serve with sour cream, salsa, lettuce, tomato or any other toppings you desire…but try to use up leftovers in keeping with the theme of the dish!