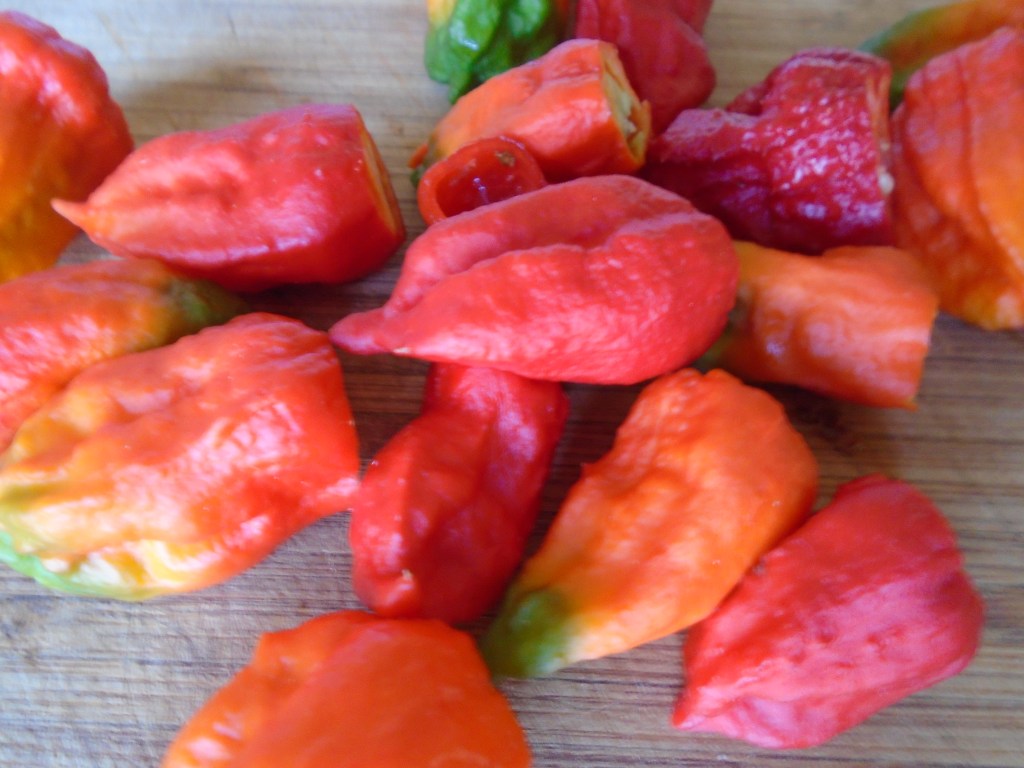
Of all the peppers that my garden produced this season, these
are by far the hottest. They are
insanely hot! It’s hard to find a way to
use them in recipes. I wouldn’t dare
throw one in a stir-fry and I wouldn’t want to take even a small bite of a
fresh one. I like to dry them and crush
them into a powder. Once they are in
powder form, I can add a small pinch to sauces or flour dredges when I want a
serious kick.
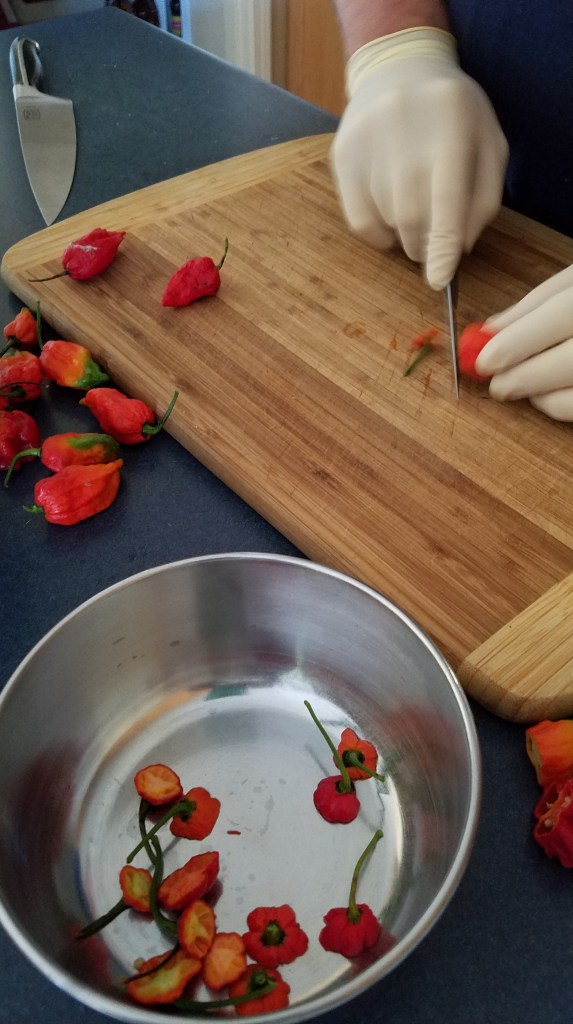
I wear latex gloves when I work with the peppers. In order to prepare the peppers for the food
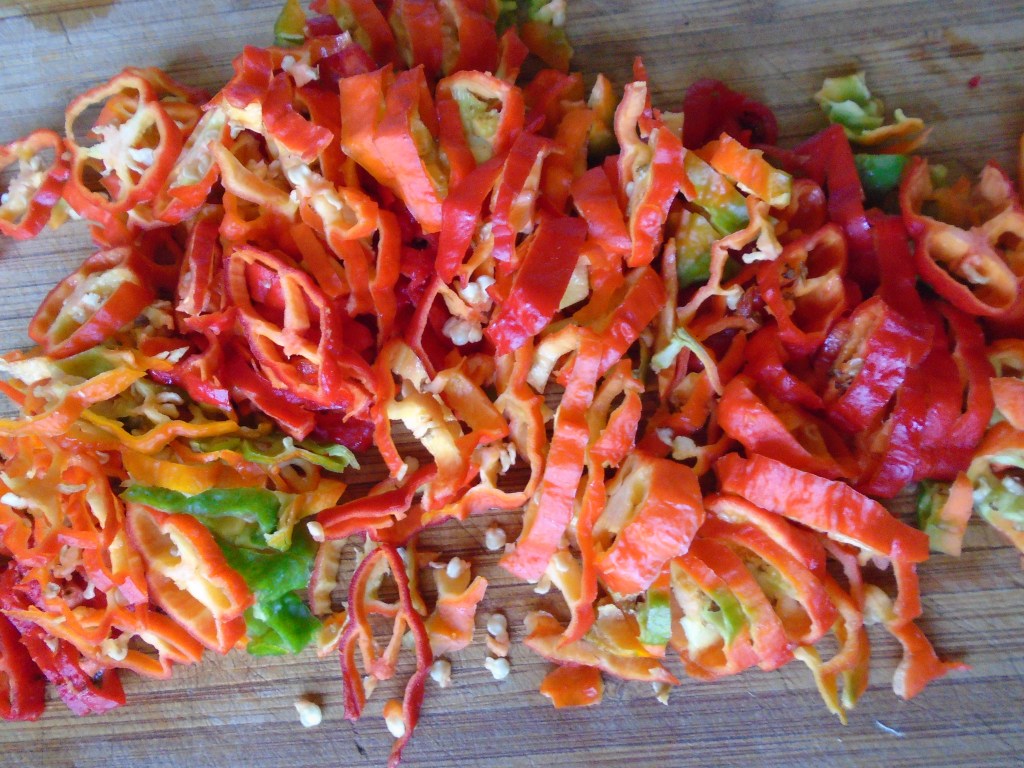
dehydrator, I cut off the stems and slice the peppers into small rings.
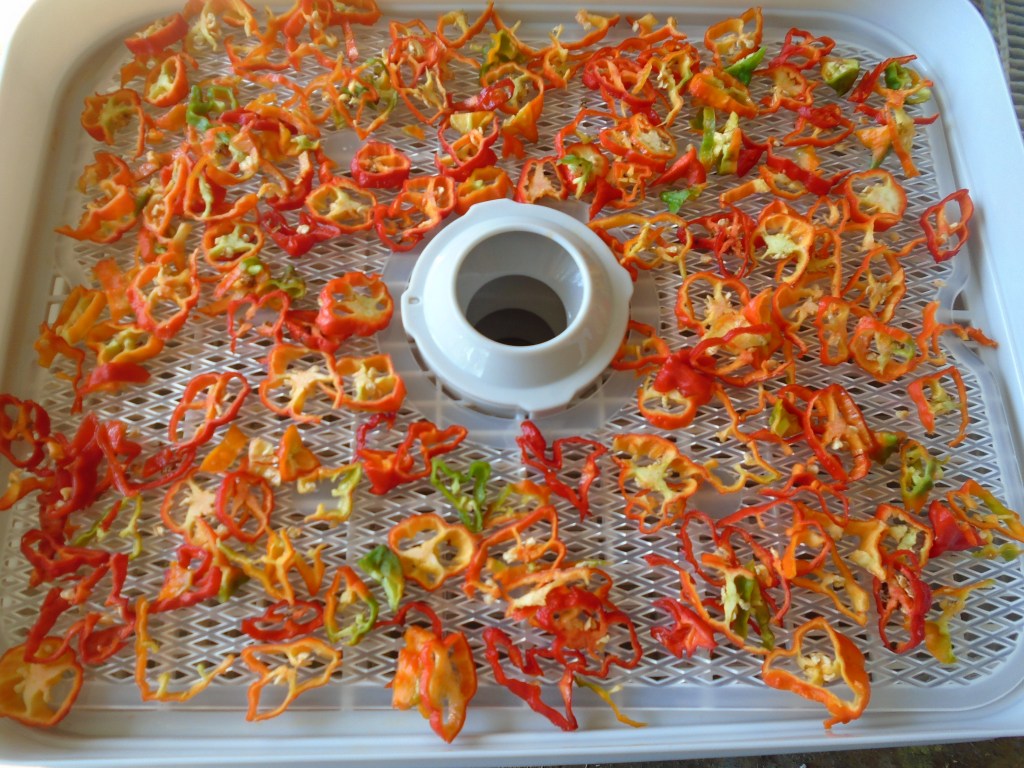
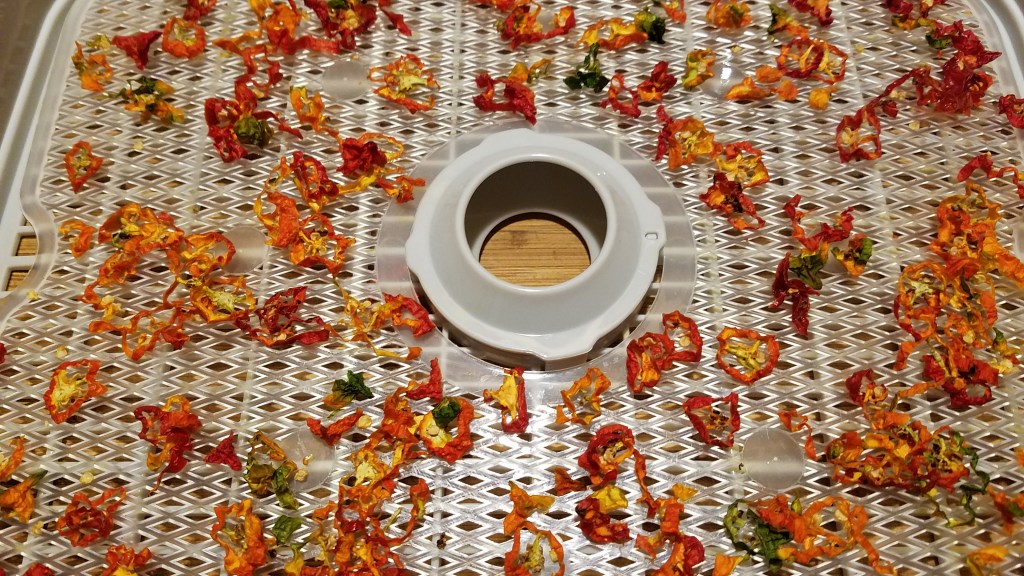
Then I lay them on the dehydrator tray and I make sure to
allow space for the air to circulate evenly.
I put the dehydrator in the garage and ventilate by opening the garage
door. The air that comes out of the
dehydrator is nearly lethal. Seriously. I take shallow breaths when I am near the
chillis.
I set the dehydrator at 100° and let it run for 12 hours.
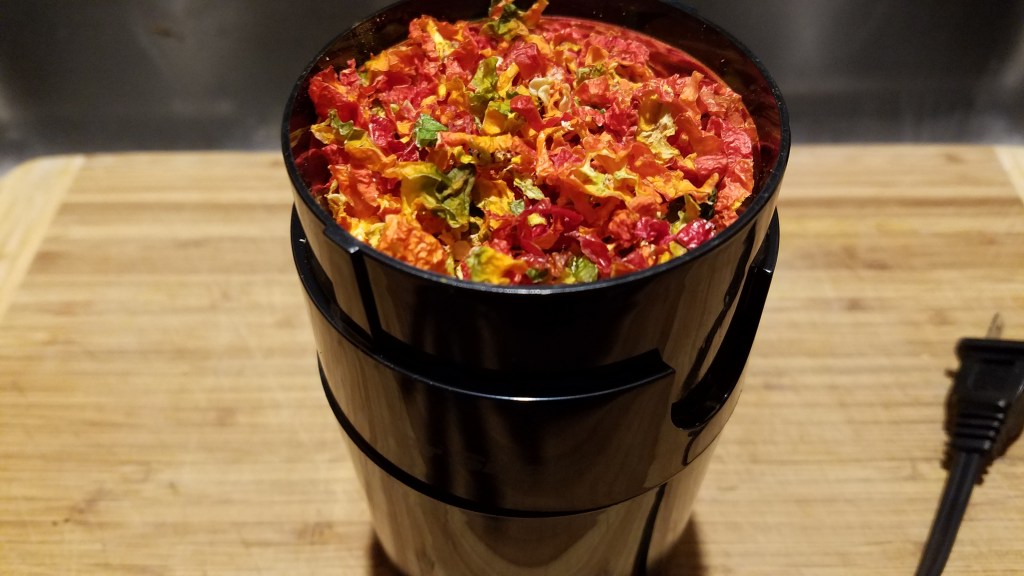
Once the peppers are dry and crisp, I put them in a spice
grinder and pulverize them.
I don’t use this spice grinder for anything else because no
matter how much I clean it, it still hangs on to some of the oils and residue
of the chillis. I made the mistake of
using my coffee grinder once and suffered the consequences. I cleaned the grinder several times but the
coffee beans picked up the heat from the chillis for the next several
grinds. The subsequent coffee brews were
painful.
This is a ridiculous amount of spice! It will be used sparingly over the next several years.
Working moms and working dads are challenged every day. On any given day, parents and kids are both worn
out by the time they come home. I have
learned that if I sit down, when I come home, I’m pretty much done for the
day. The longer I sit, the more likely I
am to order Pizza or Chinese food. There’s
nothing wrong with that but I find more satisfaction by staying on my feet and
cranking out a quick, nutritious meal.
Ironically, the more difficult my workday is, the more
likely I am to push through and cook something.
Once I get started cooking I get into a rhythm and the act of cooking
becomes therapeutic and strangely relaxing.
The best part is, I get to talk to my family in the kitchen while dinner
is prepared and then we all get to sit together and have a meal.
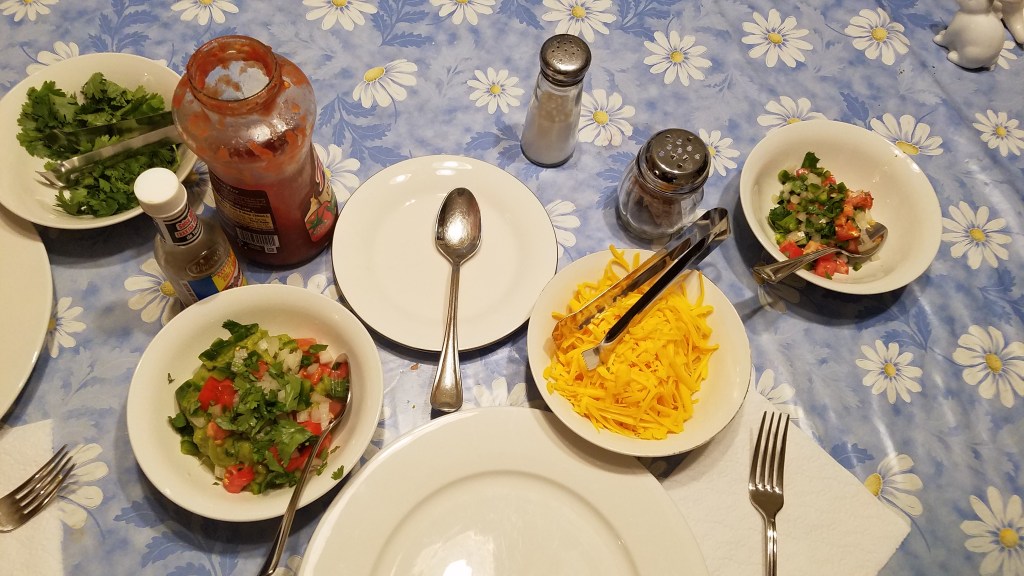
Ground beef tacos are super-easy to make and they can be
accompanied by as much or little as you wish.
This time it was just my wife and me having dinner. My kids are young adults now and we don’t all
gather for dinner, like we did in the past.
I miss that, but at the same time, I know that’s just the way life works.
After a long day of work, moms and dads don’t want to waste precious
time or energy.
Use every shortcut. Work efficiently and always make one thing special, or out of the ordinary, and include some sort of fresh vegetables.
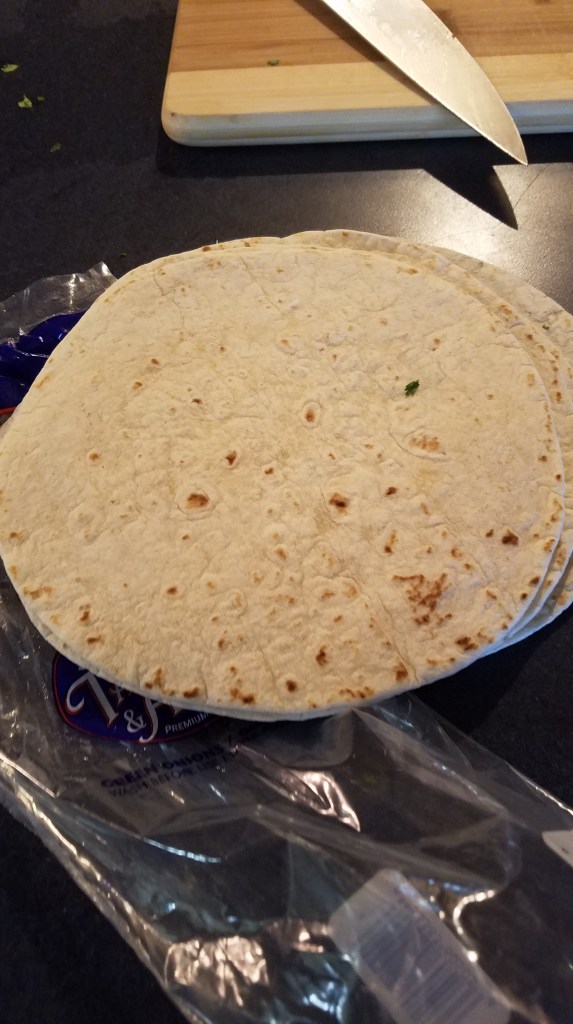
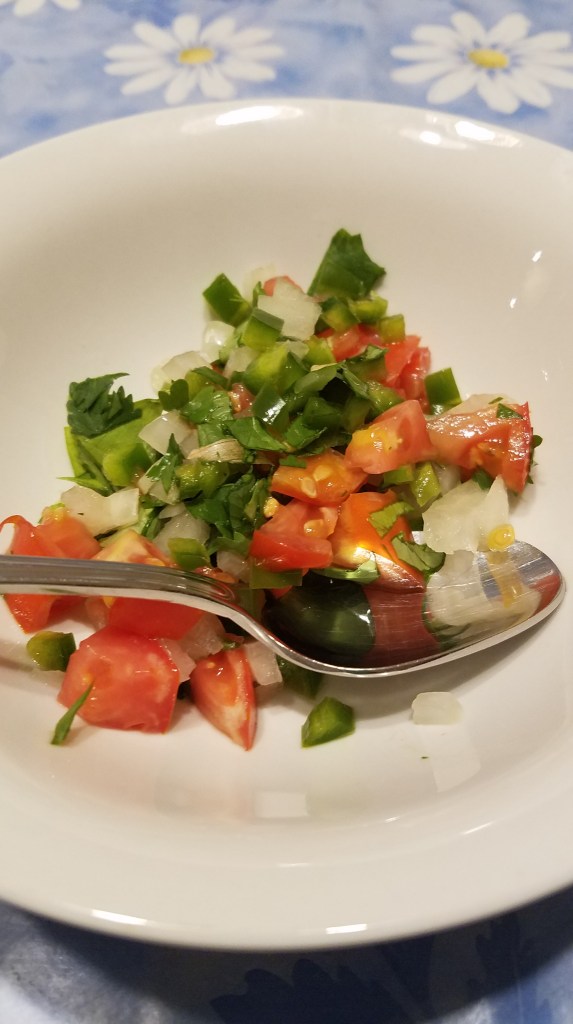
No recipe this time…just pictures. It’s tacos for crying out loud!
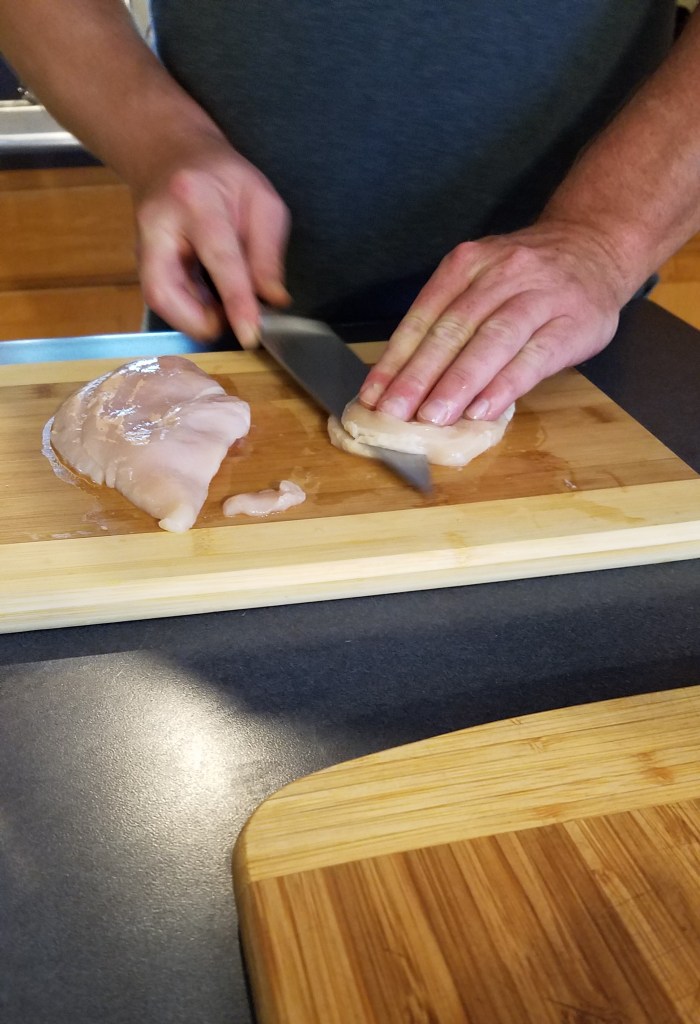
The biggest challenge here is making the chicken breast thin
enough to roll. It needs to be thin in
order to cook evenly and it needs to be thin enough to roll up like a burrito.
You could flatten the chicken breasts by pounding them down
with a mallet but I prefer to slice the breasts horizontally, nearly all of the
way, and then I lay the chicken breast open. If the chicken breast is really thick you can
slice it from the top side and then slice it again, in the opposite direction
from the bottom side, to make a tri-fold.
Before we get going…
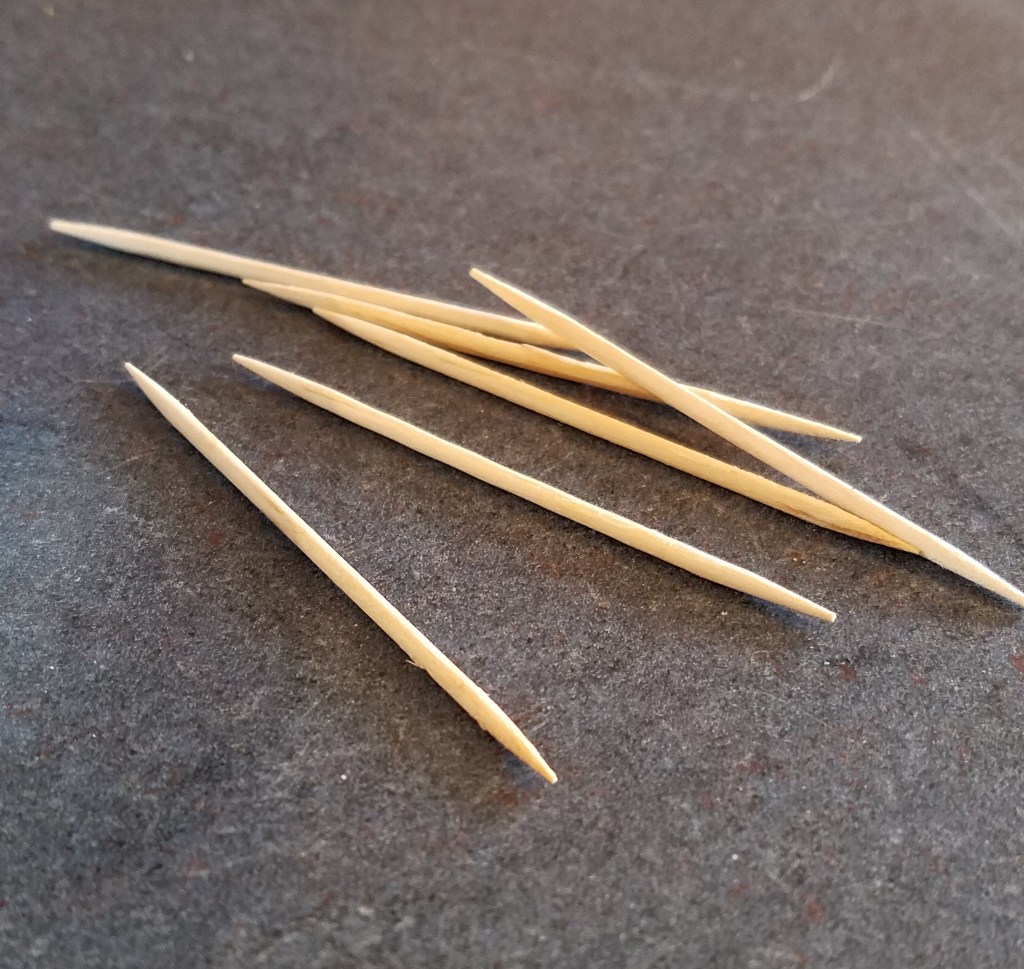
A caution about using
toothpicks to secure food. I use the
same number of toothpicks on each item that I secure. If I need two picks on one chicken breast, I
use two on all of the other breasts, even if I might only need one toothpick for
some. That way, when serving time
arrives, I know that I must remove two toothpicks from each breast. It eliminates the guessing game that comes
when I think, “did I use one or two toothpicks on this one?” Make sure to remove toothpicks before serving!
As with many recipes, you can stuff the chicken with
anything you like. This time around, I
had some ricotta cheese that needed to be used and some prosciutto that was
just itching to be used for something. This
recipe serves three people.
Ingredients:
3 chicken breasts
4 oz prosciutto
1/3 cup parmesan cheese
7 oz ricotta cheese (about half of a 15 oz container)
1 ½ cups Panko bread crumbs
½ cup cooking oil
For the sauce:
1 Tbs butter
1 Tbs flour
½ onion
¼ cup chicken stock
24 oz tomato sauce (I used an 8 oz can and 16 oz tomato
sauce)
¼ cup half-and-half
1 cup shredded mozzarella cheese
4 oz spinach
Directions:
On a clean cutting board, flatten the chicken breasts to ¼”
thick, or carefully slice them.
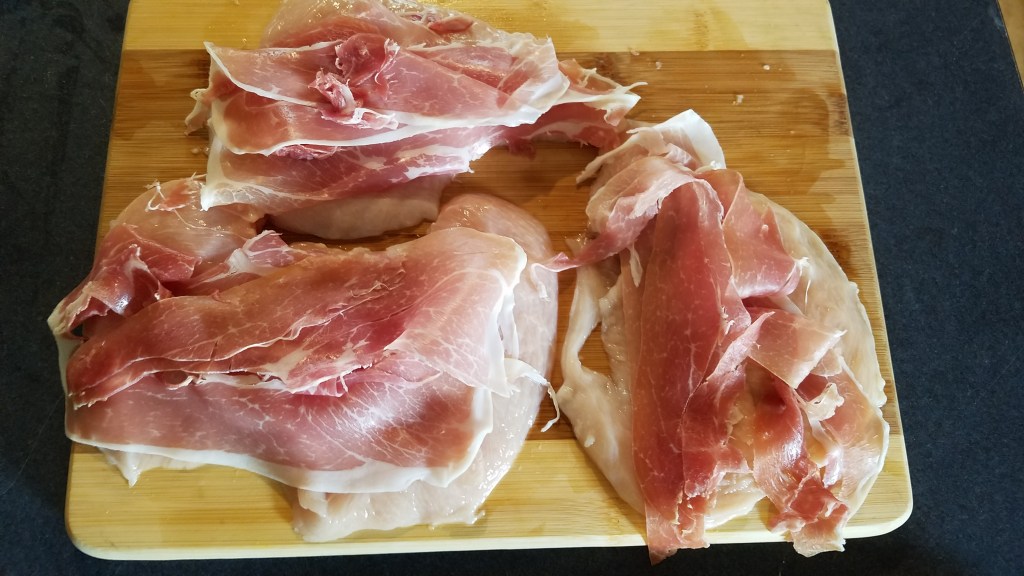
Layer the chicken breasts with several slices of prosciutto
ham.
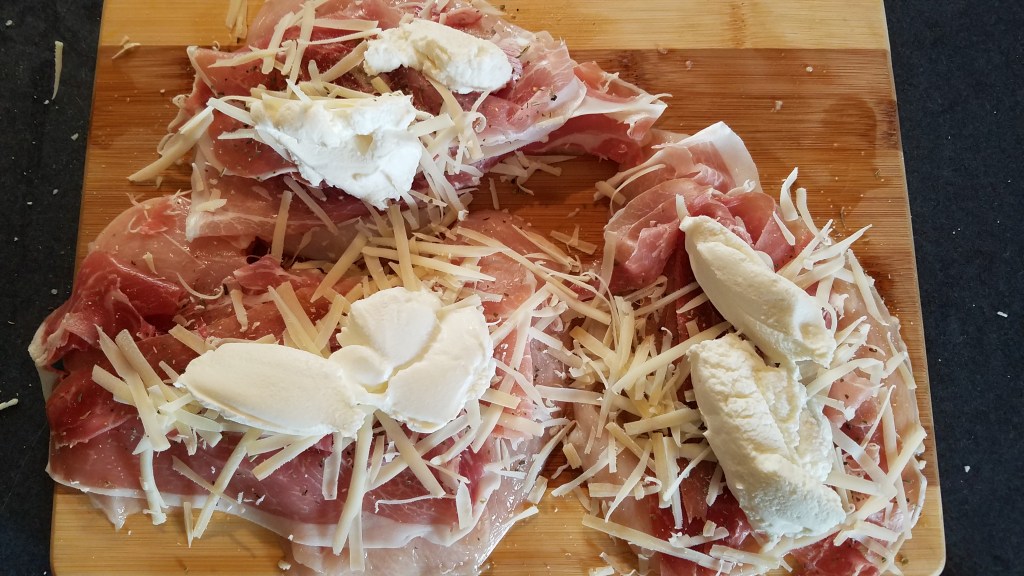
Scatter grated parmesan cheese over the chicken breasts.
Apply a schmear of ricotta cheese to the chicken.
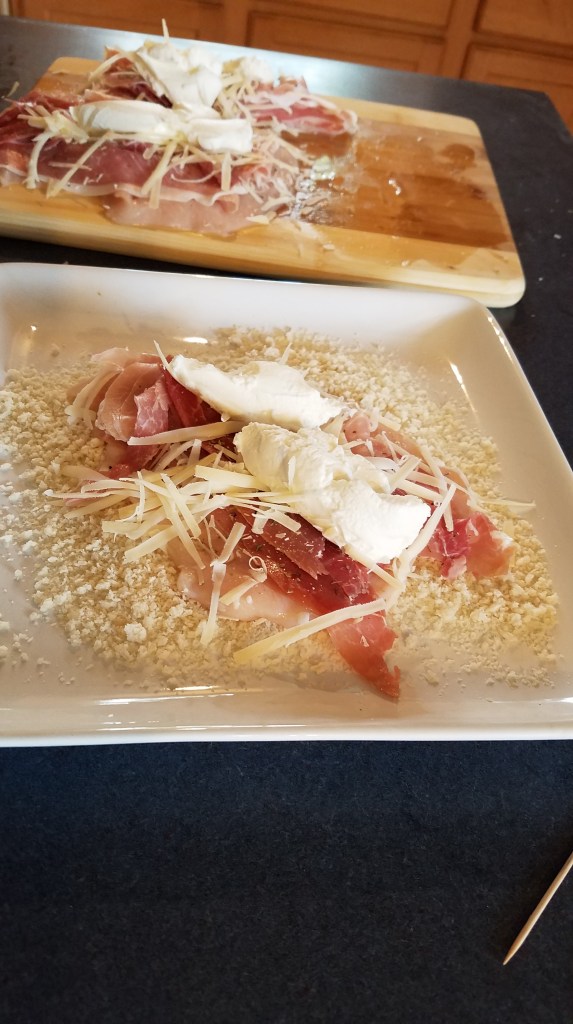
Spread some panko bread crumbs onto a large platter. Lay a chicken breast onto the bread crumbs and press down lightly.
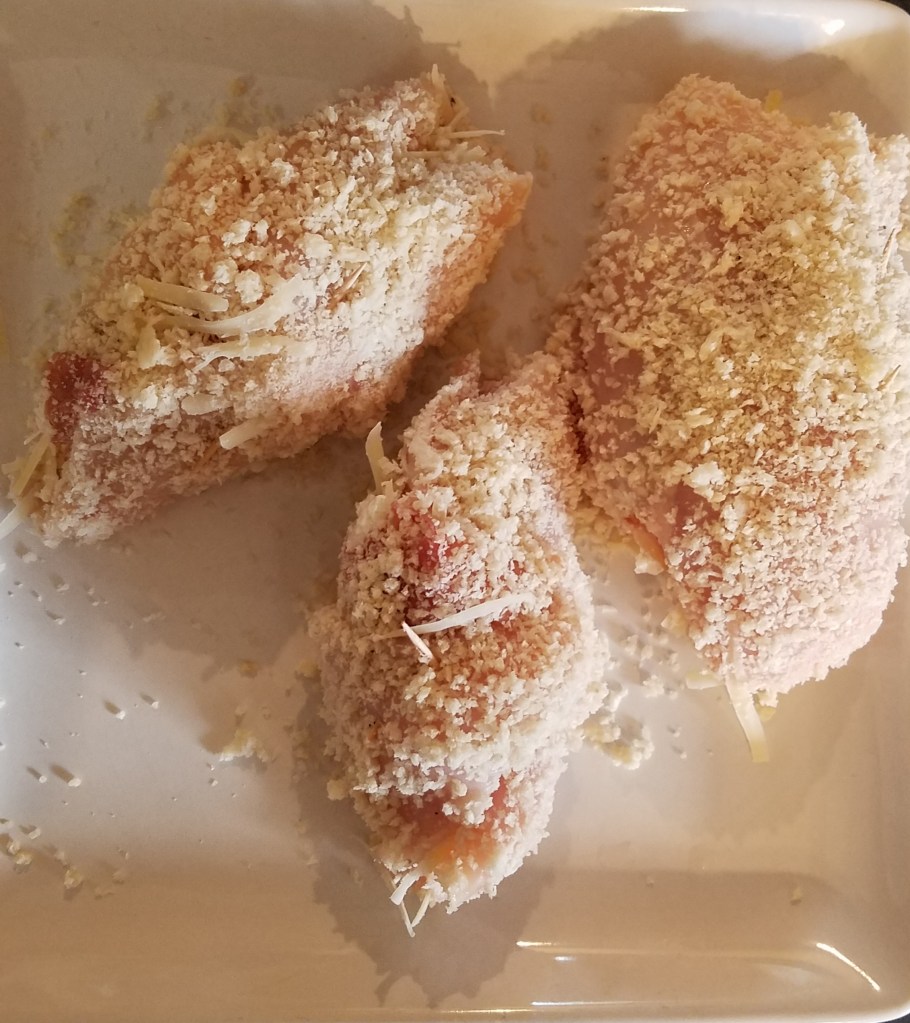
Roll the chicken breast and secure with toothpicks.
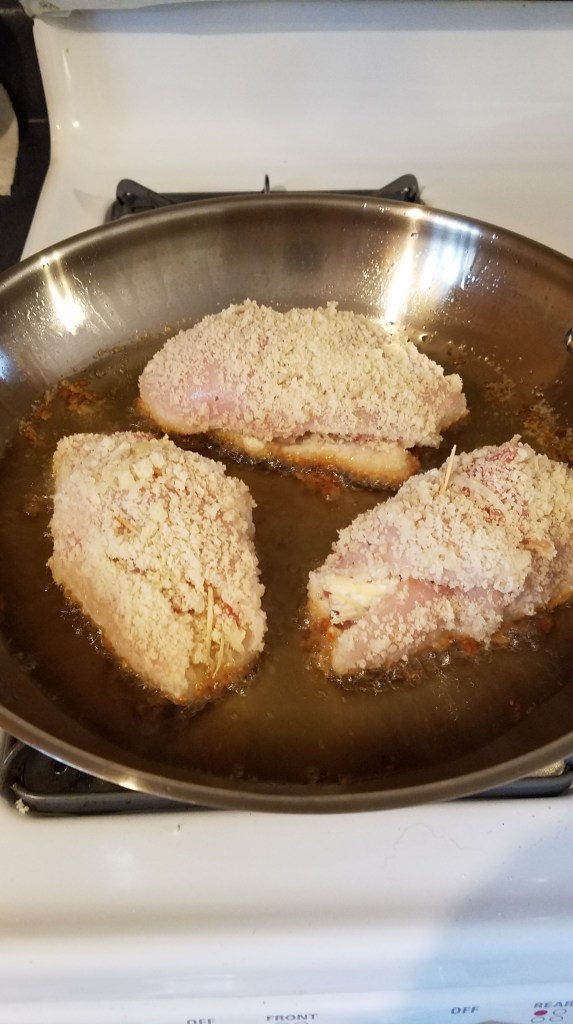
Heat a large skillet to medium heat and add ½ cup cooking oil. When the oil is hot, gently lay the chicken breasts into the pan, being careful to not crowd the pan.
When the bottom side browns, turn it over and cook the other
side. When both sides are golden brown,
remove to a clean plate, lined with a paper towel.
Discard the oil from the pan. I like to reuse oil so I usually dump the oil
in a stainless steel bowl and filter it later and store it in a can.
Wipe remaining oil from pan but leave a slight, residual
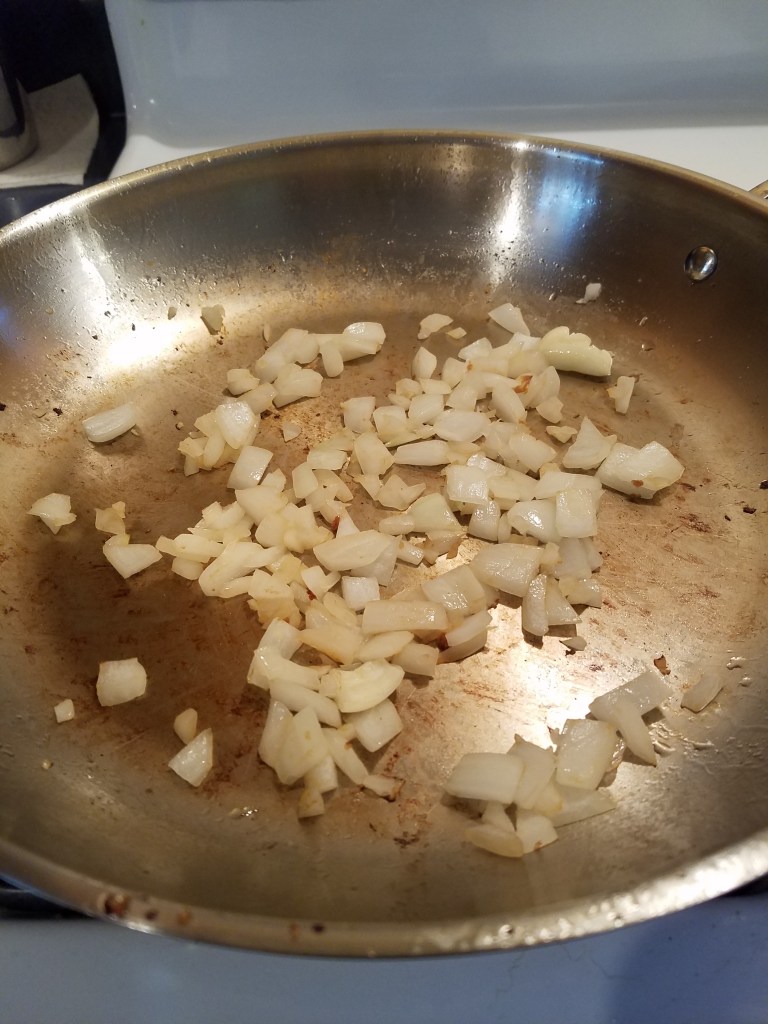
film of oil. Turn heat to medium high and
add onions. Sautee for a minute until
onions soften. Remove onions and set
aside.
Deglaze the skillet with chicken stock.
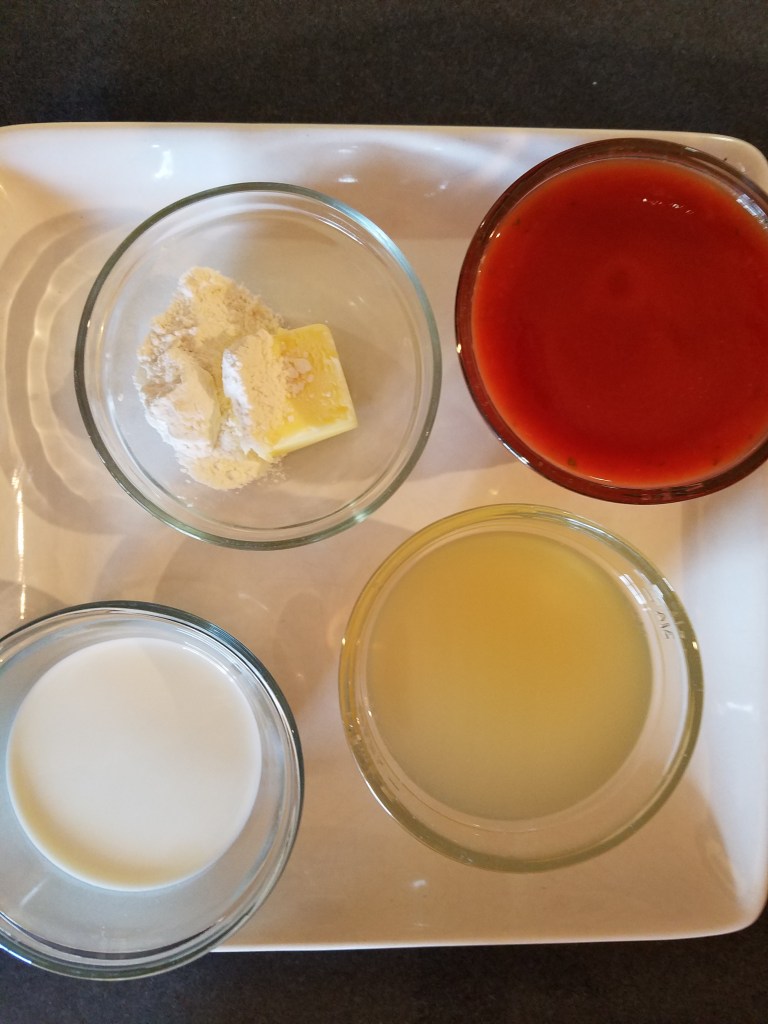
Butter and Flour, Tomato Sauce, Half and Half and Chicken Stock
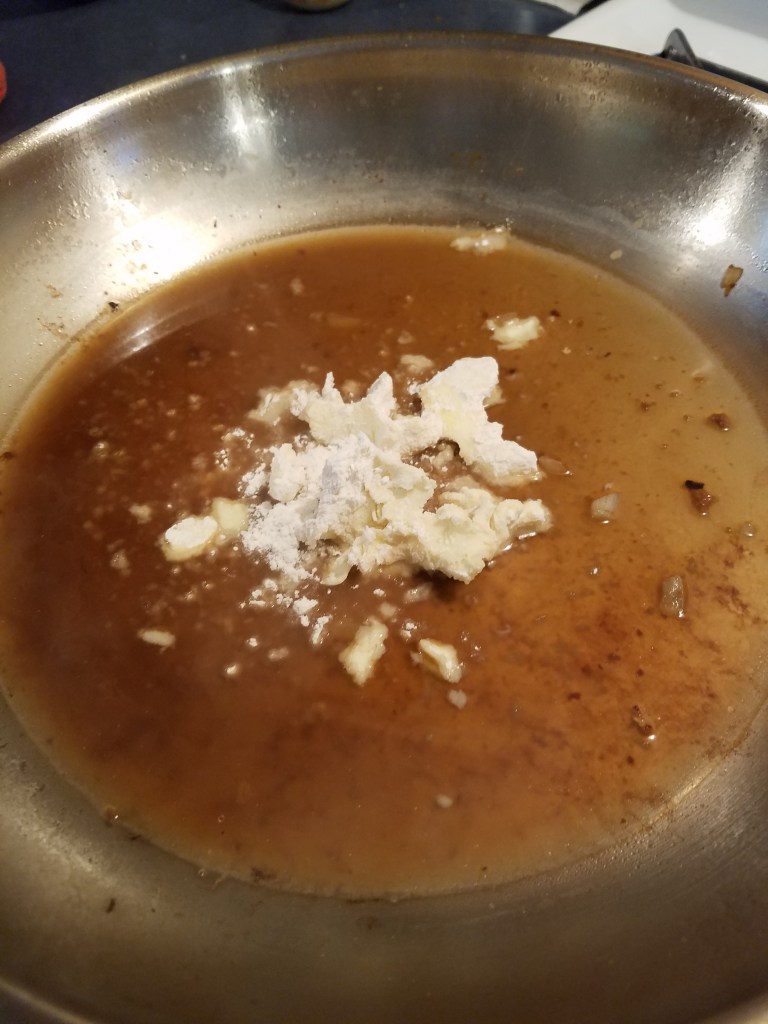
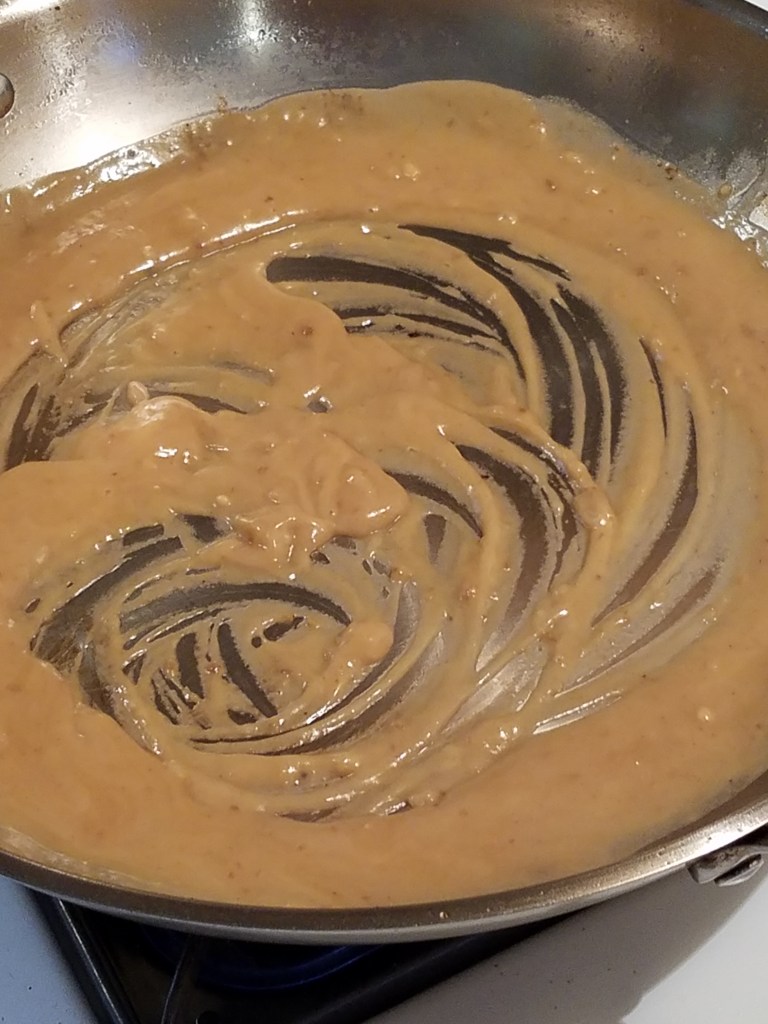
Add butter and flour and whisk to make a roux.
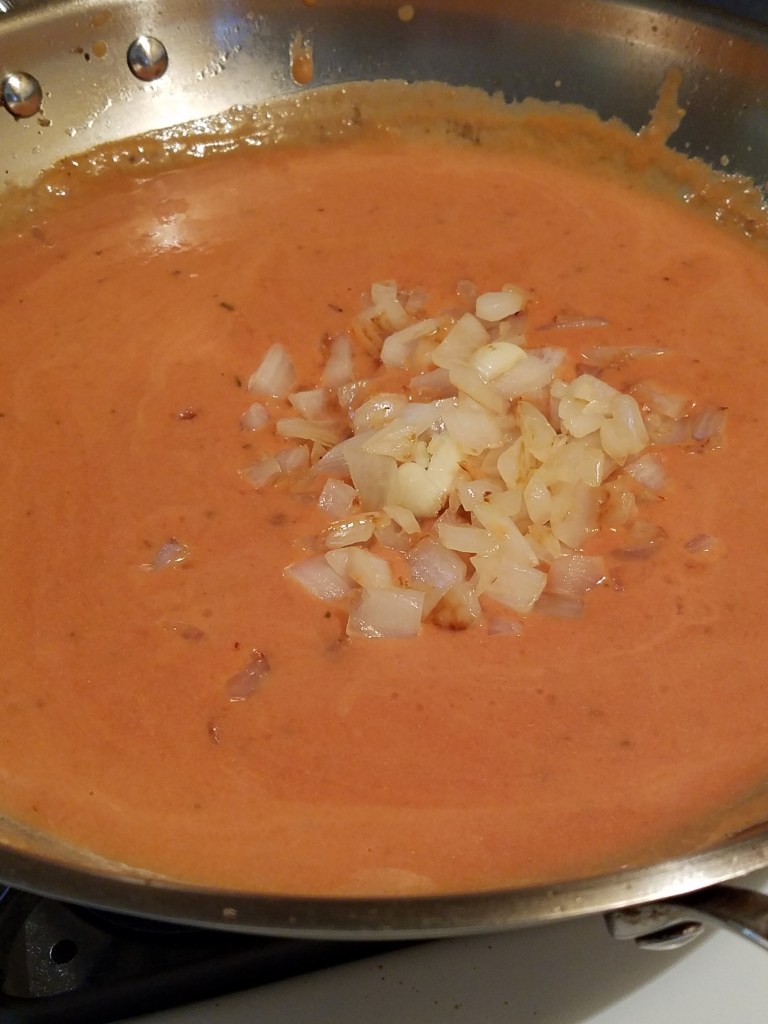
Add cream and tomato sauce.
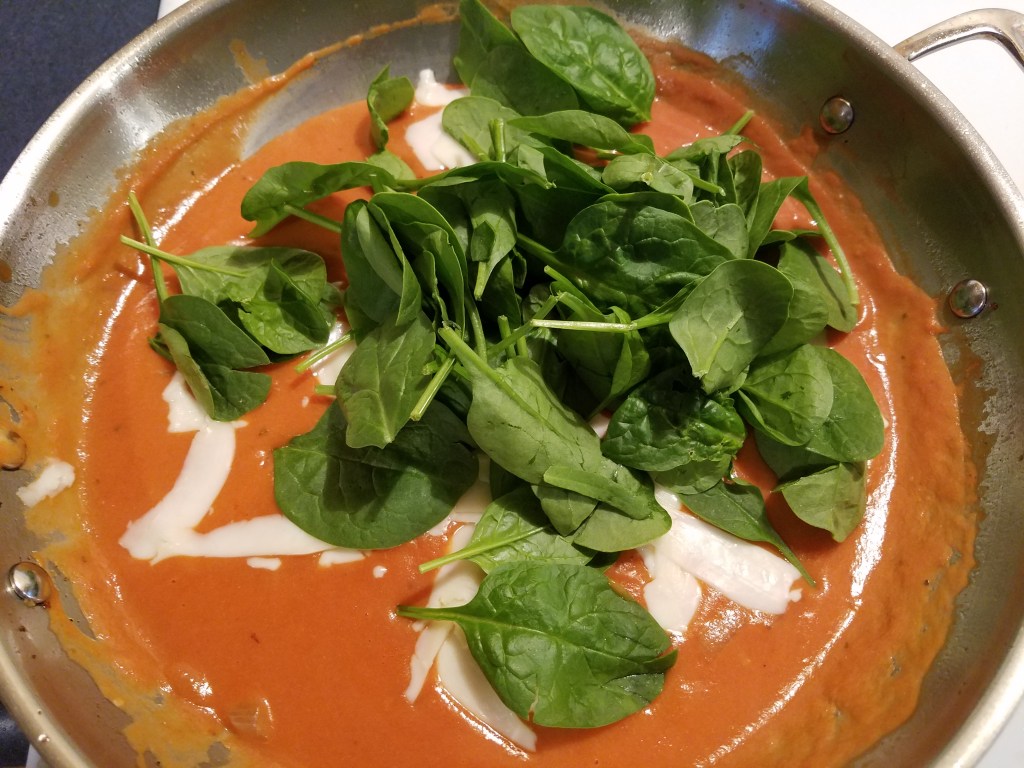
Whisk and sauté until the sauce thickens. Return the onions to the skillet. Lower the heat.
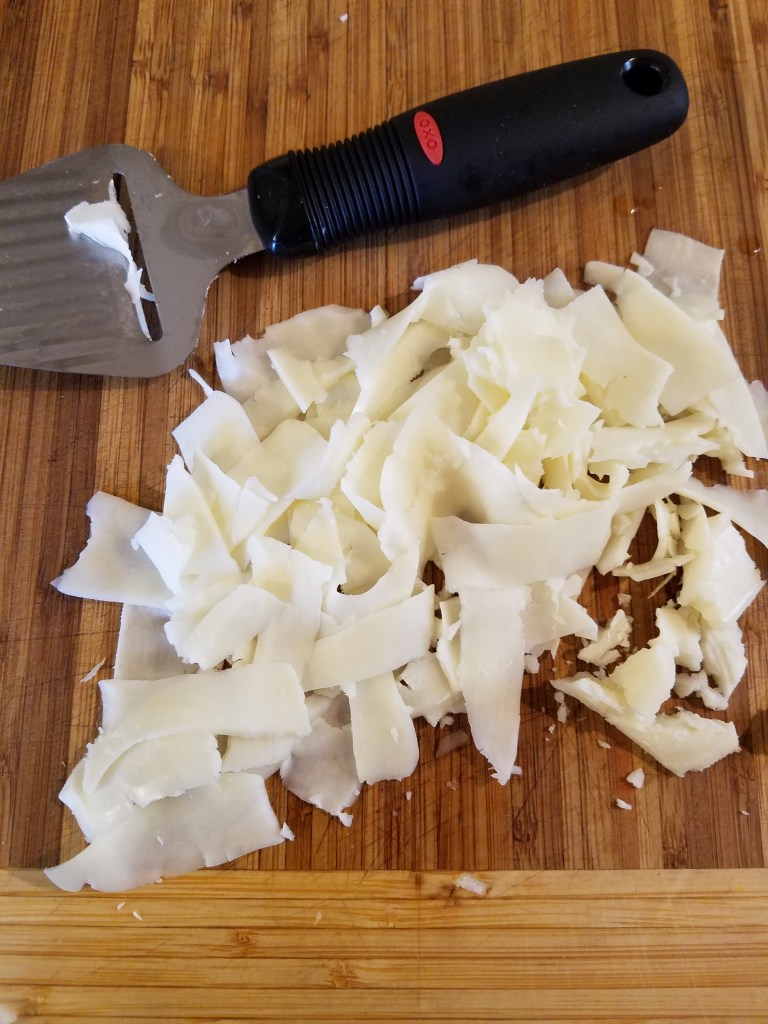
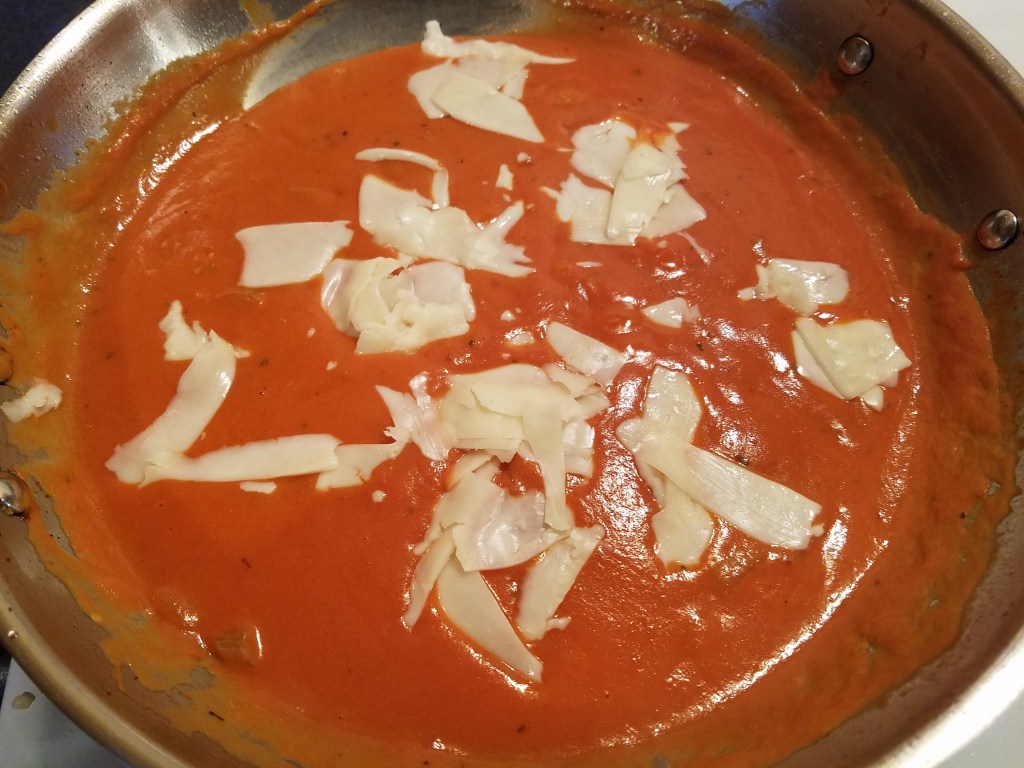
Add mozzarella.
Add fresh spinach and sauté for another minute, or so, until
the spinach wilts.
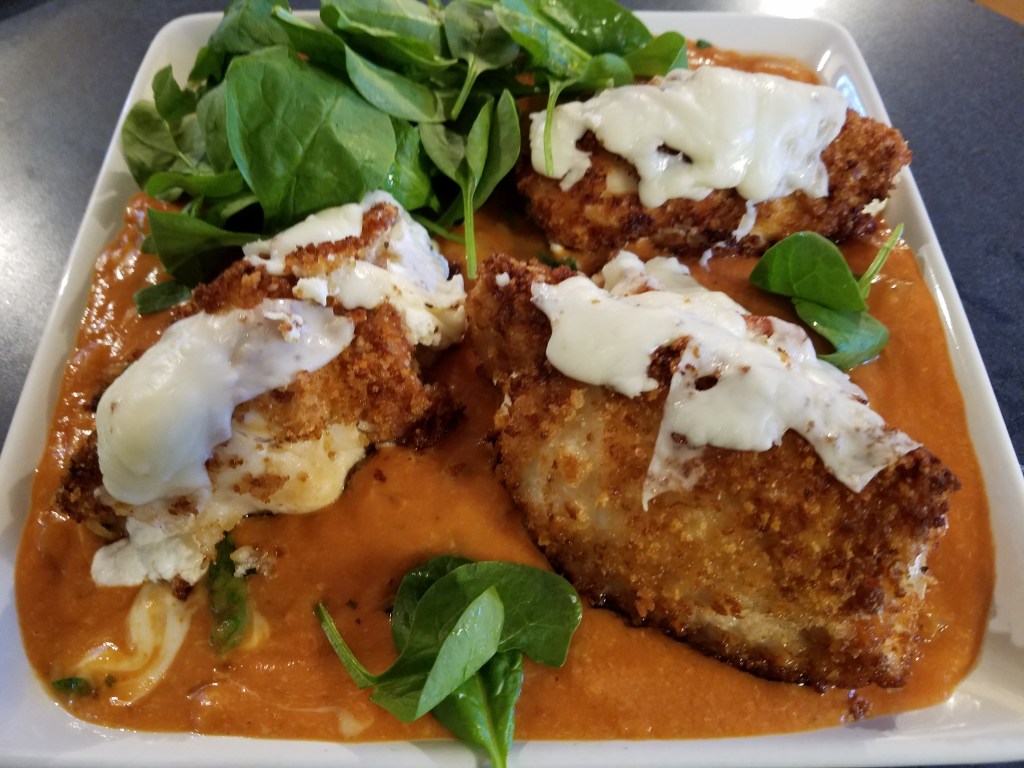
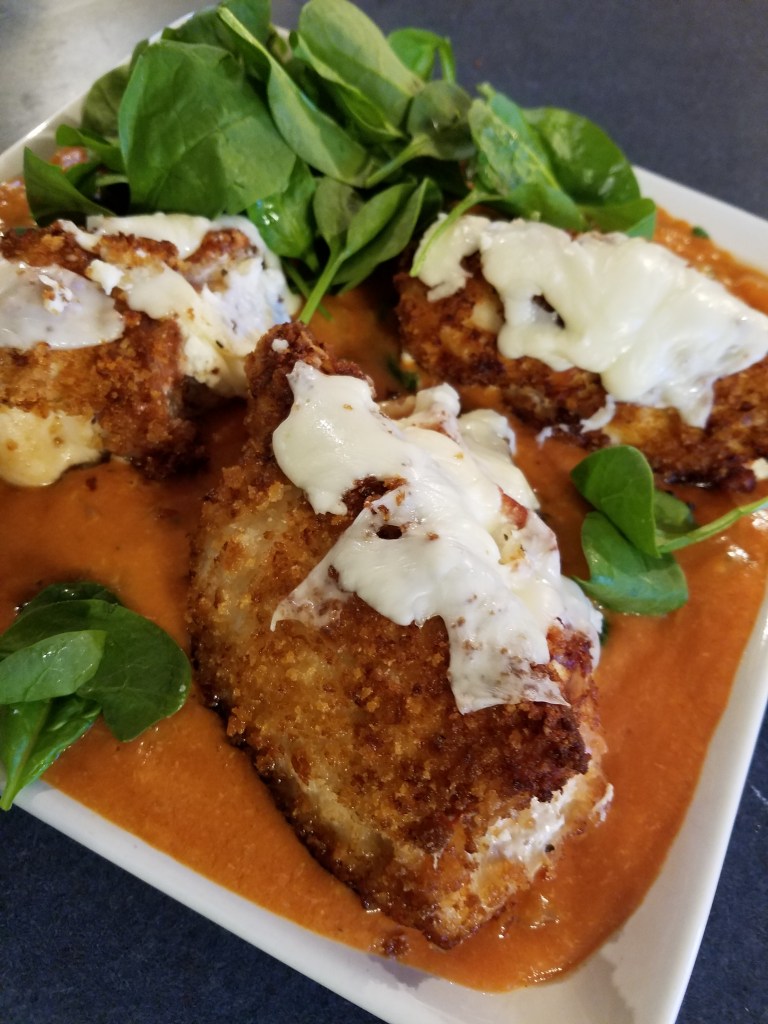
Pour the sauce onto an oven proof serving platter. Arrange the chicken on top of the sauce and add a few slices of mozzarella. Bake in the oven for a few minutes to melt the cheese.
There comes a time in every cook’s life when they realize that they don’t have an ingredient they need for a recipe. Sometimes those moments happen in the midst of preparing a meal. Sometimes cooks just have to improvise. Sometimes cooks just have to “fake it” and force their way through life’s unexpected problems.
I’ve had some long, long days at work recently, which is why my blog posts have become less frequent. A few nights ago, I came home from work and I was craving something spicy. I wanted to make a variation of my Yin and Yang Chicken Wraps because it was quick and easy to prepare. I prepped the vegetables and chicken and just as I was getting ready to fry the chicken, I realized that I didn’t have any eggs.
Eggs are something that I always keep on hand…except this
time.
I usually fry chicken by dipping the chicken in egg and dredging it in flour. That’s Chicken 101. Of course, buttermilk could be used instead of egg… that’s the classic recipe for southern fried chicken. Buttermilk is not something I usually have on hand.
In a moment of inspiration, or desperation, I decided to use milk and Italian dressing instead of eggs.
Why Italian dressing?
Why not? I figured that if I was
going to improvise I might as well try something completely new.
The result was some very crispy and very delicious chicken. The rest of the preparation was smooth sailing and I made some extremely spicy wraps. So, satisfying!
Italian dressing contains oil, among other things, and that, combined with the milk, gave the flour something to stick to and it produced great flavor.
I ate two of the large wraps and went to bed an hour later. Big mistake! The joy I experienced while eating the spicy chicken wraps was perfectly balanced by the upset stomach I experienced 5 hours later as I drove to work the next morning. Yin and Yang, indeed!
So, don’t panic when you find yourself missing an ingredient. Trust your instincts and face adversity bravely. Improvise. Be daring!
Oh, and don’t go to sleep an hour after you eat…especially if you eat something very spicy!
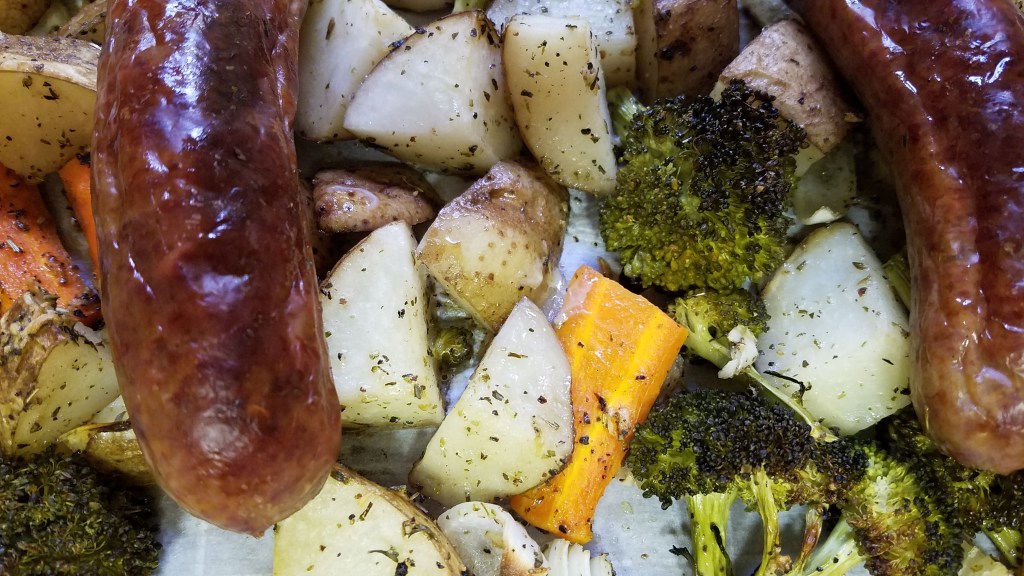
This is a great time-saving meal for a weeknight dinner…very
convenient for working parents who want to make something nutritious, tasty and
quickly. The whole process takes about
an hour, from start to finish. Clean up
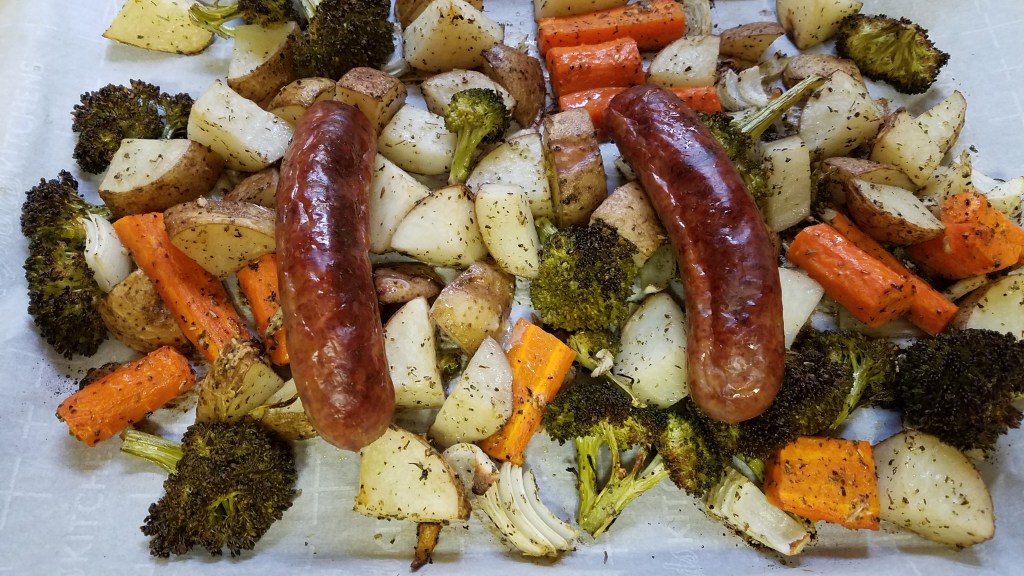
is easy, especially if you line the sheet pan with parchment paper or foil. I used frozen Italian sausage for this and it
cooked completely and browned nicely.
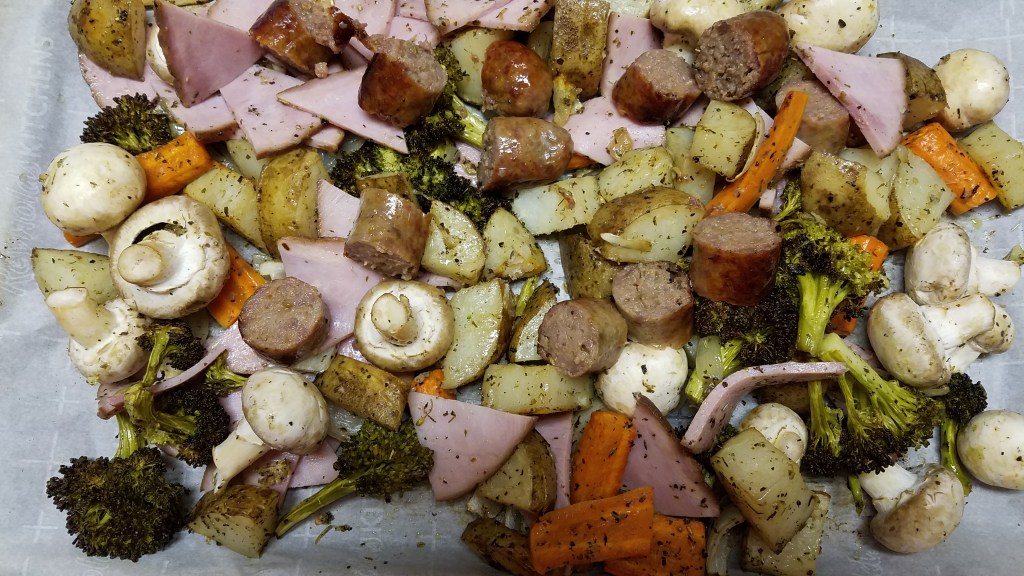
The ham was cured and ready to eat, so I added it near the end of the
cooking process, just to make it warm.
Ingredients:
3 large russet potatoes
2 very large carrots
8 to 10 oz broccoli
½ large onion
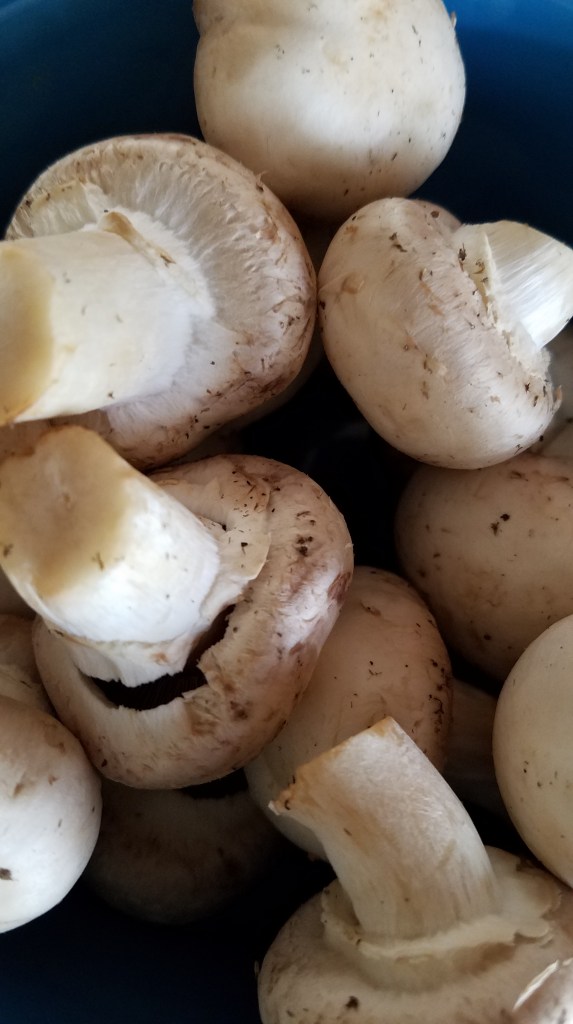
8 oz mushrooms
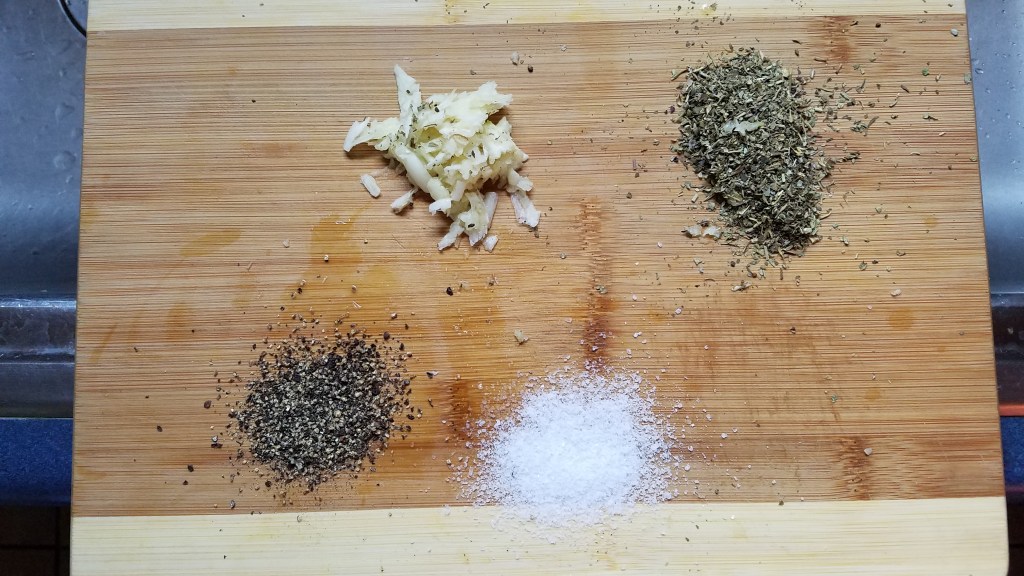
2 tsp salt
2 tsp fresh ground black pepper
3 Tbs olive oil
2 garlic cloves, smashed
2 Tbs Italian seasoning
2 mild Italian sausage links (about ½ lb)
½ lb cured ham, sliced ¼” thick.
1/3 cup shredded Parmesan cheese
Directions:
Set oven to 350°.
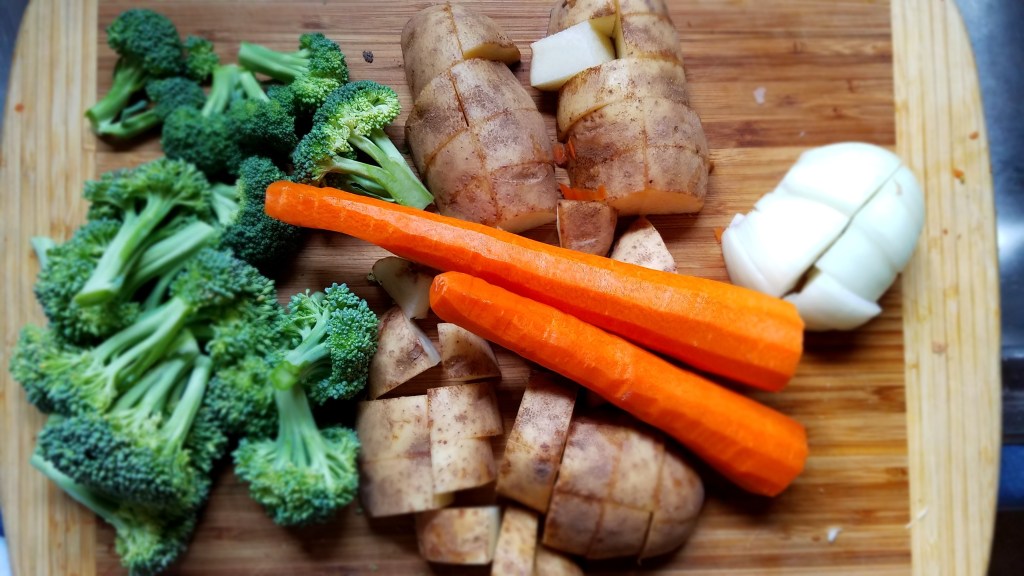
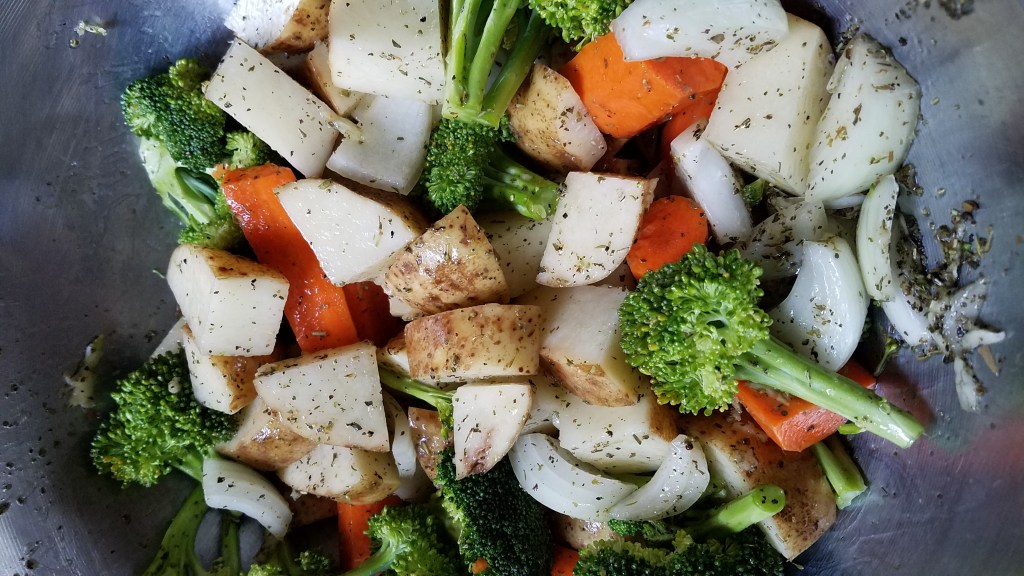
Peel and rough chop vegetables. Cut vegetables into 1” to 1 ½” pieces.
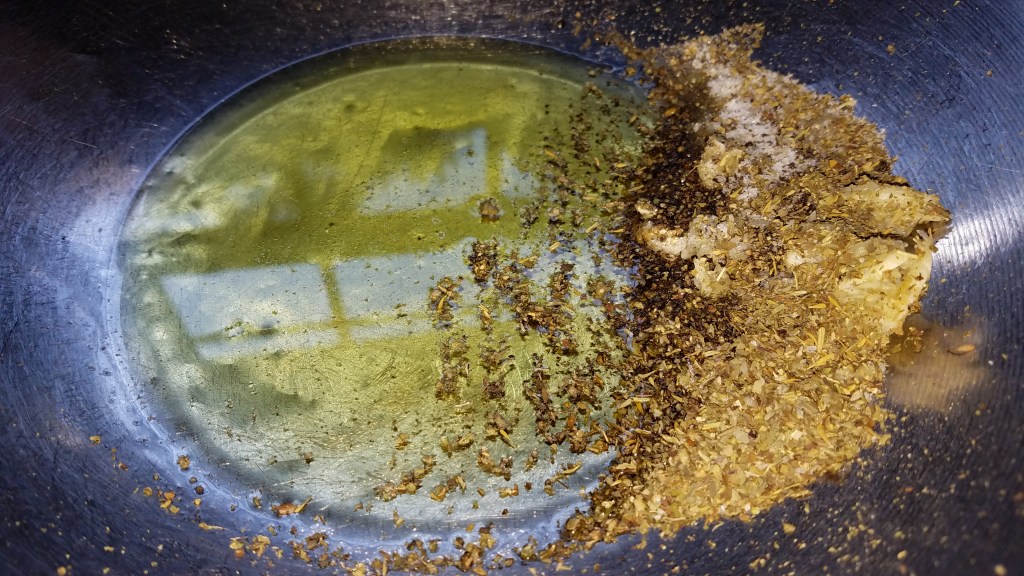
Add oil, garlic, salt, pepper and Italian seasoning to a
large mixing bowl.
Toss vegetables in the oil mixture and turn everything out
to a lined sheet pan.
Add the sausage on top of the vegetables.
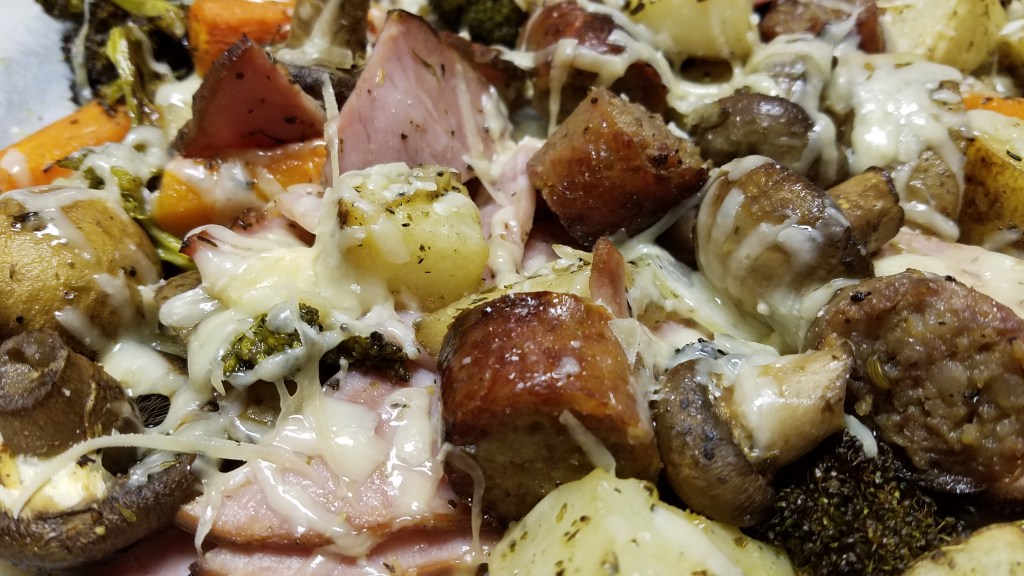
Bake at 350° for 20 minutes. Stir vegetables and turn the sausage over to brown evenly. Bake for another 15 minutes. Add the ham and stir. Top with Parmesan cheese Bake for another 5 minutes. Serve from the baking sheet, or a serving platter.
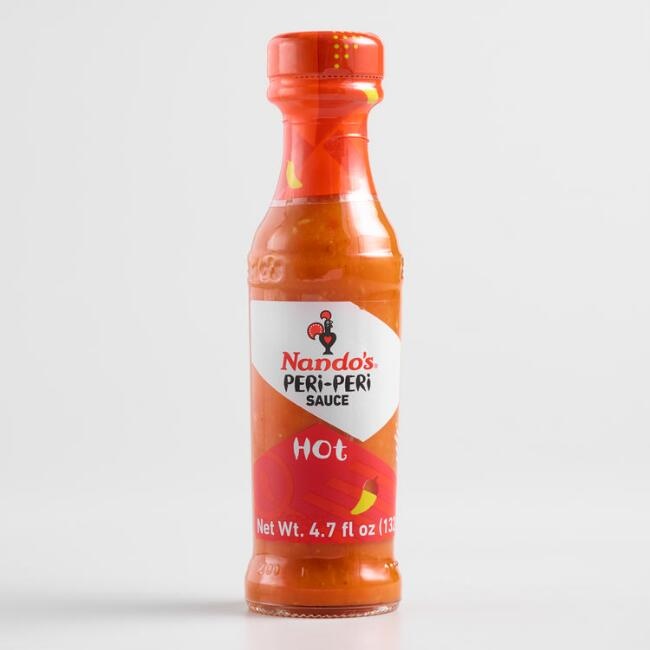
My cousin recently introduced me to peri-peri. She understands my passion for chilis and all
things spicy and, when she shipped three bottles of peri-peri sauce to me, I
was elated. As I opened the box, a
heavenly aroma of chilis filled the air and as I began to unwrap the contents,
I realized that two of the bottles had broken during shipping. Oh, the horror!
I salvaged the one unbroken bottle and said a solemn prayer
for the two noble souls that didn’t make it.
Peri-peri is a cultivated chili from Portugal. It’s originally an African chili, from Mozambique,
to be exact. “Pillpill” is Swahili for
“pepper”. It is a very spicy red chili. Portuguese
explorers came across peri-peri way back when Portugal was in their exploratory
heyday. The peri-peri chilis were
brought back to Portugal where they were cultivated through selective
breeding.
Since I had never heard of peri-peri, I did what anyone else
living in the 21st century would do…I ran to my computer and searched
the internet for peri-peri. Most of the
results showed recipes for peri-peri Chicken, which was naturally a Portuguese
concoction. Most recipes called for
about 4 ounces of peri-peri sauce which was just about what my lone- surviving,
stalwart bottle contained.
I discovered that the key to this dish relies more on how the
chicken is prepared, rather than the type of chilis that are used. In fact, you can omit the chilis entirely and
still have a great meal! I have to say
that I recommend using some amount of chilis because they add a wonderful
flavor and the act of roasting takes away much of their heat.
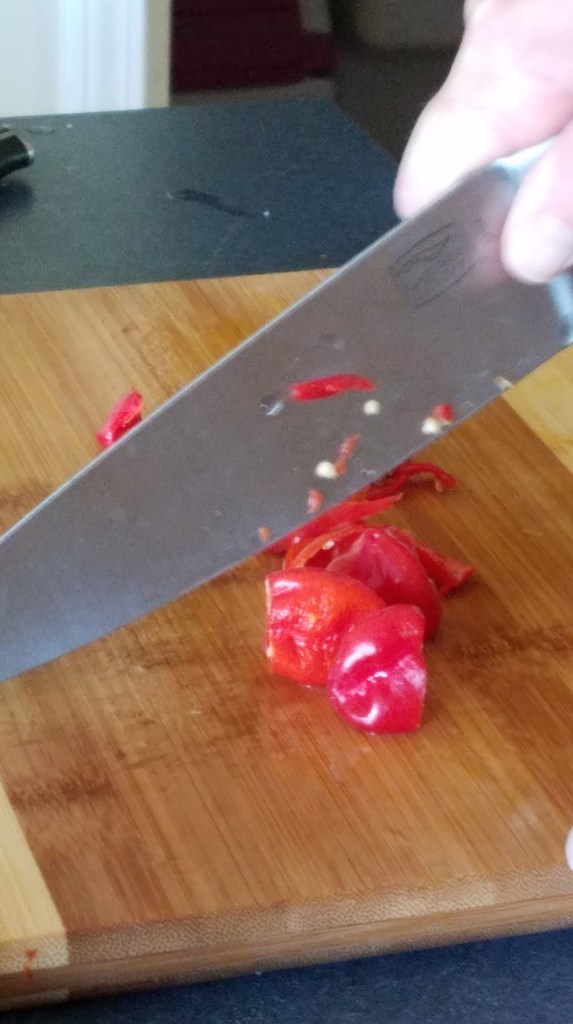
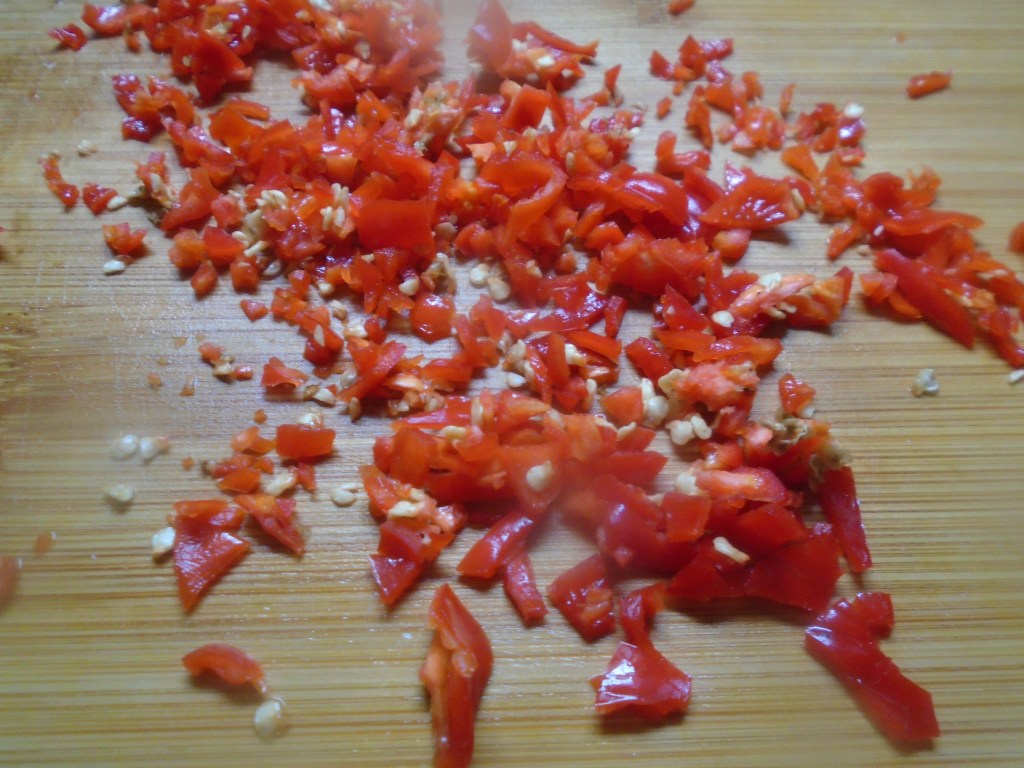
I didn’t have peri-peri sauce on hand this time but I did have lots of red-ripe habanero chilis from my garden that were just waiting for an opportunity to shine.
Chop one-handed!
Don’t touch the habaneros!
I also included things like Italian dressing and Tajin seasoning, for the marinade. The substitutions and additions that I used didn’t take anything away from the quality of the finished product because I stayed true to the spirit of the dish. I grilled the chicken over hot coals. That is the key.
Ingredients:
1 whole fryer chicken
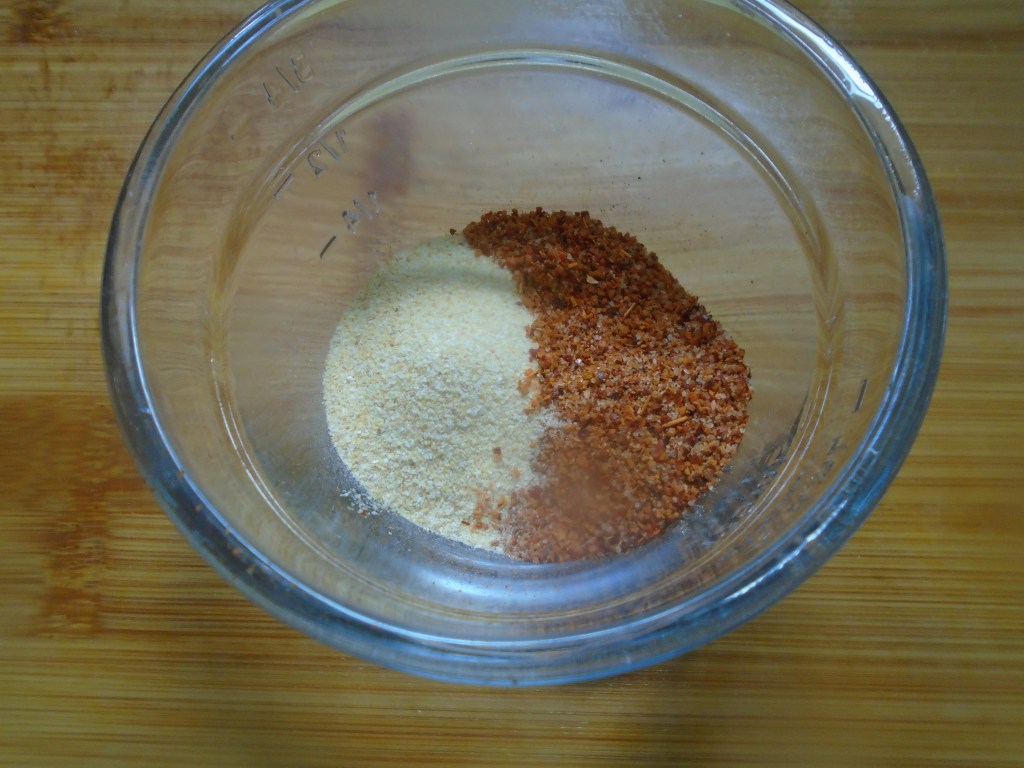
Dry rub:
2 Tbs Tajin seasoning
2 Tbs garlic powder
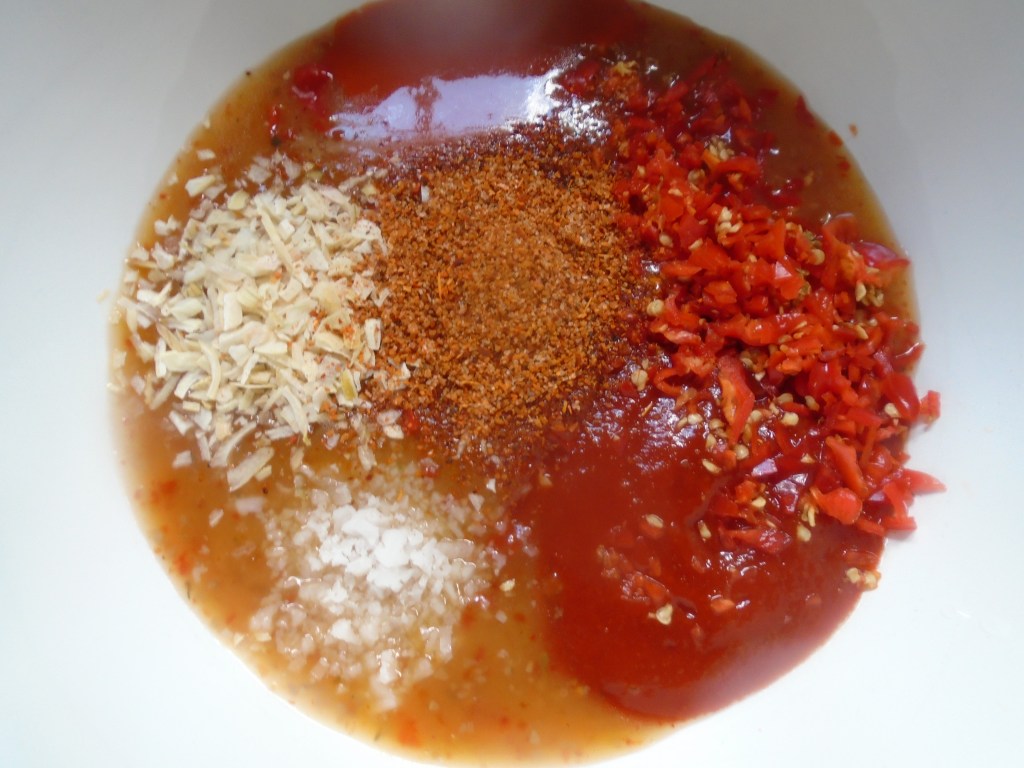
Marinade:
1 ½ cups Italian dressing
5 habanero chilis, chopped
2 Tbs Tajin seasoning
2 Tbs sriracha sauce
2 Tbs dried onion flakes
1 tsp coarse salt
1 Tbs hot sauce
Glaze:
1 ½ cups marinade
2 tablespoons butter
Juice of 1 lemon
Preparation:
For the rub:
Combine the Tajin seasoning and garlic powder.
For the marinade:
Combine marinade ingredients in a large mixing bowl.
Prepare the chicken:
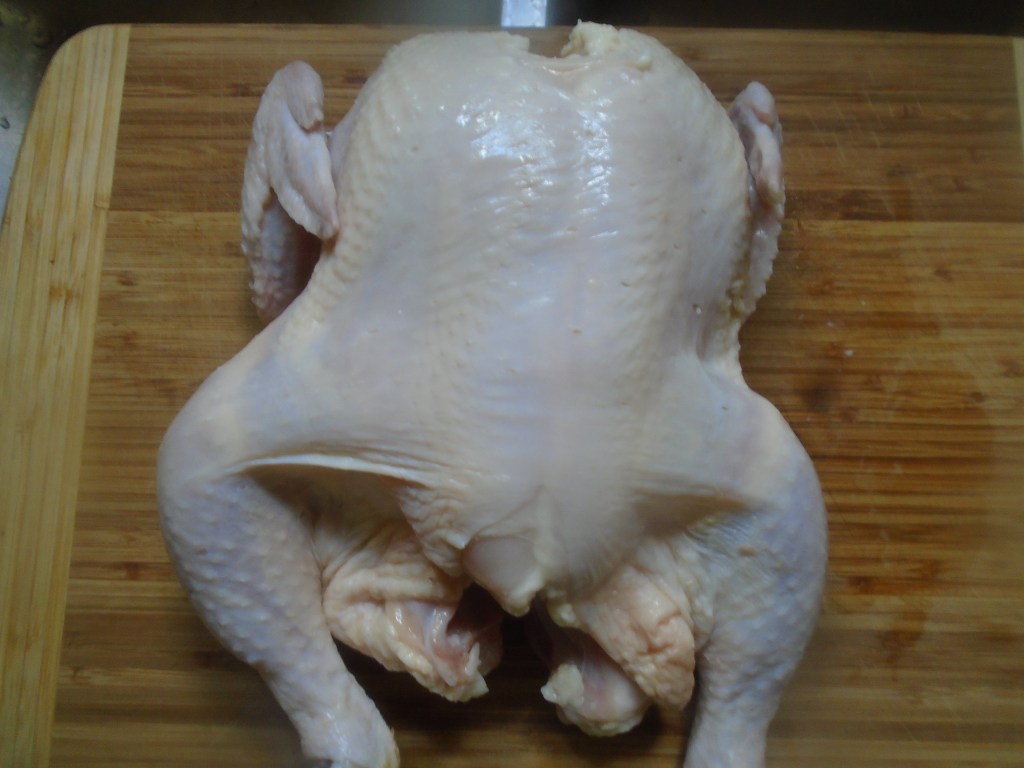
Inspect the cavity of the chicken and remove the neck and
packet of organs, if they are included. Wash
and rinse the chicken. Using kitchen
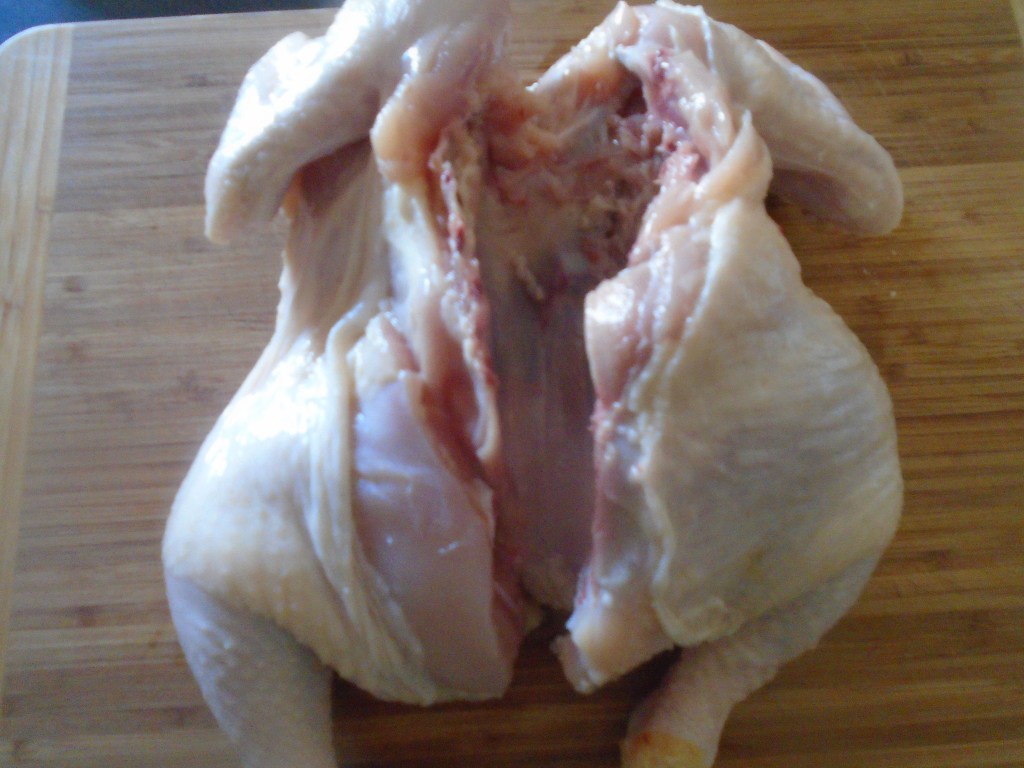
shears, remove the backbone. This is
actually fairly easy to do but it requires a strong grip on the scissors. Feel along the backbone to determine where to
cut. Cut along both sides of the
backbone. Remove the backbone and use it
for chicken stock or, if nobody is looking, discretely discard it and suffer
some guilt later. Same goes with the neck and organs…great for other uses but I promise I
won’t tell on you if you discard them.
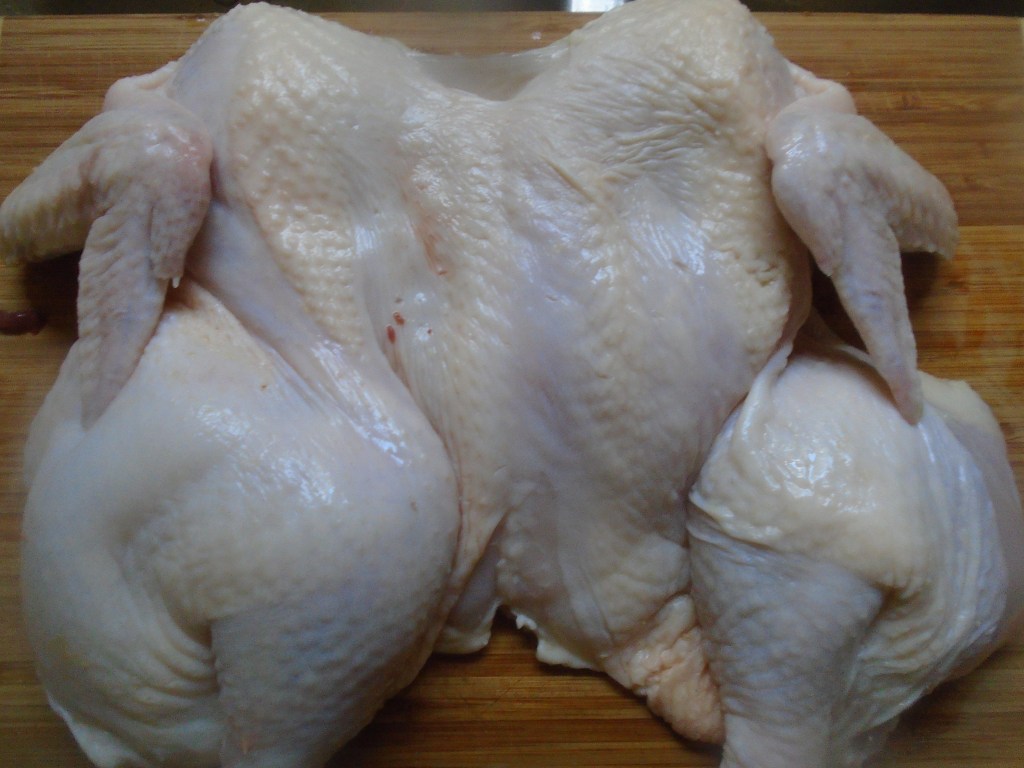
Turn the chicken over on a cutting board so that the breast faces upward.
Double your fists as if you were going to perform the Heimlich maneuver on someone. Press down forcefully between the breasts until the cartilage gives way. Don’t hold back! Lock your elbows and push down with extreme force! (Just think of it as chicken therapy). If you lack the strength to perform this act, that’s ok. Just score the breast meat along the sides of the breast bone and try again. Work your way up and down the middle of the breast with your fist until the cartilage yields and you are left with a flattened chicken.
Apply the rub:
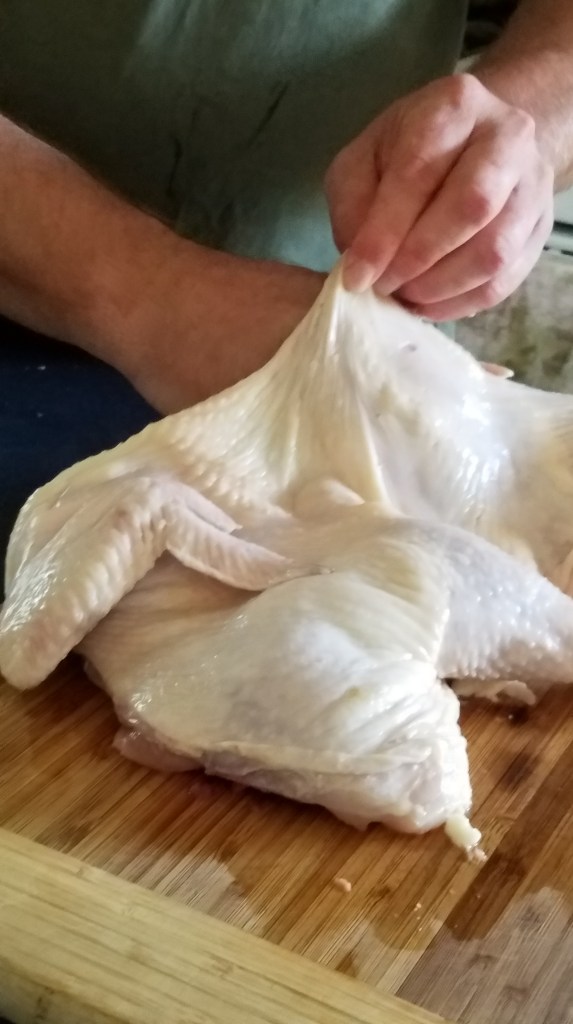
Carefully create an opening between the skin of the chicken breasts and the breast meat. Use your fingers to create the opening and then slide your hand under the skin and continue sliding back to the thighs and leg. Do this gently, to avoid breaking the skin. Once you have separated the skin from the meat, apply liberal amounts of the rub on the meat with your fingers
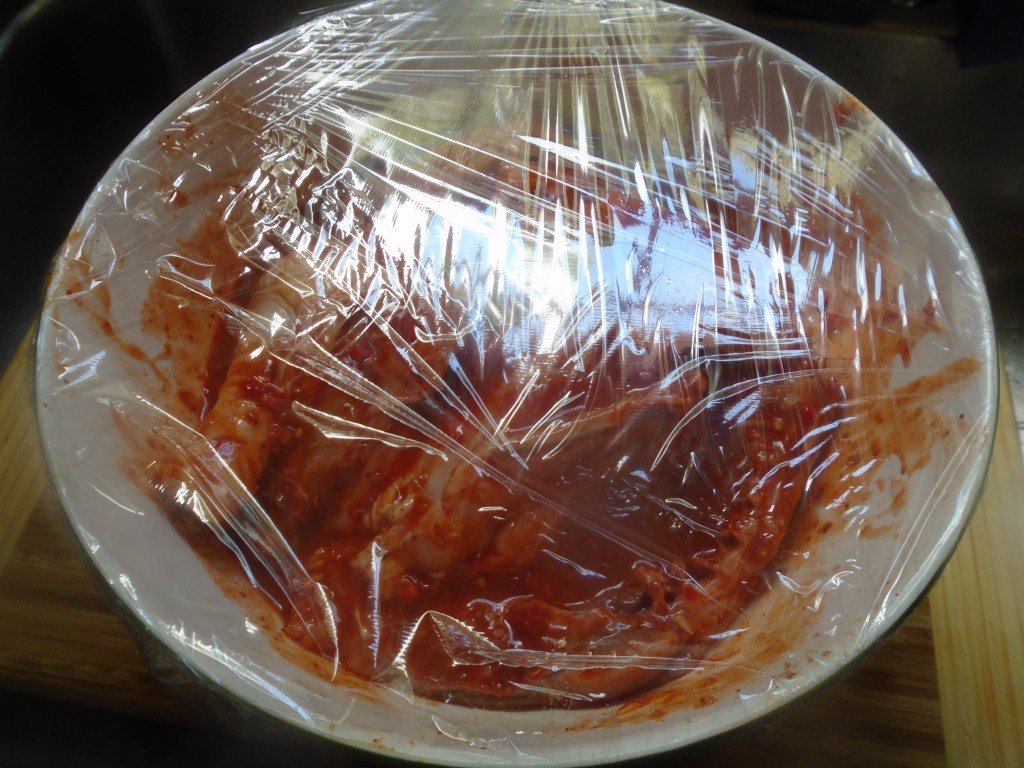
Take the chicken and dredge both sides in the bowl containing the marinade. Coat the chicken thoroughly and then cover
the bowl and refrigerate for at least 4 hours, or overnight.
Prepare the grill:
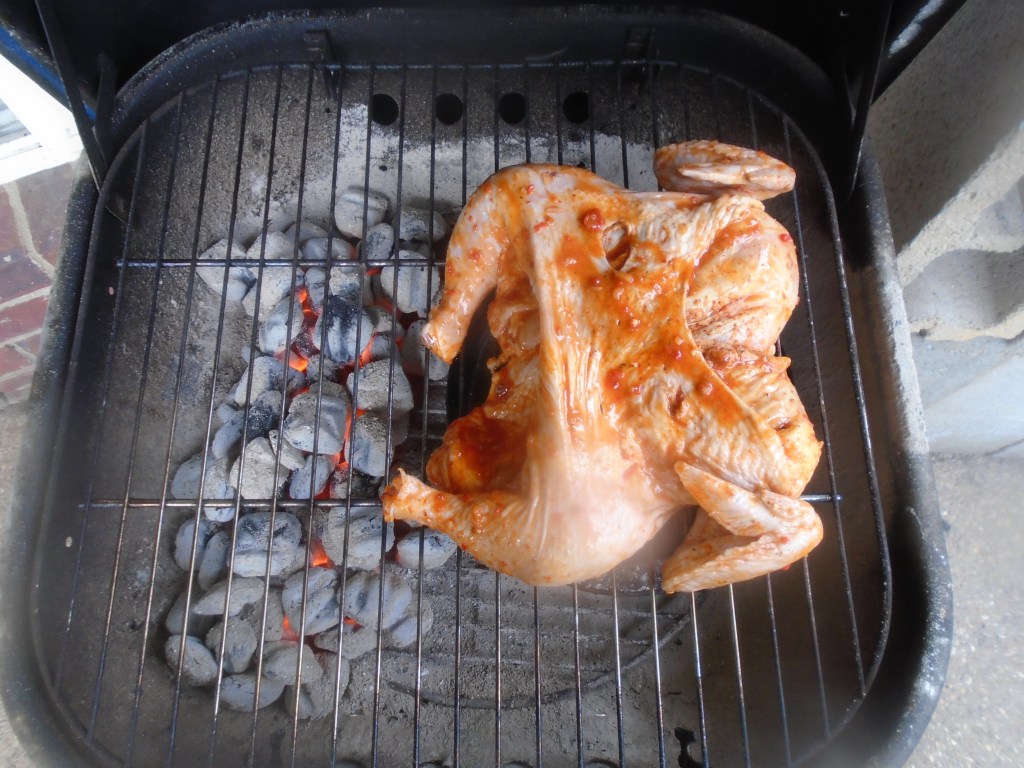
Heat some charcoal. I
filled one charcoal chimney with coals and the chicken was done in about 1 ½ hours. By the time the chicken was fully cooked, the
coals were nearly spent. If you want
more char on the chicken or if you want the chicken to cook faster, add more
coals and cook hotter. A word of advice: If you add too many hot coals you run the
risk of burning the chicken and the chicken might not cook evenly. I actually liked the way this cooked on the
grill. I never worried about burning the
chicken and the chicken came out nice and moist.
Use indirect heat when grilling the chicken. Add the hot coals to one side of the grill
and place a shallow pan on the other side, filled half-way with water…this
becomes a drip pan and it provides some moist air to keep the chicken from
drying out.
Remove the chicken from the marinade and let it warm to room
temperature. Reserve the marinade…it
will be used for the glaze.
Using two tongs, place the chicken on the grill, breast side up. Point the legs toward the side containing the coals. This will keep the breast from cooking too quickly and drying out. Additionally, this puts the bones of the chicken closest to the heat source, which will cause the bones to heat and cook the meat surrounding them. That’s a good thing.
Let the chicken cook for at least 30 minutes before considering turning the chicken over or repositioning it.
Check the chicken every 15 minutes or so. If the legs look like they are charring too
much, scoot the chicken away from the coals, otherwise, let it ride.
After the chicken has cooked for 45 minutes, press the chicken with a thumb or forefinger to check for doneness. If you are unsure about doneness, use a meat thermometer to check. If the thermometer reads 165° the chicken is safely cooked. If you want to turn the chicken over to crisp the other side, have at it. As I mentioned earlier, my coals were cooling at this point and I wasn’t worried about over cooking, so I turned the chicken and let the top side crisp a bit.
Remove the chicken and keep in a warm place.
For the glaze:
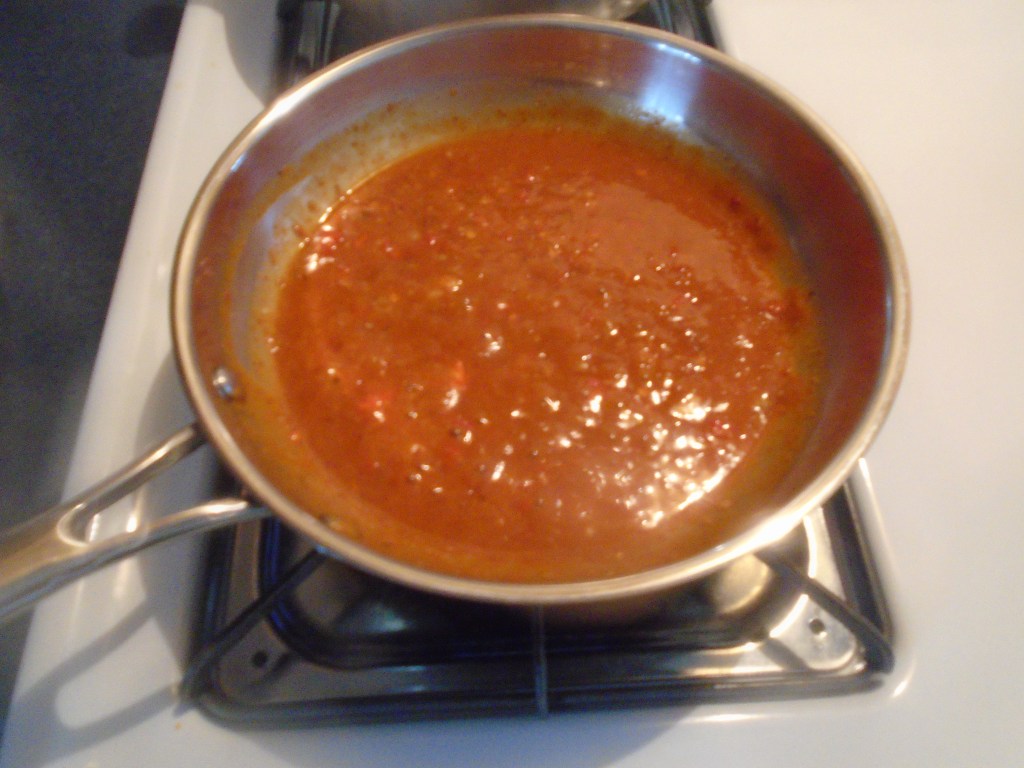
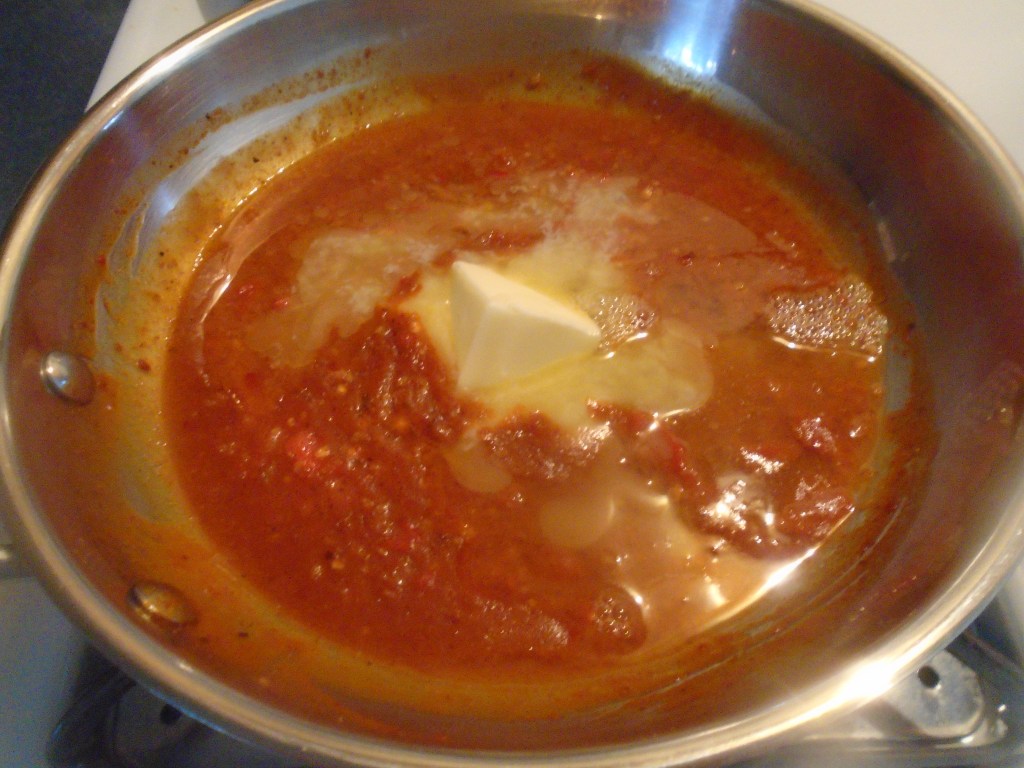
Pour the reserved marinade in a skillet. Heat to a boil and simmer for about 5 more minutes. Contrary to popular belief, a chicken marinade can be used for a sauce but it must be boiled first. Do not use the marinade to baste the chicken…that’s where you run into the risk of bacteria infecting your food. Add the butter and lemon juice to the sauce and simmer for a few more minutes, or until the butter has melted.
Drizzle the glaze over the chicken and serve warm with rice
and vegetables.
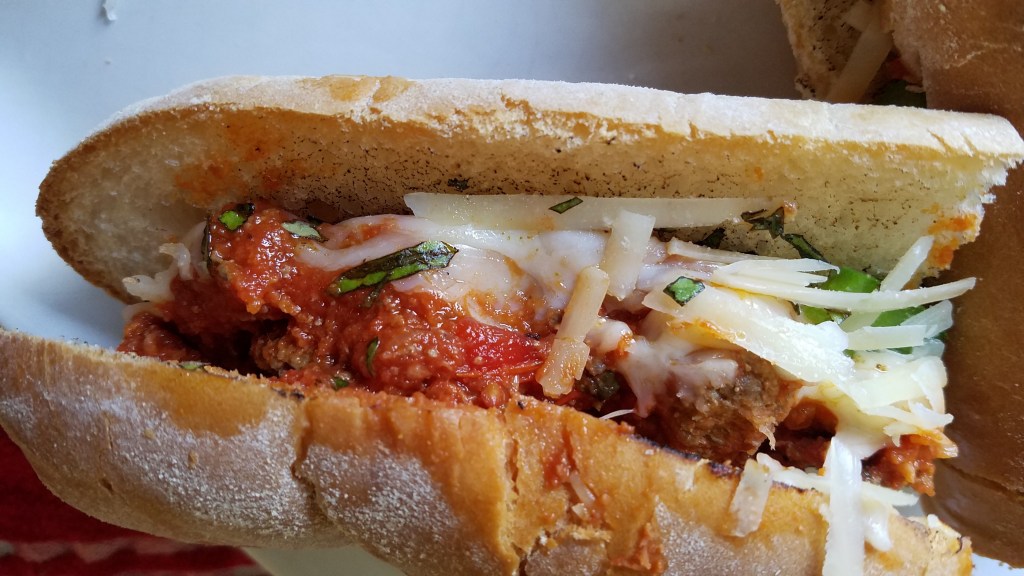
When I make spaghetti and meat balls I almost always make extra
sauce and meatballs. I sometimes use the
extra sauce to make meatball sub sandwiches.
Ingredients:
2 cups of cooked meatballs in marinara sauce
½ cup dry Parmesan cheese
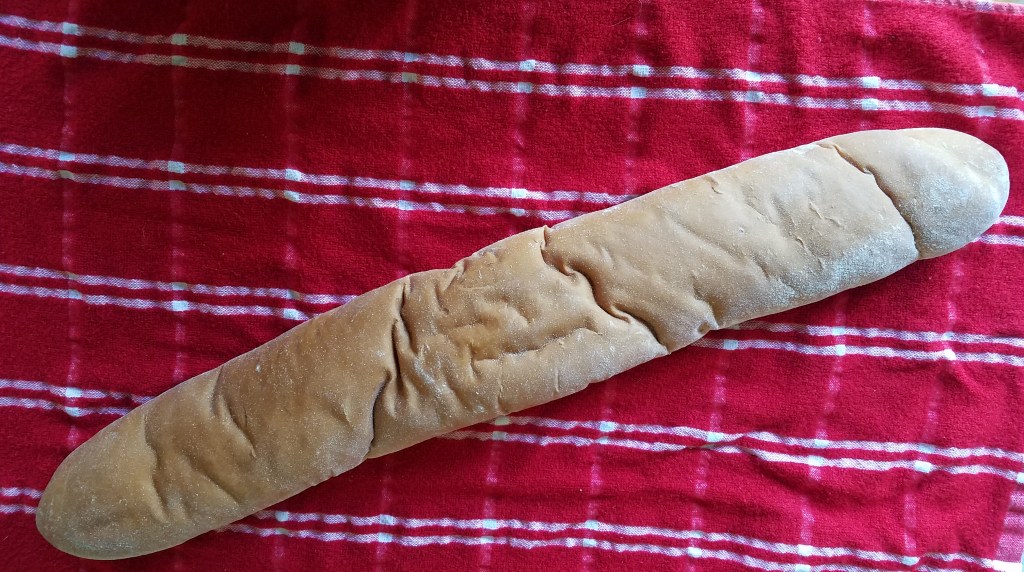
1 large New Orleans style Po’ Boy bread loaf (or any good
French loaf)
1 cup Mozzarella cheese, grated
½ cup fresh Parmesan cheese, grated
1 Tbs olive oil
1 clove of garlic, smashed
¼ bell pepper, sliced into ¼” strips
2 Tbs chopped fresh basil
Directions:
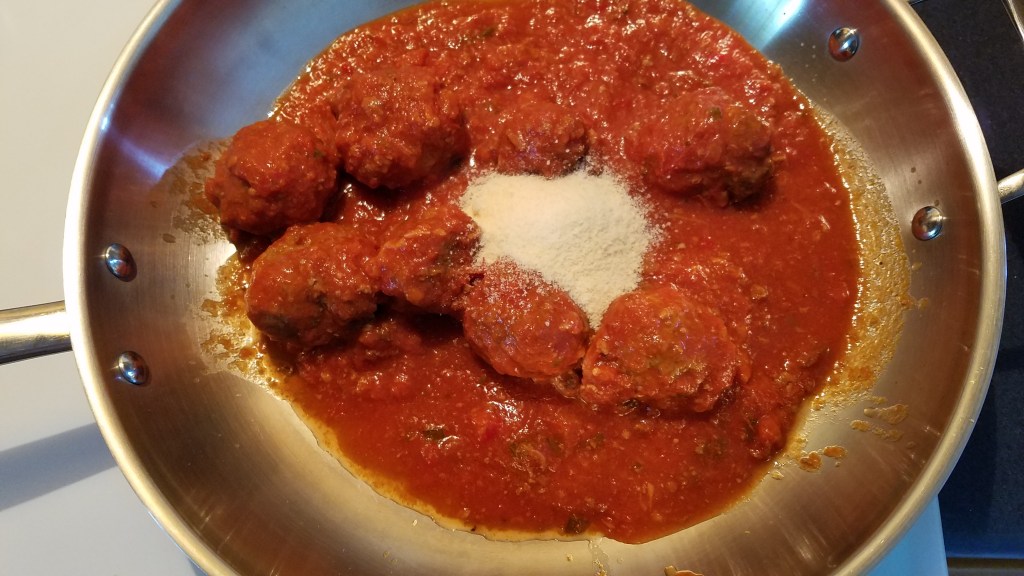
Warm the meatballs and marina is a skillet. Add the dry Parmesan and mix. Simmer over low heat for about 10 minutes.
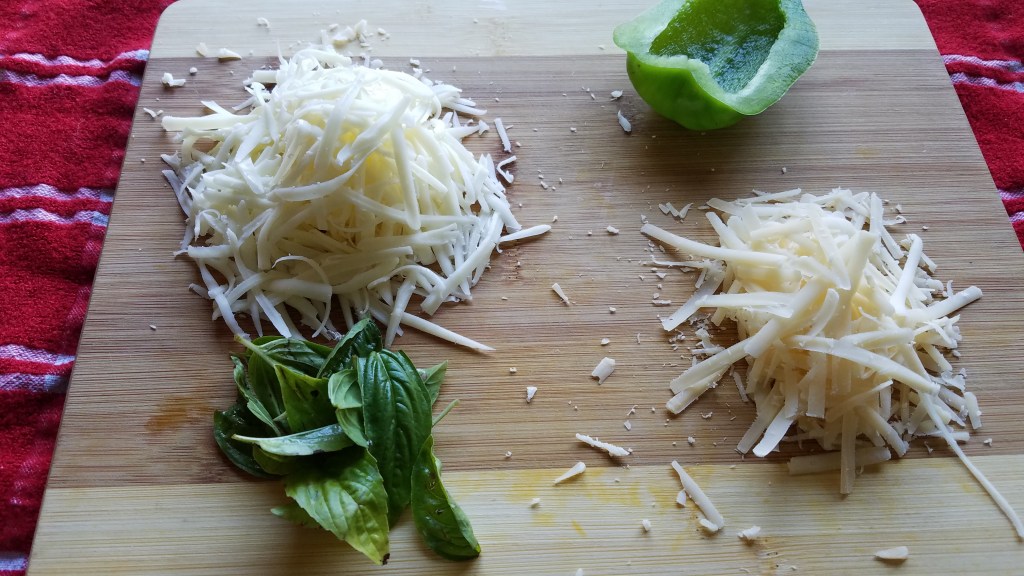
While the meatballs warm, grate the cheese and prepare the
garlic and bell pepper. Chop the
basil. Set aside.
In a small pan, add olive oil and garlic. Heat the pan on low/medium heat and then add
the bell pepper. Sauté for a few
minutes, until the peppers have softened.
Heat the oven broiler.
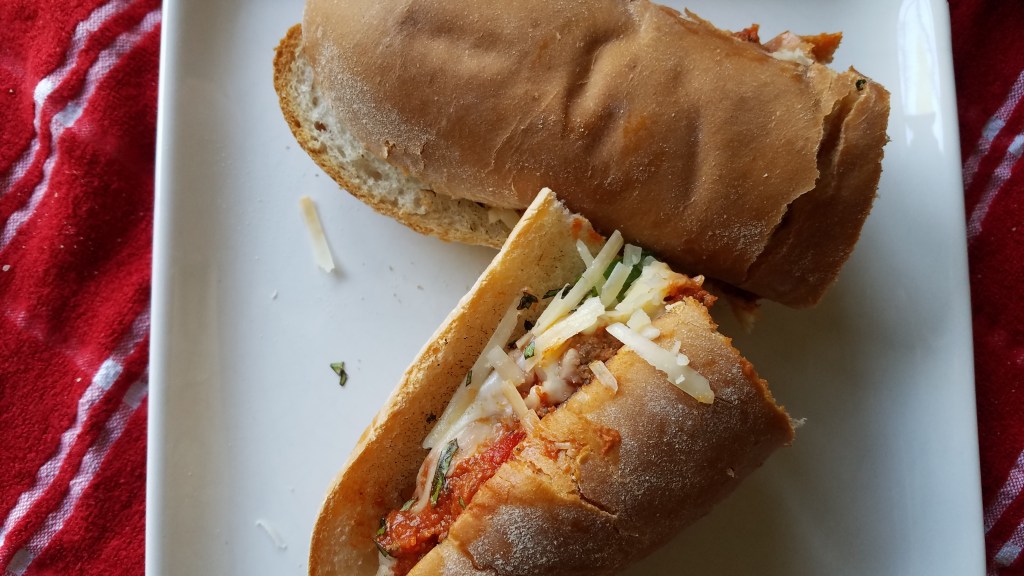
I used a 24” bread loaf, which made 4 subs.
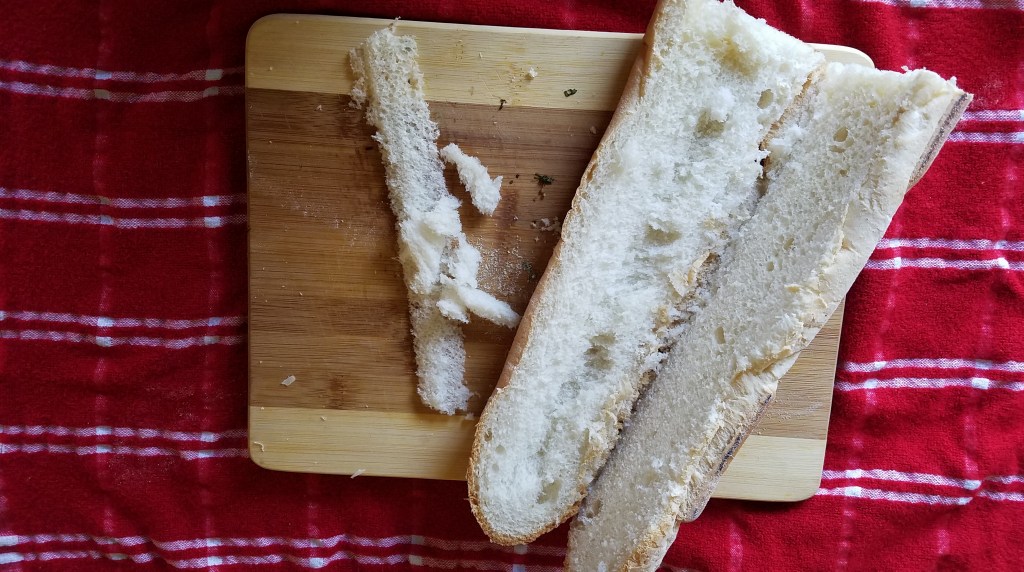
Slice the bread loaf but do not cut through all of the
way. Cut a “V” shaped trough in one of the lengths.
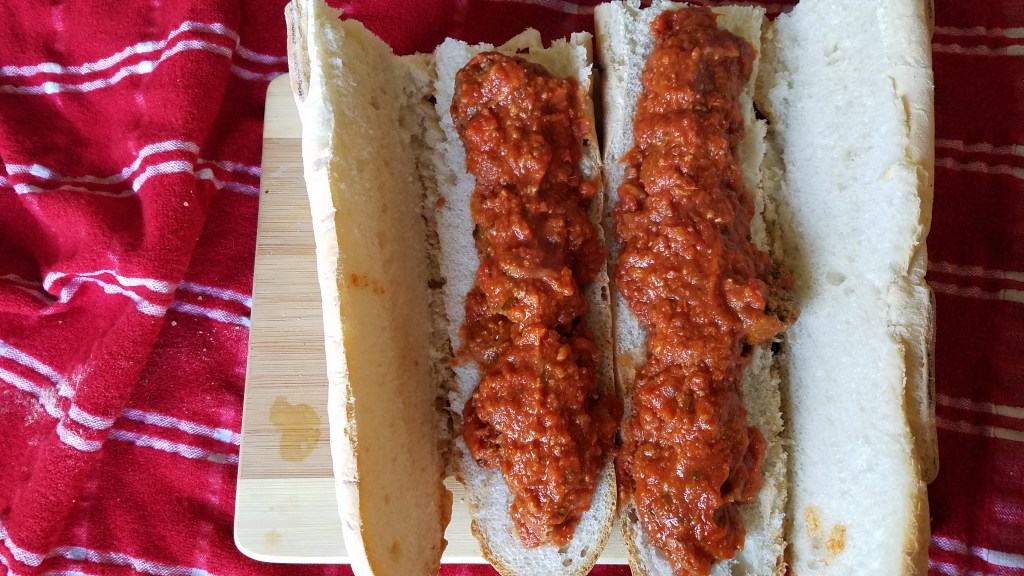
Add the meatballs and marinara to the trough in the bread
loaf.
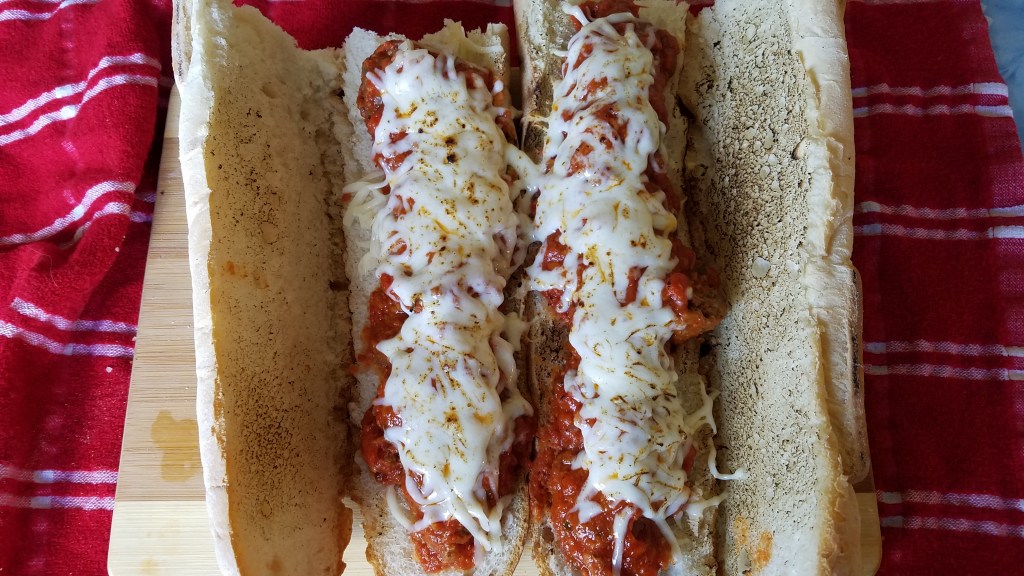
Add the mozzarella and Parmesan cheese. Put the subs under the oven broiler to melt
the cheese.
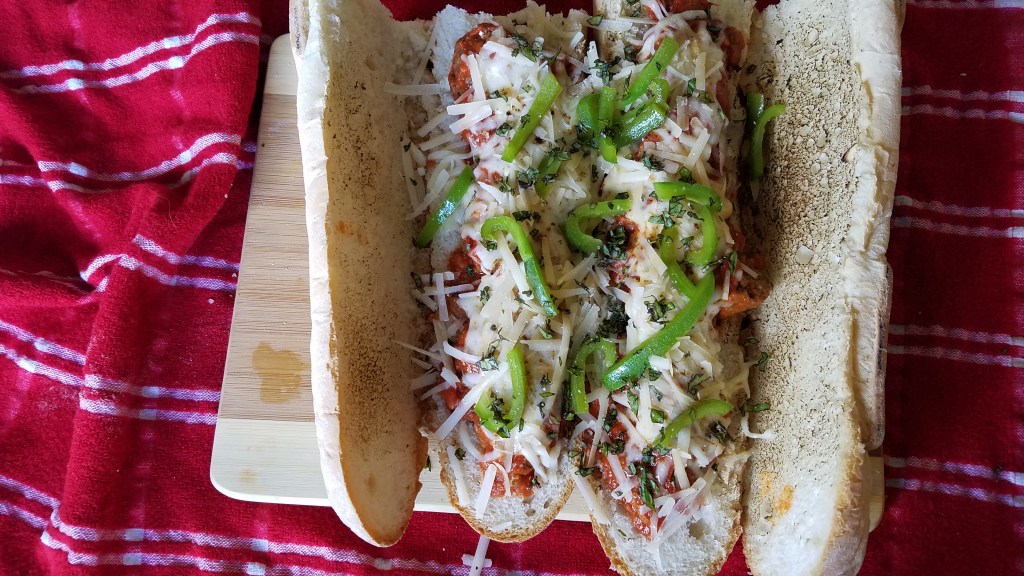
Remove the subs and layer with the bell pepper and a little more fresh Parmesan cheese and basil.
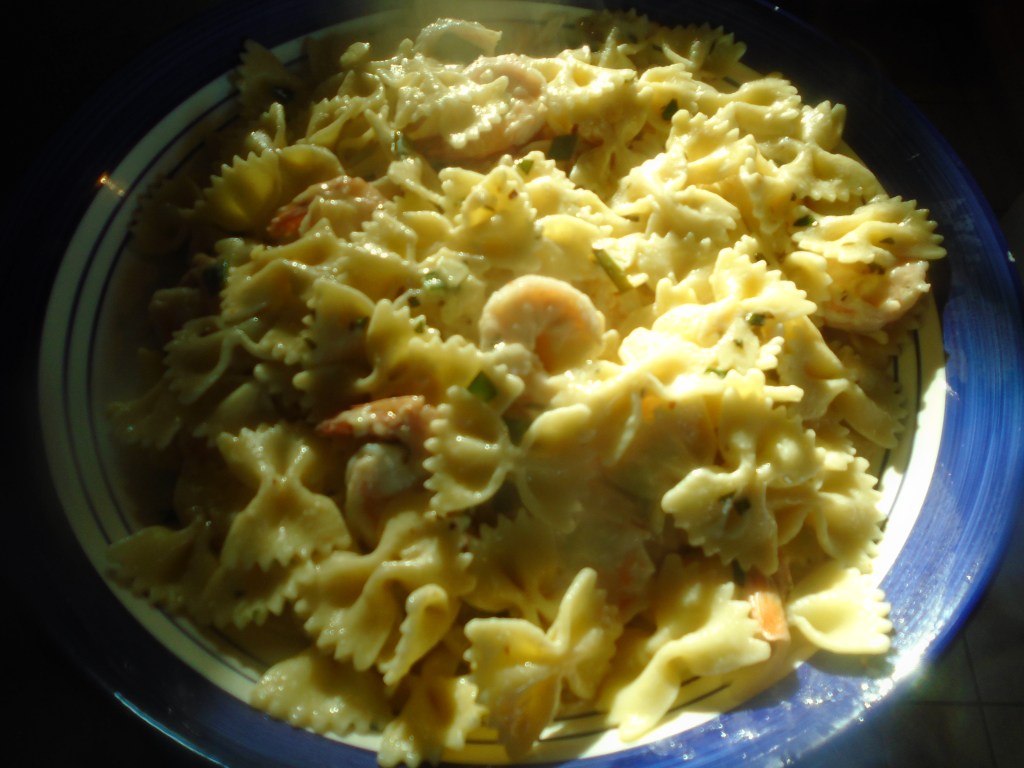
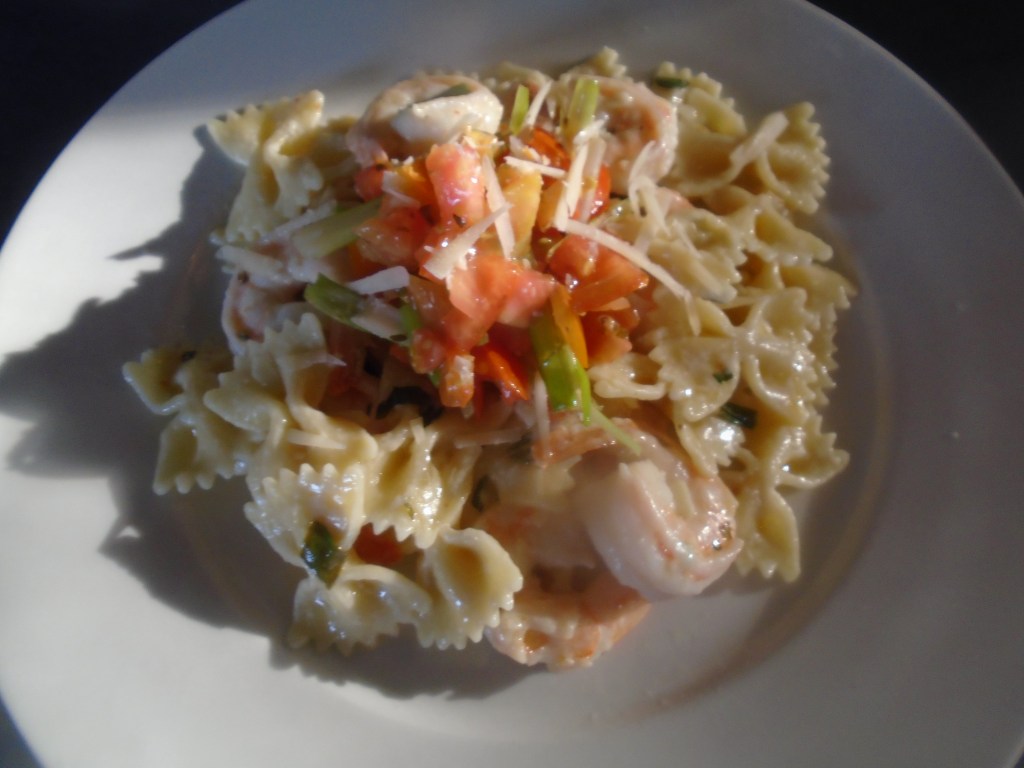
This dish is a bit like Shrimp Scampi but, not so bold and intense in flavor. The creaminess, provided by the half-and-half, along with the pasta turns a wild Shrimp Scampi into something gentle and soothing.
Ingredients:
4 Tbs unsalted butter
1 Tbs olive oil
1 tsp coarse salt
1 tsp red chili flakes
4 garlic cloves
1 lb large, raw shrimp, deveined and peeled
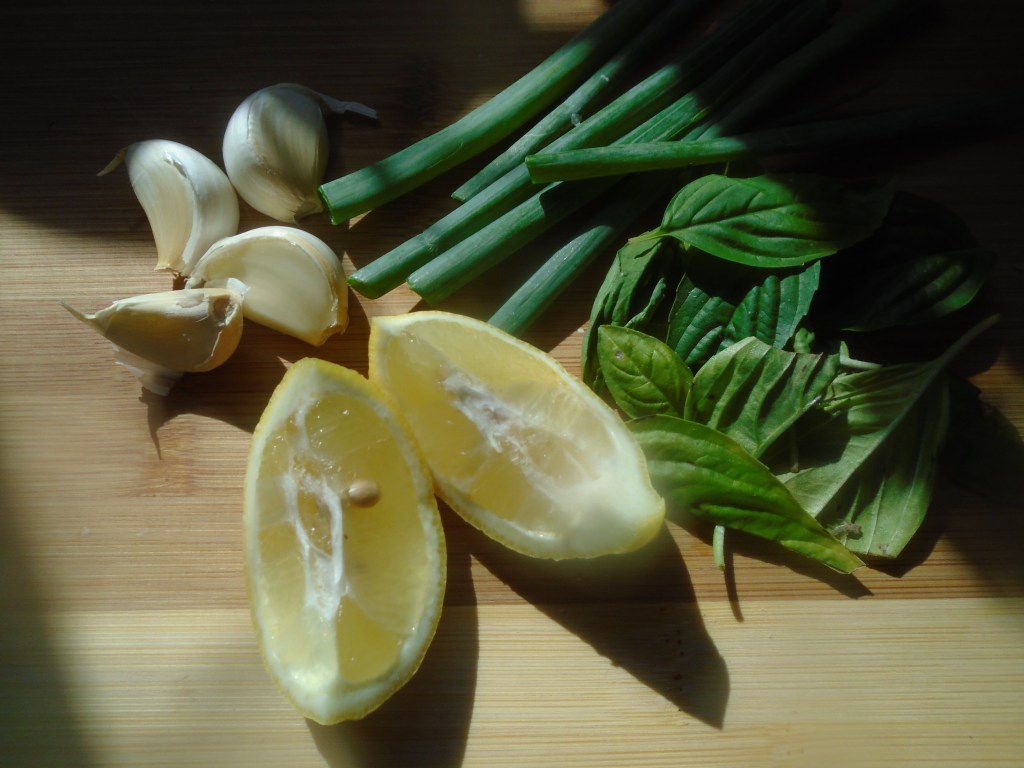
2 green onions
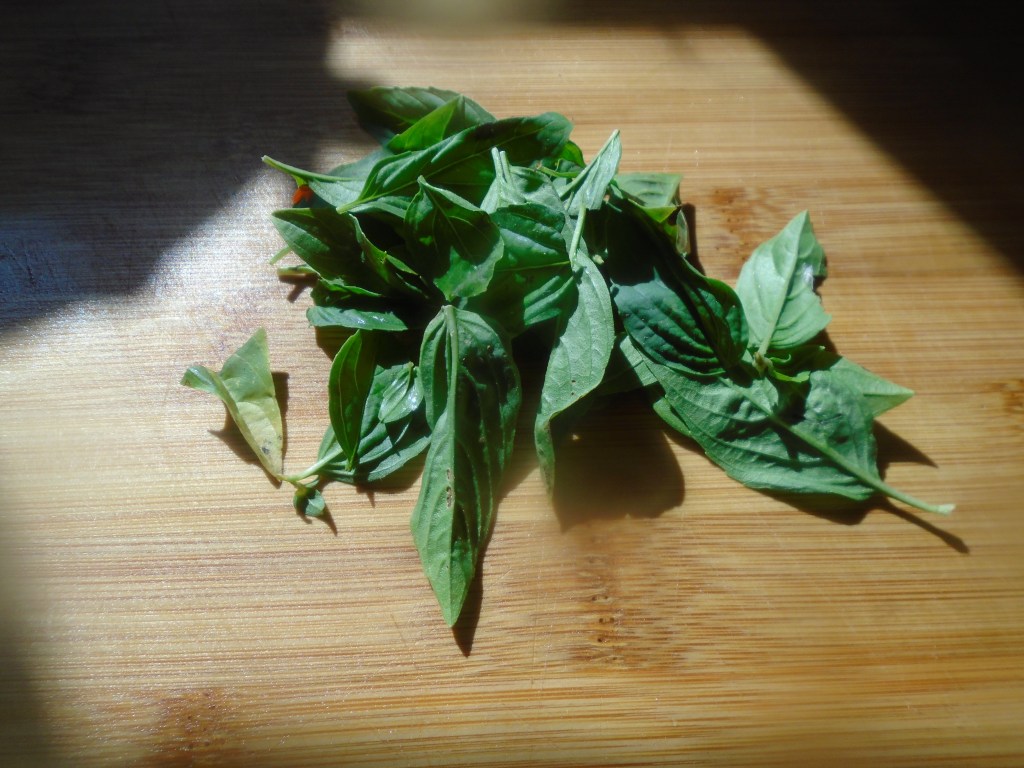
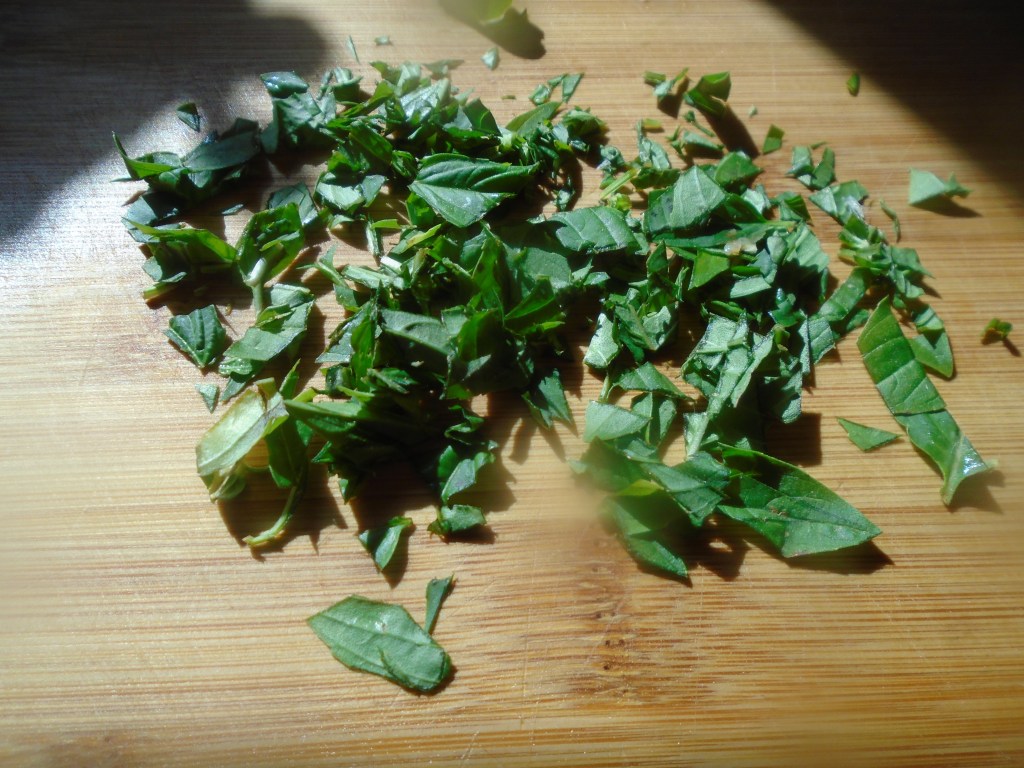
¼ cup fresh basil
Juice of 1/2 lemon
½ cup shredded Parmesan cheese
½ cup half-and-half
12 oz dry pasta (I used Farfalle – butterfly pasta)
Ingredients for the
sauce thickener:
1 Tbs softened butter
1 Tbs flour
Ingredients for the garnish:
½ cup diced tomatoes
2 root ends of green onions
1 Tbs olive oil
1 tsp vinegar
½ tsp oregano
¼ tsp garlic powder
Directions:
You should prepare all
of the ingredients in advance. Shrimp
cooks very quickly and you want to have all of the other ingredients ready when
you need them.
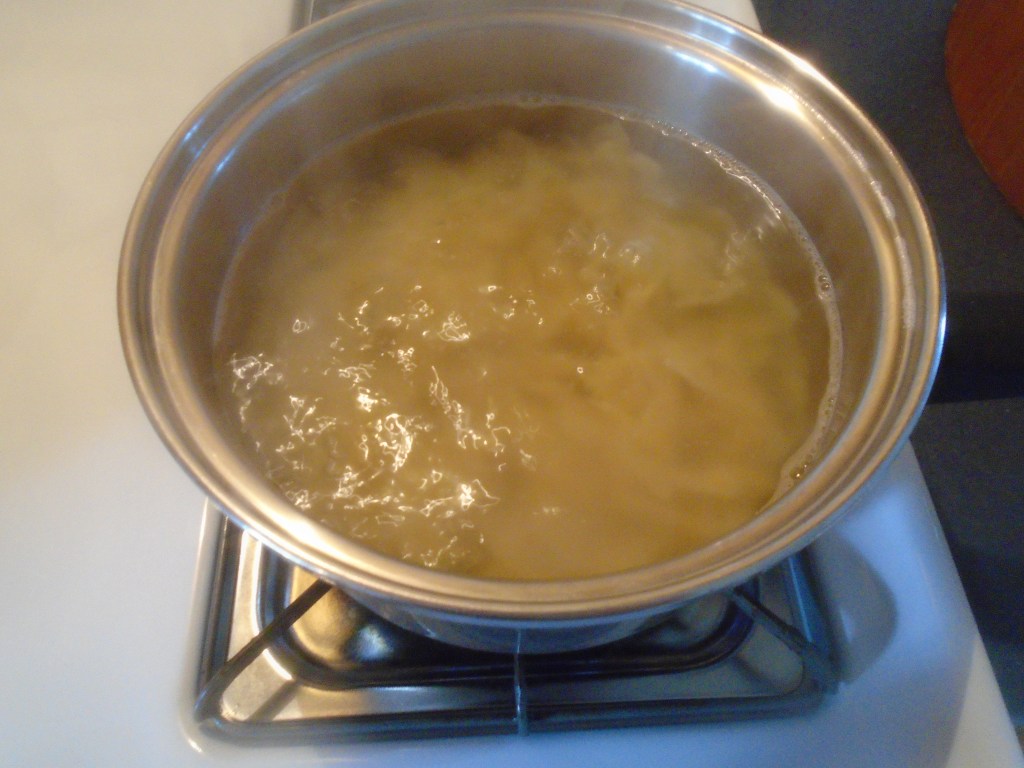
Boil the pasta to al dente.
Normally I would use lots of water but this time, I wanted the noodles
to keep some of their starchiness so that the sauce would cling to it better.
While the pasta cooks…
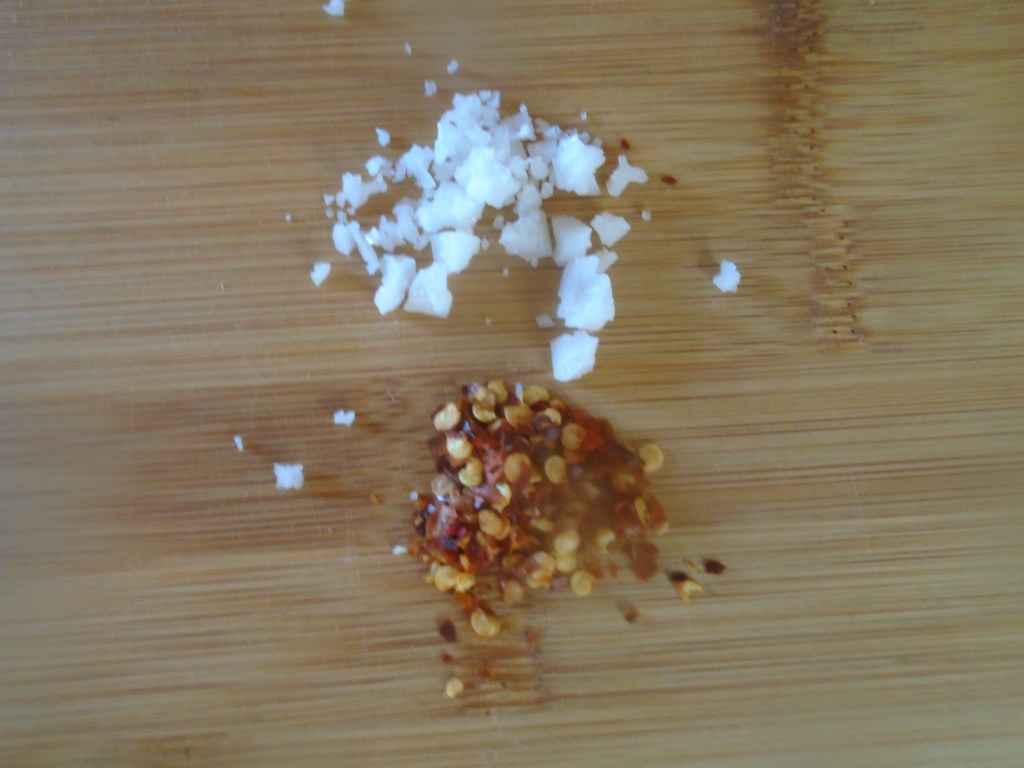
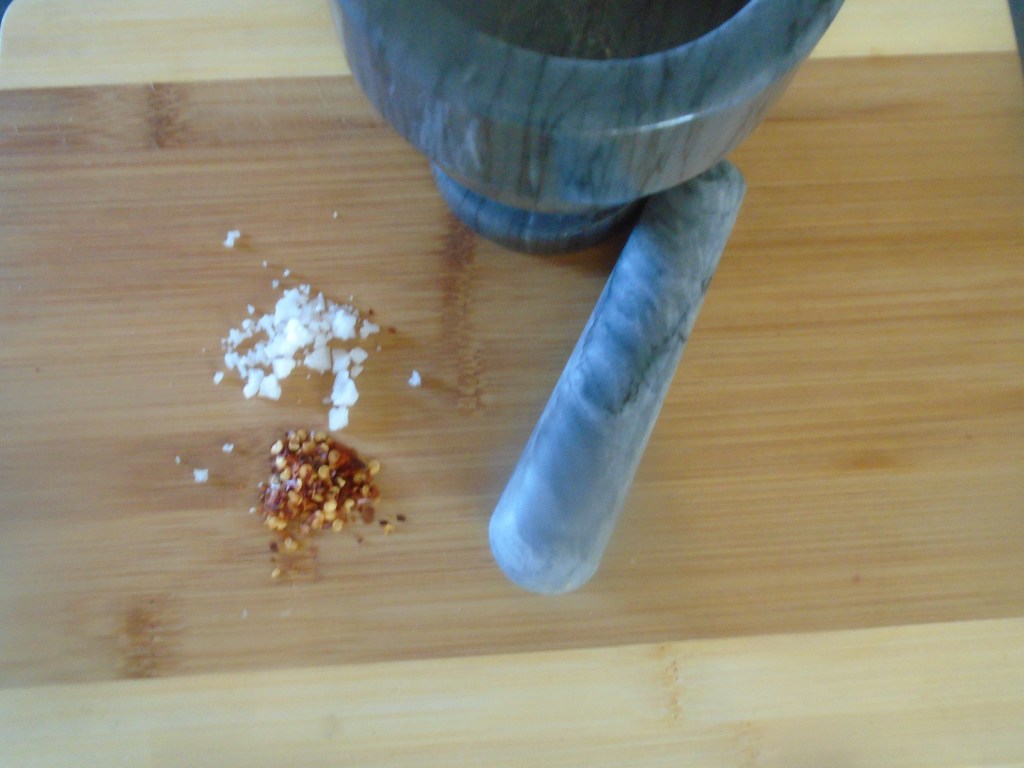
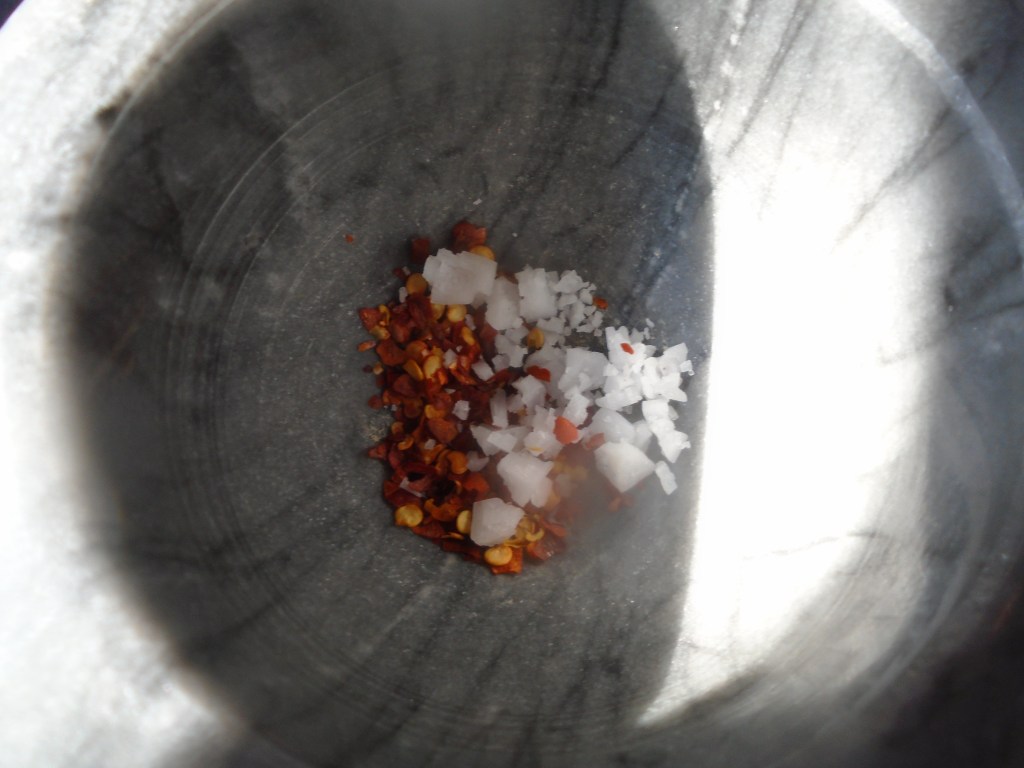
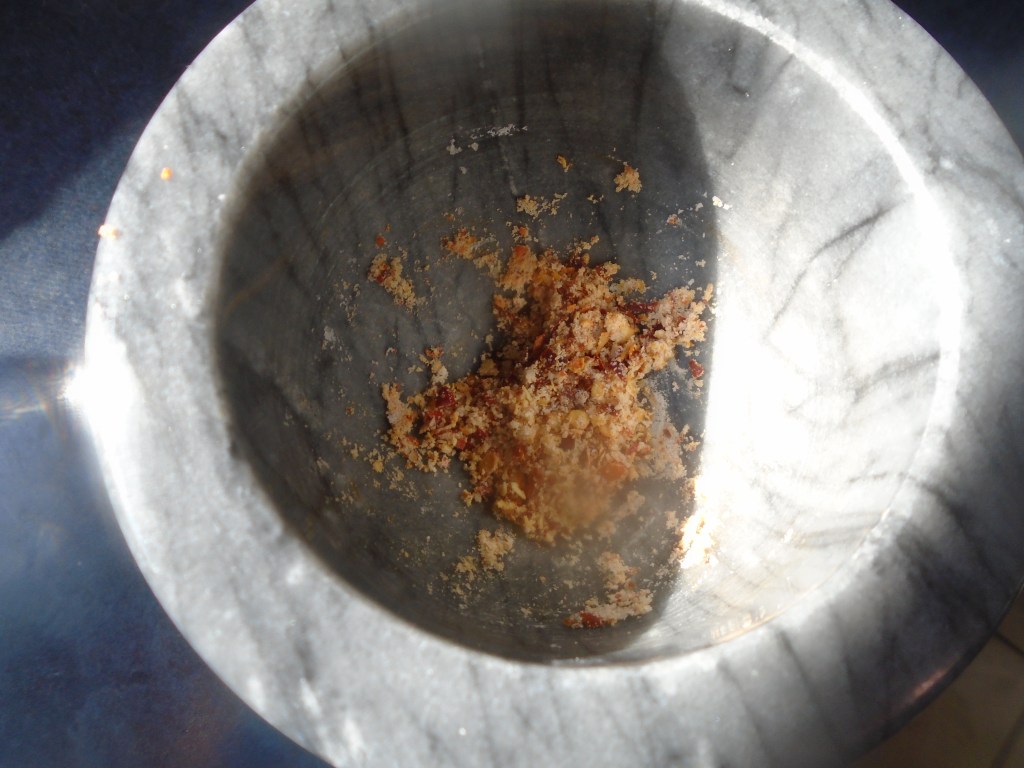
Pulverize coarse salt and red chili flakes in a mortar and pestle. Set aside.
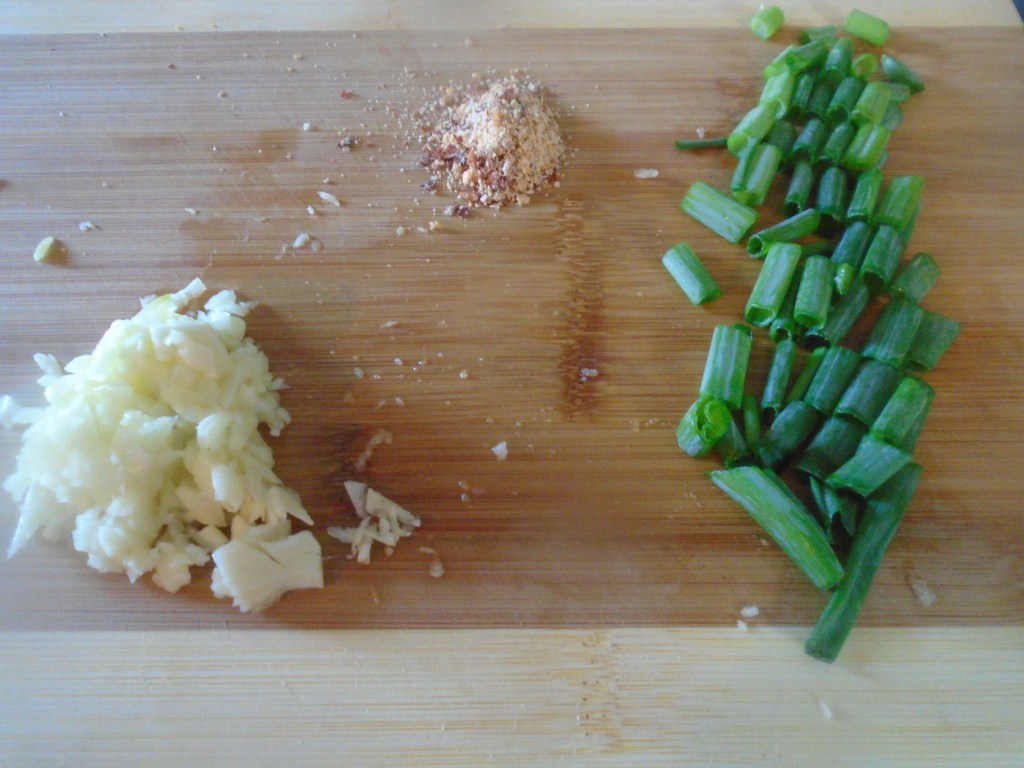
Chop the garlic and slice the green onions. Reserve the root portions of the green
onions. Set aside.
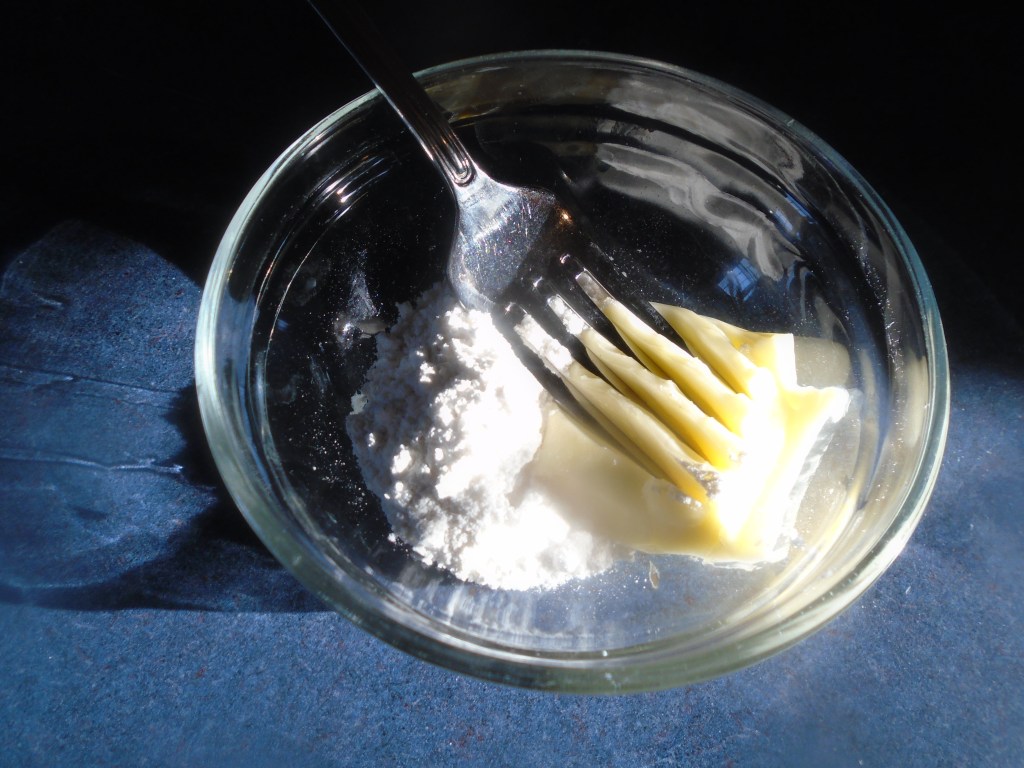
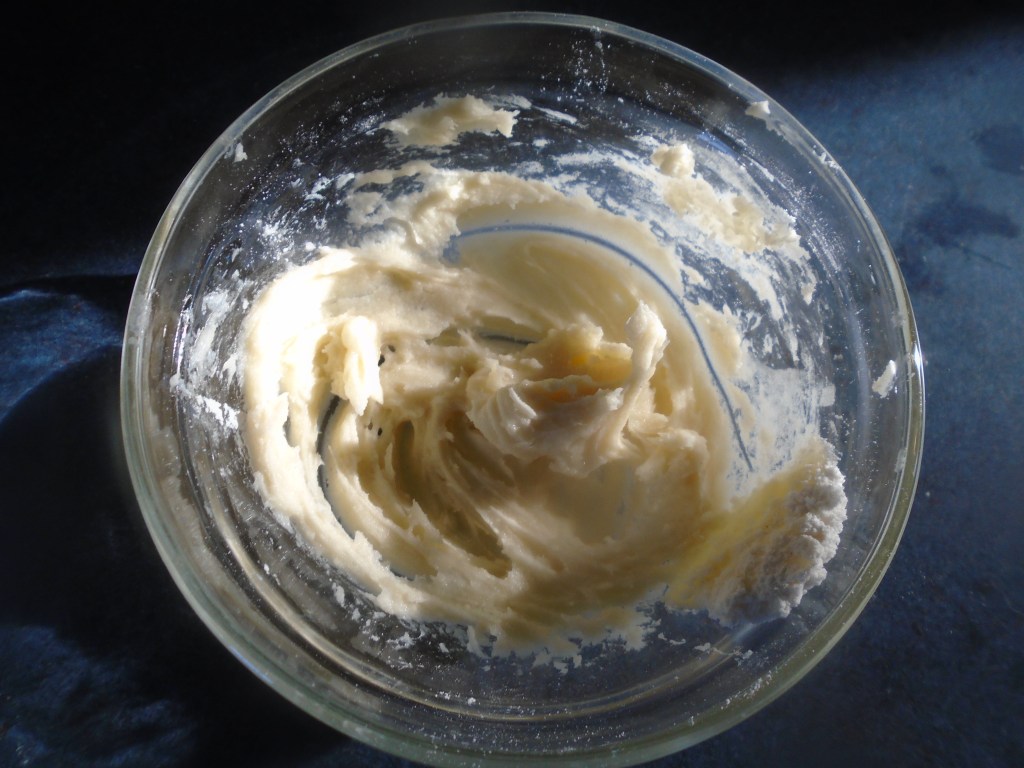
Prepare the sauce thickener by blending the flour with the
softened butter. I like to use a fork
for blending. Set aside until needed.
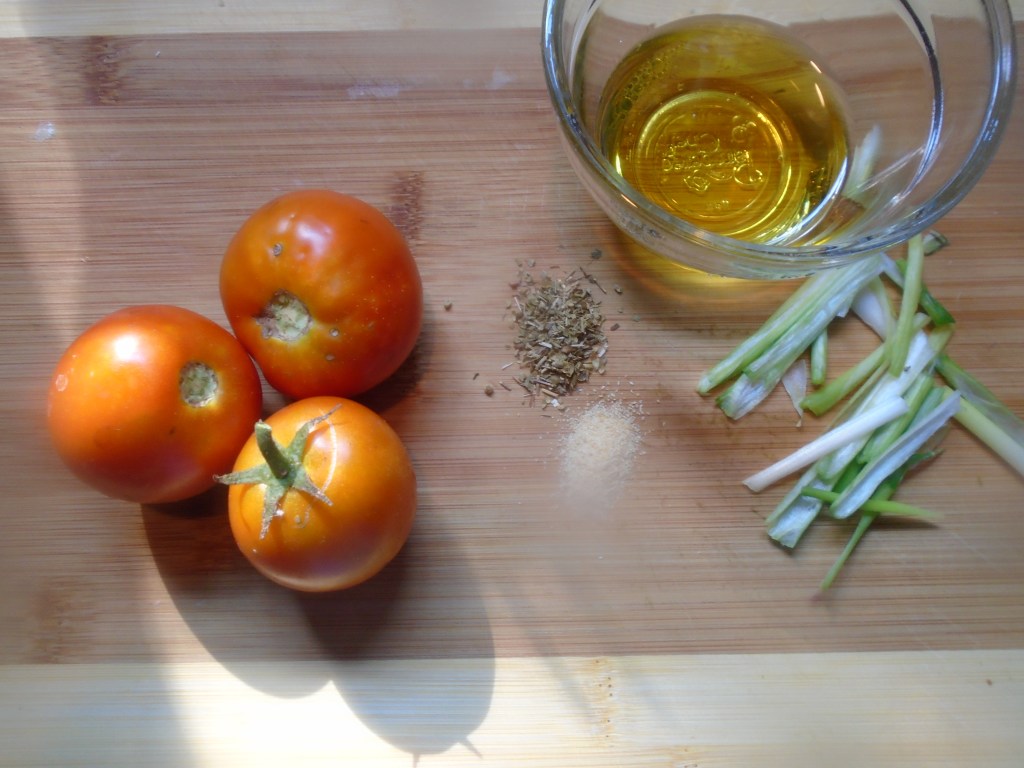
Prepare the garnish by dicing the tomato and roots of the
green onion.
Drain the pasta but do not rinse. Set aside.
Strain the garnish to remove the olive oil and vinegar. Set the garnish aside.
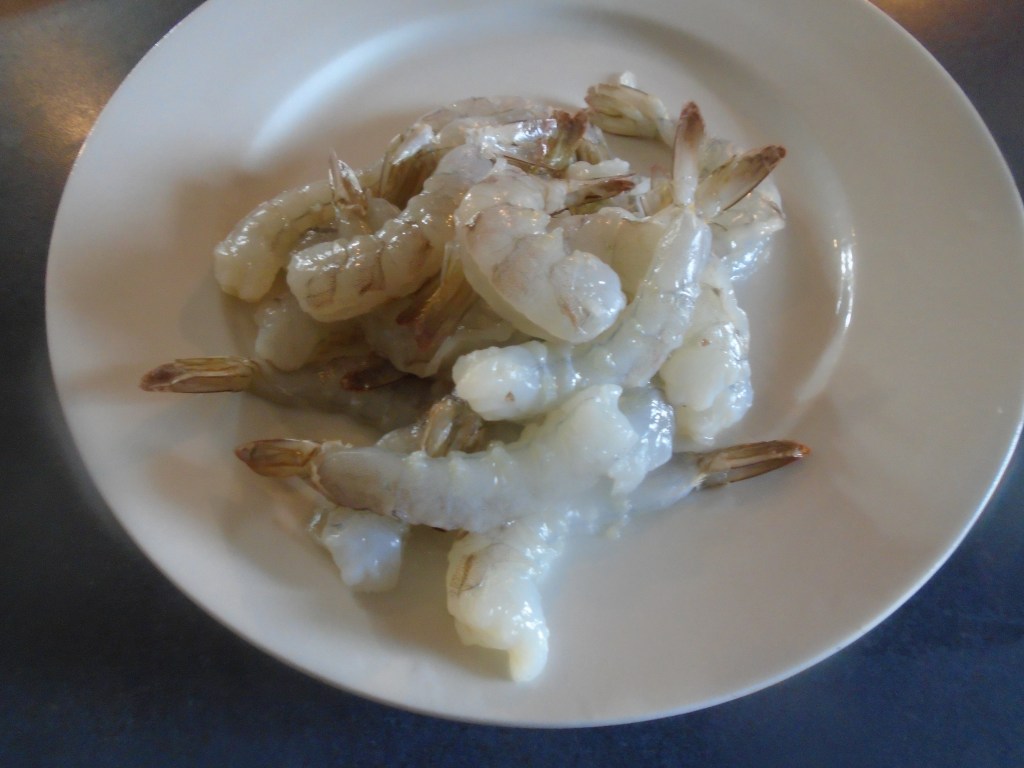
Rinse the shrimp under cold water and remove the
shells.
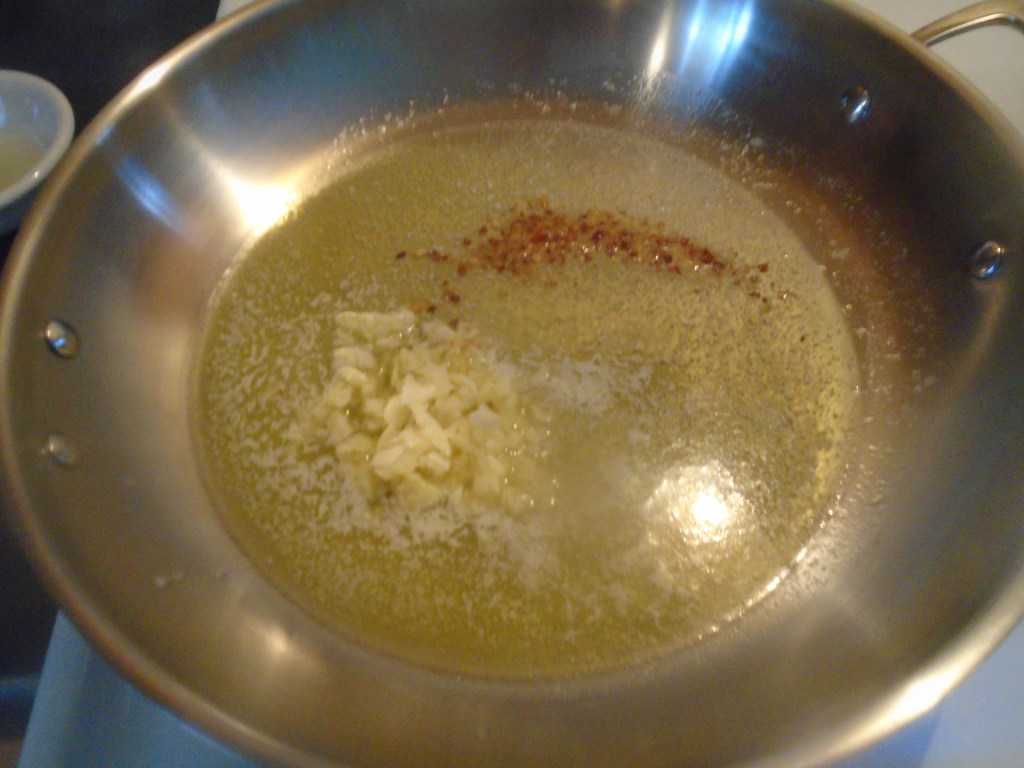
In a large skillet, add 4 tablespoons of butter and 1 tablespoon of olive oil. Simmer at low heat.
Add the garlic and crushed salt and red chili flakes. Simmer at low
heat for about two minutes. This will allow the garlic to mellow a
little.
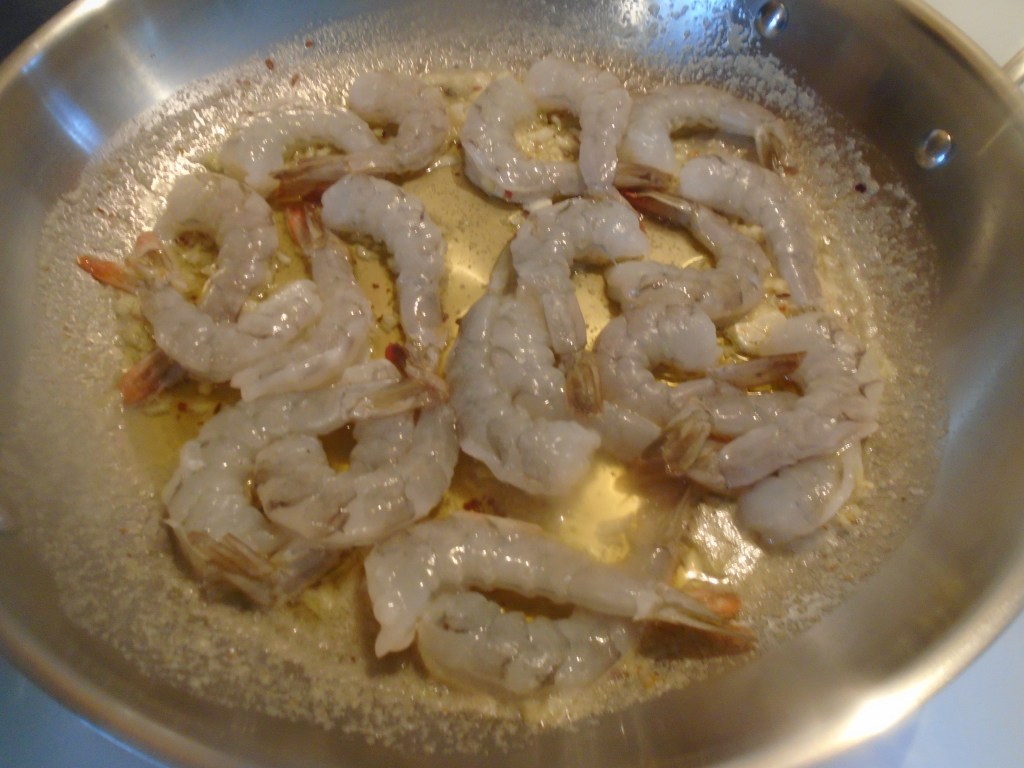
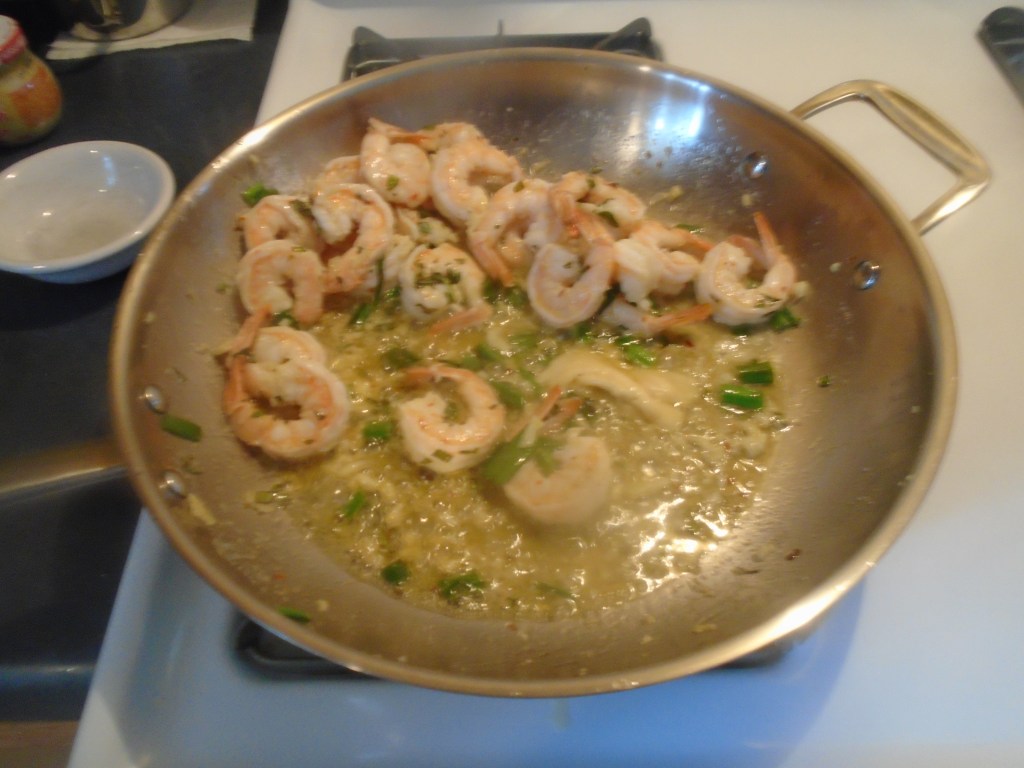
Add the shrimp to the pan.
Turn the heat to low/medium.
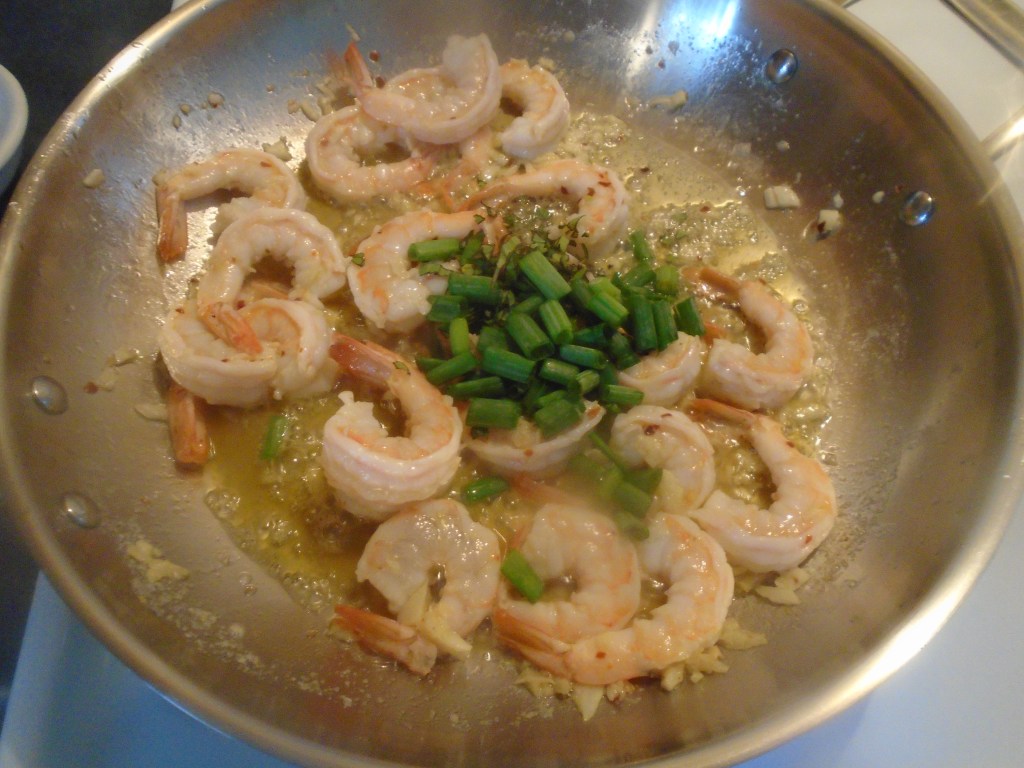
Stir the shrimp until they turn from translucent to slightly
pink.
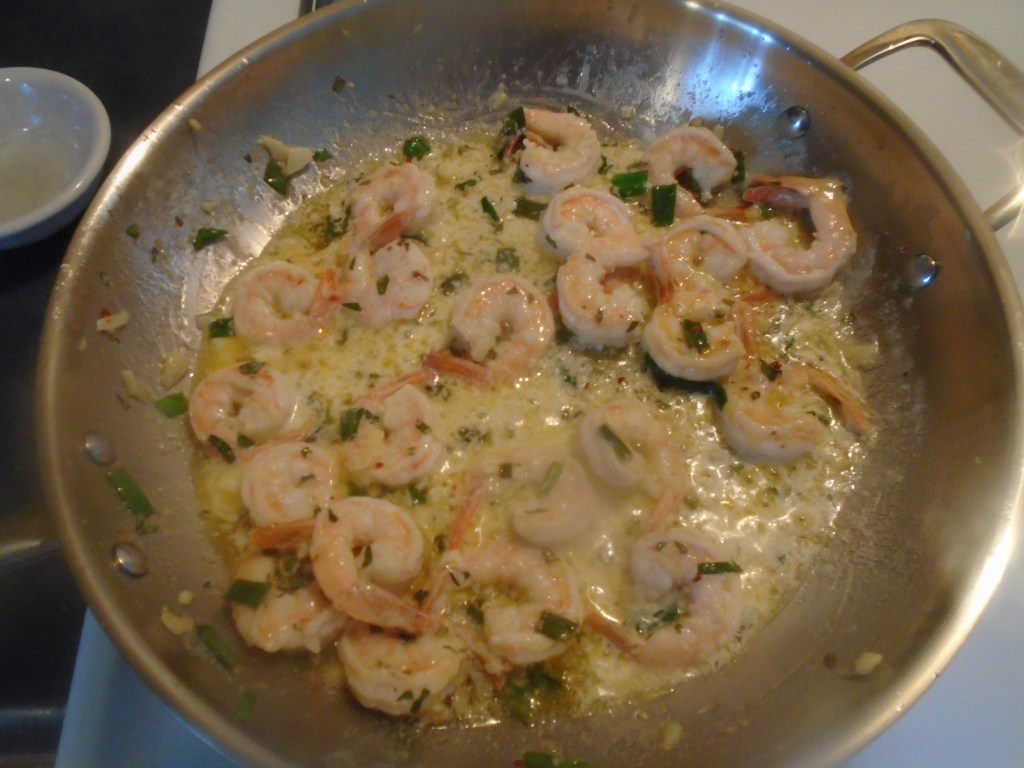
Add the green onion, basil and lemon juice to the pan and stir for about a half minute.
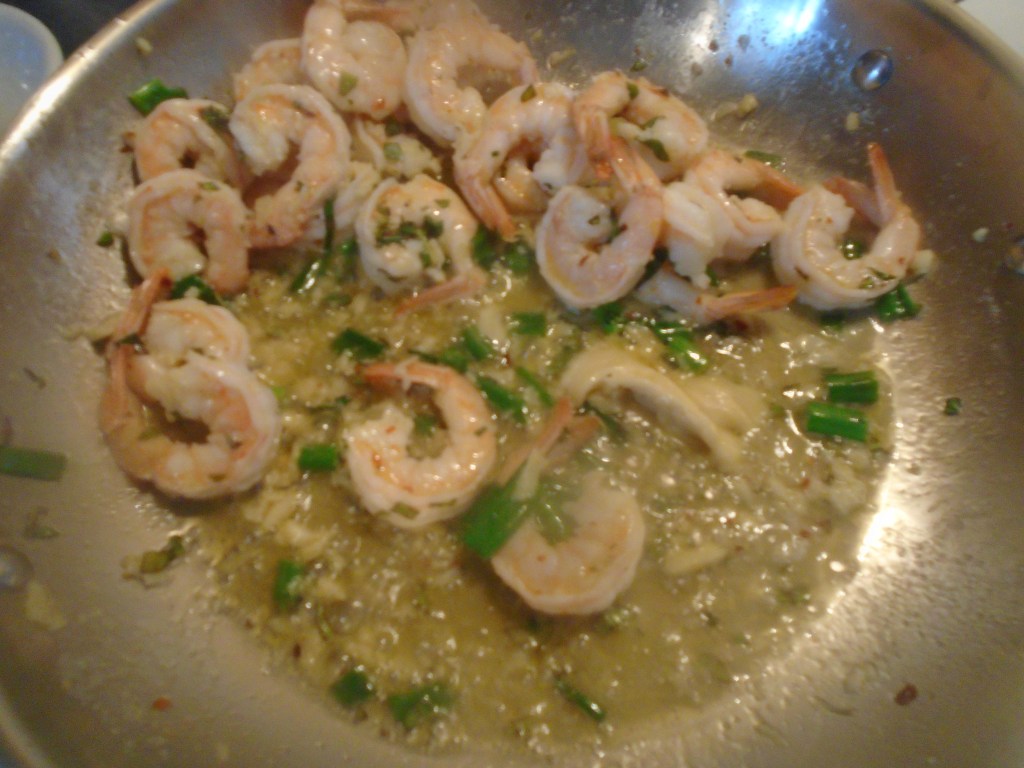
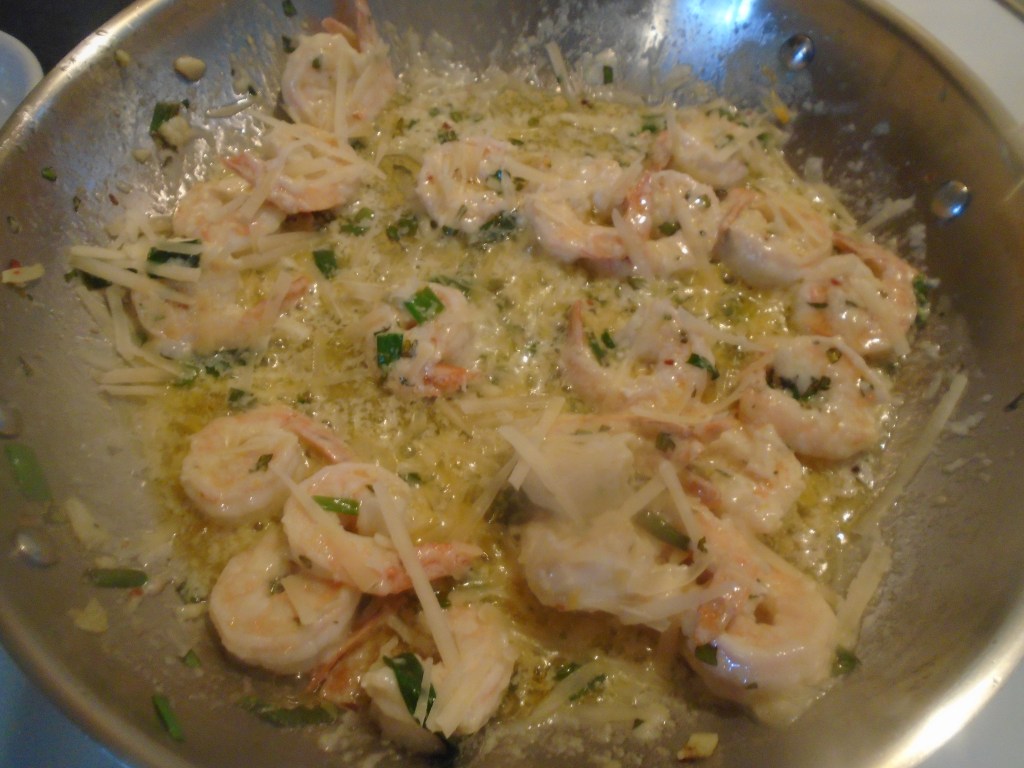
Add the sauce thickener and mix with the buttery sauce. It should thicken within a minute or so. Add the half-and-half and stir.
Add the Parmesan cheese.
Turn the heat off and add the pasta. Stir a few times and remove to a serving
bowl.
There are some meals that I can cook in my sleep, with one
hand tied behind my back. Spaghetti is
one of those meals. Long ago, when I
when I was just establishing myself as a home cook, I had a very limited
repertoire. It wasn’t because I lacked a
willingness to experiment and it wasn’t due to a lack of creativity, training
or knowledge that curtailed my culinary endeavors to a mere handful of
recipes.
Being a parent of very young children changes a person in
many ways and one of those inevitable changes is a parents’ diet. I don’t regret anything about having
children. One of the greatest things
about having children is watching them grow up to become living, breathing,
free-thinking adults. I wouldn’t trade
the experience of raising children for anything.
Young children don’t have refined, educated palettes. Surprise! For a long time, my wife and I didn’t even think
about making something like Steak with Roquefort
Cheese Sauce, Bratwurst with Sauerkraut
or Tandoori Chicken. Heck, we were lucky if we could sneak a
vegetable past our kids every now and then without them noticing.
We realized pretty quickly that our meals repeated week
after week. Four or five basic recipes
stayed in constant rotation. It got to a
point where I assigned a number to the meals.
Monday nights were spaghetti
and Friday nights were homemade pizza
so, Spaghetti became Dinner #1 and Pizza became Dinner #5. Dinners 2,3 and 4 varied over the years and
they entered and exited the rotation as young taste buds changed. They included simple meals like, chicken
nuggets and tater tots, tacos with salad and fish sticks, with macaroni and
cheese. Our weekends were “anything goes”
days. It might be barbacoa tacos, pan
fried chicken or a pasta casserole. We
made sure to include fresh fruit as often as possible, especially because the
only vegetable our kids would willingly eat was raw carrot sticks.
Eh, they survived.
And, so did we. I look back on
those days fondly.
Fast forward nearly twenty years and Dinner #1 is still one
of my favorite go-to meals. I have made
spaghetti over 1,000 times in my lifetime.
That’s not a guess…that’s real math at work!
Now that my children are grown, I have more free time which means I can add flair to simple recipes, like spaghetti and meatballs. For this version, I used homemade tomato sauce. I also employed some extra tricks to make this meal a little more special. Plain tomato sauce tends to be acidic. I could have added a few tablespoons of sugar or honey to balance the sauce but I used Marsala wine, roasted garlic and fire roasted bell pepper, which provided all of the necessary sweetness and it gave the sauce an additional depth of flavor.
This recipe will feed about 6 people.
Ingredients:
24 oz tomato sauce (store-bought sauce is perfectly fine)
1 whole garlic bulb
¼ cup fresh basil
½ red bell pepper
½ onion
¼ cup Marsala wine
1 lb. ground beef (80/20)
½ cup bread crumbs
1 Tbs dried oregano
2 tsp dried rosemary (ground)
2 eggs
¼ cup grated, dry Parmesan cheese
1 tsp black pepper
1 tsp salt
½ cup grated, fresh Parmesan cheese
For the spaghetti
noodles:
4 quarts water
12 oz dry spaghetti noodles
1 Tbs kosher salt
1 bay leaf
1 Tbs olive oil
Directions:
If you are using store-bought tomato sauce, feel free to skip
to the section on Preparing the
Meatballs.
Otherwise…
Heat an oven to 300°.
Prepare the herbs, onion,
garlic and bell pepper.
Roughly chop the basil and set aside.
Chop the onion into ¼” pieces and set aside.
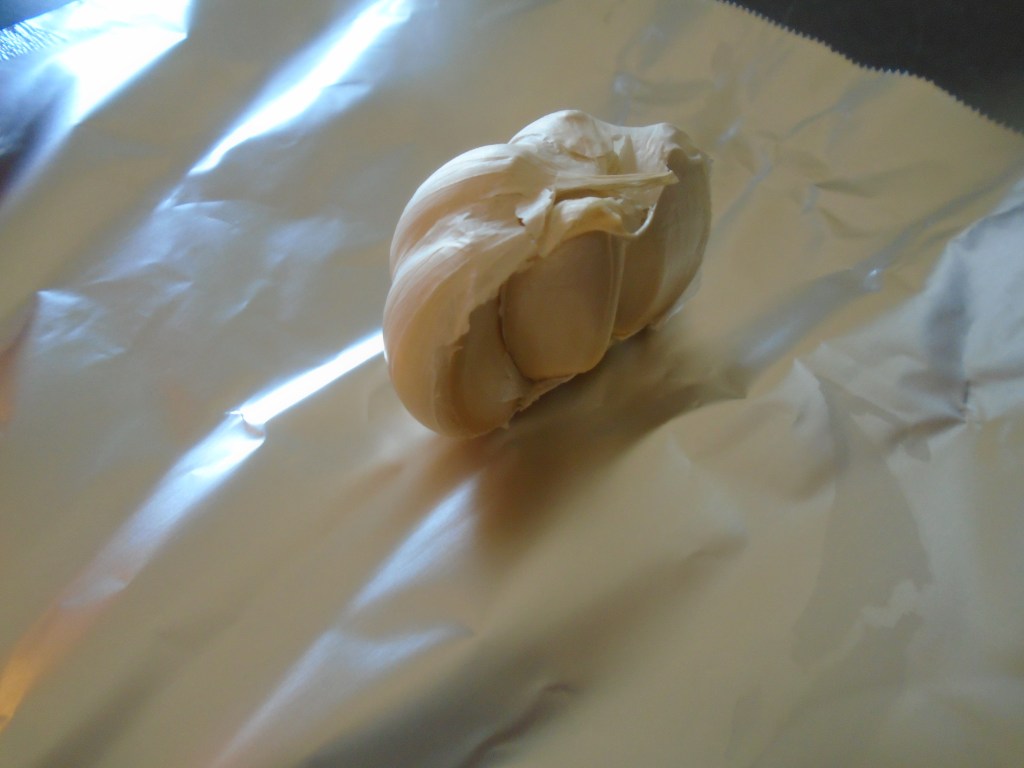
Separate the garlic bulb in half. One half of the garlic will be roasted in the
oven and the other half will be minced, fresh.
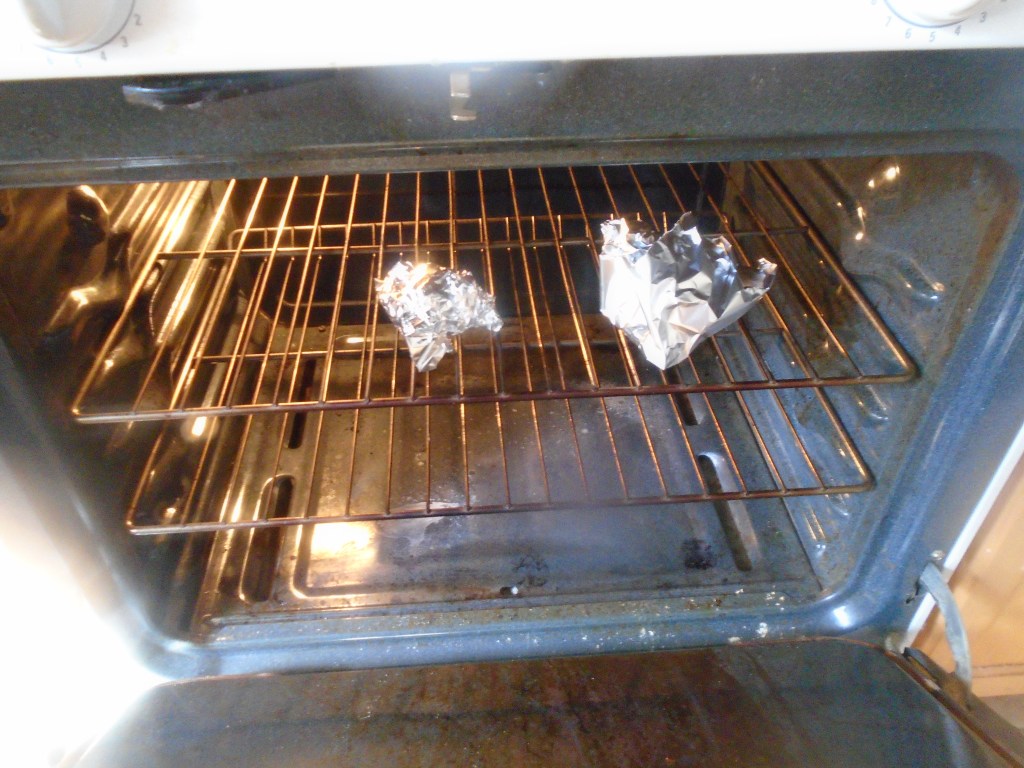
Wrap one half of the garlic bulb in aluminum foil and place
on the rack, in the oven.
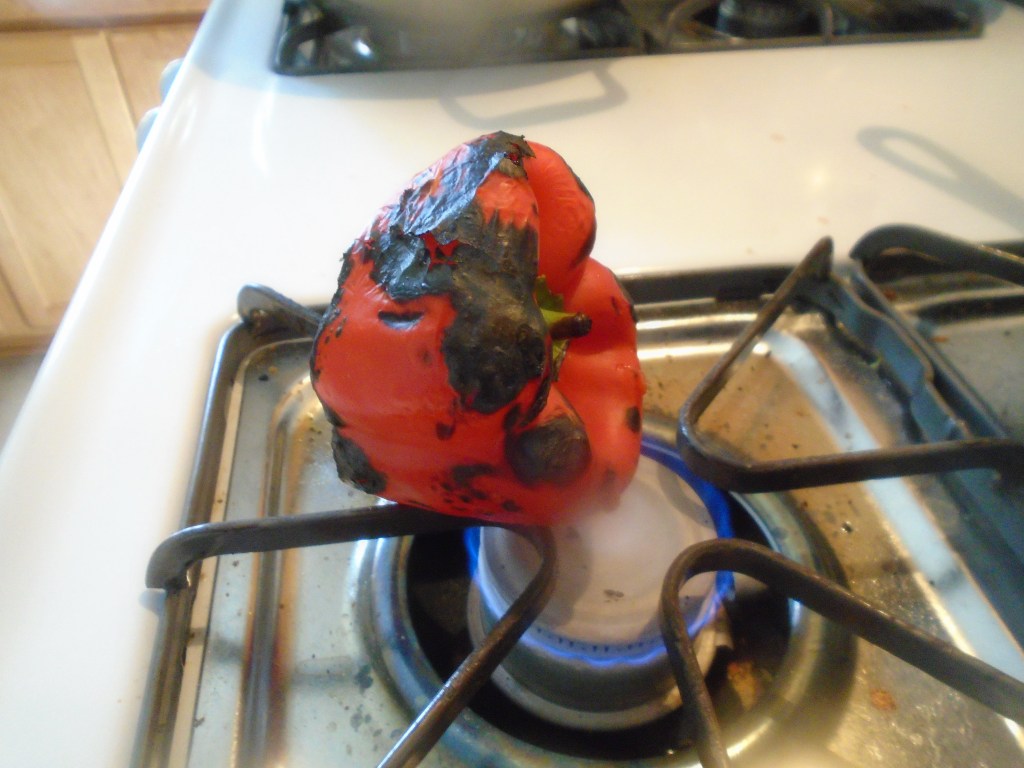
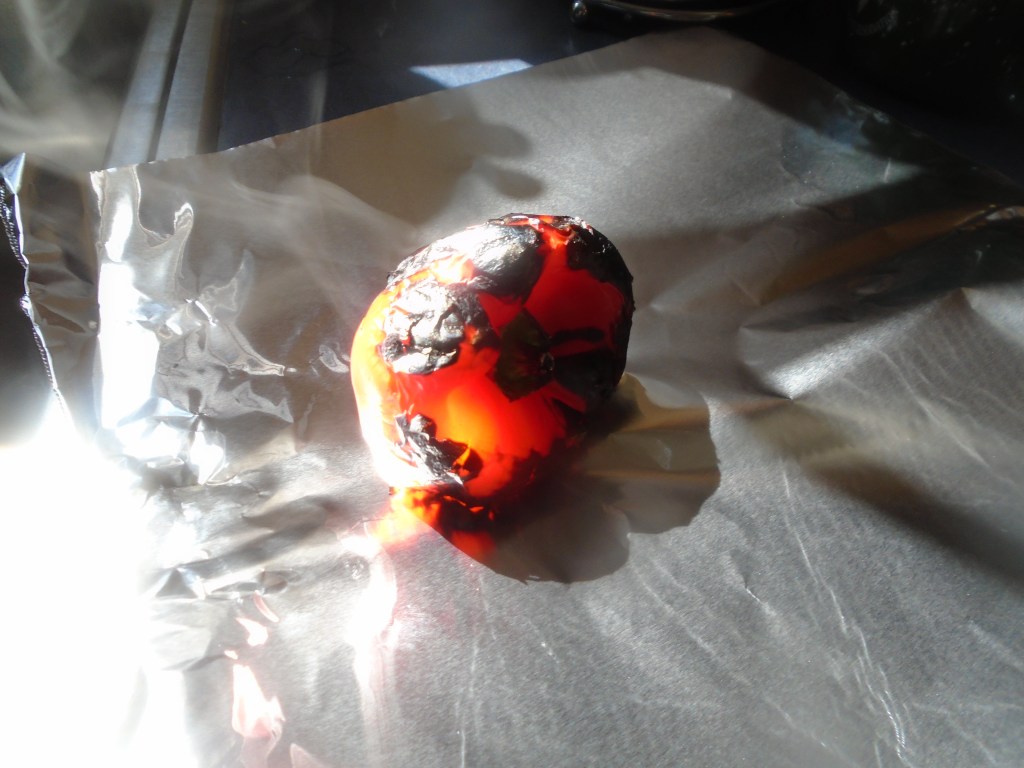
Rest the half bell pepper on a stove burner and char the pepper over low heat. Rotate the pepper for several minutes to all the pepper to char on all sides.
Wrap the pepper in foil and put it on the oven rack, with the garlic.
Allow the garlic and red pepper to bake in the foil for about 20 minutes. Remove the garlic and pepper.
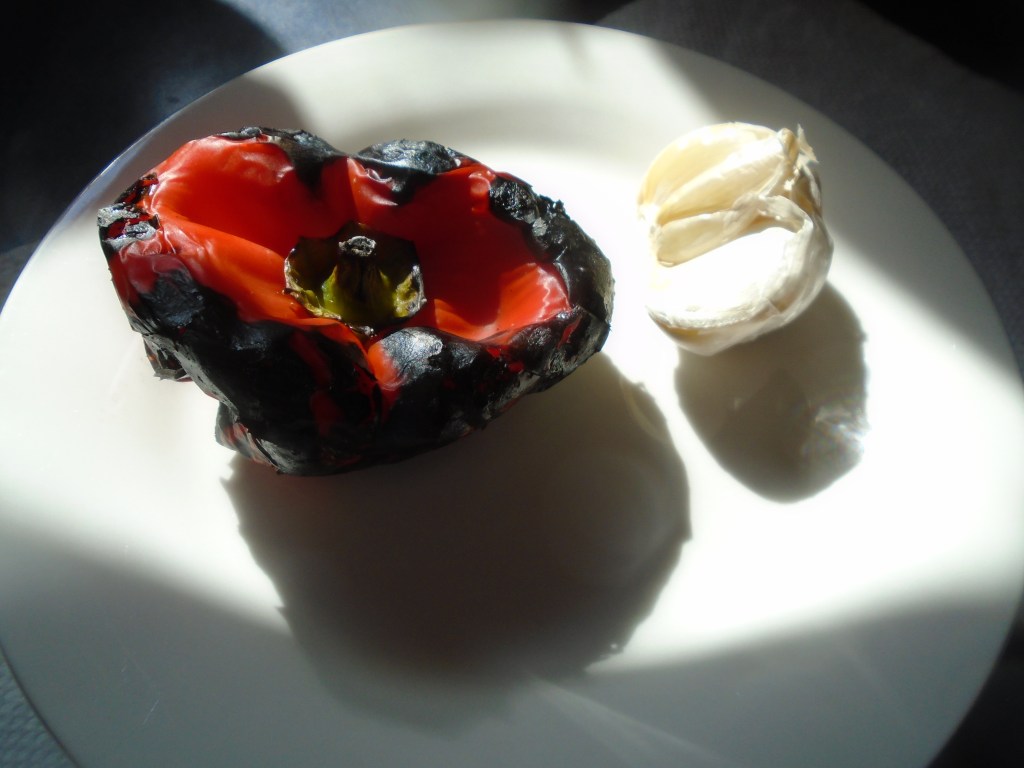
Unwrap the red pepper and allow it to cool for a few minutes. Rinse under water to remove the charred
parts.
Slice the top and stem of the pepper and discard. Lay the remaining red pepper on a clean
surface and dice into ¼” pieces. Set
aside.
Remove the roasted garlic from the foil and squeeze the soft
garlic from the papery husks. Mash the
garlic into a paste with the broad side of a kitchen knife and set aside.
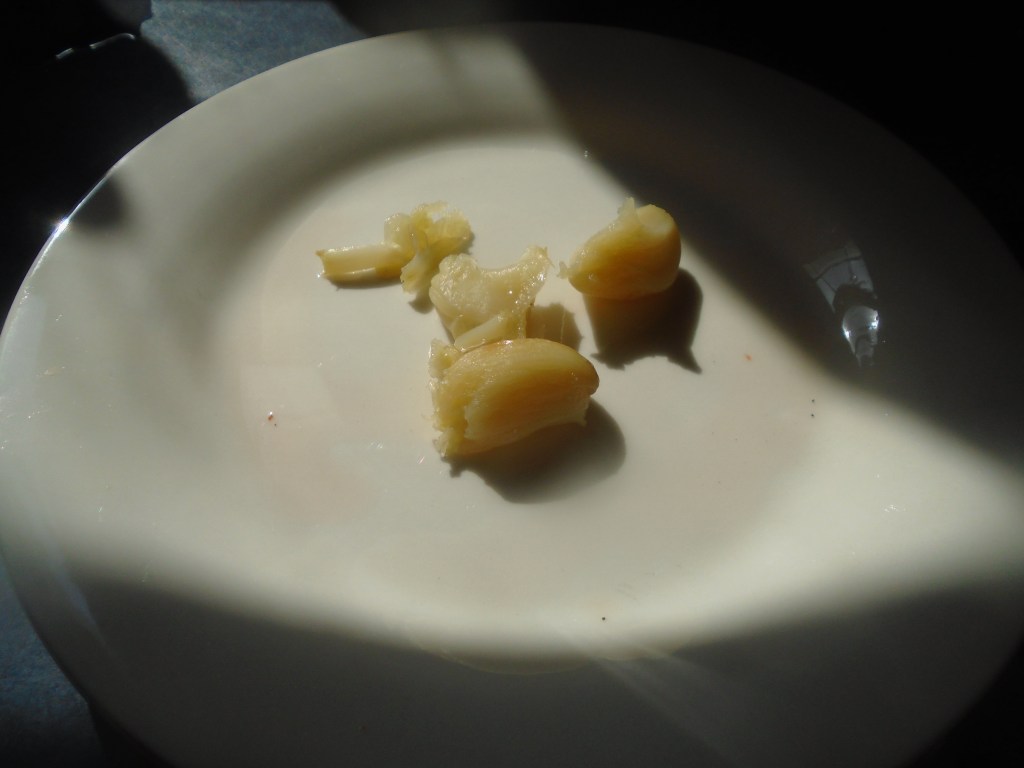
Roasted Garlic
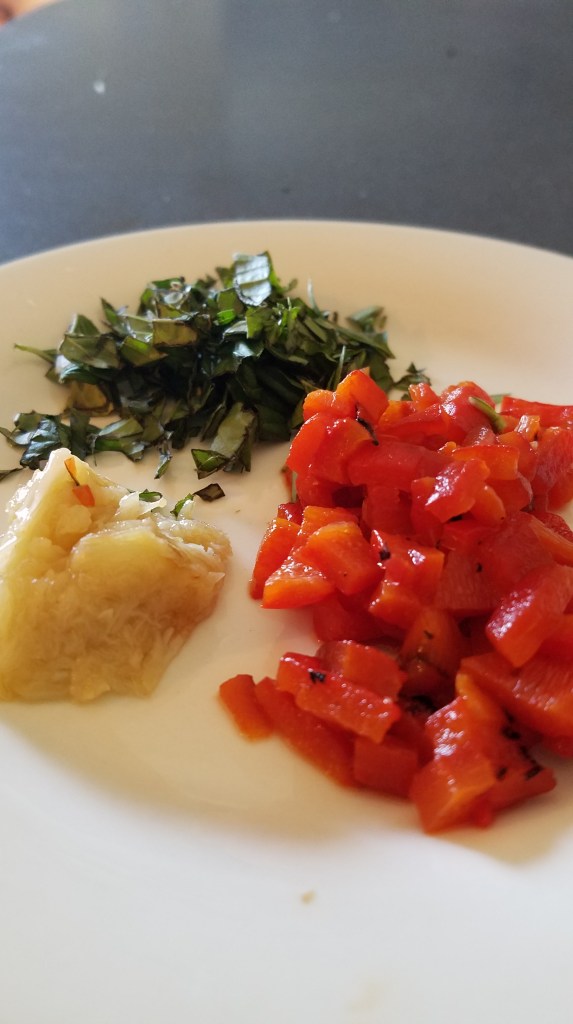
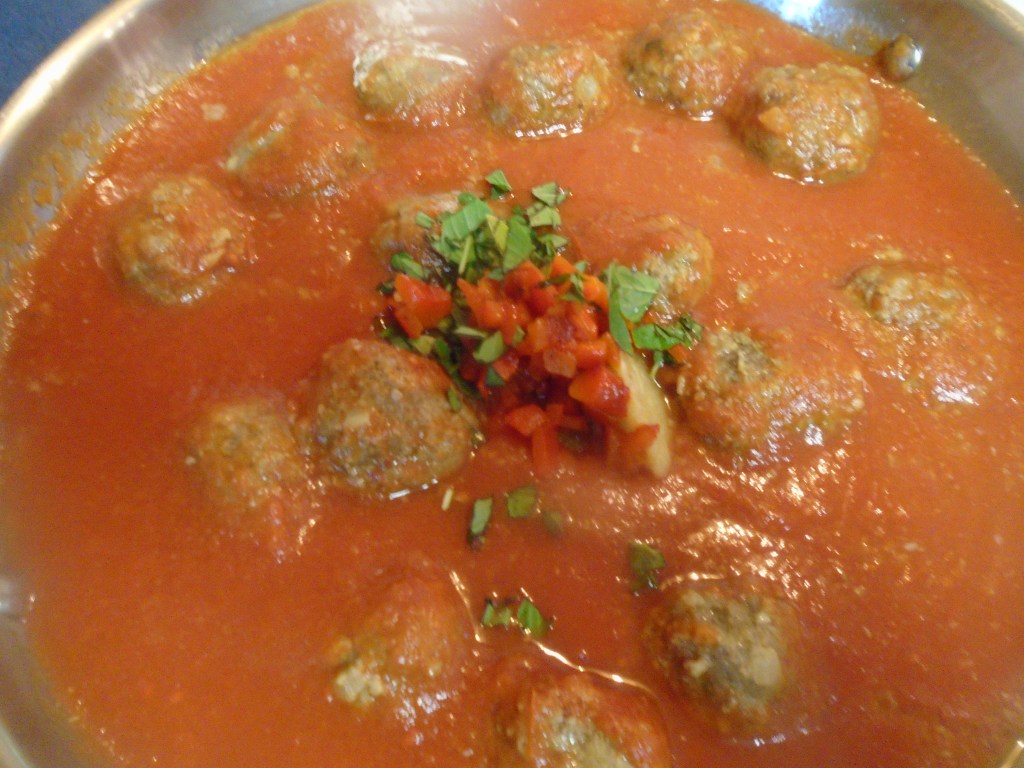
Roasted Garlic with Basil and Roasted Bell Pepper
Mince the cloves of the other half of the garlic bulb and
set aside.
Preparing the
Meatballs:
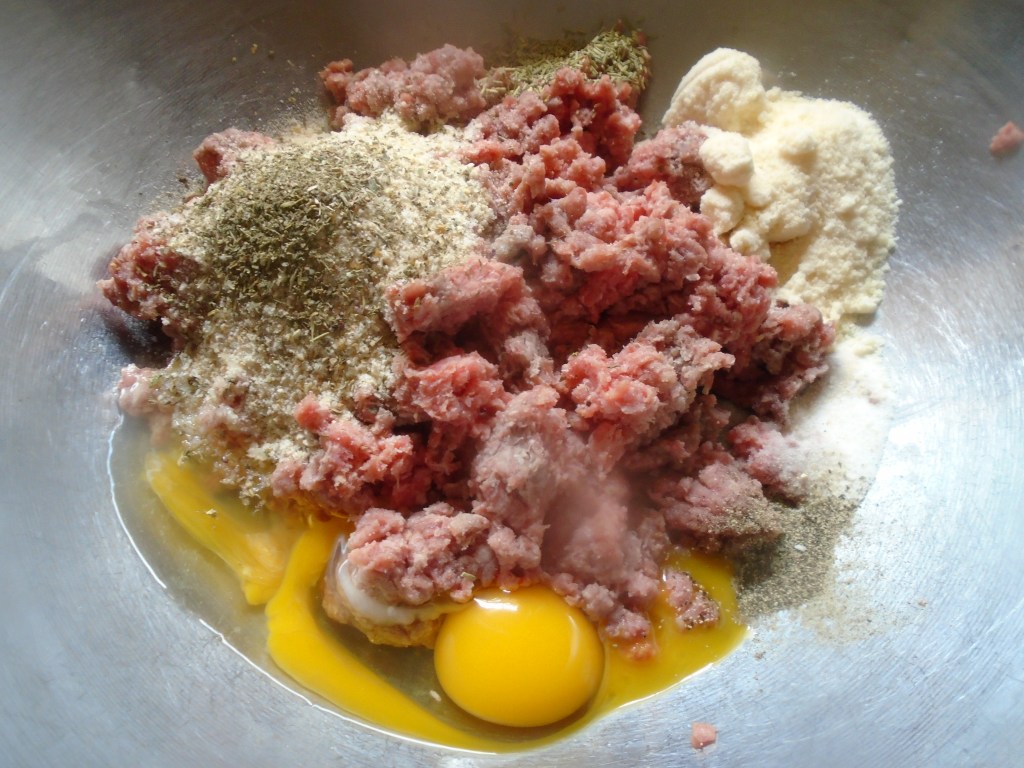
In a large mixing bowl add the ground beef, bread crumbs, eggs, dry Parmesan cheese, oregano, rosemary, salt and pepper.
Mix until all of the ingredients have combined.
Form into 1” balls and leave the meatballs in the mixing
bowl.
In a large skillet, set the heat on the stove to low and add
a tablespoon of olive oil. Add the
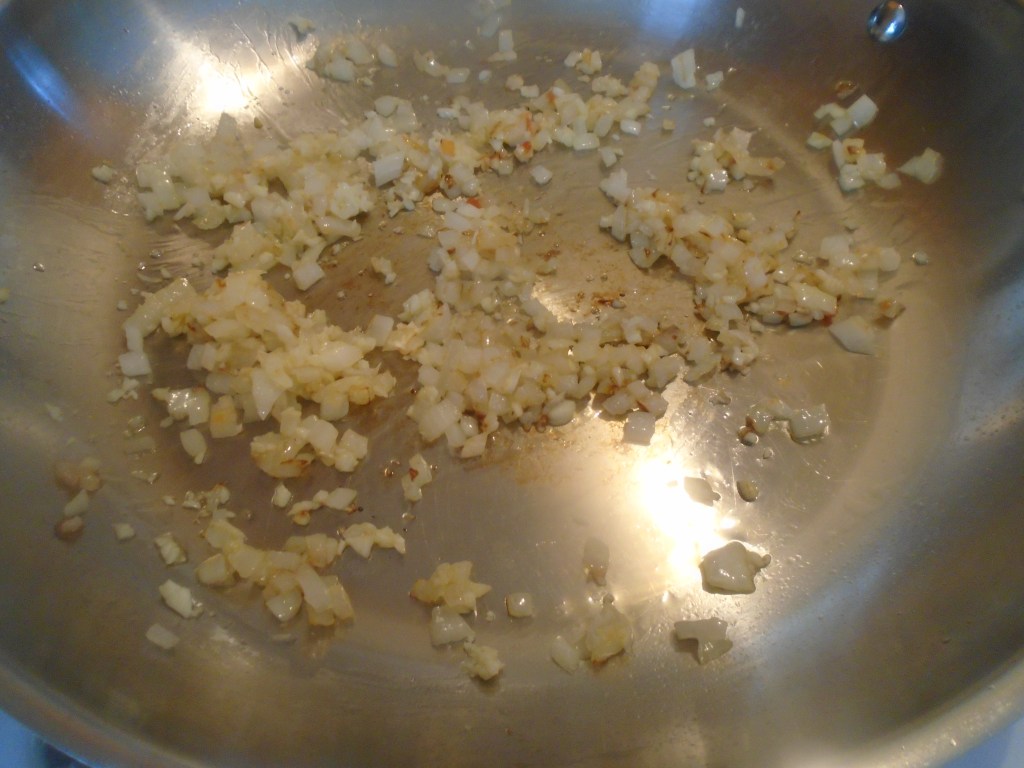
onions and sauté until slightly softened.
Add the garlic and sauté for 1 minute.
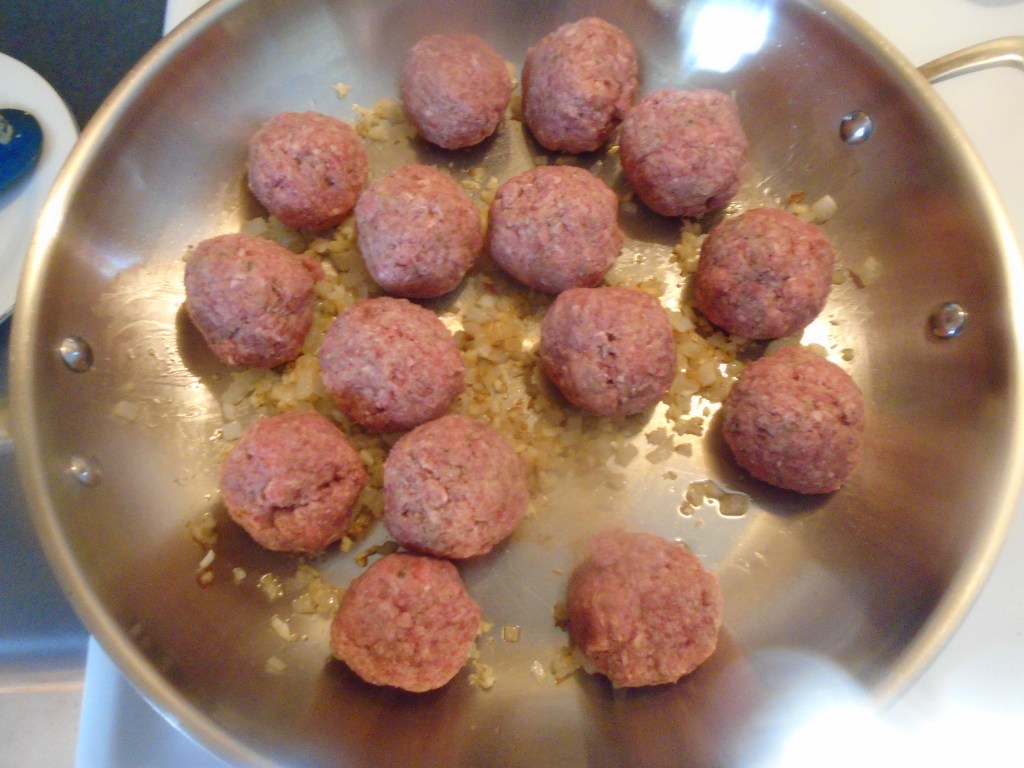
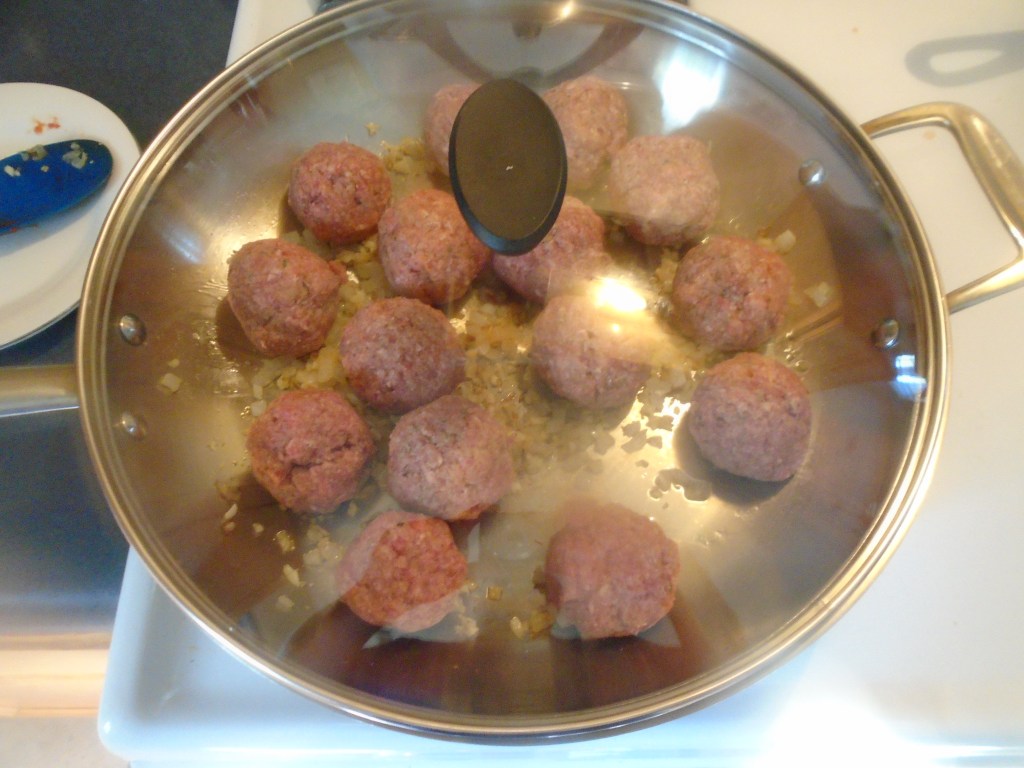
Add the meatballs and cover the pan.
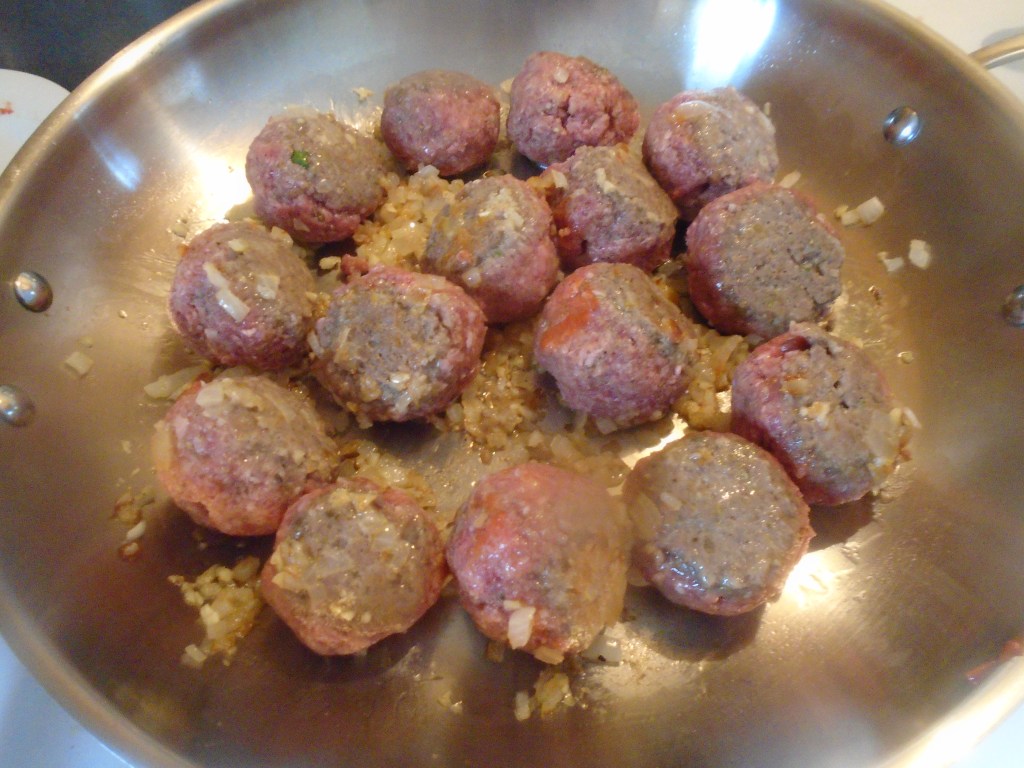
Simmer the meatballs for about 5 minutes at low heat and
then turn them over. Cover the pan and cook
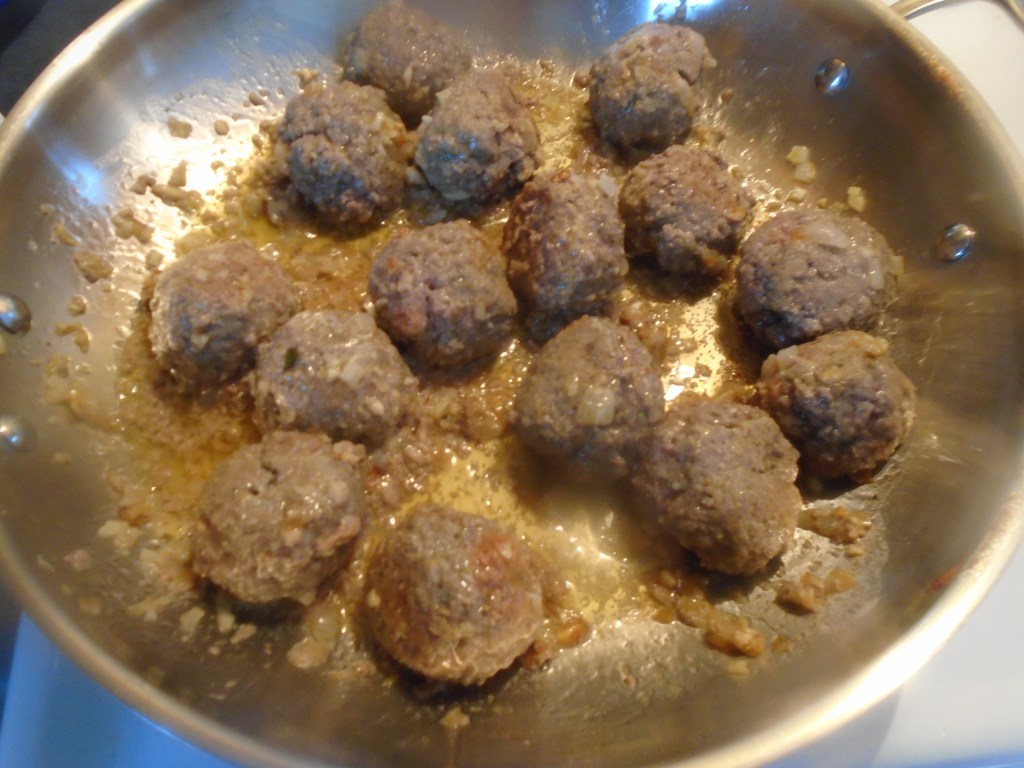
for another few minutes. Keep turning
the meatballs every few minutes until they become firm.
Strain the meatballs to remove the grease. Return the meatballs to the pan.
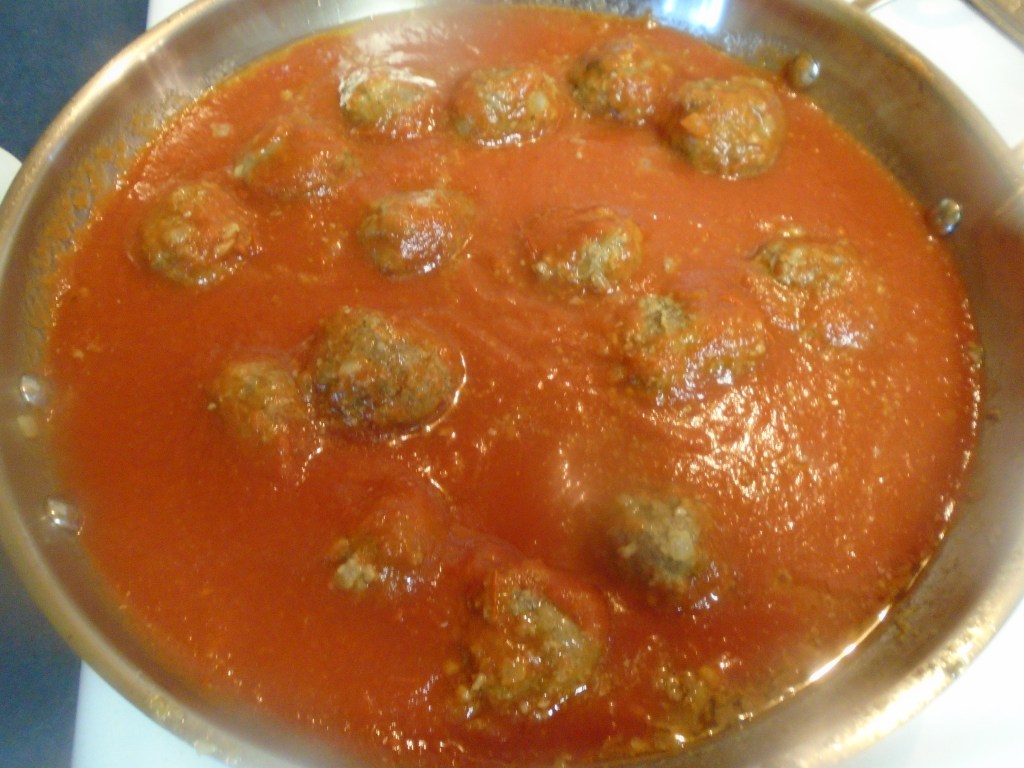
Add the tomato sauce to the meatballs. Stir the meatballs in the sauce and add the Marsala,
roasted garlic, roasted bell pepper, fresh garlic, chopped basil, oregano,
rosemary, salt and black pepper. Stir
briefly to incorporate.
Cover and simmer for 30 minutes.
While the sauce is finishing, prepare spaghetti noodles in a
large stock pot. Add the water to the
pot and bring to a boil. Add a tablespoon
of salt, a bay leaf and 1 tablespoon of oil. Add spaghetti noodles and cook until the
noodles are al dente.
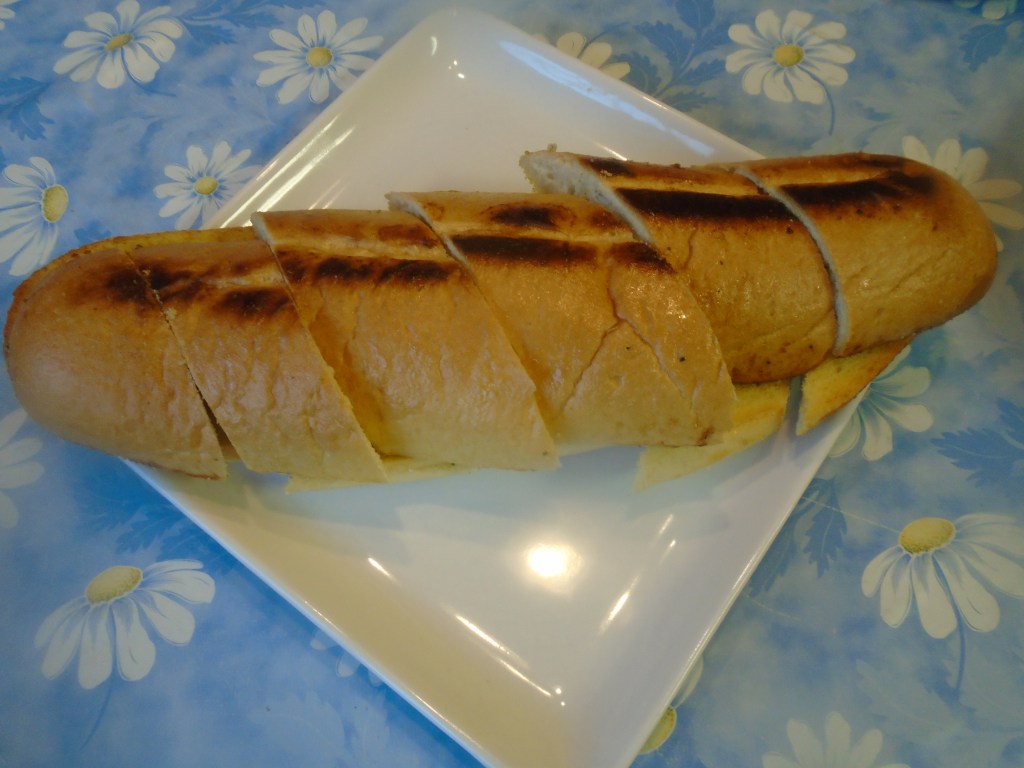
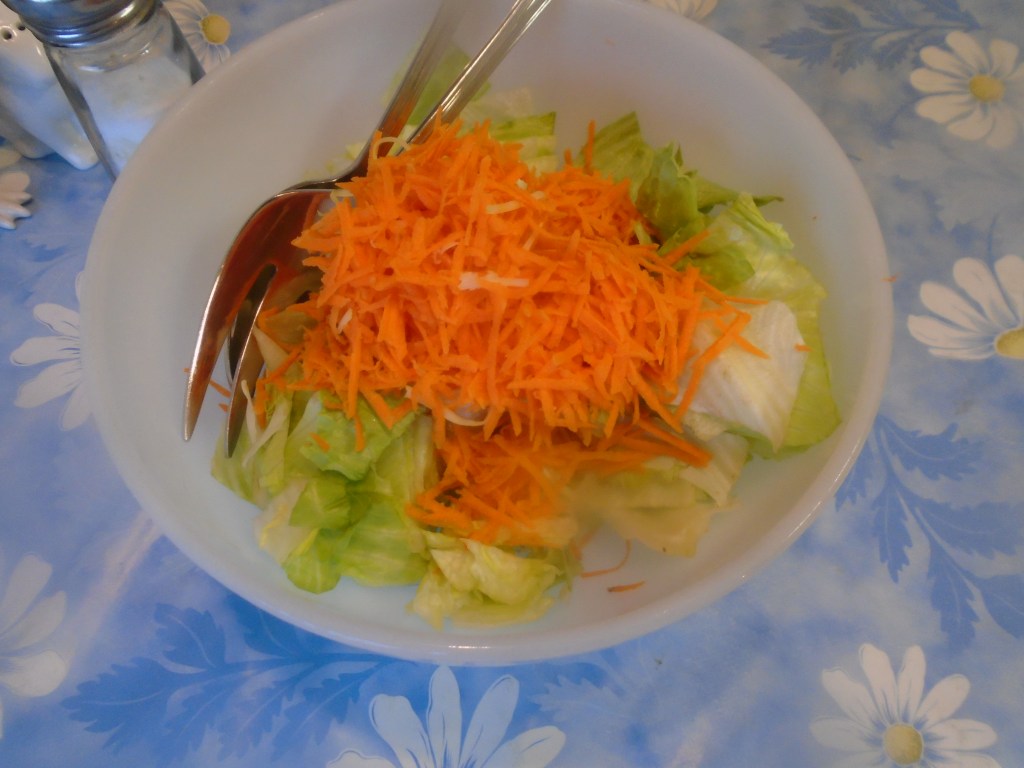
Serve with fresh Parmesan cheese, garlic bread and salad.
This week’s confession is truly astounding, even for someone
like me, who has committed so many kitchen atrocities over time that I am sure
I will end up in Kitchen Hell, when it’s all said and done.
All kidding aside, this was truly a remarkable faux
pas. I’m the sort of person that likes
to be the smartest kid in the class and, if it’s obvious that I am not the
smartest, I like to the one that says the most clever things. Earlier this week I confused Masala with
Marsala.
For those of you who might be scratching your heads,
wondering what the difference is between the two, I’ll tell you. The difference is “R”. (See
what I mean about trying to make up for a lack of intellect by attempting to be
clever?)
Masala is a mixture
of many spices. It’s a term used by
people from India and Pakistan, among other places. It is not just one particular spice mix. The mix can contain any number of
spices. Masala is the flavor foundation
for many dishes.
Marsala is a
sweet, fortified Italian dessert wine, often used for cooking.
An innocent mistake, for sure. And, if that was where my story ended, I
could have laughed it off and gone on with my life with nobody being the wiser.
Several months ago, while visiting my favorite Indian spice
market, I struck up a conversation with the proprietor, as I usually do. He is always willing to stop and talk with me
and he has been a tremendous guide, while I attempt to unravel Indian
cuisine. On this occasion, I told him
that I was considering making a masala pizza, at least that is what he probably
heard. I actually said Marsala, because I was thinking about making
a chicken Marsala pizza. That was the
moment I ran off the rails.
You see, I have made chicken Marsala before and I have made
many dishes with masala, although I’ve never really thought about calling the
spice mixture, masala. I must have had a
bizarre synaptic short-circuit which caused me to switch masala with
Marsala. The proprietor, being the
gentleman that he is, just stared at me when I suggested the masala pizza. He gave me a sort of quizzical, pitiful look.
Well, months later, here I am ready to make the pizza. I wanted to try a test run with the chicken
Marsala, before moving on to the pizza.
I went back to the Indian market to pick up some items for other dishes
and when I saw the proprietor, I told him that I was really going to make the
masala pizza, but I what I actually said was, “Marsala”. I told him that I was deliberating on how to
approach the pizza. I didn’t want to use
traditional Italian marinara and mozzarella because I didn’t think they would
pair well with the Marsala sauce. I
asked him if he had a suggestion for a creamy sauce that I could make, instead
of using Mozzarella. After a moment, he
suggested coconut milk and followed that with suggesting tapioca starch to
thicken the coconut milk.
Coconut milk? I’ve
taken some interesting turns while creating new food but coconut milk didn’t
seem like a very good idea for pizza but, I told him that I would give it a
try.
As I left the store and headed to the wine store, to pick up
some Marsala wine, it suddenly dawned on me that I had been utterly
confused. You see, the proprietor of the
spice market speaks perfectly. Despite
the tell-tale Indian accent, his diction and vocabulary is precise and
clear. He speaks better English than
most people I encounter, on any given day.
“Masala”, was what he was saying, and he made sure to say
masala each time after I said “Marsala” to him.
The nerve cells in my brain finally made the jump. I had been enlightened! I also suffered from incredible embarrassment.
As I drove to the wine store I convinced myself that the
only way to redeem myself was to perform an act of penance. I would make two pizzas. One would be inspired by masala and the other would be inspired by Marsala.
One final interesting event rounded out the day and
convinced me that fate is a very real thing.
I was checking out some other blogs and I came across this blog, https://ishitasood.com/
. It’s tagline reads, “The Biggest and Only Indian Blog on Italy”. Ishita is the author and she has produced
some very interesting posts. One post in
particular struck a chord with me… https://ishitasood.com/confessions-of-a-passionate-blogger/
In the blog she offers some words of encouragement,
including the following: “It is okay to be vulnerable.”
And that was exactly what I needed to hear. It is what I needed to remember. I am an imperfect human and so is everybody
else.
I will work on these recipes with an open heart and an open
mind.