Ribeye Steak with Chipotle Butter

Some people say they dream in color and some say they don’t.  I dream in color and I can dream in taste and smell, too.  Afternoon, weekend naps start with thoughts about what to make for dinner.  Trying to recall what is in my pantry and my refrigerator makes me drowsy.  Those thoughts roll over and over in my mind and before long, I fall asleep.  But, afternoon naps are short-lived.  I sleep just long enough to catch a glimpse of a dream and when I awake, I know what I will prepare for dinner.  I can taste it.  I can smell it.  I have already prepared the meal in my dream.   I get out of bed quickly and get to work. 

This afternoon’s dream was of the vivid Tex-Mex variety.  Vibrant colors and bold, spicy flavors are what I have in mind for my ribeye steaks.  This is food worthy of celebration!
Ingredients:

3 beef ribeye steaks (1 pound each and 1” thick)

2 Tbs cooking oil (Canola or Olive oil is good)

2 Tbs cumin powder

1 Tbs coarse salt

1 Tbs freshly ground black pepper

½ red bell pepper

½ yellow bell pepper

½ green bell pepper

4 Tbs softened butter

2 Tbs chipotle adobo sauce

Directions:

Remove the steaks from the packaging and allow them to warm on a platter, at room temperature, for about 20 minutes. 

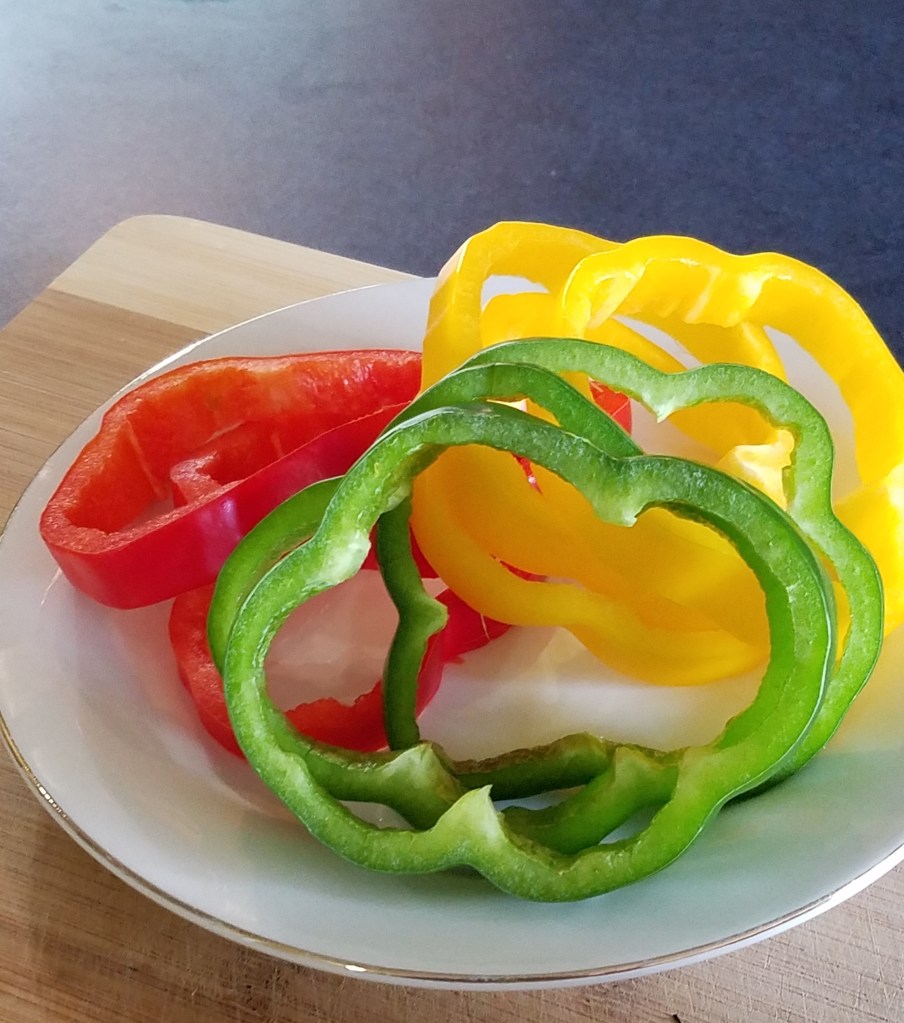
While the steaks rest, slice the bell peppers into ½ inch rings and set aside. 

Prepare the chipotle butter by combing the softened butter with the chipotle adobo sauce.  Set aside.

Prepare the charcoal grill. 

I use a charcoal chimney to heat the charcoal briquettes. 
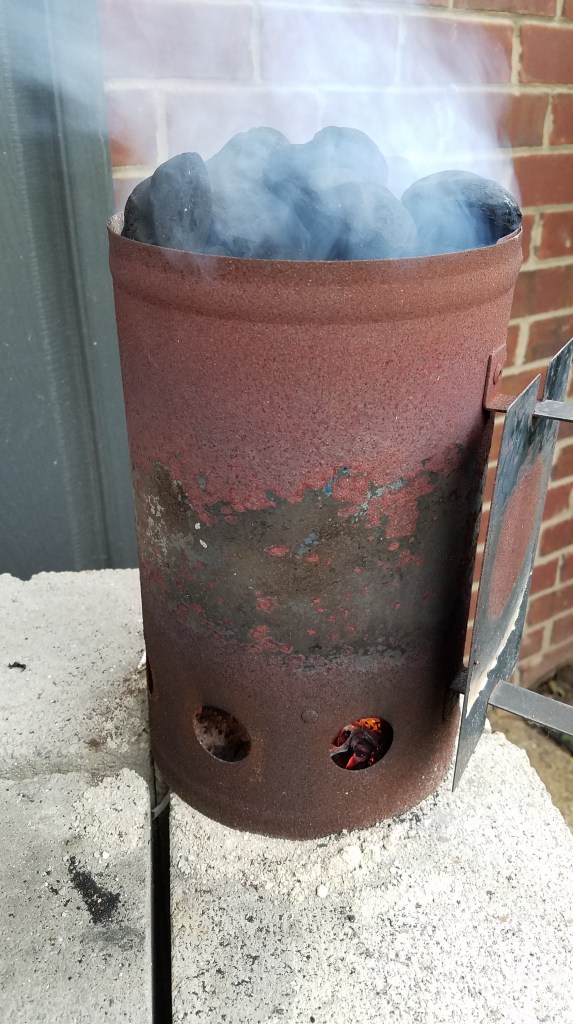
If you are not familiar with a charcoal chimney, you need to be.  Starting coals with a charcoal chimney means that you don’t have to use lighter fluid.  Lighter fluid can impart a greasy, oily flavor to meats and vegetables. 

I like to rip apart old newspapers or paper grocery bags, or even pieces of the charcoal bag, to start the fire for the chimney.  This is a good way to recycle paper and it gives me an opportunity to tear stuff up and burn things.  The primal urge to destroy and burn things runs deep…

While the coals heat, prepare the steaks.  Brush the steaks lightly with olive oil and sprinkle each side with cumin powder.  Liberaly apply salt and pepper to both sides.

Once the coals turn gray, dump them in the charcoal grill and spread them out evenly.  Add some mesquite wood, if you have it.  Clean the grill with a steel brush and then swab the grill with a some cooking oil and carefully lay the steaks on the grill, keeping at least 1” between each steak.  

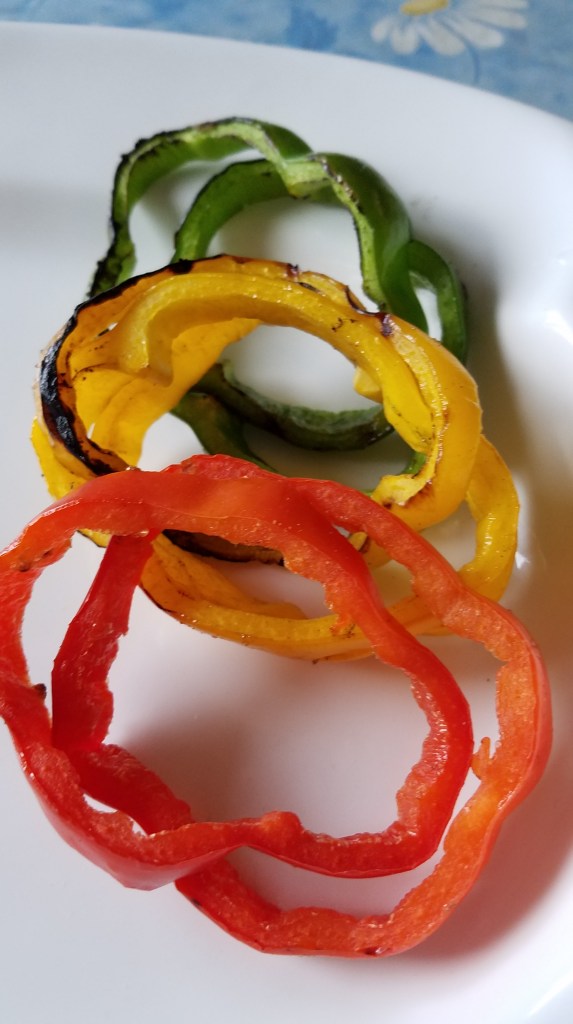
Add the sliced bell peppers and grill them for a minute or two, until they start to char.  Remove the peppers.
Grill the ribeye steaks for 3 minutes and then turn them over.  Cook for another 3 minutes to achieve medium rare steaks.  Remove the steaks and brush with chipotle butter.  Rest the stakes under a foil tent for 5 to 10 minutes before slicing. 

That sounds simple right?  Well, it is and it isn’t.  When it comes to grilling meat to a desired level of doneness, there are many factors to consider.  Grilling for 3 minutes on each side will probably produce a good, medium rare steak but my preferred method for checking doneness is by pushing on the meat with a finger.  Assuming that the steak is one inch thick, or more, I give it 3 minutes on the first side, at high heat.  This produces a good char and thoroughly cooks the meat on that side.  Then, after flipping the steak over, I let it go for about 2 minutes and then press the center portion of the steak with my finger of side of my thumb.  If the meat yields easily and feels soft or mushy, it is still rare.  When I push down and feel a slight resistance and the meat returns to its form, like a mattress would, I know that it is medium rare. 

If you are in doubt, pull the steak.  You can always pop it in the oven or put it on a skillet to finish.  You can’t un-cook a steak. 

Serve family style on a large platter with grilled corn on the cob and baked potatoes. 

Grilled Corn on the Cob and Baked Potatoes

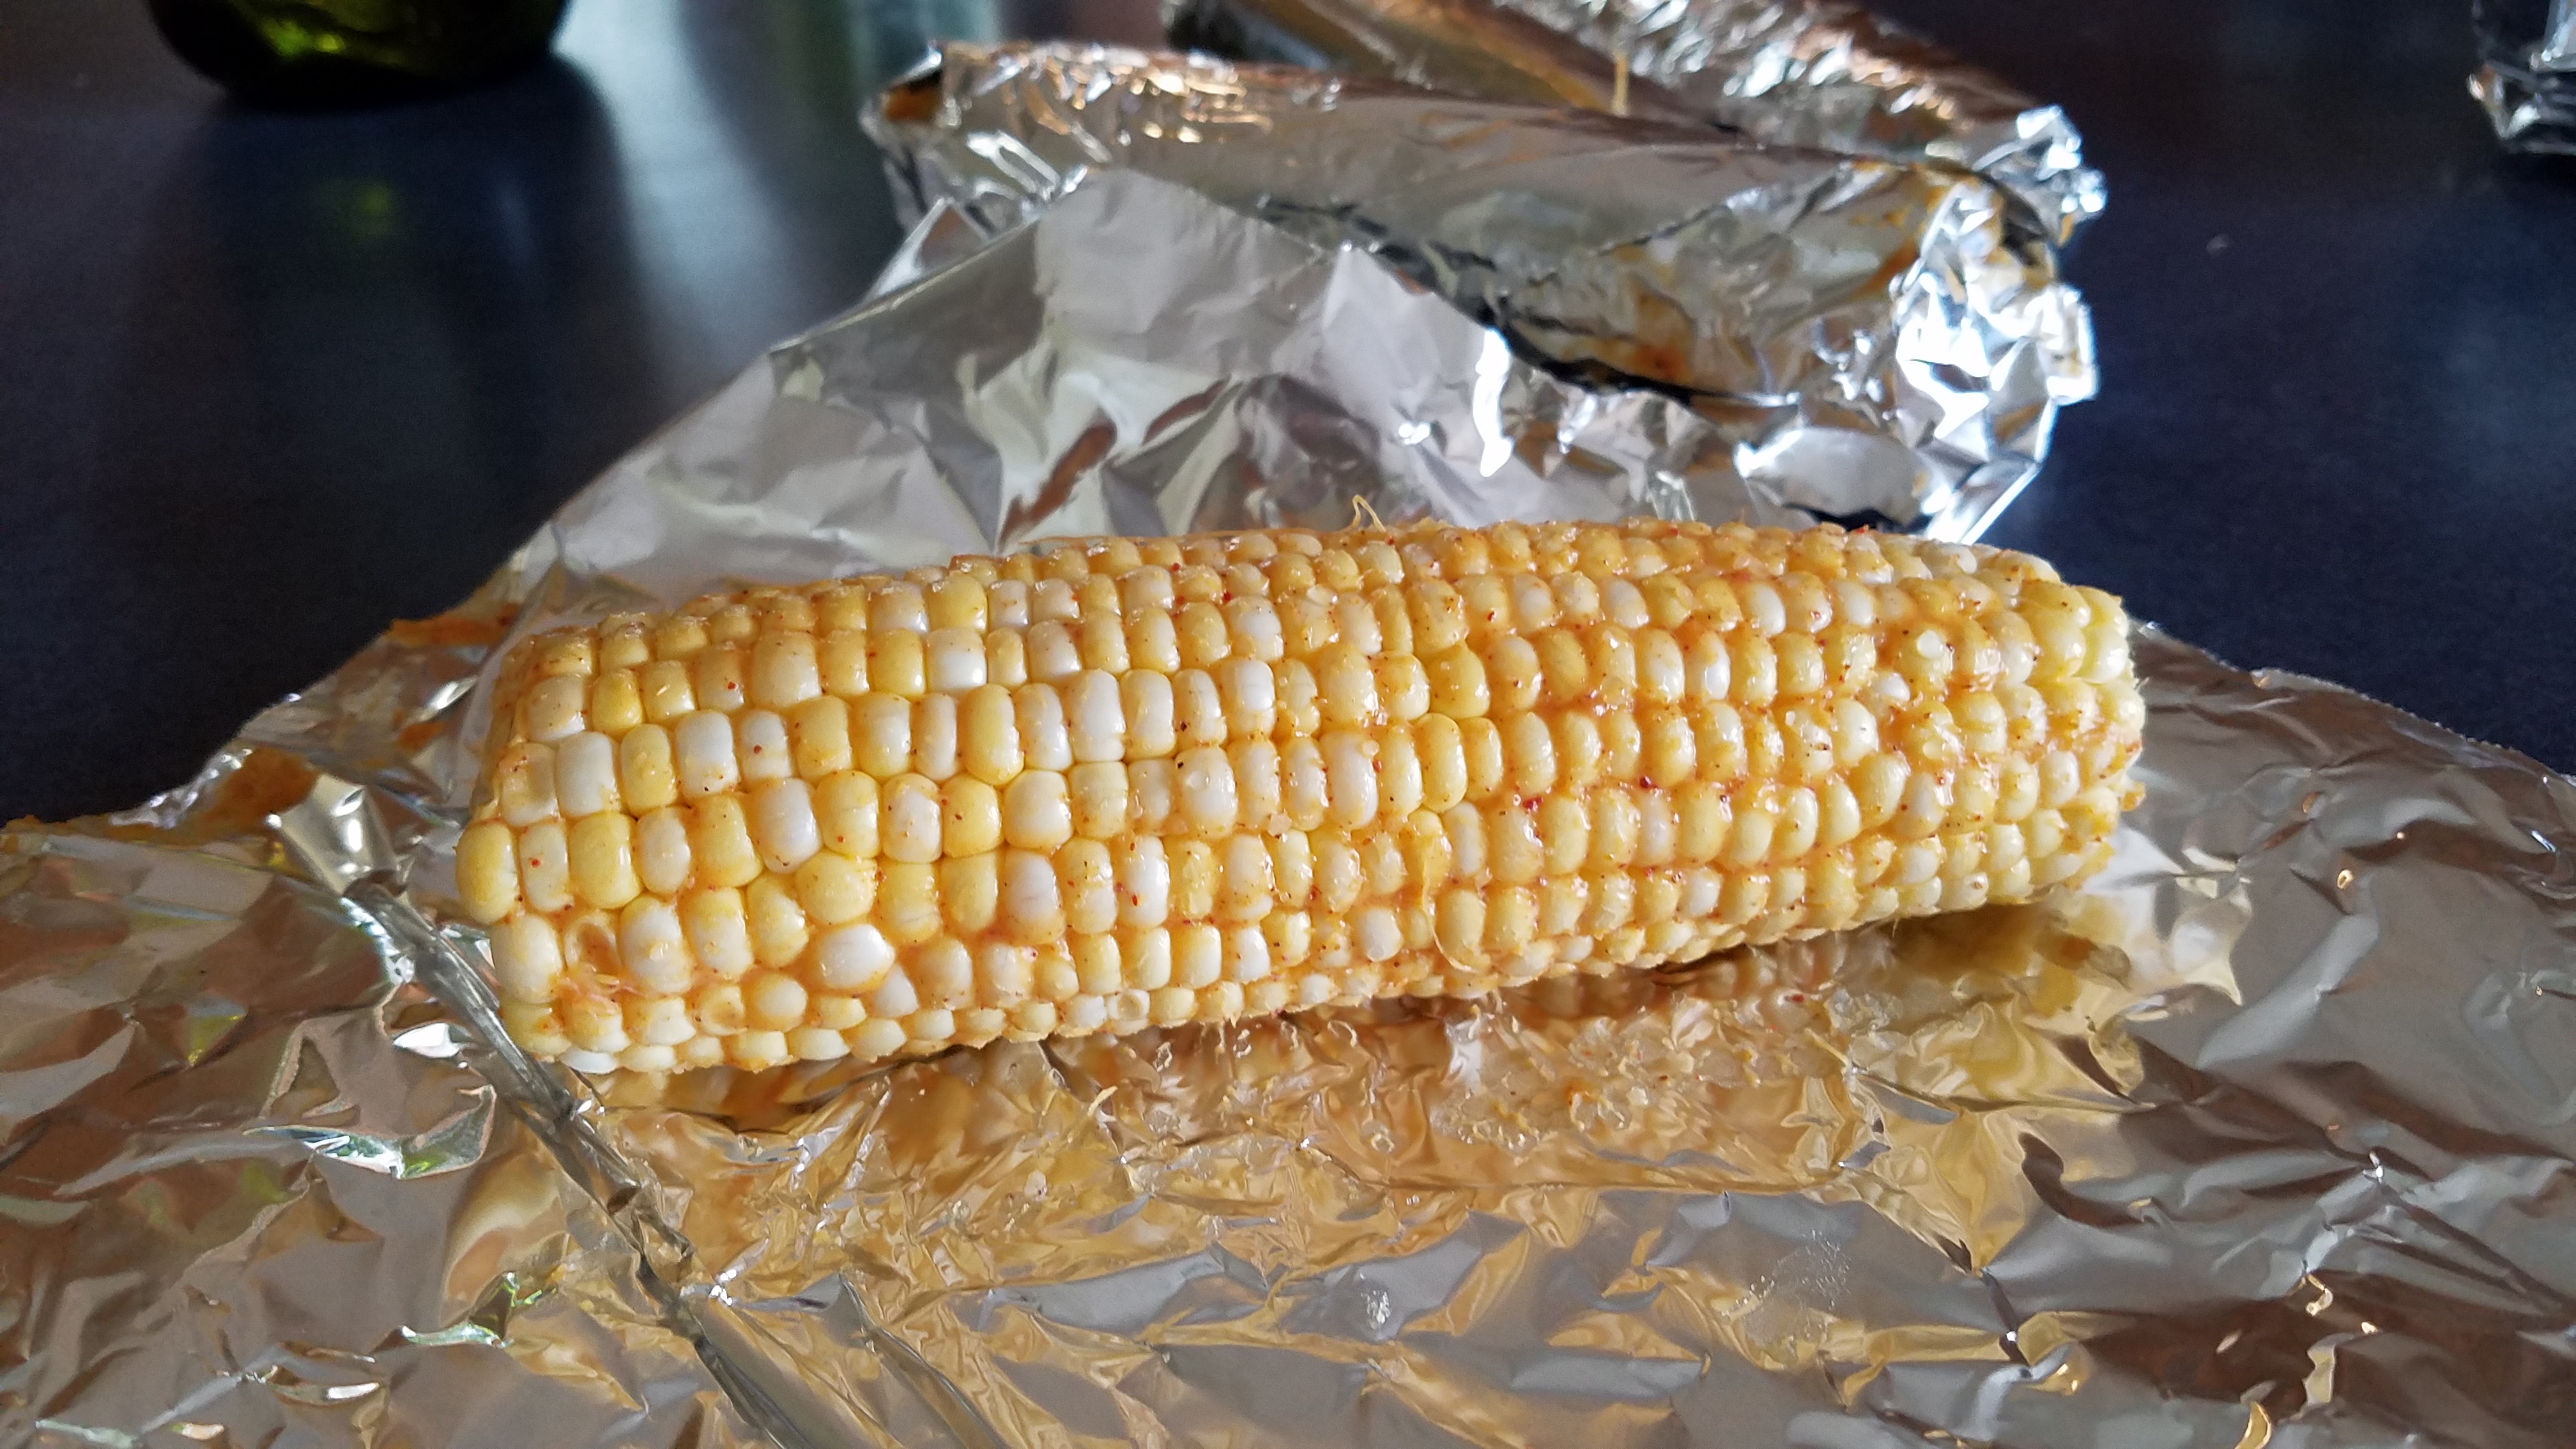
I like to grill corn on the cob in the husk but, since I could only find corn cobs with the husks already removed, I used heavy duty aluminum foil to prevent the corn from burning.

Ingredients for the corn:

4 corn cobs

4 Tbs softened butter

1 tsp salt

½ tsp chili powder

¼ tsp cumin powder

Directions:

Wash the corn and remove any corn silk.  Allow the corn to dry.  Combine the butter, chili powder and cumin powder until it forms a paste.  Smear the corn cobs with the buttery mixture.  Wrap each corn cob tightly in heavy duty aluminum foil.

Place the corn on a hot grill and grill for about 20 minutes, giving the corn a quarter turn every five minutes.  Keep the corn in the foil until ready to serve.  Leaving the corn in the foil will allow the corn to continue steaming.

Baked Potatoes (on the grill)

As I see it, there are two types of people.  Those who eat the potato skins and those who don’t.  Baking them on the grill allows for both options.  Coating the potatoes with oil and salt and wrapping them in foil will produce a baked potato with a soft skin, or jacket, if you prefer.

Ingredients for the potatoes:

4 large baking potatoes (I’m only making 3 this time)

1 Tbs olive oil

1 ½ Tbs kosher salt

Directions:

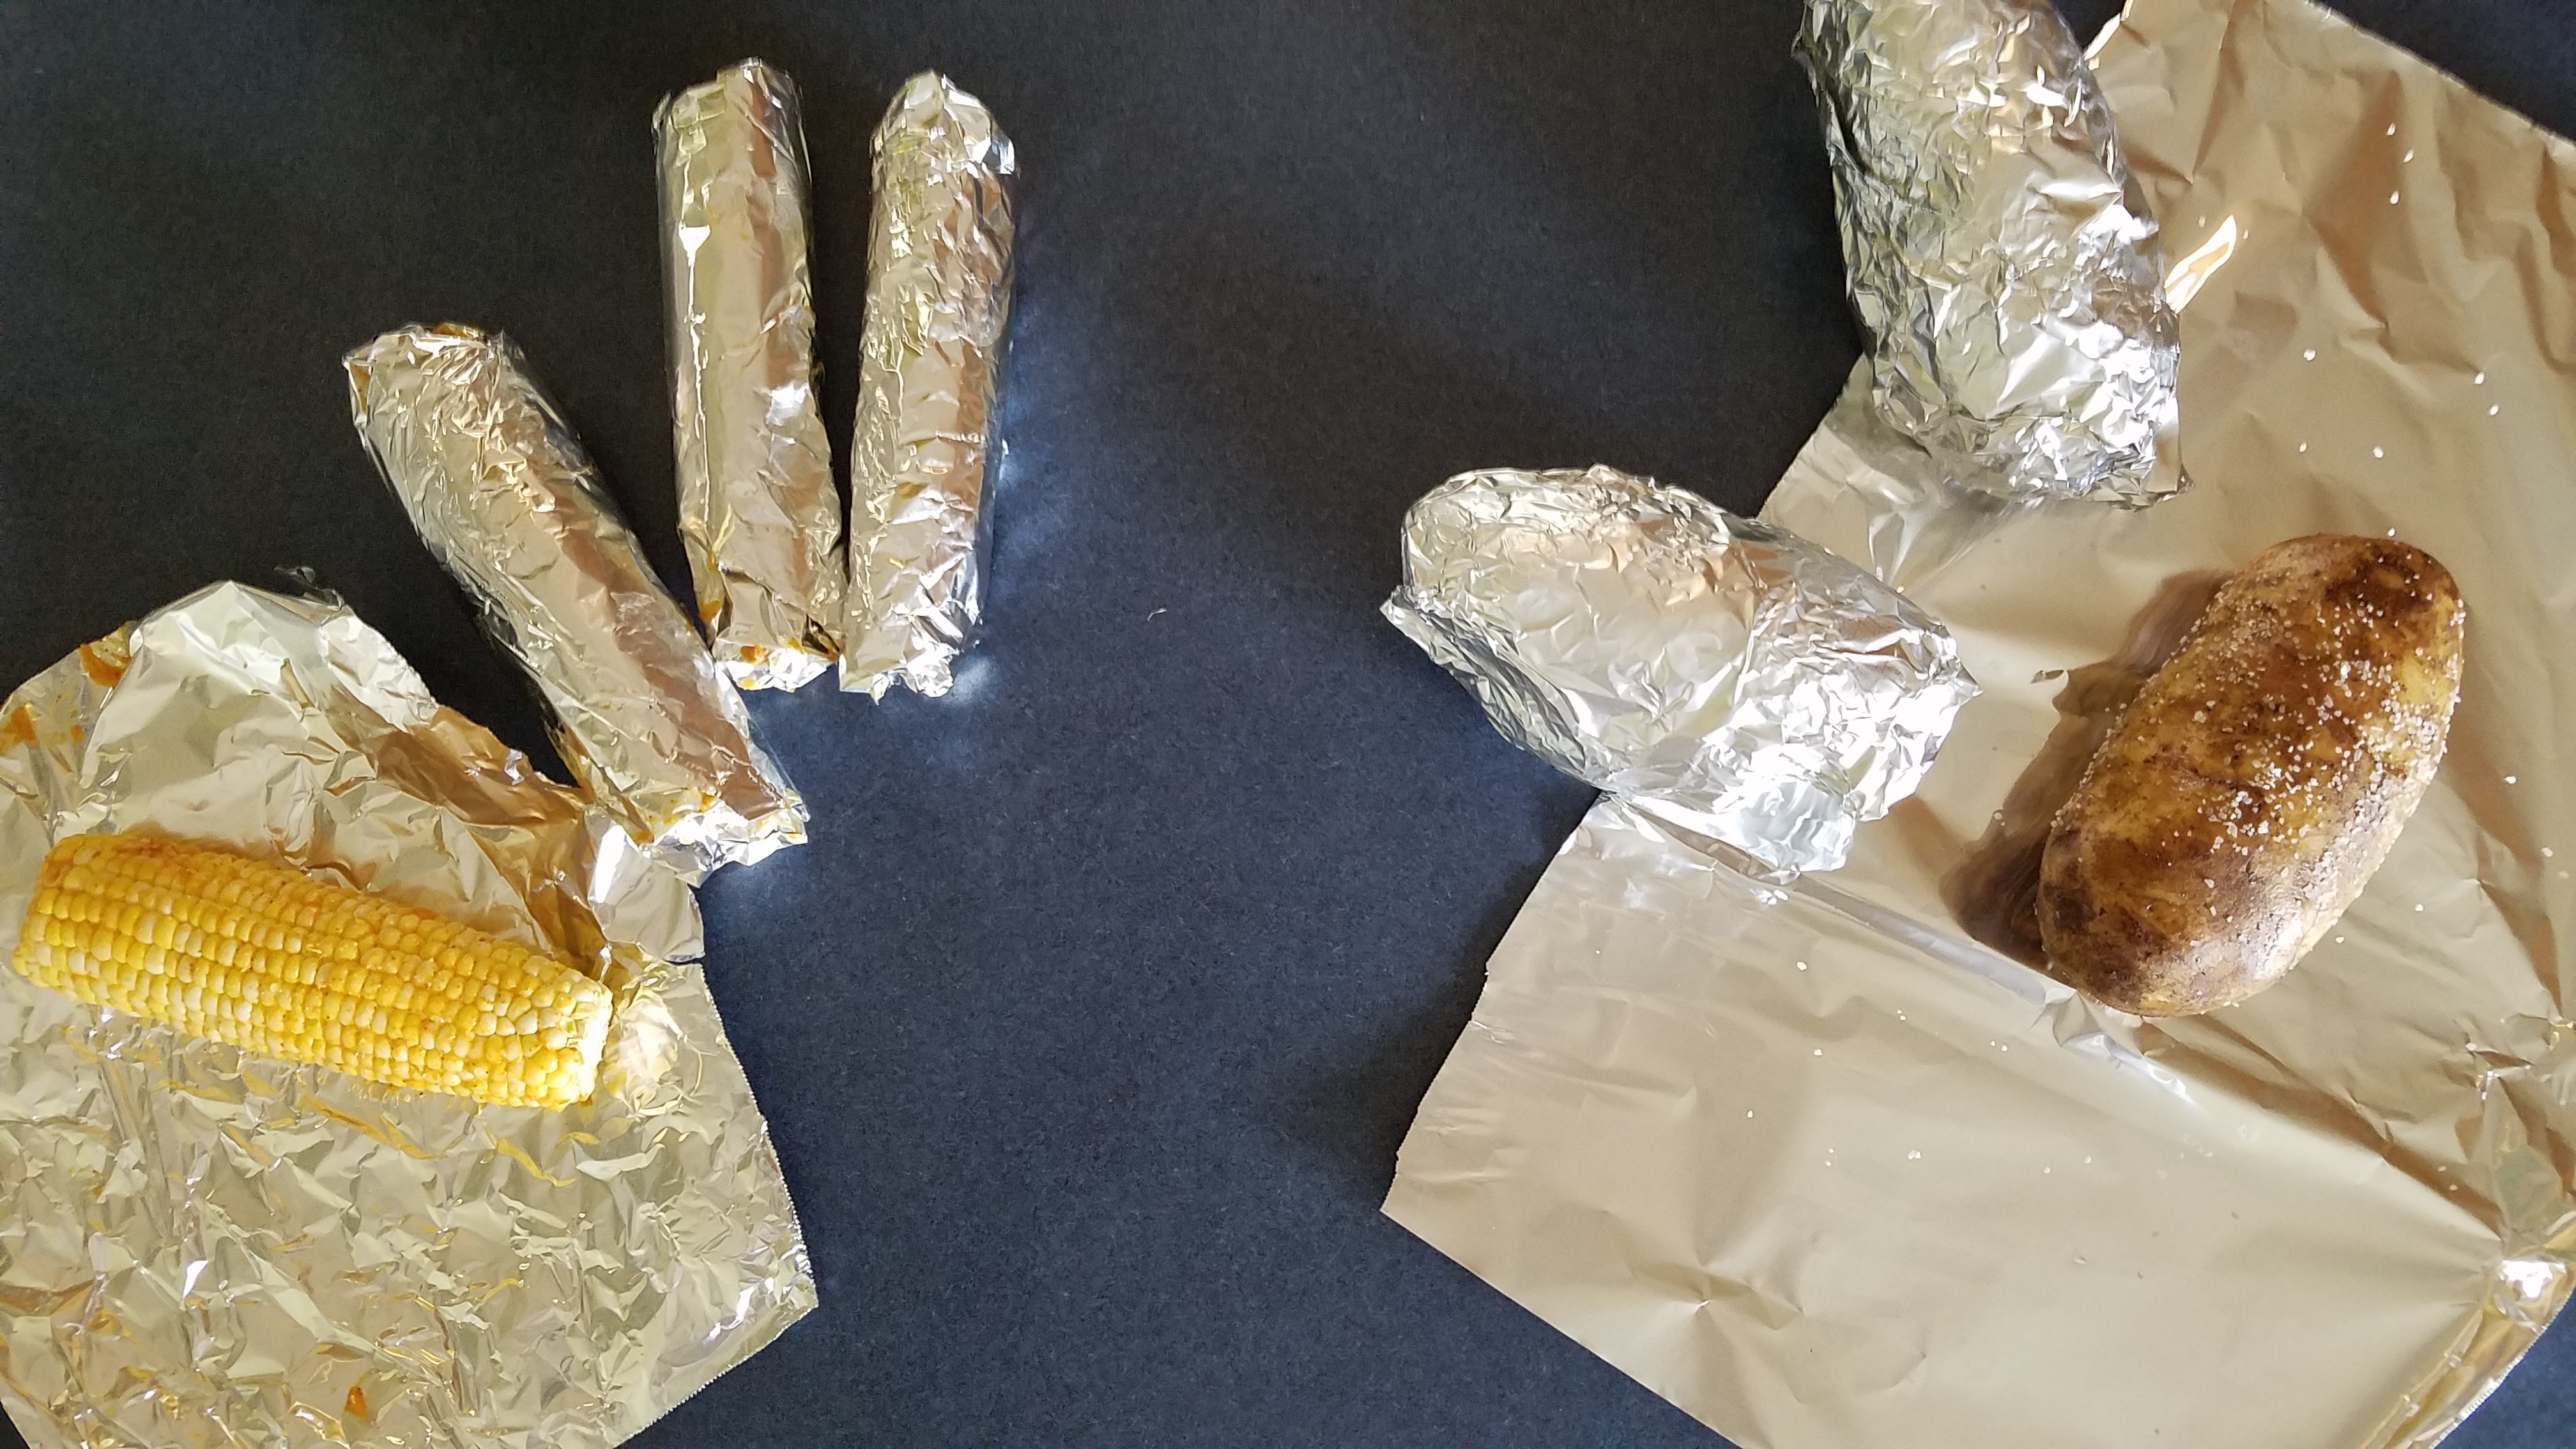
Wash potatoes and let them air-dry.  Rub the potatoes with olive oil and sprinkle each one generously with salt.  Wrap tightly in heavy duty aluminum foil and place on a hot grill. 

Bake on the grill for 30 to 45 minutes, or until the potatoes yield when gently squeezed.  Use an oven mitt when squeezing the potatoes. 
Corn and Potatoes…ready to come off the grill

London Broil

If hearing someone say “London broil” conjures up mental images of a rustic steak house in merry old England I have some disappointing news for you.  London broil is an American concoction, used to describe a method of preparing lean and tough cuts of beef.  Specifically, flank steak or top round.  Now, there’s nothing wrong with lean or tough cuts of meat and one of the best methods to overcome the challenges that lean meat presents is to cook it at a very high temperature and for a very short period of time, hence, the appeal of broiling.  If broiling is not an option, a smoking hot cast iron skillet will work just as well.  In fact, one of the advantages to using a hot skillet rather than a broiler is that you can see and test the meat for doneness while it cooks.  If you prefer your steak cooked well done, don’t bother cooking a London broil.  You’ll wind up with something akin to leather.

So, I wanted steak tonight but I didn’t want to pay top dollar for a steak dinner.  Enter the London broil.  This recipe will feed up to 4 people, but I’m making it for 3.

Ingredients:

2 lbs London broil (top round steak)

1 Tbs coarse salt

1 Tsp finely ground salt

A pinch of cayenne powder

1 Tbs coarse black pepper

5 russet potatoes – wedge cut

2 cups cooking oil (I use canola oil)

1 lb fresh green beans

1/2 sweet onion – julienne cut

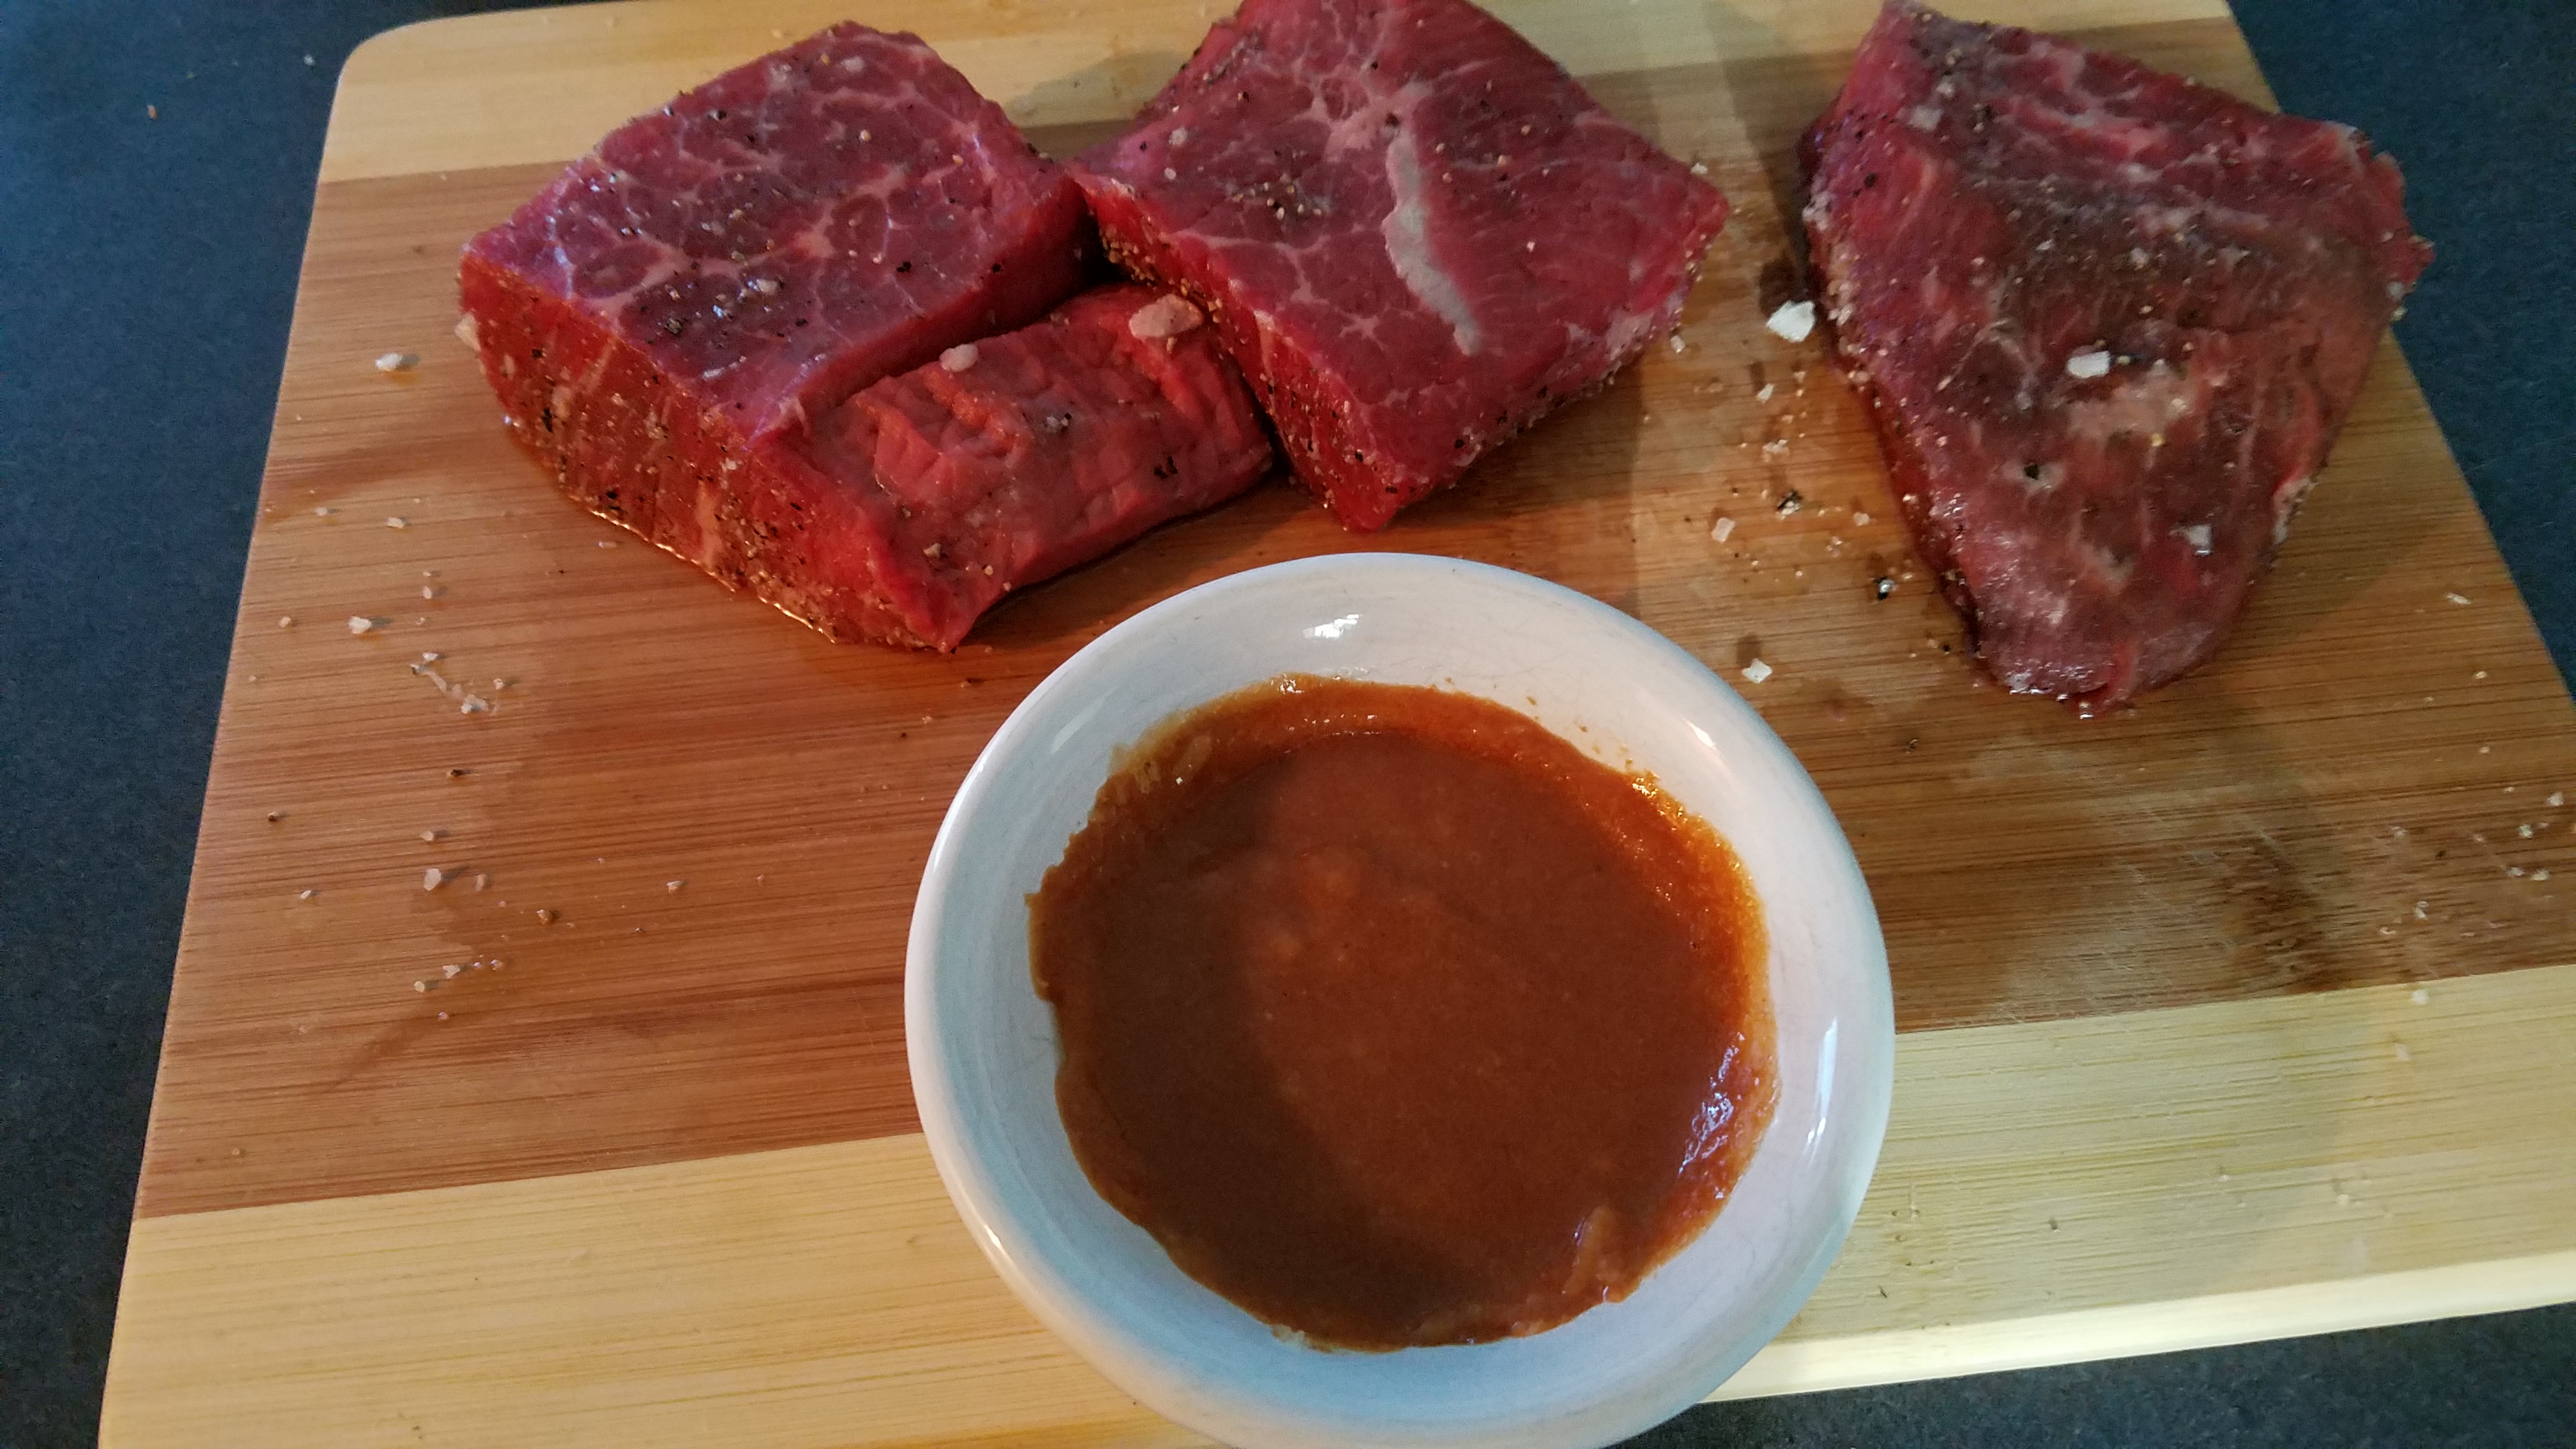
steak sauce (about 1/4 cup) – see recipe below

Directions:

Fill a skillet with oil, nearly half way and turn on the heat to low/medium.

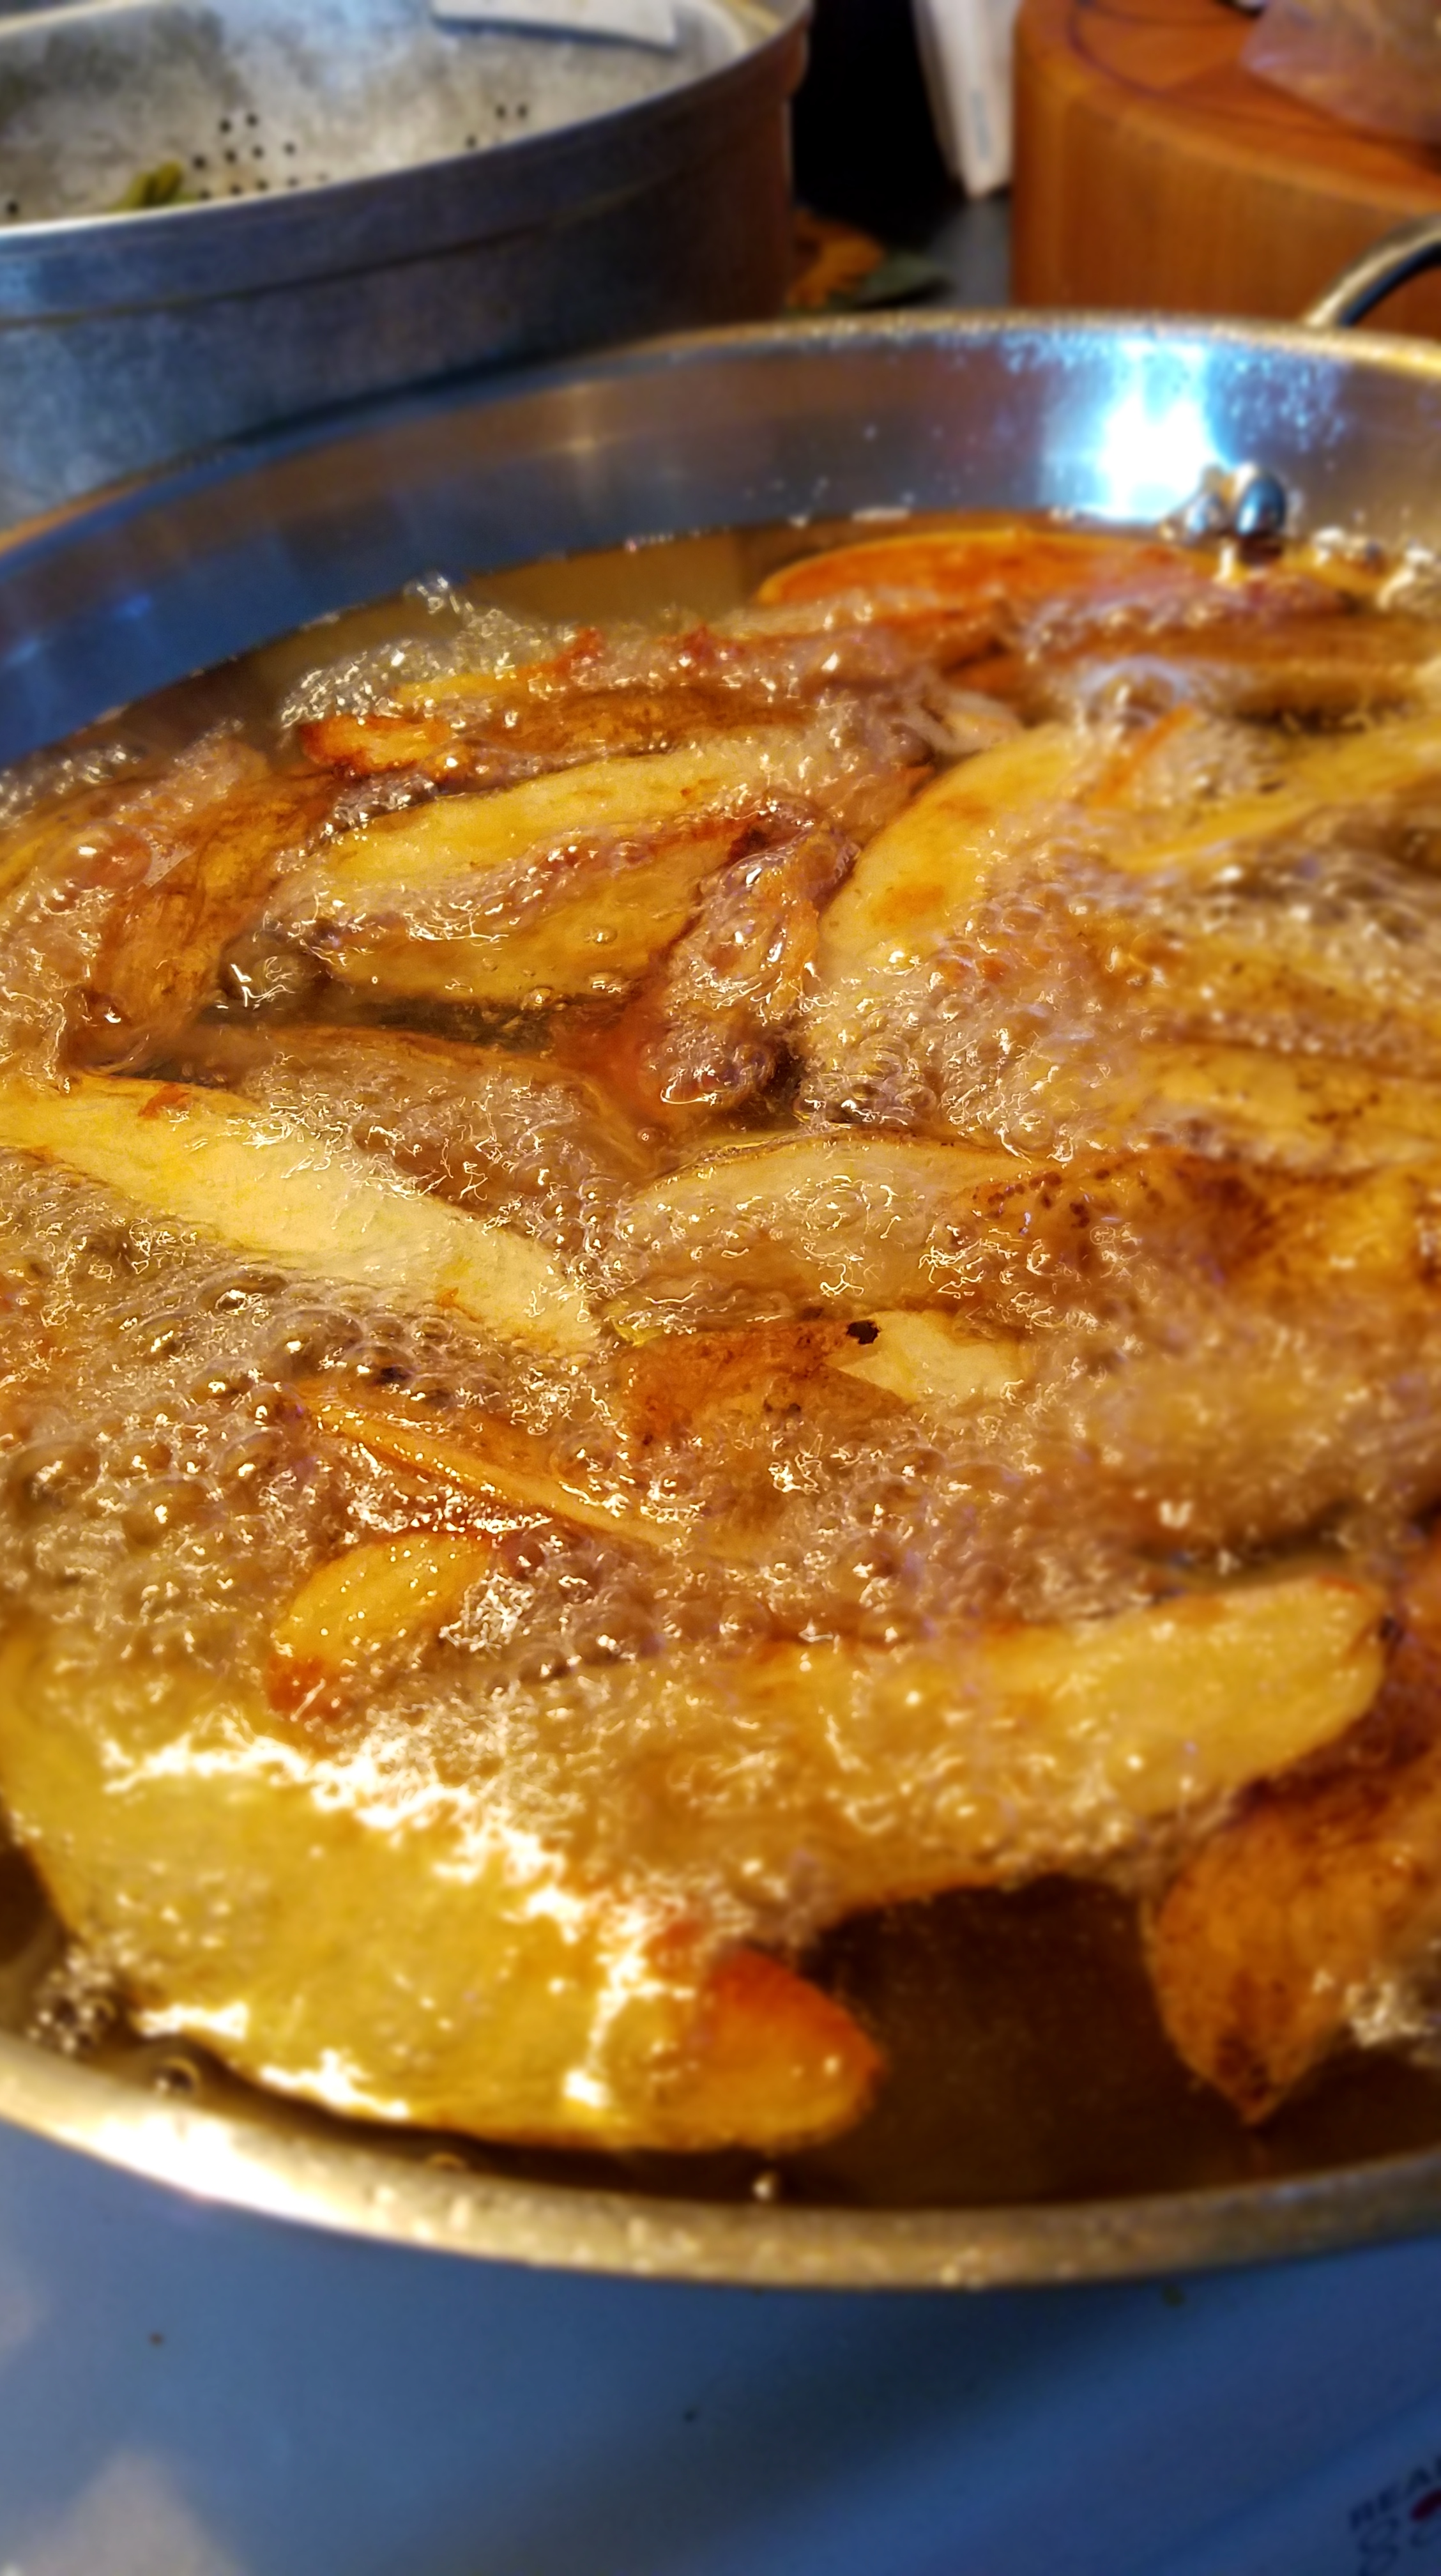
Wash the potatoes and cut into long wedges.  Add potatoes to the skillet and cook for about 1/2 hour, turning the potatoes occasionally, to avoid burning.  When the fries are golden brown, strain the oil, sprinkle with salt and a pinch of cayenne, and arrange them on a large oven-proof serving platter.  Keep warm in a 225° oven.

While the fries are cooking, let’s prepare the steak sauce and green beans.

For the steak sauce:

Mix the following items together:

2 Tbs ketchup

1 Tbs softened butter

1 Tbs Dijon mustard

1 tsp soy sauce

1/2 tsp Worcestershire sauce

1/2 tsp hot sauce

a pinch of brown sugar

For the green beans:

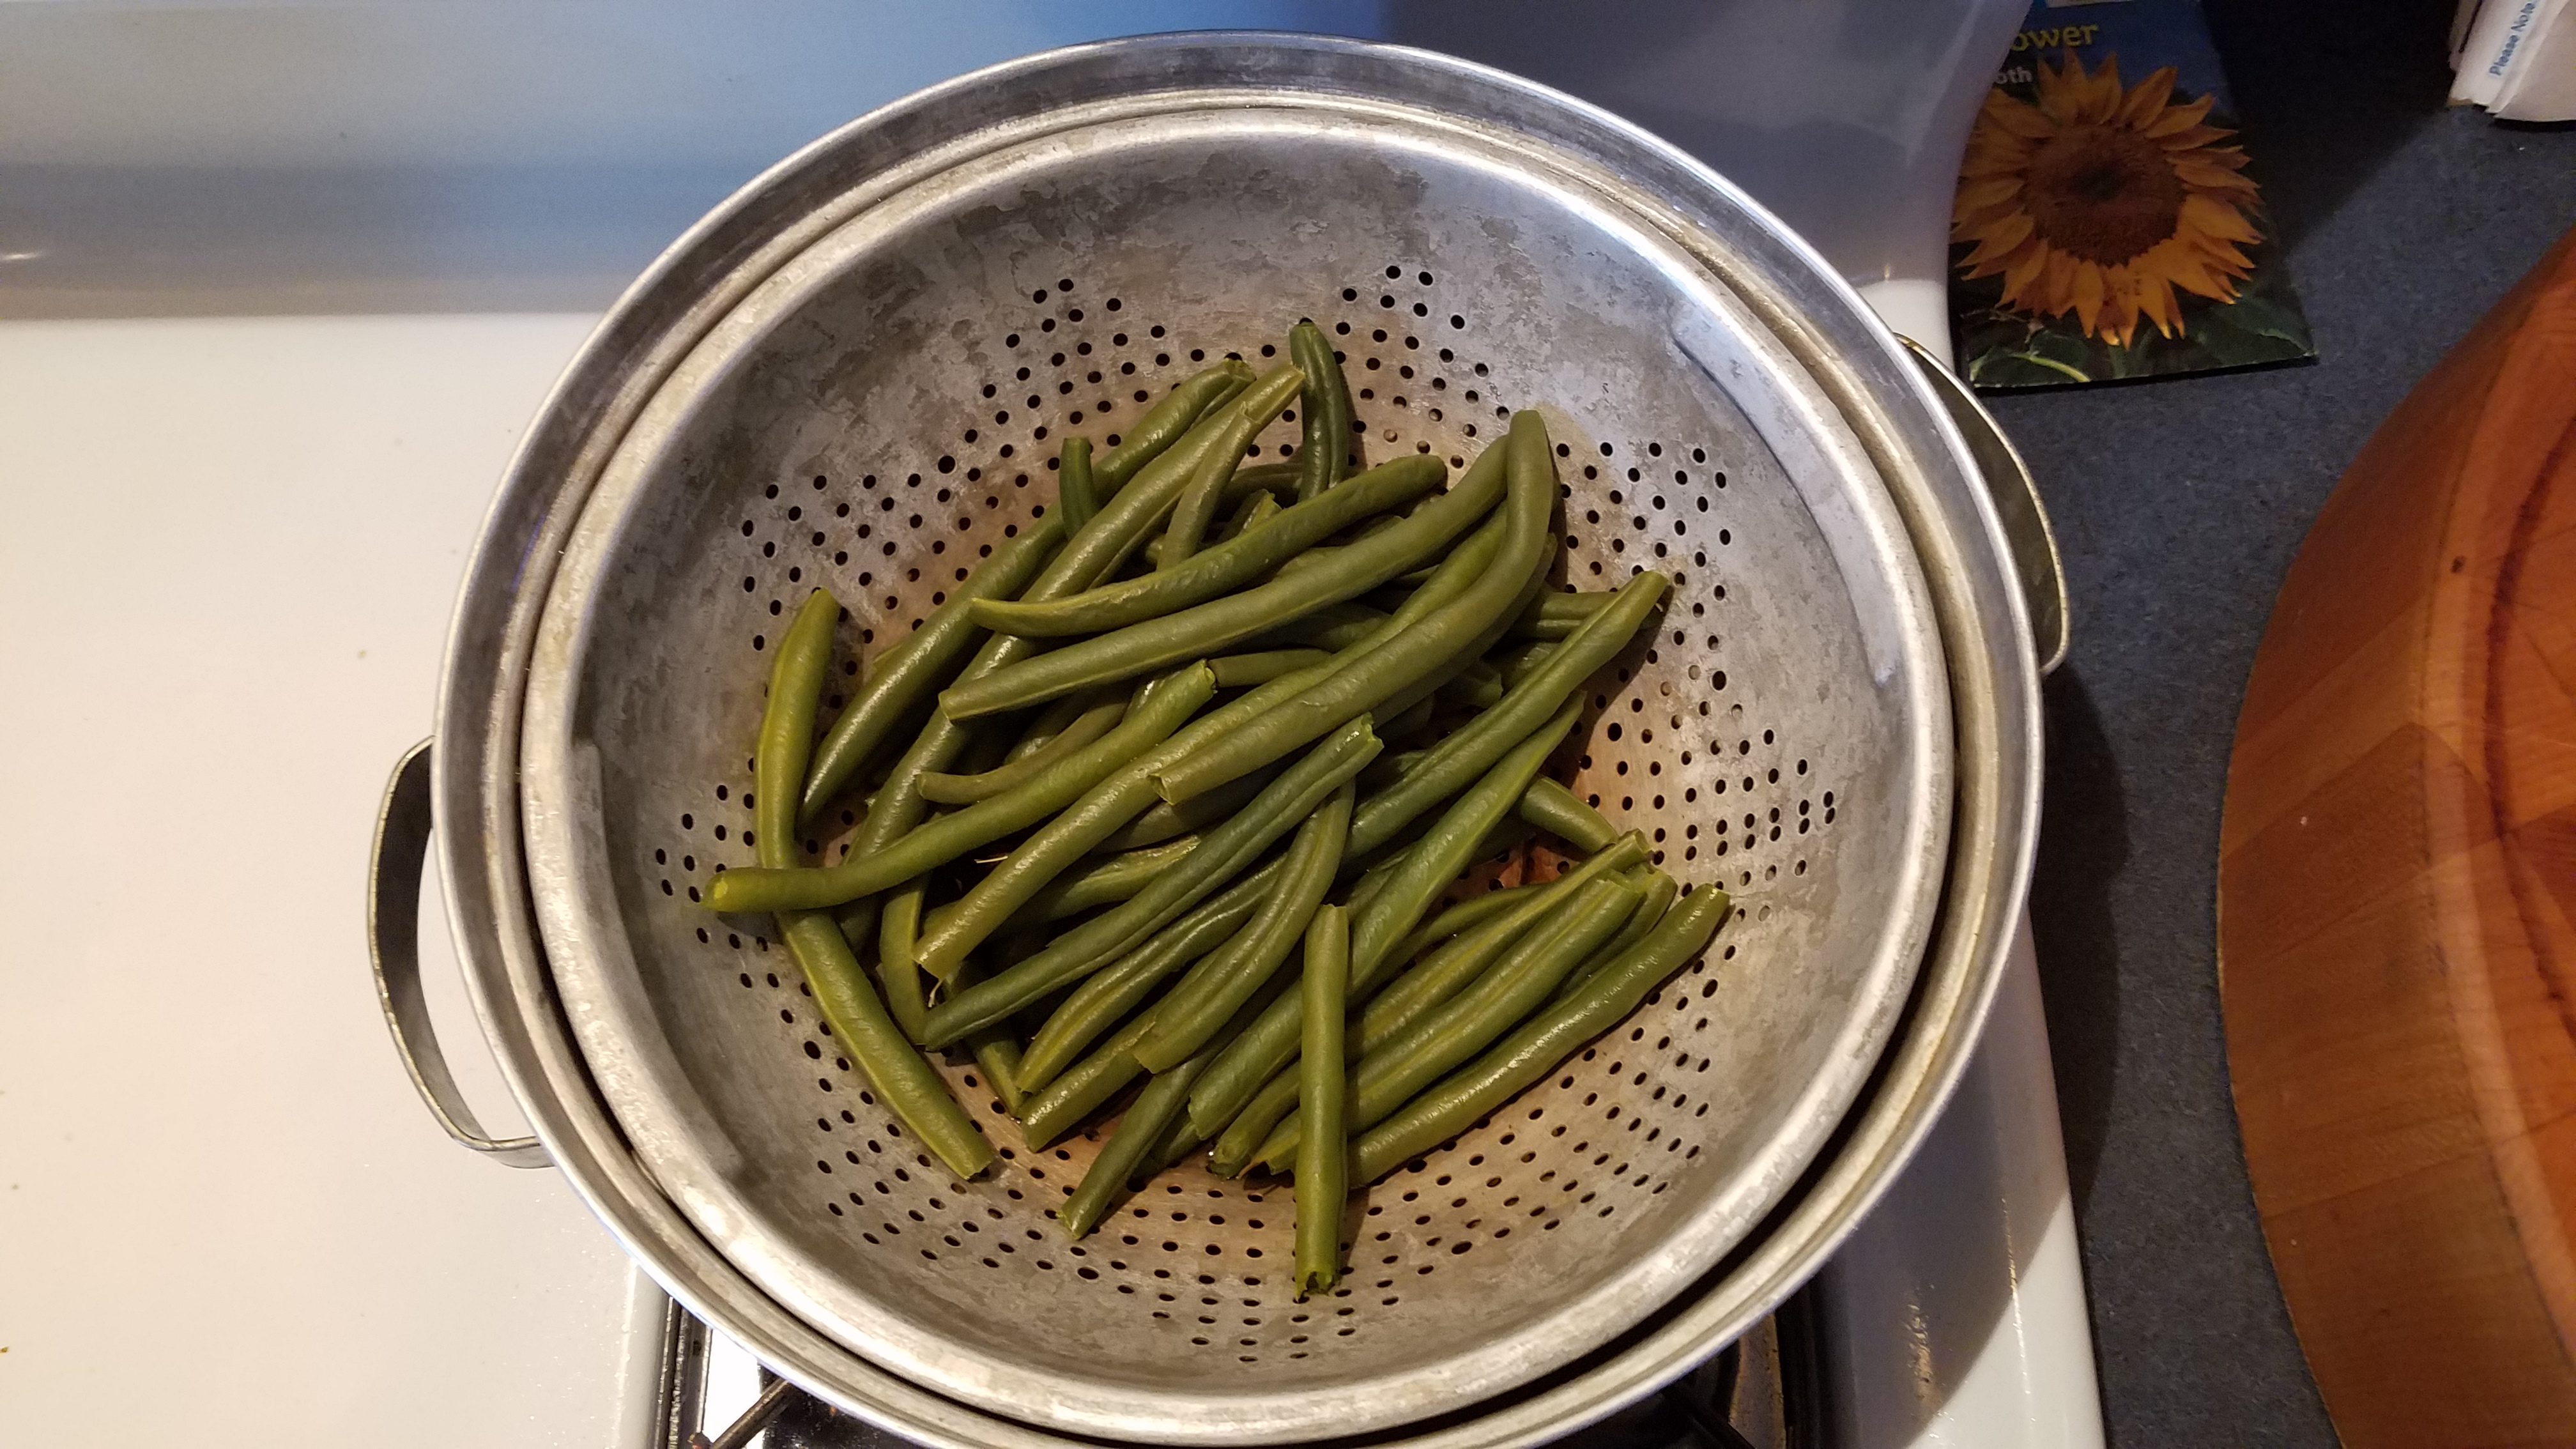
Steam green beans for about 15 minutes, or until they begin to soften.  Stage in a warm place.

On a clean cutting board, cut the raw steak into serving sized portions and remove any large, white portions of fat.  Sprinkle coarse salt and black pepper on each side of the pieces.

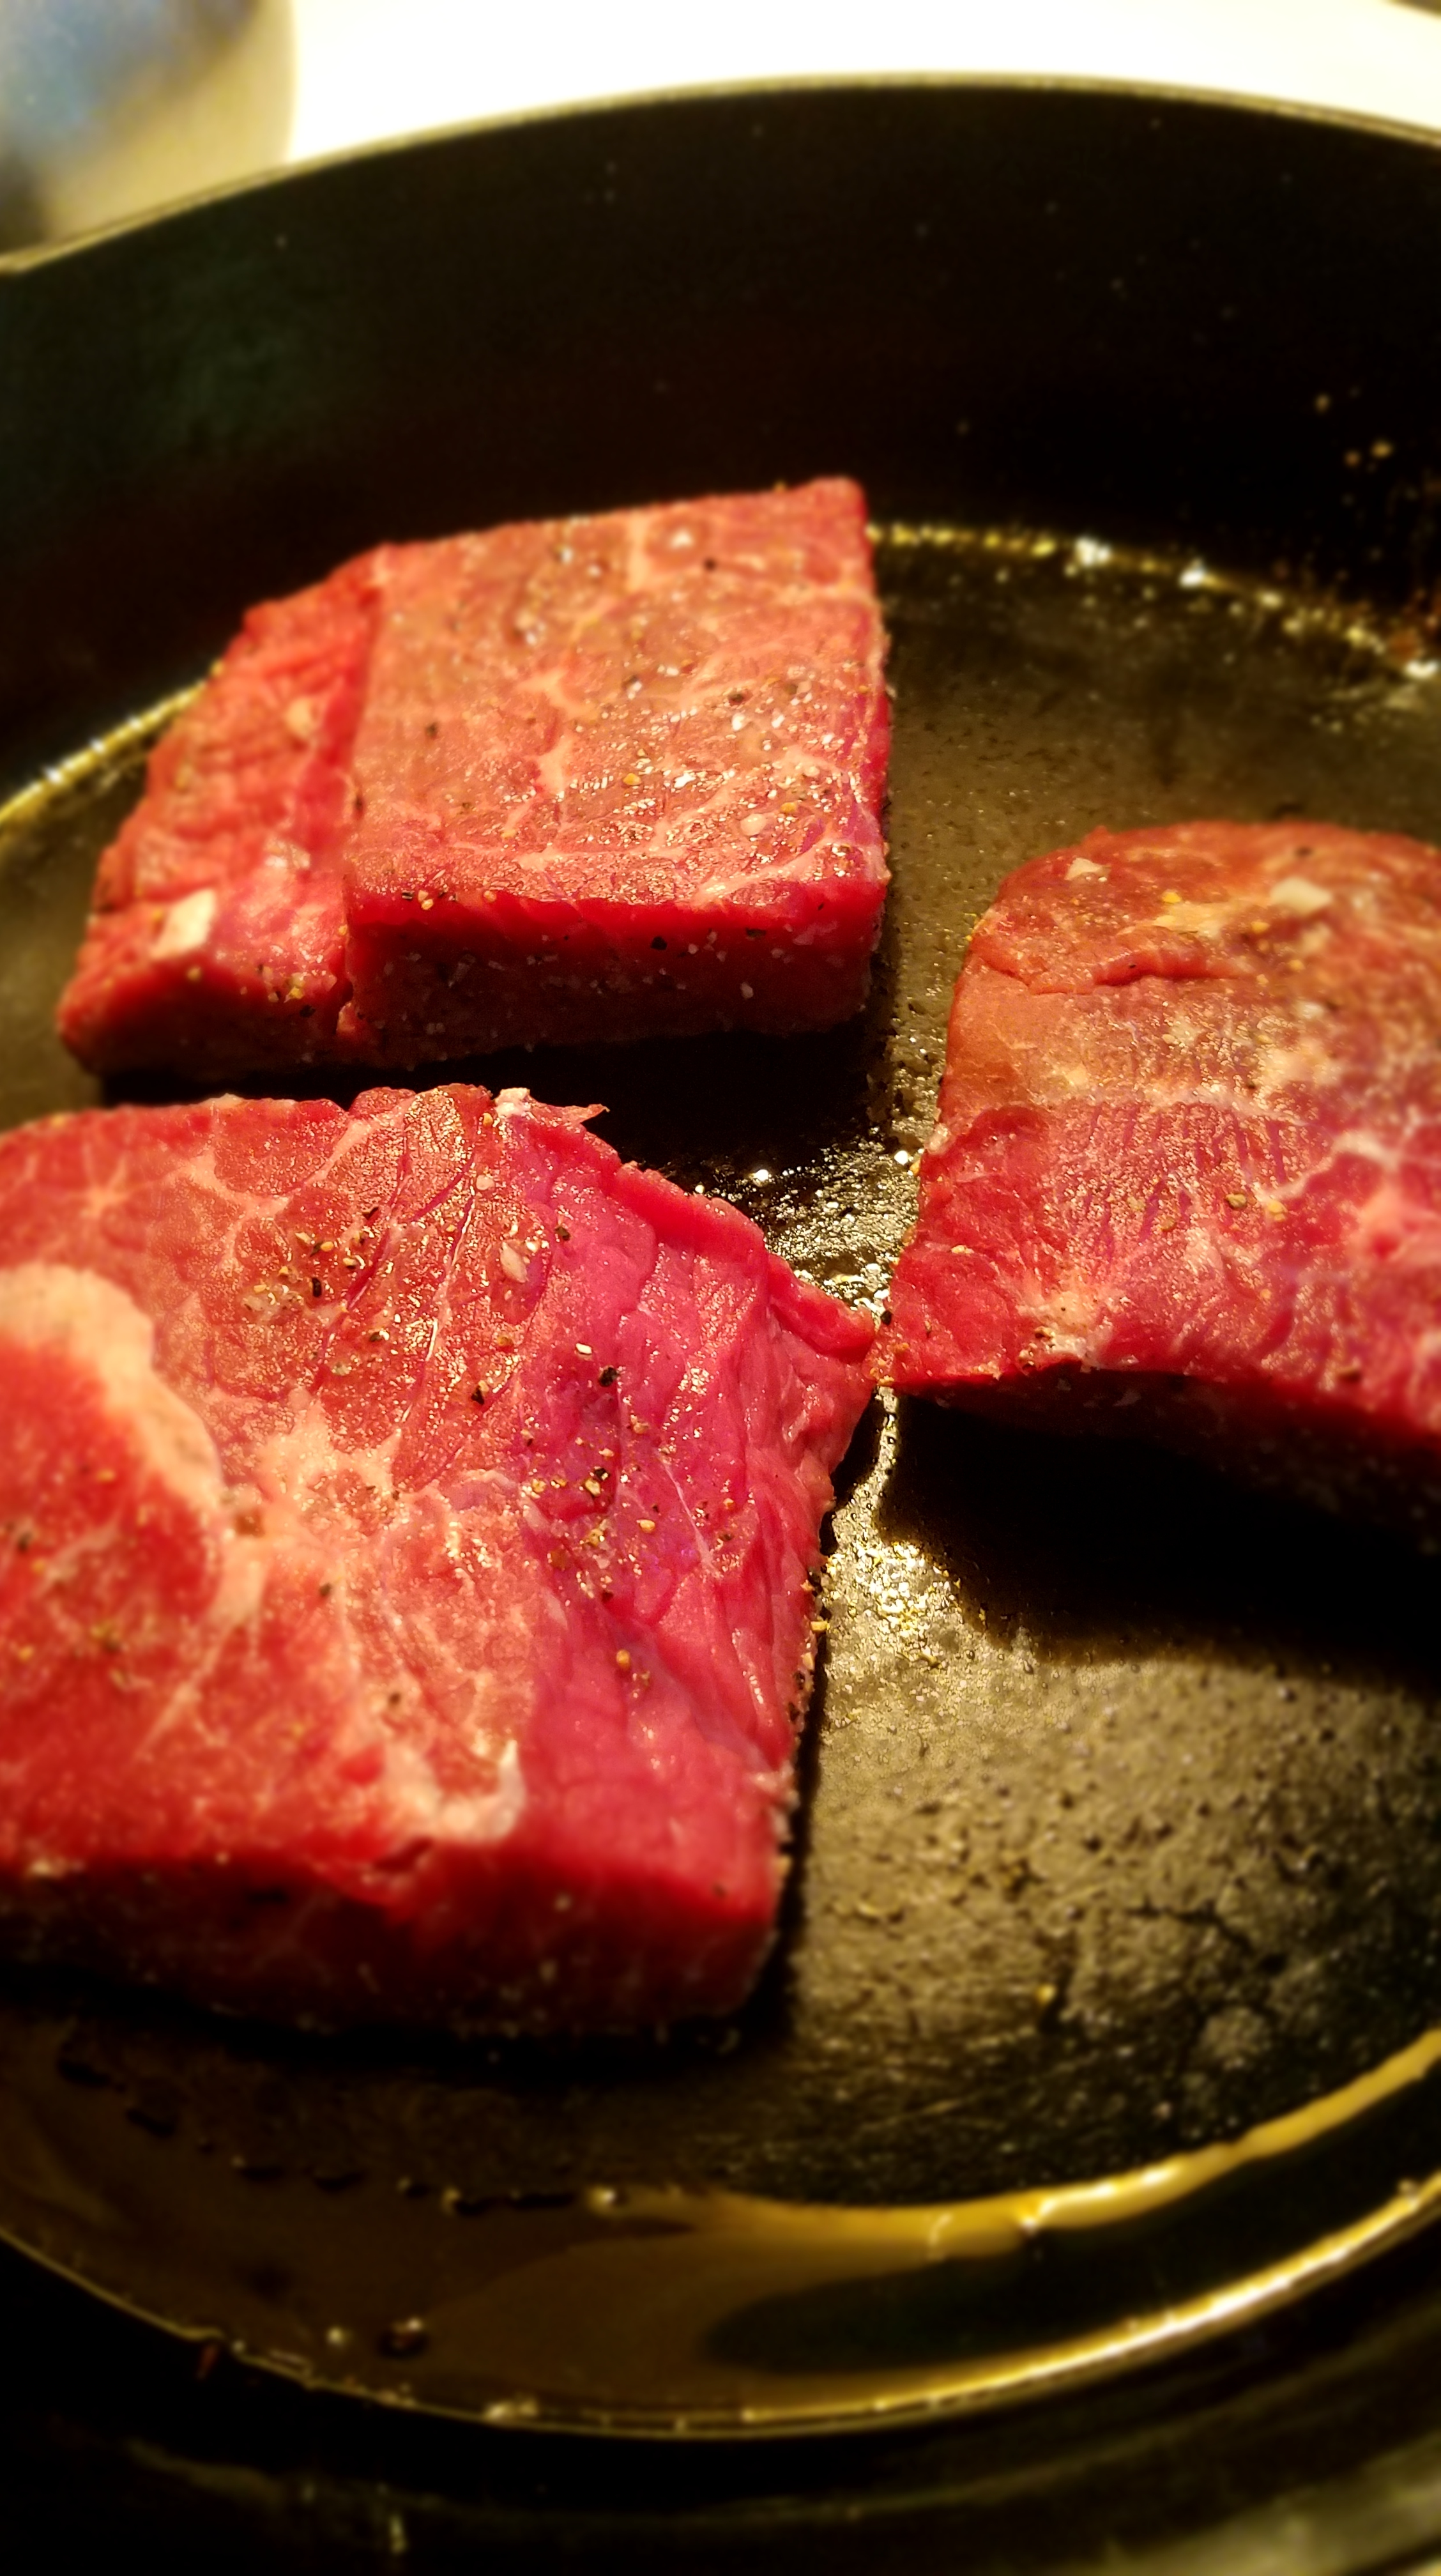
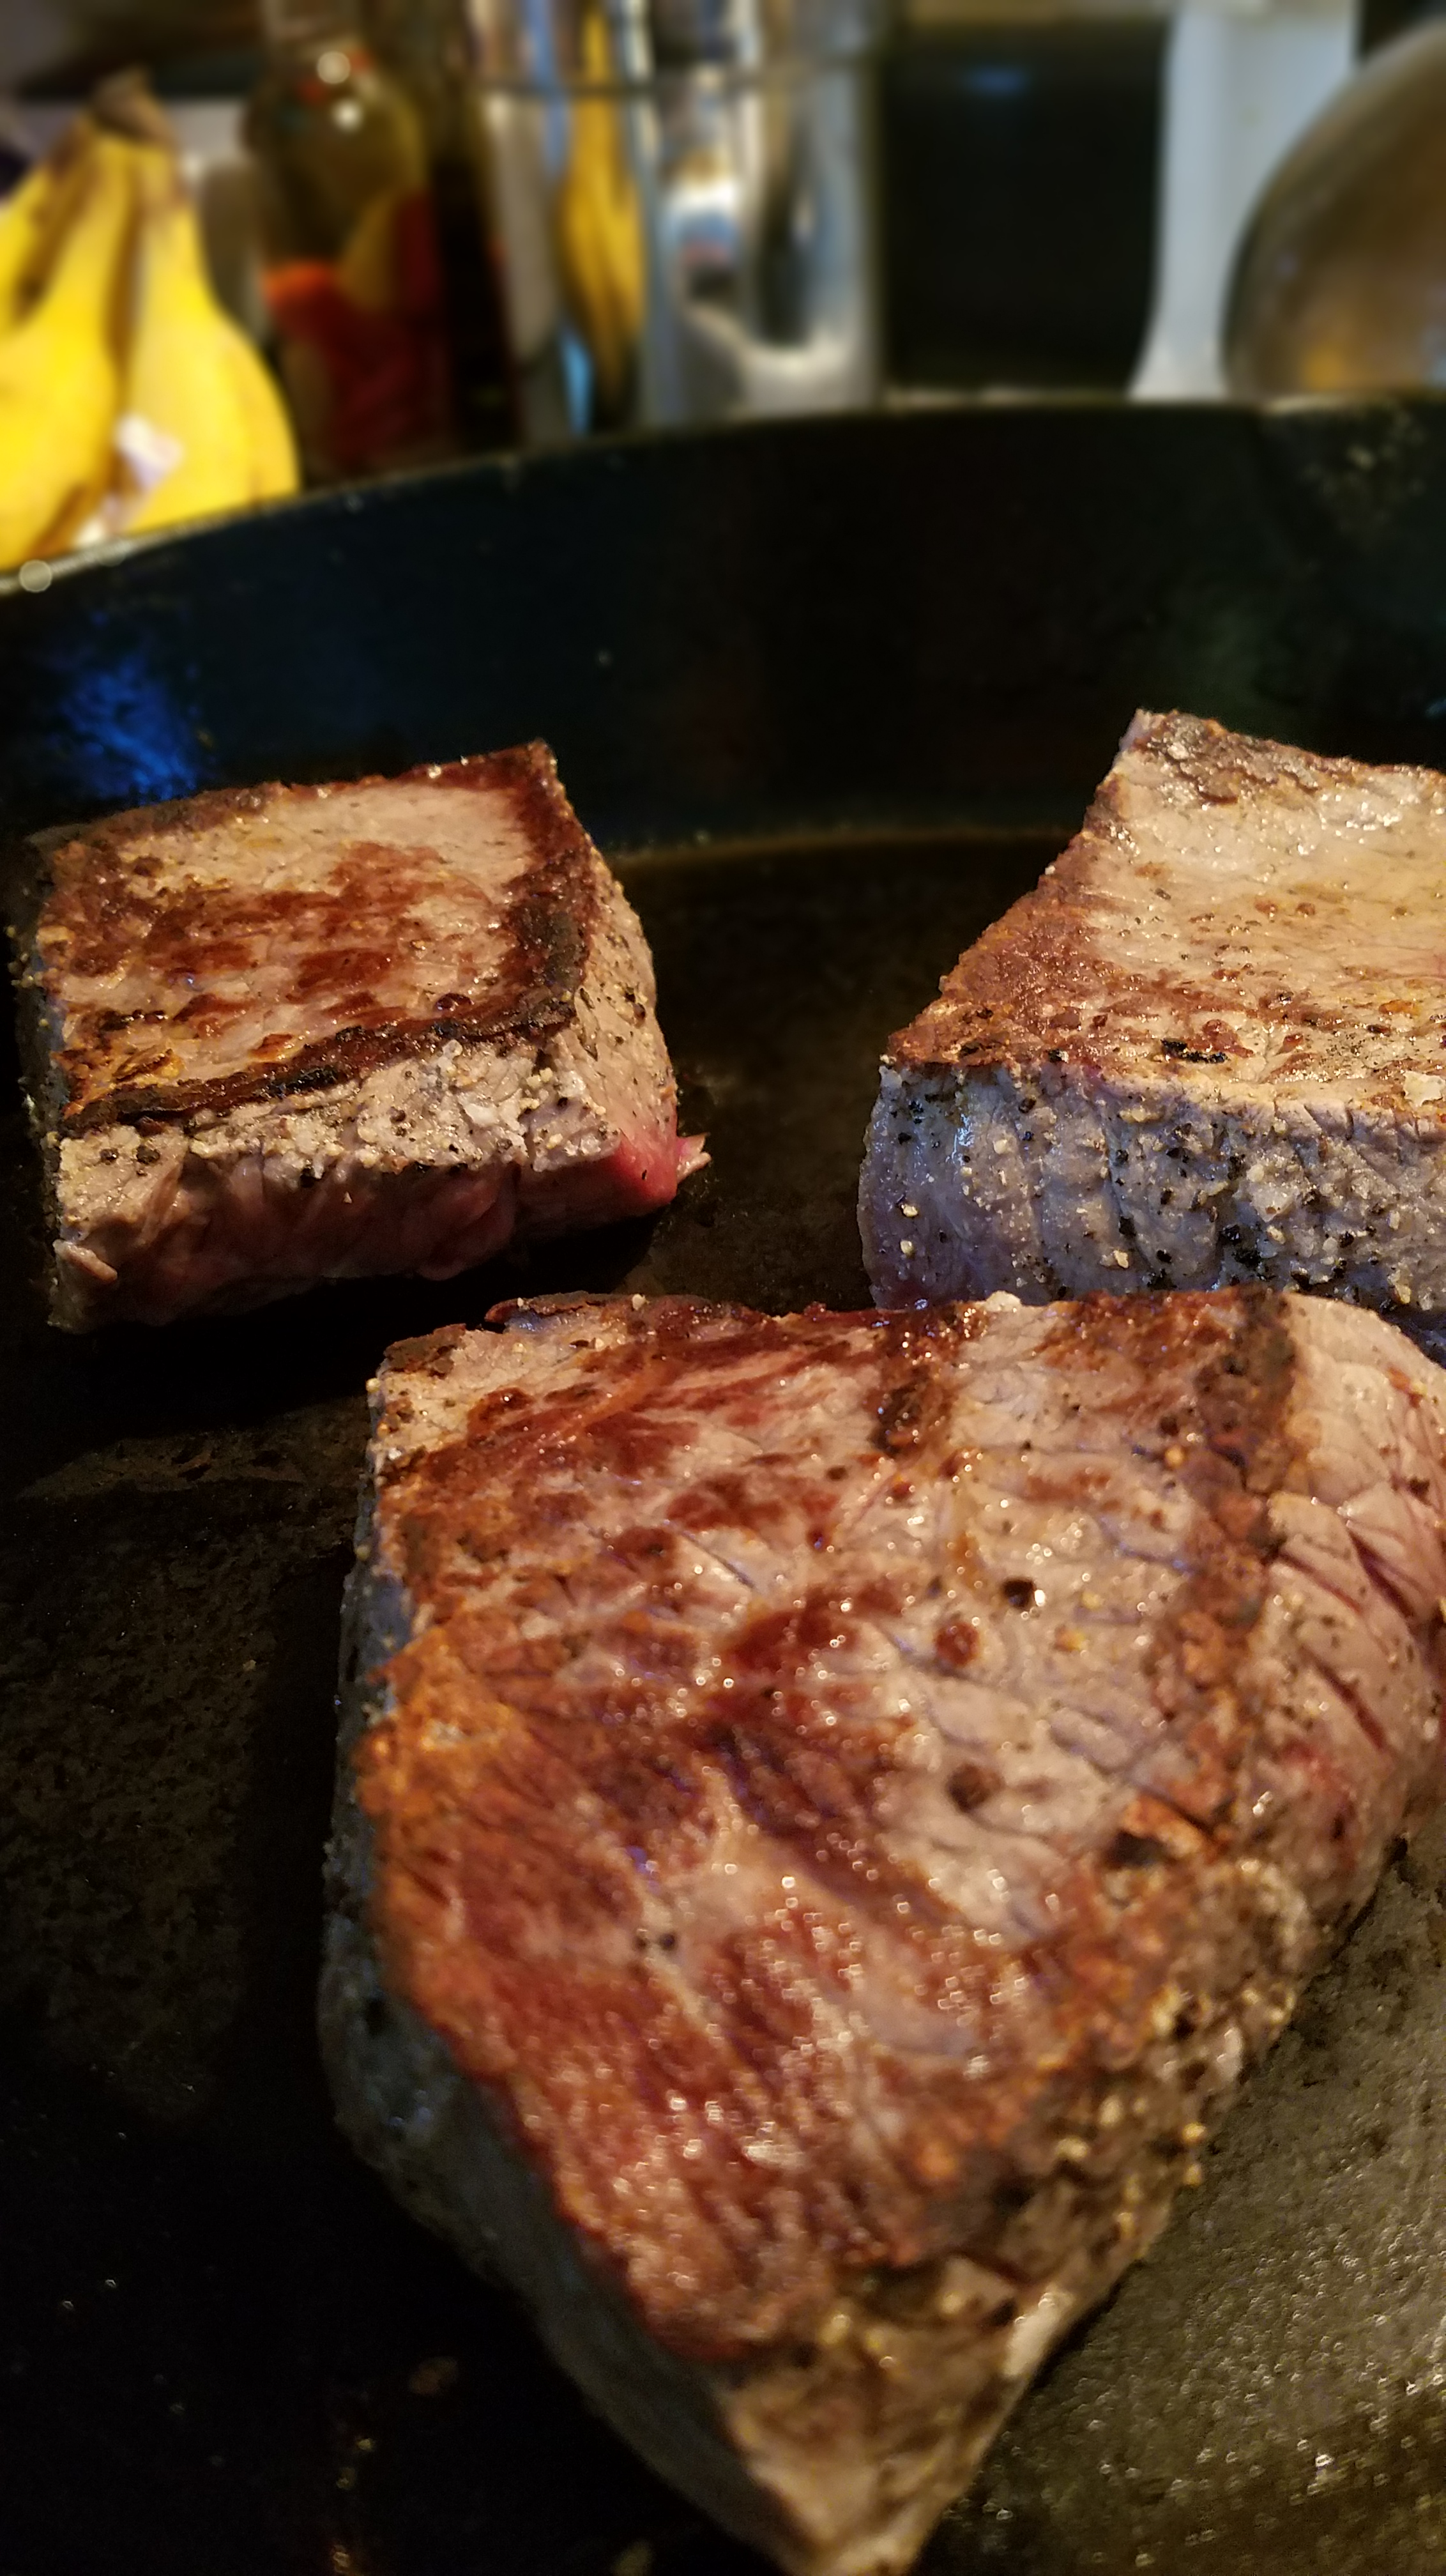
Heat a cast iron skillet on the stove to medium/high.  Add 1 Tbs oil.  When the skillet begins to smoke, it’s ready for the steaks.  Carefully add the steaks to the hot skillet.  Turn steaks over after 2 or 2 ½ minutes.  Cook for another 2 minutes, or until meat tests medium rare.  Turn the heat off and leave the residual steak juices in the skillet.

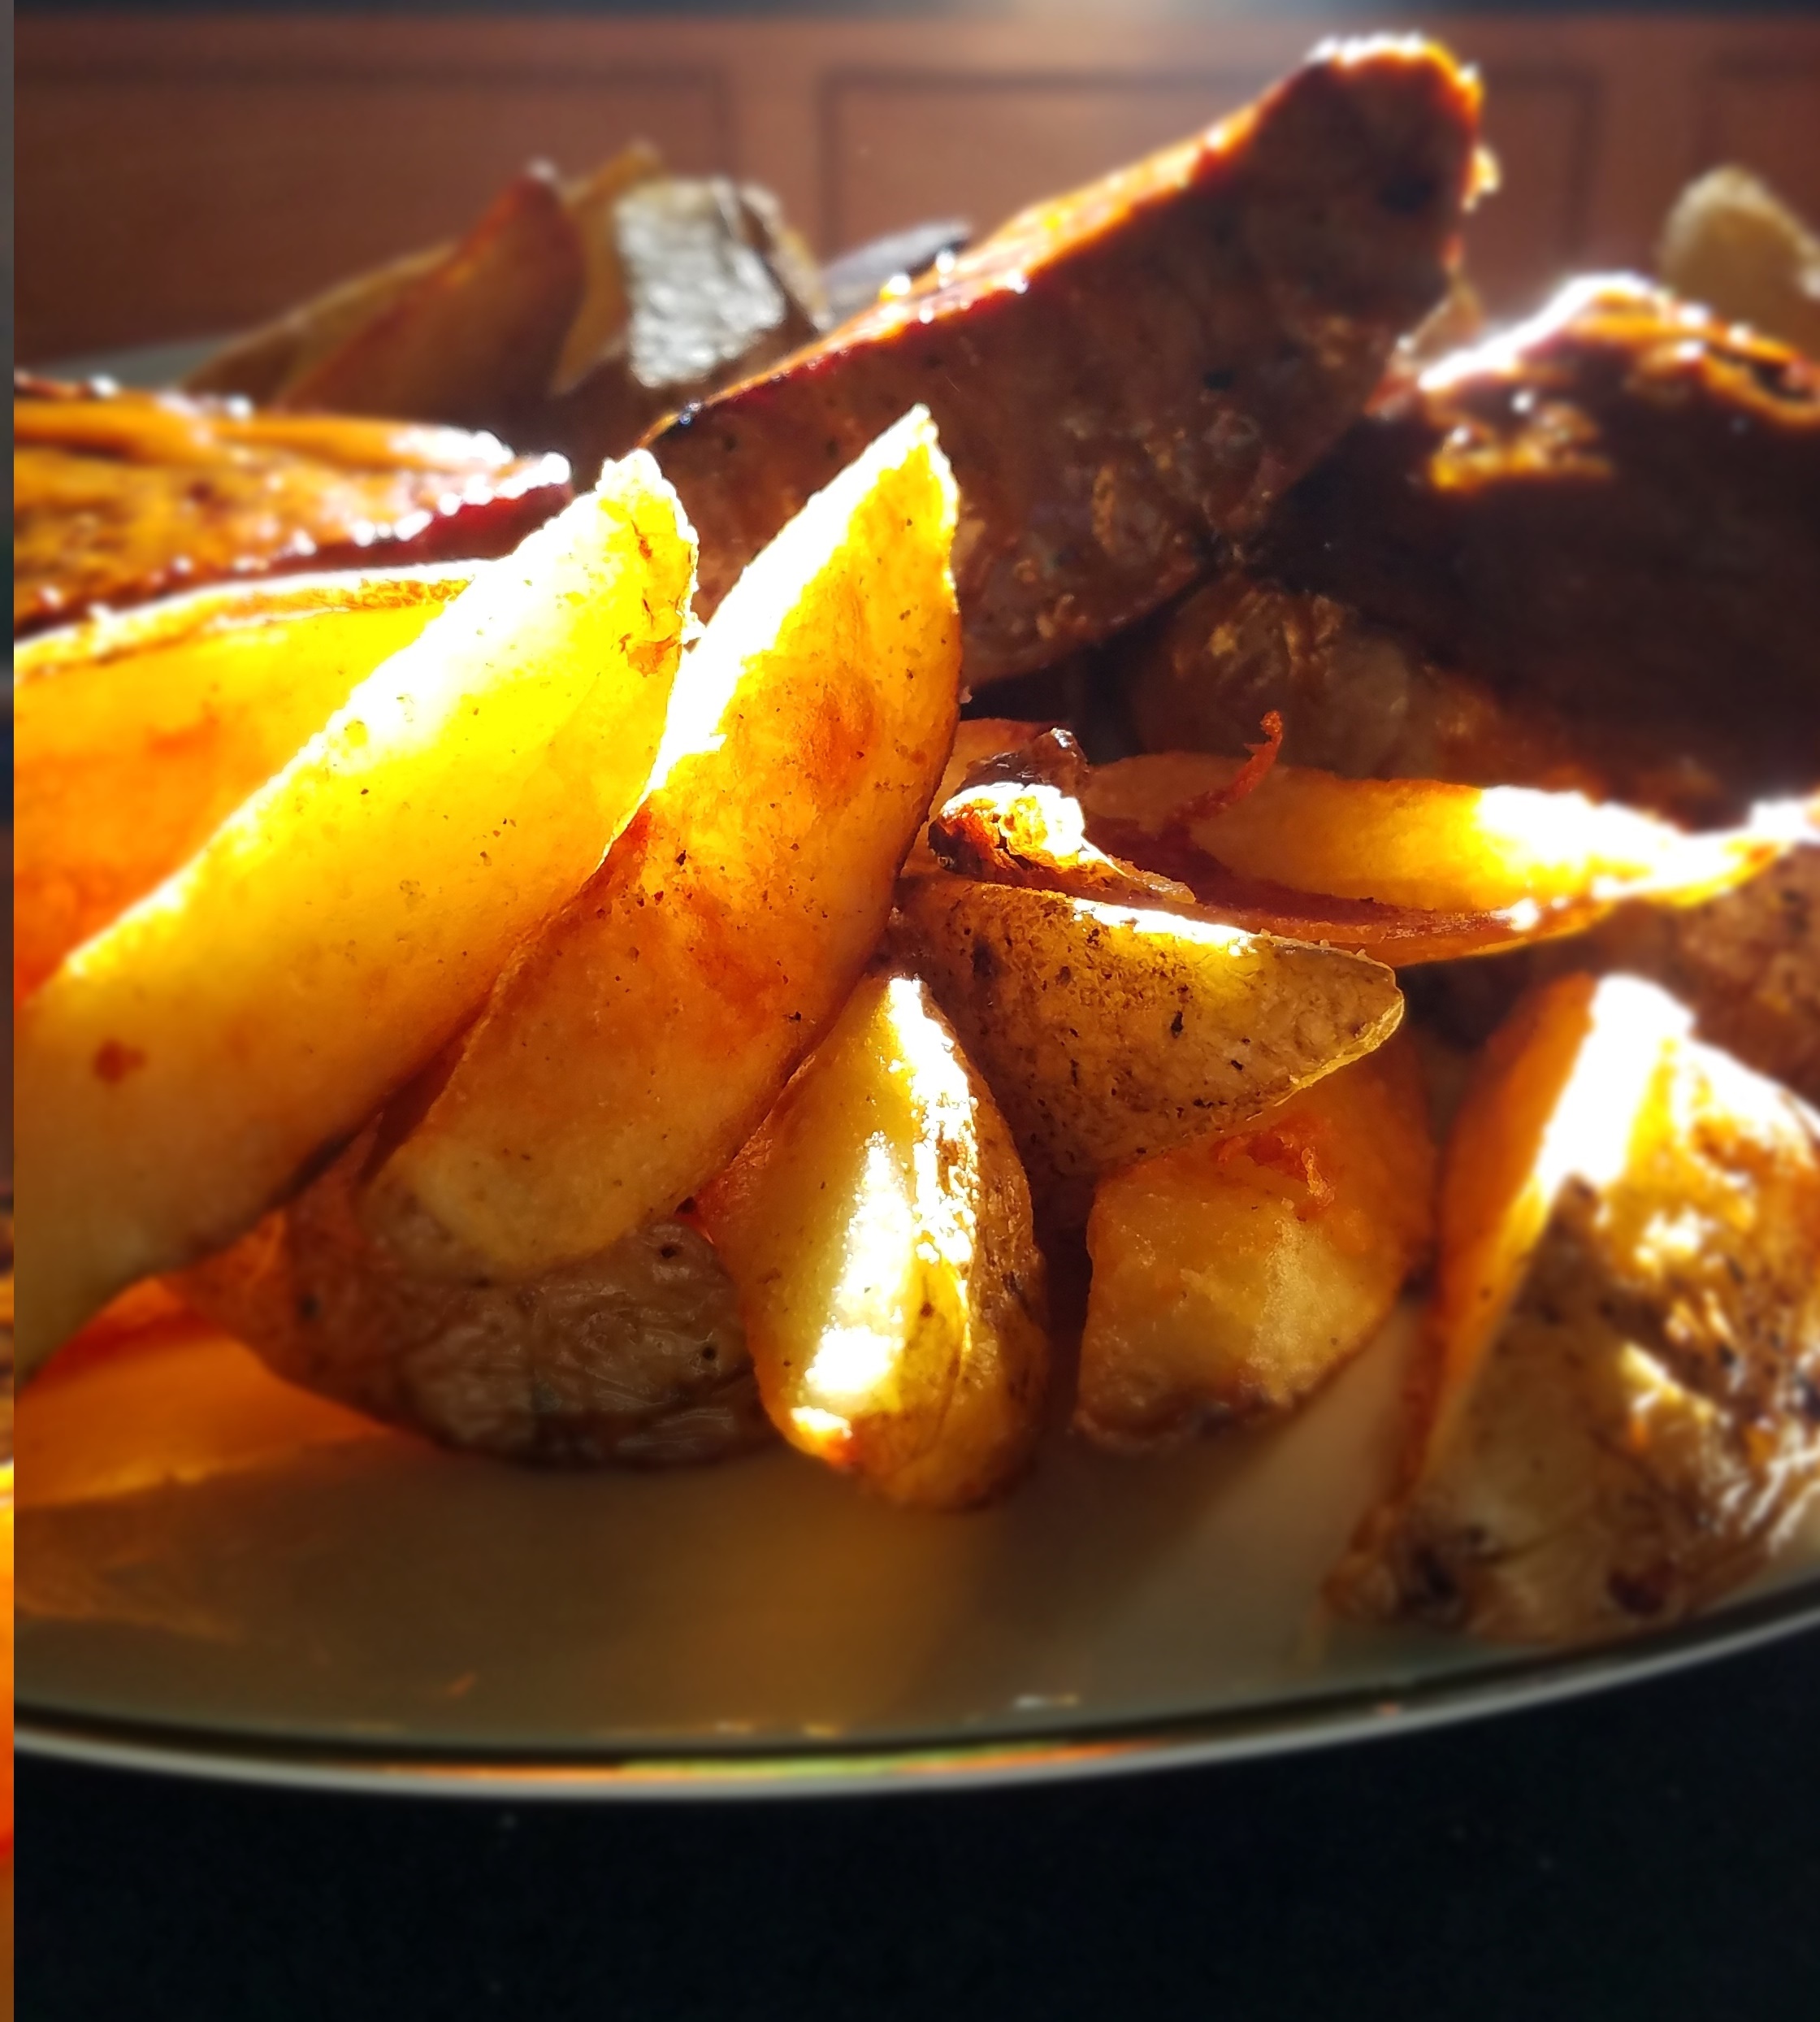
Pull the fries out of the oven and arrange the steaks on the platter, along with the fries.  Baste the steaks with the steak sauce.  Don’t worry about getting some of the sauce on the fries…your family and friends will thank you.

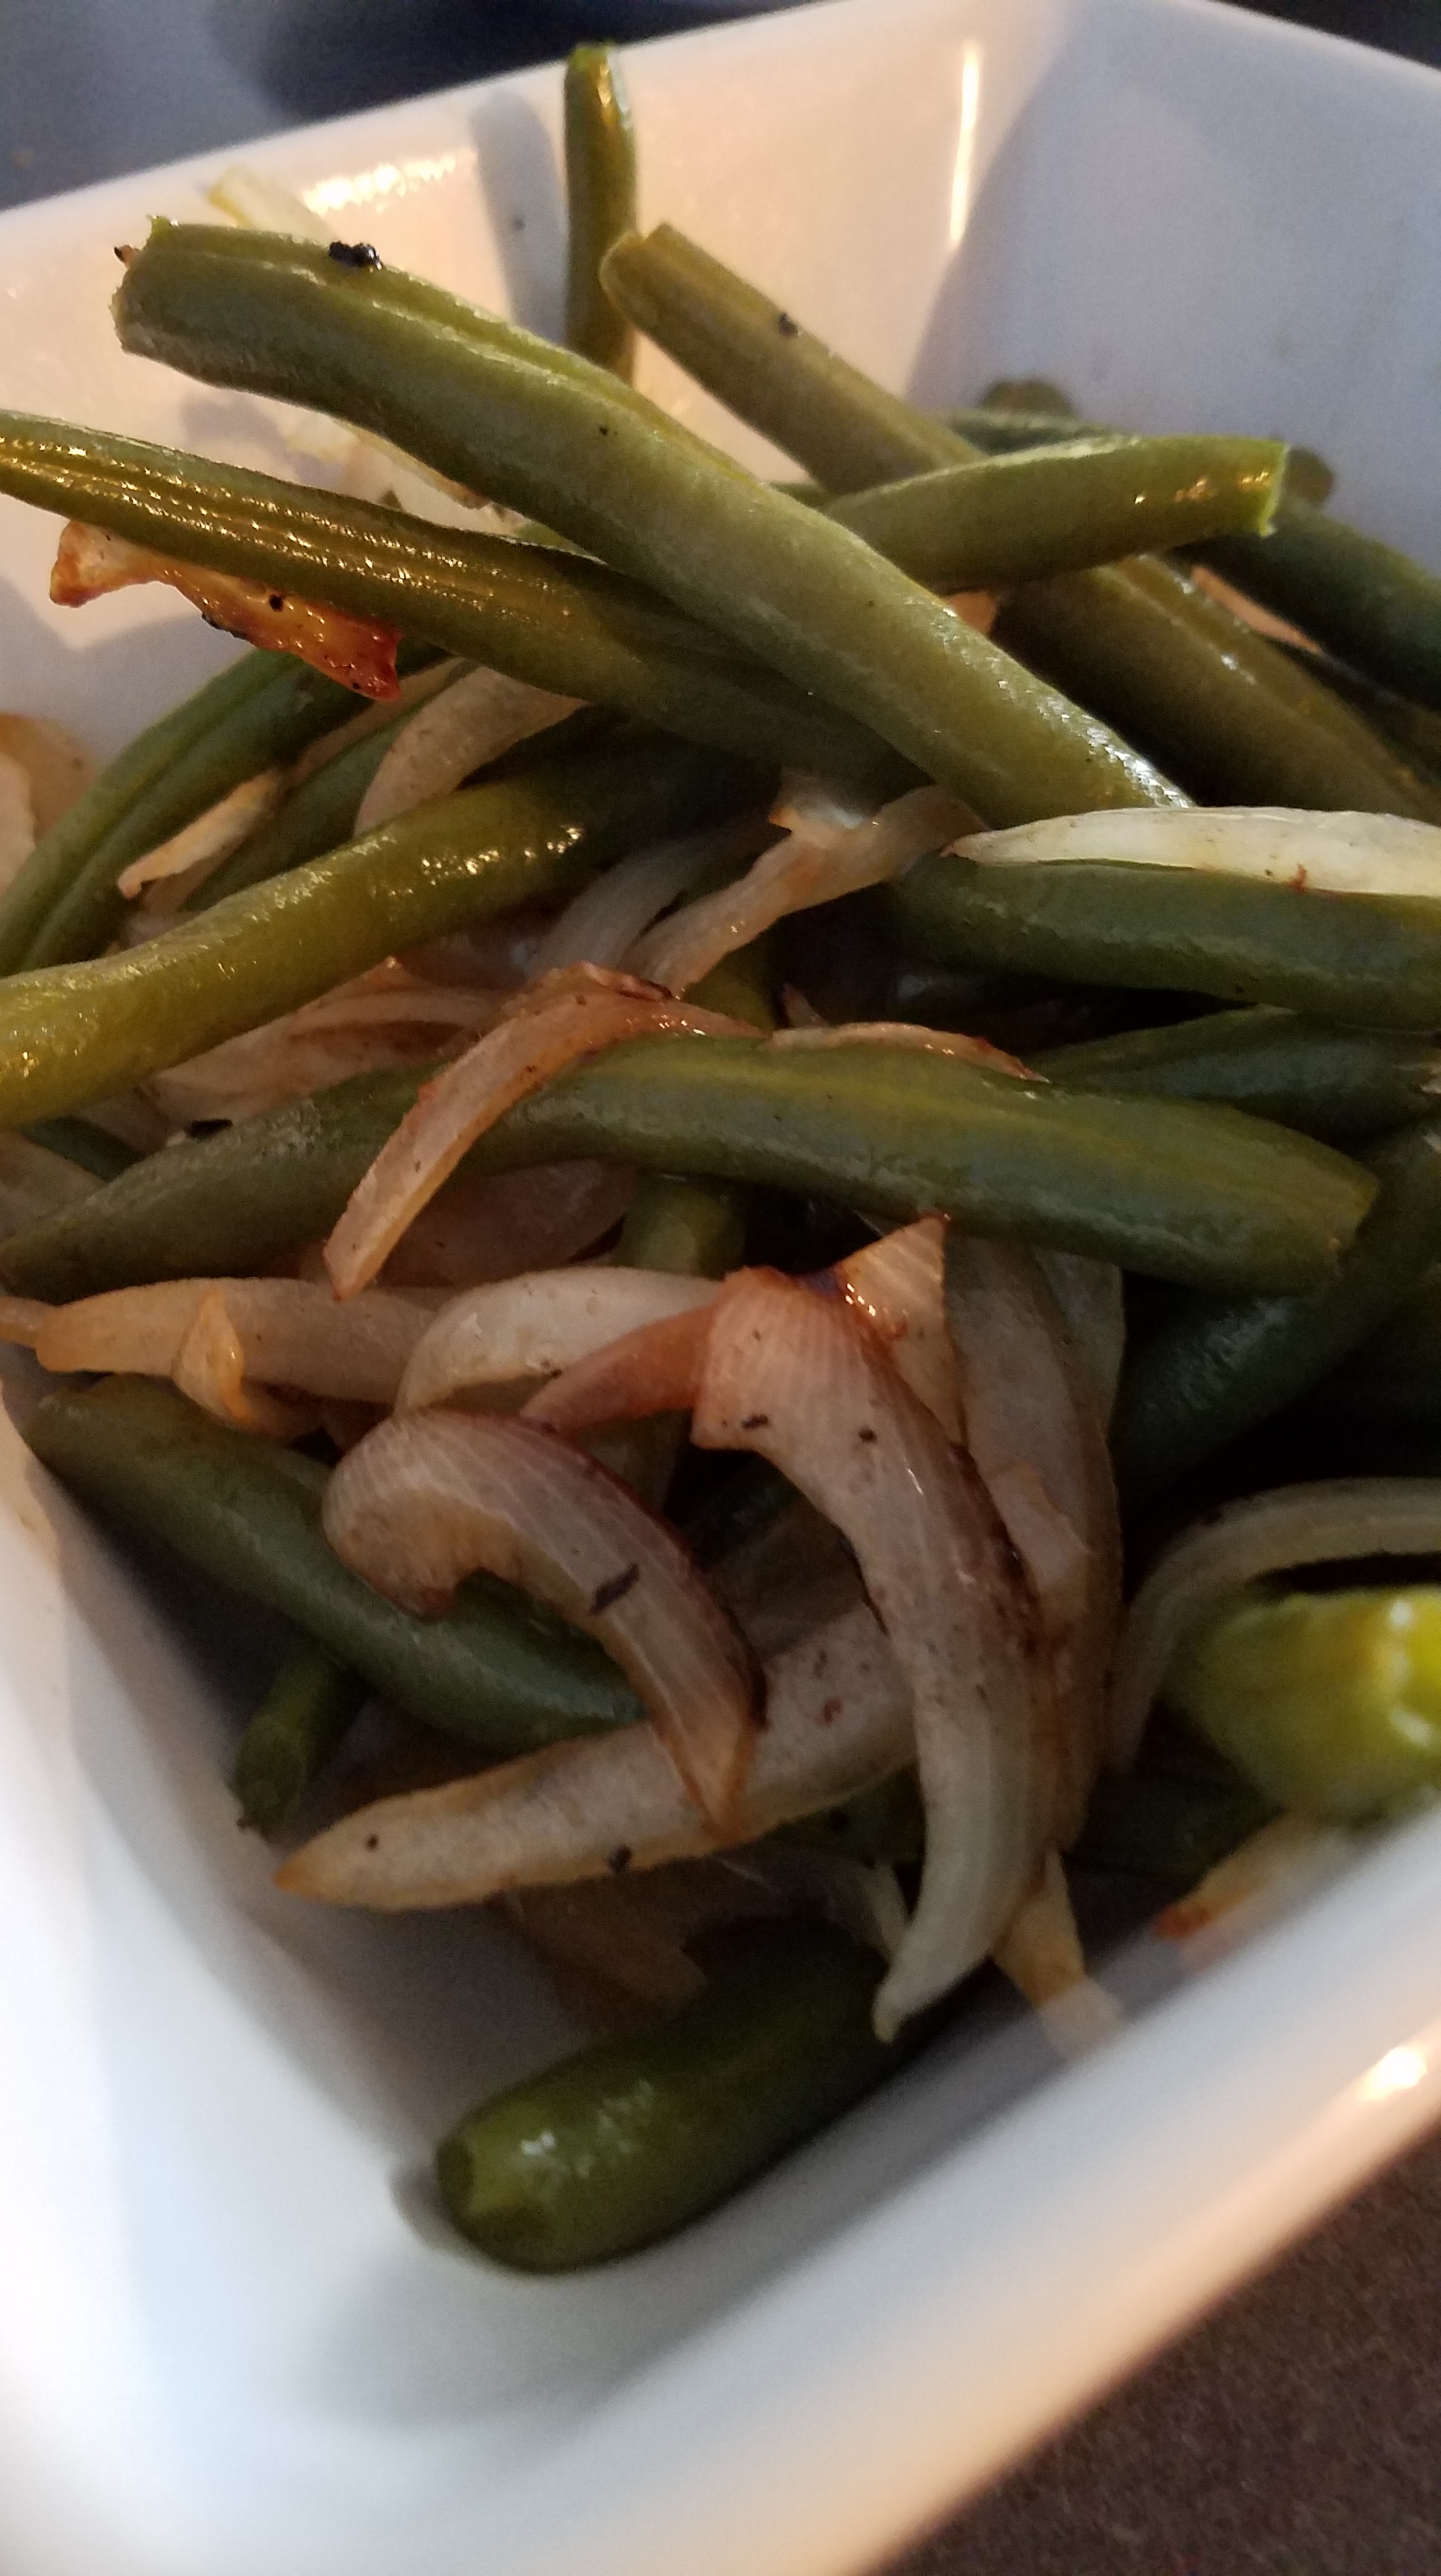
Turn the heat back on to low and add 1 Tbs of butter and the onions to the skillet and stir until the onions are softened.  Add the green beans and stir.  Once they are done, transfer to a serving dish.

For those of you still clinging to the mental picture of a merry old England, you might consider calling this dish London Broil and Chips.

Cheers, mate!

Pizza Dough, a la Cucina di Toothpick

I thought I was going to submit a post about how I make pizza but I became overwhelmed.  And then, it occurred to me that when I make pizza I am really doing two things.  First, I make the dough and then I make the pizza.  As a result, I felt the need to break this topic up into two parts.  So, this post is about making pizza dough and I will make a separate post about dressing up the pizza.

I usually approach cooking with a sense of whimsy, as if whatever will happen, will happen.  But making dough is a different thing for me.  I am not a baker.  I’m just a home cook that wants to make something tasty for my family.  So, when I step into a baker’s shoes, I get a little bit nervous. 

When I make dough I become serious.  If you have ever seen a Marx Brothers movie you might recall how the clown of the troupe, Harpo becomes very serious when he sits down, to play the harp.

That’s how I imagine I look as I start to make pizza dough.   Intent.  Focused.  Resolute.

But, I don’t stay that way for very long.  At some point, during the process I begin to relax.  Maybe it happens when I start kneading the dough.  The sensation of the soft, pliable dough under my palms and fingers gives me satisfaction and I feel like a kid again.  Maybe that’s why I used to bring my young kids into the kitchen when I made pizza.  They would stand on a chair, next to me, and knead the dough on the counter top and then they would help me roll it out into a wide circle and they would “paint” the pizza dough with tomato sauce, smearing the sauce with a large spoon grasped by their tiny hands.

Pizza needs to be fun.  Making pizza should be a celebration.

Maybe that’s what Harpo Marx felt when he spent time with his kids.

This recipe will make 2 large, 14” thin crust pizzas

Ingredients for the dough:

3 cups all-purpose flour (you will need additional flour throughout the process)

1 packet of Instant Dry Yeast

1 ¼  cup warm water

2 Tbs olive oil

Note: I use Instant Dry Yeast, which can be added directly to the flour, rather than Active Dry Yeast, which is added to warm water.  Either way is fine, but I have found the Instant Dry Yeast method to be the easiest and most reliable. 

Directions:

Whisk the flour and yeast together in a bowl.  Set aside.

Heat the water to about 100°.  You can do this in a microwave oven or just use very hot tap water. 

In a separate large mixing bowl, add the water and add about ½ cup of the flour mixture.  Whisk until smooth. 

Gradually add more flour and mix with a spatula.  Keep adding flour and mixing until all 3 cups of the flour has been added.  At this point, you might want to mix by hand.  Keep adding flour in small amounts and mix by hand until the dough forms a ball and does not stick to your hands.  The additional flour needed might be anywhere between ¾ cup to 1 cup…you will know when the dough is ready to knead when the dough ball becomes easy to pick up and rolls around in your hands, without sticking.  Turn the dough out onto a floured surface and dust your hands with a little bit of flour.  Knead for about two minutes.  You should feel the dough becoming more pliable and supple. 

Put the dough ball back into the mixing bowl and cover tightly with aluminum foil.  Some people suggest covering with a damp towel but I prefer sealing it with the foil.

Put the bowl in a proofing cabinet and allow the dough to rise for at least a half hour. Oh, what’s that?  You don’t have a proofing cabinet?  Well, neither do I.  In warmer months, I put the bowl on the seat of my pickup truck and roll up the windows.  It works perfectly.  The dough should double in size within a half hour to an hour.

When I made pizza today the outside temperature was 91° with 64% humidity (heat index at 105°), which is perfect for dough that needs to rise but is miserable for anyone wanting to mow their lawn…which is why I chose to make pizza today, instead of mowing the lawn!

During cooler months, I set the bowl on my stove top and set the oven at 250°

I prepare the pizza toppings while the dough rises but I will skip that part for now…

When the dough has risen, heat the oven to 400°. 

At this point, I should mention that I use a standard, conventional oven.  In fact, my oven broiler stopped working over a year ago but the rest of the oven works just fine.  Since I don’t have a pizza oven, or any other fancy trappings, I use a two-bake method for the pizza dough.  I bake the dough first and then add toppings and bake again, to finish.  I use insulated aluminum cookie sheets…no fancy pizza stones, or perforated pizza pans for me!

Divide the dough in half and turn out one of the halves onto a lightly floured surface.  It’s time to get a feel for the dough again.  Roll the dough and knead it.  The dough will probably be a little sticky.  Add some flour and knead.  Bring the dough back to a silky and pliable consistency.  It should be easy to handle and feel sturdy, but not dense, or hard. 

Pat the dough down into a disc, with your hands.  Press the dough out and widen it.  Add a little more flour to the work surface and flip the disc over.  Press it again with your hands.  When you feel that the dough is ready, roll it out with a rolling pin.  If the dough falls apart or if you feel that something isn’t right, don’t worry.  Pick it up and start again.  Roll the dough out enough so that it is just a bit larger than your baking sheet.  (I have done this up to three times, just to get it right).  Gently fold the dough over in half and pick it up and place it on the backing sheet.  Unfold the dough onto the sheet and center it as best as you can.  It’s tricky work, to be sure.

Curl the edges of the dough with your fingers.  It’s not necessary but I like to have a definable crust.

Pic

Repeat the process with the other half of the dough and then, place both cookie sheets in the hot oven.  Bake for about 10 minutes.  Take the pizza crusts out and flip them over.  Brush a little olive oil on the back side of the pizza crust and bake for a few more minutes.  This will give you a nice, crisp crust.

We’ll make some pizza next time…

Quick Italian Something

After spending most of the day in the kitchen, cutting vegetables and cooking sauces, the last thing I wanted to do was make an elaborate dinner.  But, I wanted a meaningful and heartfelt meal to end the day.  Since I still had fresh tomatoes and basil on the kitchen counter, I decided to make something Italian-ish. 

Most of the time, when dinner time rolls around, I don’t have anything planned, and this was no exception.  So I did what I normally would do.  I stared at the contents of my refrigerator and started grabbing things that would go well together.  Some ground beef, some cheese and oh, the little tub of ricotta that I kept overlooking.  I considered making spaghetti but I thought it might be a little boring so, I opted for a the partial bag of wide egg noodles in my pantry that looked particularly lonely. 

I had just finished cleaning a bunch of dishes, bowls and pots and pans and I didn’t want to do a lot of clean-up after dinner so I made the entire dish with one large ovenproof skillet and two bowls. 

Ingredients:

If preparing homemade marina:  2 cups cut, fresh tomatoes, ½ tsp garlic powder, ¼ tsp dried oregano, ¼ tsp dried rosemary, pinch of red chili flake, pinch of salt

2 cups marinara sauce (store-bought or homemade)

8 oz egg noodles

1 Tbs olive oil

¼ cup diced onion

1 lb ground beef

3 oz mozzarella

3 oz parmesan cheese

15 oz ricotta cheese (almost forgot, even though it was the reason I made this)

Directions for the marinara sauce:

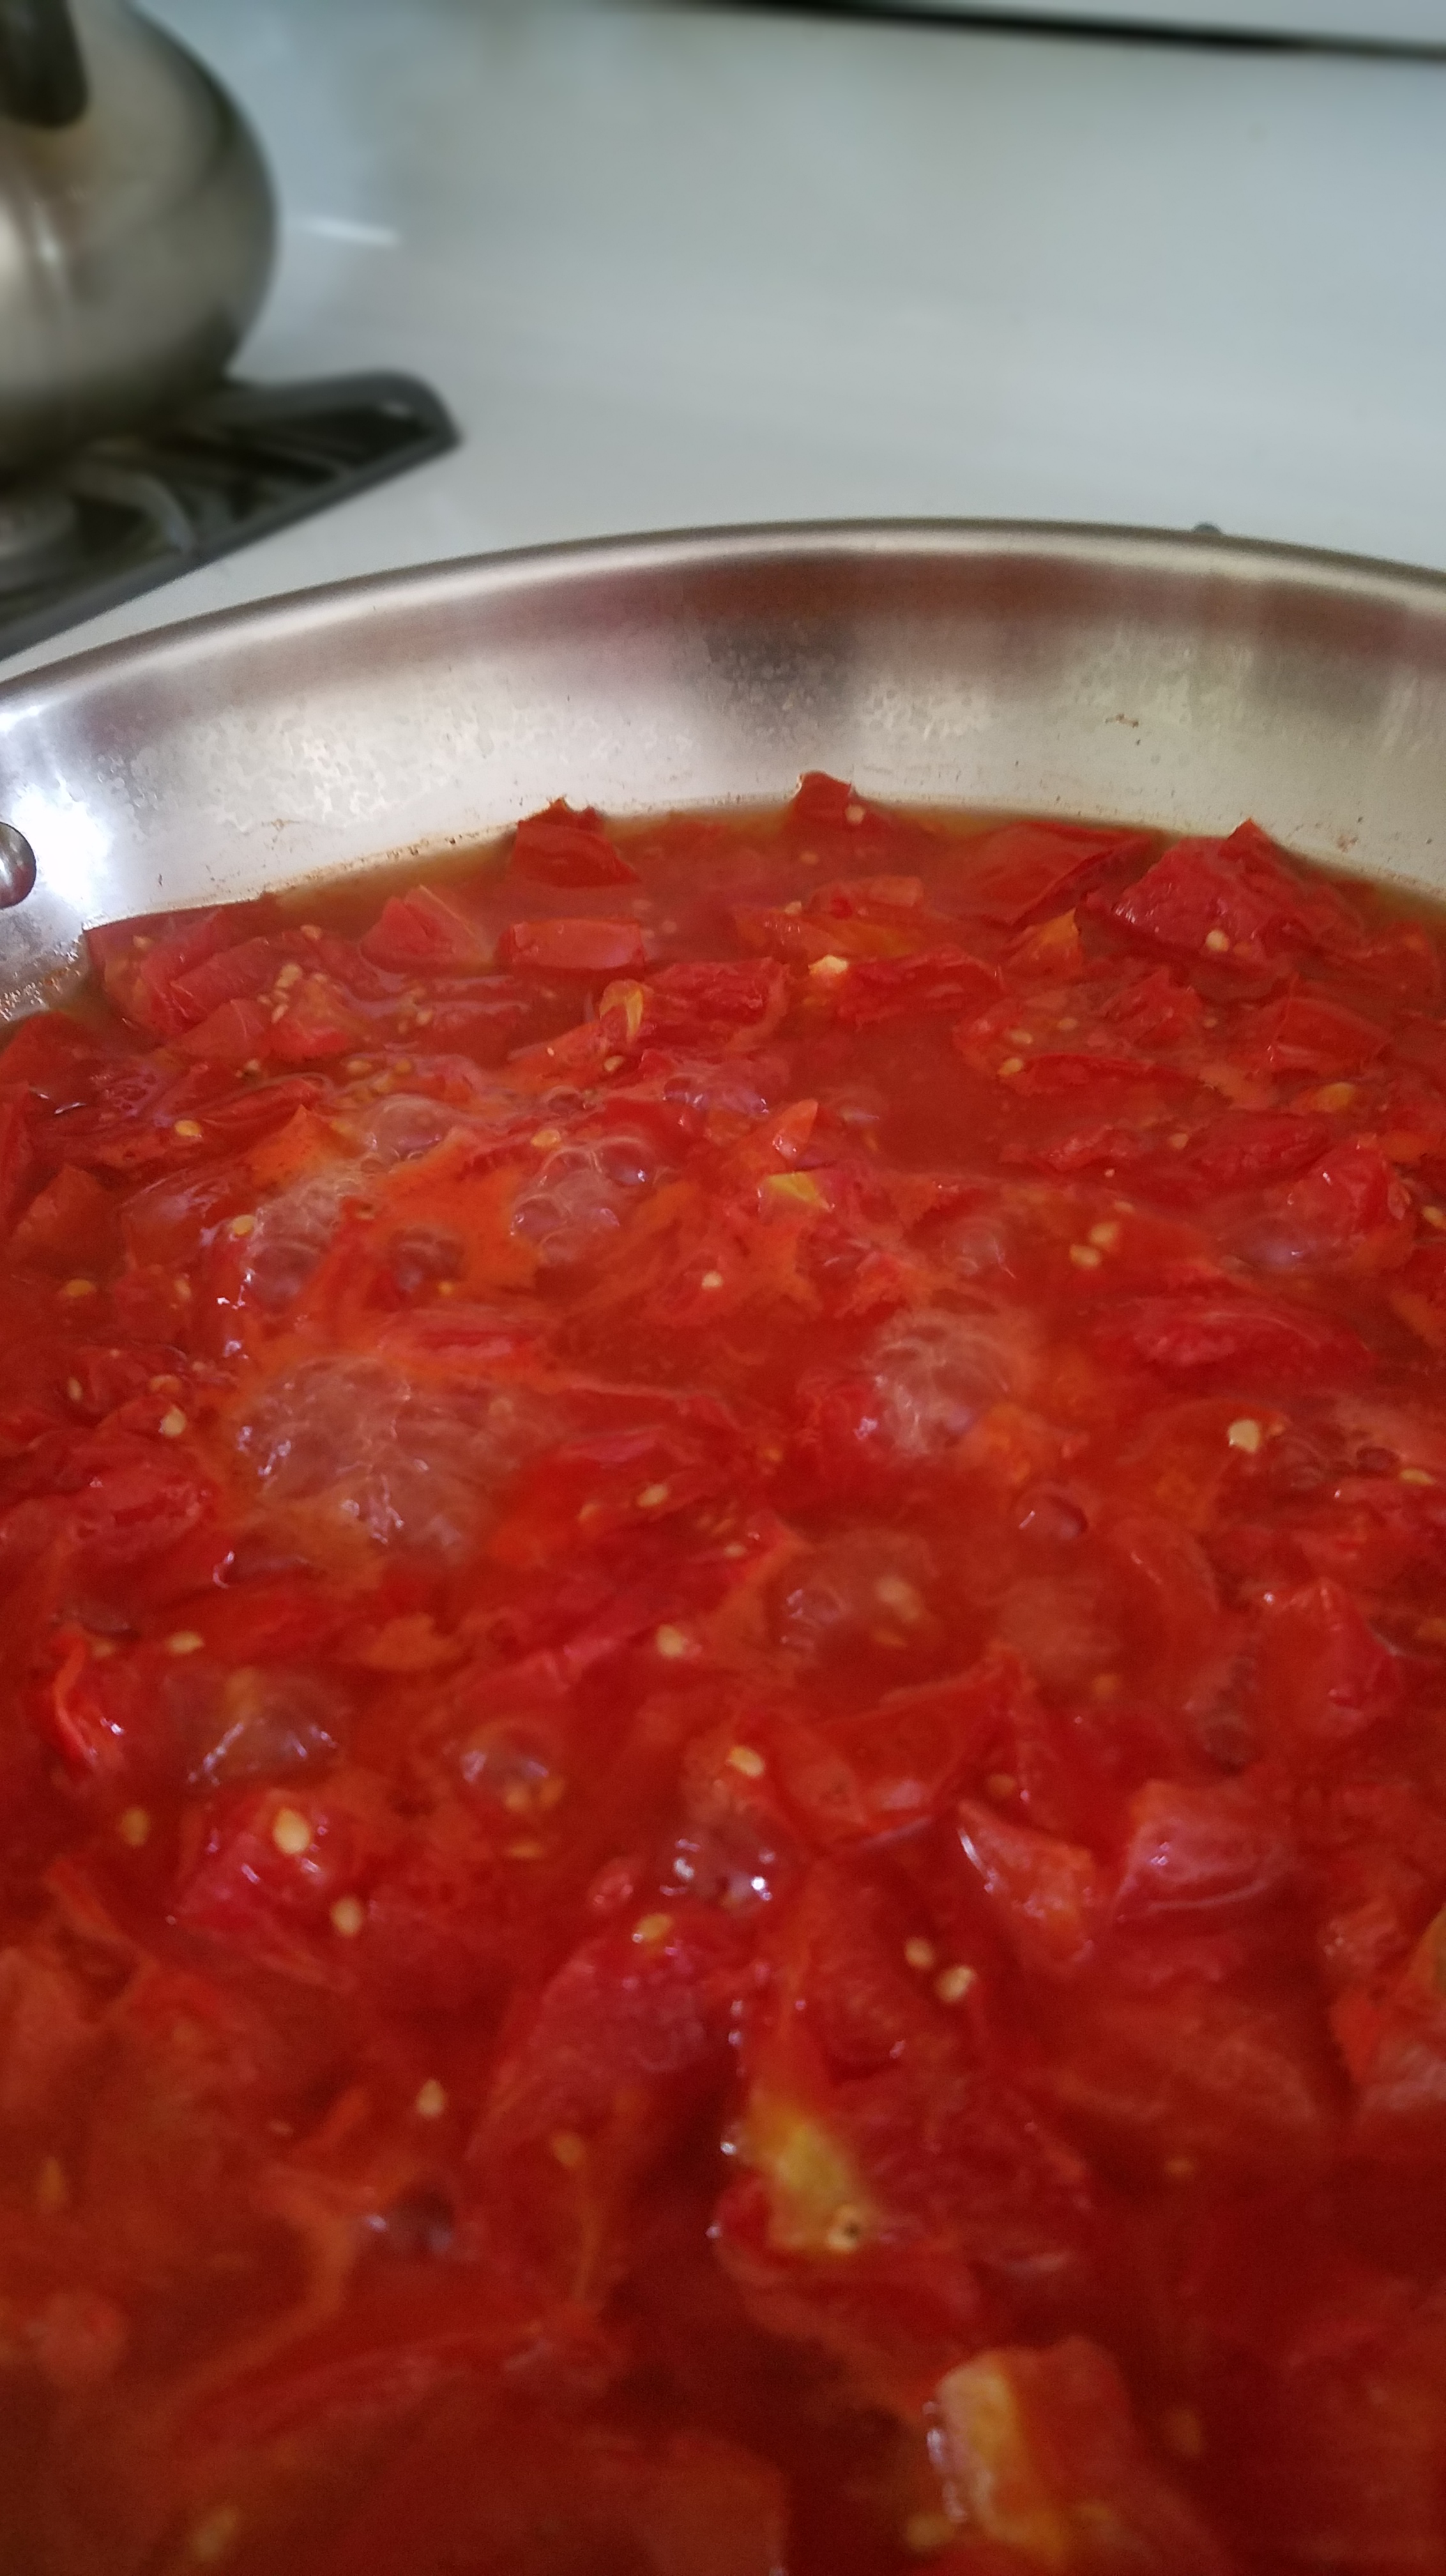
Core and remove the seeds from 5 or 6 medium sized tomatoes.  Cut the tomatoes into 1” pieces.  Cook tomatoes in a skillet over medium heat.  Add garlic powder, oregano, rosemary, chili flake and salt.  Mash the tomatoes every so often and reduce to about half, or until the tomatoes are completely softened and the sauce has thickened.

“Reduce the sauce and add spices to make the marinara”

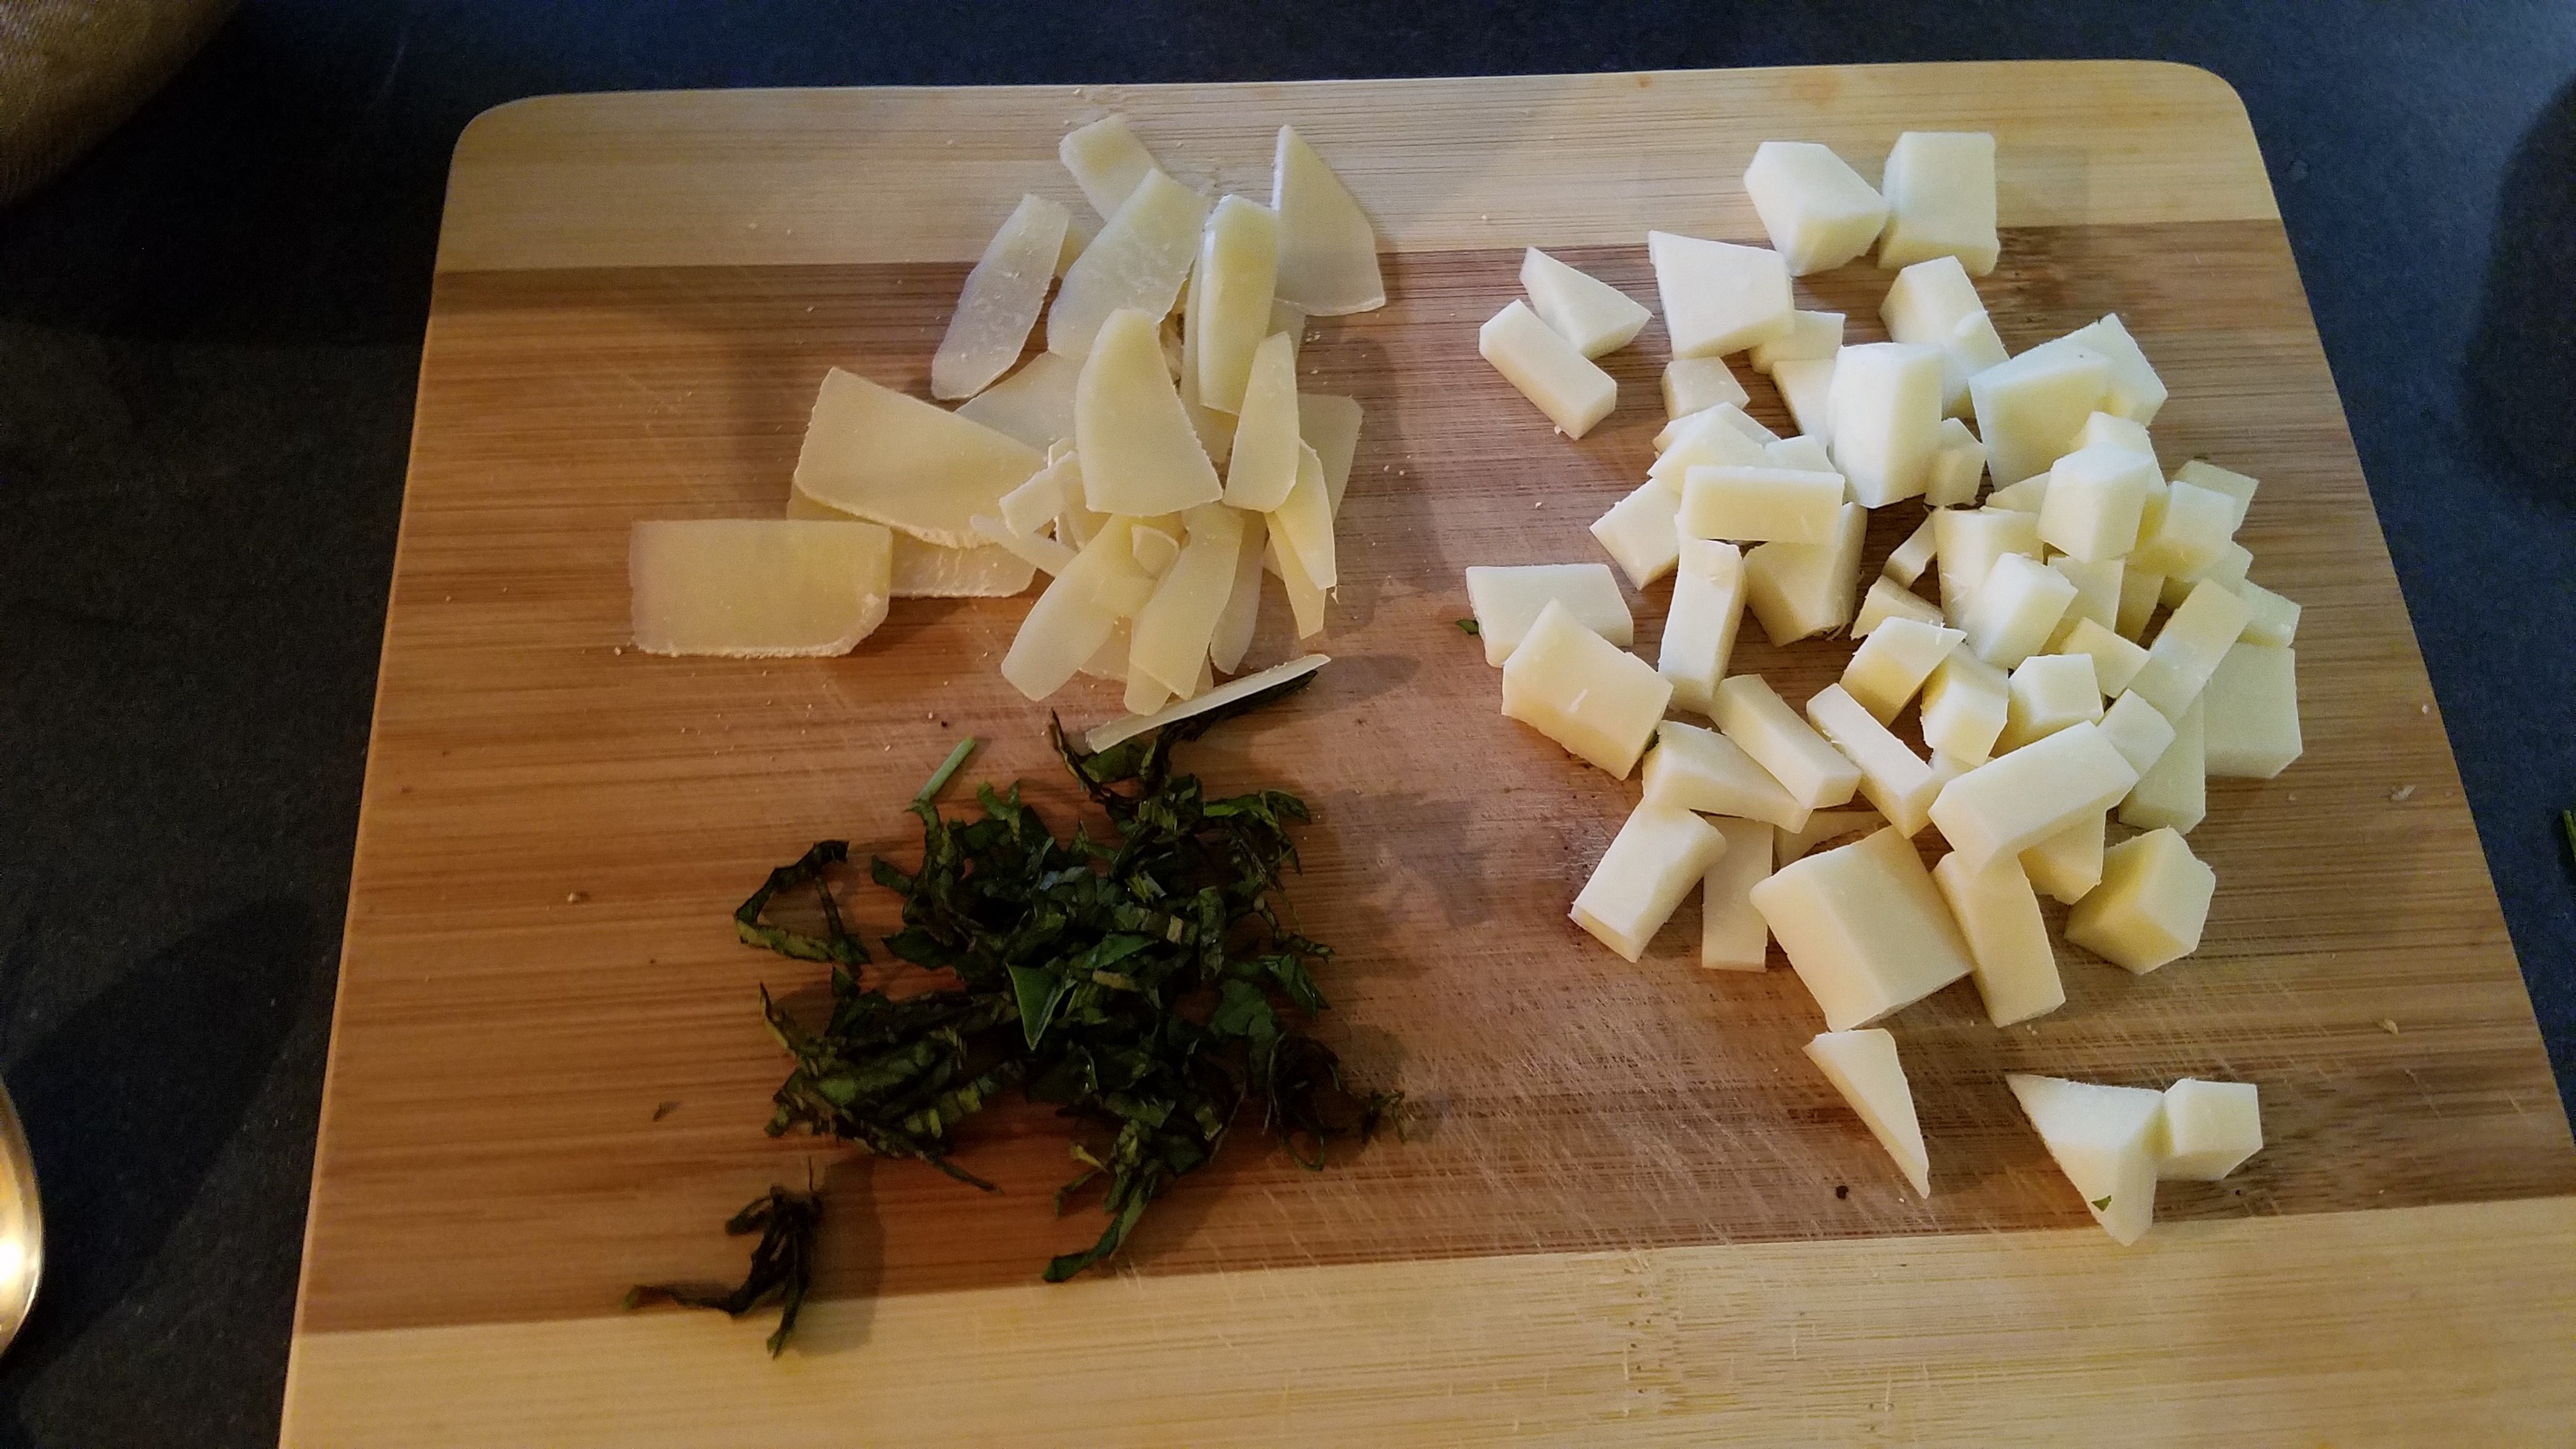
While the sauce reduces, cut the mozzarella into bite-sized chunks and shave the parmesan.  Cut the basil in thin strips (chiffonade).  Set aside.

Pour the finished sauce into a bowl and set aside. 

Directions for preparing the Italian Something:

Fill a skillet with water, about half way.  Bring the water to a boil and add the noodles.  They will cook quickly…maybe 8 to 10 minutes.  Strain the cooked noodles and put them in a bowl and set the bowl aside. 

Heat the oven to 350°.

Return the skillet to the stove and add heat the olive oil.  Add the onions and soften the onions for a few minutes.  Add the ground beef and sauté until the meat has browned. 

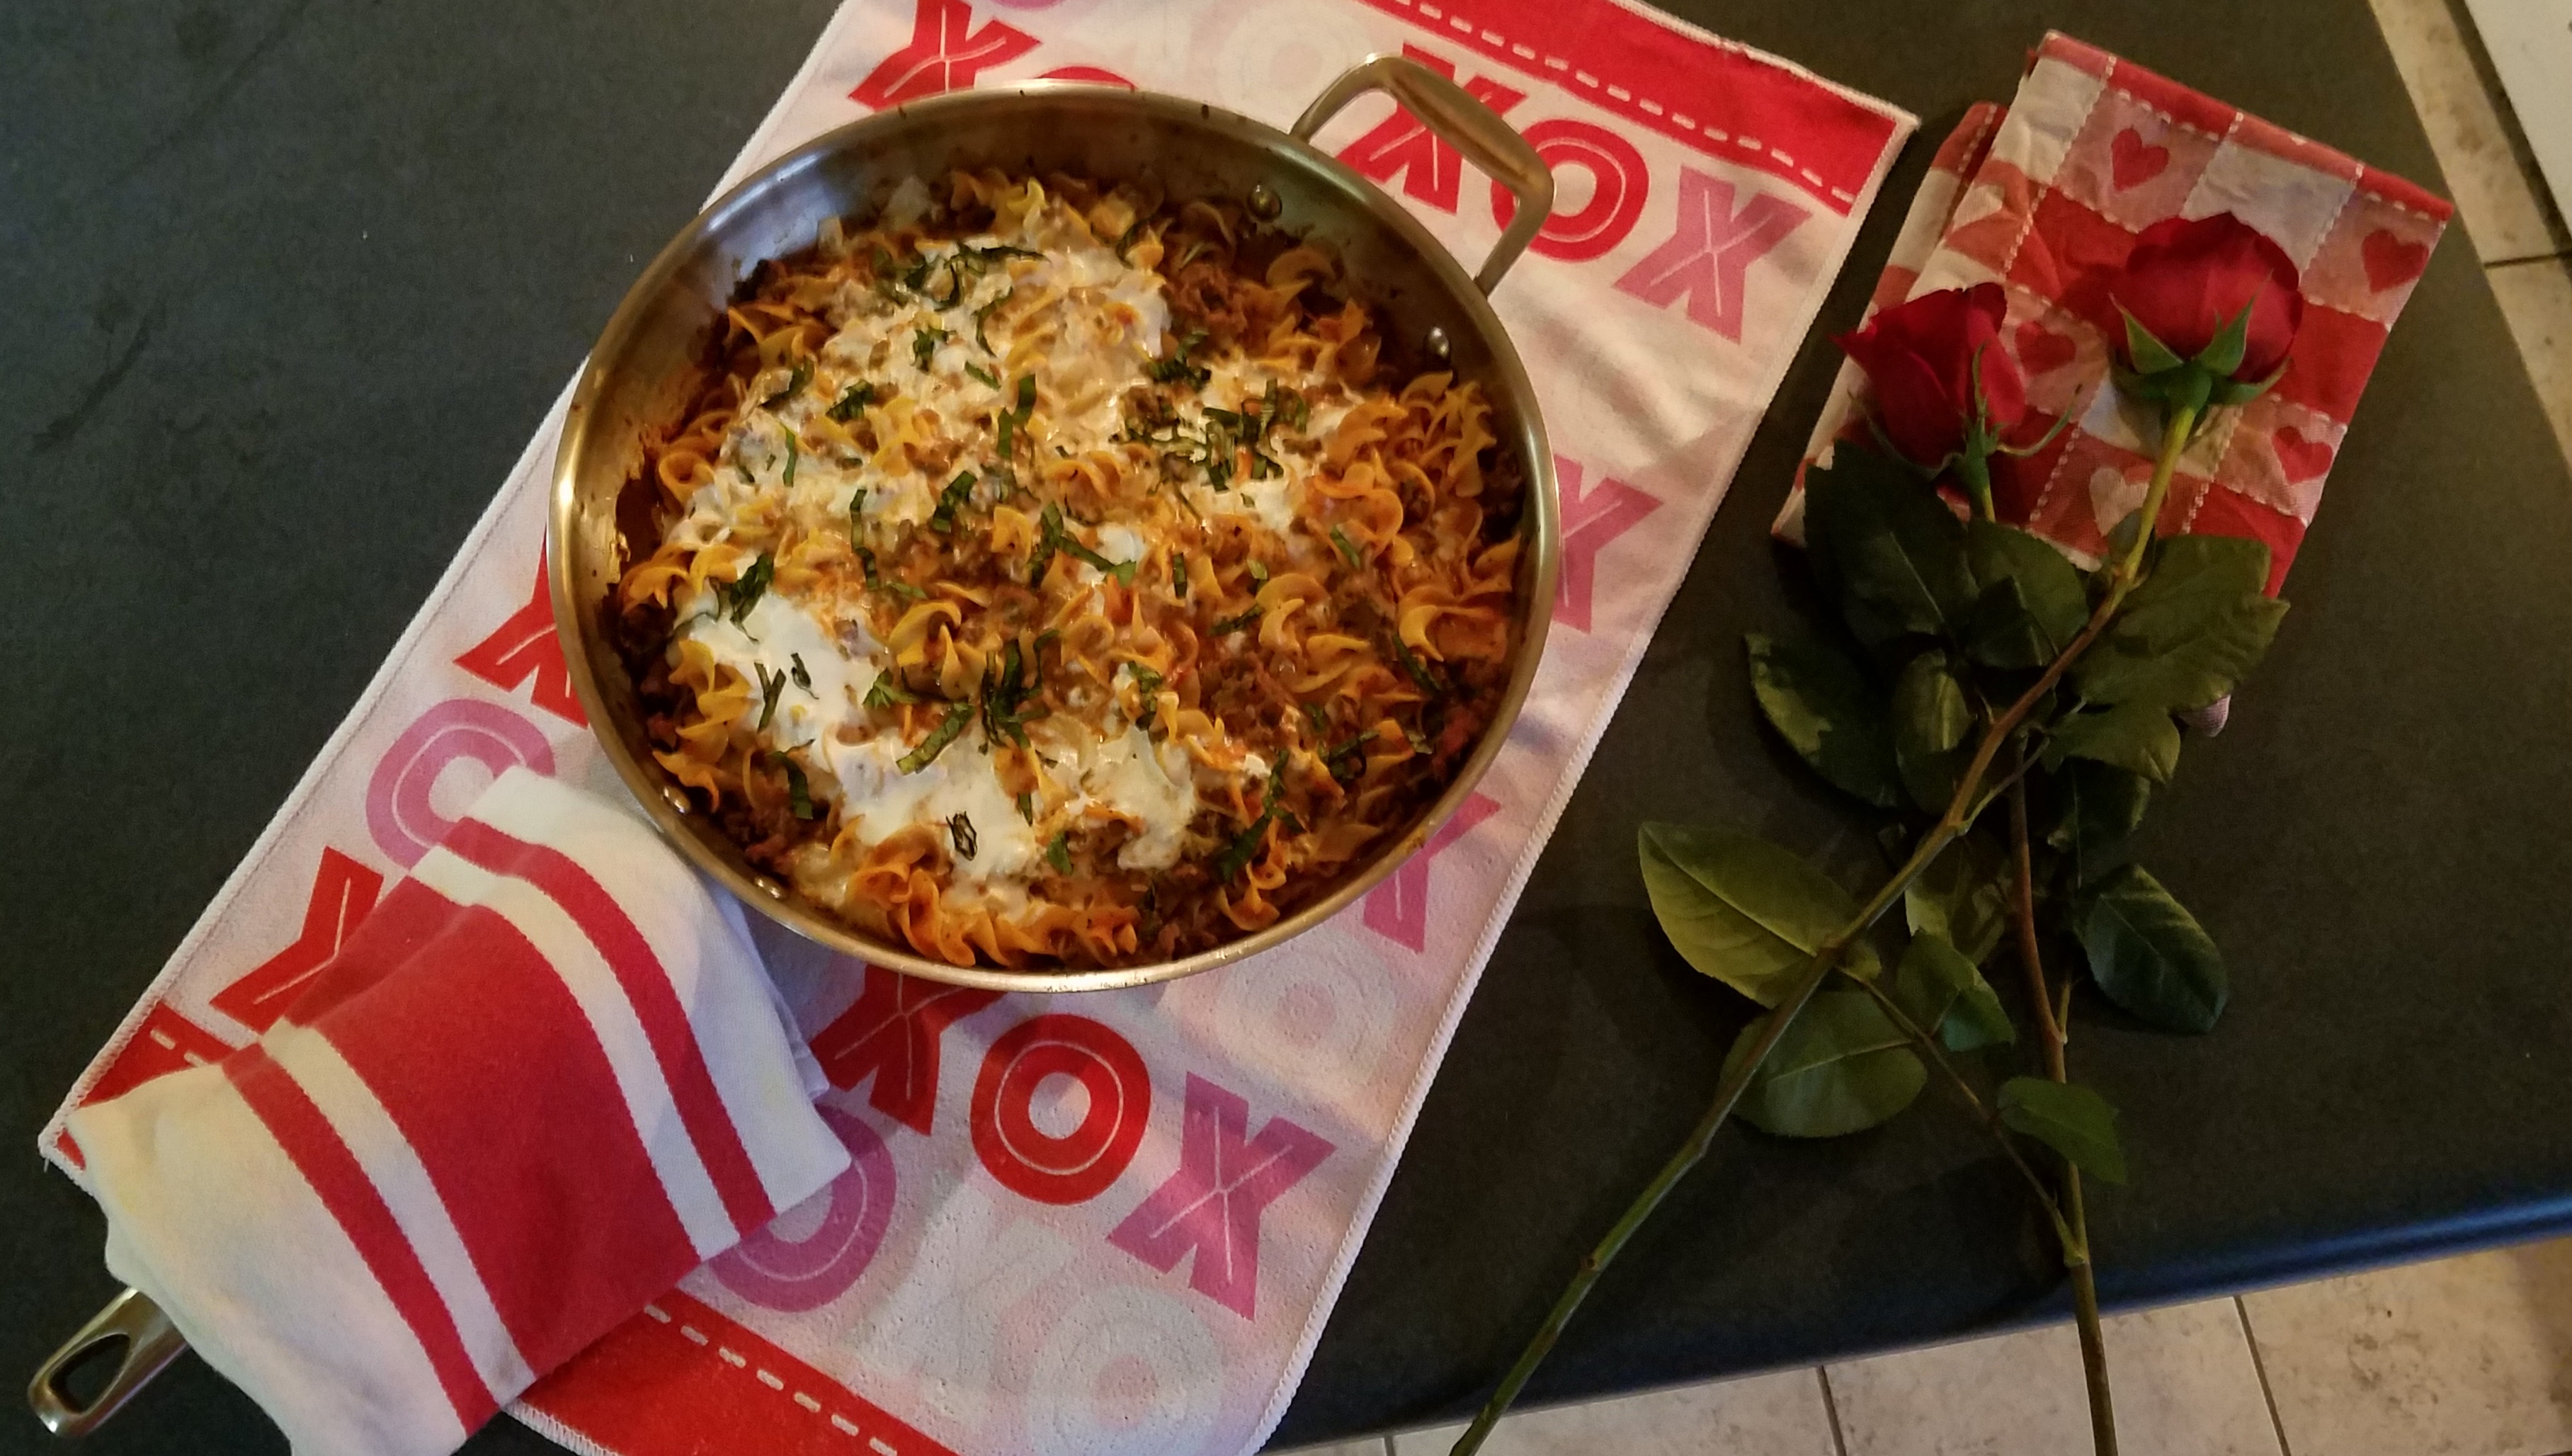
Add the marinara and noodles to the beef, in the skillet and mix.  Top with mozzarella and parmesan.  Bake in the oven at 350° for about 15 minutes, until mozzarella has melted.

Now here’s the interesting, and somewhat embarrassing part.  One of the main reasons I made this dish was to get rid of the ricotta cheese that had just recently passed its “Best if Used By” date.  I couldn’t stand for that so, I pulled the skillet from the oven and plopped the ricotta cheese on top and gently swirled it with a spatula.   

In case anyone might be concerned, such as the people who ate this dish, the “Best if Used By” date is not the same as an “Expiration” date.  “Best if Used By” means that the food might have lost some of its freshness, aroma or taste.  If it has passed its expiration date, don’t use it. 

Either way, I unsealed the ricotta and, after checking the aroma, I deemed it worthy!

Return the skillet to the oven for another 5 or 10 minutes.  Remove , top with basil and serve in the skillet. 

Serve with a glass of nice red wine.  You deserve it!

If I make this again, I will probably introduce the ricotta during the last few minutes again because it allowed the ricotta to stay slightly firm, instead of dissolving into the sauce.

A Conversation on Conservation and Consideration

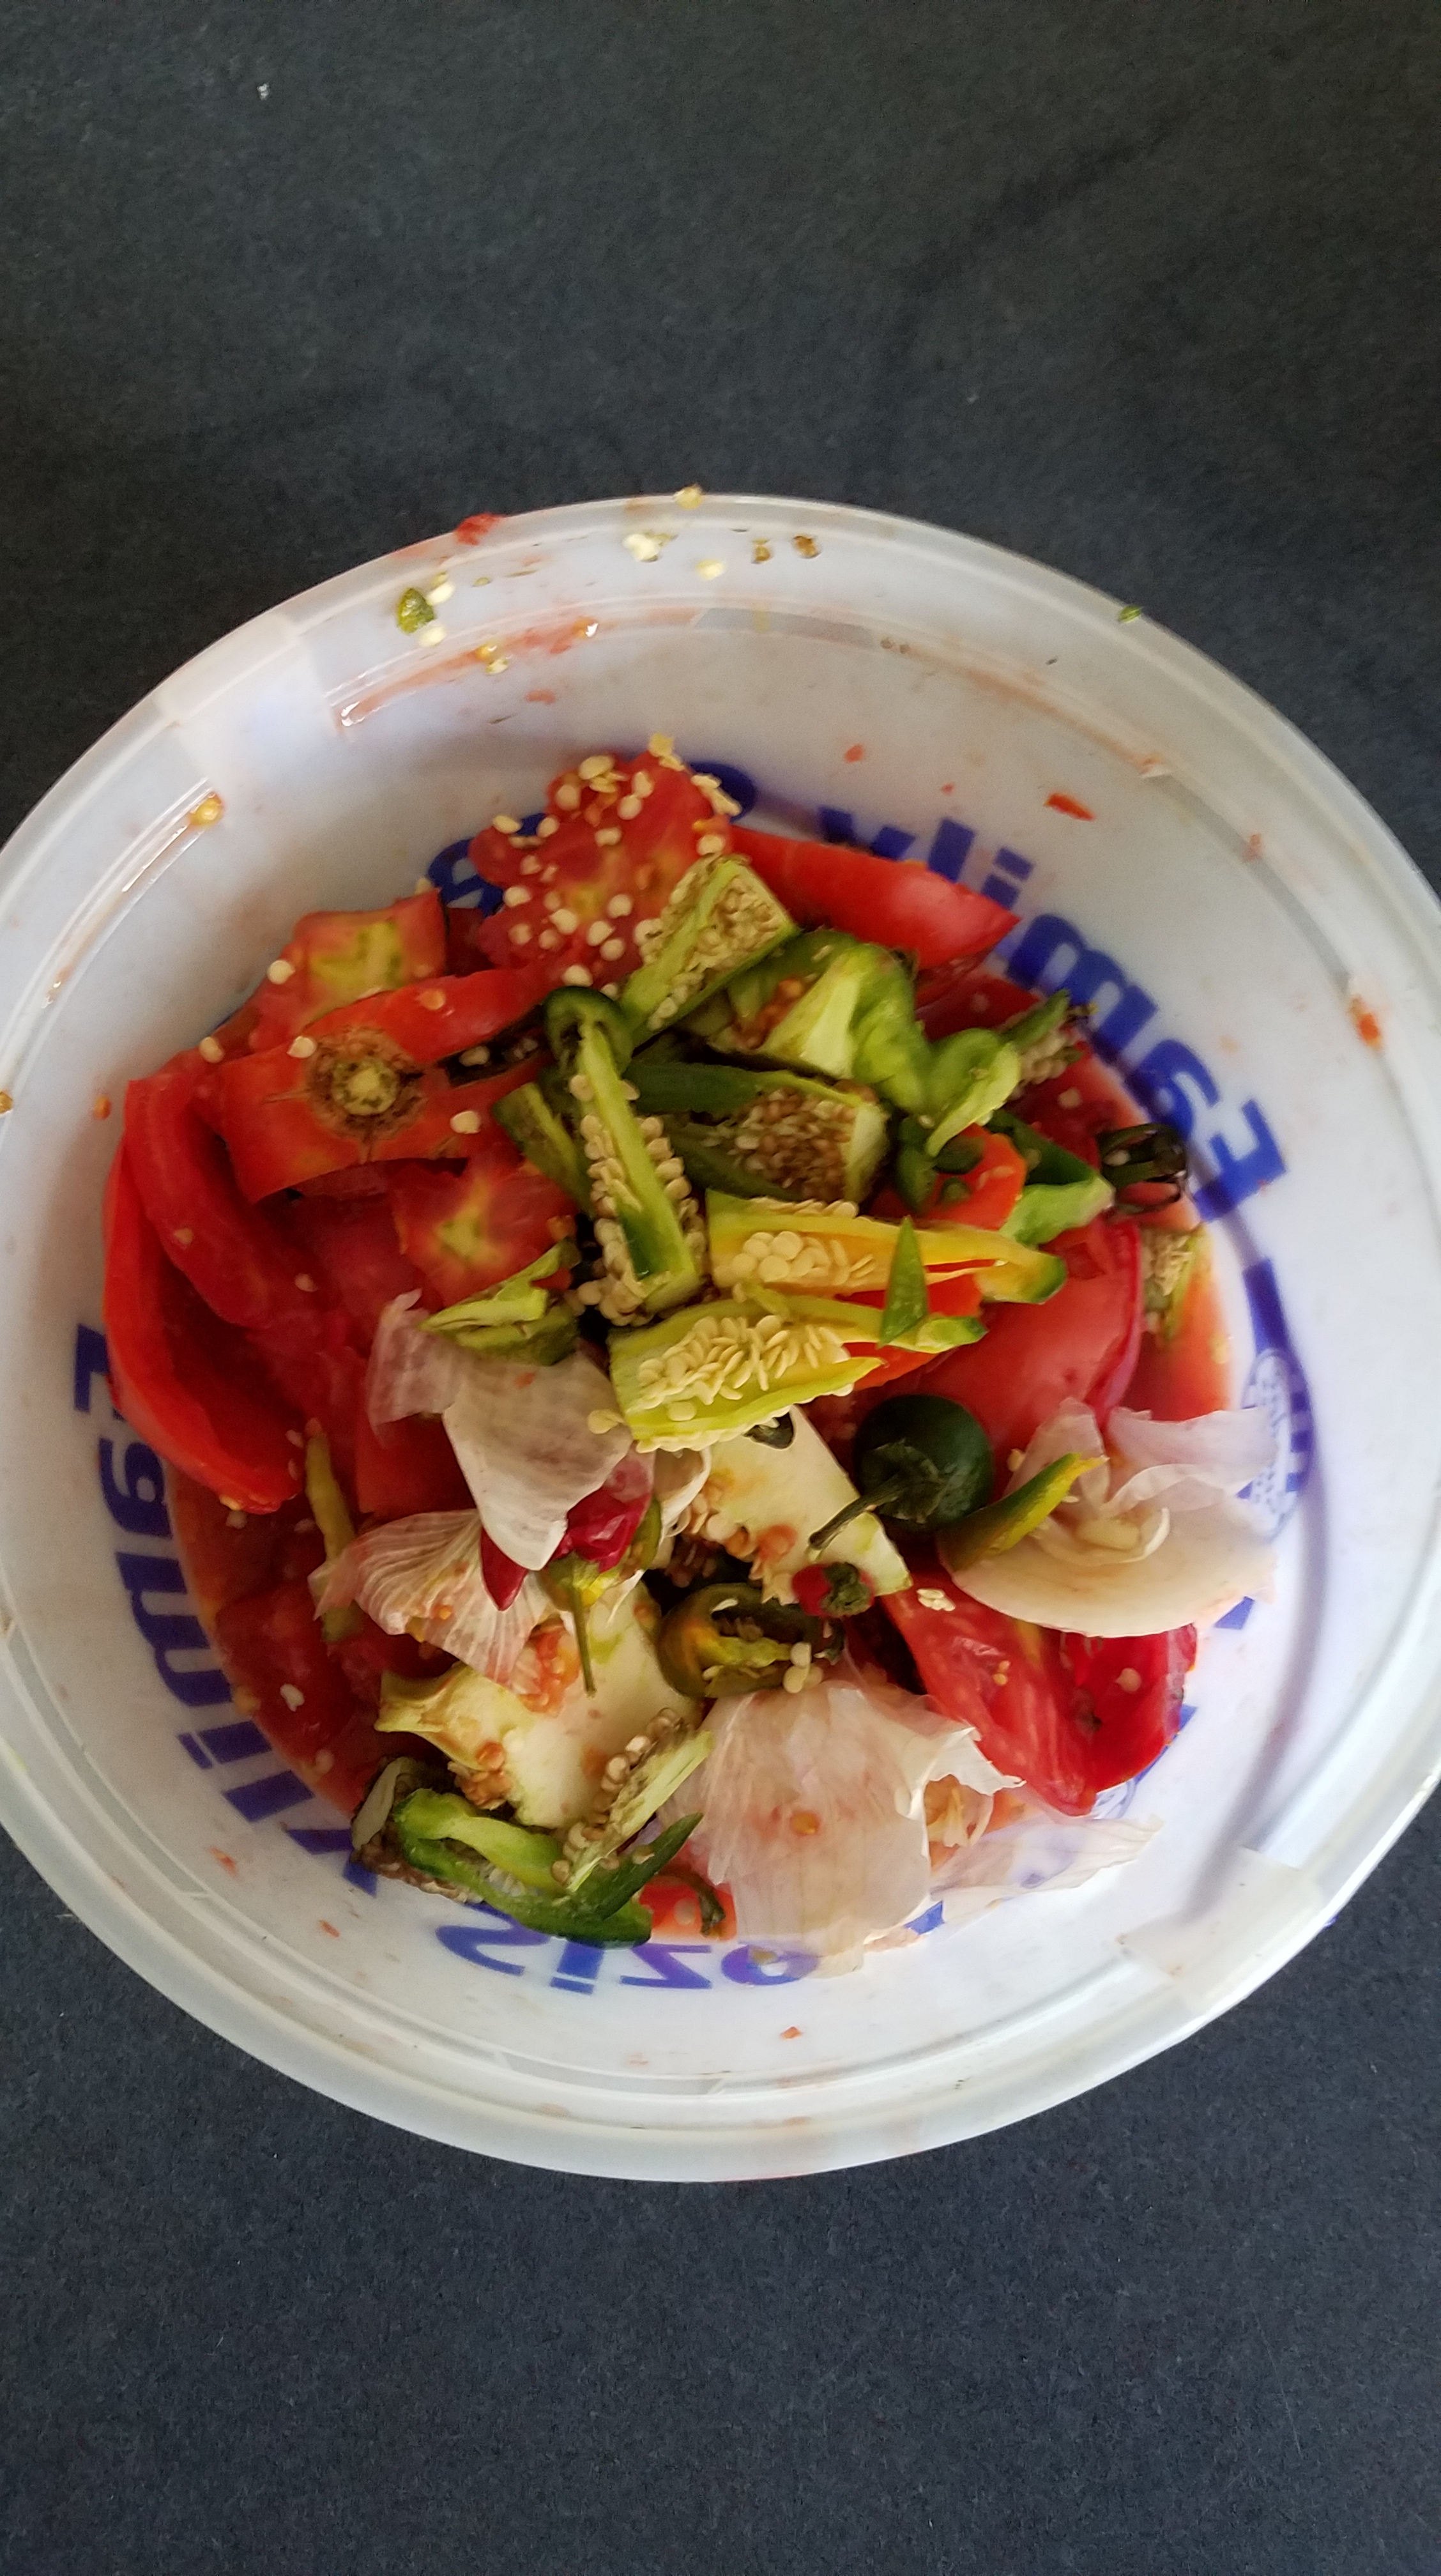
I like to keep a large bowl or pail next to the cutting board when I prepare vegetables for salsa.  I toss the undesirable parts of the vegetables in the pail as I slice and dice.  The tops of tomatoes, onions and chilies get tossed into the pail along with other unusable parts of tomatoes, outer onion skins and papery garlic peels.  

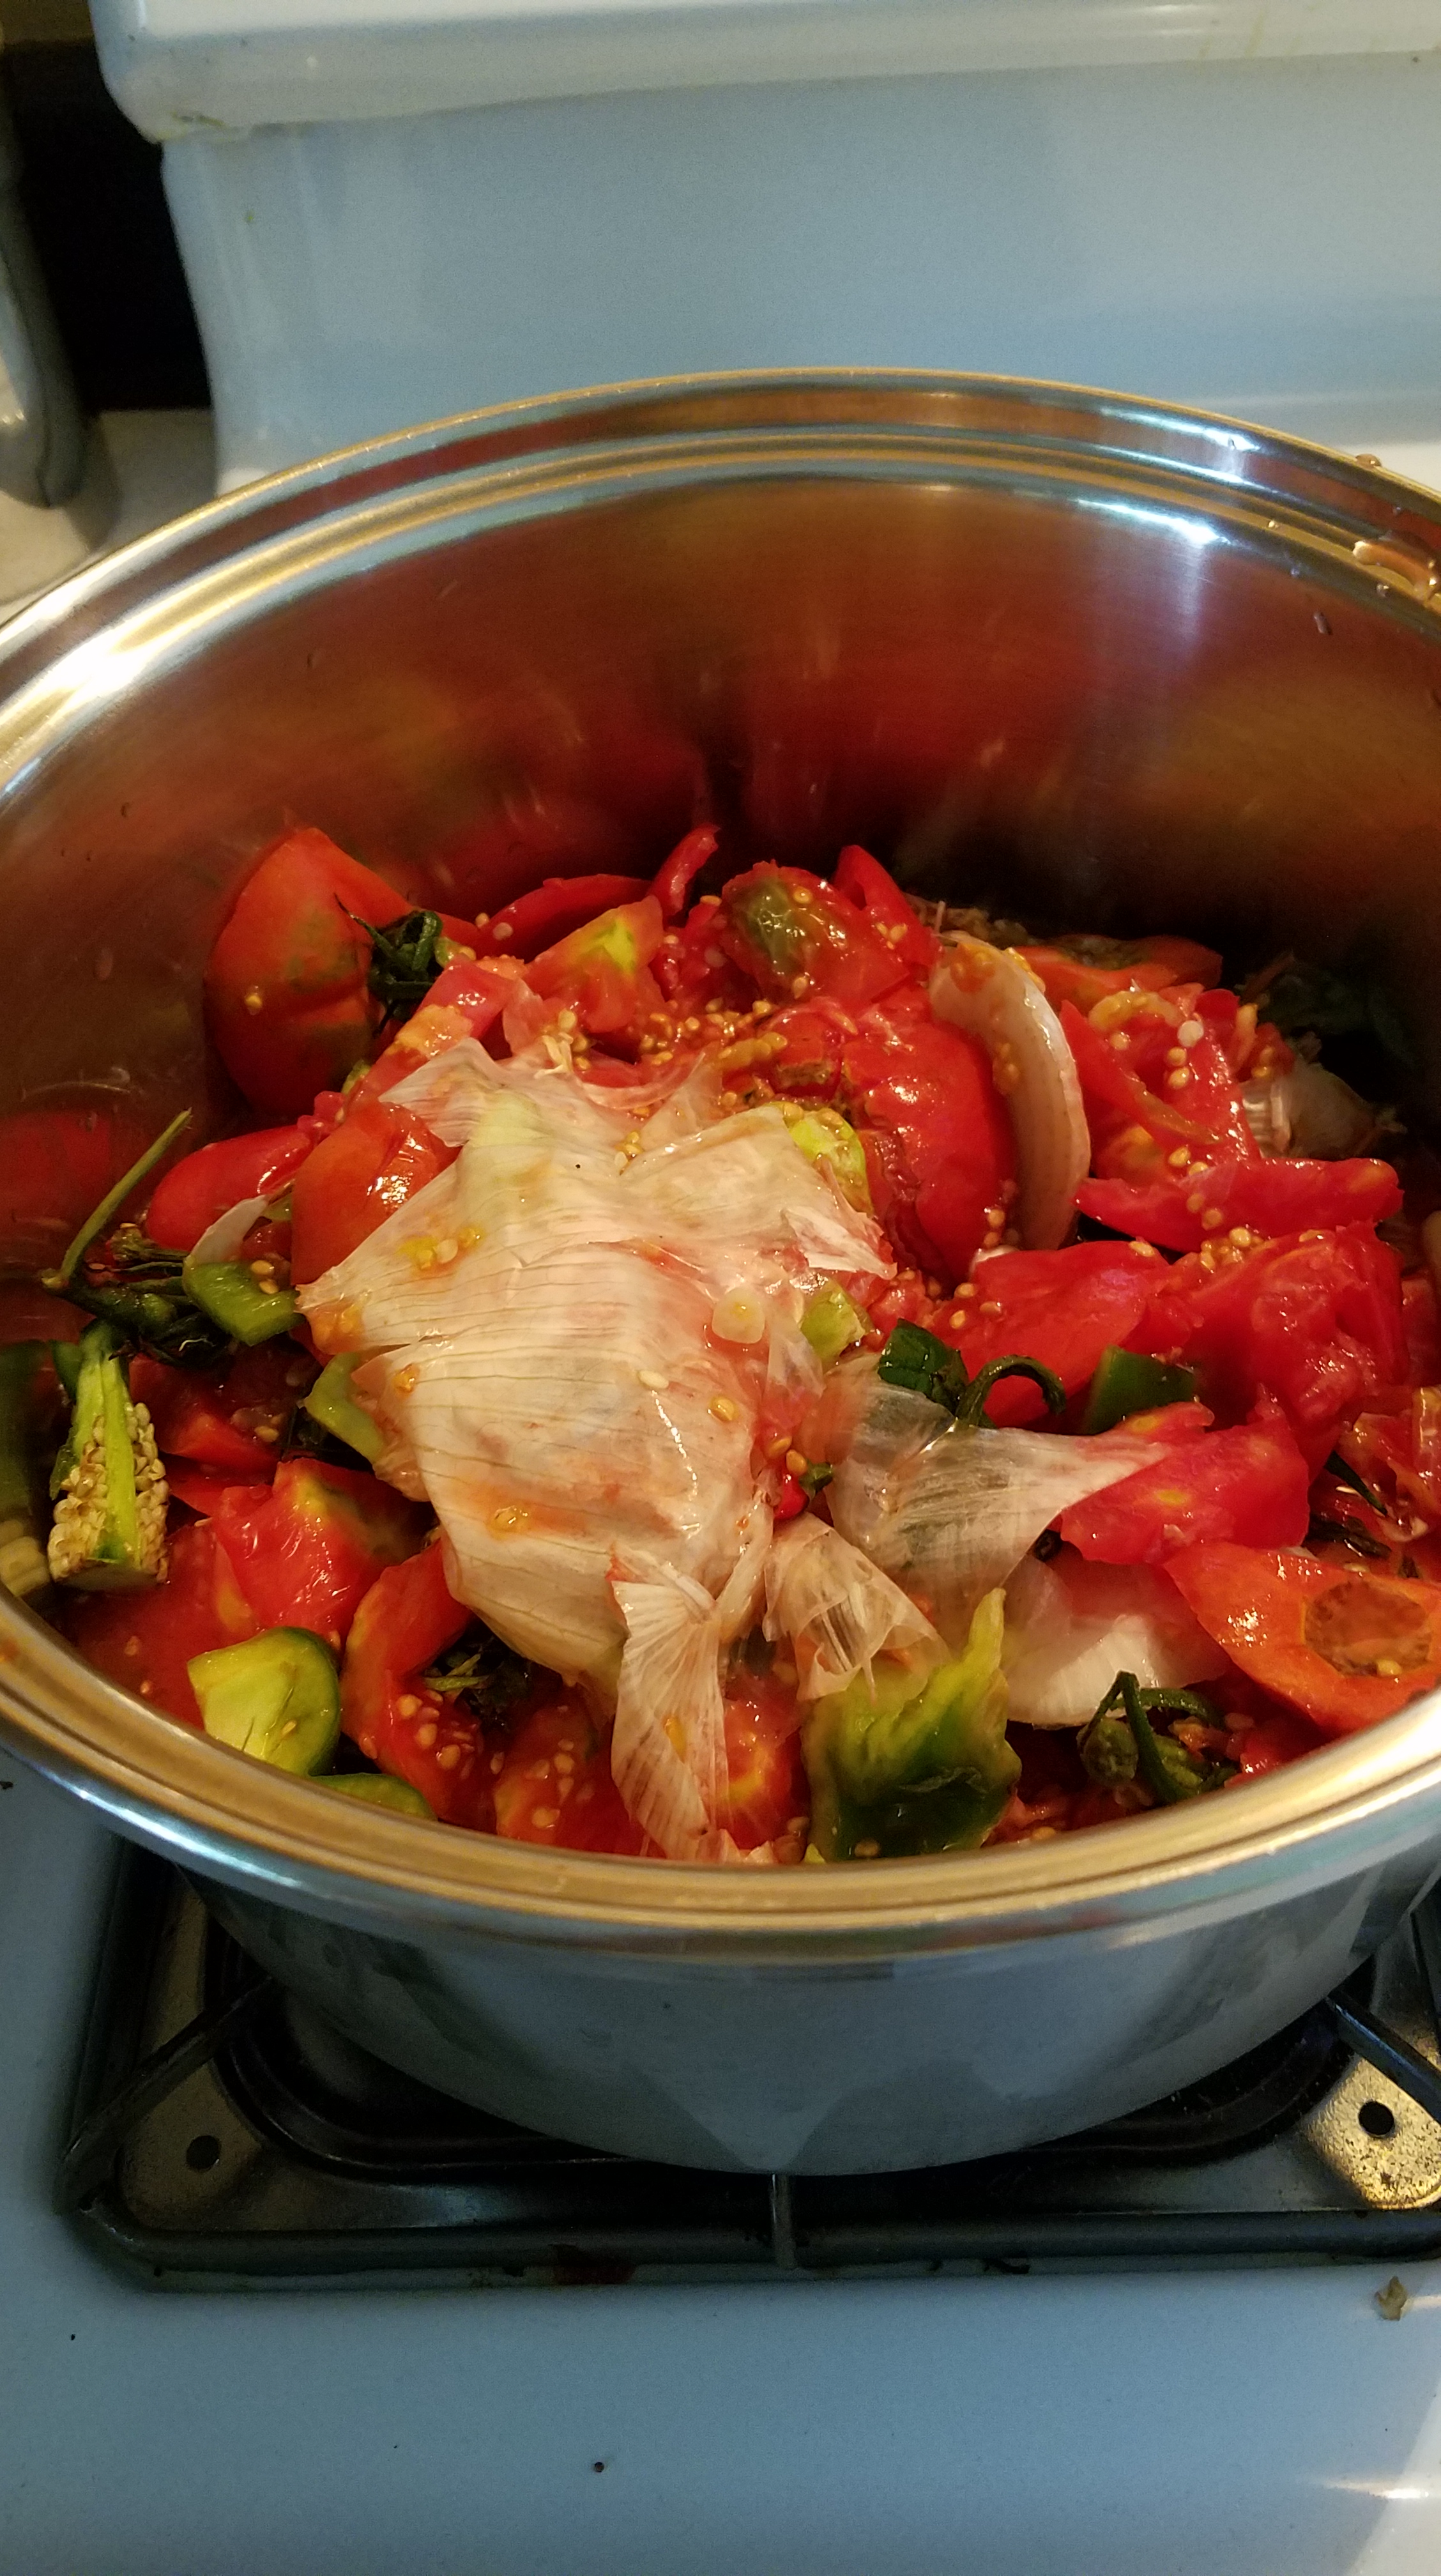
Consider using the discarded scraps to make a vegetable stock.  It is easy to do and the result provides a wonderful base for the salsa.  Now, I have to admit, there are times that I just dump the scraps in the trash but I always regret it when I taste the finished salsa.  The vegetable stock, when reduced to a sauce,  provides a concentration of flavors that adds harmony and richness to the finished salsa and I feel better, knowing that I am utilizing every part of the vegetables.  Conservation means better flavor and less waste.  You can’t beat that!

Directions:

Dump all of the contents of the pail into a large pot and simmer on the stove at low heat for about one hour.  Strain out the solids and discard. 

Return the liquid to the stove and reduce by one half.  This becomes the foundation for the salsa. 

Come back soon and we’ll make some salsa!

Everything in its place

And, the hoity-toity French phrase of the week is…mise en place.

What is it about the French language that annoys me so much?   Maybe it’s the way that the French don’t bother to pronounce many of the letters that make up their words.   Maybe it’s the haughty names they give to such simple things like, “béchamel”, which is really just milk gravyC’mon, it’s gravy for cryin’ out loud!

But, I have to admit, the French were on to something when they came up with mise en place, the phrase that means, “everything in its place”.  The concept, as it relates cooking, is that a cook can set up a kitchen by organizing  ingredients that are needed for a certain menu.  Mise en place is intended to be a time saver. 

If I am making a peanut butter and jelly sandwich, I need four things.  Peanut butter, jelly, bread and a knife.  (Yes, just one knife.  I can smear some peanut butter on one slice of bread and then clean the knife on the other slice of bread, thereby permitting the use of the same knife to scoop out the jelly, without tainting the jelly jar in the process.)

Okay, the point I was trying to make before I became distracted by my own silliness is that you don’t need to lay out everything in place before making a PB&J.  You might grab a loaf of bread and put two slices on a plate.  And then, you might go to the pantry to pick up a jar of peanut butter and then smear some of it on a slice of bread.  Then, you might go to the refrigerator to hunt for the jelly.  Oh no, all you see is boring, utilitarian grape jelly…now, you have to search the depths of the fridge to find the delicious strawberry preserves.  Ah, there it is…that’s better!  Then, you finish the sandwich with a smear of strawberry preserves.  Even though you had to take time to search for the strawberry preserves, you didn’t really waste that much time.

But, there are times that you will want to have everything you need already in front of you, ready for action.  I find myself needing this sort of preparedness when I make a stir fry. 

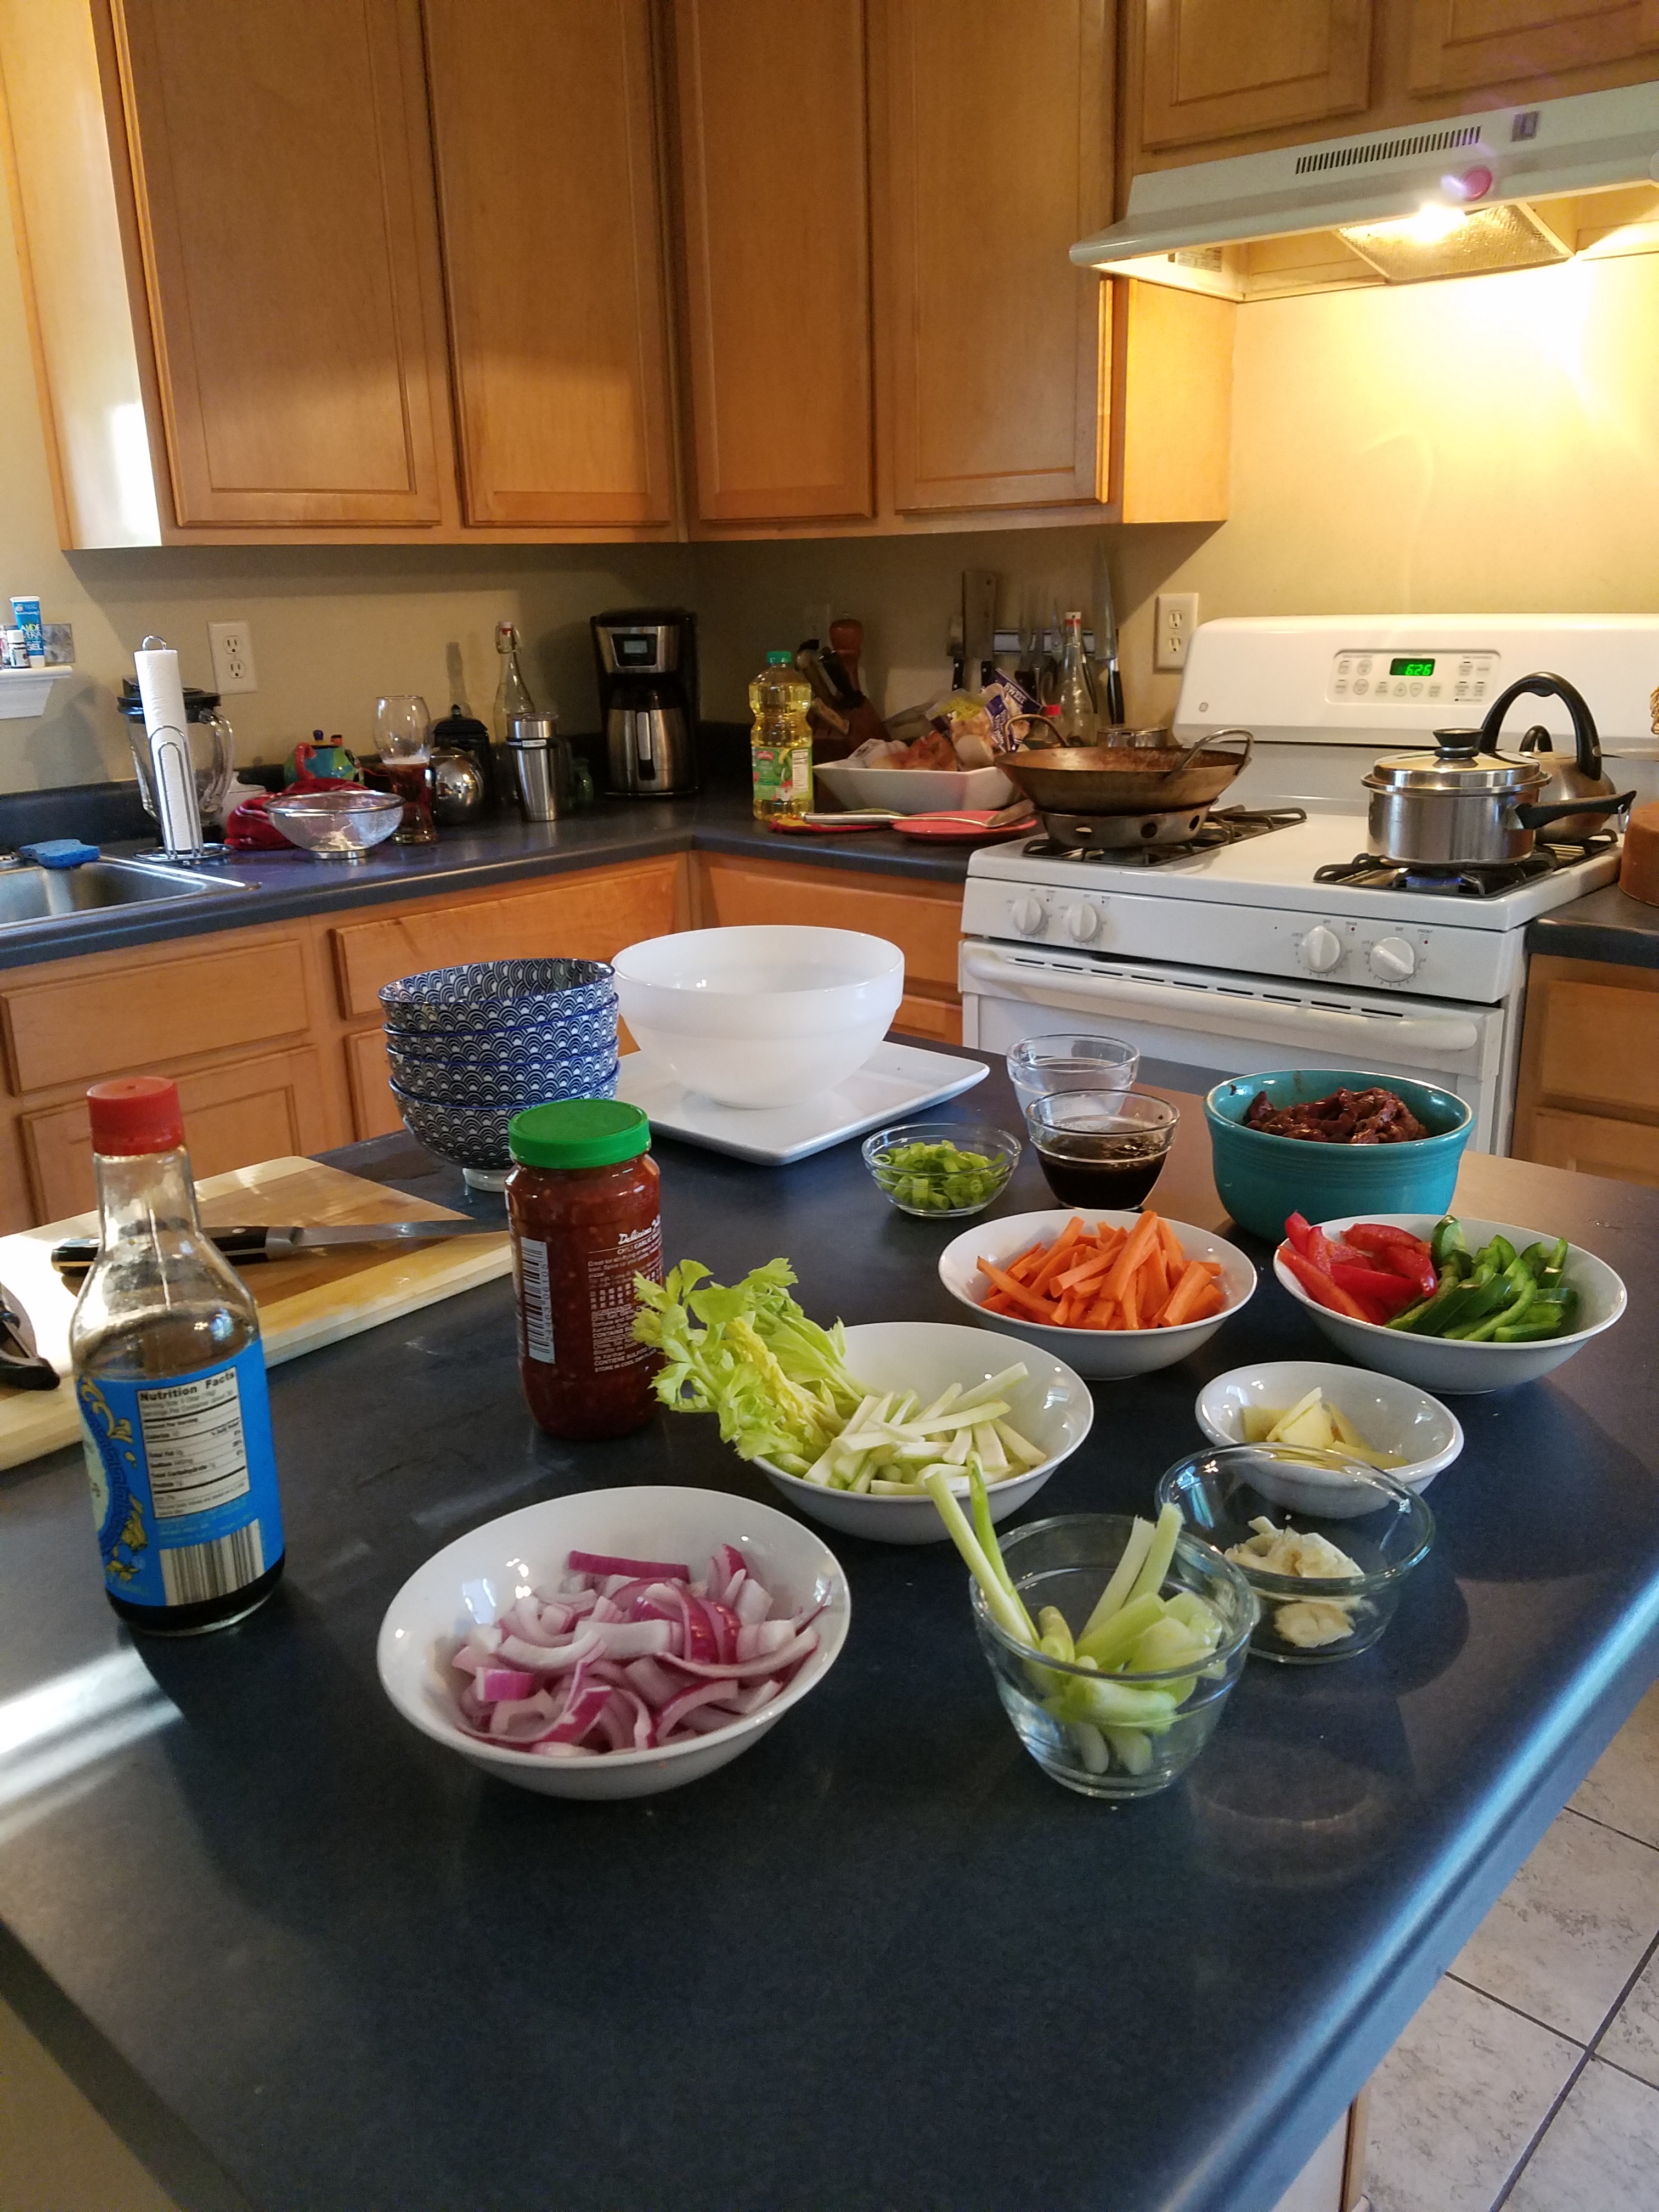
Stir frying with a wok requires high heat and speed and it requires having the many vegetables and meats prepared, in advance.  You will want to have the menu items peeled, sliced or chopped and ready to introduce to the wok.  And, you will want to have everything within arm’s reach as you work your magic with the wok.  For this, you need to utilize mise en place.

I say all of this because I didn’t always understand the advantages that mise en place had to offer until I started cooking for parties and family gatherings.  Nothing can kill the spirit of a party like having to wait for hours and hours while a meal is being prepared.  Even if your goal is to immerse your guests in the act of preparing a meal, do you really want to have everyone tripping over themselves in your kitchen while they peel, grate, and cut? 

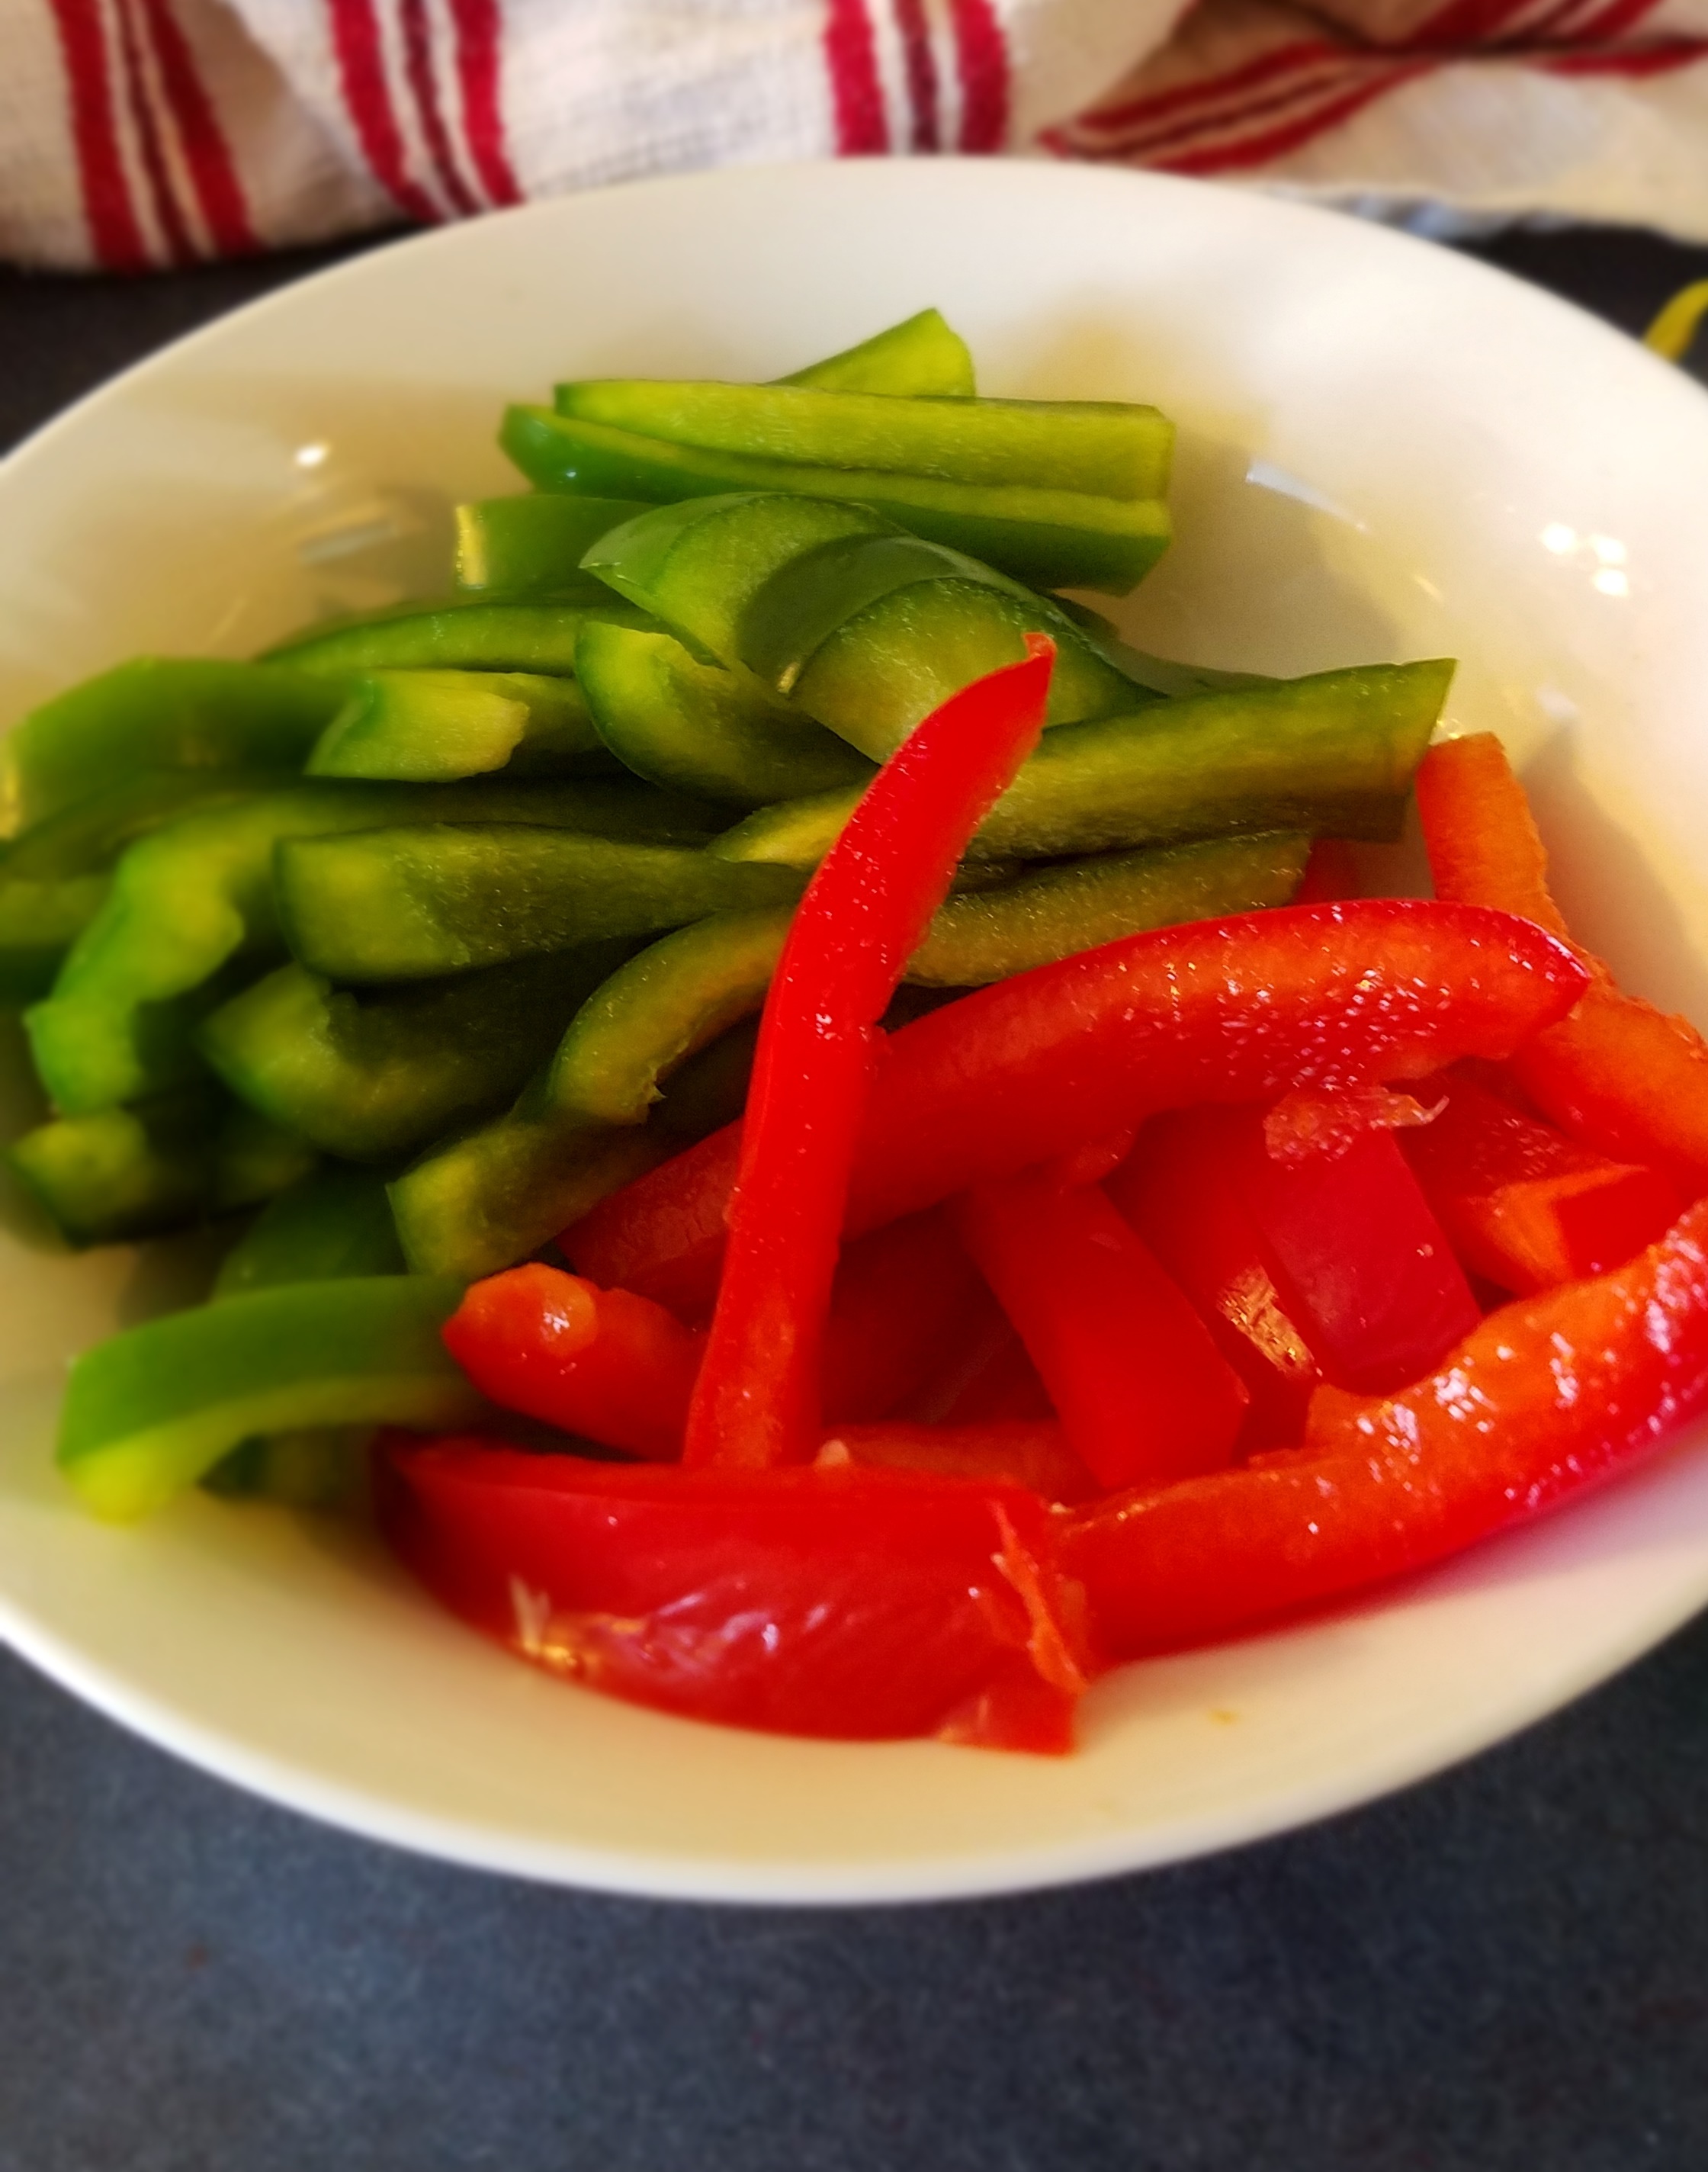
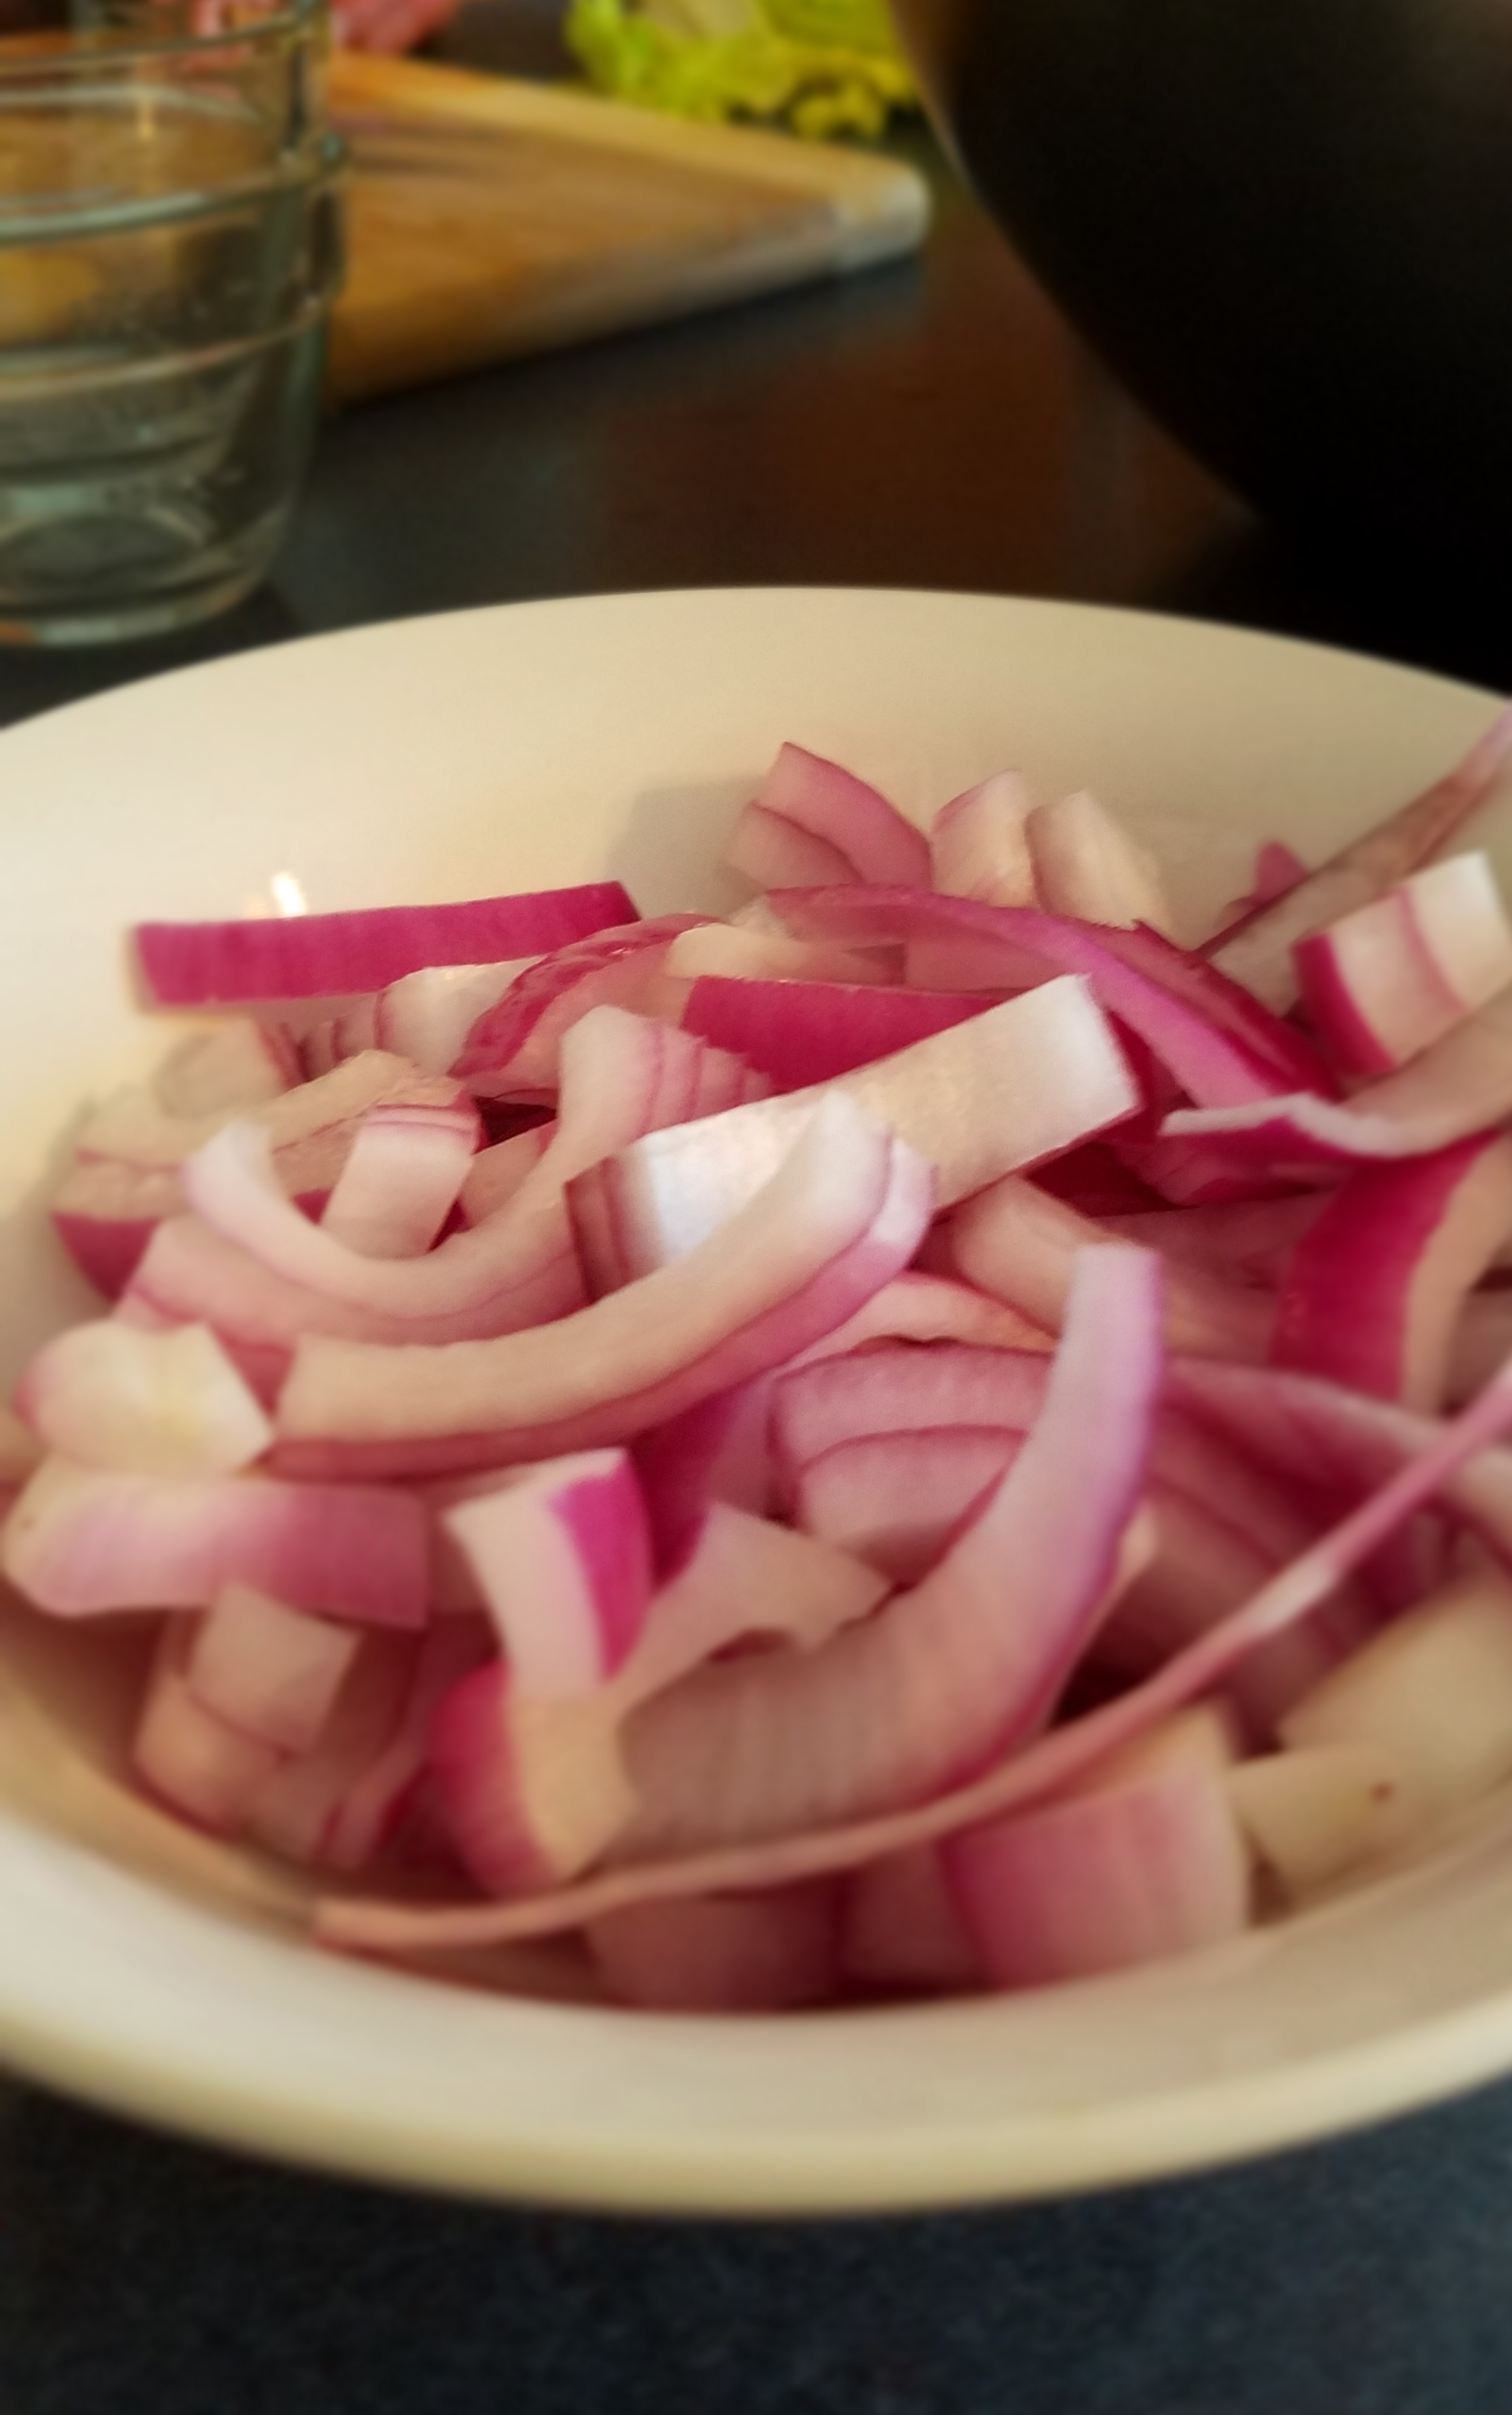
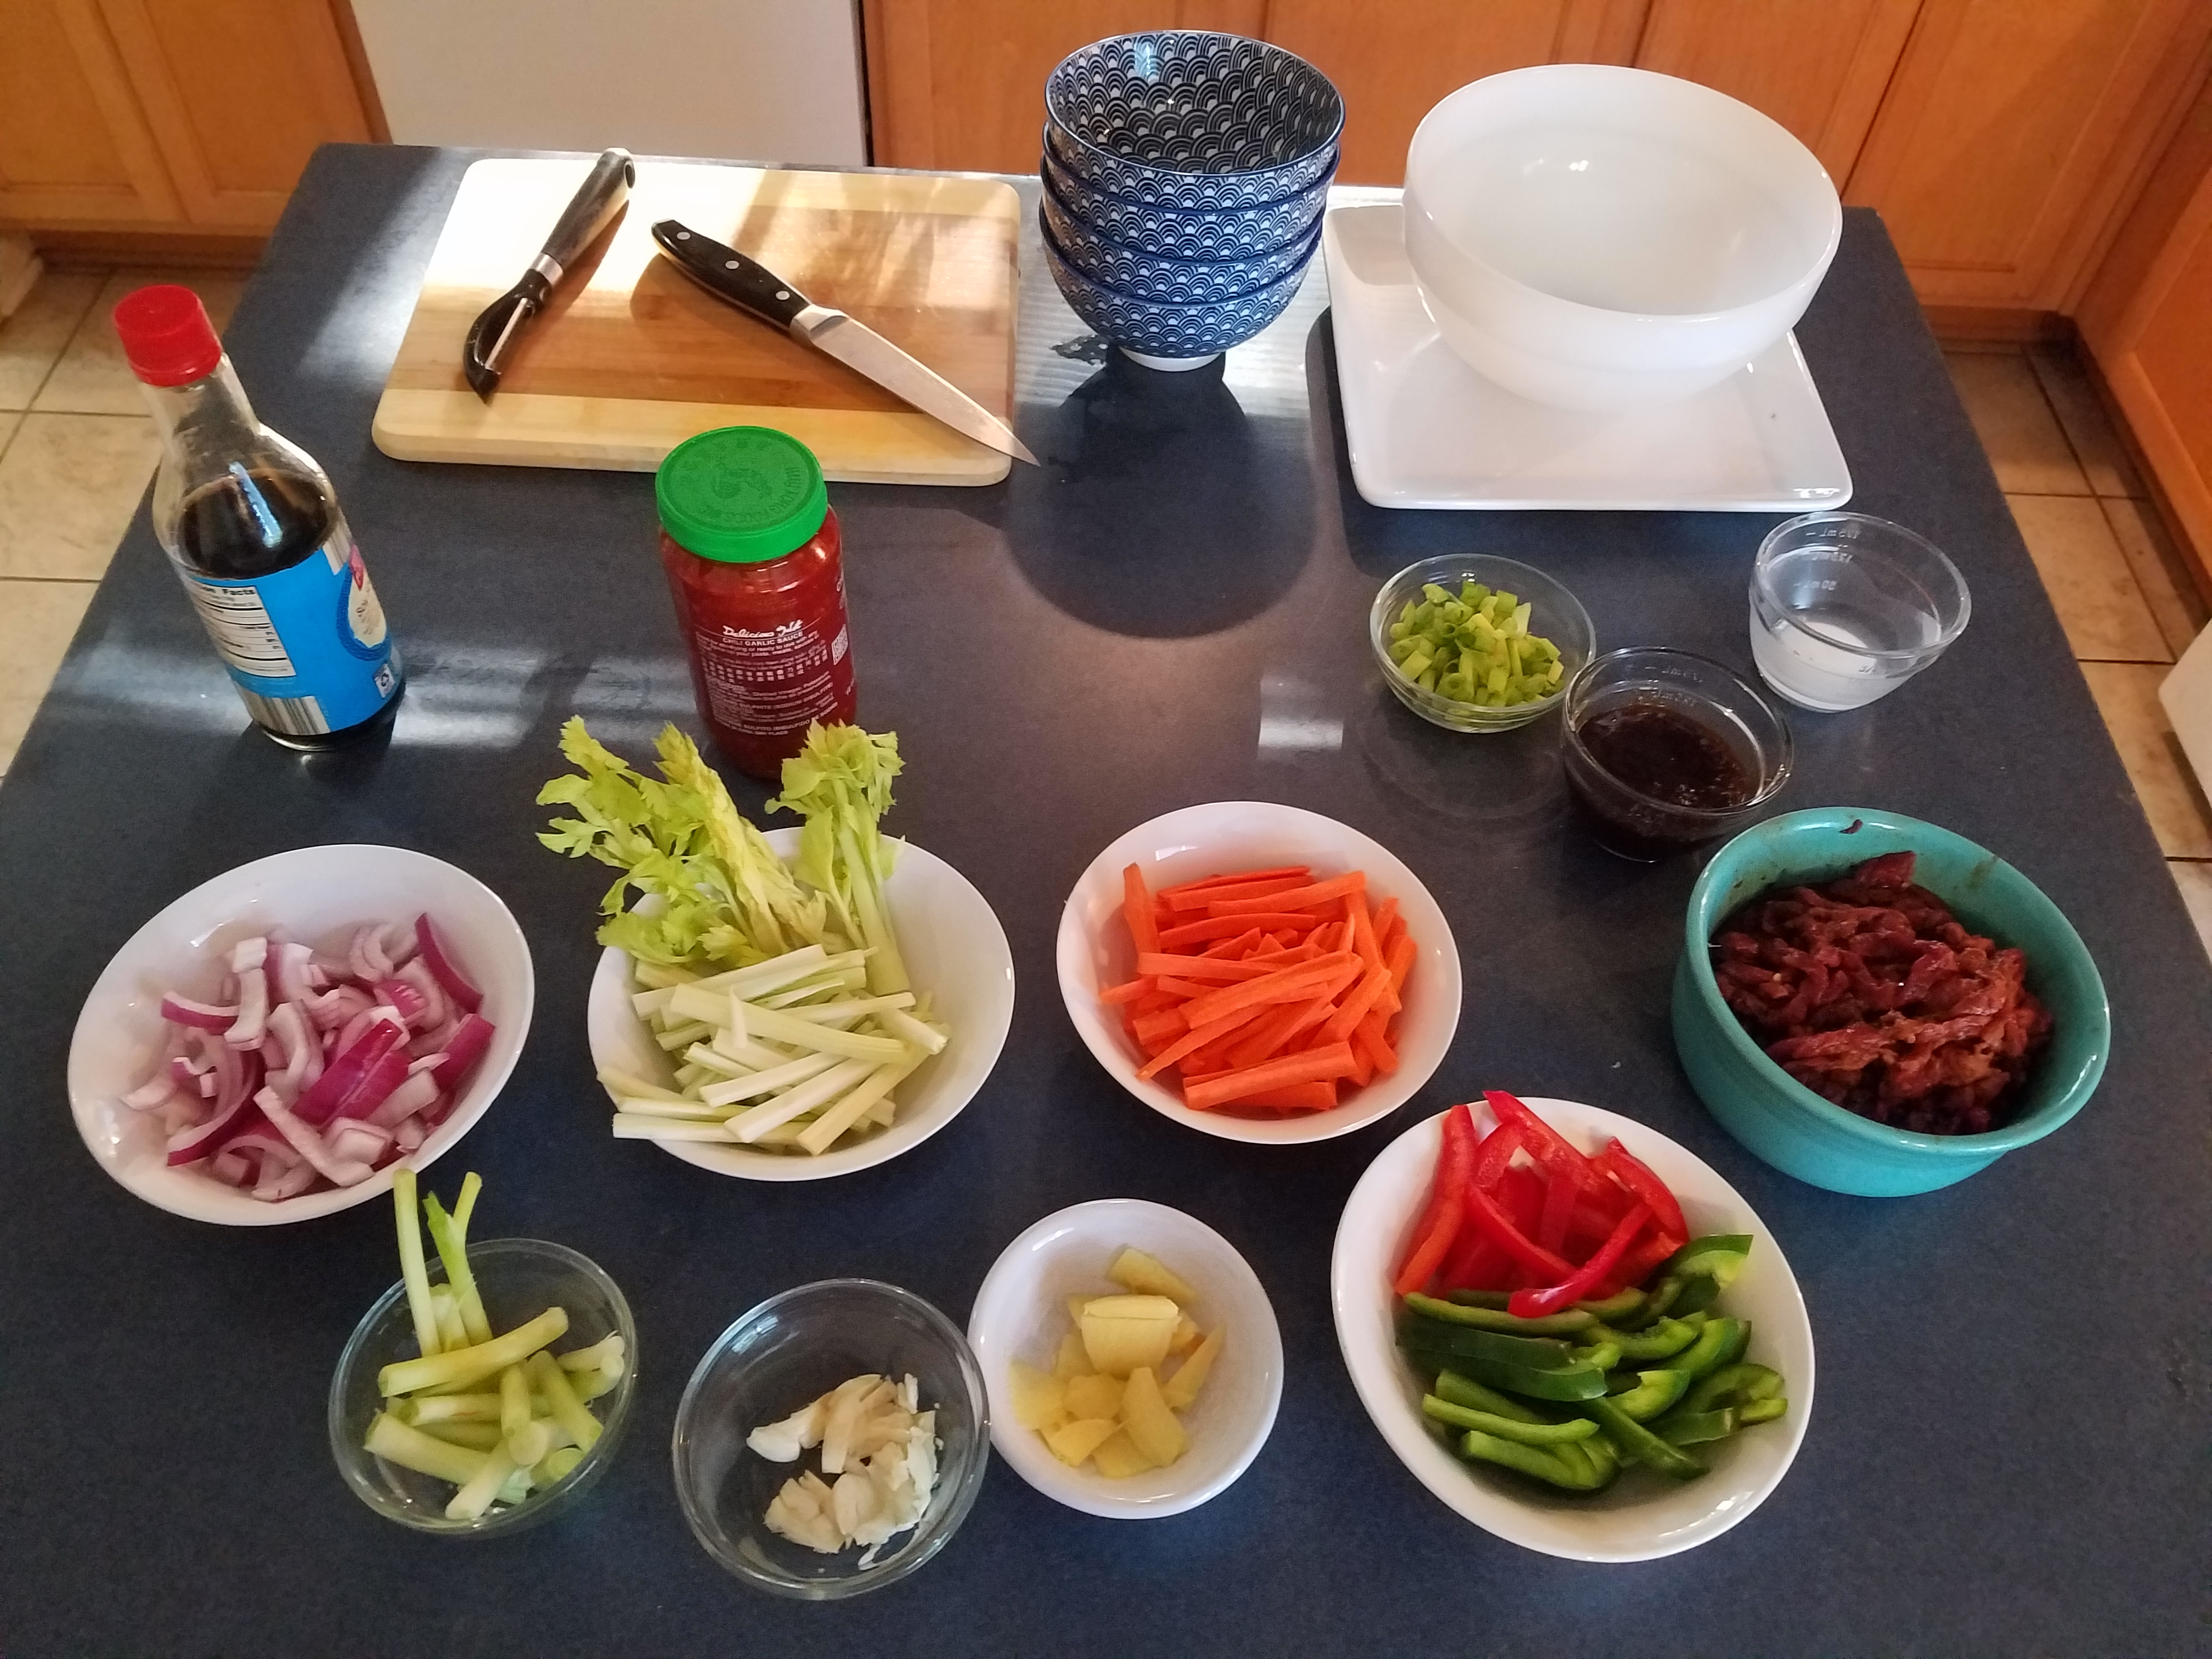
Here is an example of mise en place in practice, as I prepared for a recent stir fry dish. 

Now, I don’t always use this many prep bowls when I utilize mise en place.  Most of the time I just use one or two large, shallow bowls to hold the different items.  I grab what I need from the bowl and toss it in the wok, when I need it.  It makes for a quick clean-up.  But, for this particular culinary adventure, I decided to use lots of little prep bowls.

The rice is steaming on the stove and I am ready to crank up the wok!  After a few minutes of fire and frenzy, it will all be ready to serve.

Chicken and Biscuits with Gravy

This is comfort food at its highest level.  As a stress reliever, it is on a par with yoga, neck massages and Xanax.  It is most appreciated during the cold, damp days of autumn and winter but it can warm your heart on any day of the year.  Serve this to your family when you, or any member of your family has had a particularly difficult day.  Your family might not talk much during meal, but that’s okay.  Sometimes we all need a quiet time to heal together.

Ingredients:

2 Tbs. cooking oil (I like to use canola oil)

2 lbs. chicken skinless chicken breast

4 cups of chicken broth (32 ounce boxed broth or stock works well)

1 ½ cups whole milk

6 Tbs. butter

6 Tbs. flour

3 tsp. dried onion flakes, crushed

1 ½ tsp rubbed dry sage

½ tsp coarse ground black pepper

½ tsp salt

1 can of large buttermilk or home-style biscuits (8 count)

Directions:

Add oil to hot, oven-proof pan.  I like to use my trusty cast iron skillet.  Pan fry the chicken breasts at low to medium heat, turning every few minutes. 

While the chicken is simmering, bake the biscuits.  Pull the biscuits out of the oven just as they puff up and before they brown.  They will go back into the oven after they have been added to the chicken and gravy.

Remove the chicken when golden brown.  Cut or shred the chicken into bite-sized pieces.  Set aside.

Let’s pause for a moment to talk about roux.  When I was just a young, fledgling cook I was curious about roux.  I realized that many recipes called for a roux.  I saw chefs on TV, like Paul Prudhomme, prepare roux using intense heat.  They heated the pan, added oil and just as the oil began to smoke, they added the flour and whisked constantly. – – – And, they warned us that a beautiful roux could turn into a burnt mess if it was overcooked. 

By the time I got up the nerve to make a roux, I burned it.  The next time, I under-cooked it and I was left with a gritty roux that tasted like flour.  I couldn’t seem to find a way to control the roux.   I was at a loss.  I didn’t know if I would ever produce a good roux.  And then, I attempted to make a roux by using low heat.  Wow…instant success! 

I discovered that the entire process could be done with low heat.   Melt the butter or oil very slowly.  Whisk the flour in until it becomes a soft paste.  Whisk until all of the graininess of the flour is gone.  Add liquid, little by little, and whisk to remove any clumps.  In fact, I often turn the heat completely off as I add the liquid, to avoid clumping.  I turn the heat off when the roux reaches a white or blonde color.  I don’t push it to a peanut butter or dark chocolate color.  Most of my dishes that require a roux need it for thickening more than flavor and I am happy with that.

Prepare a roux by deglazing the pan with a splash of chicken broth.  Turn the heat down to low and add butter.  When the butter has melted, add flour and whisk until the flour becomes silky, smooth.  Add chicken stock, a little at a time and whisk.  Add the crushed onion flakes, dry sage, black pepper and salt and stir.  Add the remaining chicken stock and milk and continue whisking while the gravy thickens.  Once the gravy has reached your preferred thickness, turn the heat off.

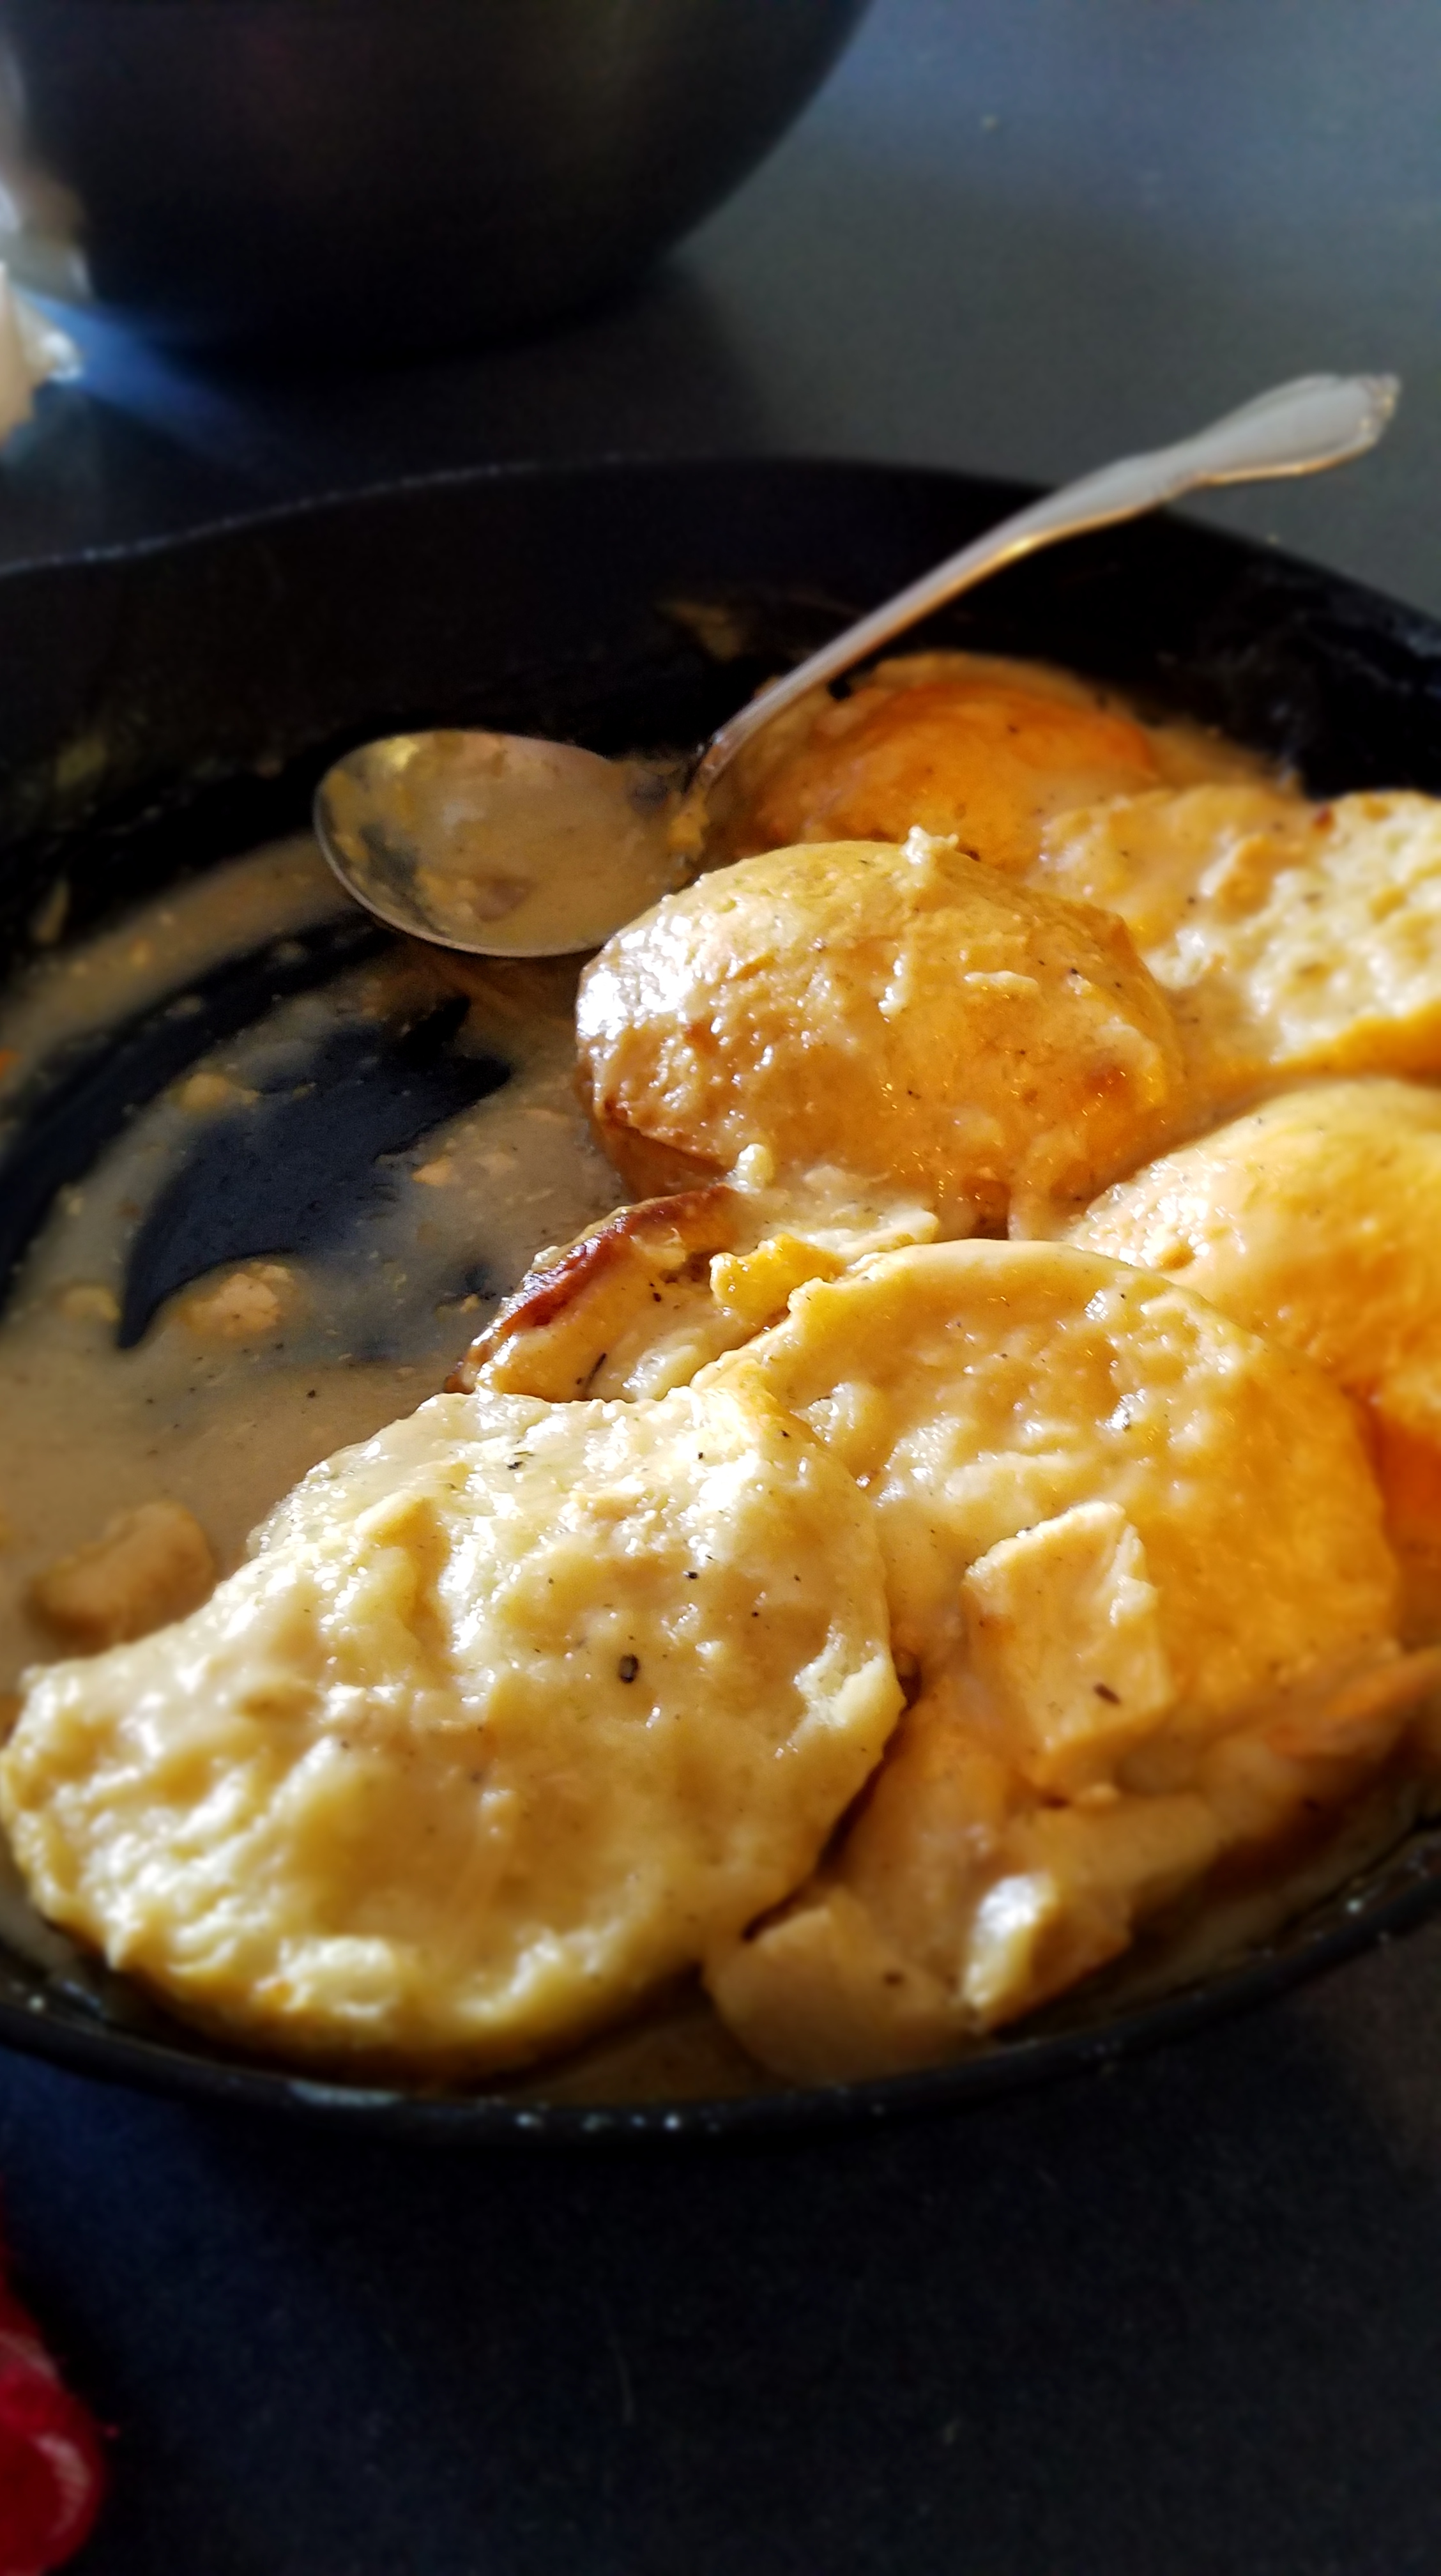
Add the chunks of chicken to the pan and mix with the gravy.  Split the biscuits in half and pack them tightly together on top of the chicken and gravy.  Dab some gravy on top of the biscuits, to prevent them from burning.  Heat in a 350° oven for 10 to 15 minutes.

Serve warm.

Caesar Salad

A good Caesar salad is hard to resist.  Crisp romaine lettuce and crunchy croutons are the perfect vehicle for the robust, memorable dressing that accompanies it. 

Italian immigrant, Caesar Cardini is credited with this Italian-American staple.  Caesar immigrated to America in the early 20th century and eventually made his way to southern California and Tijuana, Mexico, where he operated restaurants.  He trademarked his famous salad dressing in 1948.

His storied life is not too different than the many other immigrants that have made their homes here.  It is no surprise that many of our common, day-to-day meals are a result of the imagination and ingenuity of immigrants, like Caesar Cardini.   Immigrants have come to define who we are, as a nation. 

Ingredients:

2 cups Italian bread (or any other suitable bread for croutons)

1 Tbs olive oil

3 anchovies (packed in oil)

2 garlic cloves, chopped

1 egg yolk

2 Tbs fresh lemon juice

2 tsp Dijon mustard

¼ cup olive oil

3 Tbs grated Parmesan cheese

1 large head of Romaine lettuce, chopped into large pieces

½ cup red onion, chopped

2 hardboiled eggs, sliced (optional)

Directions:

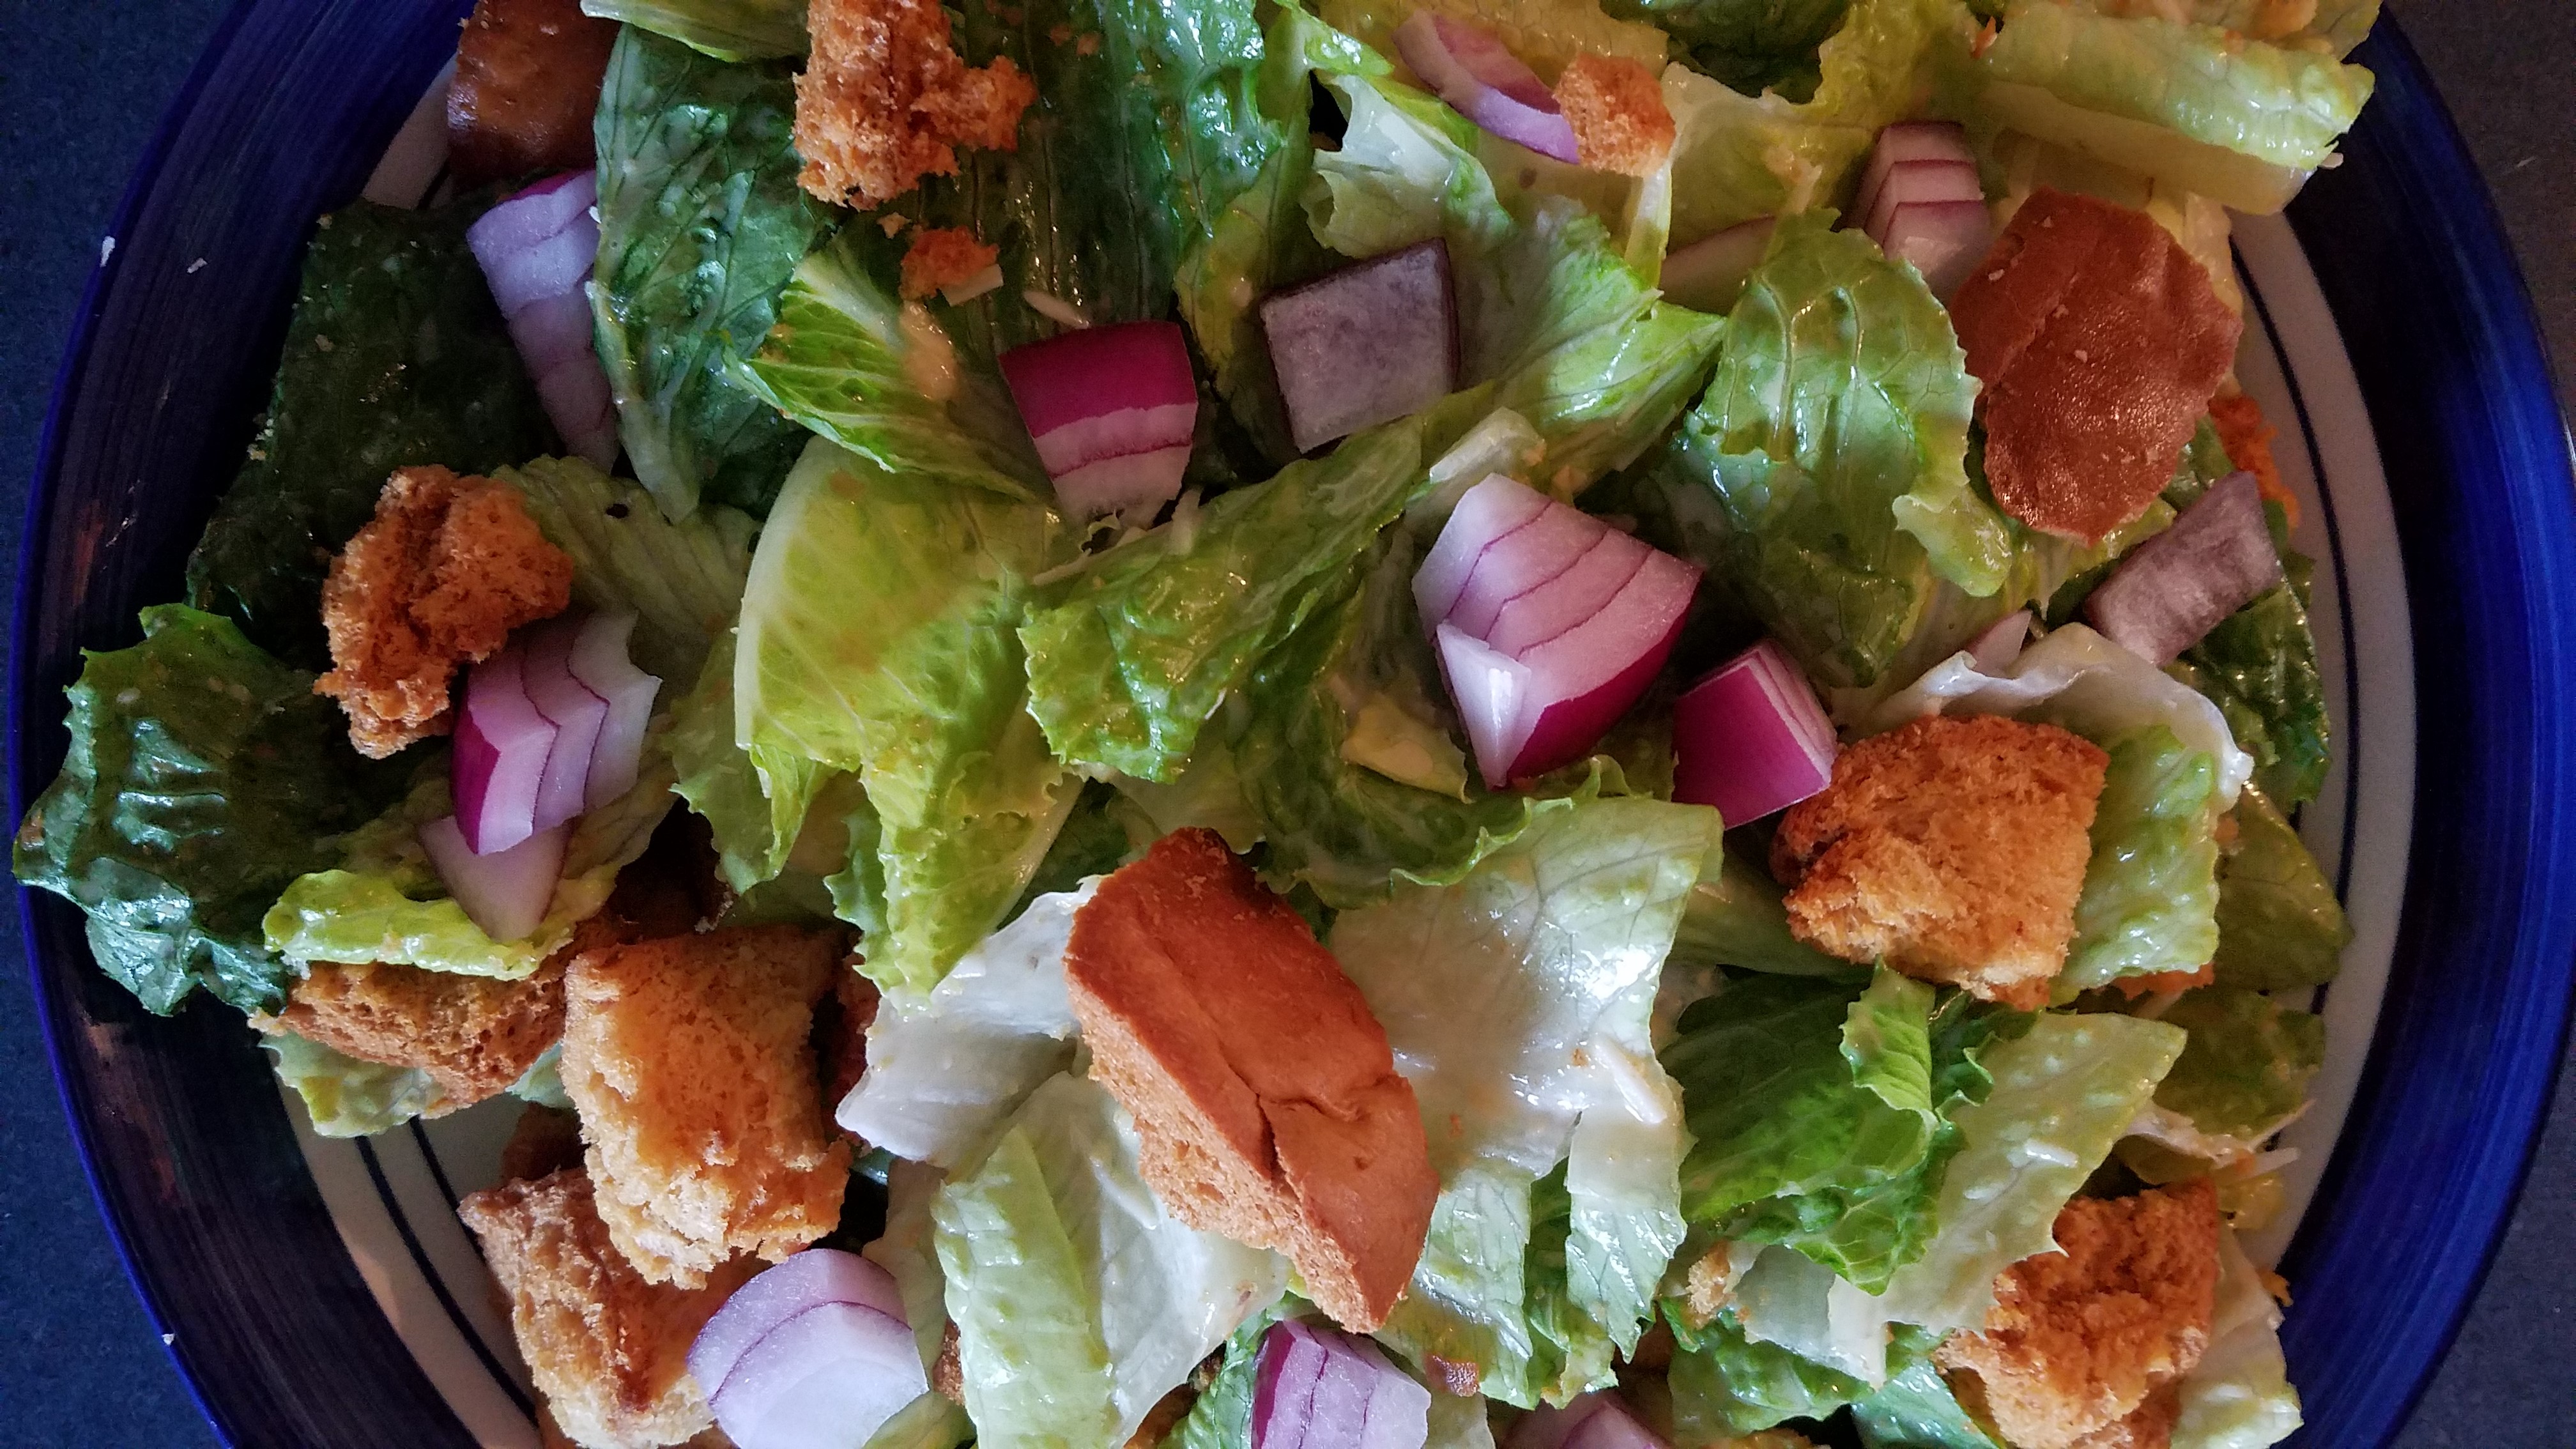
Cut the loaf of bread into 1” thick slices. Lay the pieces of bread directly onto an oven rack and heat for about 15 minutes at 200°. Dry the bread but don’t toast it.  Remove the dried bread from the oven and cut into 1” cubes.  Toss the cubed bread in a bowl while drizzling a scant amount of olive oil.  Put the croutons on a baking sheet and toast at 300° for about 15 minutes.  I let mine go a bit too long in the oven and they tasted nutty.  (Note of the brown hue of the croutons in the photo.)

Smear the anchovies, garlic, and salt on a cutting board with the flat side of a large, kitchen knife. Keep working the mixture with the knife until it forms a paste.  I have to admit, I licked my fingers after preparing the paste.  The anchovy and garlic was intense, but oh, so good, especially since I am crazy about anchovy! 

Whisk the egg yolk, lemon juice, and mustard in a bowl.  Once blended, introduce the olive oil very slowly by drizzling the oil into the bowl and whisking briskly.  Keep whisking until the mixture becomes smooth and creamy.  Add a little water and whisk some more.   Add just enough water to achieve a creamy consistency, like you might find in store bought, creamy salad dressings.  Add the anchovy paste and Parmesan and whisk until thoroughly mixed.  Transfer the dressing to a large salad bowl. 

Lay the Romaine lettuce horizontally on a cutting board and make 1 ½” to 2” cuts from one end to the other.  Romaine is a dense, compact lettuce and that makes it desirable for this salad.  Add the chopped lettuce to the bowl and toss gently to incorporate the dressing.  Add the croutons, onion and toss a few more times.  Top with sliced hard boiled eggs, if you like.  Sprinkle a little more Parmesan cheese on top and that’s it. 

Now, since I mentioned that I love anchovies, I have to say that I enjoy adding strips of anchovy on top of the salad, radiating from the center like sun rays, but I know that anchovies are not adored by everyone.  The amount of anchovy in the dressing should satisfy anchovy lovers without offending the rest of the crowd.  In fact, the lemon juice and Dijon mustard tame the anchovy flavor remarkably well.  Balance the dressing according to your own taste. 

If you are cooking for someone who absolutely despises anchovies, consider finding a new friend consider substituting the anchovy in the dressing with a few teaspoons of Worcestershire sauce.  Everyone loves Worcestershire sauce, right?  Just don’t tell ‘em that Worcestershire sauce contains anchovy!

Antipasto with tomato and anchovy – Antipasto con Pomodoro e Acciuga

Summer is in high gear and my garden continues to deliver copious amounts of delicious tomatoes.  Normally, I would prepare salsas full of tomatoes, onions, jalapeños and cilantro but, I find myself treating the tomatoes more seriously this year.  I desire Italian cuisine.  That might explain my recent post on Chicken Parmesan.  Love comes unannounced and unexpectedly sometimes.

Enter the “love apple”, the tomato.  Fresh from the vine or cooked down to a sauce, the tomato is indescribably delicious.  What other fruit, or vegetable, if you wish, can balance sweetness and acidity like the tomato?   

A wonderful way to celebrate the garden-ripened tomato is to serve it an antipasto. As I see it, antipastos are like the first movement of a symphony.  They are presented to the table quickly and briefly.  Antipastos showcase a variety of fresh vegetables, seafood, cheese or cold meats in their simplest forms.  Each item of the antipasto stands by itself, but together, they resonate in harmony.

Ingredients:

Two large fresh tomatoes

2 ounces anchovy (packed in oil)

¼ cup red onion, diced

1 tsp capers

1 lime (cut into wedges)

1 slice lemon

1 Tbs balsamic vinegar

Directions:

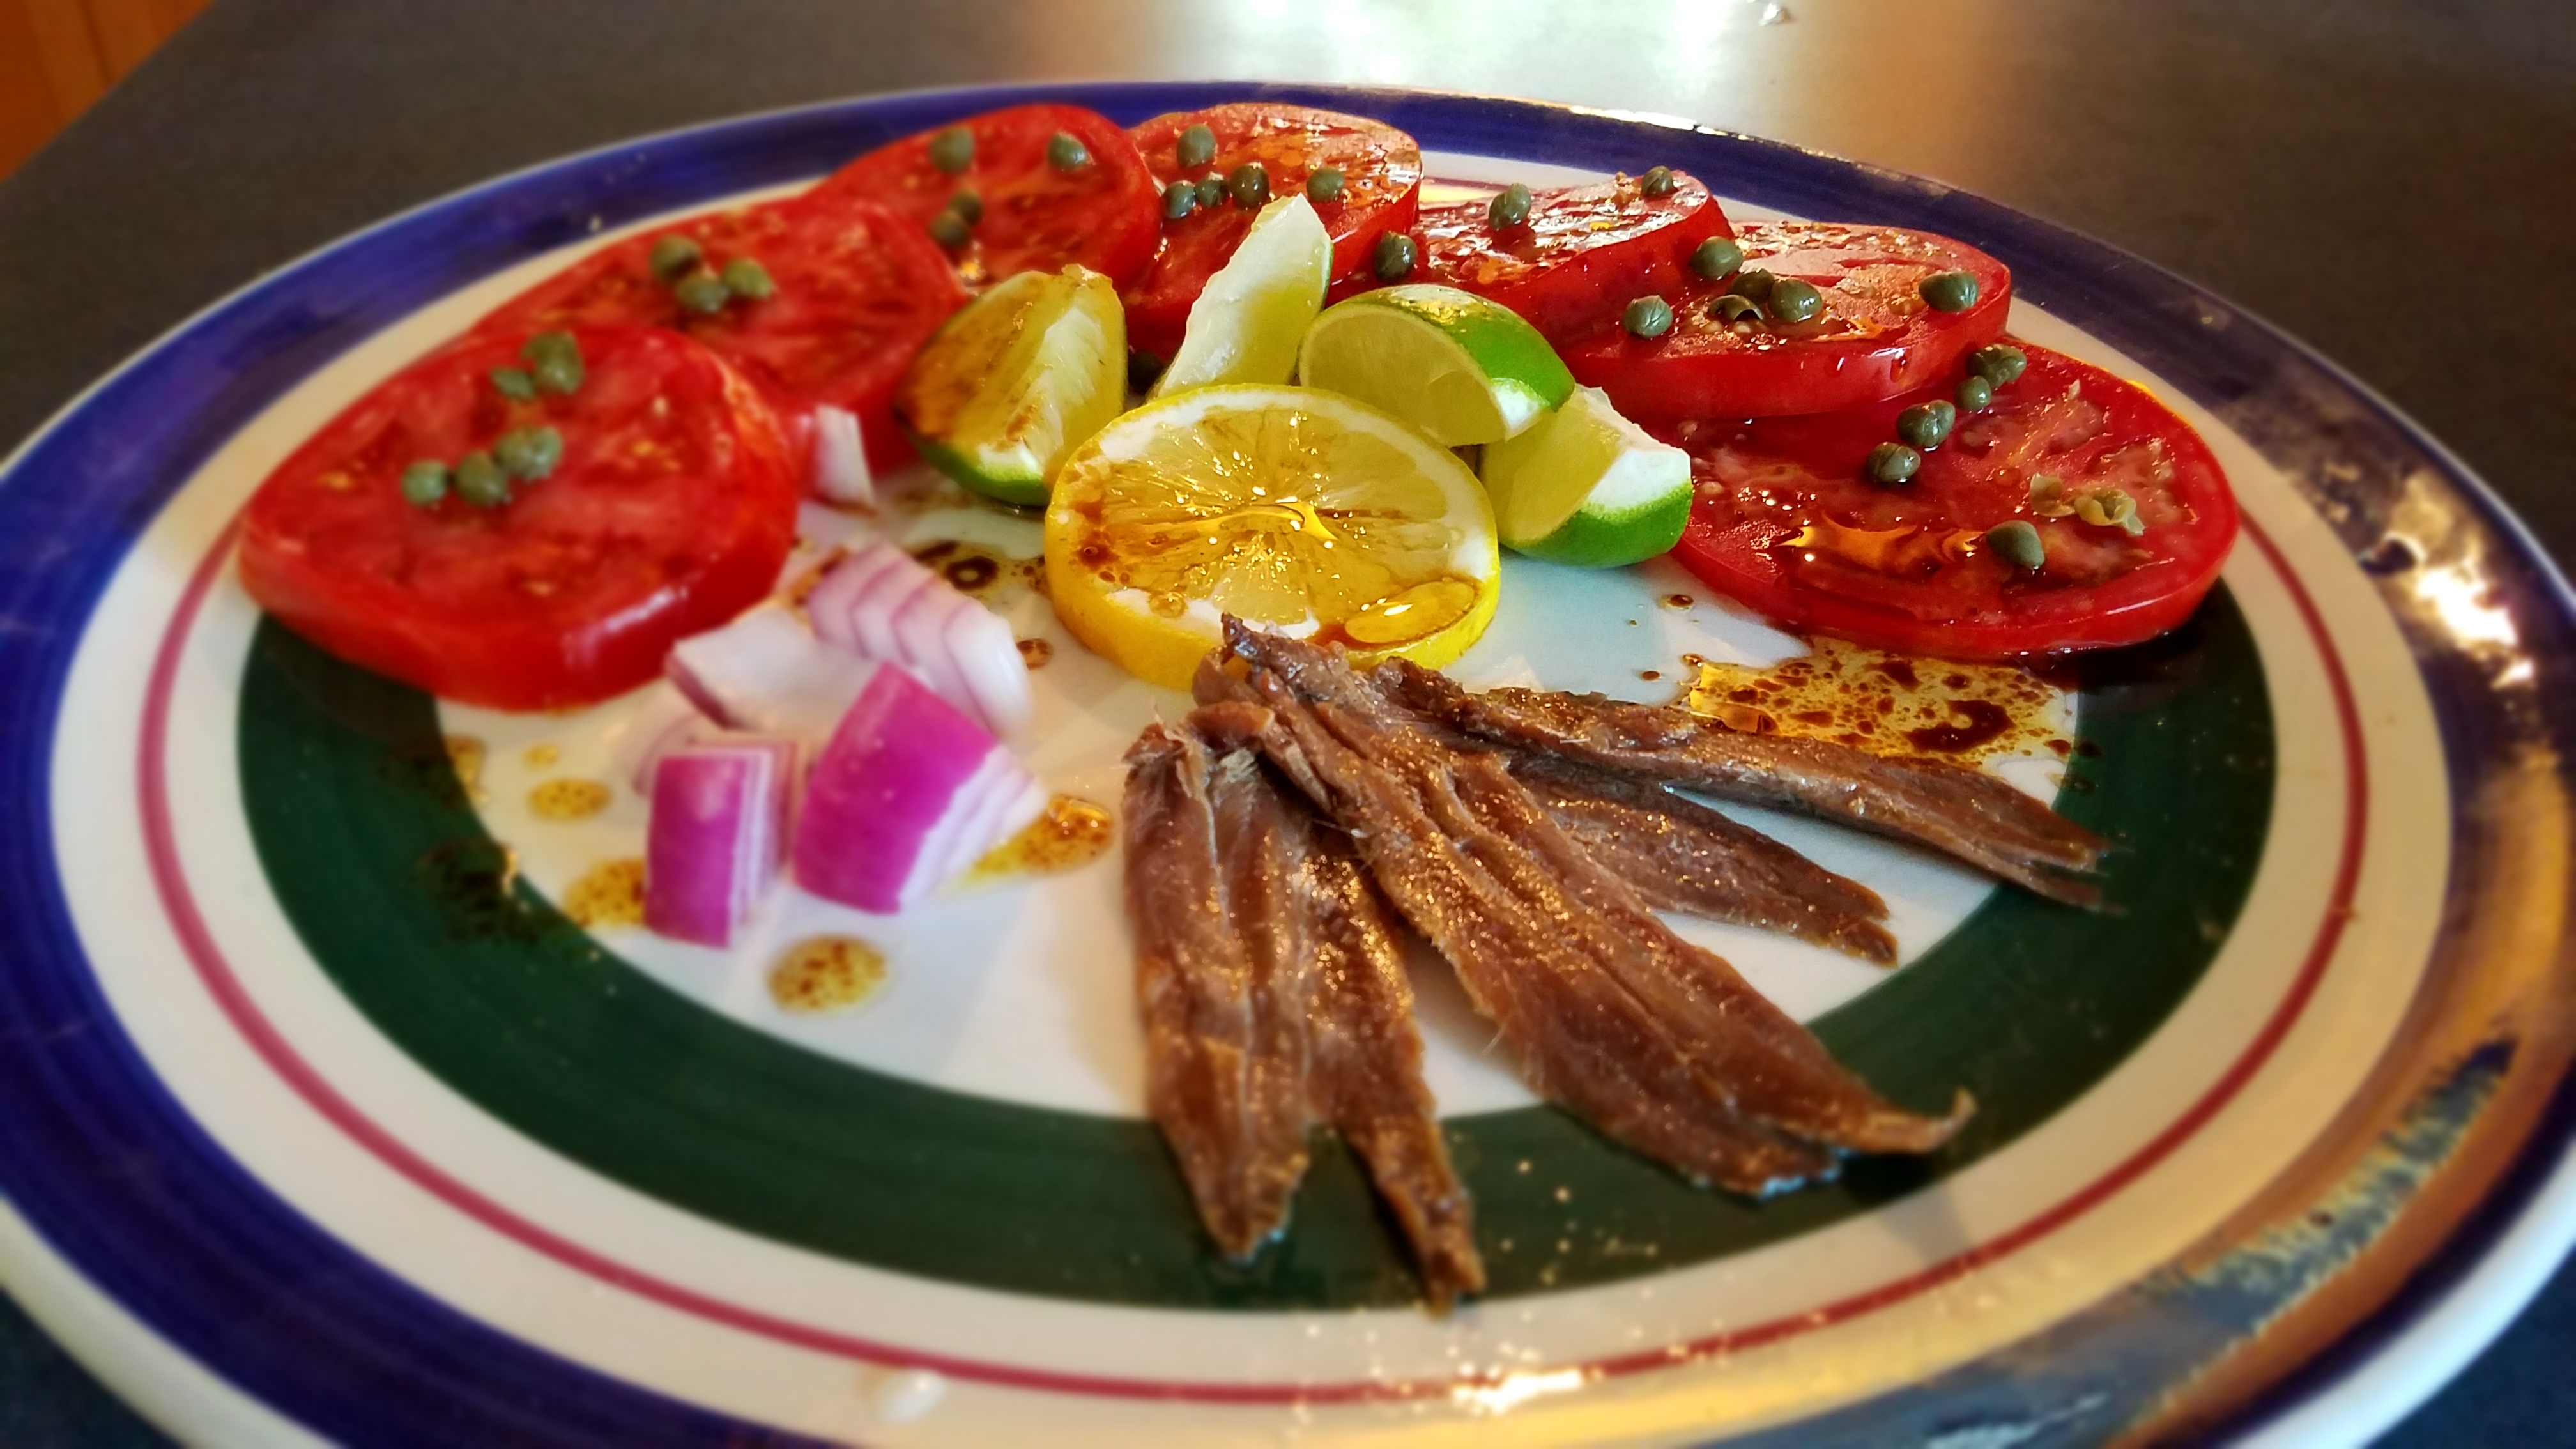
Arrange sliced tomatoes, anchovy, lemon and lime on a serving platter, according to your sense of style.  Dot tomatoes with balsamic vinegar.  Sprinkle capers across the platter.  Place the platter in the center of the dining table and ask your guests to sit.  Remove the dish from the table when there is a lull in the conversation or when the plate is empty…which ever one comes first.  Trust me, this is the best way to start a meal with friends or family.