I had lots of left over penne rigate from the other day and
I decided to bring it back for another spin.
The pasta was originally sautéed with diced tomatoes, garlic and anchovy
and then tossed in a satiny-buttery sauce.
The dish was simple and mild, which makes it a great starter for this
bolder dish.
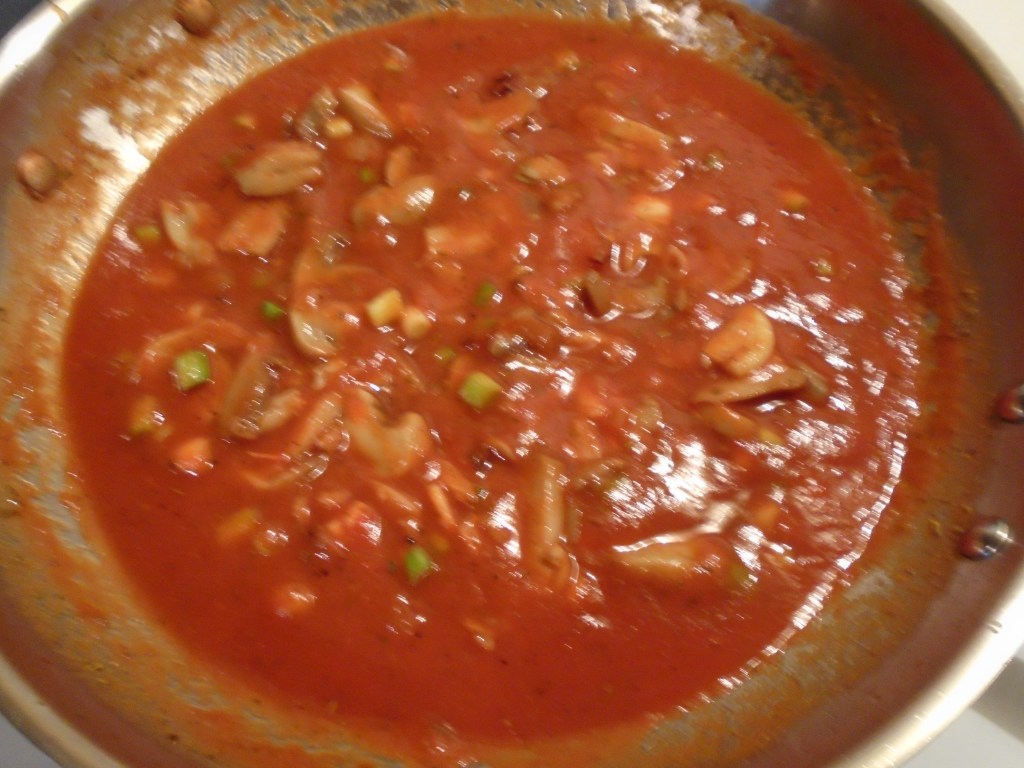
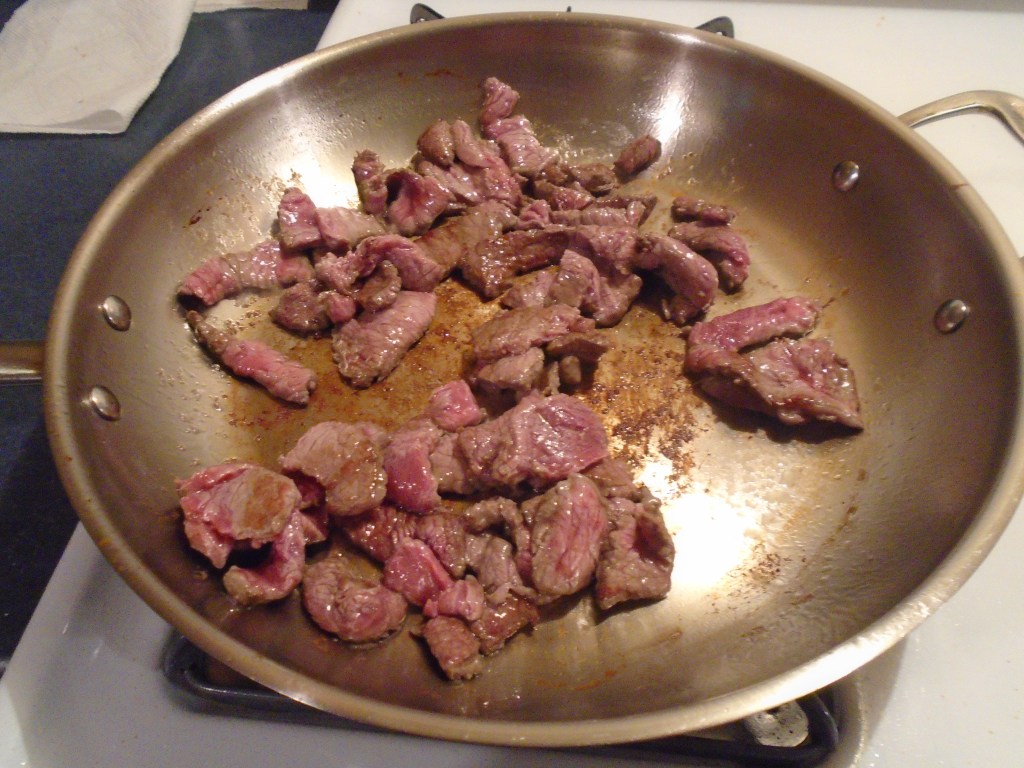
This is a quick meal, especially because the pasta was already cooked. Thinly sliced beef cooks in a matter of a few minutes. From start to finish, including the salad, this took about 30 minutes to make. The cotija cheese is used like dried Parmesan in this recipe. It adds a slightly sharp flavor and it helps to thicken the sauce.
Ingredients:
1 Tbs olive oil
4 green onions (separate the white and green portions)
16 oz tomato sauce
1 Tsp Italian seasoning
8 oz can of sliced mushrooms
Thinly sliced beef
½ cup cotija cheese
16 oz cooked pasta (penne rigate)
Directions:
Dice green onions.
Separate the white parts from the green.
Set the green parts aside.
In a large skillet, set to medium heat, add olive oil and sauté the white parts of the green onions for one minute.
Add tomato sauce, Italian seasoning and mushrooms. Simmer for 5 minutes.
Add cotija cheese and whisk to incorporate. Simmer for an additional 5 minutes.
Remove sauce to a bowl and keep warm.
Add 1 Tbs olive oil to the pan. Set heat to high. Add the strips of beef and stir constantly until cooked to rare (about 2 minutes).
Return the sauce to the pan, turn the heat to low and stir
with the meat for a few minutes.
Add the cooked pasta to the skillet and stir to coat the
pasta with the sauce.
Turn the mixture out to a serving bowl and top with green onions and a dusting of cotija cheese.
I love the smell of smoke drifting through the neighborhood. I especially like it when it emanates from my own backyard! There is something about the change from summer to fall that makes me want to cook fowl outdoors. Chicken, turkey, whatever. This recipe combines bright citrus tones, savory spices and a gentle, smoky flavor.
Ingredients:
2 Cornish game hens
Marinade for the hens (see below)
Marinade Ingredients:
3 cups olive oil
3 full heads of garlic, peeled and smashed
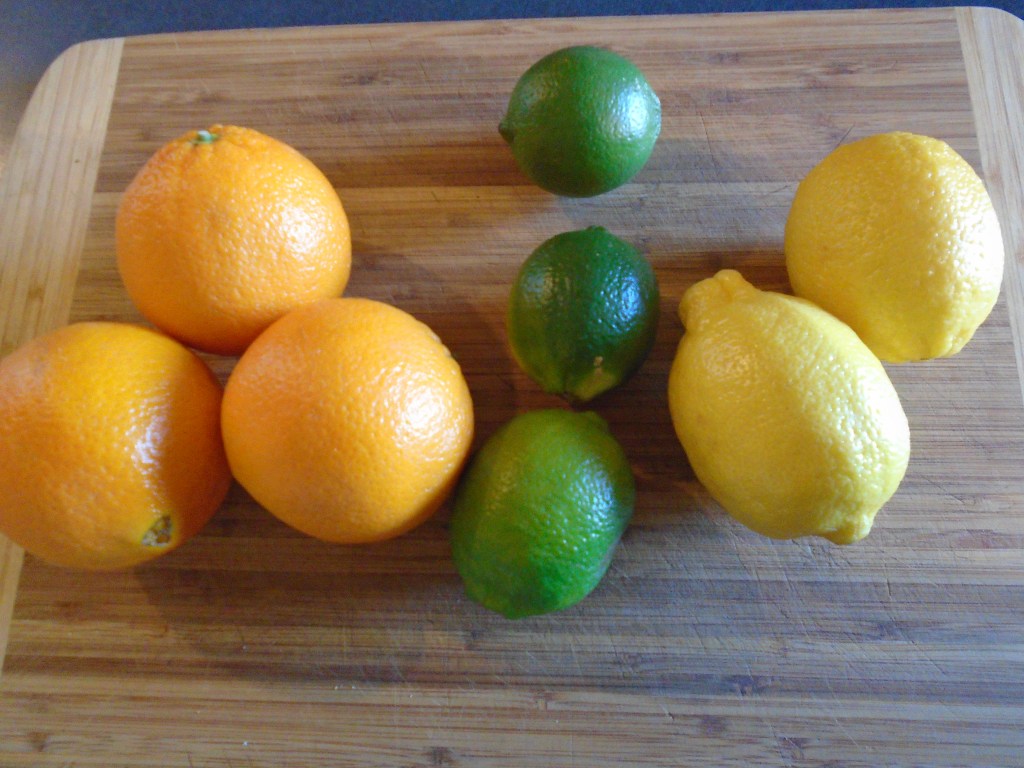
3 oranges
3 lemons
3 limes
1 cup orange juice
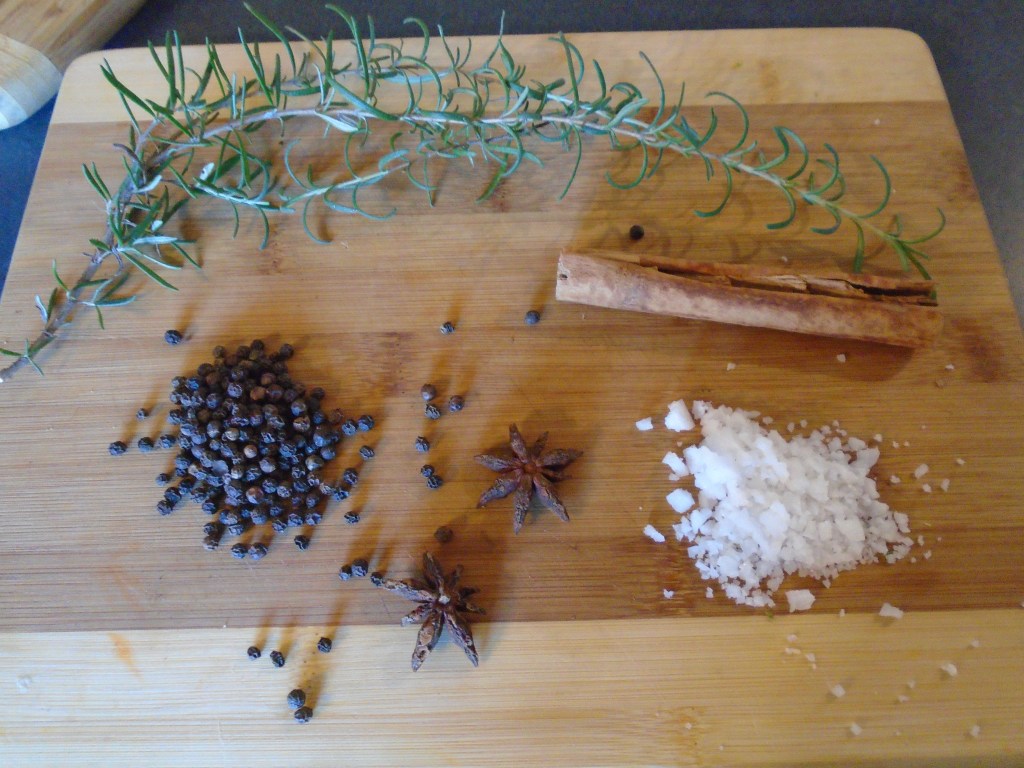
¼ cup rosemary, chopped
¼ cup kosher salt
¼ cup coarse black pepper
2 star anise pods
1 Thai cinnamon stick
Directions:
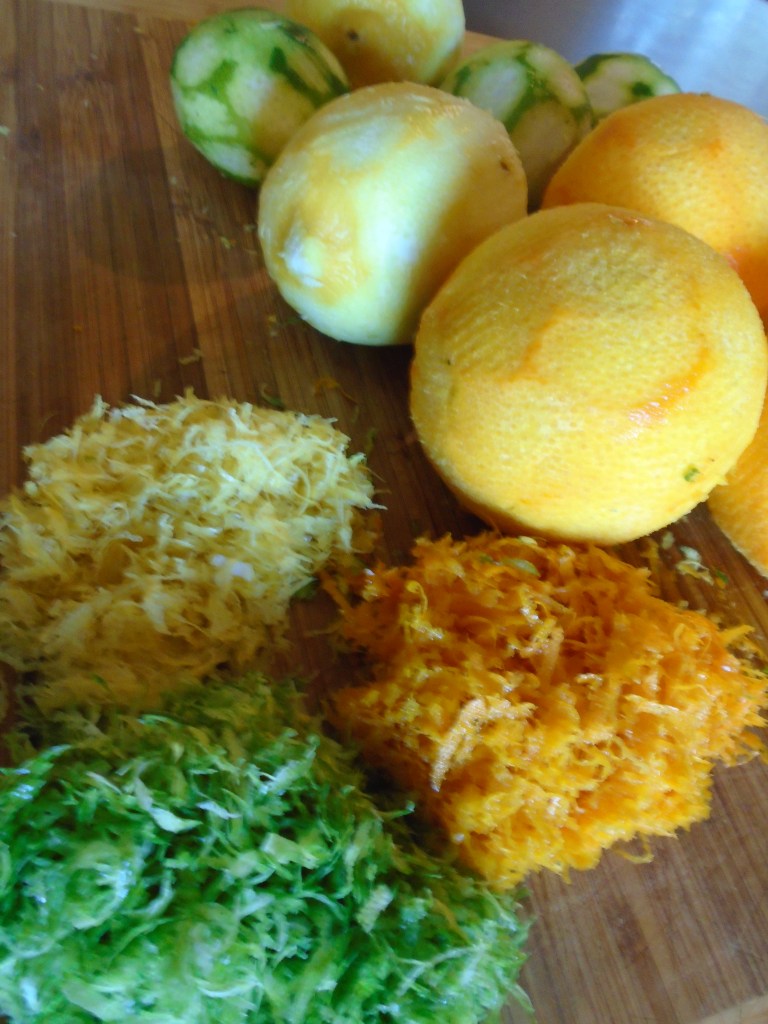
Zest the citrus fruit
Add the juice and zest from the fruit to a bowl. Add the orange juice and oil to the bowl.
Using a mortar and pestle, grind the rosemary, salt, black
pepper, anise and cinnamon.
Add the ground seasonings to the bowl, along with the juice
and zest.
finished marinade
Keep the rinds and pulp from the fruit to use as an aromatic. In a large pot of water, add rinds and pulp. Set heat to very low and add other aromatics, such as cinnamon sticks, star anise, sage, all spice berries…really, anything that strikes your fancy.
Put on stove, low heat…fill the house with the aroma!
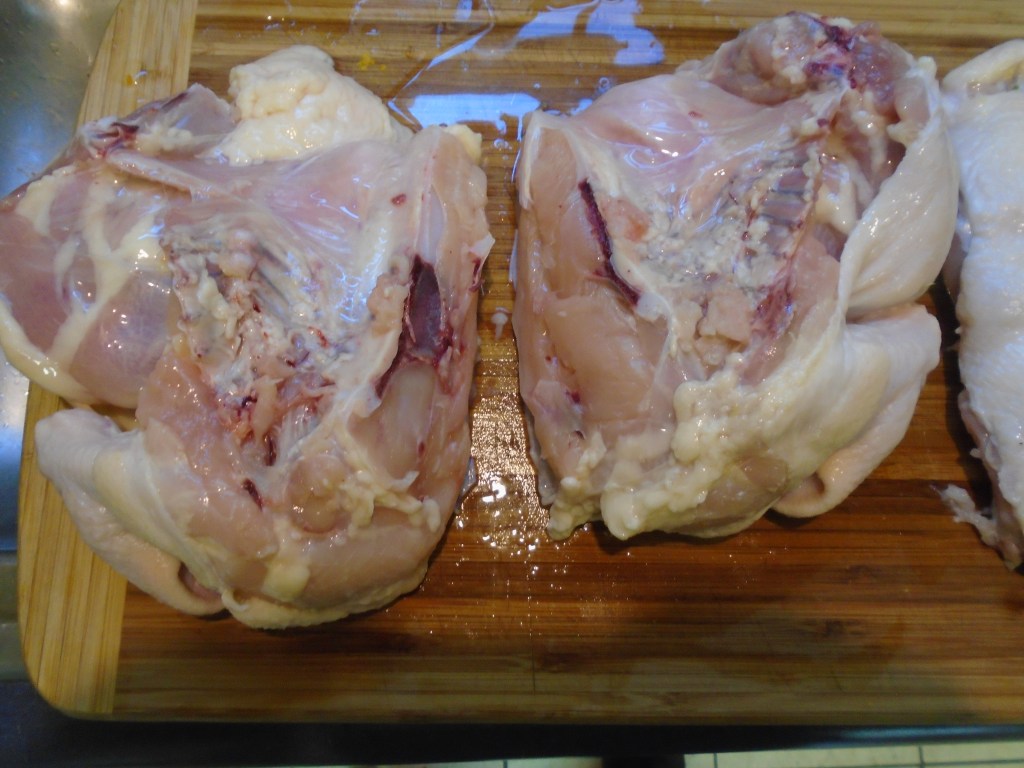
Cut the hens in half, (remove back bones and split the bird
in half with a large kitchen knife).
whole hen
Remove the back bone
Divide the bird
Pretty side up!
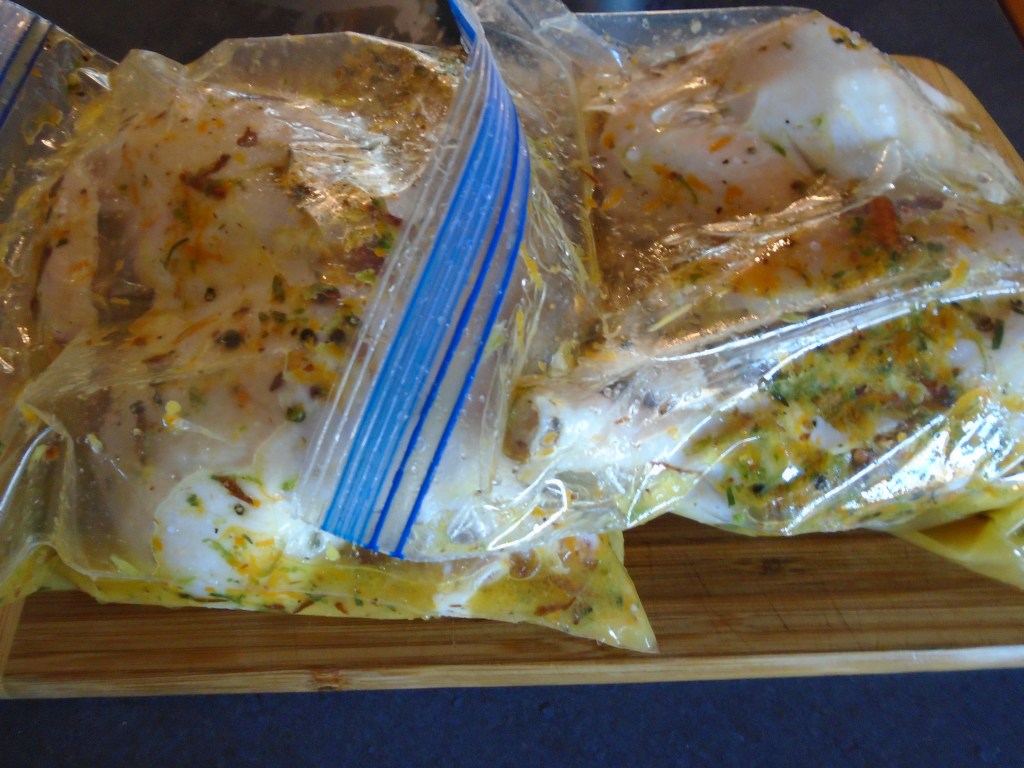
Marinate the chicken for 12 hours, or overnight. Turn the chicken occasionally, to allow the
marinade to soak in.
Refrigerate overnight
I used oak for the smoking process. Oak lends a nice smoky flavor without imparting
a heavy flavor. I didn’t bother
measuring or monitoring the temperature of the coals or the smoker, or the
birds. I knew that I had used plenty of
coals and that the birds would cook evenly, since they were split. Smoking meat this way is not advised but, I happened to be in a very confident mood
that day and I turned everything over to fate.
Directions for smoking the birds:
Start a batch of charcoal for a smoker. Hot charcoals maintain even and steady heat
for the smoker and they ignite the wood, used for the smoke. Once the coals are hot (gray), add some pieces
of oak. Let the oak char for about 20
minutes. Add some more oak and char for
another 15 minutes. Once the wood has
turned into nice coals and the smoke has thinned a little, prepare the grill
for smoking.
On a clean grill, add the hens, cut side down, with leg portions pointed toward the center of the grill. Smoke the birds for 1 ½ hours. I finished cooking in a 300° oven for 15 minutes, just to make sure that they were cooked all the way through.
Let the hens rest for a few minutes before separating into breasts, legs and wings.
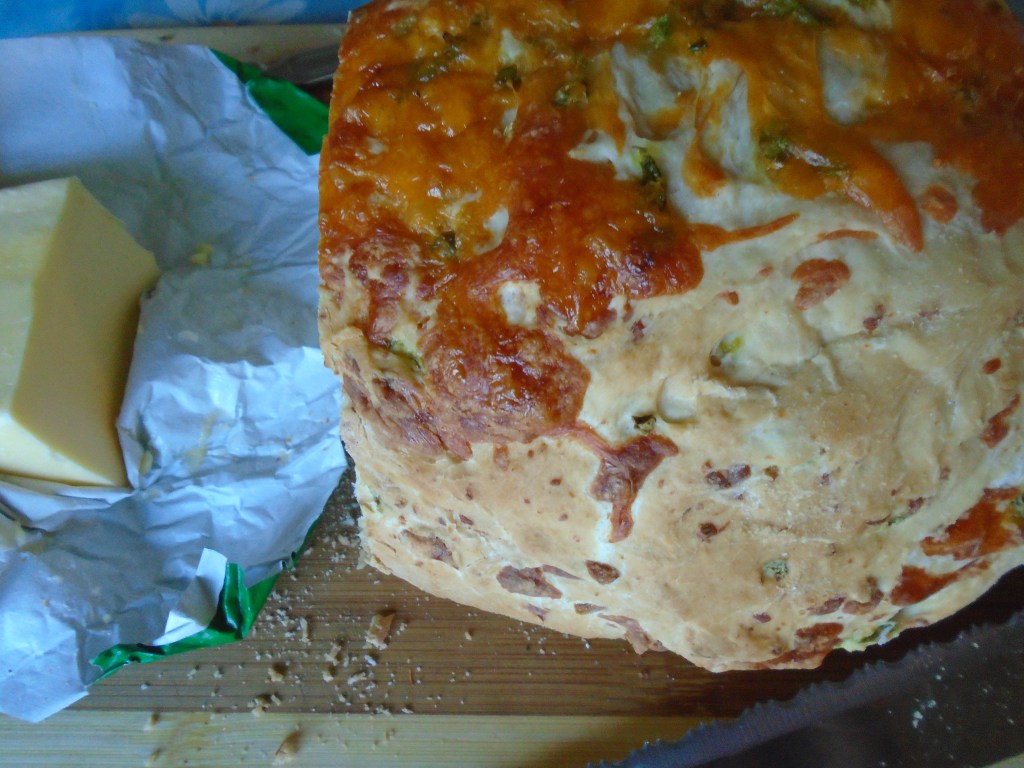
Serve with pasta with fresh tomato sauce, garden salad and warm Jalapeño Cheddar Cheese Bread with pads of butter.
Pasta with Fresh
Tomato Sauce:
Summer is gone but I still enjoy the taste of fresh tomatoes from the garden. That’s because I filled a 2 gallon storage bag with ripe tomatoes. I didn’t wash the tomatoes before freezing them. Whenever I want a tomato, I open the bag, pull one out, let it thaw at room temperature for about 15 minutes and then I rinse it under tap water. The skin peels off right away and I’m left with a wonderful, fresh tomato. For this recipe, I used two tomatoes.
Ingredients:
2 *fresh* tomatoes
1 lb penne rigate
1 anchovy (packed in oil)
3 garlic cloves, smashed
1 tsp olive oil
2 Tbs butter
½ tsp dried oregano leaves
½ tsp dried basil leaves
½ cup feta cheese
Directions:
Boil water in a large pot.
Add the penne rigate and cook to al dente. Drain the water but do not rinse. Reserve 1 cup of the pasta water.
While the pasta cooks…
Chop tomatoes into ½” pieces. Set aside.
Crush anchovy and garlic together in a mortar and
pestle. Set aside.
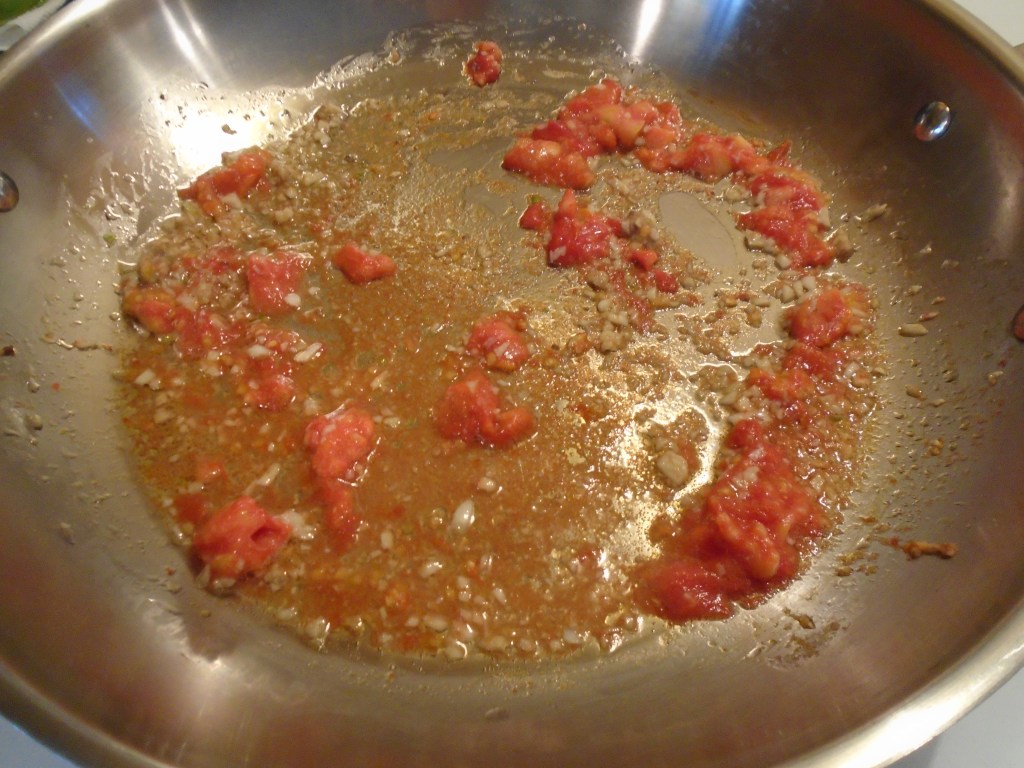
In a large skillet, set to medium/low heat, add olive oil. Add half of the tomatoes, garlic and anchovy. Cook down to a sauce (about 10 minutes).
Add a cup of pasta water and cook down for another 5
minutes.
Add the spices and butter. Simmer for a few minutes and simmer for a few more minutes.
Add the cooked pasta and stir to coat the pasta.
Turn out to a serving bowl and top with feta cheese.
Jalapeño and Cheddar Cheese Bread
My wife makes this bread and it doesn’t sit on the table very long! Next time she makes it, I’ll pay better attention and share the recipe along with directions. It’s always the highlight to any meal it accompanies!
Several days ago, as I was driving home after an arduous,
long day of work, I wondered what I should do for dinner. It was just going to be my wife and I for
dinner. I started to think about fish. And then, I thought about shrimp, and then I
realized that what I was wanting was something akin to the classic British, “fish
and chips”. Then I thought about mac and
cheese, and how that mac and cheese goes so well with fried shrimp, or fried
fish. And then, I realized I didn’t have
any fish. Chicken. Yes, chicken, instead of fish. The synapses in my brain jump around in quirky
ways like that most of the time. I
really enjoy my drives home, except when I
find myself driving next to people texting on their cell phones!
I allowed myself an hour to prepare the meal. Time at home is precious for me during this busy
part of the year. I typically have about
4 to 5 hours after I get home to prepare a meal, eat it and digest it before I trot
off to bed.
Mac and cheese…check.
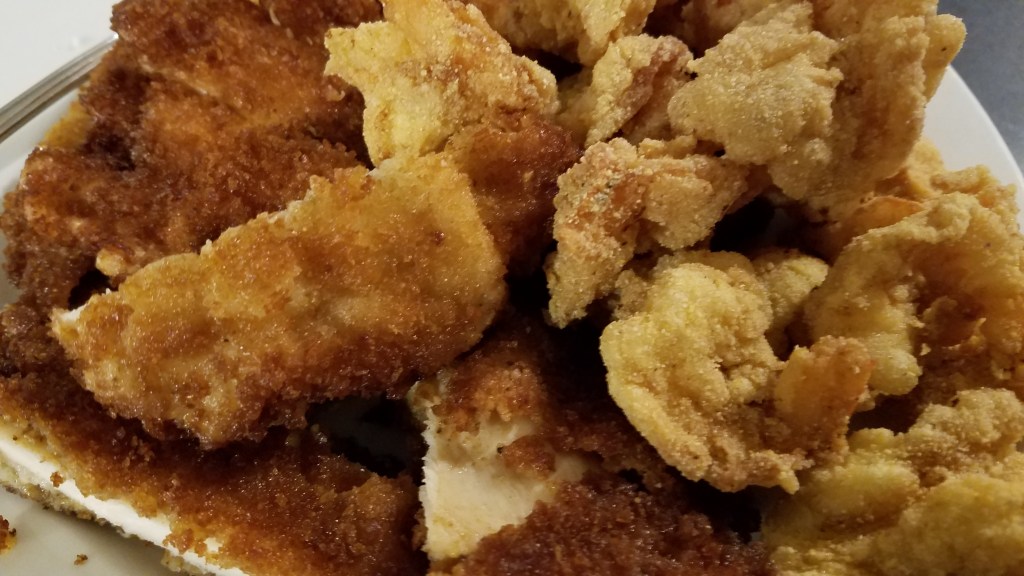
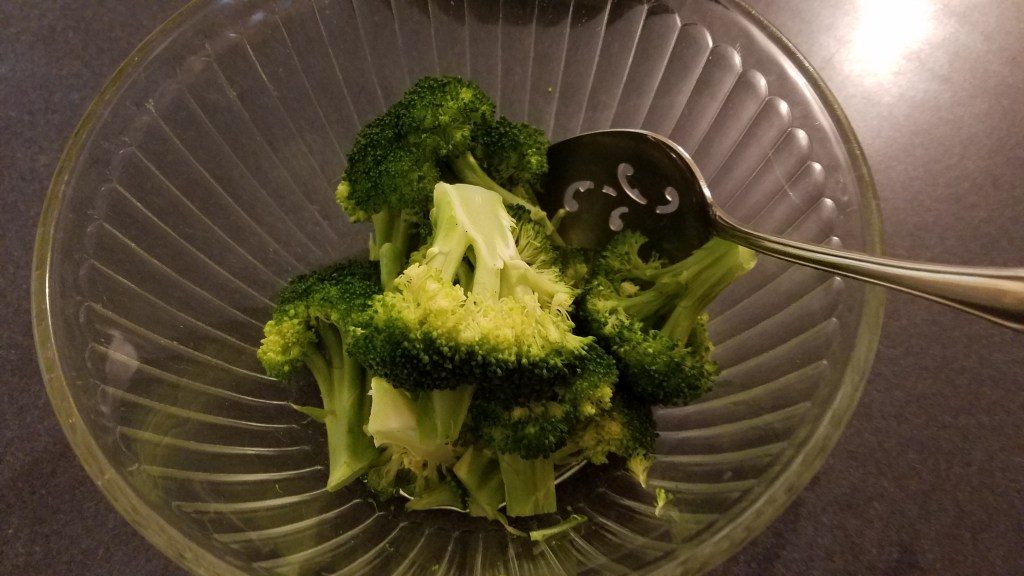
Chicken and shrimp…a quick prep and fry…check. Steamed broccoli…a few minutes in the
microwave…check.
The most time consuming part of the meal was the mac and
cheese. The rest was a flurry of flour
and cornmeal and chopping a few things.
Easy.
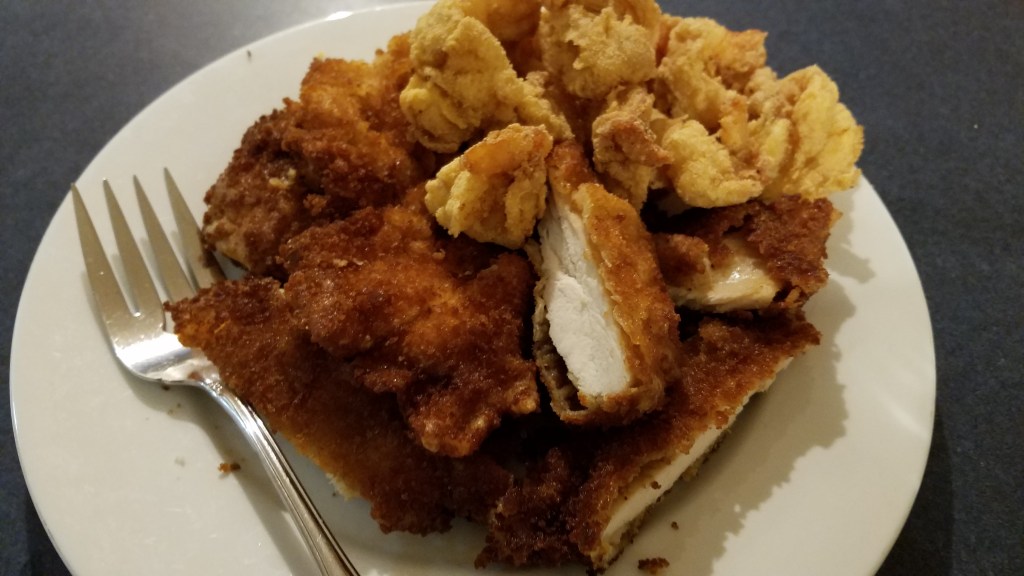
I made enough mac and cheese for six people and I made
enough chicken and shrimp for two or three.
My son and his girlfriend joined us, just as we were
cleaning up after dinner. We had enough
chicken and shrimp left to share and plenty of mac and cheese. It was all gone in a matter of a few minutes. Mac and cheese saved the day…Perfect!
Ingredients:
1 ½ cup fresh broccoli
½ cup cooking oil
2 medium sized chicken breasts, thinly sliced
10 raw jumbo shrimp, peeled and deveined
1 1/2 cup flour
1/3 cup cornmeal
2 eggs
1 tsp garlic powder
½ tsp cayenne pepper
Directions:
Cut the broccoli into large, bite-sized pieces. Place in a microwave safe bowl. Seal with plastic wrap and set aside.
Cut chicken into 3” to 4” pieces.
Butterfly cut the shrimp.
I do a back butterfly, cutting into the backside, instead of the
underside. Set aside.
Heat the oil in a skillet at medium/high heat.
Pour the flour onto a plate.
Dredge the chicken in flour, egg and then flour again. Drop chicken in pan and pan fry to golden
brown, remove to a paper towel lined plate.
Keep warm.
Add the cornmeal to the remaining flour and mix with a fork.
Dredge the shrimp in flour and cornmeal mixture, egg and
then flour and cornmeal mixture again. Drop
the shrimp into the hot oil and cook for about 1 minute, or until the shrimp
begins to brown and feels firm to the touch.
Lay the shrimp on the paper towel lined plate, along with
the chicken, and keep warm.
Put the covered broccoli in the microwave and cook for about 2 minutes, or until the broccoli has softened. Serve with mac and cheese and ketchup or spicy ketchup.
I’m still adjusting to cooking for two or three people
instead of four, or more. It seems like
it would be simple enough to divide a recipe in half but, when it comes right down
to it, my brain still tells me to keep cooking on a larger scale. Some dishes lend themselves well to leftovers
while some others don’t. Leftovers are
great for lunches the next day but after a few days of cooking too much food,
the refrigerator tends to become packed with lots of little storage
containers. I find myself going through
the refrigerator every weekend and tossing uneaten leftovers.
This meatloaf would be perfect for leftovers, if I had made
the full recipe. A meatloaf sandwich, with
some potato chips and applesauce might make a nice lunch.
So, here is the modest meat loaf…one that can be shared by
two or three people.
Ingredients:
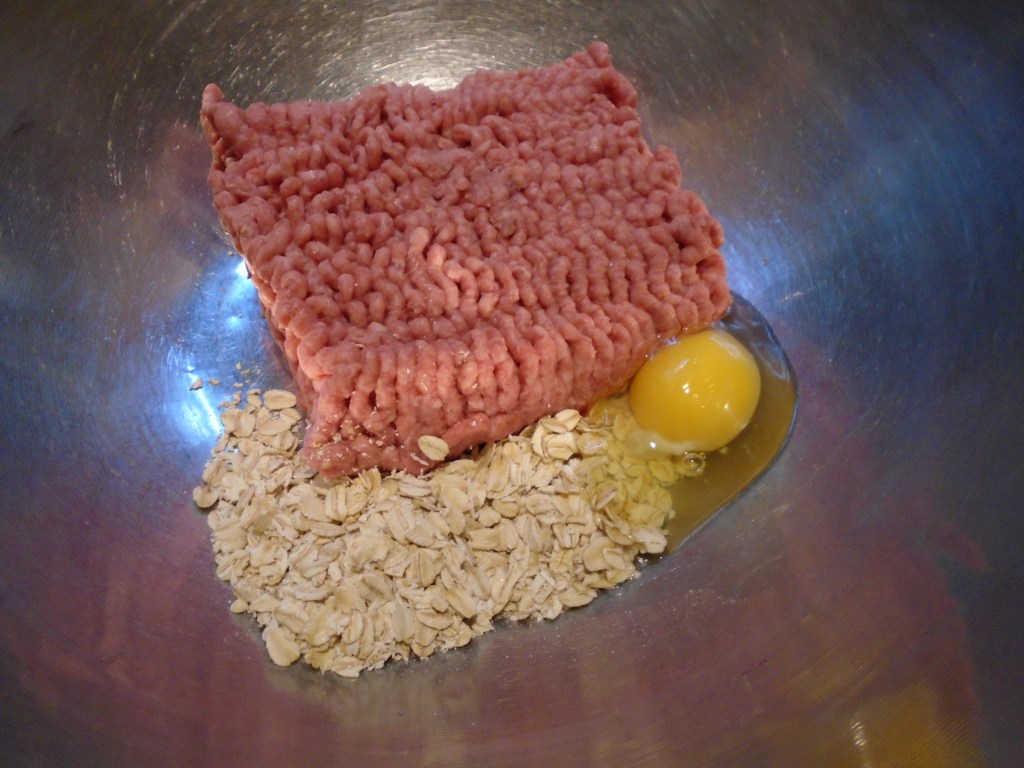
1.25 lbs ground chuck (80/20)
1 egg
1 cup rolled oats
1 tsp Cajun seasoning
1 tsp onion powder
1 tsp paprika
½ tsp garlic powder
½ tsp salt
½ tsp dried oregano
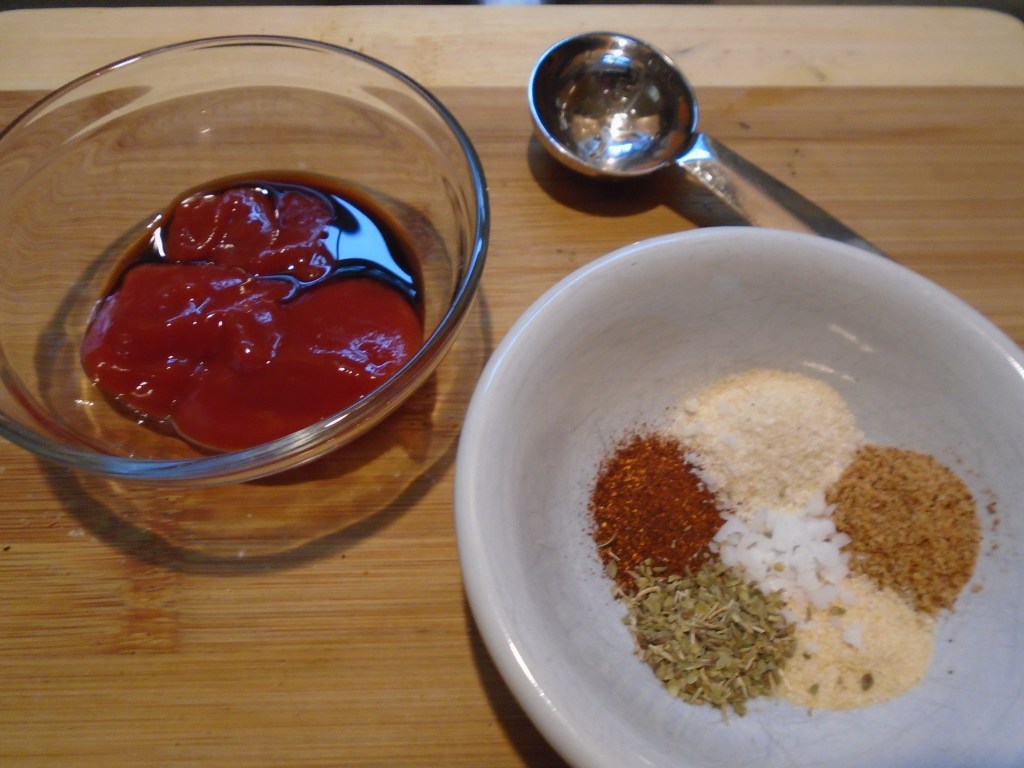
3 Tbs ketchup
1 tsp Worcestershire sauce
For the potatoes and
green beans:
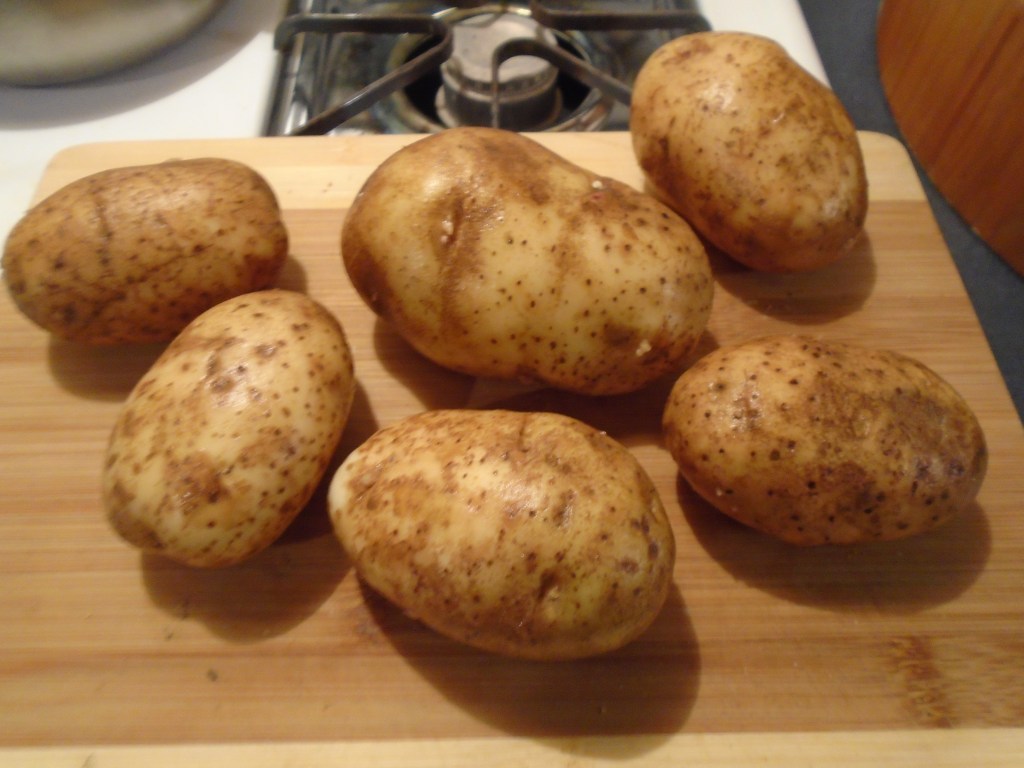
5 small russet potatoes
2 cups cooking oil
½ lb fresh green beans
1 garlic clove, smashed
1 Tbs honey
1 Tbs butter
¼ cup water
Directions:
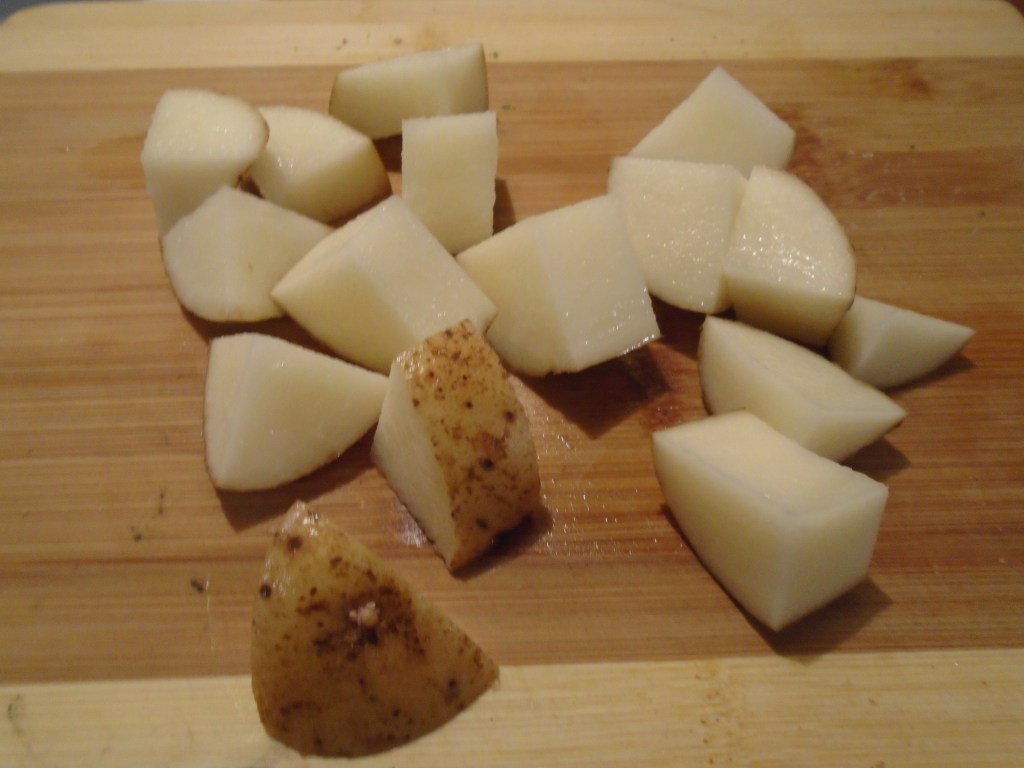
Wash and dry the potatoes.
Cut the potatoes into large, one inch pieces. Add 2 cups of oil to a large skillet and set
the heat to low. Add the potatoes and
let them fry for about 45 minutes. Frying at a low temperature results in
crispy potatoes with creamy interiors.
Combine the Cajun seasoning, onion powder, paprika, garlic powder, salt and
oregano in a small bowl and mix.
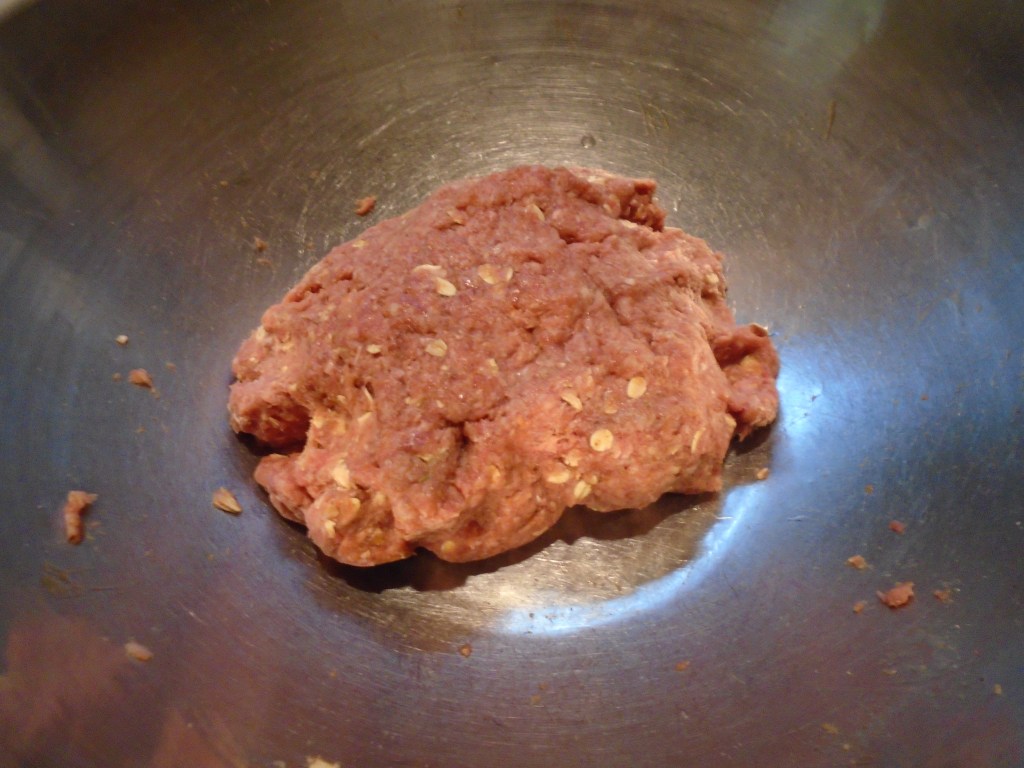
In a large mixing bowl, add the ground beef. Add the oats and egg. Mix to combine.
Add the spices, ketchup and Worcestershire sauce. Mix thoroughly.
Put the meat mixture in a 9” x 5” non-stick loaf pan. Cook uncovered in a 325° oven for 45 minutes.
While the meat loaf and potatoes cook, wash the green beans
and snip off the ends. Set aside until
the potatoes are done.
Once the potatoes are cooked, drain in a strainer and
reserve the oil for another day. Keep the
potatoes in a warm area until ready to serve.
Put the green beans in the skillet and return to the stove. Set the temperature at medium low and toss the green beans for a few minutes.
Add the garlic, honey and butter and stir. Add the water and simmer, covered for 15 minutes.
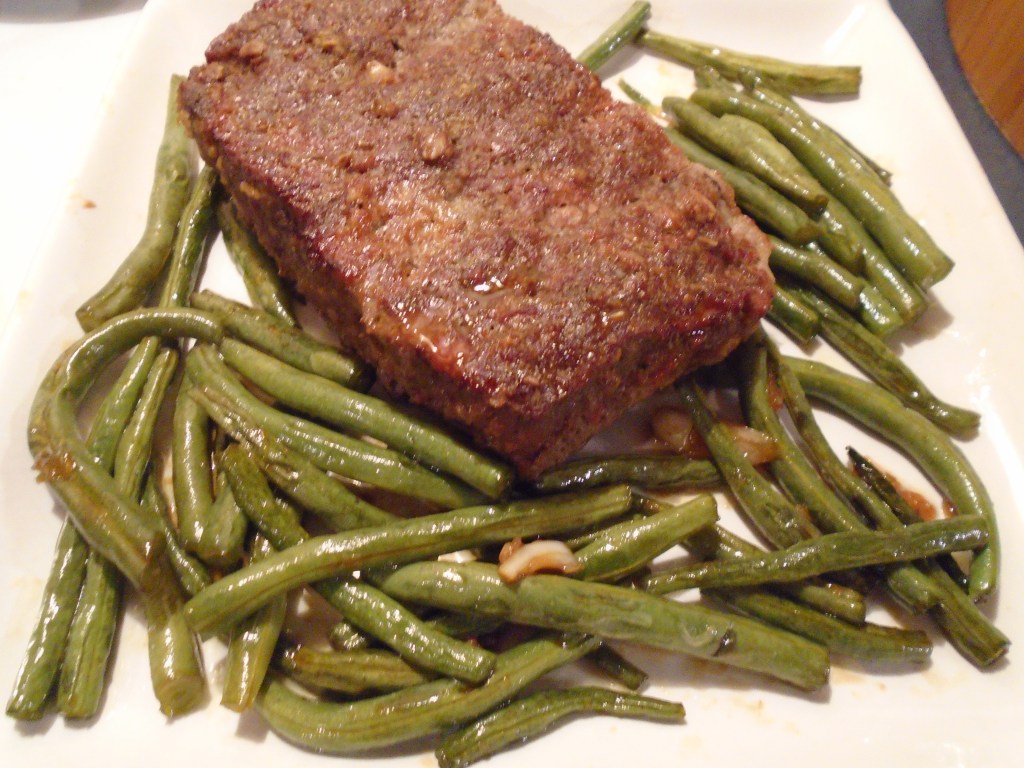
While the green beans steam, remove the meat loaf from the oven
and place on a serving dish. Keep warm.
When the green beans have softened and are cooked to your
liking, arrange them on the plate with the meat loaf.
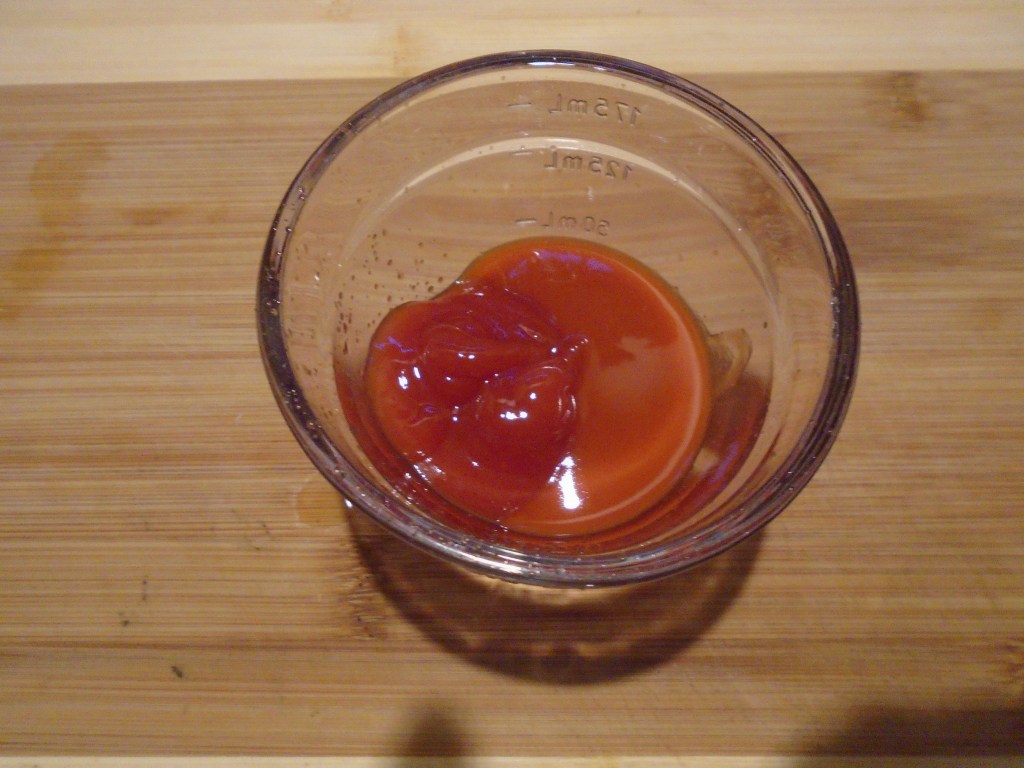
The amount of Cajun seasoning in this recipe shouldn’t be over-powering. If you want to add some kick, make a side dish of ketchup and hot sauce (2 parts ketchup to 1 part hot sauce).
First things first, this isn’t a copy-cat version of the
Little Caesar’s classic.
But, since I brought up Little Caesar’s Crazy Bread I feel
the urge to share my thoughts on that ingenious invention. Long, long ago, in a past career, I was once
versed in food cost and clever marketing.
I remember when Little Caesar’s came out with Crazy Bread. My first thought was, “Well… some marketing
guru just earned a big bonus!”
The idea behind Little Caesar’s Crazy Bread is so simple
that it needs no explanation, but really, it does. Successful restaurants make money when they
focus on selling mass produced low food cost items. Conversely, they run the risk of going
belly-up if they dabble too much in high food cost items…especially high food
cost items that have a short storage life.
Dough is cheap. Little
Caesar’s knows that. That’s why they can
sell a large pizza for $5. Throw on a little sauce, some cheap cheese and one
topping and sell the pizza for five bucks.
They don’t make a ton of money off of the pizza but they sell a lot of
them. Overall food cost for the pizza is
probably between 1 and 2 dollars.
About 20 years after Little Caesar’s came into being, they figured out how to increase their profit margin with a gimmick. Crazy Bread is nothing more than bread dough with a dusting of dried parmesan cheese. They’re very cheap to make. They sell 8 bread sticks for just few dollars. The ingenious part of their scheme is the sauce. What’s a bread stick without marinara sauce? Oh, sure you can eat a bread stick without sauce but wouldn’t it be much nicer to dip the soft bread stick in warm marinara sauce? Mmmmm. Is a 4 ounce cup of marina sauce worth 60 cents? You bet! And that’s where they make the money. Here we are, nearly 40 years after Crazy Bread was introduced and it’s still going strong.
Don’t get me wrong, I don’t have anything against Little Caesar’s
or their Crazy Bread and I’m all for capitalism. I just find this sort of stuff fascinating!
OK, enough of that…let’s dig into some of my crazy bread.
As I have mentioned previously, I have been working long hours and I don’t have much time to make elaborate meals, or much time to document them for my blog! I came home rather late one night, recently and knew I had to come up with something quick to prepare. My first thought was to check the refrigerator for things that might spoil, if not used soon. Raw meat always tops the list of things to check. I saw a pound of sweet Italian sausage and knew that it had been in the refrigerator for about three days. A pasta dish came to mind but I really didn’t want to make a big production. And then my mind went to bread. I didn’t stop to think. I started to make a quick, simple bread dough. While the dough rose I browned the sausage in a pan and shredded some extra sharp cheddar cheese.
Total time to prepare from start to finish: 1.25 hours. It was worth the wait!
Ingredients:
3 cups flour
1 packet instant, fast rising yeast
1 1/4 cup warm water
1 Tbs garlic powder
1 tsp crushed red pepper flakes
2 tsp sugar
1 Tbs honey
1 lb sweet Italian bulk sausage
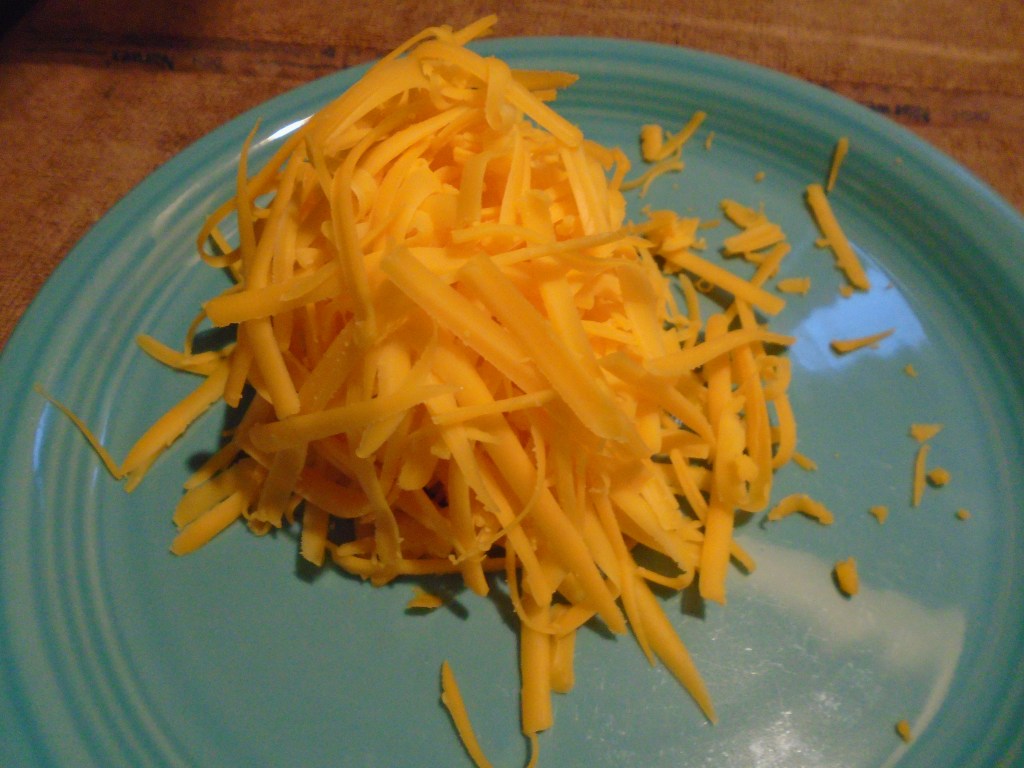
1 cup grated extra sharp cheddar cheese
Directions:
Mix 2 cups flour, yeast and garlic powder with a whisk. Set aside.
Add the honey and sugar to a large mixing bowl.
Heat the water in a microwave or stove top to about
100°. Add the water to the mixing bowl
and whisk to blend with the sugar and honey.
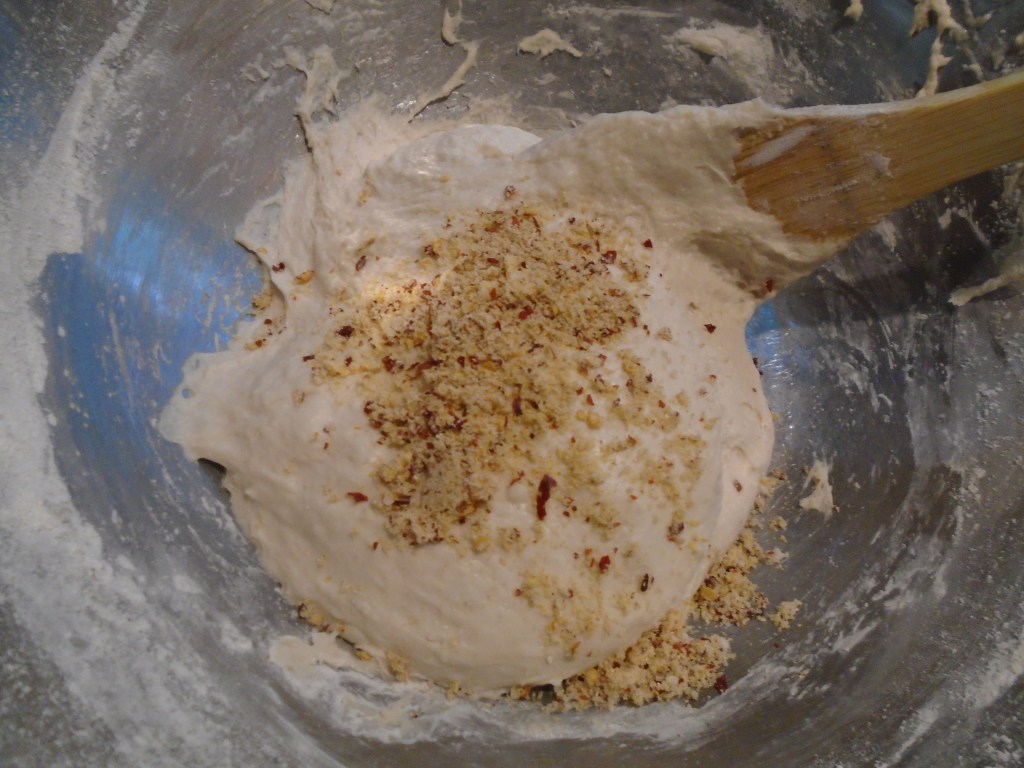
Slowly add flour mixture and stir with a spatula.
Add the crushed red pepper and garlic powder. Mix to combine thoroughly. Slowly add the rest of the flour and mix by spatula and then by hand.
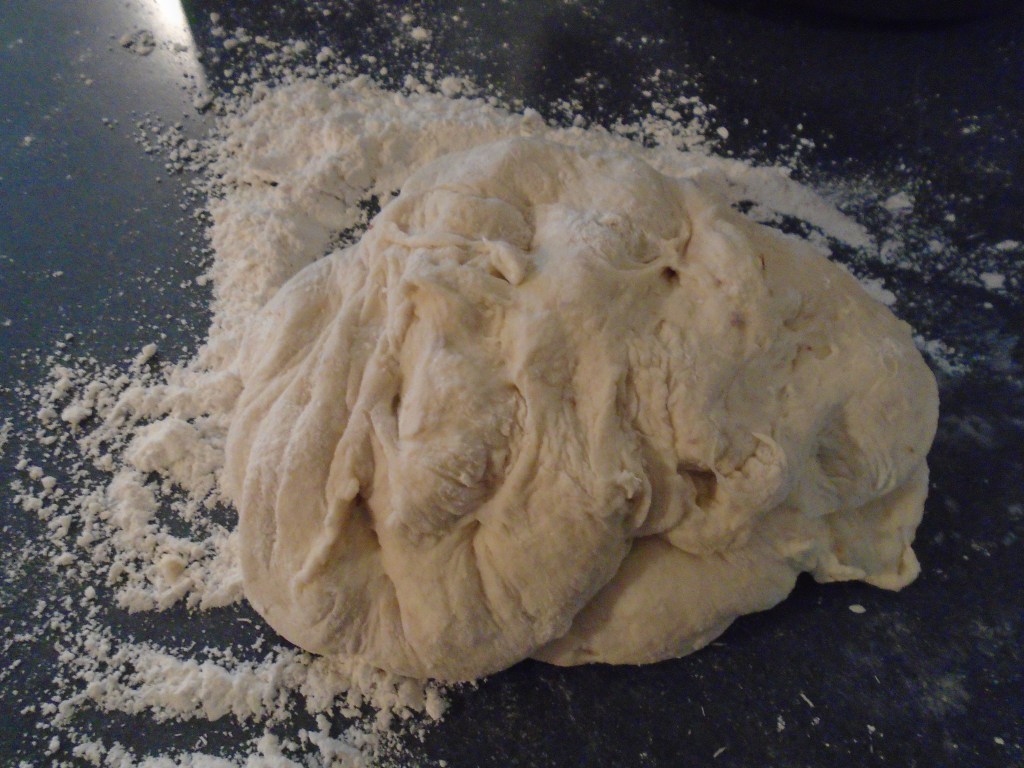
Turn the dough out to a lightly floured surface. Knead for a few minutes until the dough
becomes a firm and forms a ball.
Return the dough to the mixing bowl, cover with foil and
keep in a warm place. Let the dough rise
for at least 45 minutes.
While the dough rises, brown the sausage and shred the cheese.
Once dough has doubled in size, add the cooked sausage and
grated cheese.
Mix the dough thoroughly and let it rise in a warm place for
5 or 10 minutes.
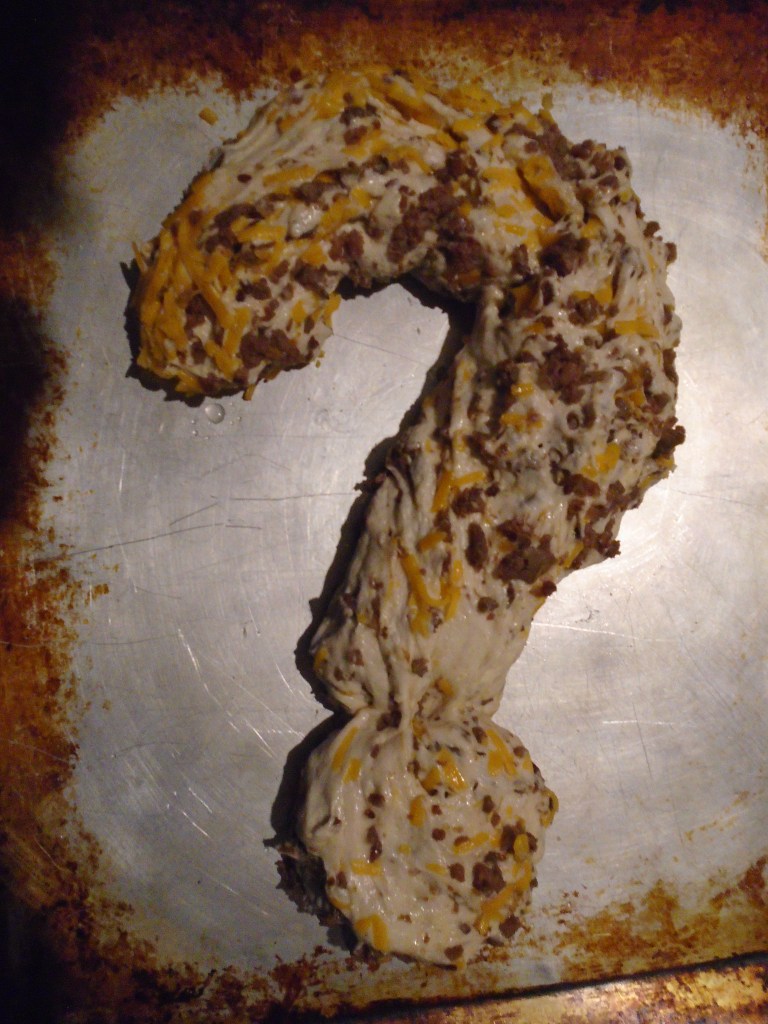
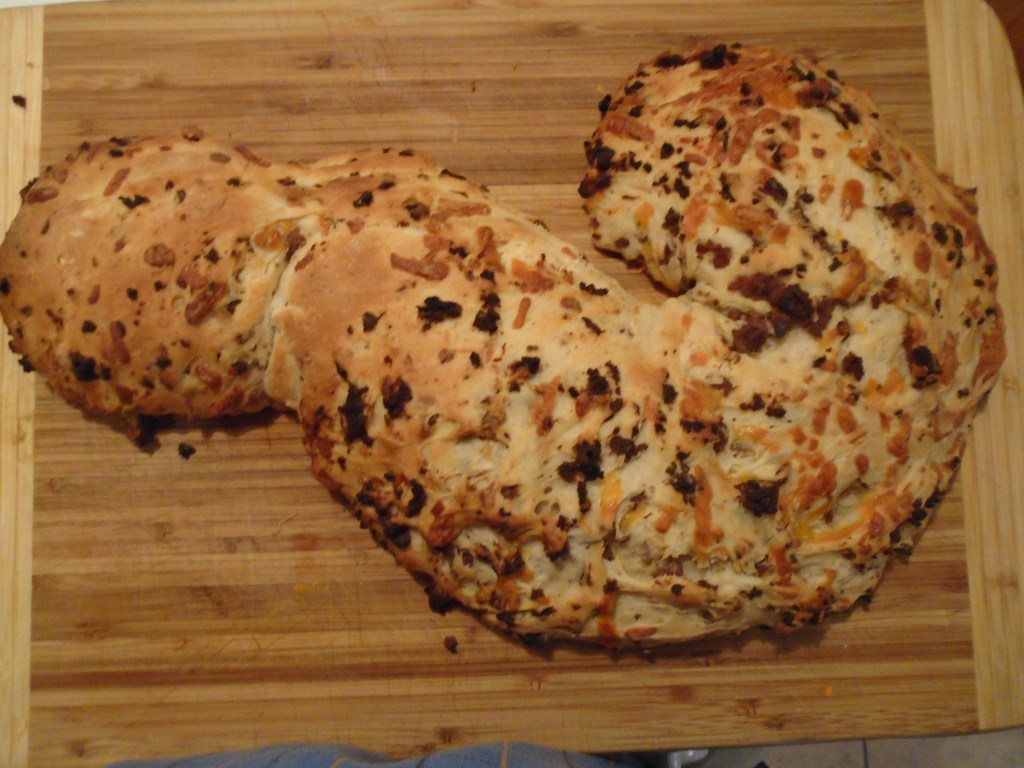
On a lightly greased baking sheet, form the dough into the
shape of your preference. Since this is
crazy bread I decided a question mark shape would be appropriate.
Bake at 400° for about 30 minutes. Remove and allow the bread to cool for a few
minutes before serving.
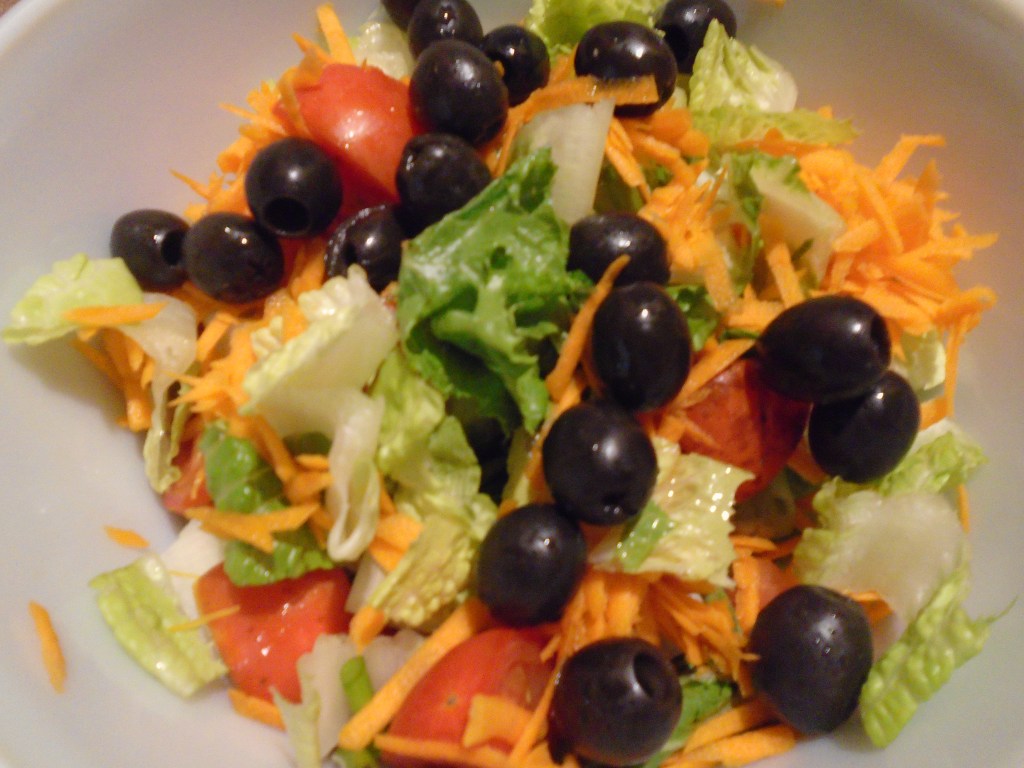
Serve with a fresh salad.
This is the first time I have made bread this way and I was
pleasantly surprised. I imagine using
breakfast sausage next time and serving with scrambled eggs and fresh fruit.
Well, I couldn’t resist.
I had to try a little bit of the wicked ghost pepper powder that I made
a few days ago.
It’s funny. Normally, when describing a recipe, I might say, use a tablespoon of this and a teaspoon of that but, when it comes to ghost pepper, I think much smaller.
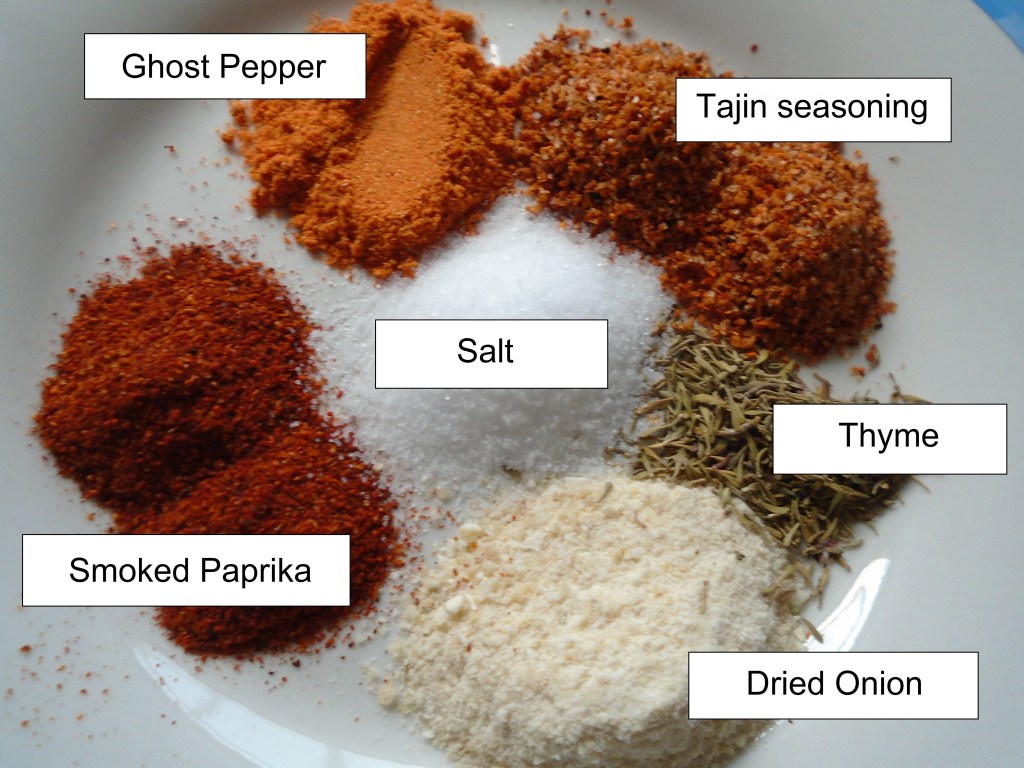
As an example, here is the rub that I used for two large
chicken breasts, before breading and frying them.
1 ½ Tbs dried onion flake (crushed into a powder)
2 tsp smoked paprika
1 Tbs salt
2 tsp Tajin seasoning
1 tsp dried thyme
1 tsp ghost pepper powder
If I did the math right, the amount of ghost pepper in the
spice mix is about 13%. At first thought,
13% doesn’t sound like much but, when that 13% is ghost pepper, it’s impressive. The curious thing is, when I use a spicy rub
on chicken, prior to frying, much of the spiciness diminishes during the
cooking process. So, even though this
was a robust amount of ghost pepper, the spice rub didn’t make the chicken
unbearably spicy.
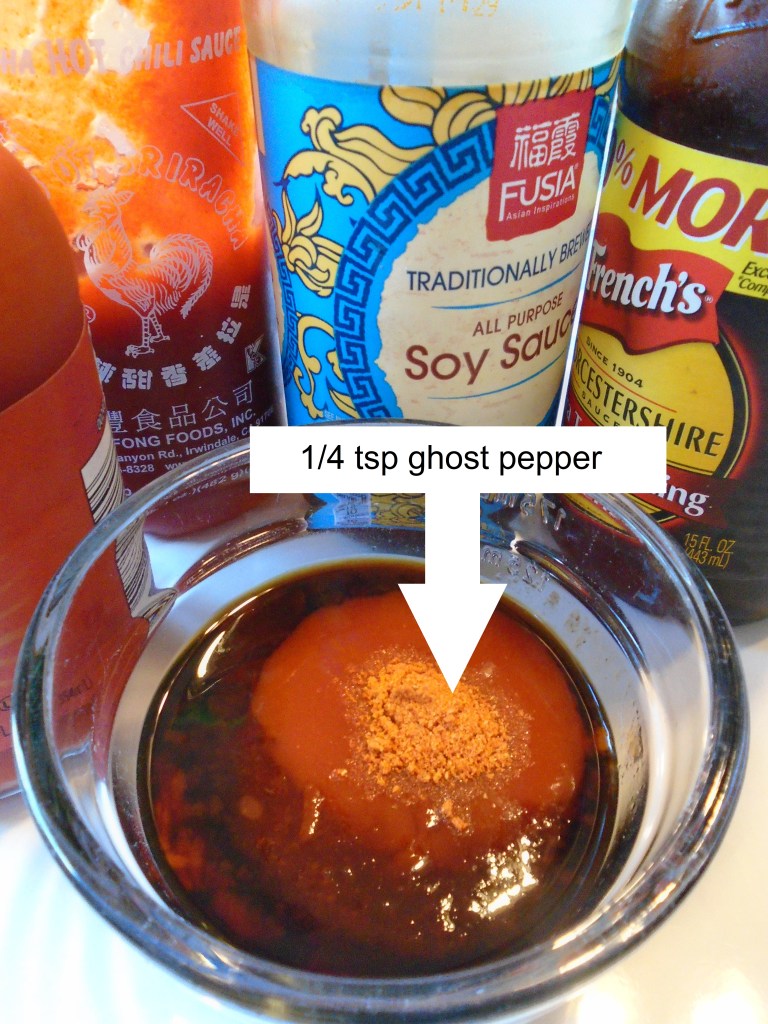
However, the sauce that I prepared for the chicken bumped up the heat, just enough to make me grin with satisfaction.
3 Tbs soy sauce
2 Tbs sriracha sauce
2 Tbs Louisiana hot sauce
1 Tbs Worcestershire sauce
¼ tsp ghost pepper powder
See the difference in the ratio of ghost powder in the rub compared to the sauce?
The total amount of sauce is about ½ cup and the amount of ghost pepper powder in the sauce is a mere ¼ teaspoon. But that’s plenty! Any more ghost pepper and the sauce would be ridiculously hot.
I like this sauce. The overriding flavor comes from the soy sauce and Worcestershire sauce. The heat provided by the hot sauces and ghost pepper gives it a nice, spicy kick.
A parting thought…
Tread lightly when adding spice to your sauces. You can always keep a secret stash of wicked sauce on the table. Don’t wreck a great meal for others just because you want to push your own taste buds to the extreme. Same goes with sugar or salt. Be kind. Be bold. Come back for more when you’re hungry! – The Pick
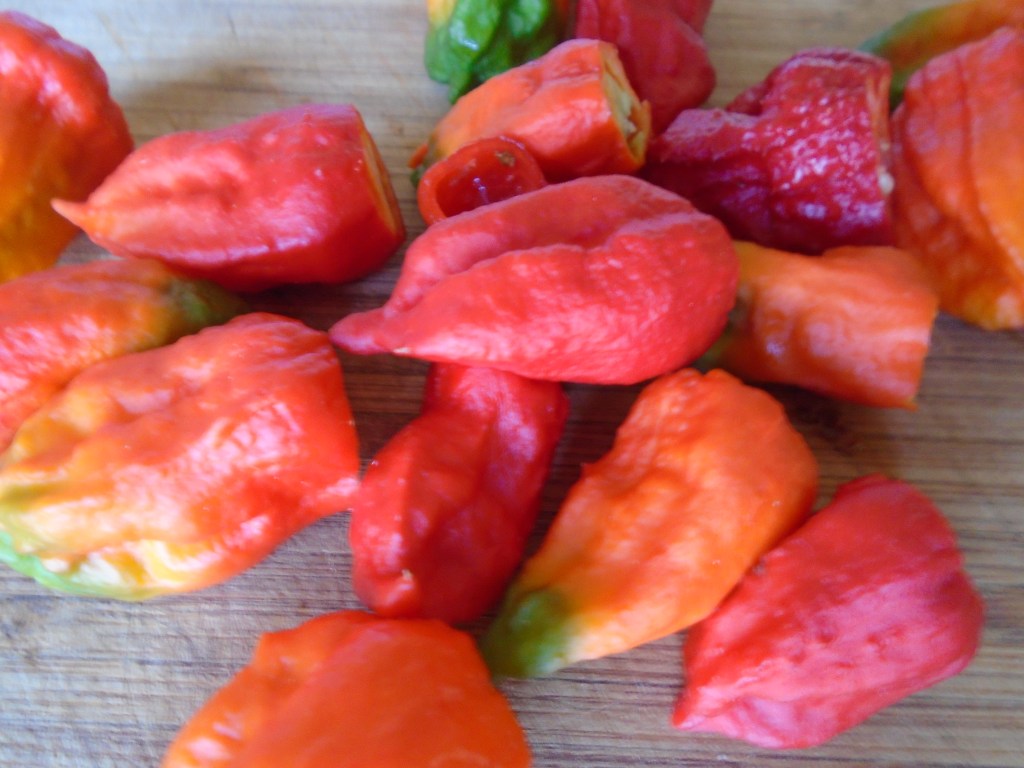
Of all the peppers that my garden produced this season, these
are by far the hottest. They are
insanely hot! It’s hard to find a way to
use them in recipes. I wouldn’t dare
throw one in a stir-fry and I wouldn’t want to take even a small bite of a
fresh one. I like to dry them and crush
them into a powder. Once they are in
powder form, I can add a small pinch to sauces or flour dredges when I want a
serious kick.
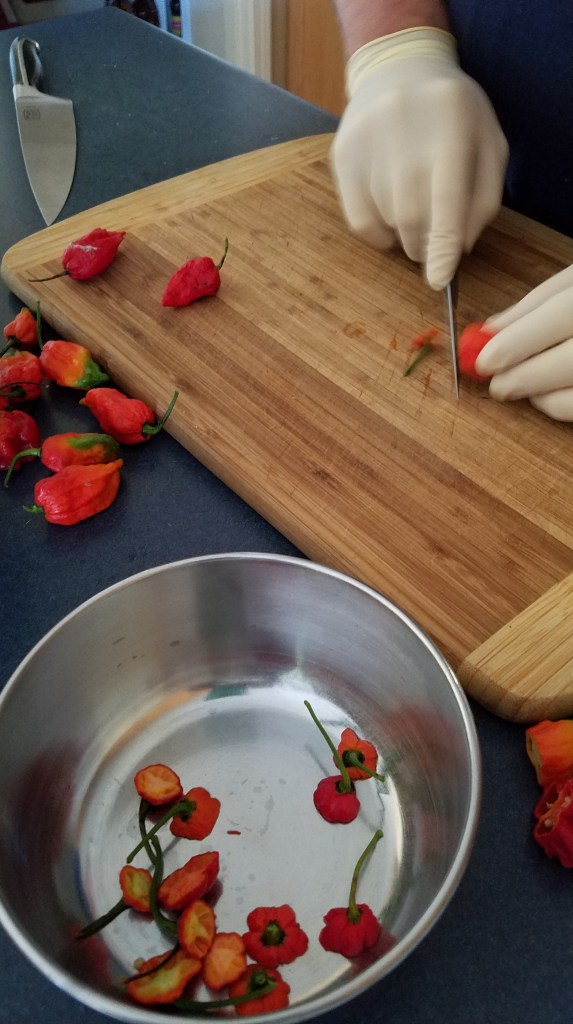
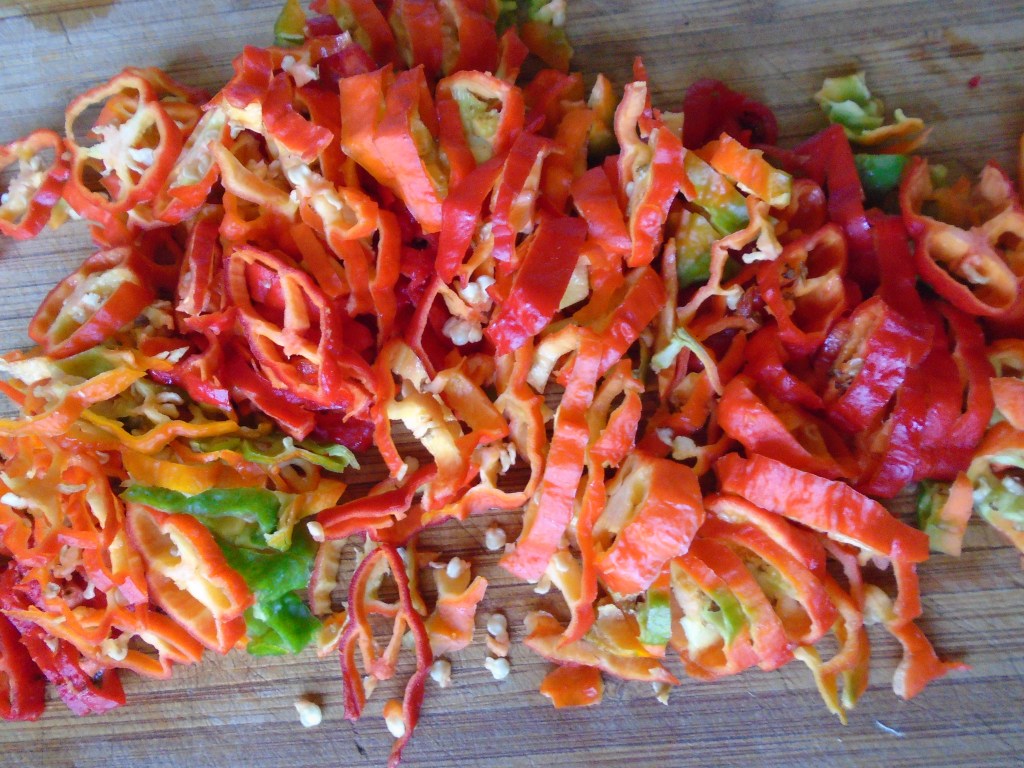
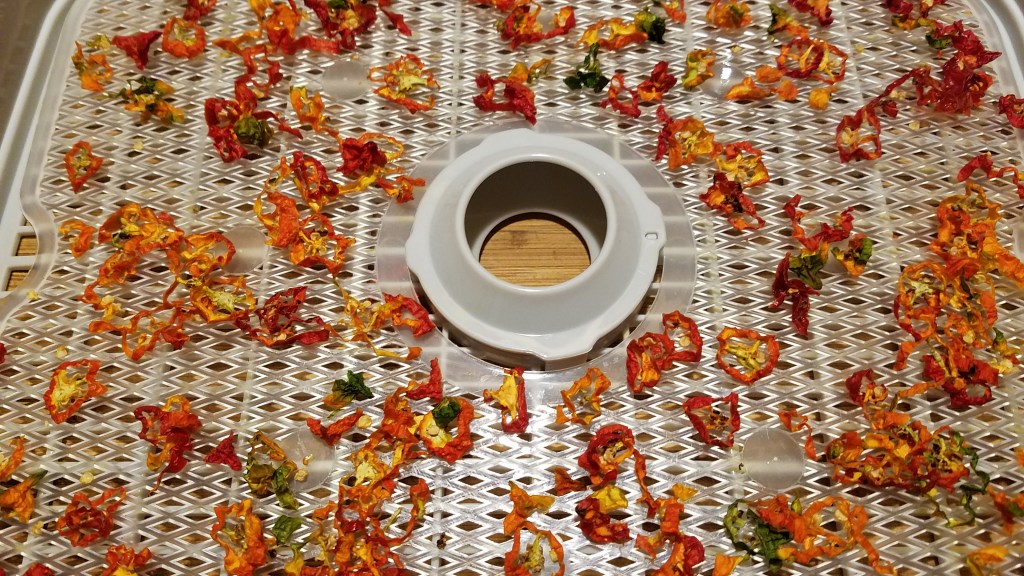
I wear latex gloves when I work with the peppers. In order to prepare the peppers for the food
dehydrator, I cut off the stems and slice the peppers into small rings.
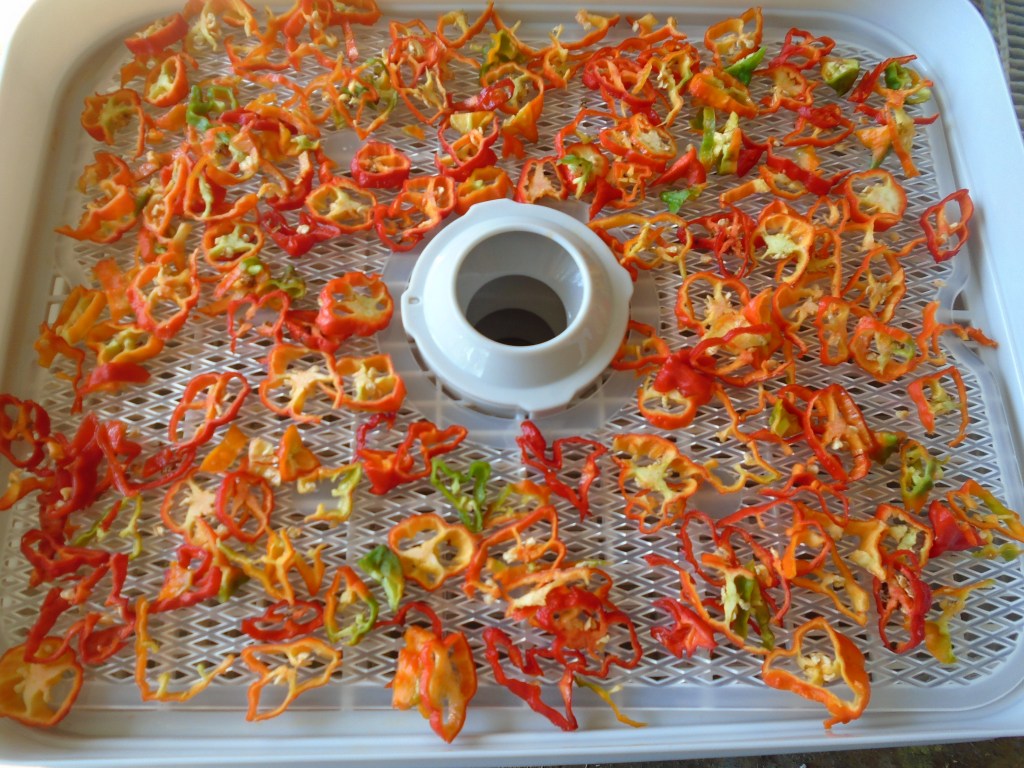
Then I lay them on the dehydrator tray and I make sure to
allow space for the air to circulate evenly.
I put the dehydrator in the garage and ventilate by opening the garage
door. The air that comes out of the
dehydrator is nearly lethal. Seriously. I take shallow breaths when I am near the
chillis.
I set the dehydrator at 100° and let it run for 12 hours.
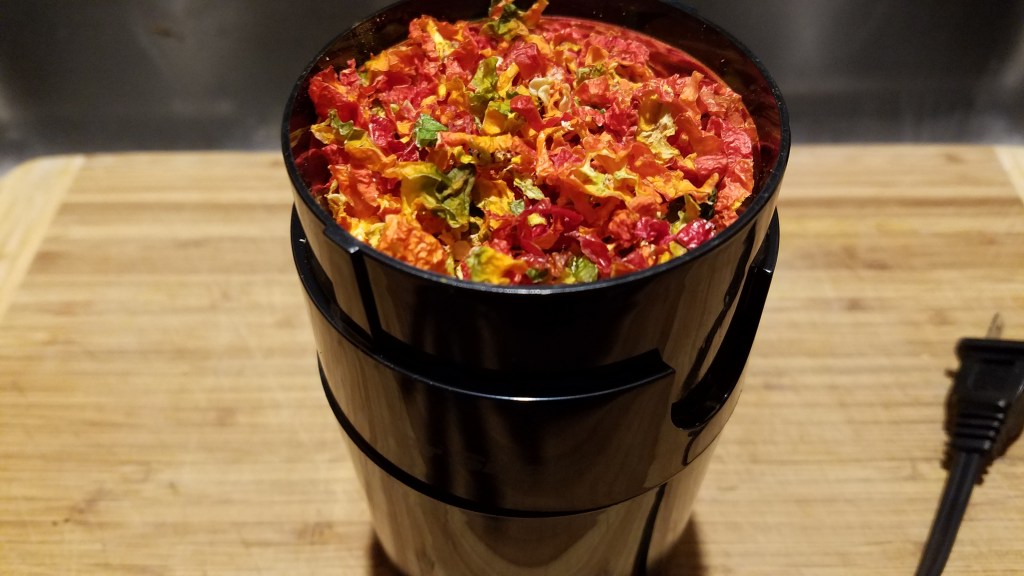
Once the peppers are dry and crisp, I put them in a spice
grinder and pulverize them.
I don’t use this spice grinder for anything else because no
matter how much I clean it, it still hangs on to some of the oils and residue
of the chillis. I made the mistake of
using my coffee grinder once and suffered the consequences. I cleaned the grinder several times but the
coffee beans picked up the heat from the chillis for the next several
grinds. The subsequent coffee brews were
painful.
This is a ridiculous amount of spice! It will be used sparingly over the next several years.
Working moms and working dads are challenged every day. On any given day, parents and kids are both worn
out by the time they come home. I have
learned that if I sit down, when I come home, I’m pretty much done for the
day. The longer I sit, the more likely I
am to order Pizza or Chinese food. There’s
nothing wrong with that but I find more satisfaction by staying on my feet and
cranking out a quick, nutritious meal.
Ironically, the more difficult my workday is, the more
likely I am to push through and cook something.
Once I get started cooking I get into a rhythm and the act of cooking
becomes therapeutic and strangely relaxing.
The best part is, I get to talk to my family in the kitchen while dinner
is prepared and then we all get to sit together and have a meal.
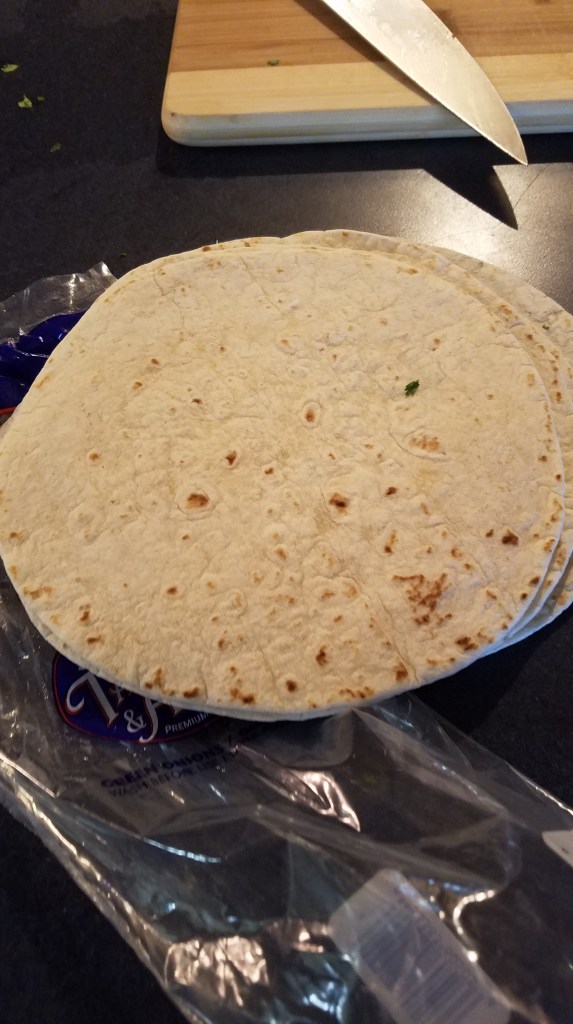
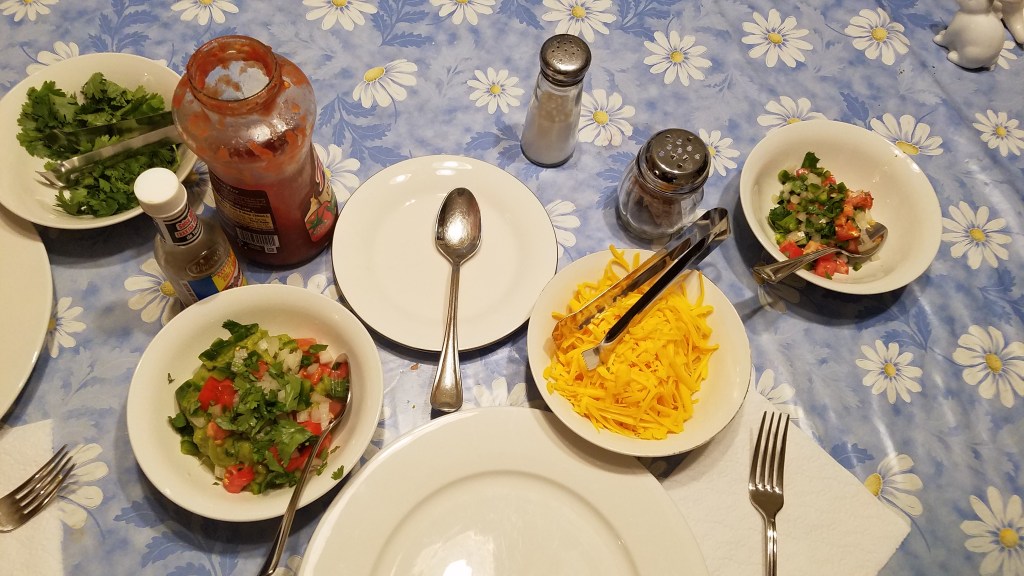
Ground beef tacos are super-easy to make and they can be
accompanied by as much or little as you wish.
This time it was just my wife and me having dinner. My kids are young adults now and we don’t all
gather for dinner, like we did in the past.
I miss that, but at the same time, I know that’s just the way life works.
After a long day of work, moms and dads don’t want to waste precious
time or energy.
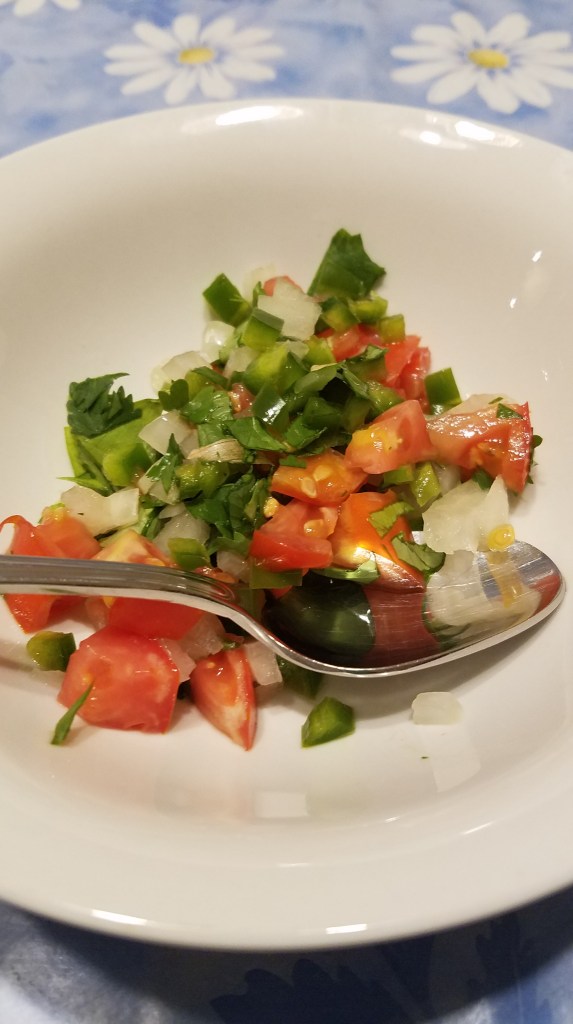
Use every shortcut. Work efficiently and always make one thing special, or out of the ordinary, and include some sort of fresh vegetables.
No recipe this time…just pictures. It’s tacos for crying out loud!
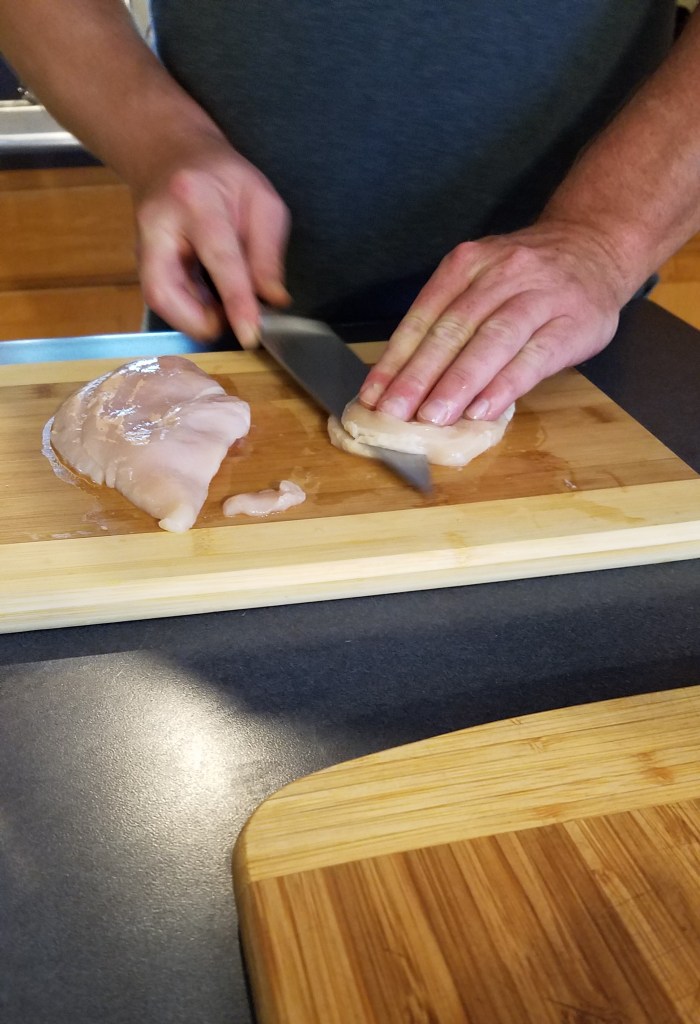
The biggest challenge here is making the chicken breast thin
enough to roll. It needs to be thin in
order to cook evenly and it needs to be thin enough to roll up like a burrito.
You could flatten the chicken breasts by pounding them down
with a mallet but I prefer to slice the breasts horizontally, nearly all of the
way, and then I lay the chicken breast open. If the chicken breast is really thick you can
slice it from the top side and then slice it again, in the opposite direction
from the bottom side, to make a tri-fold.
Before we get going…
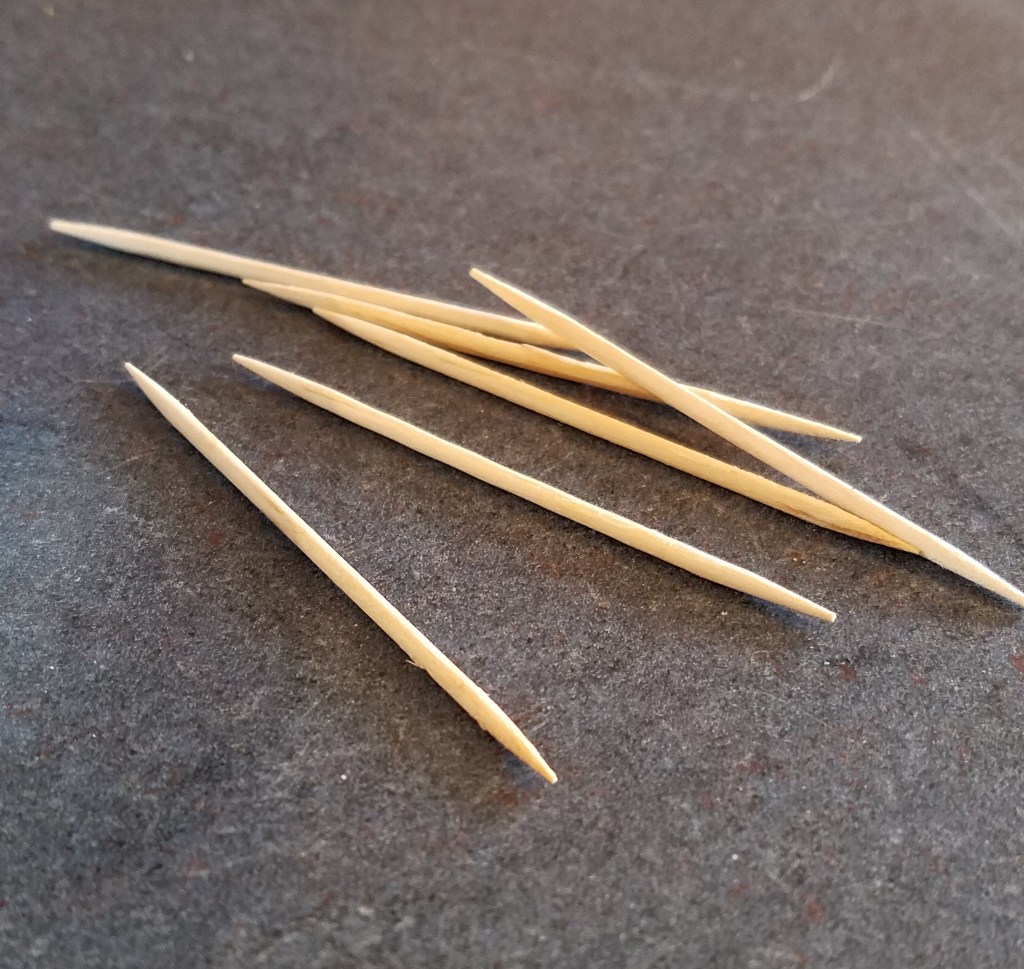
A caution about using
toothpicks to secure food. I use the
same number of toothpicks on each item that I secure. If I need two picks on one chicken breast, I
use two on all of the other breasts, even if I might only need one toothpick for
some. That way, when serving time
arrives, I know that I must remove two toothpicks from each breast. It eliminates the guessing game that comes
when I think, “did I use one or two toothpicks on this one?” Make sure to remove toothpicks before serving!
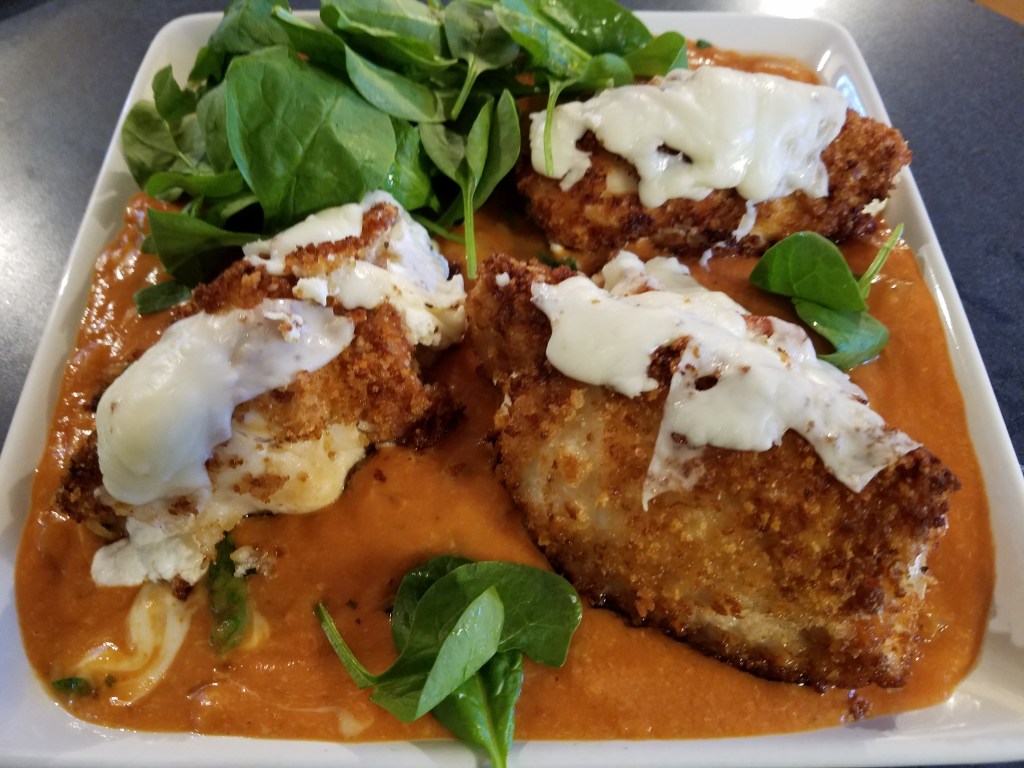
As with many recipes, you can stuff the chicken with
anything you like. This time around, I
had some ricotta cheese that needed to be used and some prosciutto that was
just itching to be used for something. This
recipe serves three people.
Ingredients:
3 chicken breasts
4 oz prosciutto
1/3 cup parmesan cheese
7 oz ricotta cheese (about half of a 15 oz container)
1 ½ cups Panko bread crumbs
½ cup cooking oil
For the sauce:
1 Tbs butter
1 Tbs flour
½ onion
¼ cup chicken stock
24 oz tomato sauce (I used an 8 oz can and 16 oz tomato
sauce)
¼ cup half-and-half
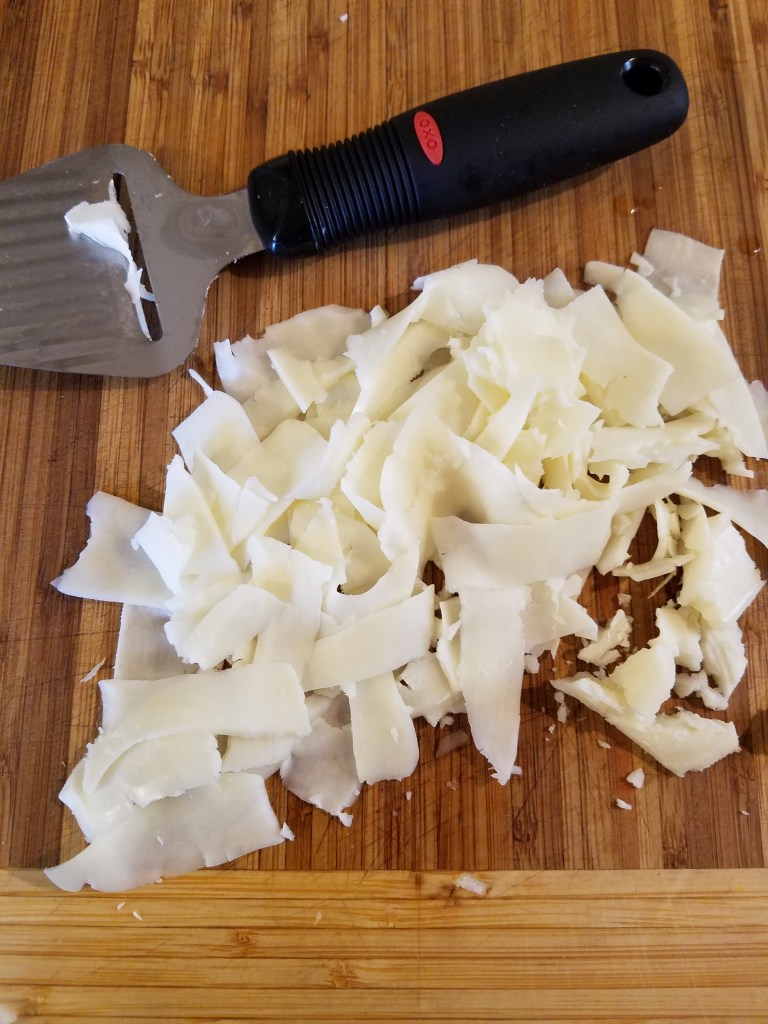
1 cup shredded mozzarella cheese
4 oz spinach
Directions:
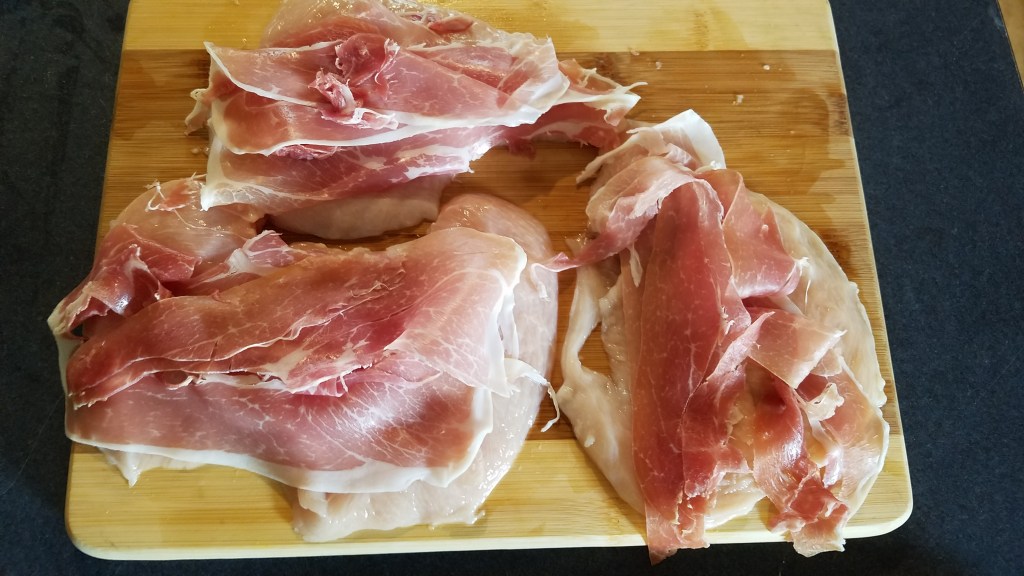
On a clean cutting board, flatten the chicken breasts to ¼”
thick, or carefully slice them.
Layer the chicken breasts with several slices of prosciutto
ham.
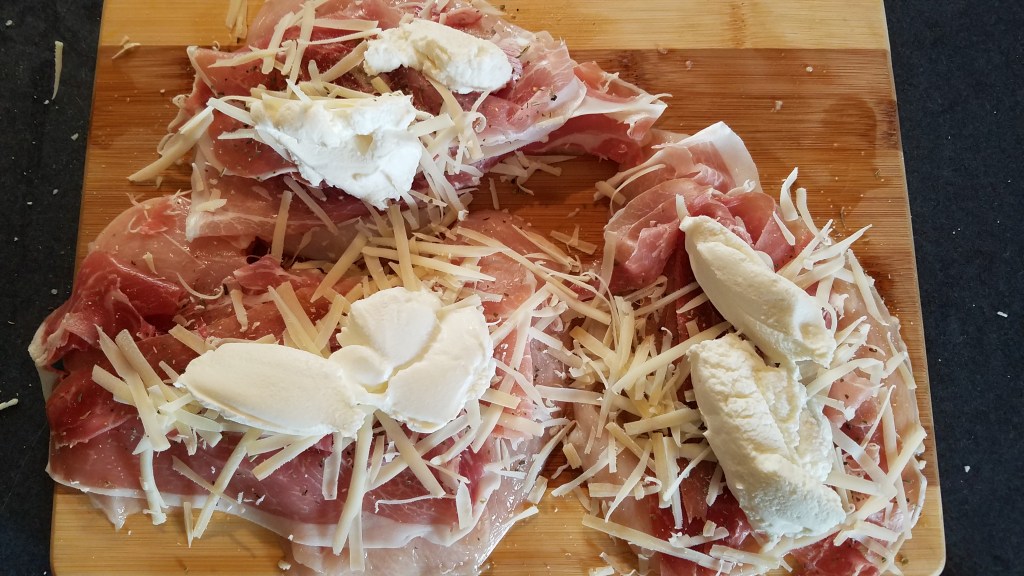
Scatter grated parmesan cheese over the chicken breasts.
Apply a schmear of ricotta cheese to the chicken.
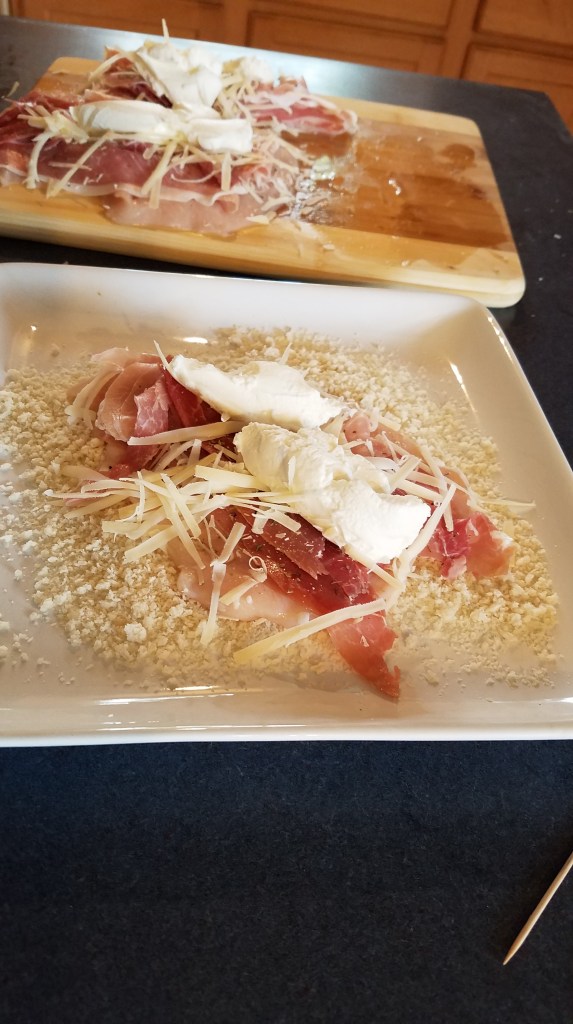
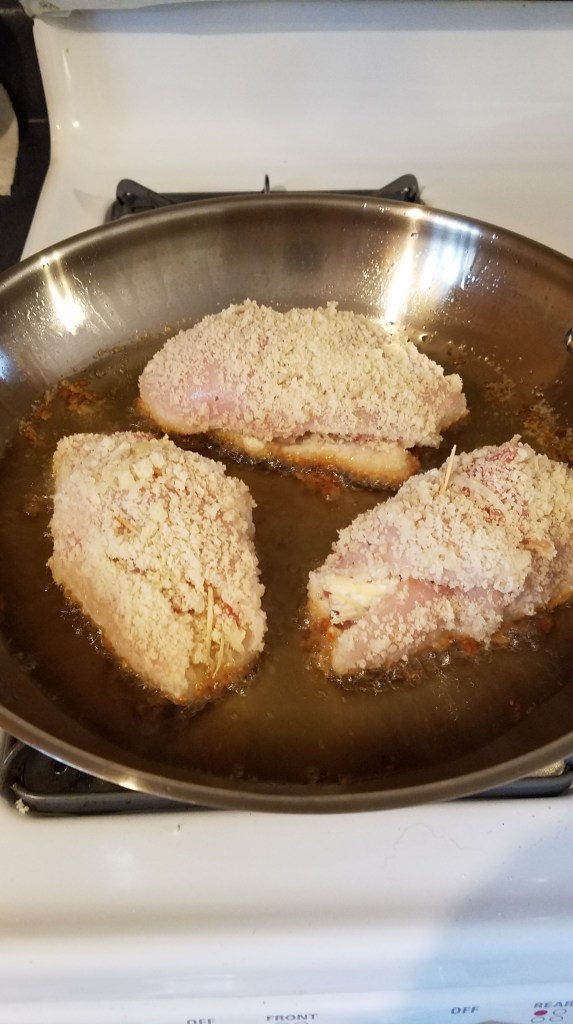
Spread some panko bread crumbs onto a large platter. Lay a chicken breast onto the bread crumbs and press down lightly.
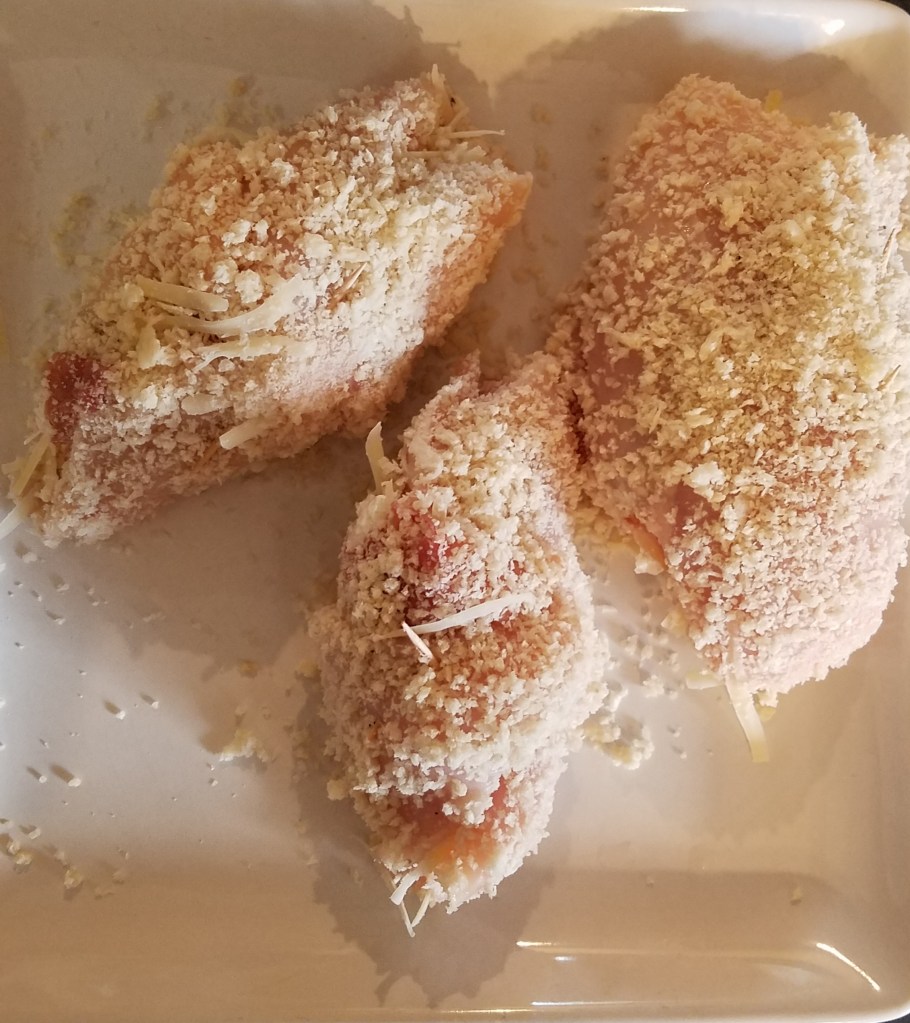
Roll the chicken breast and secure with toothpicks.
Heat a large skillet to medium heat and add ½ cup cooking oil. When the oil is hot, gently lay the chicken breasts into the pan, being careful to not crowd the pan.
When the bottom side browns, turn it over and cook the other
side. When both sides are golden brown,
remove to a clean plate, lined with a paper towel.
Discard the oil from the pan. I like to reuse oil so I usually dump the oil
in a stainless steel bowl and filter it later and store it in a can.
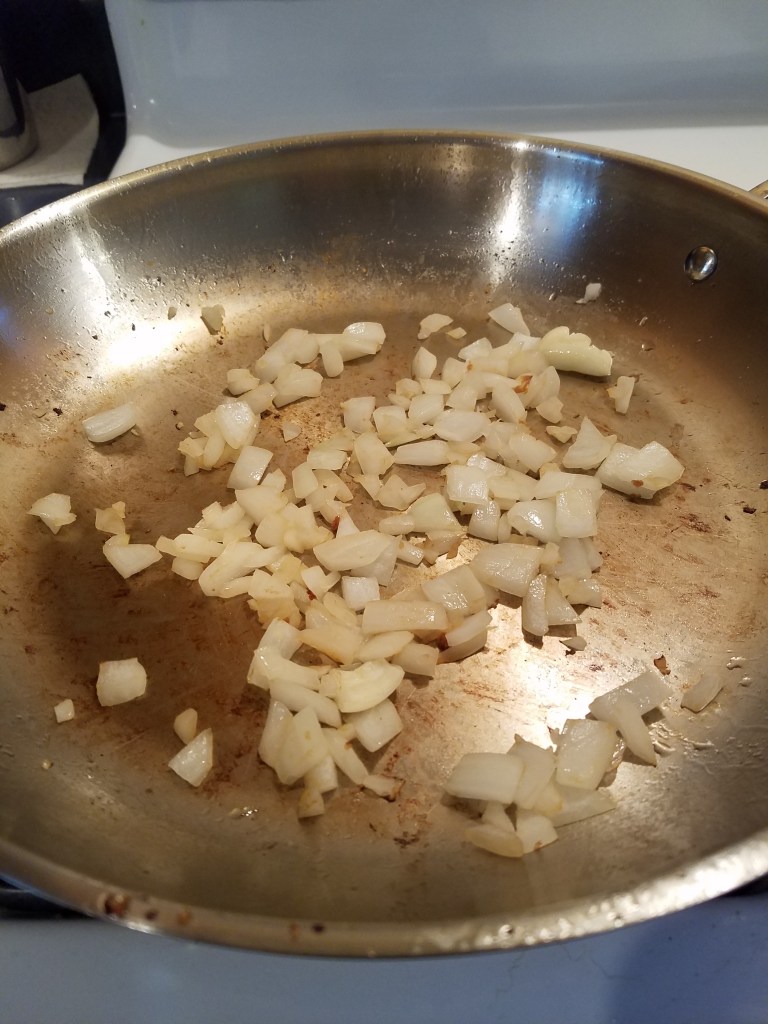
Wipe remaining oil from pan but leave a slight, residual
film of oil. Turn heat to medium high and
add onions. Sautee for a minute until
onions soften. Remove onions and set
aside.
Deglaze the skillet with chicken stock.
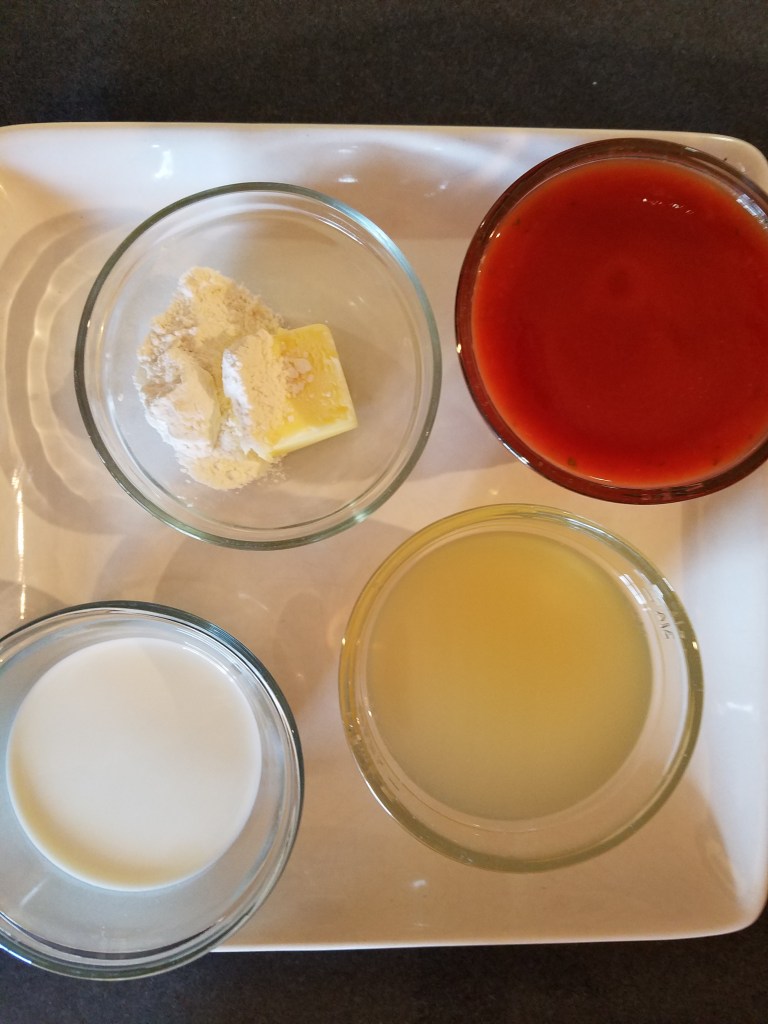
Butter and Flour, Tomato Sauce, Half and Half and Chicken Stock
Add butter and flour and whisk to make a roux.
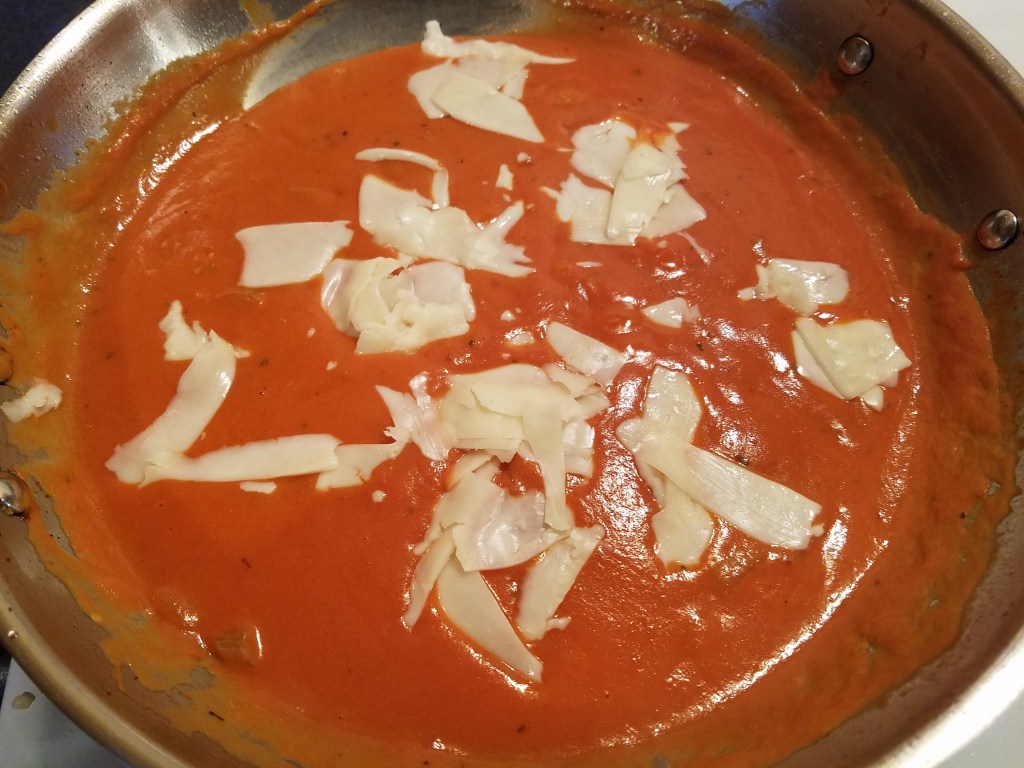
Add cream and tomato sauce.
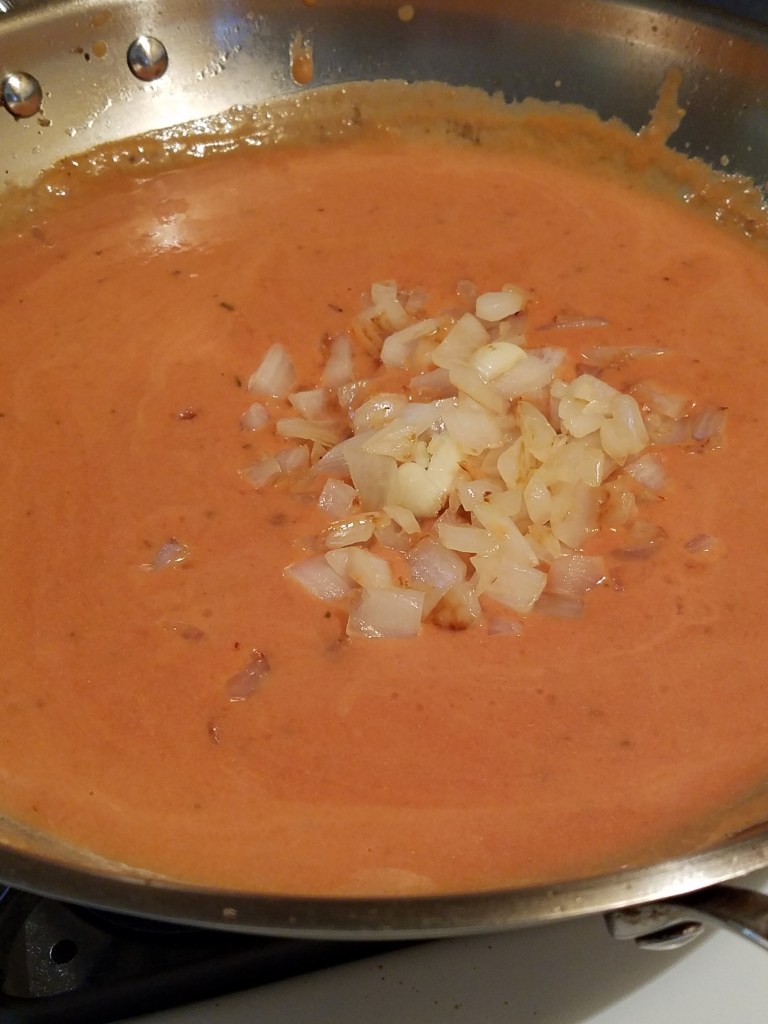
Whisk and sauté until the sauce thickens. Return the onions to the skillet. Lower the heat.
Add mozzarella.
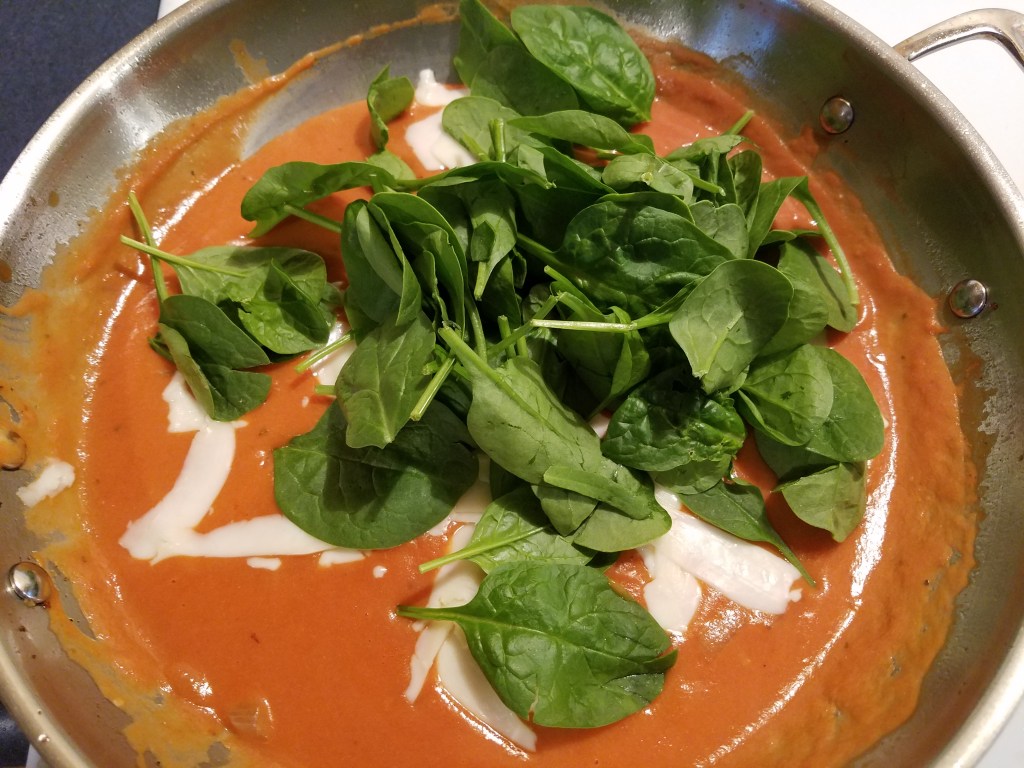
Add fresh spinach and sauté for another minute, or so, until
the spinach wilts.
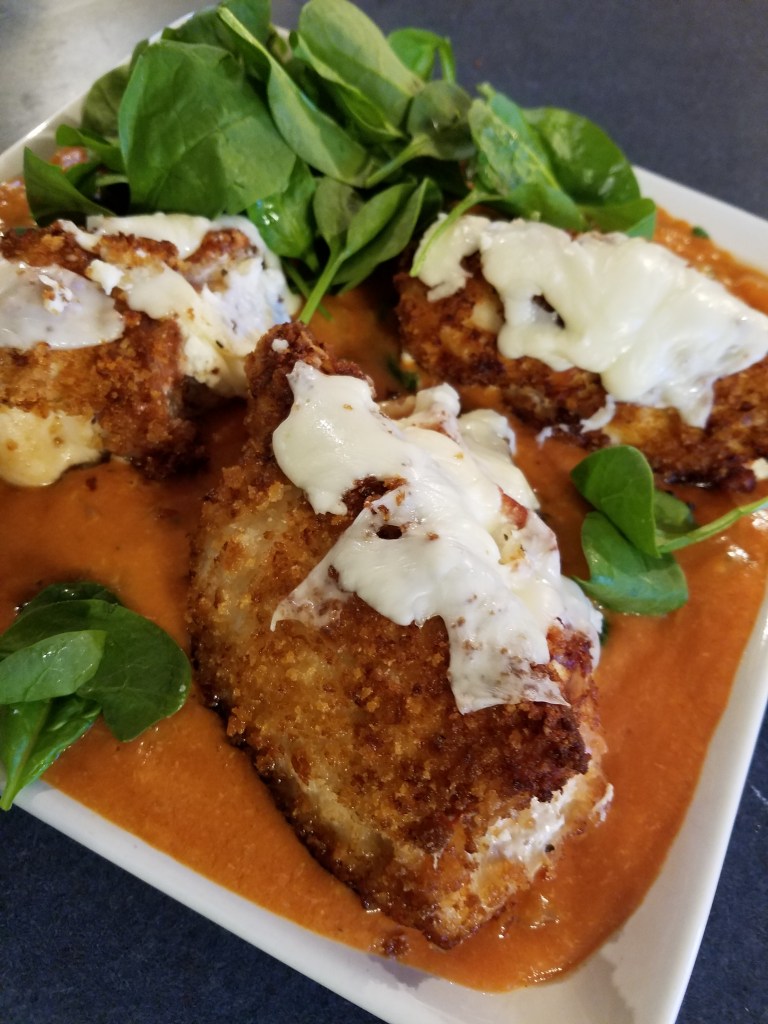
Pour the sauce onto an oven proof serving platter. Arrange the chicken on top of the sauce and add a few slices of mozzarella. Bake in the oven for a few minutes to melt the cheese.