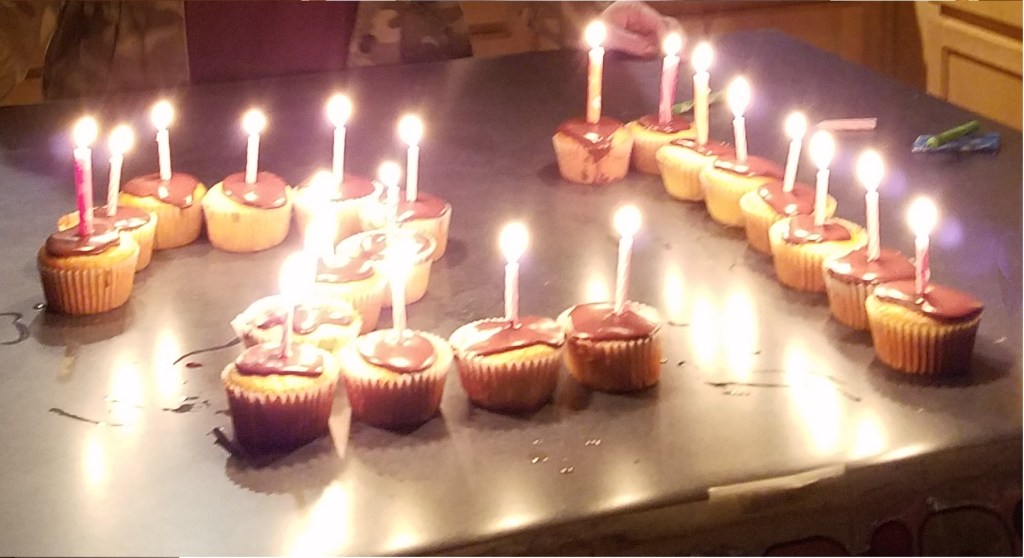
Wordless Wednesday
At the heart of every good gumbo lies a good roux.
I probably make 3 or 4 roux every week but they are of the small variety. You know, two tablespoons of butter, two tablespoons of flour added to two cups of stock or broth. A small roux takes just a few minutes to prepare and it usually come out just fine.
I have been telling myself that I make gumbo every year or two. I think that’s because I really enjoy gumbo. The truth of the matter is that I have probably only made it four times, (now five times). As much as I love a good hot bowl of gumbo, I dread making the roux. There are very few things in life that can vex me like a making a big batch of roux.
Making roux for a gumbo is not easy; at least it’s not easy for me. The volume of the roux needed is much larger than my normal roux. Additionally, the roux needs to cook longer to achieve a deep, rich lustrous color and flavor. Lastly, pushing the cooking process too far results in a burnt roux, which I am unfortunately prone to doing. If a roux burns it must be tossed and another one must be made. Nothing good ever happens by attempting to save a burnt roux.
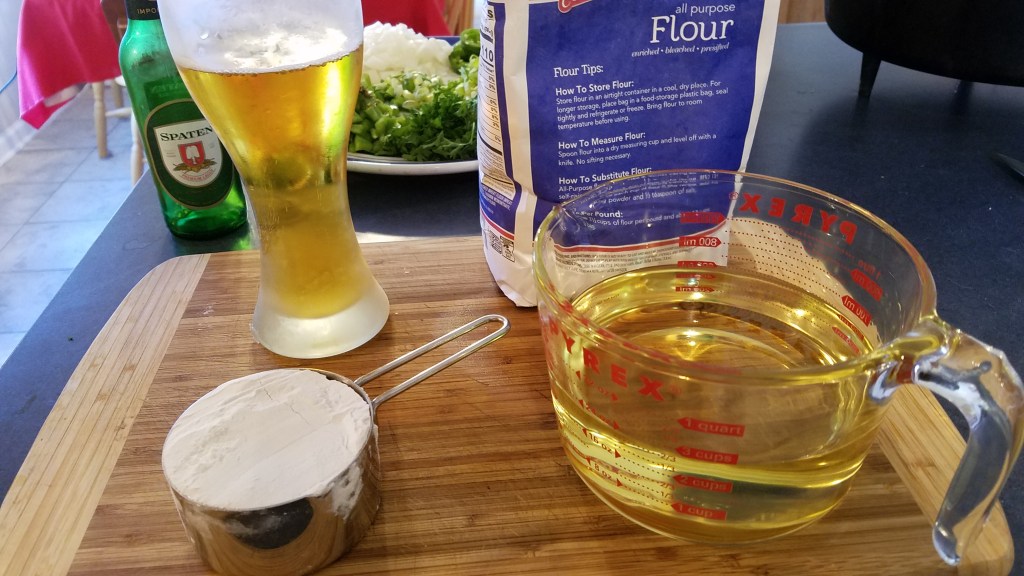
Once you start a roux you can’t leave it alone until it has finished. A roux must be stirred constantly to prevent the flour from burning. Even the tiniest amount of burnt flour will affect the entire roux.
My step-by-step method for making a roux:
1) Add equal amounts of oil and flour to a Dutch oven (over low/medium heat).
2) Stir continuously, making sure to scrape the bottom and edges of the pot as you stir.
3) Keep stirring while the roux goes from blonde, to tan, to mahogany, to chocolate brown.
4) Taste a sample of the roux, after allowing it to sufficiently cool.
5) Detect a hint of burnt flavor, throw away the roux and wipe the Dutch oven clean.
6) Repeat.
Three more important pieces of advice that are often overlooked:
1) Use the bathroom before starting the roux. You won’t be able to break away from the action until the roux is finished (maybe 45 minutes to an hour).
2) Pour yourself a drink and make sure that it’s within arm’s reach as you stir.
3) Keep a small aloe vera plant in the kitchen, close to the stove, in case of burns.
As for the aloe vera, it’s really good for minor burns. Roux is jokingly referred to as Cajun Napalm. Even a tiny drop of the hot roux can cause your skin to blister. I got two blisters from this batch. I would have had three blisters but, when I got hit for the third time, I quickly pinched off the tip of an aloe leaf and rubbed it on the burn.

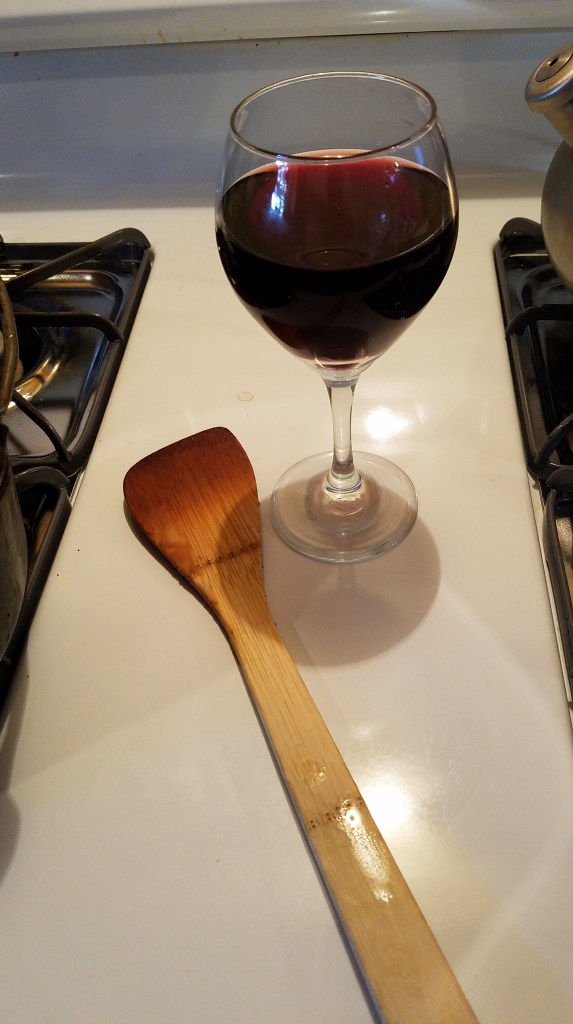
As I mentioned, I burned the first roux and had to start another one. I cooked the roux over low heat both times.
For the first attempt I used 3 cups canola oil and 3 cups flour. I cooked the roux for 67 minutes and it reached a near-perfect chocolate brown color, but the roux had a slight burnt flavor.
For the second attempt I decided to use 2 cups canola oil, 1 cup lard and 3 cups flour. I cooked the second roux for 50 minutes. I brought the roux to a dark tan and shut the heat down before it turned to mahogany. I didn’t want to run the risk of the burning the roux a second time!
This recipe makes about 2 gallons of gumbo (25 to 30 servings).
Ingredients:
1 lb medium sized shrimp, shell on and deveined
1 1/2 lbs cooked chicken breast, cut into 1/2″ cubes
3 cups canola oil
3 cups all-purpose flour
1 lb Andouille, cut into 1/2″ thick slices
1 large onion, chopped
1 bell pepper, chopped
1 large jalapeño, seeded and sliced
2 cups celery, chopped
1 whole head of garlic, minced
1 1/2 cups parsley, chopped
1 Tbs dried thyme
1 Tbs bay leaves
32 oz chicken stock
32 oz vegetable stock
1/2 cup shrimp stock reduction
12 oz okra, chopped
1 lb. crawfish tail meat
1 lb. crabmeat
1/2 cup clam stock reduction
12 oz white clams (about 12 clams)
Lots and lots of hot, steamed white rice
Directions:
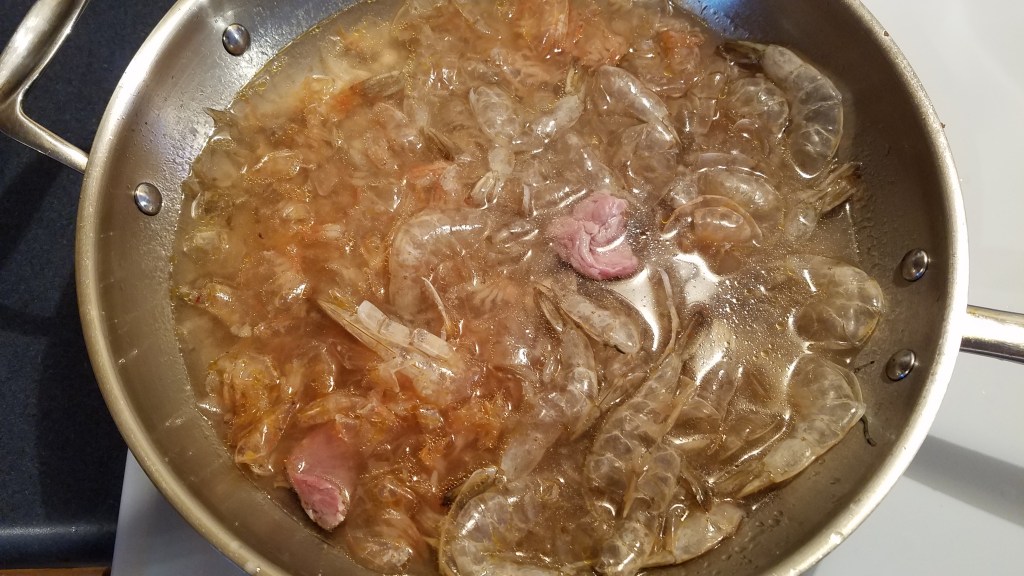
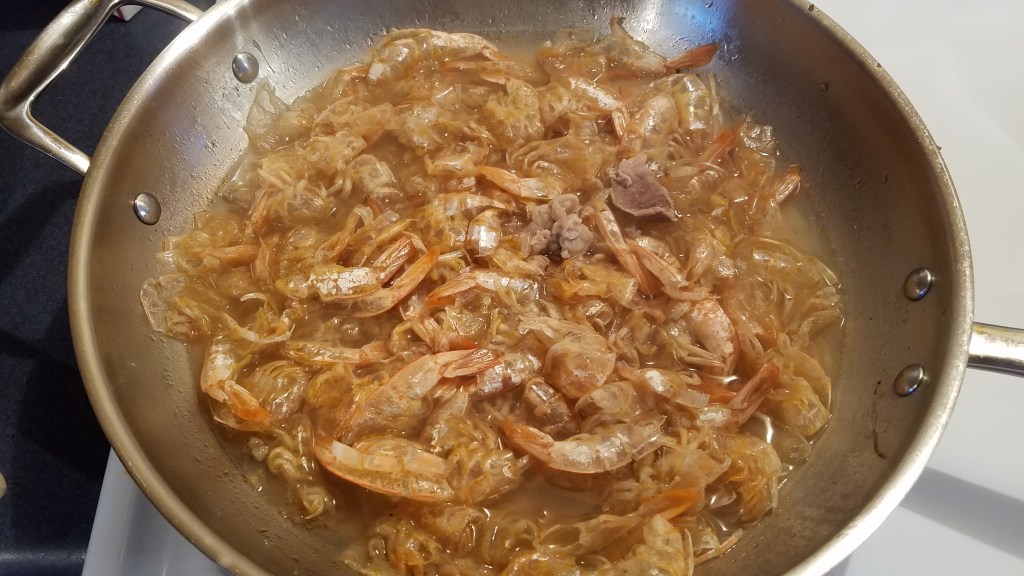
Remove the shells from the shrimp and place in a skillet or pot. Add a teaspoon of seasoning salt. Cover with water and simmer at medium heat for about 15 minutes. Strain the liquid and reserve. Discard the shrimp shells. Heat the liquid in the pan until it reduces by at least half. Reserve the reduction.
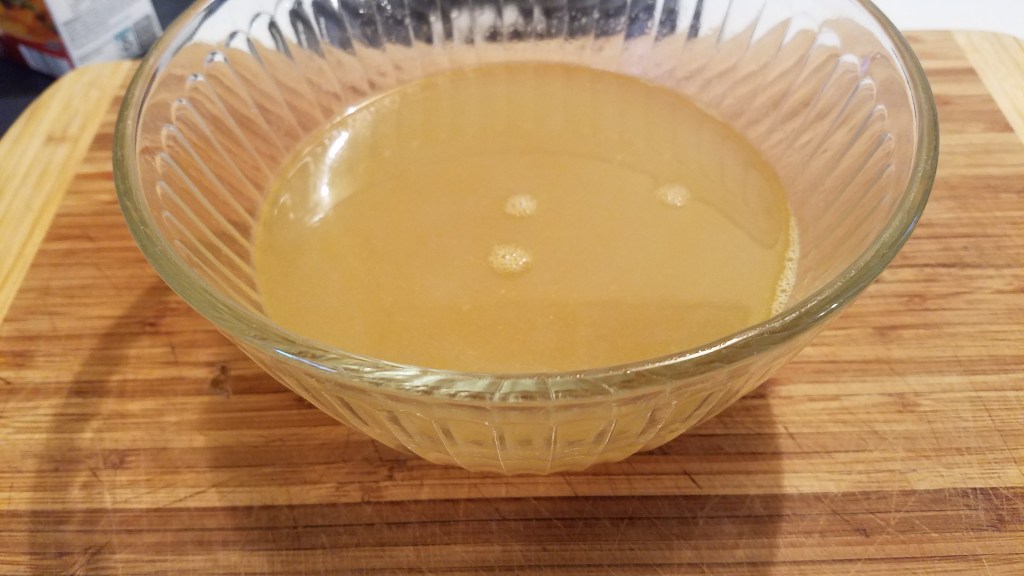
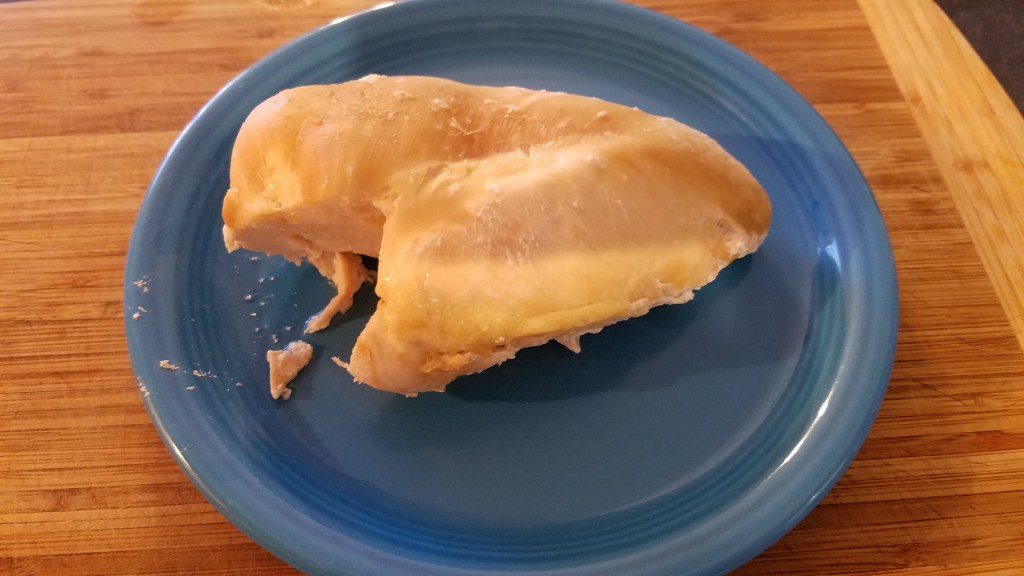
Put the chicken in a pot and cover with water. Boil at low heat until cooked (about 40 minutes). Remove the chicken to a platter and cool to room temperature.
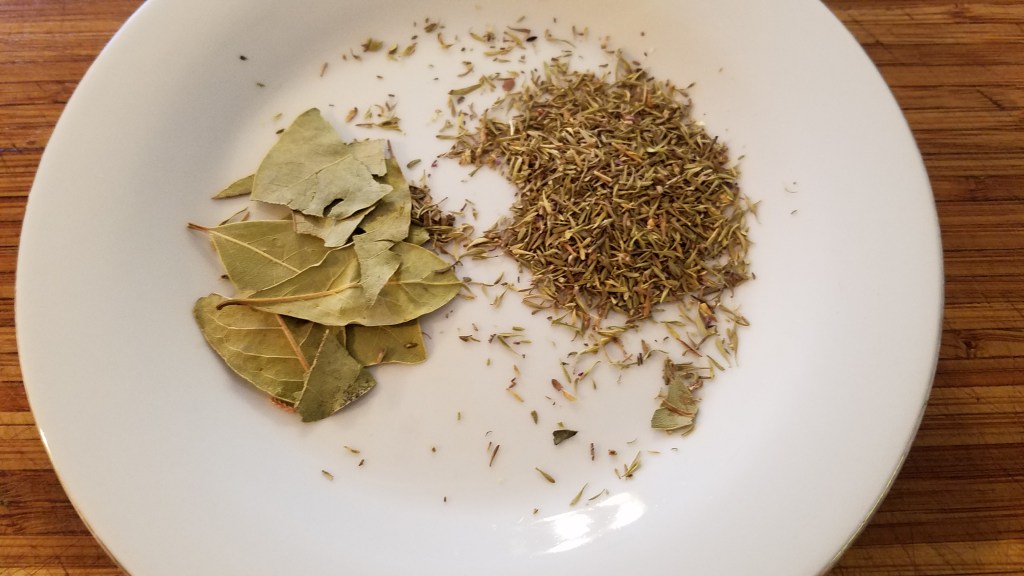
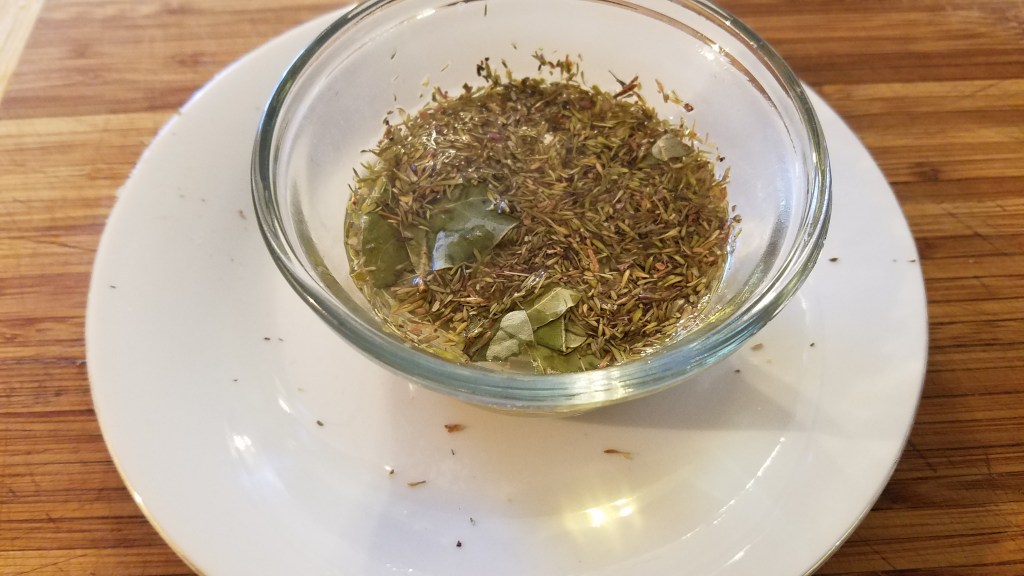
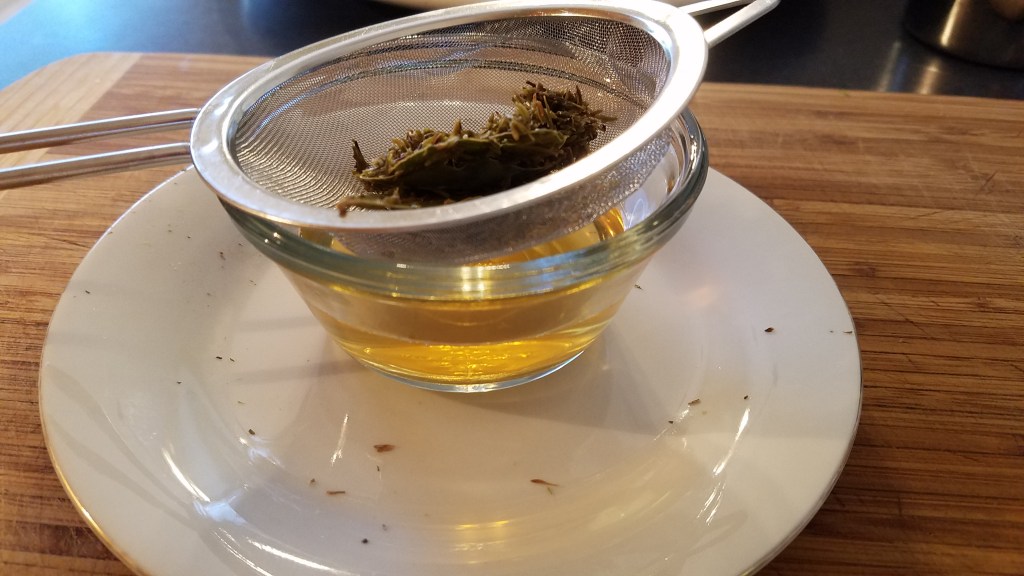
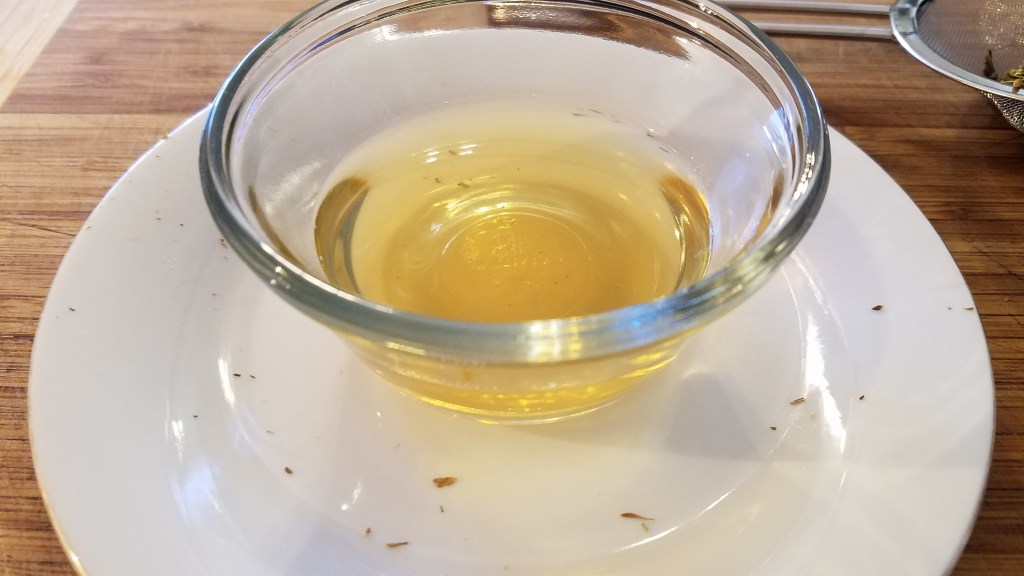
In a small bowl, add the thyme and bay leaves. Cover with water and steam in a microwave for about a minute. Leave the herbs in the water and set aside.
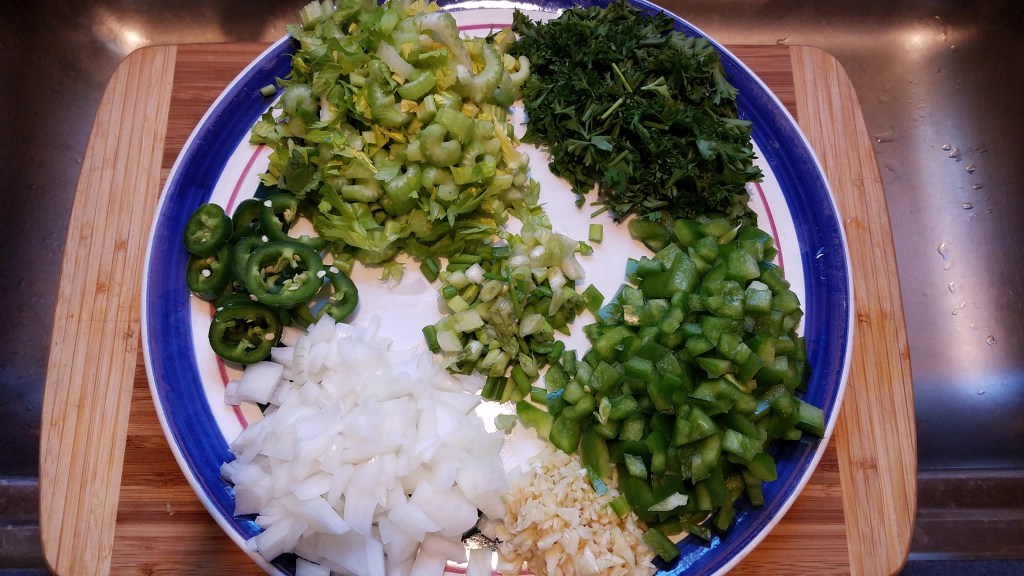
Prep the vegetables and set aside.
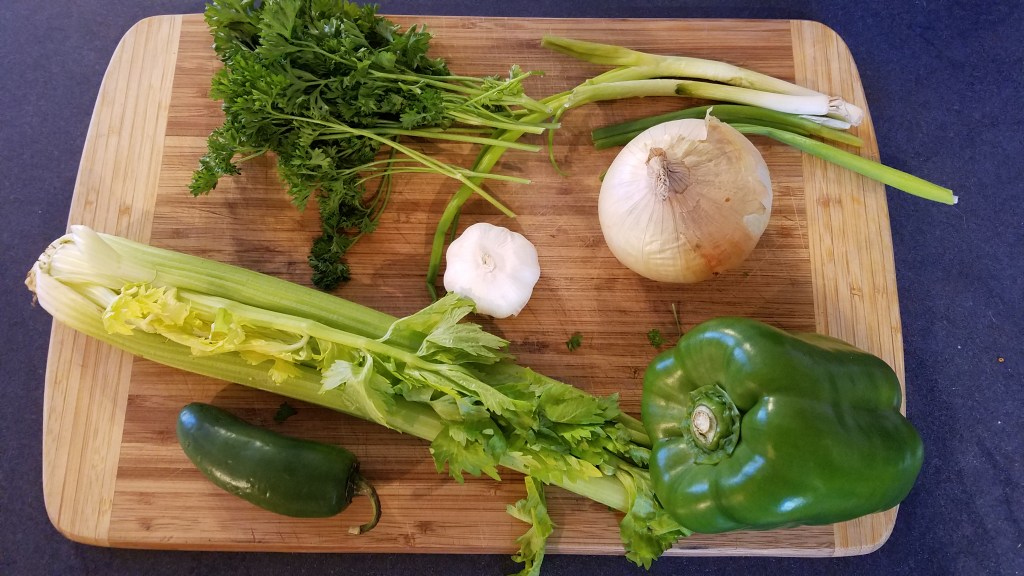
Heat a large Dutch oven over medium heat. (I used a 12” deep Dutch oven). Add 1 cup oil and 1 cup flour and stir to incorporate. Reduce heat to low/medium. Add remaining oil and stir. Add the remaining flour and stir constantly.
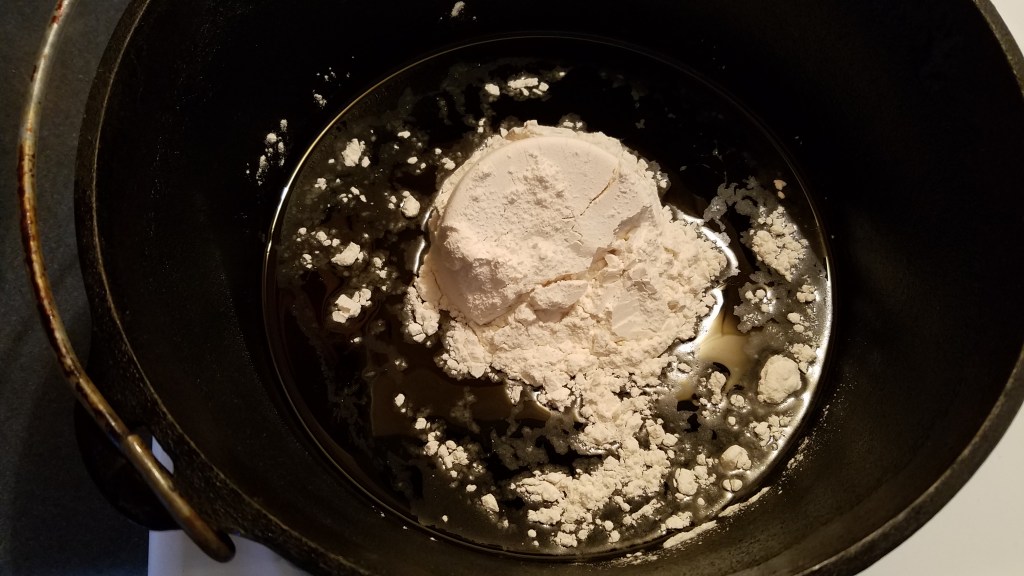
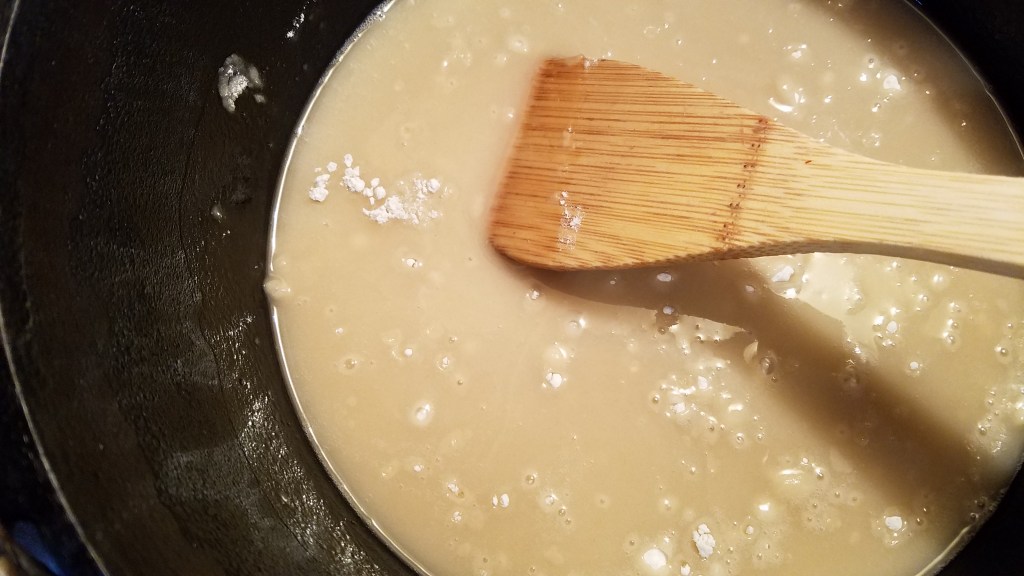
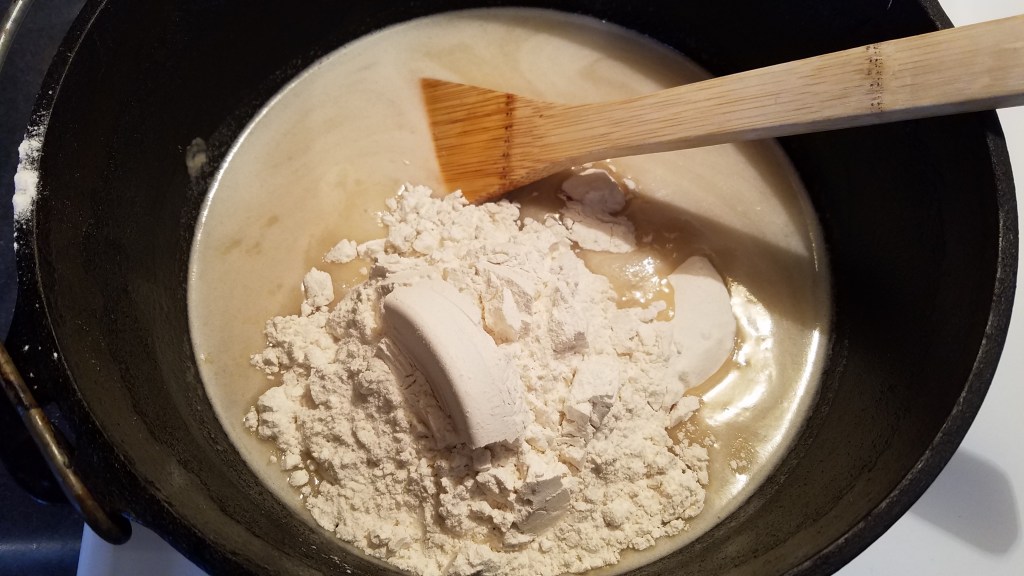
After about 15 minutes the roux will begin to change from pale yellow to blonde. Turn the heat to low and keep stirring.
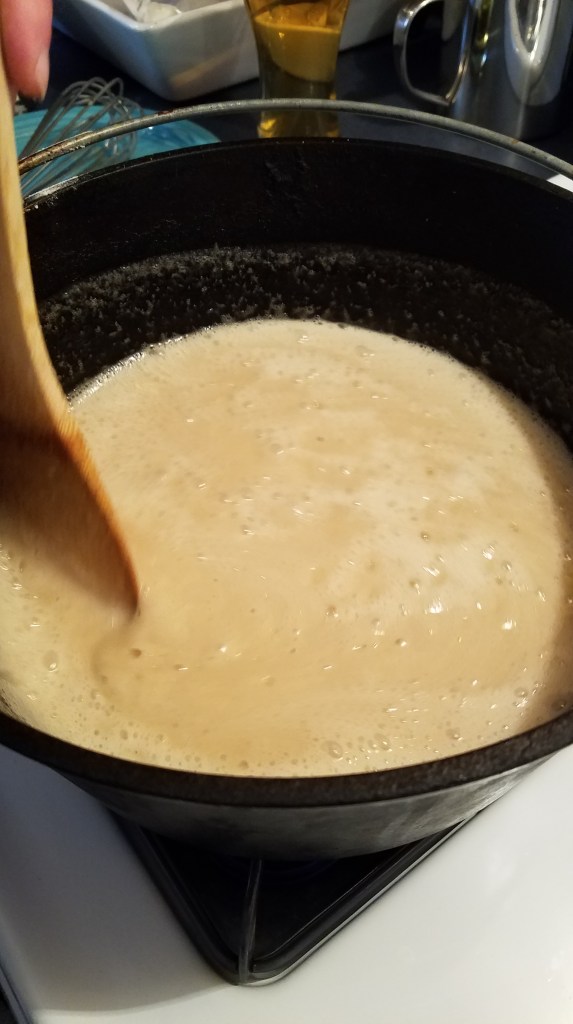
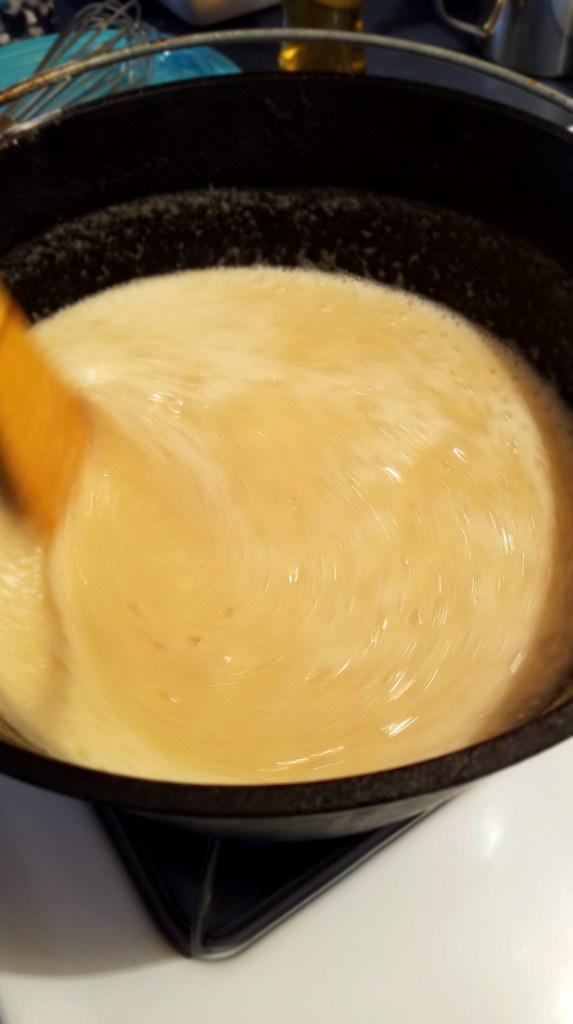
The roux will continue to darken and will become light tan and then dark tan. Once the roux has turned to tan pay extra attention to the aroma and color of the roux as you stir.
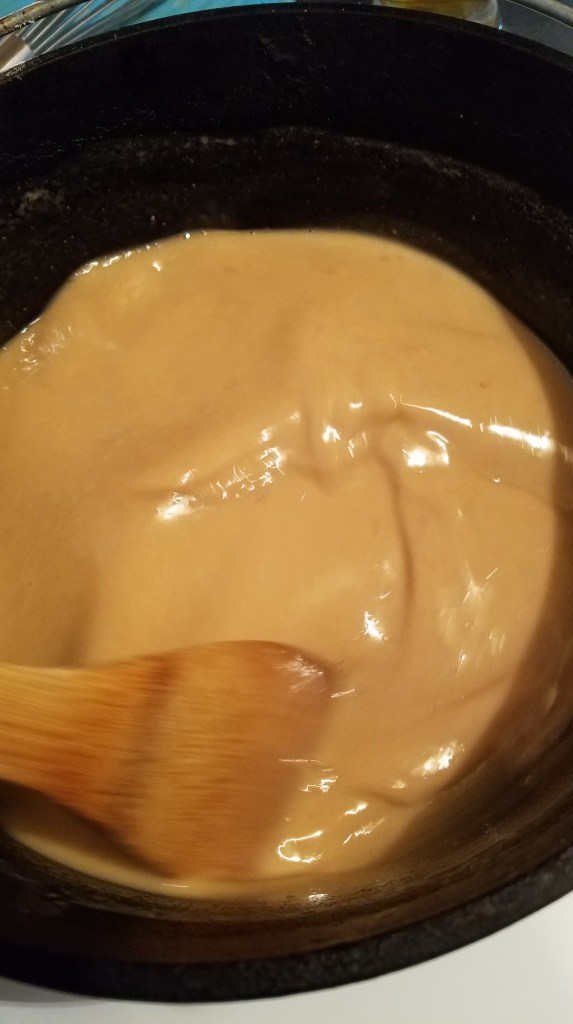
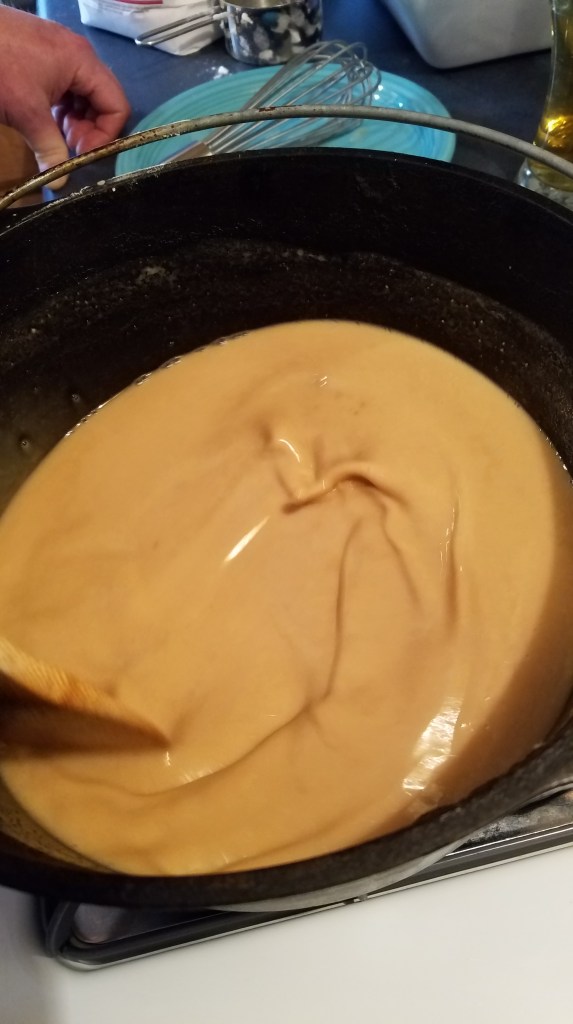
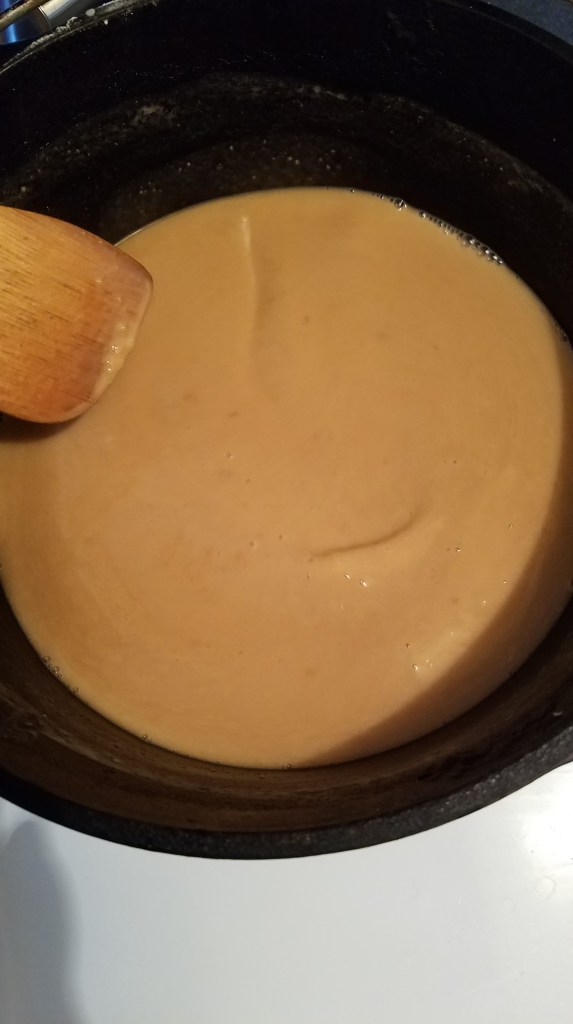
The color of the roux will begin to take on reddish/brown hue soon. This is where I usually turn off the heat but, if you are brave and careful, keep stirring until the roux becomes chocolate brown.
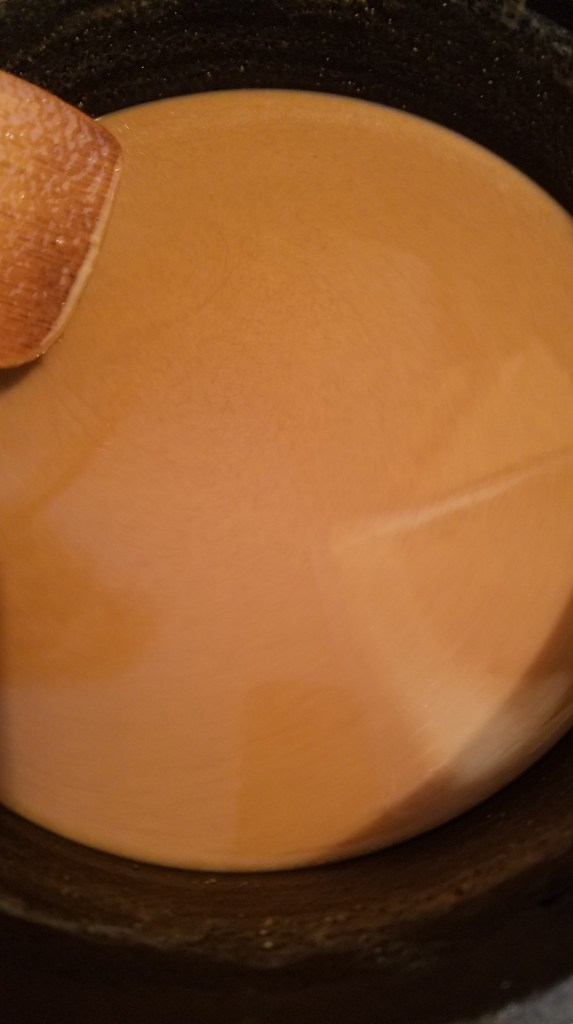
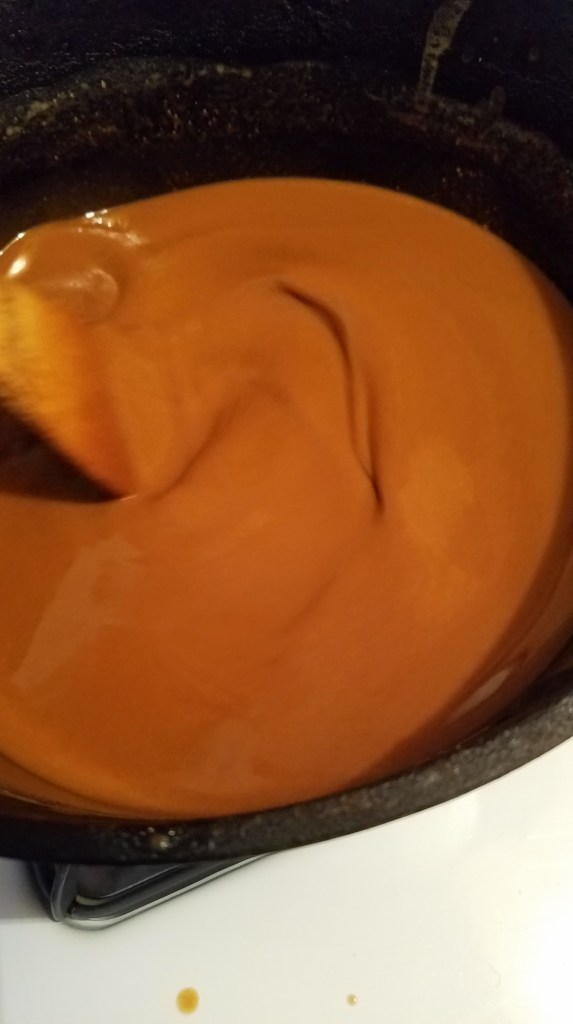
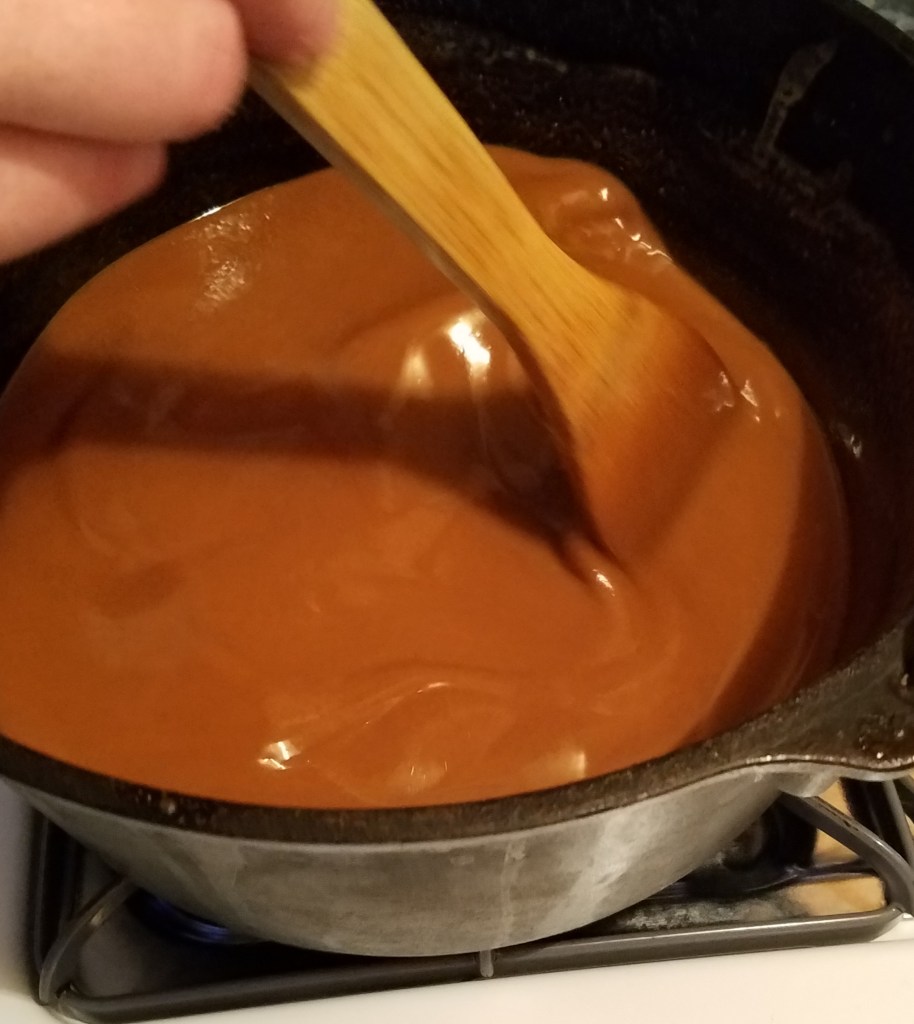
Once you are finished with the roux, turn off the heat and continue stirring for several more minutes. The roux will remain very hot for at least 30 minutes. Set the roux aside for now.
I stopped just short of mahogany on my second roux…yes, I chickened out!
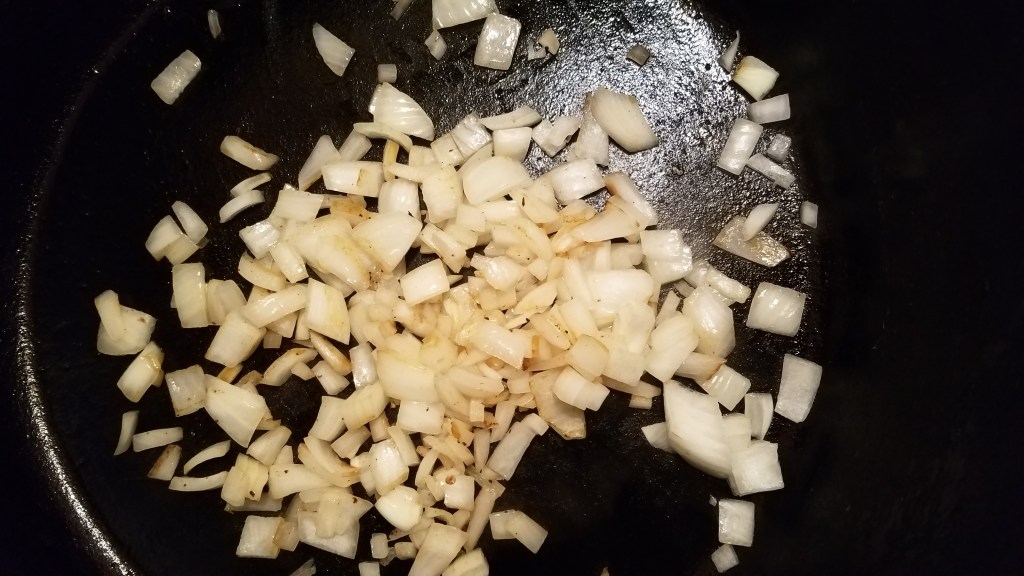
In a very, very large Dutch oven, (I used a 14” deep Dutch oven), add the chopped onion. Sauté until the onion begins to turn brown.
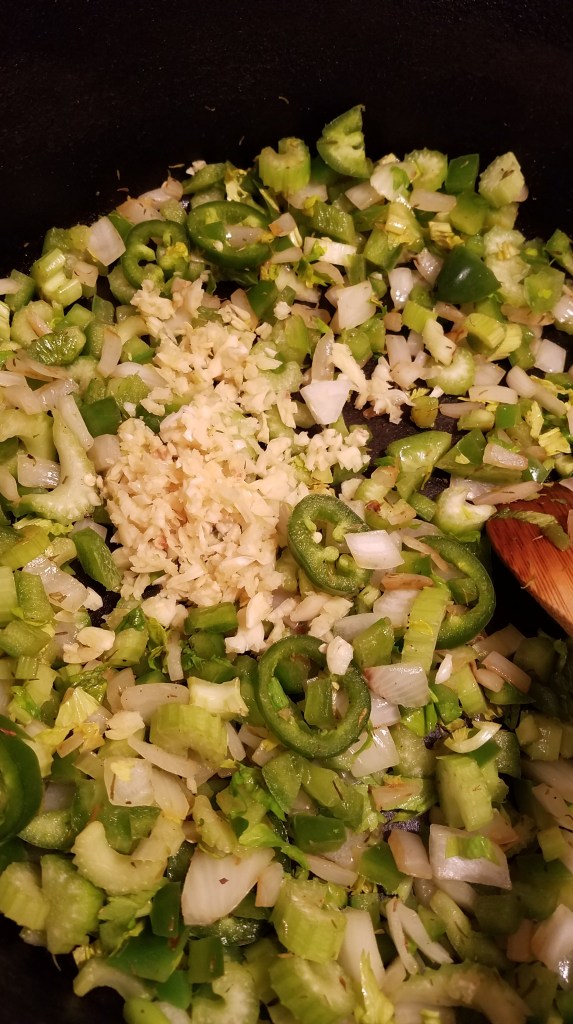
Add the bell pepper, celery and jalapeño. Stir for a minute and add the garlic. Stir for a few minutes and then remove everything to a bowl.
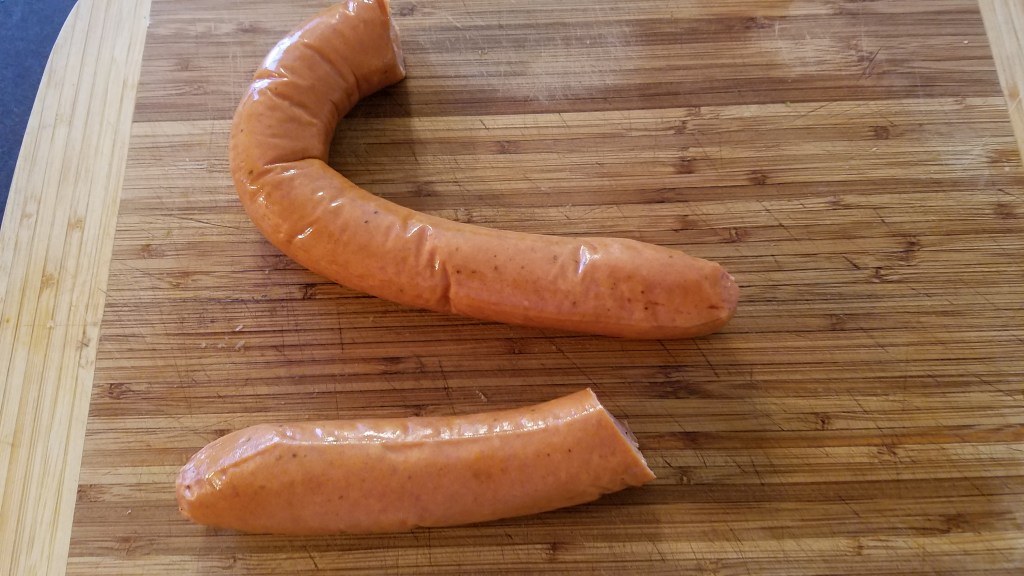
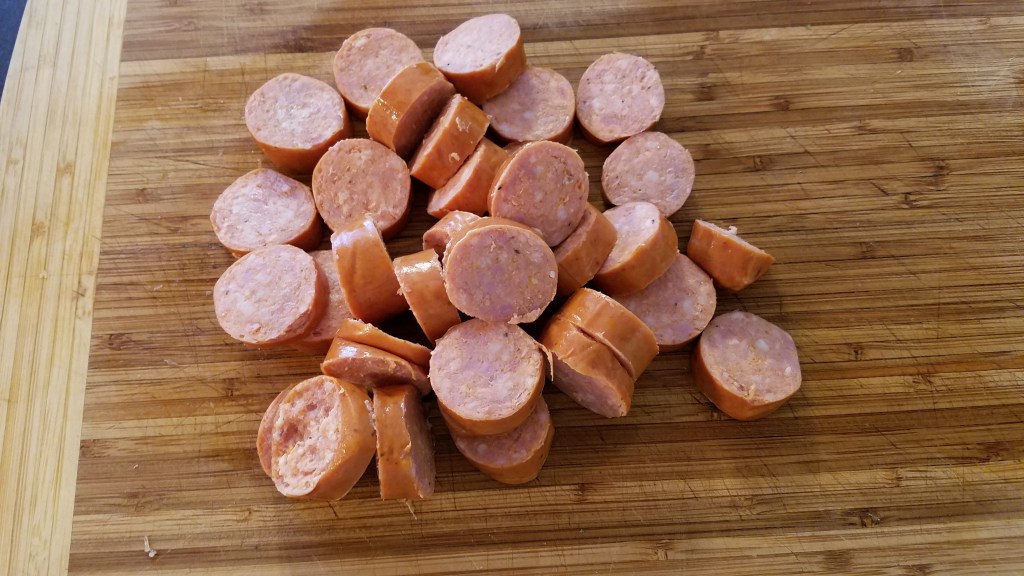
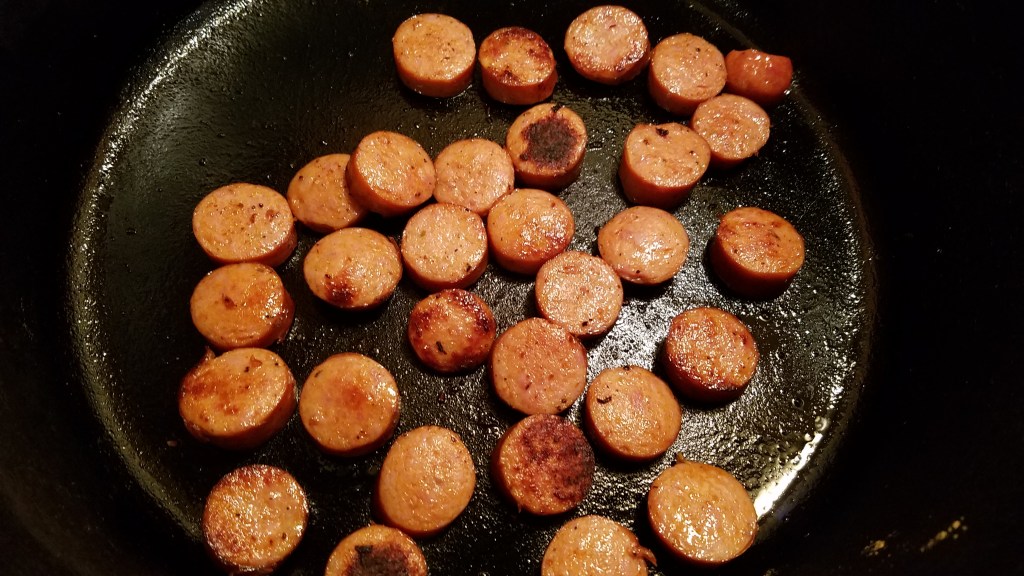
Add the sliced Andouille to the pot. Stir over medium/high heat to brown the Andouille. Remove the Andouille and set aside.
Add the chicken stock and vegetable stock to the pot and cook over high heat for 2 minutes. Return the onions and Andouille to the pot. Add the water from the steamed thyme and bay leaves. Discard the bay leaves and add the thyme to the pot. Turn the heat down to medium.
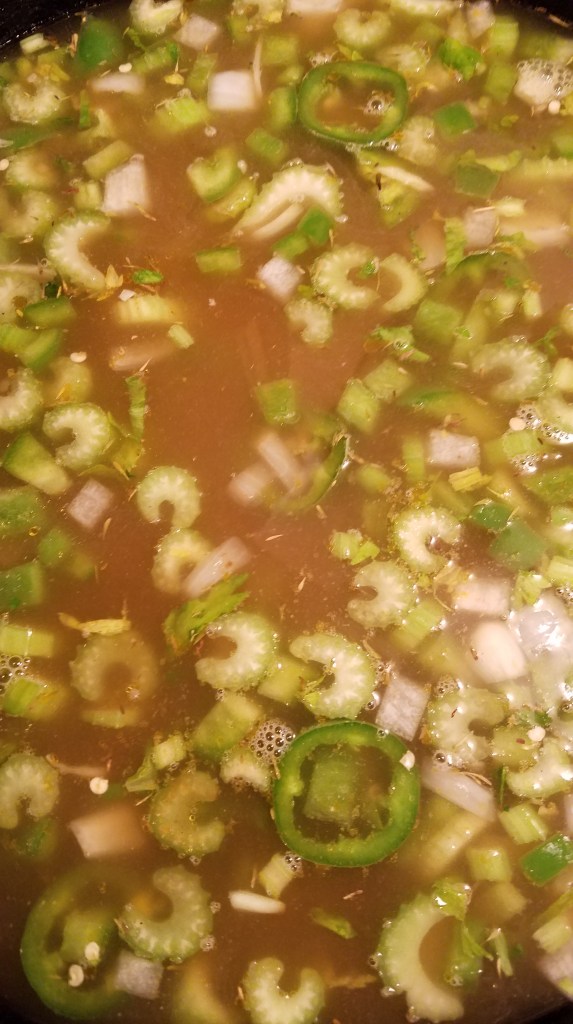
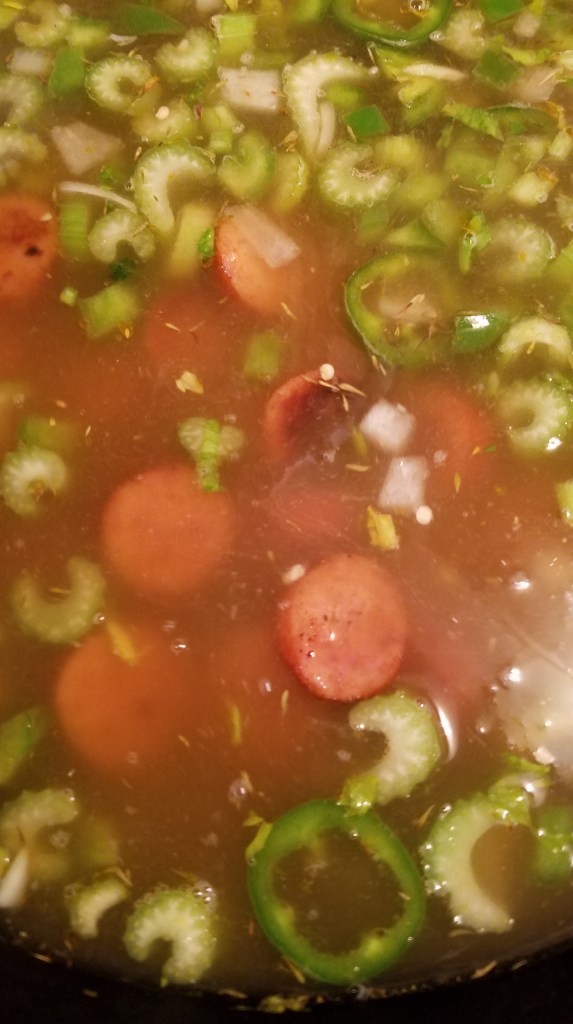
Add about half of the roux to the pot and stir, to mix.
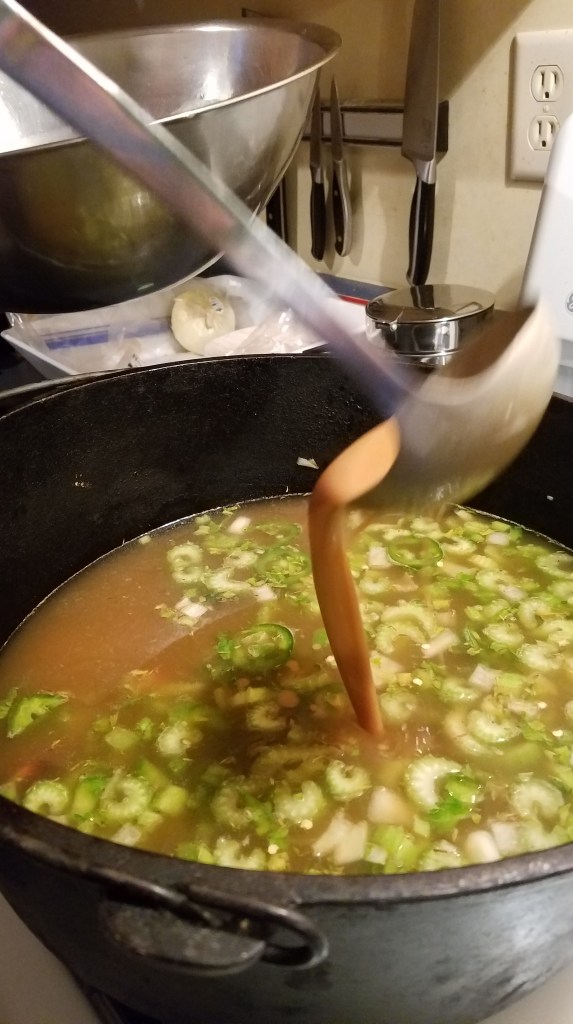
Add the okra and stir.
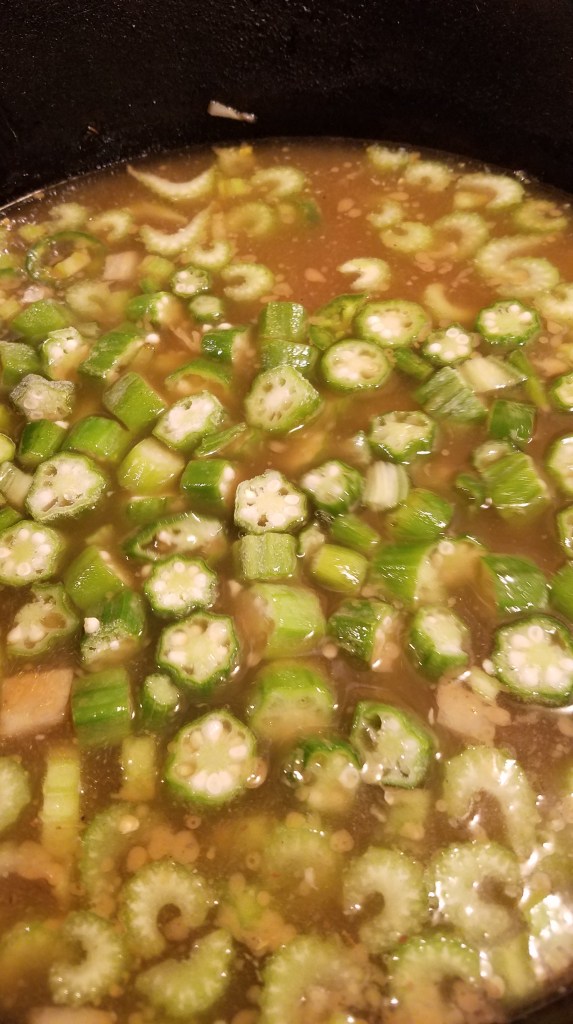
Add the rest of the roux and stir. The roux will thicken quickly. If it is too thick, as mine was, add some water. I added 3 cups of water. Continue stirring.
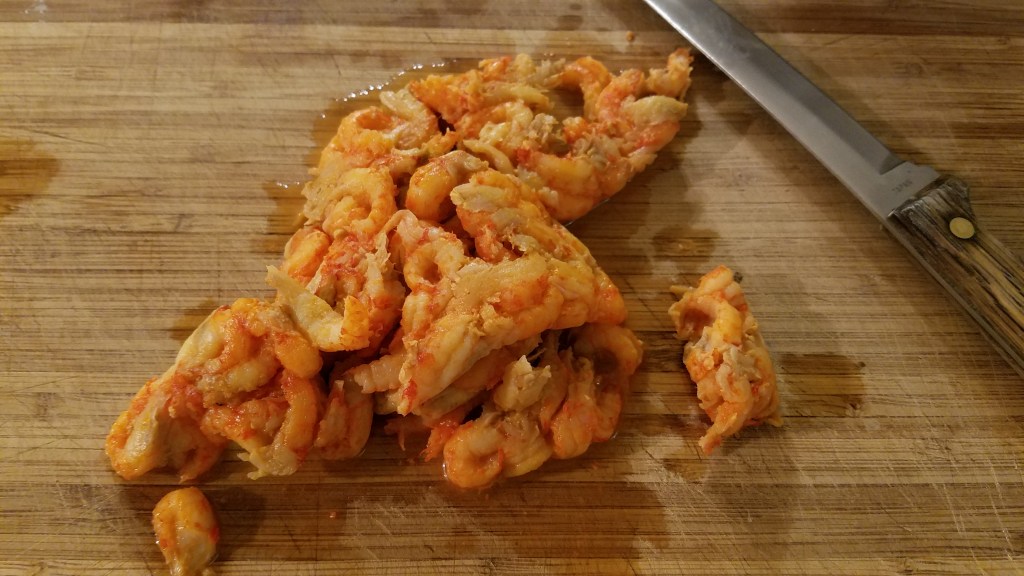
Add the crawfish meat. Stir briefly and turn the heat to low/medium.
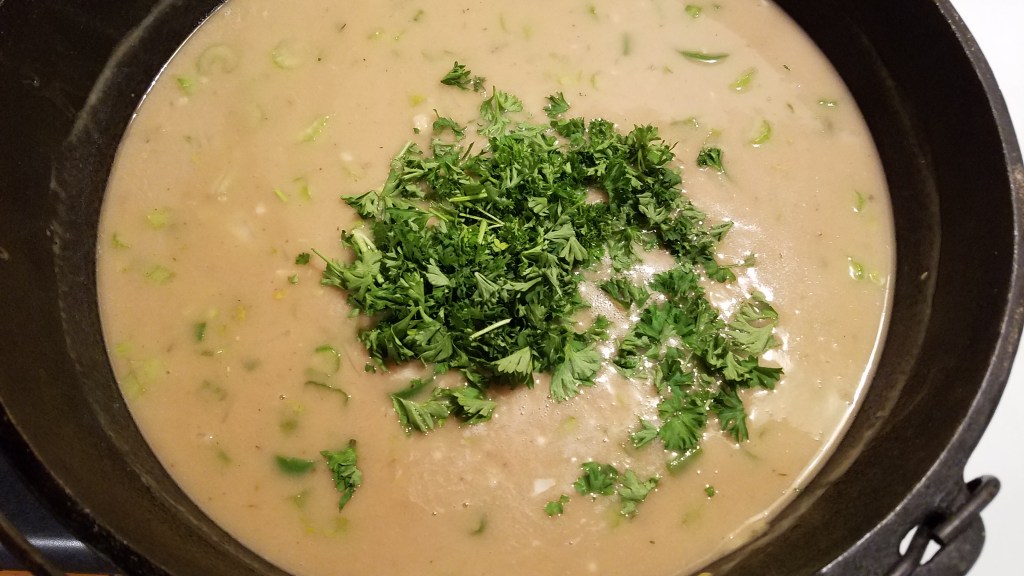
Add the parsley and stir.
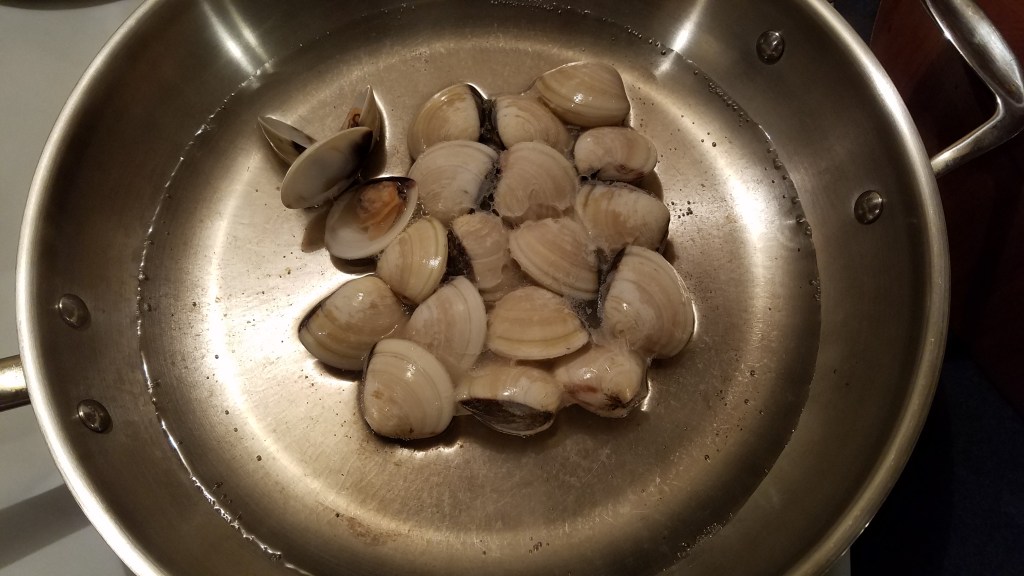
In a large skillet, add two cups of water. Set the heat to high and cover. When the water reaches a hard boil, add the white clams, turn off the heat and cover. The clams will snap open quickly. Steam the clams for about a minute and remove to a bowl. If some of the clams have not opened, bring the water back to boil and add the unopened clams. If they pop open, hooray! If they don’t open, they are doomed and will need to join the burned roux, in the trash can. (All of my clams opened – Yippee!)
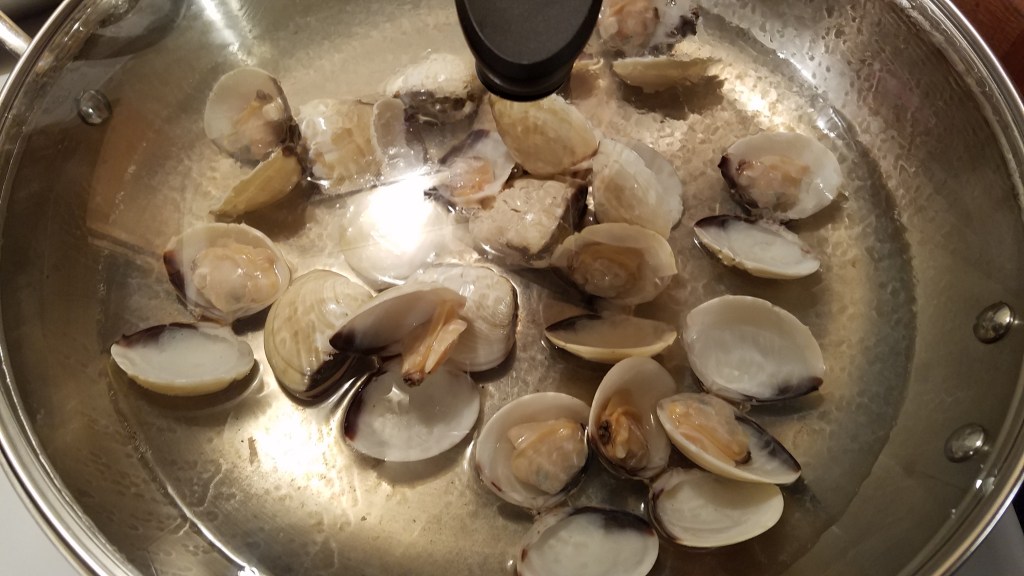
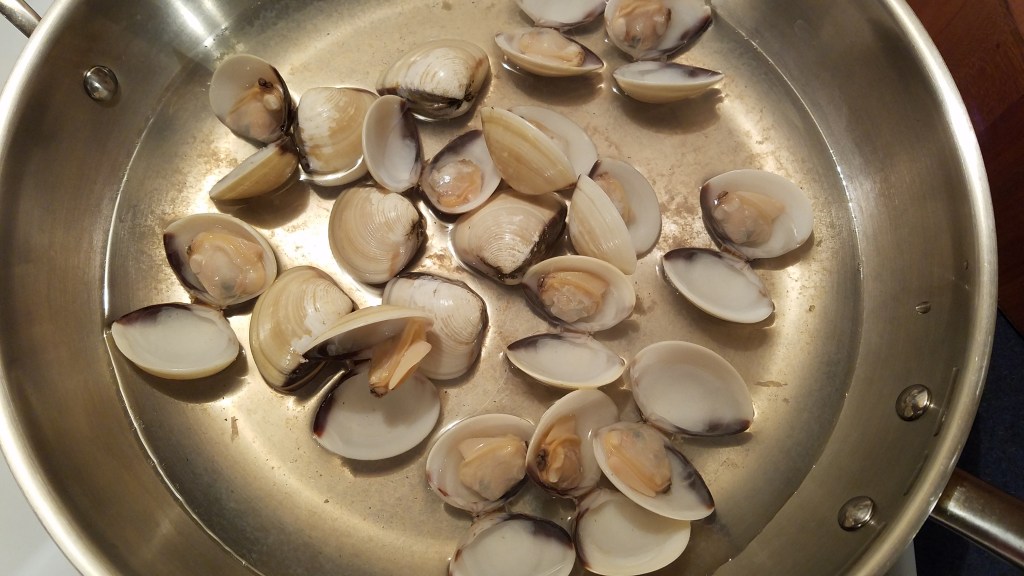
Reduce the steaming liquid from the clams to about one third. You should wind up with a milky white reduction. Strain the liquid through a paper towel and sieve to remove any sandy grit. Add the reduction to the gumbo pot.
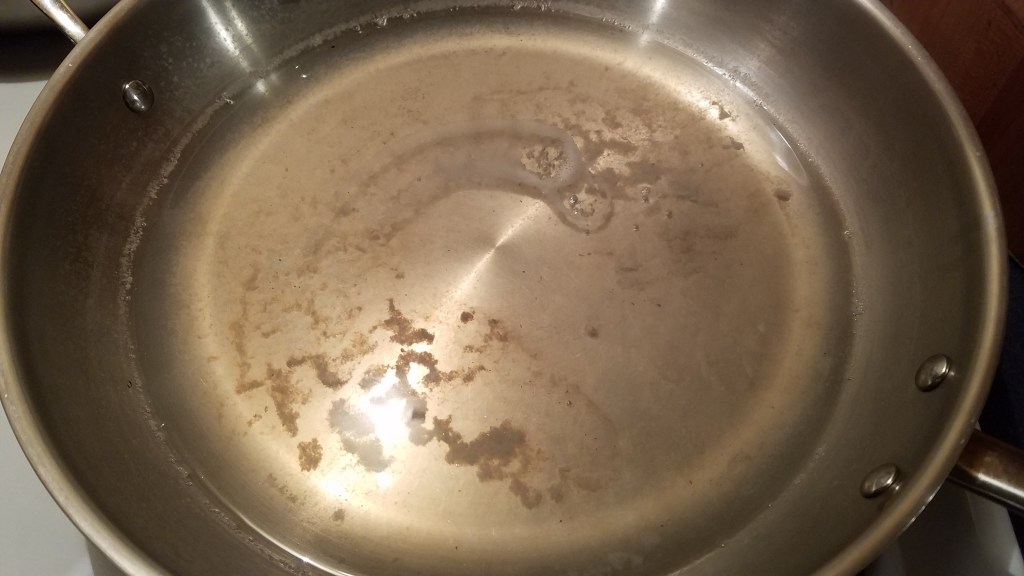
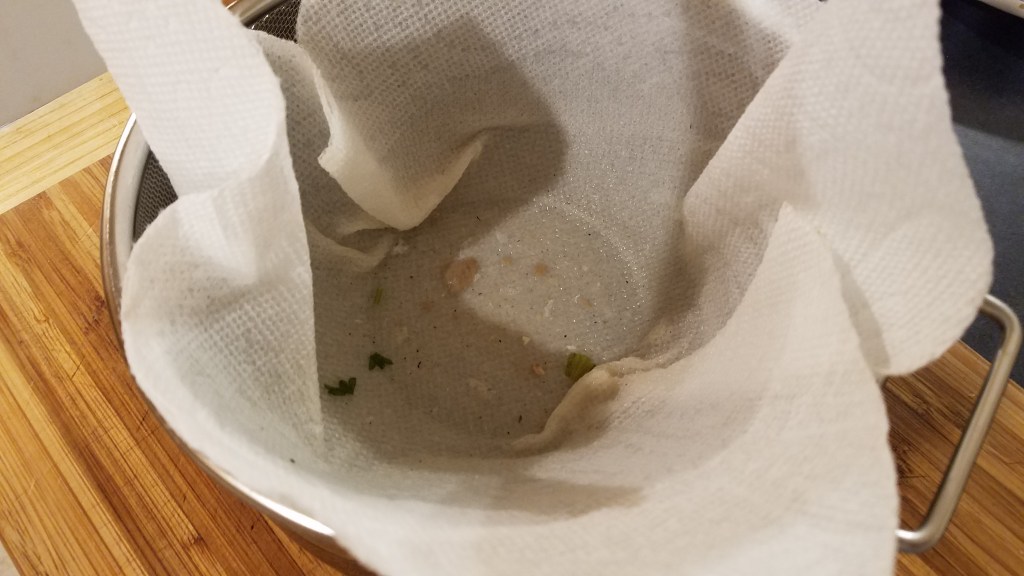
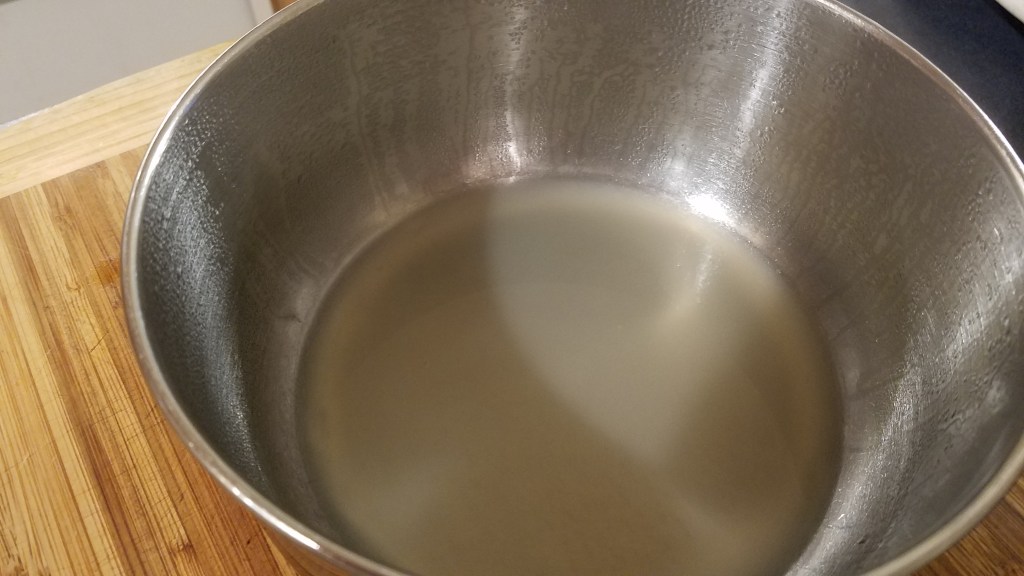
Pull the clams from the shells and add the clams to the gumbo. Discard the shells.
Add the chicken to the gumbo and stir.
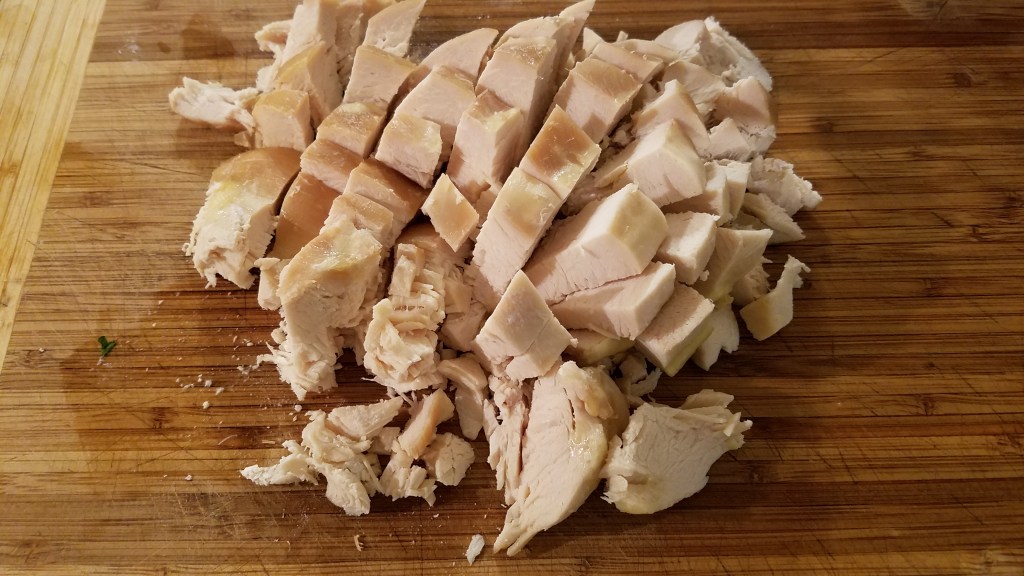
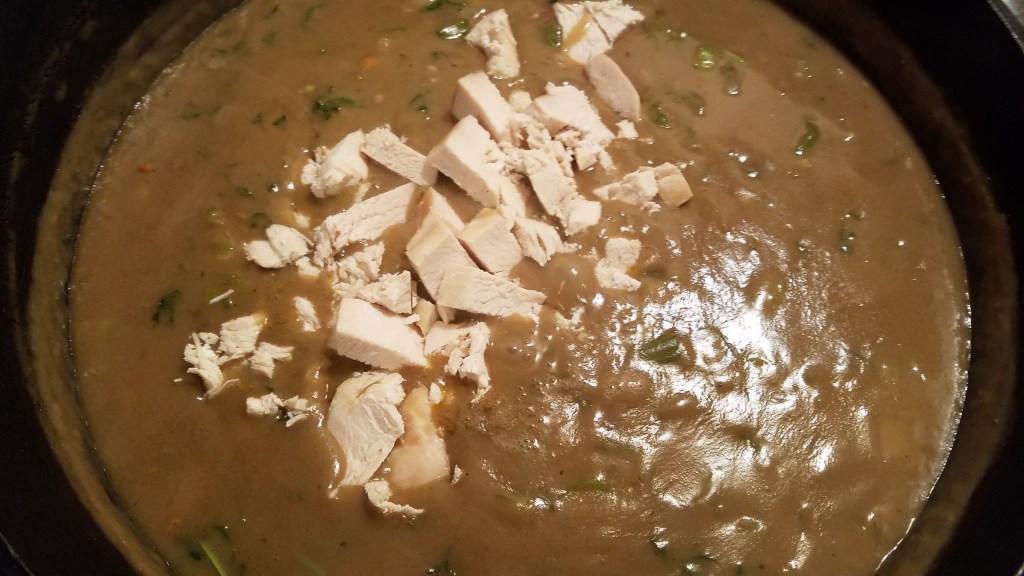
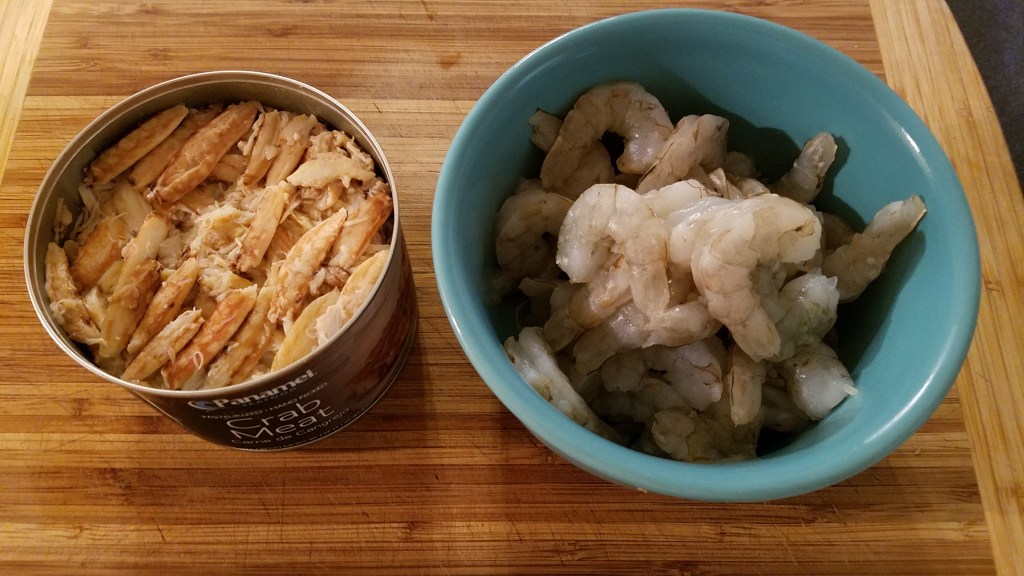
Add the crab and stir.
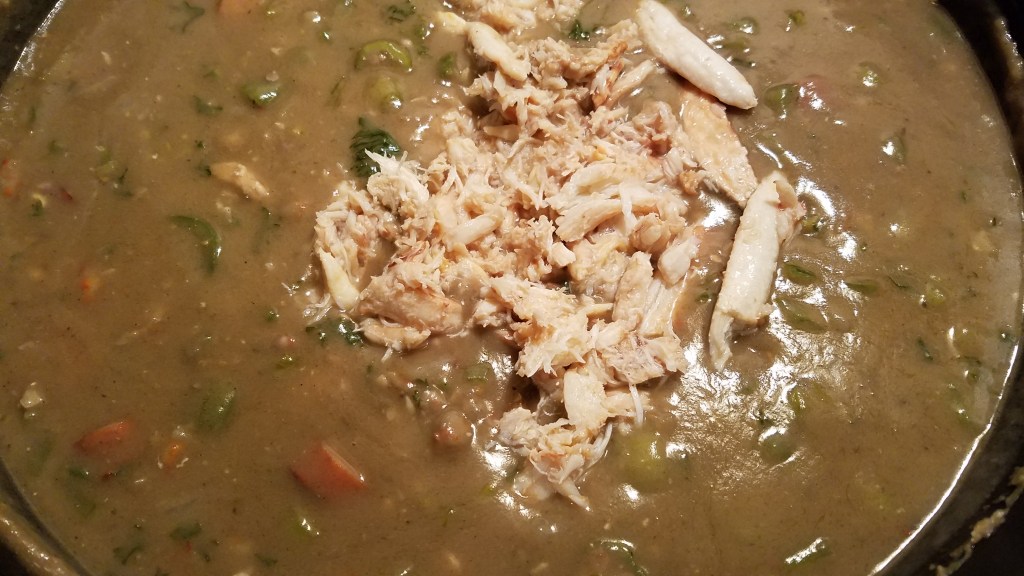
Add the shrimp and green onions to the gumbo and stir. The shrimp will cook within a couple of minutes.
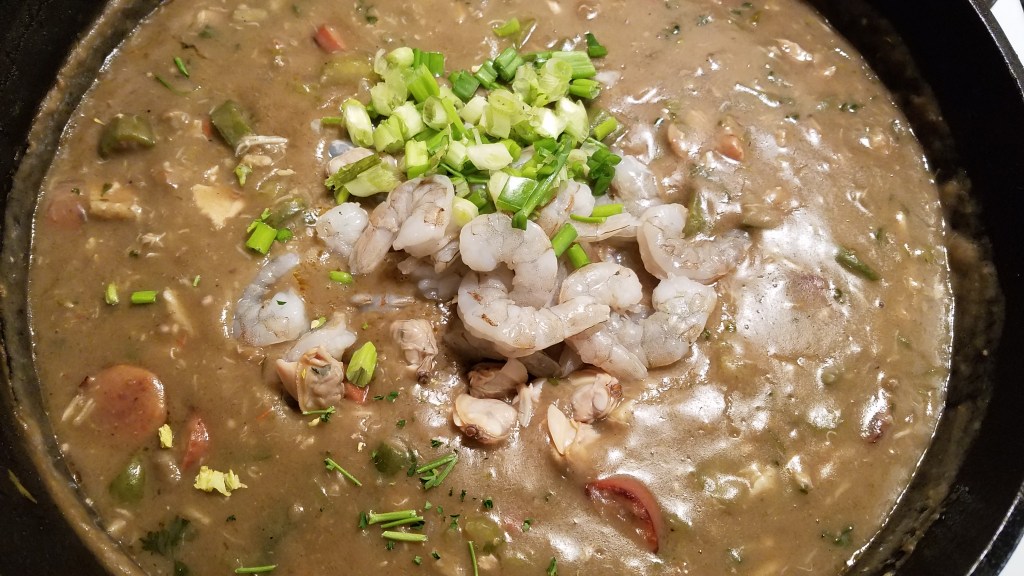
Give the gumbo a good final stir.
Serve in bowls, over warm white rice.
So, other than a few 2nd degree burns and a failed roux, everything went according to plan!
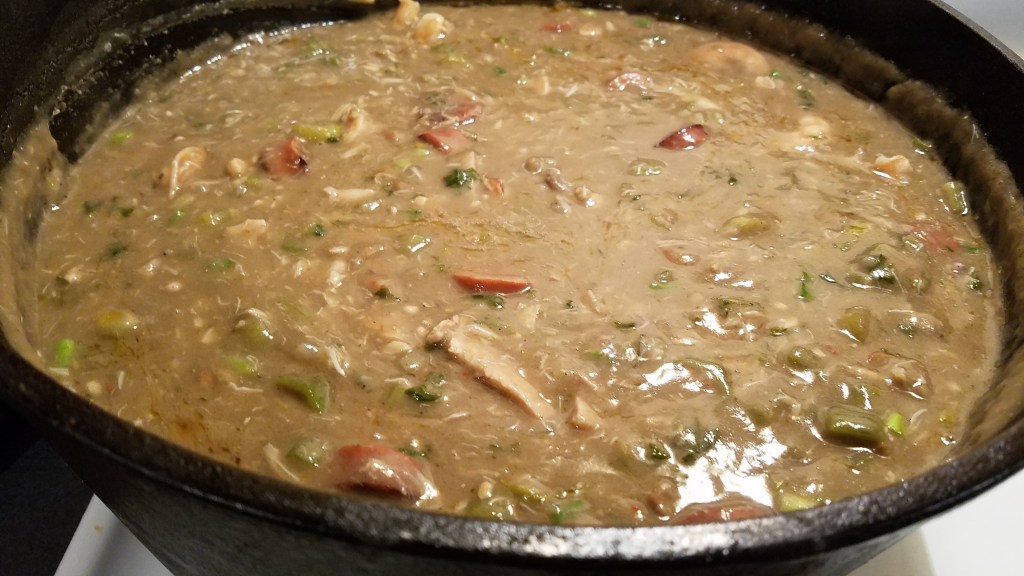
Tuna is best served rare or medium rare because overcooked tuna become flaky and dry. If you want canned tuna, buy a can of tuna. If you want tasty tuna, sear it.
Ingredients:
For the sauce:
2 Tbs soy sauce
1 tsp rice wine vinegar
¼ tsp Maggi Sesoning
Juice of ½ lemon
3 frozen tuna steaks (1” thick, 5 ounces each)
1 Tbs olive oil
1 green onion
2 tsp wasabi paste
5 small oranges (mini Mandarin)
Directions:
Thaw the tuna in the refrigerator overnight.
Mix the ingredients for the sauce in a small bowl. Set aside.
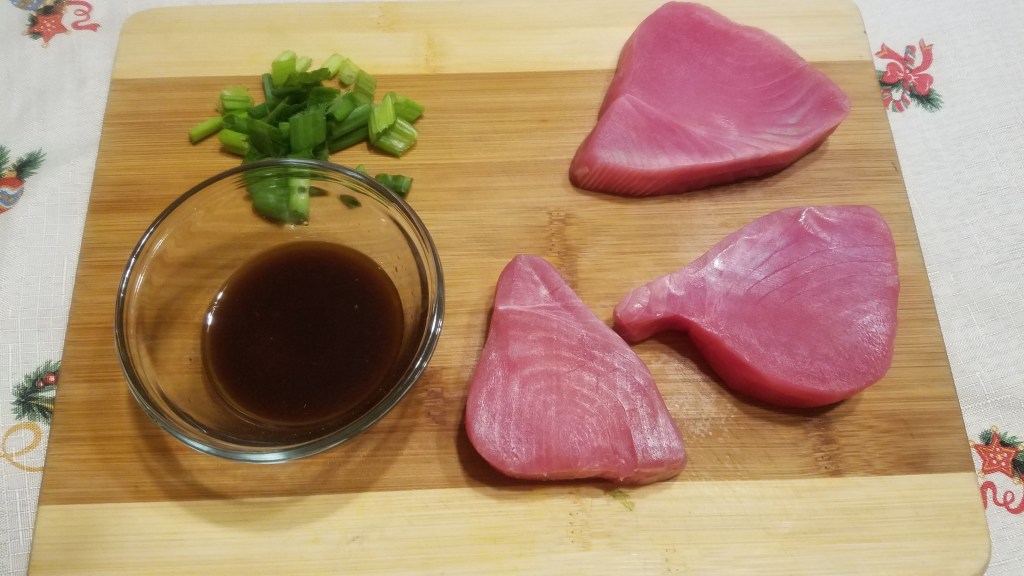
Slice the oranges and cut the the slices in half. Arrange the oranges on a serving platter place some small dollops of wasabi paste in the corners of the platter. Set the platter aside.
Chop the green onions and set aside.

Heat a large stainless steel skillet on the stove at very high heat
Brush the tuna with olive oil.
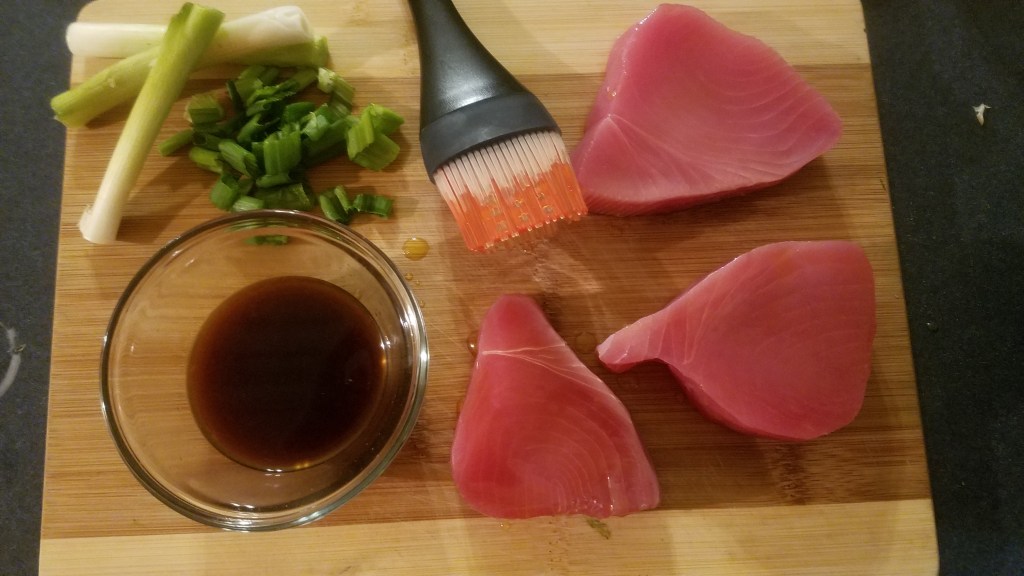
Gently lay the tuna onto the very hot skillet. Brush the other side of the tuna steaks with olive oil.

Turn the tuna over after 60 seconds. Sear for another 45 seconds.

The internal temperature of the tuna should reach about 120° after searing. The tuna should be white on the outside after searing and bright red in the center.
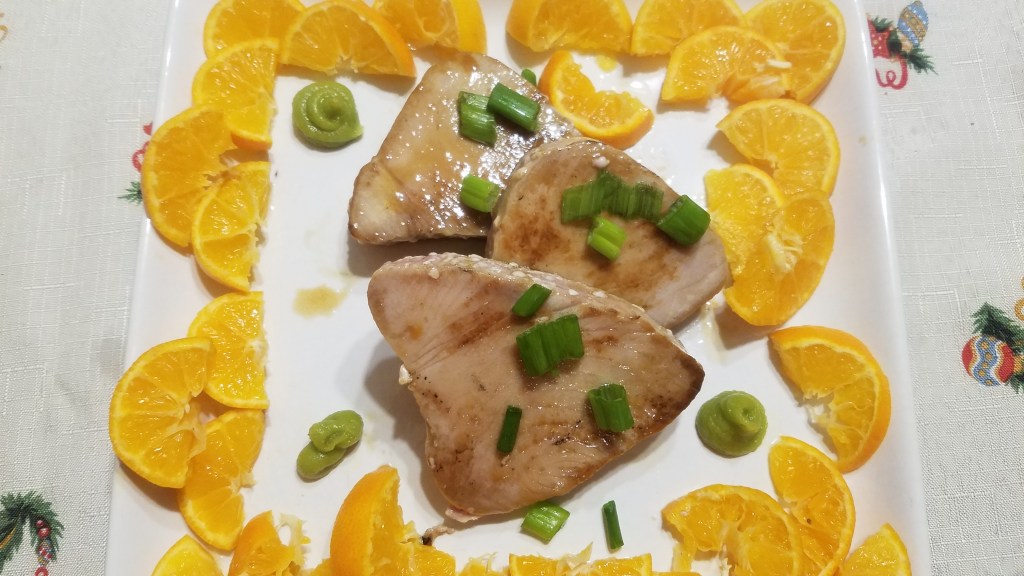
Top with green onions and serve with stir-fried rice and steamed vegetables.
I don’t know what prompted me to do this but I think with a little more experimenting, I might come up with a nice recipe.

Ingredients:
Water
Carrots
Honey
Red Hots (spicy cinnamon candies)
Directions:
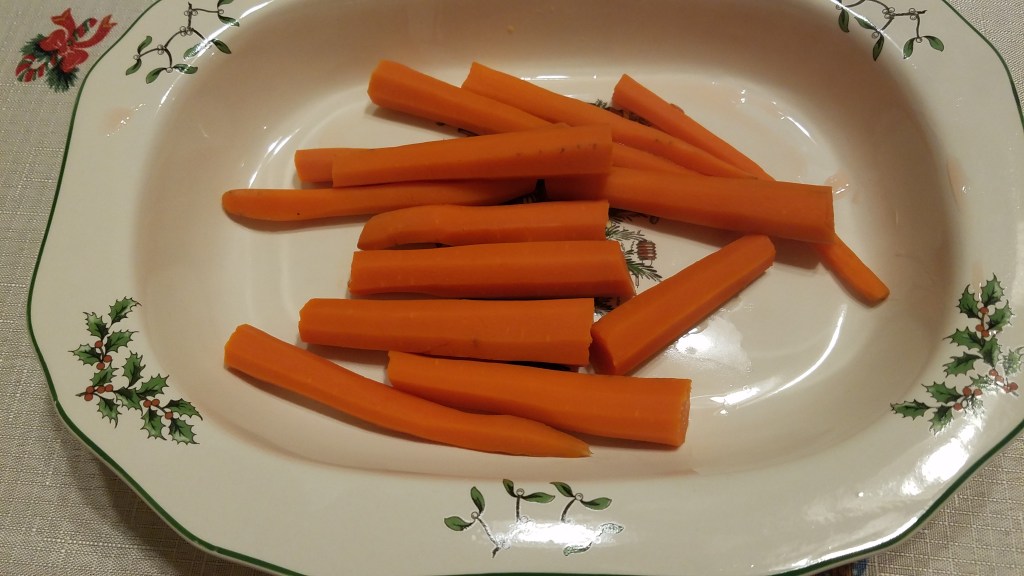
Combine all and simmer until carrots are fork tender.

The next time I attempt this I will reduce the honey, water and red hots to make a glaze for the carrots.
Cheers!
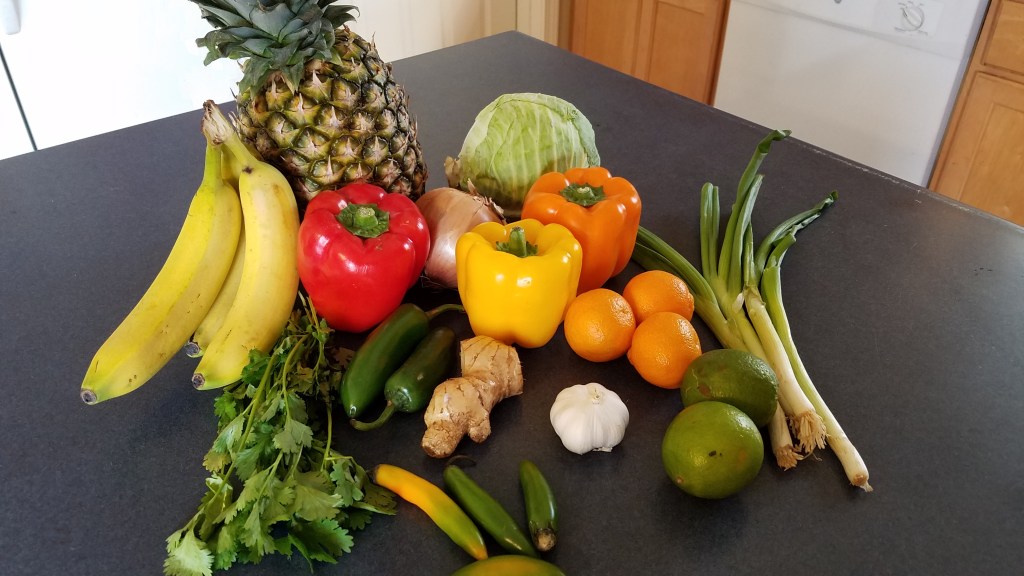
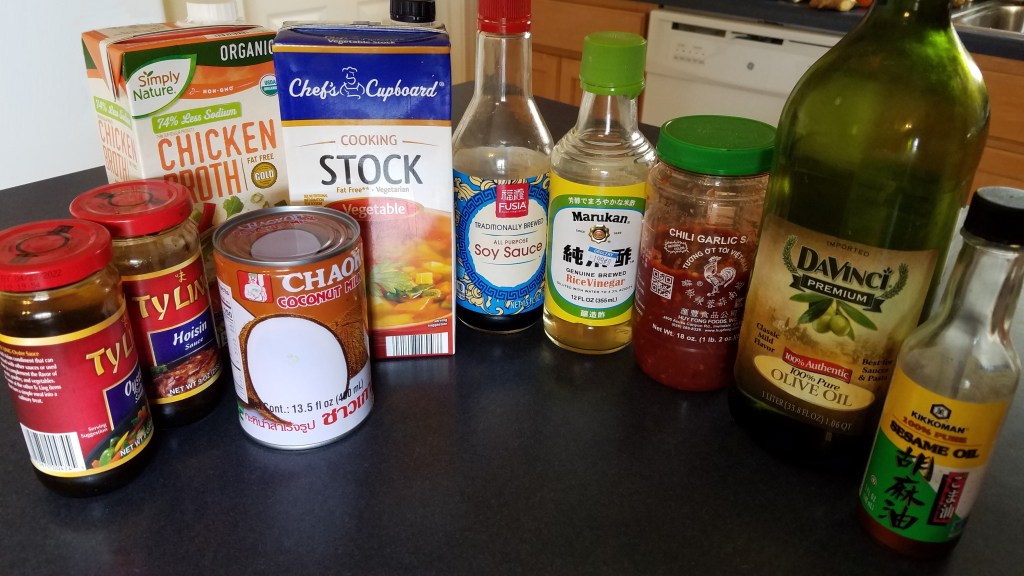
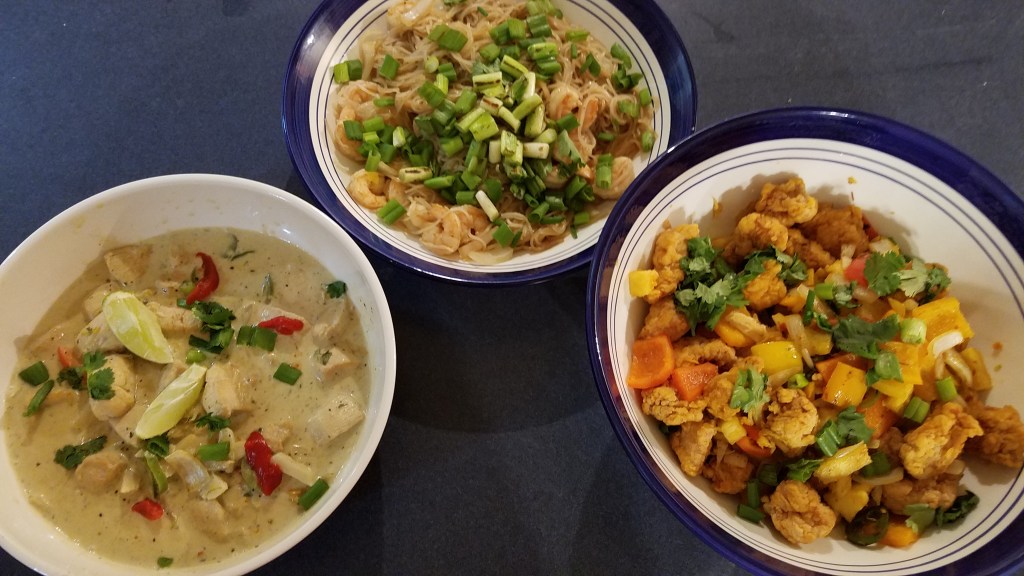
Stay tuned for recipes…
Merry Christmas!
My favorite sort of days evolve and flow in natural, unpredictable ways. I don’t always plan meals ahead of time, and even when I do, my instincts guide me when it actually comes time to cook.
1. Segmented Grapefruit
I saw some nice looking grapefruit at the store recently. Even though they weren’t bonafide Texas Ruby Red grapefruit, they were large and ripe and I thought they would make a nice addition to the next day’s breakfast.
I like grapefruit but I don’t like the white, bitter pith and I don’t like the membranes between the segments. I wasn’t a big fan of grapefruit until I discovered that I could cut away the parts that I didn’t like! I started by cutting the top and bottom off, just to the point where I could see the fruit beneath. Then I used a sharp kitchen knife to spiral cut the rind, deeply enough to get beneath the pith. Then I cut the segments, sliding the knife along the sides of the membrane, leaving nothing but pristine segments. This takes some practice but it’s definitely worth the effort.
2. Citrus Aromatic
I decided to use the grapefruit rinds to make a citrus aromatic on the stovetop. It’s an easy thing to do and it makes the entire house smell fantastic. I heated a pot of water and added some star anise, a cinnamon stick and a crushed nutmeg seed. Just as I was about to toss the grapefruit rinds into the pot I had an idea. I could use the rinds to make candied ginger and still use the top and bottom pieces of the grapefruit for the aromatic pot.
3. Candied Grapefruit Peels
Once the aromatic pot was simmering, I sliced the grapefruit rinds into thin strips. I boiled the rinds three times in water, to remove some of the bitterness and then I made a simple syrup, using 1 cup of water and 1 cup of sugar. I brought the syrup to a boil while whisking.
I added the cut grapefruit rinds to the syrup and simmered them at low heat for about 20 minutes. Once the rinds turned translucent, I moved them to a wire rack to dry for about 4 hours. On a dry day, they might have dried in an hour but the humidity was high and they took most of the day to dry. After a few hours I dredged the pieces in sugar and then I returned them to the rack. An hour later, I tossed them in sugar again and let them finish drying on the wire rack.
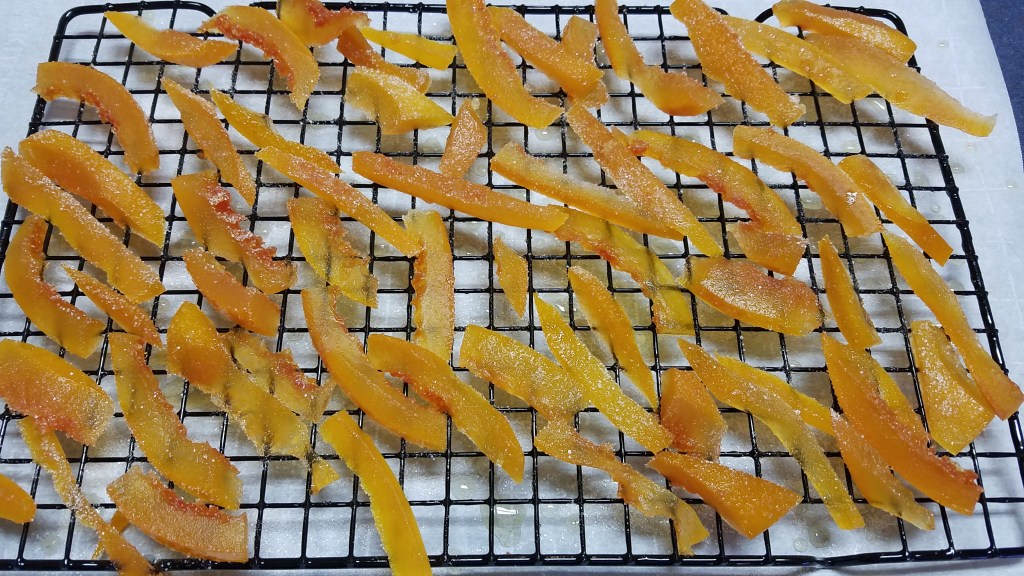
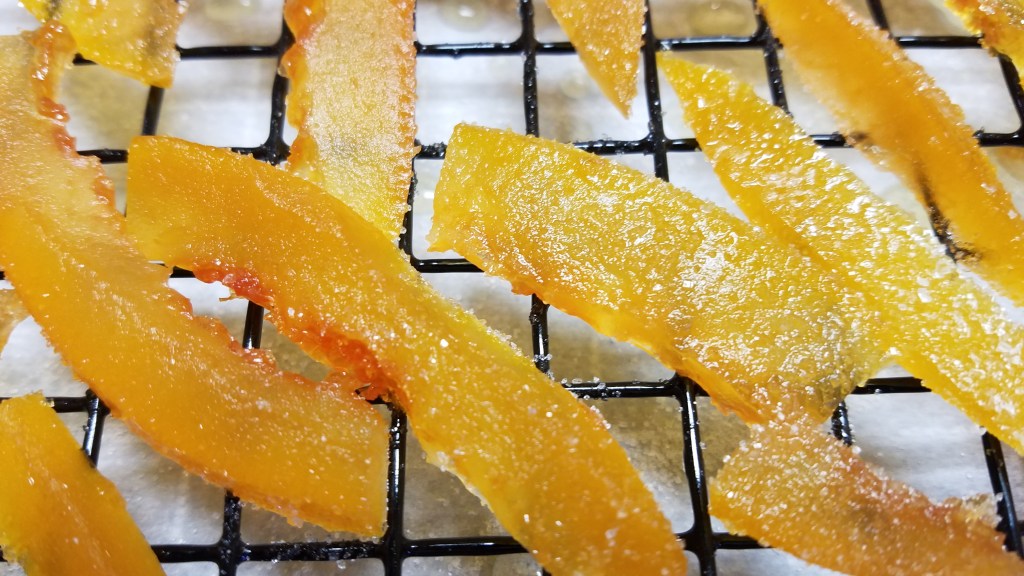
I was left with 1 cup of grapefruit flavored simple syrup. Being the frugal sort of cook that I am, I devised a plan to use the syrup.
4. Sweet and Sour Chicken
Ingredients:
1 cup flour
3/4 cup cornstarch
2 lbs chicken thighs, skinned and deboned
1 cup cooking oil
For the sauce:
1 cup simple syrup (from the candied grapefruit)
1 cup ketchup
1 ½ Tbs soy sauce
1 tsp Hoisin sauce
1 tsp rice vinegar
For the stir-fry:
1 Tbs cooking oil
½ tsp sesame oil
2 garlic cloves, smashed
1 Tbs fresh ginger, minced
½ lb broccoli florets
3 green onions, chopped
2 large carrots, sliced diagonally
2 large, mild jalapeños, seeded and chopped
1/4 cup cilantro
Directions:

In a large bowl, combine the cornstarch and flour. Whisk to combine. Remove half of the flour mixture and set aside.
Remove the skin from the chicken thighs and debone. Cut the chicken into bite sized pieces. Add the chicken to the bowl containing half of the cornstarch and flour. Toss to coat the chicken. Leave the chicken in the flour dredge for 10 minutes.
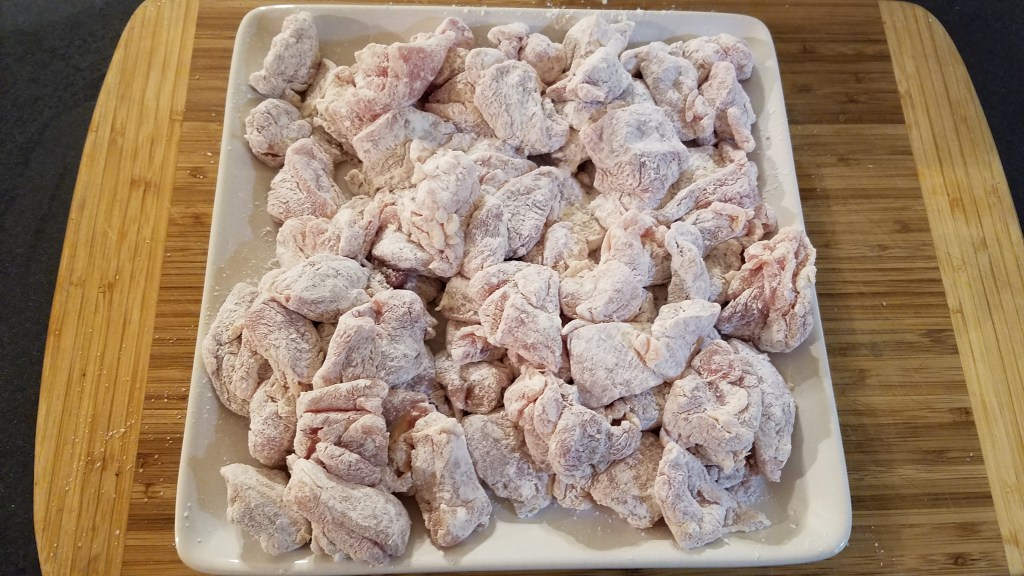
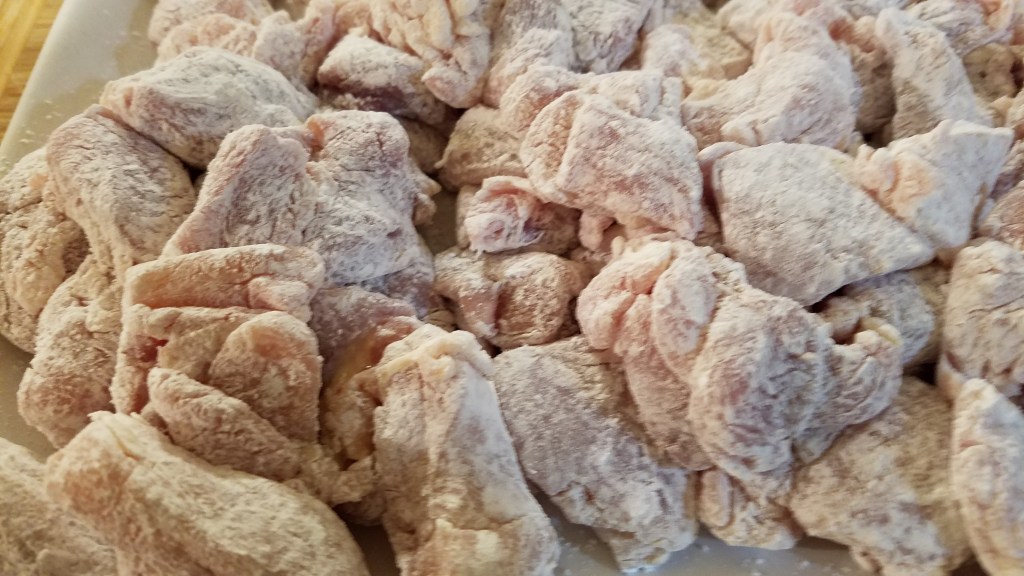
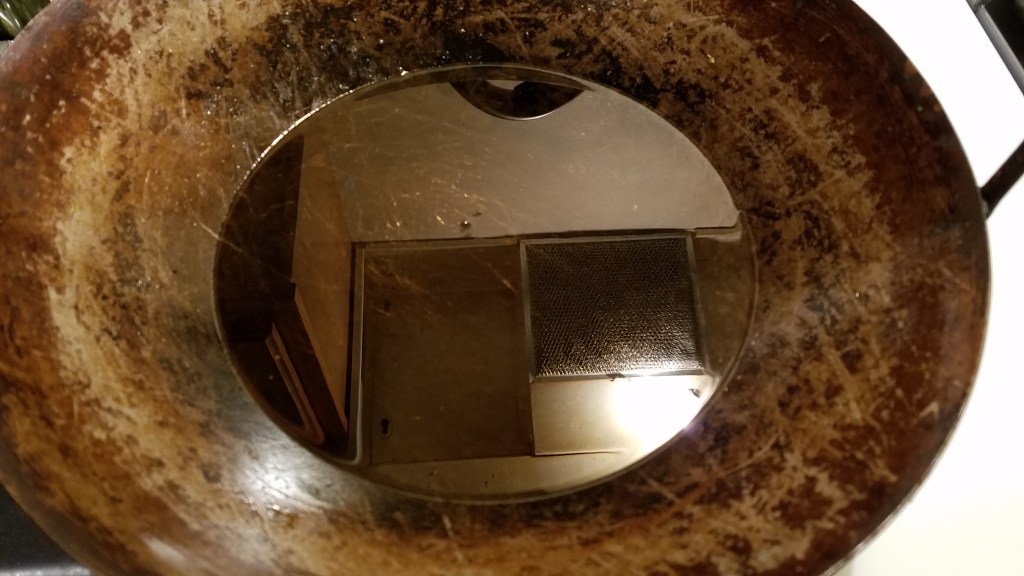
Prepare a wok by adding 1 cup of cooking oil and set the heat to high.
Add remaining flour to the chicken and toss to coat.
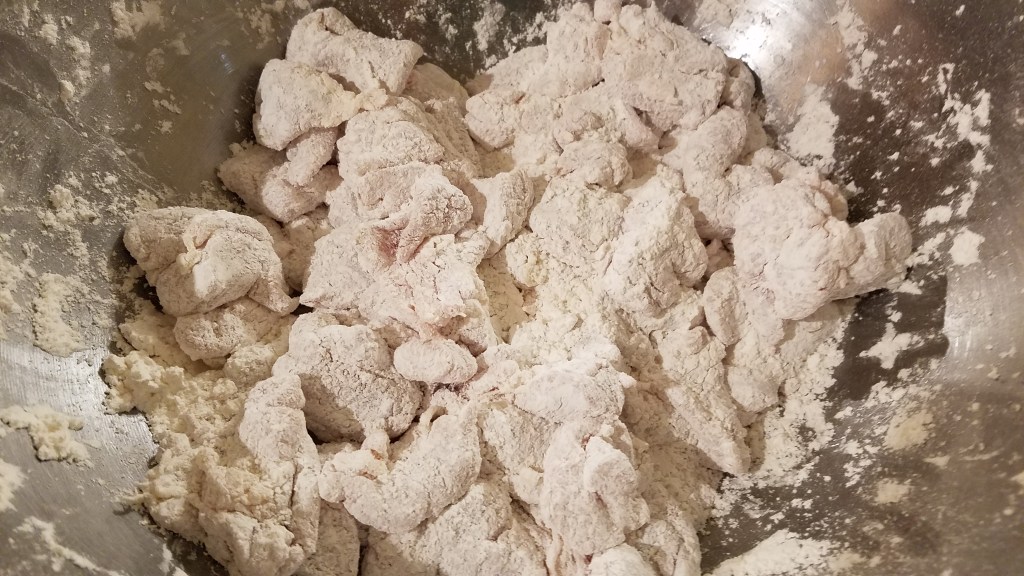
Add the chicken to the hot oil, a little at a time. Fry the chicken until crispy, golden brown.

Remove to a paper towel lined plate and keep warm.

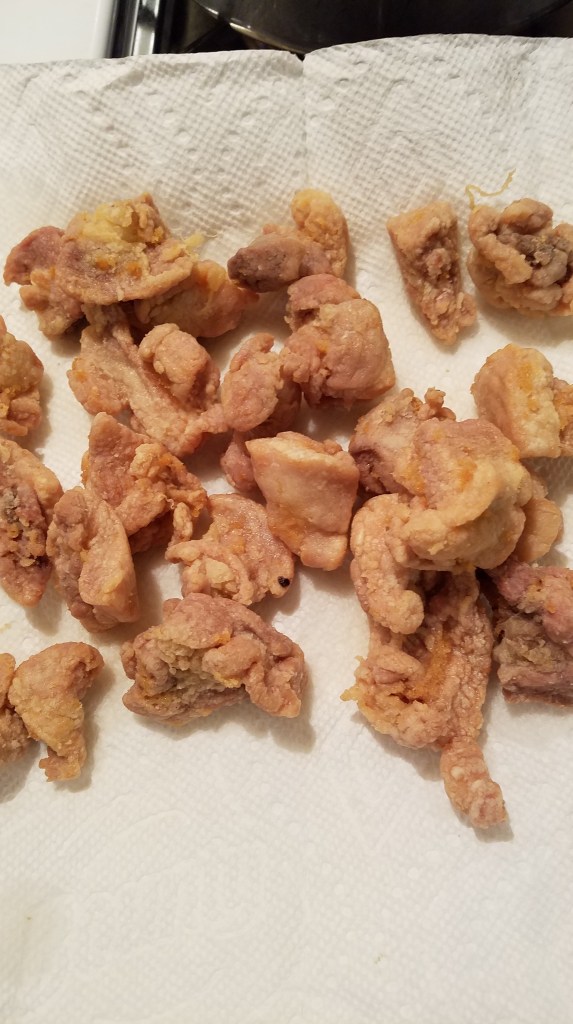
Remove the oil from the wok and wipe the wok clean with a paper towel.
Combine the ingredients for the sauce in a small bowl. Set aside.
Add 1 Tbs cooking oil and ½ tsp sesame oil to a hot wok. Add the garlic and ginger and simmer for a few seconds.
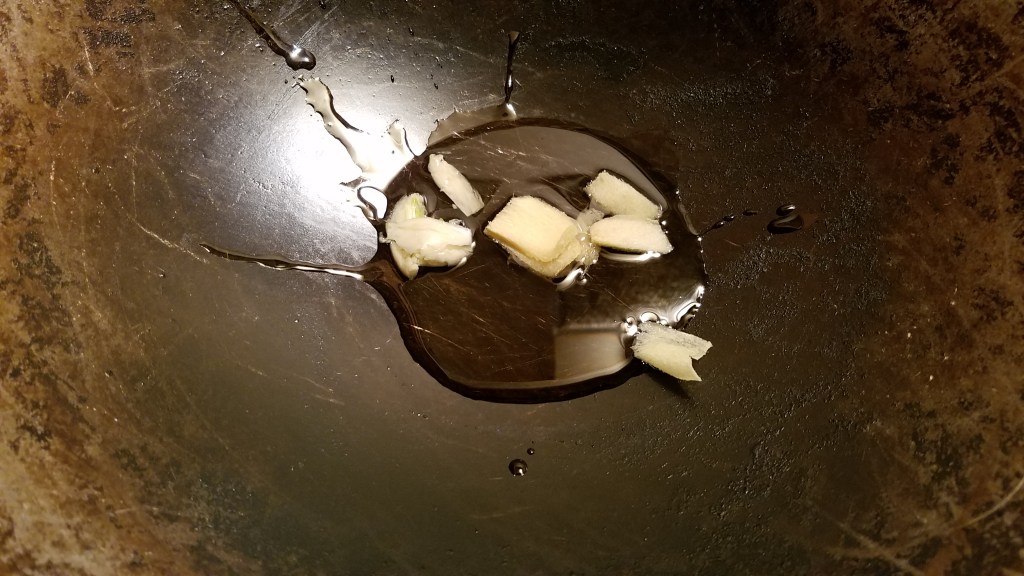
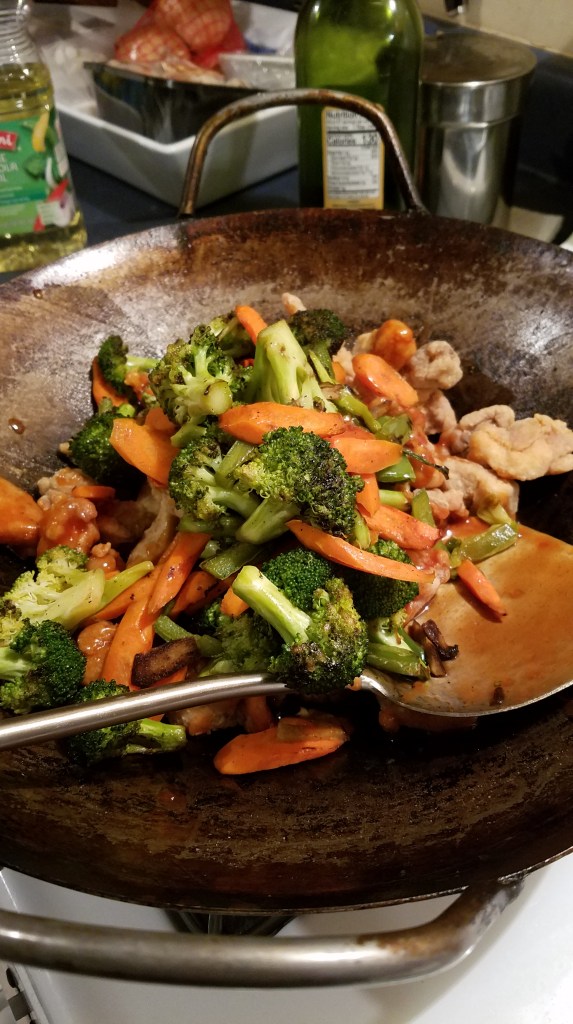
Add the vegetables and stir-fry until the vegetables are tender. Remove the vegetables to a bowl and keep warm.
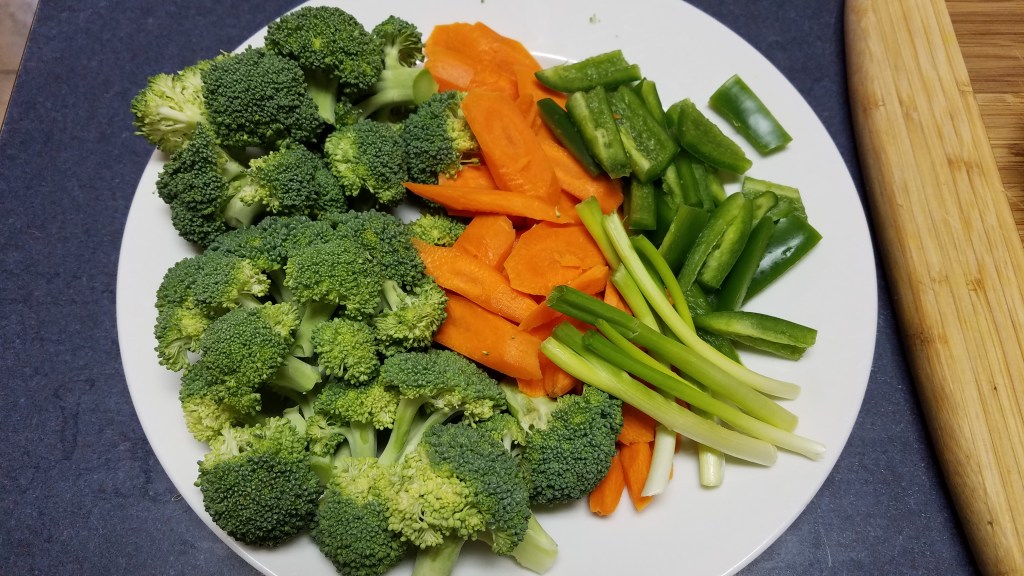

Add the sauce to the wok at medium heat. Once the sauce begins to bubble, add the chicken and stir to coat.


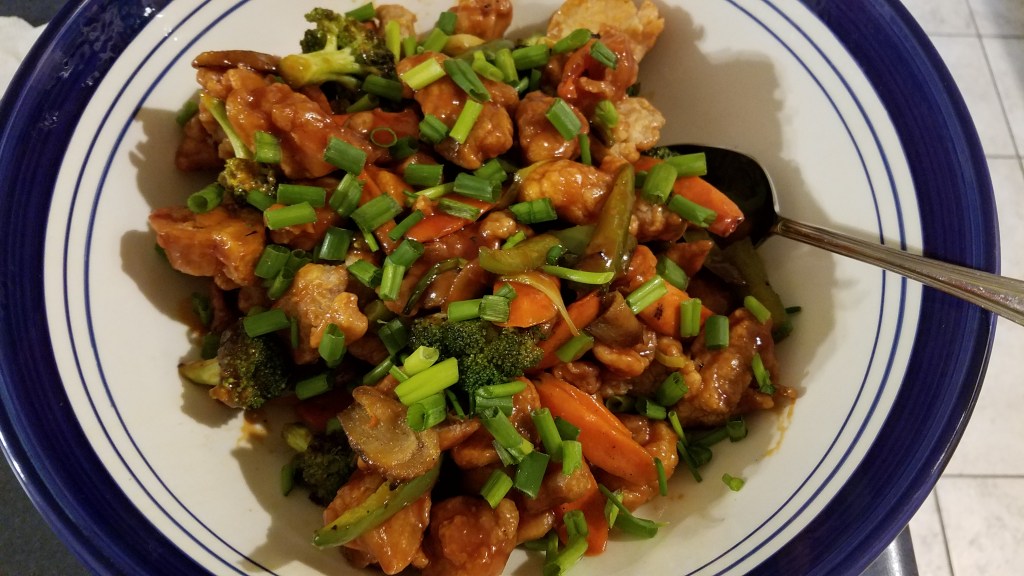
Add the vegetables and stir to combine. Turn out to a large serving bowl.
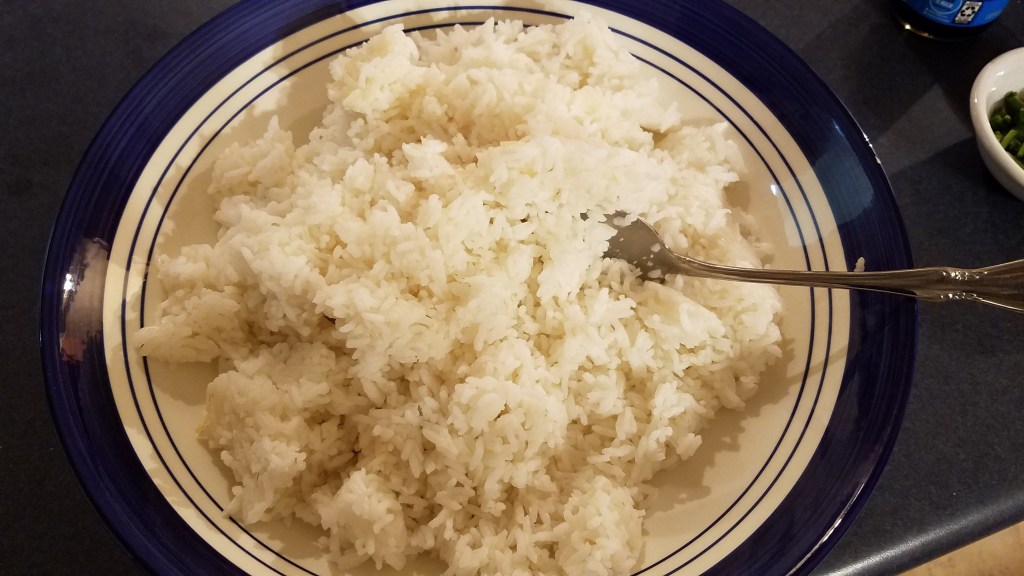
Top with cilantro and serve in bowls with steamed jasmine rice.
Happy Holidays!

Chicken with Stuffing
The turkey went fast this Thanksgiving. We had enough left over turkey to make a big batch of turkey, biscuits and gravy but that went quickly, too. The leftover green beans, yams, mashed potatoes and macaroni and cheese have all been eaten. Why is it that dressing is always the last remnant of Thanksgiving at my house? Maybe it’s because we always make too much of it. The dressing was very good this year, mainly because my wife made it. She knows how to balance the flavors. I tend to get heavy handed when adding herbs and spices.
But, the fact remains. I have all of this dressing to deal with. Some types of leftovers make great additions to other future meals. Vegetables and meat can be added to omelets or salads…that’s easy. But dressing, or stuffing, depending on your preference, is pretty much singular, in nature.
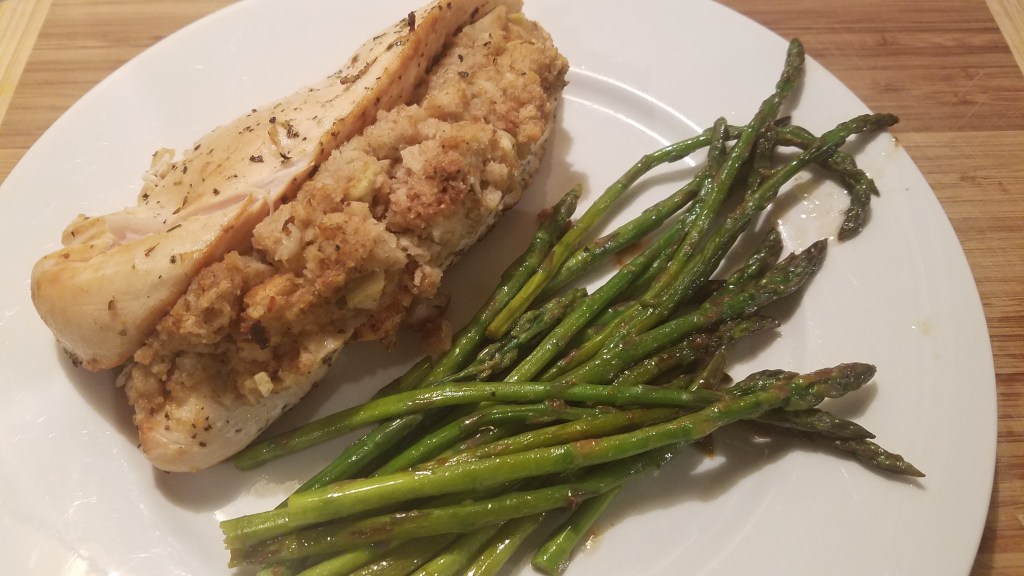
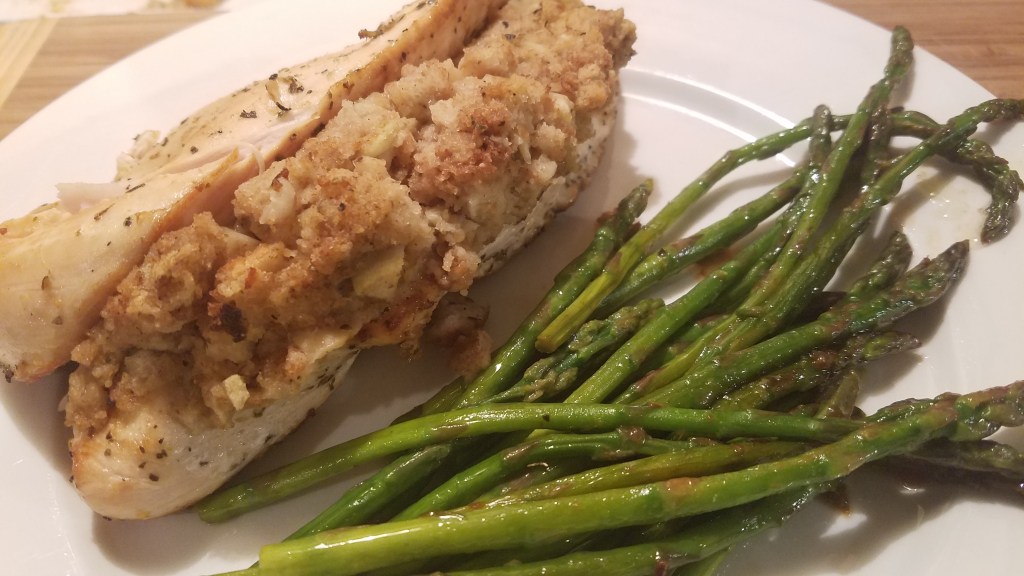
I was portioning some extremely large chicken breasts the other day and I decided to use a few of the breast pieces to make stuffed chicken.
Ingredients for the marinade:
¼ cup olive oil
Juice of 1 lemon
1 Tbs dry Italian seasonings
1 tsp cracked black pepper
½ tsp salt
Ingredients for the stuffed chicken:
3 monstrously sized chicken breasts
3 cups prepared and cooked bread stuffing (dressing)
Directions:
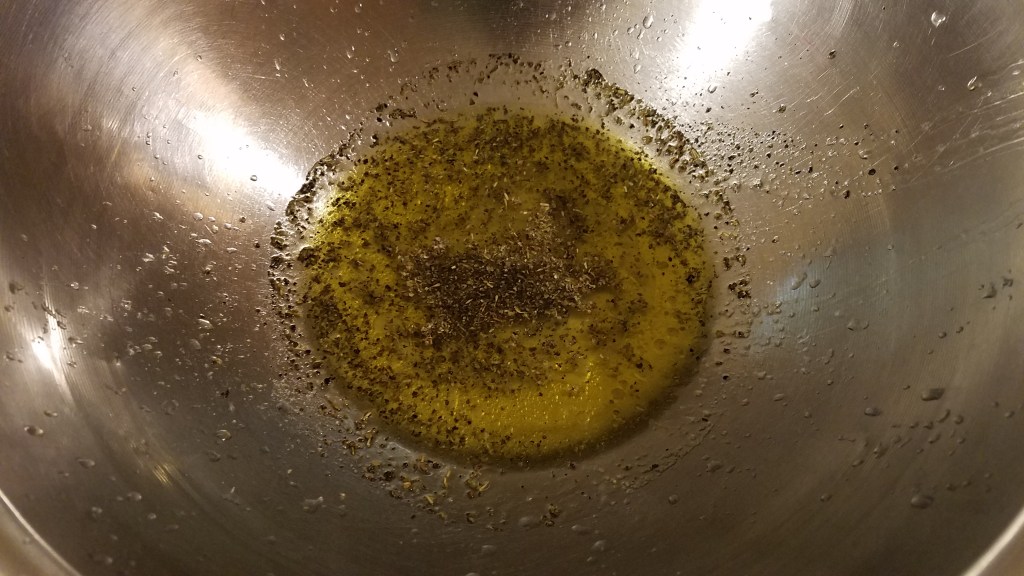
Combine the marinade in a large bowl.
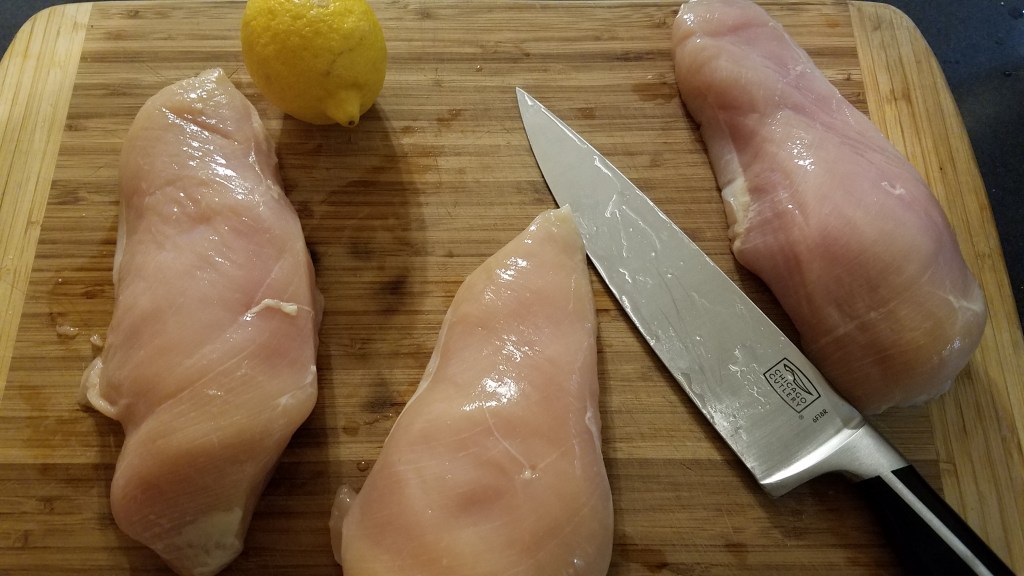
Butterfly slice the chicken breasts, leaving about half an inch of the breast uncut.
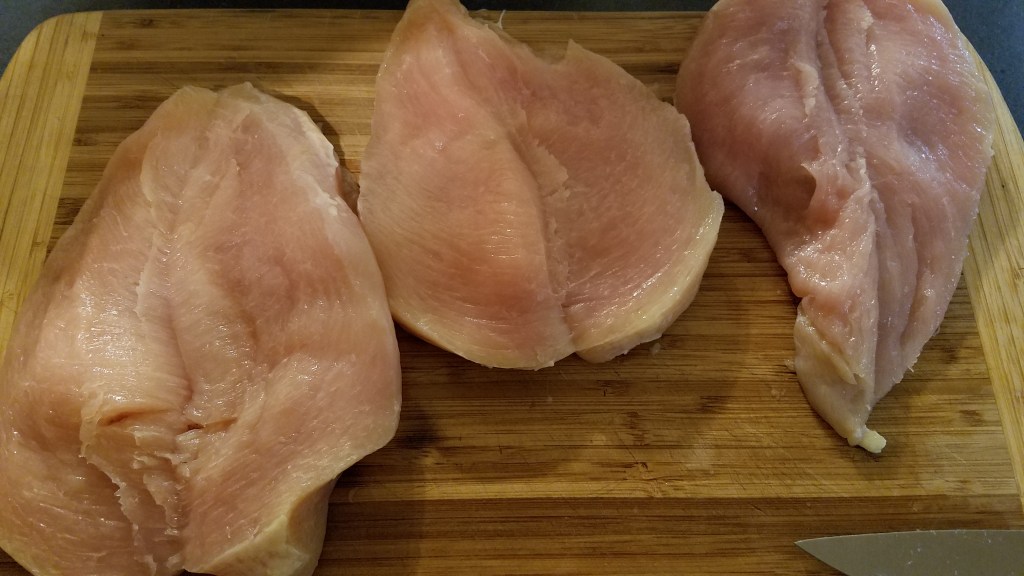
Lay the chicken breasts open and put them in the bowl containing the marinade. Allow the chicken to marinate for a half hour, turning occasionally.
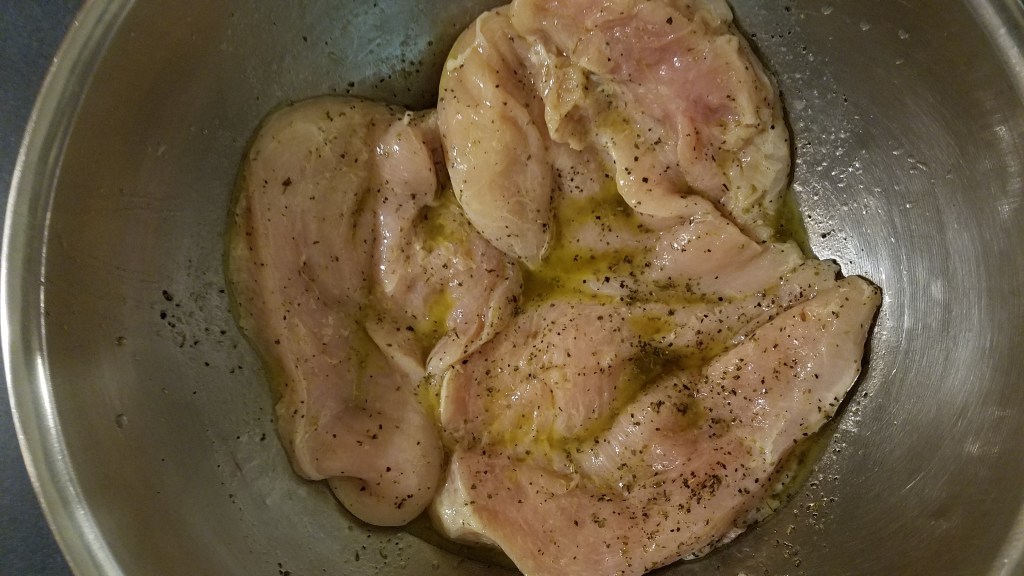
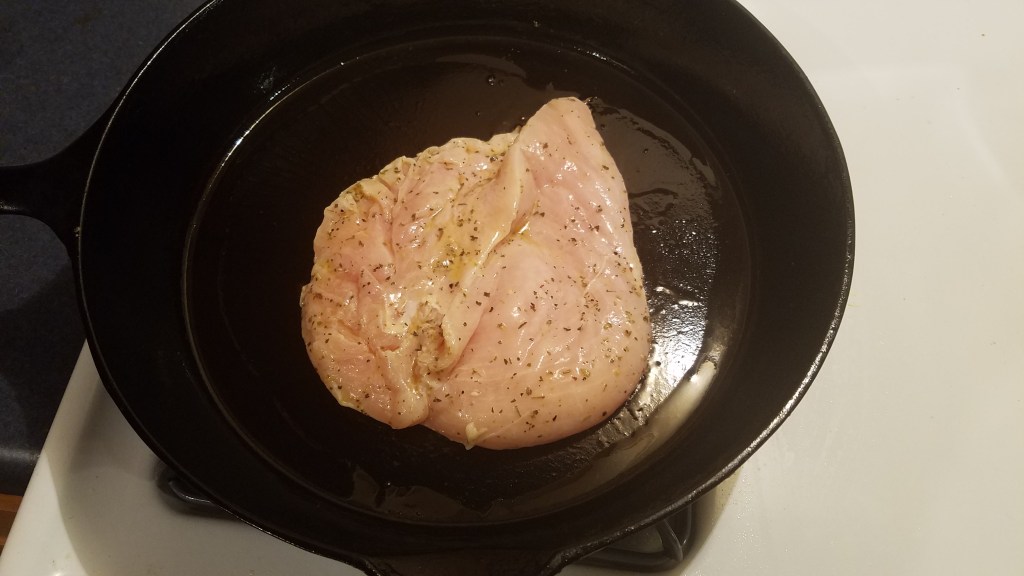
Heat a cast iron skillet to high. Once the skillet is hot, sear the cut sided of the chicken. Sear for about 1 minute and turn the chicken over to briefly sear the other side, about 10 or 15 seconds. Remove the chicken to a work surface. Sear the remaining chicken breast in a similar fashion.
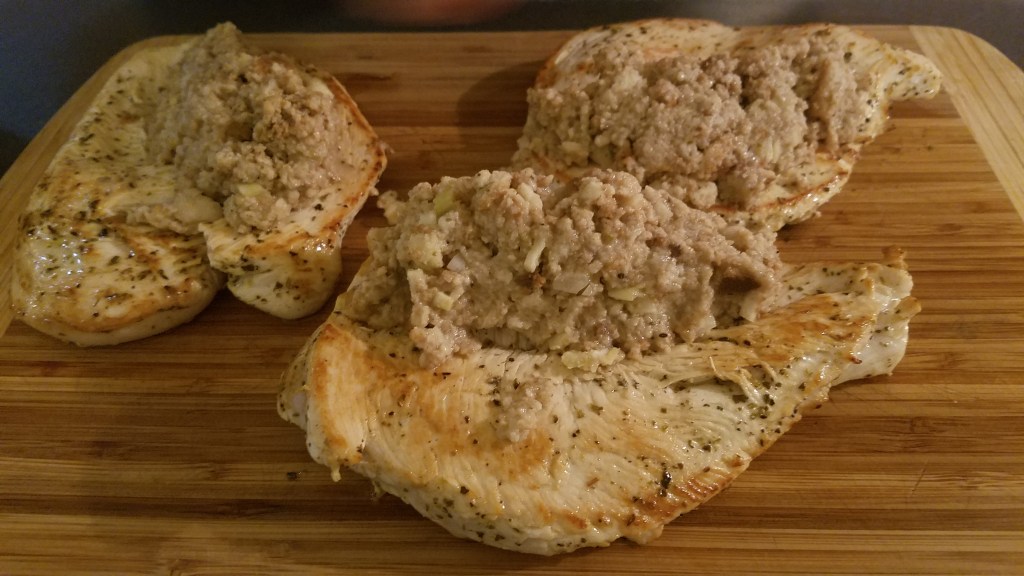
Lay the chicken breasts on a work surface with the cut side facing upward.

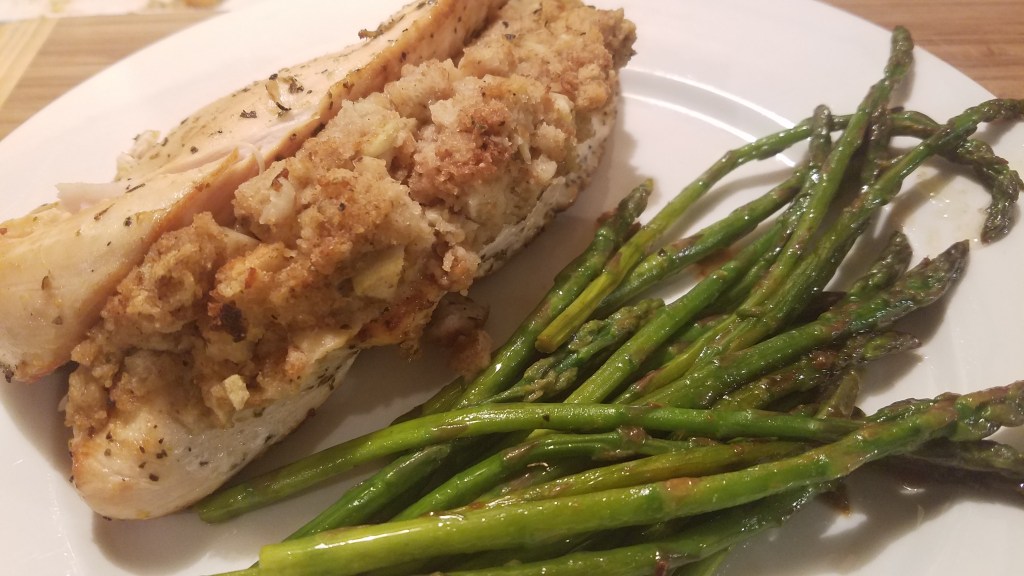
Compress some stuffing in your hands and lay the stuffing on one side of the chicken. Fold the chicken over along the seam and secure with toothpicks. Repeat the process with the other chicken breasts.
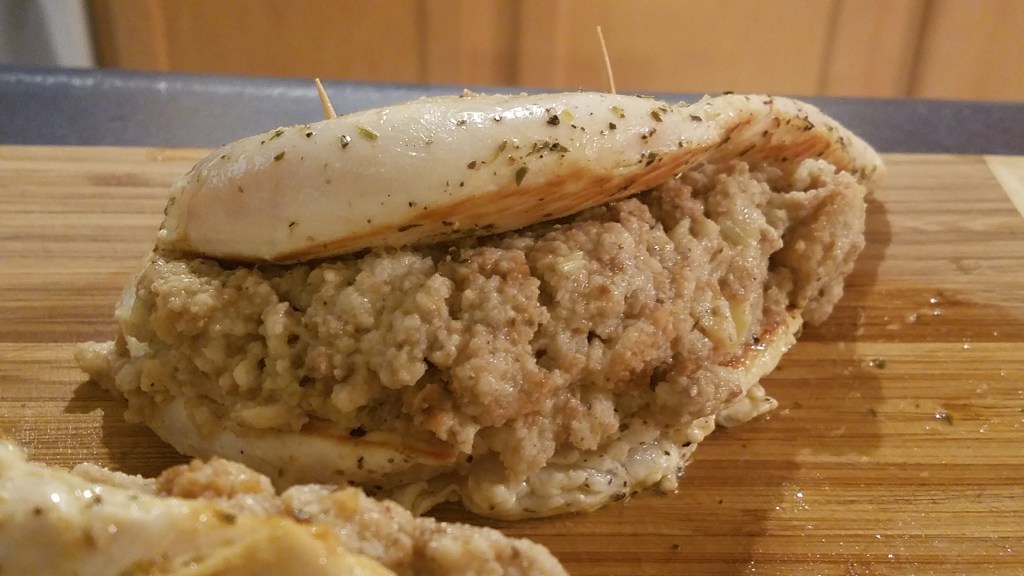
Return the chicken to the skillet and bake at 300° for 30 minutes, uncovered. Turn the heat up to 350° and bake for another 10 minutes.

Serve hot, along with a vegetable or salad. I served this with asparagus…
Skinny Asparagus in Lemon, Garlic Butter Sauce
Maybe it’s just me but I don’t remember seeing pencil-thin asparagus in stores until a few years ago. It’s probably just me… When it comes to asparagus I let the price determine which kind I will use. Naturally, the thicker variety is better suited for grilling and the thinner variety is perfect for pan frying, quickly.
Ingredients:
½ lb skinny asparagus
1 Tbs butter
2 garlic cloves, smashed
Juice of ½ lemon
Directions:
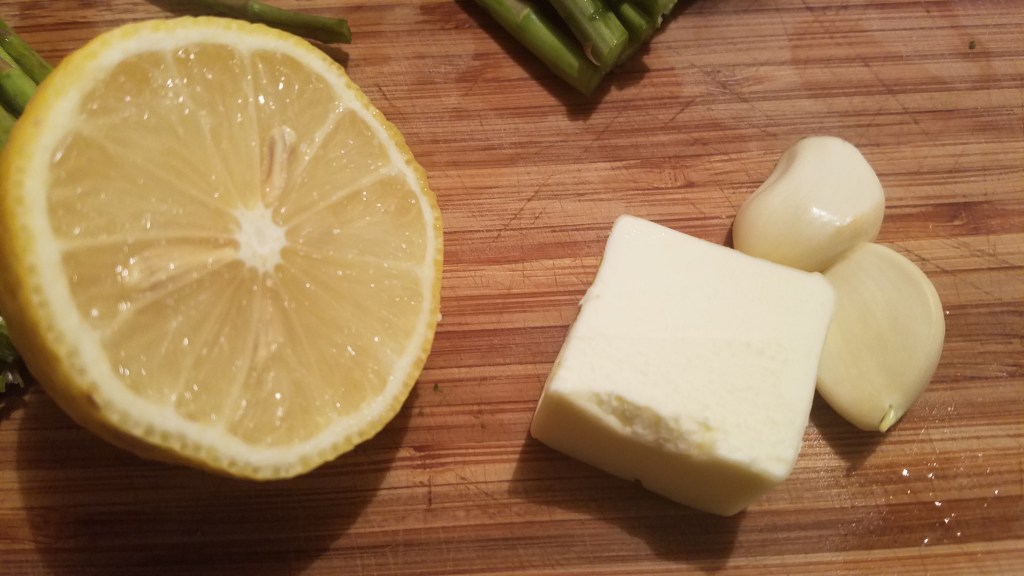
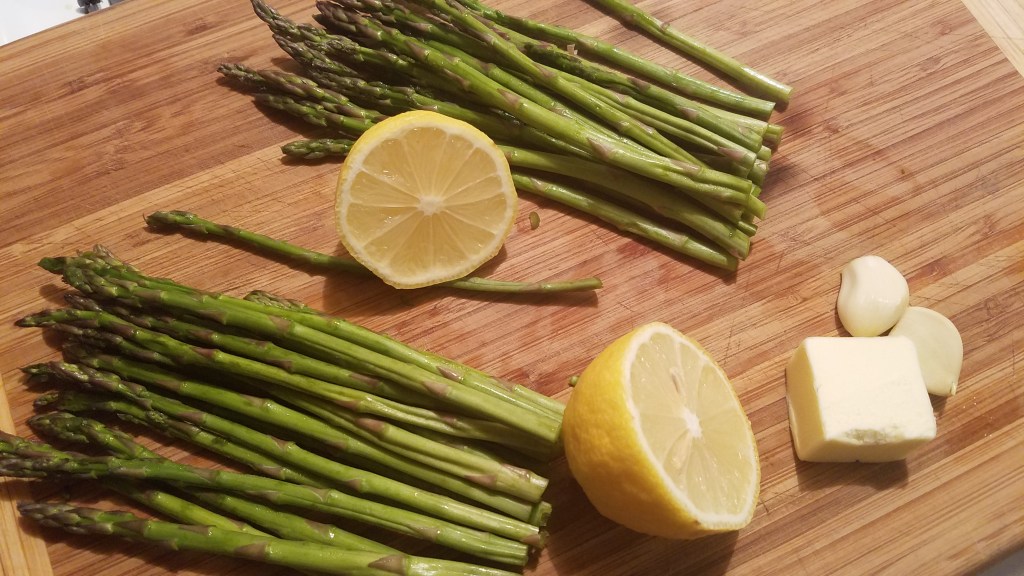
Once the chicken has been removed from the skillet, wipe the skillet with a paper towel to remove most of the residual oil.
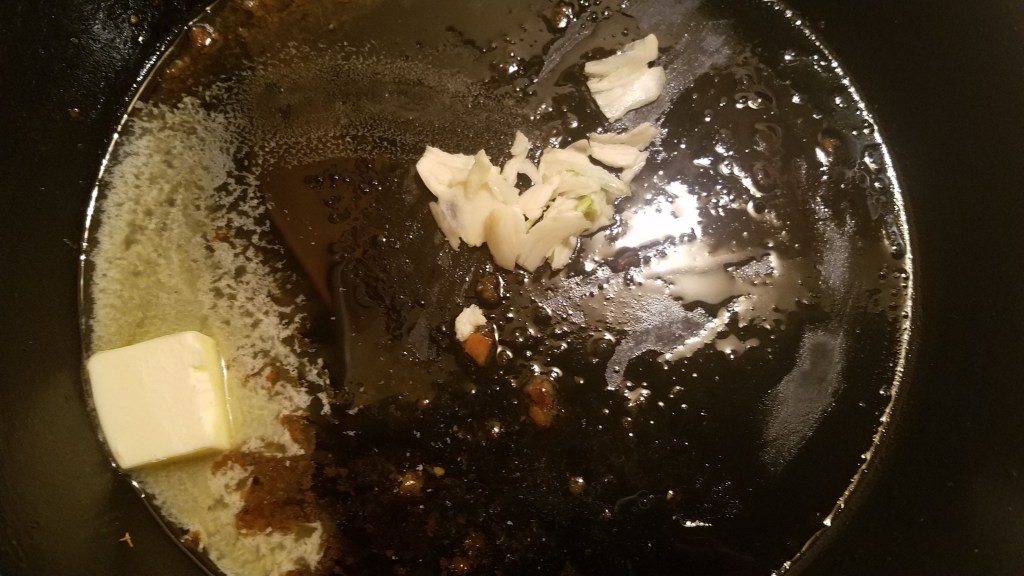
Add the butter and garlic and sauté the garlic for about a minute, or until the garlic begins to turn light brown.

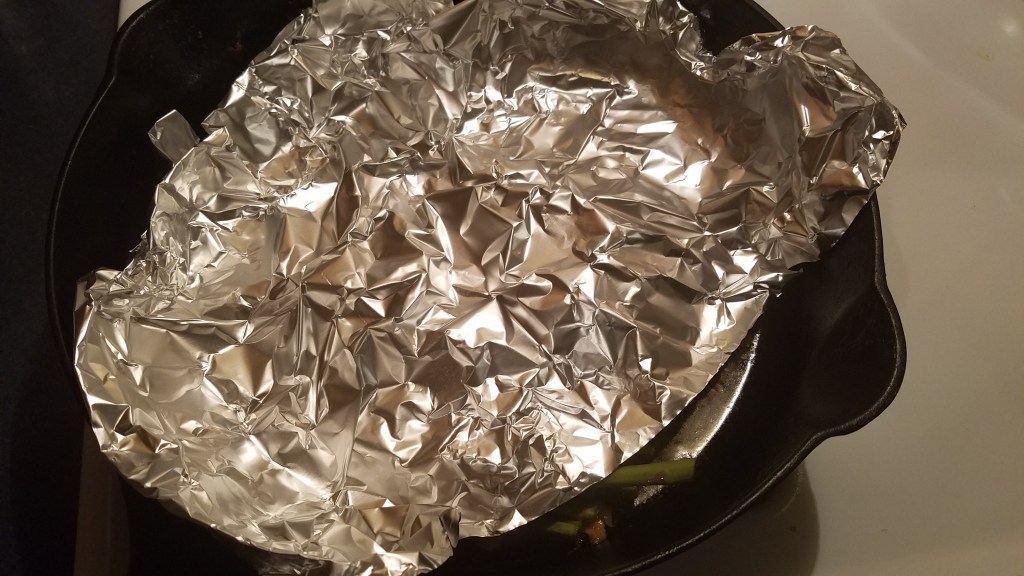
Set the heat to low and add the asparagus. Stir briefly and cover. I used a piece of aluminum foil. I like the flexibility I get with foil. Let the asparagus steam for about 4 minutes. Uncover and gently stir the asparagus for another minute.
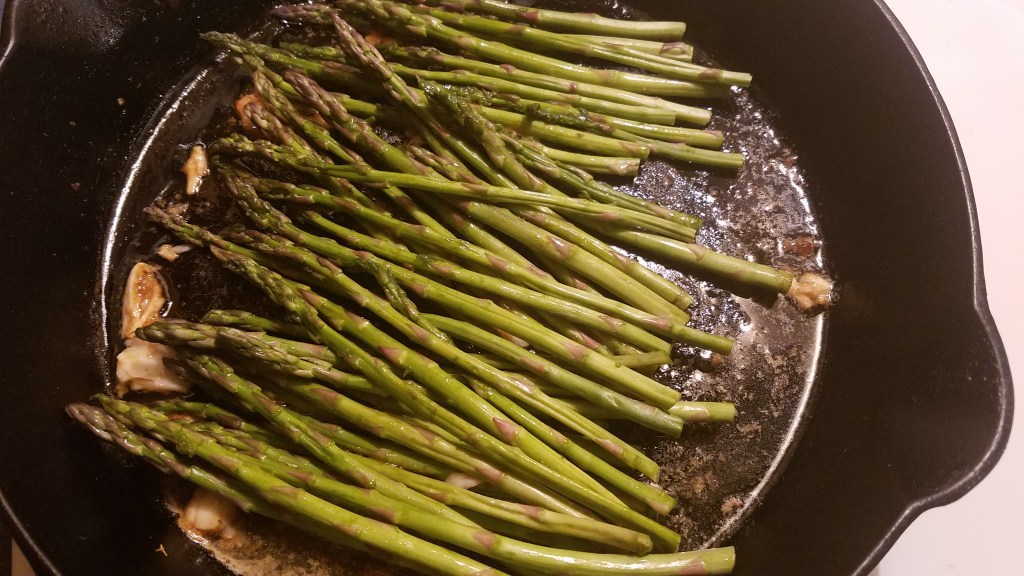
Remove the pan from the heat and serve hot.
Well, Thanksgiving’s just around the corner and you know what that means…
Bánh mì and Cheesesteak sandwiches!
Yes, it’s an odd pairing and no, it has nothing to do with Thanksgiving.
Once again, “Necessity” grabbed hold of the wheel of invention and I just sat back and enjoyed the ride. Working on Saturdays disrupts my rhythm and I usually wind up feeling out of sorts as I head back home from work. I didn’t have anything in particular planned for dinner, since this particular Saturday was more like a regular weekday for me. That changed when I learned that we were expecting guests for dinner. While I was still at work, I recalled what was in my refrigerator. We had a small pork loin and a some thinly sliced beef. Both cuts of meat had been in the refrigerator for several days and they would spoil within a day or two, if not cooked.
It seemed to me that sandwiches would be a good solution. Quick and easy. I asked my wife to pick up a couple loaves of French bread at the market and I got straight to work, after I came home from work.
These sandwich recipes are inspired by two classic sandwiches. I didn’t set out to make the quintessential version of either sandwich. I just wanted to whip up some decent sandwiches.
I used items that we already had at home, so some improvisation was employed. I normally wouldn’t use cocktail carrots because they give me the creeps. They remind me of amputated limbs and they develop a weird white coating on them, as they lose moisture in the refrigerator. Other than that, they are perfectly fine. 🙂

The key to really good Bánh mì and cheesesteaks relies on the quality of the bread that is used. We are fortunate to have a grocery store nearby that stocks authentic New Orleans style French bread.

Bánh mì sandwich
Ingredients:
10 stubby little carrots (cocktail carrots)
1 onion, very thinly sliced
2 cloves of garlic, smashed and sliced thin
¼ rice wine vinegar (or white vinegar)
2 Tbs sugar
1 lb pork loin
2 Tbs ketchup
1 tsp Hoisin sauce
1 tsp soy sauce
2 green onions
¼ cup cilantro leaves
1 24” New Orleans style French bread loaf (Cartozzo’s Bakery)
¼ cup mayonnaise
1 tsp Sriracha sauce
Directions:
Heat the oven to 400°.
Slice the onions and garlic and grate the carrots. These all need to be very thin.

Add the onions and carrots of a bowl and add the rice vinegar and sugar. Mix together and set aside for an hour.

Slice the green onions lengthwise, very thin. Separate the cilantro leaves from the stems. Set these aside.


In a small bowl, mix the ketchup, Hoisin sauce and soy sauce. Smear the sauce onto all sides of the pork loin.

Put the pork loin in a ceramic baking dish and bake in the oven for 30 minutes.
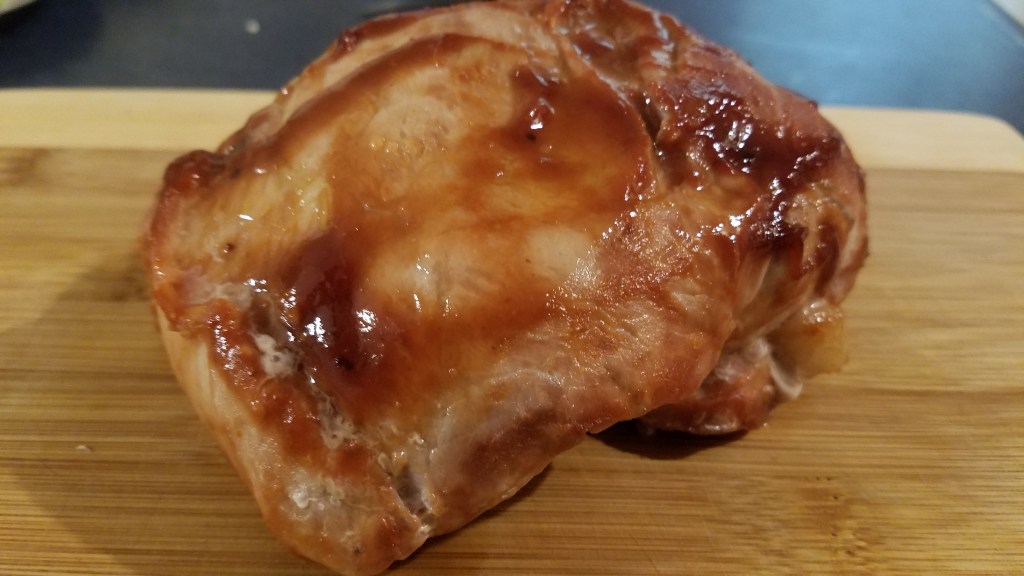
Remove the pork loin after 30 minutes and loosely cover with a foil tent. Rest the pork for 15 minutes before slicing.

Slice the pork as thinly as possible. Return the sliced pork to the baking dish and mix thoroughly with the sauce and baked drippings. Seal the dish with aluminum foil and keep in a warm place until ready to serve.


Slice the French bread lengthwise. I chose to cut all of the way through but, I could have cut just deep enough to open the loaf like a book. Either way is fine. Warm the bread in a 200° oven for 10 minutes. Pull the bread out when the crust is warm and slightly crisp.
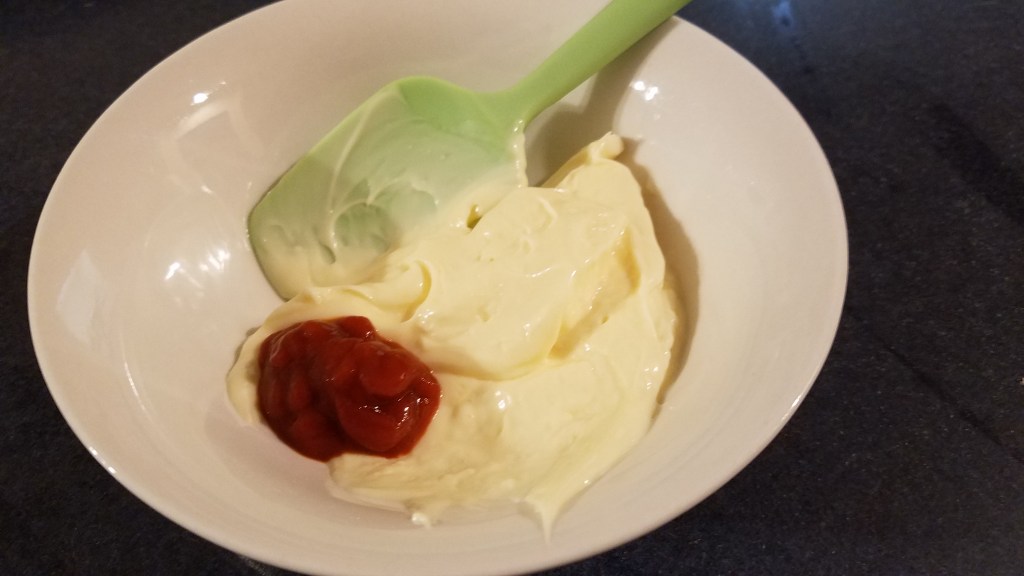
Mix the mayonnaise and Sriracha in a small bowl.
Slather the mayo mixture on both sides of the warm French bread.

Arrange the pork on the bottom slice of the bread.
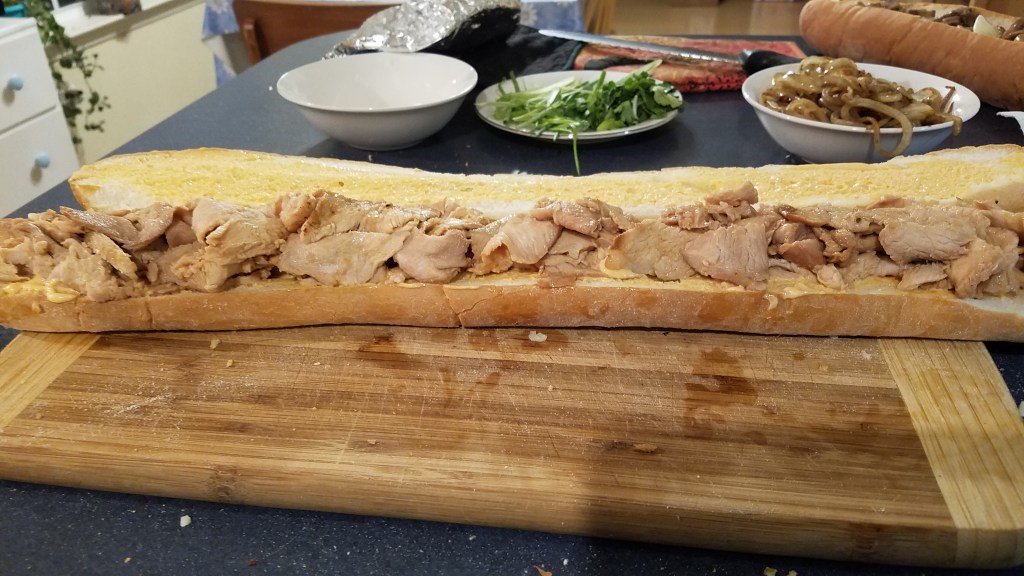
Add sliced green onions.

Top with the pickled onion and carrot mixture.

Sprinkle cilantro on top of the onion and carrot.

With a bread knife, cut the assembled sandwich into four equal pieces (four 6” sandwiches).



Cheesesteak sandwich
Ingredients:
16 oz Muenster cheese, sliced
1 onion, sliced in ¼” rings
2 cloves garlic
1 tsp olive oil
1 lb thinly sliced beef
1 8oz can sliced mushrooms
8 oz marinara sauce
1 24” New Orleans style French bread loaf
Directions:
Note: I used a wok to prepare the onions and sliced steak. Cheesesteaks are best when cooked quickly at high heat and a hot wok is probably the next best thing to a hot flat top grill.
Slice the Muenster cheese and set aside.

Slice the onion into ¼” rings. Set aside.
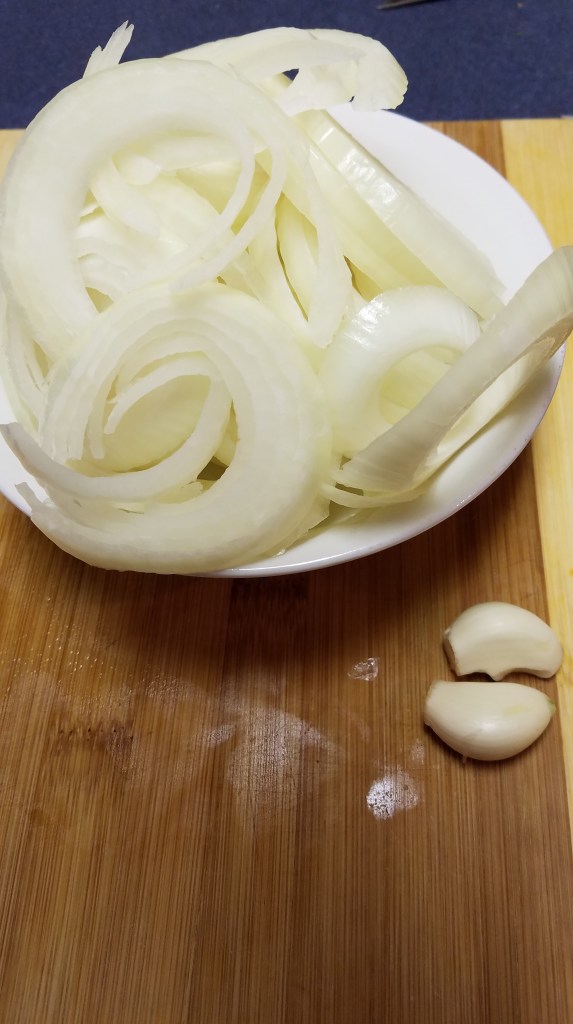
I used a pre-sliced cut of beef. The slices are very thin which makes it easy to cut the meat into thin ribbons.
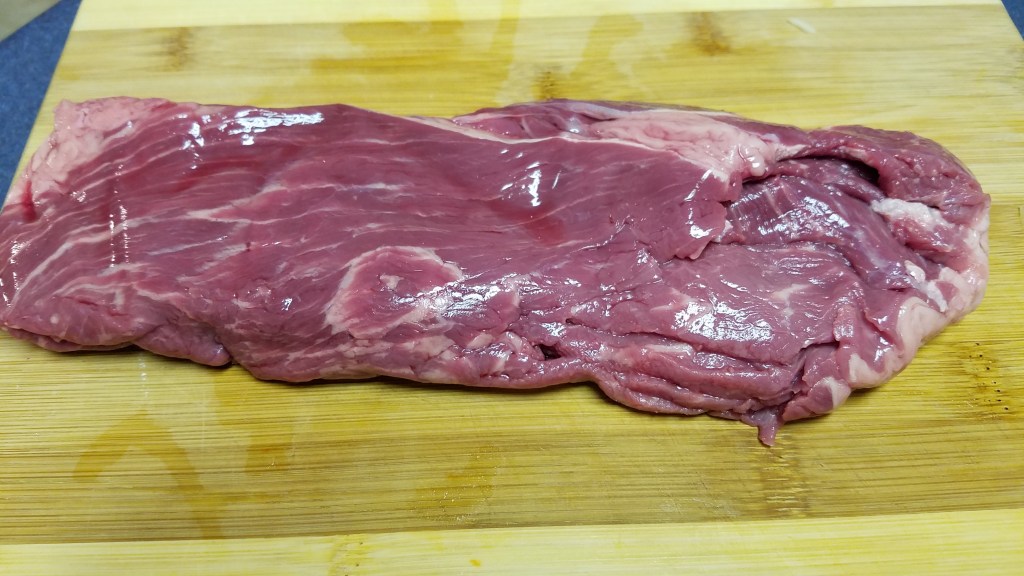

Slice the meat into ribbons and set aside.
Sauté the onions and garlic in a teaspoon of olive oil. Remove the onions after they soften. Smash the cooked garlic cloves and mix with the onions.


Stir-fry the beef until no longer pink (about two minutes). Remove and keep warm.
Slice the French bread lengthwise. Layer the sandwich with the sliced cheese. I added mushrooms to one half of the sandwich.
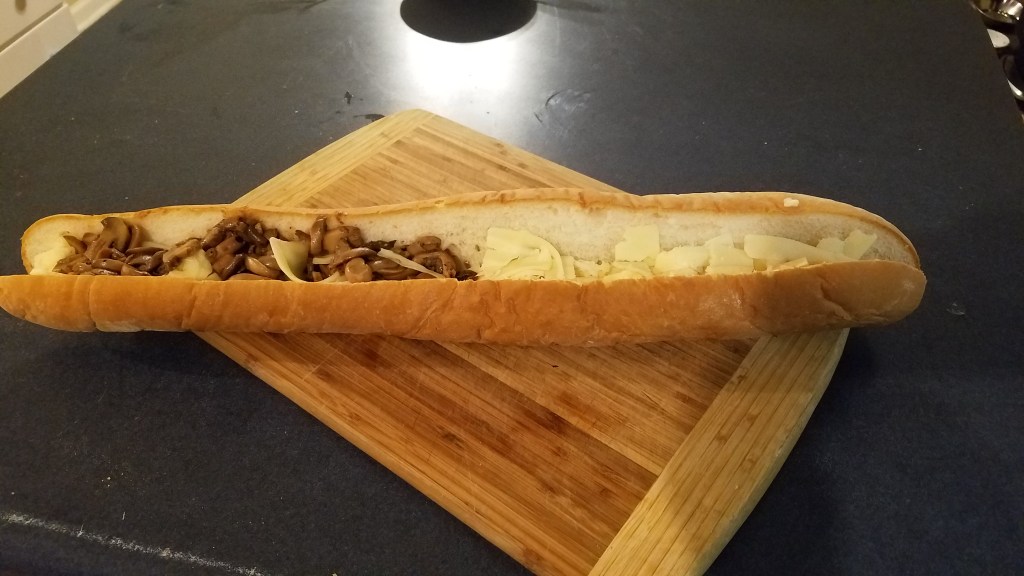
Bake in a hot oven until the cheese begins to melt.
Remove the bread and top with the cooked beef. Add the sautéed onions.

Top with warm marinara.
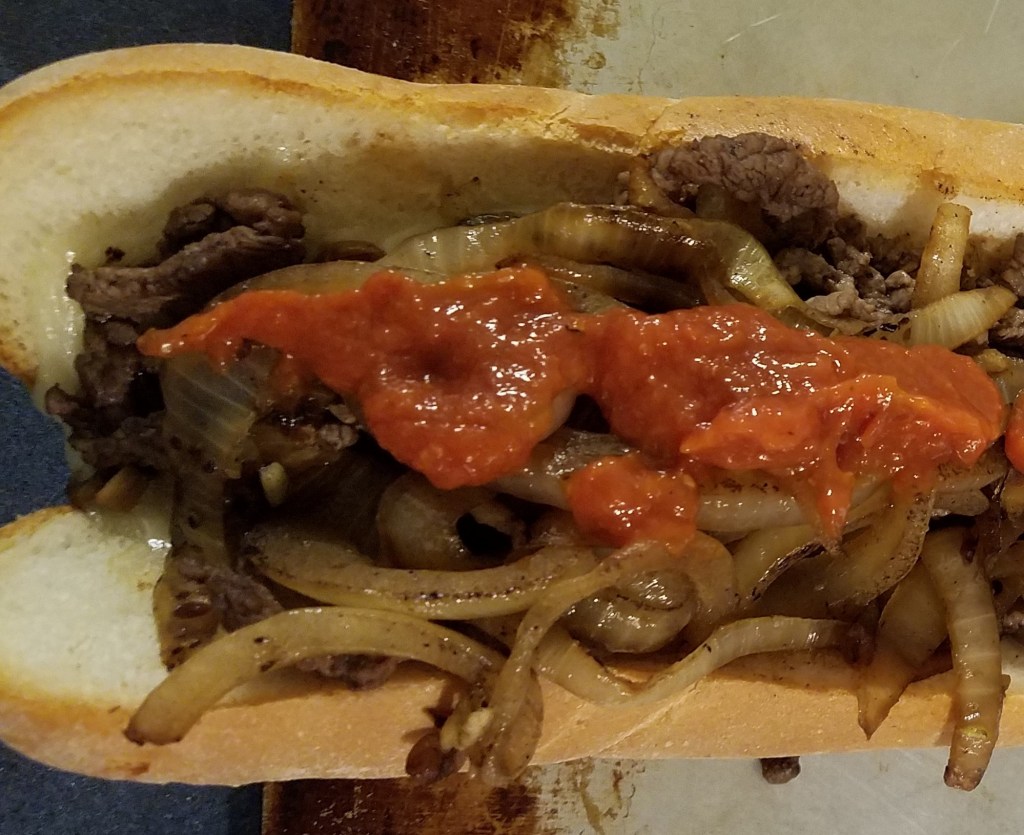
Cut the sandwich into four equal pieces ( four 6” sandwiches).


