Greetings and salutations my friends!
Time marches on and I, true to my nature, march to my own non-syncopated drummer, which is to say that nobody really knows when I will find the right groove to harmonize with the rest of humanity.
It’s not like I don’t love you all…I do. It’s just that some things have been weighing heavily on my mind and, those things have made me despondent, listless and distant.
I don’t like feeling this way.
So, I have gathered my resolve and decided to push forward.
The events of this year have been disturbing and have filled me with sorrow.
This pervasive feeling of sadness and anger has made me consider changing the theme of this blog to be a full-on rage, aimed at showing anyone who happens to read, how I feel about the current state of my beloved country, and the rest of the world.
But you all have your own opinions and beliefs, and I have to remind myself that you don’t need me to tell you what I think is right or wrong.
(Please be kind to one another. Choose peace at every turn.)
So, on with the show!
I’ve decided to post this without editing, mainly because of the reasons I spoke about earlier. I have been so reticent to write that I feel the need to let the words fly freely. I’m usually a stickler for correct spelling and grammar, but I’m throwing caution to the wind.
My Rules, My Tools!
I’m sure that I speak for anyone that cooks, and certainly for chefs that face a time when we are expected to cook for a group of people on a moment’s notice. At the best of times, this can be perceived as an honor, but at other times, it can feel like an inconvenience.
Now, if I am hosting, I will cook anything. No restrictions. Ask me to cook something I’ve never attempted before and I won’t balk. Sure, I might be a bit reticent, but when I’m at home and I have time to prepare, I’m going to be on top of my game.
However, when I’m visiting friends or family and they expect me to cook, I lose my bravado, and my skills are shaky.
First of all, how dare you put me on the spot?! Secondly, don’t you realize that I’m out of my comfort zone? Thirdly, have you ever considered that maybe I want to enjoy a vacation? I mean, c’mon, I enjoy cooking but that doesn’t mean I don’t need a break every now and then. And maybe I just want to enjoy the taste of someone else’s cooking for a change.
I feel like a trapeze artist treading on a greased wire when I’m asked to cook in another person’s house, especially if it is an impromptu request.
It’s not so bad when I’m at a house that I’m familiar with, like a family member. I know the layout of the kitchen already and I’m already familiar with the tools available…pots and pans, knives, bowls, etcetera. But when I’m asked to cook in a totally unfamiliar kitchen, I feel like I have two left hands.
I offer these examples, with sincere apologies to anyone who I may offend.
A HOMECOMMING
I love visiting my folks in Pennsylvania. It’s where I was born and I still consider it my home, despite being a transplanted Texan in my early years and adopting Texas as my home state, even though I’ve lived in Mississippi for the last twenty-five years.
Yes, I know that sounds strange, but it’s not such a strange concept to anyone that has moved around several times during their lives.
Anyway, like I said, I love visiting my folks in Pennsylvania.
I remember watching my dad make eggs and bacon on the weekends. He only seemed to cook on the weekends when I was young, and it was usually breakfast. He is fastidious in everything he does, which is probably why he had such a prestigious career as an aerospace engineer. His attention to detail can be confounding at times, especially to someone like me, who capriciously dances through life, but his approach to cooking pancakes, bacon, and eggs are forever saved in my mind.
The careful crack of the egg. The calculated tip of the spatula to check the doneness of a pancake. The determination of the condition of bacon as it cooks…is it “flubby” or burnt? Or is it somewhere in between?
And then there is my stepmother, who REALLY knows how to cook. She has been an endless source of inspiration and knowledge to me. Her roots are nestled in American/Italian cuisine, but she has a gravitas that transcends all cultures. She is truly a lover of food and the cultures behind the cuisines.
My parents have made several trips to visit me and my family over the years, and they know that I know my way around my kitchen, which is to say they know I can cook. It makes me proud to cook for my family and I’m glad to do it.
But when it comes time for me to cook in their house, I find it challenging. I’m out of my element. Everything, from the layout of the kitchen to the choice of cooking tools is different from what I am accustomed to. I find myself spending most of my time adapting to the new environment and having less time creating a wonderful meal.
Maybe I’m a creature of habit, or I’m just someone that has to have things “just so”. It makes sense, knowing that I’m genetically tied to a rigorously minded engineer. I don’t know. I always find a way to interpret my ideas, when it comes to cooking at my parent’s house, but it takes more effort than I’m used to.
A VACATION
Let’s stay at an Airbnb in lovely Portland, Oregon, in Spring. Sounds delightful, right?
Yes, it was. The house was gorgeous. Lots of booming flowers and sunshine. Quiet, peaceful, serene. Nothing but good company and light-hearted fun.
But imagine my surprise when I was asked to grill a three-pound salmon fillet on an outdoor grill that I had never used before.
I’d never grilled salmon before, but everyone knew I liked to cook, and I suppose they thought I would be a cinch for the job. I didn’t protest because they had already bought the salmon. I guess I could have confessed that I was out of my comfort zone, but I didn’t.
I cranked up the gas grill and gathered my tools, which of course, were not tools that I had take from home. So, armed with two flimsy plastic spatulas and a set of oversized tongs, I set out to grill the heck out of that salmon.
I placed the salmon on the grill and closed the cover, hoping to steam the fish quickly. In less than a minute, I could see fames bursting to life through the side vents of the grill. The flames grew quickly and I sensed impending disaster.
When I raised the lid of the grill, the flames leapt up like Satan being unleashed from the pits of Hell.
I took a moment to assess the situation and quickly decided to attempt to pull the salmon off the grill and onto the platter that I had readied. I tried to be as careful as possible, because I wanted to maintain the integrity of the beautiful salmon fillet, but I knew that if push came to shove, I was going to do whatever it took to get that fish out of the fire. I would finish it in the oven, if necessary.
I managed to pull the salmon off the grill without burning off all of my arm hairs, and I felt a feeling of accomplishment.
After bringing the fish indoors, I inspected it. The flesh flaked as I prodded it with a fork, and I realized that it might have actually cooked sufficiently, but I didn’t know for sure.
As it turns out, when I served the fish, it was a big hit. Everyone said it was cooked perfectly.
Eh, what do people know?
A CATASROPHY
Twenty years ago, hurricane Katrina blossomed from a Category 3 hurricane to a Category 5 in just 9 hours. The hurricane churned its way through the Gulf of Mexico and made landfall on August 29, 2005. It devastated much of southern Louisiana and Mississippi
I remember tracking the storm on the internet during the morning that it made landfall and feeling so lucky that my family was 300 miles north of the storm. I was fortunate, but everyone on the coast was in peril. Many people lost their houses. Many people lost their jobs. And some lost their lives.
During the ensuing months, north Mississippi saw an influx of people fleeing the destruction on the coast. One of those people fleeing was a man who I only knew as “Skip”.
Skip relocated his family to northern Mississippi. He and his wife enrolled their kids in the same school that my kids went to, and within a short time, he had not only assimilated into a new culture but also became a valuable member of the community.
Skip joined the PTO (parent teacher organization) of our small school and was quick to offer his services when we reached out for someone who would be willing to help with our annual fundraiser dinner.
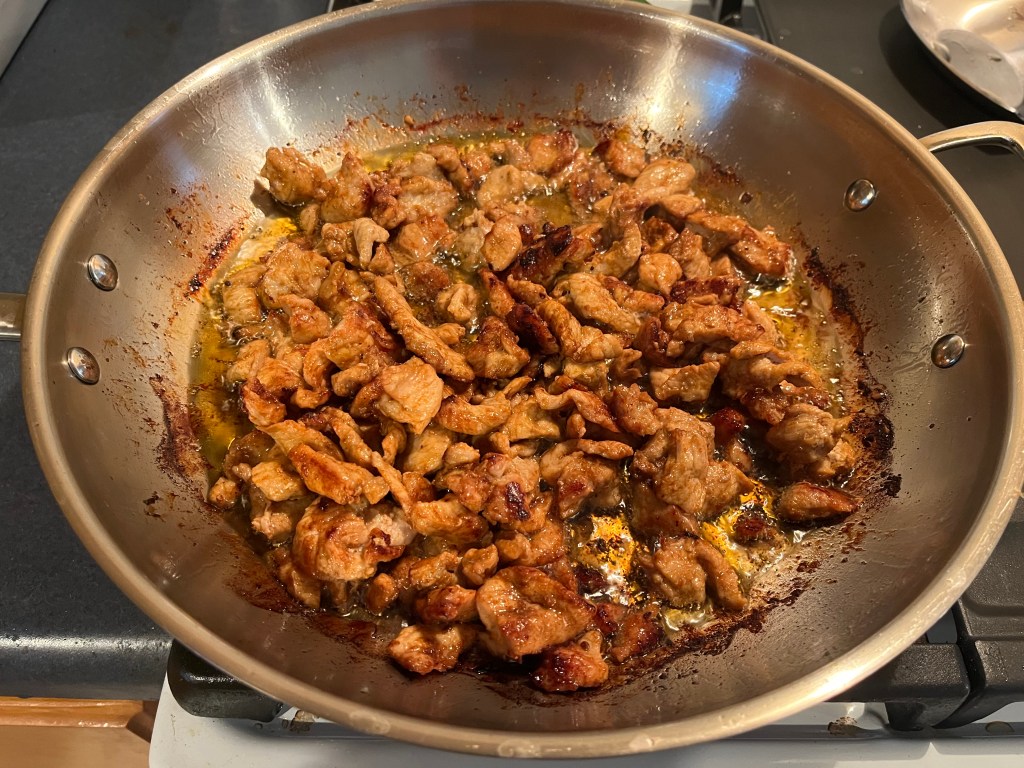
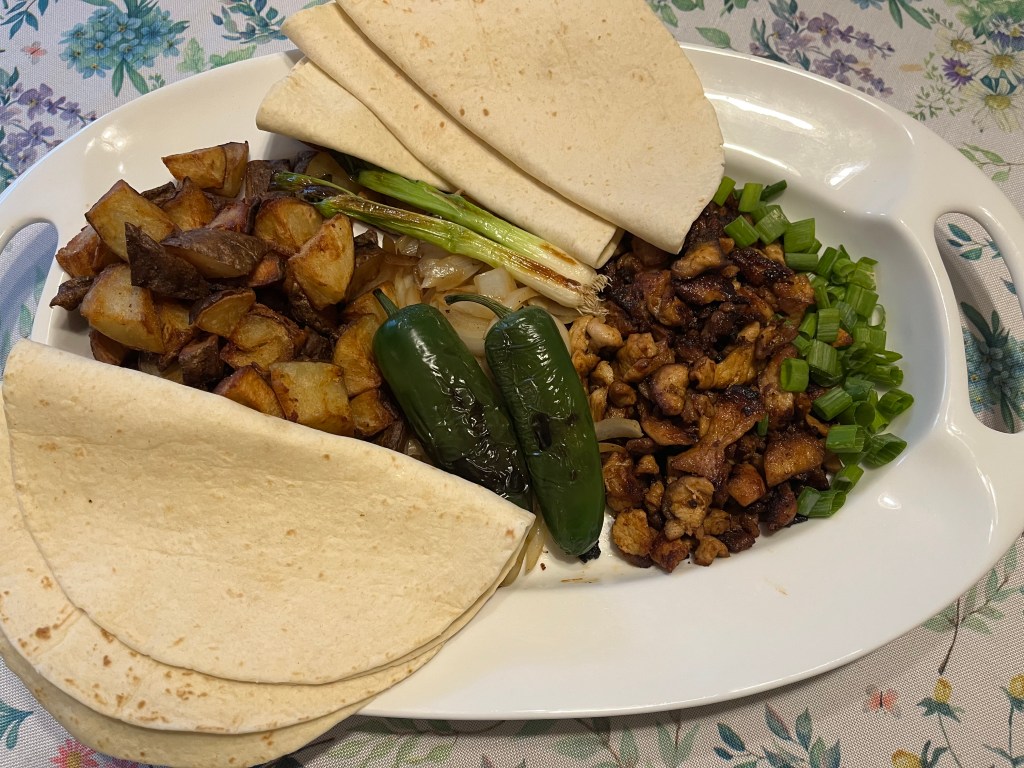
Skip was a real character. He promised that he would give us a fundraiser dinner that would blow our previous fundraisers out of the water. He asked us to promote the dinner with all of the local Catholic churches in the area and promised us that he would not disappoint. He was confident that his New Orleans style cuisine would be memorable. A Spring dinner replete with gently baked catfish, savory seafood gumbo, Cajun coleslaw, with a crisp salad and fresh garlic bread. As I was about to find out, this was right in Skip’s wheelhouse. I witnessed his masterful meal and was honored to be his sous chef. It was almost surreal, and it pulled in lots of cash for the school.
This is where the rubber meets the road! Here was a man that not only was in an unfamiliar kitchen, with unfamiliar people, but had lost all of his personal belongings to a devastating storm and had to relocate his family to another city, only to be faced with the challenge of preparing a meal for hundreds of people, with the risk of failing and, thereby causing the school to lose its reputation and fail to meet its financial goals.
As I alluded to, I took on the role of sous chef to Skip. He was clearly in control, and I was happy to assist. I learned a great deal about adapting to situations during the experience. And I learned a heck of a lot about Cajun cooking!
Here’s just a few of the challenges we faced when we started cooking:
- small, dull knives
- confusing commercial stoves and ovens
- giant ladles, but no large stirring utensils
- one large whisk, but no small whisks
- chipped spatulas
I could go on, but I’ve forgotten most of the hardships. We were both working in an unfamiliar space with awkward tools. Skip seemed unfazed, but I was tasked to make coleslaw with a six-inch knife! Imagine…chopping down a head of cabbage with a small, flimsy knife and then trying to mince onions with the same small knife. What should have taken twenty minutes lasted almost two hours. I’m glad we both started working early!
At one point, Skip started a roux for the gumbo. He poured a large amount of cooking oil into a 5-gallon pot and set it to boil. When the oil was hot, he added the flour and began stirring. He made sure to tell me that the most important part of making a roux is to have a drink in arms reach. By this, he meant bourbon. Making a big pot of roux requires constant stirring and careful attention. It also helps to use a pot and stove that you are familiar with.
At one point, Skip called to me and asked me to taste the roux. He thought it might have over cooked. I wanted to tell him that it was fine, because it was a huge roux, and I didn’t want to concede that the roux had started to burn, but he already knew it had, and he just needed me to confirm his suspicion.
It broke my heart to tell him that it had gone too far. There’s no fixing a roux that has even the faintest hint of a burnt flavor or odor.
We were about 1 1/2 hours away from dinner time and we had to act fast. We didn’t have enough flour on hand to start another roux, so I had to make a run to the grocery store to buy more flour. Skip was visibly nervous when I came back, but he managed to whip up another roux within 20 minutes and pulled off one of the best gumbos I’ve ever had.
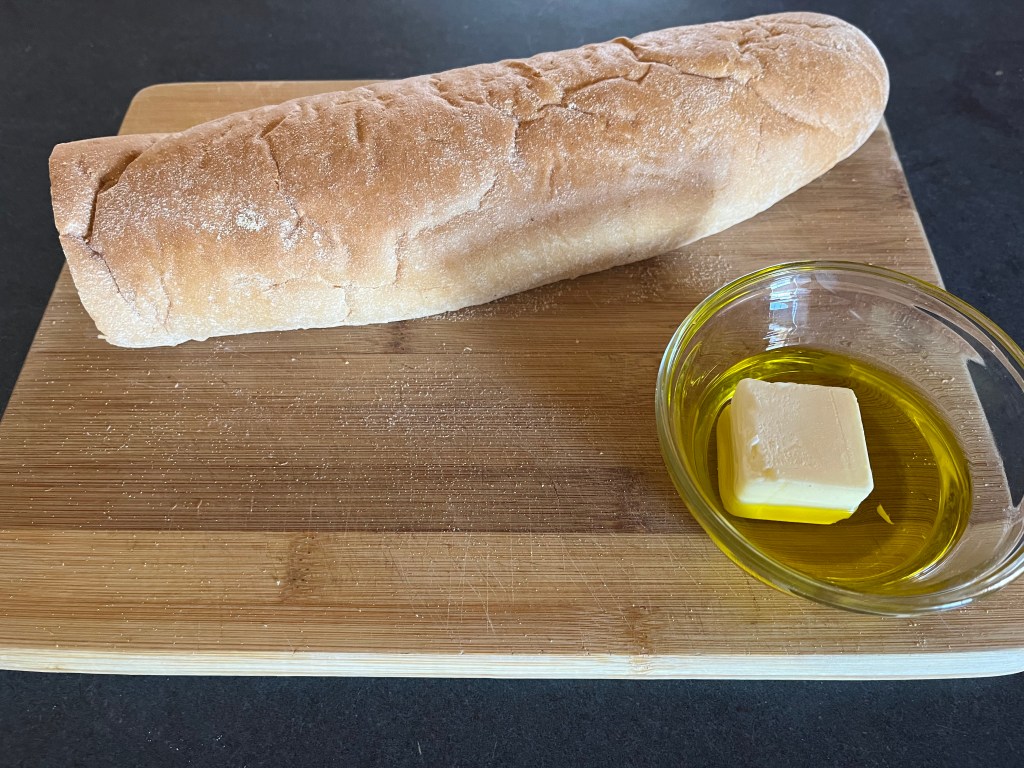
The catfish was a true delicacy. The gumbo was silky smooth. The slaw was crunchy and had just the right amount of fresh jalapeño, mayonnaise and seasoning. Skip had fresh French breach shipped from the coast and he toasted it and slathered it with butter and garlic. Skip’s attention to detail was remarkable, despite all of the hardships he faced, (including a novice sous chef, like me.)
All throughout our experience that day, Skip kept saying how he wished his other friends could be with him to help. I helped Skip all day and poured myself into the job. I felt hurt and offended for a little while until Skip confided that he considered himself a junior to his friends, when it came to cooking. He missed his home. He missed his friends. He missed a lot of things.
Skip shined as brilliant as the sun that day, and after some time, he was able to relocate his family back to Gulfport. Skip taught me a lot about adapting to difficult situations and now, I don’t complain too loudly about cooking in other people’s kitchens.
Learn your lessons whenever and wherever you can.