At the heart of every good gumbo lies a good roux.
I probably make 3 or 4 roux every week but they are of the small variety. You know, two tablespoons of butter, two tablespoons of flour added to two cups of stock or broth. A small roux takes just a few minutes to prepare and it usually come out just fine.
I have been telling myself that I make gumbo every year or two. I think that’s because I really enjoy gumbo. The truth of the matter is that I have probably only made it four times, (now five times). As much as I love a good hot bowl of gumbo, I dread making the roux. There are very few things in life that can vex me like a making a big batch of roux.
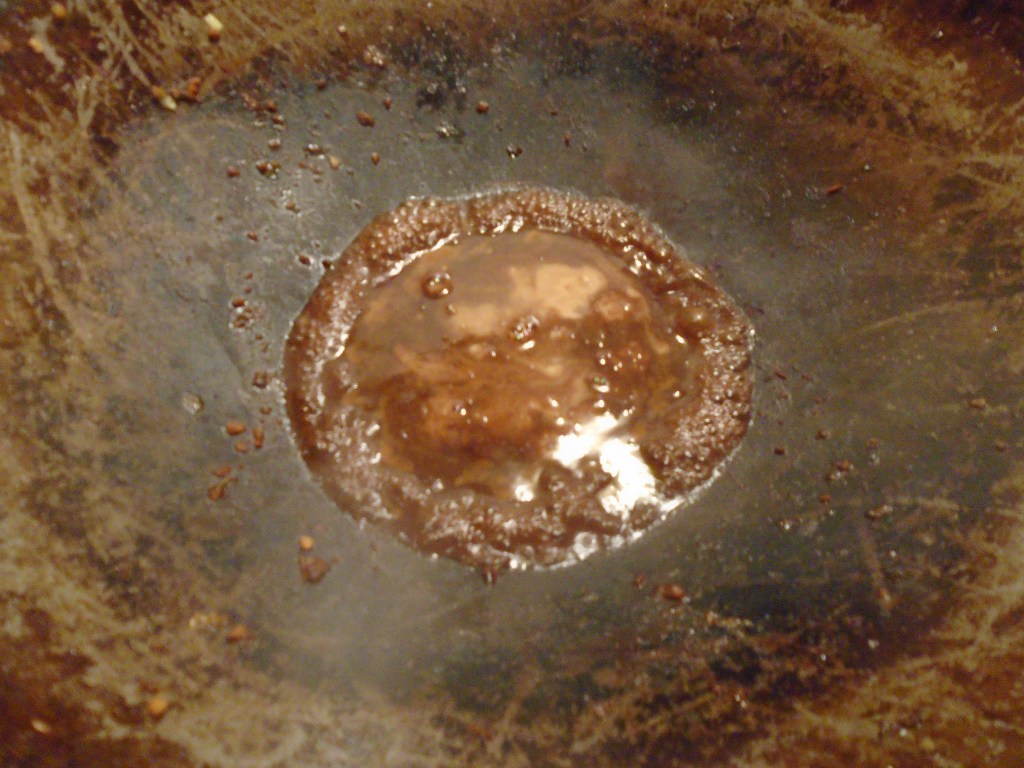
Making roux for a gumbo is not easy; at least it’s not easy for me. The volume of the roux needed is much larger than my normal roux. Additionally, the roux needs to cook longer to achieve a deep, rich lustrous color and flavor. Lastly, pushing the cooking process too far results in a burnt roux, which I am unfortunately prone to doing. If a roux burns it must be tossed and another one must be made. Nothing good ever happens by attempting to save a burnt roux.
Once you start a roux you can’t leave it alone until it has finished. A roux must be stirred constantly to prevent the flour from burning. Even the tiniest amount of burnt flour will affect the entire roux.
My step-by-step method for making a roux:
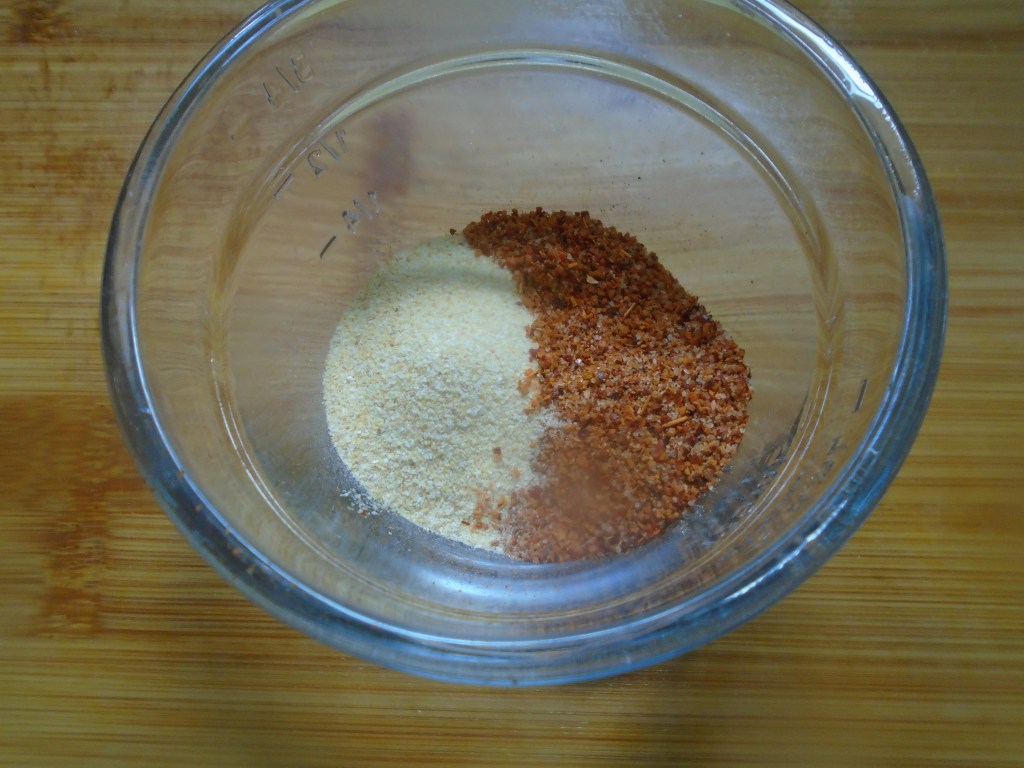
1) Add equal amounts of oil and flour to a Dutch oven (over low/medium heat).
2) Stir continuously, making sure to scrape the bottom and edges of the pot as you stir.
3) Keep stirring while the roux goes from blonde, to tan, to mahogany, to chocolate brown.
4) Taste a sample of the roux, after allowing it to sufficiently cool.
5) Detect a hint of burnt flavor, throw away the roux and wipe the Dutch oven clean.
6) Repeat.
Three more important pieces of advice that are often overlooked:
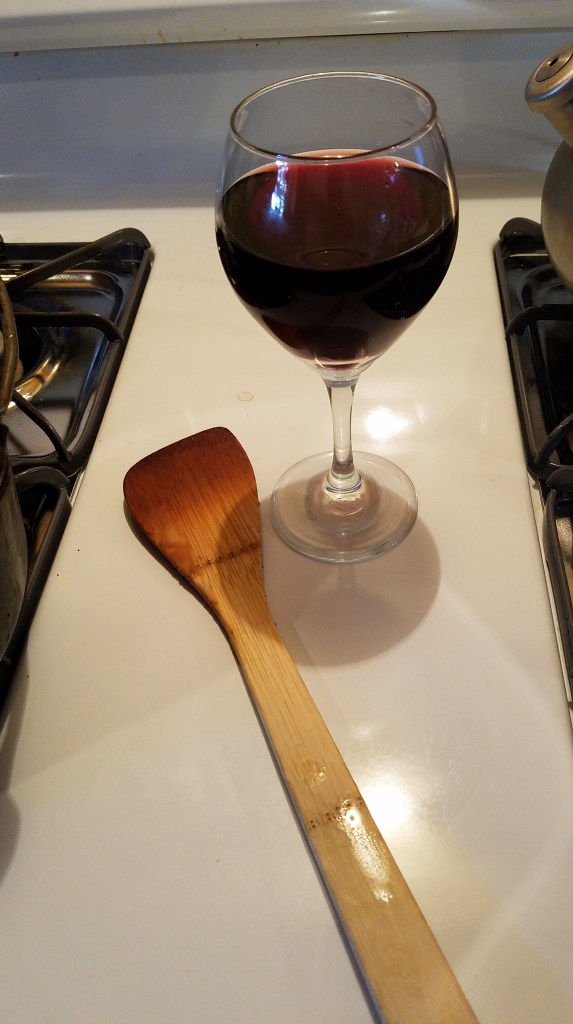
1) Use the bathroom before starting the roux. You won’t be able to break away from the action until the roux is finished (maybe 45 minutes to an hour).
2) Pour yourself a drink and make sure that it’s within arm’s reach as you stir.
3) Keep a small aloe vera plant in the kitchen, close to the stove, in case of burns.
As for the aloe vera, it’s really good for minor burns. Roux is jokingly referred to as Cajun Napalm. Even a tiny drop of the hot roux can cause your skin to blister. I got two blisters from this batch. I would have had three blisters but, when I got hit for the third time, I quickly pinched off the tip of an aloe leaf and rubbed it on the burn.

As I mentioned, I burned the first roux and had to start another one. I cooked the roux over low heat both times.
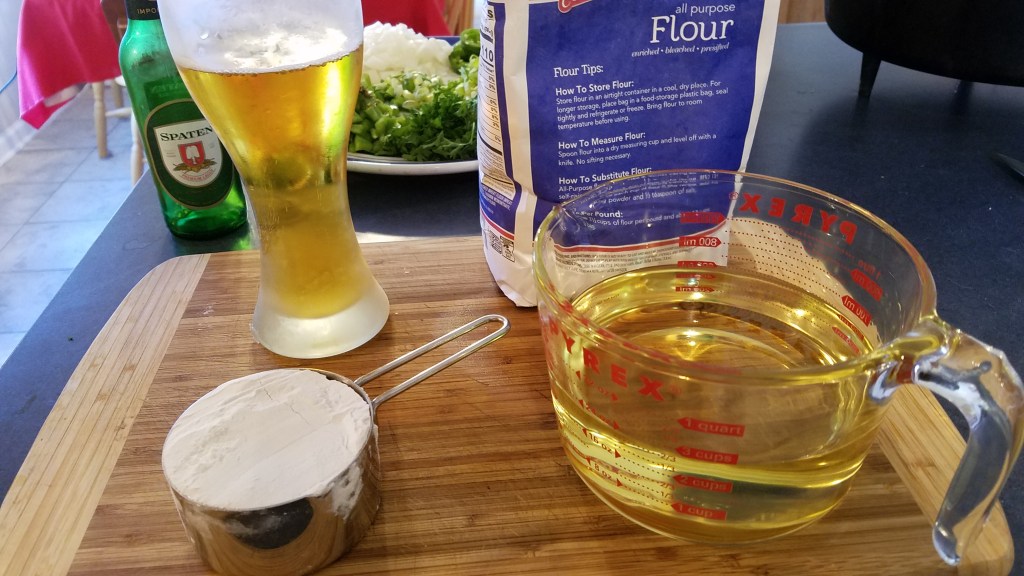
For the first attempt I used 3 cups canola oil and 3 cups flour. I cooked the roux for 67 minutes and it reached a near-perfect chocolate brown color, but the roux had a slight burnt flavor.
For the second attempt I decided to use 2 cups canola oil, 1 cup lard and 3 cups flour. I cooked the second roux for 50 minutes. I brought the roux to a dark tan and shut the heat down before it turned to mahogany. I didn’t want to run the risk of the burning the roux a second time!
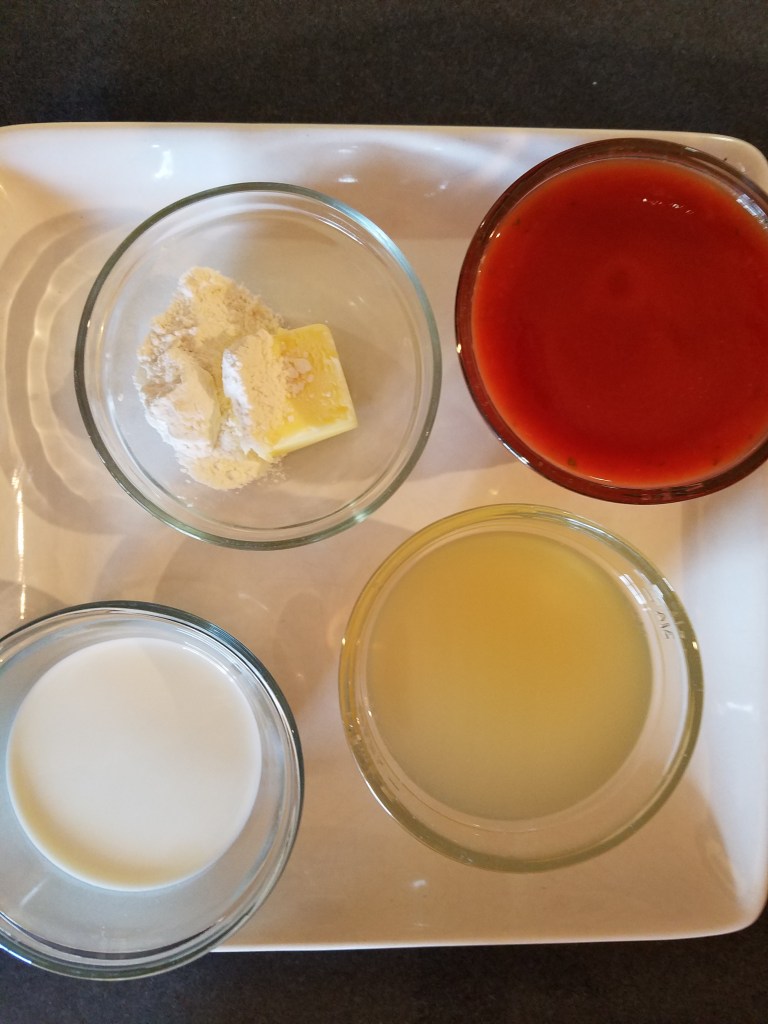
This recipe makes about 2 gallons of gumbo (25 to 30 servings).
Ingredients:
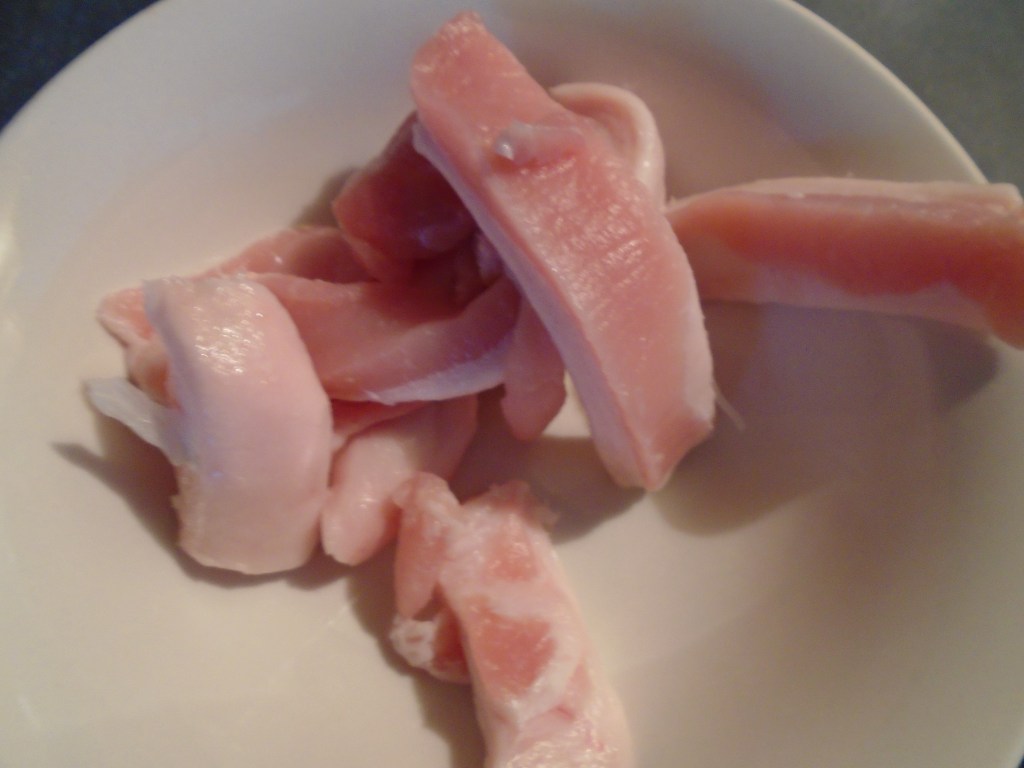
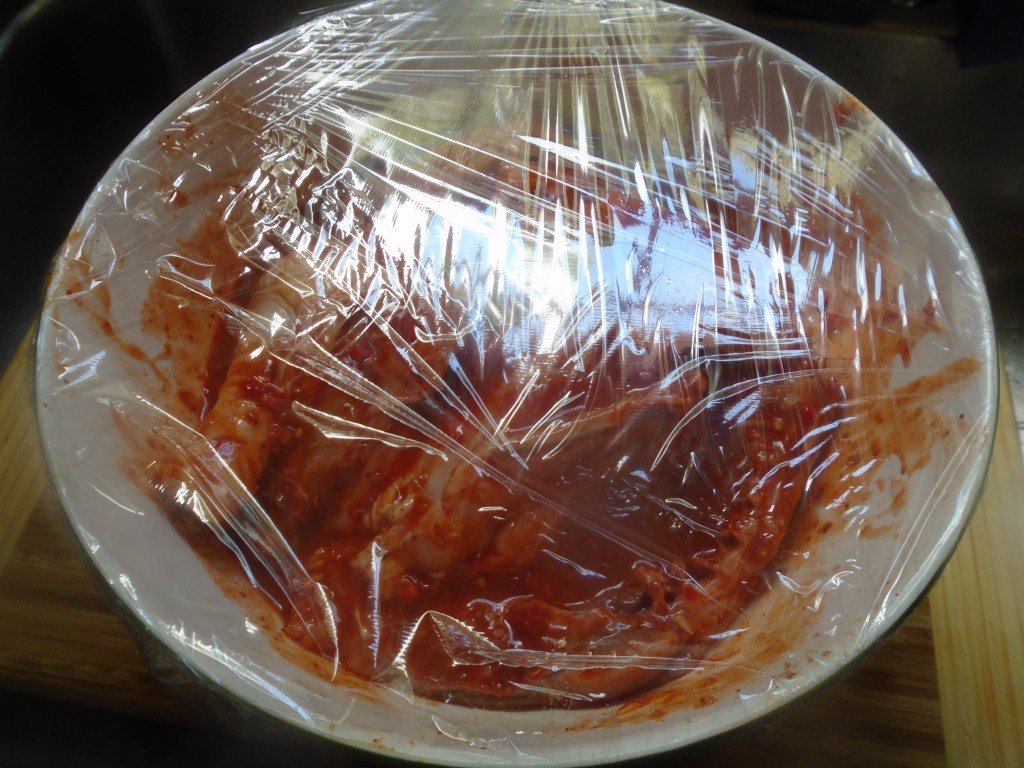
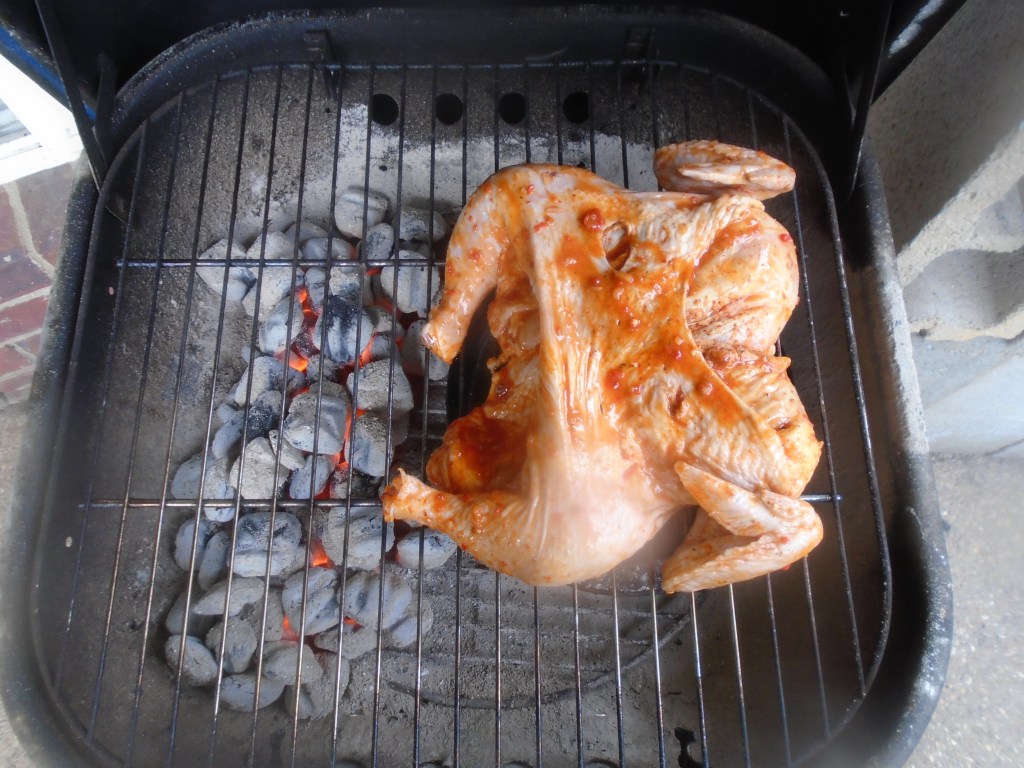
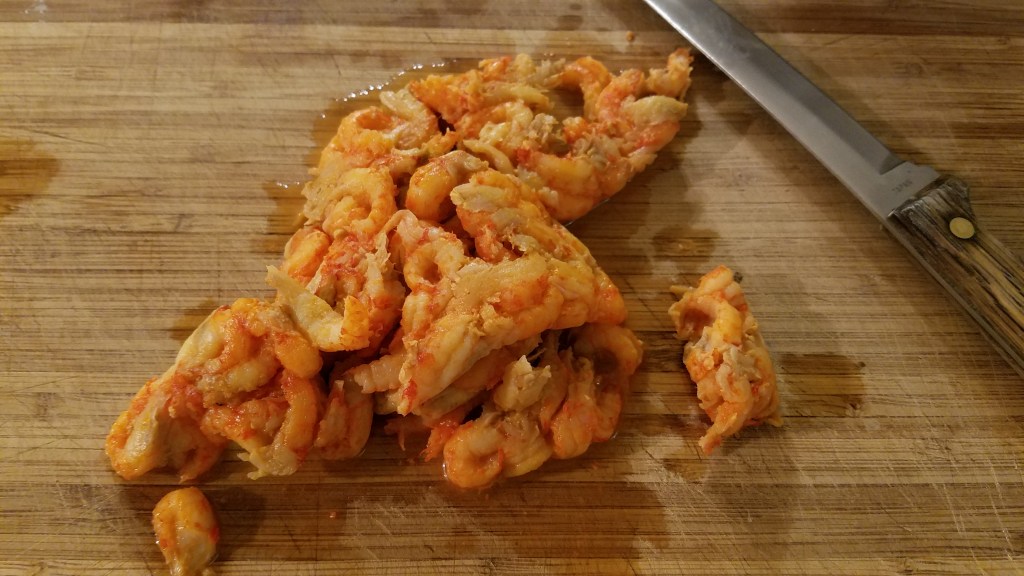
1 lb medium sized shrimp, shell on and deveined
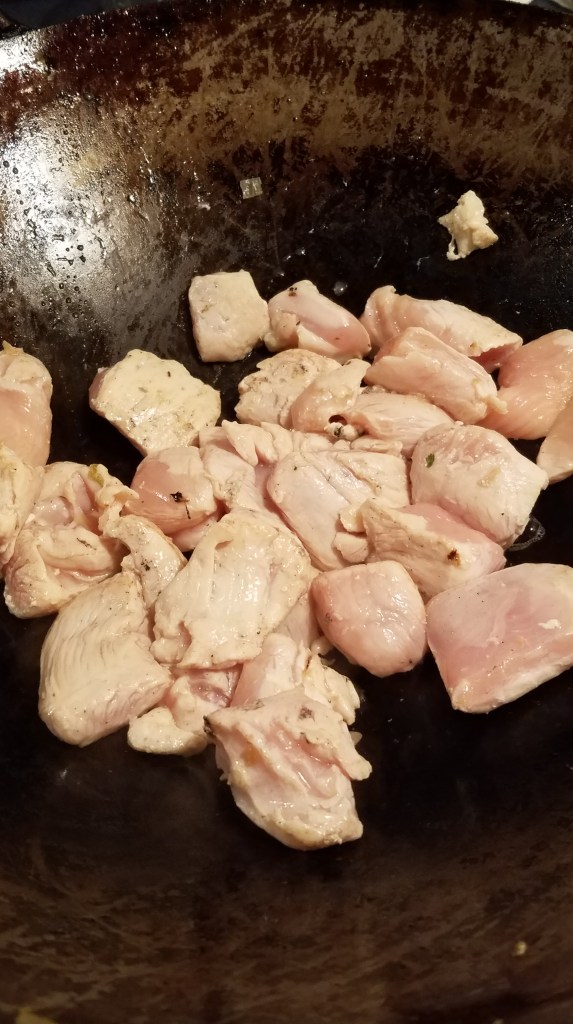
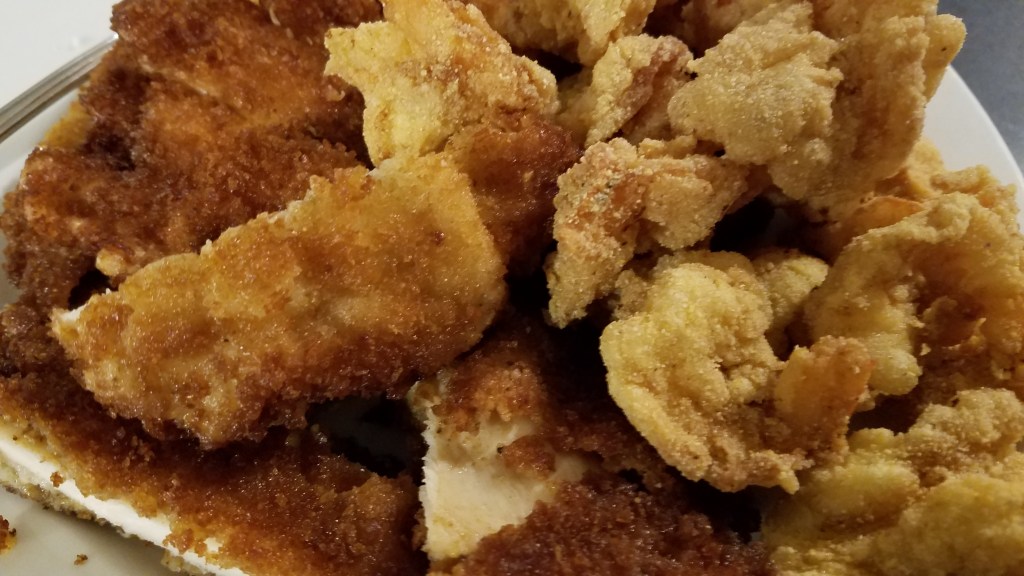
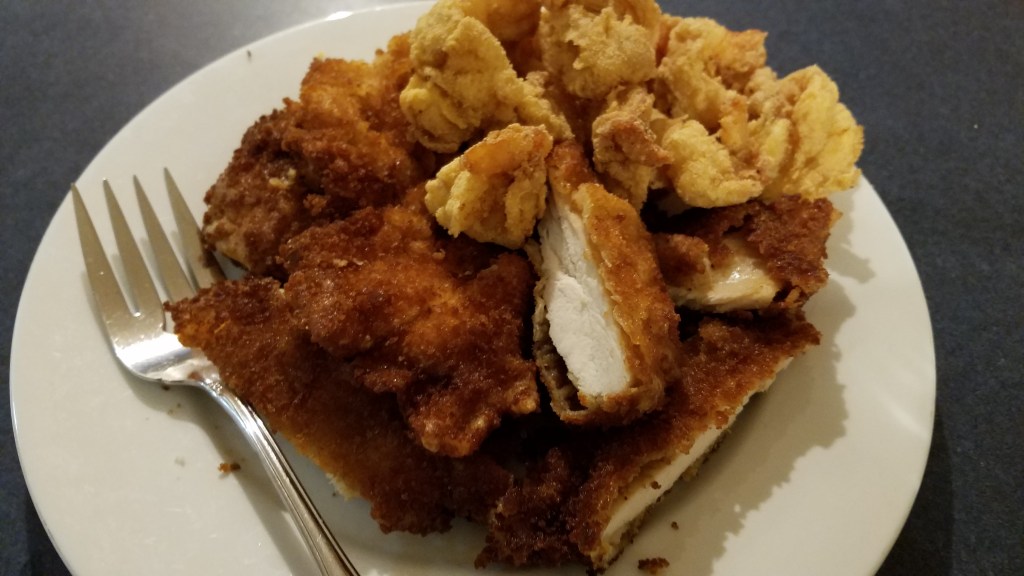
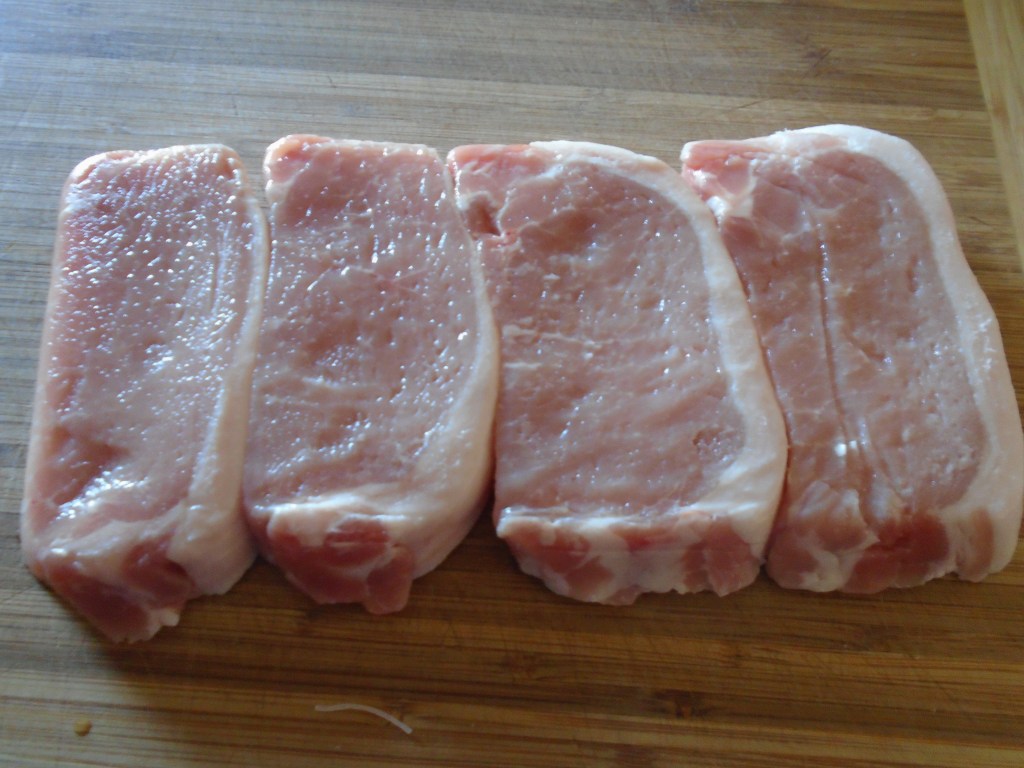
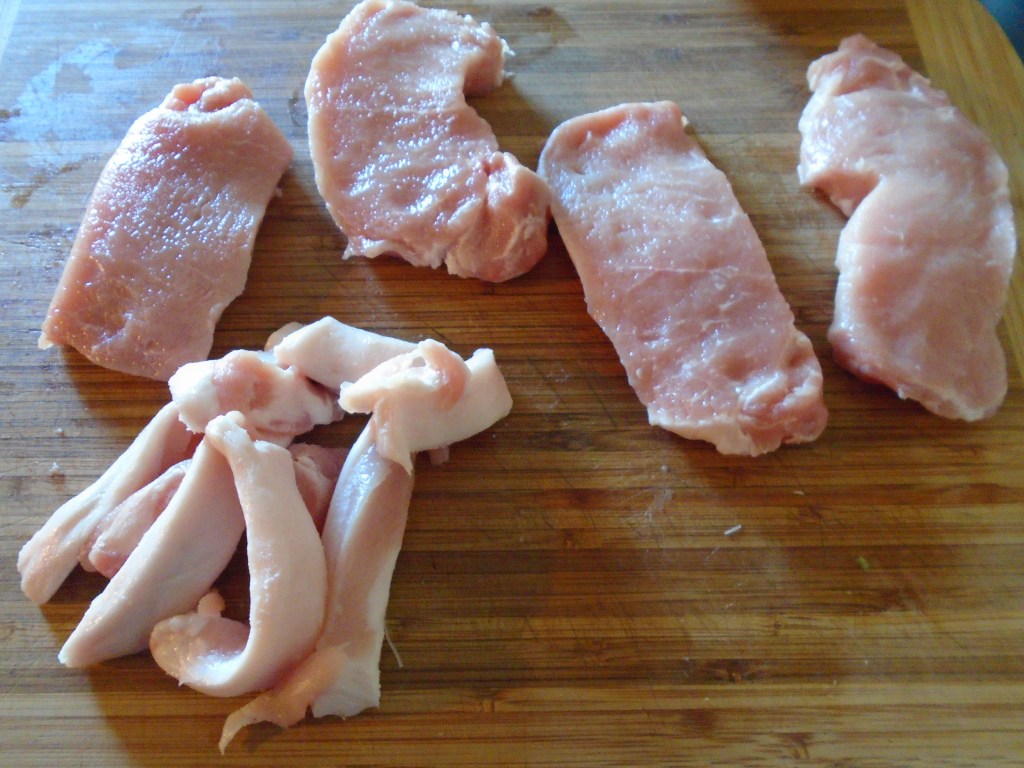
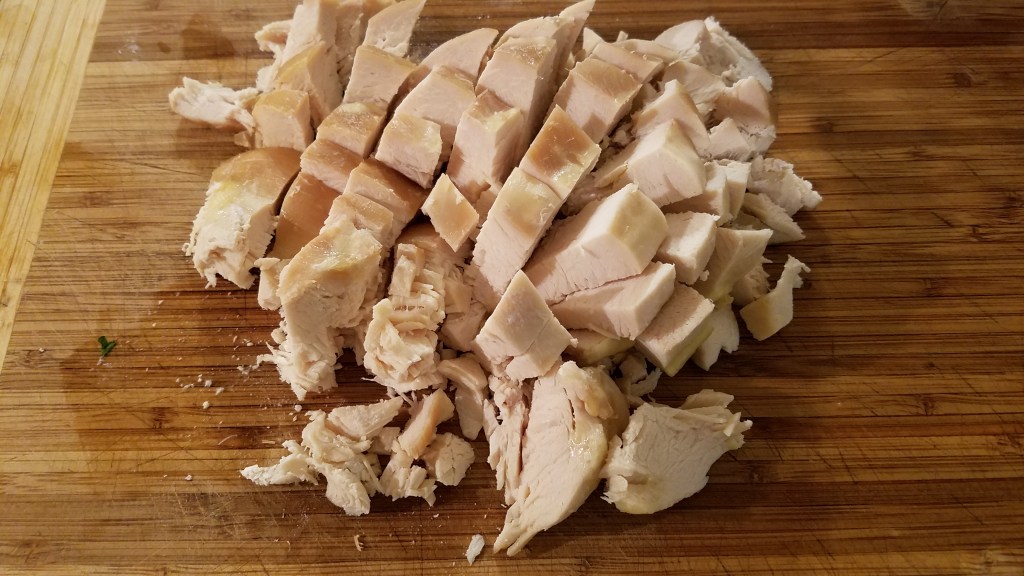
1 1/2 lbs cooked chicken breast, cut into 1/2″ cubes
3 cups canola oil
3 cups all-purpose flour
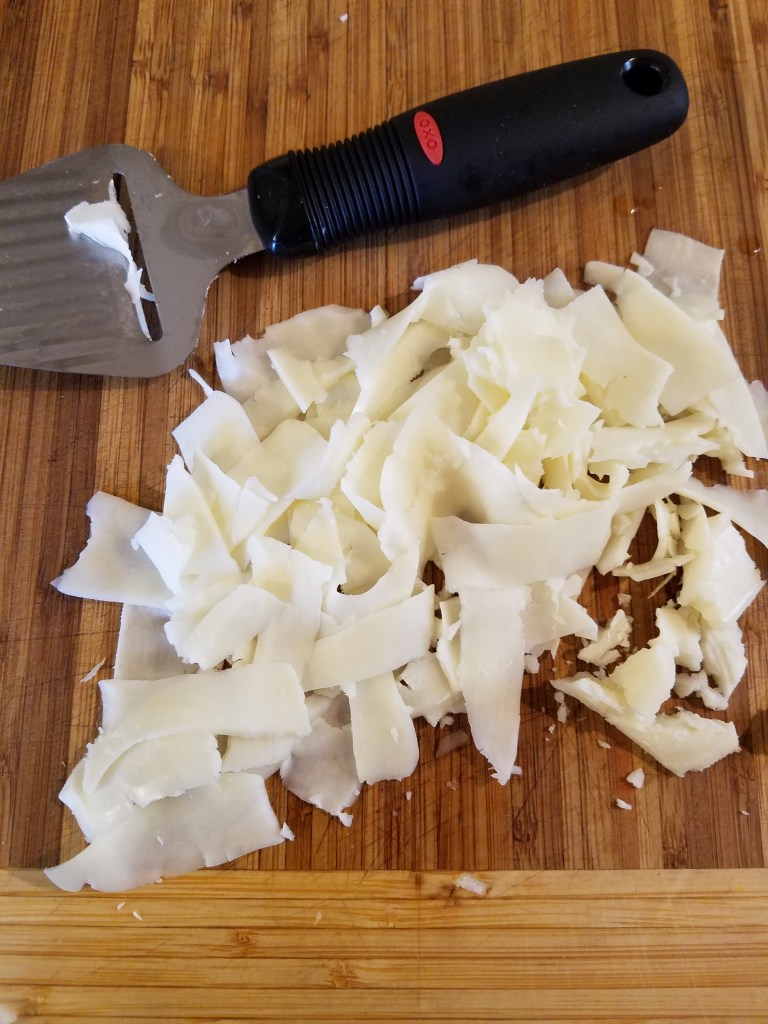
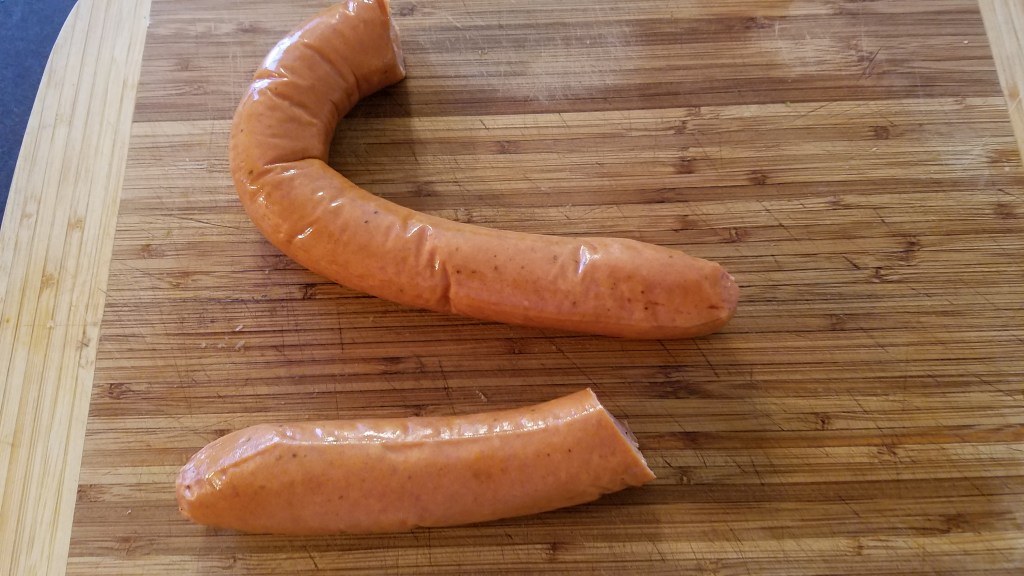
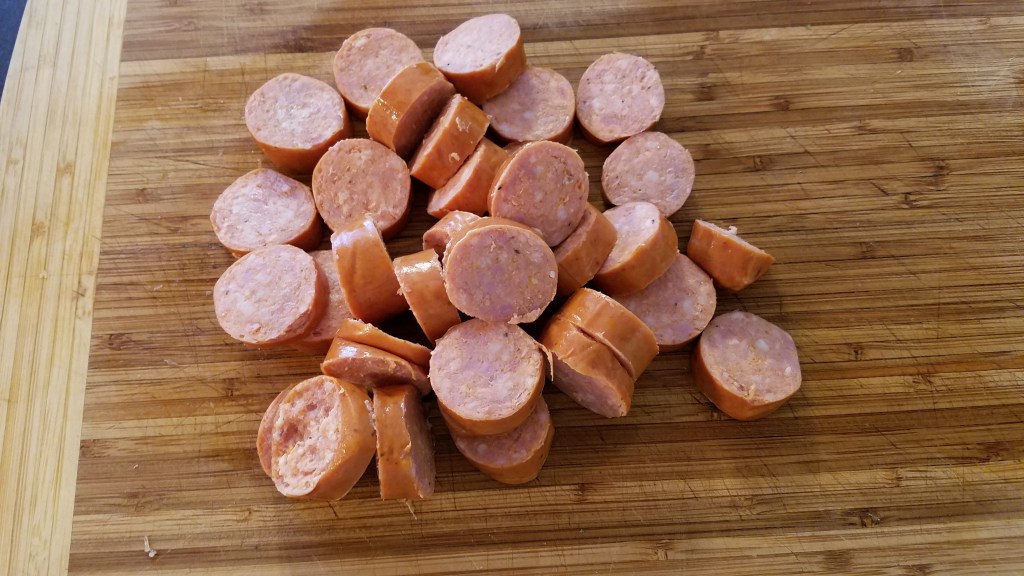
1 lb Andouille, cut into 1/2″ thick slices
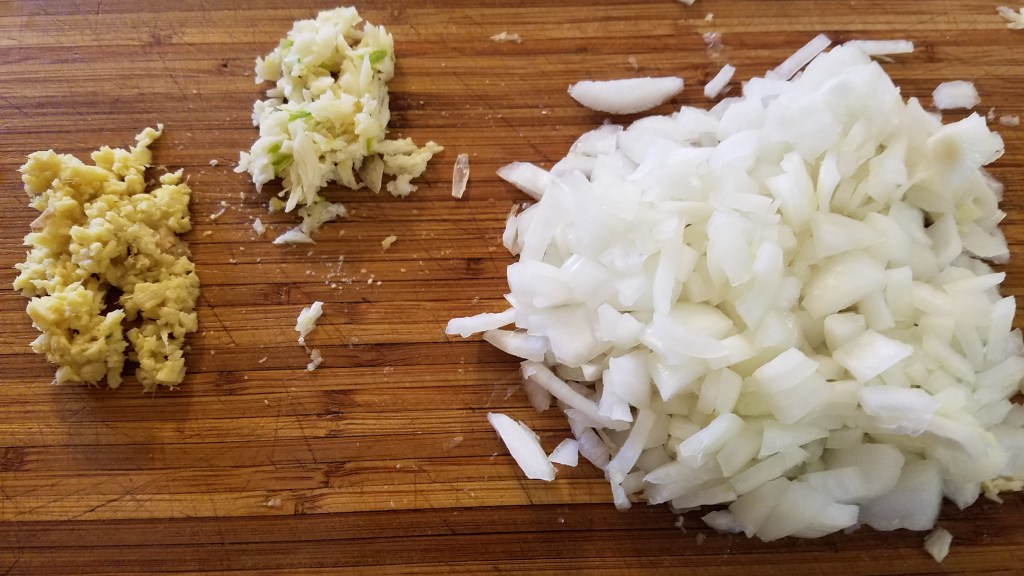
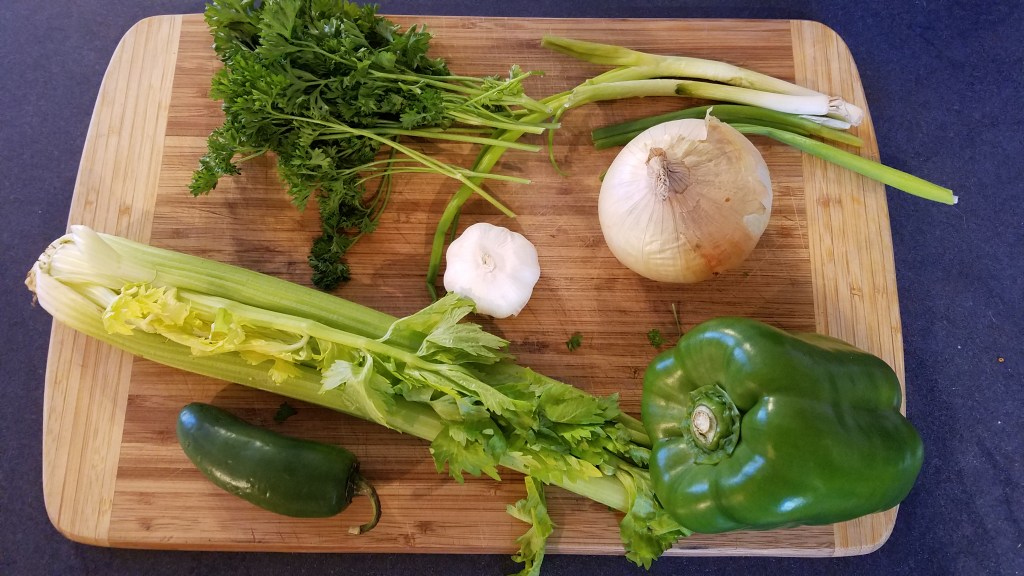
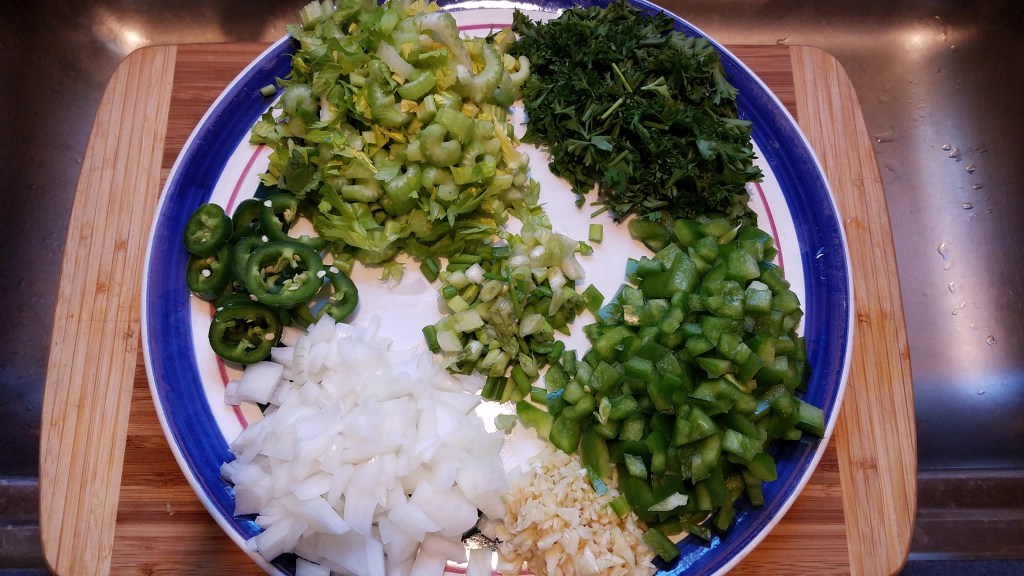
1 large onion, chopped
1 bell pepper, chopped
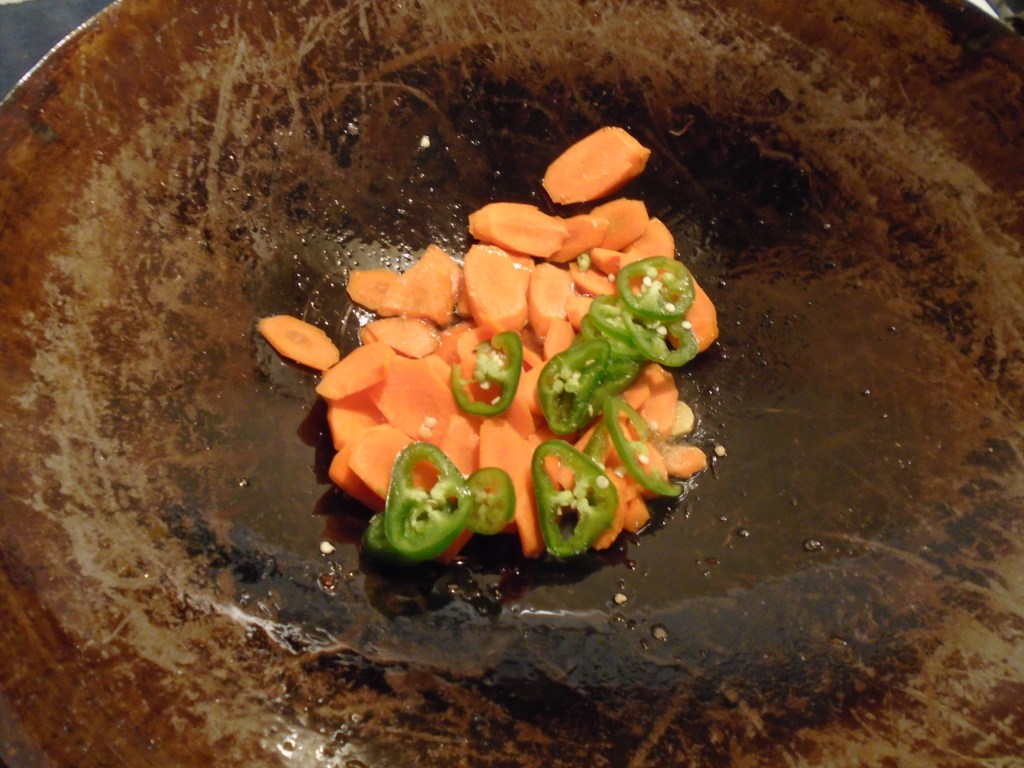
1 large jalapeño, seeded and sliced
2 cups celery, chopped
1 whole head of garlic, minced
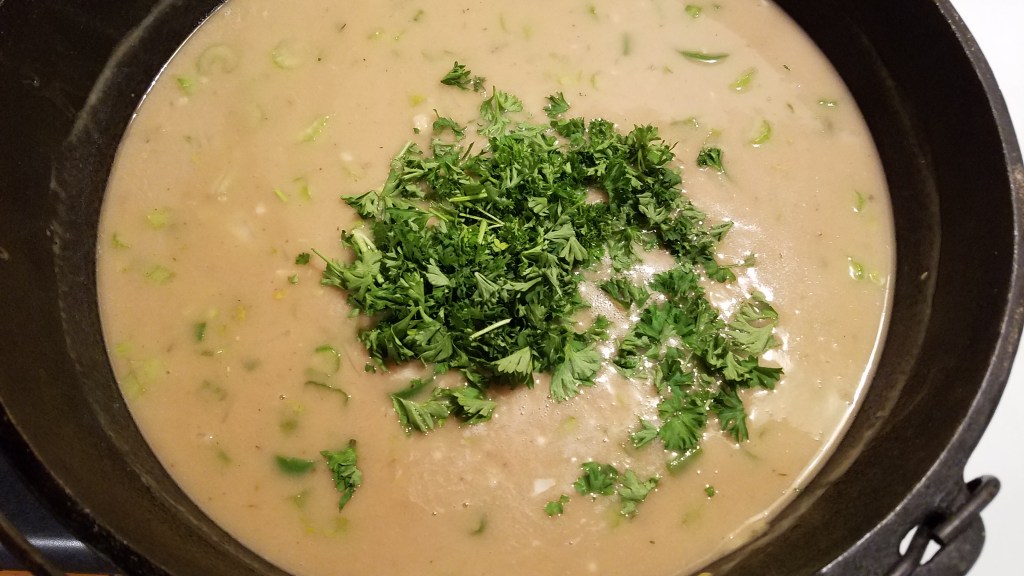
1 1/2 cups parsley, chopped
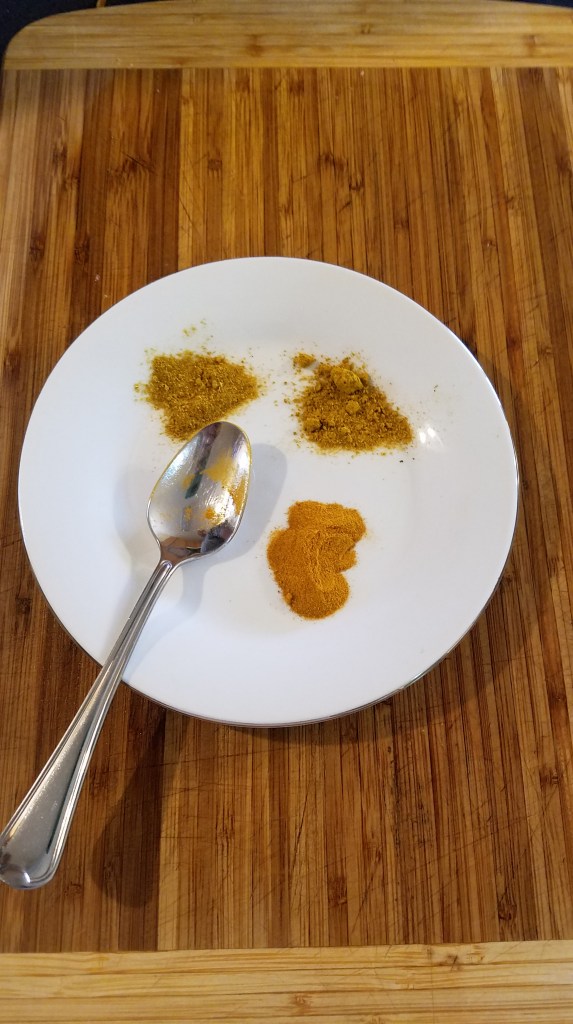
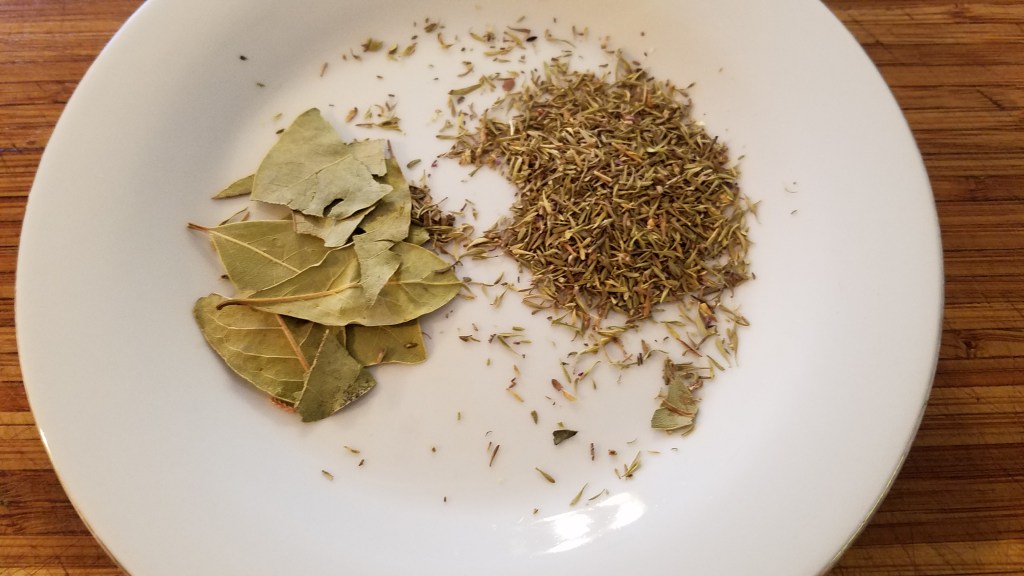
1 Tbs dried thyme
1 Tbs bay leaves
32 oz chicken stock
32 oz vegetable stock
1/2 cup shrimp stock reduction
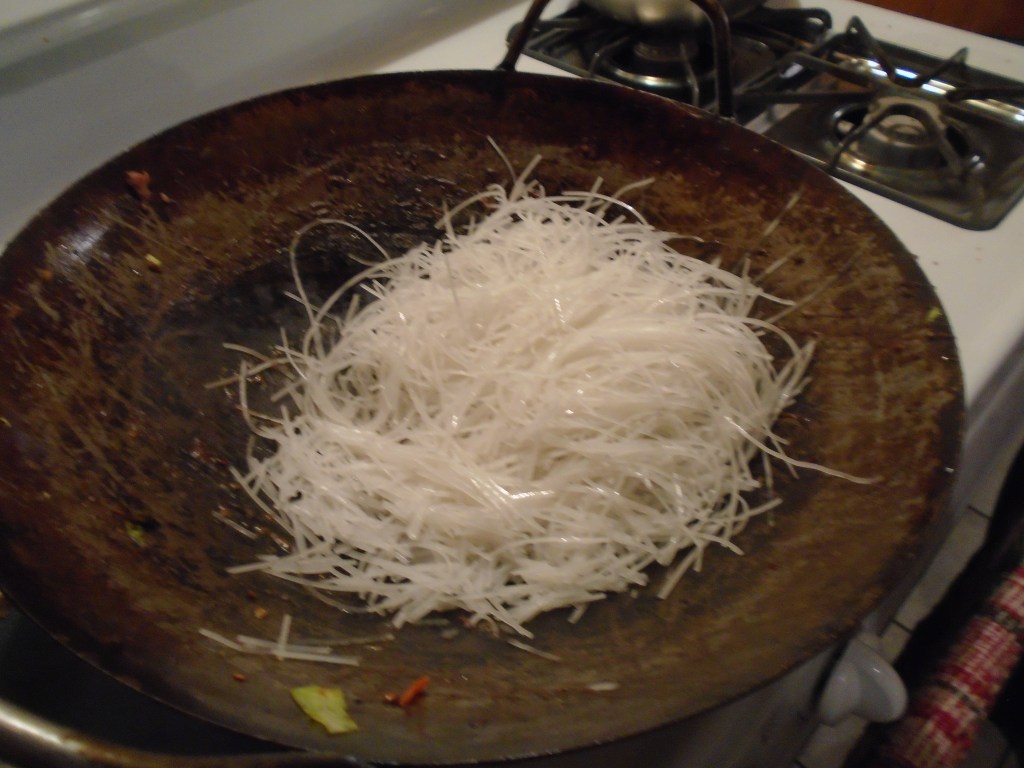
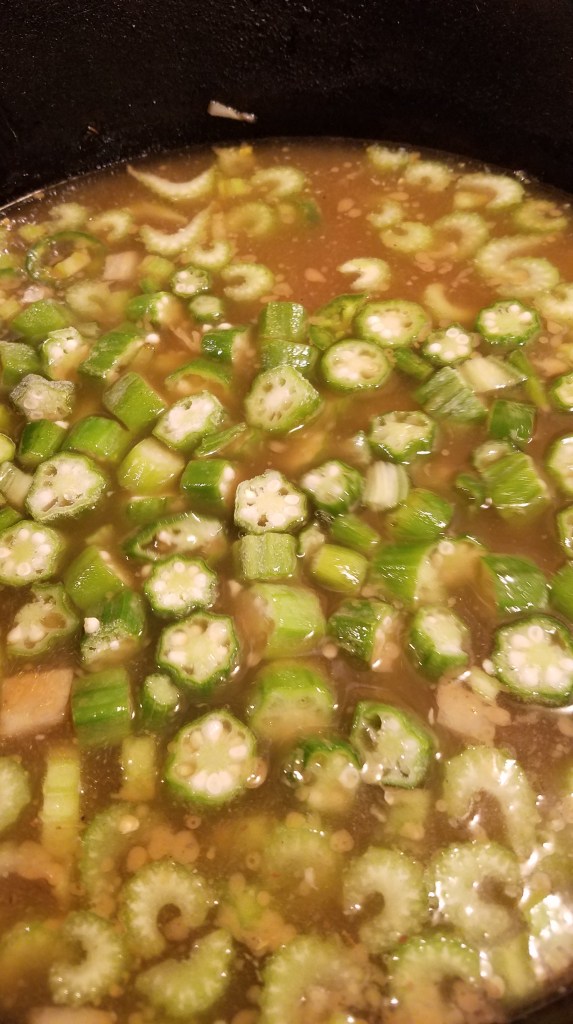
12 oz okra, chopped
1 lb. crawfish tail meat
1 lb. crabmeat
1/2 cup clam stock reduction
12 oz white clams (about 12 clams)
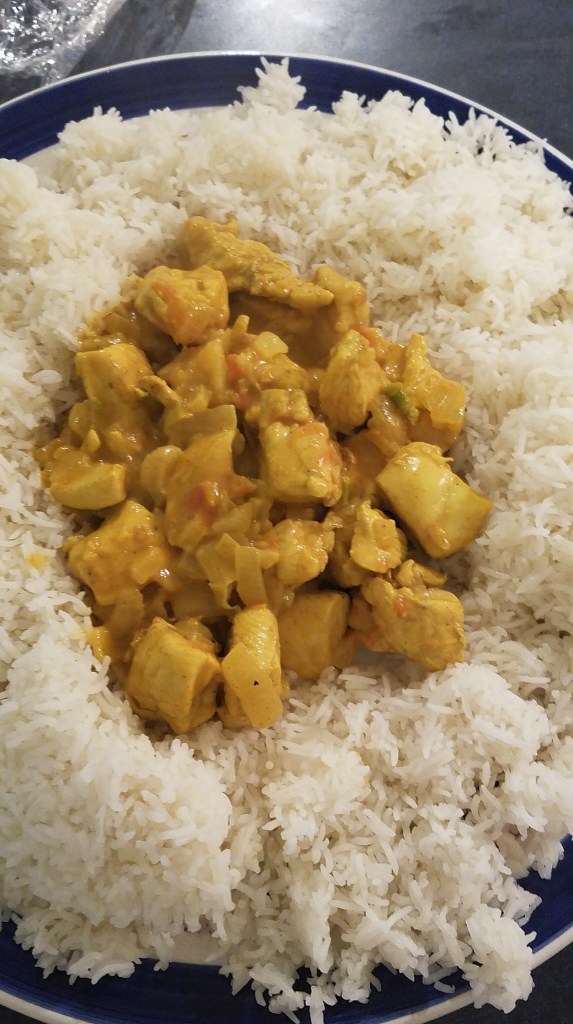
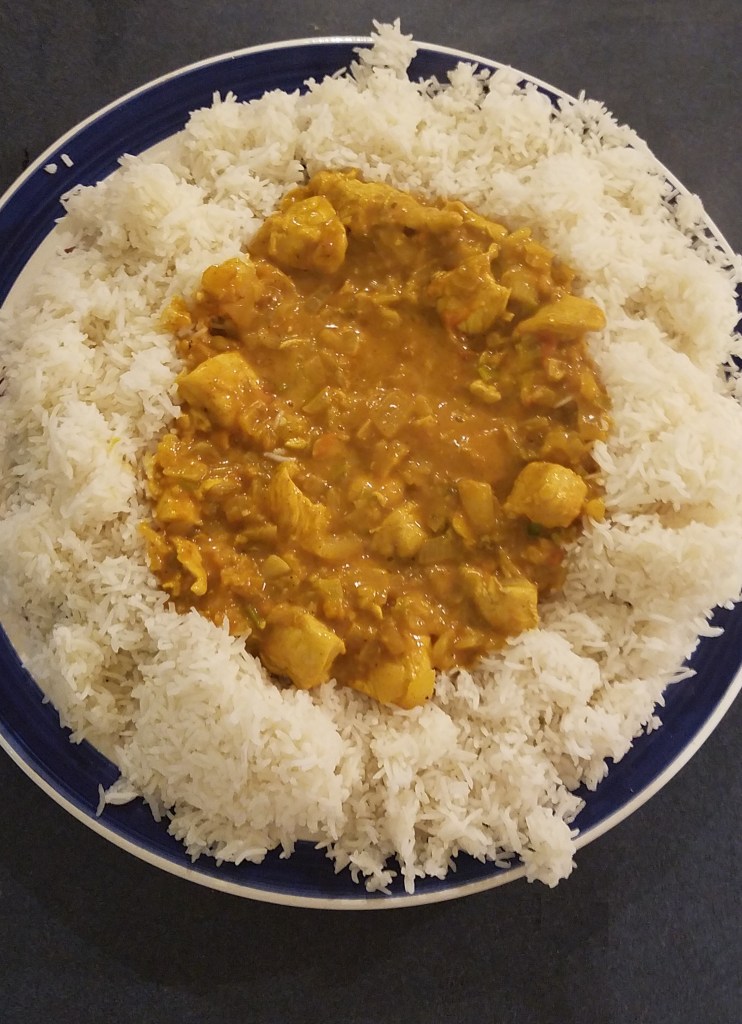
Lots and lots of hot, steamed white rice
Directions:
I also added a small amount of beef scraps. 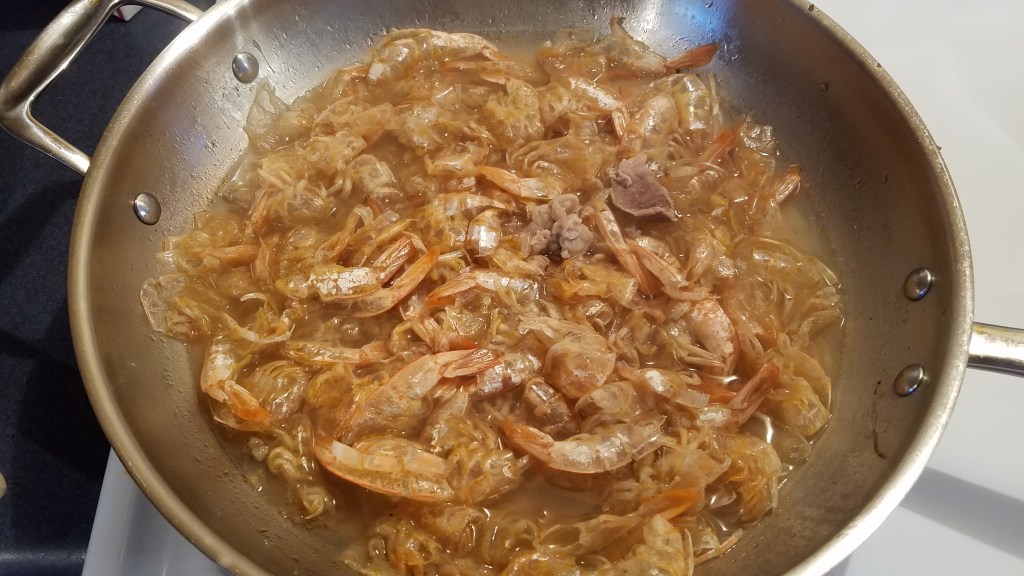
After about 15 minutes
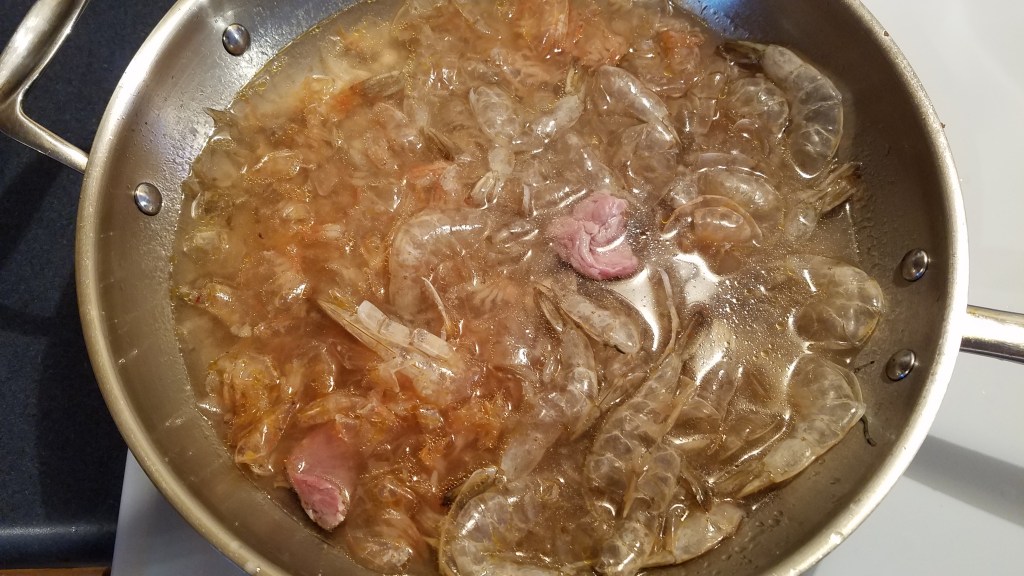
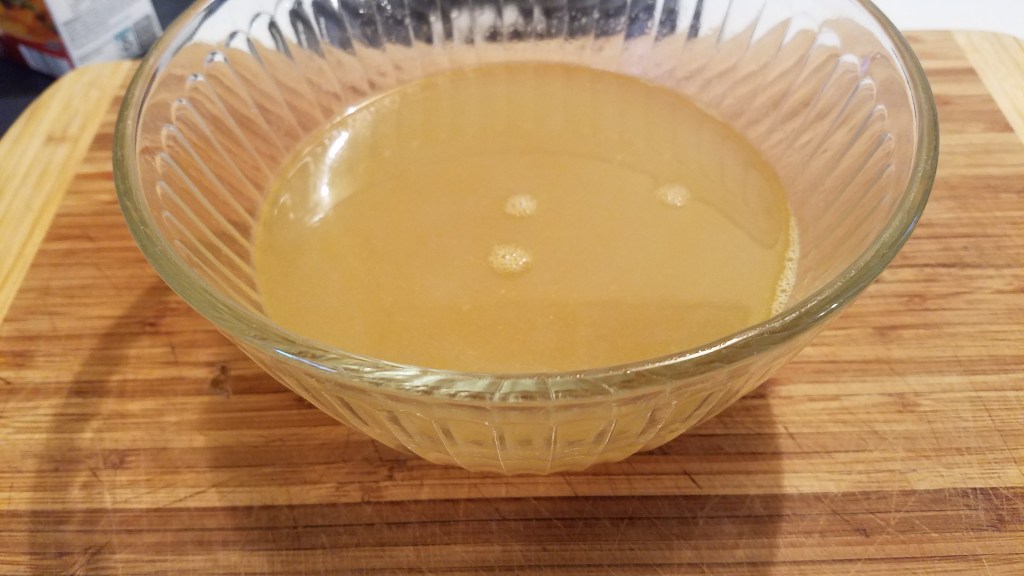
Remove the shells from the shrimp and place in a skillet or pot. Add a teaspoon of seasoning salt. Cover with water and simmer at medium heat for about 15 minutes. Strain the liquid and reserve. Discard the shrimp shells. Heat the liquid in the pan until it reduces by at least half. Reserve the reduction.
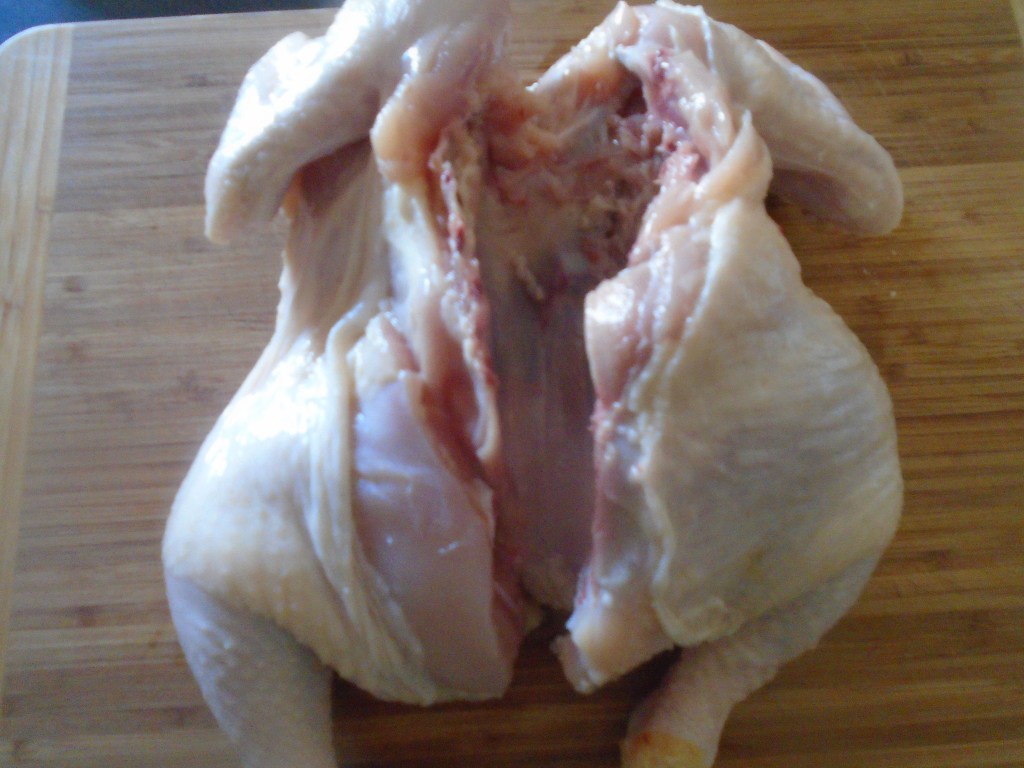
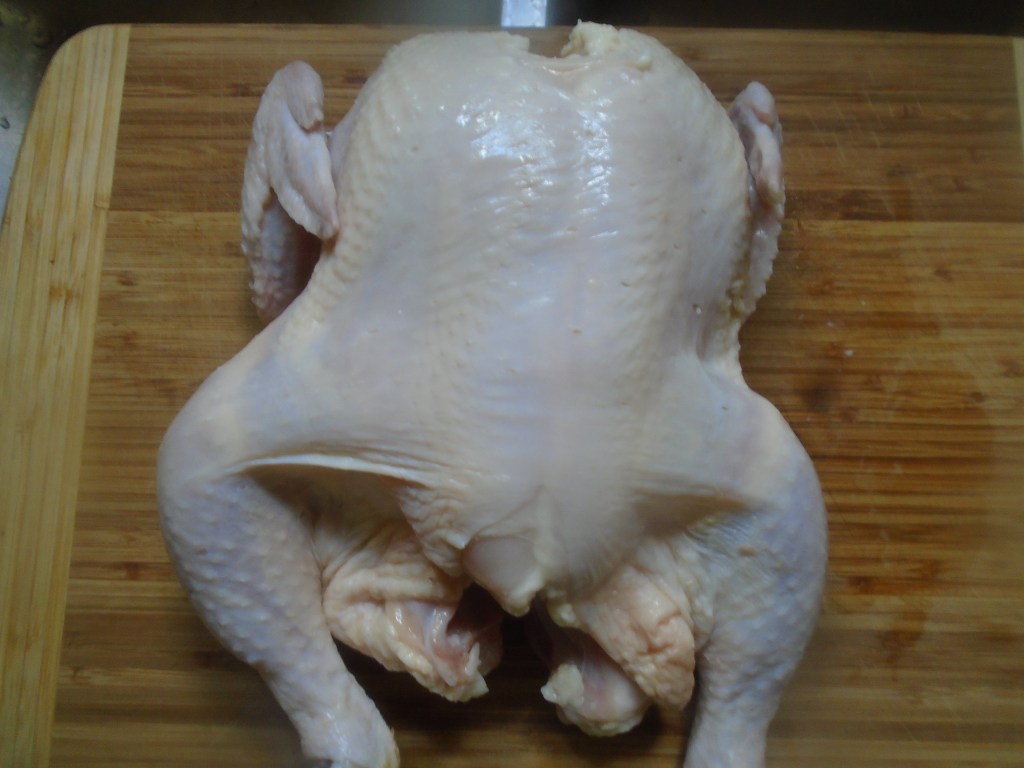
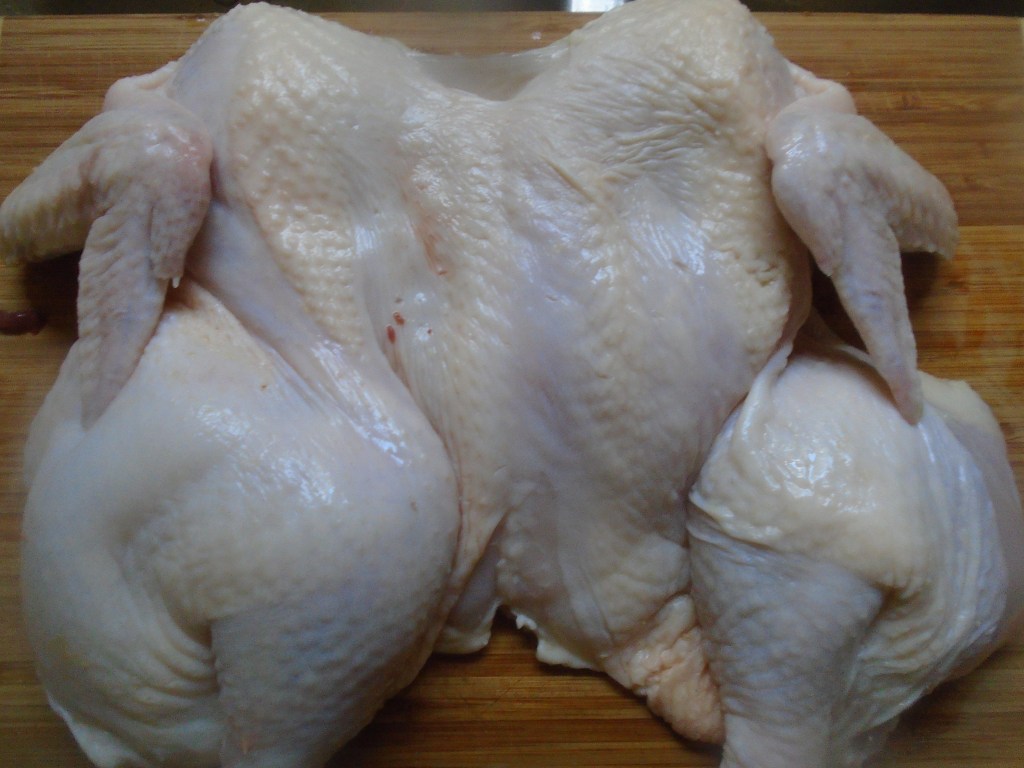
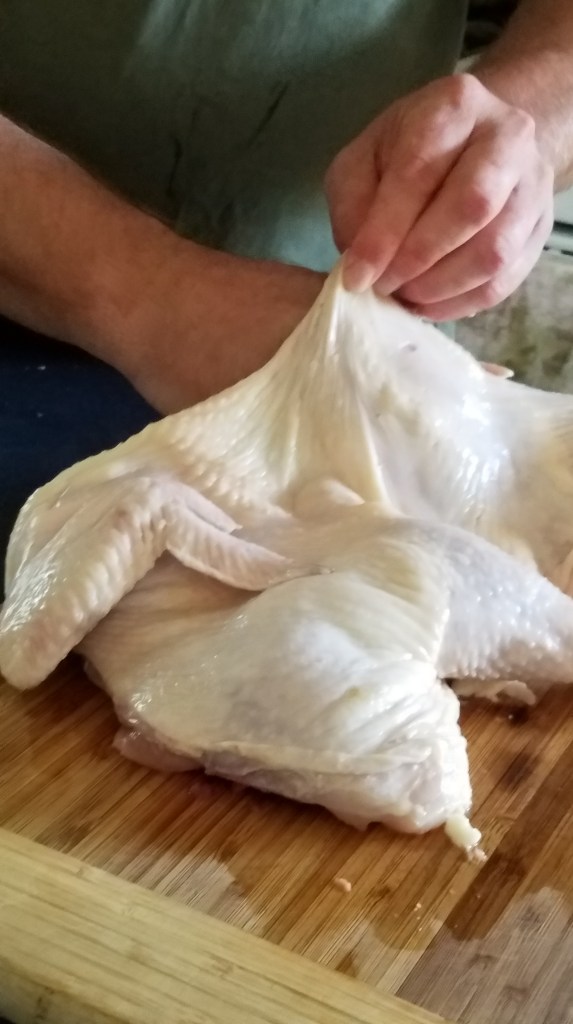
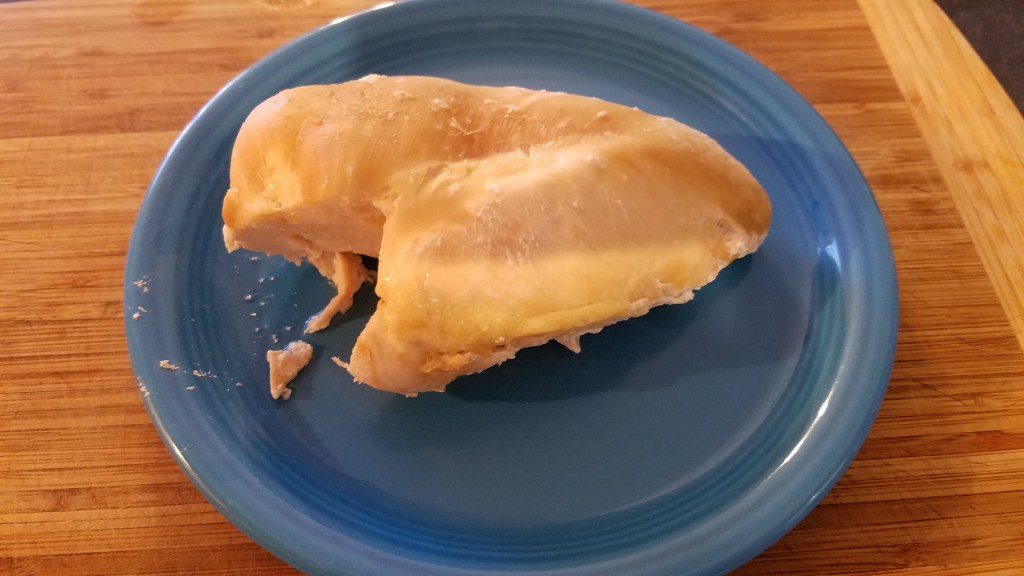
Put the chicken in a pot and cover with water. Boil at low heat until cooked (about 40 minutes). Remove the chicken to a platter and cool to room temperature.
In a small bowl, add the thyme and bay leaves. Cover with water and steam in a microwave for about a minute. Leave the herbs in the water and set aside.

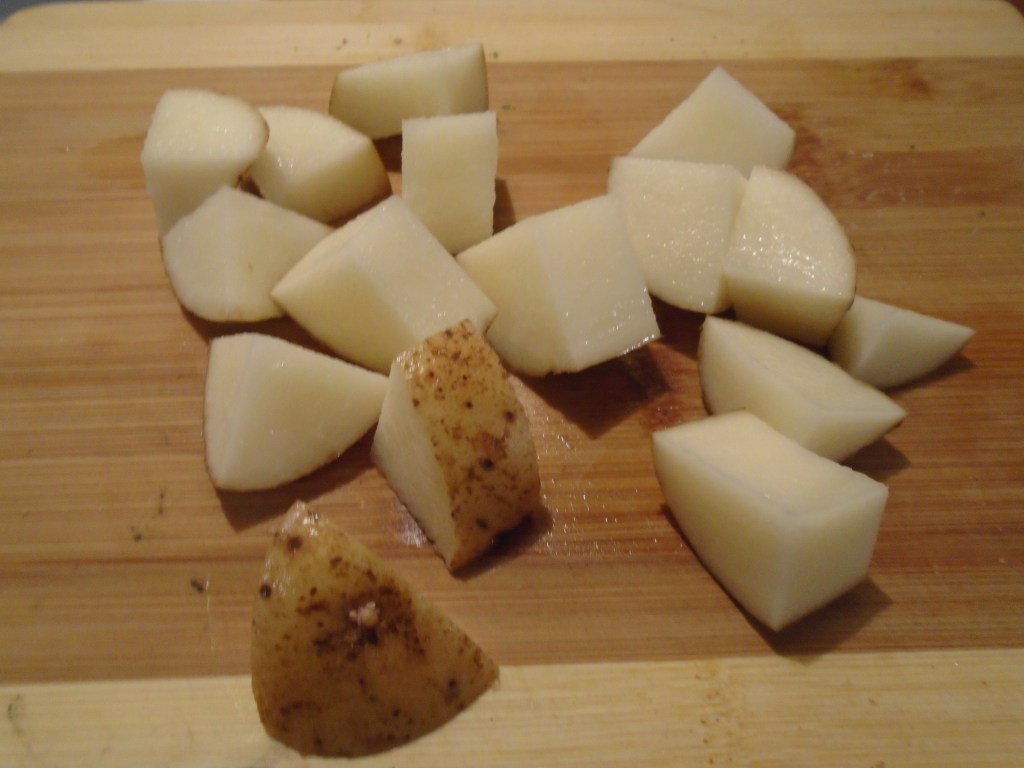
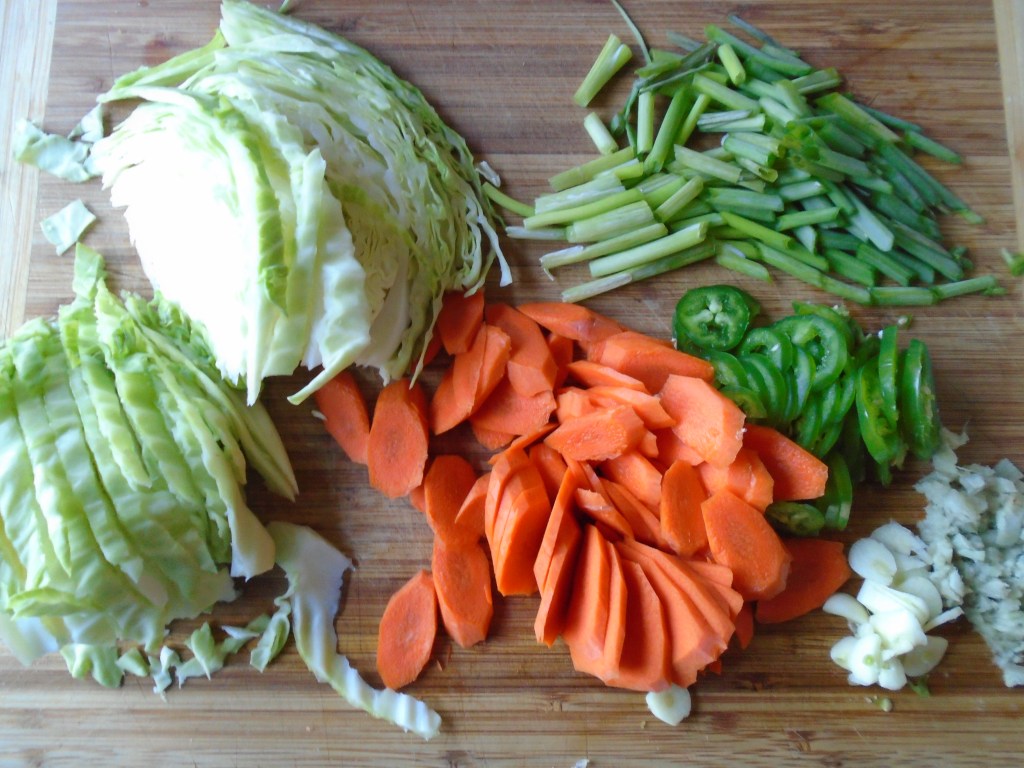
Prep the vegetables and set aside.
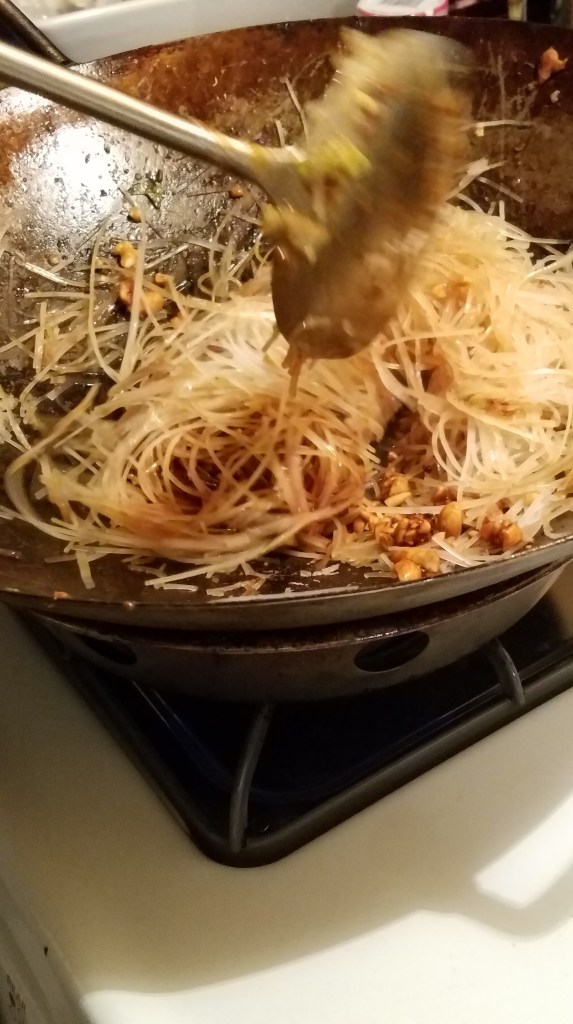
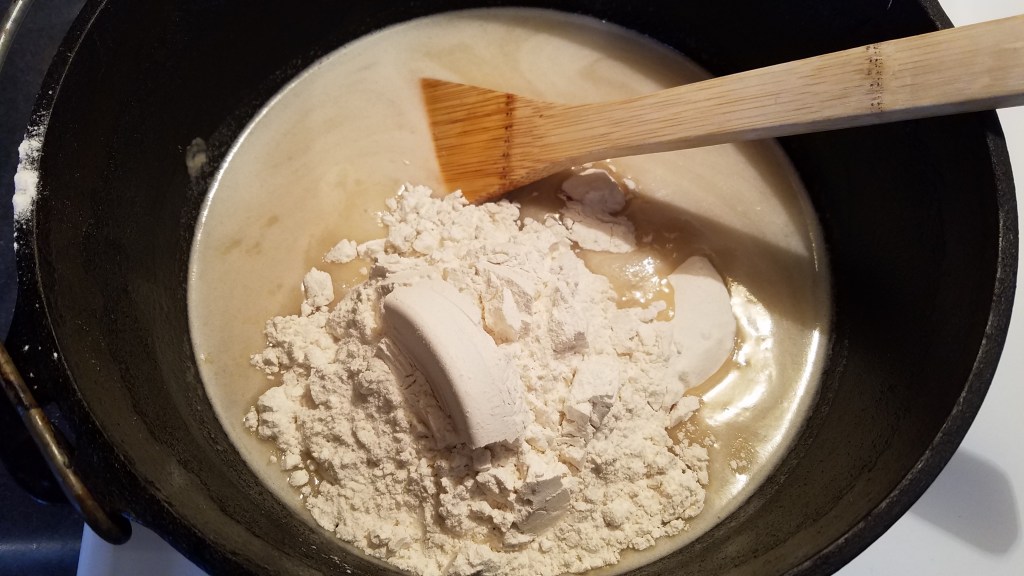
Heat a large Dutch oven over medium heat. (I used a 12” deep Dutch oven). Add 1 cup oil and 1 cup flour and stir to incorporate. Reduce heat to low/medium. Add remaining oil and stir. Add the remaining flour and stir constantly.

After about 15 minutes the roux will begin to change from pale yellow to blonde. Turn the heat to low and keep stirring.
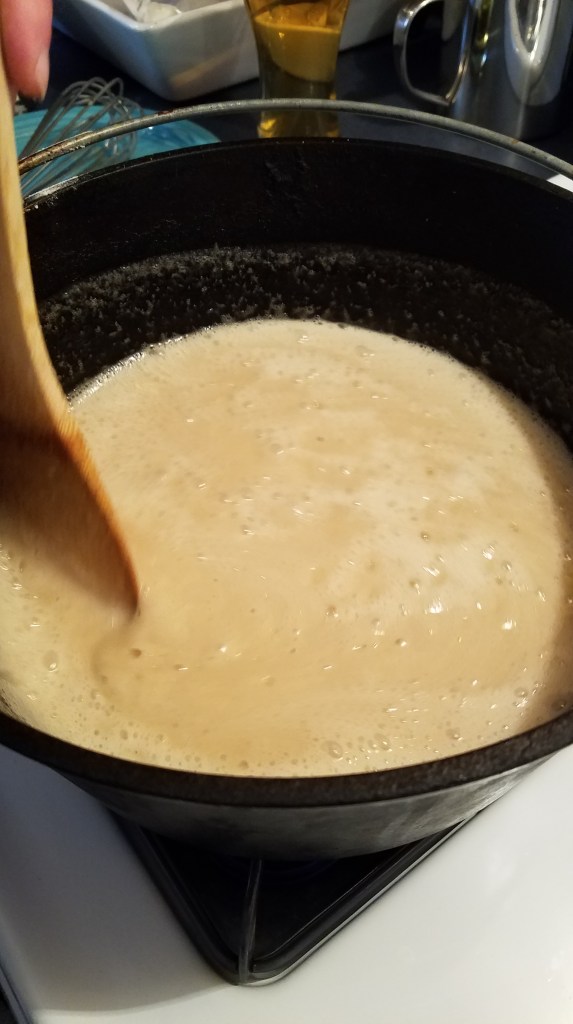
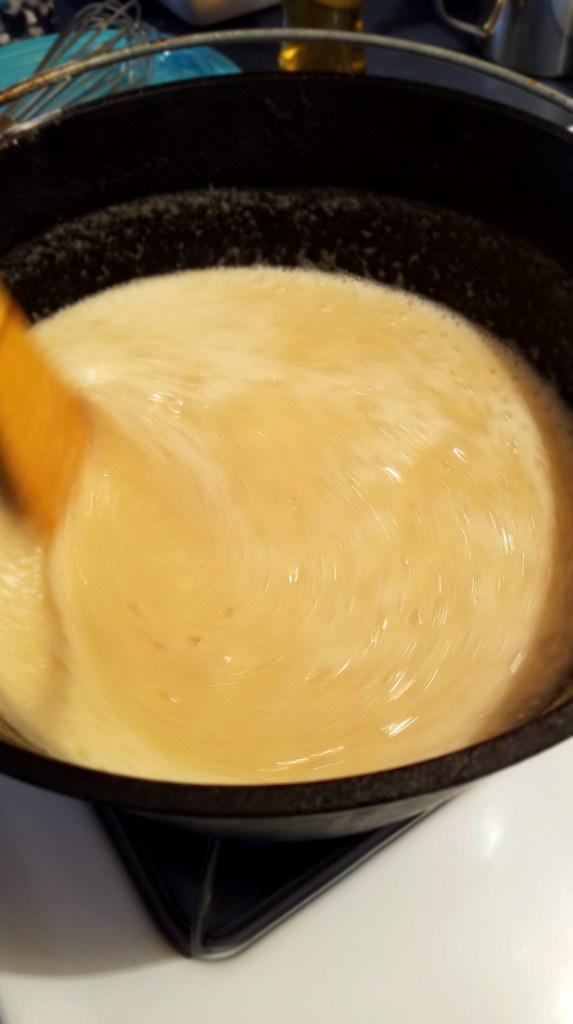
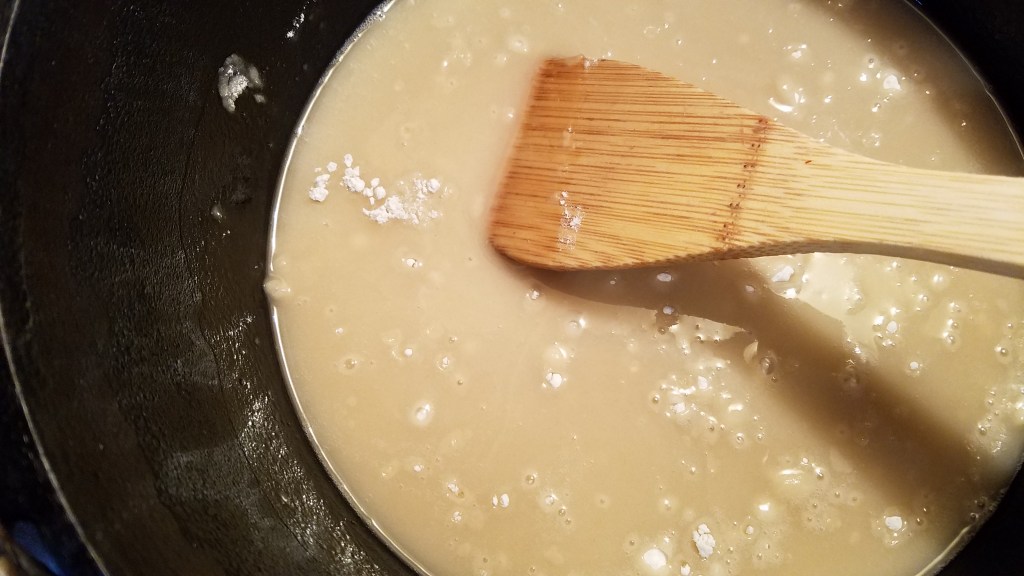
The roux will continue to darken and will become light tan and then dark tan. Once the roux has turned to tan pay extra attention to the aroma and color of the roux as you stir.
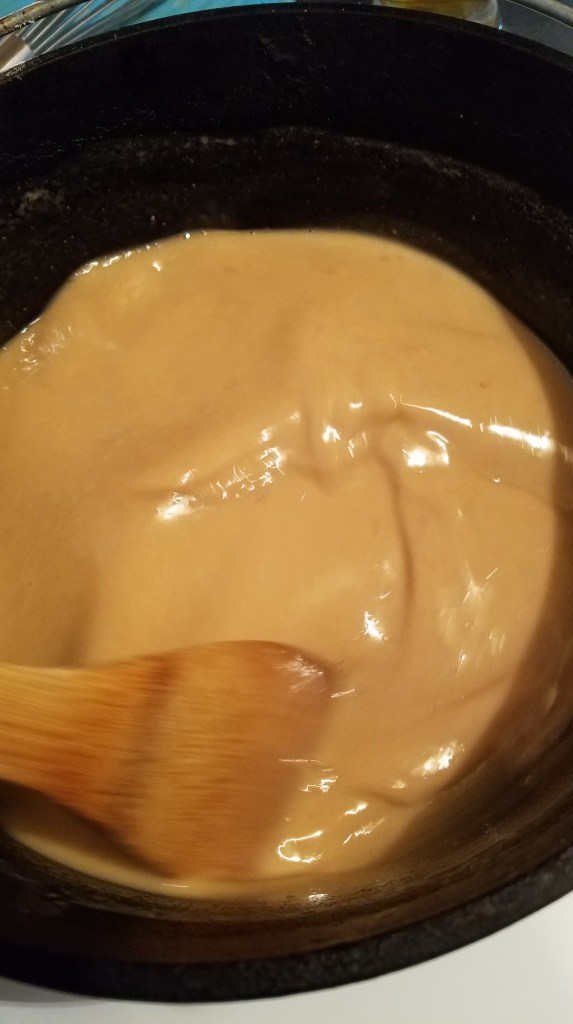
The color of the roux will begin to take on reddish/brown hue soon. This is where I usually turn off the heat but, if you are brave and careful, keep stirring until the roux becomes chocolate brown.
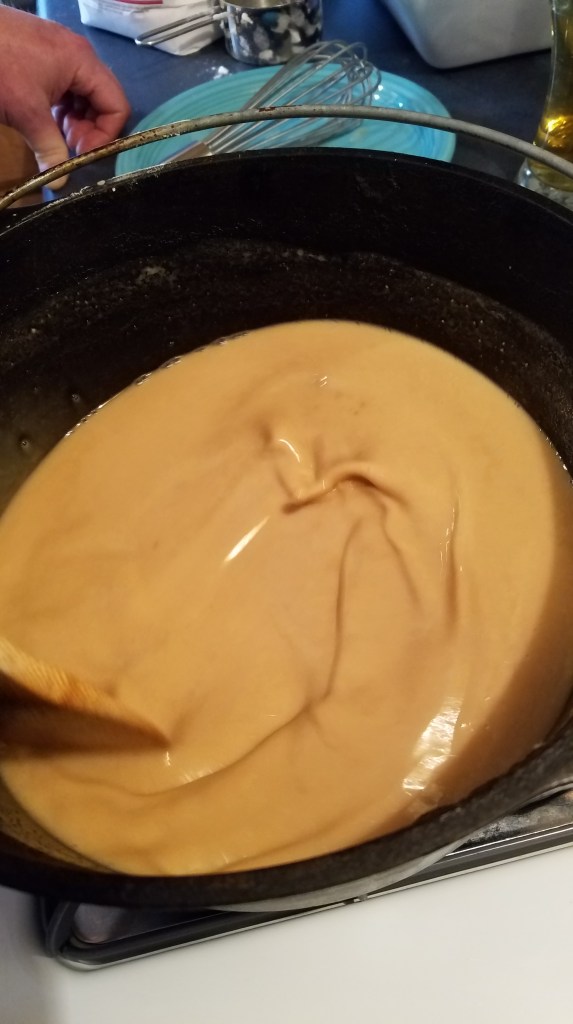
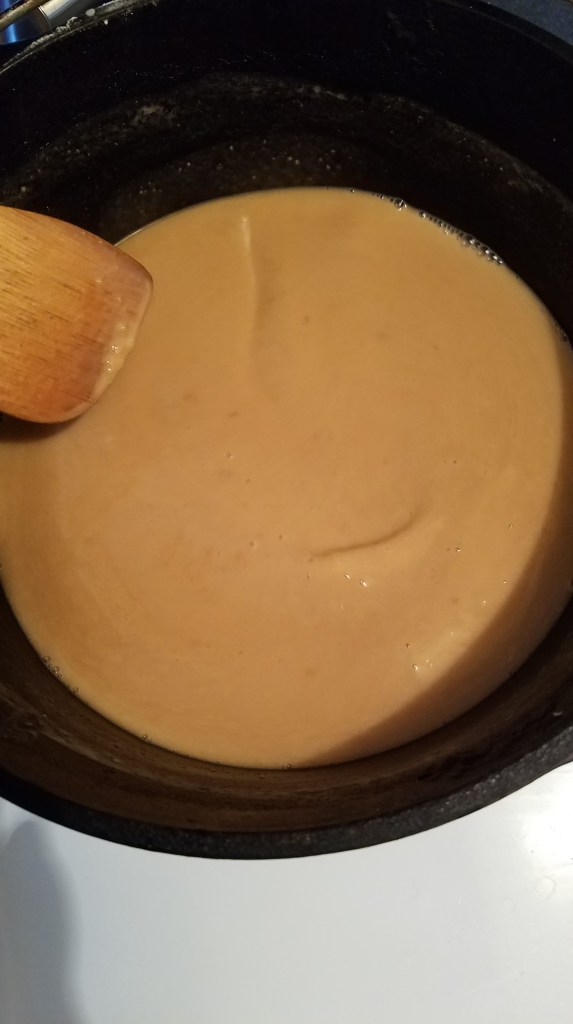
Maybe I should have stopped here… 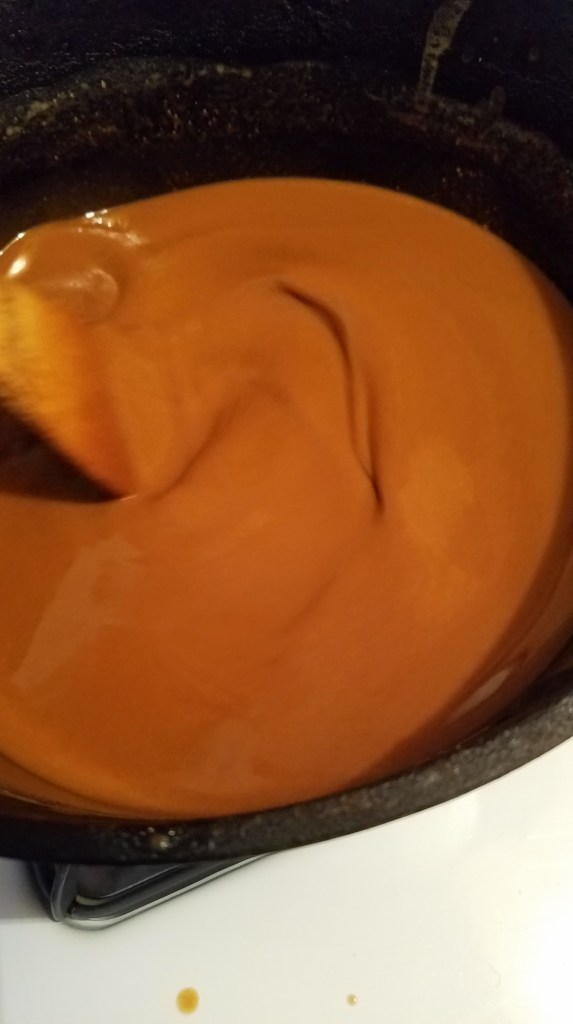
Or here… 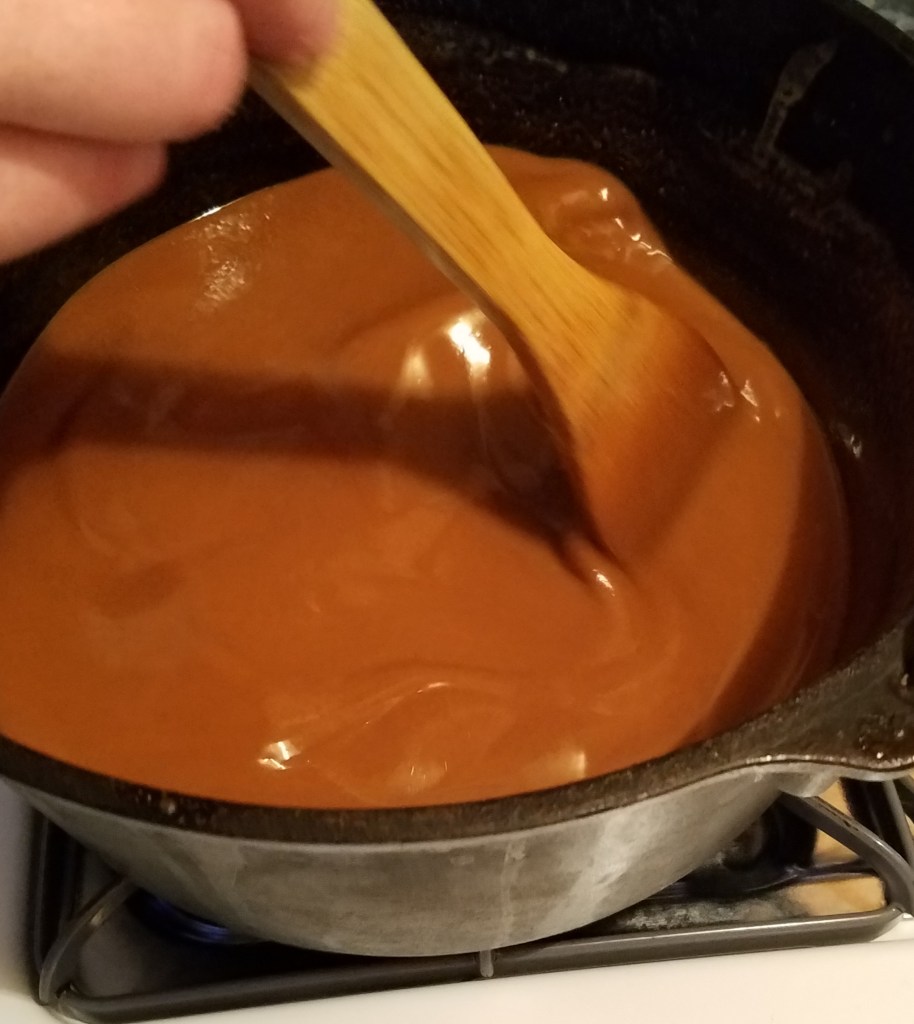
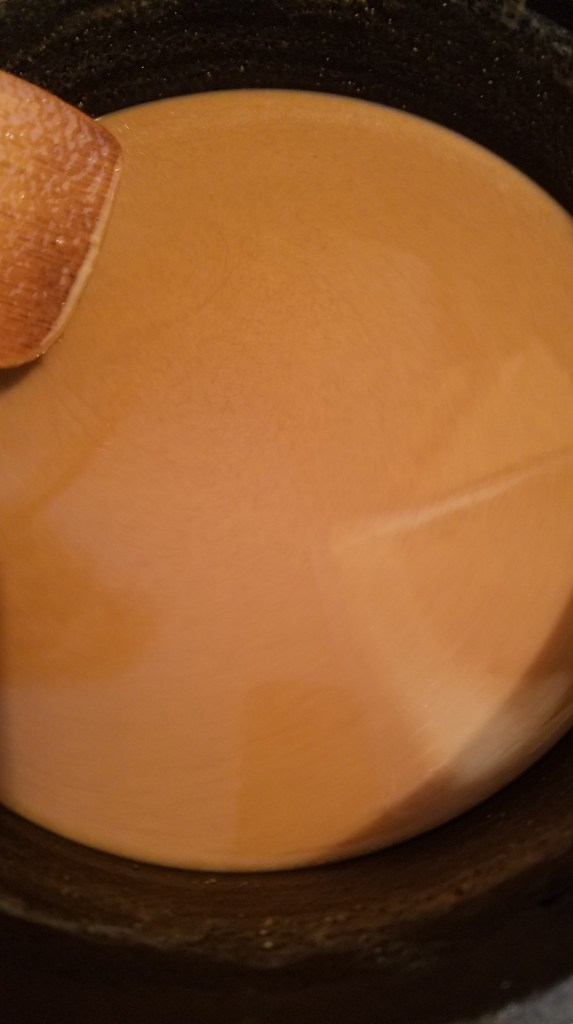
But I went to far and burned it!
Once you are finished with the roux, turn off the heat and continue stirring for several more minutes. The roux will remain very hot for at least 30 minutes. Set the roux aside for now.
I stopped just short of mahogany on my second roux…yes, I chickened out!

And now, the easy part!
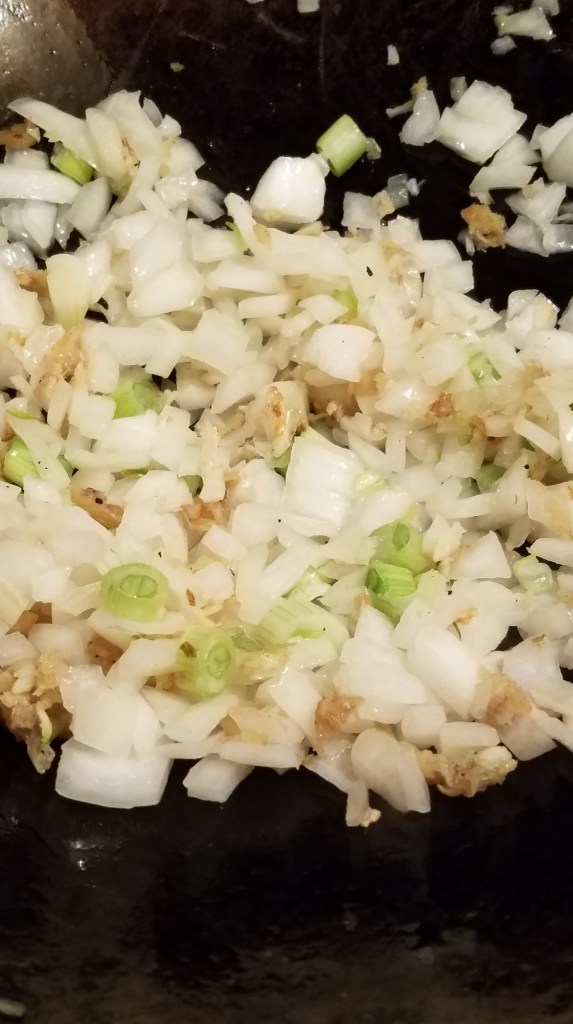
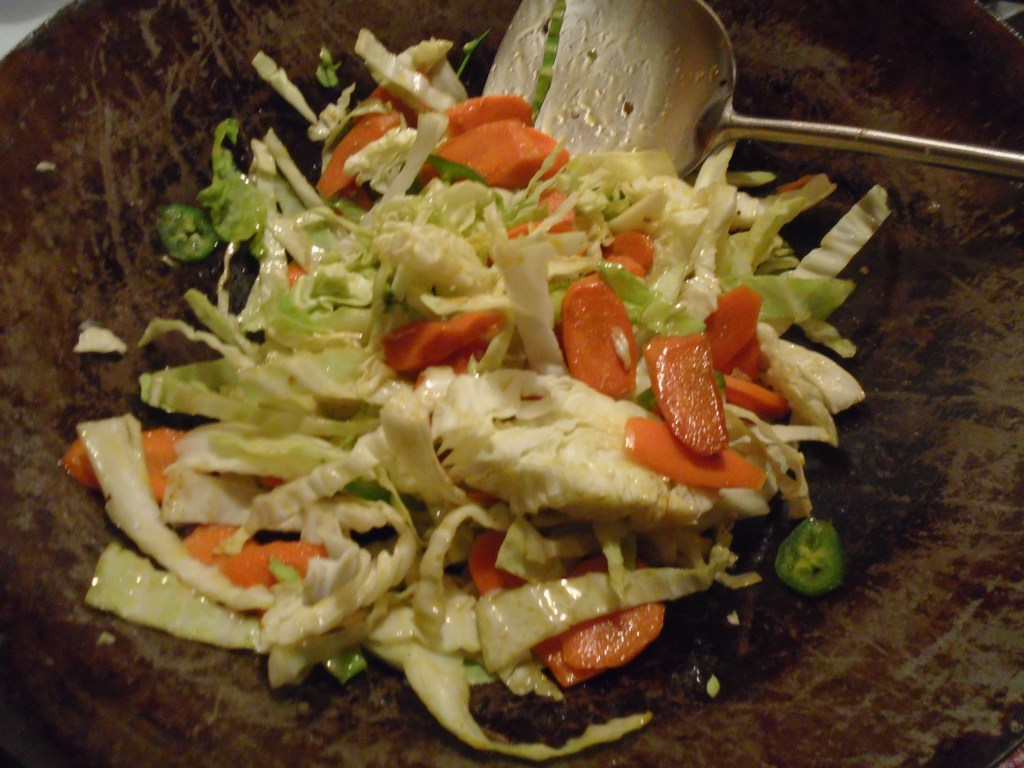
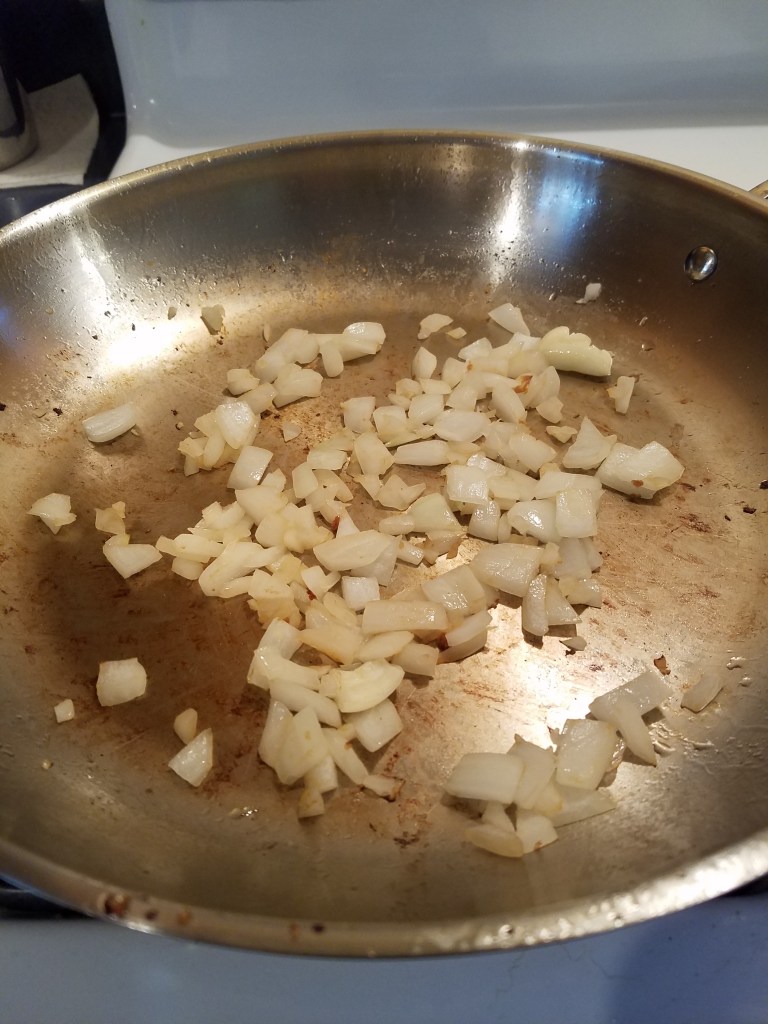
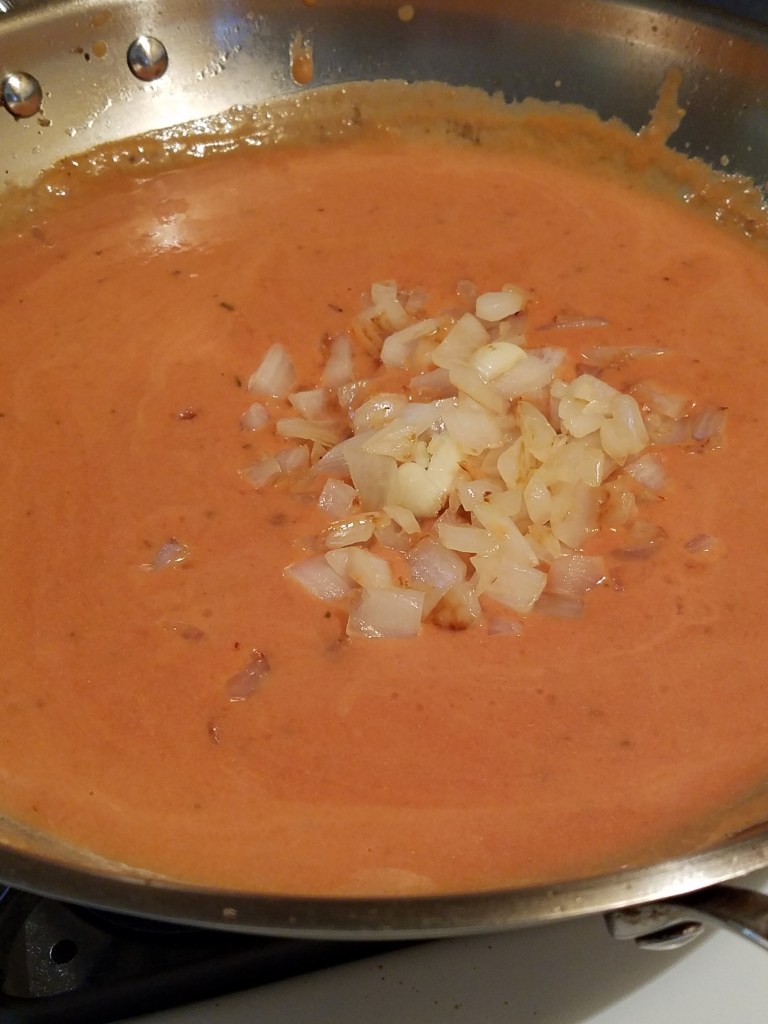
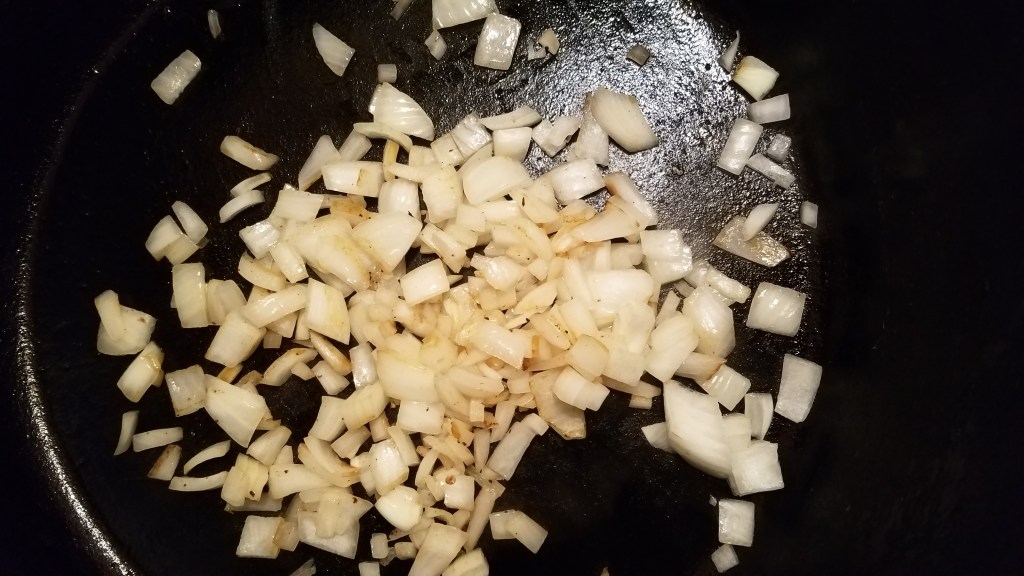
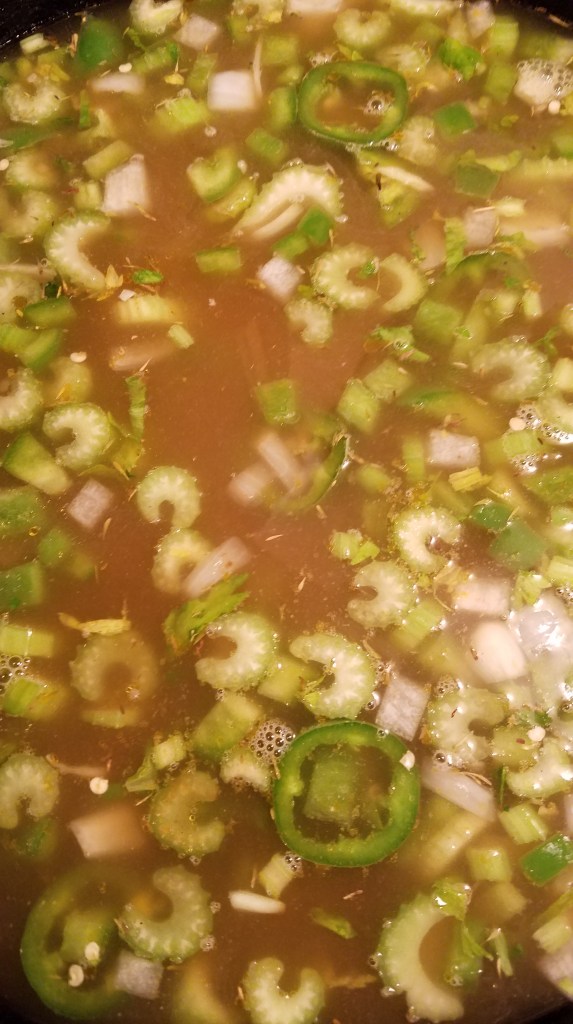
In a very, very large Dutch oven, (I used a 14” deep Dutch oven), add the chopped onion. Sauté until the onion begins to turn brown.
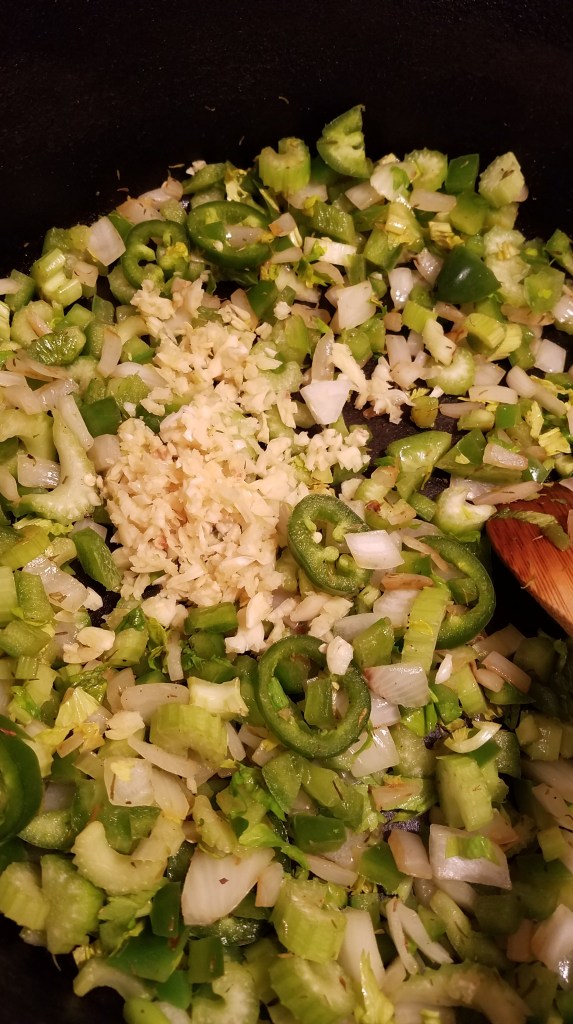
Add the bell pepper, celery and jalapeño. Stir for a minute and add the garlic. Stir for a few minutes and then remove everything to a bowl.
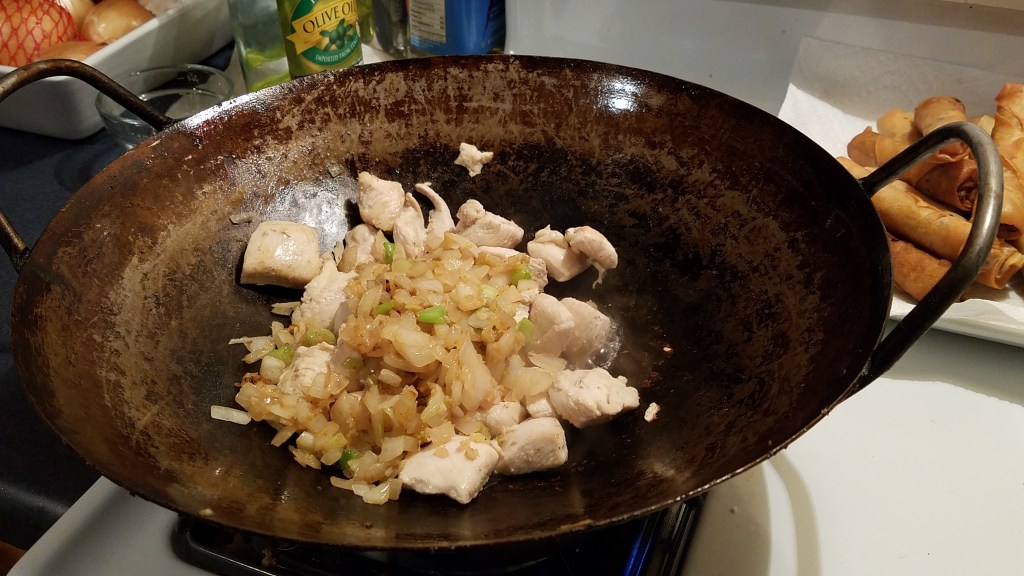
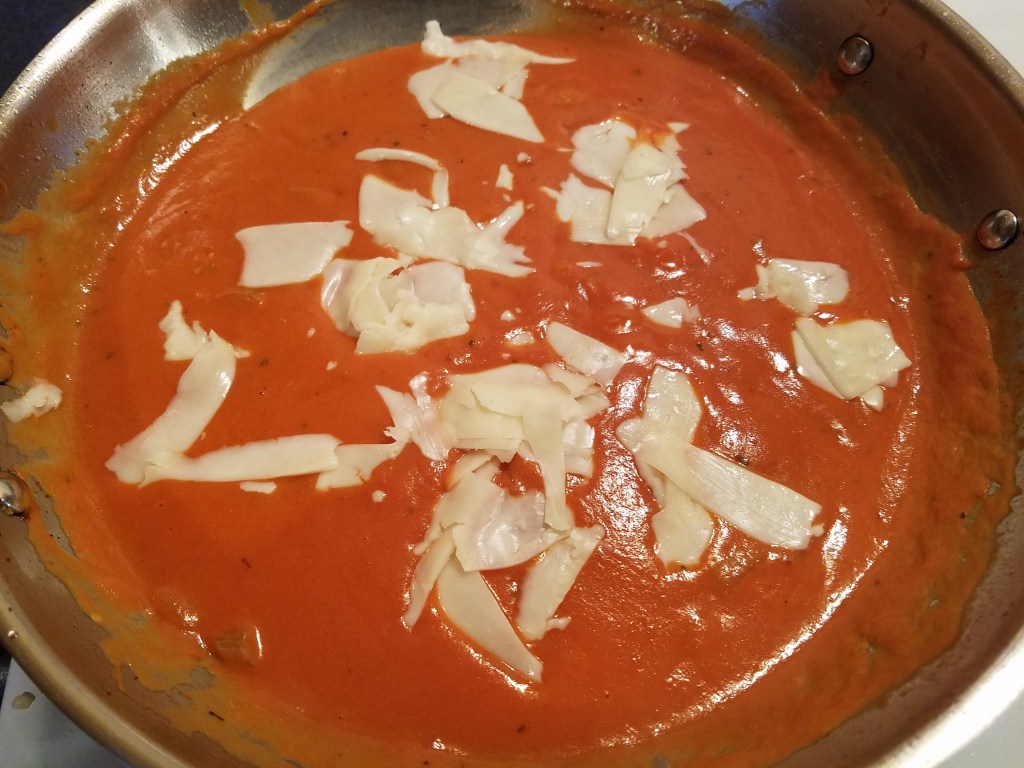
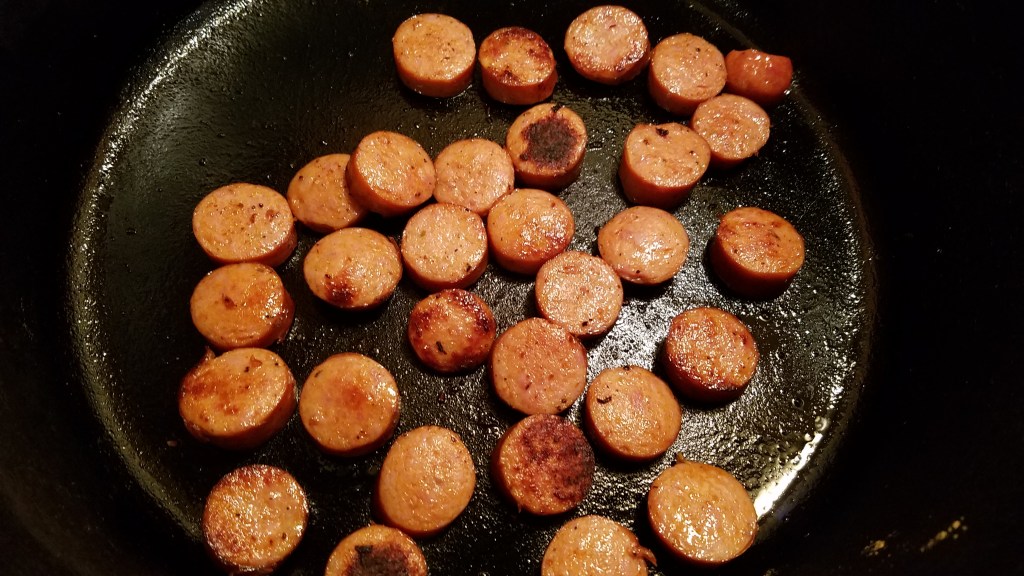
Add the sliced Andouille to the pot. Stir over medium/high heat to brown the Andouille. Remove the Andouille and set aside.
Add the chicken stock and vegetable stock to the pot and cook over high heat for 2 minutes. Return the onions and Andouille to the pot. Add the water from the steamed thyme and bay leaves. Discard the bay leaves and add the thyme to the pot. Turn the heat down to medium.
Add the vegetables 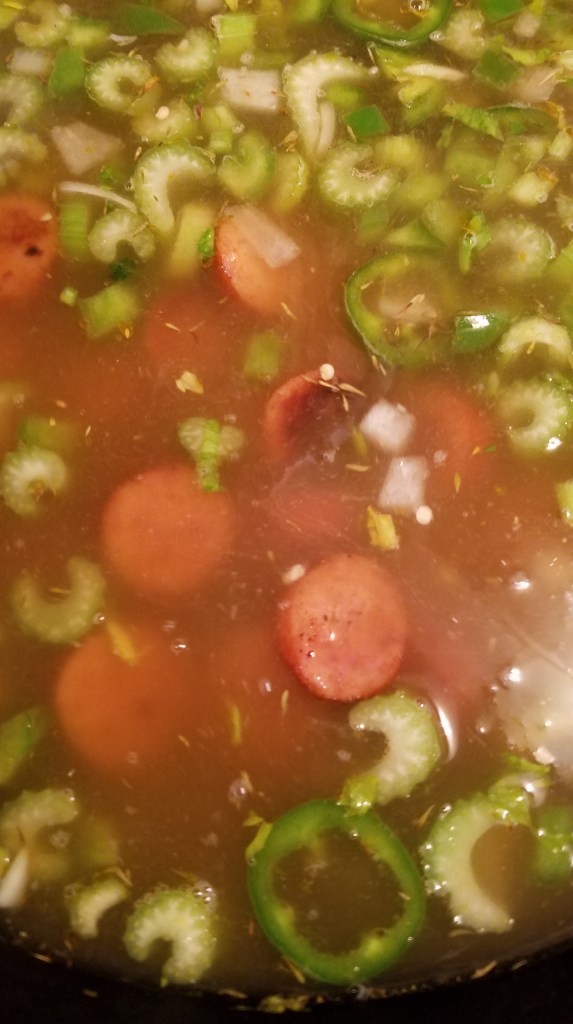
Add the Andouille 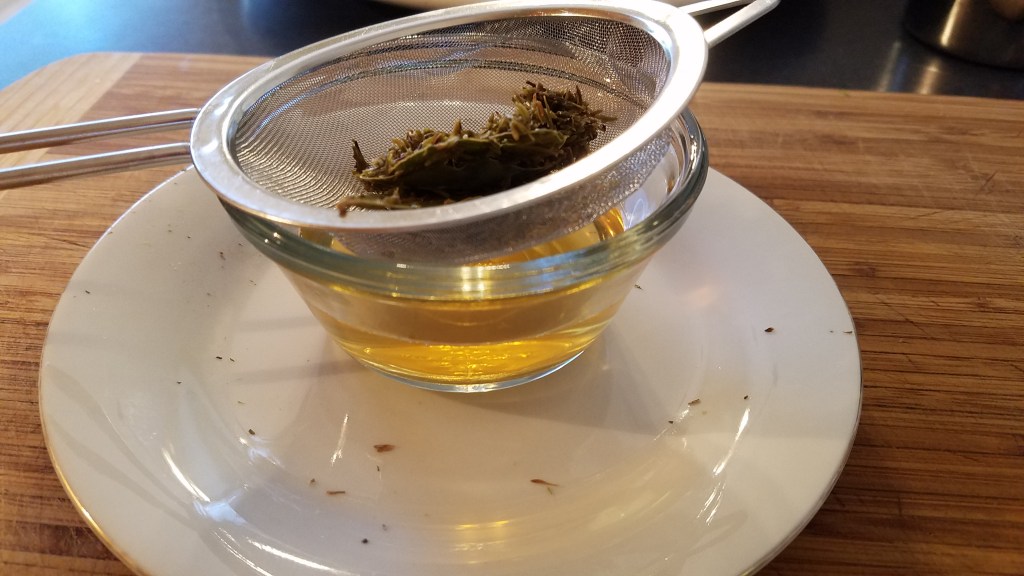
Strain the thyme and bay leaves 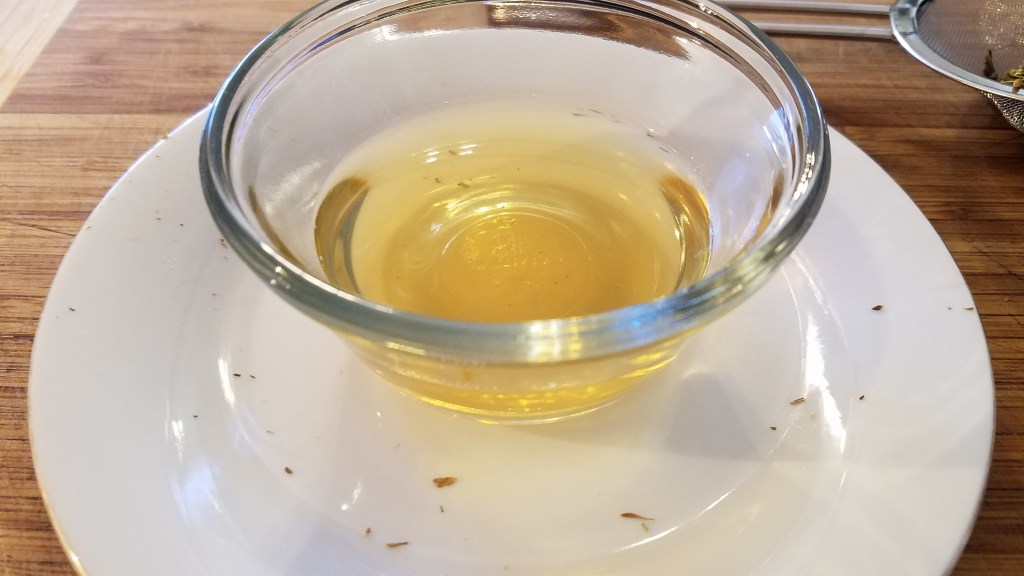
Liquid from thyme and bay leaves
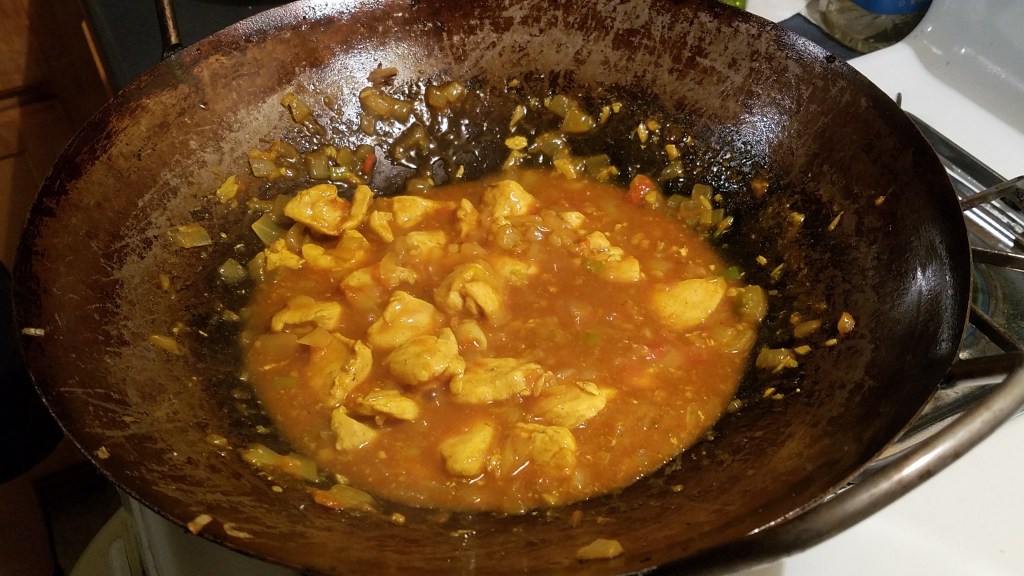
Add about half of the roux to the pot and stir, to mix.
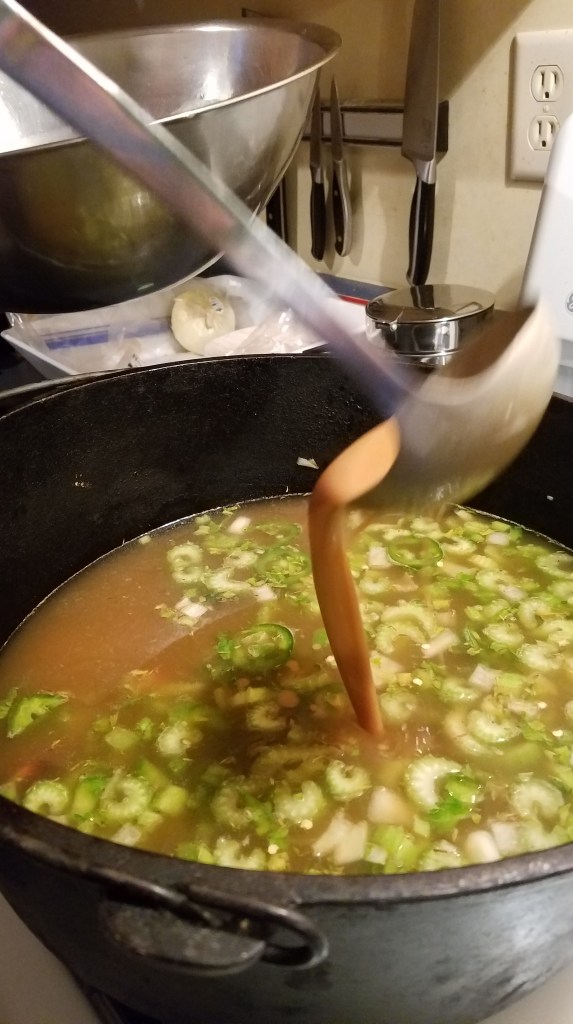
Add the okra and stir.
Add the rest of the roux and stir. The roux will thicken quickly. If it is too thick, as mine was, add some water. I added 3 cups of water. Continue stirring.
Add the crawfish meat. Stir briefly and turn the heat to low/medium.
Add the parsley and stir.
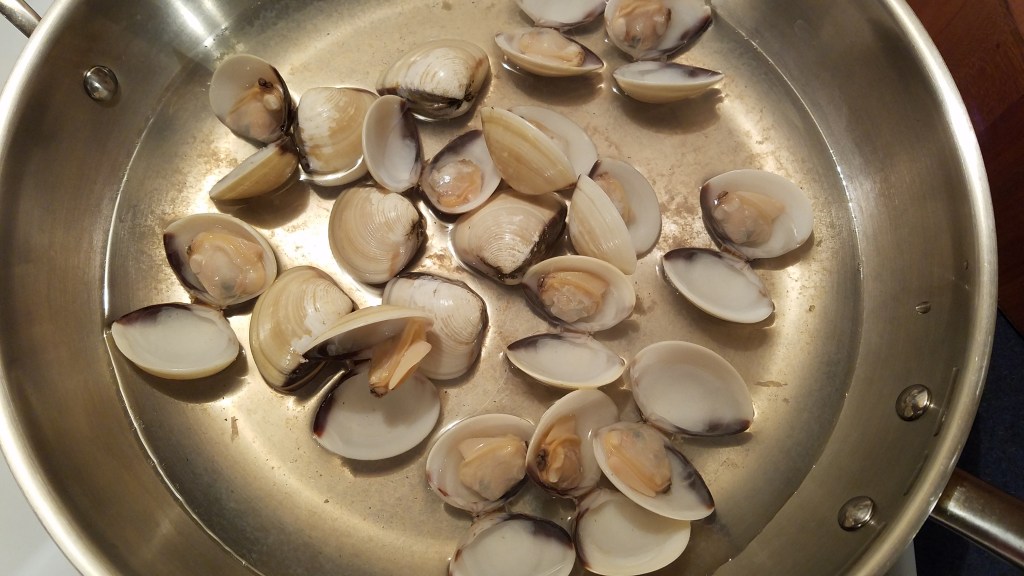
In a large skillet, add two cups of water. Set the heat to high and cover. When the water reaches a hard boil, add the white clams, turn off the heat and cover. The clams will snap open quickly. Steam the clams for about a minute and remove to a bowl. If some of the clams have not opened, bring the water back to boil and add the unopened clams. If they pop open, hooray! If they don’t open, they are doomed and will need to join the burned roux, in the trash can. (All of my clams opened – Yippee!)
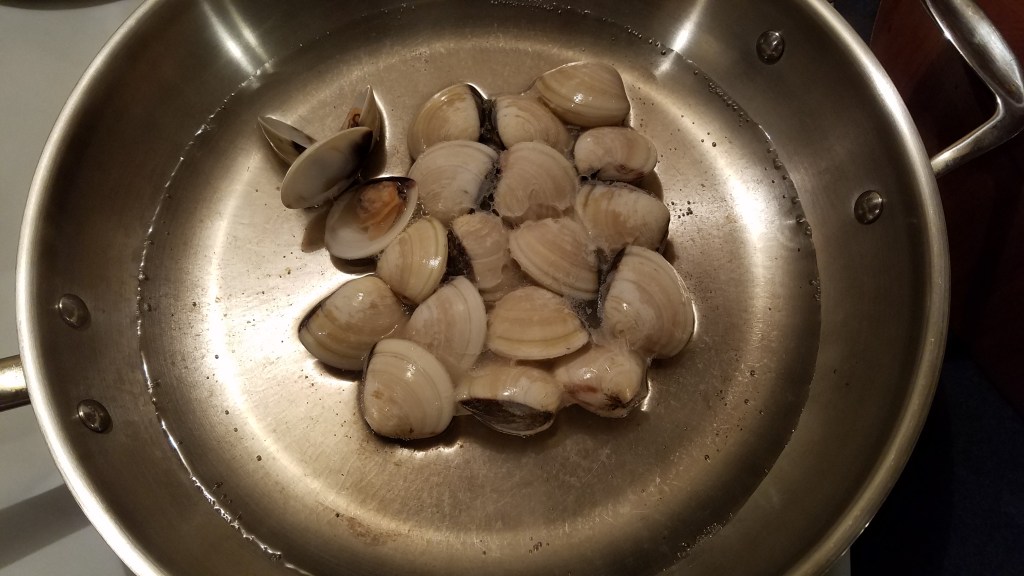

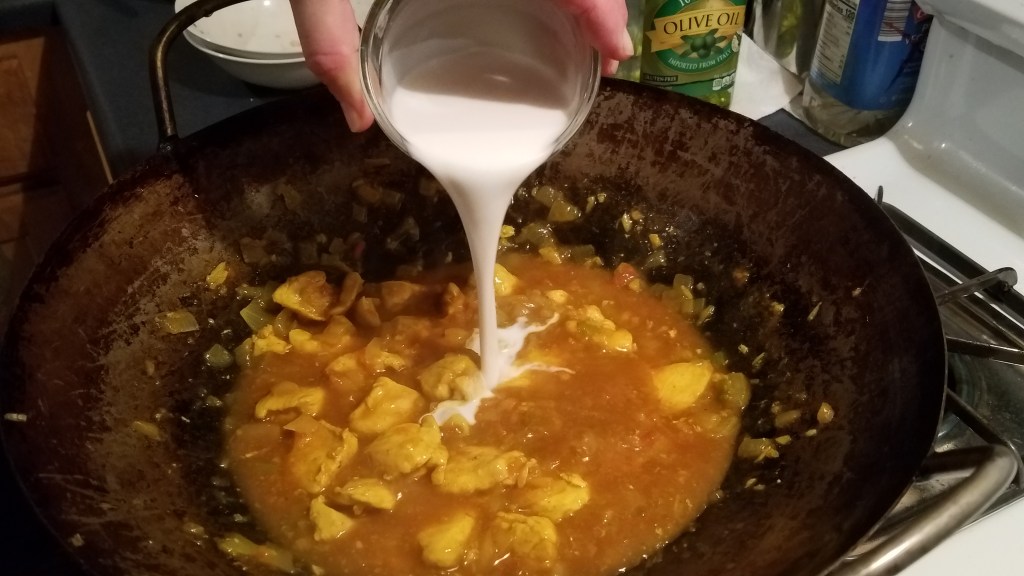
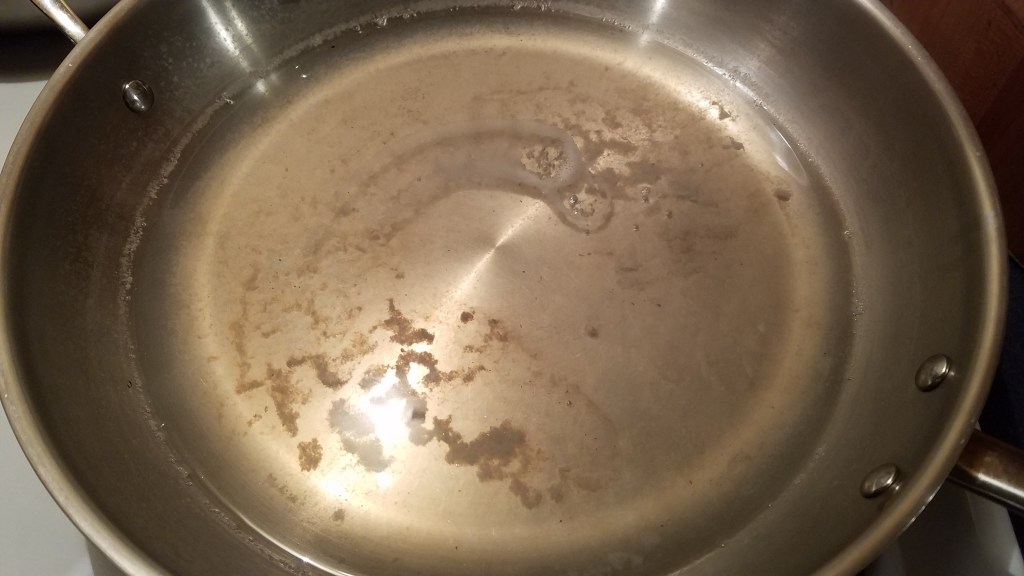
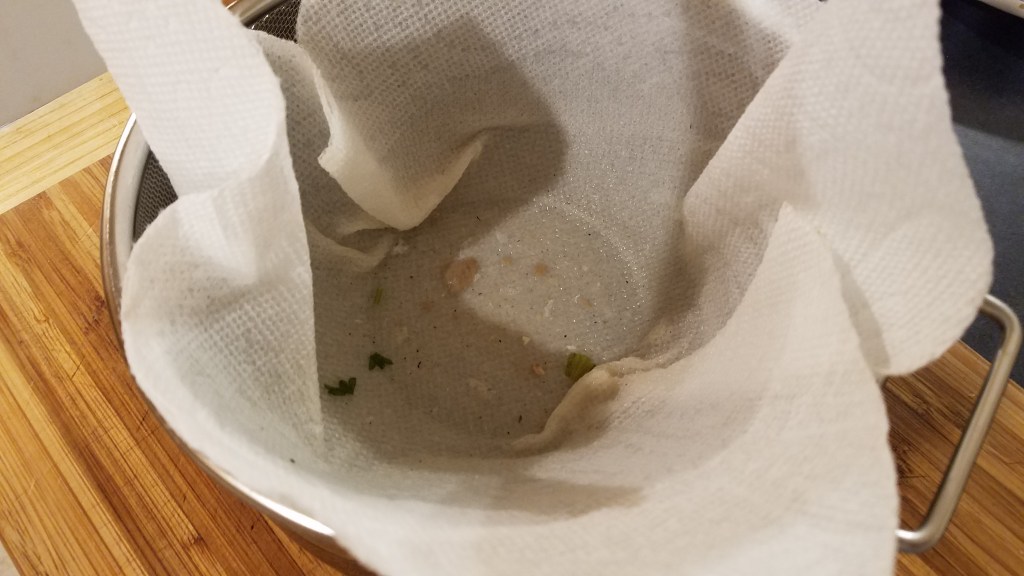
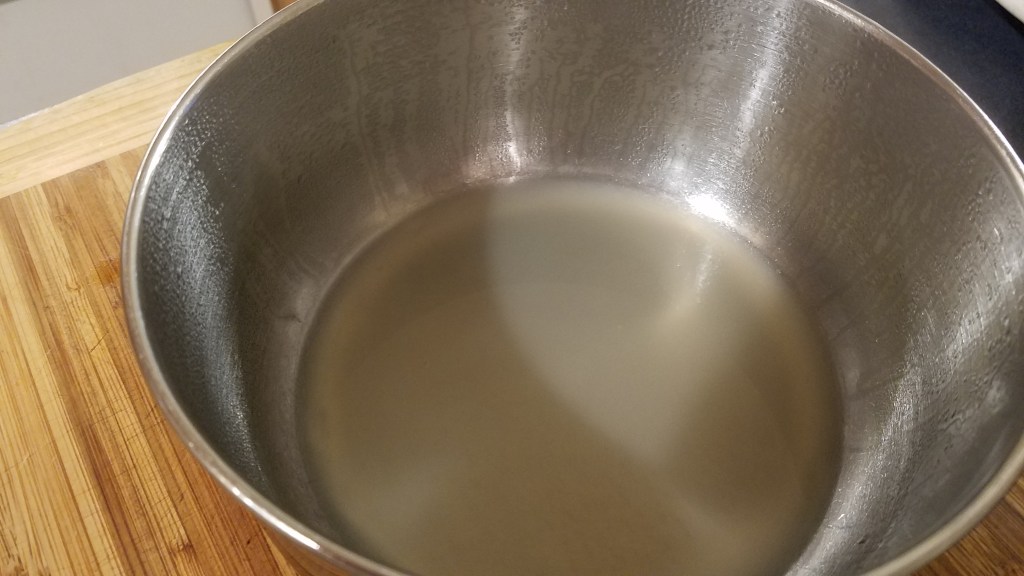
Reduce the steaming liquid from the clams to about one third. You should wind up with a milky white reduction. Strain the liquid through a paper towel and sieve to remove any sandy grit. Add the reduction to the gumbo pot.
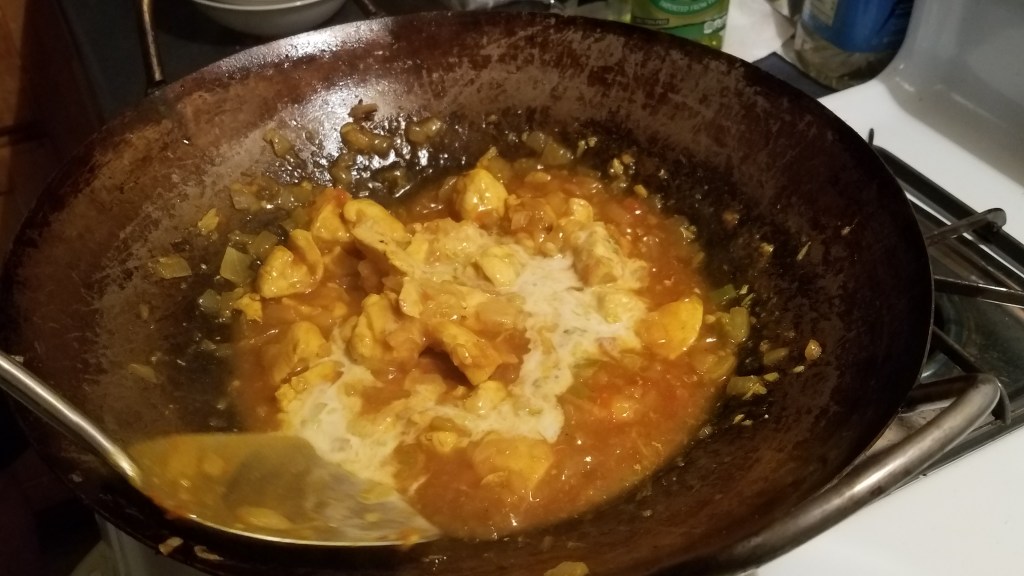
Pull the clams from the shells and add the clams to the gumbo. Discard the shells.
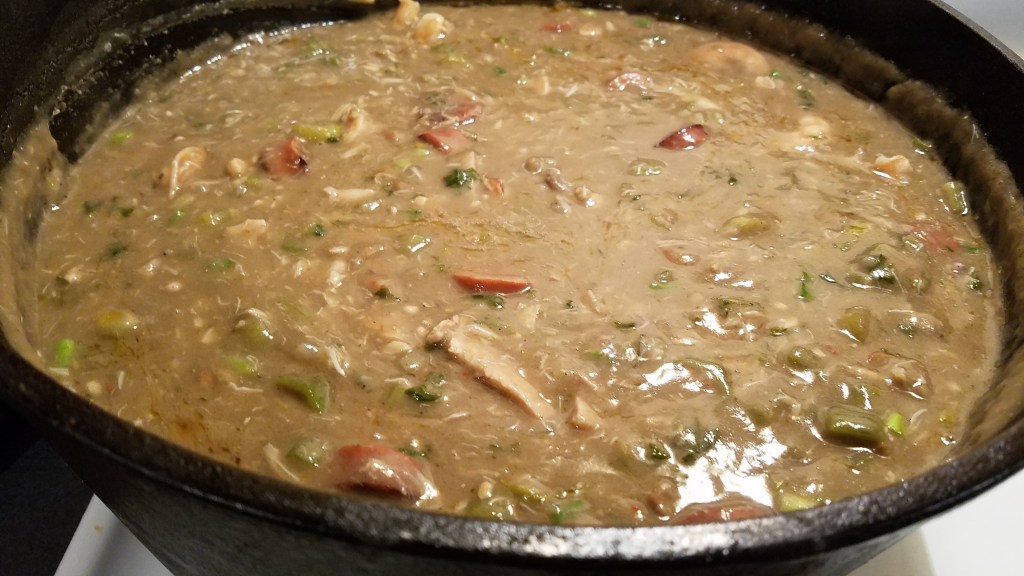
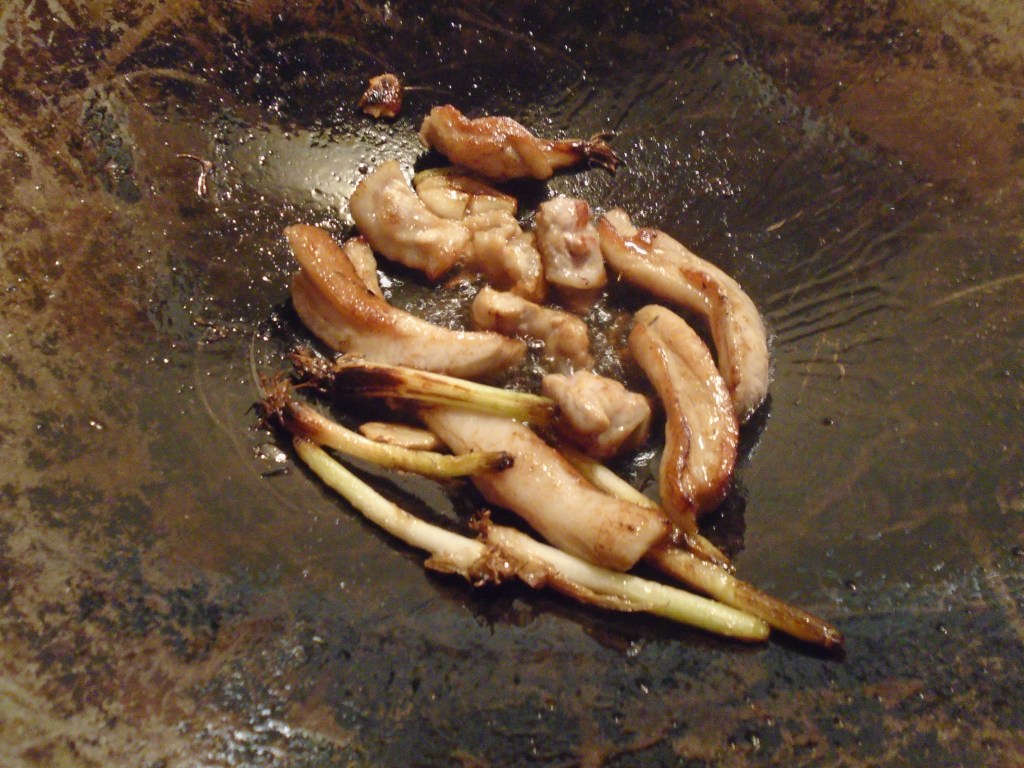
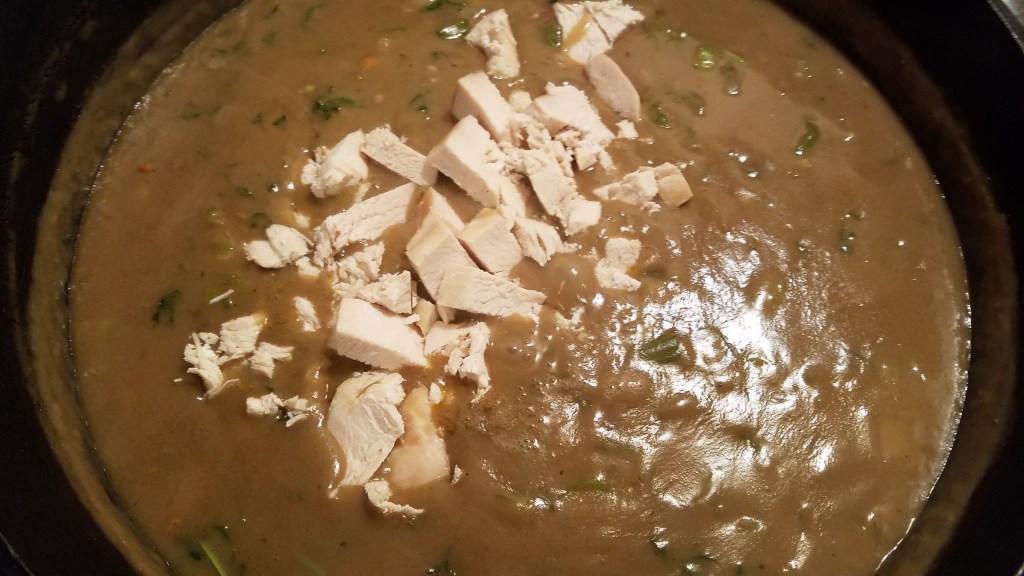
Add the chicken to the gumbo and stir.
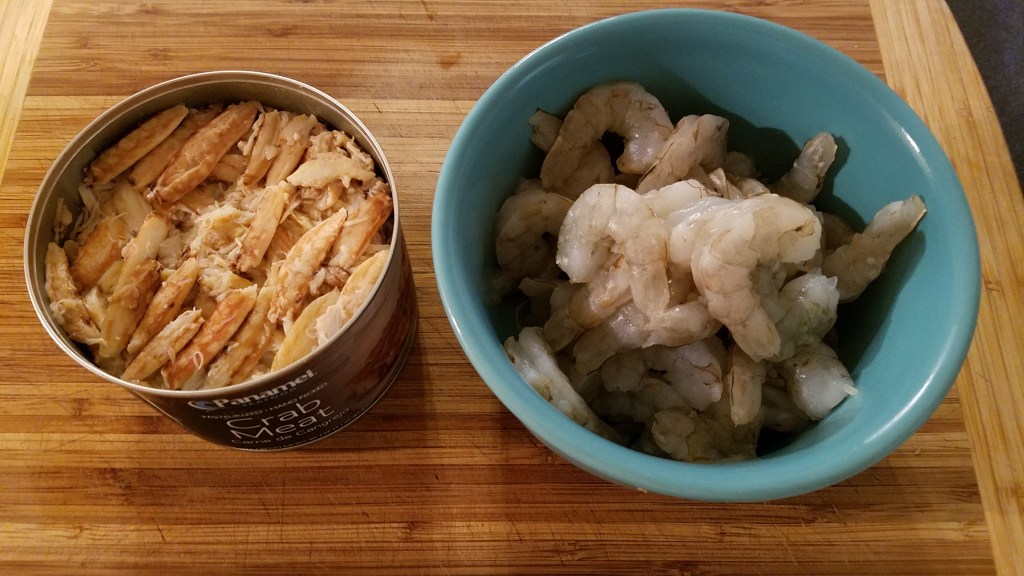
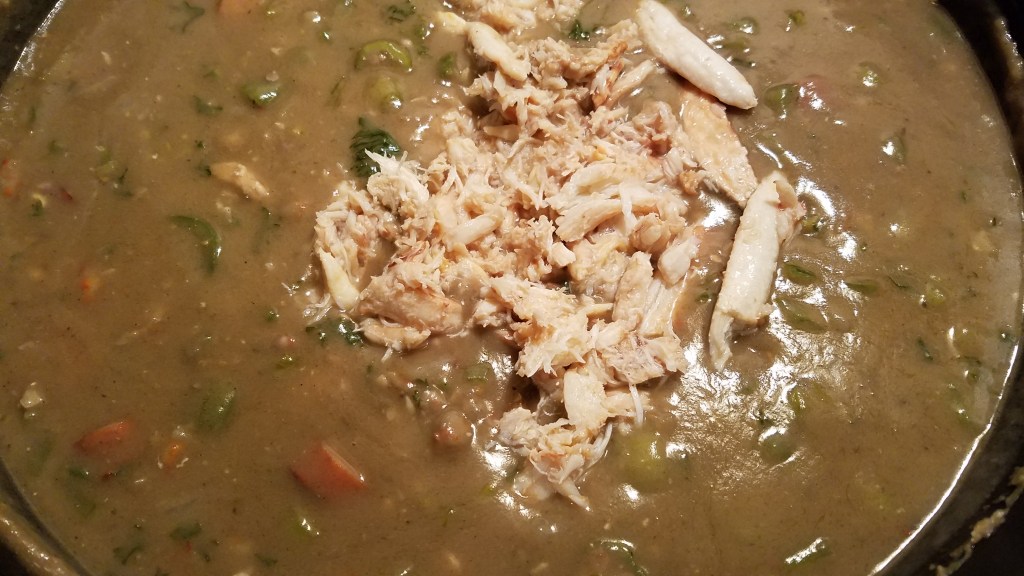
Add the crab and stir.
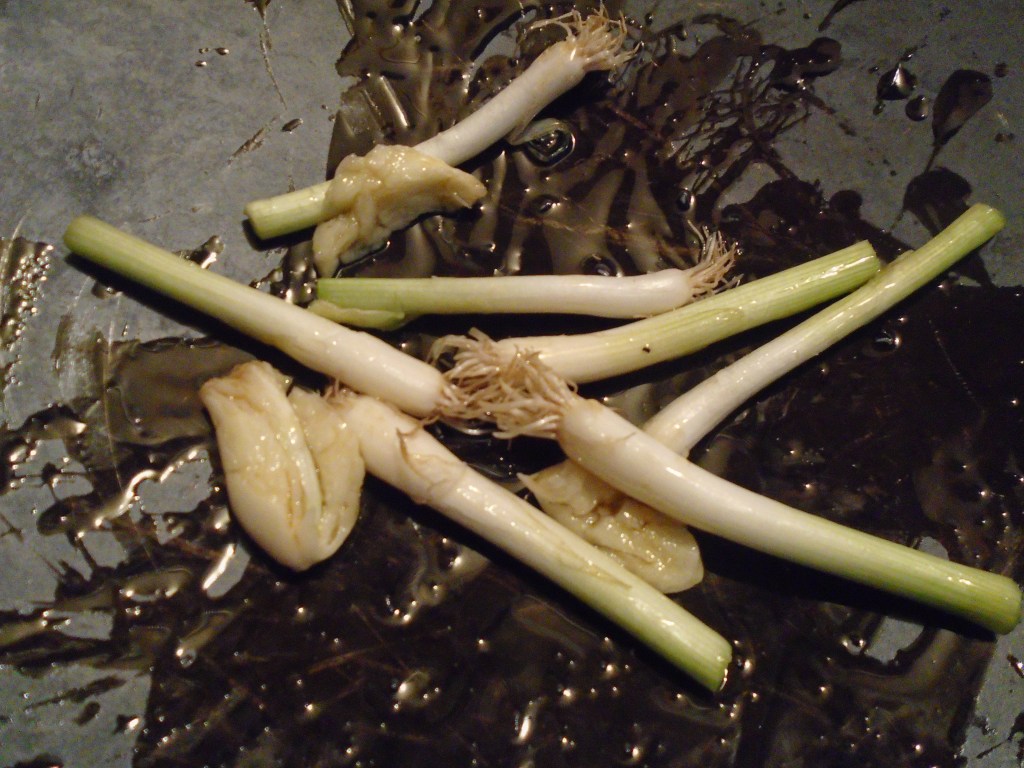
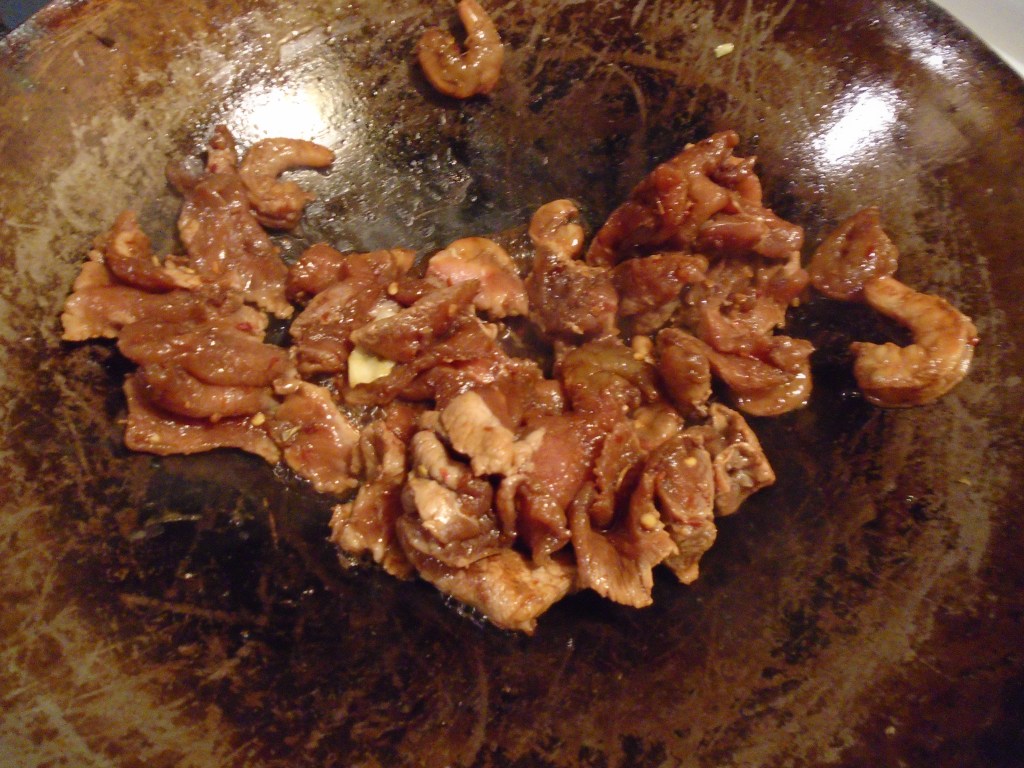
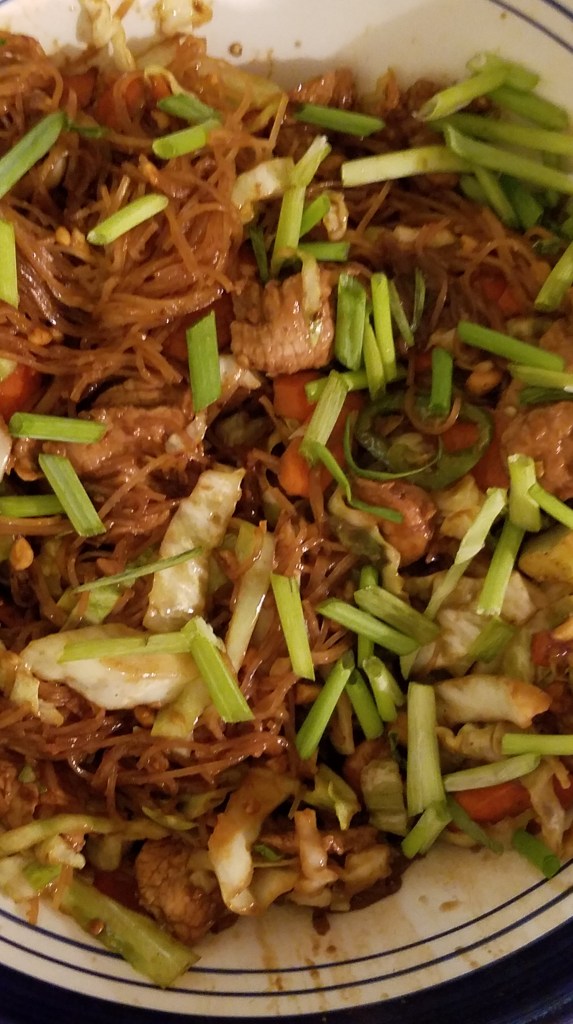
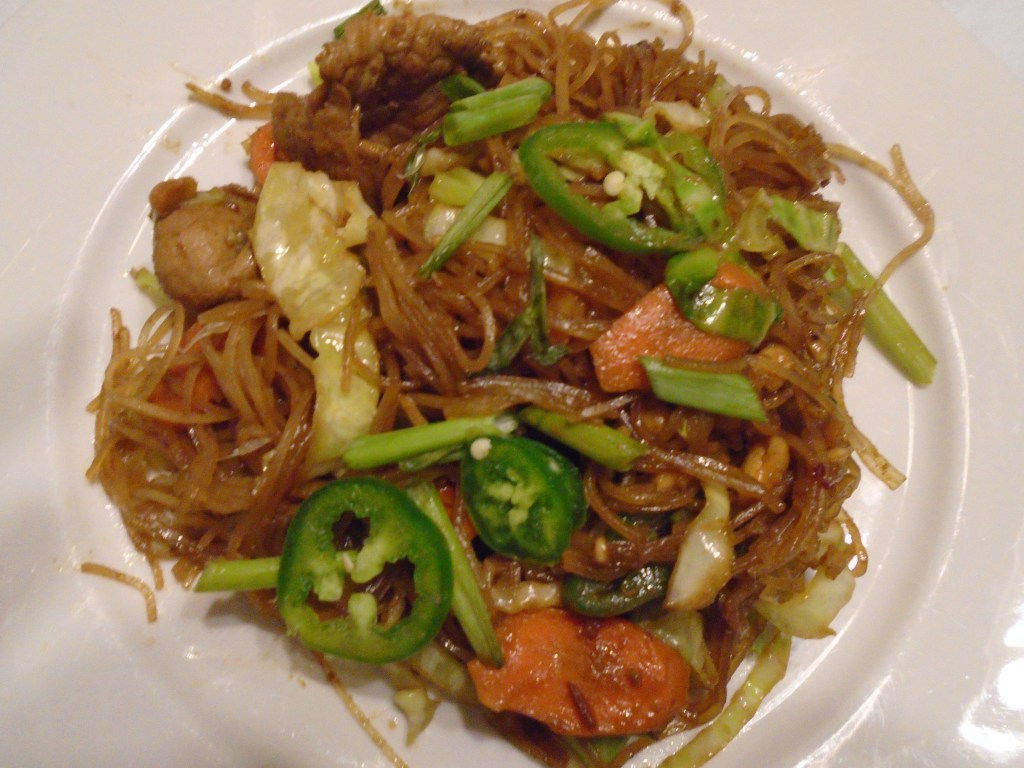
Add the shrimp and green onions to the gumbo and stir. The shrimp will cook within a couple of minutes.
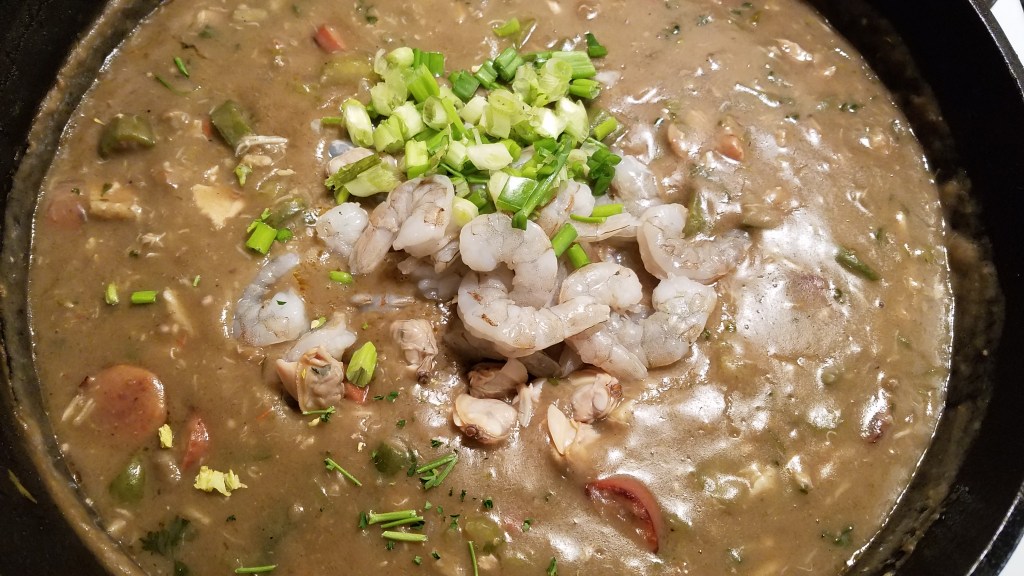
Give the gumbo a good final stir.
Serve in bowls, over warm white rice.
So, other than a few 2nd degree burns and a failed roux, everything went according to plan!