Back in the Saddle Again

I’m still reeling after last week’s epic gumbo battle so please forgive me if I babble for a bit.  For those of you who want to cut to the chase and see today’s recipe, scroll down until you find “Chicken Enchiladas”, in large, friendly letters.  But, know that you are missing all of the fun and I pity you.

When I was young, and by young I mean elementary school age, I recall that many home cooked meals featured Hamburger Helper or Cream of Mushroom soup.  I don’t know if it was because so many working parents didn’t have time to make dinner or if it was just clever marketing agents influencing those parents, but the fact was that those products found an indelible niche in American cuisine.

Campbell’s puts out about a zillion different kinds of soup but I swear I can only remember three from my childhood.  Tomato soup, Cream of Mushroom soup and Chicken Noodle soup.  Okay, to be fair, there was Chicken & Stars, but that was really just chicken soup with star shaped pasta, and it was marketed to parents of finicky and/or sick children.   

Cream of Mushroom soup took center stage, back in the 1970’s.  It found its way in many recipes.  The ubiquitous green bean casserole is a testament to the long-lasting power of Cream of Mushroom soup.  If you don’t have green bean casserole every Thanksgiving then,…well, you’re just not a real American. 

Cream of Mushroom soup, “America’s béchamel” 

Don’t get me wrong.  I’m not bashing Cream of Mushroom soup.  Cream of *Whatever* soup is instant béchamel in a can, and that’s a marvelous thing.

I remember having homemade chicken enchiladas for the first time.  I was 17 years old and having fun, hanging out with a friend.  His mother made us chicken enchiladas with Cream of Mushroom soup and canned green chiles.  Canned green chiles, back then, didn’t have clever graphics printed on the label, showing a thermometer indicating the “heat” of the chiles.  Canned green chiles were just that…canned green chiles.  They were hot and spicy, and that’s all you needed to know.  I loved those enchiladas. Thank you and bless you, Ginger!

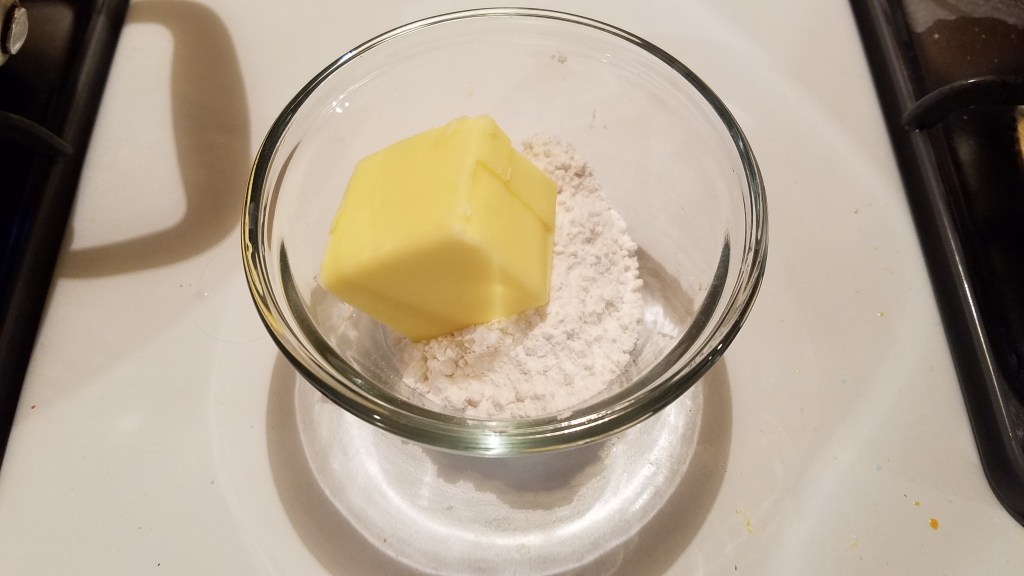
But, when I discovered that I could make my own thickener from scratch, I felt a sudden rush, indeed, I felt a sense of empowerment!  I realized that I could thicken sauces or soups and have total control of flavors and textures!  A pad or two of butter and a spoonful or two of flour was the key that opened the door to an endless array of sauces.

For this recipe I used homemade green sauce and I made a homemade sauce from a simple roux and chicken stock.  If you want to use canned green chiles and cream of mushroom soup, that’s fine with me.  Just make sure you do it with love.

Chicken Enchiladas
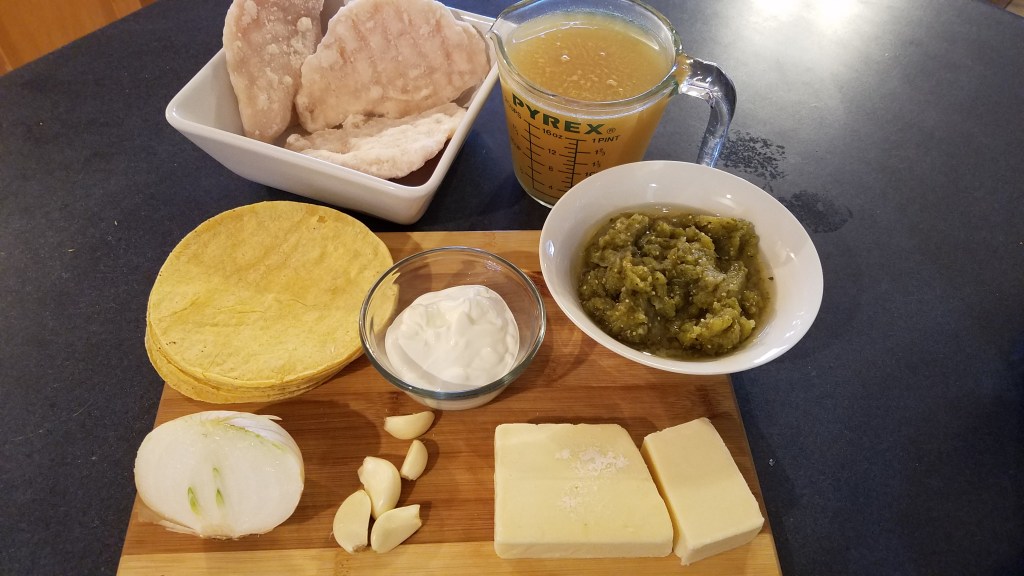
Ingredients:

3 chicken breasts (mine started out frozen)

2 ½ cups chicken stock

4 or 5 garlic cloves

½ onion, chopped

10 to 12 oz green chile sauce

½ cup sour cream

8 oz Monterrey Jack cheese, shredded

2 Tbs butter

2 Tbs flour

10 corn tortillas

¼ cup cooking oil

Directions:

Boil the chicken in water until the chicken is fork tender.  Remove and allow to cool to room temperature.

While the chicken simmers, puree ½ cup chicken stock, green sauce and garlic cloves in a blender. 

Add the pureed sauce to a small skillet and simmer on low heat, to mellow the garlic, for 15 minutes.

Add the chopped onions to the skillet and simmer for another 15 minutes. Turn the heat off and allow it to cool to room temperature.

Add ¼ cup cooking oil to pan and set heat to low.  Soften each of the tortillas in the oil for a few seconds and remove to a plate.

Wipe the skillet clean.  Start a roux by adding the butter to the pan and set the heat to medium/low.  Add the flour and whisk until smooth.

Once the roux is smooth, add the remaining chicken stock.  Set heat to medium/high and whisk until the sauce has thickened. 
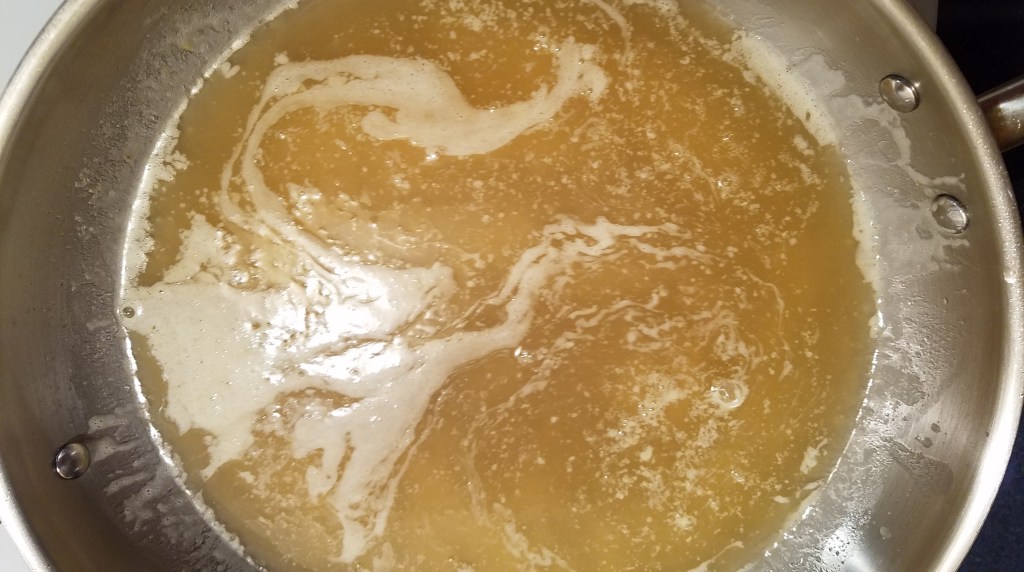
Add the green chile mixture and whisk for a minute.

Pour about one cup of the sauce into a bowl.  Leave the remaining sauce in the skillet and turn the heat off. 

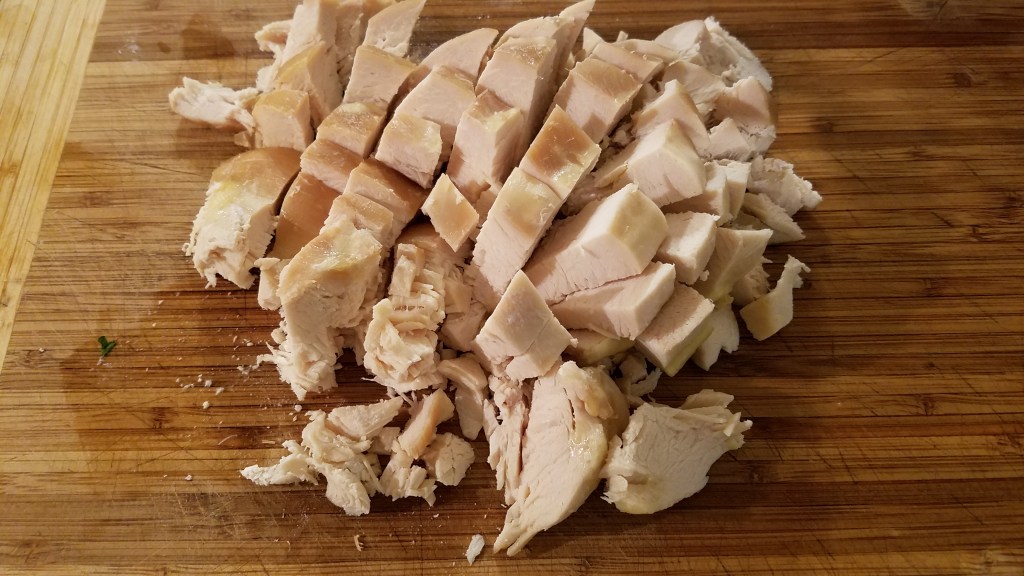
Lay the cooked chicken on a clean work surface and smash with the broad side of a knife.  The chicken will break and fan out, making it easy to shred.  Shred the chicken by hand.
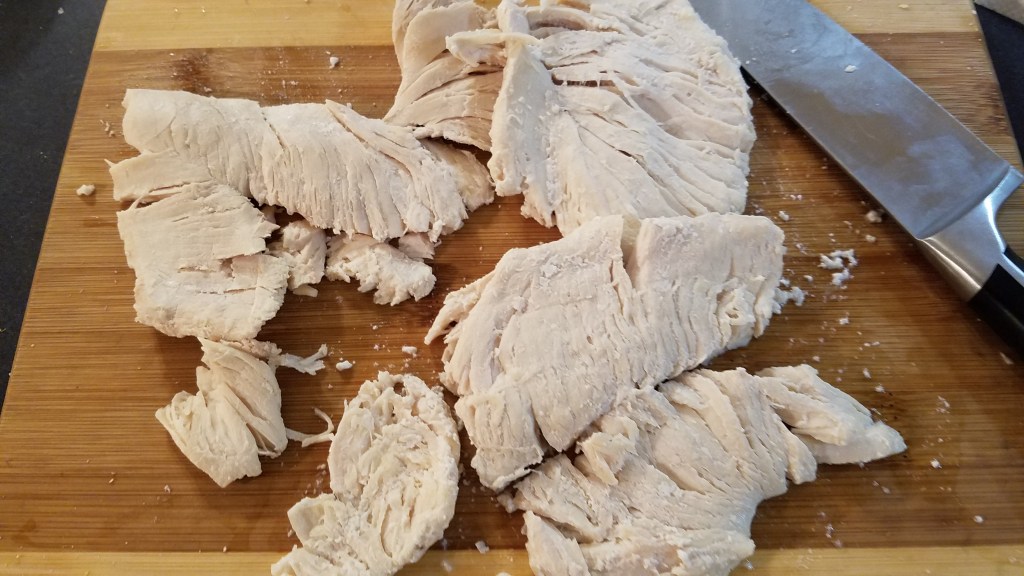
Add the chicken to the cheese and mix by hand.

Lay the tortillas on a work surface and add the chicken and cheese.  Roll the enchiladas and place in an oven-proof skillet, containing some of the sauce.  Once all of the enchiladas are in the skillet, pour the remaining sauce over them.

Bake in a 350° oven for 20 to 25 minutes.

Serve warm with rice or fried potatoes and guacamole salad.

Make-Your-Own-Dinner-Night (Yay!)

Every now and then the planets align (or maybe they un-align, I don’t know,) and we declare that it’s “make  your own dinner” night.  Everyone in my family is capable of fending for themselves so nobody goes hungry. 

I stopped off at the grocery store this evening, after work, and was amazed to see that they had practically sold out of lettuce.  I saw Rosemarie’s Butter Lettuce Chicken Wraps recipe earlier today and planned on making that tonight but, the last few heads of lettuce in the produce area were so pathetic and wilted that I was forced to change plans. 

I was a little heart-broken but I recovered quickly.  I brought out the wok and got busy.  The whole thing took about one hour.  If I was on my A-game, it might have only taken 45 minutes.  This recipe could serve up to four but I ate two portions!  The rest is sitting in the fridge, ready for me to take to work tomorrow, for lunch.

Sorry, no pictures this time.  I was hungry and I didn’t think that this was going to be worthy of posting.  I was so wrong.  This dish exemplifies everything I love about southeastern Asian cuisine.  It’s a conglomeration of several cuisines…Thai, Vietnamese, Chinese…

Ingredients:

4 chicken thighs

1/3 cup peanut butter

2 Tbs soy sauce

1 ½ Tbs Hoisin sauce

1 tsp Sriracha sauce

3 Tbs sambal garlic chili sauce

3 Tbs cornstarch

½ tsp sesame oil

1 ½ Tbs vegetable oil

2 Tbs fresh ginger, thinly sliced and rough chopped

½ onion, julienne sliced

½ bell pepper, sliced in ¼” strips

1 jalapeño, sliced in rings

½ cup peanuts

1 cup Vietnamese glass noodles (very thin rice noodles)

Directions:

Remove the skin from the chicken thighs and debone.  Cut the chicken into tiny pieces.

Add the chicken to a large bowl.

Add the peanut butter, soy sauce, Sriracha sauce, Hoisin sauce, sambal chili garlic sauce and cornstarch to the bowl.  Mix well and set aside to marinate for 15 minutes.

Boil 4 cups of water in a pot.  Add the glass noodles and stir.  Turn the heat off and wait for the noodles to become soft.  Strain the noodles and shock with cold water.  Set the noodles aside.

Heat a wok at medium/high heat.  Add the sesame oil and vegetable oil.  Add the ginger, onion, bell pepper and jalapeño.  Stir fry a few minutes until the onions and peppers soften.  Remove everything to a bowl.

Add the marinated chicken to the wok.  Stir-fry at high heat for 3 to 4 minutes.  Add a splash of soy sauce to deglaze and stir for another minute.

Add the peanuts and glass noodles.  Turn the heat off and stir to coat everything with the sauce.

Turn out to a serving bowl. 

Top with a little more sambal garlic sauce, (optional).  Serve warm and enjoy the peace and quiet!

Gumbo (Part II: The Intimidator)

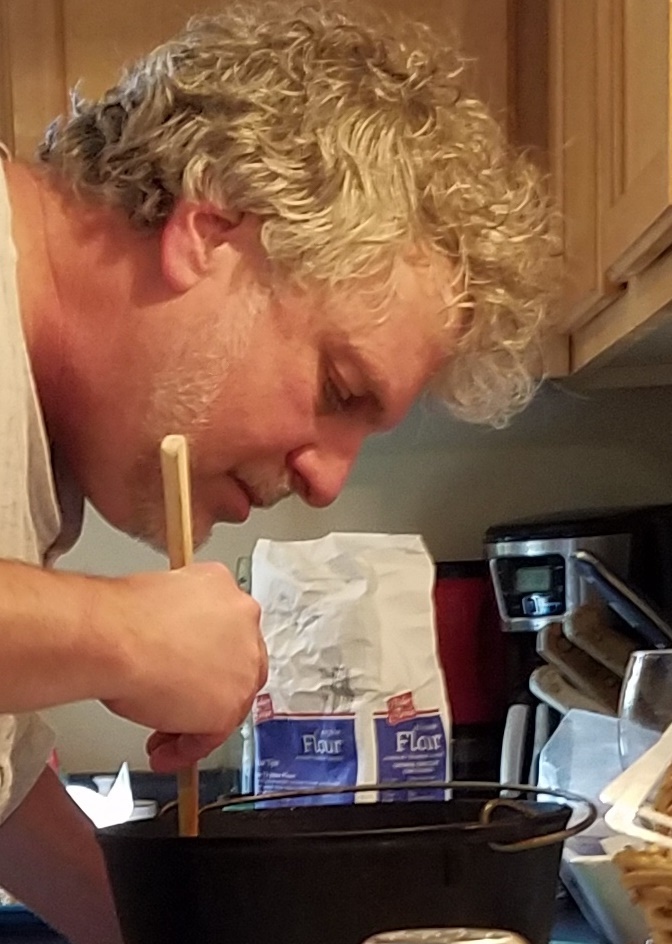
At the heart of every good gumbo lies a good roux. 

I probably make 3 or 4 roux every week but they are of the small variety.  You know, two tablespoons of butter, two tablespoons of flour added to two cups of stock or broth.  A small roux takes just a few minutes to prepare and it usually come out just fine.

I have been telling myself that I make gumbo every year or two.  I think that’s because I really enjoy gumbo.  The truth of the matter is that I have probably only made it four times, (now five times).  As much as I love a good hot bowl of gumbo, I dread making the roux.  There are very few things in life that can vex me like a making a big batch of roux. 

Making roux for a gumbo is not easy; at least it’s not easy for me.  The volume of the roux needed is much larger than my normal roux.  Additionally, the roux needs to cook longer to achieve a deep, rich lustrous color and flavor.  Lastly, pushing the cooking process too far results in a burnt roux, which I am unfortunately prone to doing.  If a roux burns it must be tossed and another one must be made.  Nothing good ever happens by attempting to save a burnt roux. 

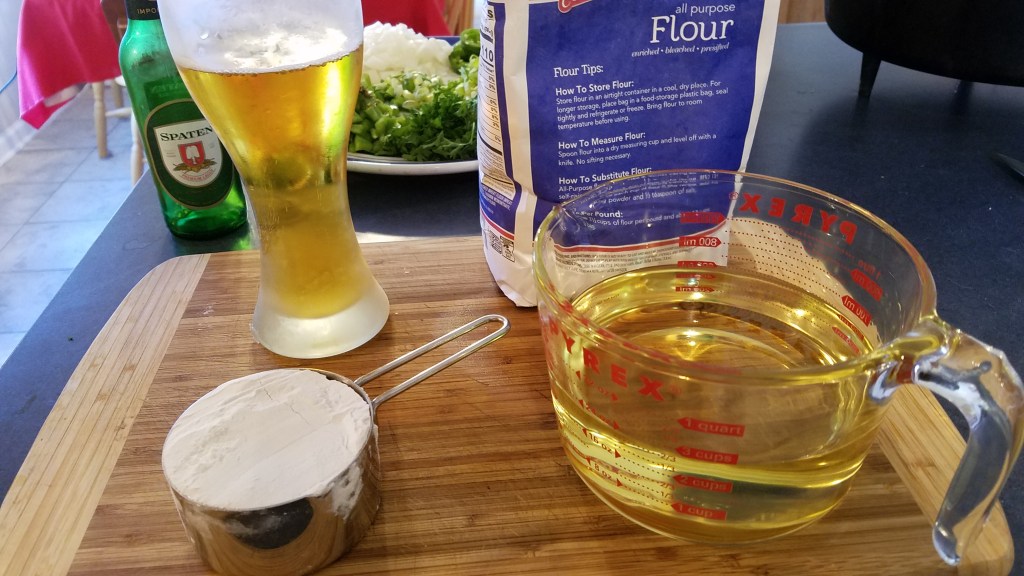
The good German lager is for me, not the roux!

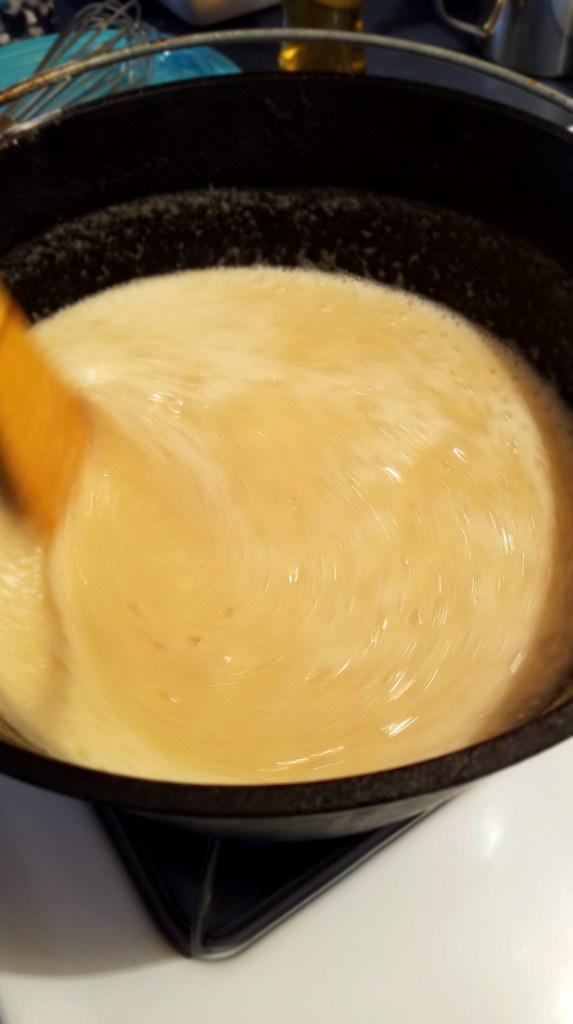
Once you start a roux you can’t leave it alone until it has finished.  A roux must be stirred constantly to prevent the flour from burning.  Even the tiniest amount of burnt flour will affect the entire roux.
My step-by-step method for making a roux:

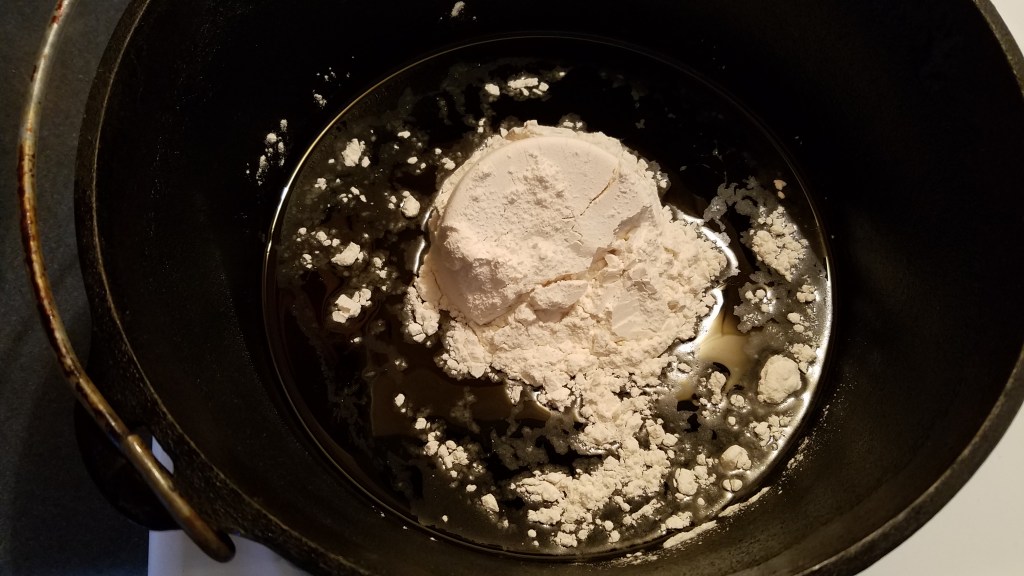
1) Add equal amounts of oil and flour to a Dutch oven (over low/medium heat).

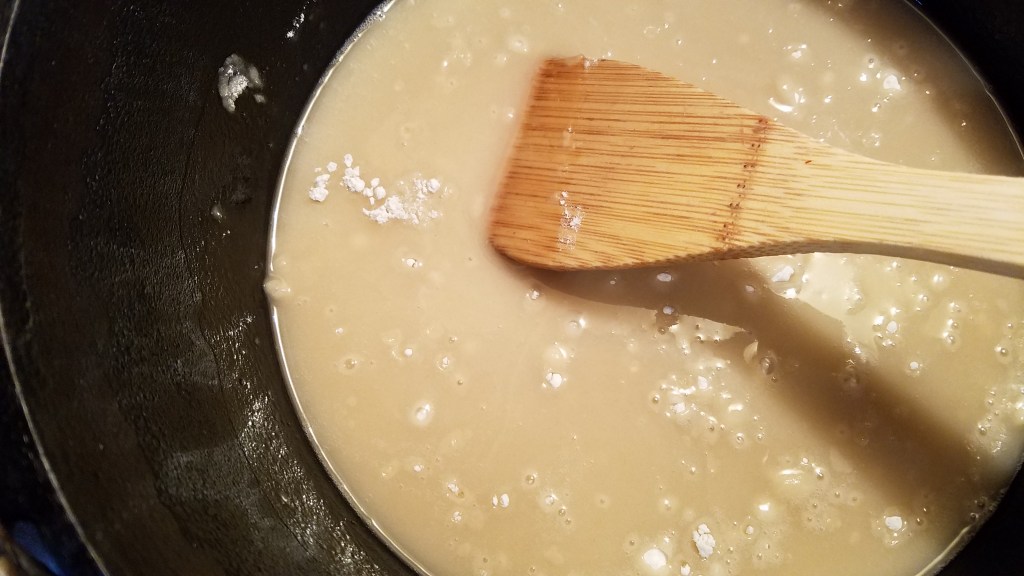
2) Stir continuously, making sure to scrape the bottom and edges of the pot as you stir.

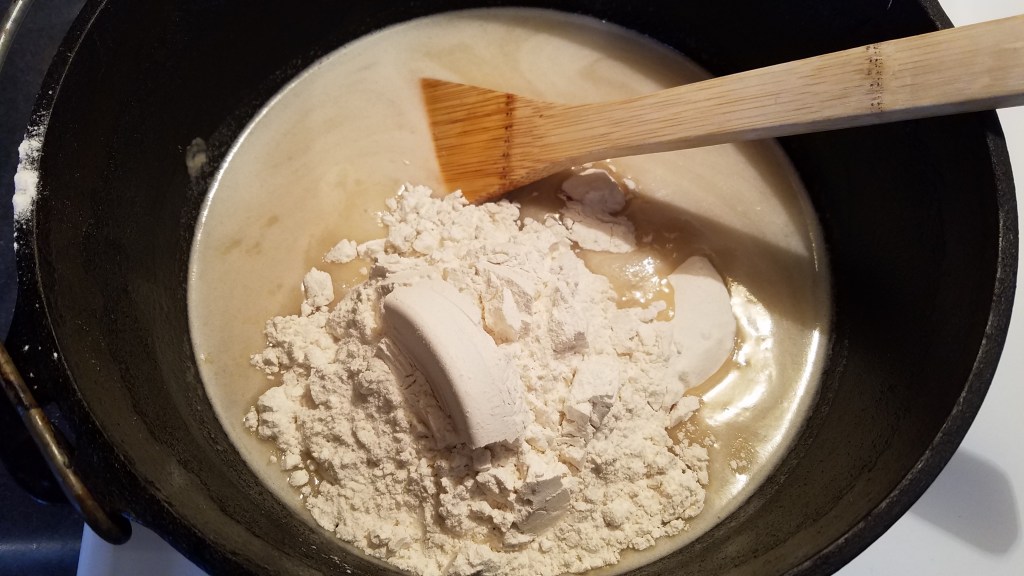
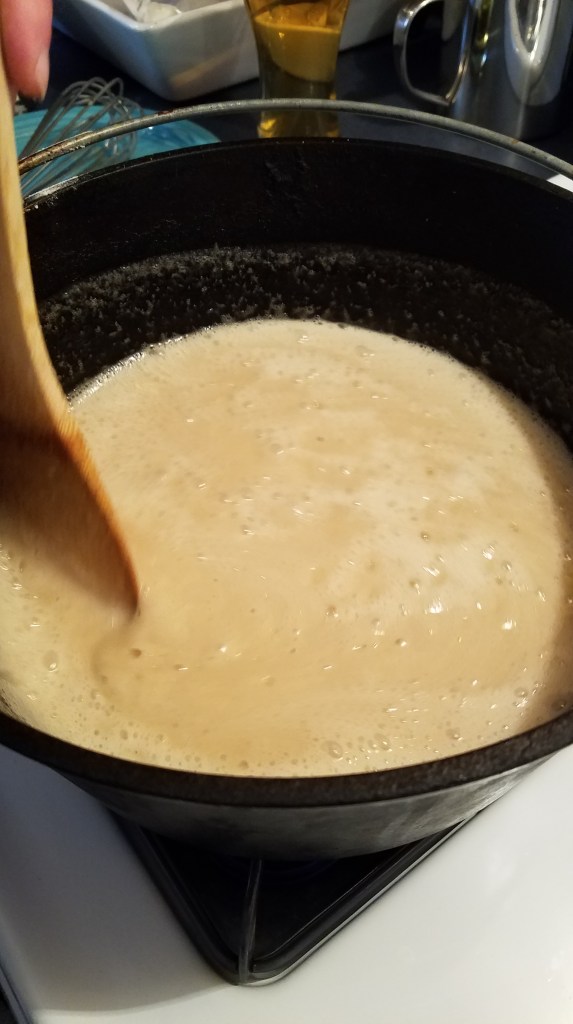
3) Keep stirring while the roux goes from blonde, to tan, to mahogany, to chocolate brown.

4) Taste a sample of the roux, after allowing it to sufficiently cool.

5) Detect a hint of burnt flavor, throw away the roux and wipe the Dutch oven clean.

6) Repeat.

Three more important pieces of advice that are often overlooked:

1) Use the bathroom before starting the roux.  You won’t be able to break away from the action until the roux is finished (maybe 45 minutes to an hour).

2) Pour yourself a drink and make sure that it’s within arm’s reach as you stir.

3) Keep a small aloe vera plant in the kitchen, close to the stove, in case of burns.

As for the aloe vera, it’s really good for minor burns.  Roux is jokingly referred to as Cajun Napalm.  Even a tiny drop of the hot roux can cause your skin to blister.  I got two blisters from this batch.  I would have had three blisters but, when I got hit for the third time, I quickly pinched off the tip of an aloe leaf and rubbed it on the burn. 

Look closely and you’ll see I removed a tip from a leaf, at the right.
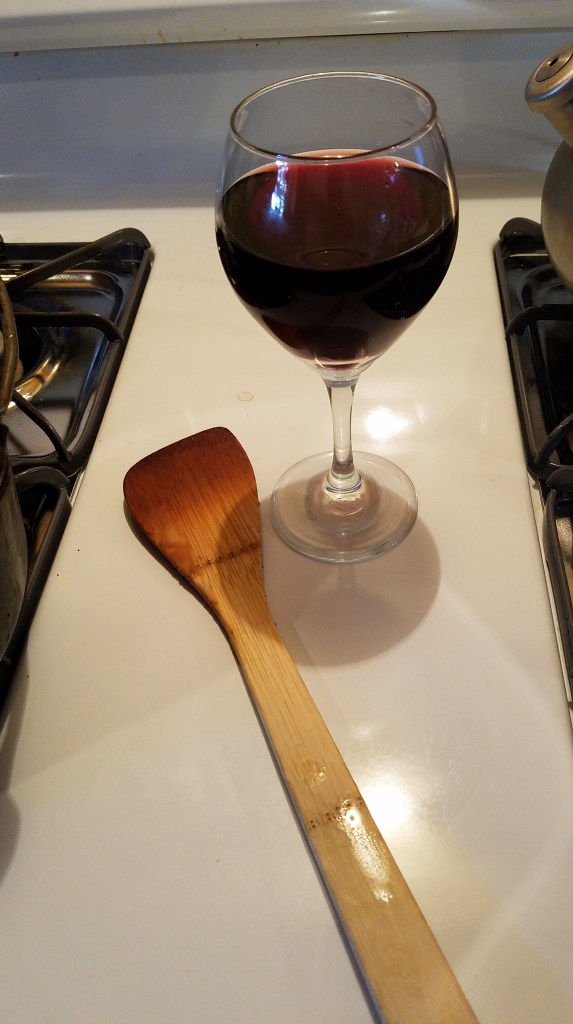
My drink of choice for the 1st roux was Spaten Lager. A nice Cabernet Sauvignon got me through the 2nd roux. Note the flat ended spatula…this is essential!

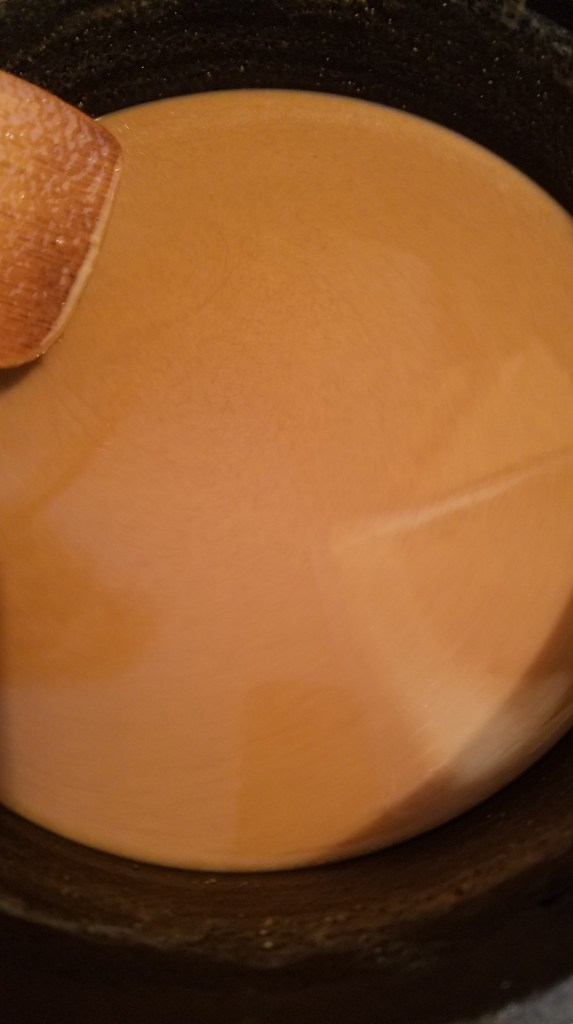
As I mentioned, I burned the first roux and had to start another one.  I cooked the roux over low heat both times. 

For the first attempt I used 3 cups canola oil and 3 cups flour.  I cooked the roux for 67 minutes and it reached a near-perfect chocolate brown color, but the roux had a slight burnt flavor. 

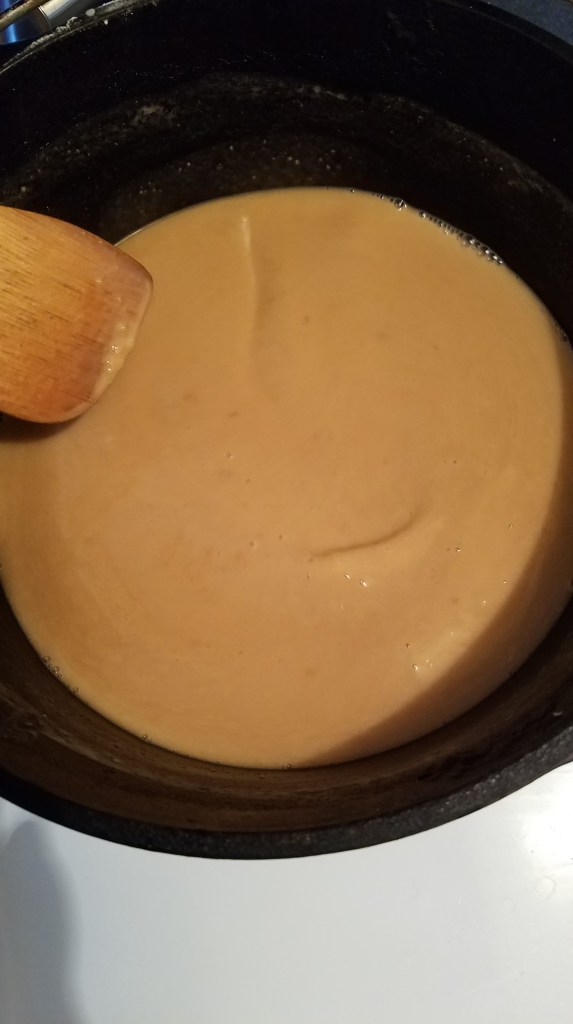
For the second attempt I decided to use 2 cups canola oil, 1 cup lard and 3 cups flour.  I cooked the second roux for 50 minutes. I brought the roux to a dark tan and shut the heat down before it turned to mahogany.  I didn’t want to run the risk of the burning the roux a second time!

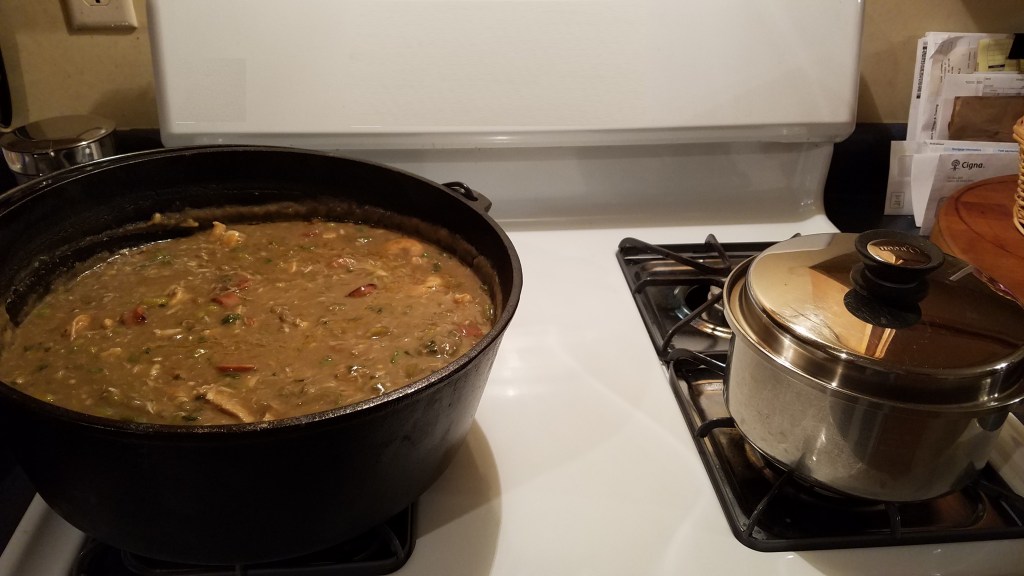
This recipe makes about 2 gallons of gumbo (25 to 30 servings).

Ingredients:

1 lb medium sized shrimp, shell on and deveined

1 1/2 lbs cooked chicken breast, cut into 1/2″ cubes

3 cups canola oil

3 cups all-purpose flour

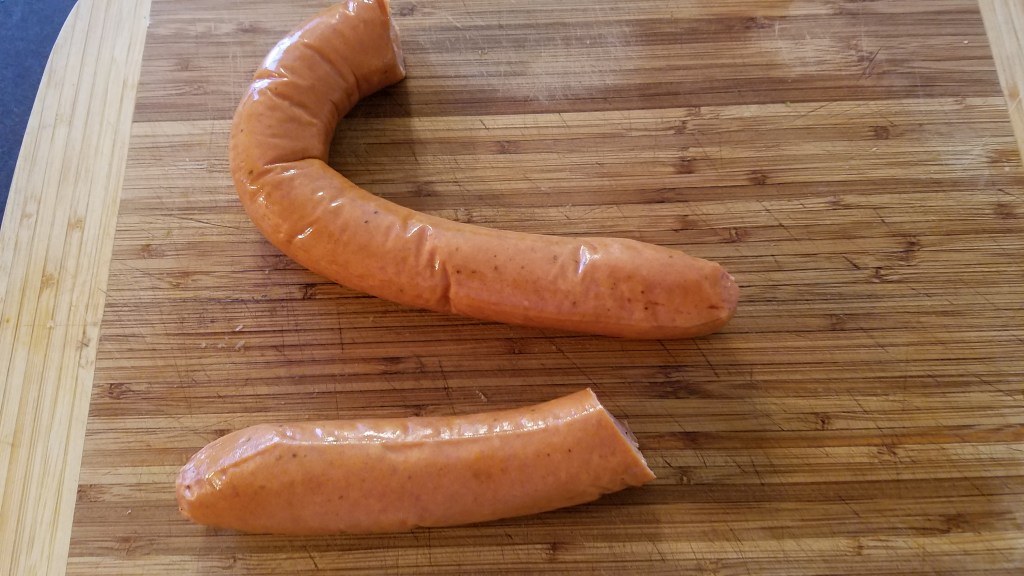
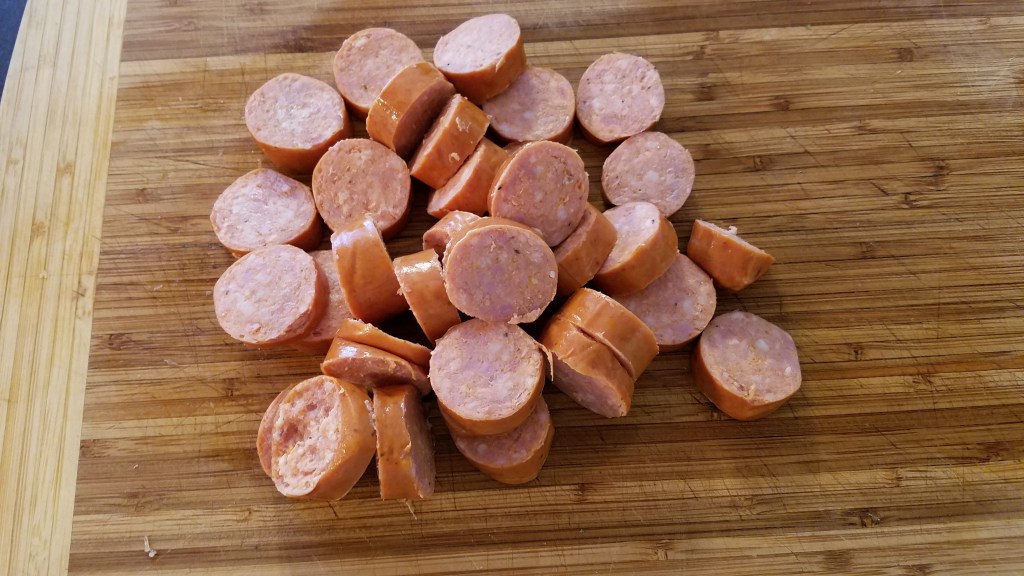
1 lb Andouille, cut into 1/2″ thick slices

1 large onion, chopped

1 bell pepper, chopped

1 large jalapeño, seeded and sliced

2 cups celery, chopped

1 whole head of garlic, minced

1 1/2 cups parsley, chopped

1 Tbs dried thyme

1 Tbs bay leaves

32 oz chicken stock

32 oz vegetable stock

1/2 cup shrimp stock reduction

12 oz okra, chopped

1 lb. crawfish tail meat

1 lb. crabmeat

1/2 cup clam stock reduction

12 oz white clams (about 12 clams)

Lots and lots of hot, steamed white rice

Directions:

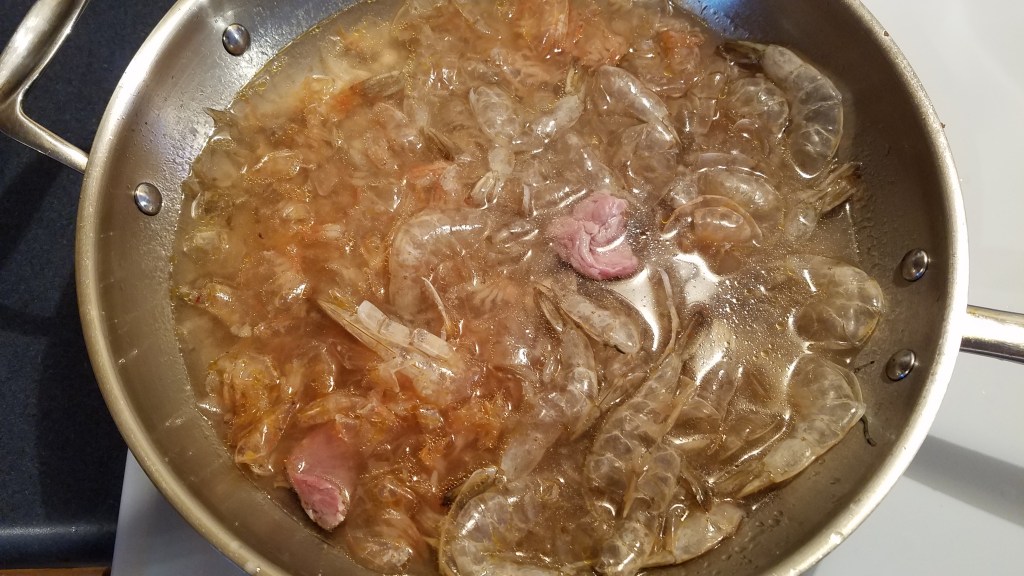
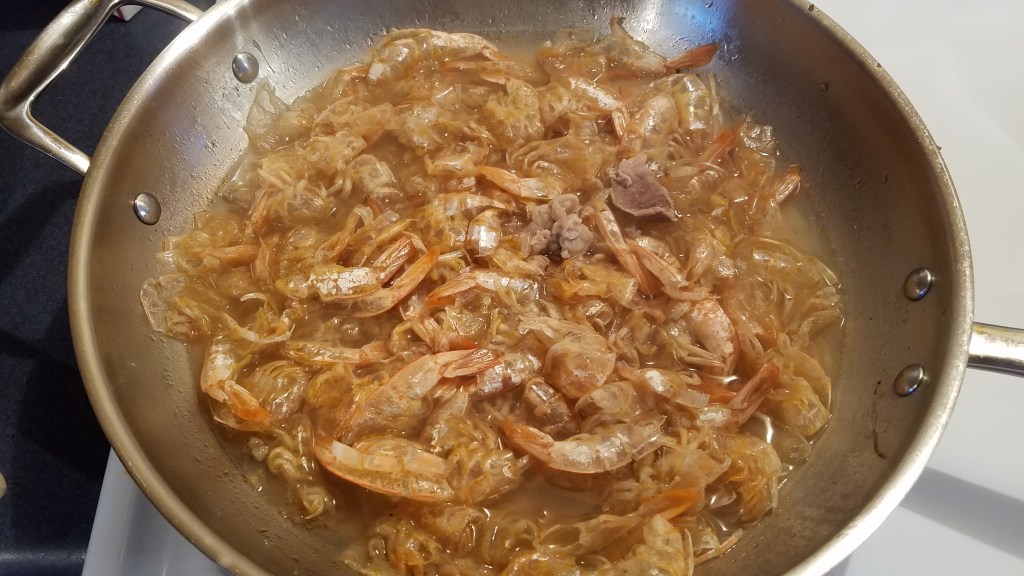
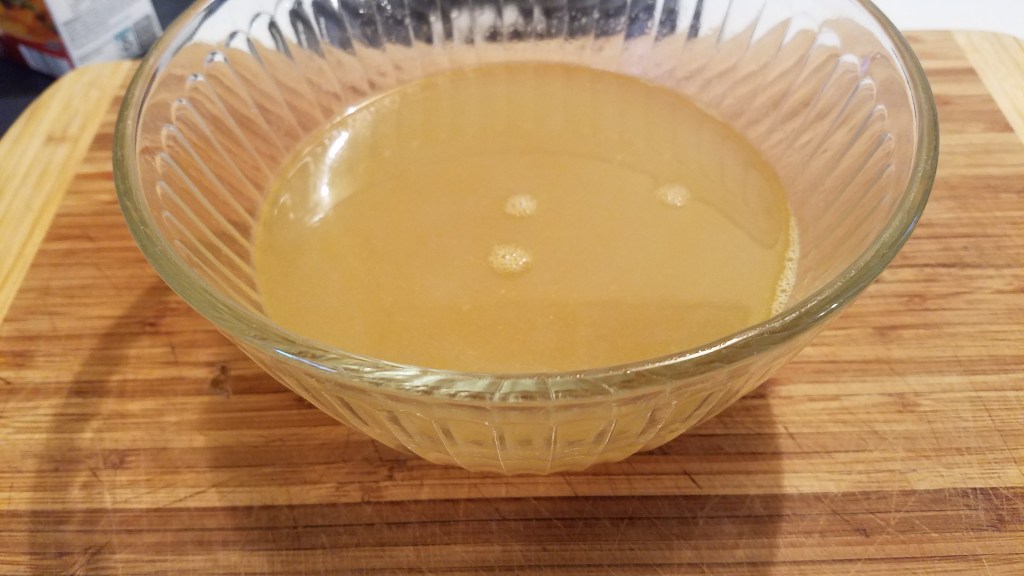
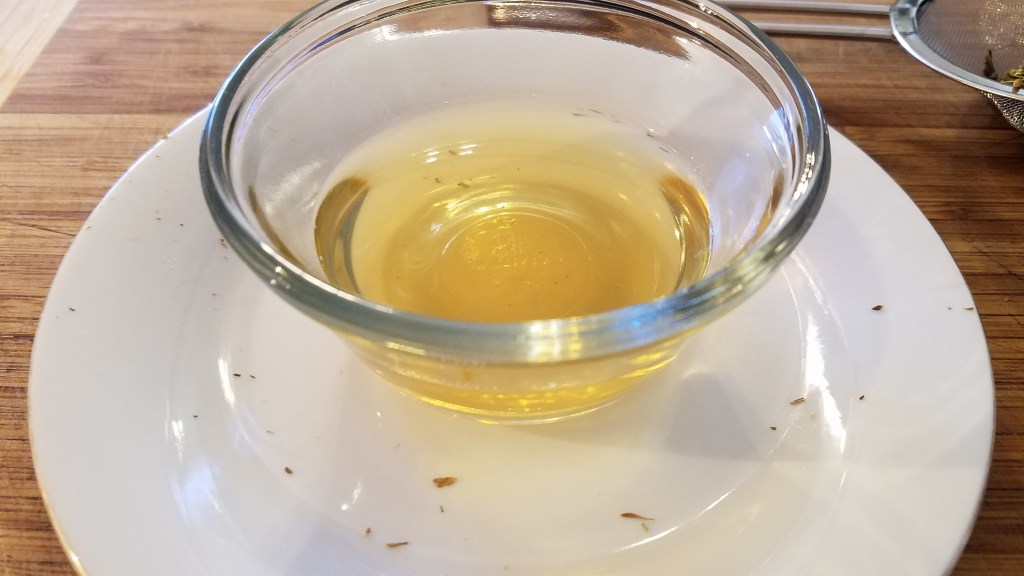
Remove the shells from the shrimp and place in a skillet or pot.  Add a teaspoon of seasoning salt. Cover with water and simmer at medium heat for about 15 minutes.  Strain the liquid and reserve.  Discard the shrimp shells.  Heat the liquid in the pan until it reduces by at least half.  Reserve the reduction.

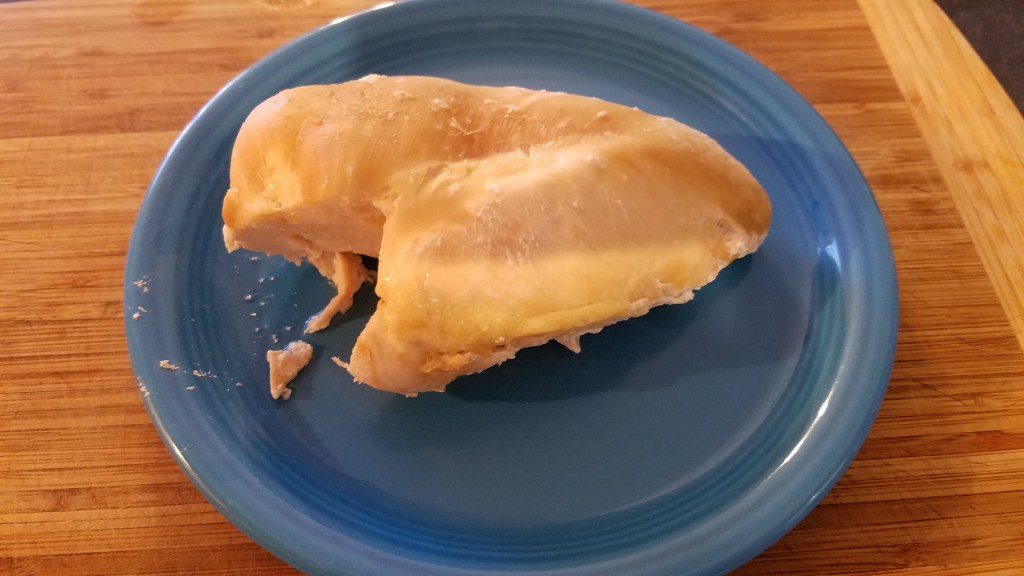
Put the chicken in a pot and cover with water.  Boil at low heat until cooked (about 40 minutes).  Remove the chicken to a platter and cool to room temperature.

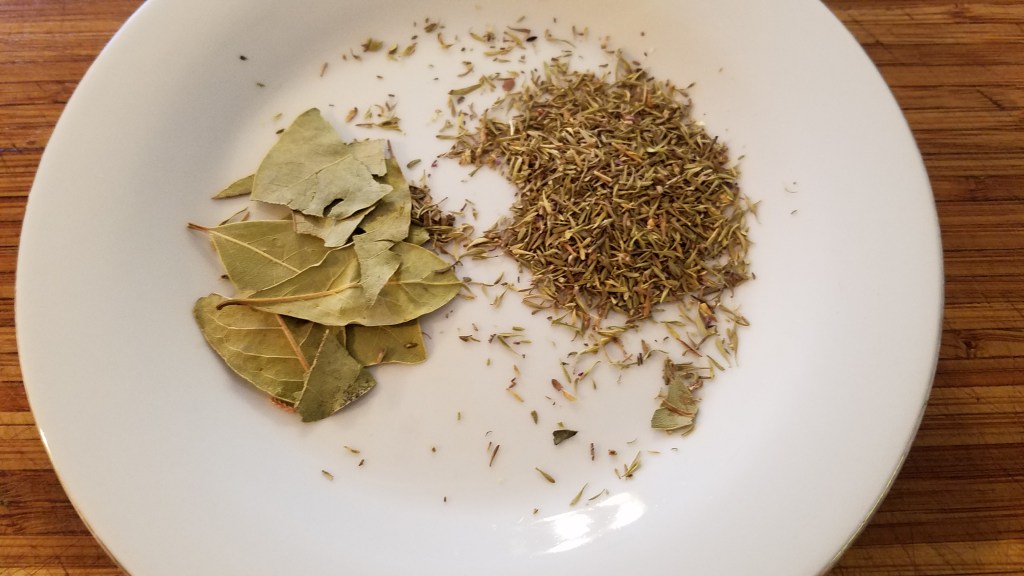
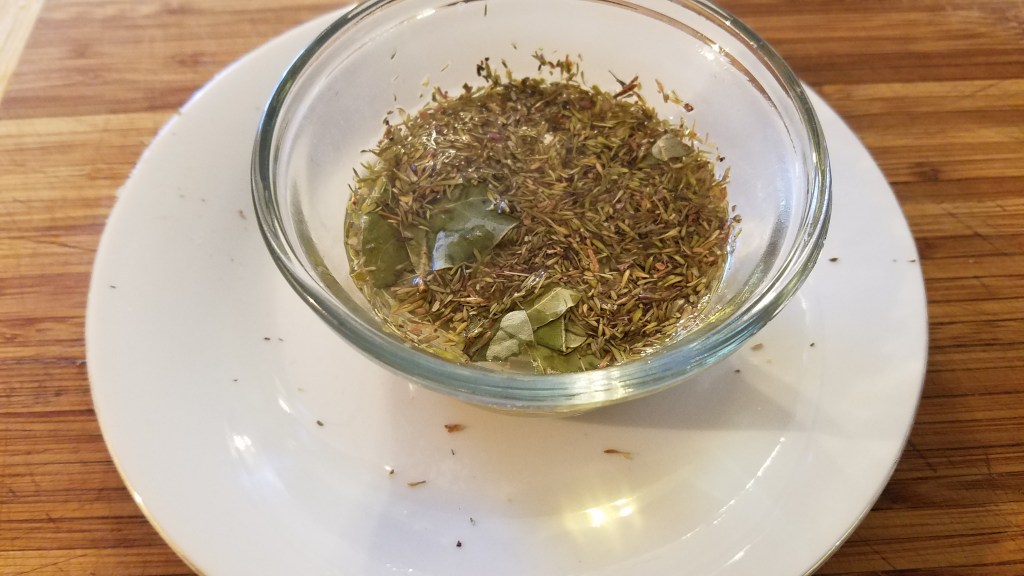
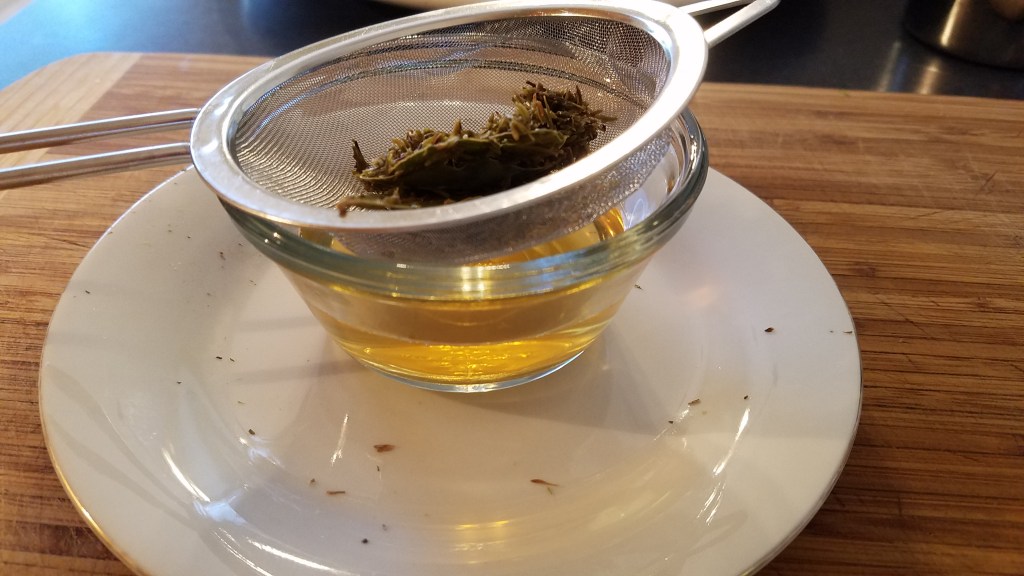
In a small bowl, add the thyme and bay leaves. Cover with water and steam in a microwave for about a minute. Leave the herbs in the water and set aside.

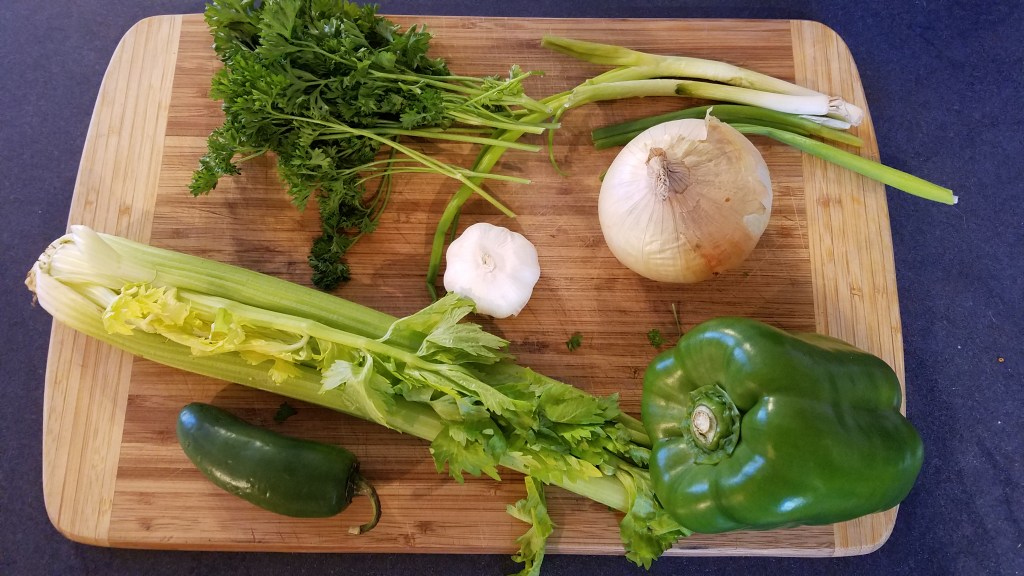
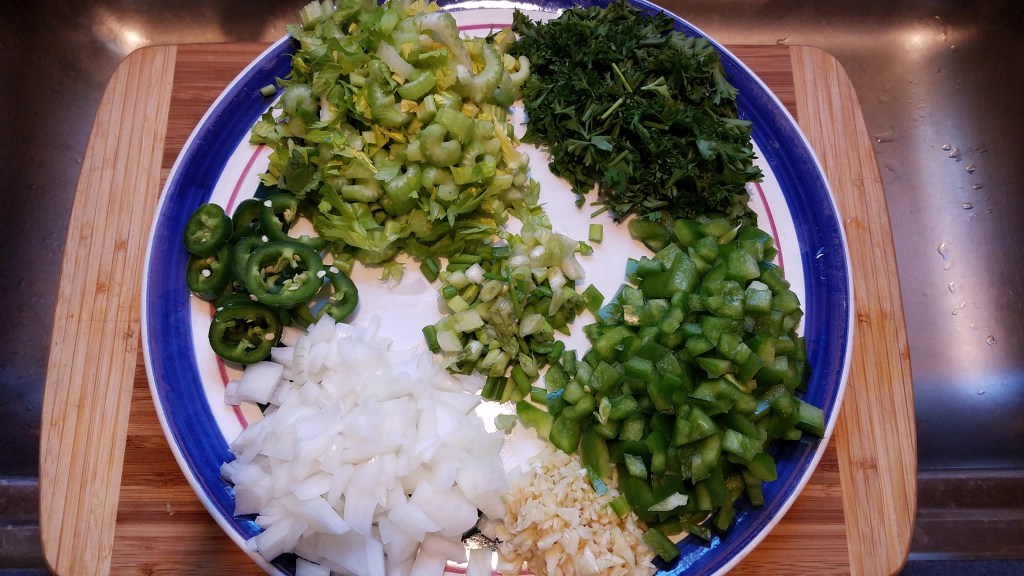
Prep the vegetables and set aside.

Heat a large Dutch oven over medium heat.  (I used a 12” deep Dutch oven).  Add 1 cup oil and 1 cup flour and stir to incorporate.  Reduce heat to low/medium.  Add remaining oil and stir.  Add the remaining flour and stir constantly. 

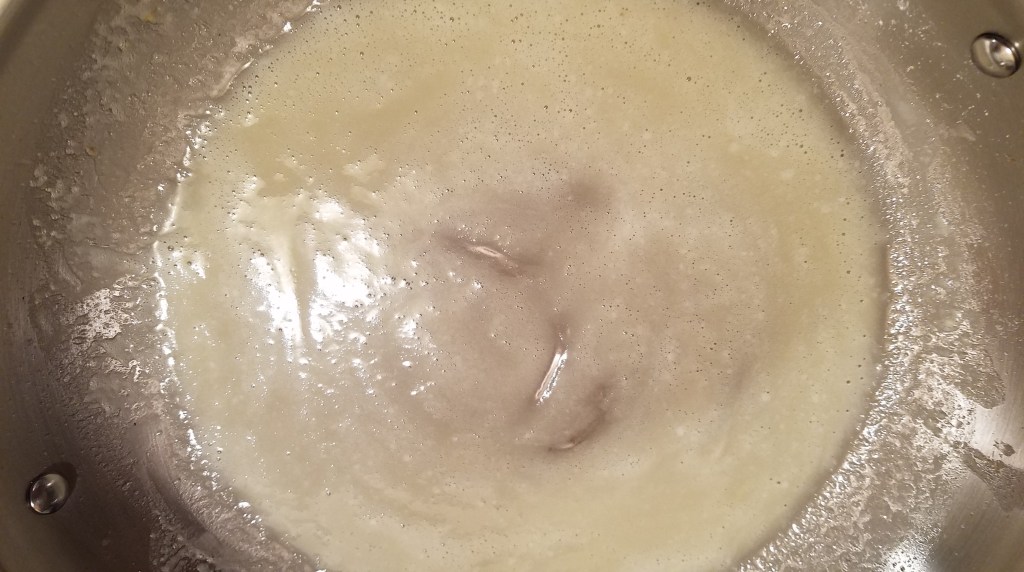
After about 15 minutes the roux will begin to change from pale yellow to blonde.  Turn the heat to low and keep stirring. 

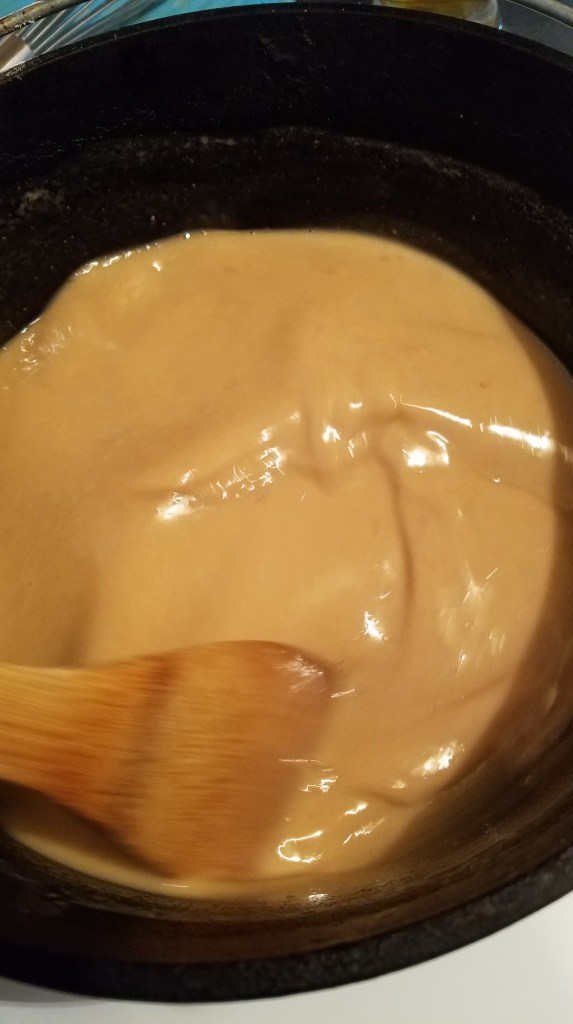
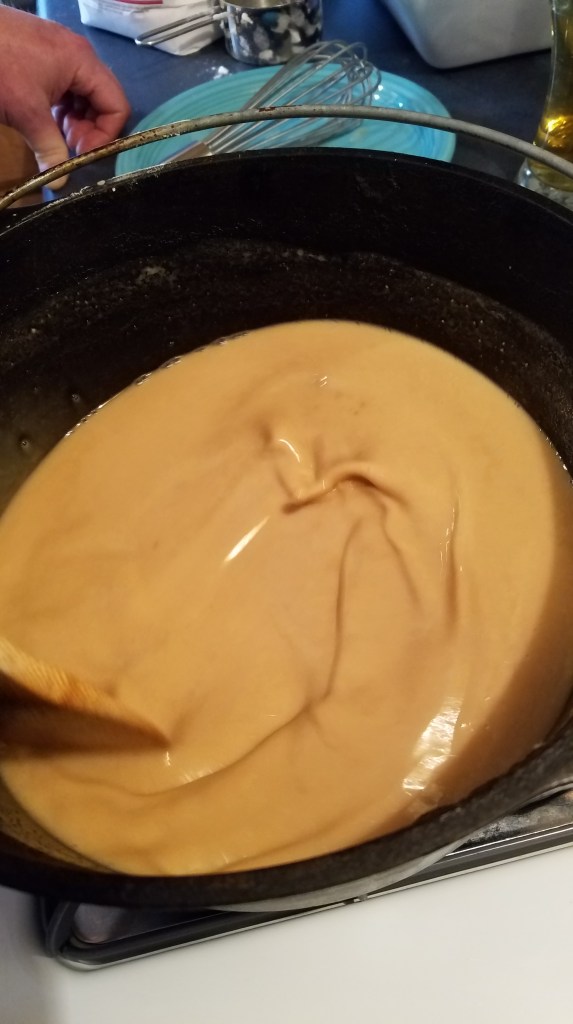
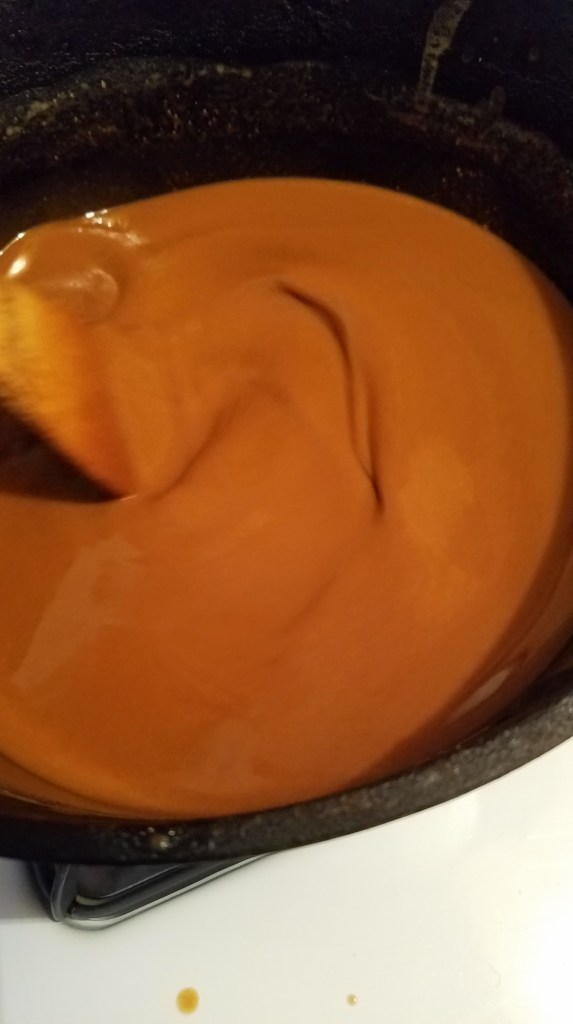
The roux will continue to darken and will become light tan and then dark tan.  Once the roux has turned to tan pay extra attention to the aroma and color of the roux as you stir. 

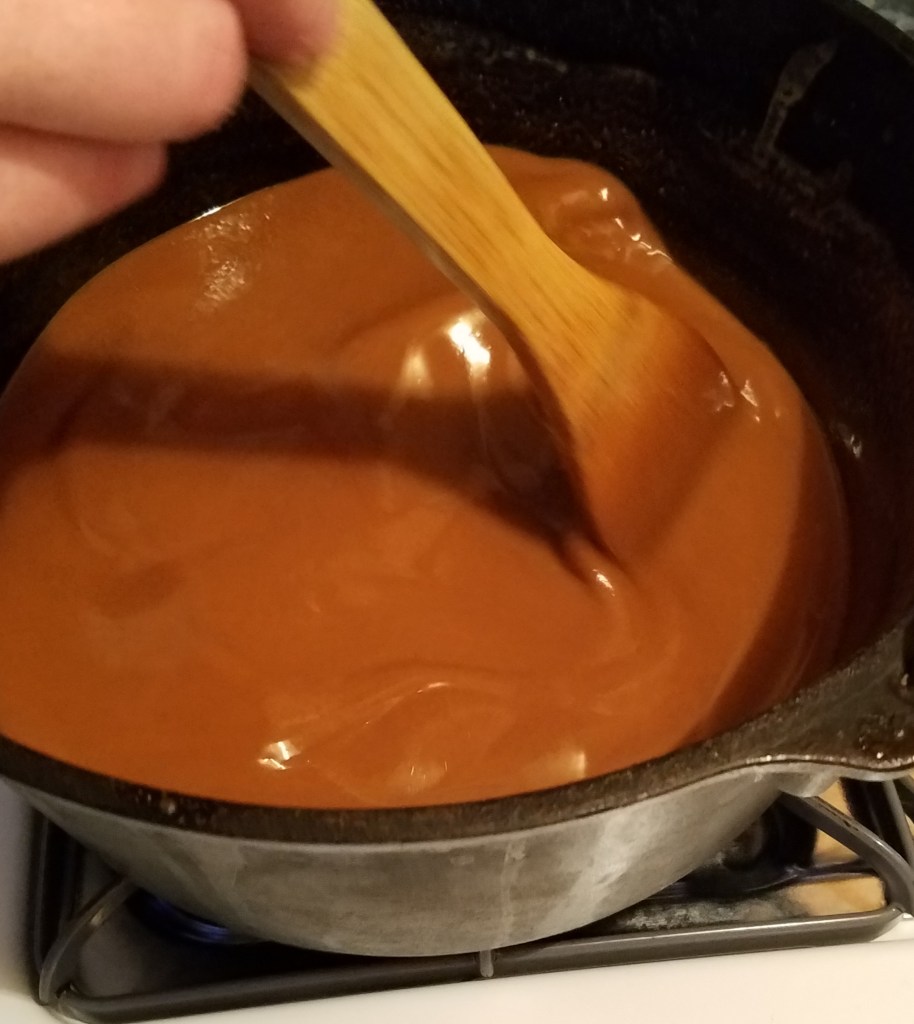
The color of the roux will begin to take on reddish/brown hue soon.  This is where I usually turn off the heat but, if you are brave and careful, keep stirring until the roux becomes chocolate brown. 

Once you are finished with the roux, turn off the heat and continue stirring for several more minutes.  The roux will remain very hot for at least 30 minutes.  Set the roux aside for now.

I stopped just short of mahogany on my second roux…yes, I chickened out!

And now, the easy part!

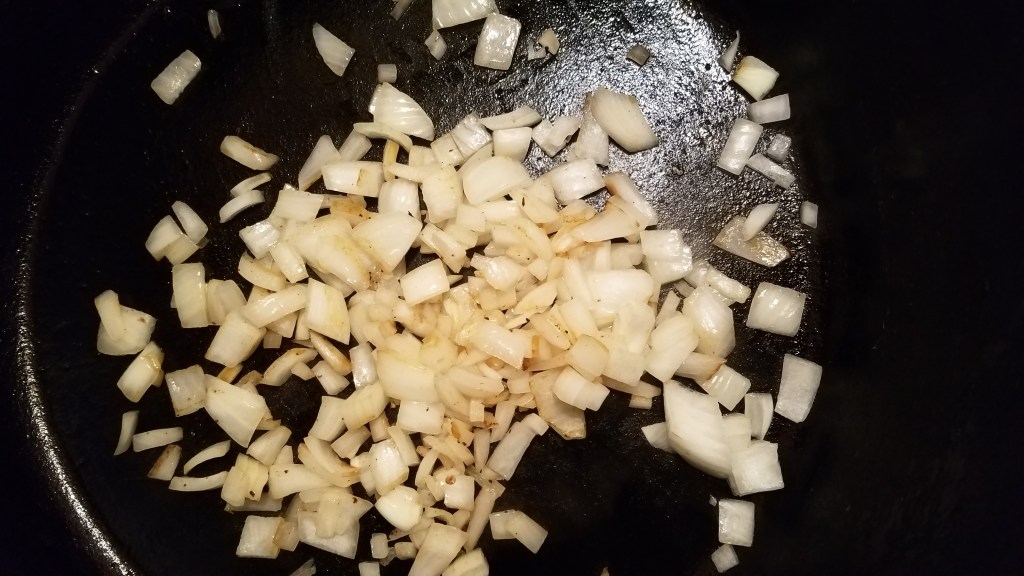
In a very, very large Dutch oven, (I used a 14” deep Dutch oven), add the chopped onion.  Sauté until the onion begins to turn brown. 

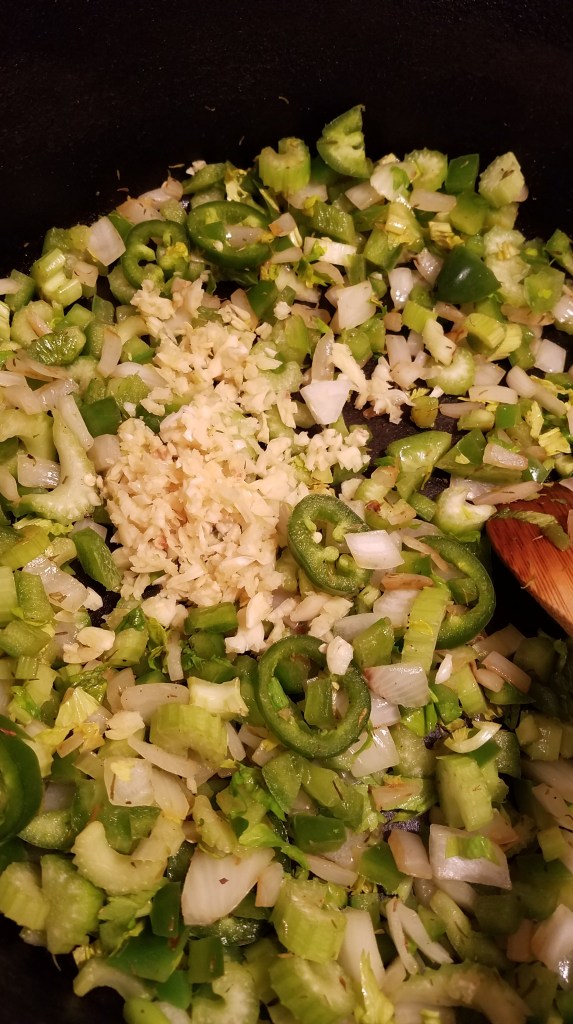
Add the bell pepper, celery and jalapeño.  Stir for a minute and add the garlic.  Stir for a few minutes and then remove everything to a bowl.

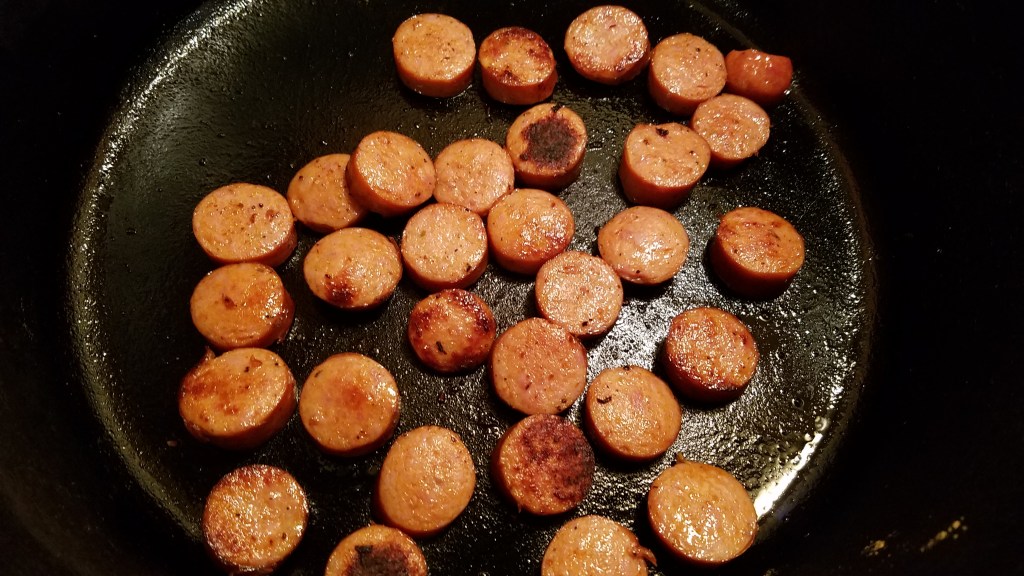
Add the sliced Andouille to the pot.  Stir over medium/high heat to brown the Andouille.  Remove the Andouille and set aside.

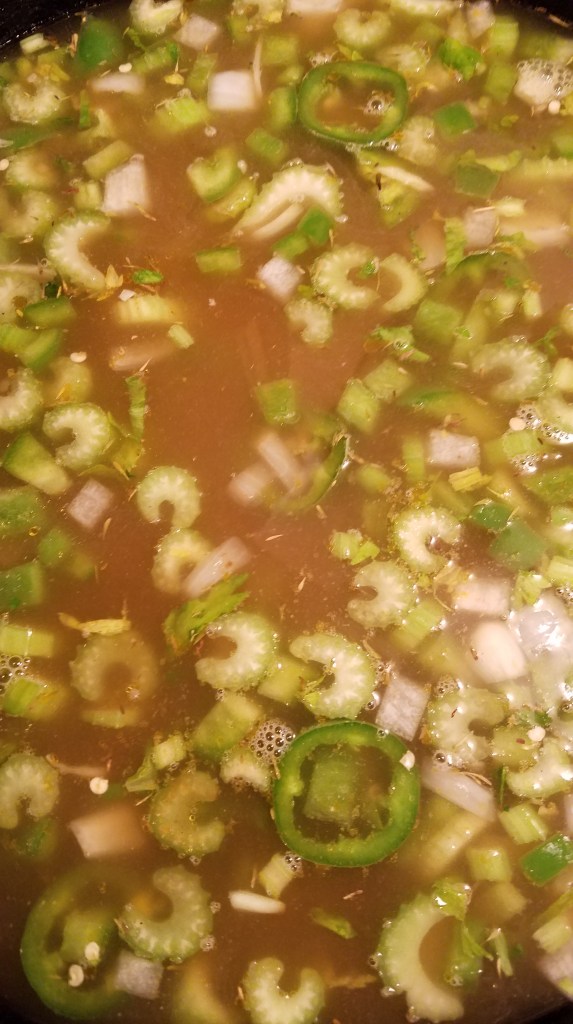
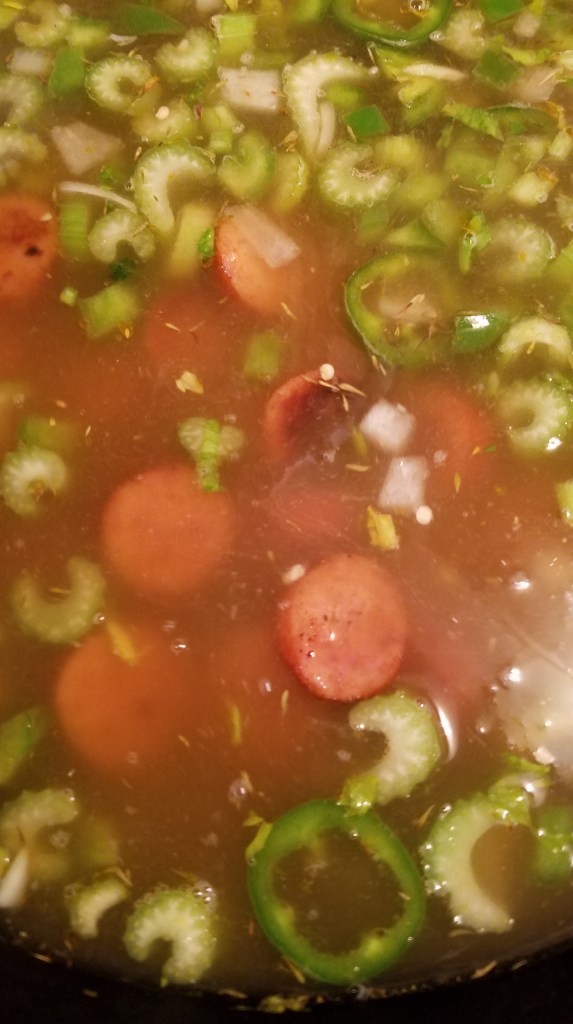
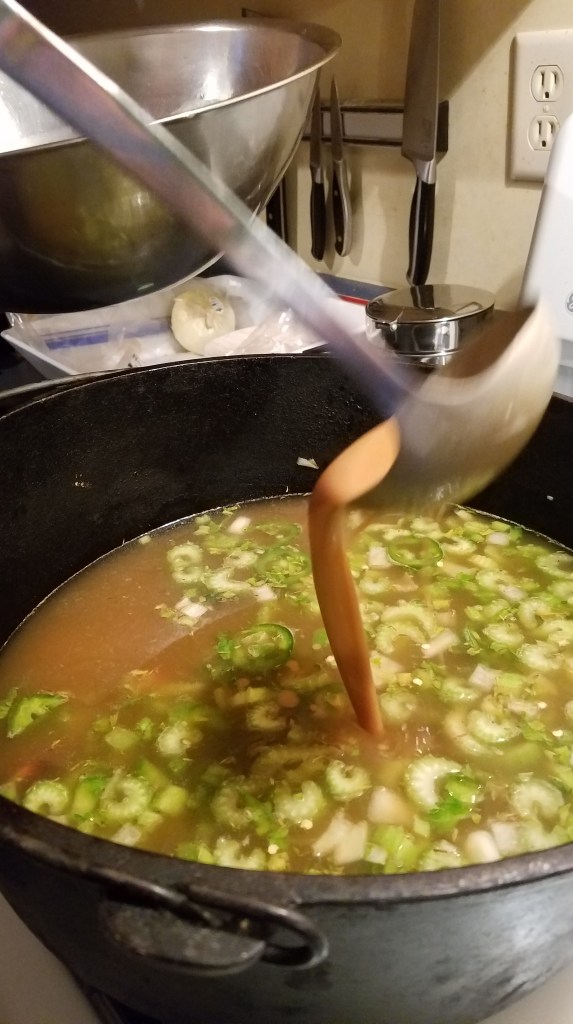
Add the chicken stock and vegetable stock to the pot and cook over high heat for 2 minutes.  Return the onions and Andouille to the pot.  Add the water from the steamed thyme and bay leaves. Discard the bay leaves and add the thyme to the pot. Turn the heat down to medium. 

Add about half of the roux to the pot and stir, to mix.  

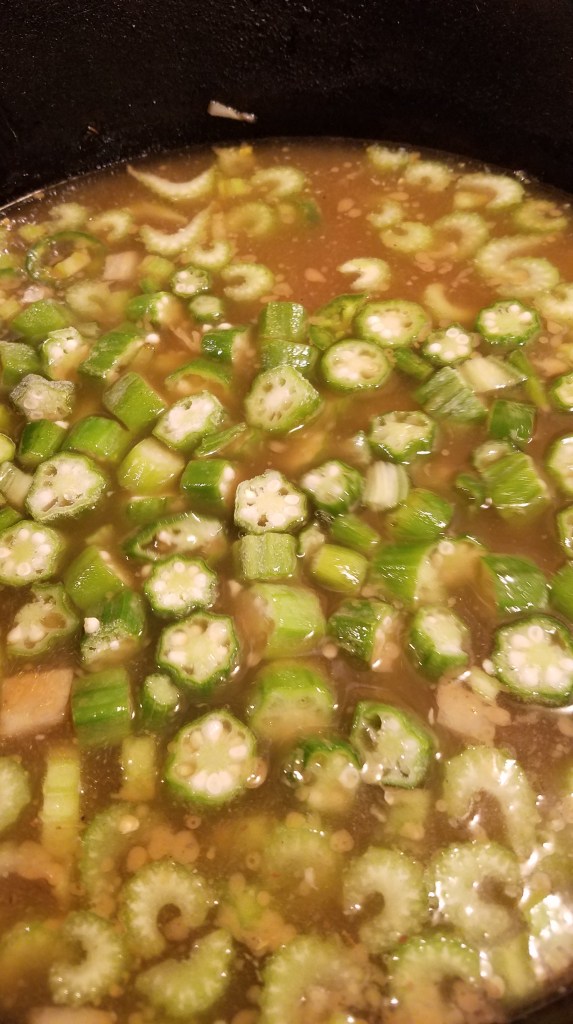
Add the okra and stir.

Add the rest of the roux and stir.  The roux will thicken quickly.  If it is too thick, as mine was, add some water.  I added 3 cups of water.  Continue stirring.

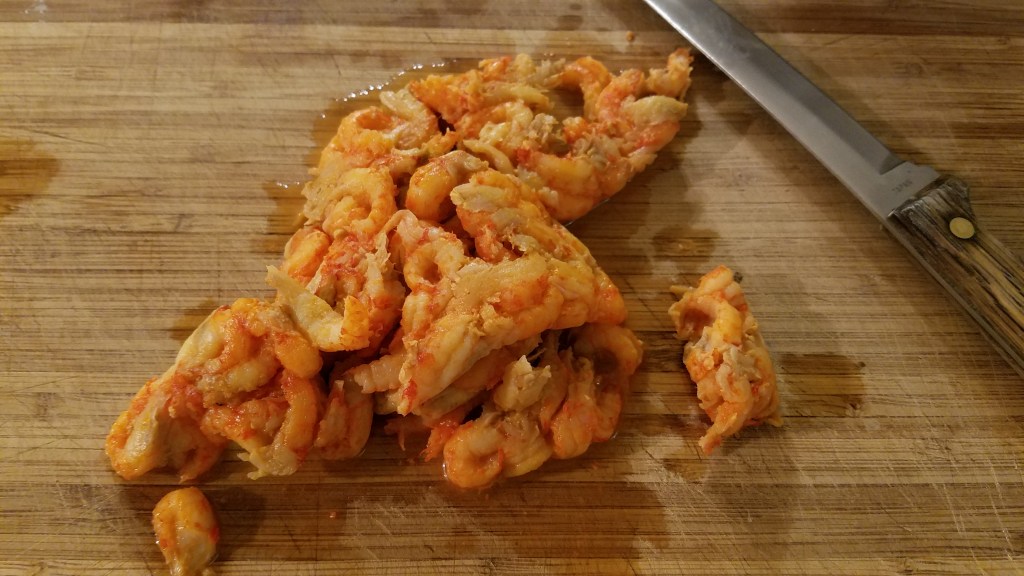
Add the crawfish meat.  Stir briefly and turn the heat to low/medium.

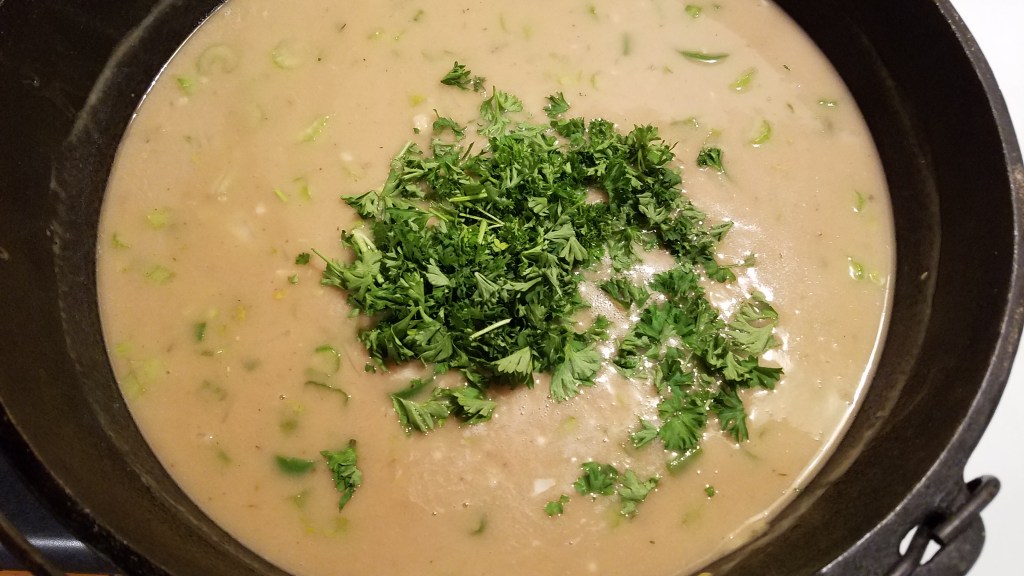
Add the parsley and stir.

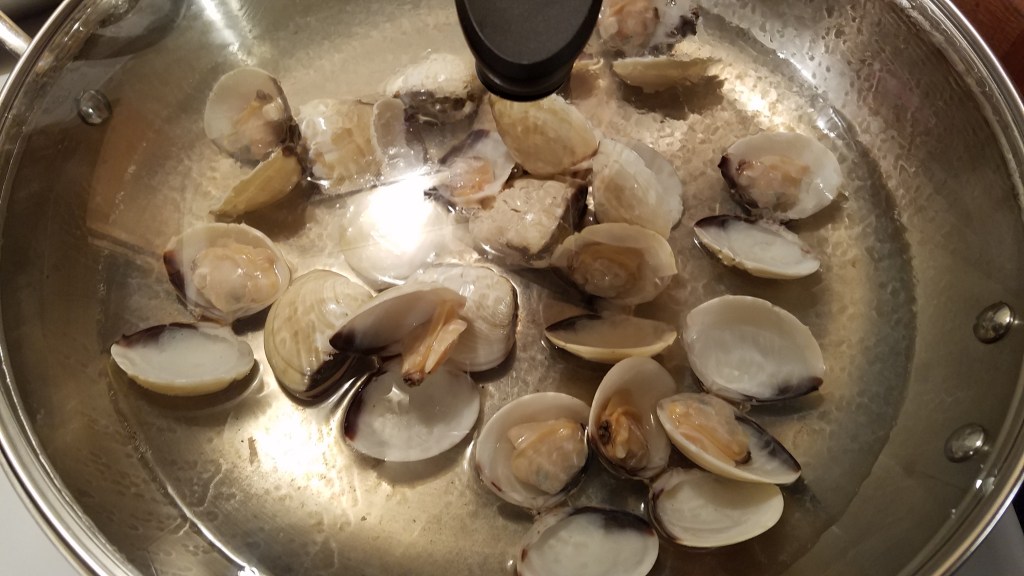
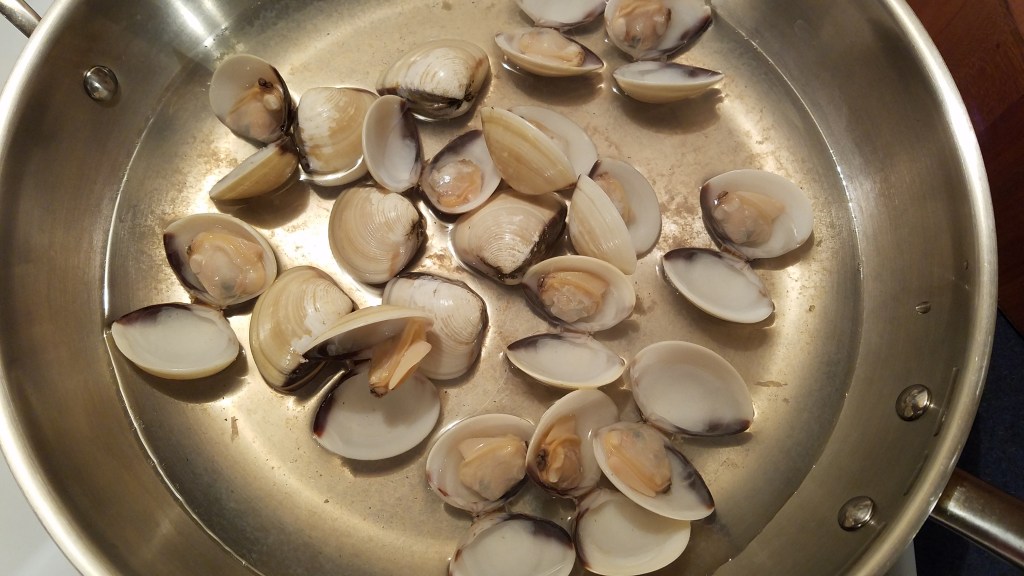
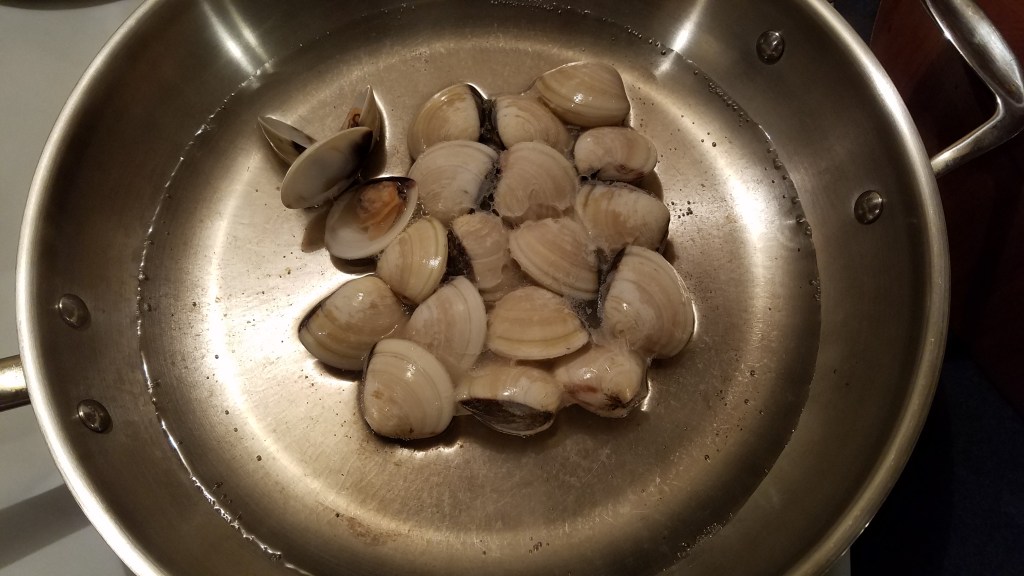
In a large skillet,  add two cups of water.  Set the heat to high and cover.  When the water reaches a hard boil, add the white clams, turn off the heat and cover.  The clams will snap open quickly.  Steam the clams for about a minute and remove to a bowl.  If some of the clams have not opened, bring the water back to boil and add the unopened clams.  If they pop open, hooray!  If they don’t open, they are doomed and will need to join the burned roux, in the trash can.  (All of my clams opened – Yippee!)

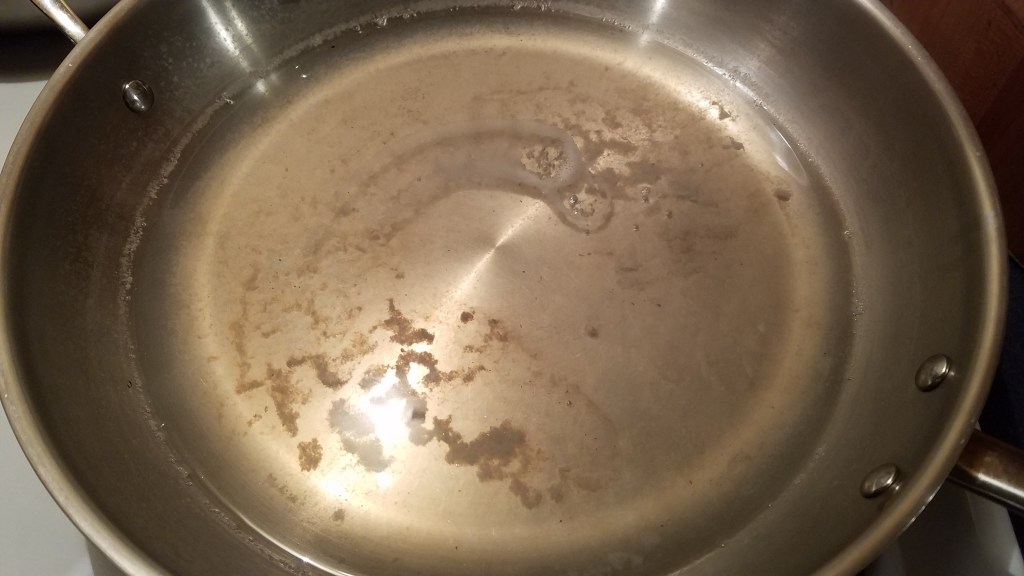
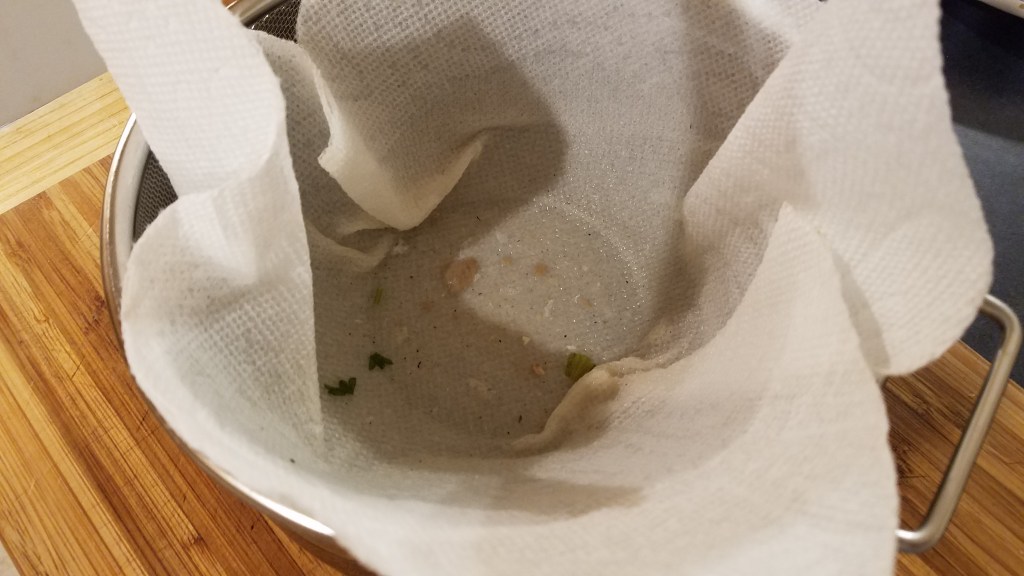
Reduce the steaming liquid from the clams to about one third.  You should wind up with a milky white reduction.  Strain the liquid through a paper towel and sieve to remove any sandy grit. Add the reduction to the gumbo pot.
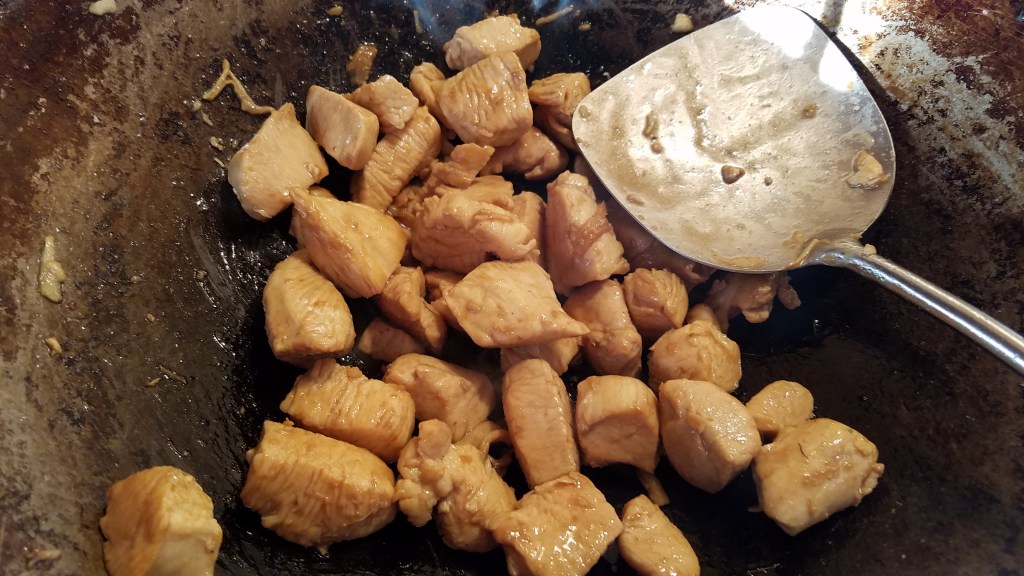
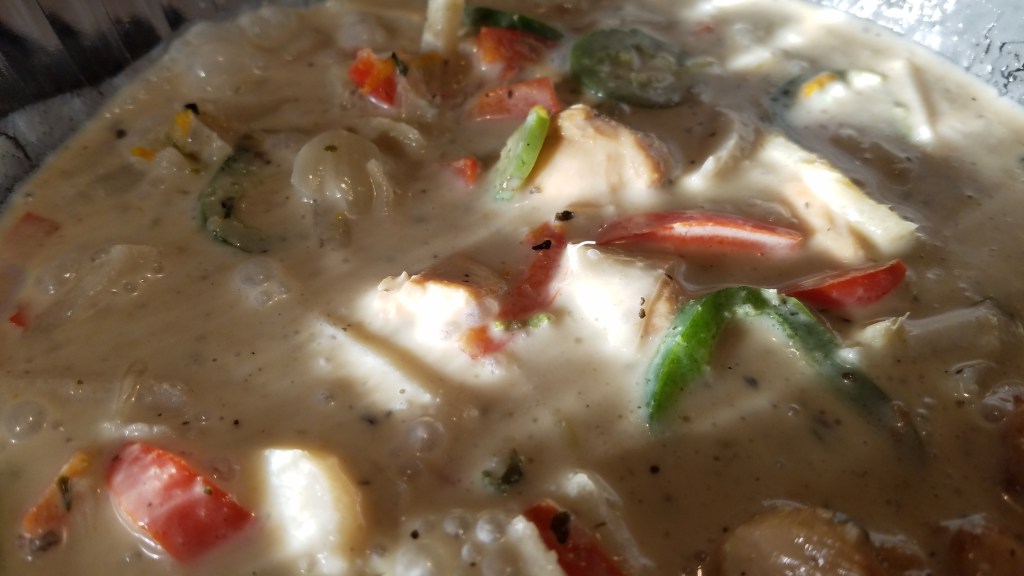
Pull the clams from the shells and add the clams to the gumbo.  Discard the shells.

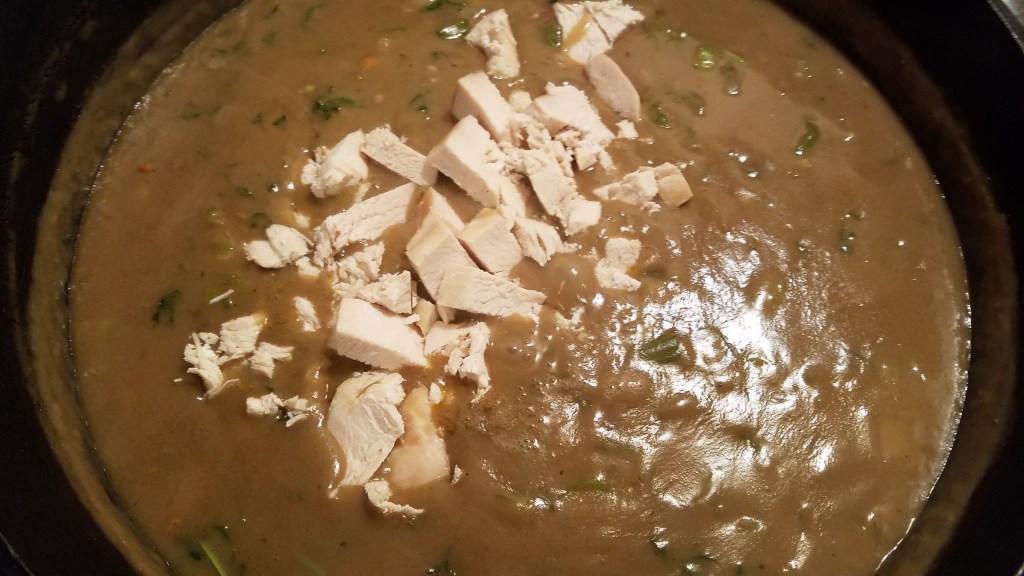
Add the chicken to the gumbo and stir.

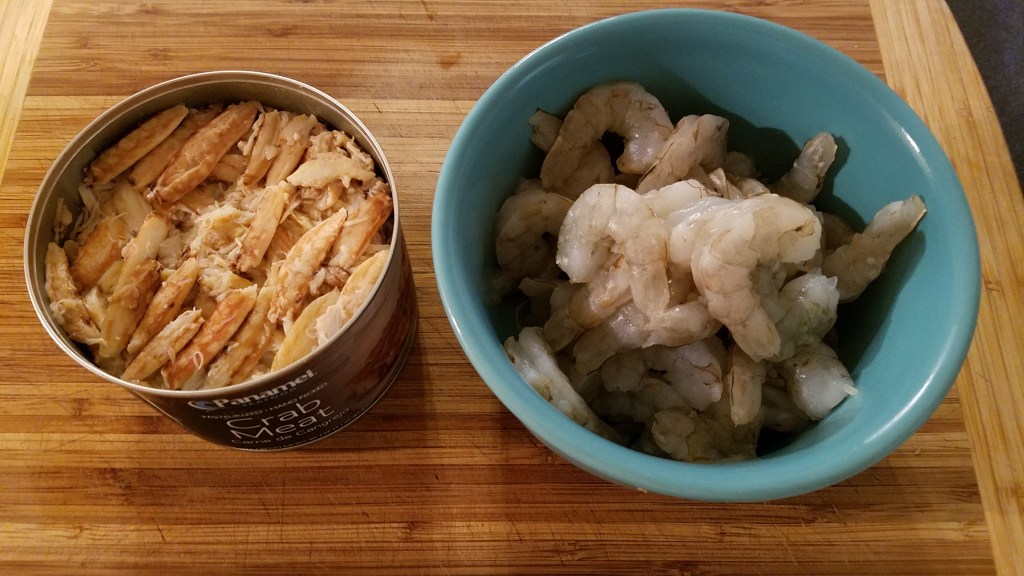
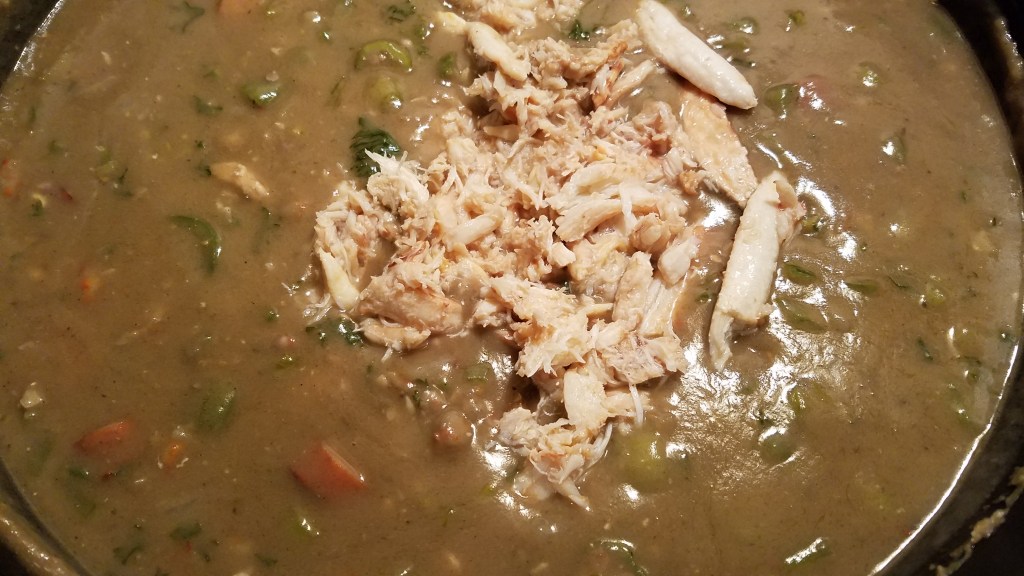
Add the crab and stir.

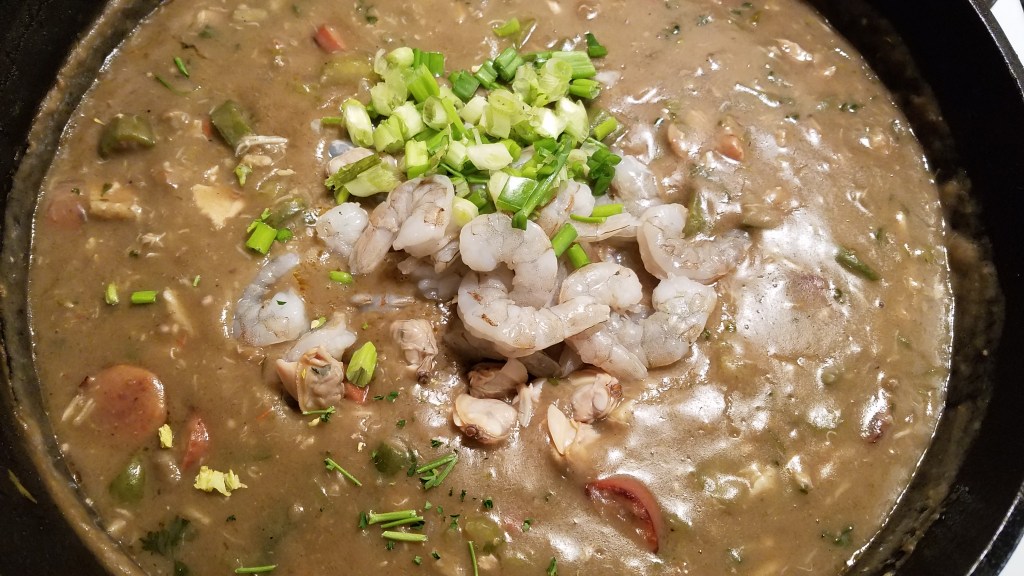
Add the shrimp and green onions to the gumbo and stir.  The shrimp will cook within a couple of minutes.

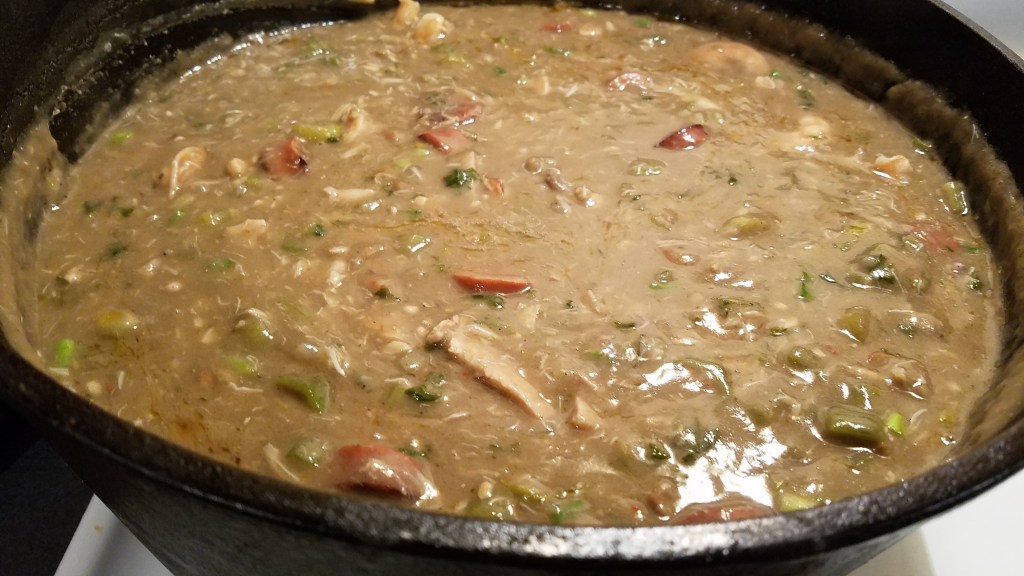
Give the gumbo a good final stir.

Serve in bowls, over warm white rice.

So, other than a few 2nd degree burns and a failed roux, everything went according to plan!

Gumbo (Part I)

The best bowl of gumbo I ever had was my first one.  That’s the way it goes with me, more often than not.  My first experience with anything that’s new and wonderful finds a special and permanent home in my heart.  My first gumbo experience was at a seafood restaurant in north Texas…far, far away from the gulf coast, where seafood reigns supreme.  I sat alone, outside, at a picnic table on a wooden deck, on a chilly, rainy autumn evening  and I watched the cars as they sped down the wet street.  That bowl of gumbo warmed my bones and lifted my soul.  The aroma, steaming upward from the bowl, was a magical mixture of earthiness and briny sea. The flavor was complex and deep,  yet comfortable like my favorite winter coat.

Gumbo is truly American, like Jazz, which is to say that it is the marriage of many cultures from around the world.  Gumbo is influenced by African, French, Spanish, German and native American cuisines. Gumbo represents what America aspires to be.  Find a seat and share your story with us.  Everyone is welcome here.


Seared Tuna Steaks

Tuna is best served rare or medium rare because overcooked tuna become flaky and dry.  If you want canned tuna, buy a can of tuna. If you want tasty tuna, sear it.

Ingredients:

For the sauce:

     2 Tbs soy sauce

     1 tsp rice wine vinegar

     ¼ tsp Maggi Sesoning

     Juice of ½ lemon

3 frozen tuna steaks (1” thick, 5 ounces each)

1 Tbs olive oil

1 green onion

2 tsp wasabi paste

5 small oranges (mini Mandarin)

Directions:

Thaw the tuna in the refrigerator overnight.

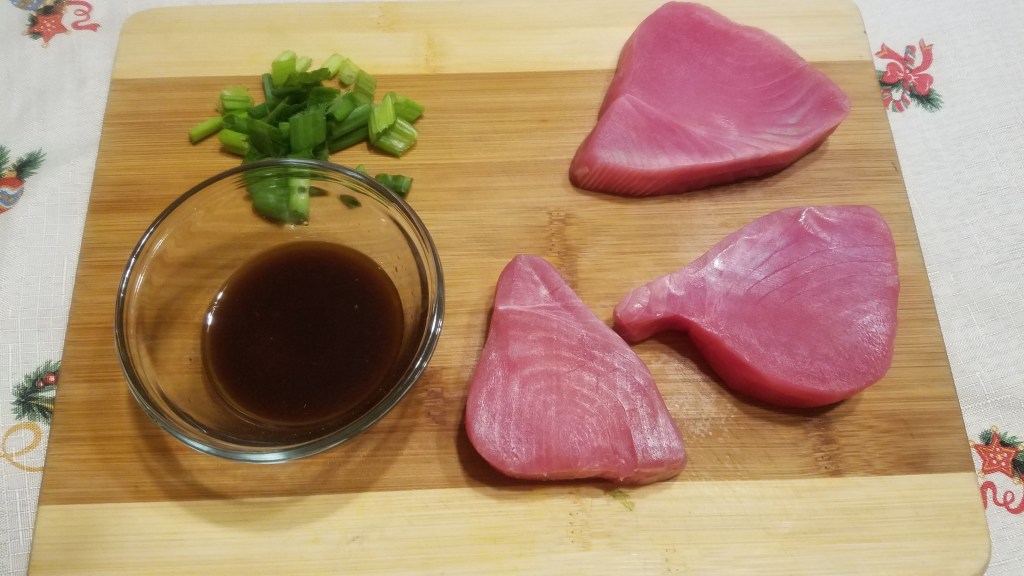
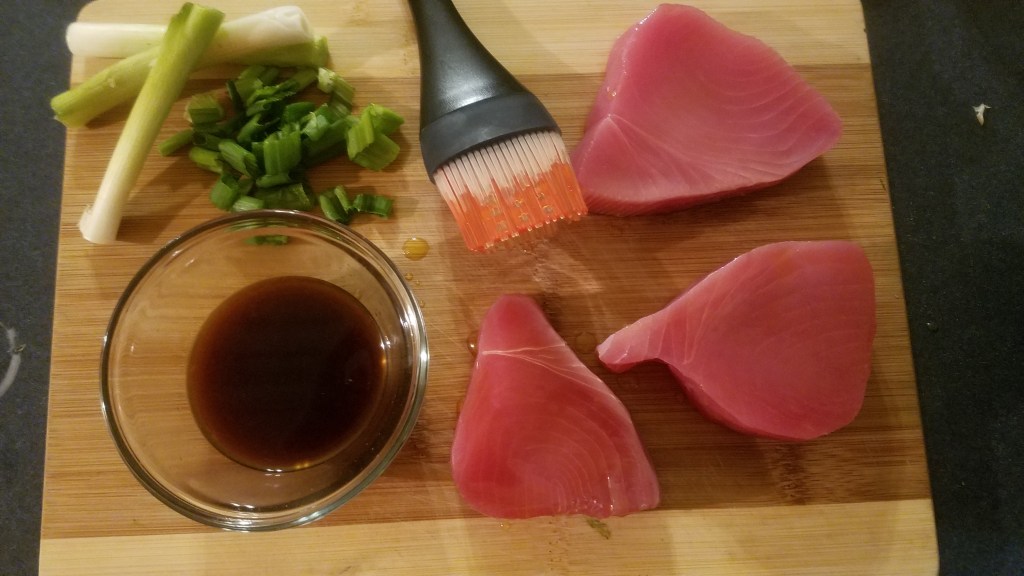
Mix the ingredients for the sauce in a small bowl.  Set aside.

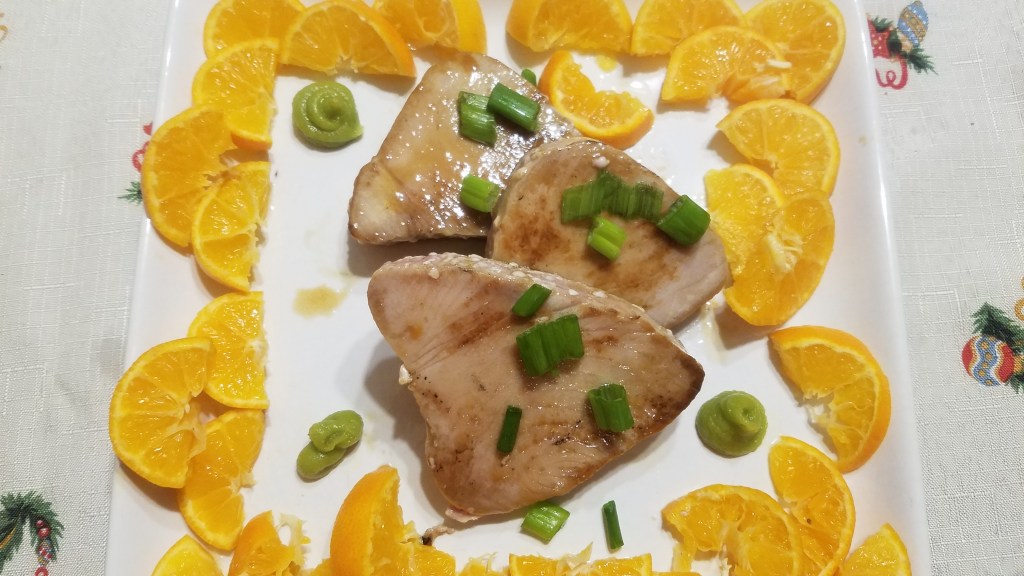
Slice the oranges and cut the the slices in half. Arrange the oranges on a serving platter place some small dollops of wasabi paste in the corners of the platter.  Set the platter aside.

Chop the green onions and set aside.

Heat a large stainless steel skillet on the stove at very high heat

Brush the tuna with olive oil.

Gently lay the tuna onto the very hot skillet.  Brush the other side of the tuna steaks with olive oil.

Turn the tuna over after 60 seconds.  Sear for another 45 seconds.

The internal temperature of the tuna should reach about 120° after searing.   The tuna should be white on the outside after searing and bright red in the center.

Top with green onions and serve with stir-fried rice and steamed vegetables.

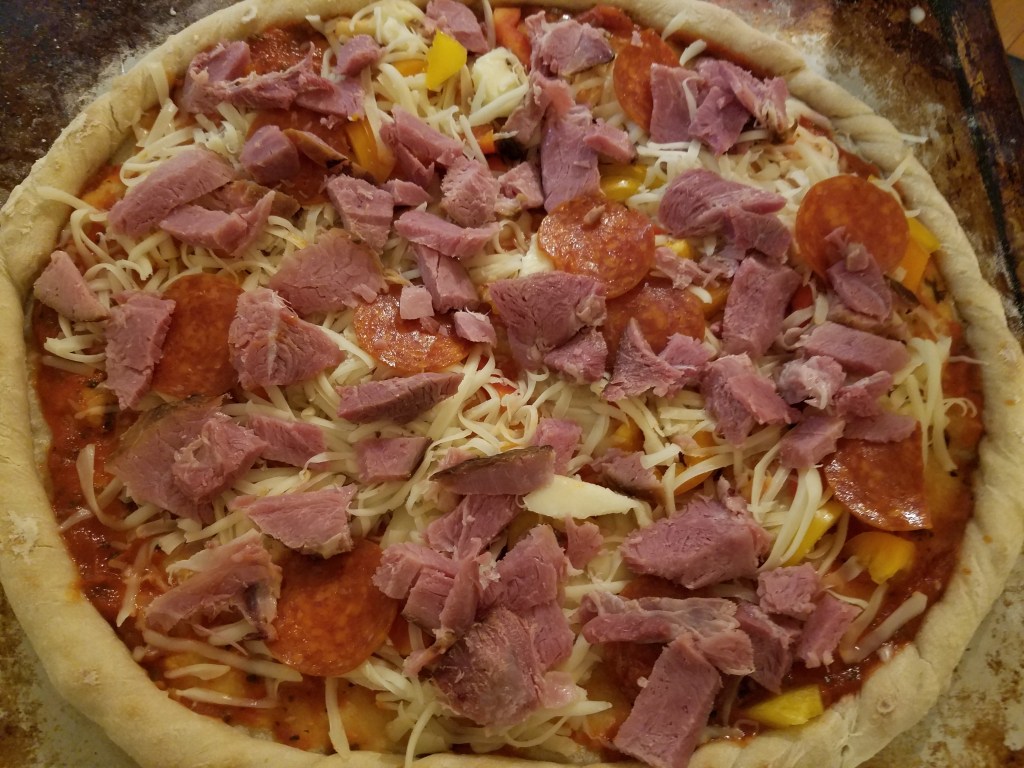
Hawaiian Pizza

I never order ham and pineapple pizza, when I go out for pizza, or when I order pizza for delivery.  It seems like such a silly thing.  I prefer a more classic pizza, I suppose.  But, when life gives you ham and pineapple, it’s time to make Hawaiian pizza.

This recipe uses the same pizza dough recipe that I have posted before.

The only thing new here is the topping.  Simply add sliced ham and diced pineapple and bake. 

Topping Ingredients:

1/3 cup marinara

6 oz mozzarella cheese, shredded

1 cup sliced ham

10 pepperoni slices

3/4 cup diced fresh pineapple

1/2 cup chopped bell pepper (red, orange and yellow)

Directions:

Bake at 400° for 15 minutes, or until the cheese begins to brown.

And for the naysayers, offer them a pepperoni pizza.

Happy New Year!

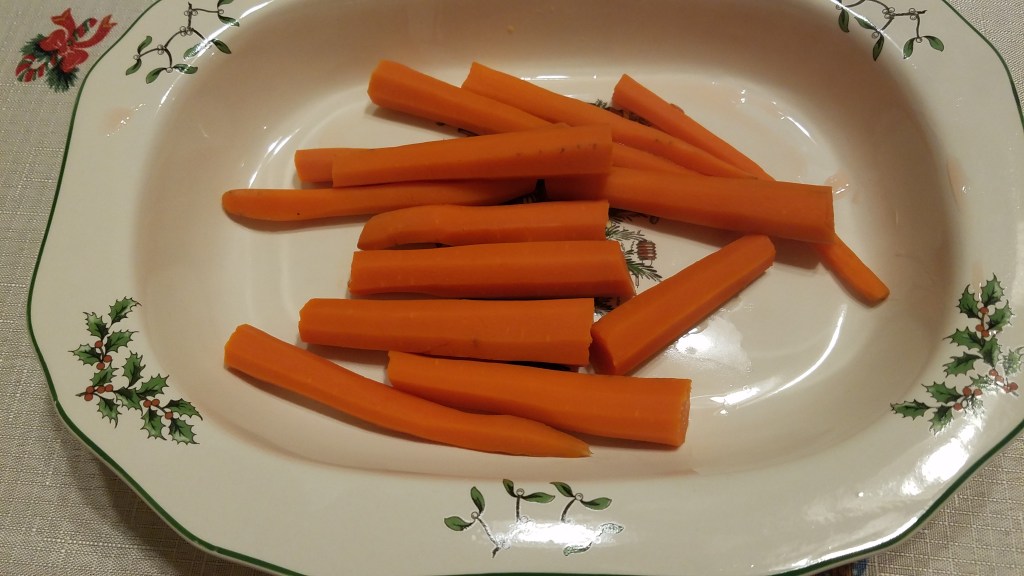
Christmas Carrots

I don’t know what prompted me to do this but I think with a little more experimenting, I might come up with a nice recipe.

Ingredients:

Water

Carrots

Honey

Red Hots (spicy cinnamon candies)

Directions:

Combine all and simmer until carrots are fork tender.

The next time I attempt this I will reduce the honey, water and red hots to make a glaze for the carrots. 

Cheers!

Impromptu Christmas Eve

Christmas Eve turned out to be a rollicking good time with family, food and holiday movies.  The evening  menu showcased some impromptu stir-fry dishes and the holiday movie marathon ended with a classic… “The Star Wars Holiday Special”.  For the uninitiated, the Star Wars Holiday Special aired on TV in 1978 and was subsequently banished by George Lucas.  It starred all of the favorite Star Wars characters like, Luke Skywalker, Princess Leia, Han Solo, Chewbacca, Art Carney, Harvey Korman and Beatrice Arthur.  Yes, Art Carney, Harvey Korman and Bea Arthur!  It’s a must-see!

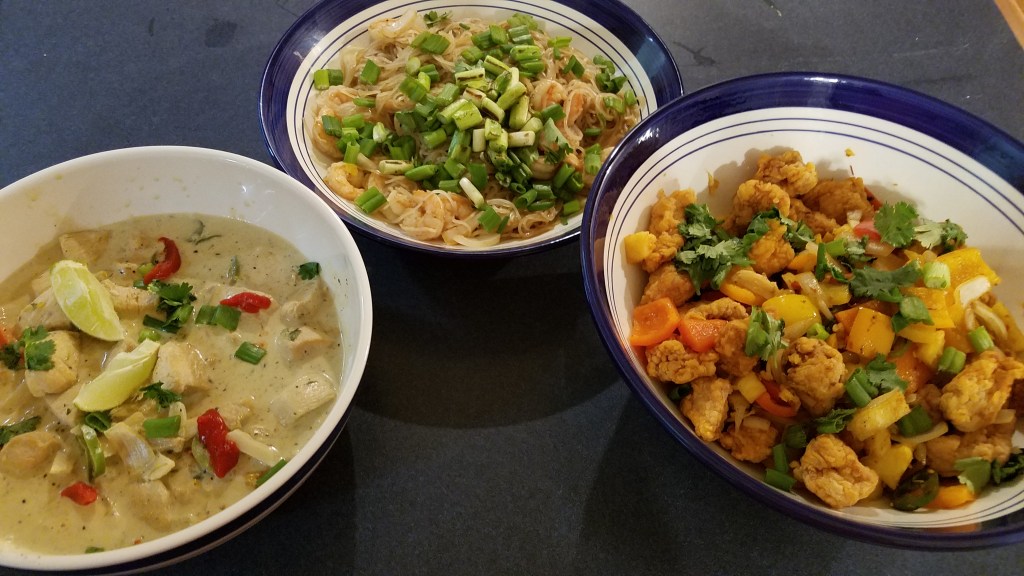
The idea behind Thai cuisine for Christmas Eve came from a small jar of Thai Green Curry that has been sitting in my refrigerator for quite some time and I wanted to finish it off.  I searched my pantry and refrigerator for items that would be suitable for stir-fry.  Much of the afternoon was spent prepping vegetables, roasting garlic, soaking the noodles and watching holiday classics.  

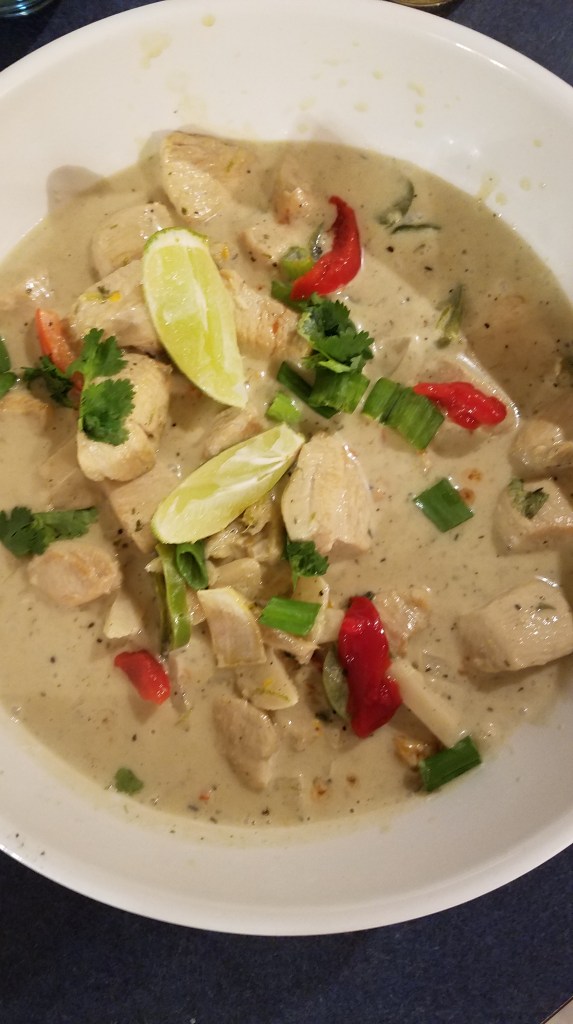
Thai Green Curry Chicken

Ingredients:

1 lb chicken breast, cut into 1” pieces

2 Tbs Thai green curry paste (3 Tbs for extra spicy)

1 Tbs oil

2 garlic cloves (fresh)

1 head of garlic (roasted)

2 Tbs fresh ginger, sliced thin

¼ yellow onion, julienne sliced

1 cup chicken stock

1 ½ cups coconut milk

2 Tbs fish sauce

1 Tbs dried basil and 1 tsp dried parsley  (substitution for fresh Thai basil)

1 lime

Zest of lime

1 can of water chestnuts (8 ounces, drained and sliced)

1 roasted red bell pepper, sliced

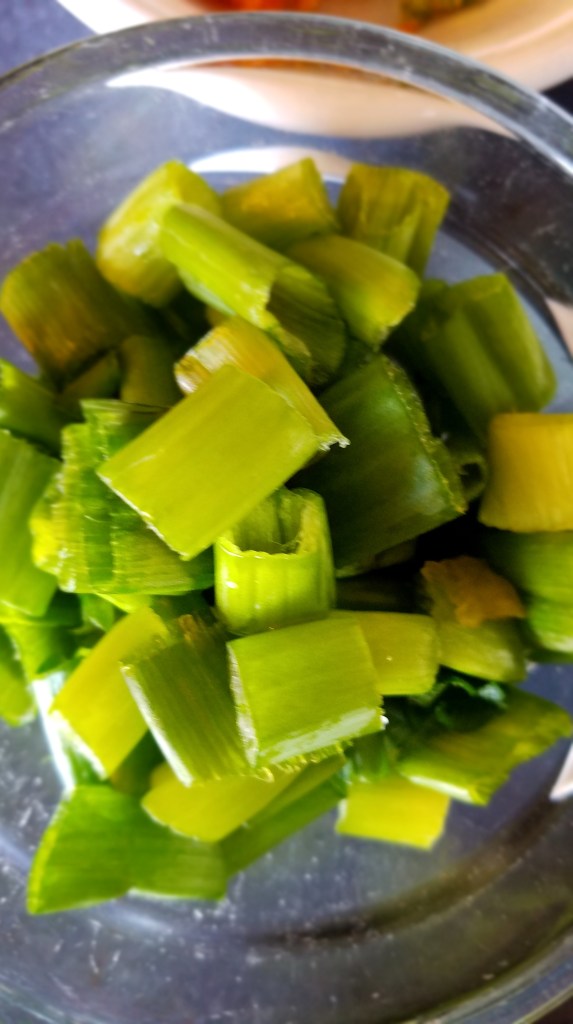
1 green onion, diced greens and chopped white roots

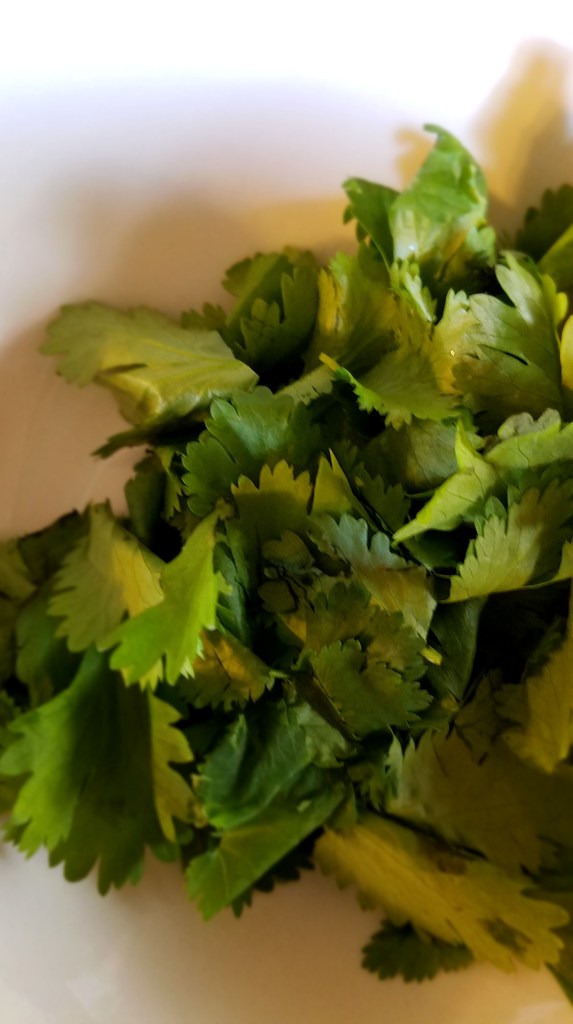
¼ cup cilantro leaves

Directions:

Mix the cut chicken breast with the Thai curry paste.  Refrigerate until needed.

In a bowl, combine the chicken stock with ½ cup coconut milk.  Add the fish sauce, basil, parsley and the juice of half of a lime.  Set aside.

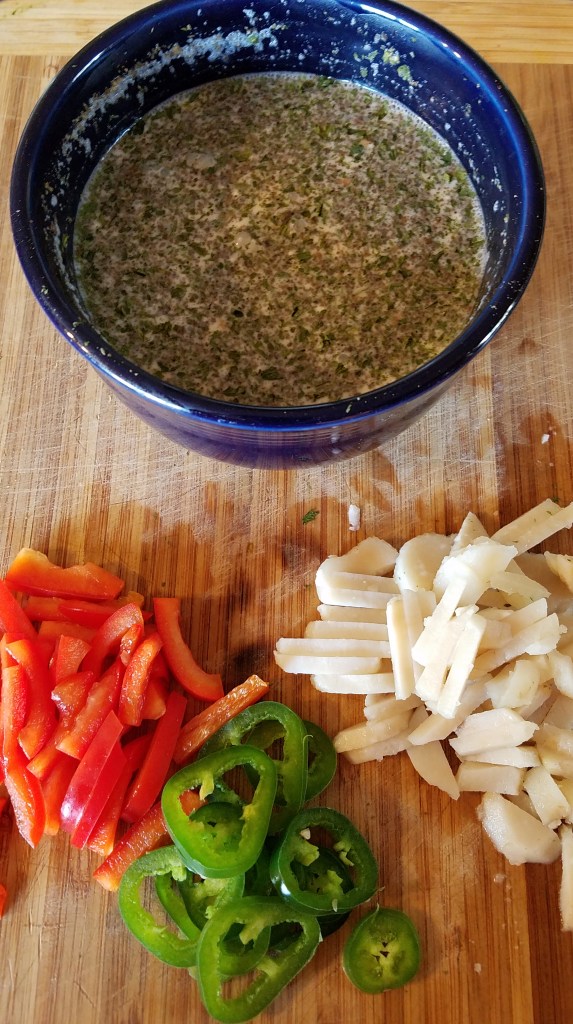
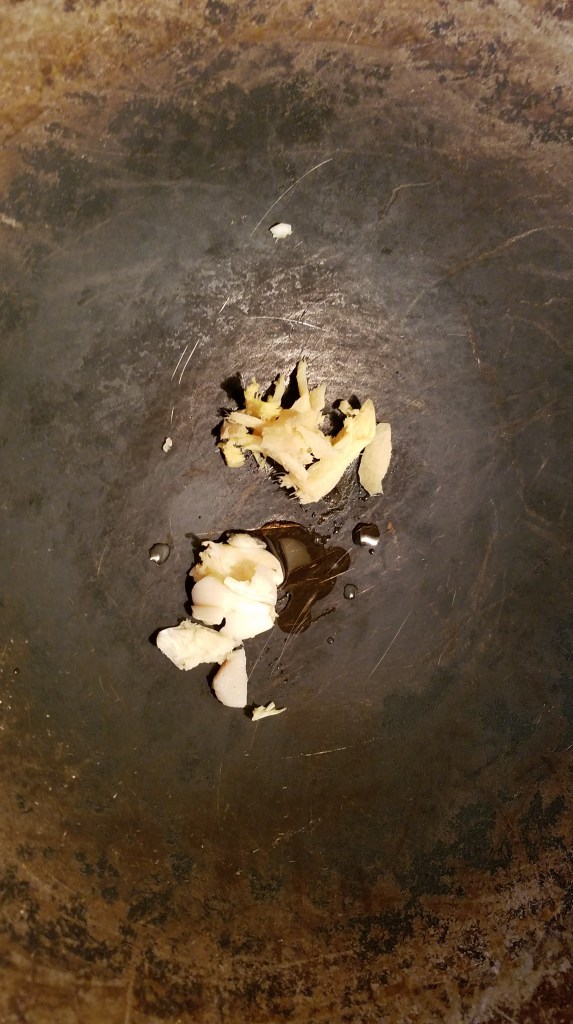
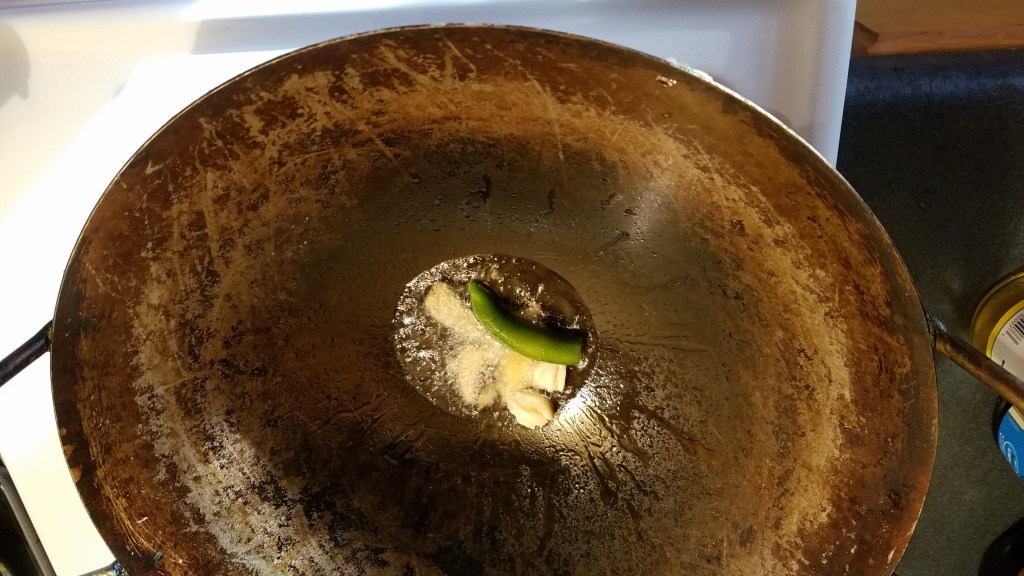
In a wok, add a tablespoon of cooking oil. Warm a tablespoon of sliced ginger and one garlic clove.

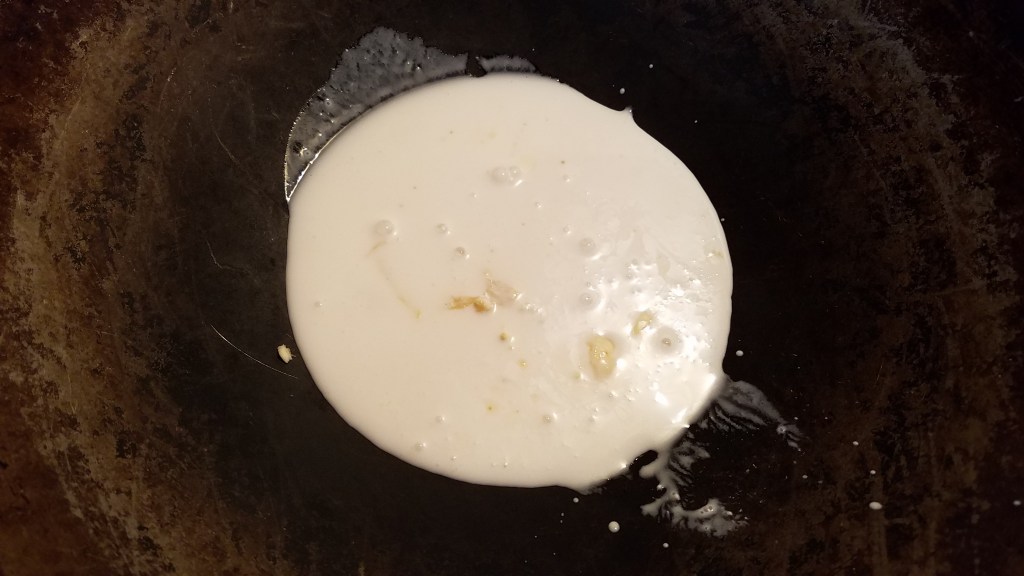
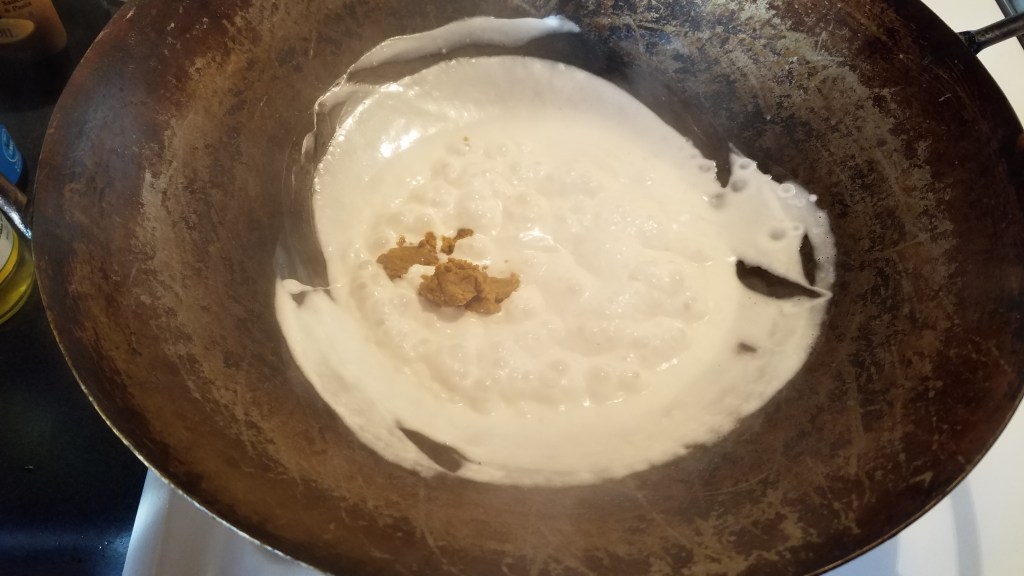
Add 1 cup of coconut milk to the wok and turn the heat up to medium/hot. 

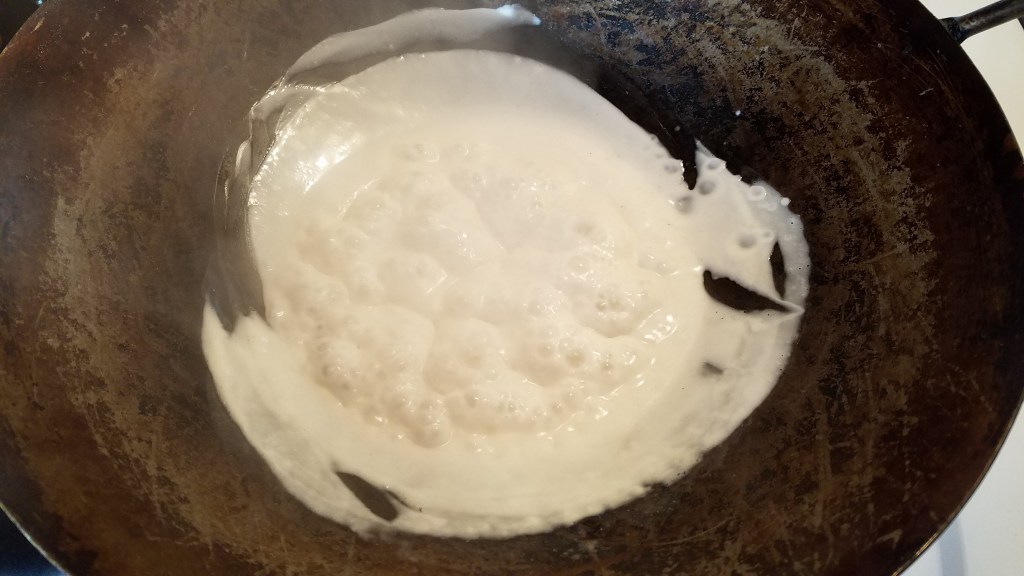
Add the roasted garlic and stir the coconut milk as it thickens. 

Add the chicken stock mixture and simmer at low/medium heat .  Add the sliced water chestnuts, green onion roots and sliced jalapeño.  Simmer for a few minutes and removed to a bowl. 

Wipe the wok clean and add 1 tablespoon of cooking oil and turn the heat to high.  Add a some garlic and ginger. Add the serrano chile and sear the chile in the oil.  Remove the chile and reserve.

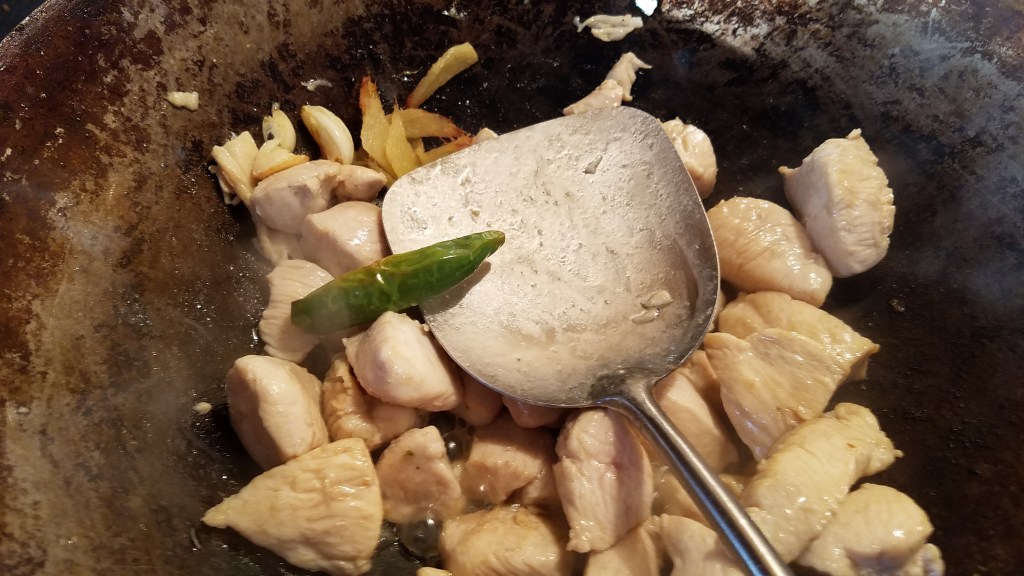
Add the marinated chicken to the wok and stir at high heat.  Return the serrano chile to the wok, along with a garlic clove and 1 tablespoon of sliced ginger.  Stir the chicken for a few minutes and remove the serrano. 

Continue stirring the chicken until the chicken is cooked and browned. 

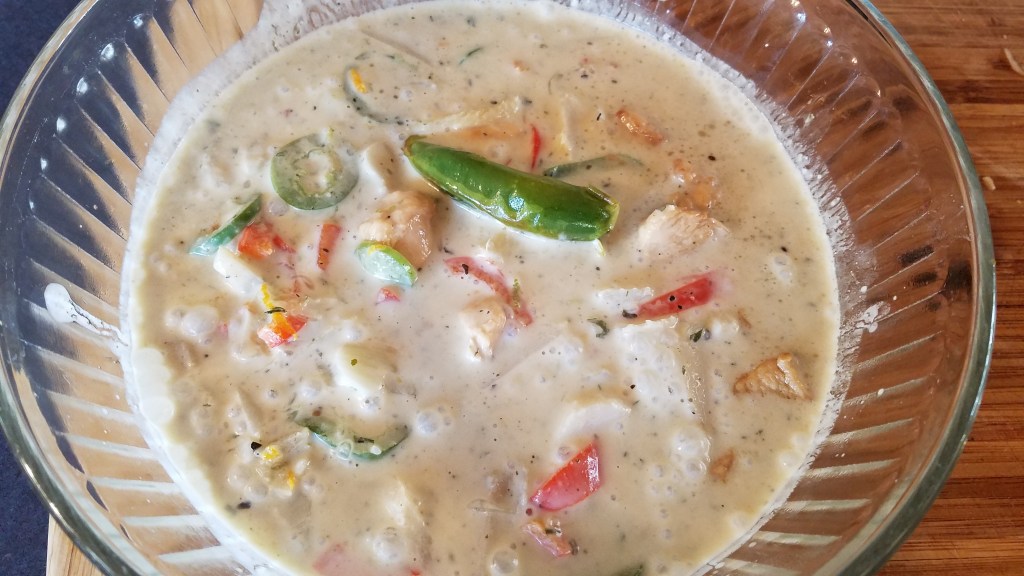
Add the coconut milk/chicken stock mixture to the wok. Stir to incorporate and turn out to an oven proof bowl. Keep in a warm oven until ready to eat.  When you are ready to eat, add a tablespoon of lime juice and top with cilantro, roasted red pepper and fresh lime wedges.

Serve in bowls, over jasmine rice.

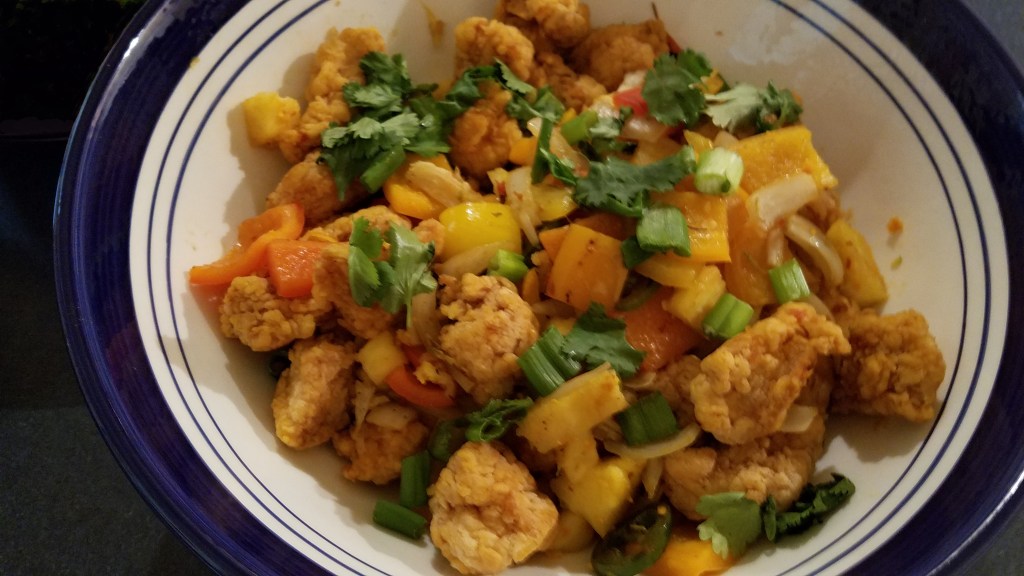
Chicken with Peppers and Pineapple

Ingredients:

1 1/2 lbs. chicken breast, cut into 1” pieces

1 cup flour

¾ cup cornstarch

1 Tbs oil

1 Tbs fresh ginger, thinly sliced

3 garlic cloves, smashed

1 serrano chile

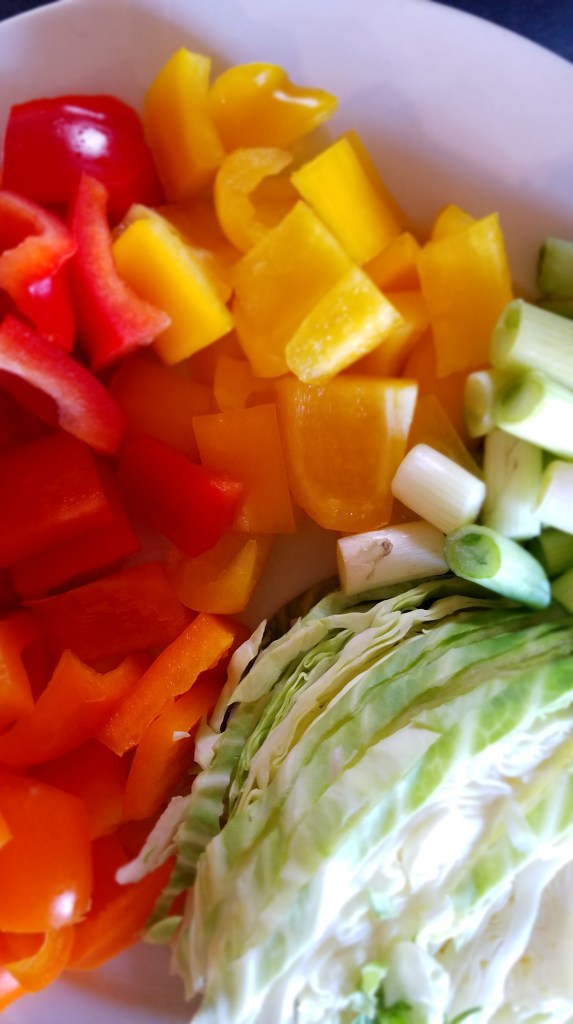
1 red bell pepper, chopped

1 orange bell pepper, chopped

1 yellow bell pepper, chopped

1 small yellow onion, julienne sliced

2 jalapeños, seeded and sliced into rings

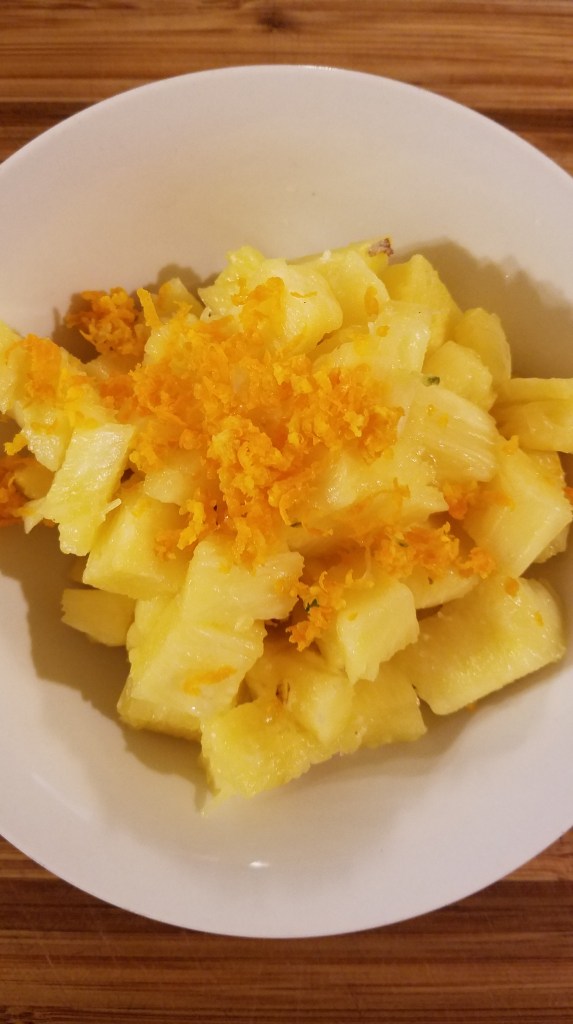
2 cups fresh pineapple, cut into ½” pieces

1 Mandarin orange

Zest of an orange

2 Tbs garlic chile sauce (Sambal Oelek)

2 cups vegetable oil

¼ cup cilantro

¼ cup green onion, chopped

Directions:

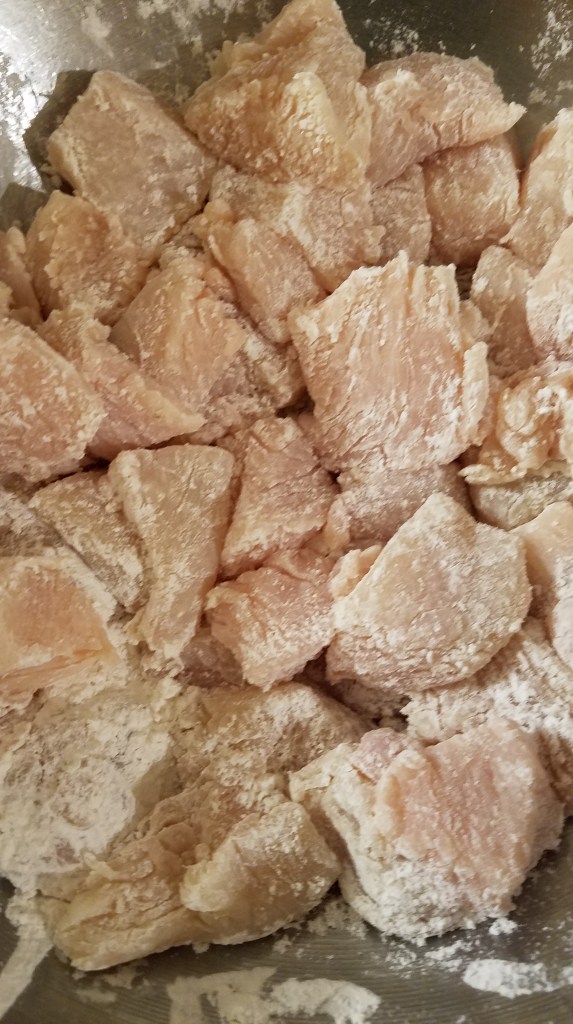
In a large bowl, add mix the flour with the cornstarch.  Add the chicken pieces and stir to coat.  Set aside.

Add one tablespoon cooking oil to a wok.  Simmer the ginger and garlic at low heat for minute and then remove the ginger and garlic. 

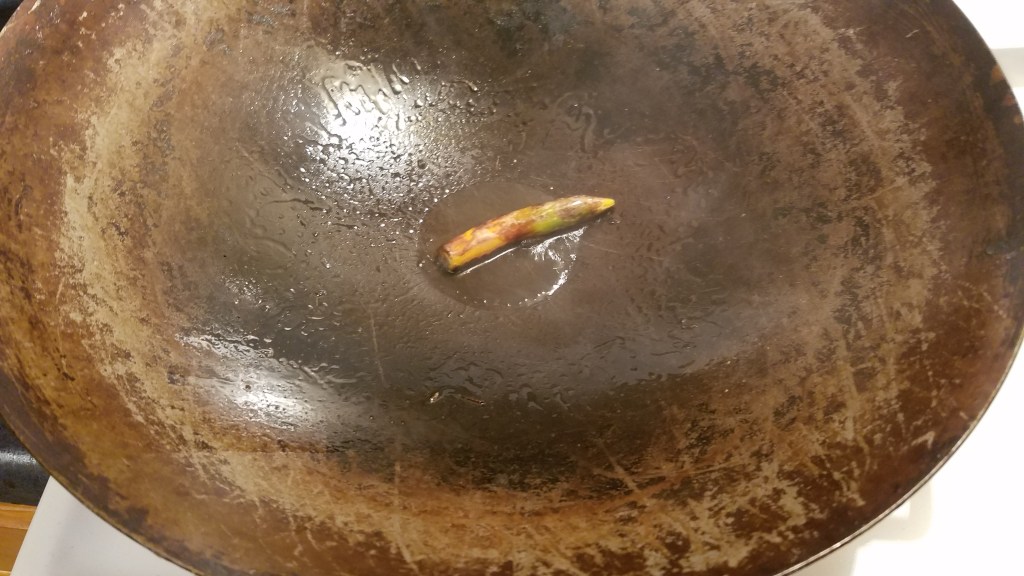
Add the serrano and cook at high heat for 30 seconds.  Remove and discard the serrano (or save for another time).

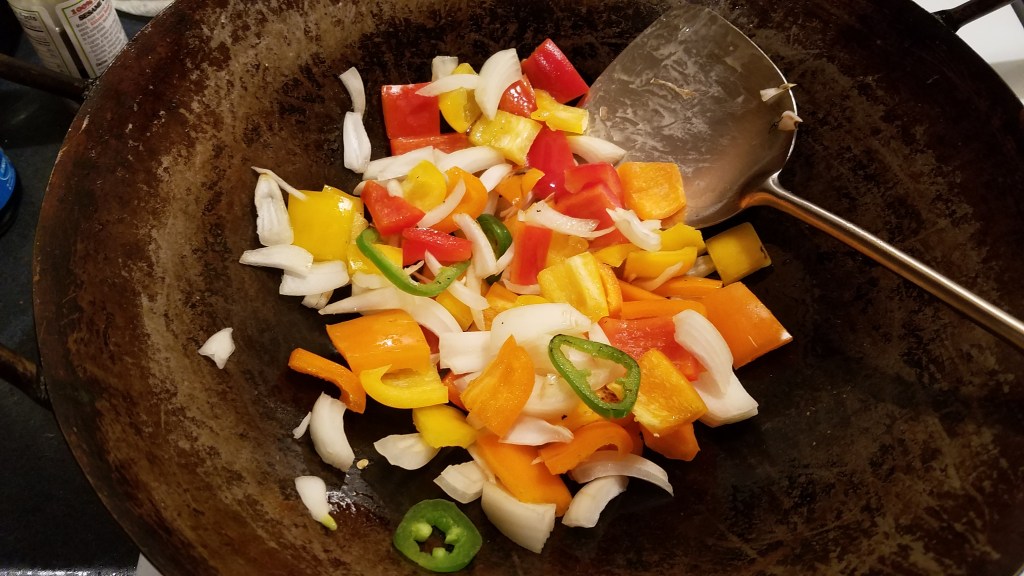
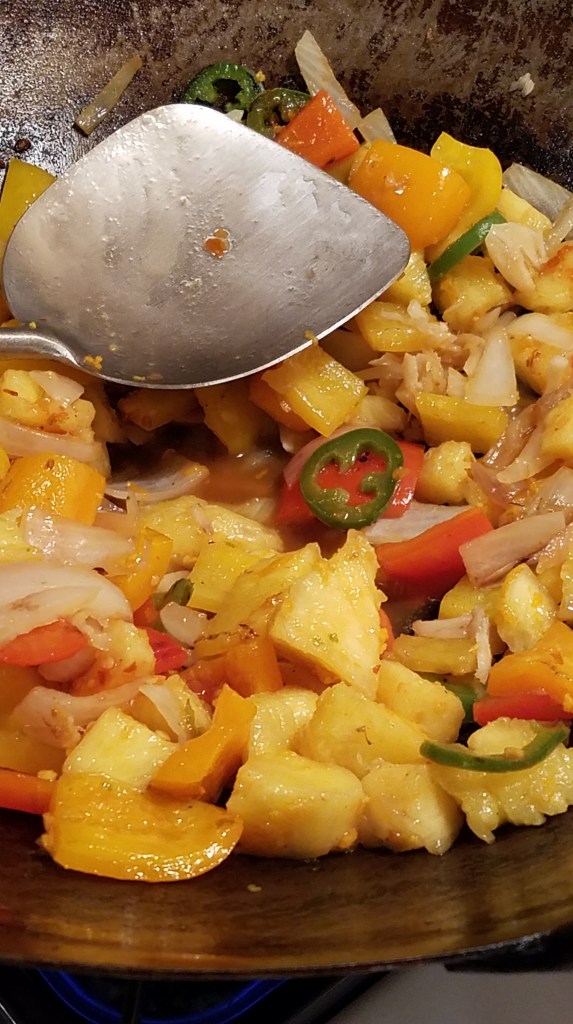
Add the chopped bell peppers, sliced onion, sliced jalapeño.  Turn the heat to high and stir-fry for a few minutes.  Add the ginger and garlic back to the wok and continue to stir until the peppers have softened to your liking.  (Don’t overcook…mushy stir-fry vegetables make a disappointing stir-fry).

In a small bowl, add the cut pineapple.  Add the juice and zest of the orange.

Add the pineapple to the wok and stir a few times to incorporate the flavors.  Turn out to a bowl.  Add the sambal oelek.  Keep the bowl in a warm place.

Add a little flour to the bowl containing the chicken that has been coated in flour and cornstarch.  Toss the chicken to prevent the chicken pieces from sticking together.

Wipe the wok clean.   Add 2 cups of cooking oil to the wok and turn the heat to high.   Add the chicken to the wok, a few pieces at a time.  Stir the chicken occasionally.  Remove the chicken to a paper towel lined platter when it turns golden brown and crispy.

Carefully pour the frying oil in an appropriate container to cool.

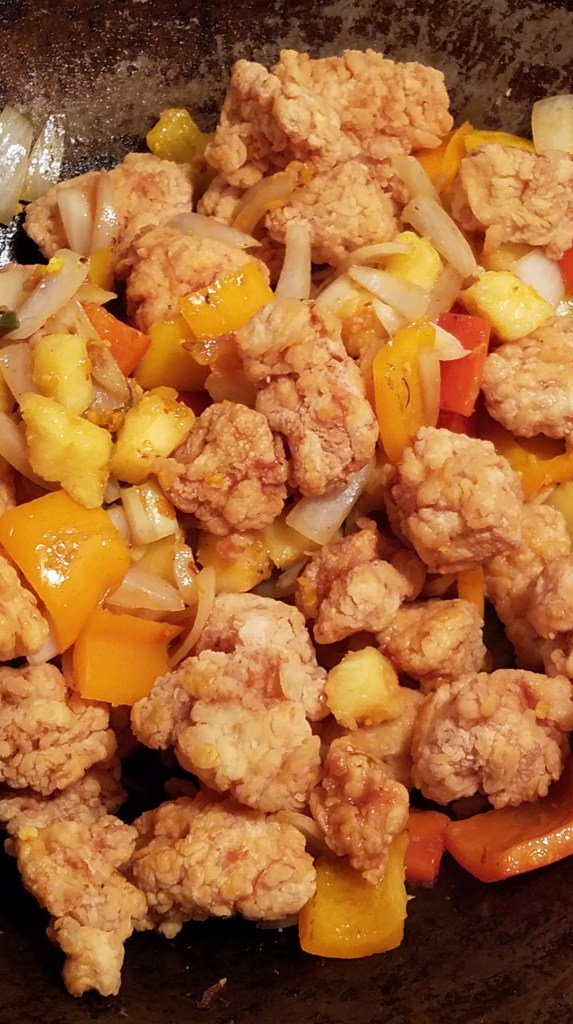
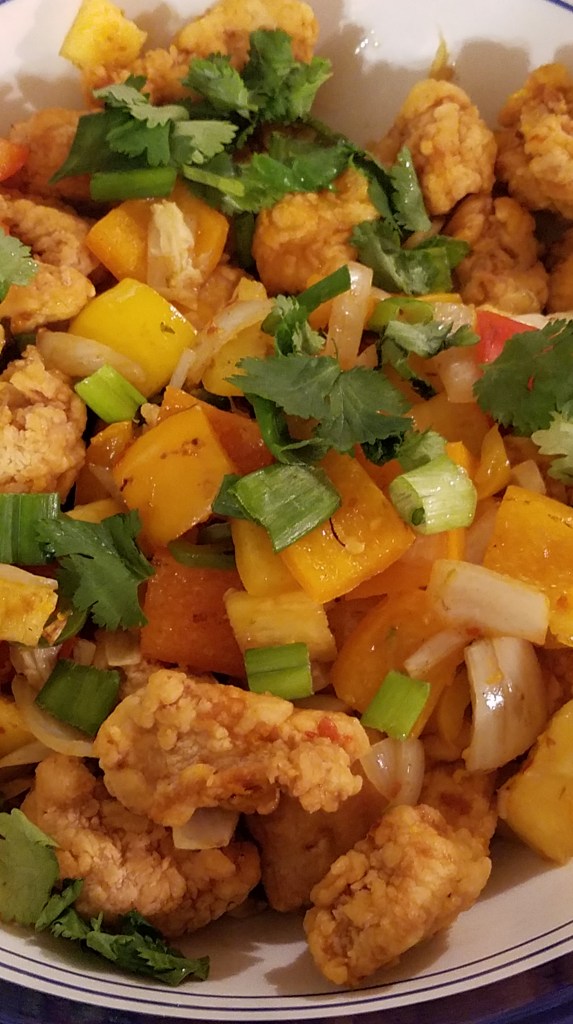
Wipe the wok clean and return it to the stove top.  Add the vegetables and chicken back to the hot wok and stir a few times.  Turn out to a serving bowl.  Top with cilantro and green onions.

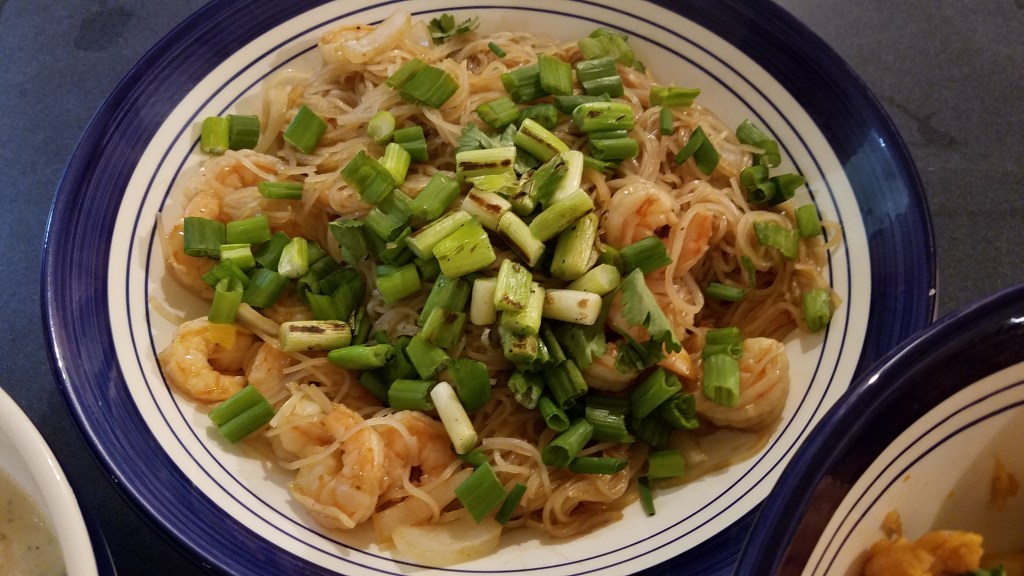
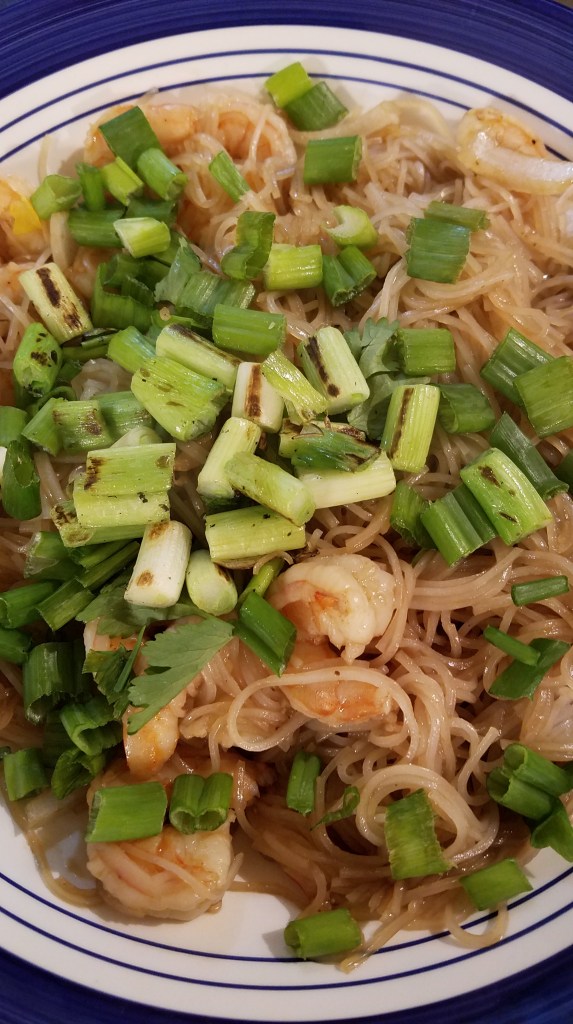
Shrimp with Rice Noodles

Ingredients:

16 ounces rice vermicelli noodles (rice stick)

1 lb raw shrimp, deveined with tails and shells removed

1 Tbs olive oil

½ tsp sesame oil

1 Tbs ginger, thinly sliced

1/4 yellow onion, julienne sliced

1 Tbs Hoisin sauce

2 tsp oyster sauce

1 Tbs fish sauce

2 green onions

Directions:

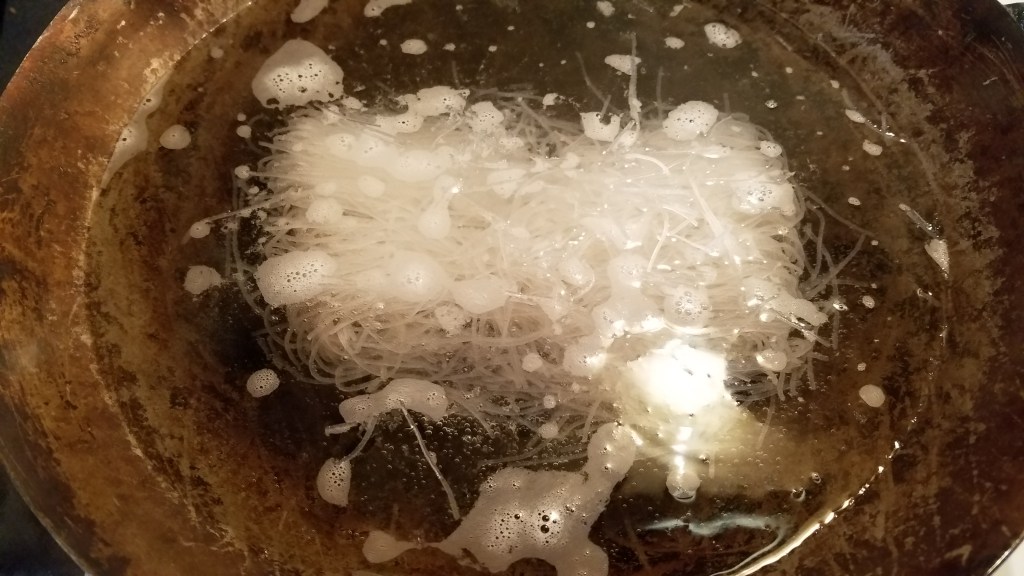
Crack the dried noodles in half and add them to a large pot.  Add enough water to the cover the noodles by at least two inches. 

Heat the water to a boil.  Swish the noodles around in the pot as they boil.  Sample the noodles while they cook.  They should become al dente, just like properly cooked spaghetti noodles.  Once the noodles have cooked, strain out the water and rinse the noodles with cold water to stop the heating process.  Add the noodles back to the pot and cover with cold water.  Reserve until needed.

Add olive oil and sesame oil to a hot wok.  Add the ginger and stir for a minute.  Discard the ginger.

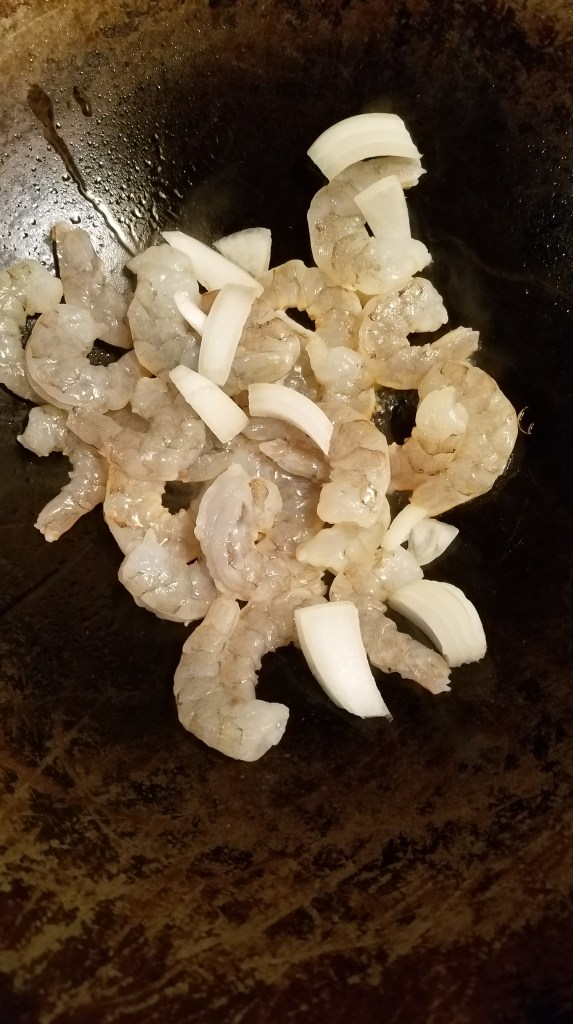
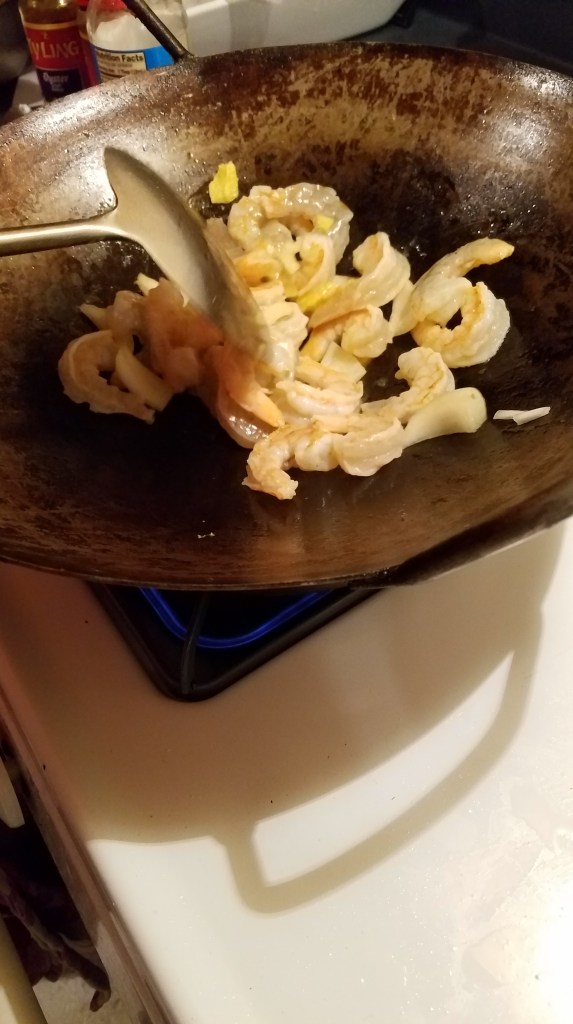
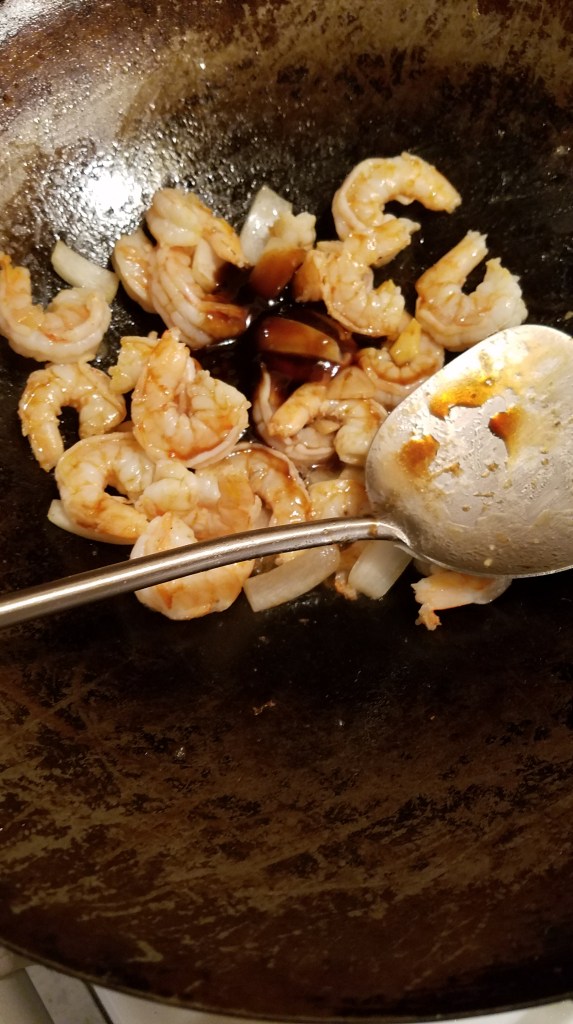
Add the shrimp to the hot wok and stir-fry for a few minutes.  Add the onion and stir. The shrimp will cook quickly. 

Add the Hoisin sauce, oyster sauce and fish sauce and stir to mix. 

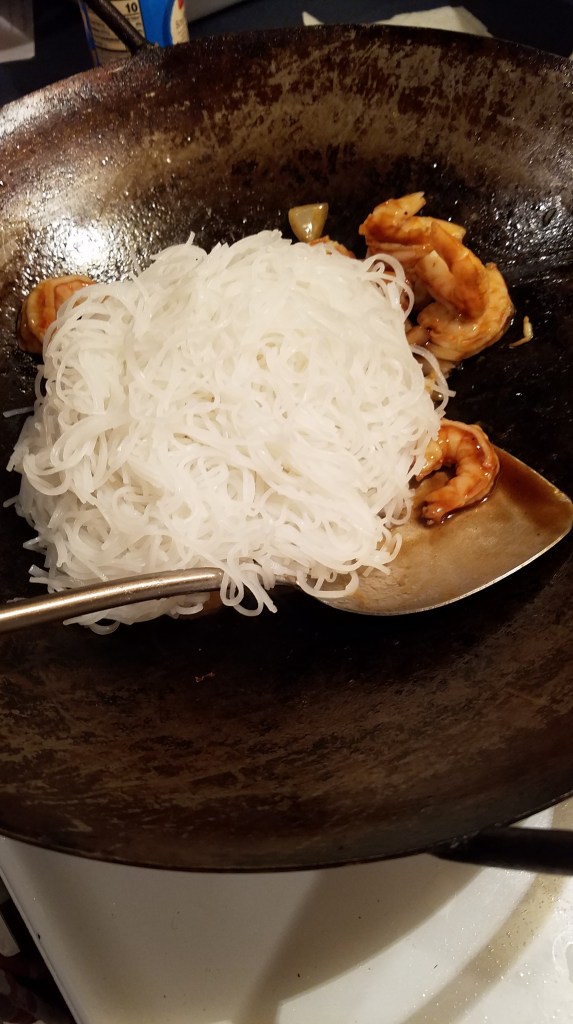
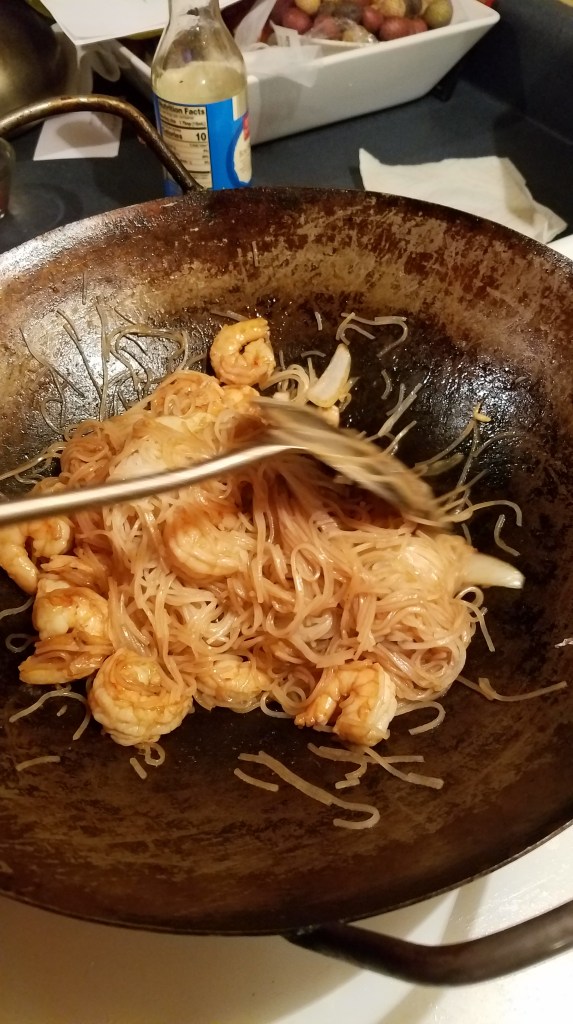
Strain the noodles and add them to the wok.  Stir to coat the noodles and turn everything out to a serving bowl. 

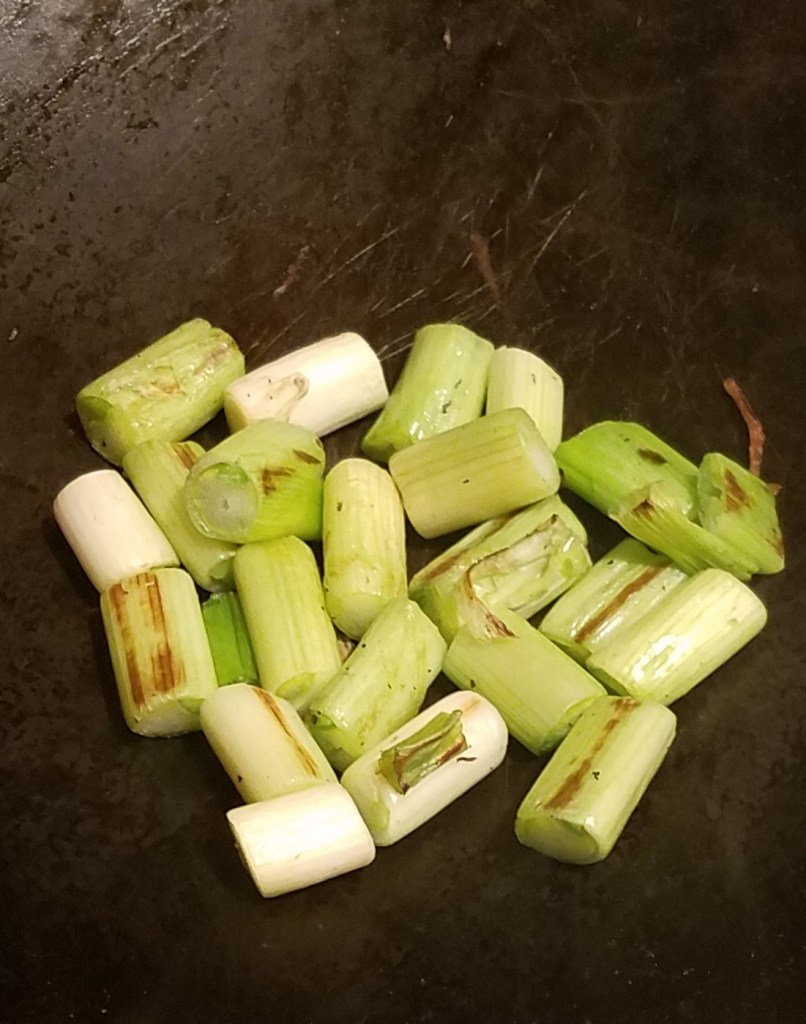
Add the root pieces of the onion to the wok and sear. 

Top the dish with chopped green onion tips and seared green onion roots.

Thai Trifecta

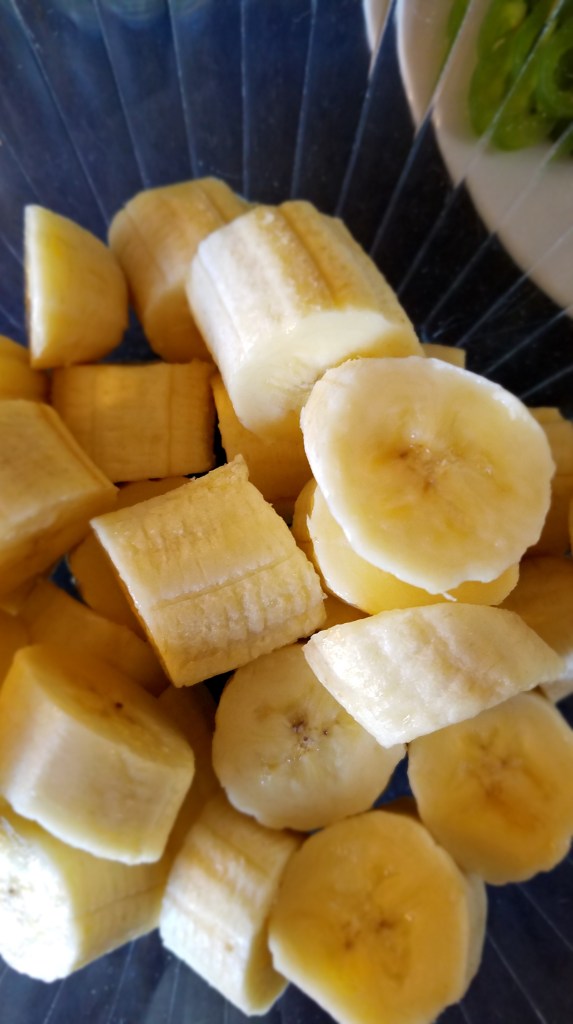
Dessert suggestion:  Sliced bananas, dusted with cinnamon and chocolate sauce and whipped cream topping.

Dust with cinnamon, drizzle chocolate syrup and top with whipped cream