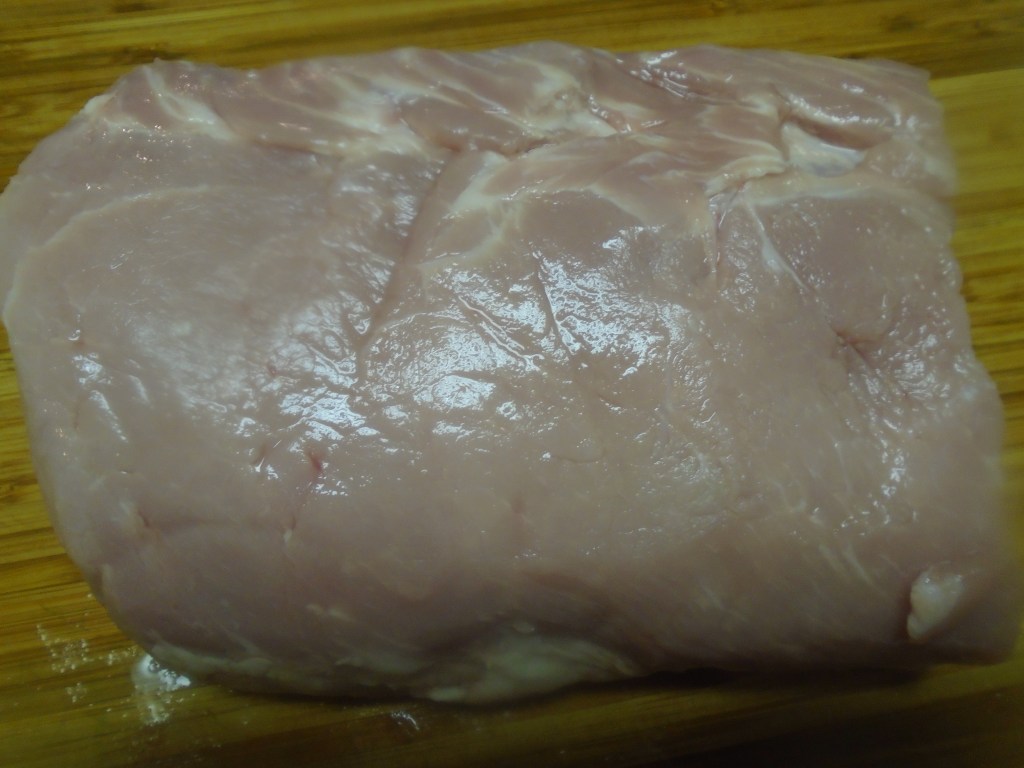
The pork loin is an economical and versatile cut of meat. A whole loin can weigh as much as 8 pounds. I like to buy the whole loin and section it off into 2 pound pieces. I usually apply a different dry rub or marinade to each section. They can be wrapped in foil and plastic wrap and stored in the freezer for weeks, or even months.
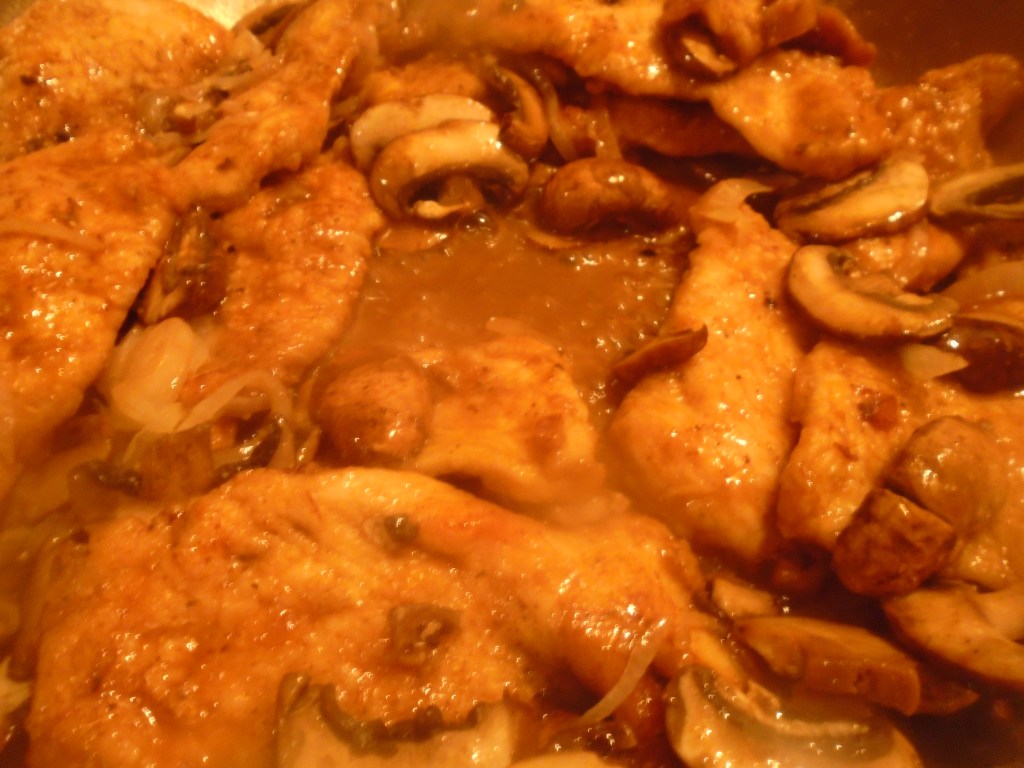
The loin is a very lean cut of meat and can be slow roasted, sliced into steaks or roasted at high temperature for a short period of time, which is what I did for this recipe.
I wanted to make an Asian inspired dish with noodles and as I was looking at the various types of noodles at the grocery store I couldn’t decide between udon noodles or rice vermicelli so I closed my eyes for a moment and thought about what flavor and texture I really wanted. The answer came to me quickly.
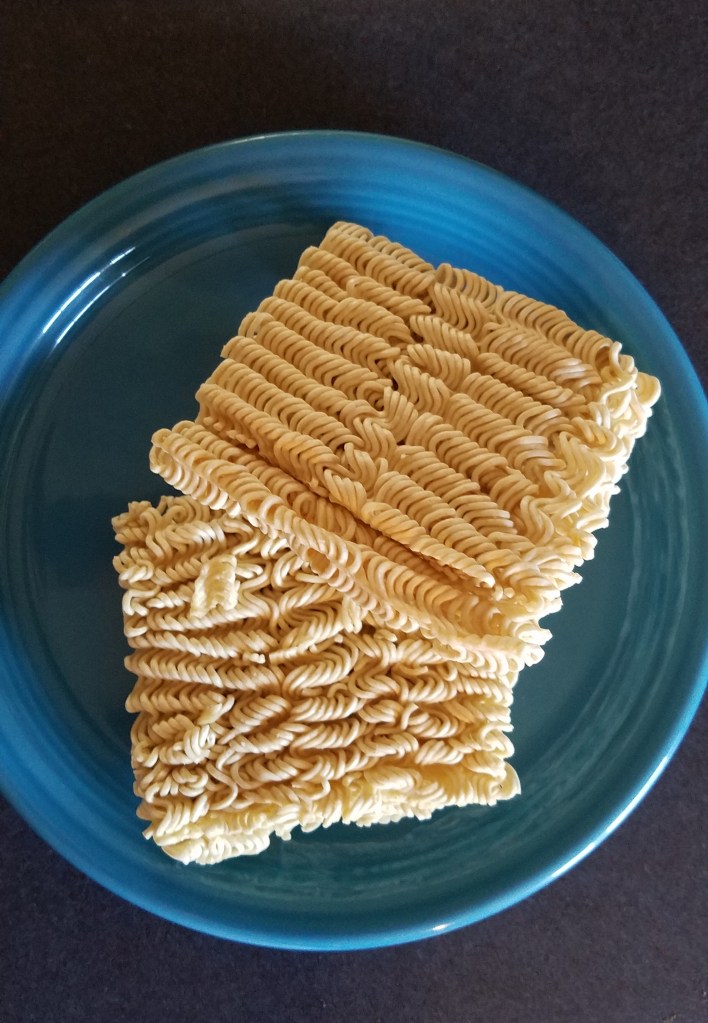
Ramen noodles. Yes, the inexpensive ramen noodles that can be purchased for as little as 25 cents per package. Ramen and I go back a long way. Ramen was there when I needed something to fit my very tight budget and ramen rarely disappointed me. You can add anything you want to ramen, which makes it a near-perfect food, in my opinion.
For the marinade:
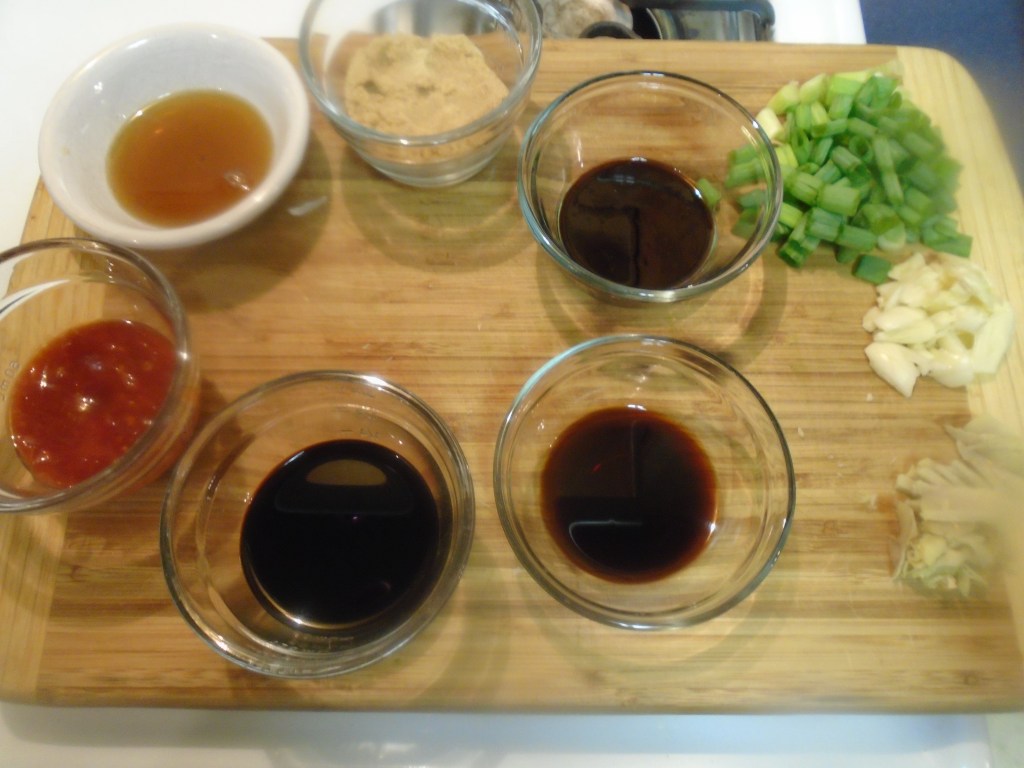
1/3 cup dark soy sauce
4 Tbs cup sesame oil
2 Tbs Worcestershire sauce
1/3 cup packed light brown sugar
3 green onions, chopped
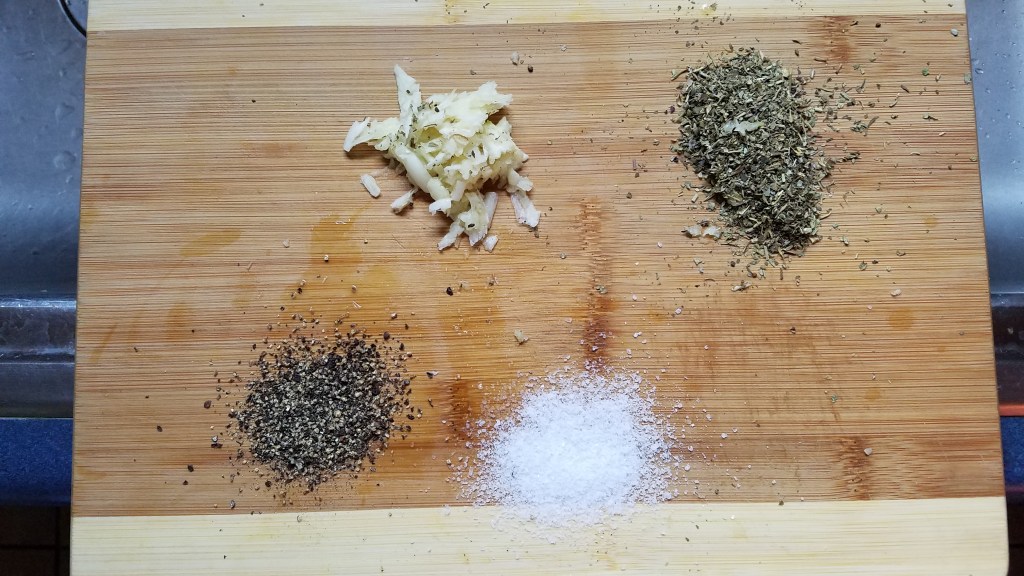
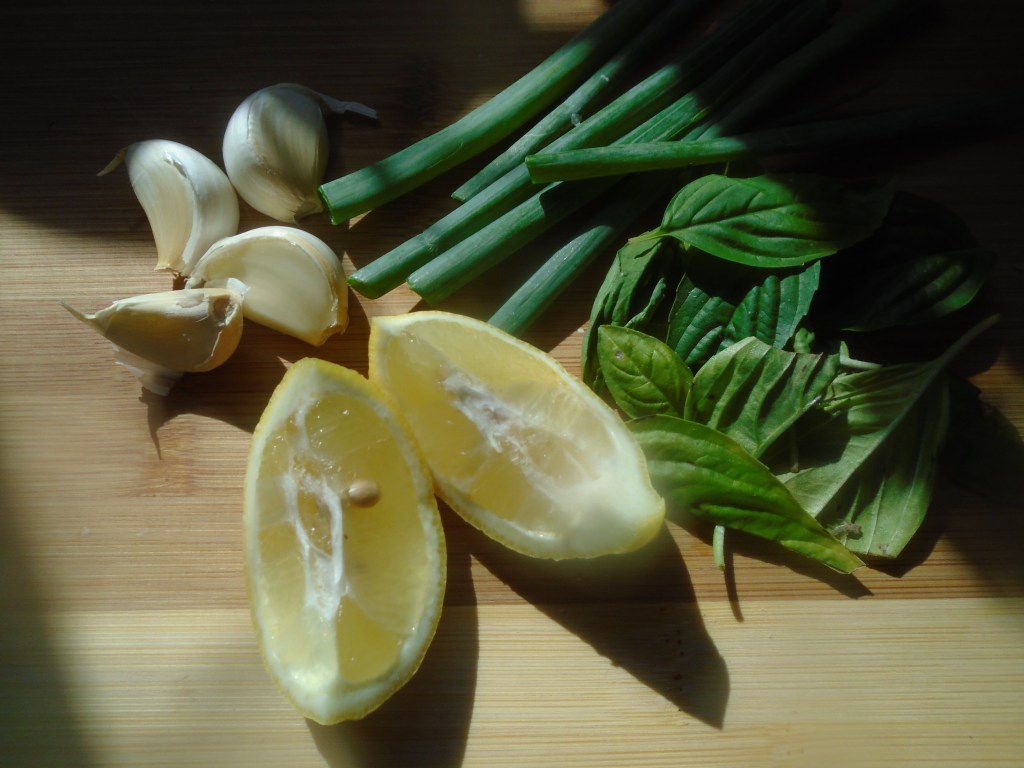
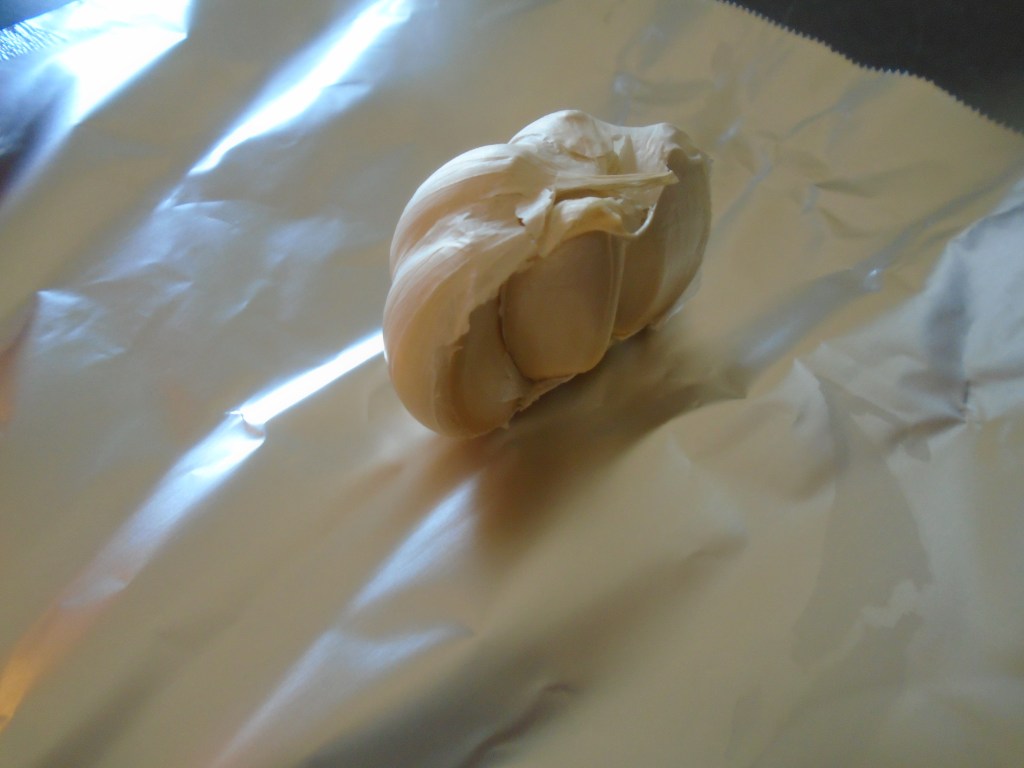
4 cloves garlic, smashed
2 Tbs chopped fresh ginger
4 Tbs garlic chili paste (Sambal)
2 lbs pork loin
For the stir fry:
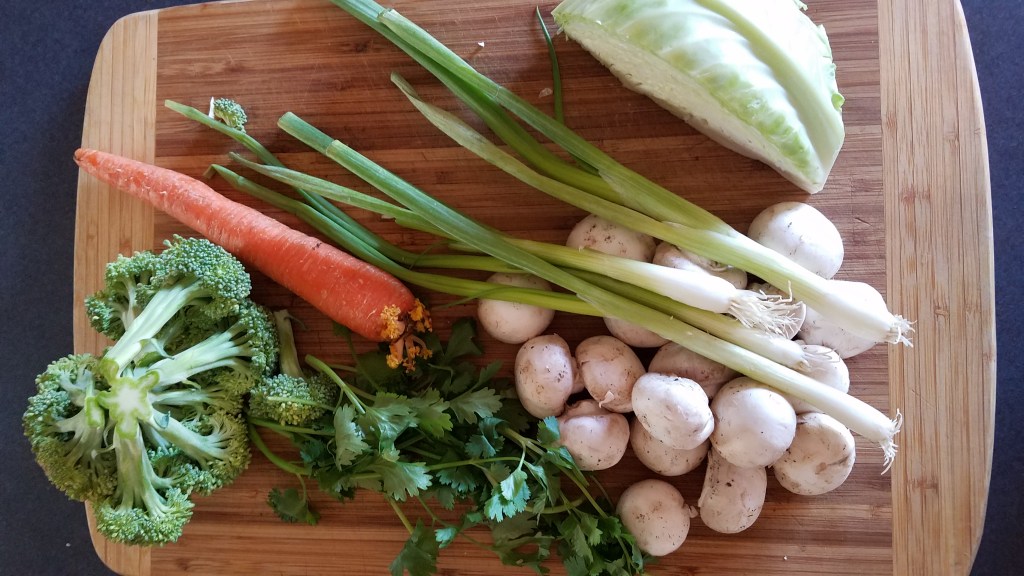
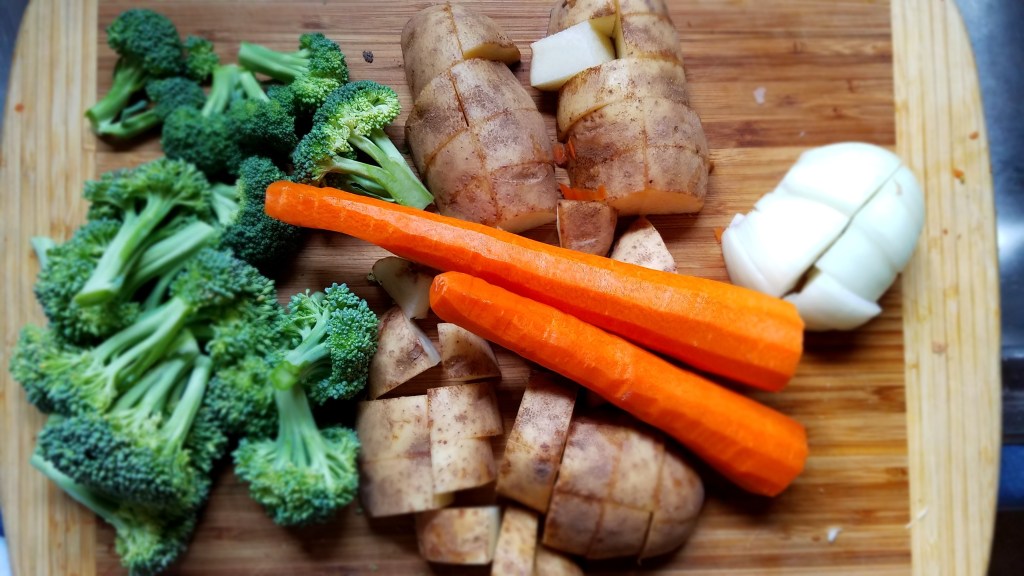
4 oz broccoli
1 large carrot
¼ head of cabbage
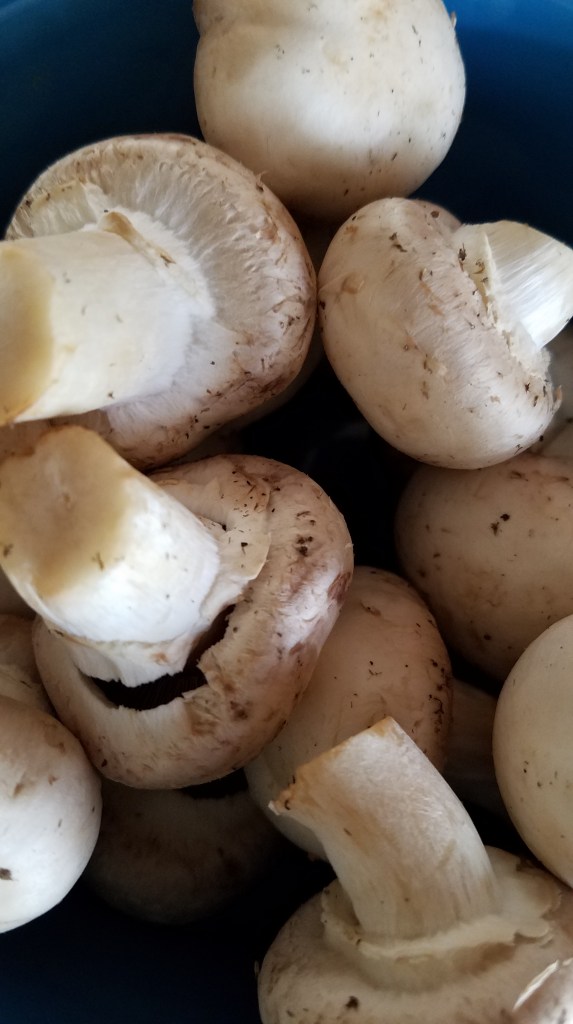
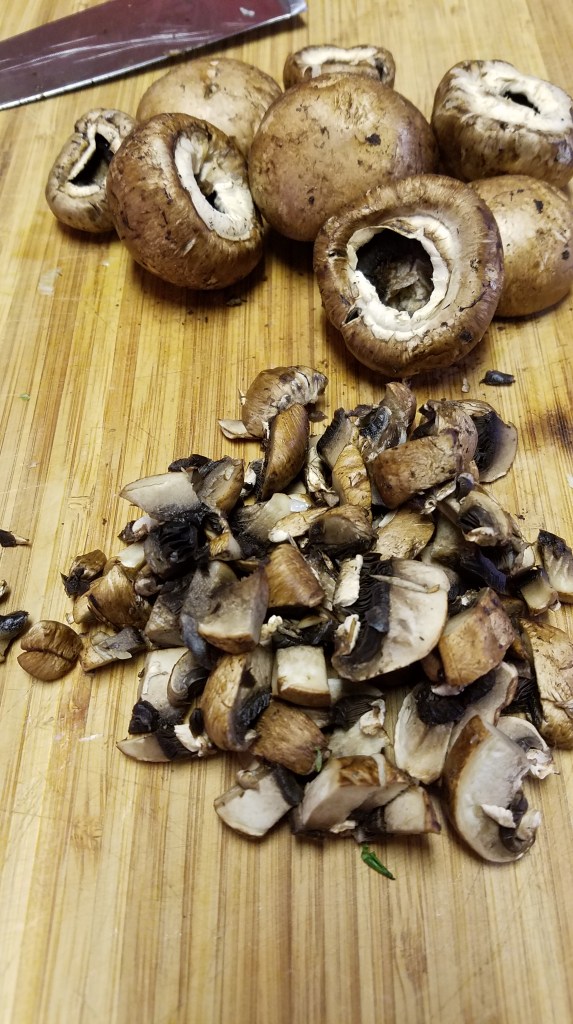
8 oz mushrooms
3 green onions
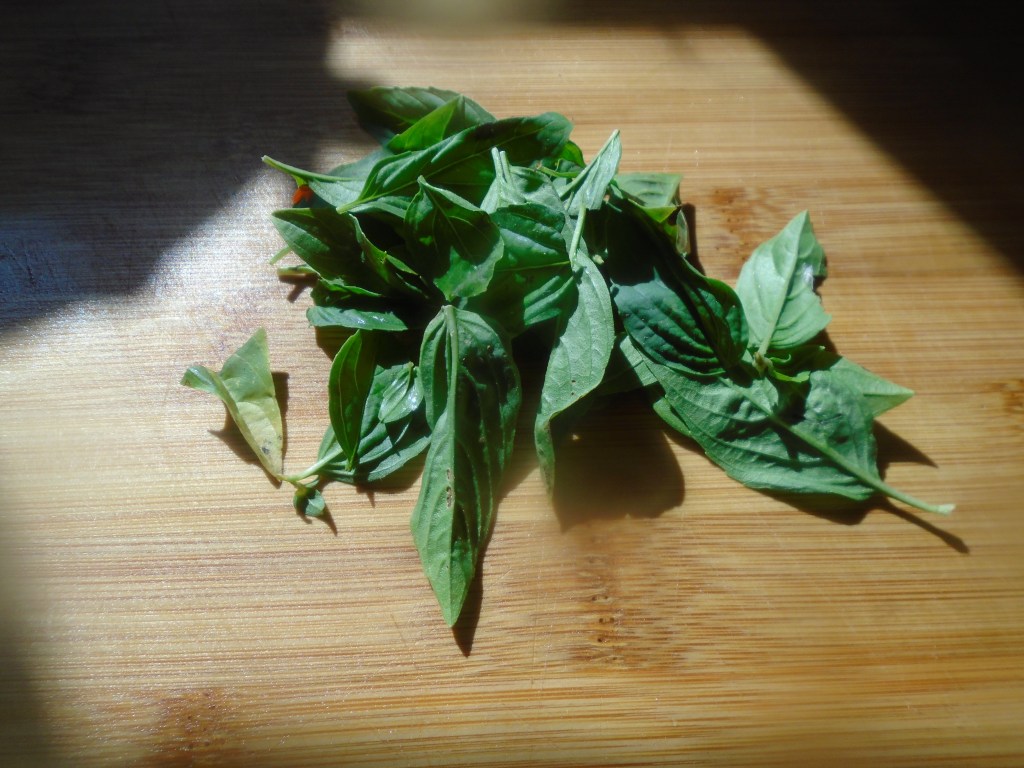
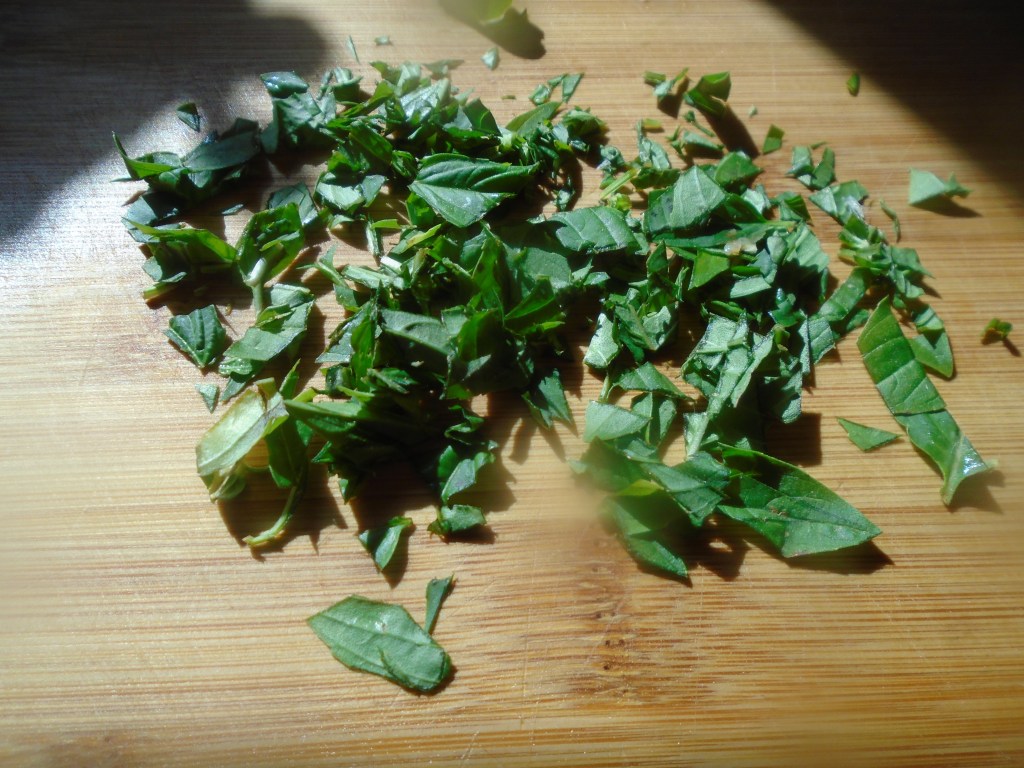
¼ cilantro leaves
2 Tbs cooking oil
½ cup marinade, cooked and strained
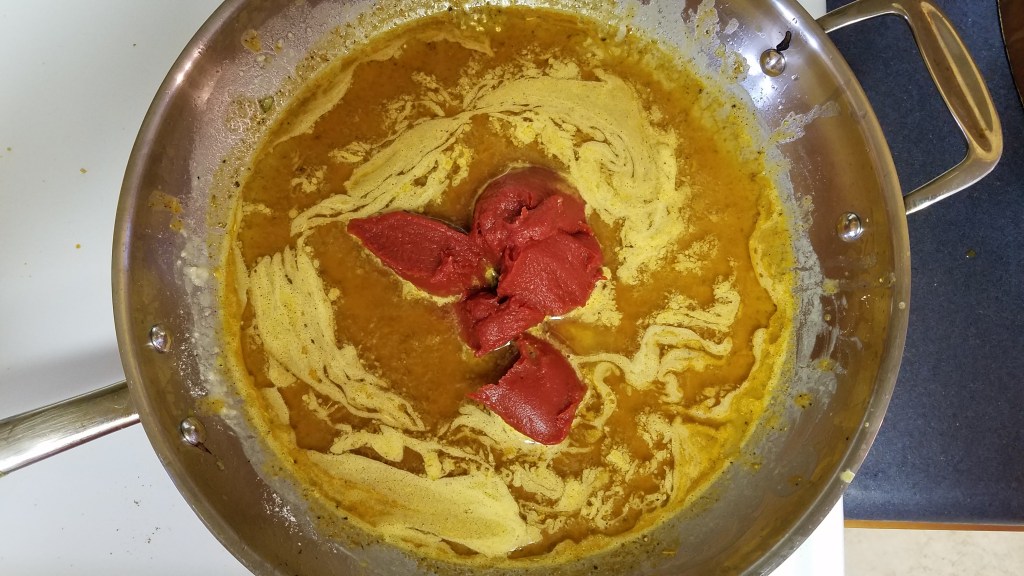
2 tsp hoisin sauce
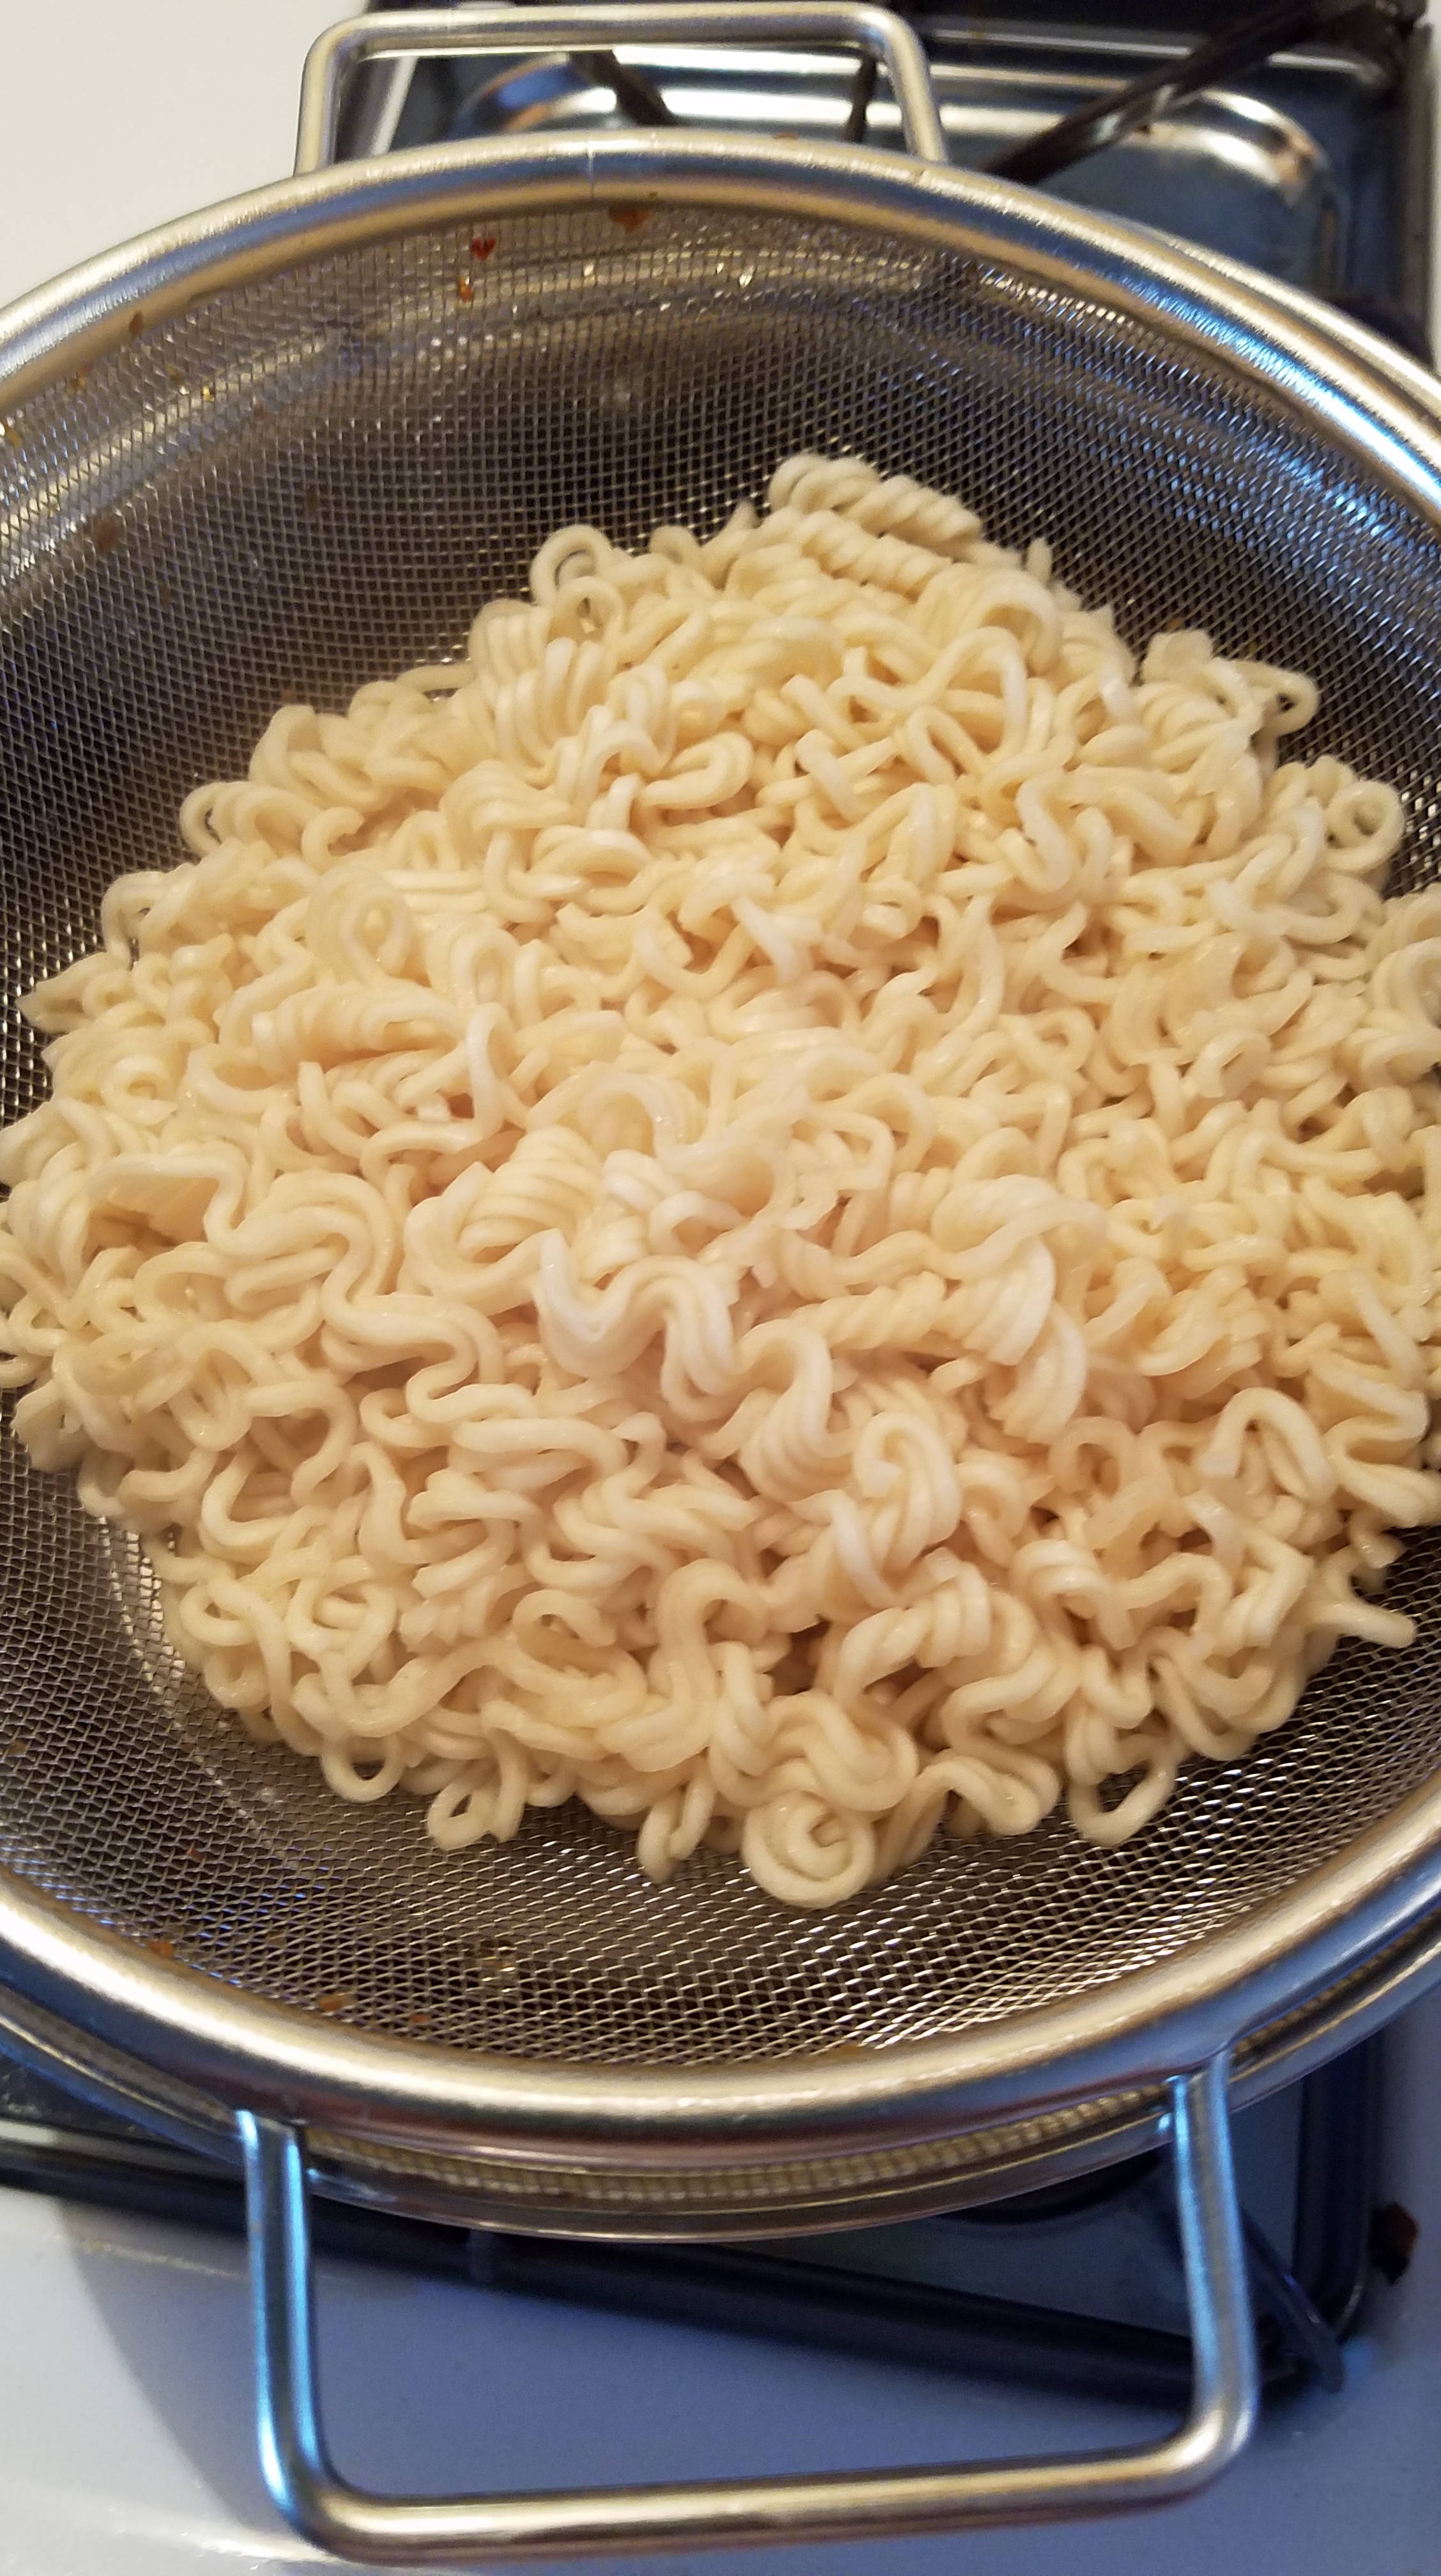
2 packs of dry ramen noodles (You won’t need the seasoning packets)
Directions:
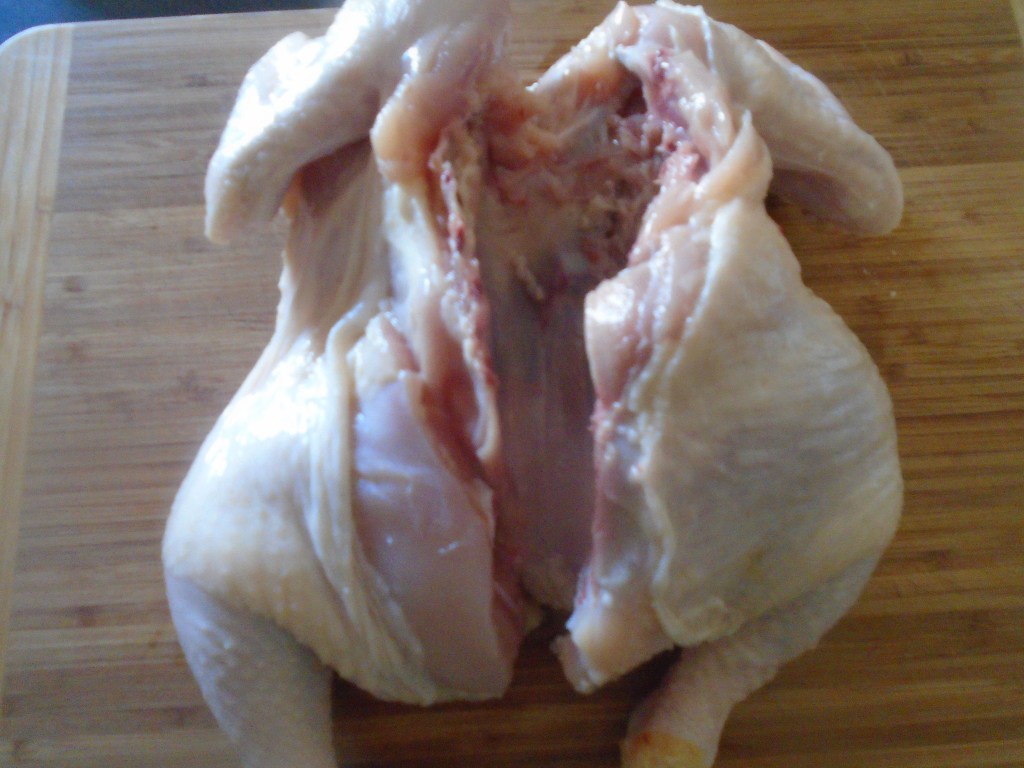
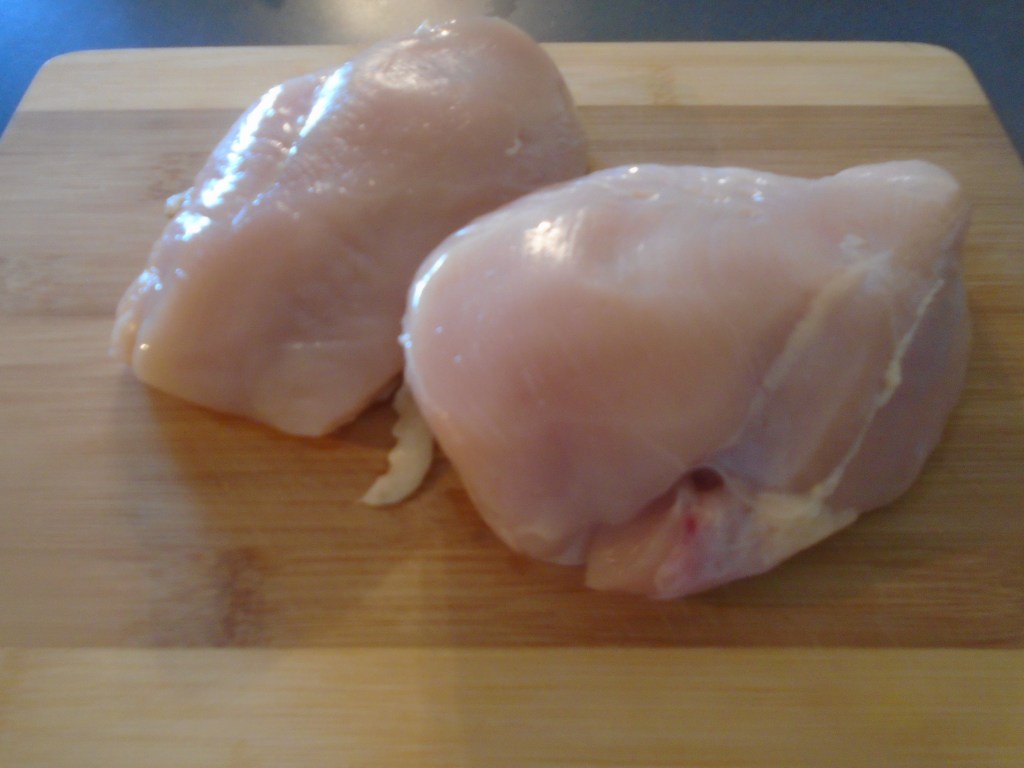
Trim the fat from the top of the pork loin (optional).
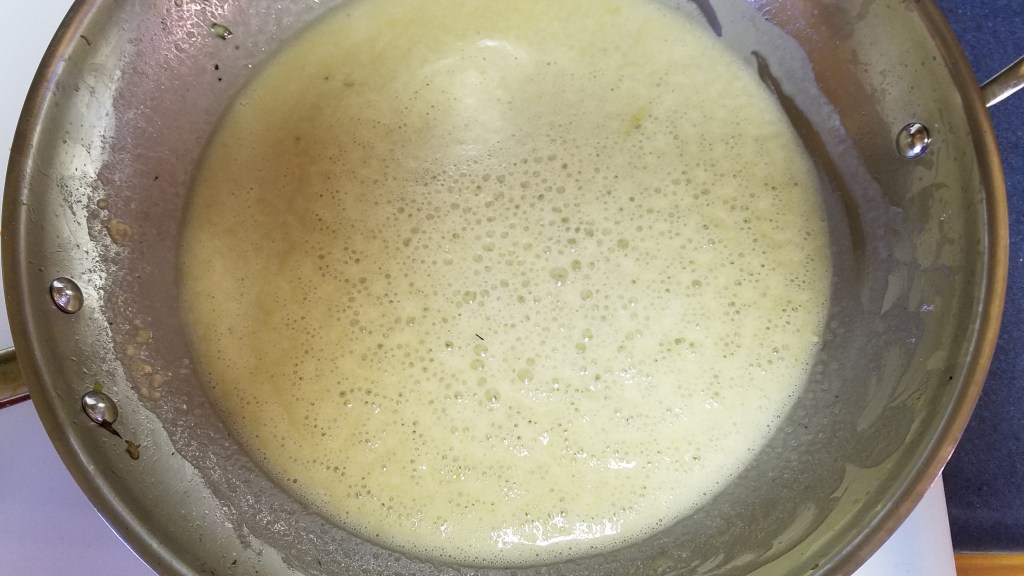
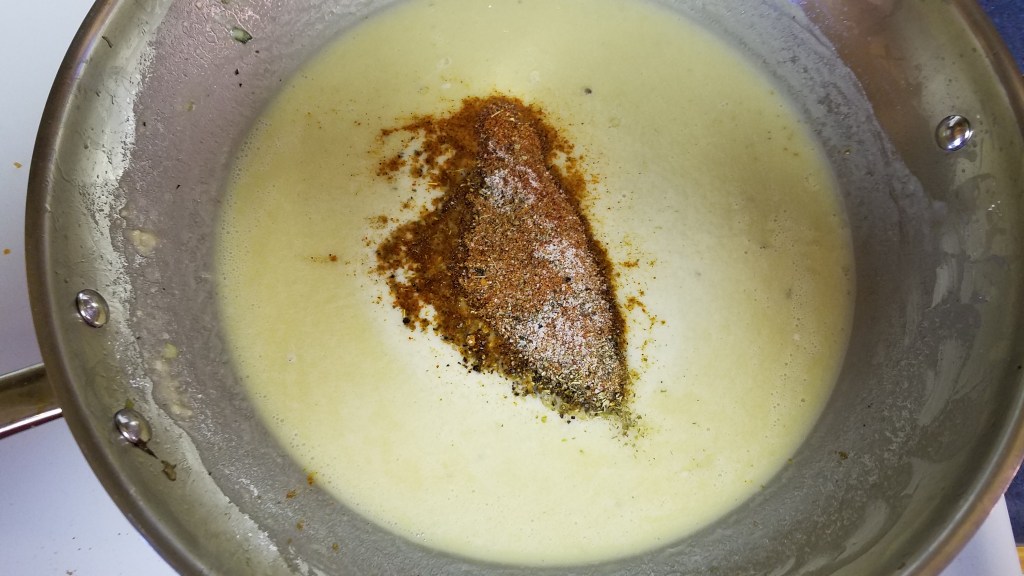
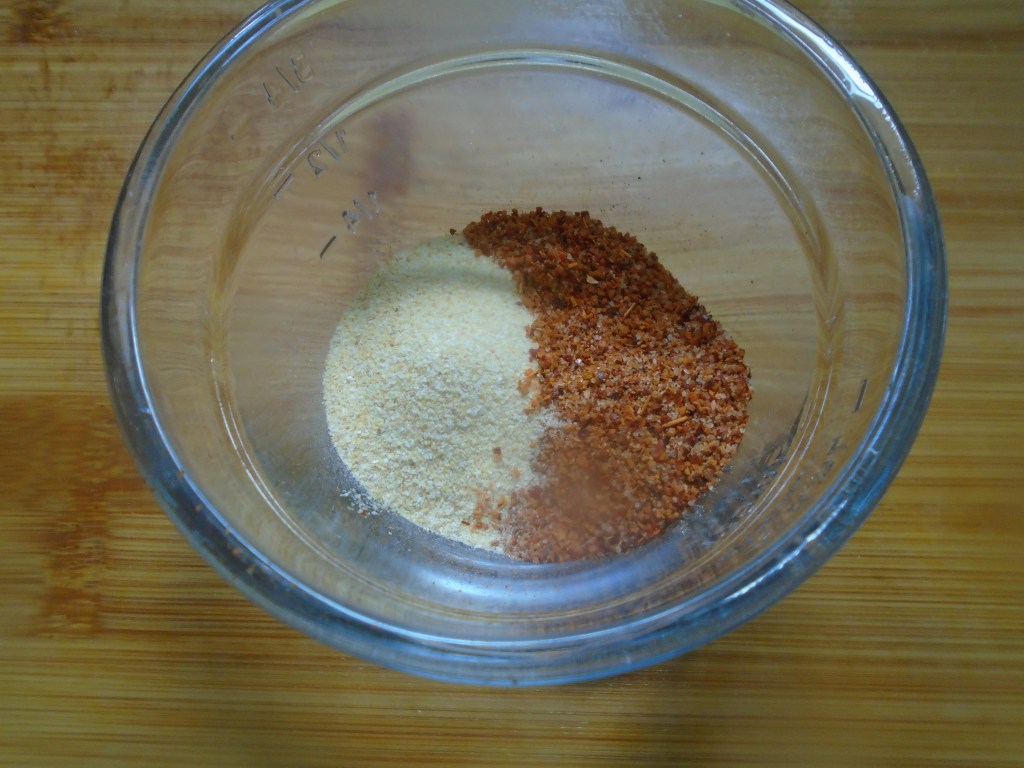
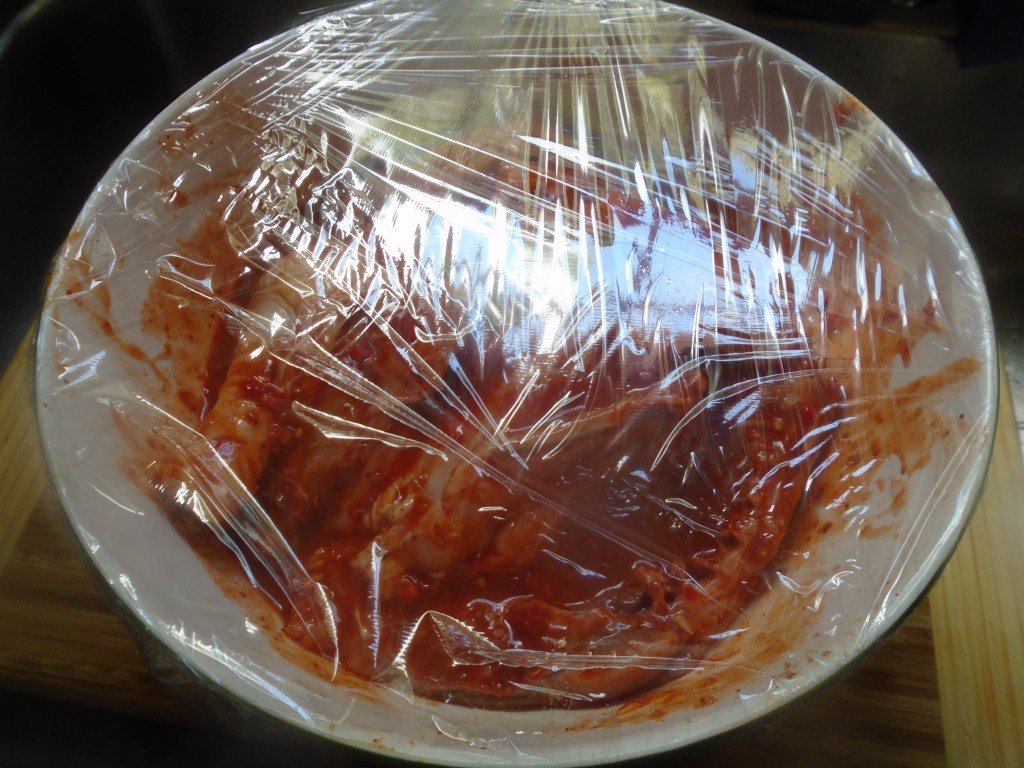
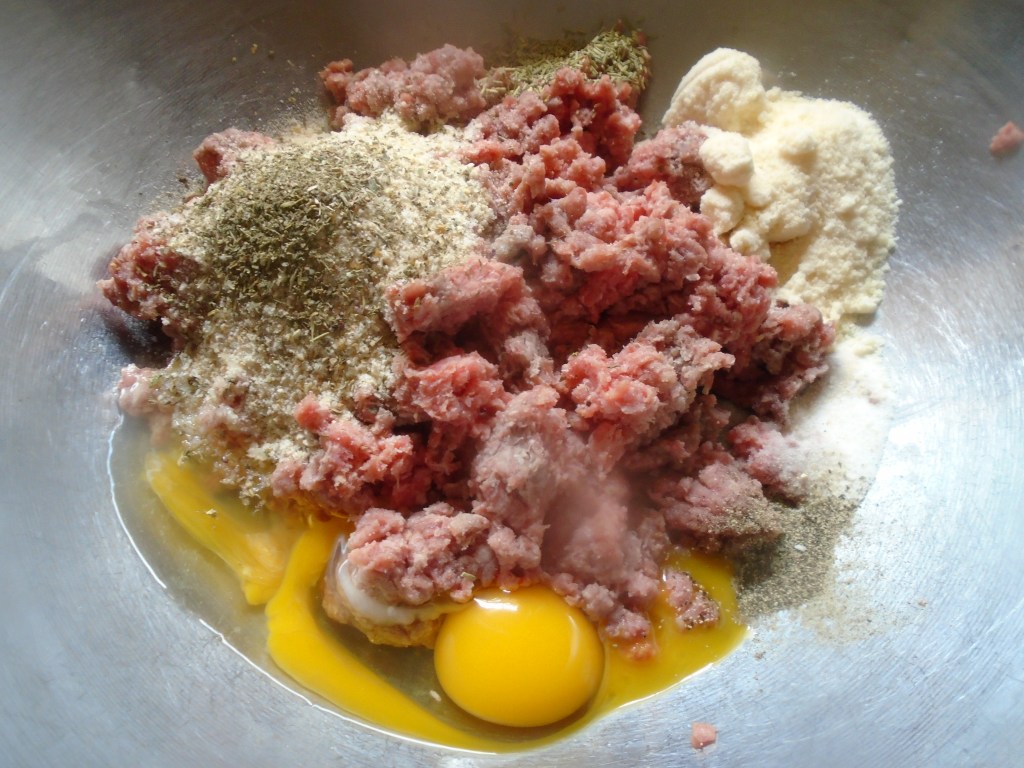
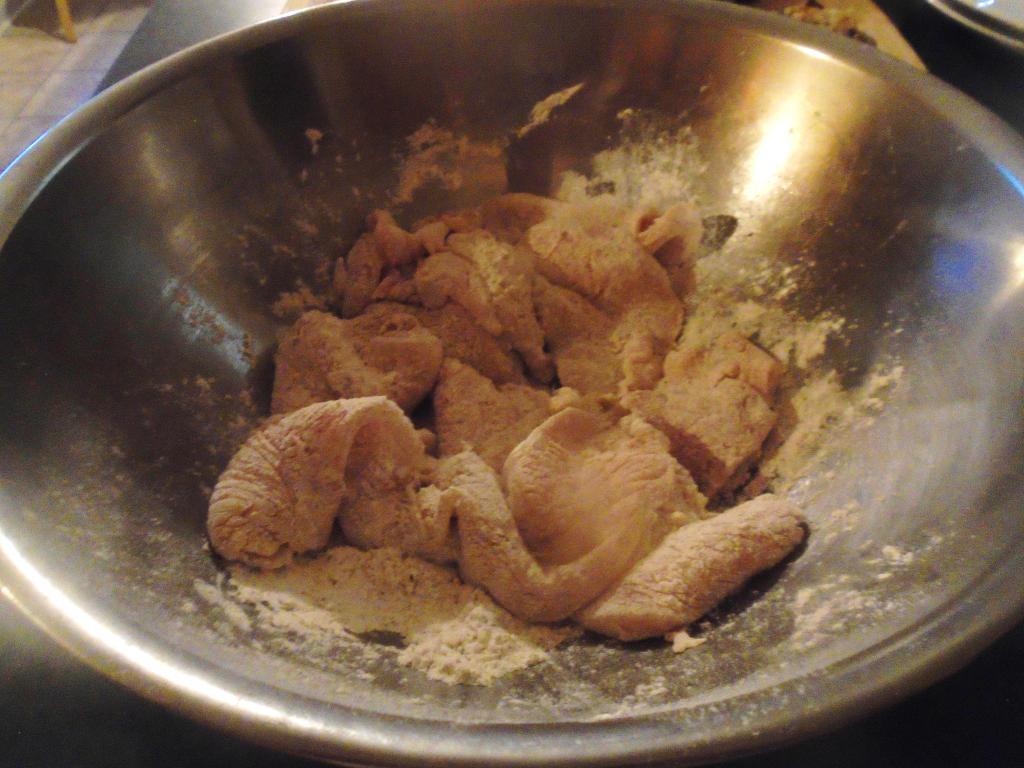
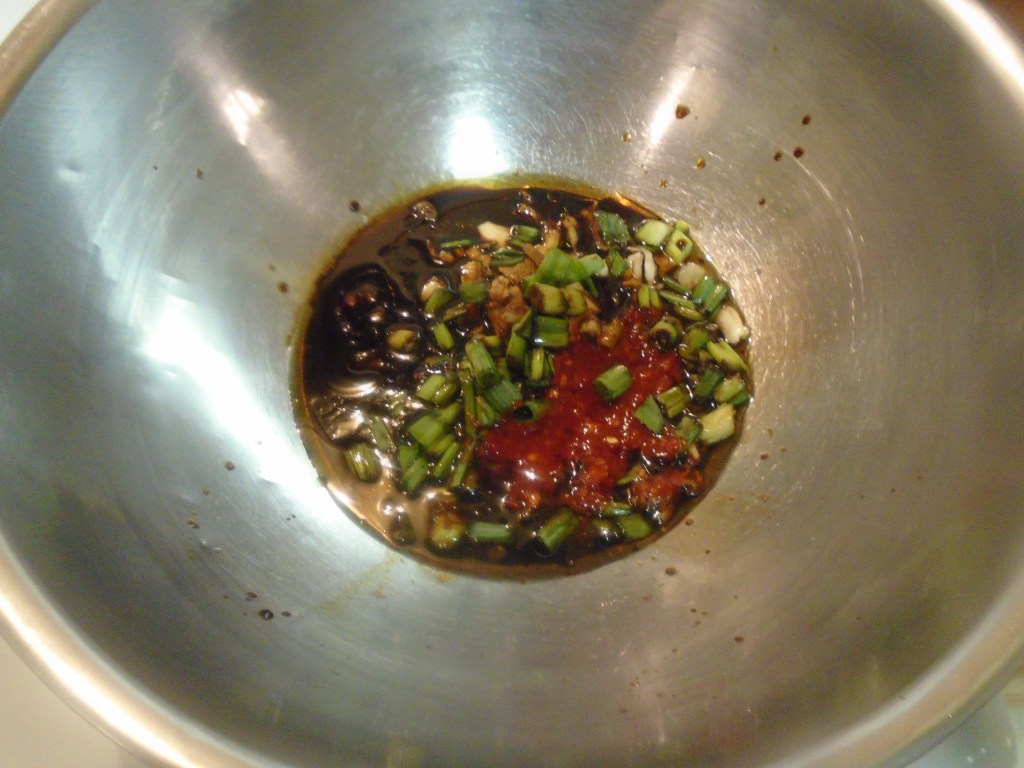
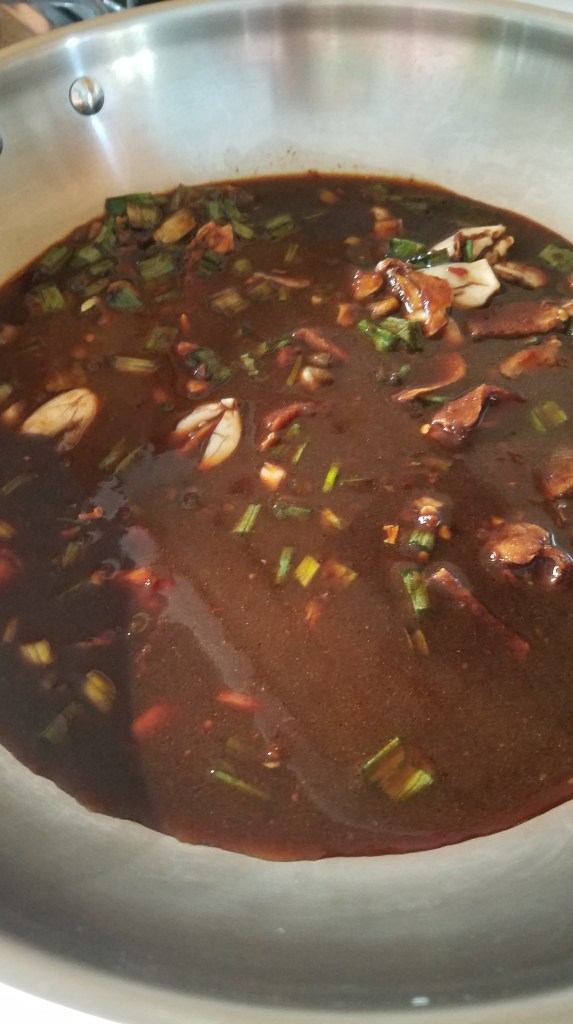
Combine marinade ingredients in a large bowl and mix together.
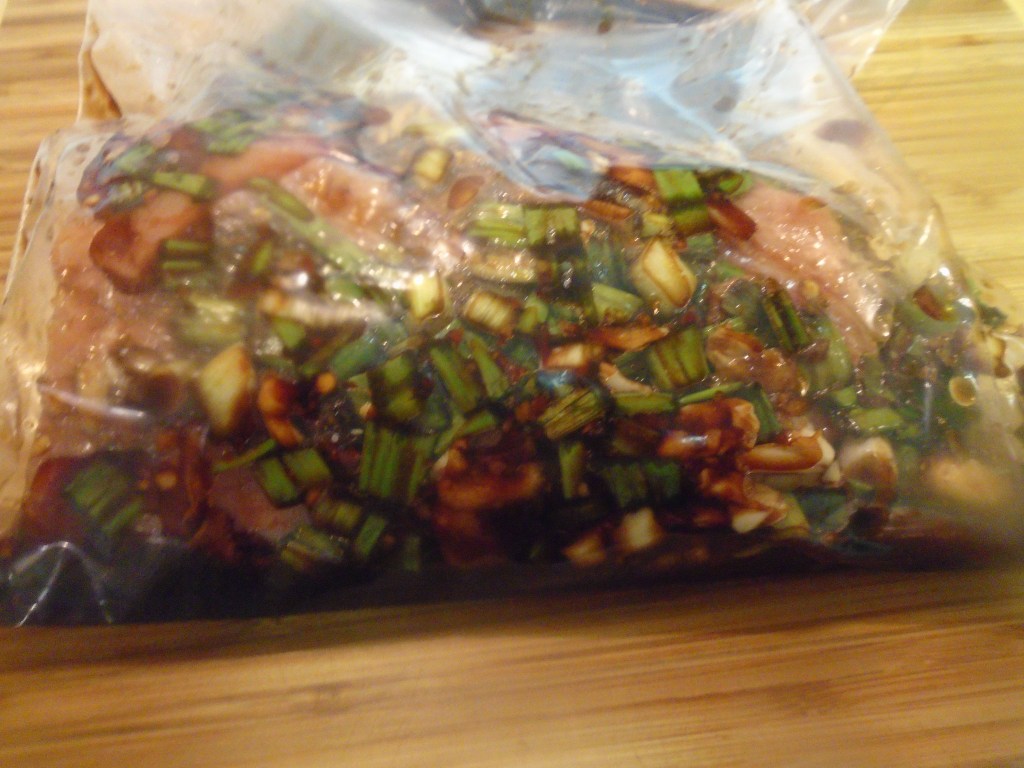
Add the pork loin and marinade to a large, seal-able storage bag. Marinate in the refrigerator overnight or up to 24 hours.
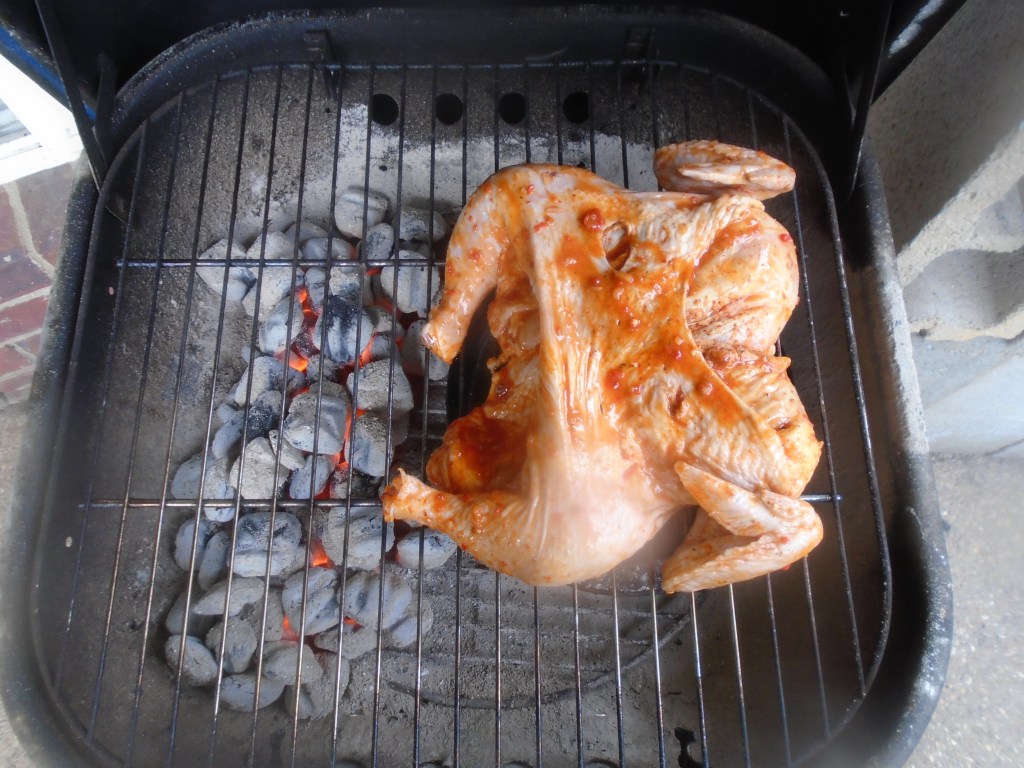
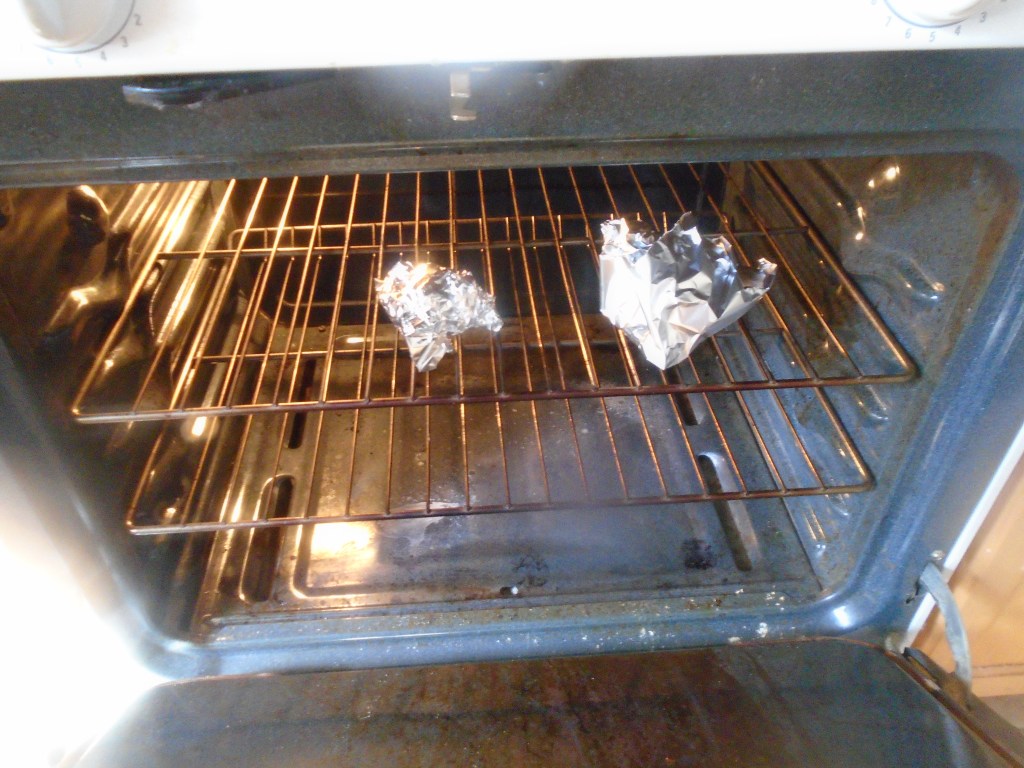
Bake the roast at 425° for one hour, uncovered. While the roast bakes, prepare the stir fry vegetables.
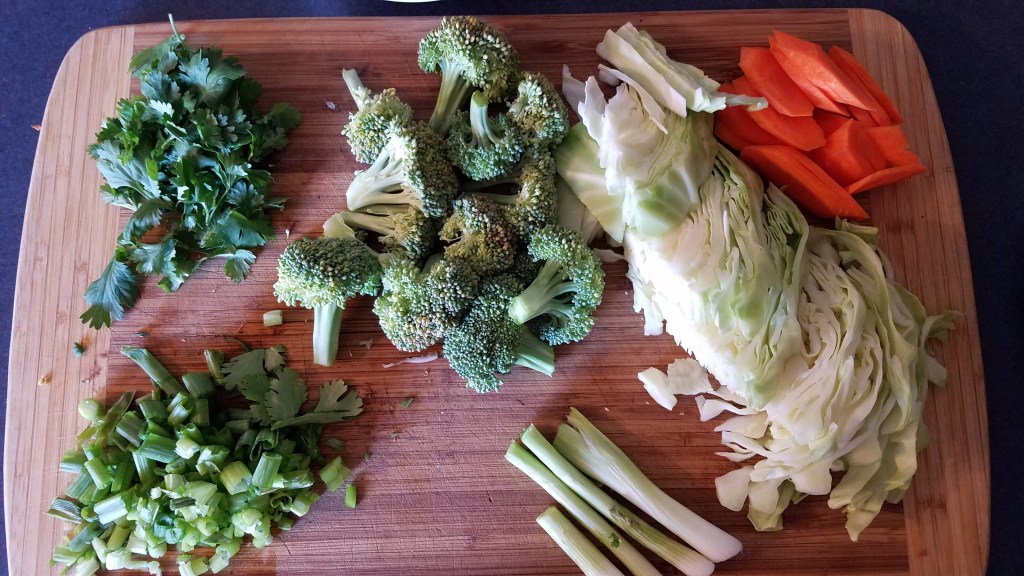
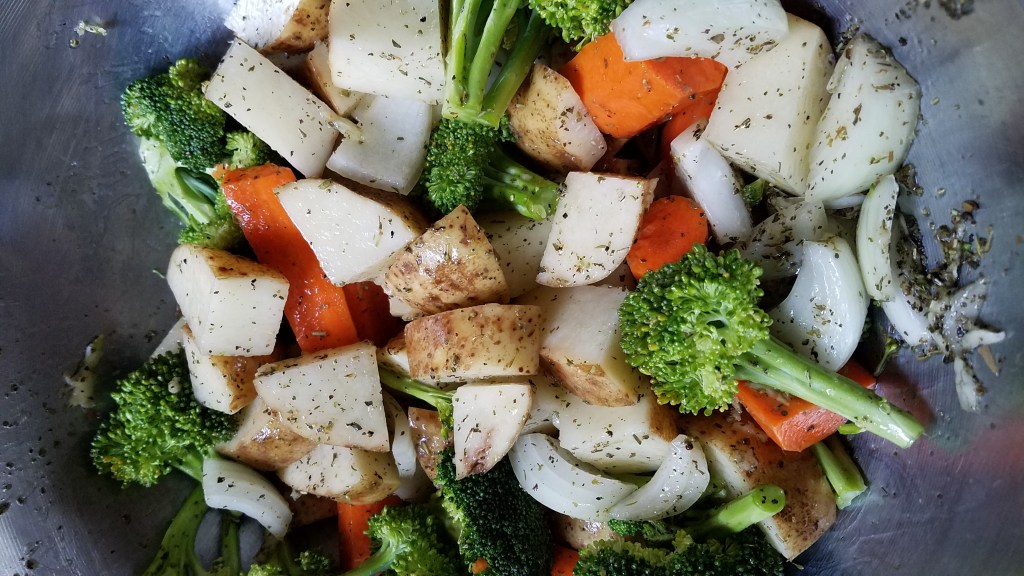
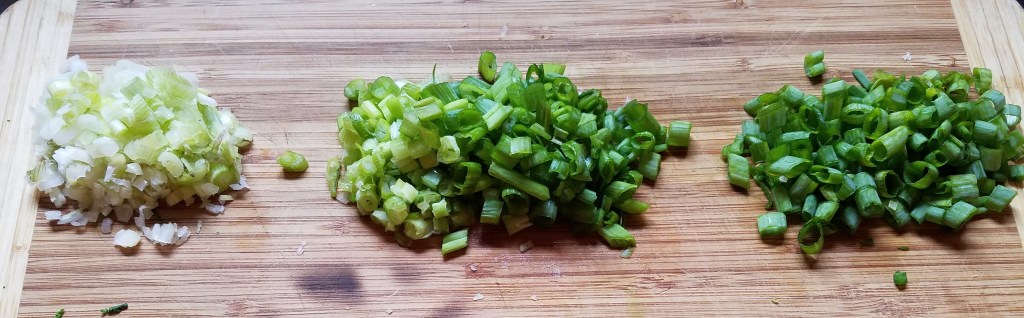
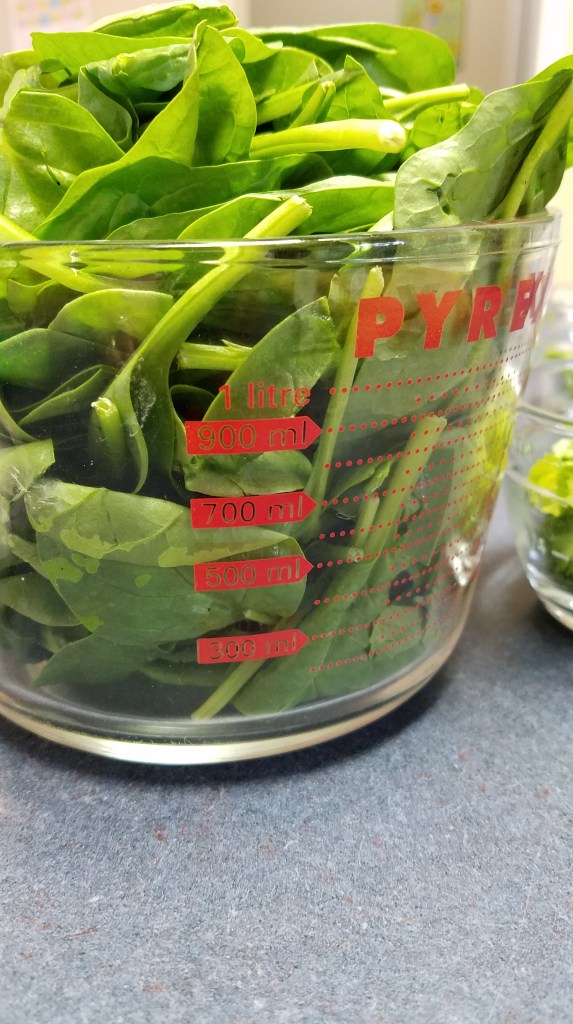
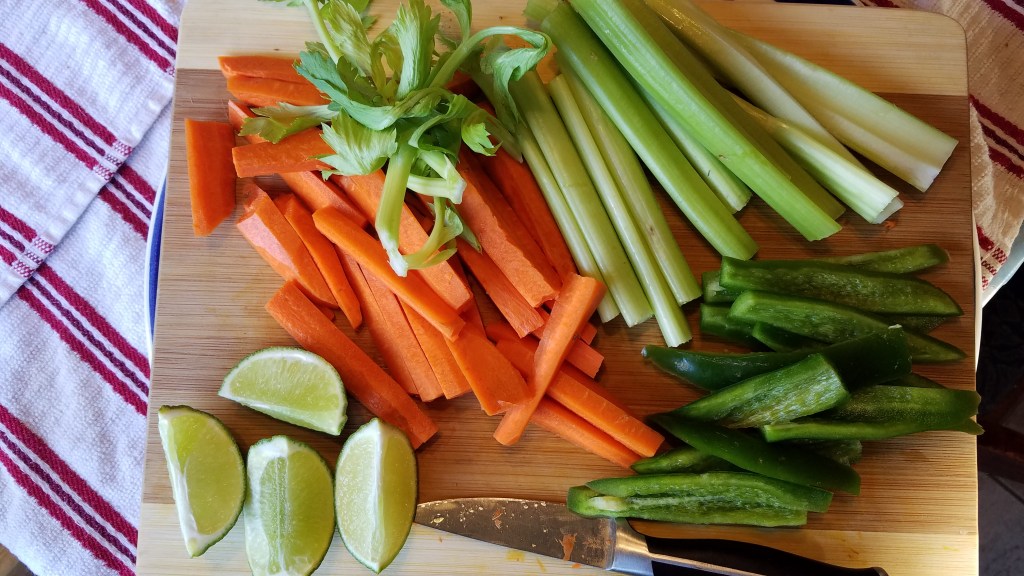
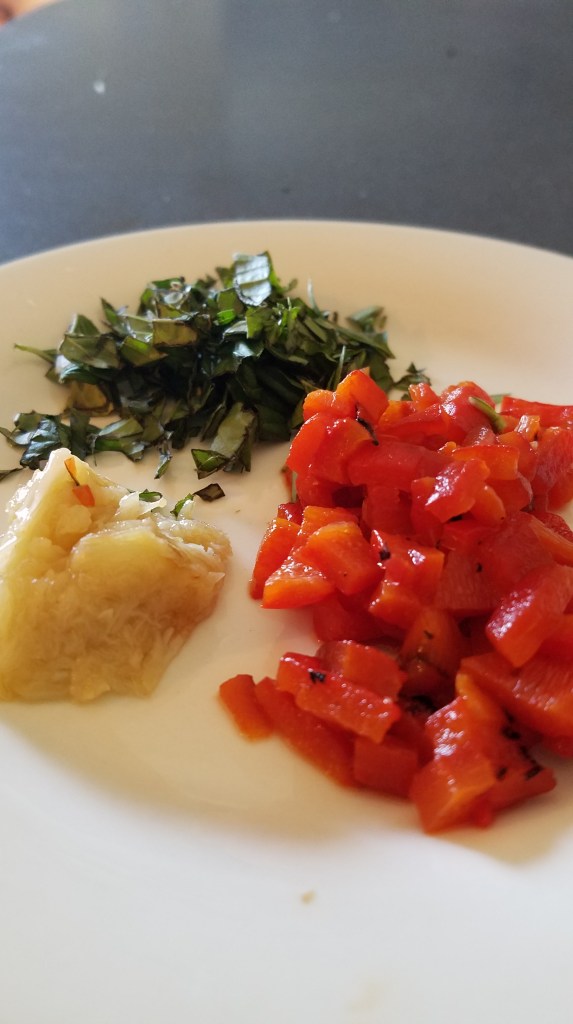
Peel and cut the vegetables. Separate the white root ends from the green parts. Leave the root parts whole and chop the rest of the green onions. Slice the cabbage into ½” strips. Slice the carrots, broccoli and mushrooms into bite sized pieces. Set the vegetables aside.
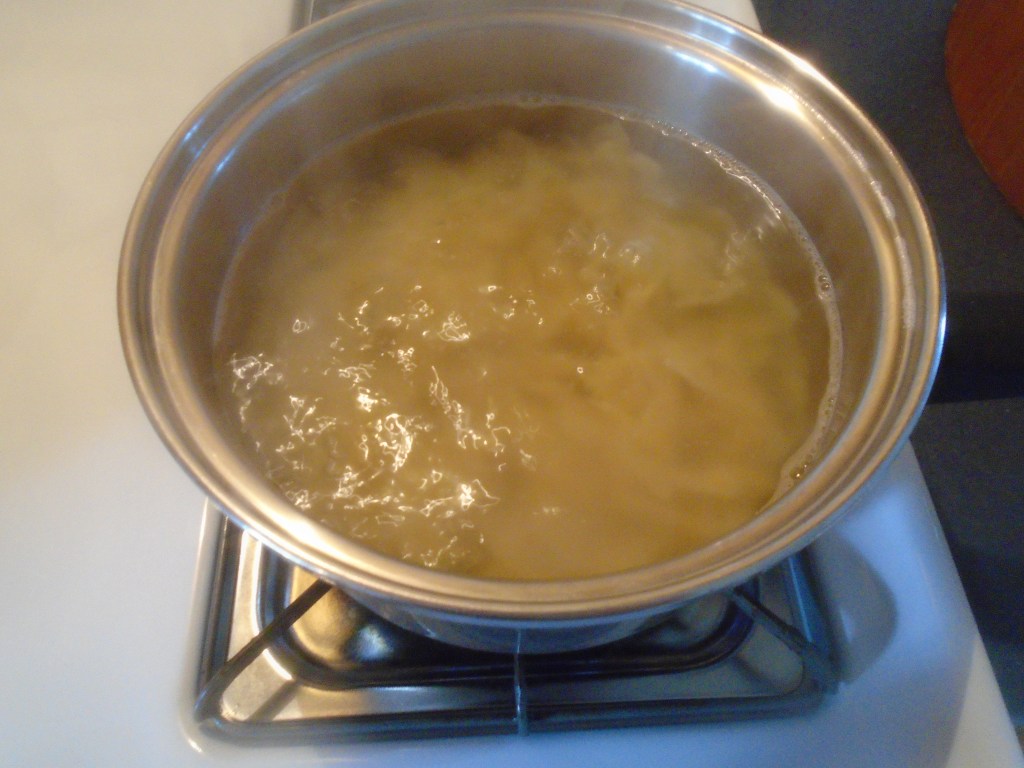
Soften the ramen in boiling water. Do not overcook. Strain the ramen and set aside.

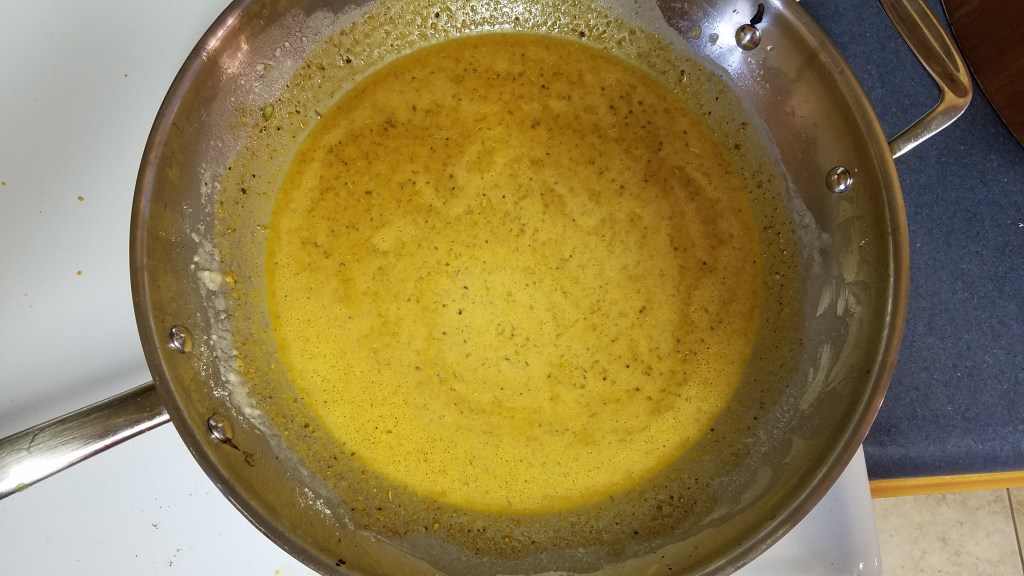
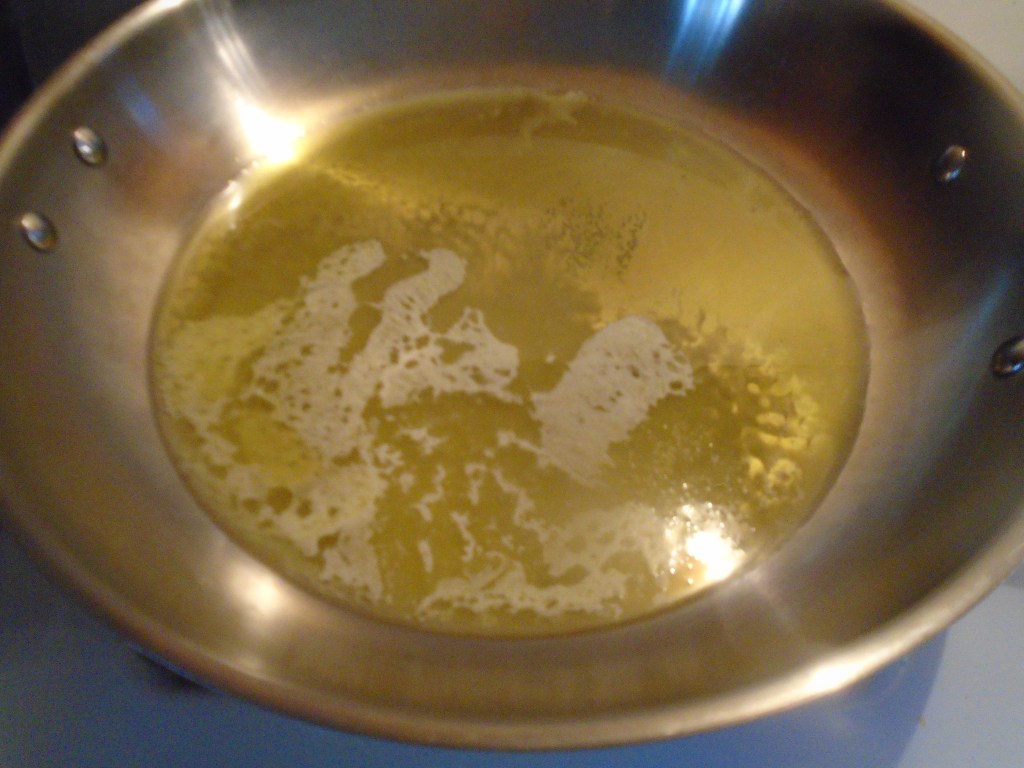
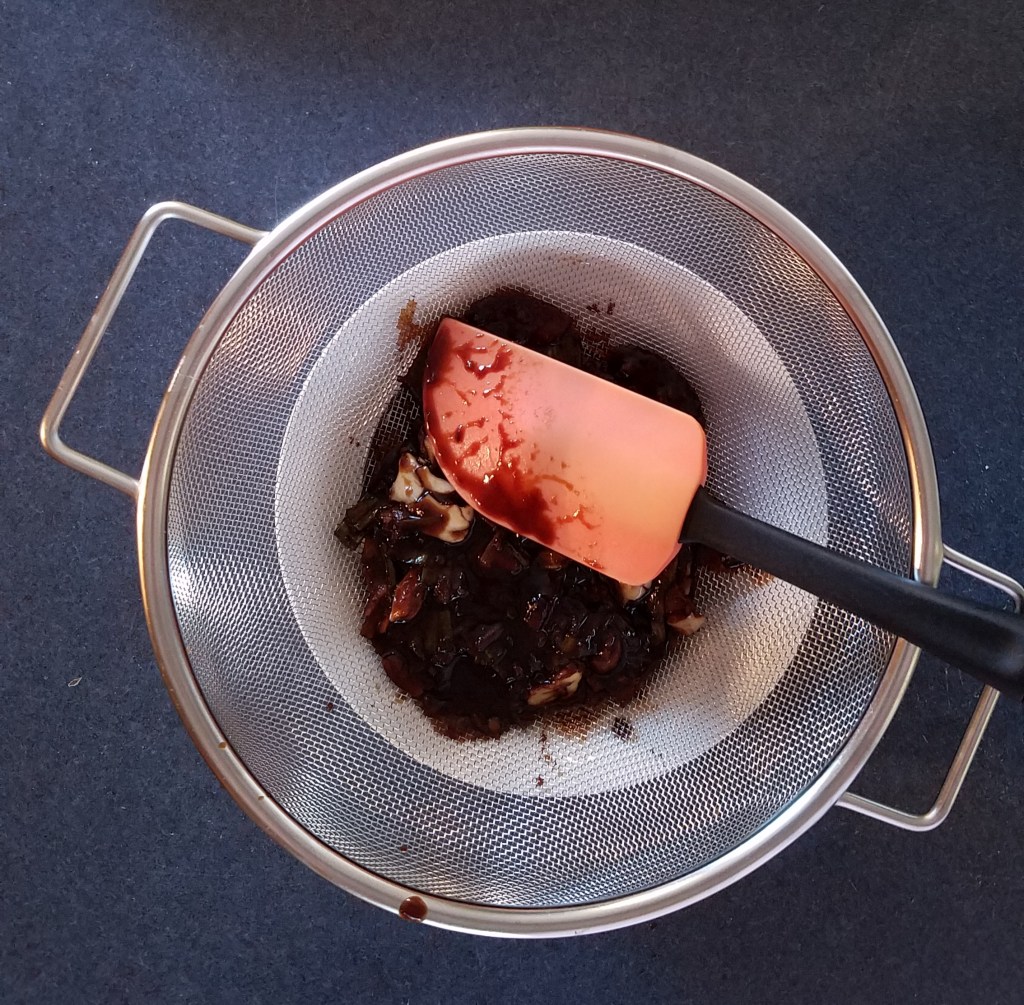
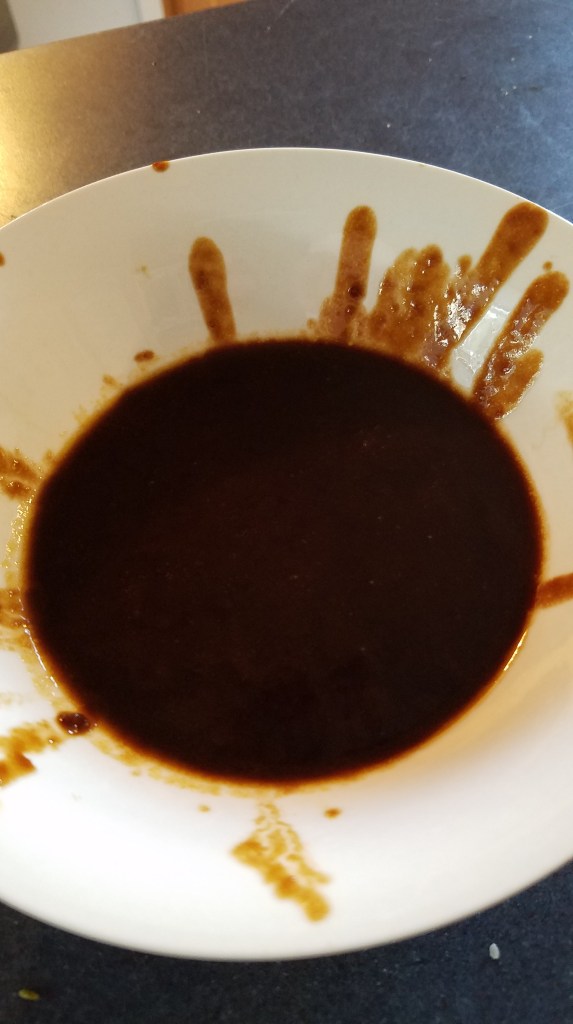
Add the marinade to a skillet and cook until boiling. Strain out the solids and reserve the sauce.
Remove the roast from the oven and cover with a foil tent an let it rest for 20 to 30 minutes.

While the roast rests, make the stir fry.
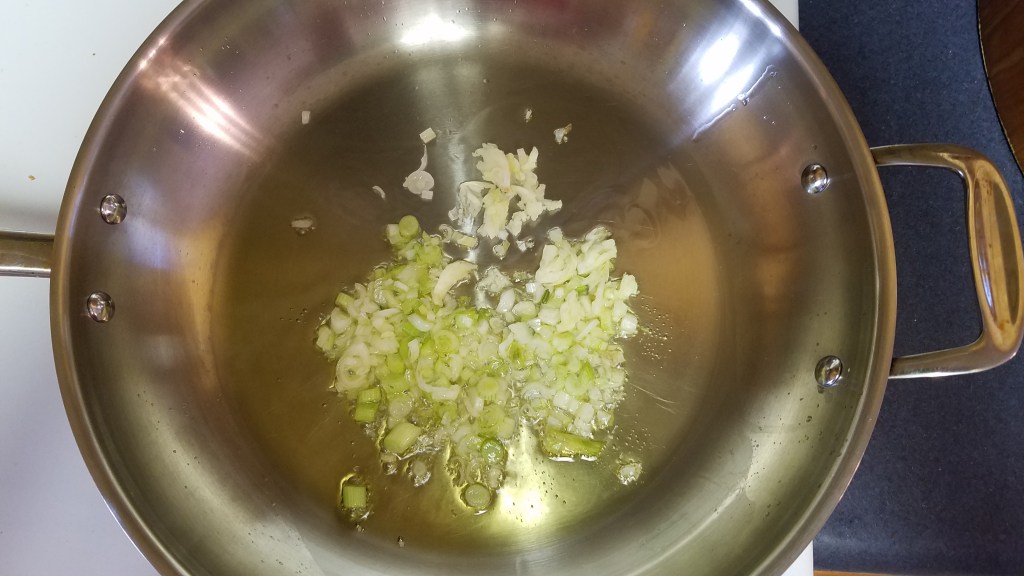
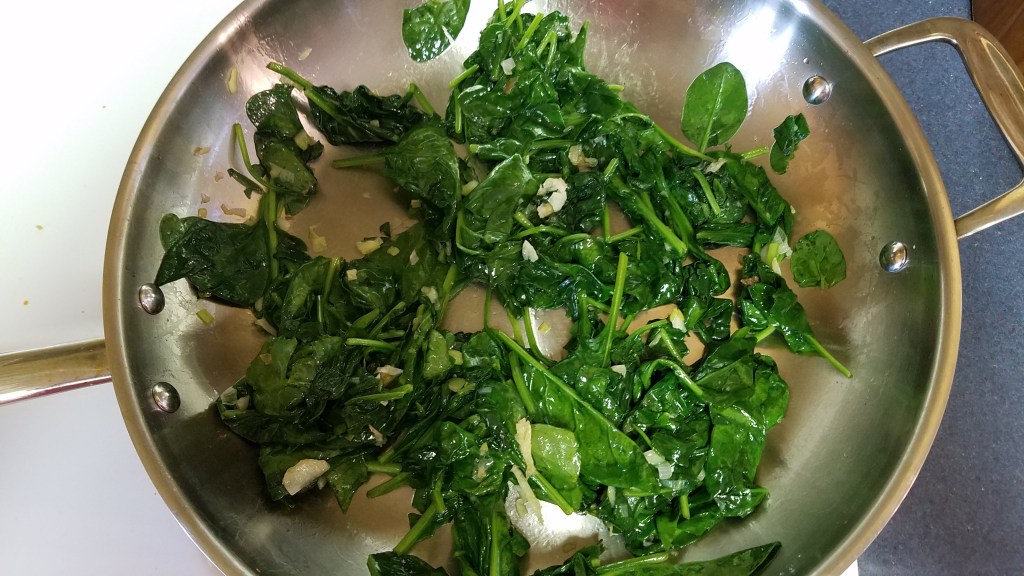
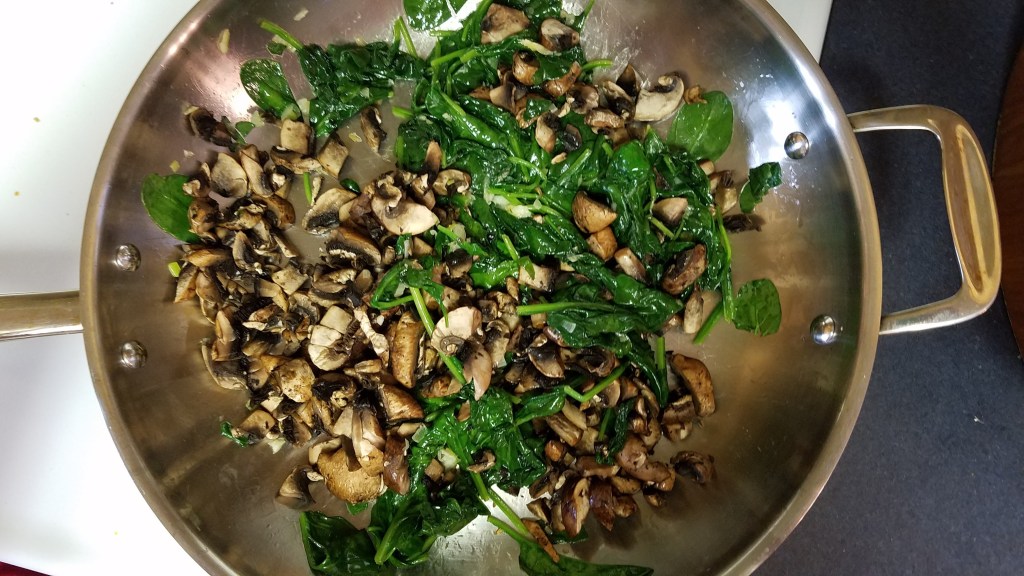
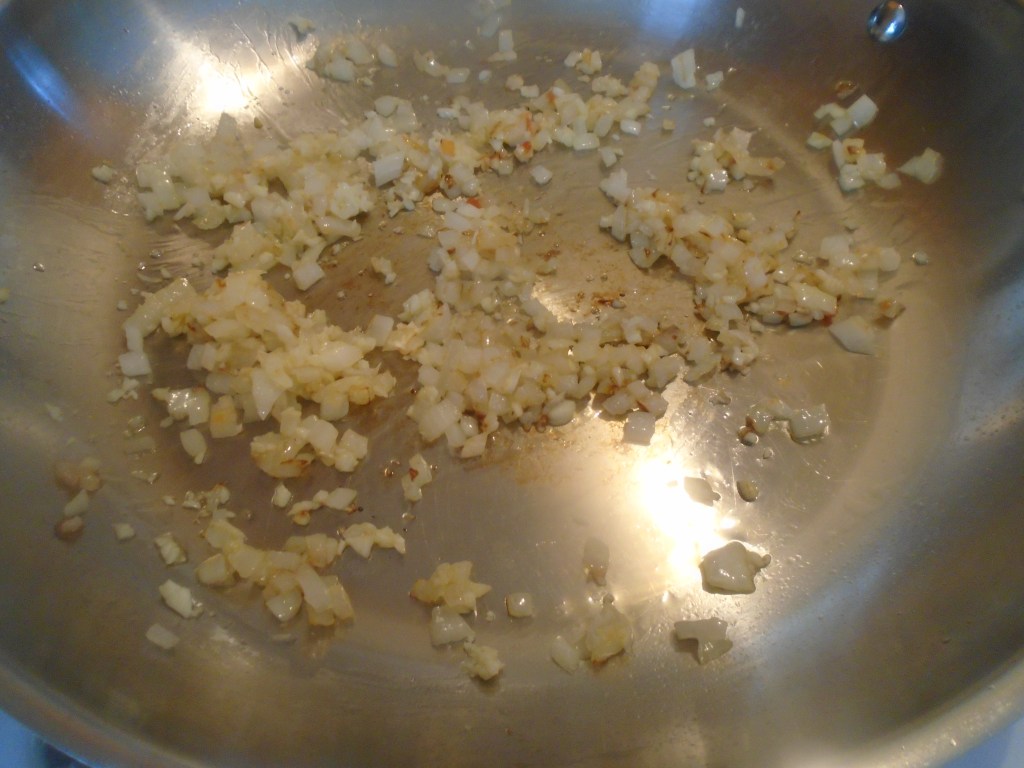
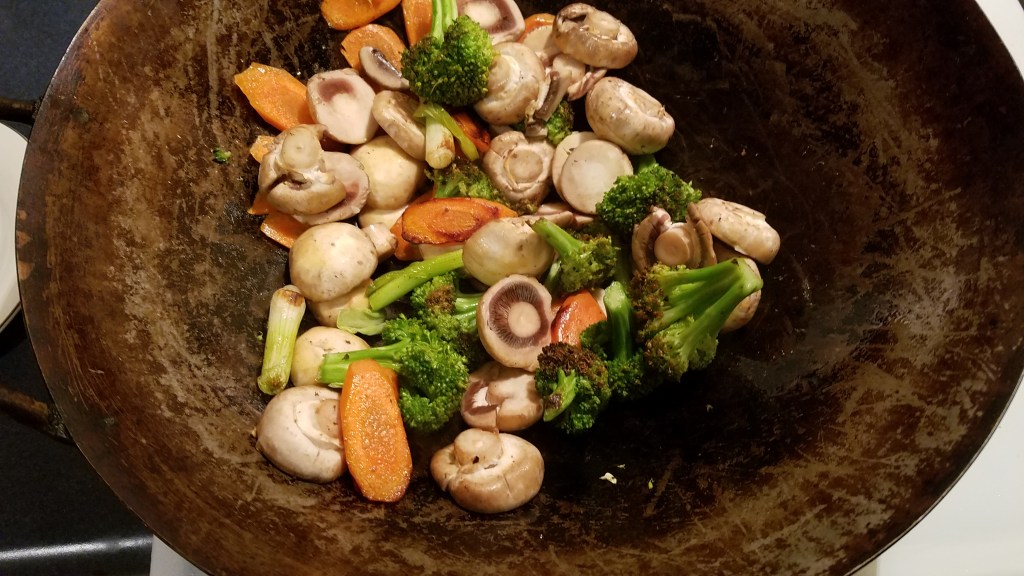
In a hot wok, add two tablespoon of cooking oil. Add the broccoli, carrots and the green onion roots and stir for a few minutes. Add the mushrooms and stir for a minute.
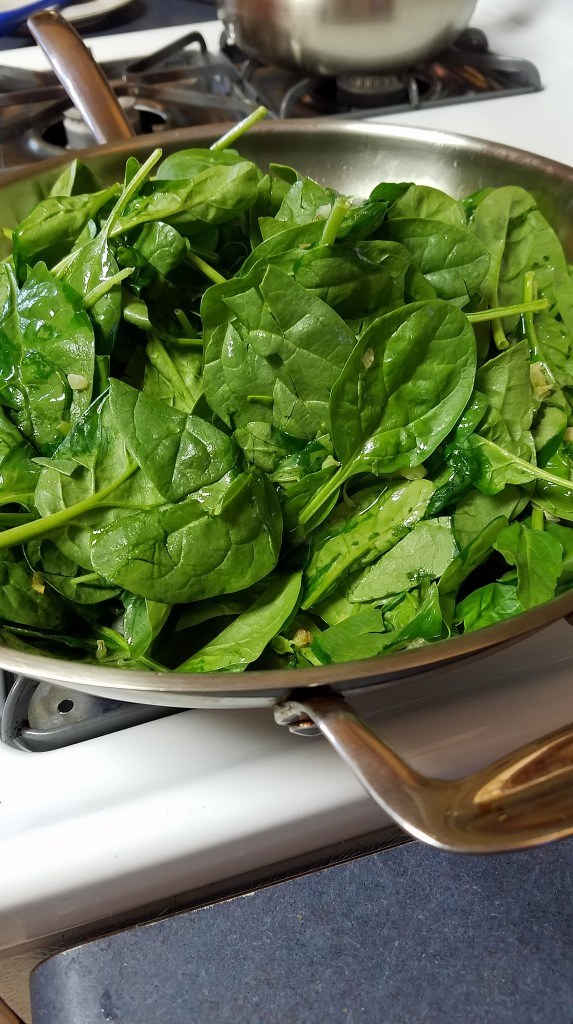
Add the cabbage. Stir for a minute and then add ¼ cup of the cooked marinade and the hoisin sauce. Stir to incorporate.

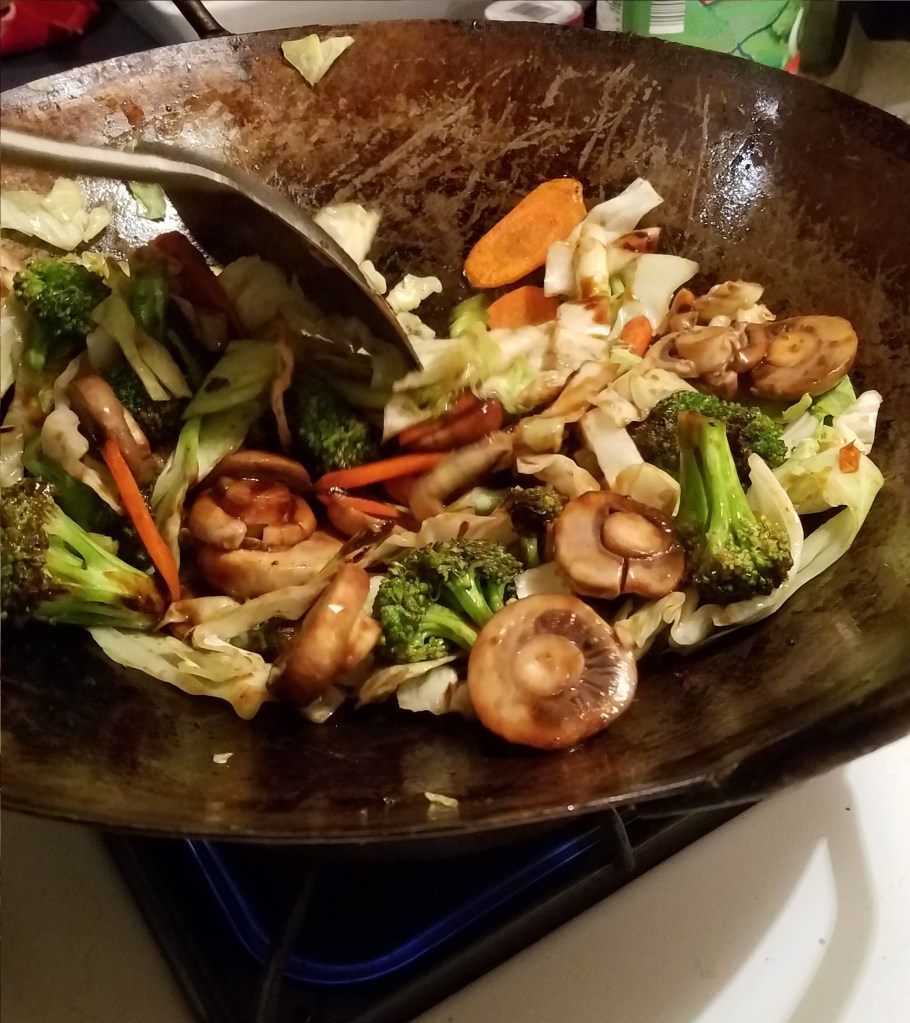
Add the ramen and mix everything together. Add the chopped green onions and cilantro and mix lightly. Turn the heat off and let the stir fry sit in the wok while you slice the pork roast

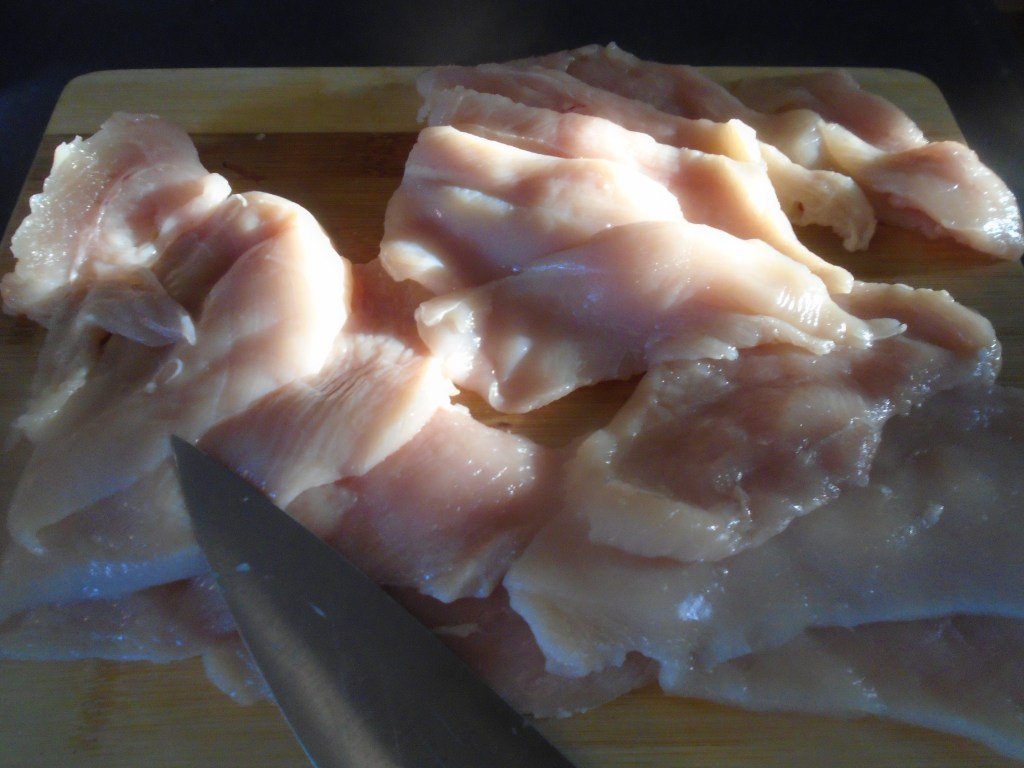
Slice the pork as thinly as you can.
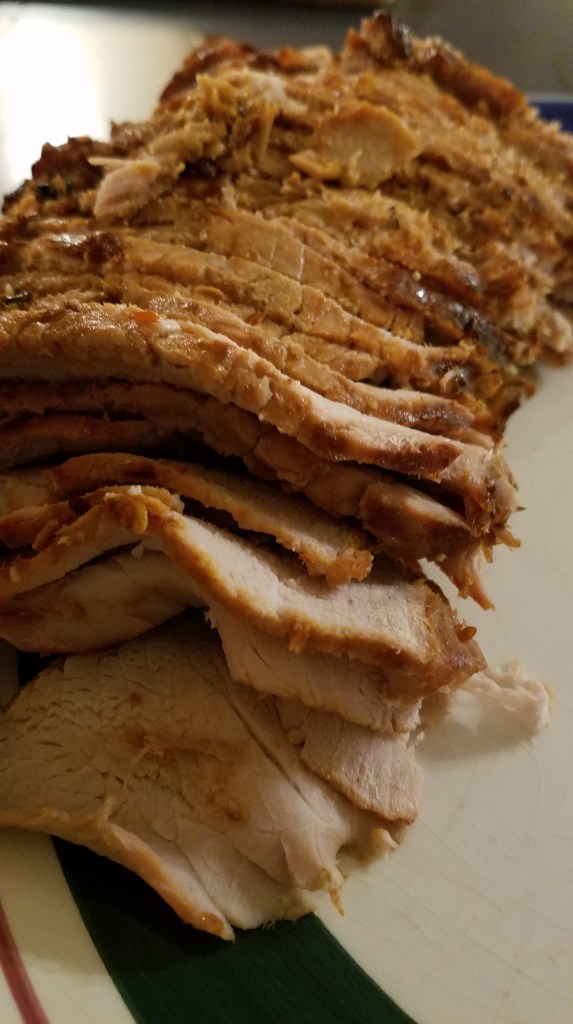
Arrange the slices on a serving platter. Add the stir fry to the serving platter. Drizzle remaining sauce over the sliced pork.