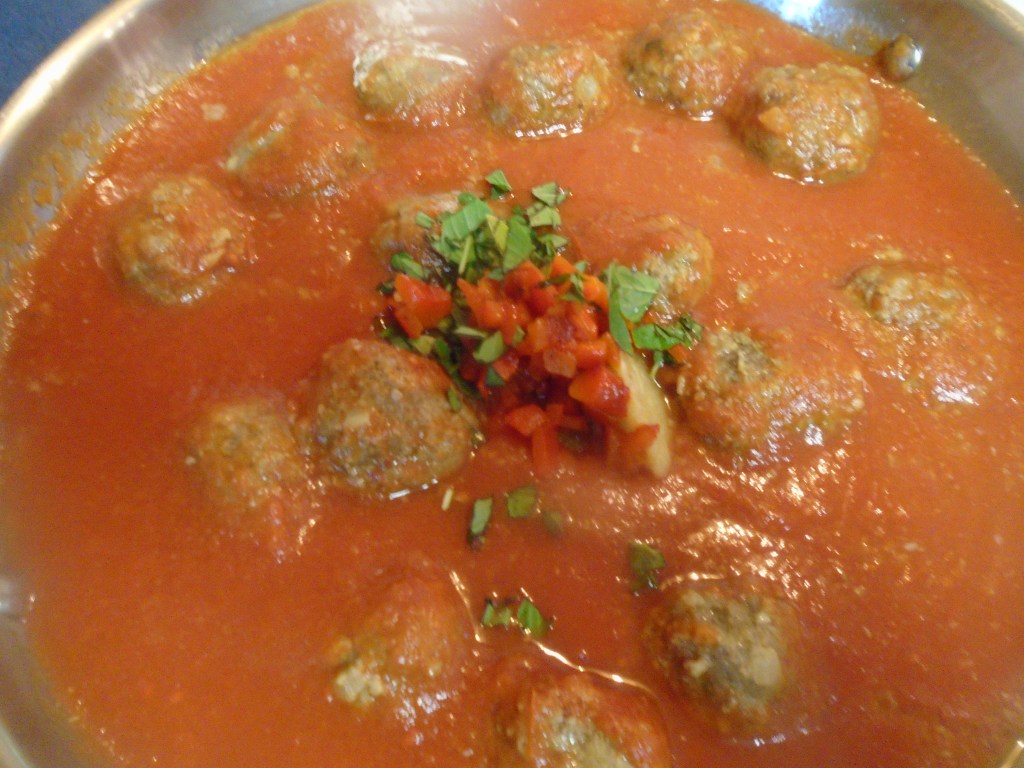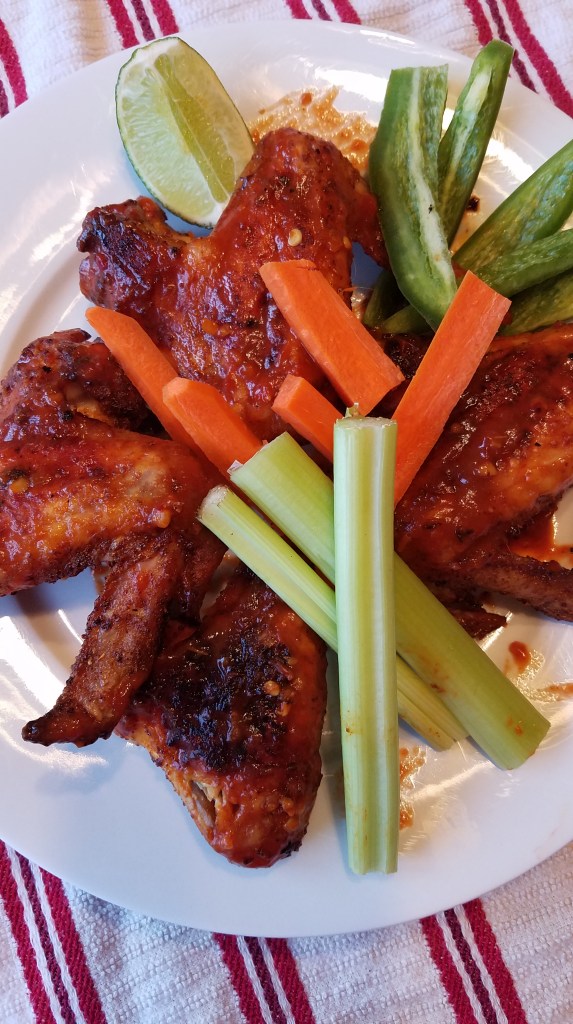
Chicken Marsala

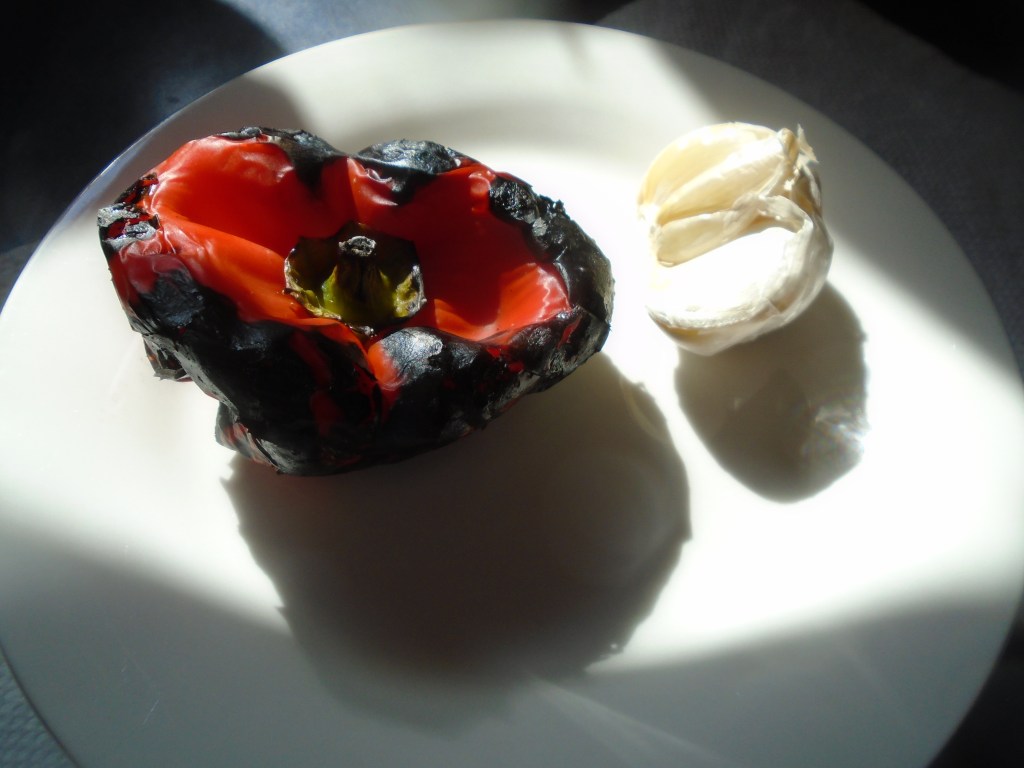
I don’t make Chicken Marsala very often, mainly because I rarely have Marsala wine on hand but, every time I make this I tell myself that I should always keep a bottle of Marsala within arm’s reach.  The sauce that the wine produces is rich and smooth.  A good Marsala sauce results in a beautiful balance of sweet and savory flavors.  Heavy cream can be added to the sauce to make it luxurious, to the point of decadent. 

Note: Most recipes for Chicken Marsala call for some cooking sherry to be added, along with the Marsala wine.  Cooking sherry is another thing that I rarely keep in stock, so I skipped it.  Marsala and sherry are both sweet wines and I didn’t think I would lose any significant flavor by omitting the sherry. 

Ingredients:

¼ cup flour

½ tsp salt

¼ tsp black pepper

½ tsp dried oregano

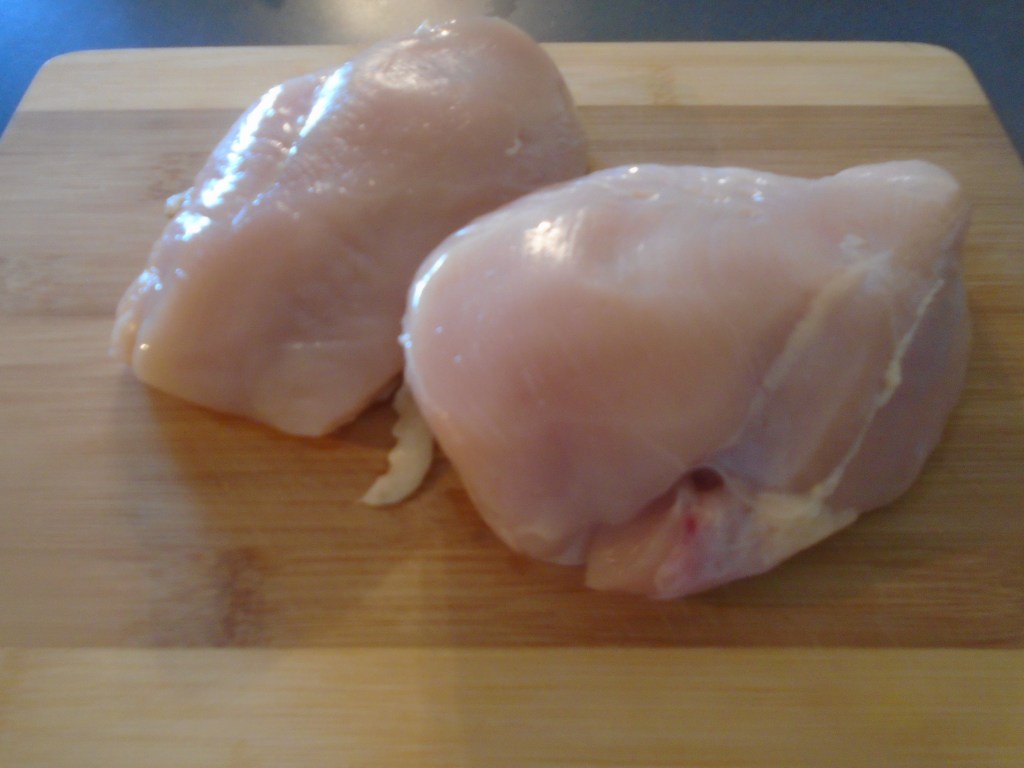
4 chicken breasts, sliced ¼“ thick

4 Tbs butter

4 Tbs olive oil

1 cup thinly sliced shallots

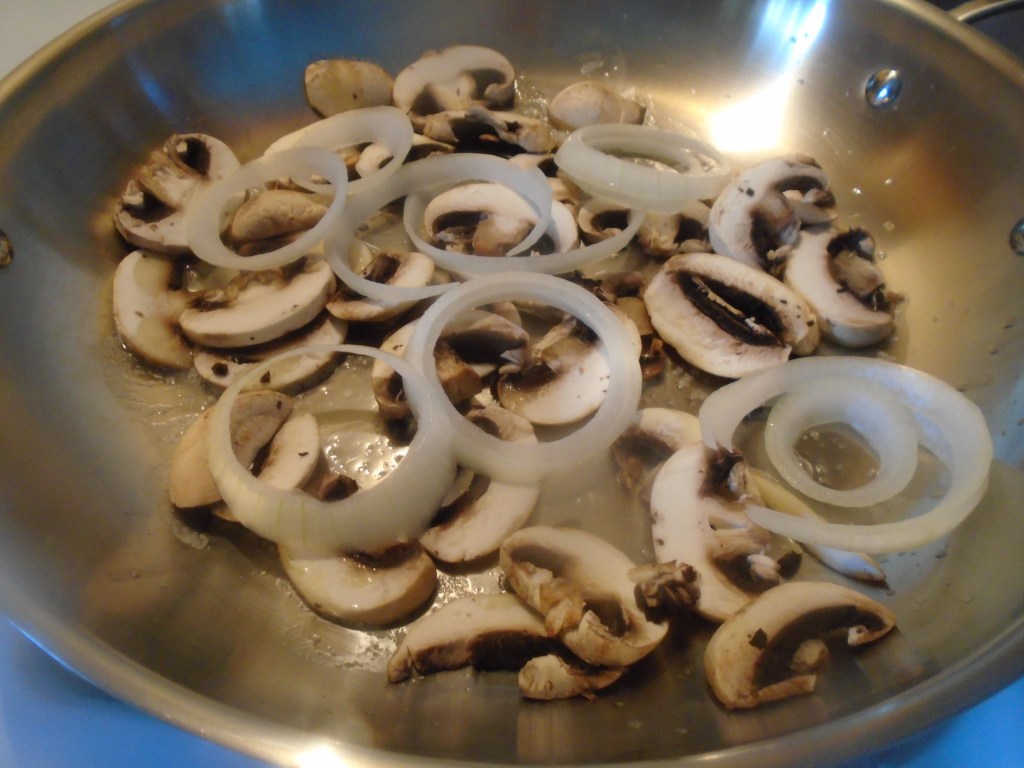
1 ½  cup sliced mushrooms (an 8 oz package)

½ cup Marsala wine

Directions:

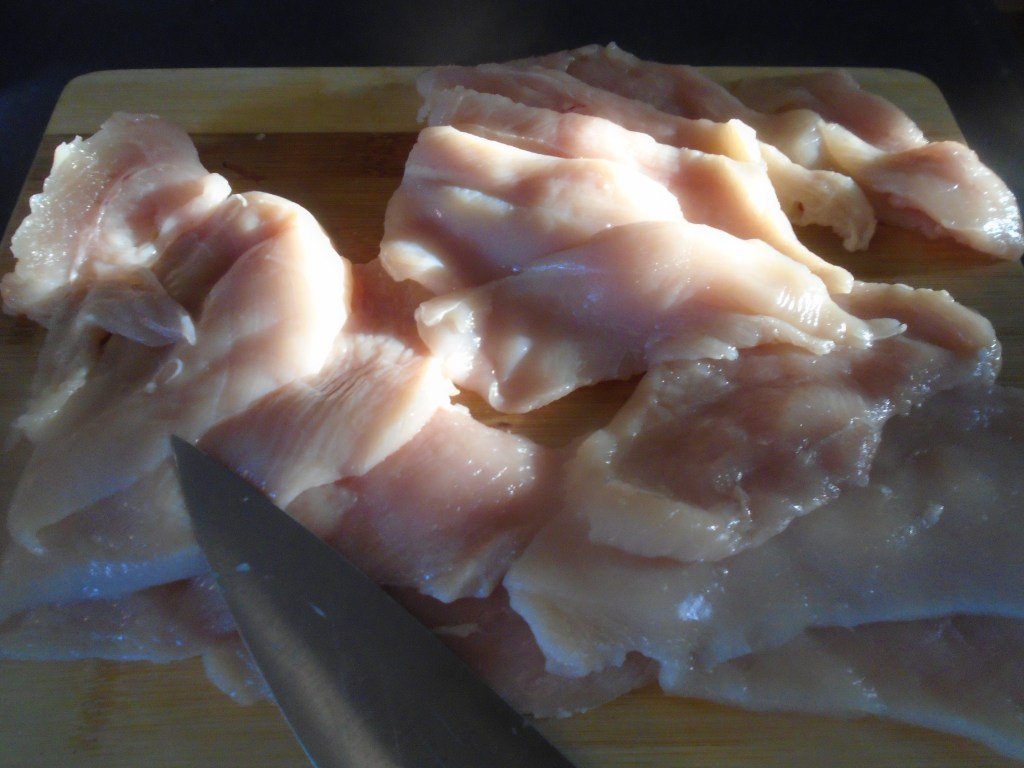
Slice the chicken breasts horizontally into ¼”slices.

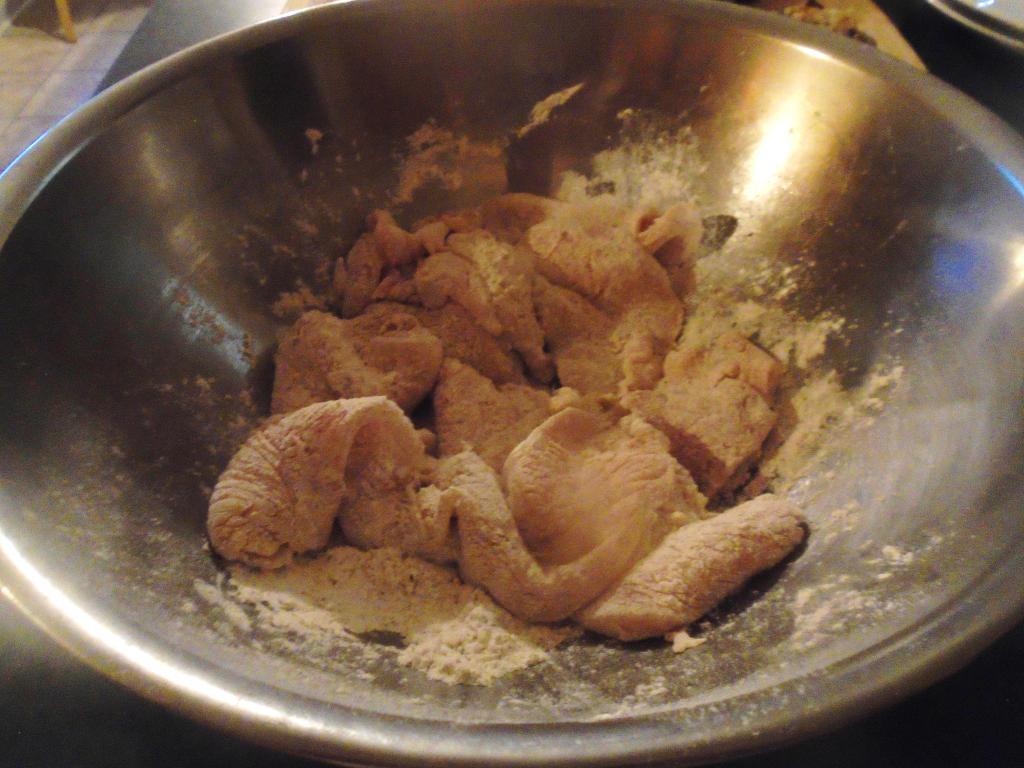
Mix the flour, salt, pepper and oregano together in a bowl.  Coat the chicken in the flour mixture and set aside for several minutes.

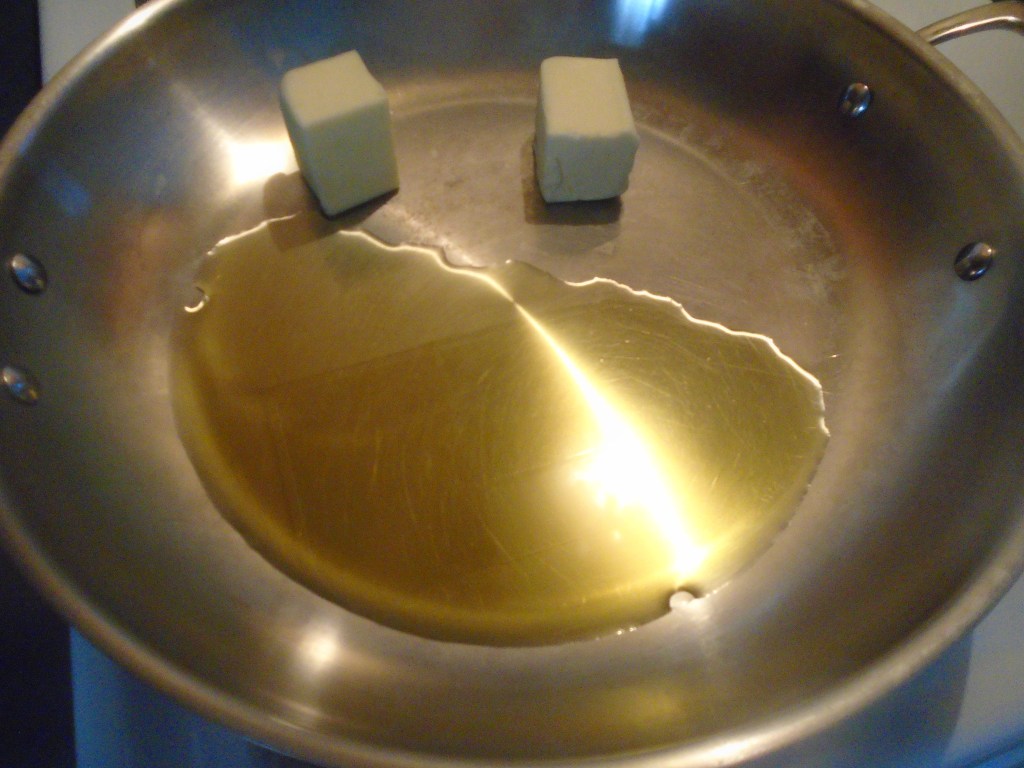
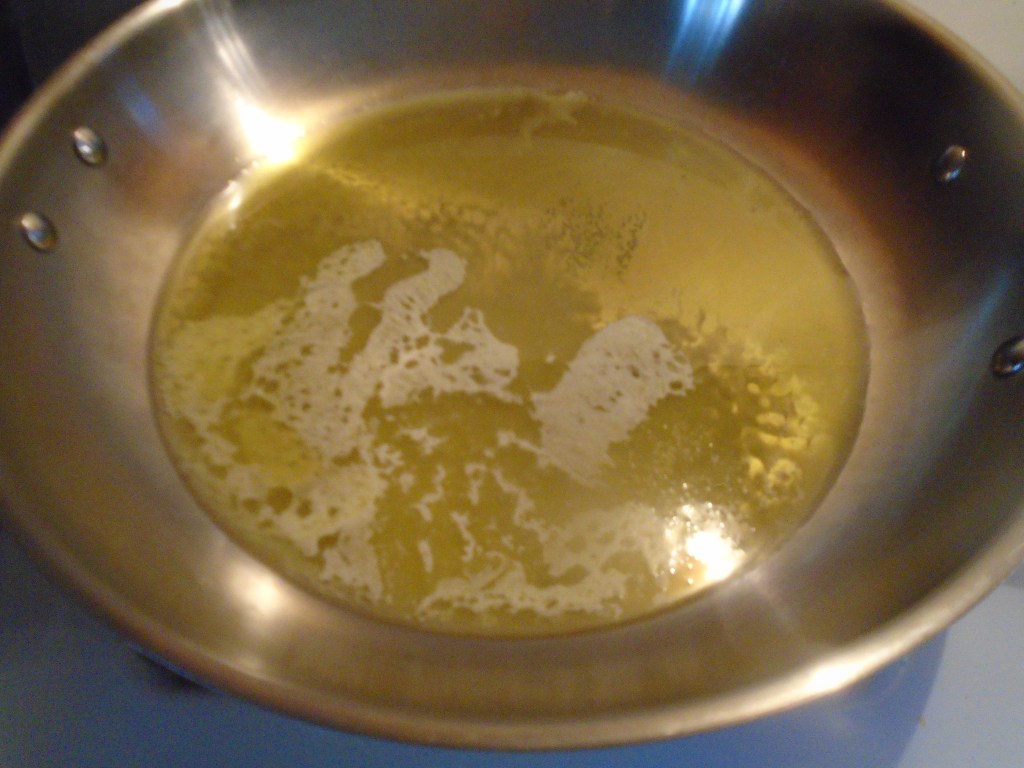
In a skillet, melt the butter and oil over at medium/low heat. 

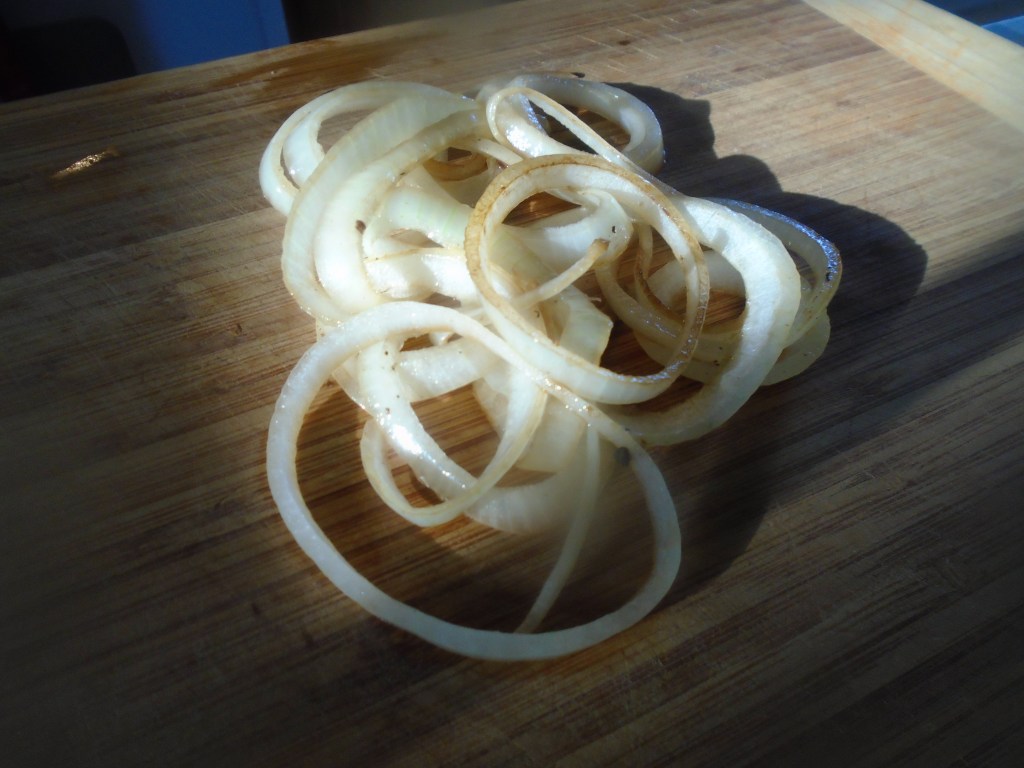
Add the shallots and simmer for 1 minute.  Remove the shallots and reserve. 

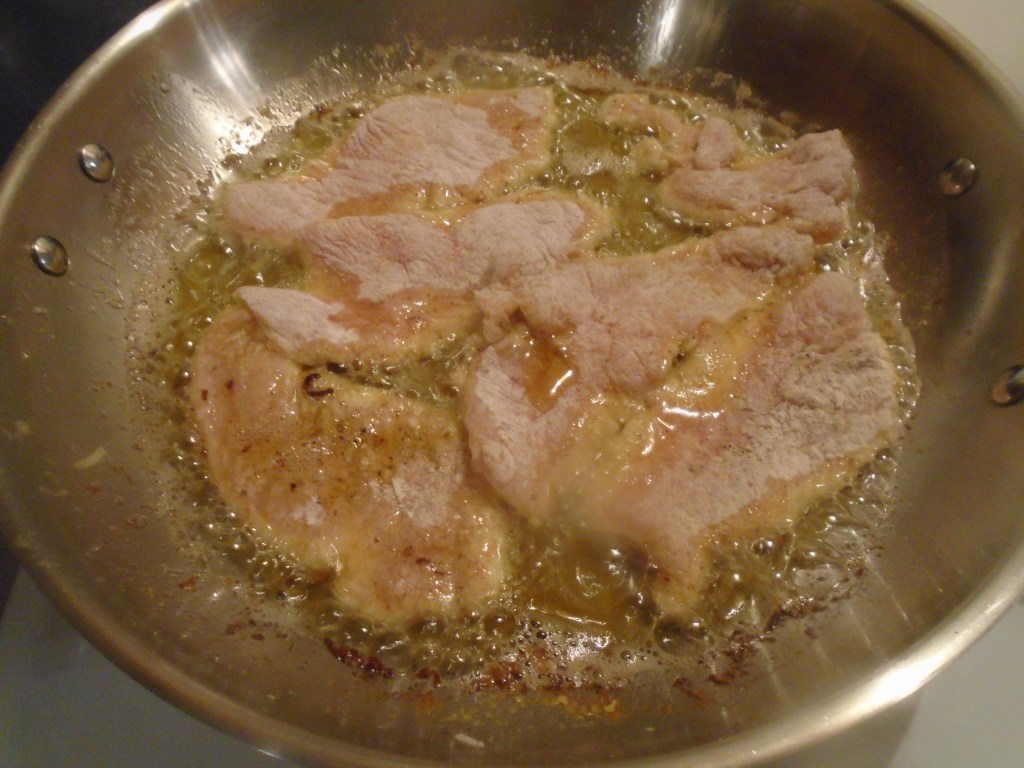
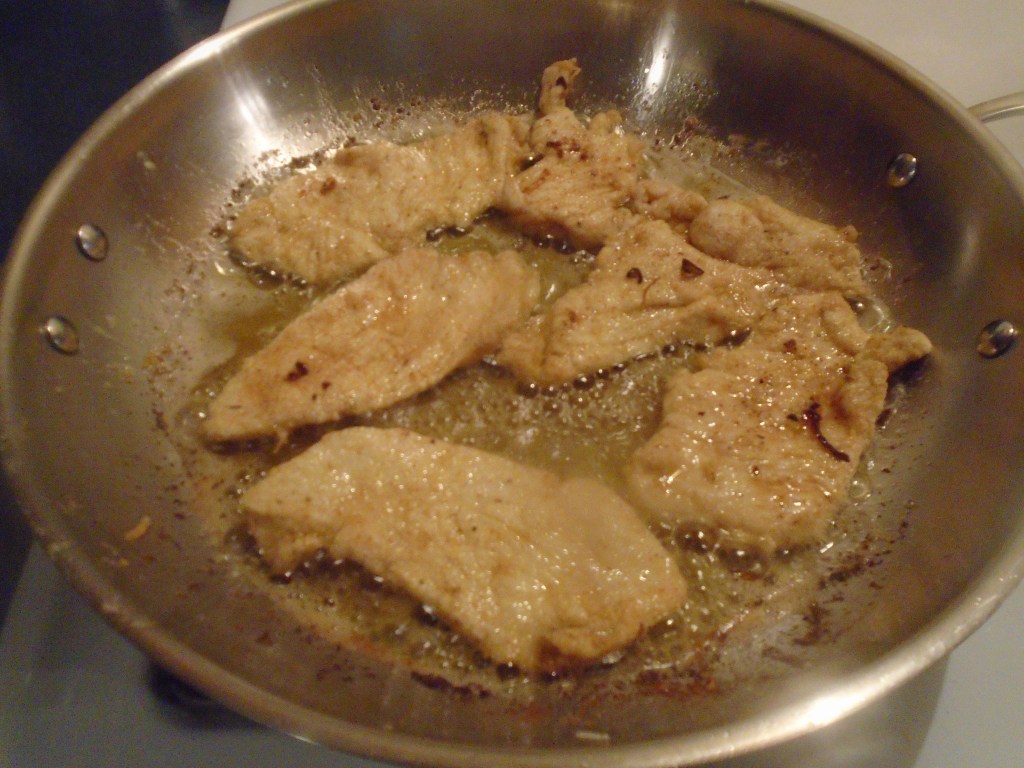
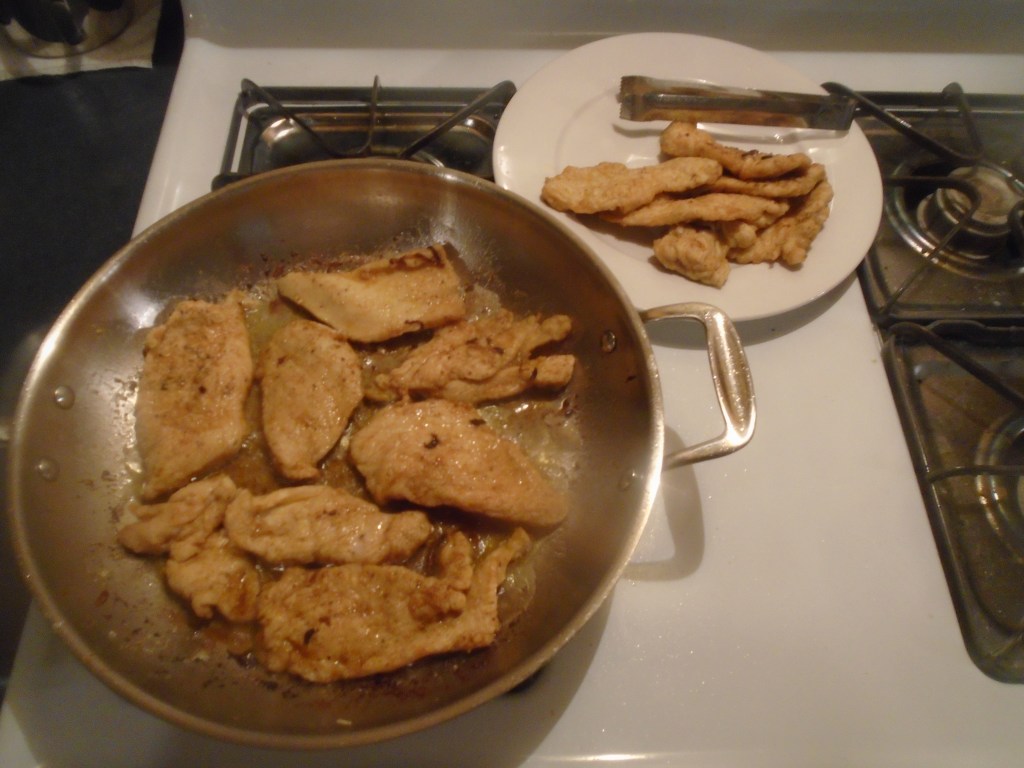
Place the coated chicken in the pan, and brown, slightly.  Do not crowd the chicken.  You will probably need to make two batches.  Turn the chicken after a minute, or so, and then once again to lightly brown the other side. 

Set the first batch of chicken aside to a warm area.  Add the second batch of coated chicken to the pan.

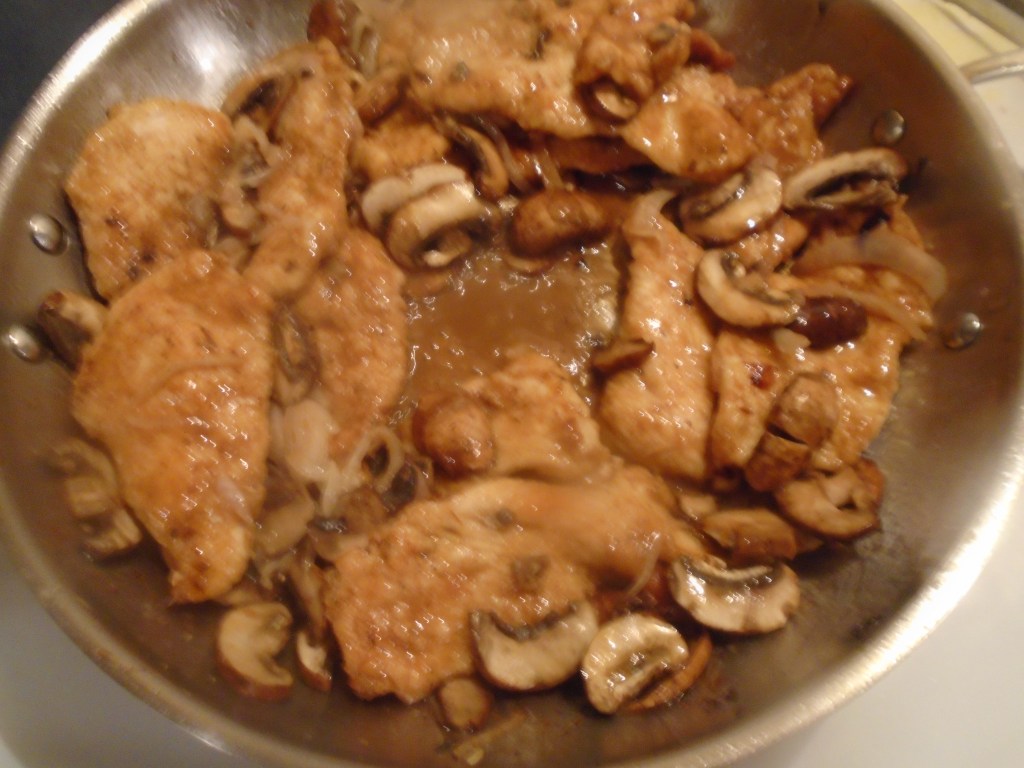
Once the second batch of chicken is done, add the first batch back to the pan. Add the mushrooms and shallots to the pan.  Finally, add the Marsala wine.  Cover and simmer for 10 minutes, turning the chicken one more time during the process.

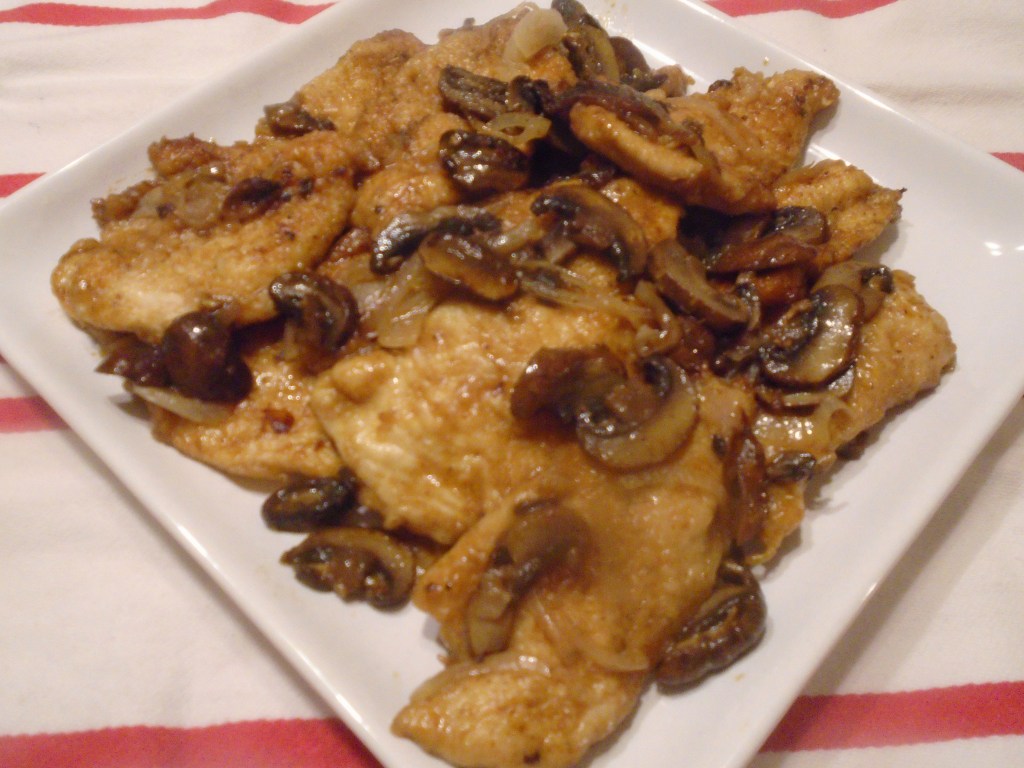
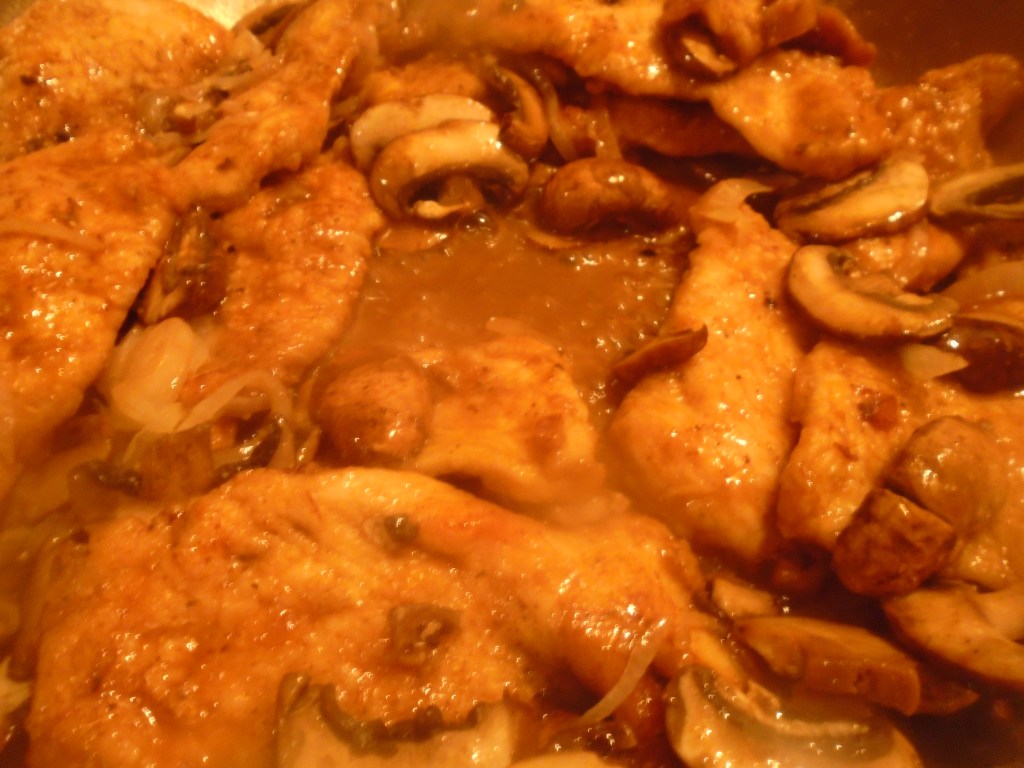
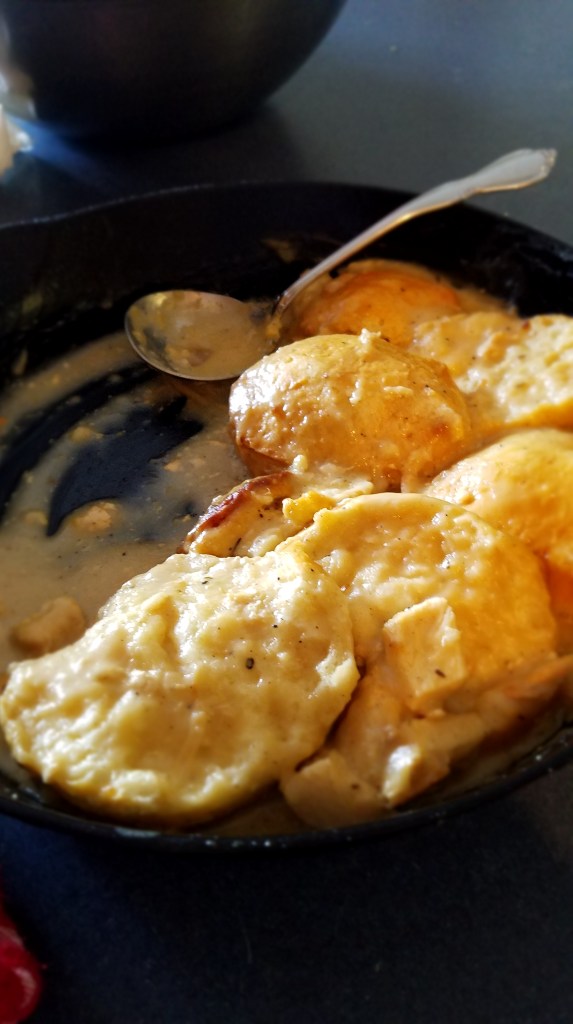
A wonderful brown sauce forms in a matter of a few minutes. 

Masala – Marsala

This week’s confession is truly astounding, even for someone like me, who has committed so many kitchen atrocities over time that I am sure I will end up in Kitchen Hell, when it’s all said and done.

All kidding aside, this was truly a remarkable faux pas.  I’m the sort of person that likes to be the smartest kid in the class and, if it’s obvious that I am not the smartest, I like to the one that says the most clever things.  Earlier this week I confused Masala with Marsala. 

For those of you who might be scratching your heads, wondering what the difference is between the two, I’ll tell you.  The difference is “R”.  (See what I mean about trying to make up for a lack of intellect by attempting to be clever?)

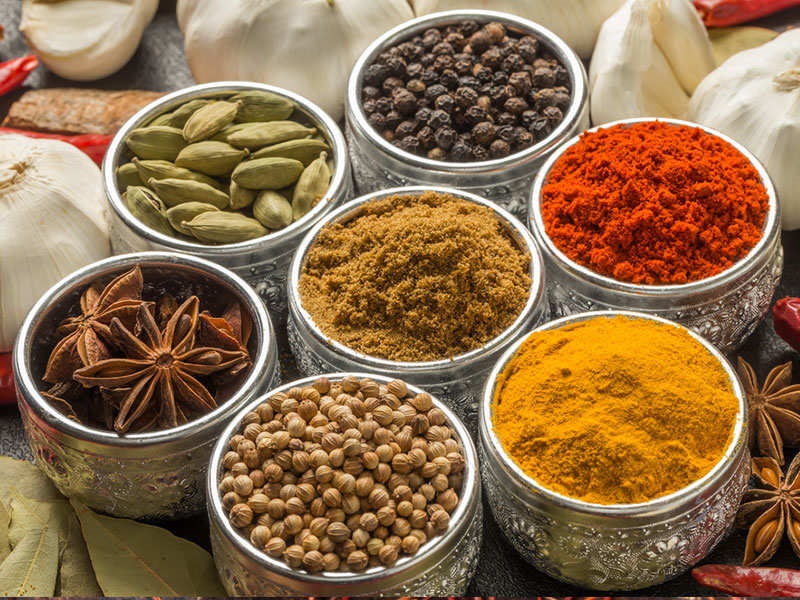
Masala is a mixture of many spices.  It’s a term used by people from India and Pakistan, among other places.  It is not just one particular spice mix.  The mix can contain any number of spices.  Masala is the flavor foundation for many dishes.

Marsala is a sweet, fortified Italian dessert wine, often used for cooking. 

An innocent mistake, for sure.  And, if that was where my story ended, I could have laughed it off and gone on with my life with nobody being the wiser. 

Several months ago, while visiting my favorite Indian spice market, I struck up a conversation with the proprietor, as I usually do.  He is always willing to stop and talk with me and he has been a tremendous guide, while I attempt to unravel Indian cuisine.  On this occasion, I told him that I was considering making a masala pizza, at least that is what he probably heard.  I actually said Marsala, because I was thinking about making a chicken Marsala pizza.  That was the moment I ran off the rails. 

You see, I have made chicken Marsala before and I have made many dishes with masala, although I’ve never really thought about calling the spice mixture, masala.  I must have had a bizarre synaptic short-circuit which caused me to switch masala with Marsala.  The proprietor, being the gentleman that he is, just stared at me when I suggested the masala pizza.  He gave me a sort of quizzical, pitiful look.

Well, months later, here I am ready to make the pizza.  I wanted to try a test run with the chicken Marsala, before moving on to the pizza.  I went back to the Indian market to pick up some items for other dishes and when I saw the proprietor, I told him that I was really going to make the masala pizza, but I what I actually said was, “Marsala”.  I told him that I was deliberating on how to approach the pizza.  I didn’t want to use traditional Italian marinara and mozzarella because I didn’t think they would pair well with the Marsala sauce.  I asked him if he had a suggestion for a creamy sauce that I could make, instead of using Mozzarella.  After a moment, he suggested coconut milk and followed that with suggesting tapioca starch to thicken the coconut milk.

Coconut milk?  I’ve taken some interesting turns while creating new food but coconut milk didn’t seem like a very good idea for pizza but, I told him that I would give it a try.

As I left the store and headed to the wine store, to pick up some Marsala wine, it suddenly dawned on me that I had been utterly confused.  You see, the proprietor of the spice market speaks perfectly.  Despite the tell-tale Indian accent, his diction and vocabulary is precise and clear.  He speaks better English than most people I encounter, on any given day. 

“Masala”, was what he was saying, and he made sure to say masala each time after I said “Marsala” to him.  The nerve cells in my brain finally made the jump.  I had been enlightened!  I also suffered from incredible embarrassment. 

As I drove to the wine store I convinced myself that the only way to redeem myself was to perform an act of penance.  I would make two pizzas.  One would be inspired by masala and the other would be inspired by Marsala

One final interesting event rounded out the day and convinced me that fate is a very real thing.  I was checking out some other blogs and I came across this blog,  https://ishitasood.com/ .  It’s tagline reads, “The Biggest and Only Indian Blog on Italy”.  Ishita is the author and she has produced some very interesting posts.  One post in particular struck a chord with me… https://ishitasood.com/confessions-of-a-passionate-blogger/

In the blog she offers some words of encouragement, including the following: “It is okay to be vulnerable.”

And that was exactly what I needed to hear.  It is what I needed to remember.  I am an imperfect human and so is everybody else.

I will work on these recipes with an open heart and an open mind.

“Sunrise, Sunset”

I started this blog in late July of this year and now we are about halfway into September.  You might be thinking that this is a prelude that will lead into a rambling account of all of the fun that I have had so far and how much I have enjoyed bonding with other fellow bloggers. 

Well, all of that is true but, I only mention the time frame because of how it relates to photographing the food that I have made.  Most of the food that I have documented on the blog has been made during late afternoons and evenings. 

Our kitchen sits on the western side of our home and we have a window, over the sink, that faces west.  My wife photographs most of what is posted and she has produced some beautiful shots.  But, I know what lies ahead.  Autumn and Winter.  The sun is setting earlier with each passing day and pretty soon, I will be making dinner long after the sun has set. 

That means I won’t have the dramatic lighting that the setting sun is providing now.  We will be faced with the challenge of making food look good under the bland overhead lighting of our kitchen.  I don’t relish the thought of setting up elaborate lighting schemes and I don’t want my kitchen to turn into a photo studio.  Fortunately, my wife and I are creative and resourceful people.  We will try to find ways to put up some interesting photos, despite the lack of natural sunlight. 

So, if you find yourself yawning at my posts during the winter, I will understand. Come back next spring and catch a glimpse of the sun again.   

Tres Tacos (Three Tacos)

In my never-ending attempt to rid my refrigerator of leftovers I found myself falling back on a familiar theme: Tex-Mex.  Mexican cuisine can be made with all sorts of things and that’s what makes it so easy to rely on, when having to decide what to scrape together for dinner.

For this meal, corn tortillas tied everything together.  I made three different types of tacos, two with beef and one with turkey.  All of them shared some of the typical taco toppings like lettuce, tomato, onion, cilantro and sour cream.  Each one had at least one signature ingredient and each had a different kind of cheese.

Each taco had its own, unique quality.  Everyone that ate them had their own favorite.

This was fun to make but, I have to admit, it didn’t come together as quickly as I wanted.

I had some tomatoes from the garden that needed to be used so I cooked them down to a sauce and added jalapeños, onion and garlic.  I pureed the sauce after it cooked for about 40 minutes.  Normally, I would use picante sauce from a jar but I just can’t resist fresh sauce, when I have the ingredients in my garden.

One more comment before we jump into the recipe.  I sometimes use two corn tortillas per taco, instead of just one.  These tacos are prepared like “street tacos”, which is to say they resemble authentic Mexican tacos.  They are not the crispy corn tortillas that you might find at a grocery store, or ones that you might get at a fast food restaurant. 

The tortillas are heated just to a point where they are still soft and pliable.  Doubling up on the tortillas means that the tacos are more durable.  I hate tacos that fall apart in my hands!

Ingredients:

½ cup beef barbacoa

½ cup cooked ground beef

½ cup cooked ground turkey

1 cup prepared spicy tomato sauce

1 Tbs chipotle in adobo sauce (diced)

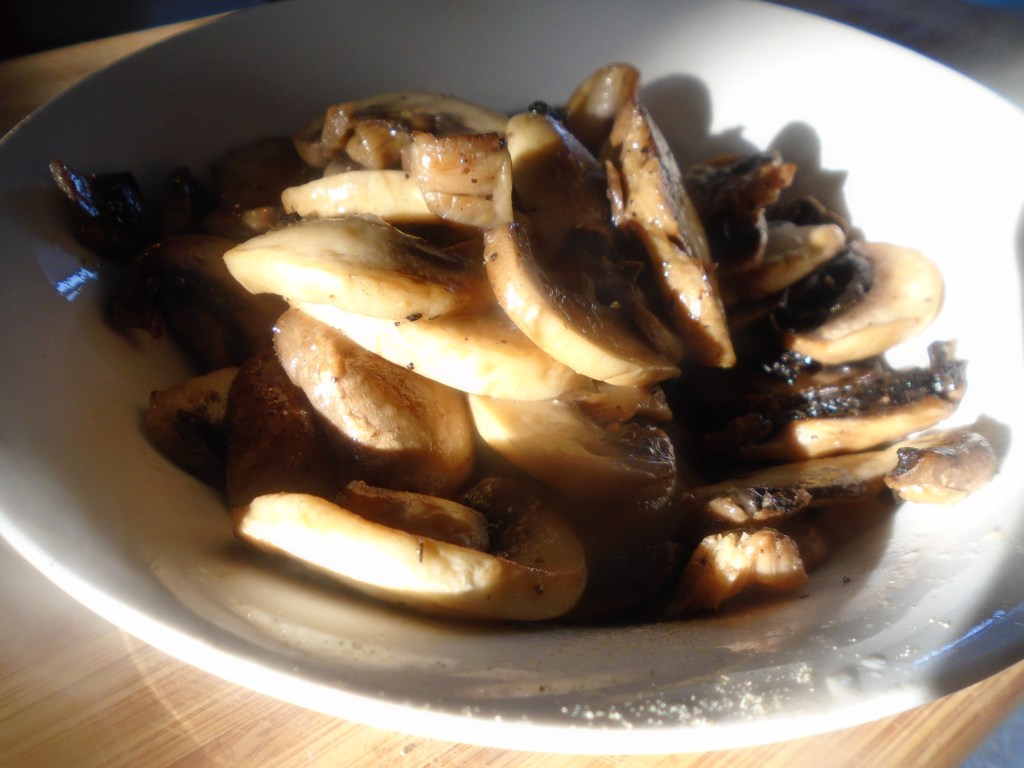
¼ cup sautéed sliced mushrooms

½  cup borracho beans, drained

¼ cup spicy mayo/sour cream sauce

½ cup grated cheddar cheese

½ cup cotija cheese

½ cup grated Monterey Jack cheese

¼ cup diced tomatoes

½ cup shredded lettuce

¼ cup diced onion

½ cup cilantro

6 pitted black olives, chopped

¼ cup sour cream

18 corn tortillas

lime wedges

Directions for the salsa:

If you don’t want to make fresh salsa, use a store bought salsa of your choice…otherwise, this is what I did to make the salsa for this dish.

Dice 6 to 8 small to medium sized tomatoes.  Add to a large pot and simmer at low heat.  Dice ½ onion and smash 3 garlic cloves and add those to the pot.  Add 1 tsp dry oregano and 1 Tbs cumin powder.  Simmer at low/medium heat for 30 to 40 minutes, stirring occasionally to prevent the sauce from burning on the bottom of the pot.  Puree the contents.  Now you have fresh sauce!  Set this aside.

finished salsa

While the sauce is cooking, prepare the rest of the ingredients for the tacos.  You will be chopping, peeling and slicing vegetables so keep a bowl handy for the refuse. 

carrot, mushroom, lime and olives
onion, tomato and cilantro

Peel, chop and dice all of the vegetables.  Set aside.  Grate the cheese and set aside.

Break apart and crumble the meat.  Lay the meat in separate piles on a baking sheet lined with parchment paper and warm in the oven at 250° for about 15 minutes.

Heat a pan, or a comal, on the stove to low/medium heat.  Add a little oil and cook the tortillas on each side.  Add a little more oil after two or three tortillas are cooked.  The tortillas should cook for about 20 seconds on each side.  Remove to a plate and keep warm.

I kept forgetting what I was going to put on each taco so I decided to write it down on a 3×5 index card.  Not a bad idea, especially for someone with the attention span of a gnat, like me.

Even after writing this down, I still switched the cheese on two of the tacos…go figure!

Directions for assembling the tacos:

I recently got some taco holders as a gift and, although I don’t use them often, they made it easy to assemble tacos and they made a nice presentation.

I worked on all three tacos simultaneously.

For the barbacoa taco:

Start by adding some barbacoa.  Add borracho beans, followed by salsa and cheddar cheese.

For the ground beef taco:

Start with ground beef.  Add minced chipotle sauce, salsa and cotija cheese.

For the turkey taco:

Add ground turkey, followed by mushrooms, followed by the mayo/sour cream sauce, Monterey Jack cheese and black olives.

Top all three tacos with lettuce, tomato, onion, carrot, cilantro and finally, a small dollop of sour cream. Serve with lime wedges.

Swiss Mushroom *Turkey* Burgers

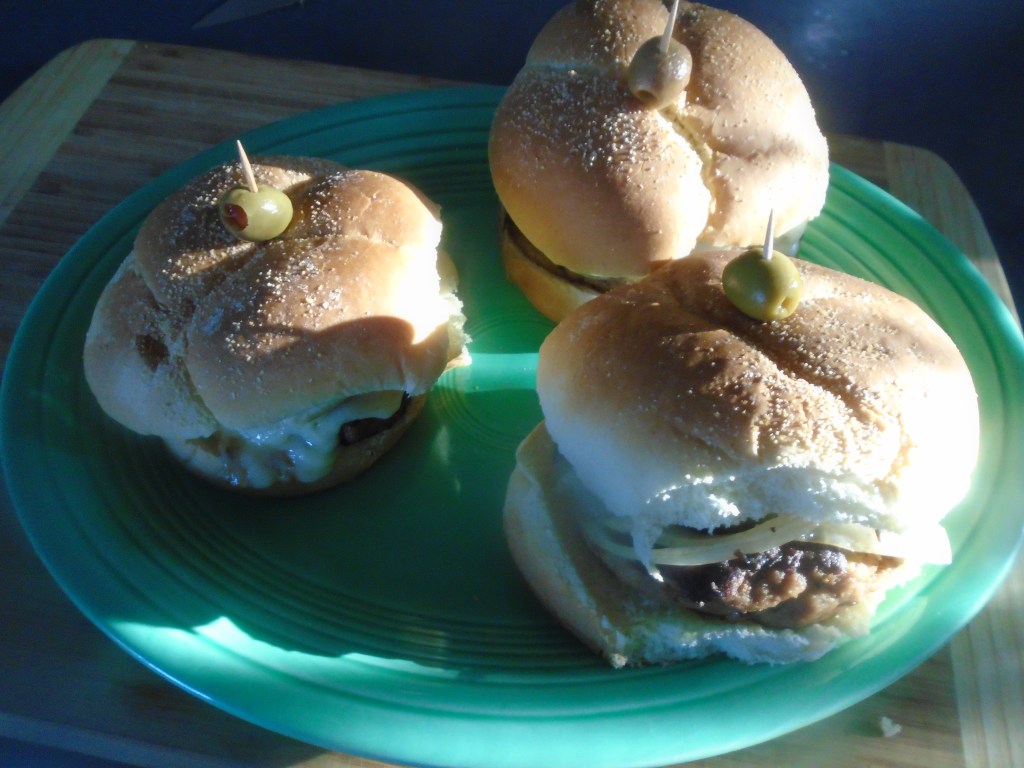
I made turkey burgers a few days ago and I had some burgers left over and I decided to make them again.  I didn’t want to recreate the same burger because that would be boring.  So, I decided to make Swiss mushroom burgers. 

Take a look here if you want to see how to make the burger…

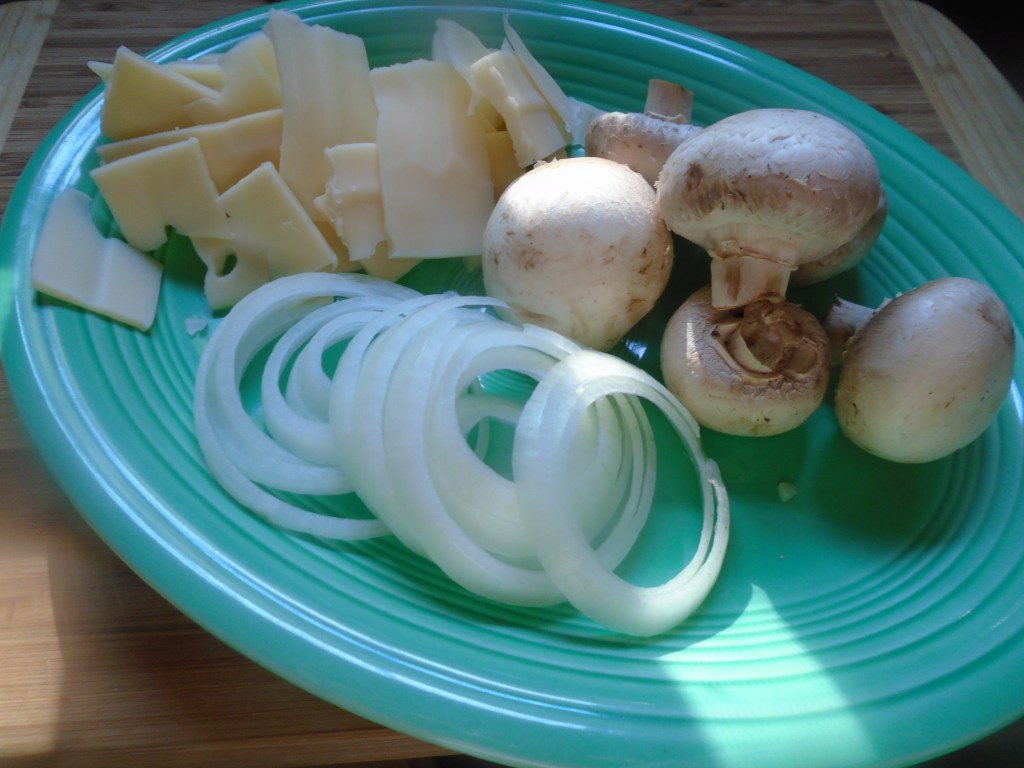
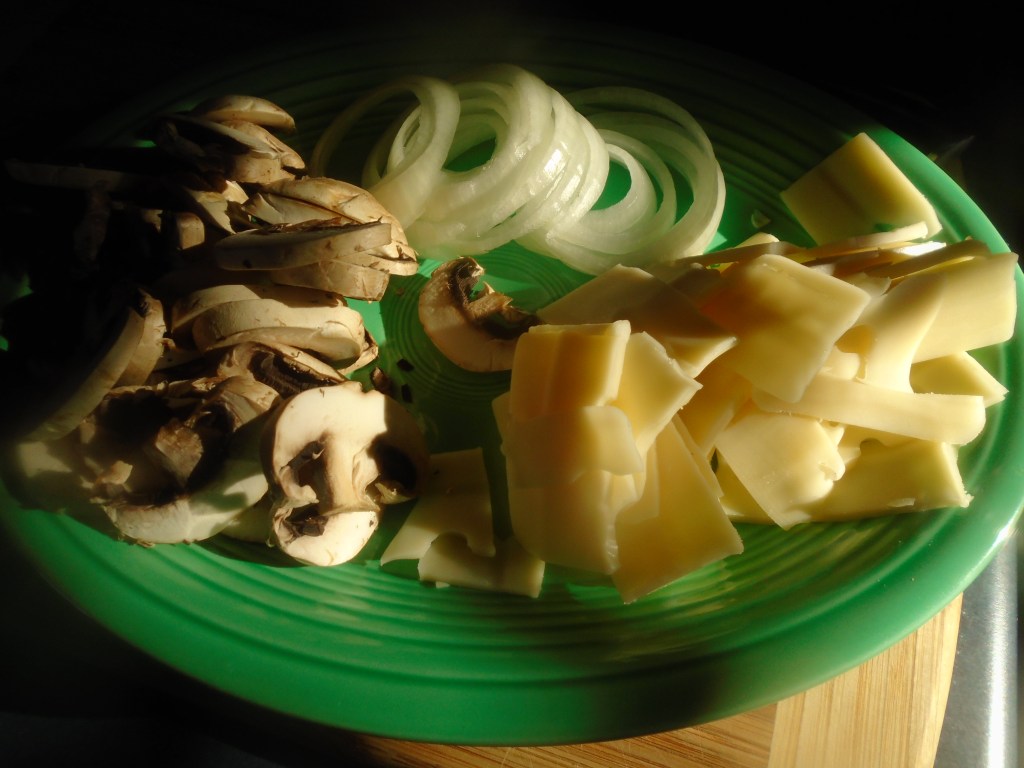
All I had to do was slice some cheese and sauté some mushrooms and onions.  How easy!

I used different buns than the last time I made turkey burgers…again, I wanted the burgers to have a different look as well as a different taste. 

I’m not going to list the measurements for the ingredients.  Add as much cheese, mushroom and onion to the burger as you like.  Go ahead, pile on the cheese…nobody’s looking!

Ingredients:

Precooked turkey burgers

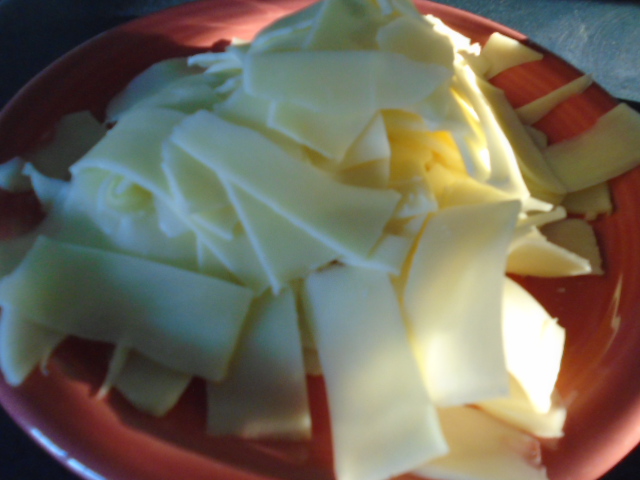
Sliced Swiss cheese

Sliced fresh mushrooms

Sliced onions

Sourdough ciabatta buns

Greek seasoning – just a pinch

Spicy mayo/sour cream sauce (Two parts mayo, one part sour cream and a splash of sriracha sauce) *left over from the Yin and Yang Chicken Wraps*

Directions:

Warm the burgers in a 275° oven for about 10 minutes.

While the burgers heat, slice the mushrooms and cheese.

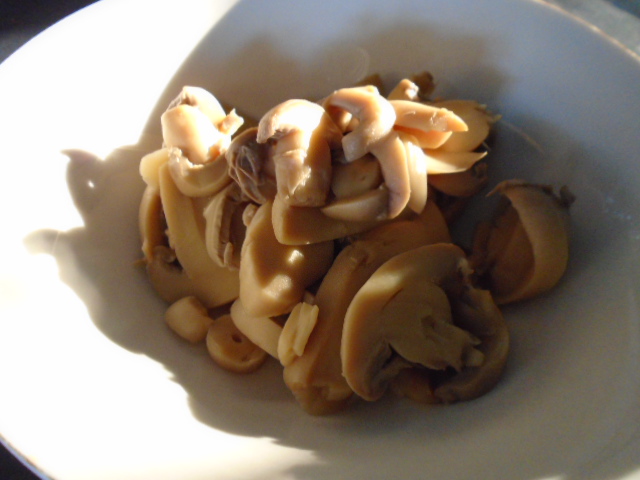
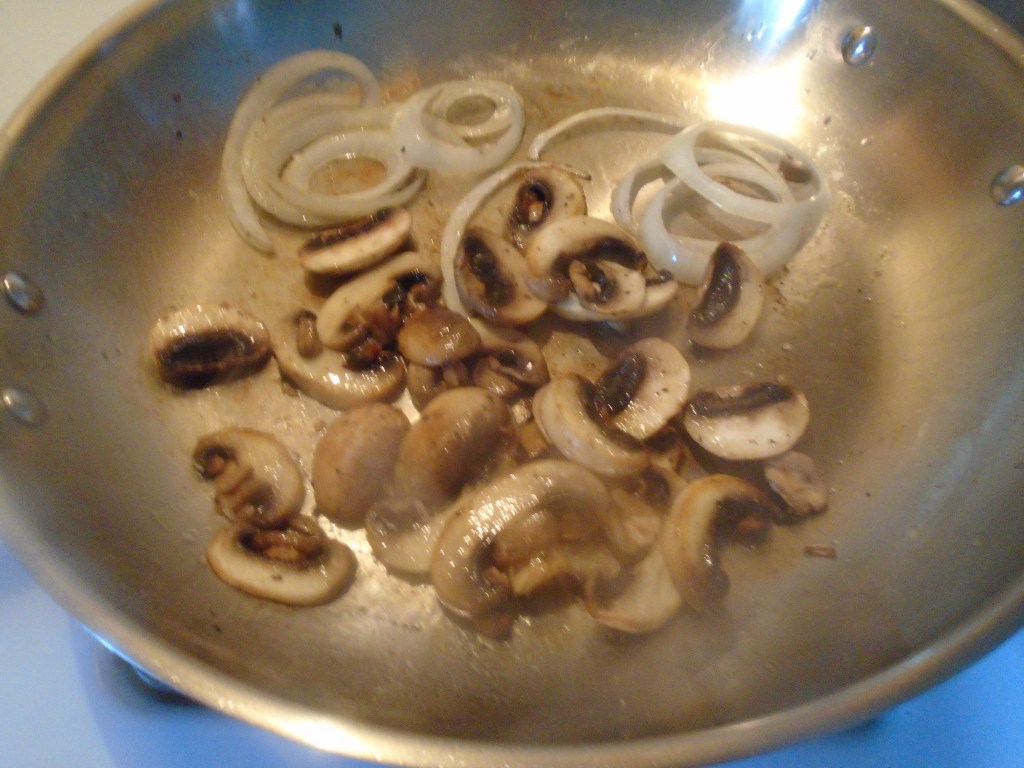
Sauté the onions and mushrooms in a pan with a little butter.  Don’t overcook the mushrooms.  Sprinkle a little Greek seasoning on the mushrooms.  Set aside.

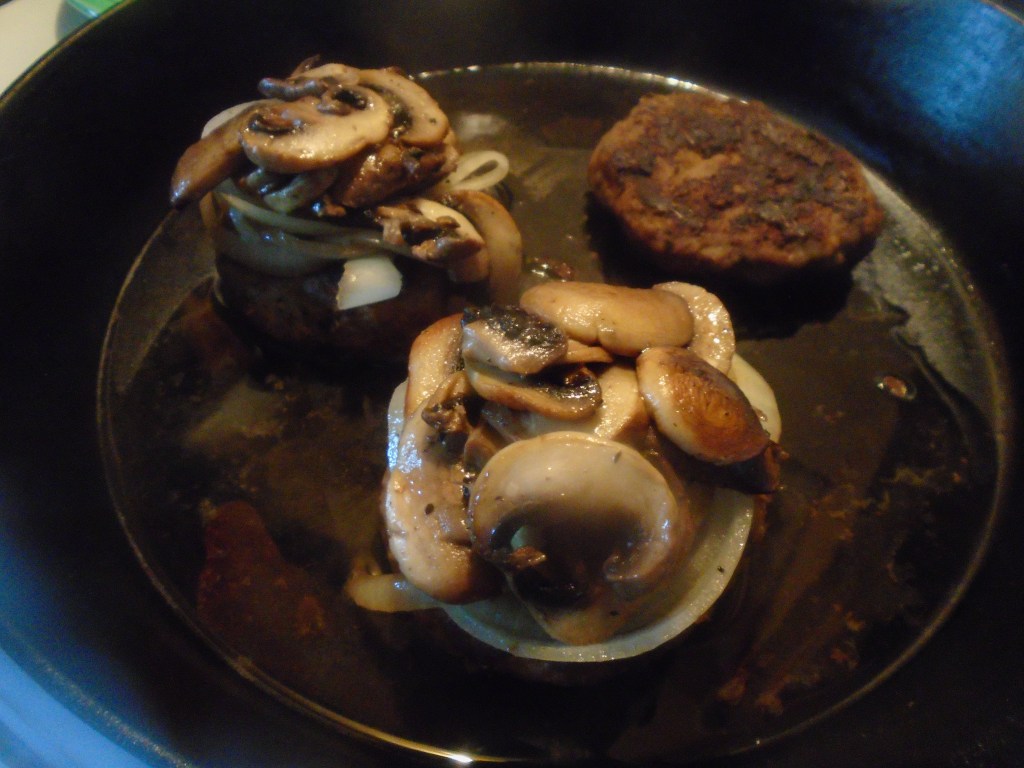
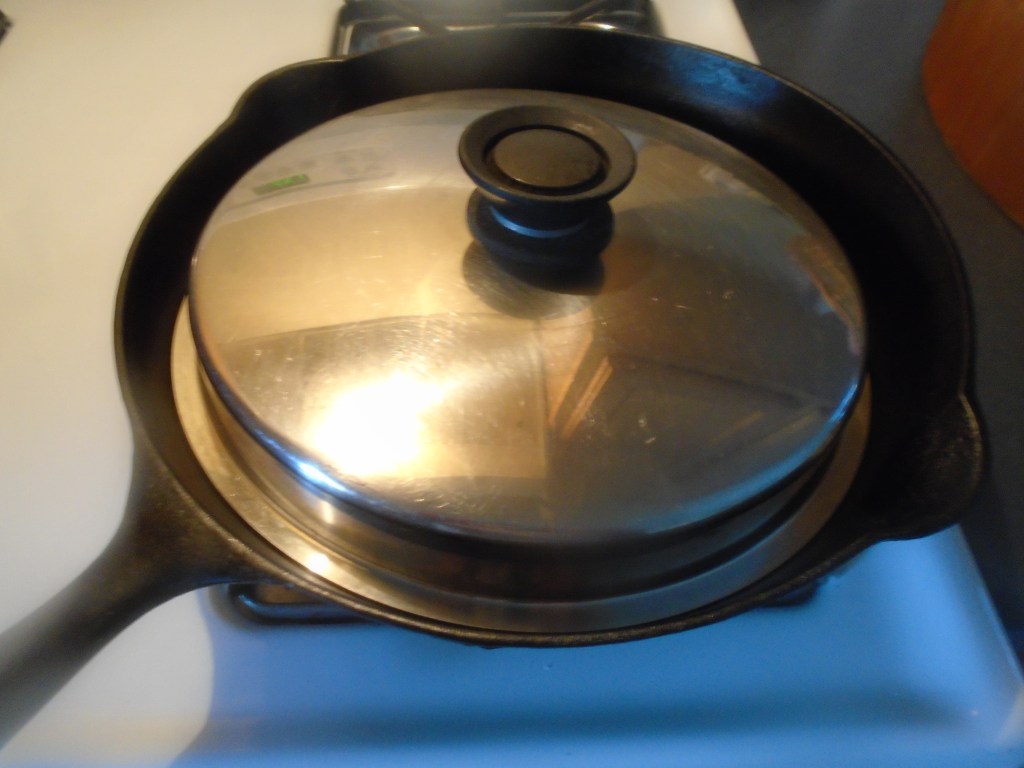
Pull the burgers from the oven and put them in the pan and add a splash of water to the pan.  Lay the mushrooms on top of the burgers and pile the cheese on top of that.  Cover and heat at low/medium for a couple of minutes, just long enough to melt the cheese.

Top with a toothpick and green olive.

Borracho Beans (Frijoles Borrachos)

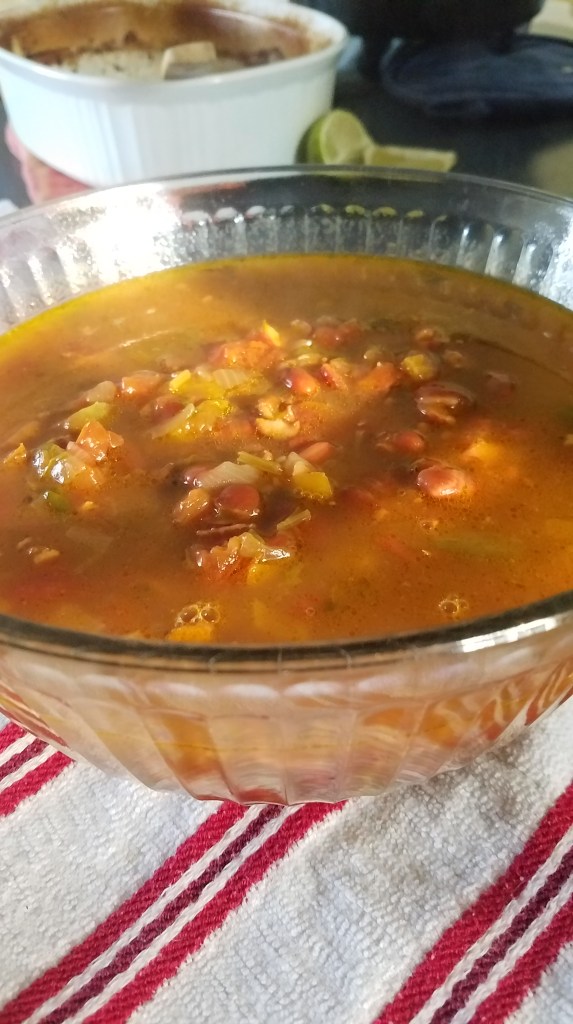
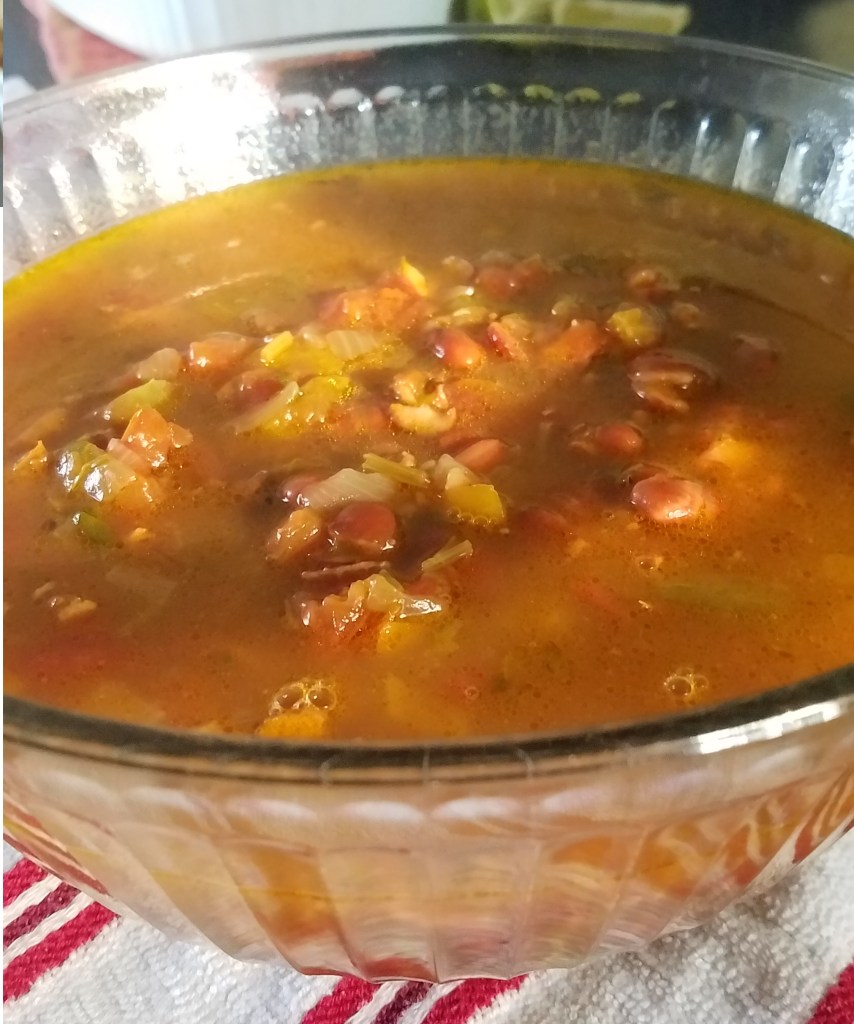
Borracho translates to “drunk” in English, so these are “Drunk Beans”.  I suppose they are called this because one of the ingredients is beer.  The alcohol cooks out and, honestly, I can’t detect the flavor of beer in the final soup.  I guess I include the beer out of habit.

The soup is very flavorful and satisfying.  It warms the heart, as any good soup or stew should.

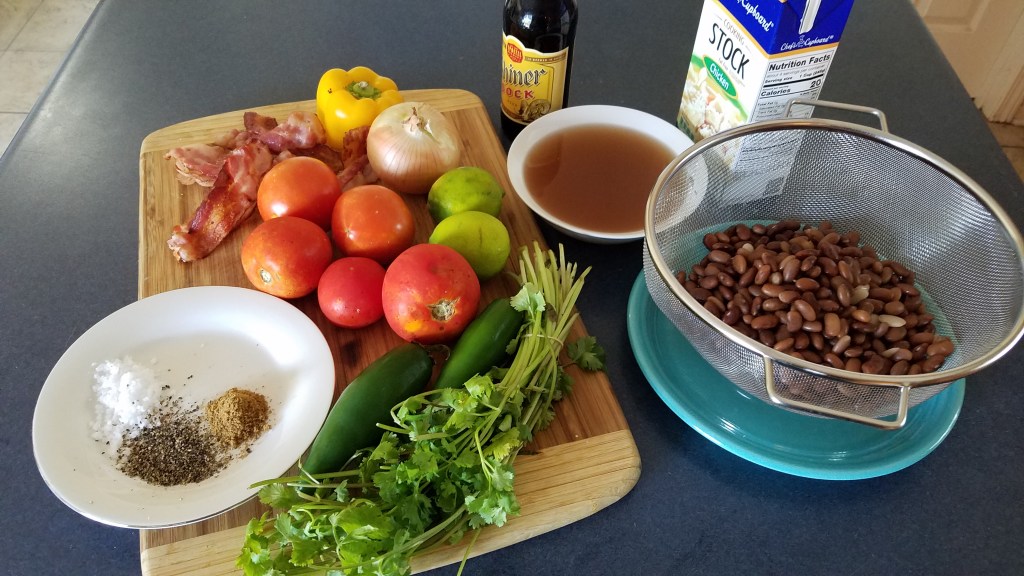
Ingredients:

1 lb dried pinto beans

½ lb of Bacon

1 onion, chopped

2 jalapeños or serrano chilis, chopped

2 cloves of garlic, chopped

4 or 5 tomatoes, chopped (or a 15 oz can of diced tomatoes)

1 bottle of beer (I used Shiner Bock)

4 cups Chicken Broth (32 oz carton)

1 tsp ground cumin

1 cube of tomato bouillon

½ cup chopped cilantro

½ tsp salt

¼  cup fresh lime juice (about 3 limes)

Directions:

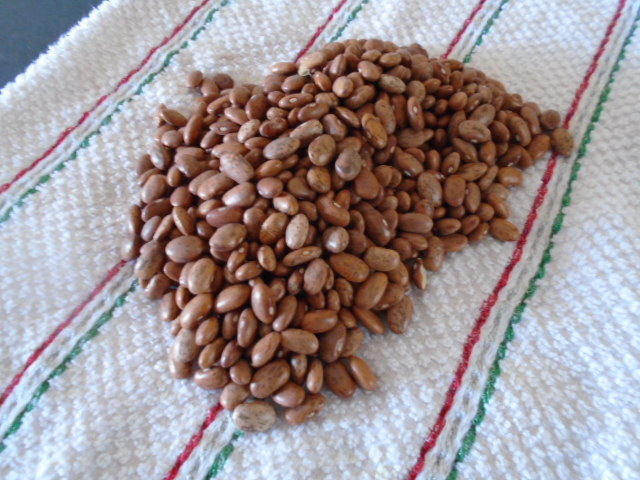
Wash and sort the beans.  Remove any shriveled beans and stones.

Presoak the beans.  You can soak them in water overnight or, you can use a faster method.  I prefer the fast method.

Fill a large pot with water and bring it to a rapid boil.  Add the dry beans and boil for two or three minutes.  Turn the heat off and cover the pot.  Allow the beans to soak for an hour.  Reserve 1 cup of the water from the beans and drain the rest of the soaking water. 

Put the beans in a 7 quart Dutch oven (or a large oven-proof pot).

Cook the bacon in a pan.  Don’t overcook it.  Remove the cooked bacon and keep bacon fat in the pan.  Chop the cooked bacon into ½ inch pieces and set aside.

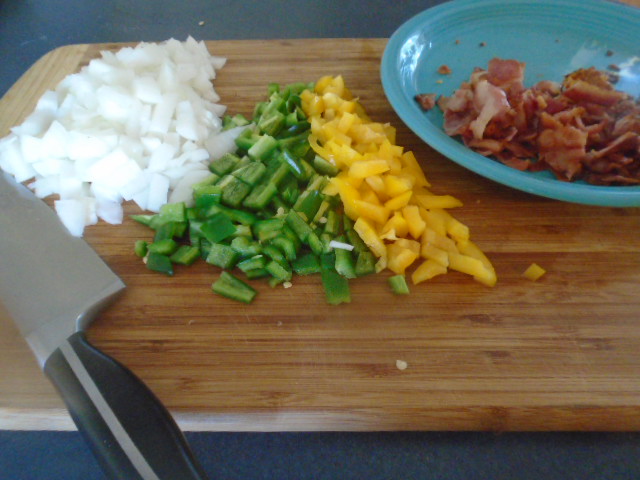
Chopped onion, jalapeño and yellow bell pepper

Add the onions, jalapeños and garlic to the pan and simmer on medium heat.  Stir until the onions are softened…about 3 minutes.

Notice the slice of red habanero. I stirred it along with the other peppers and onions for about 30 seconds and then I removed it.
Add everything to the pot and cook for 5 hours.

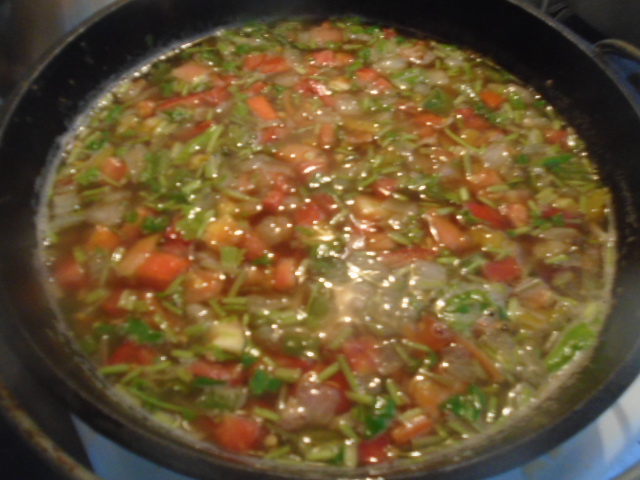
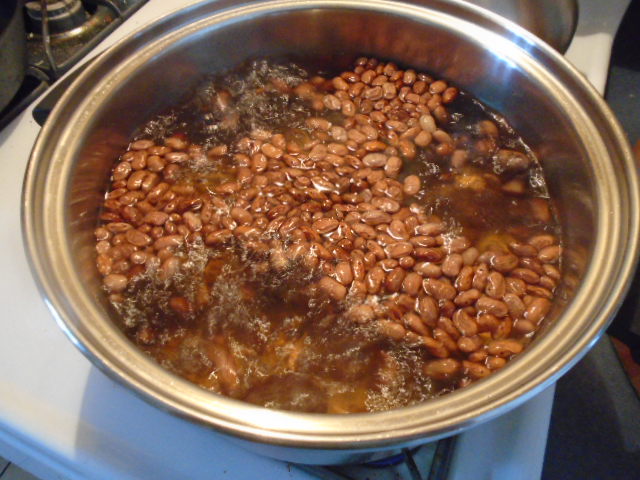
Add all of the ingredients to beans in the Dutch oven, except for the lime juice.  Stir to combine.  Cover the Dutch oven and cook on the stove top at low heat for 4 or 5 hours.  Stir every hour, or so.  When the beans have softened, the soup is ready to eat.  Turn off the heat and add the lime juice.

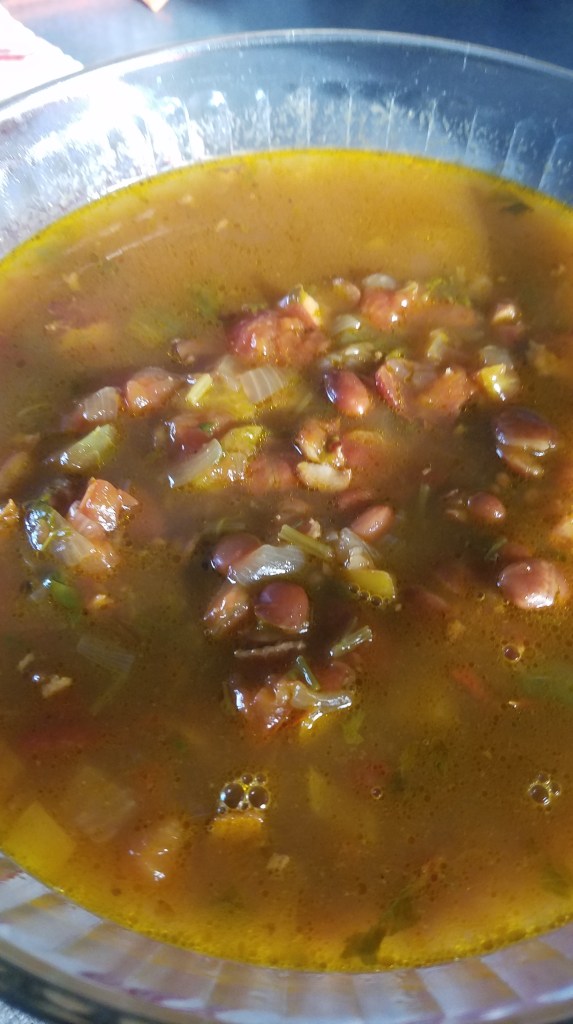
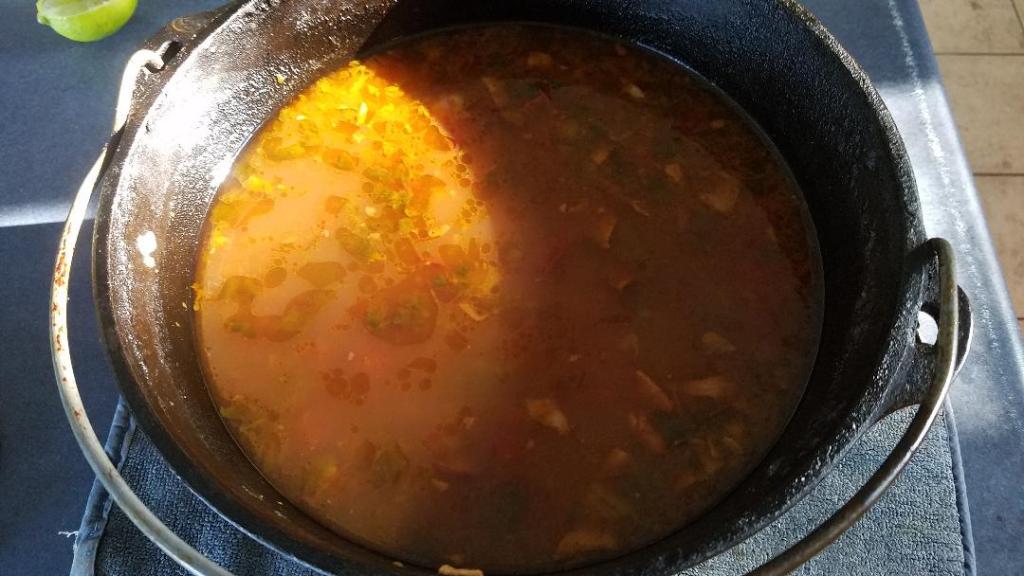
After 5 hours of simmering…ready to eat.

Barbacoa de Res

Before we get down to business let me just say that barbacoa is a very special thing.  Barbacoa is more than just slow cooked meat.  Much more.  Preparing barbacoa is a time-honored tradition in Mexico.  The tradition spread to Texas years ago, along with the Mexican immigrants who introduced the cuisine.  Anywhere you find a sizeable Mexican population you are bound to find barbacoa. 

The origins of barbacoa are steeped in history and culture.  Ancient cultures, and not-so-ancient cultures, adhere to the notion that the animals we eat should be respected and treated with reverence.  When an animal is slaughtered it should be treated with dignity and it should be thanked for the sustenance that it provides to us.  Using all parts of the animal pays respect to the animal.  This ritual is a sacred rite and one that is increasingly disappearing in our modern culture.

Barbacoa is typically served on weekends.  It is presented to family and friends as a celebration of life.

Cooking methods vary from place to place.  Traditionally, barbacoa is made from young goat (cabrito), lamb (borrega), beef (res) or pork (cochina).  The entire animal is often used, including entrails and stomach.  If you want to make barbacoa the traditional way you will need to dig a pit, line it with fire resistant bricks, slaughter and butcher an animal, obtain some agave leaves (hojas de maguey), prepare an intensely hot fire and layer all of the ingredients in the pit, cover the pit with sheet metal and wait for several hours. 

I don’t have an underground brick oven…but don’t think for a minute that I haven’t considered making one!  I have had authentic barbacoa on a few occasions and words can’t sufficiently describe how rich and wonderful  the experience was. 

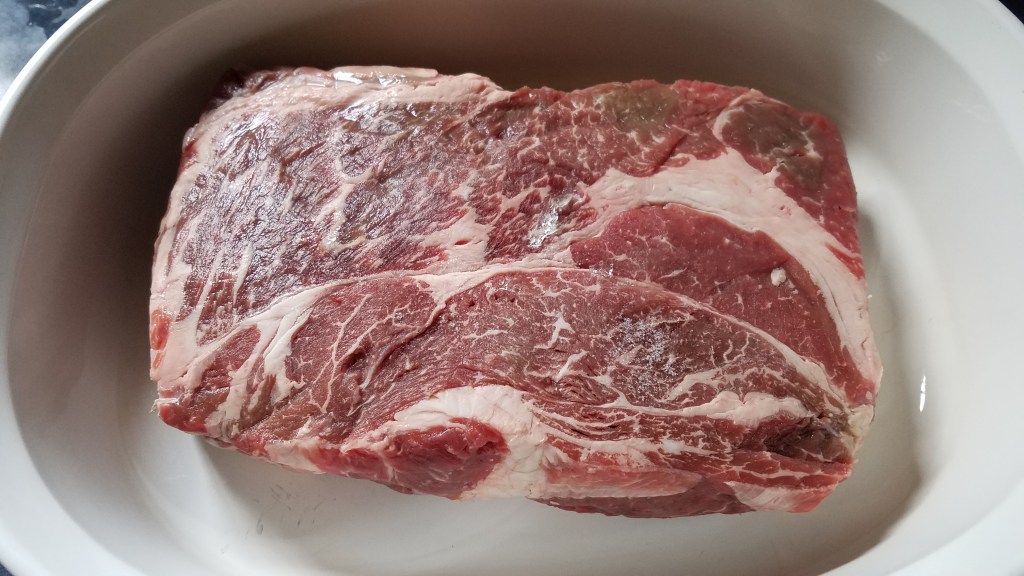
Since I don’t have an underground pit, I buy beef shoulder roasts (chuck roast) and braise the meat in a Dutch oven, or a covered casserole dish.  Sounds simple, when you compare this to the effort involved with the traditional method, right?   

The chuck roast is a tough, muscular cut of beef, which means it contains a good amount of collagen.  When you cook it at a low temperature for a long period of time, the collagen dissolves and becomes gelatinous, and that is what makes the meat moist and succulent.  

If you have the luxury of living in a place where you can get fresh beef from a butcher, ask the butcher for a “blade roast”.  A blade roast is a shoulder roast that contains part of the shoulder blade.  As the roast cooks, the bone imparts rich flavor and the meat that is next to the bone becomes very tender. 

In Mexico, barbacoa is served with soft, warm corn tortillas.  Here in the states, we tend to use warm flour tortillas.  Both kinds of tortillas are equally good in my mind, when it comes to barbacoa tacos.  If you want to make this meal even more special, find freshly made corn tortillas or homemade flour tortillas.  See my recipe here for homemade tortillas

Okay, let’s make some barbacoa!

Ingredients:

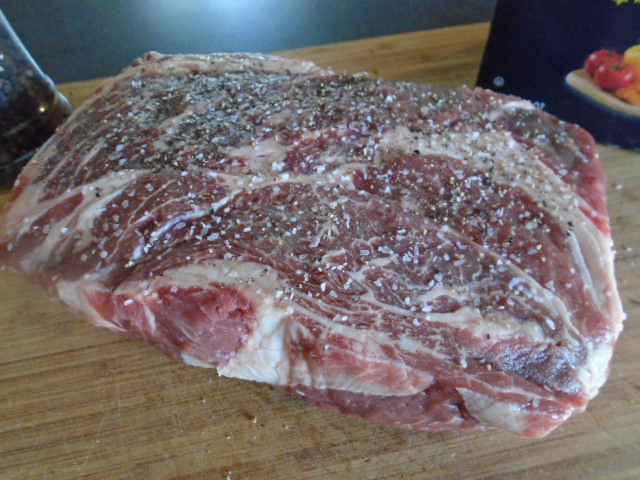
Beef shoulder roast (chuck roast) 3 to 5 lbs.

2 Tbs cooking oil

2 cups chicken stock (or vegetable stock)

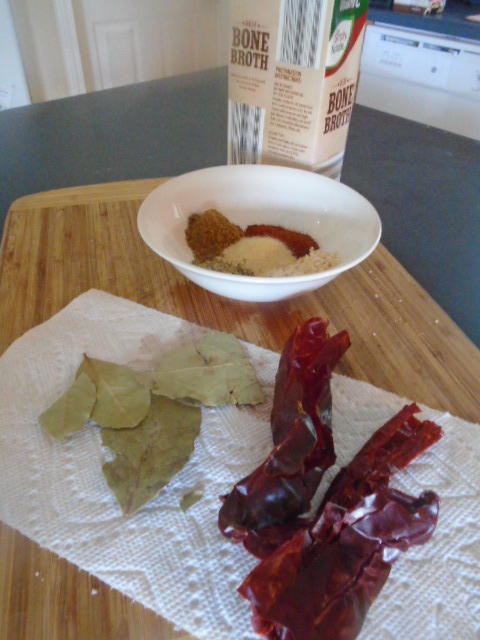
3 or 4 dried guajillo chilis, stemmed and seeded

3 or 4 bay leaves

2 Tbs dried onion flakes

2 Tbs paprika

2 Tbs cumin powder

2 Tbs garlic powder

2 Tbs oregano (Mexican oregano is preferred)

Directions:

Heat an oven to 225°.

Apply salt and pepper to the raw meat. 

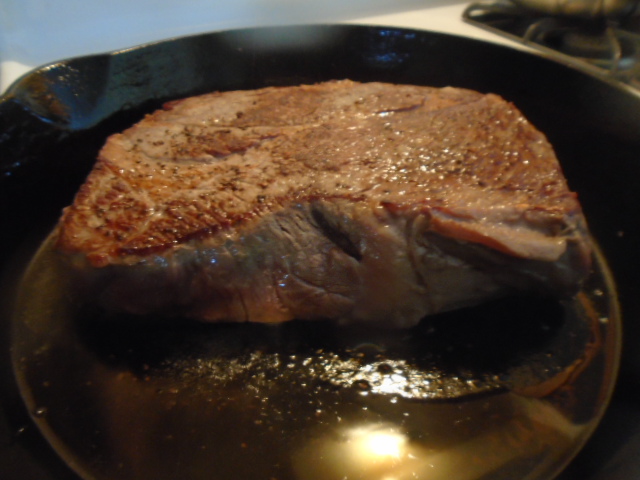
Sear the meat in a hot skillet, with a little oil.

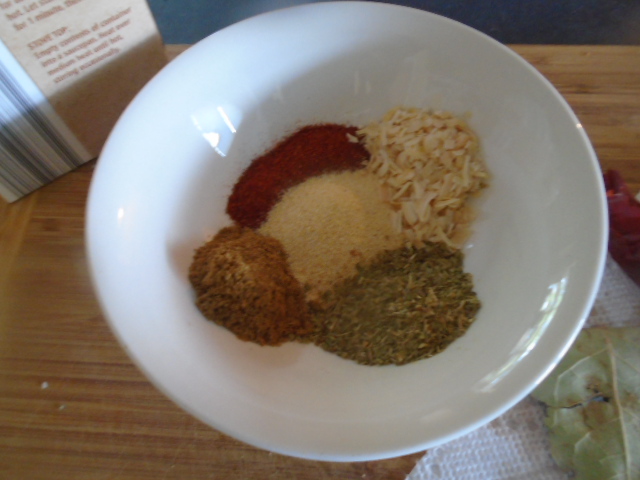
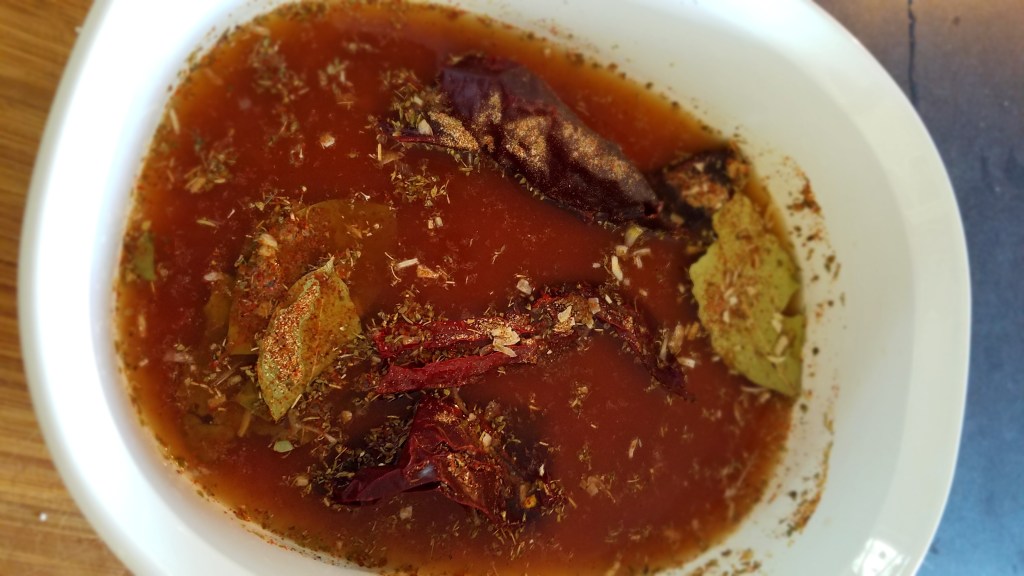
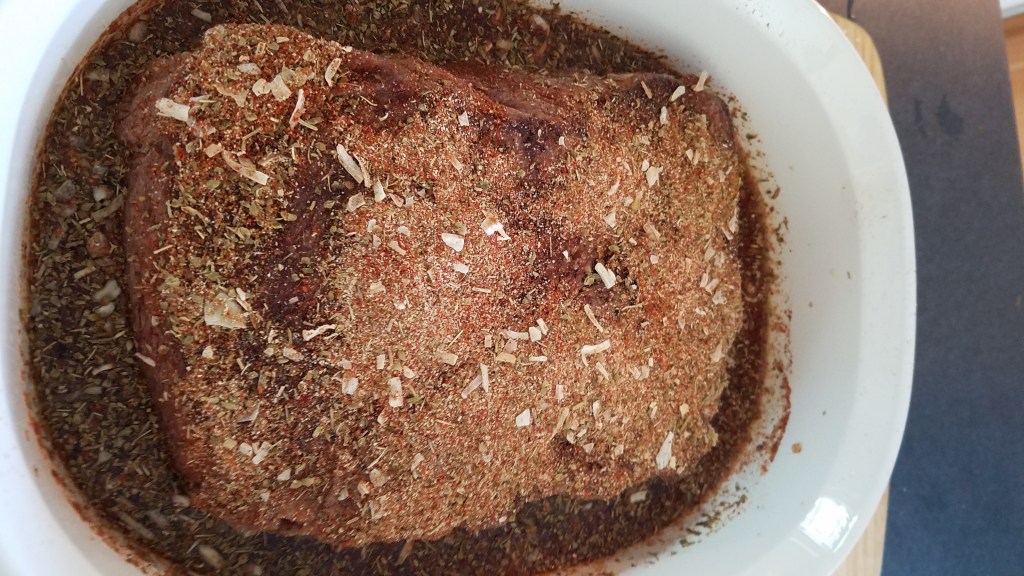
Add the stock, bay leaves and most of the spice mix to a Dutch oven or casserole dish. 

Spread the rest of the spices on top of the meat and cover.

Braise in the oven for 5 hours.

Pull the meat from the oven and let it rest for 10 minutes.

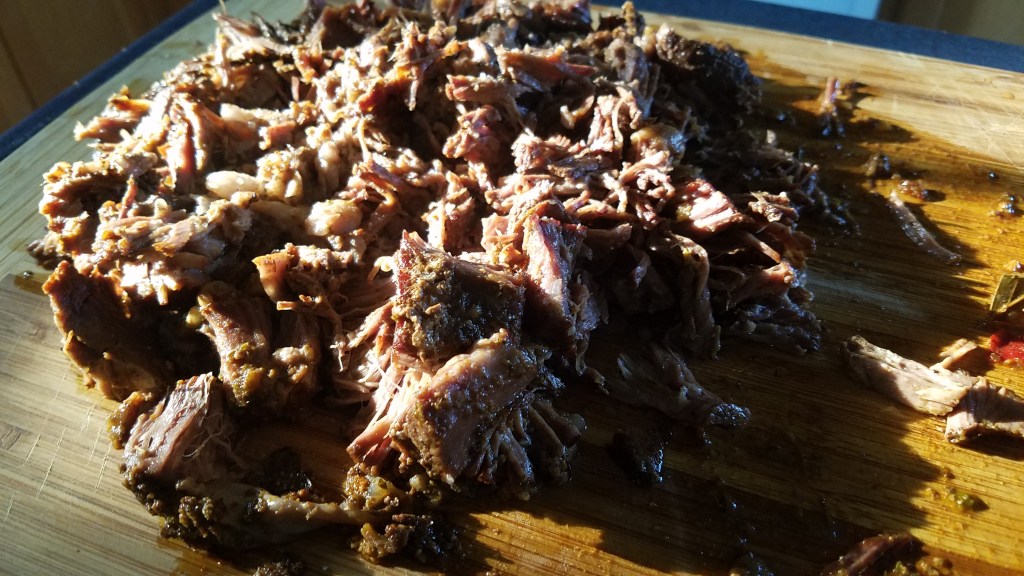
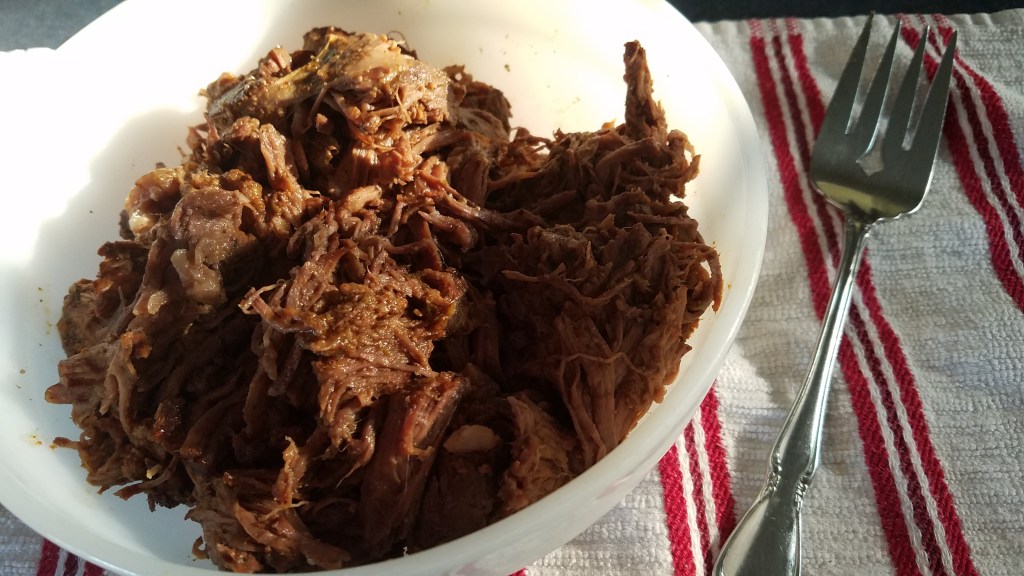
Shred the meat with two forks and transfer to a serving bowl.  (Make sure to remove any stray bay leaves and chilis before shredding.)

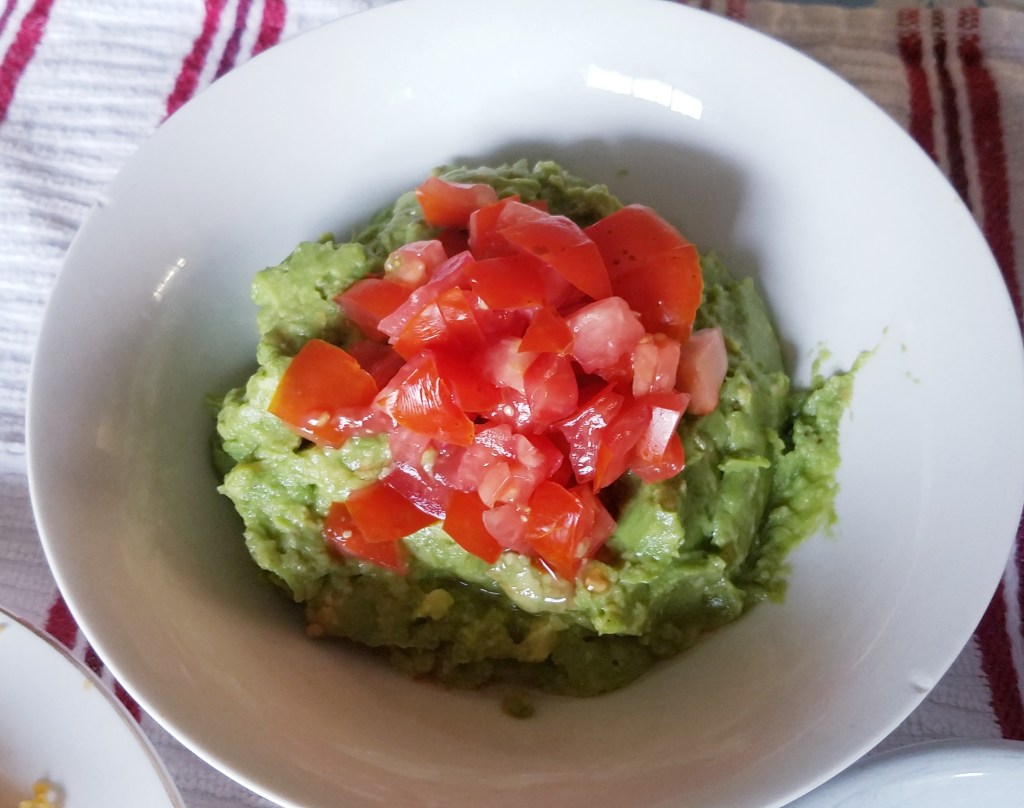
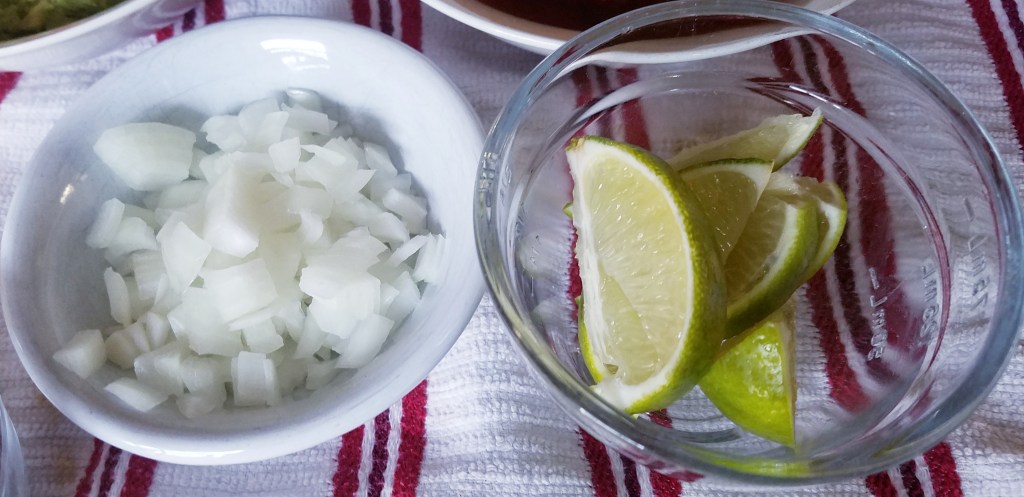
Serve with warm tortillas, guacamole, fresh tomatoes, onions, cilantro and lime wedges. 

To complete the meal, include side dishes like refried beans, borracho beans, fried potatoes or Spanish rice.

Above all, as you sit down to eat, consider the ranchers and farmers that made the meal possible.  Consider the sacrifices that we all make for each other as we try to make each other happy, safe and healthy. 

Yin and Yang Chicken Wraps

Sometimes I crave very spicy food.  And by sometimes, I mean about once a week.  I don’t always act on the impulse but when I do, I go all out.

I’m not the kind of person that goes around bragging about eating super-hot-spicy peppers and I’m not the kind of guy that likes to trick people with wickedly spicy food.  I just like the stuff.  Spicy food makes me happy.  It brings me peace when I need it.  I tend to crave very spicy food after a stressful day at work.  I feel as though I can burn away a bad day with blistering hot food.  Sometimes I just want something very spicy for no reason at all.  Like I said, I just like the stuff.

I call this Yin and Yang Chicken Wraps because it exists in perfect balance.  Admittedly, it contains things that are not so healthy yet, it contains things that are very healthy for you.  Think of it as the dichotomy of Good and Evil.

Good:  mango, chilis, lettuce, carrots, onions, cilantro, garlic and sour cream.

Evil: fried chicken, flour tortillas and mayonnaise.

Without evil, could we appreciate good?  Without good, could we perceive evil?  Oh yes, this is going to be some very philosophical food!

Another aspect of yin and yang provided by this recipe relates to taste sensations.  Spicy and Soothing. 

Spicy: all of the peppers and hot sauces

Soothing: mango, lettuce, sour cream and cilantro.

This recipe is relatively quick and easy to make.  In fact, if you pare it down to the core, it’s really just fried chicken strips with hot sauce and some vegetables, wrapped into a large burrito.  The ingredients may change, based upon what I have at hand.  Since I am growing chili peppers in my garden, I have lots of ways to bring spicy heat and bold flavors. 

red habaneros

Habaneros are the key in this particular recipe.  If  you have never tried fresh habanero, you should try them.  Be careful, though.  Habaneros are VERY spicy.  Slice a tiny sliver from a fresh habanero and pop it into your mouth.  Bite once and spit it out.  You will get a big dose of heat from the spice but not so much to knock you down.  You will also get to experience a most unique chili flavor.  There’s no other chili pepper like the habanero.  The taste is vibrant and unlike any other chili I have tasted.

If you want to try cooking with habanero but are concerned about being blown away by the excessive heat, try adding a slice or two to a stir fry.  Stir it with other items in the wok and pull it out after 10 or 15 seconds.  You will get the flavor and some of the heat.  If you like it, add a little more but beware, you can always add more habanero to a dish but you can never take it away.  Once it imparts its heat, you can’t undo it.

Notice that I also use ghost pepper powder.  Ghost pepper (Bhut jolokia) makes the habanero seem sweet and innocent, by comparison.  Ghost peppers provide extreme heat and very little flavor.  Any flavor a ghost pepper might provide is hidden behind screaming fire.  I grow ghost peppers and dehydrate them and grind them into a powder. 

A word of warning:  set your dehydrator outdoors or in a ventilated, open garage.  The fumes are practically lethal.  And, once in powder form, the ghost pepper is as strong as mace.  I’m serious.  You should use latex gloves and a mask and goggles when working with dried ghost pepper.  I don’t, but I should.

The way I use ghost pepper in this recipe gives some spice to the chicken but, after frying, the spiciness dissipates remarkably.  You will get a bigger kick from the habanero and jalapeño…believe me. 

If you want to make a tame version of this, skip all of the peppers and hot sauce and use everything else.

Ingredients:

3 chicken breasts

2 Tbs garlic powder

2 Tbs paprika

2 cups flour

3 Tbs cornstarch

2 eggs

1/3 cup cooking oil

1 mango, peeled and chopped

3 habanero chilis, thinly sliced

3 jalapeños, sliced

1 tsp ghost pepper powder (optional)

¼ onion, thinly sliced

½ cup cilantro

½ cup carrots, sliced

1 cup lettuce, julienne sliced

1 Tbs Salt

4 burrito sized flour tortillas

Ingredients for the sauce:

½ cup mayonnaise

¼ cup sour cream

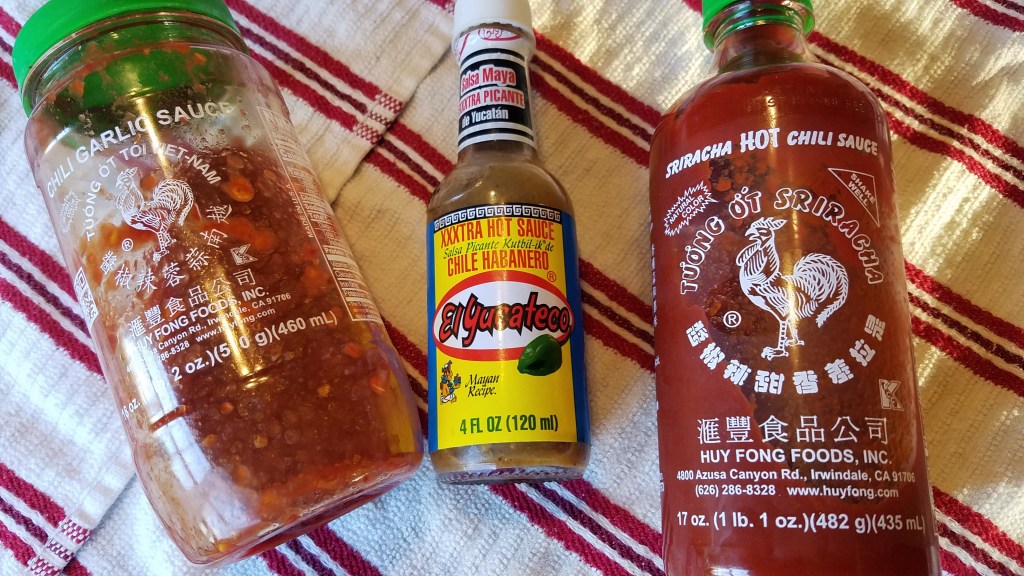
3 Tbs sriracha hot sauce

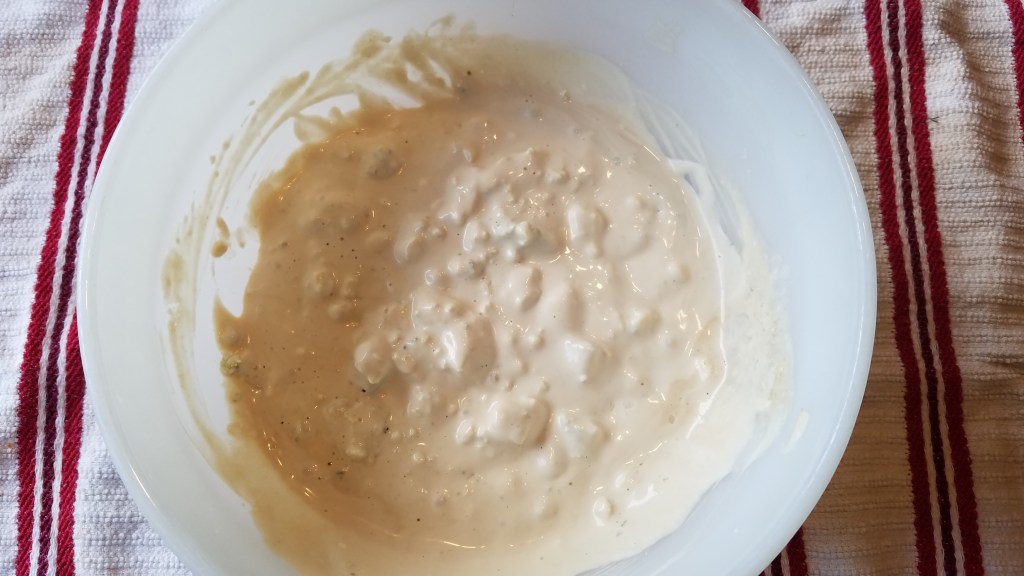
Mix the sauce (mayonnaise, sour cream and sriracha).  Set aside

Additional sauces (for adventuresome risk takers):

Louisiana hot sauce

Habanero hot sauce

Directions:

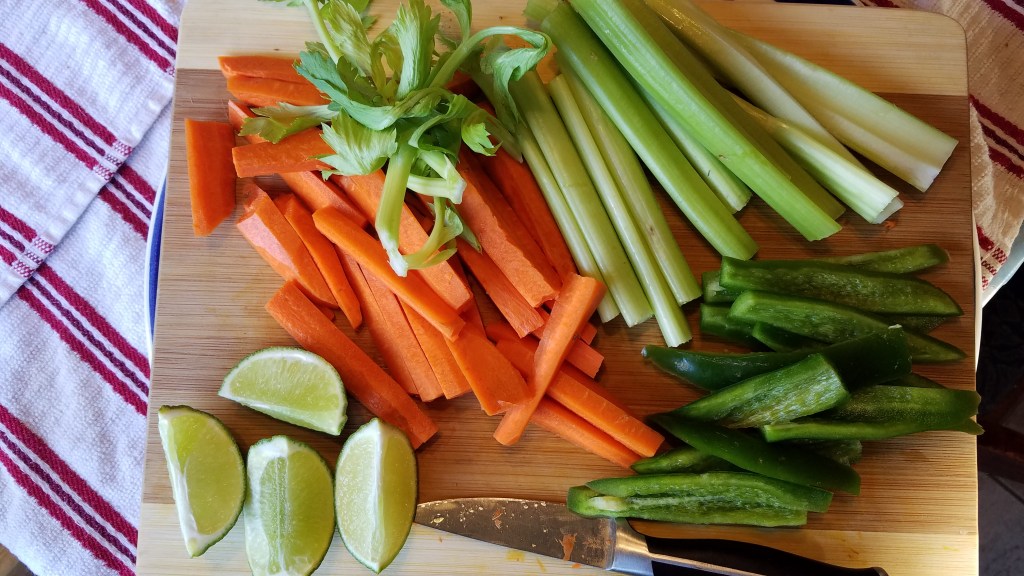
Prepare the vegetables and set aside.

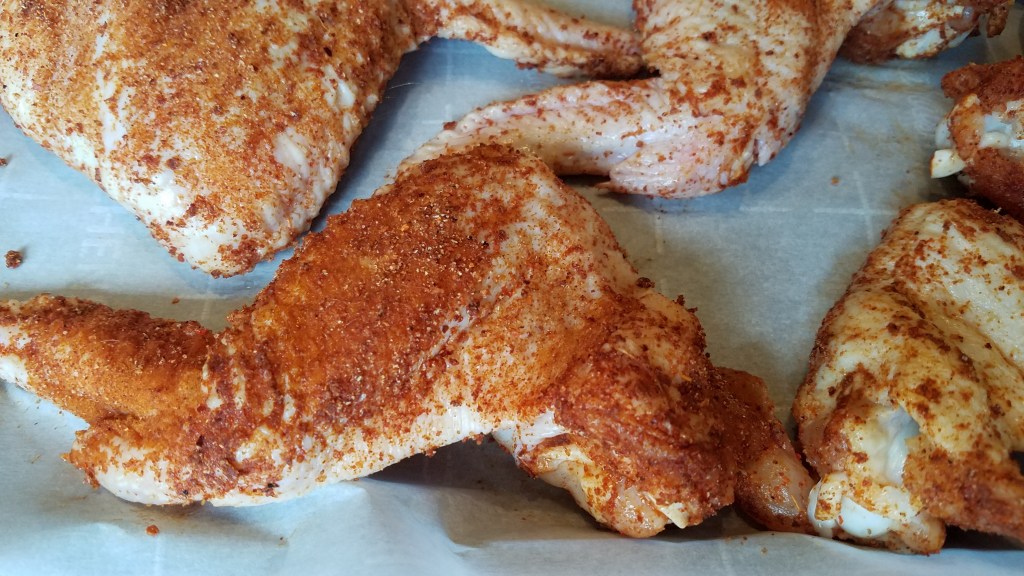
Lay the chicken breasts on a cutting board and slice them scallopini-style.  Hold the chicken breast in place with the palm of your hand.  Slice the breast in half horizontally, starting at the thickest end and work your way to the thinner end.  Dust the chicken with paprika and ghost pepper powder.

Prepare the flour dredge by whisking the flour and cornstarch in a large mixing bowl. 

Dredge the chicken in the flour mixture and let the chicken rest in the bowl for 10 or 15 minutes.  The flour will mix with the moisture on the surface of the chicken and the chicken will become tacky, to the touch. 

While the chicken rests, add the cooking oil to a skillet and set the heat to medium. 

Mix the eggs in a shallow dish.

Dip the chicken in the egg and then dredge the chicken in the flour mixture again.  Shake off excess flour and lay the chicken in the hot oil.  Do not crowd in the pan.  You will probably need to fry in two batches.

Since the chicken has been sliced in half, it will cook quickly.  Turn the chicken after a few minutes and turn again.  Keep turning the chicken every few minutes until the chicken is crisps and becomes golden brown.  Remove to a paper towel lined plate.  Sprinkle a little salt on the chicken.  Slice the chicken into ½“ strips.

Warm the burrito sized tortillas in a microwave oven until they are soft and pliable. 

Lay a tortilla on a clean work surface.  As you prepare the wrap you will want to lay everything down horizontally.  Smear some of the sauce in the center of tortilla.  Lay the vegetables, herbs and mango down on top of the sauce.  Lay some chicken on top of the vegetables.
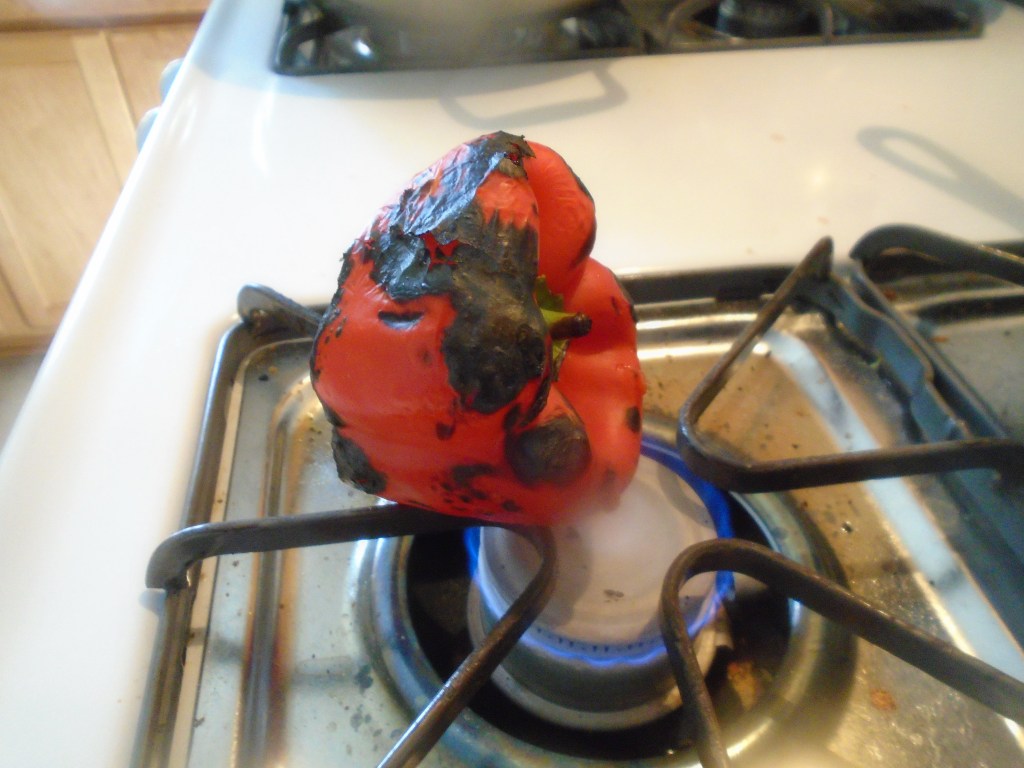
Add hot sauce, if desired.

Wrap the tortilla by folding the sides inward, toward the middle and roll the tortilla.

Serve with your favorite drink.  Milk, if you want some relief from the heat.  Beer, if you’ve had a particularly rough day.

Turkey Burgers

It seems to me that ground turkey gained popularity sometime during the 1980’s.  People were turning away from red meat and they were looking for something that was healthier.  I didn’t jump on the turkey wagon right away. 

But, as time passed, I kept trying new things and ground turkey was something I finally got around to.  If you want reduce the amount of fat in your diet, get ground turkey breast.  Most ground turkey in supermarkets combine the light and dark parts of the turkey, which might have as much or more fat content than very lean beef. 

Aw, who cares…

Control your portions, get some exercise and get a good night’s sleep and stop worrying so much.

One of the things I dislike about some recipes that call for ground turkey is that they attempt to mimic the texture and flavor of beef.  That seems dishonest to me.  I don’t want to be fooled by food.  I want something straightforward and honest. 
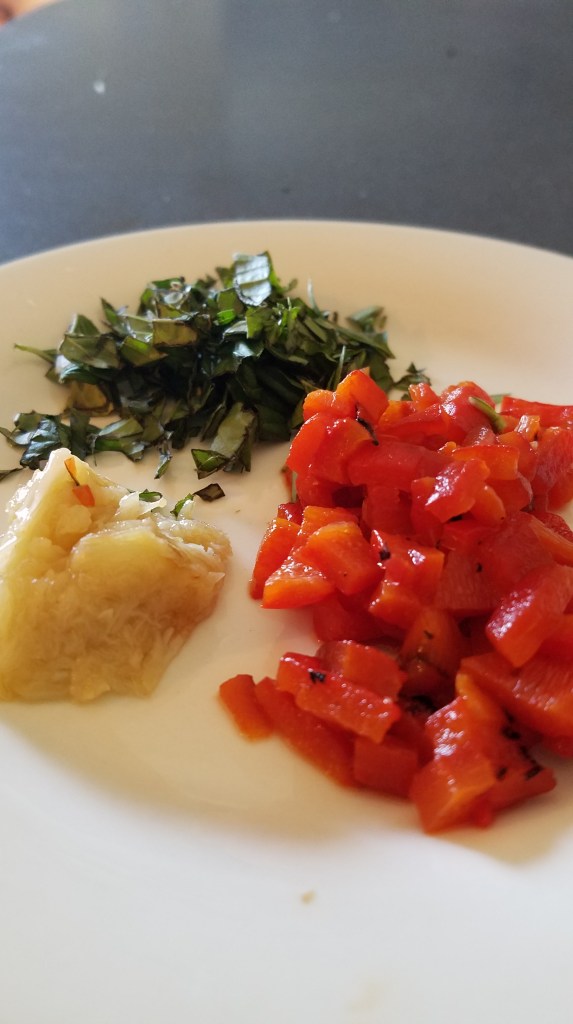
I remember when my kids were little and they were going through their chicken nugget phase.  Once, when I was picking up a bag of chicken nuggets at the store, I saw some chicken nuggets that were dinosaur shaped.  Really…?  Who were they trying to fool?  Oh…kids, that’s right.  Well kids, guess what?  You’re not really eating miniature dinosaurs.  You’re eating a glob of crunchy processed chicken.
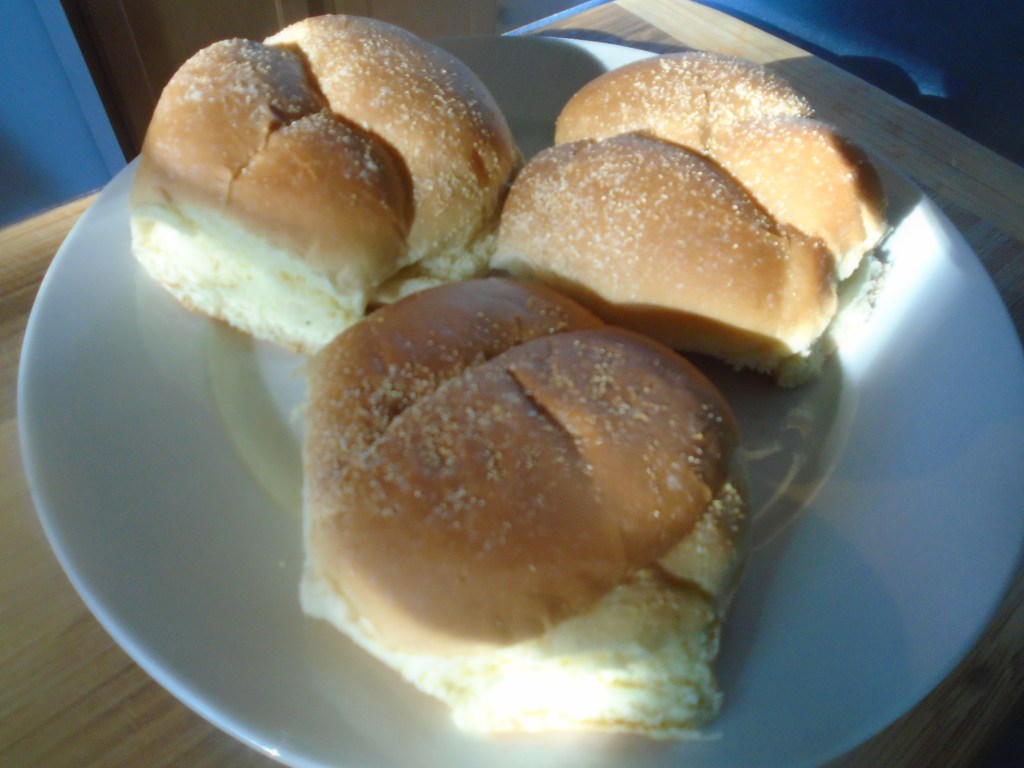
Alright, enough of that!  Let’s make some honest turkey burgers. 

Ingredients:

1 lb ground turkey

1 egg

1/4 cup bread crumbs

2 Tbs mayonnaise

1 Tbs garlic powder

2 Tbs Worcestershire sauce

2 Tbs chopped basil

1 Tbs kosher salt

1 Tbs ground black pepper

1 Tbs cooking oil

4 Hamburger buns (I used brioche buns)

(Burger toppings…lettuce, tomato, pickles, etc.)

Ingredients for sauce:

2 Tbs mayonnaise

1 Tbs Dijon mustard

½ tsp hot sauce

Directions:

Mix the ingredients for the sauce in a small bowl.  Set aside.

This is a double batch…I used 3 eggs.

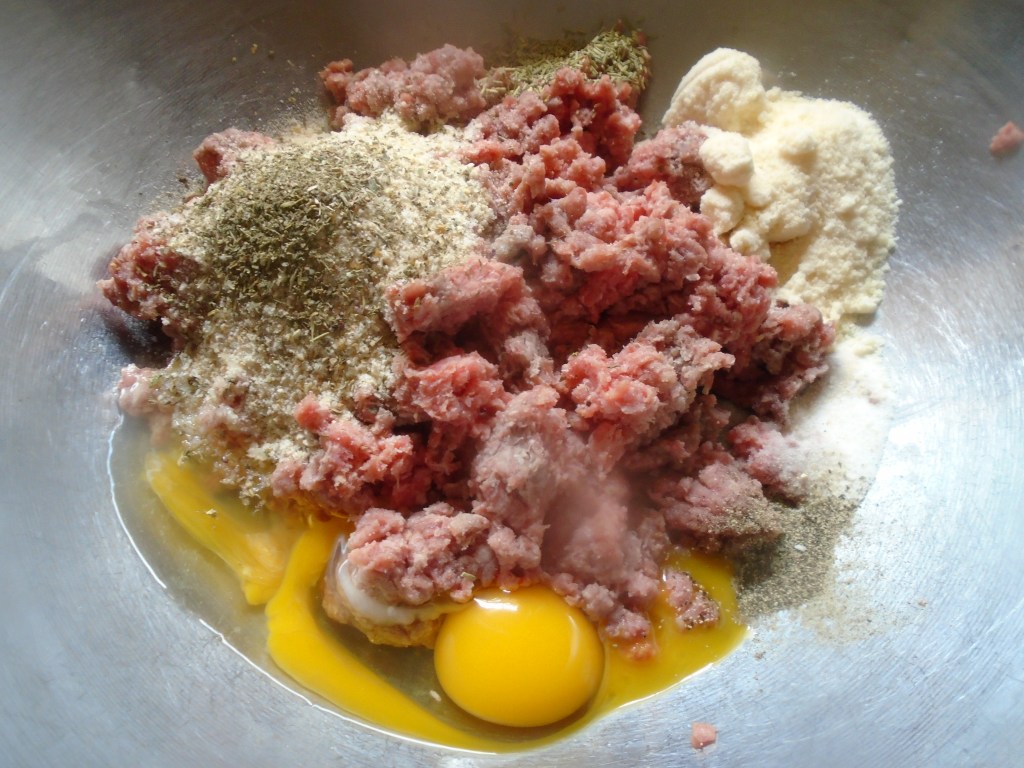
In a large bowl, mix together turkey, egg, garlic, Worcestershire sauce, 2 tablespoons of mayonnaise and basil, and season with salt and pepper.  Form the mixture into four balls.  Don’t be alarmed to find that the mixture is a bit “wet”.  This isn’t beef.  Don’t worry.  Slightly moisten your hands under tap water as you form the patties.  This will keep the patties from sticking to your hands. 

Heat a skillet to medium heat and add the cooking oil.  Add the patties to the pan.  I actually added the round balls of meat to the pan and pressed them flat with my hand.  That made it easier to form the patties.  Cook for about 2 minutes and then flip the burgers.  Sprinkle a little salt on the burgers and cook for another two minutes and turn one last time.  

Let the burgers cook for another minute, or so, until they are golden and cooked through.  Remove to a plate and keep warm.

Smear a thin amount of sauce on the top bun.  Place a burger on the bottom bun and apply a generous portion of the sauce to the burger.  Add your favorite burger fixings to the burger.

Serve with chips or fries.

Make Your Own Pizza

Recently, I was expecting dinner guests and I didn’t have a plan for the meal.  This happens every now and then and, when it does, I usually resort to something I can practically do in my sleep.  Maybe tacos.  Maybe spaghetti.  No, let’s do pizza again. 

I know what my family likes on their pizzas so I normally just make them according to what I know to be their taste preferences.  If I’m making two pizzas, I might make one with half pepperoni and the other half pepperoni and Italian sausage.  The other pizza might be an “everything pizza”, meaning all of the veggies and assorted meats.  I might slip some anchovies in on the other half of the “everything pizza”, but I have to make sure to put up warning cones around that half of the pizza and announce, “this side has anchovy!” 

It never fails, someone always inadvertently gets a slice with some anchovy.  Life is unfair sometimes.

But, this time I didn’t know what all of the guests like on their pizza…or even if they liked pizza at all, for that matter.  So I thought, why not lay out all of the toppings and allow the guests to dress their own pizza.

I prepared the vegetables and meats and cheese and I even put out a container or marinara, so that they could add as much as they wanted.

It turned out that the dinner party fizzled out and it was just my wife and I.  We wound up making nearly identical pizzas…go figure.

I still think this is a pretty neat idea for a party.  It allows people to congregate in the kitchen, which seems to occur naturally, anyway.  And, it gives everyone the illusion of being able to control their own destiny.  I like that.