Nothing warms the soul like a bowl of good, hot soup. Pozole is much more than just a bowl of hot soup! Pozole is the heart and soul of family and tradition in Mexico. It is often served during holidays and special occasions. It’s a cold remedy during the fall and winter months and it’s the sort of thing contains everything that is good for the body, mind and soul.
The warmth of the broth is essential. The heat of the chiles restores drained energy. The depth of flavor from the vegetables and meat make it a meal by itself.
It’s a strange thing, posting recipes on a food blog. I prepare food and then I post the recipes and pictures, sometimes right away and sometimes days and days later. This post is the last in a series of posts from a dinner party that my wife and I hosted nearly two weeks ago. The memory of the party is still clear in my mind. Good friends and family gathered around to share stories and we had some laughs and we learned just how much we mean to each other. The food that I served seems so distant now but the memories of our visit remains fresh, like homemade bread, warm from the oven.
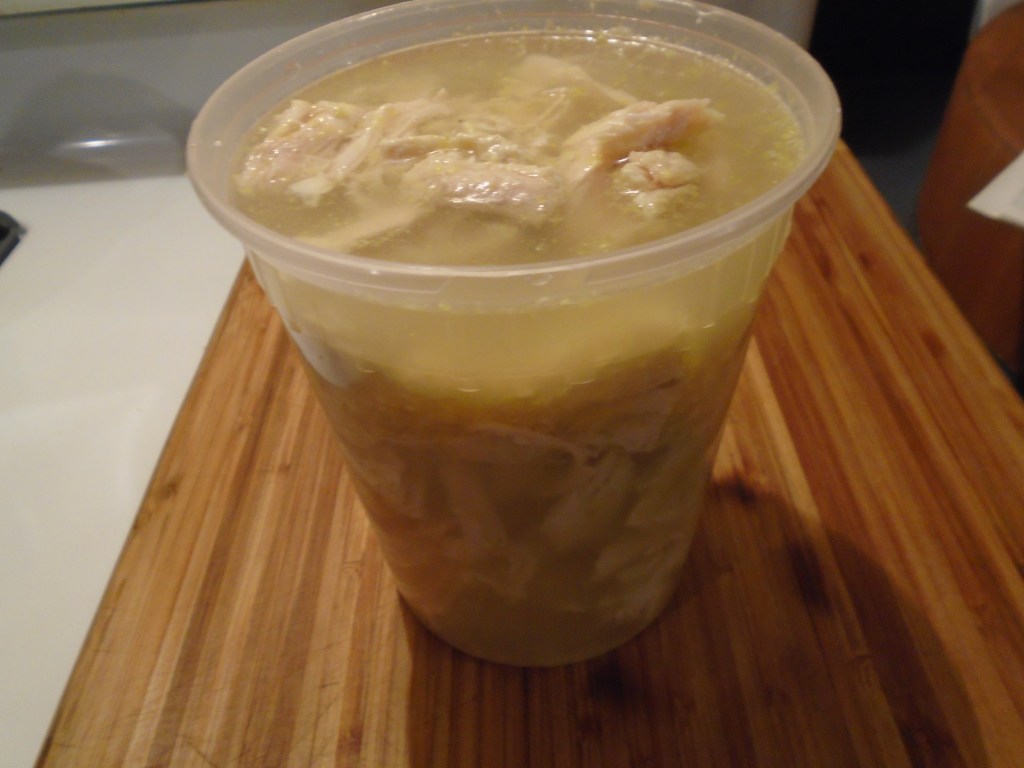
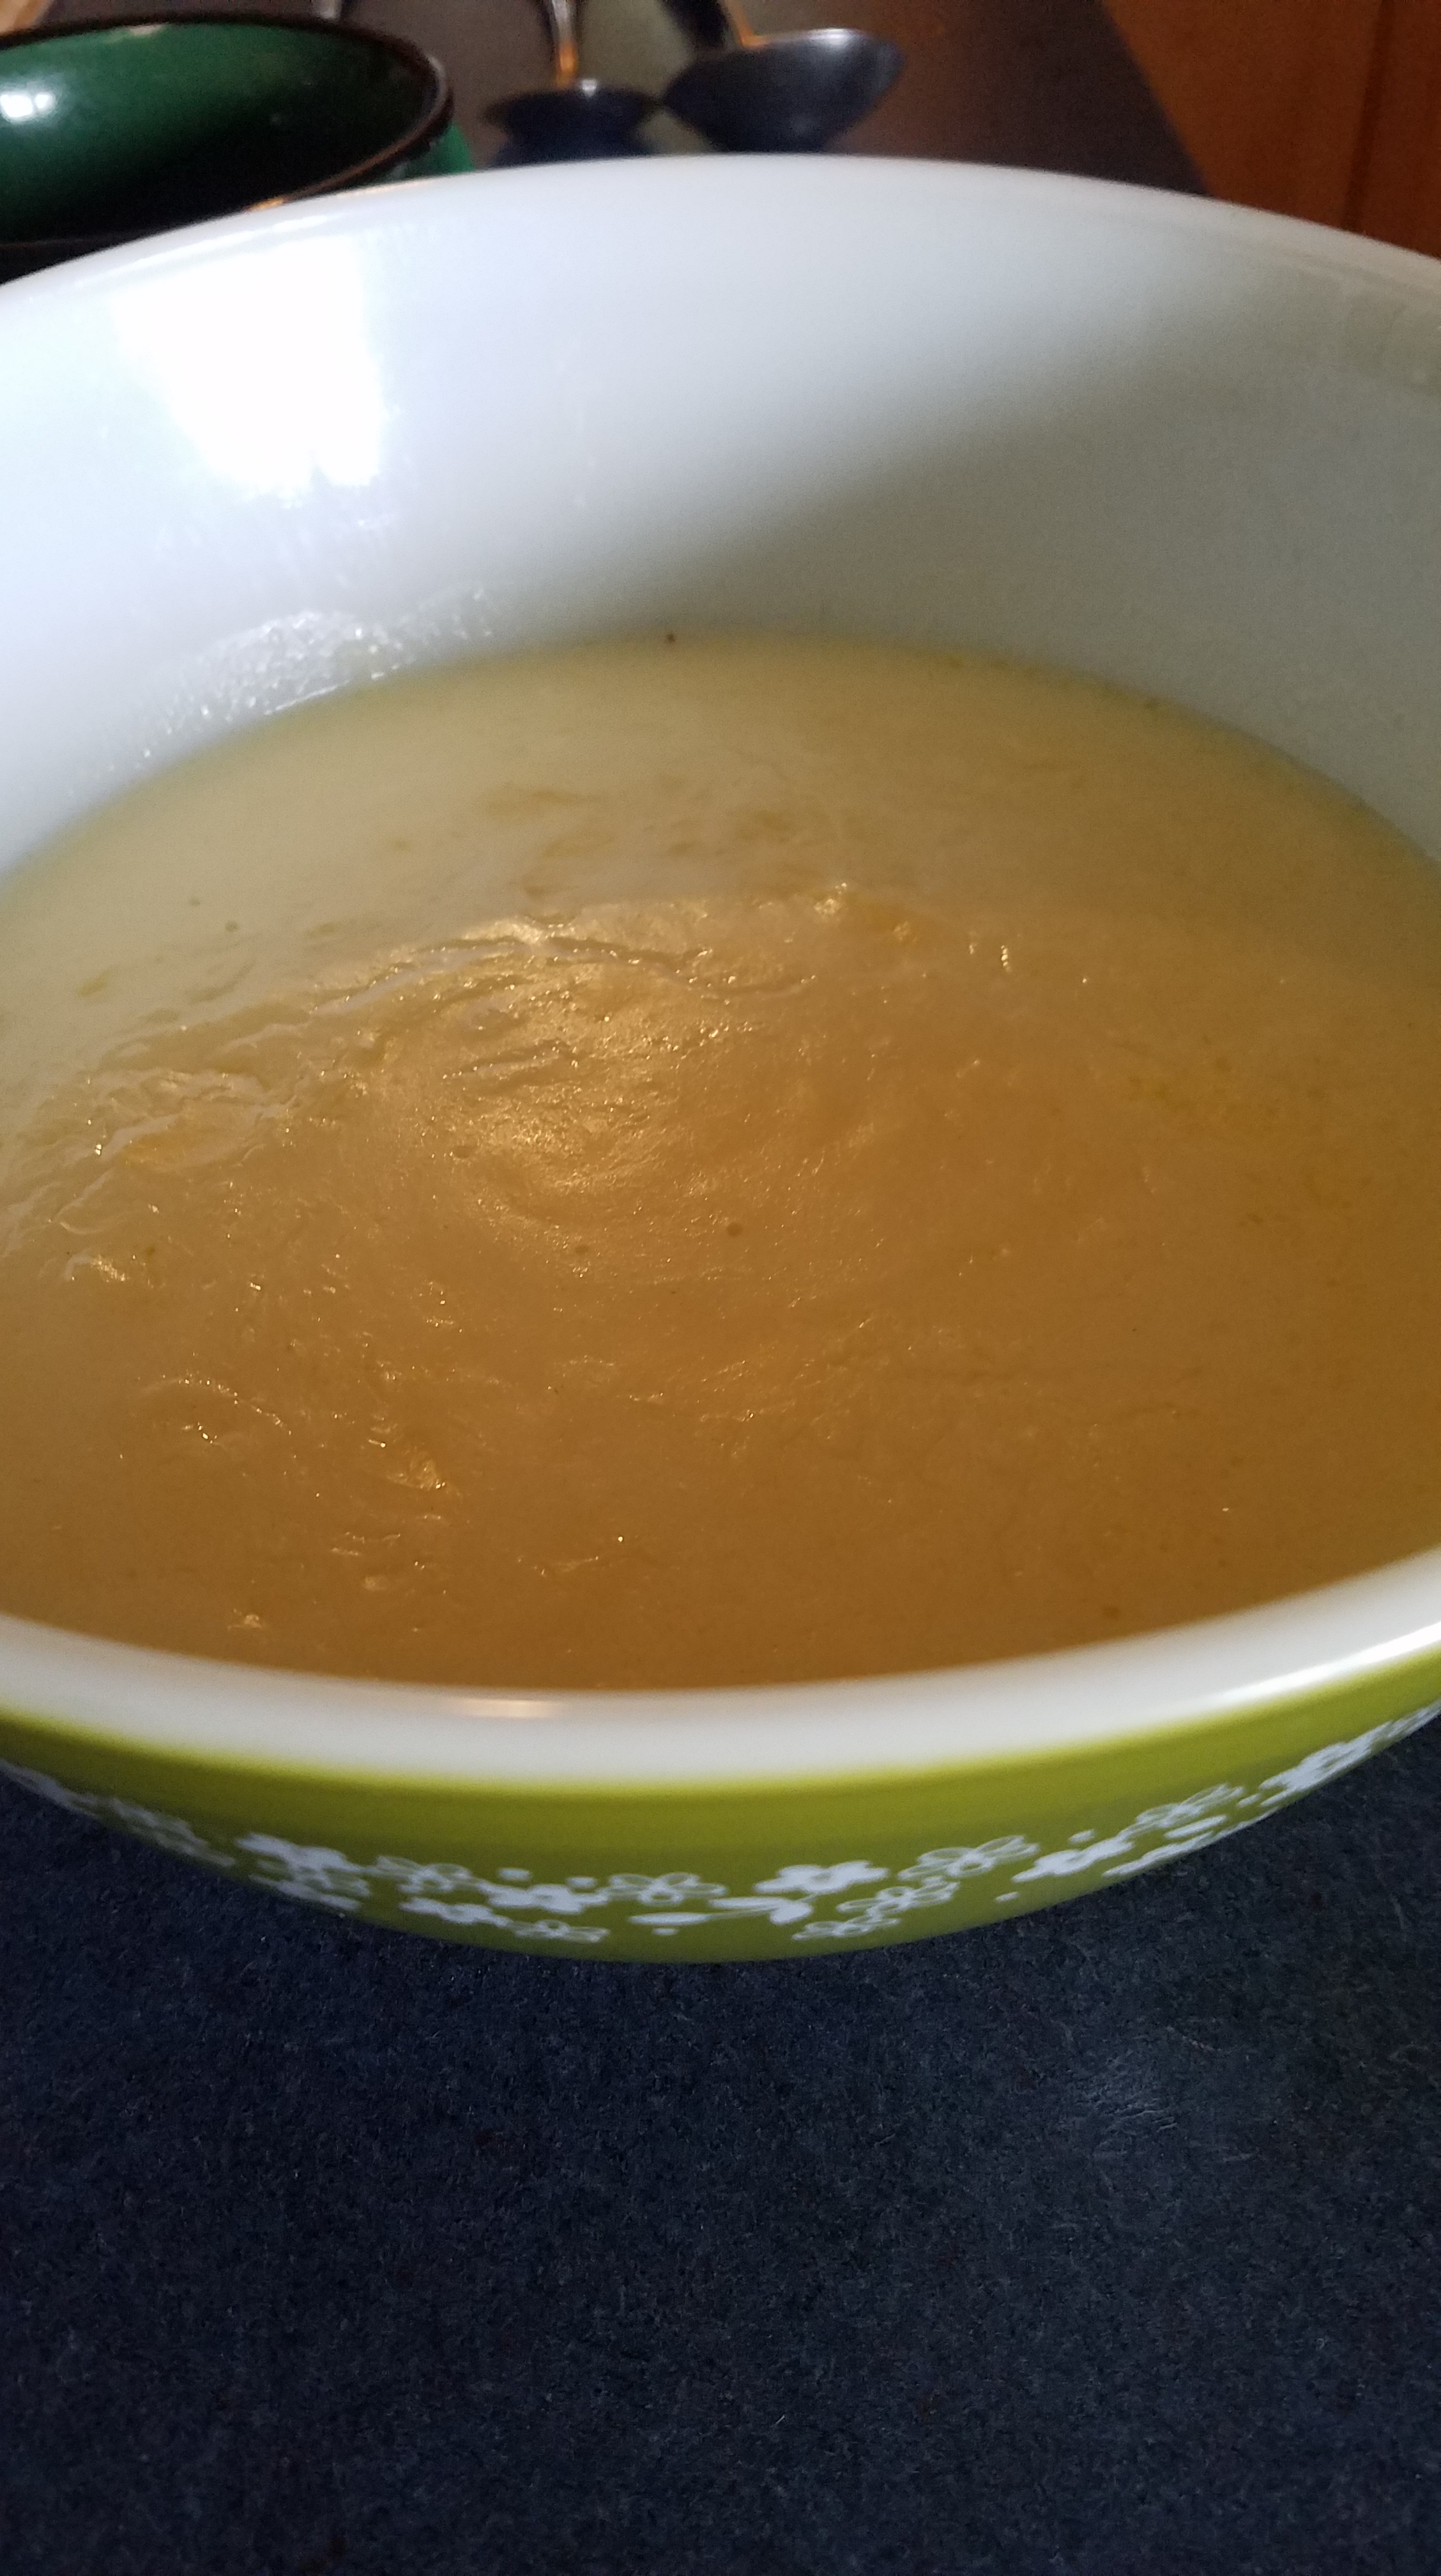
As with previous posts in the series, I did not capture all of the process with pictures. The most glaring omission, in my opinion, is that I didn’t take a picture of the finished dish. Heck, I didn’t even take a picture of the pozole after adding the hominy, which is a real tragedy, since hominy is the key ingredient in pozole.
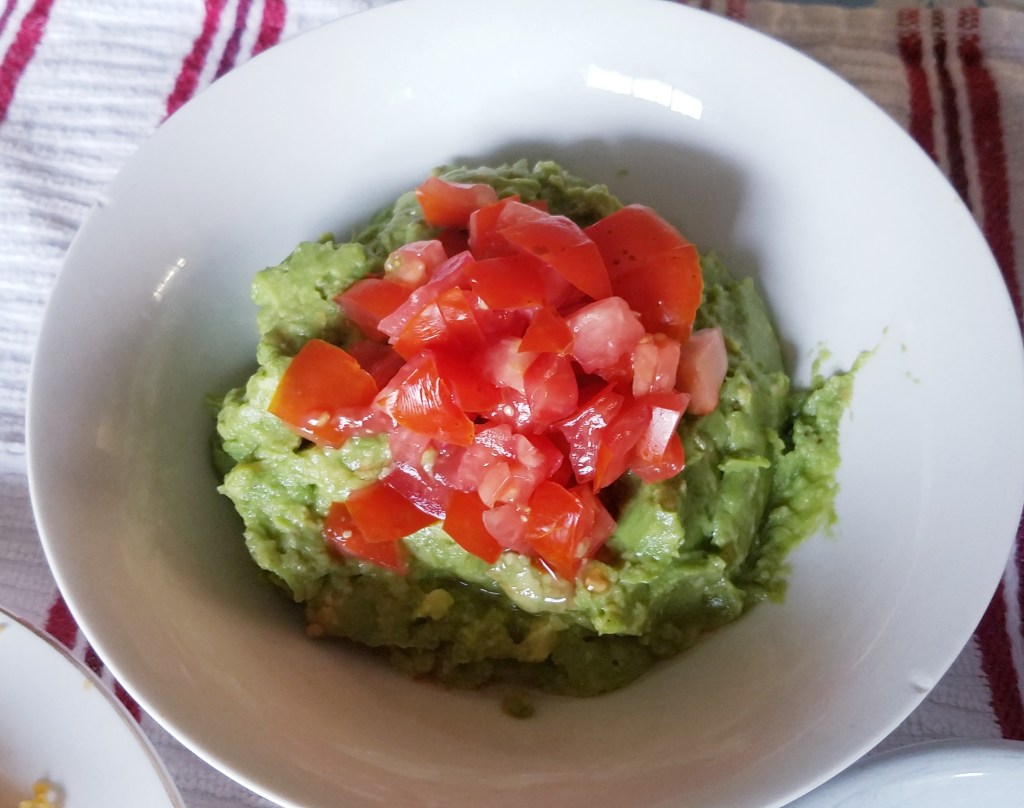
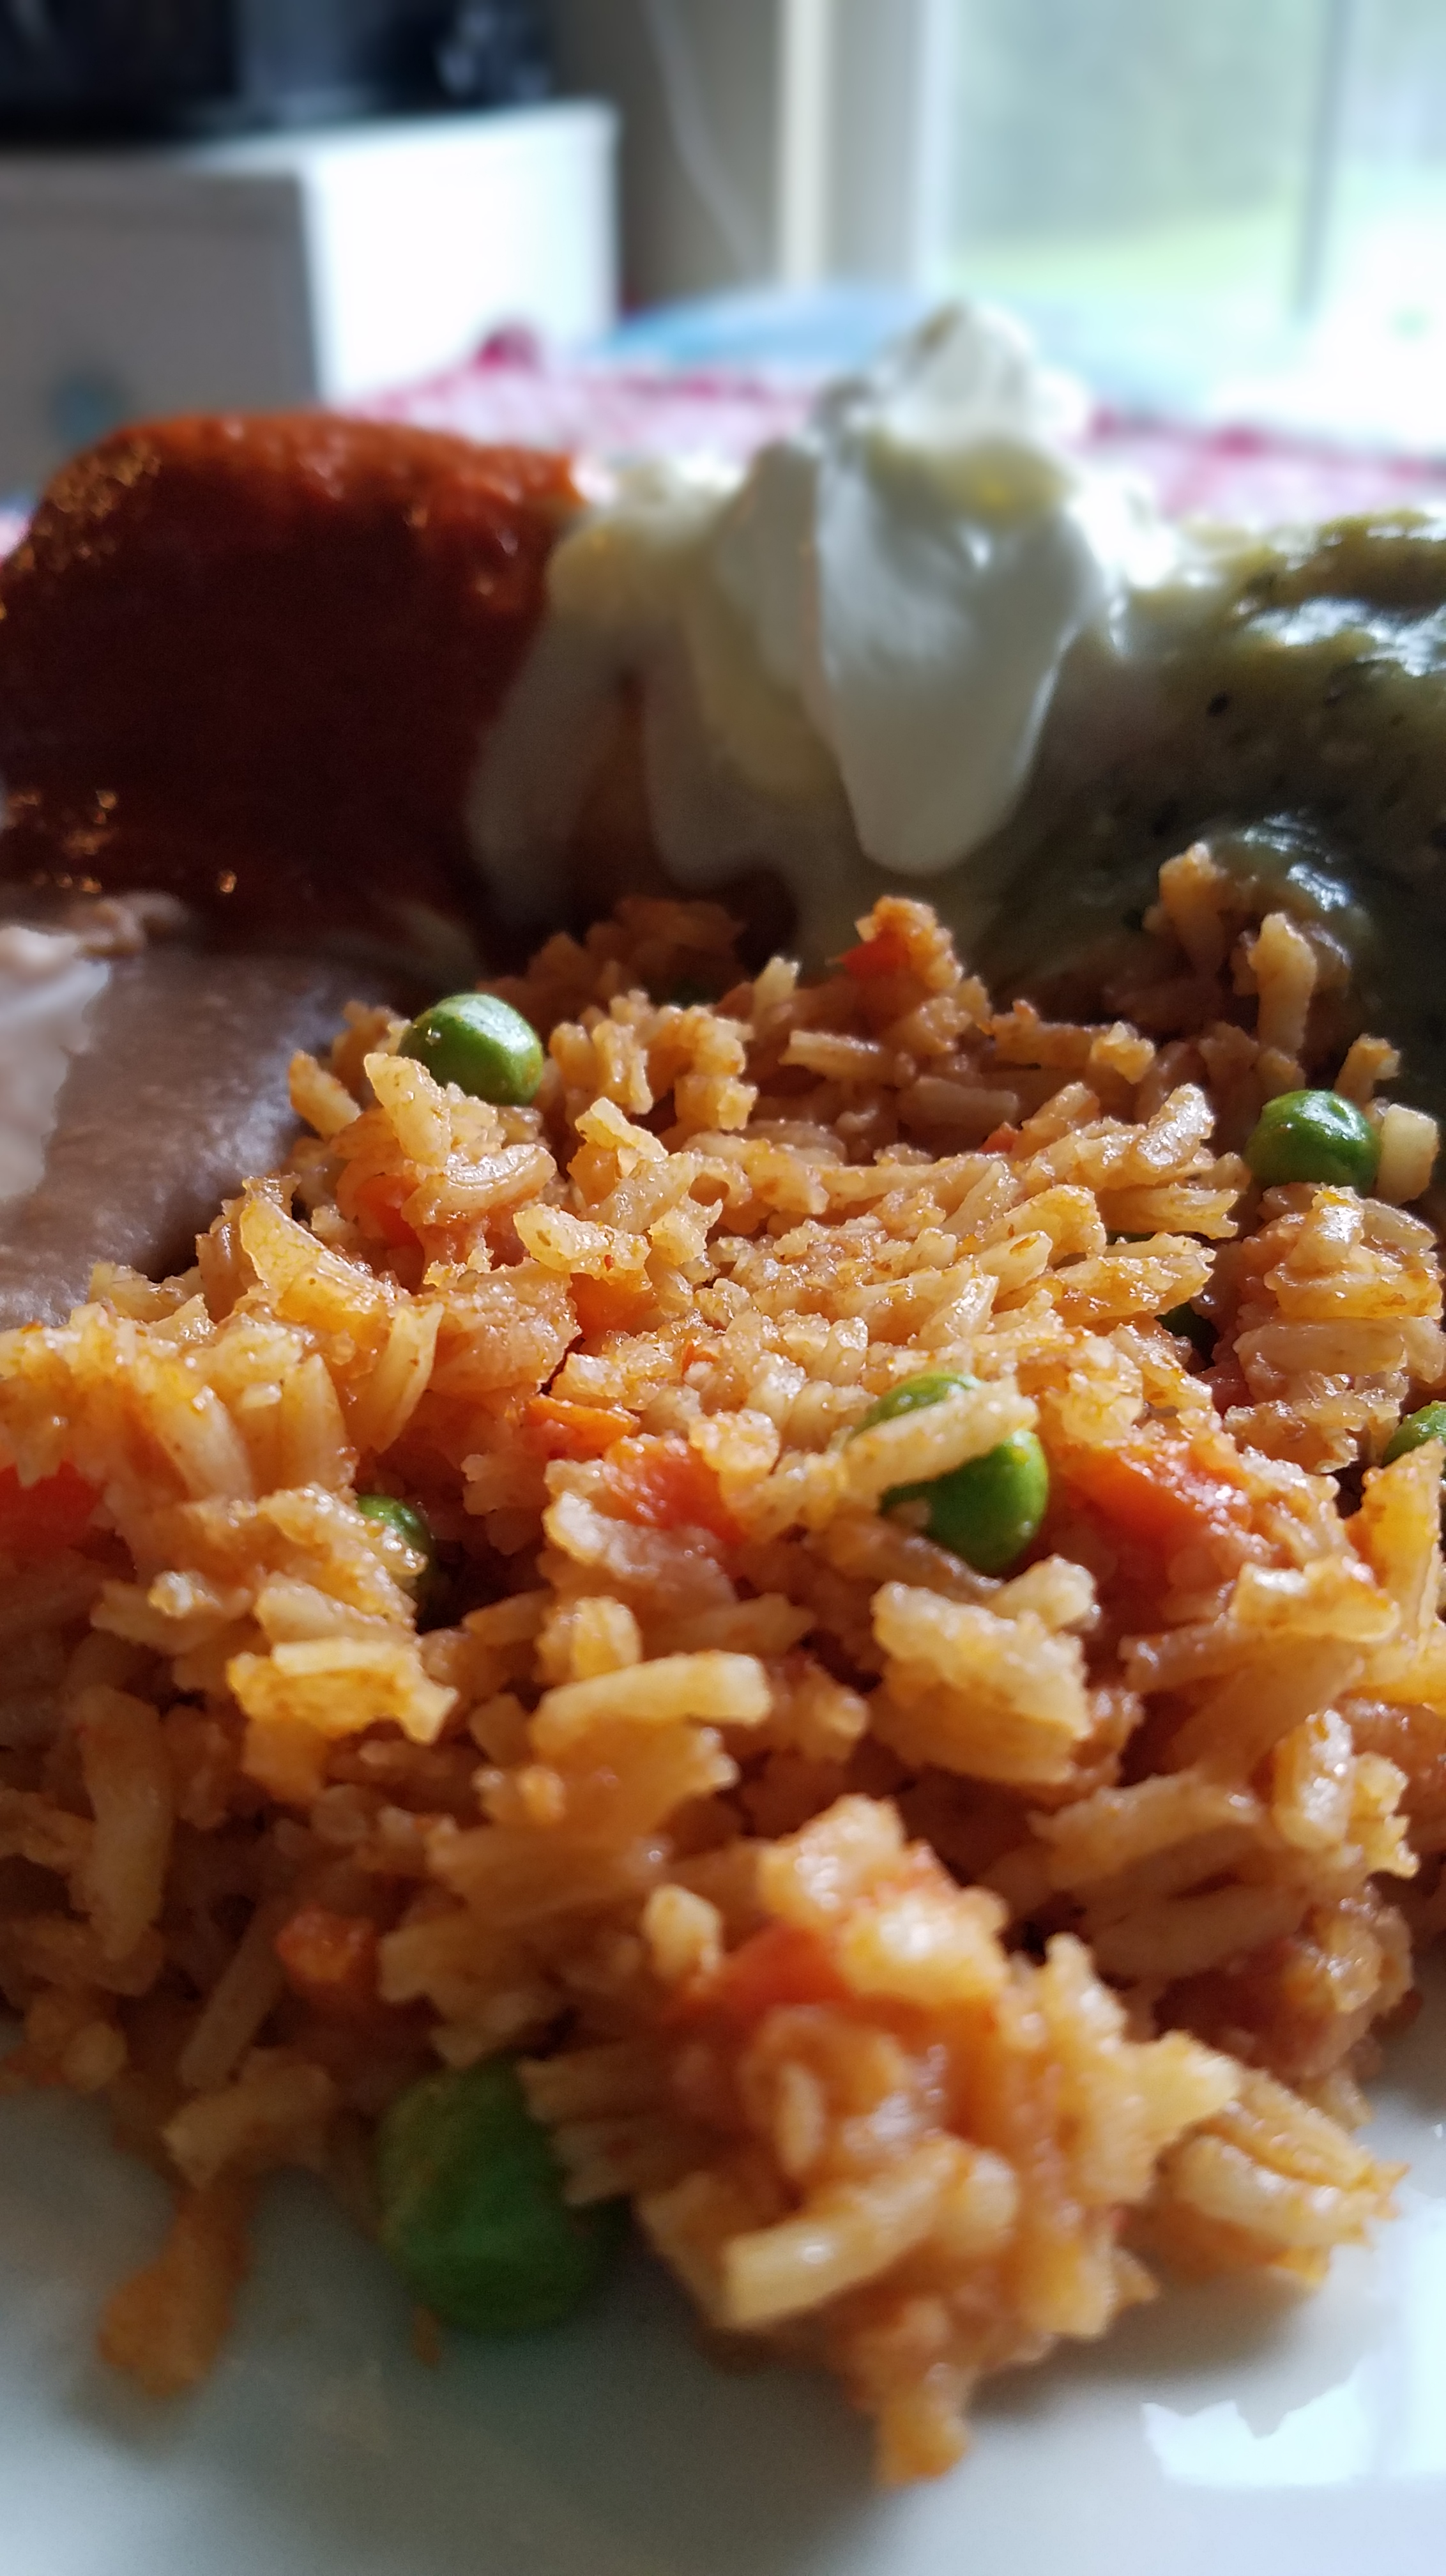
The pozole was sort of an afterthought as I planed the meal. I had already decided to serve green enchiladas and red enchiladas, along with guacamole and Mexican rice. I thought it would be nice to open with a soup. Pozole seemed right for the occasion.
Ingredients:
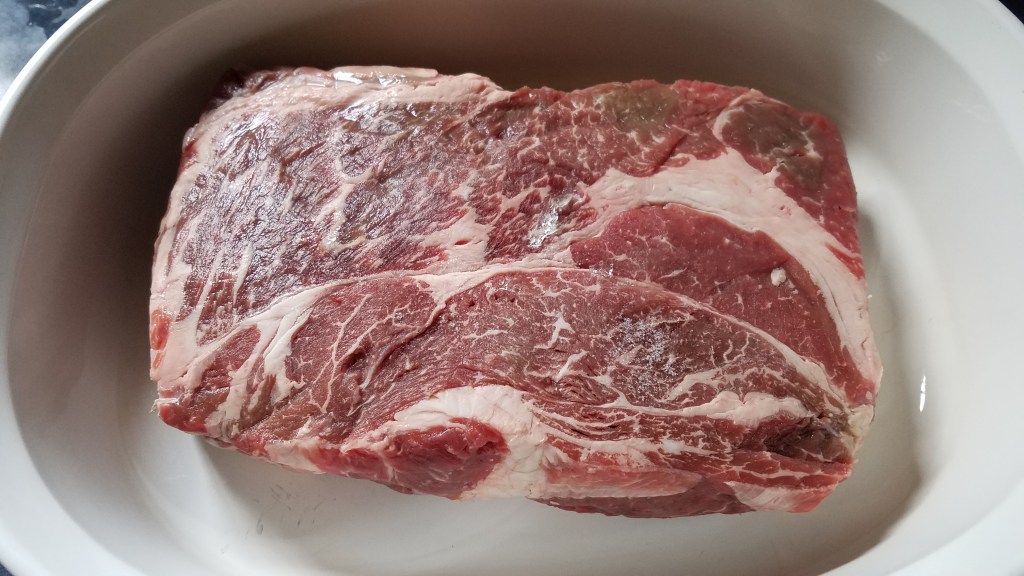
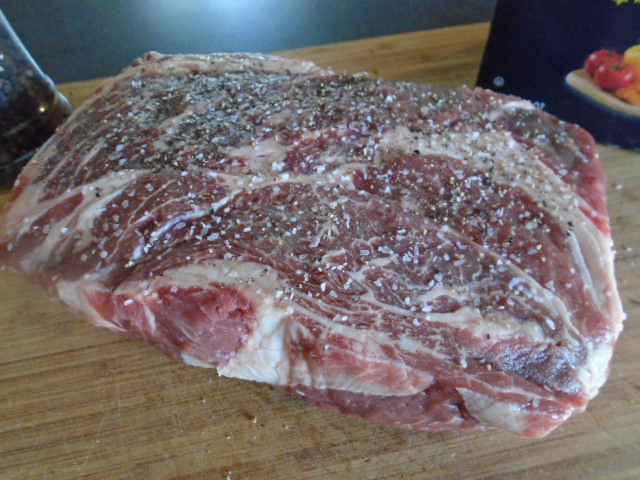
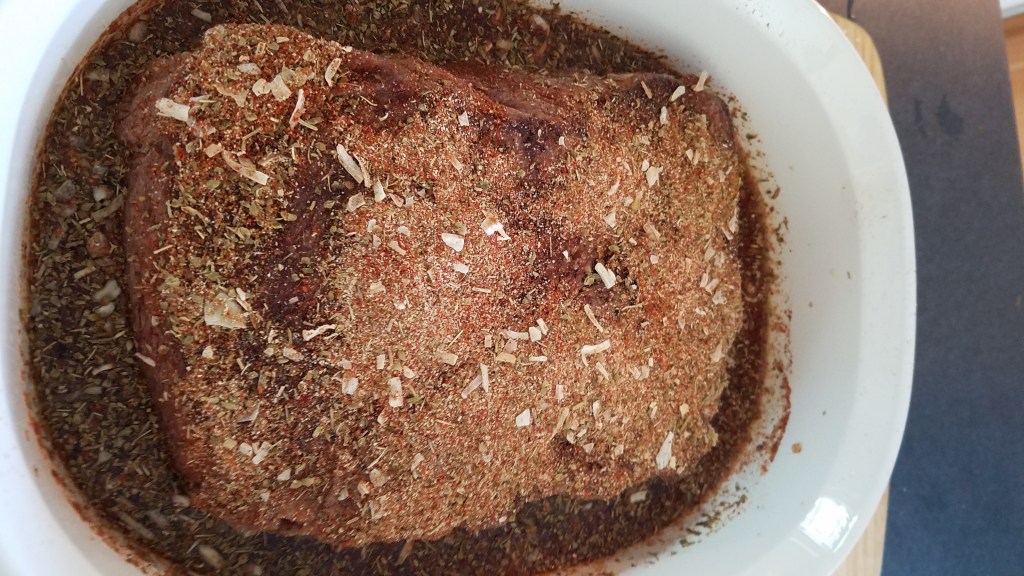
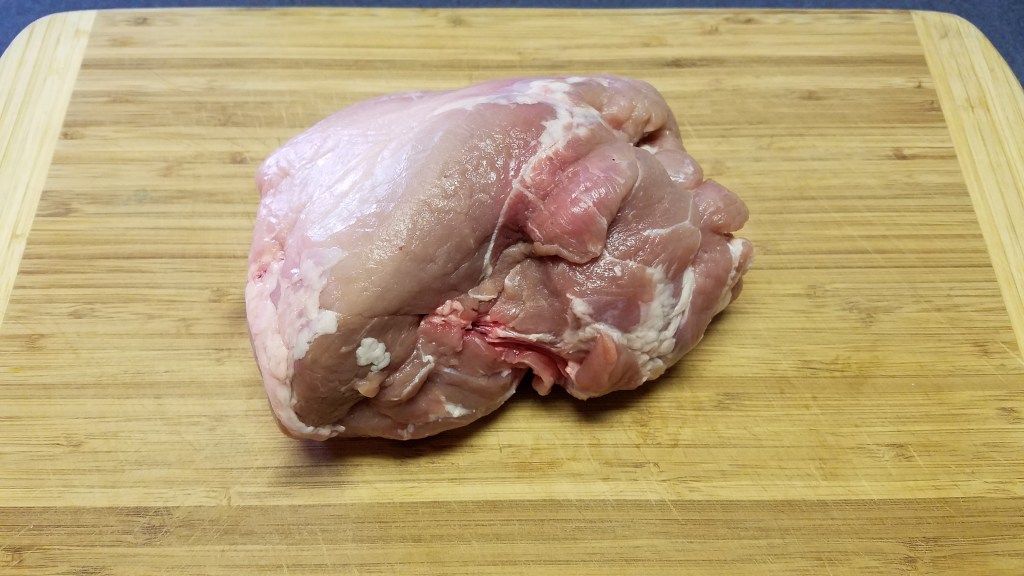
2 lbs pork shoulder
¼ onion (no need to cut)
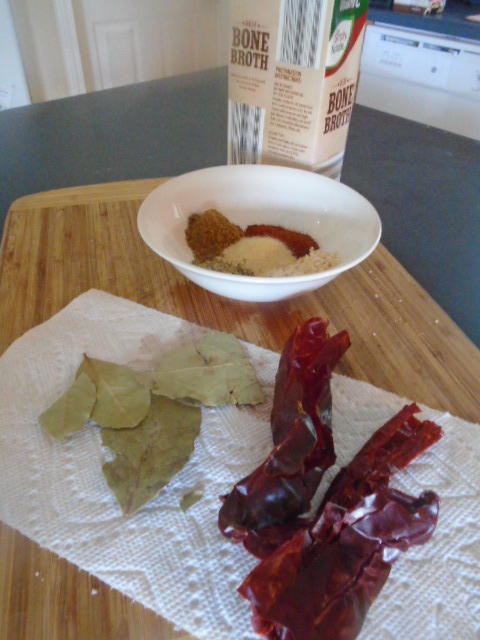
3 bay leaves
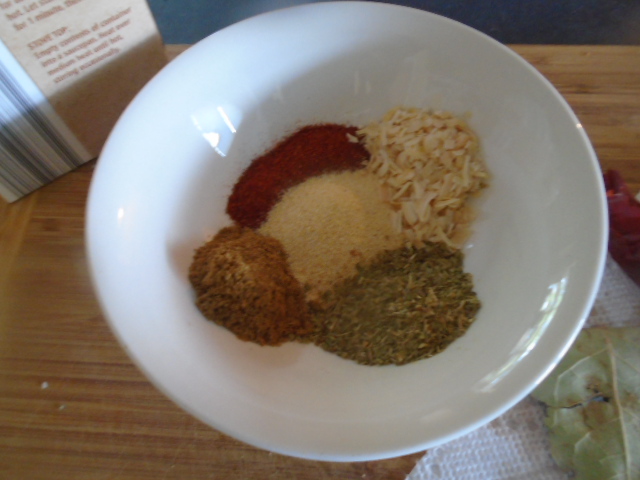
1 tsp coarse salt
1 tsp cracked black pepper
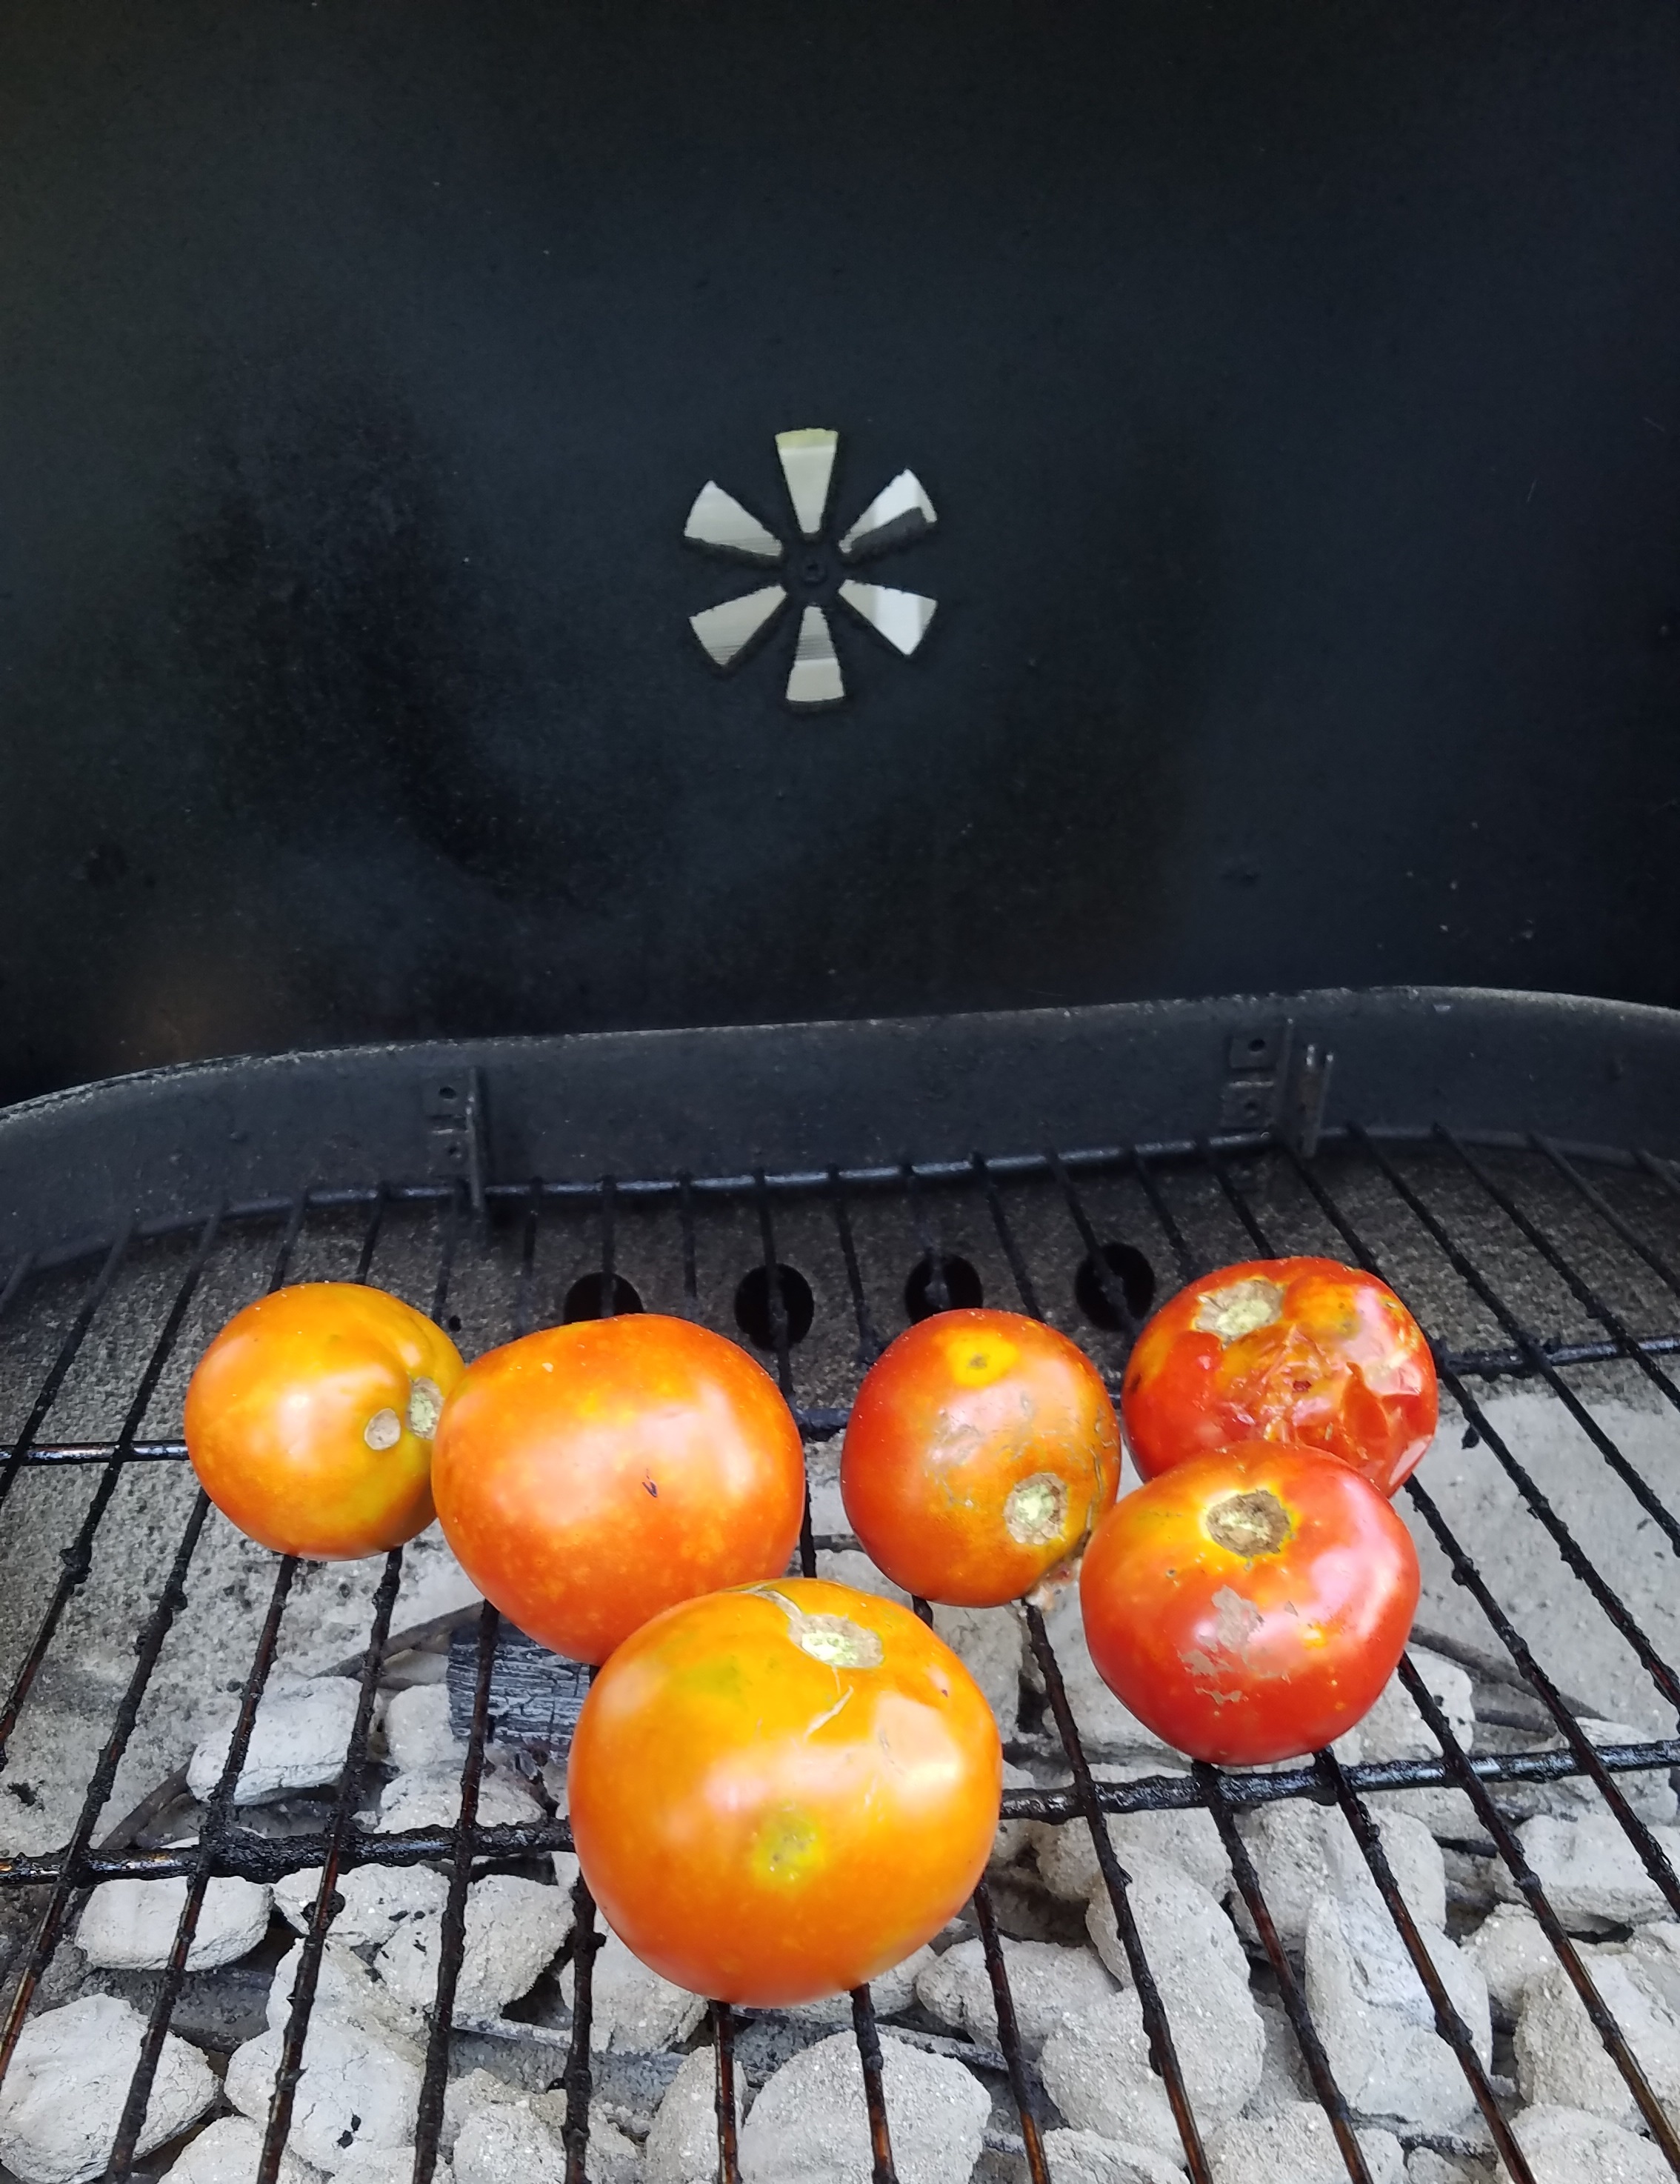
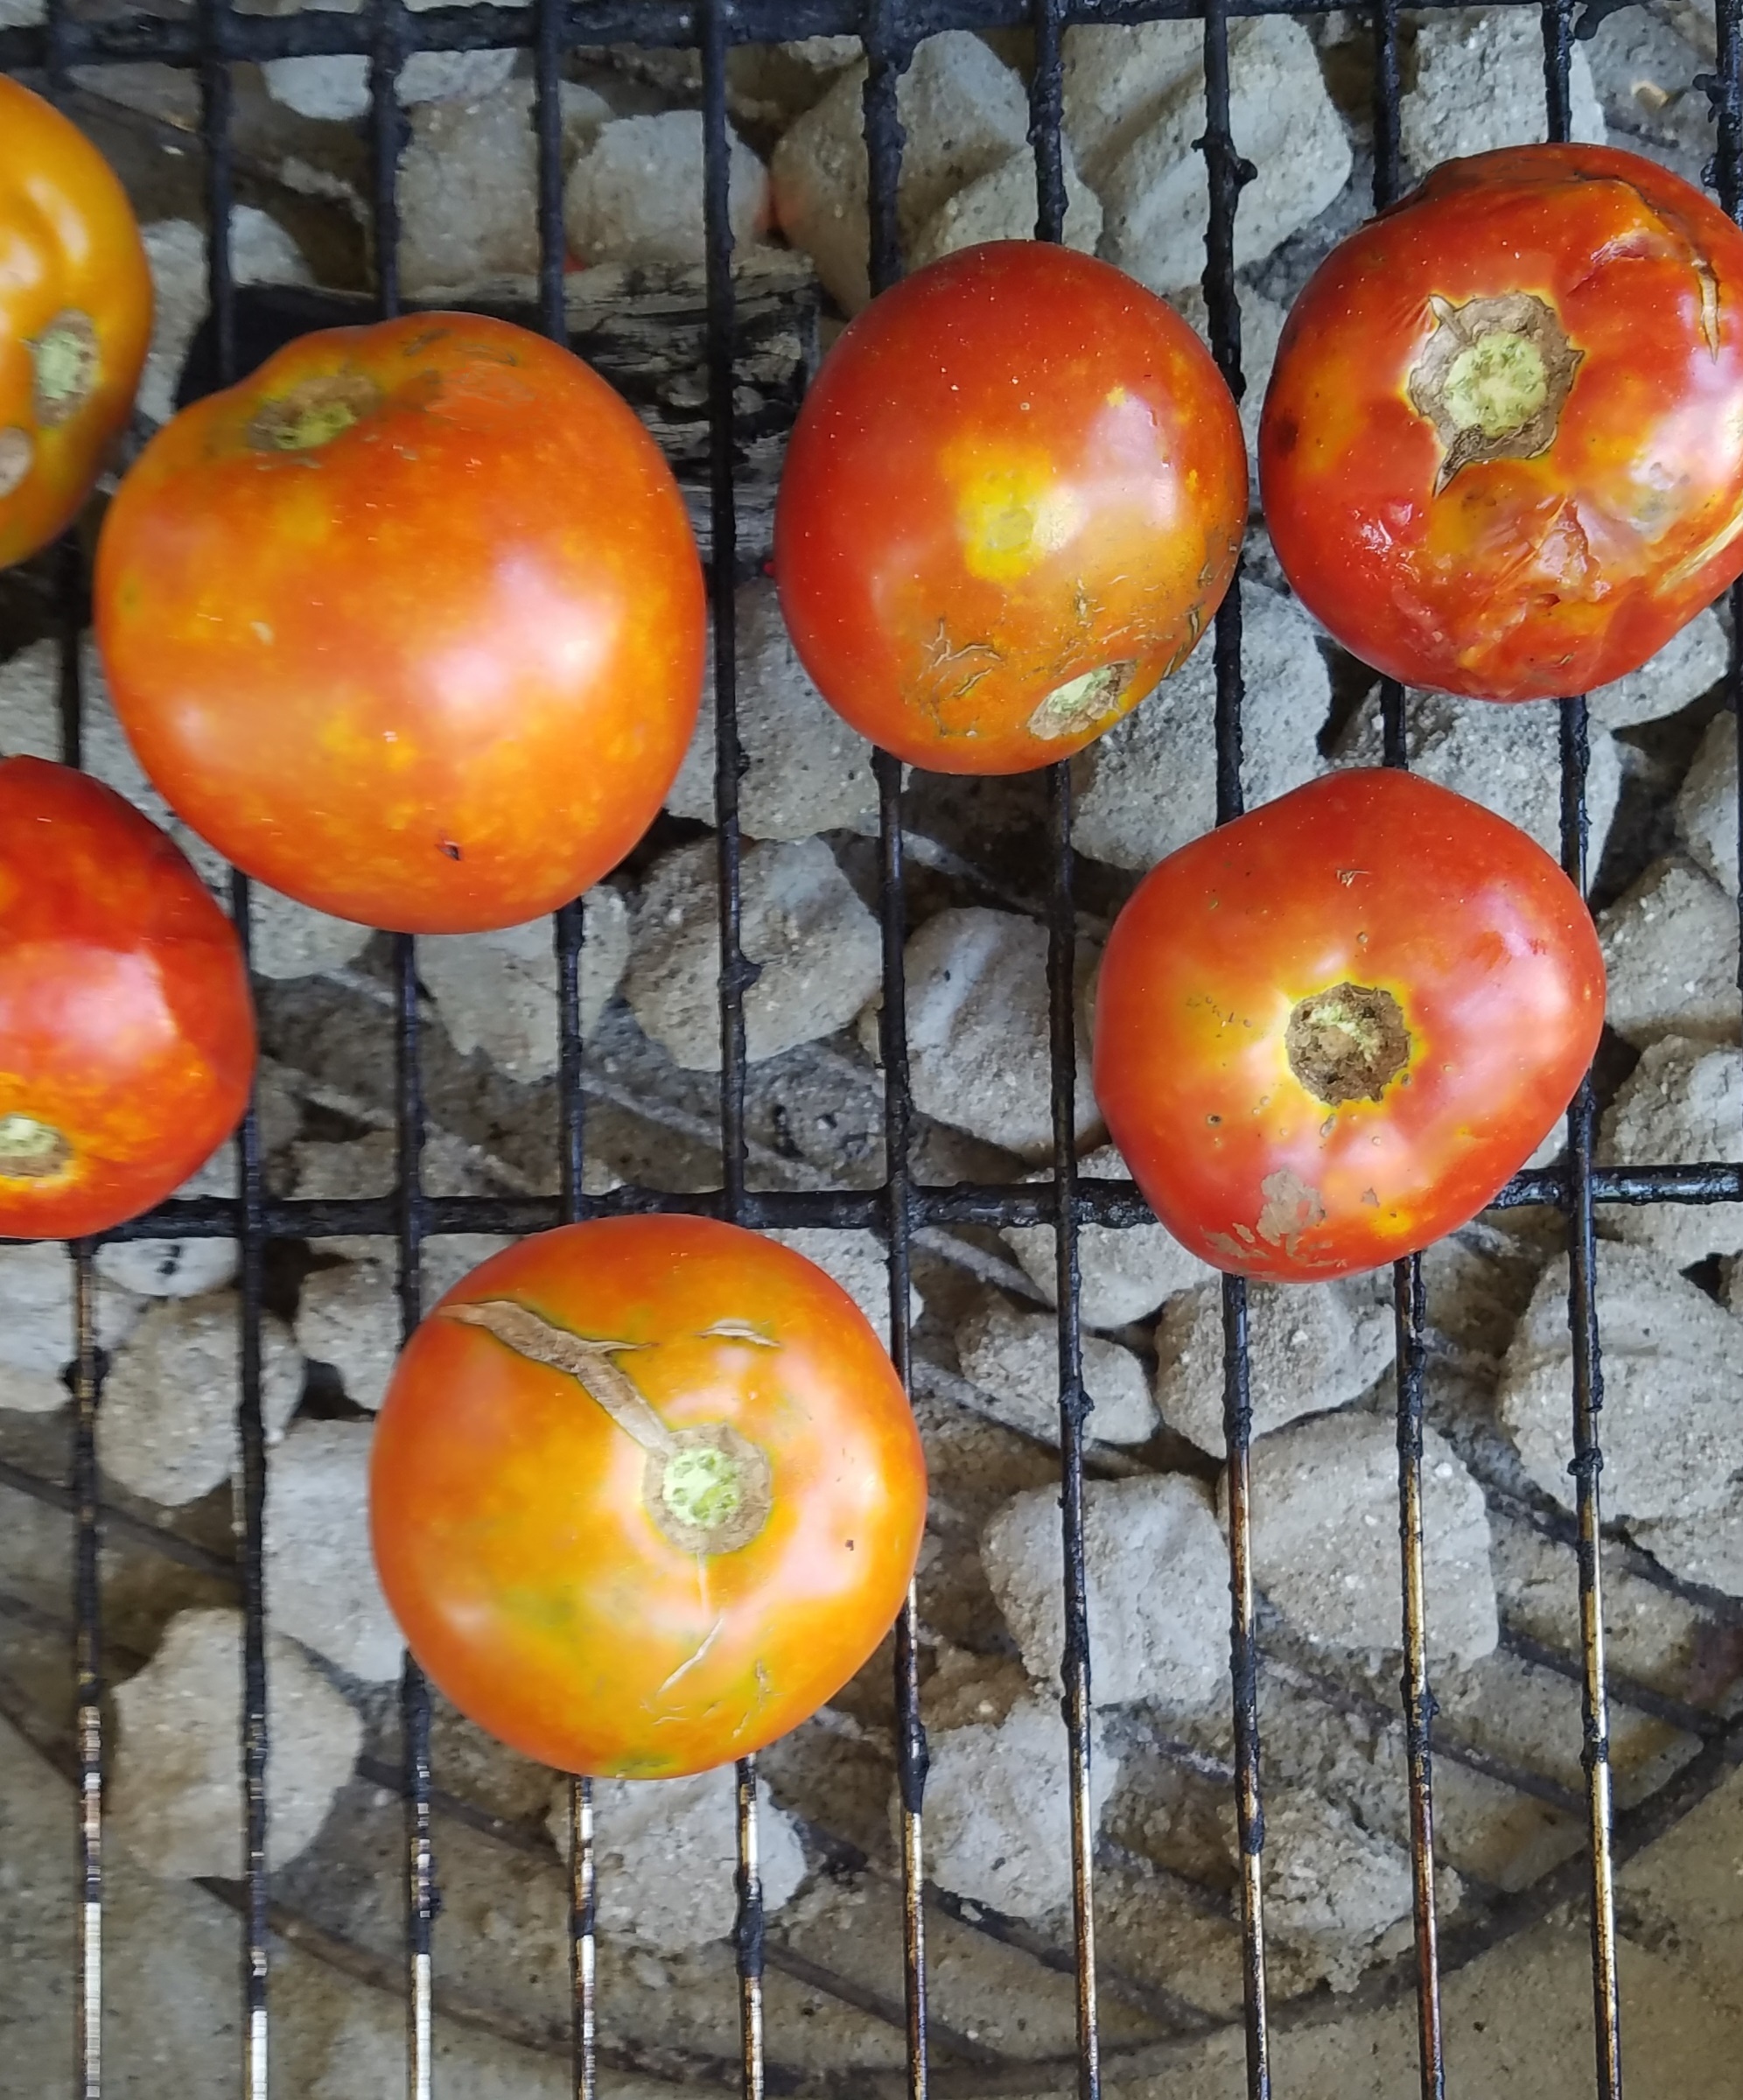
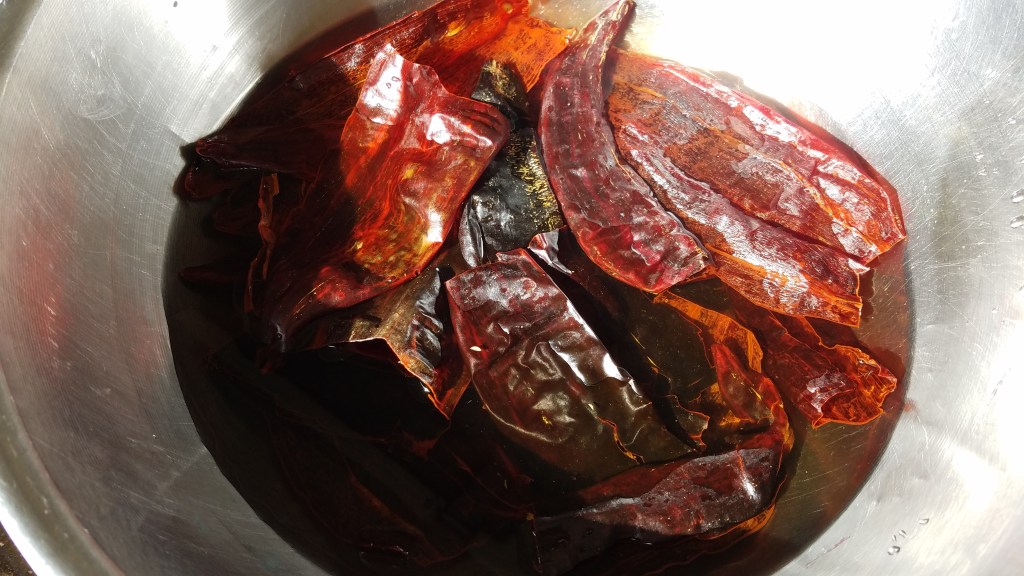
4 to 8 guajillo chiles (4 for mild heat, 8 for caliente!)
1 tomato, diced
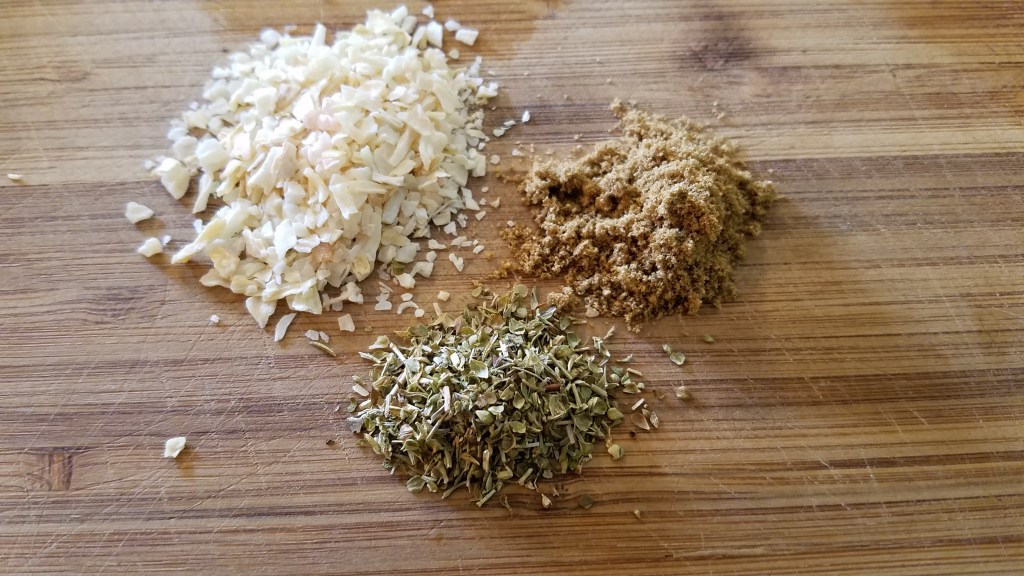
1 tsp dried oregano
6 garlic cloves
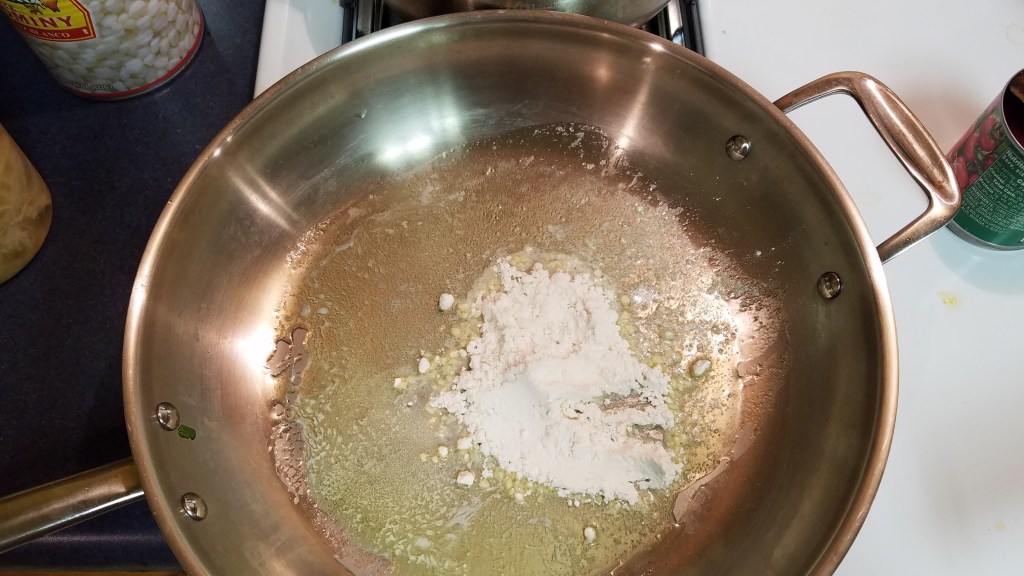
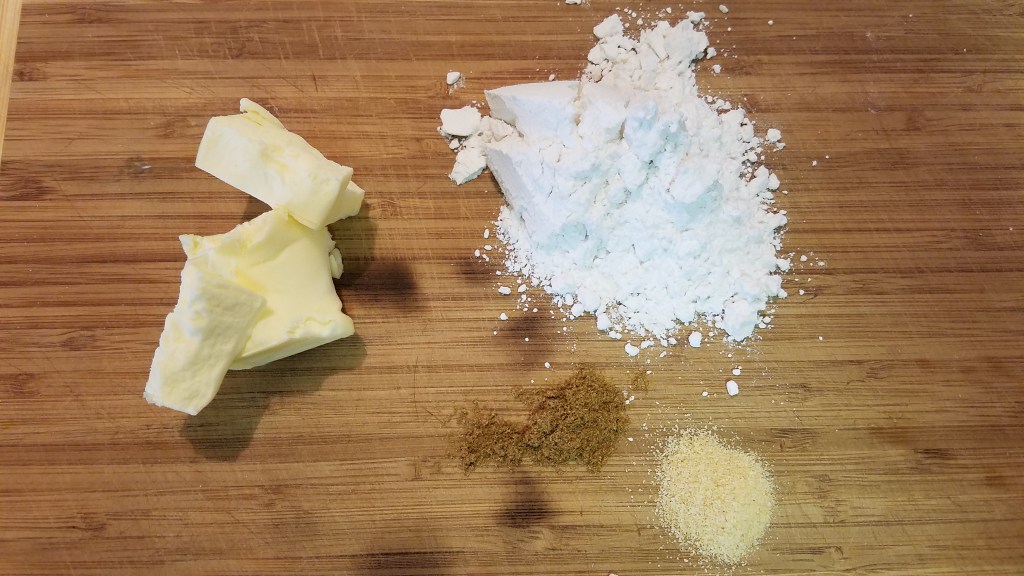
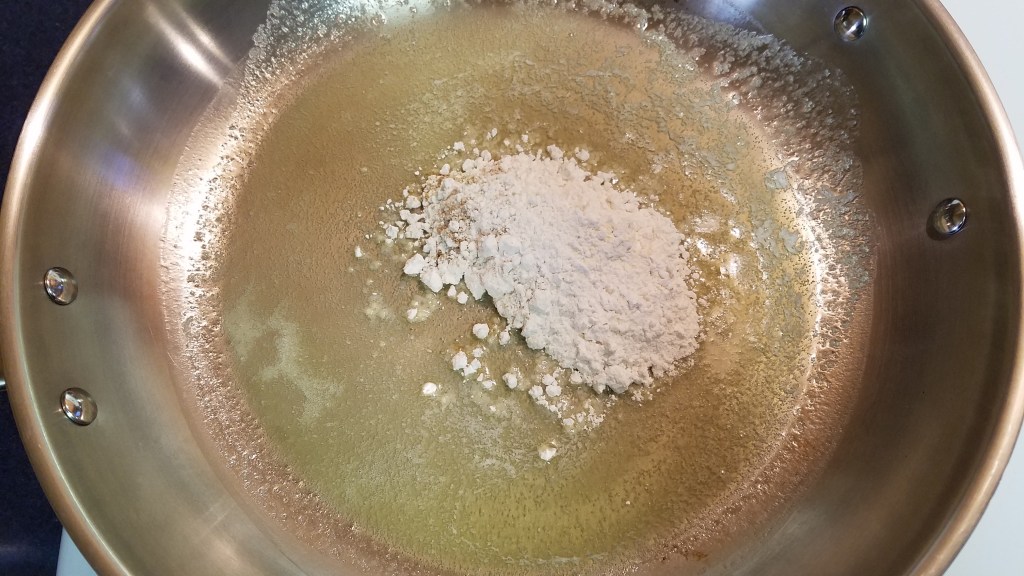
4 Tbs flour
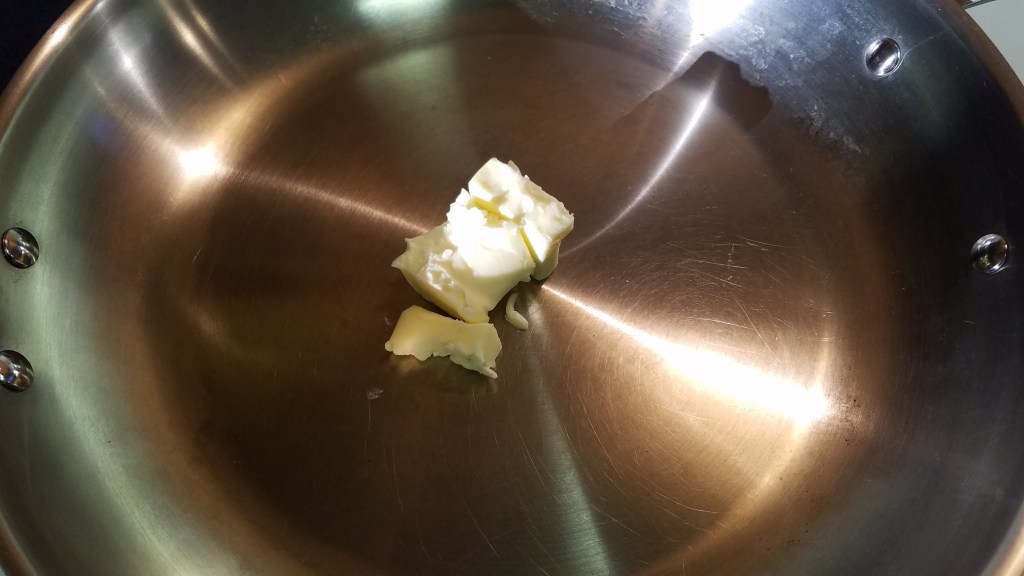
4 Tbs butter
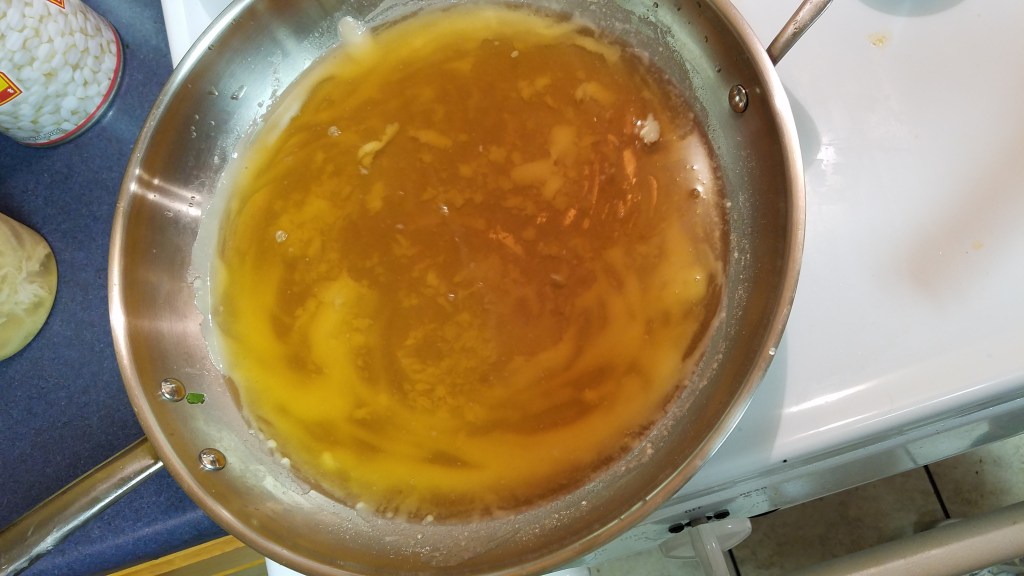
2 cups vegetable stock
1 large can of hominy (30 ounce can)
Directions:
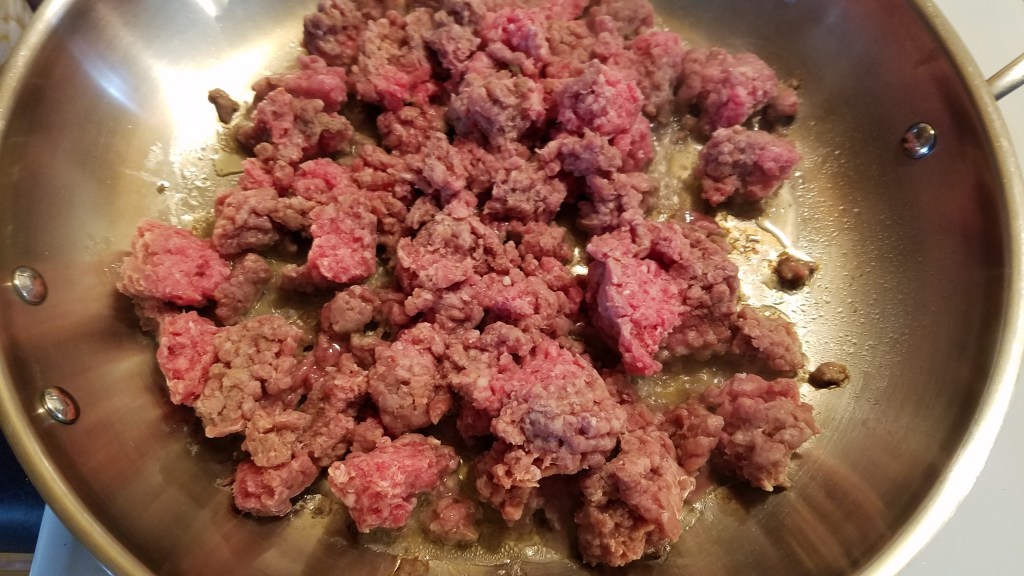
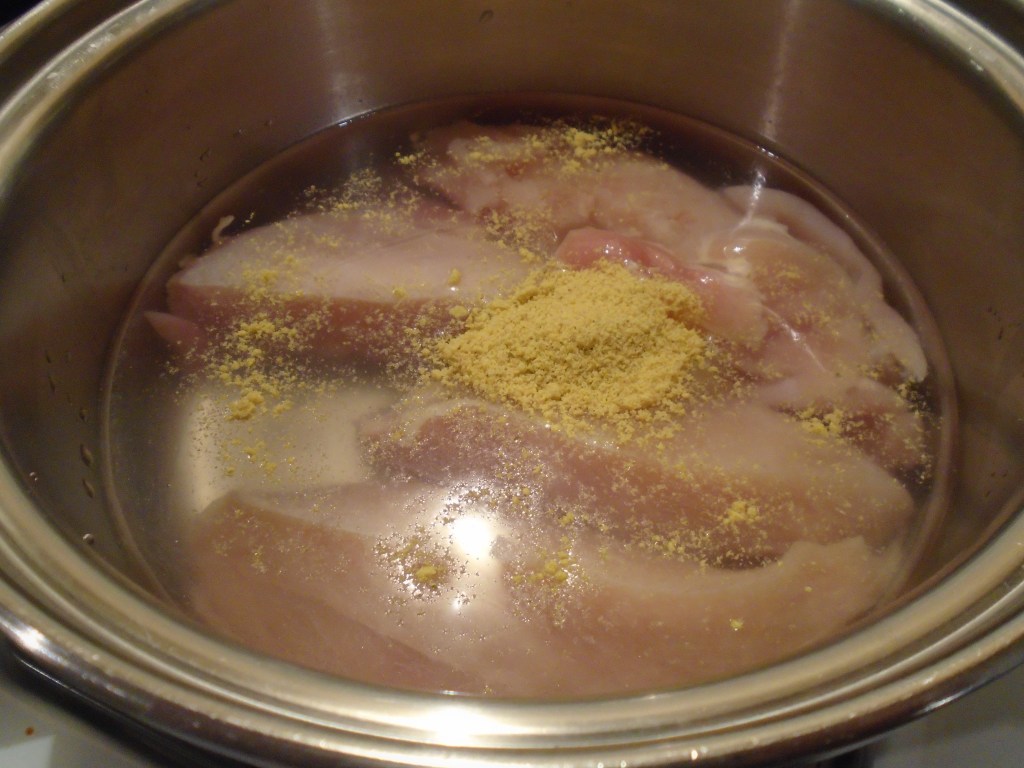
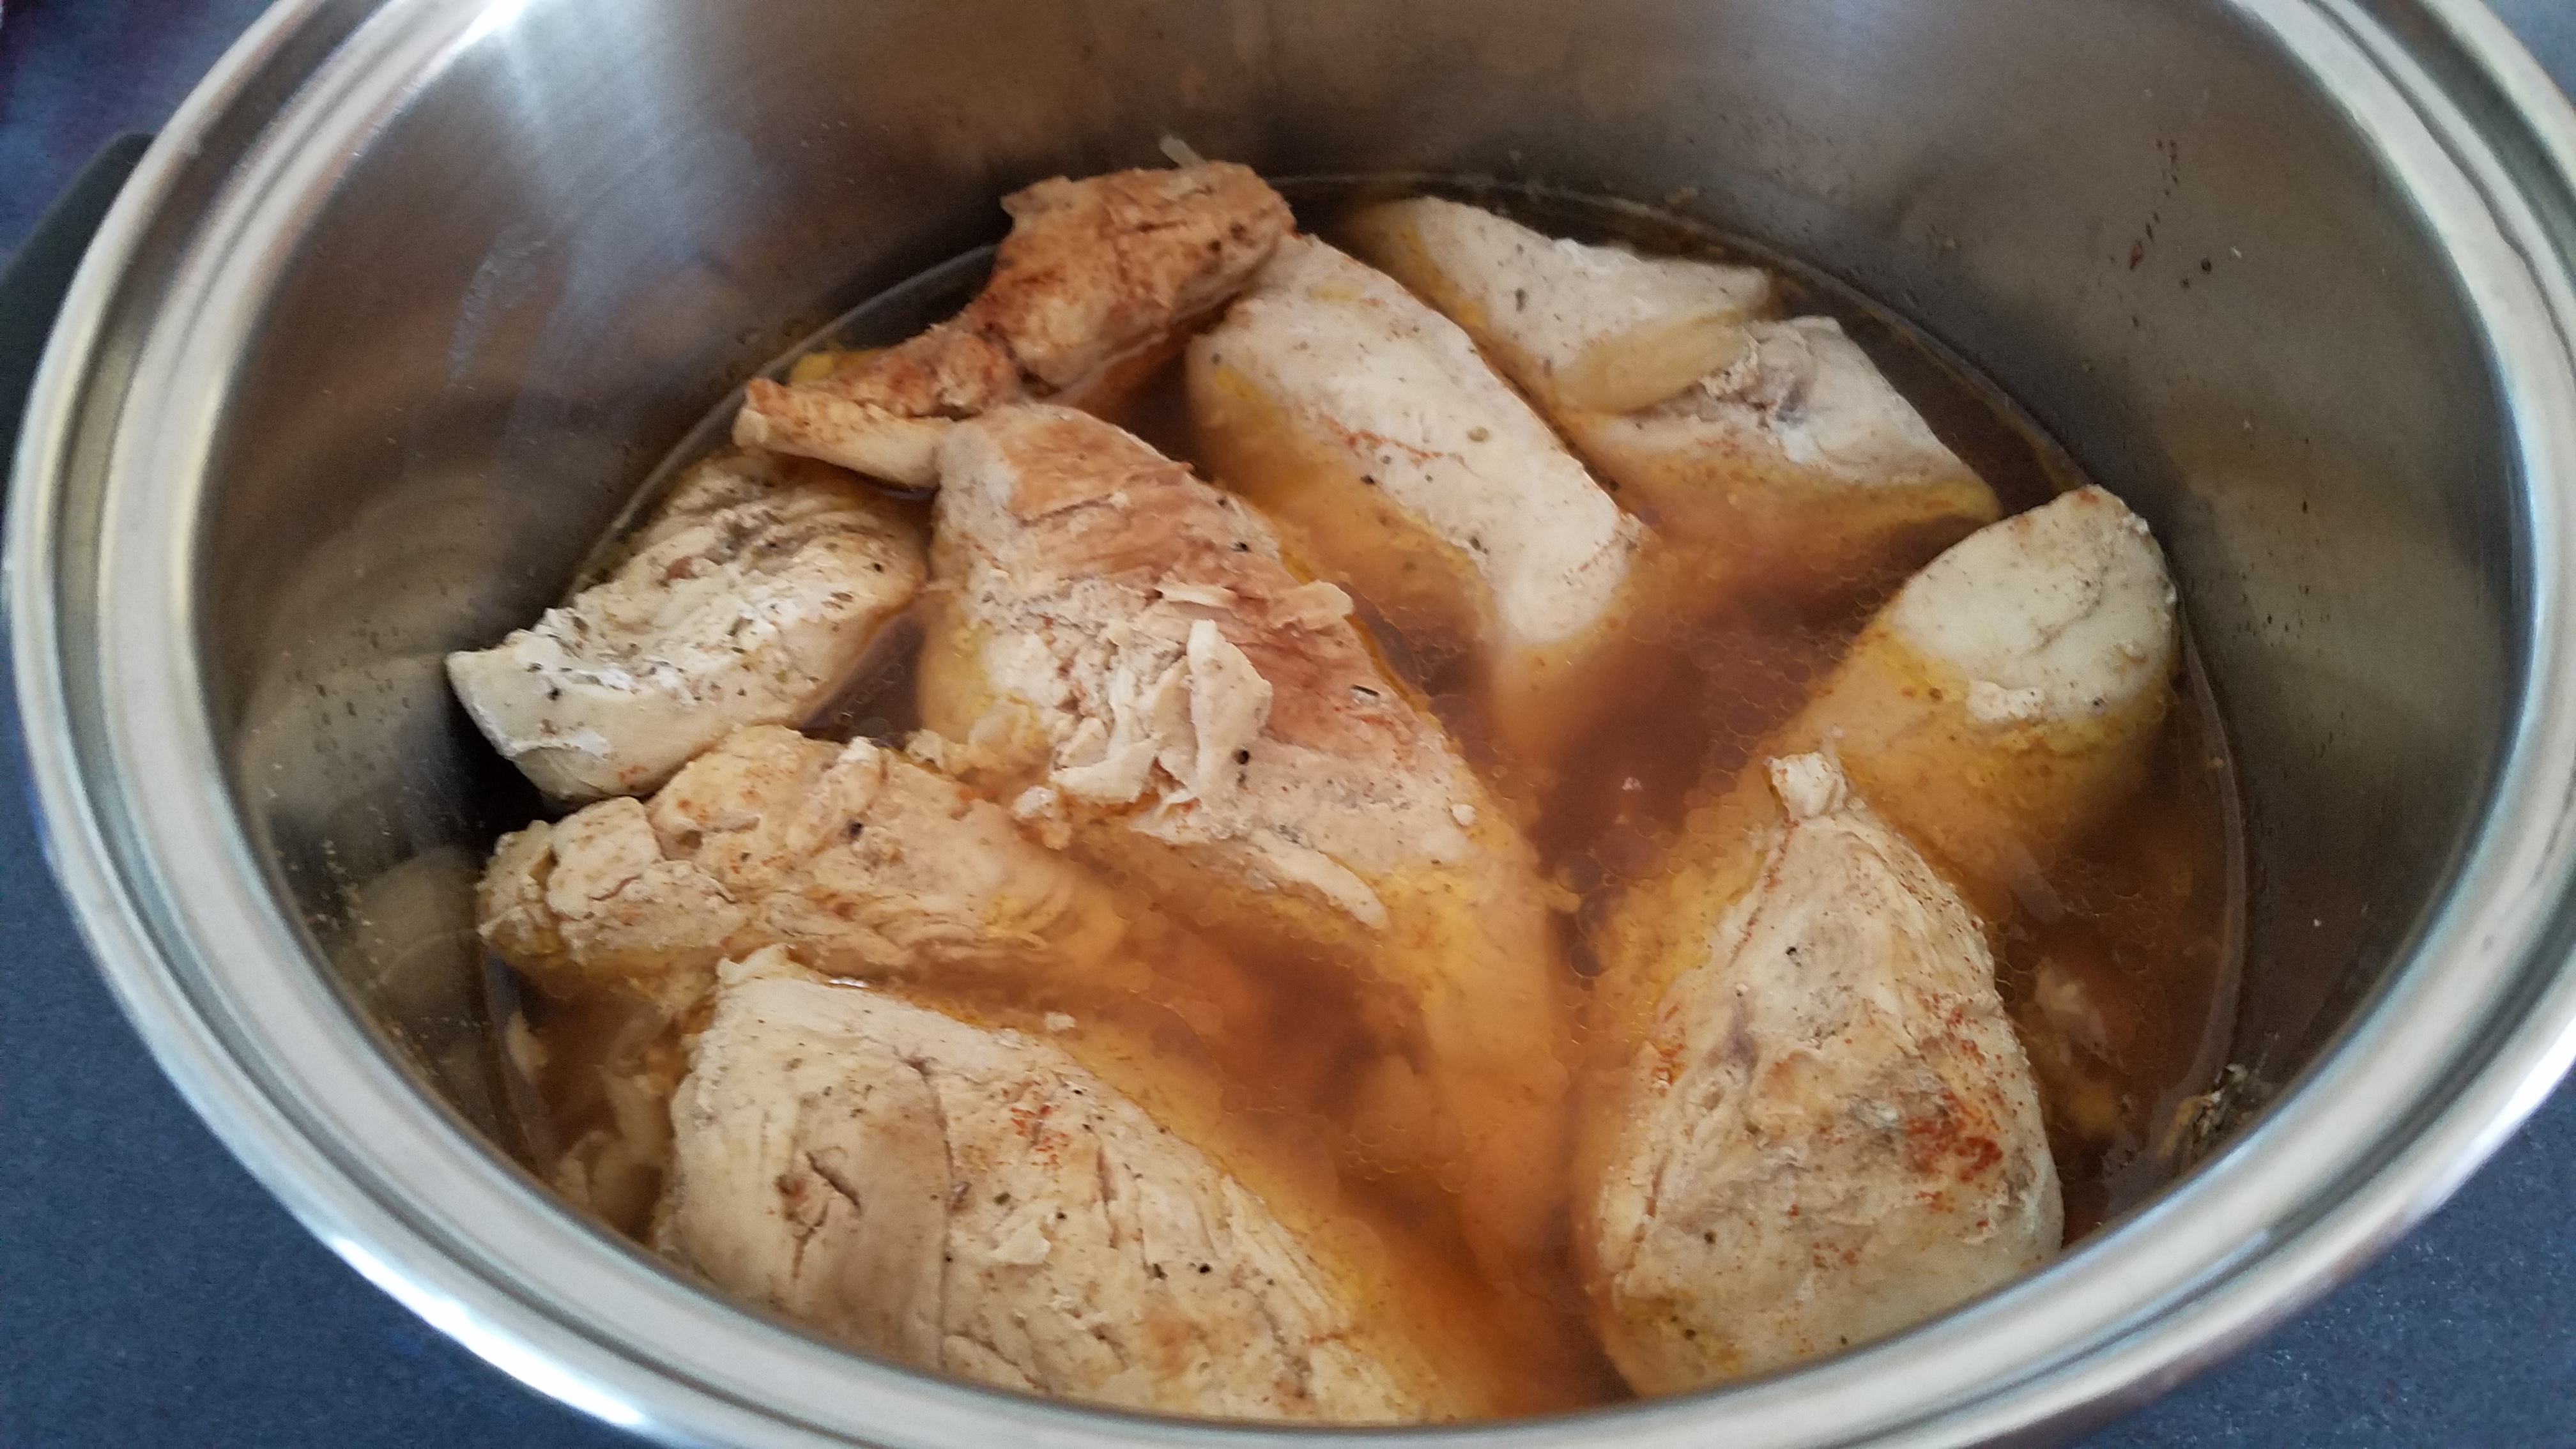
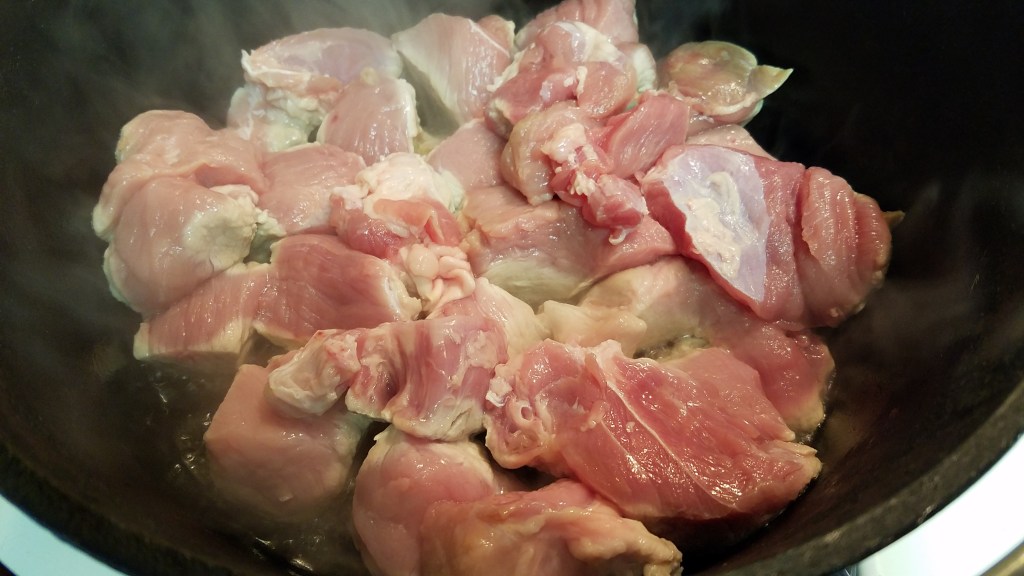
Cut the pork into large pieces.
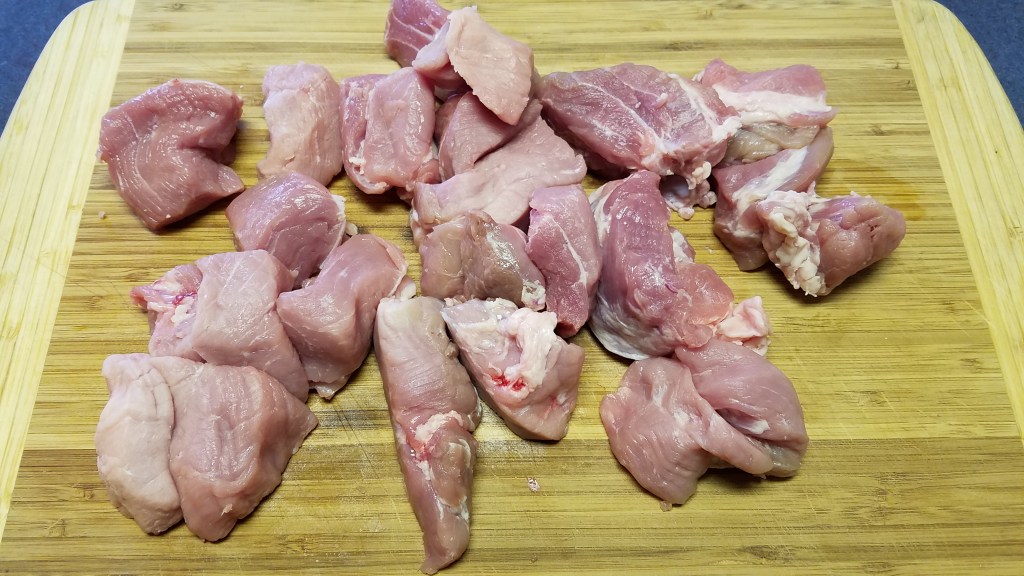
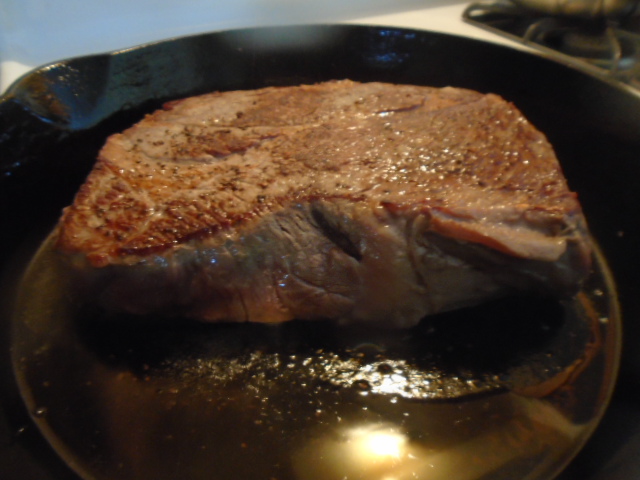
Sear the pork in a Dutch oven at high heat for a few minutes. Stir to lightly brown the meat.
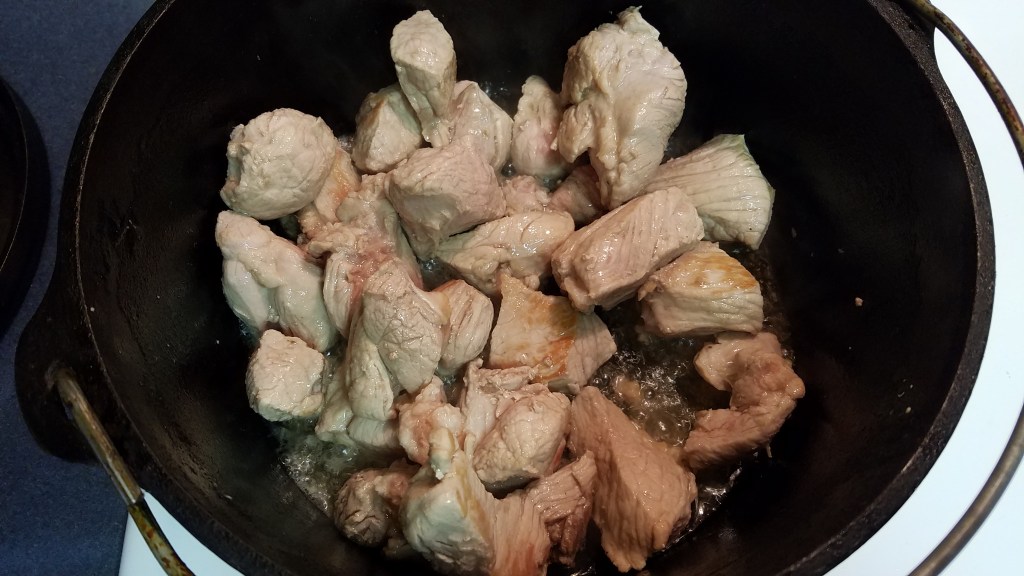
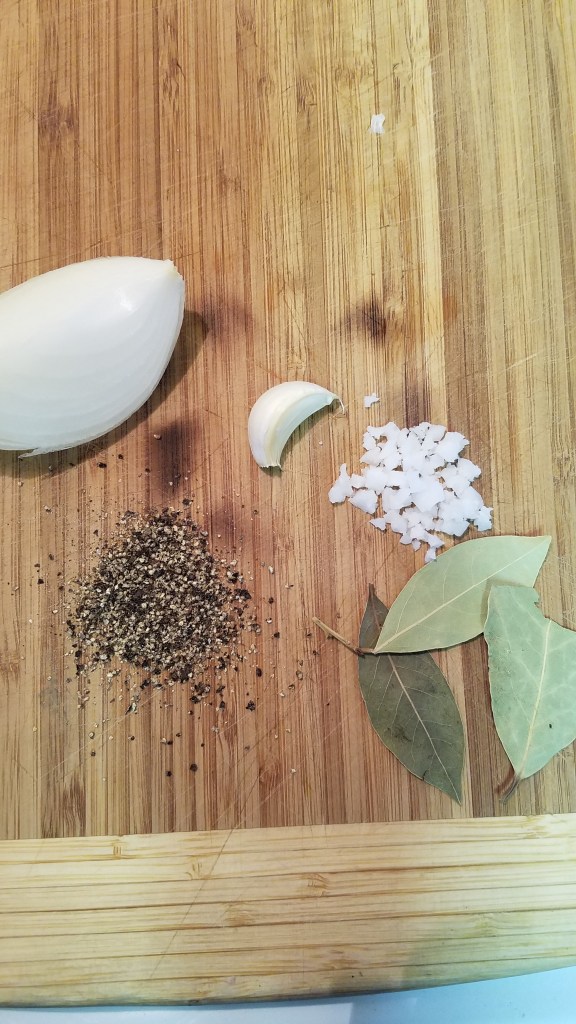
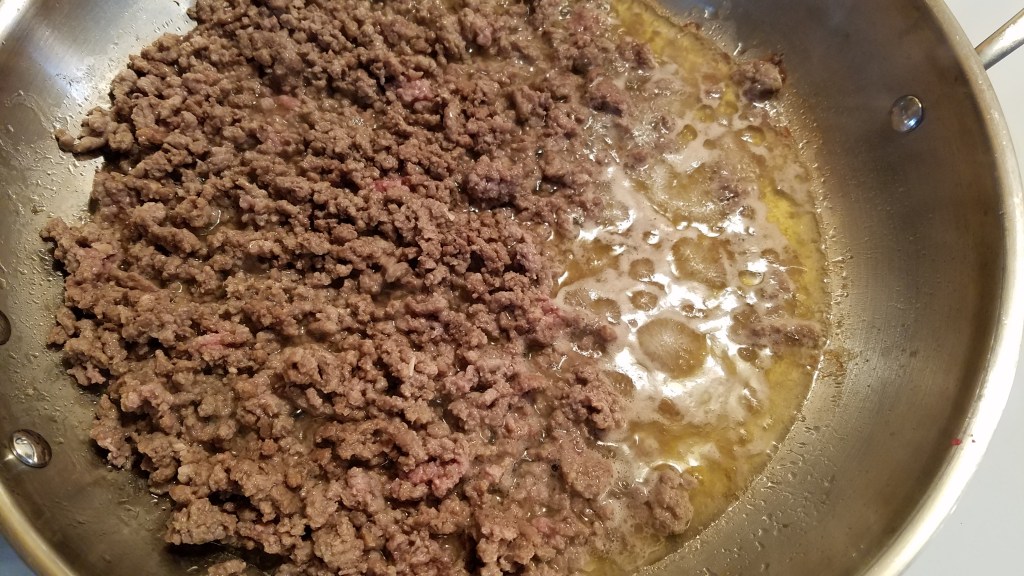
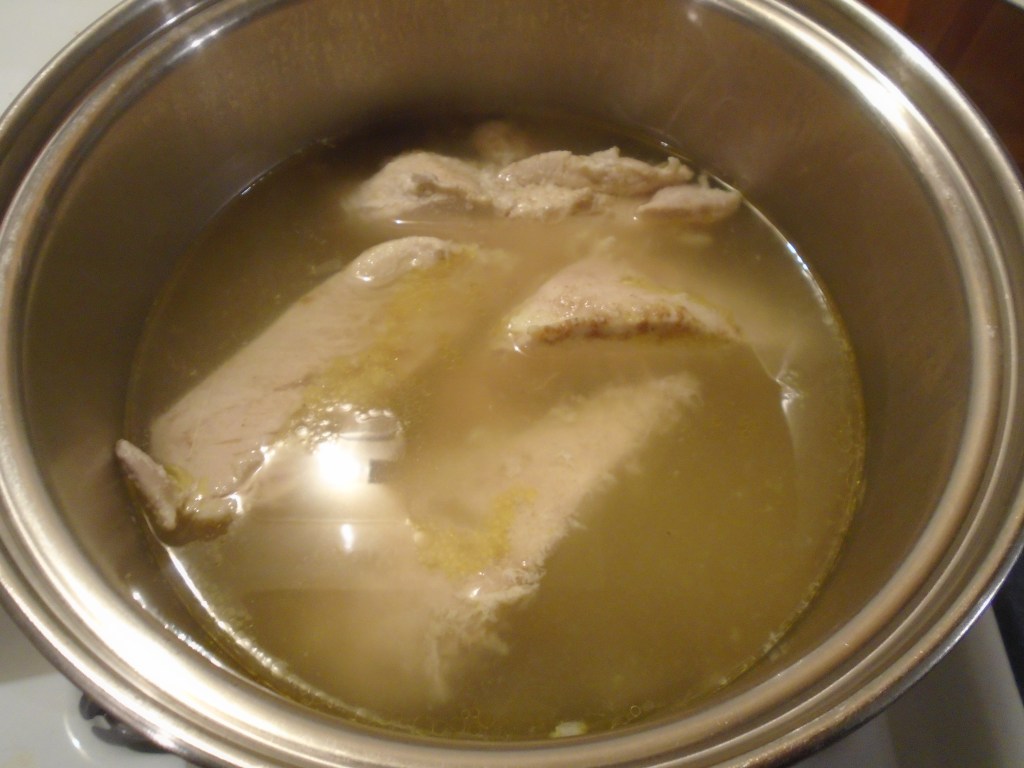
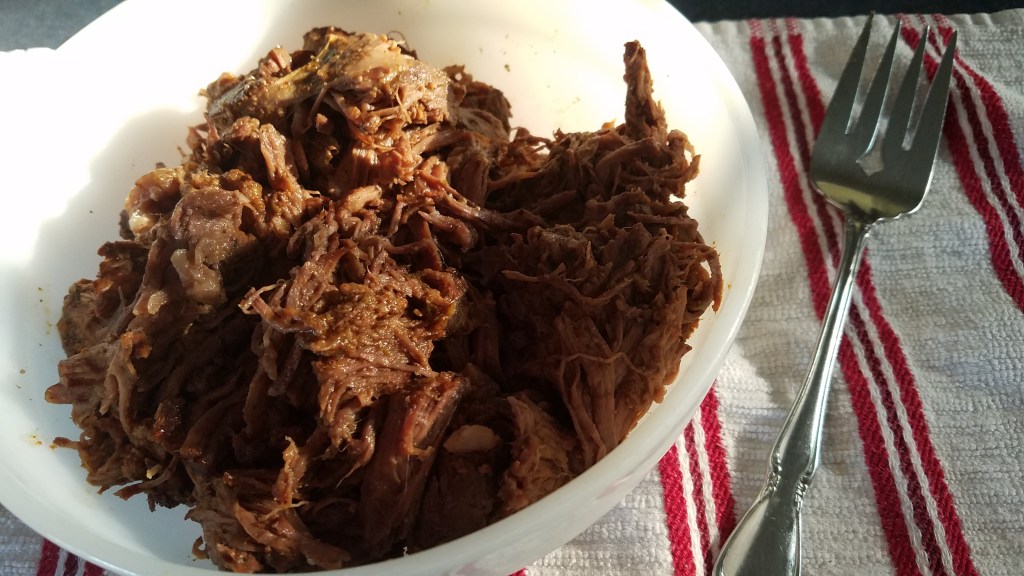
Add water to the Dutch oven to cover the pork by about two inches. Add the onion, bay leaves, salt and pepper.
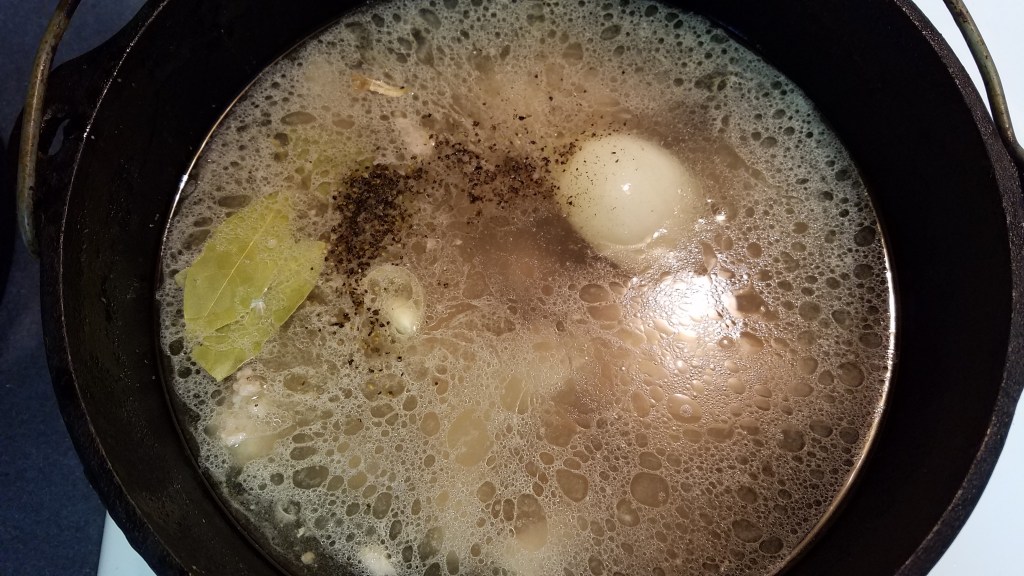
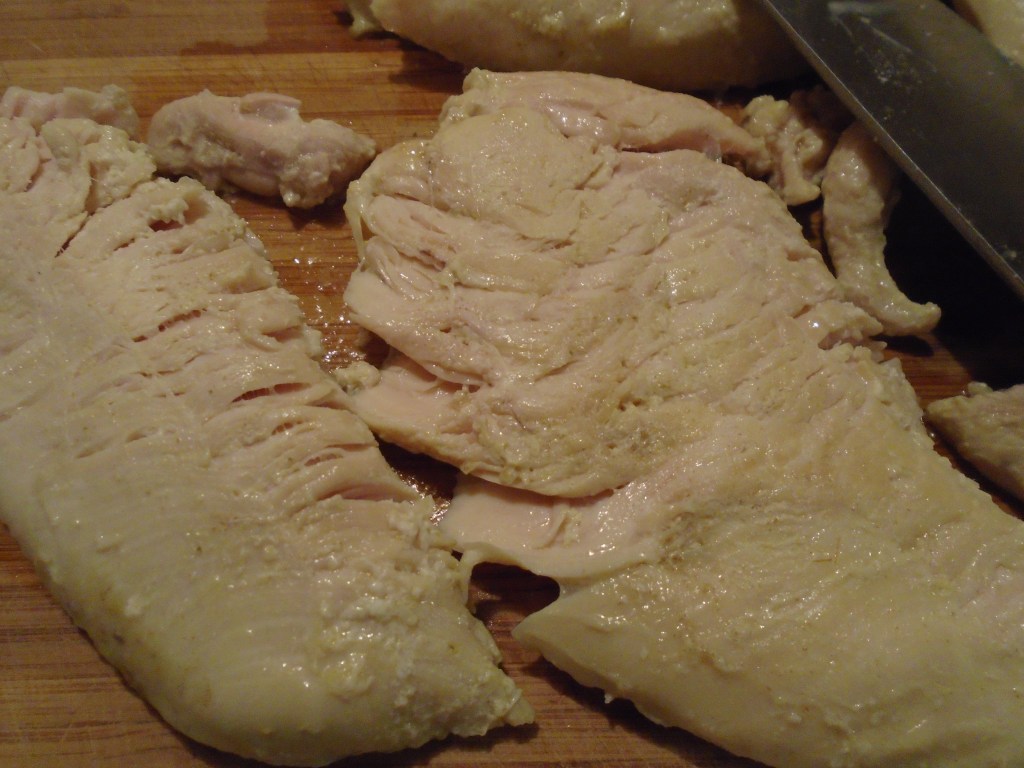
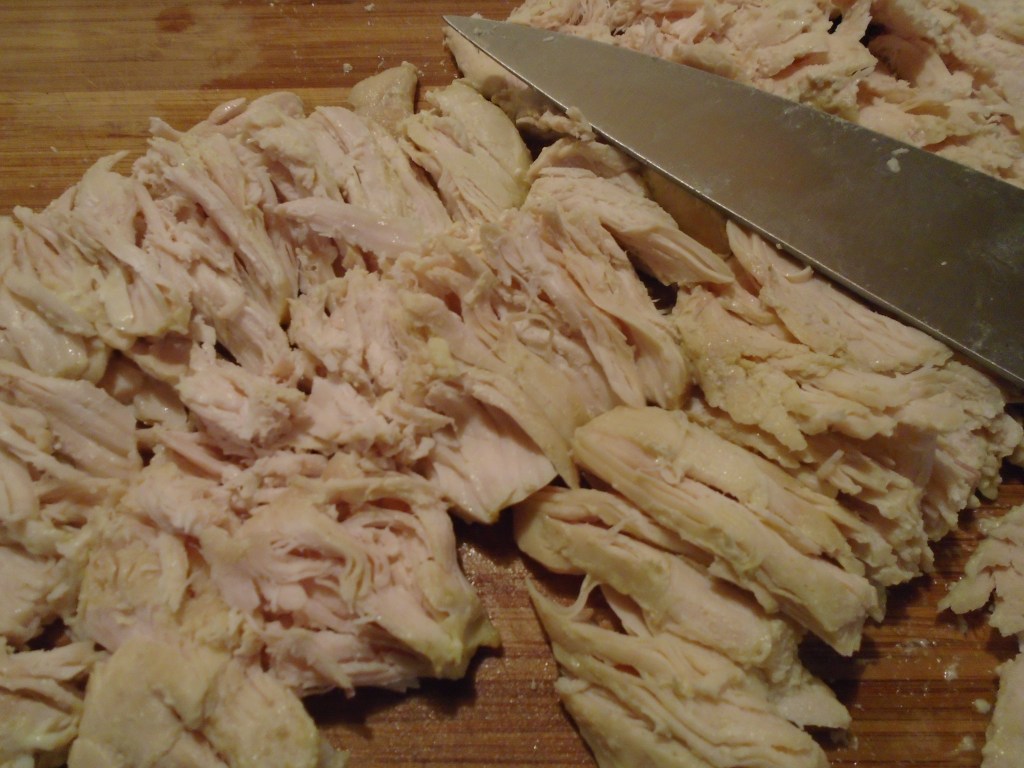
Set the heat to low and simmer the pork for two hours. When the pork is tender enough to shred with a fork, remove to a platter and reserve the liquid.
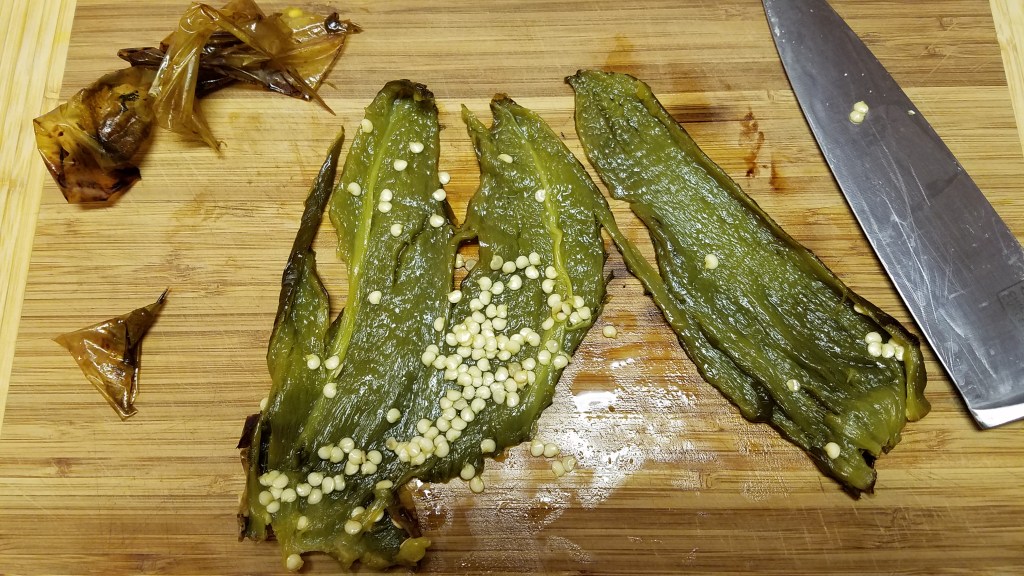
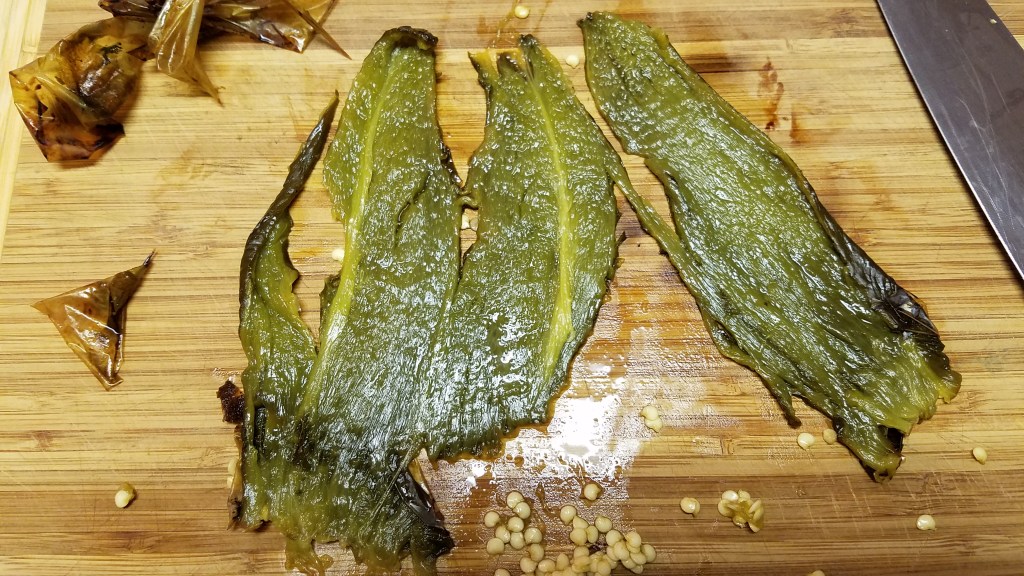
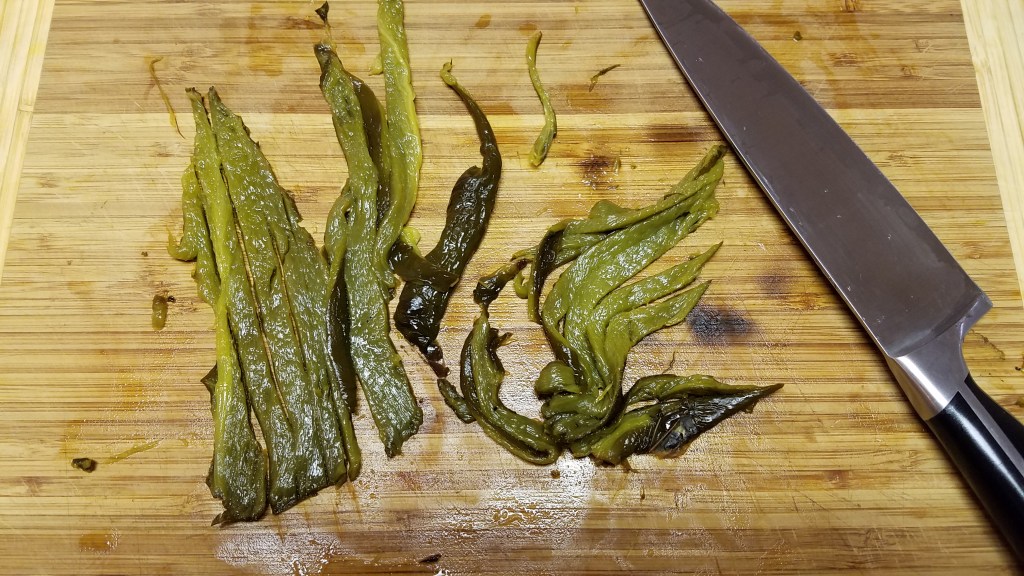
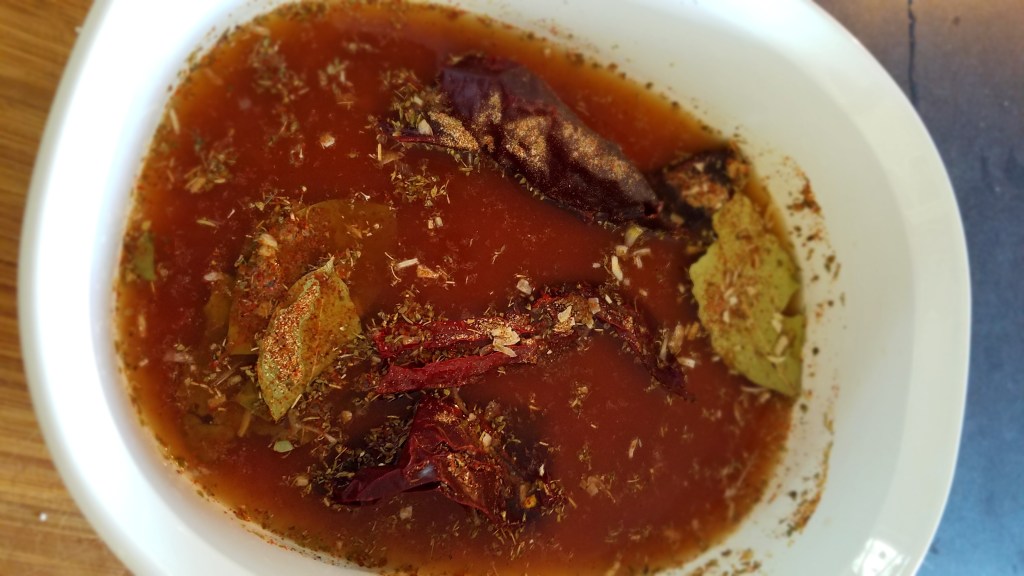
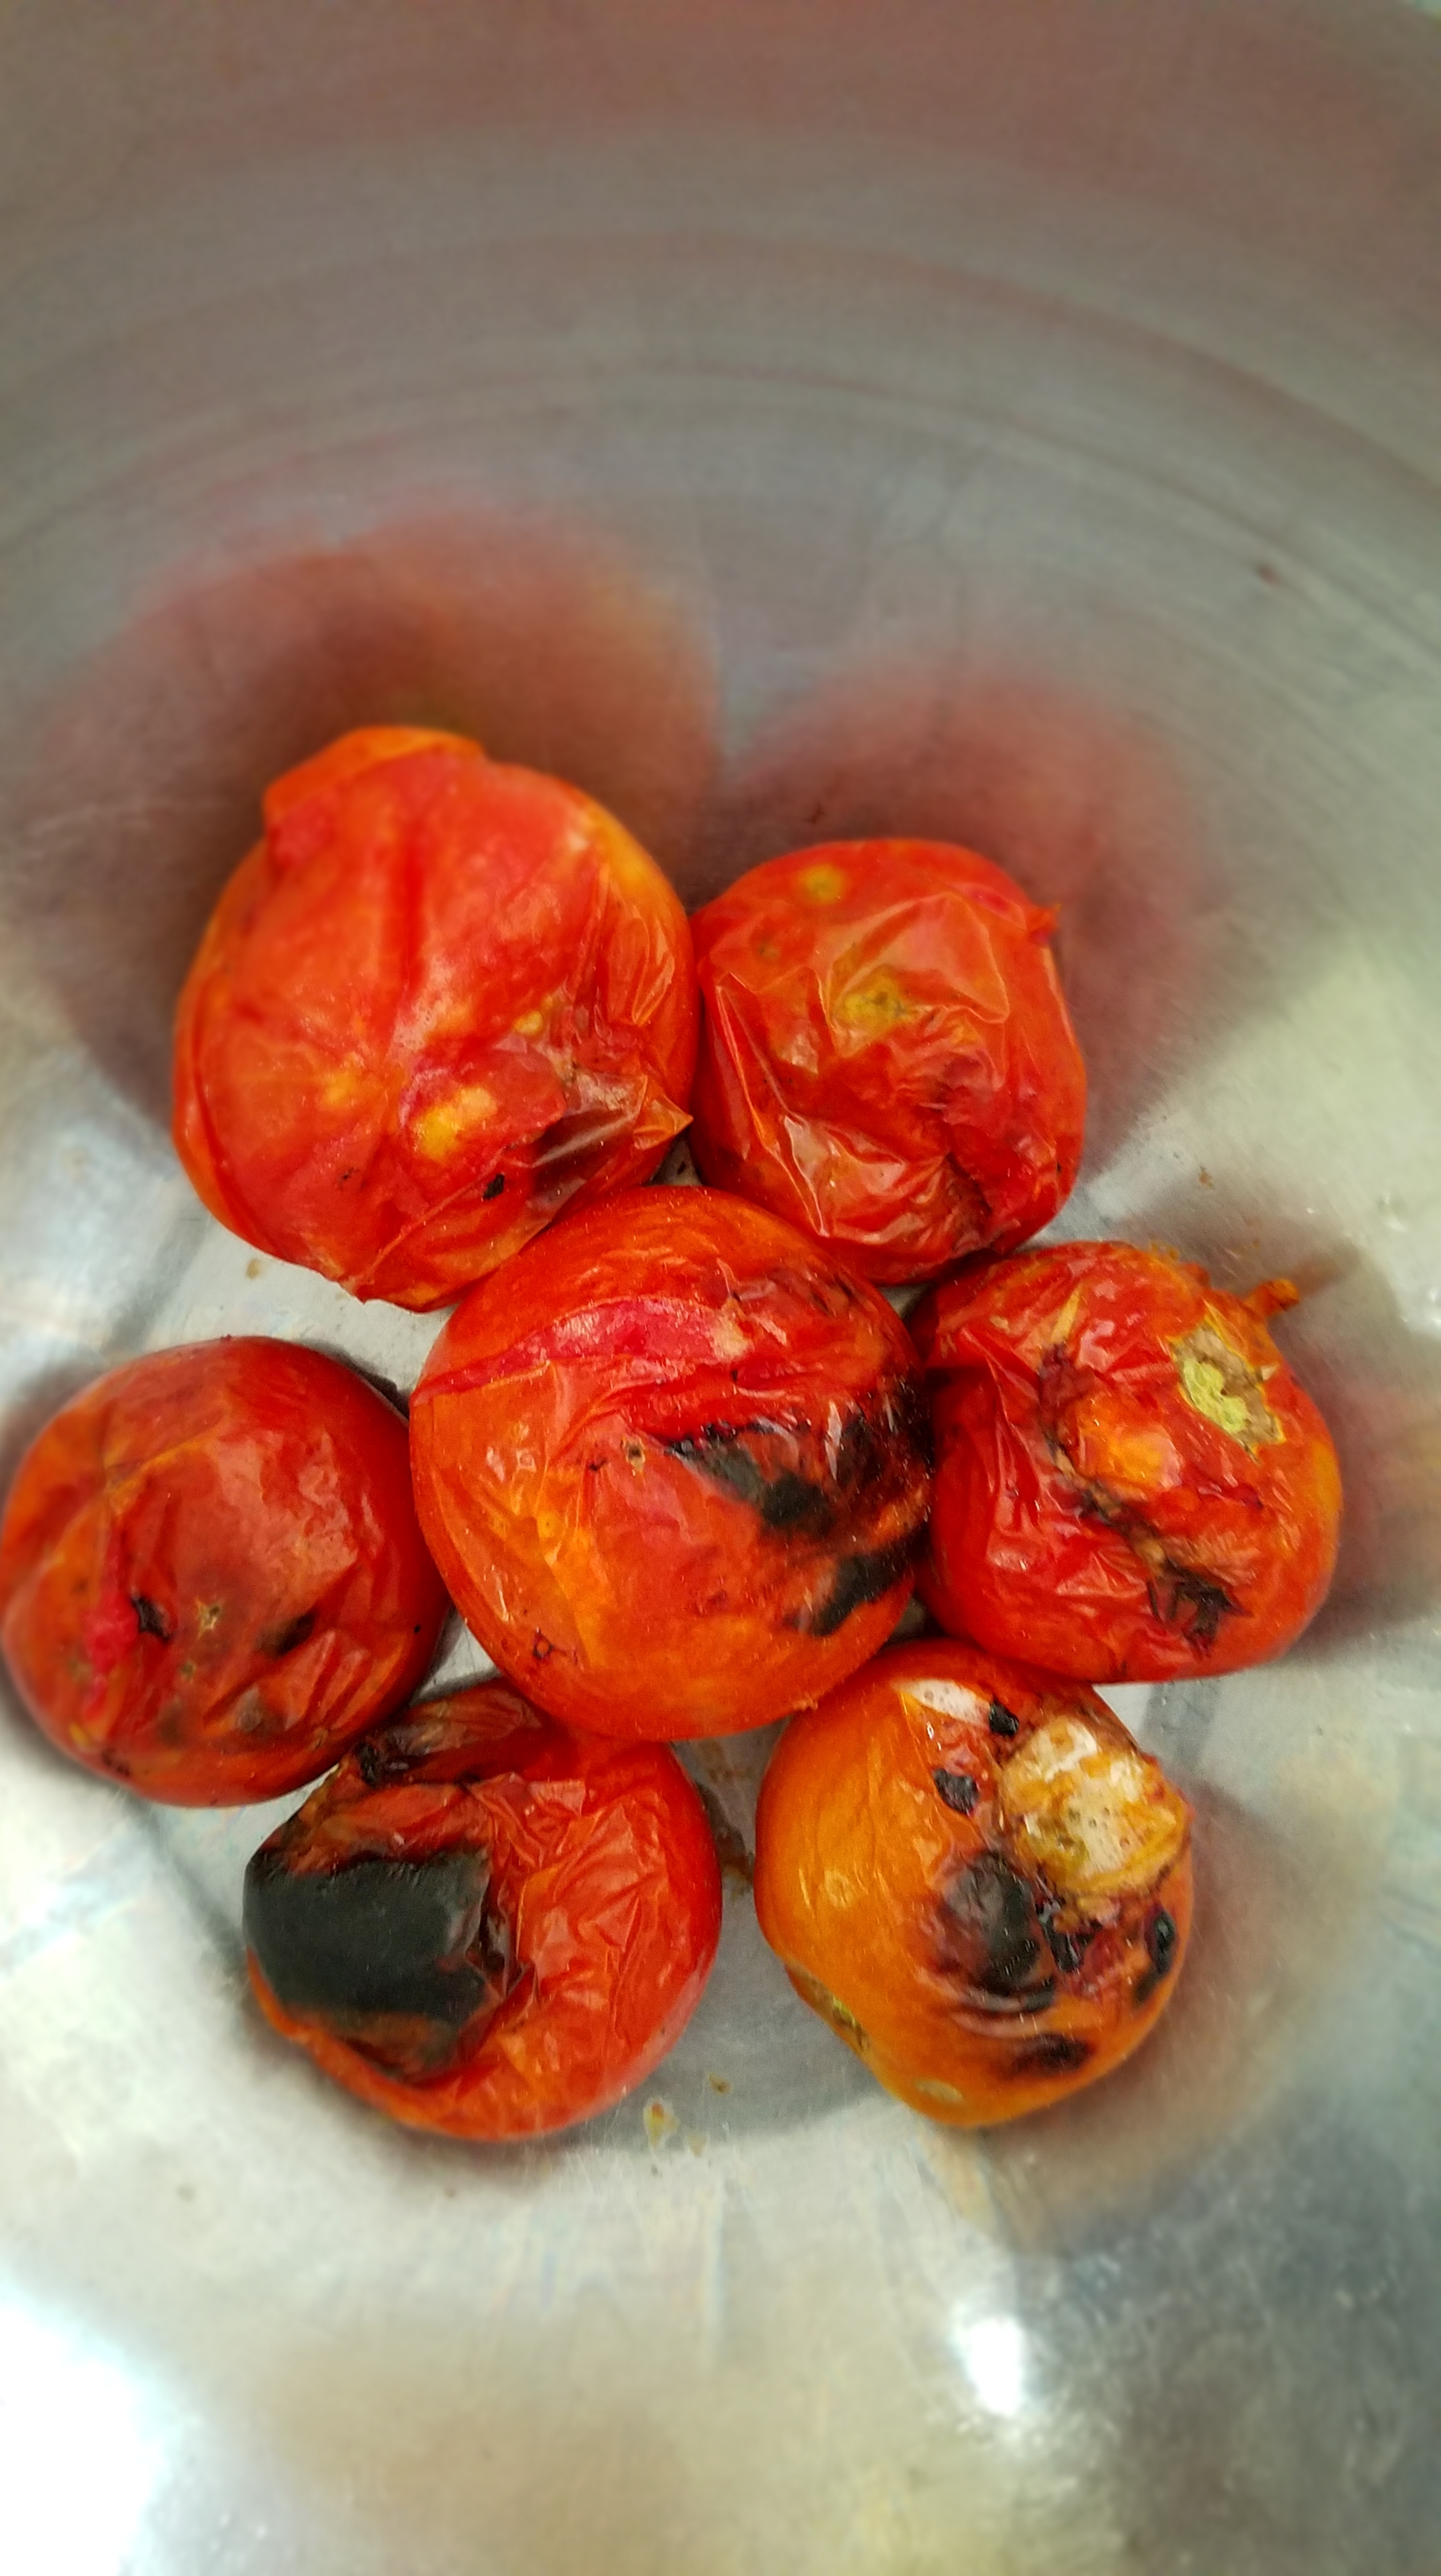
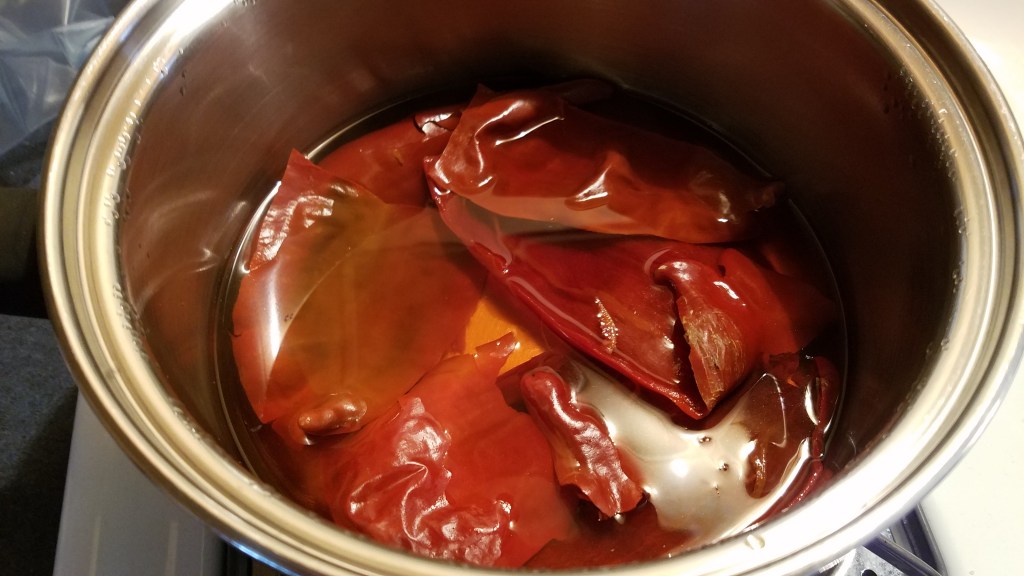
Steam the guajillo chiles for 20 minutes, until softened.
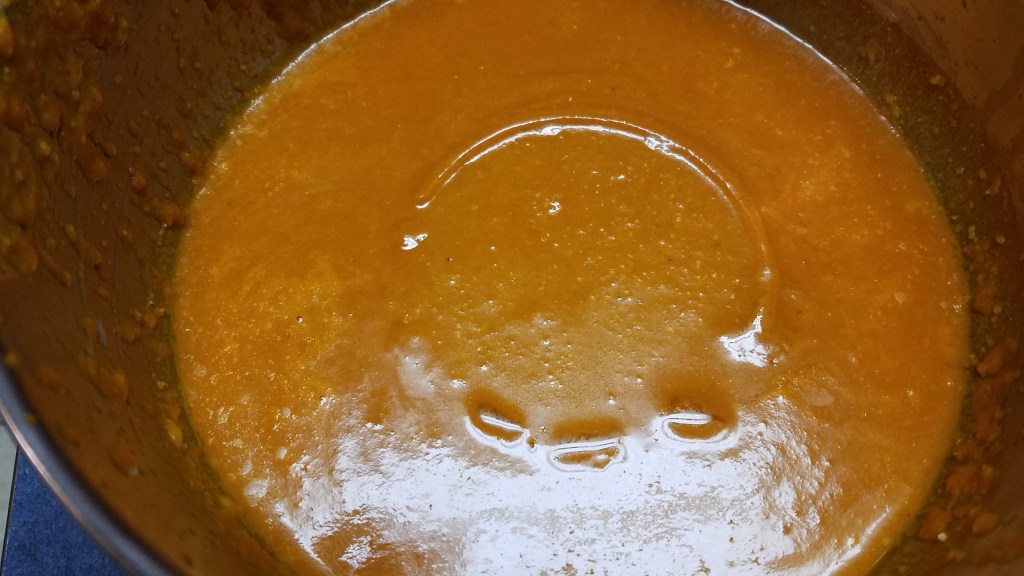
Puree the chiles, tomato, oregano, garlic and 1 cup of the hominy and 1 cup of vegetable stock in a blender.

Strain the mixture to remove the seeds and pulp.

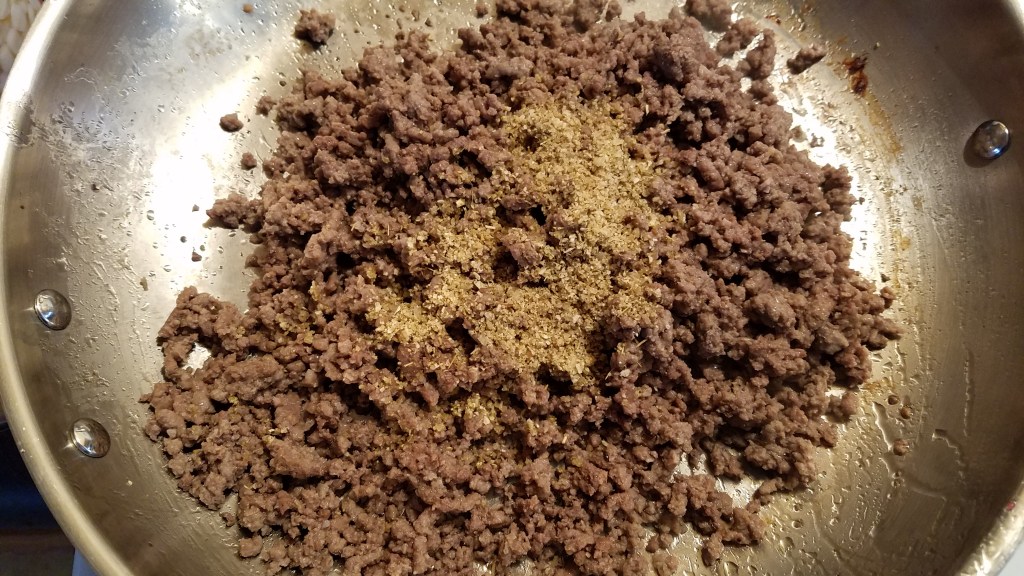
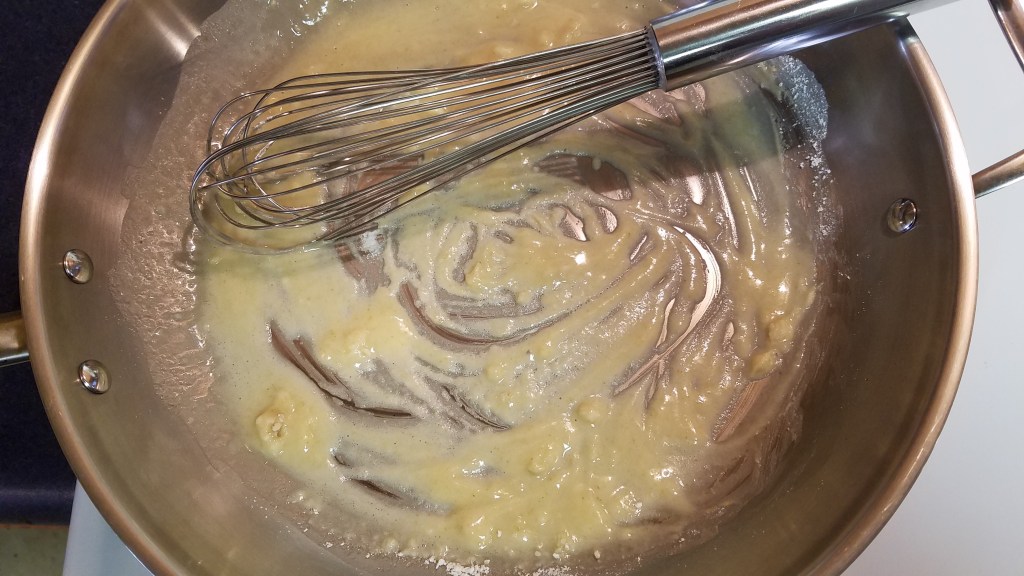
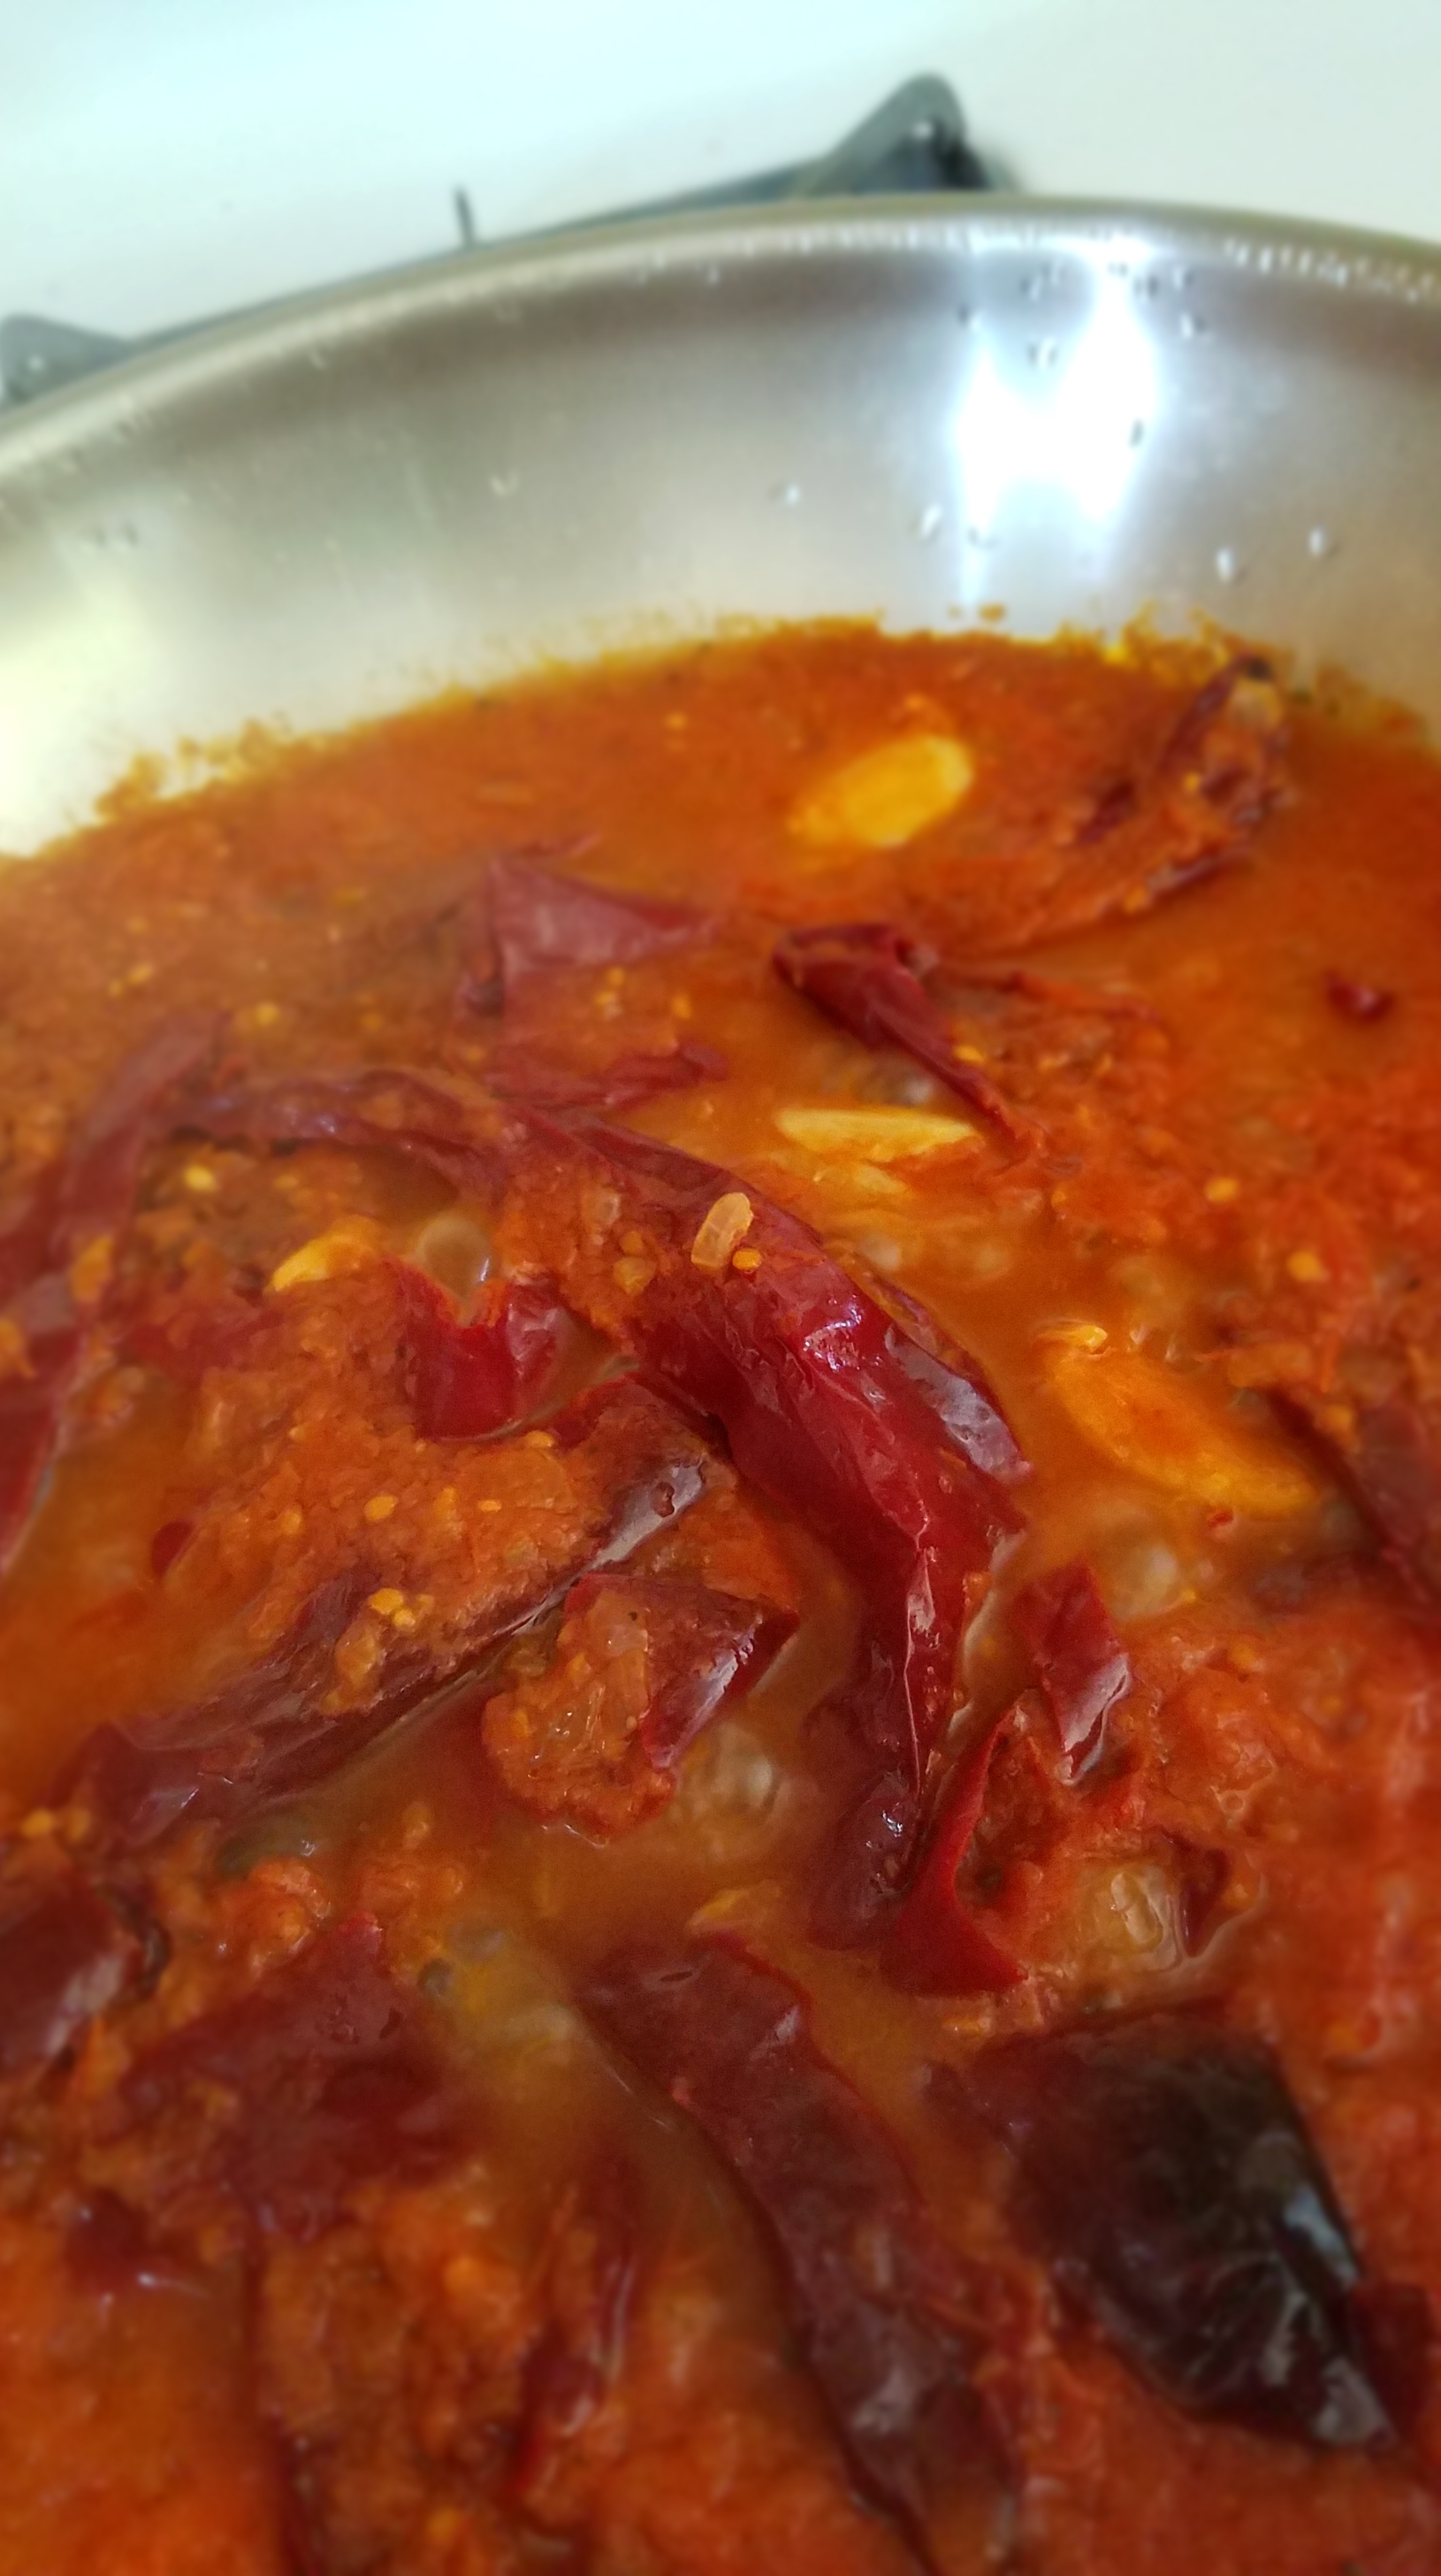
Add the butter and flour to the Dutch oven and prepare a roux. Add the remaining vegetable stock and about 3 cups of the broth from the cooked pork. Whisk to incorporate the mixture.
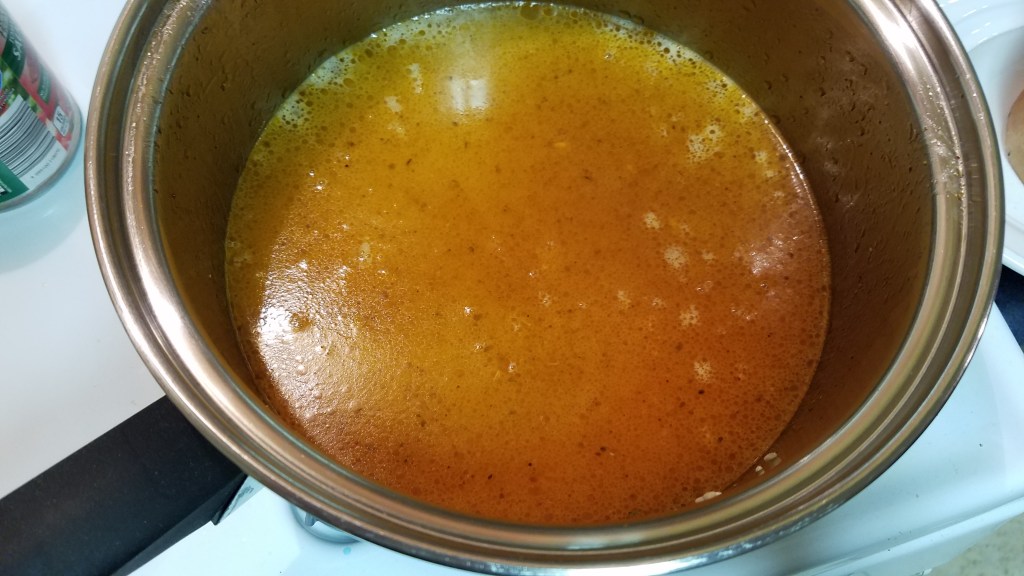
Add the pork and pureed vegetable mixture.
Simmer for 15 minutes. Add the hominy and simmer for another 15 minutes.
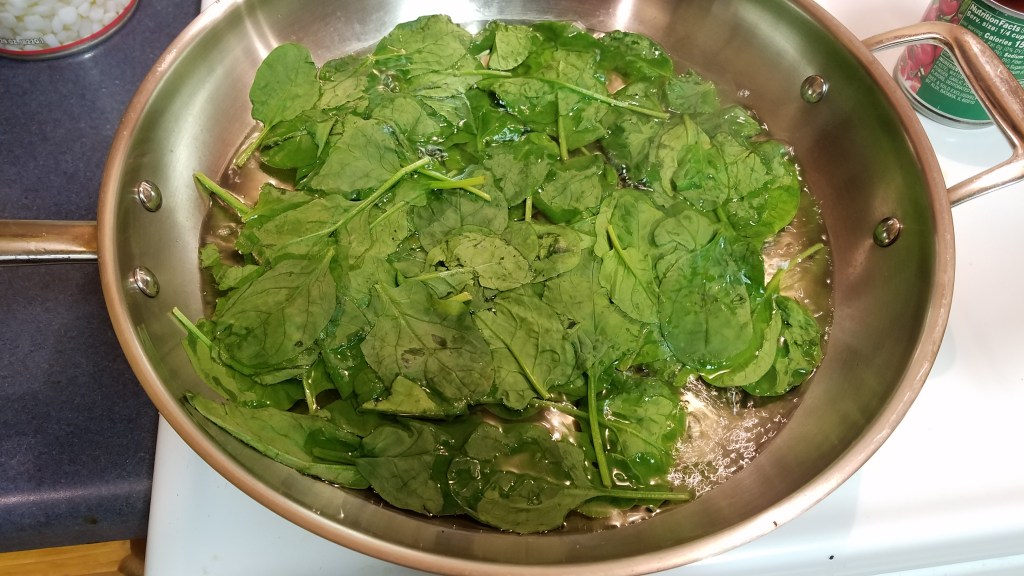
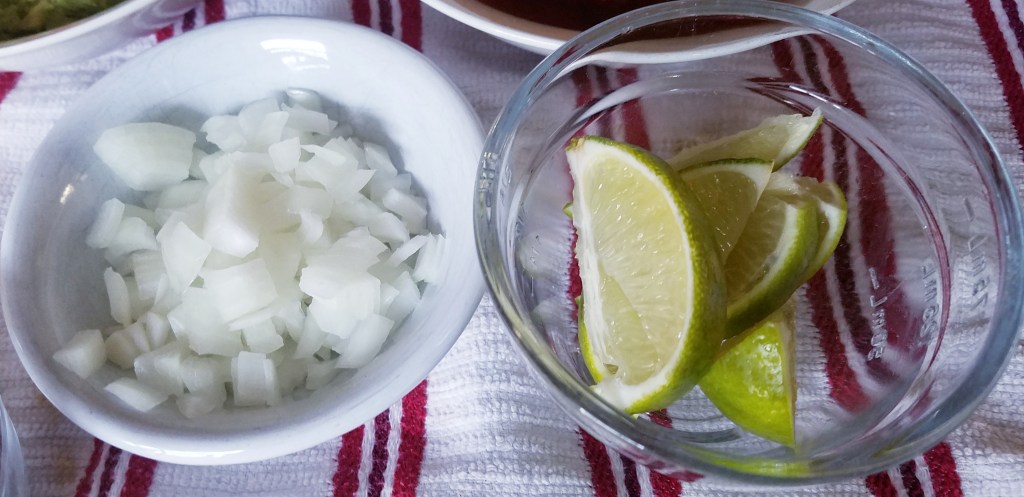
Serve in bowls. Prepare a platter of condiments including sliced iceberg lettuce (or cabbage), cilantro, sliced onion and sliced jalapeño. Place the platter in the center of the table so that guests may add what they like to their soup.