When I think about making pizza I first consider the taste that I want. Do I want something spicy, like pepperoni, or perhaps something more subdued, like ground beef? Do I want a thick, rich, tomato sauce, or a thin whisper of tomato sauce? Do I want bold herbs and spices?
After I decide on the taste, I start to think about the flavor. Taste and flavor are not synonymous, even though we sometimes use taste and flavor interchangeably when describing food. Flavor includes taste, texture and aroma, among other sensory experiences, like sight and sound. Taste is like listening to a musical instrument and flavor is like listening to an orchestra.
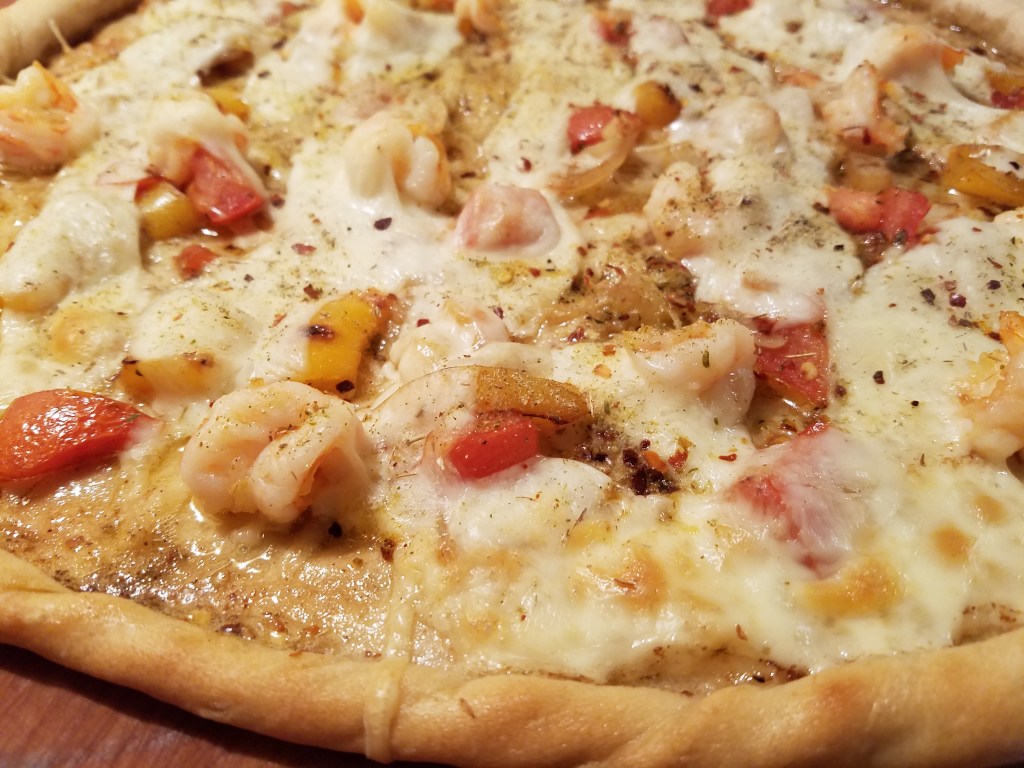
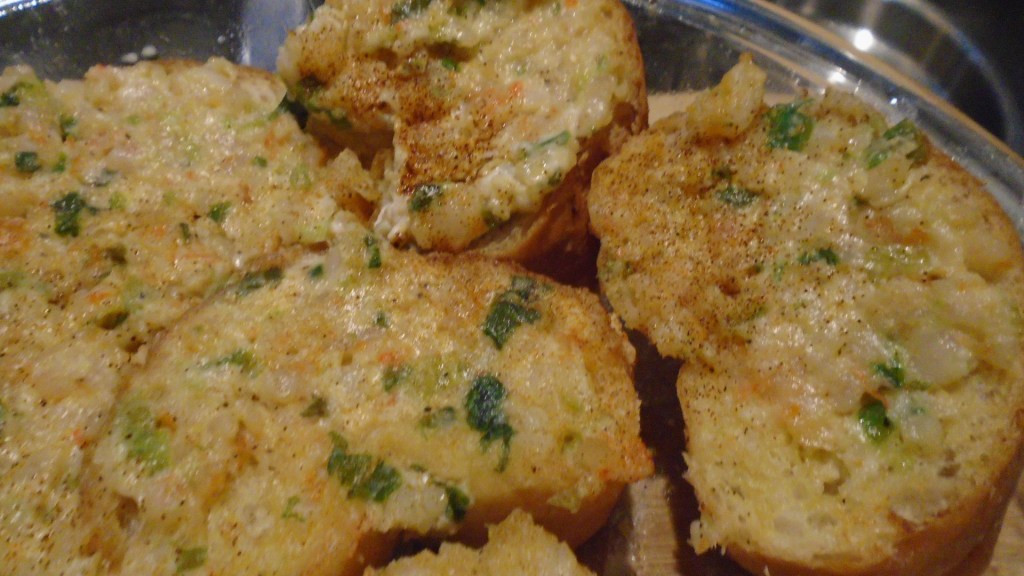
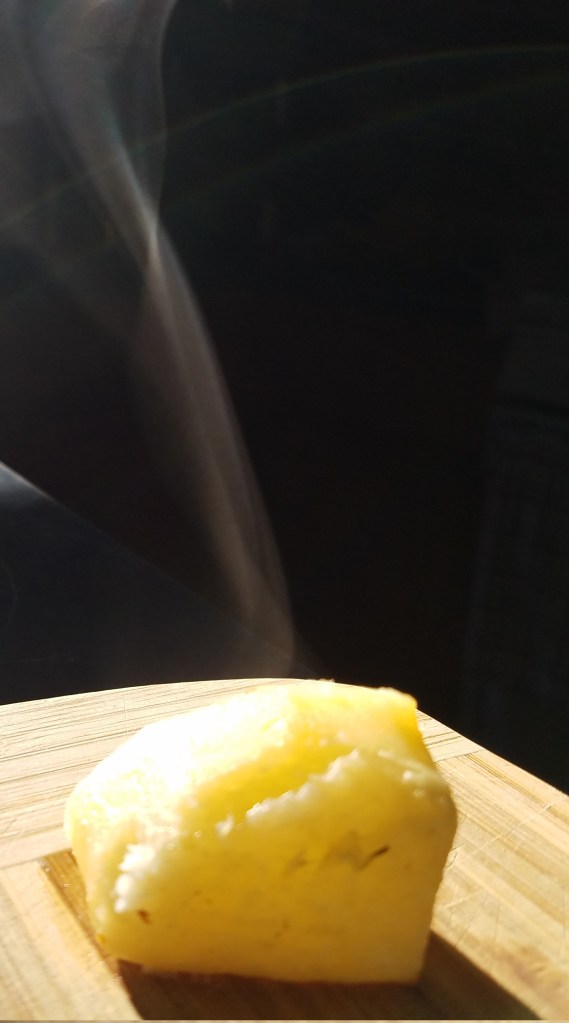
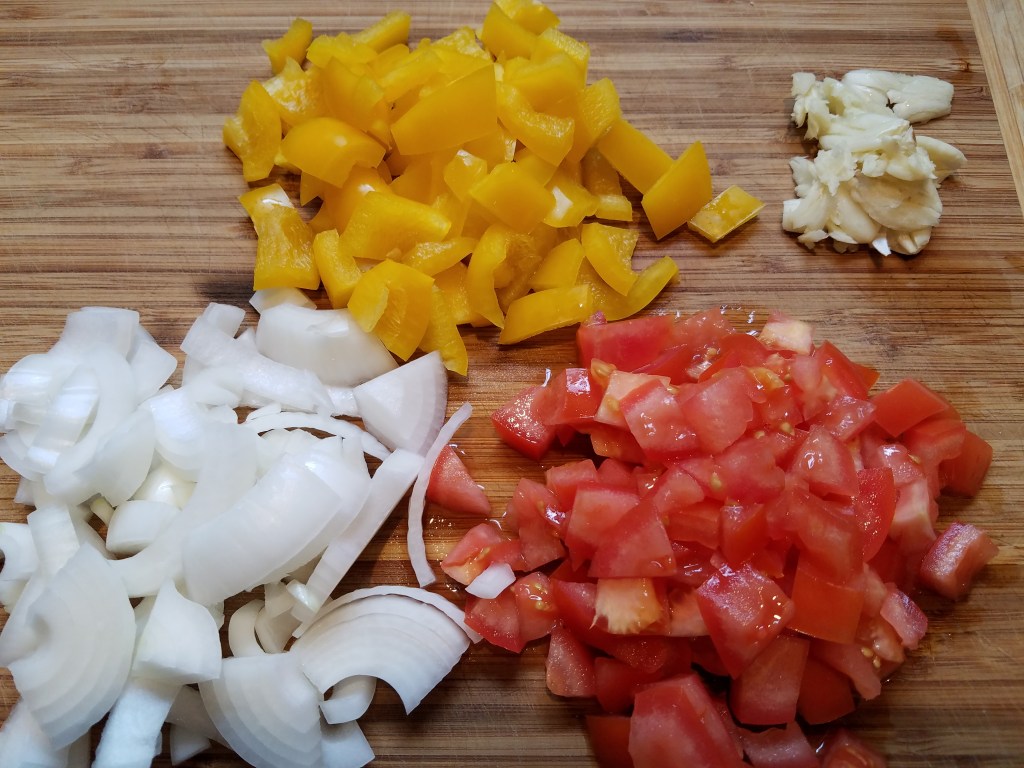
I have made pizzas with shrimp before but none of them had the flavor I wanted, until now. Charring yellow bell peppers provided a slightly sweet taste that green peppers can’t provide. The garlic and onion, along with butter and oil made a fantastic sauce. The overall flavor of the pizza was reminiscent of shrimp scampi, complete with a spritz of lemon juice. Subtle use of herbs and spices rounded out the flavor nicely. And of course, Parmesan cheese and mozzarella was the perfect choice to go with shrimp and the vegetables.
This was a pizza symphony!
Ingredients:

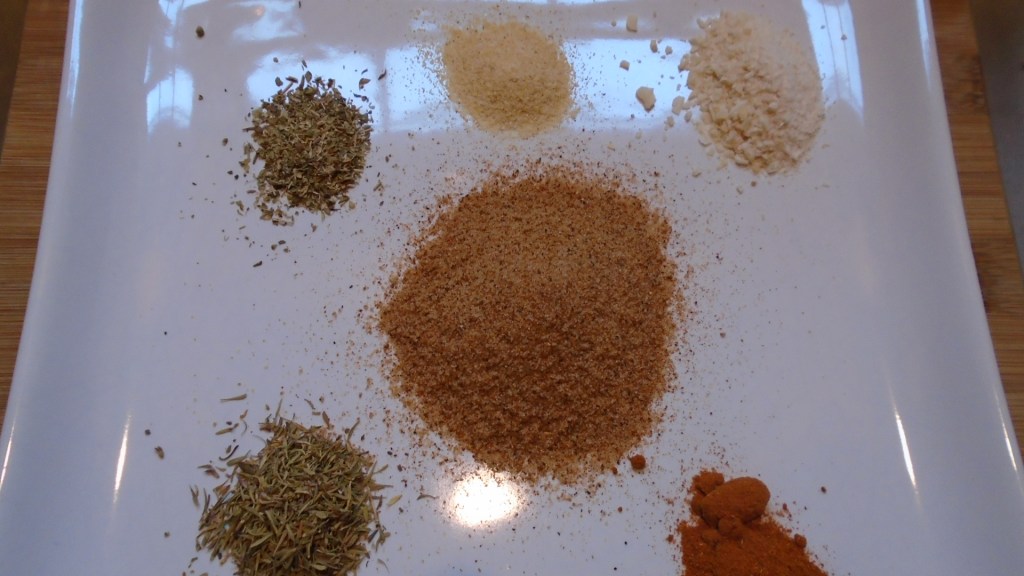
1 tsp dried oregano
1 tsp red chili flakes
½ tsp salt
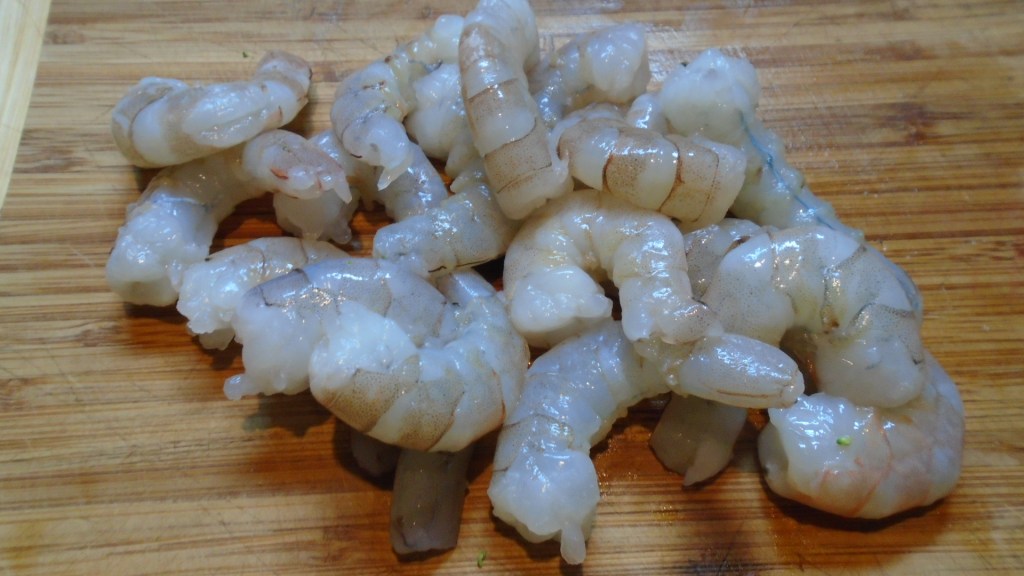
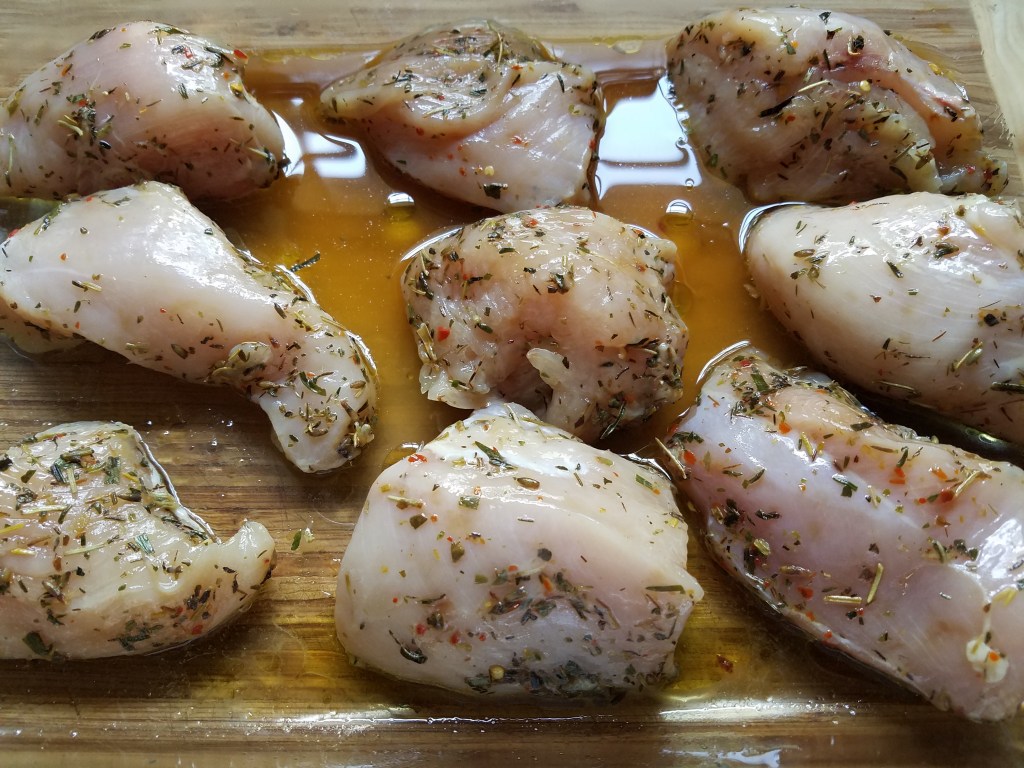
1 cup raw medium sized shrimp, peeled and deveined
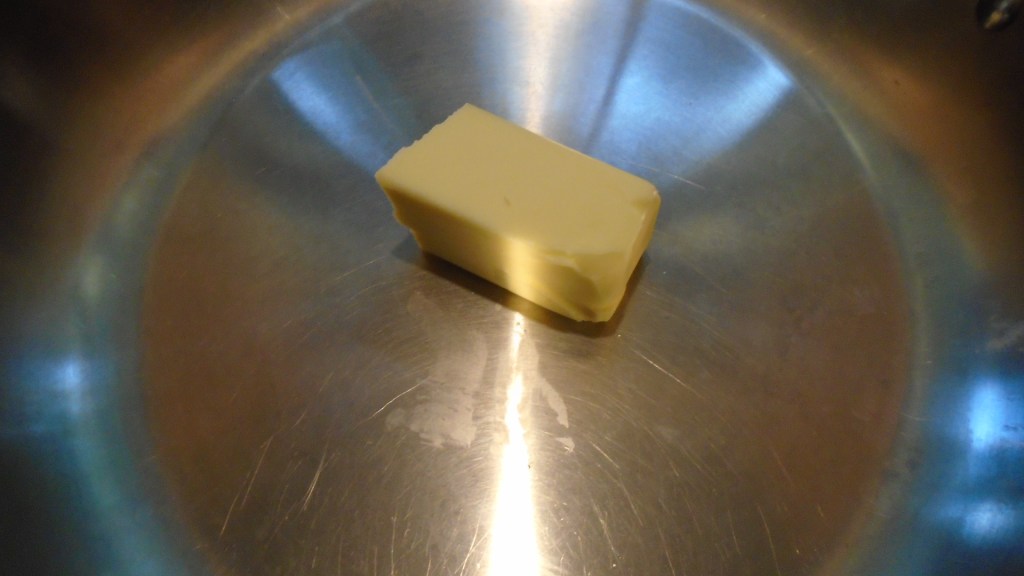
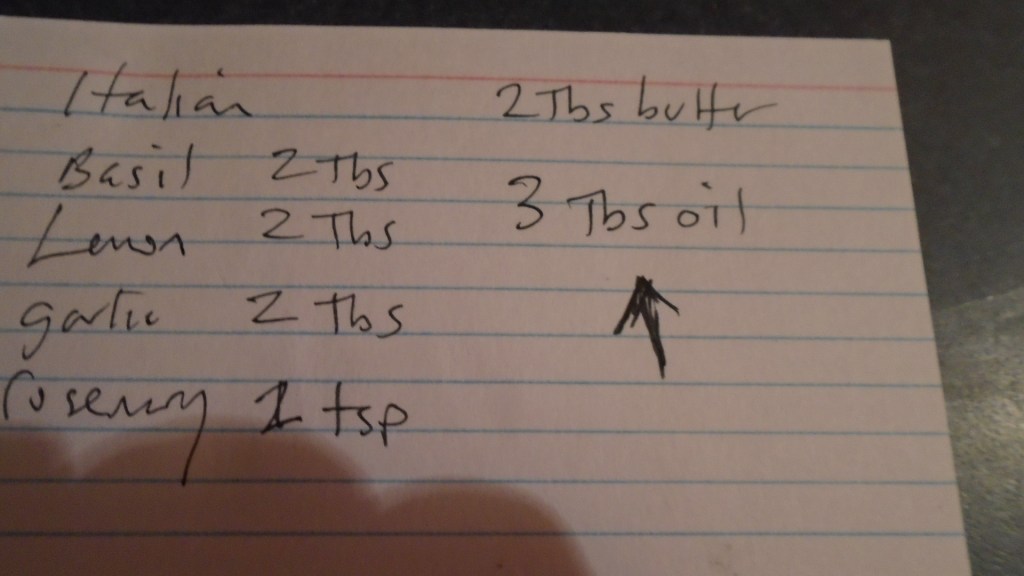
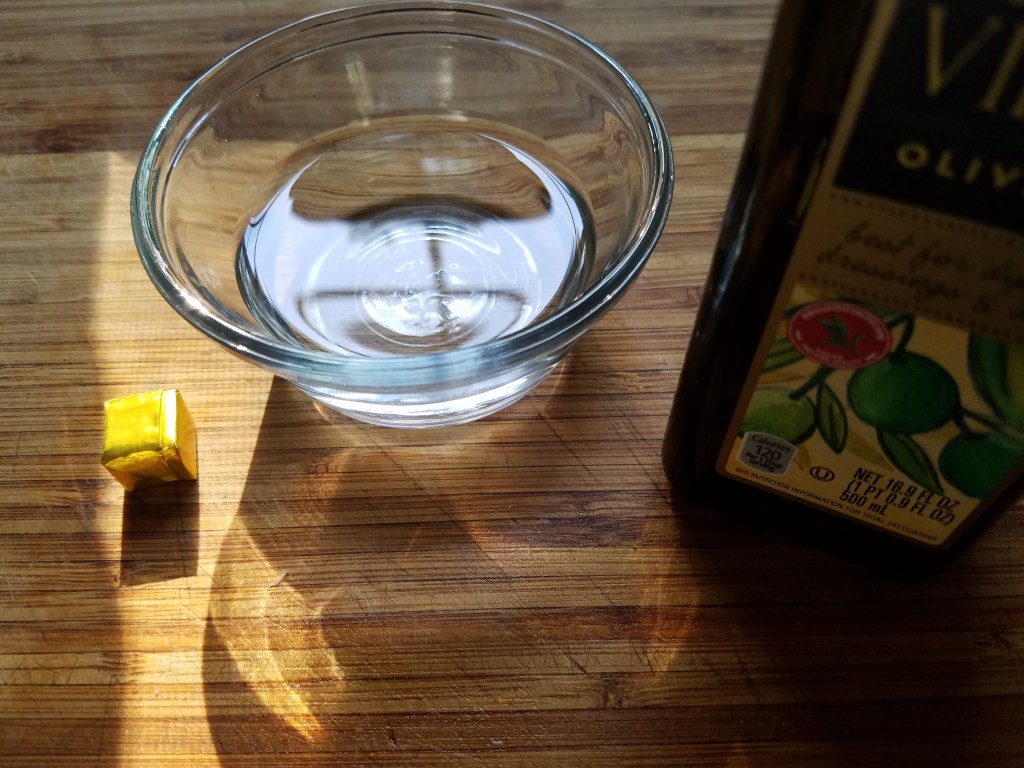
2 Tbs butter
3 Tbs olive oil
5 cloves garlic, mashed
1 orange bell pepper
1 white onion
1 medium sized tomato, chopped
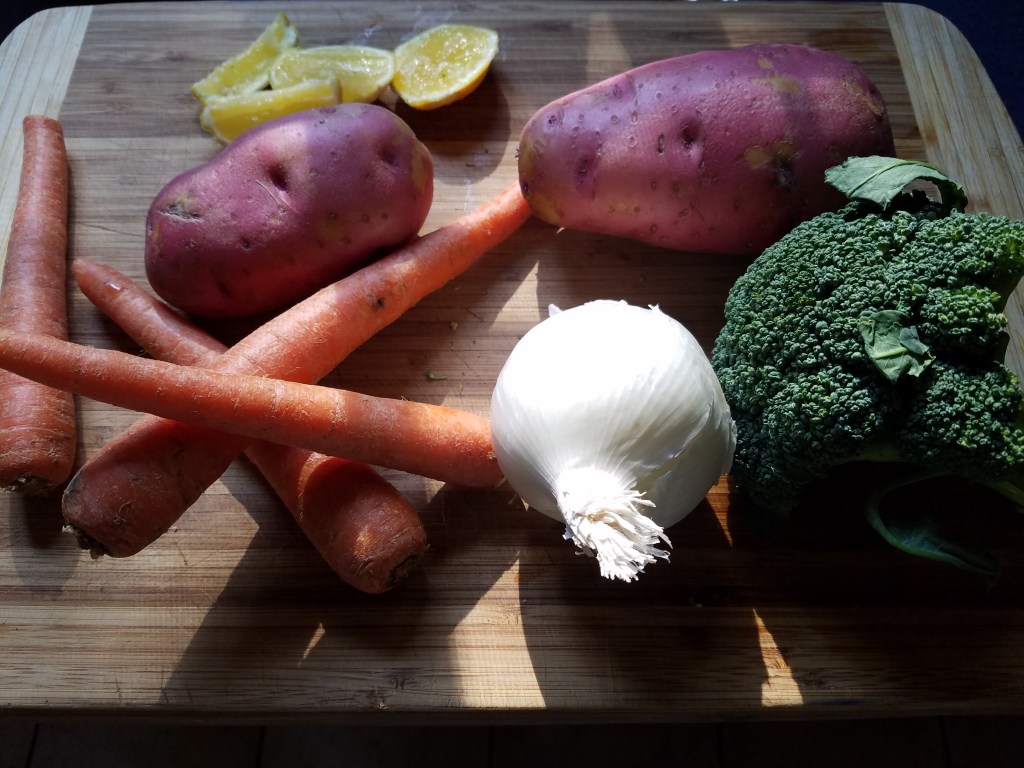
Juice of ¼ lemon
¾ cup grated Parmesan cheese
4 oz sliced mozzarella cheese
Directions:
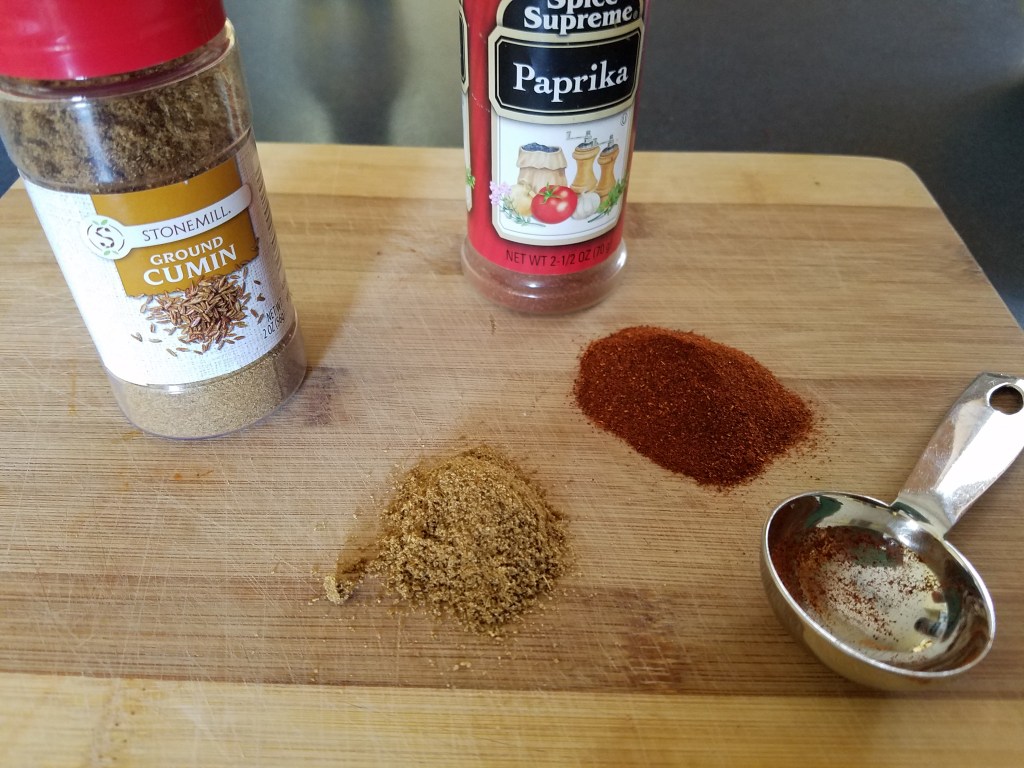
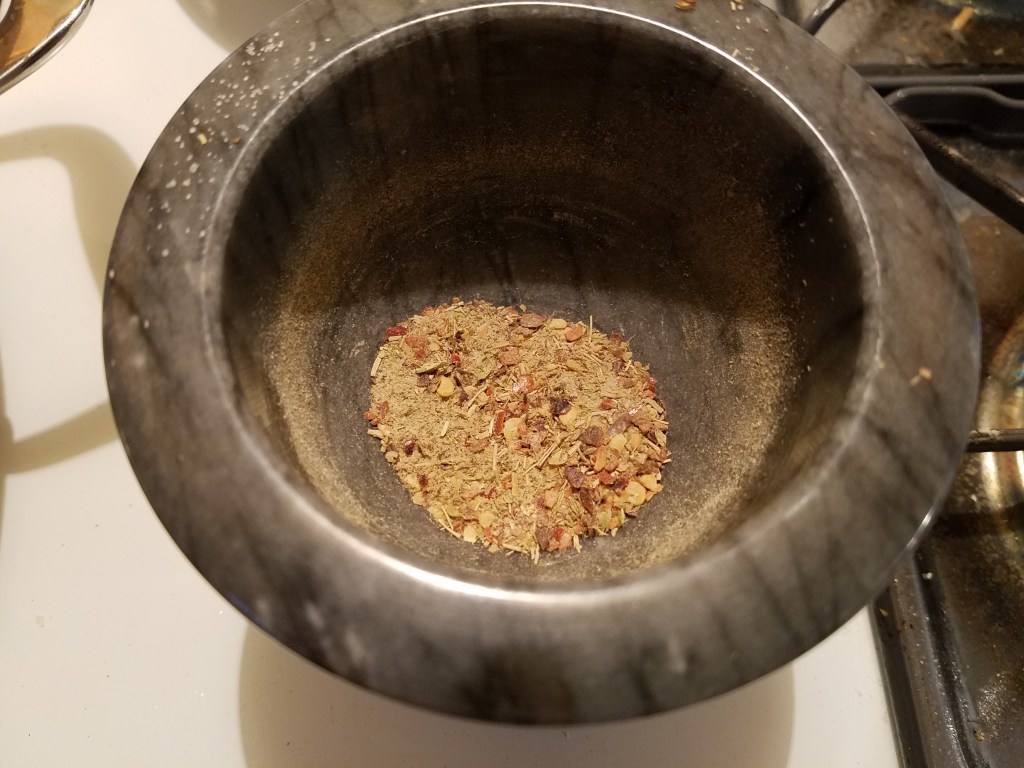
Crush the oregano, chile flakes and salt in mortis and pestle. Set aside.
Butterfly the shrimp and flatten them with the broad side of a chef’s knife. Set aside.

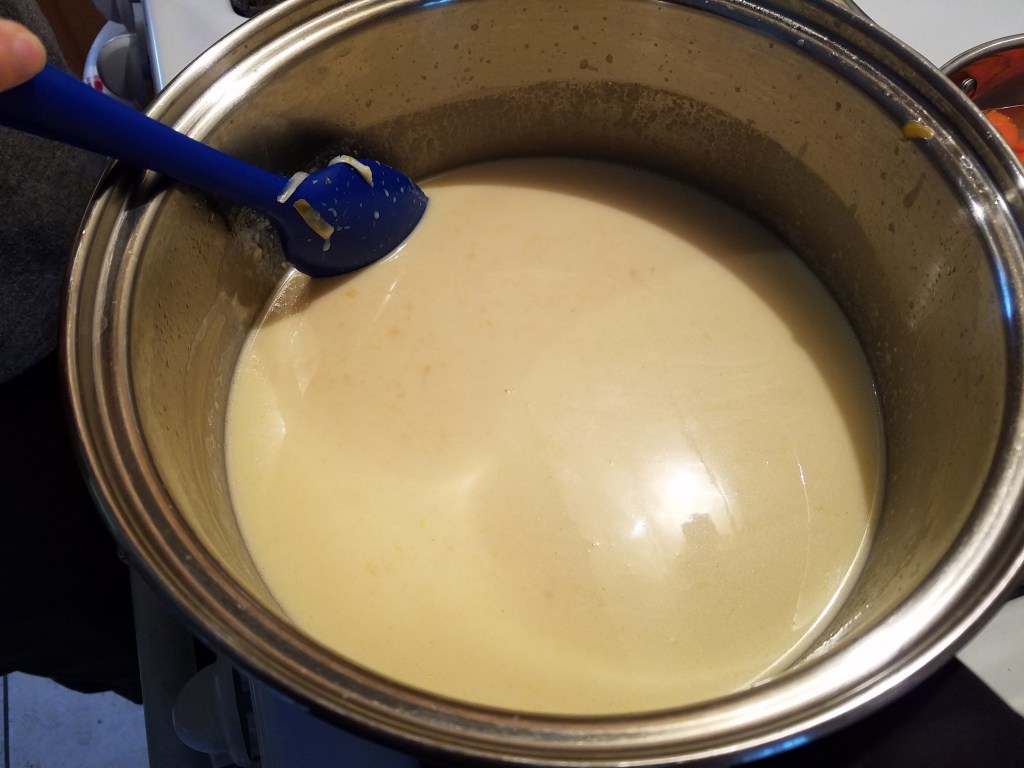
Add butter and oil to a skillet. Set the burner to very low heat.

Mash the garlic cloves and add them to the skillet. Simmer at very low heat for 3 to 4 minutes. The garlic should be soft, but not browned. Remove the garlic to a cutting board. Mash the garlic into a paste. Set the garlic aside.


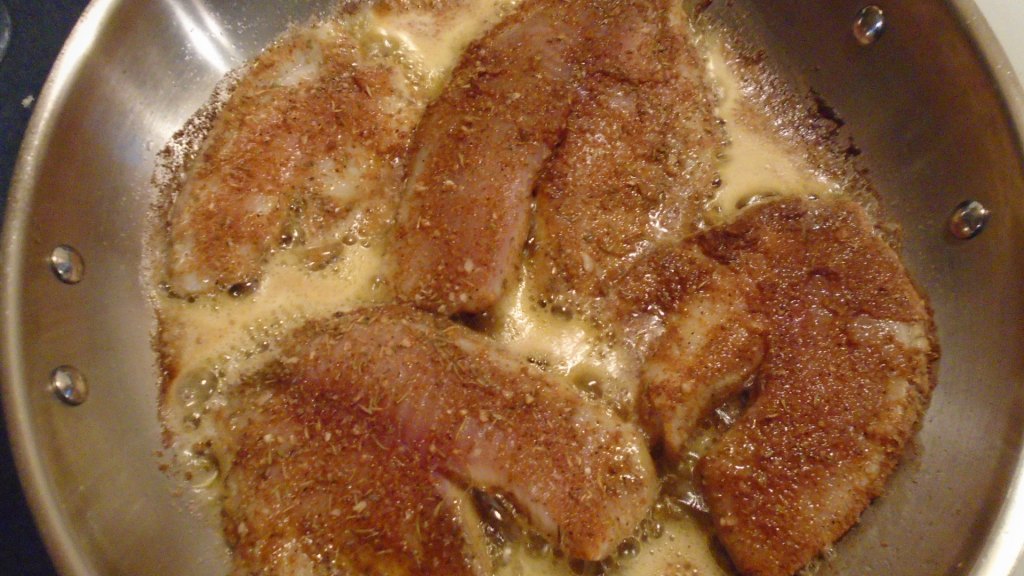
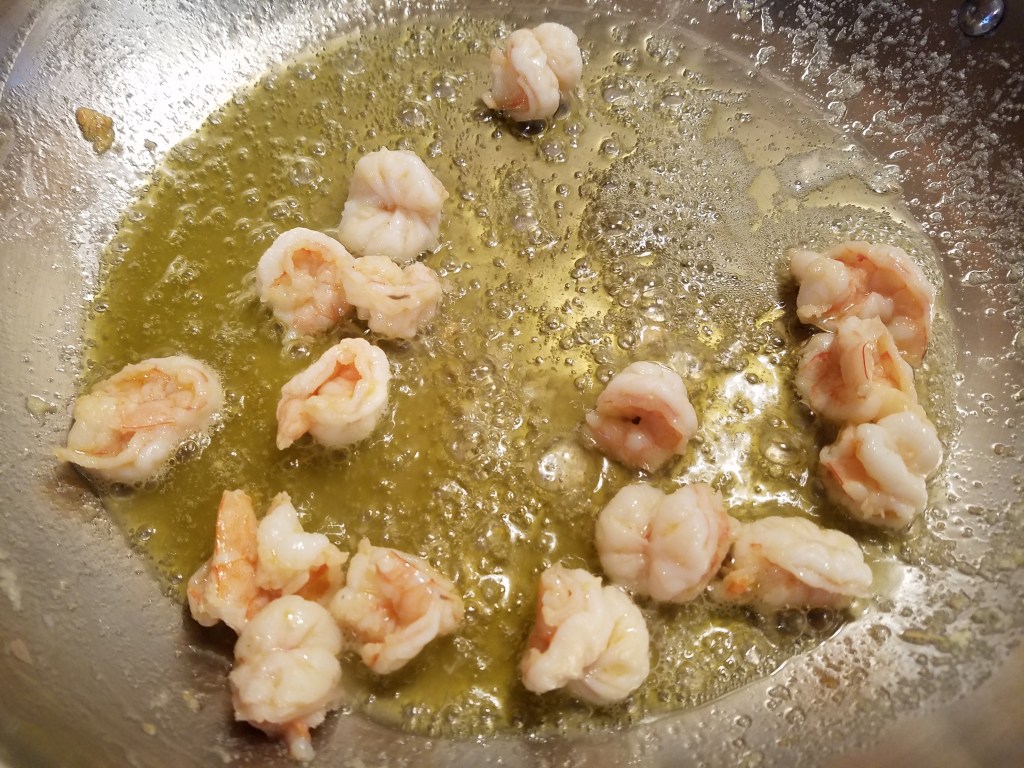
Turn the heat up to medium and add the shrimp to skillet and simmer, while stirring. Cook the shrimp until they just begin to turn pink. Remove the shrimp from the skillet and keep warm.
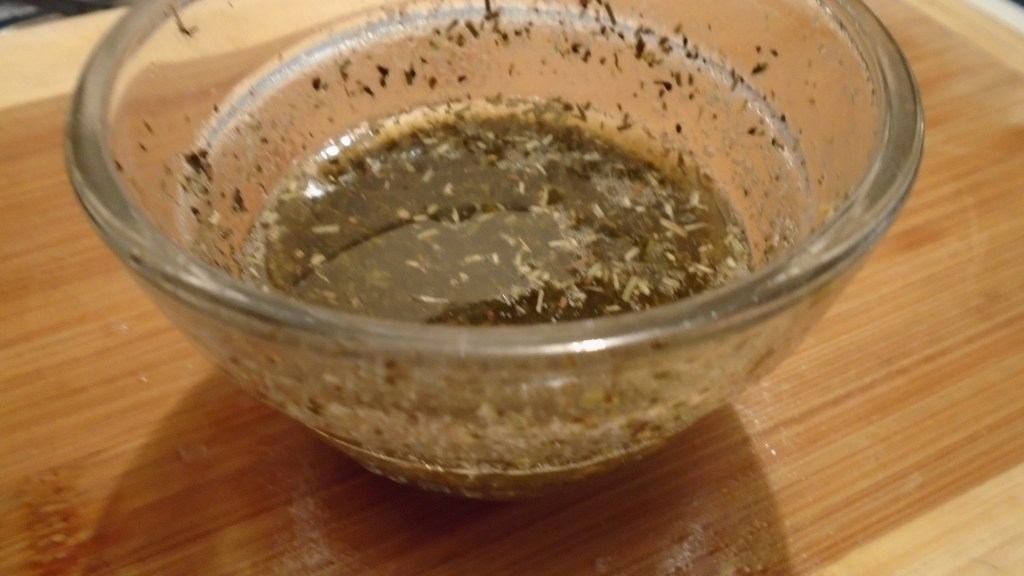
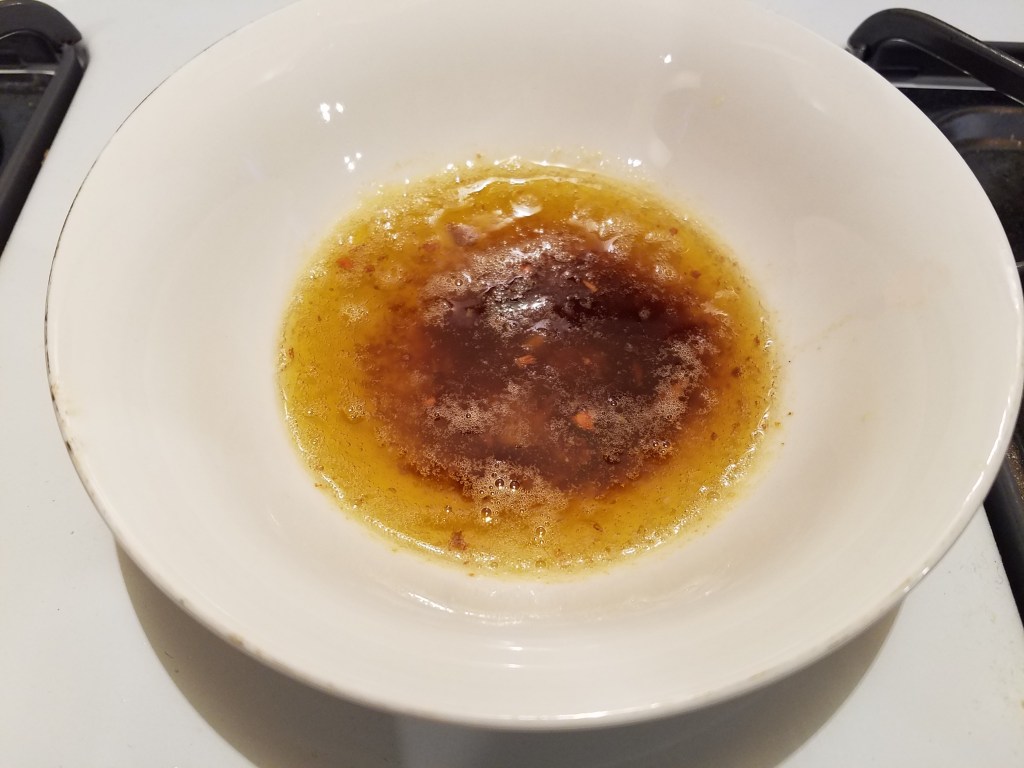
Pour the hot butter and oil from the pan into a small bowl and set aside. Return the skillet to the stove and set the heat to high.
Add the bell pepper and onion to the skillet and sauté at high heat until they begin to char.


Add the chopped tomato and stir briefly. Remove everything from the skillet and set aside.
Prebake the pizza dough in a 400° oven for about 5 minutes. Remove the pizza and place on a heat proof surface.
Pour the butter/oil mixture on prebaked pizza dough. Use a brush to thoroughly coat the dough.

Blot excess oil from the pizza with a paper towel.
Sprinkle ½ cup of the grated Parmesan cheese onto the dough.

Add charred bell peppers and onion. Add the garlic paste.

Top with the shrimp.
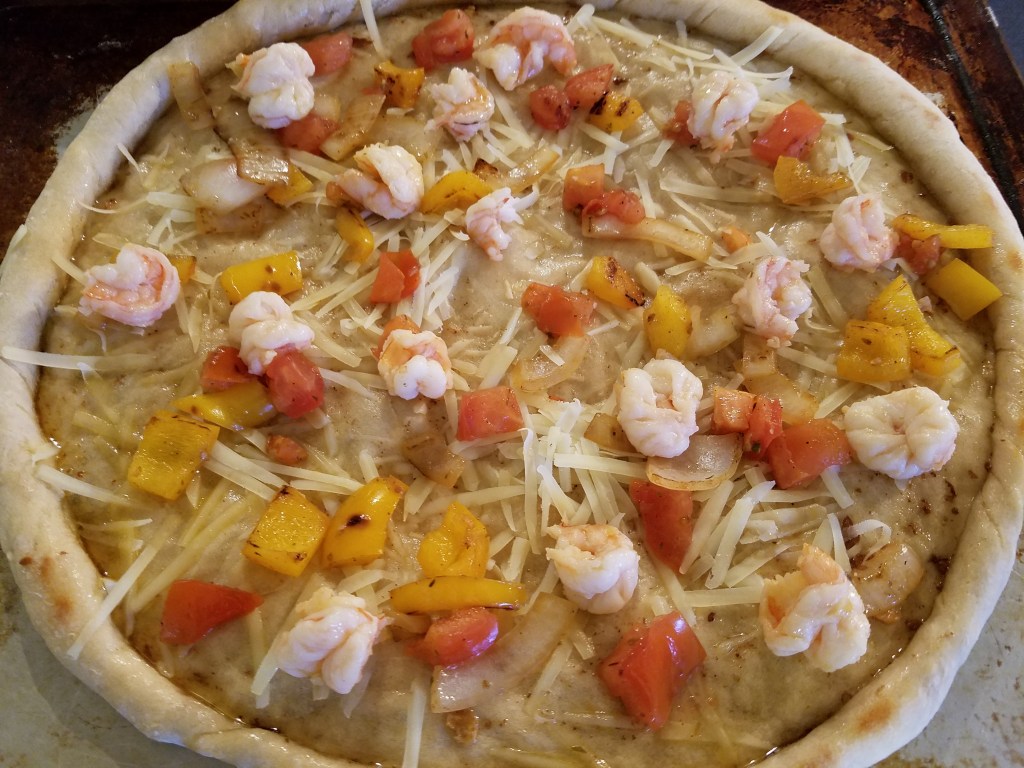
Squeeze a little lemon juice over the pizza.

Add ¼ cup of grated Parmesan cheese.
Layer with slices of mozzarella.
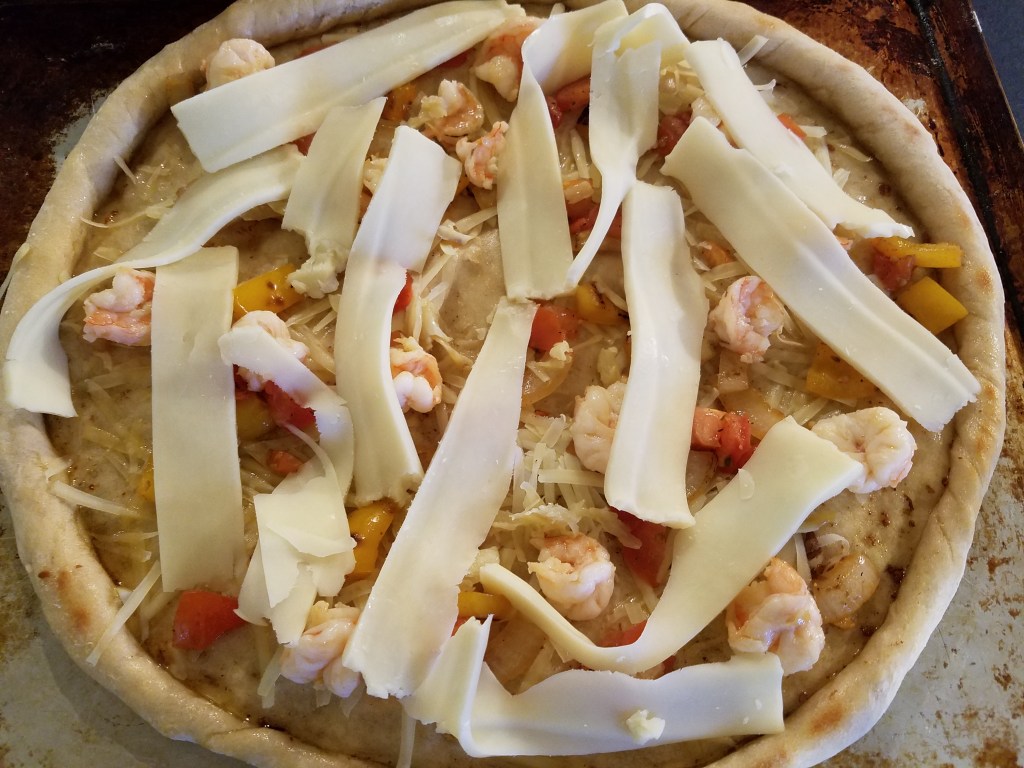
Scatter the crushed oregano, chile flake and salt across the top of the pizza.
Bake in the oven for about 10 minutes at 400°, or until the cheese bubbles and begins to brown.