Summer is just around the corner and winter rules no longer apply! Winter rules, as it relates to wings, call for fried or baked chicken wings. The heat of the oven is wonderul in the colder months but now, with temperatures reaching over 90°, I want to cook outdoors, whenever possible.
This weekend has brought a heavy dose of hot sun and no rain, so grilling is a great option!
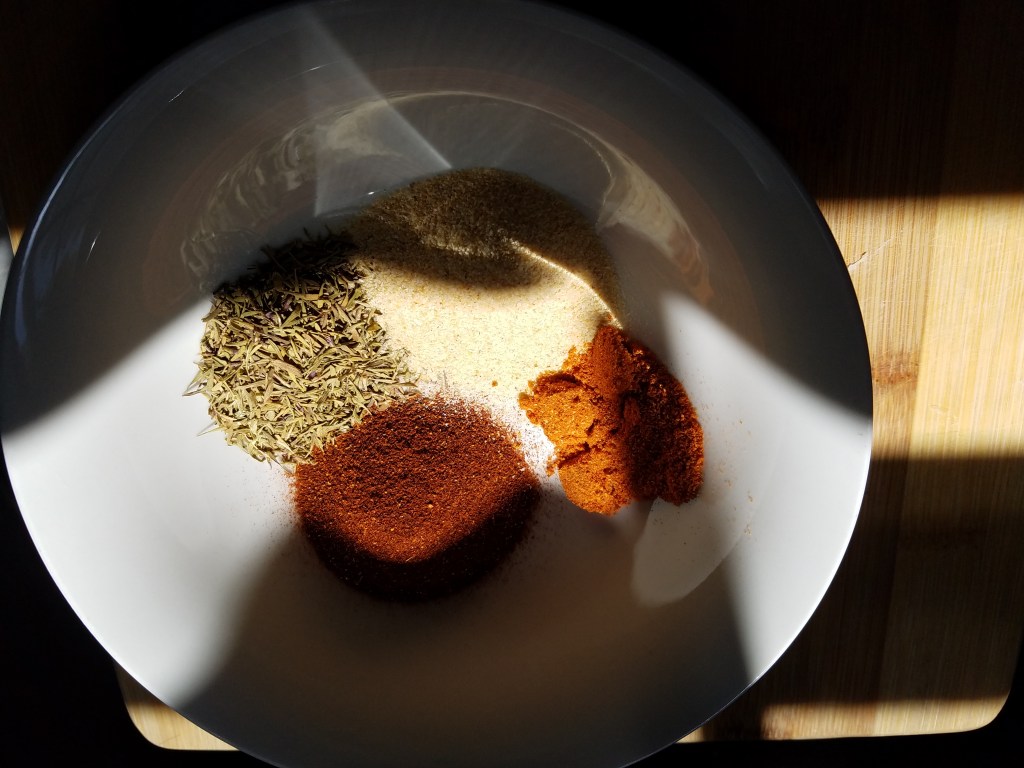
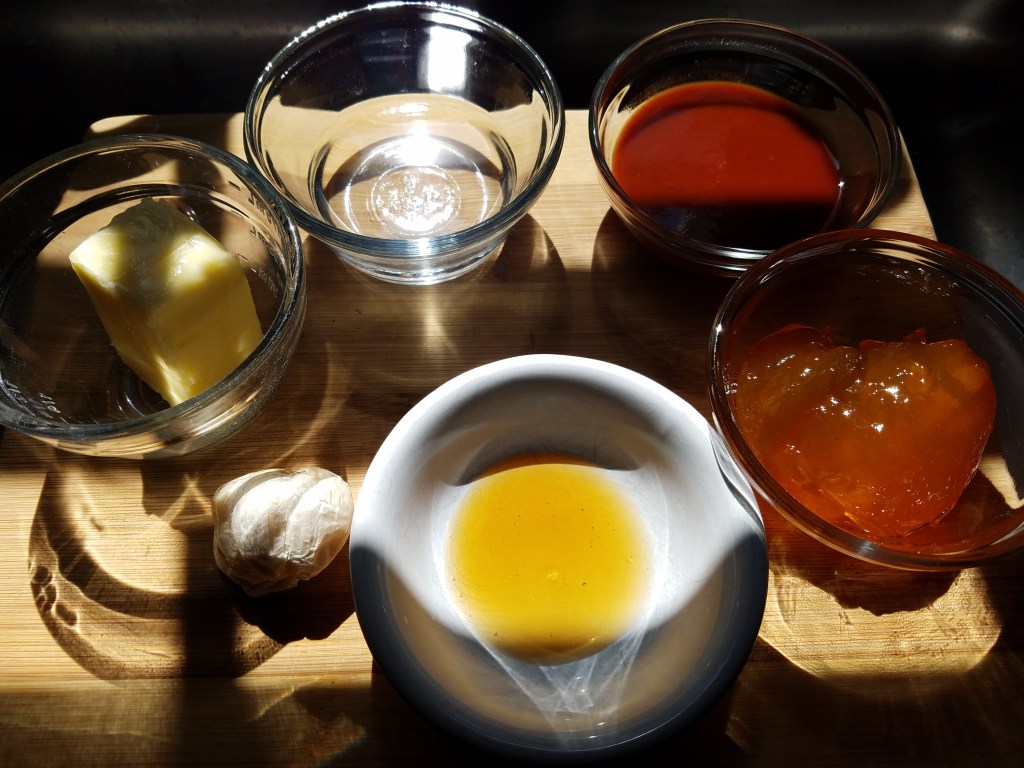
I thought long and hard about the dry rub and sauce for the wings. The small amount of ghost pepper powder worked well in the rub because the grilling process nearly removed all of its spiciness. The vinegar, apricot jam and hot sauce balanced perfectly. These were not crazy hot, like I am prone to do. They were sweet with a hint of heat.
Ingredients:
For the wings:
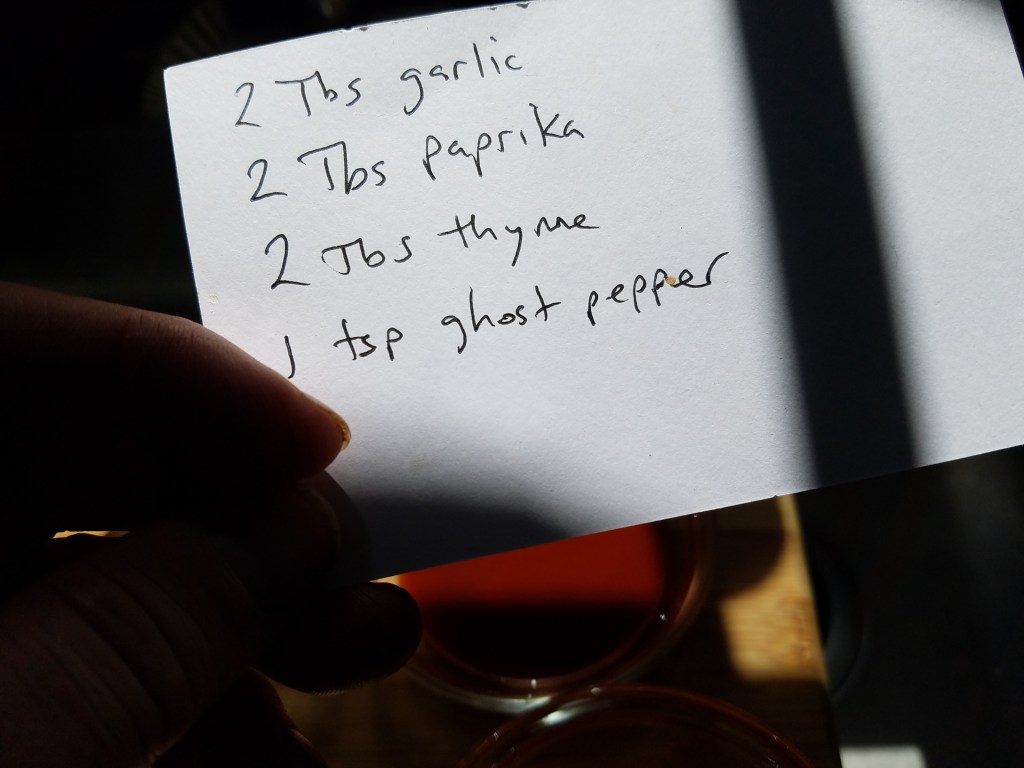
2 Tbs garlic powder
2 Tbs paprika
2 Tbs dried thyme
1 tsp ghost pepper powder (or cayenne pepper)
For the basting sauce:
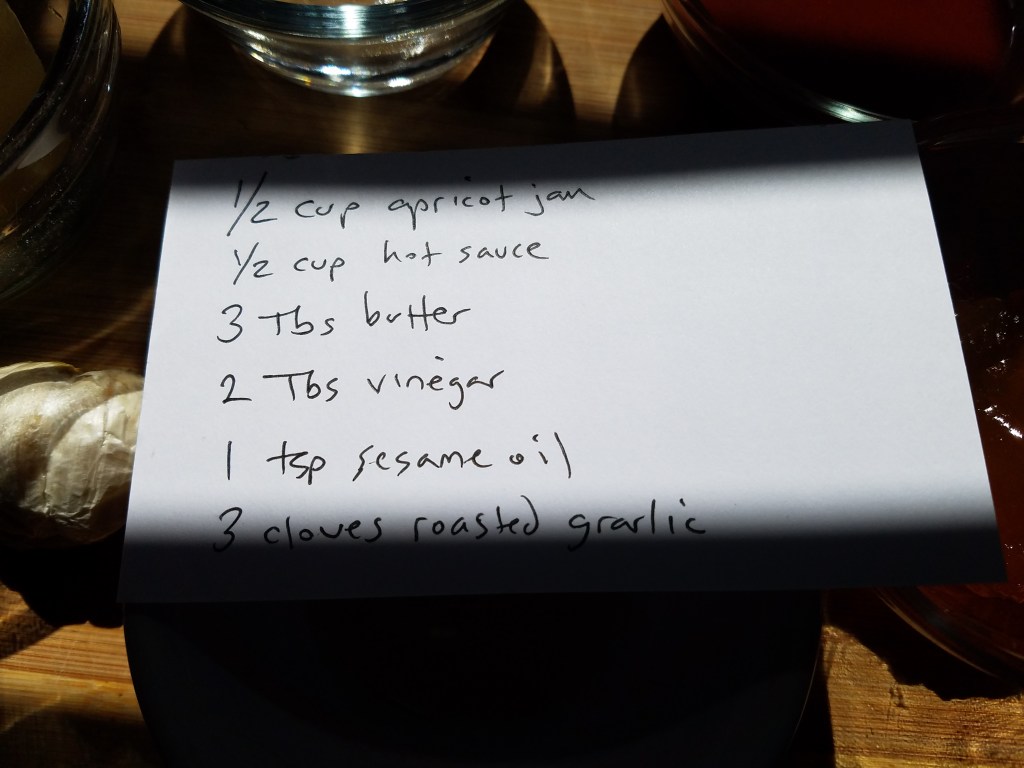
½ cup apricot jam
½ cup hot sauce
3 Tbs butter
2 Tbs vinegar
1 tsp sesame oil
3 cloves roasted garlic
Directions:
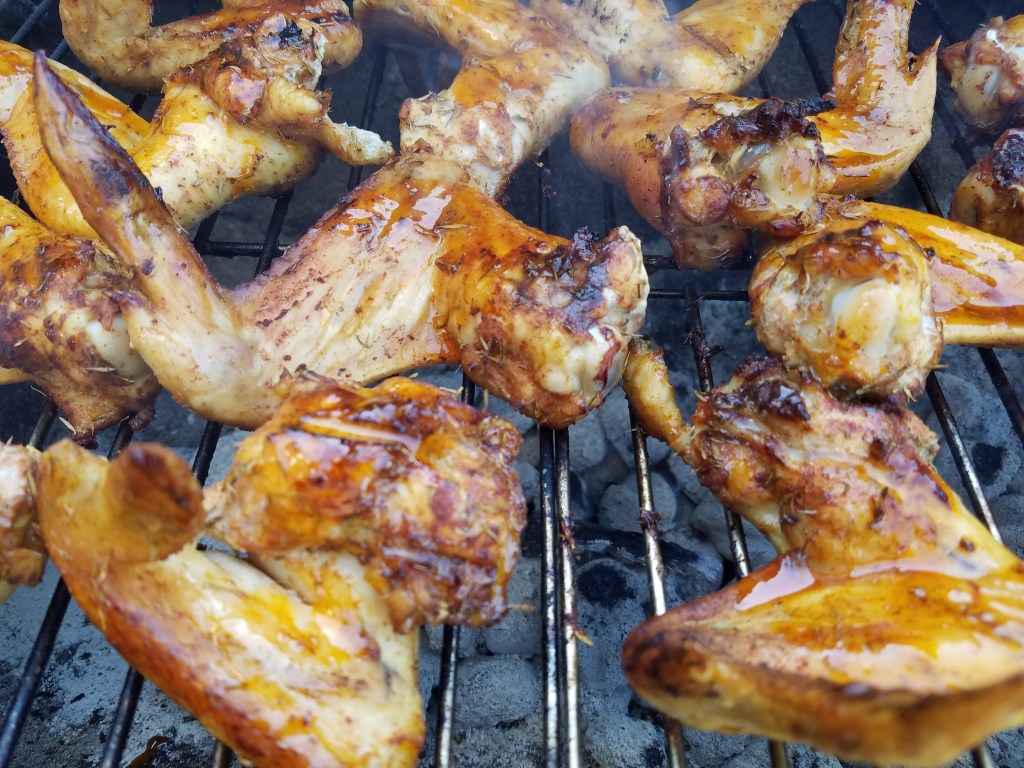
Heat an outdoor grill to 400°. I used charcoal with a few small chips of mesquite, for a little smoky flavor.
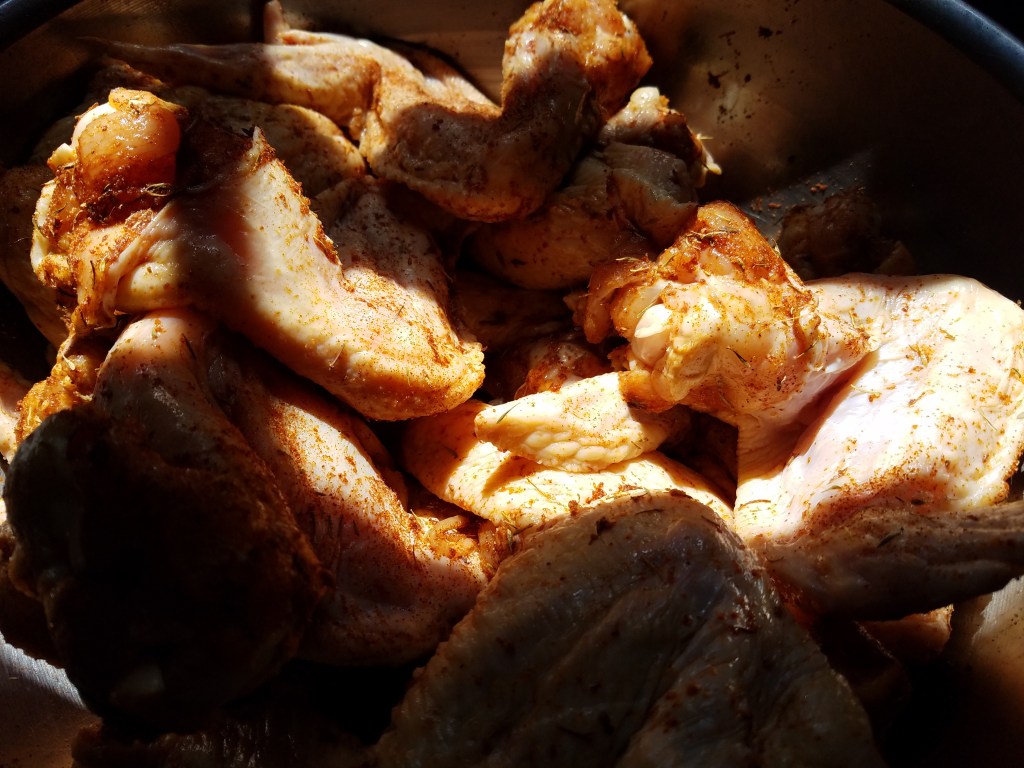
Mix the garlic powder, paprika, thyme and ghost pepper powder in a small bowl. Set aside.
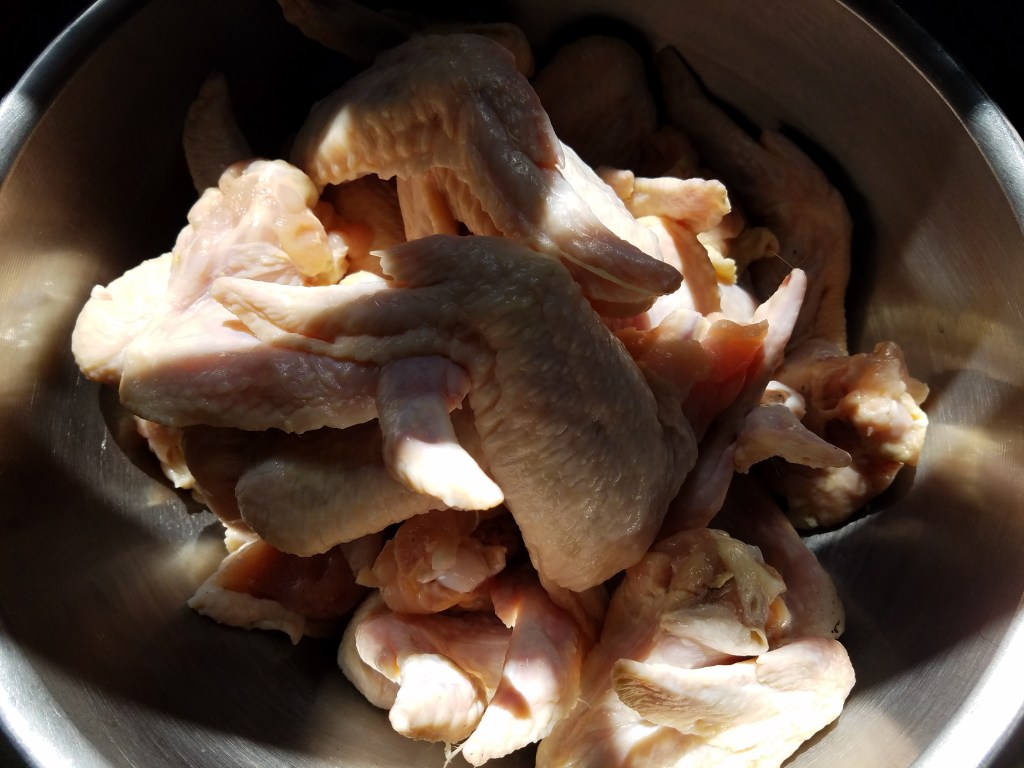
Rinse and wash the chicken wings under cold water. Remove any quills that might be lingering on the wing tips (I always find a few).
Allow the wings to air-dry for 10 to 15 minutes.
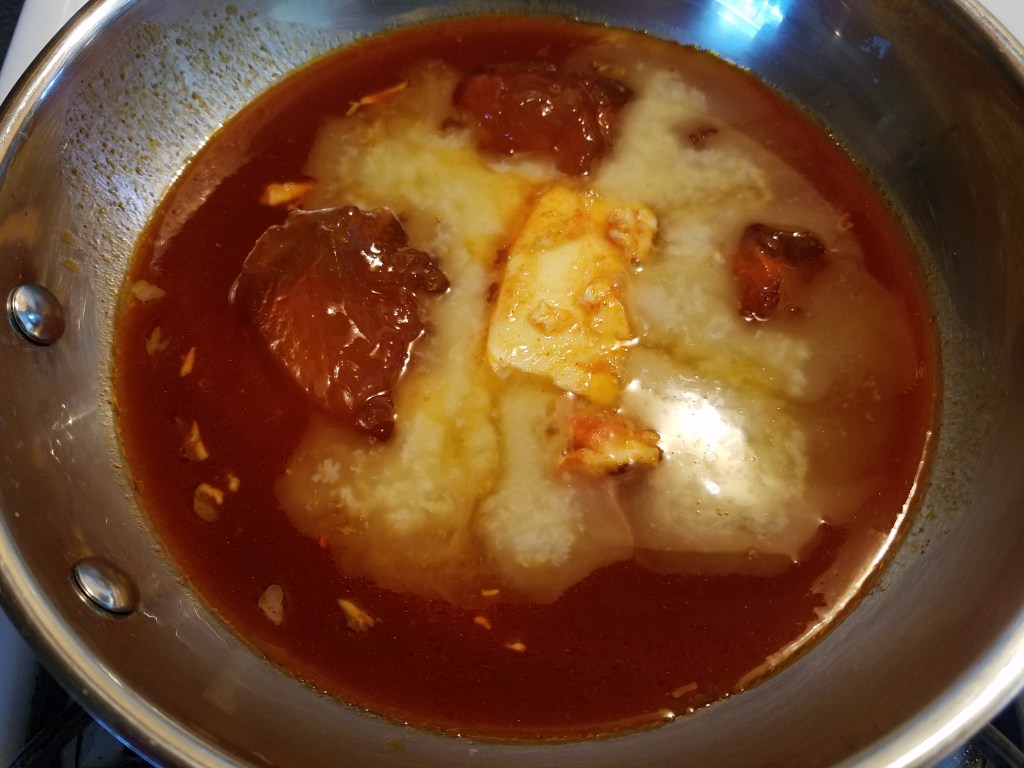
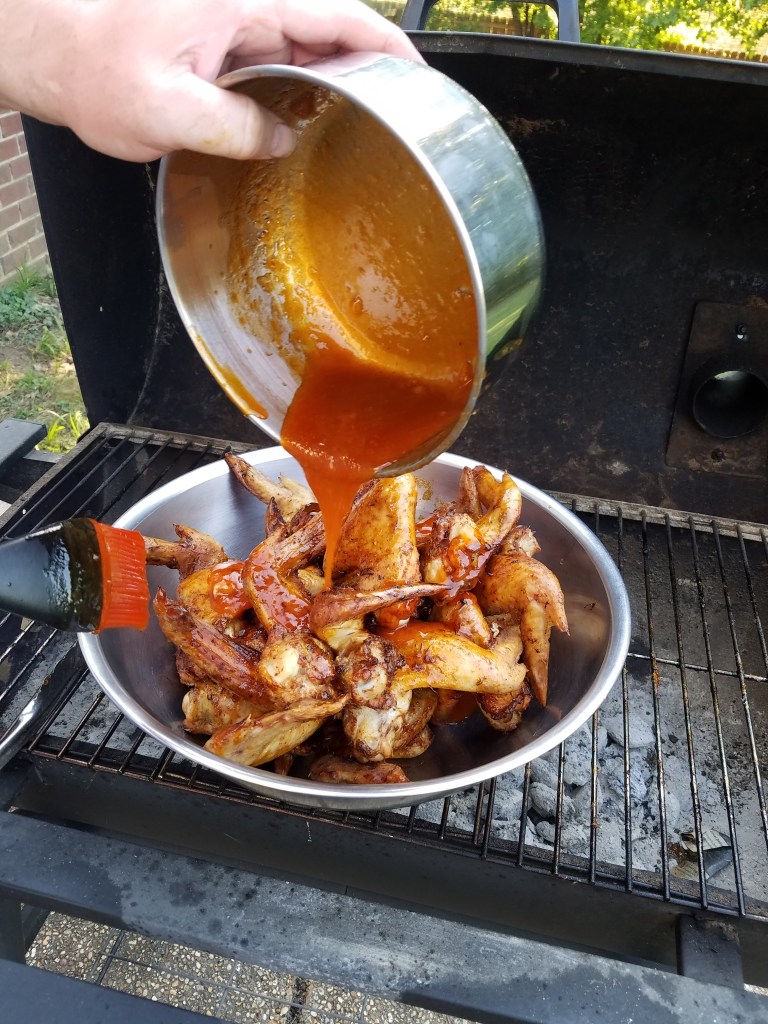
Prepare the basting sauce by adding all of the sauce ingredients to a mixing bowl. Whisk to combine. Pour the sauce into a small skillet and cook at low/medium heat until the sauce begins to bubble. Cook for a few more minutes and return to the mixing bowl. Set aside.
Toss the wings with the seasonings in a large bowl to coat evenly.
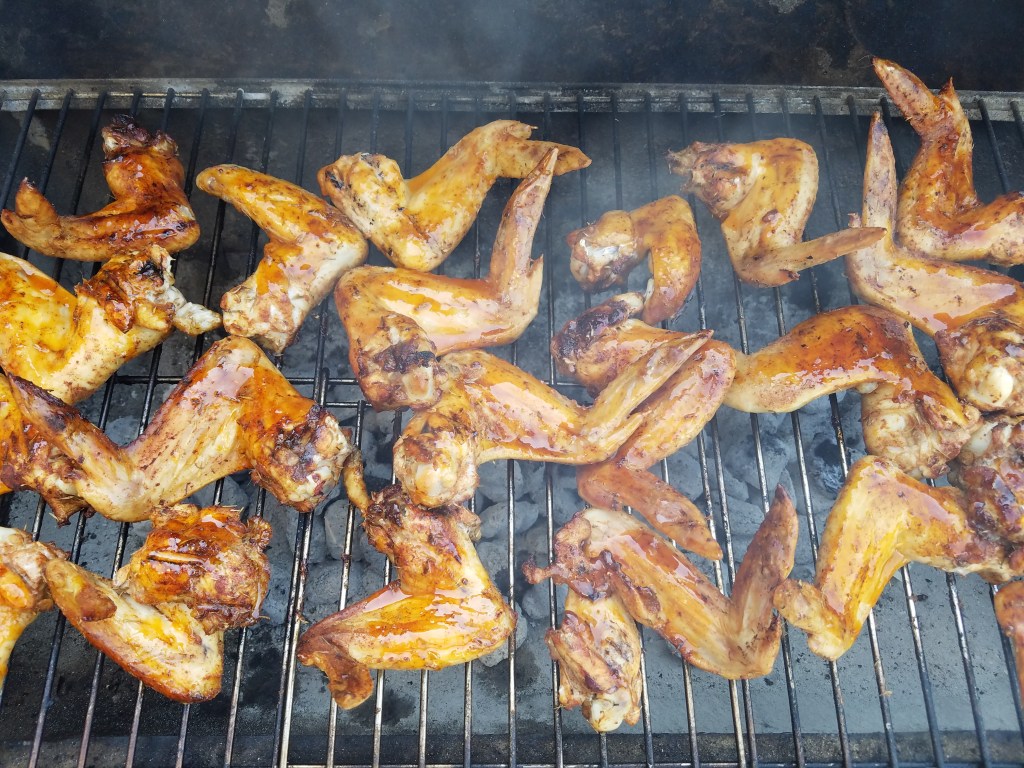
Carefully place the wings on the grill and cover. Go ahead, bunch them together. This is one of those times that crowding is a good thing. The wings will steam and roast, at the same time.
Grill for 15 minutes and turn the wings over.
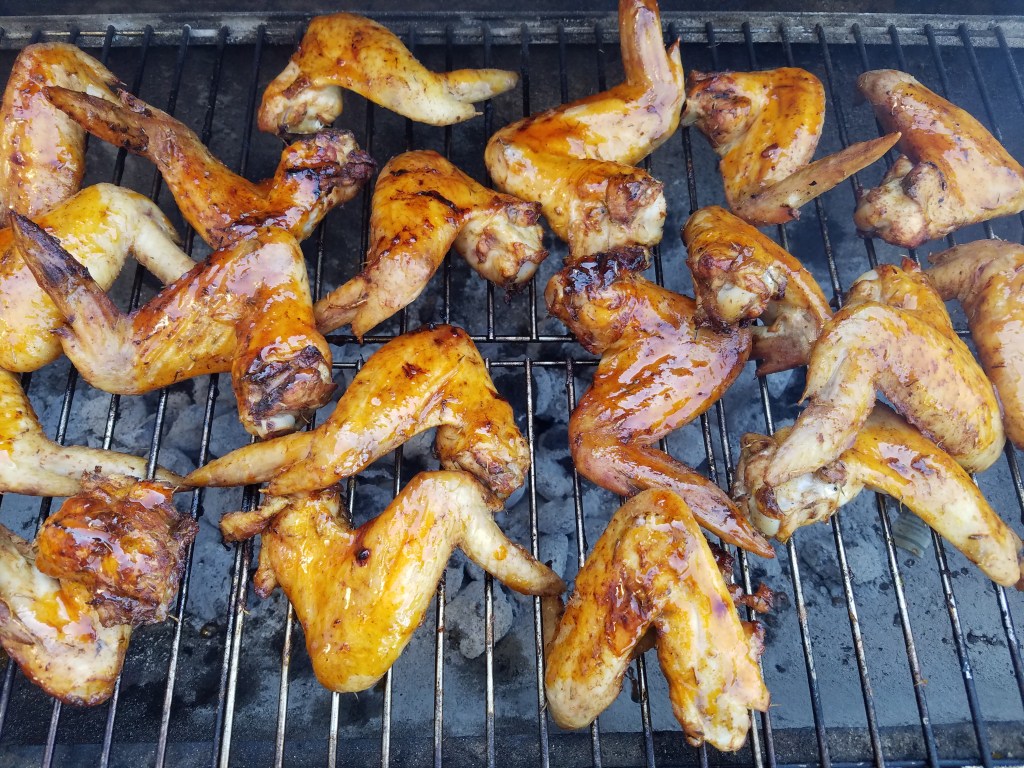
Grill for another 15 minutes and turn them again. Baste the wings with the sauce.
Let the wings roast over the coals for another 15 minutes and turn them again. Baste one last time and roast for another 15 minutes.
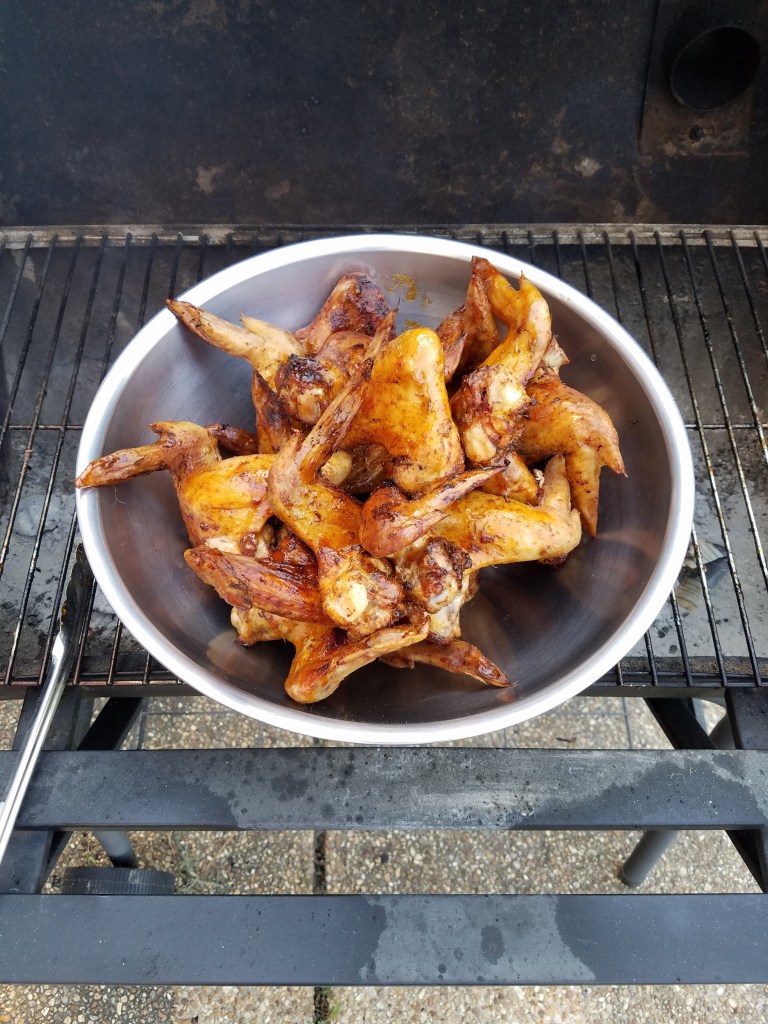
Carefully remove the chicken wings and place in a large mixing bowl.
Add any remaining basting sauce and toss to coat the wings.
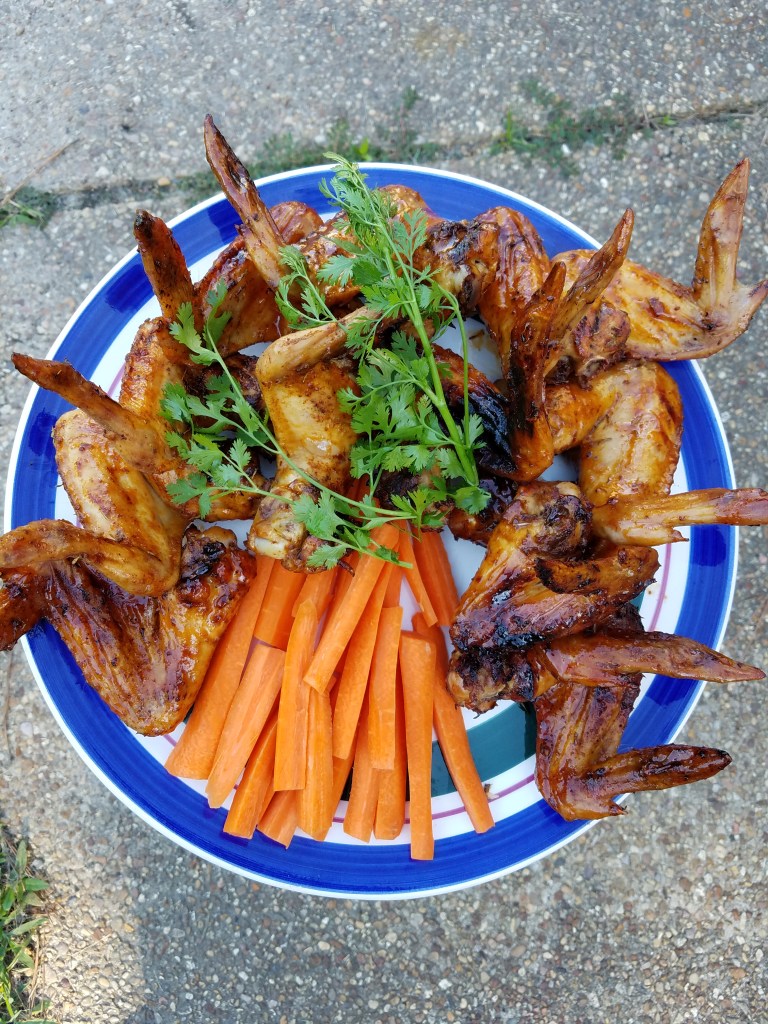
Serve with crisp carrot sticks and ranch dressing.
I added a little fresh cilantro from the garden because, hey, I’ve got fresh cilantro!
A near perfect combination of rain balanced with ample sunshine have provided me with lots of garden-fresh spinach and basil.
The tomatoes are on their way and I can’t wait!
Fresh spinach is such a joy! As a child, I never liked spinach but that’s because spinach came in a can, back then. Canned spinach is a sad, soggy misrepresentation of what spinach is meant to be. Fresh spinach isn’t bitter, like the canned version and it’s crammed with vitamins and minerals.
I have been feasting on spinach salads for over a week now and the garden is outpacing my consumption. Must eat more spinach!
So, with that in mind, I find myself including it in more and more dishes.
Today’s culinary excursion took me to Italy, Florence, to be precise. ‘Florentine’ is an adjective that is used to describe many things. To fight Florentine style is to use a sword in one hand and a dagger in the other, but I’m not a fighter. My passion is food and preparing food, Florentine style, often refers to the use of spinach in the dish.
Pizza Fiorentina speciale! Mama mia!
I’m making three pizzas today. Two showcase spinach and one is an Italian meat extravaganza. The spinach pizzas are made with garlic infused olive oil, rather than a traditional marinara sauce.
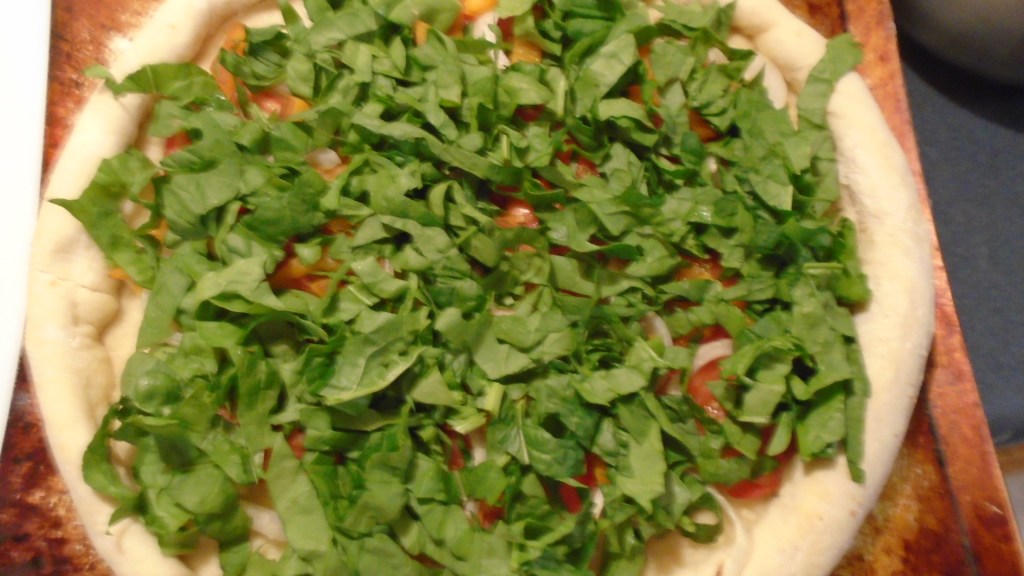
I recommend using fresh spinach for the pizzas. Frozen spinach can be used by it must be squeezed to remove as much moisture as possible…and for pity’s sake,don’t use canned spinach! Use homemade pizza dough, or store-bought pizza crust.
Homemade pizza dough
Pizza Fiorentina (Pizza Florentine)
Ingredients:
2 Tbs olive oil
3 garlic cloves, smashed
1 cup fresh spinach, rough chopped
½ cup ricotta cheese
¼ cup grated fresh Parmesan cheese
1 Tbs dried oregano
1 tsp red chile flakes (optional)
1 ½ cups grated mozzarella cheese
Fresh basil, to taste
Mozzerlla
Parmesan
Directions:
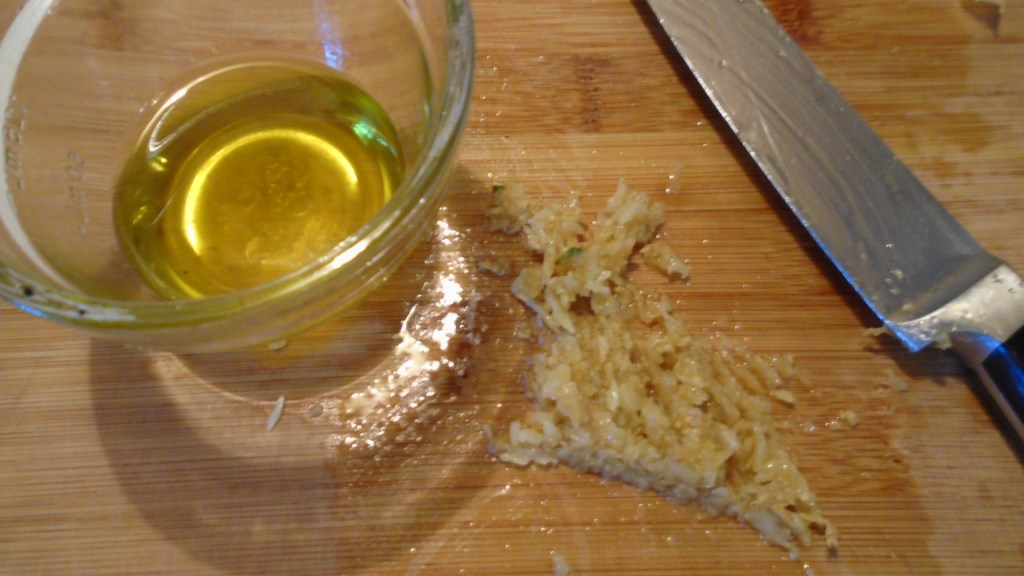
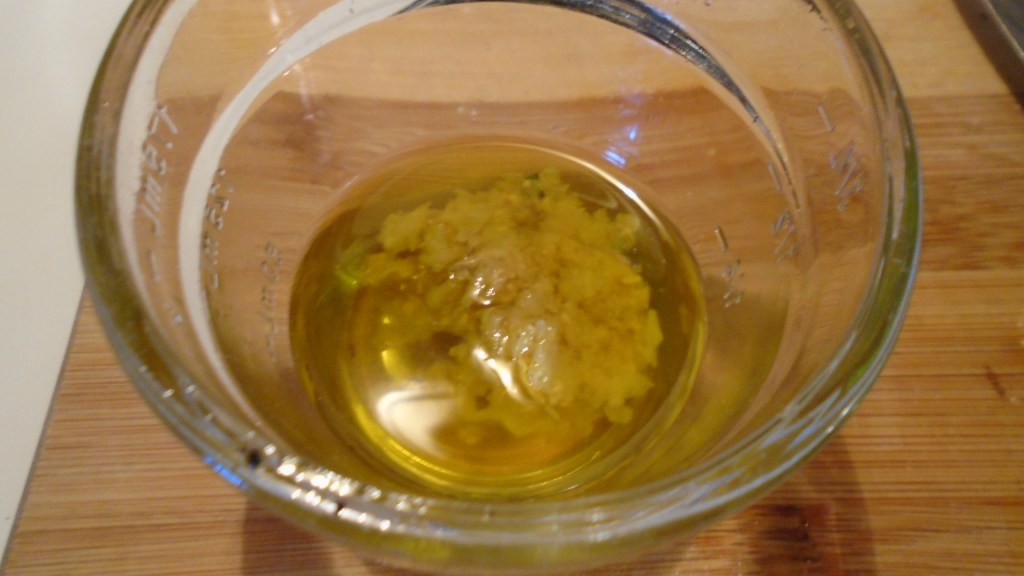
Heat the olive oil and garlic in a pan over low heat. Simmer and stir for a few minutes until the garlic softens.
Strain the garlic and reserve the olive oil.
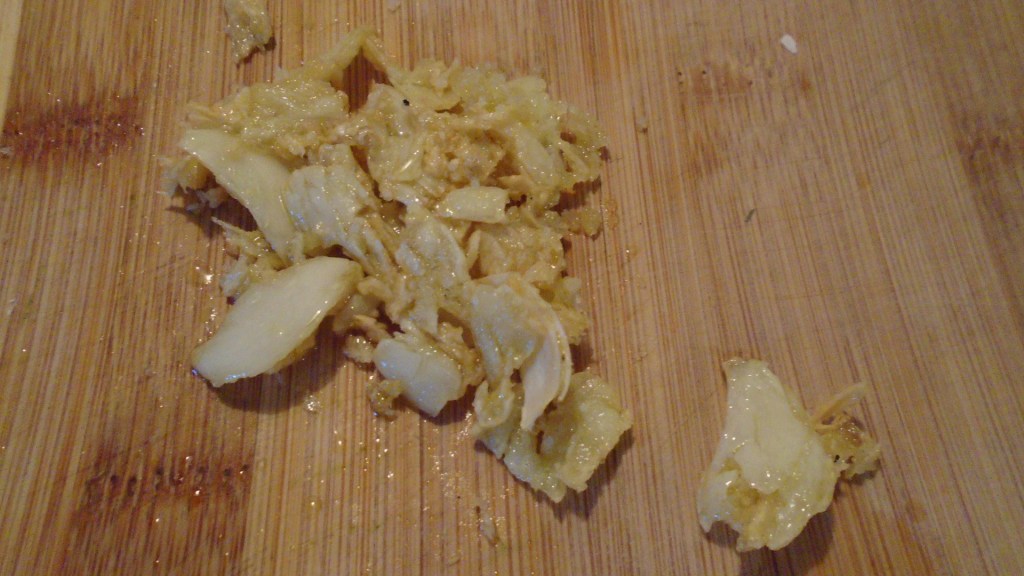
Chop and mash the garlic. Return the garlic to the olive oil and set aside.
Sautee…
strain…
and chop.
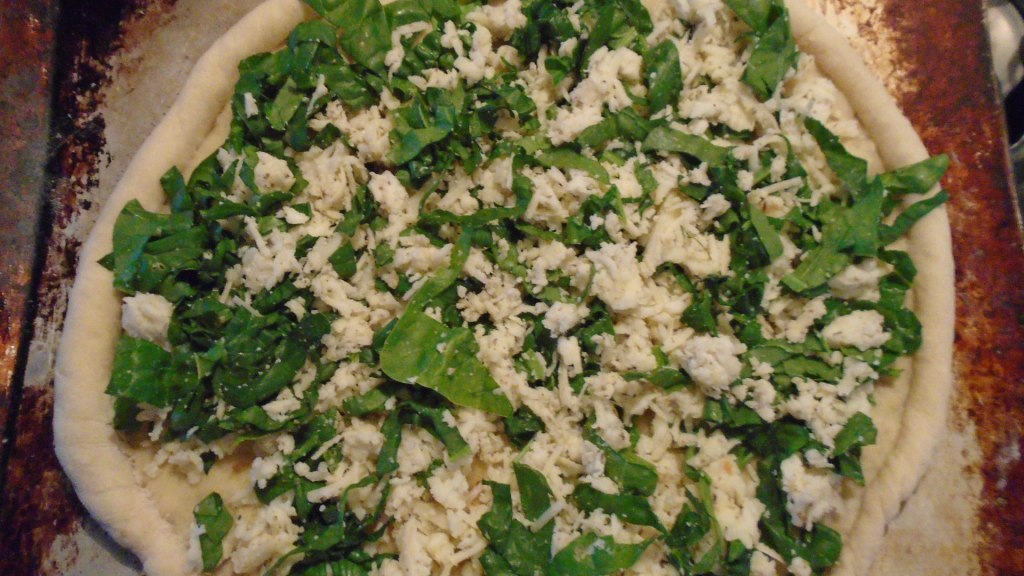
Combine ricotta and Parmesan cheese, spinach, oregano and red chile flakes. Mix to combine.
Prepare the pizza dough.
Spread the olive oil and garlic on the pizza dough and bake in a 425° oven for 10 minutes.
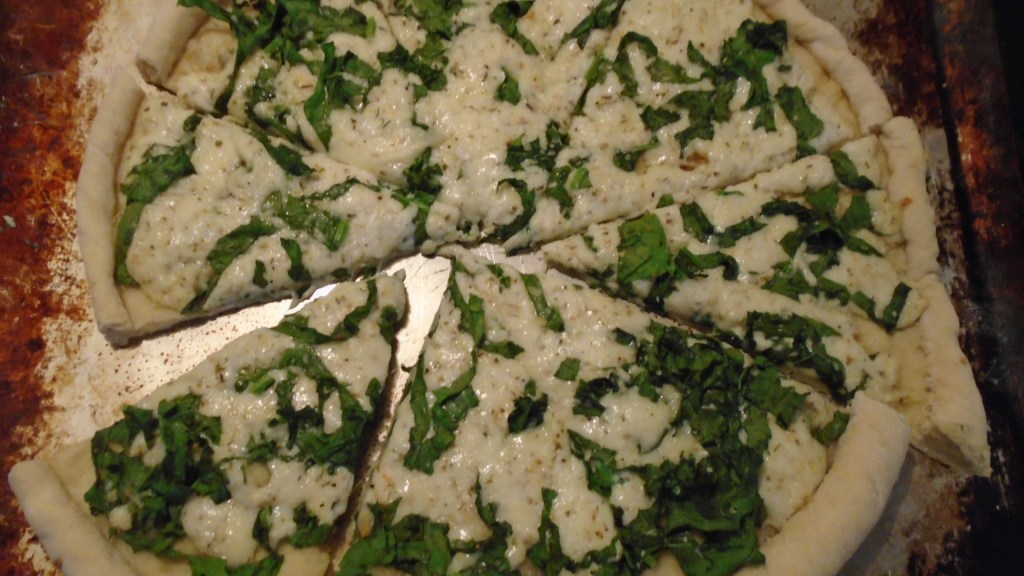
Remove the pizza crust and add the cheese mixture, spreading the mixture evenly across the pizza crust. Bake at 425° for 15 minutes.
Remove the pizza from the oven. Top with fresh basil. Slice the pizza and serve hot.
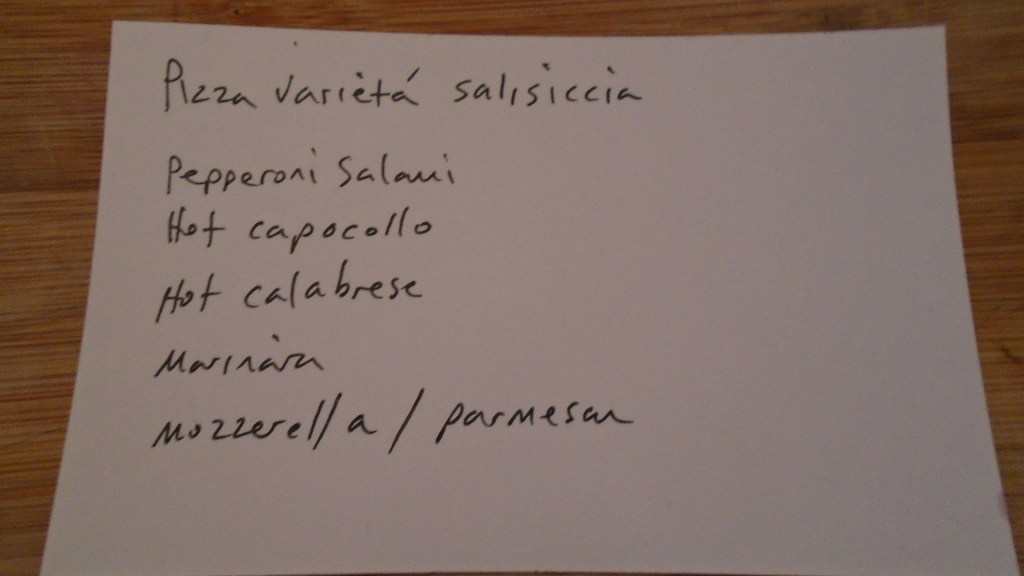
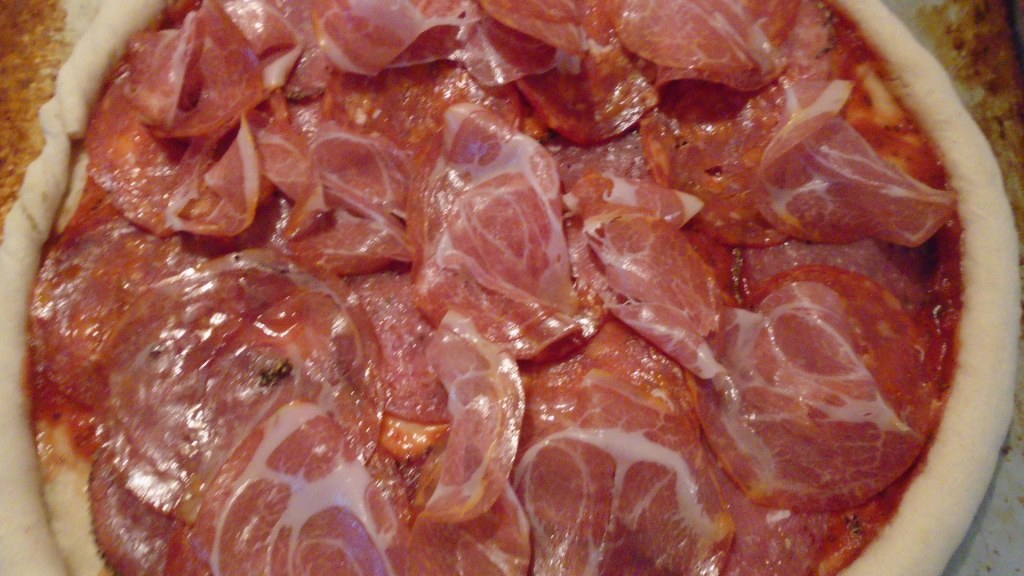
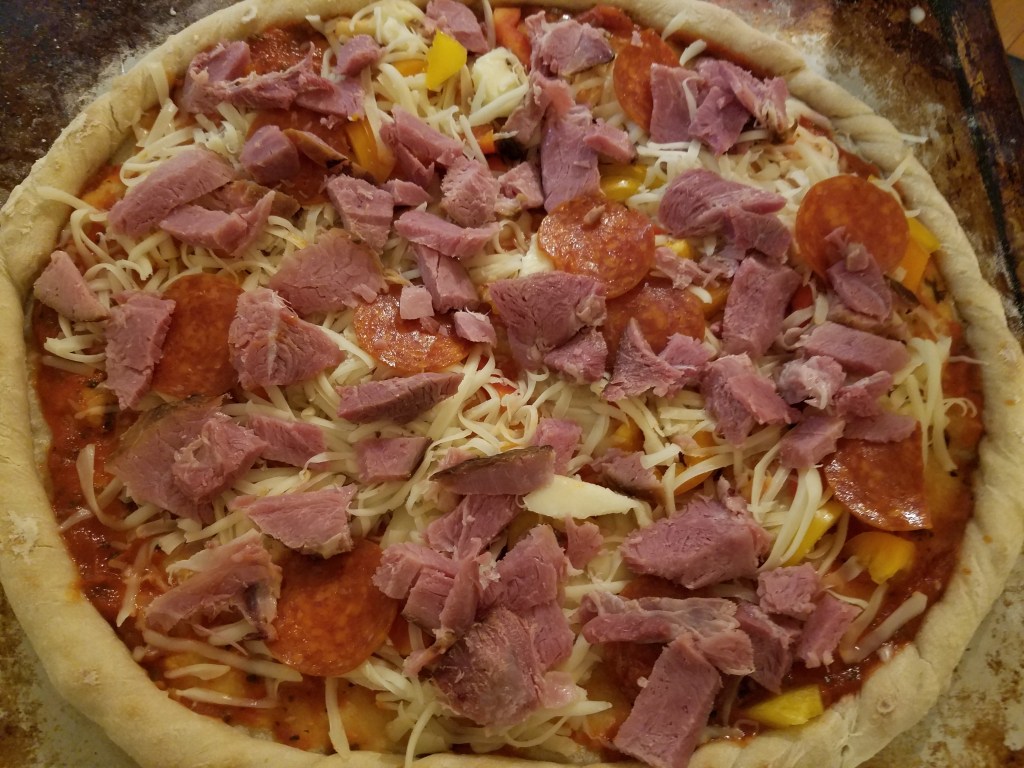
Pizza con Varietà Di Salumi (Pizza with a variety of cured meats)
This pizza features thinly sliced pepperoni salami, hot capocollo and hot calabrese.
Ingredients:
6 oz cured Italian meats (pepperoni salami, hot capocollo and hot calabrese)
1 cup marinara
2 cups mozzarella
¼ cup Parmesan cheese
Directions:
Prebake the pizza crust, if making from scratch.
Add marina, followed by the meats and then the cheese.
Bake at 425° for 15 minutes, or until the cheese begins to bubble and brown.
Remove the pizza, slice and serve hot.
Pizza Spinaci all’Aglio (Pizza with Spinach and Garlic)
In its purest form, this pizza is nothing but olive oil, garlic, spinach and cheese but, I added a few other items to add sweetness and flavor.
Ingredients:
3 Tbs olive oil
4 garlic cloves, smashed
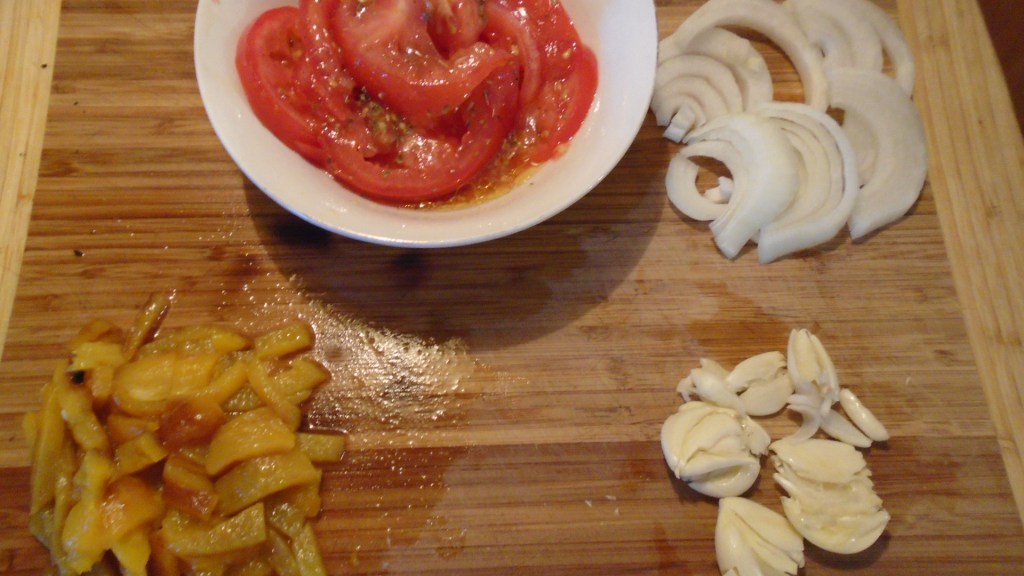
1 fresh tomato, sliced thin and marinated in olive oil and oregano for 30 minutes
1 cup fire roasted yellow bell pepper, chopped
Fire roasted pepper with charred skin removed
¼ cup fresh onion, thinly sliced
2 cups fresh spinach, rough chopped
1 ½ cups mozzarella cheese
½ cups Parmesan cheese
Fresh basil, to taste
Directions:
Simmer the garlic in olive oil over low heat until the garlic softens. Strain the garlic, chop and mash and add back to the olive oil.
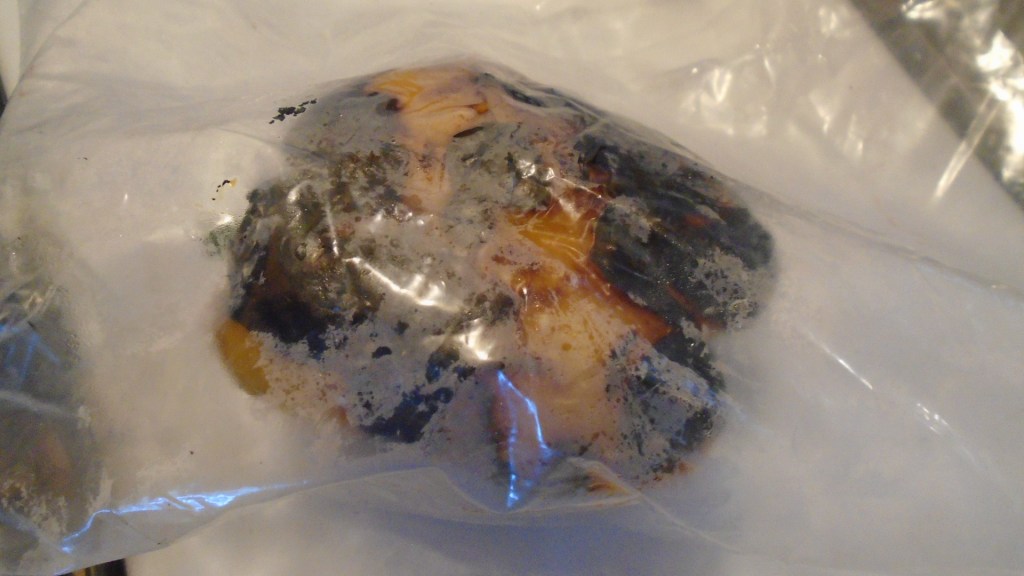
Roast the bell pepper over an open flame or over hot coals. I laid the pepper on top of the gas burner and set the heat to the lowest setting. I rotated the pepper every few minutes until the whole pepper was charred.
Store the pepper in a paper or plastic bag for a few minutes to steam.
Remove the pepper and wipe away the charred skin, under cool running water. Dice the pepper and reserve.
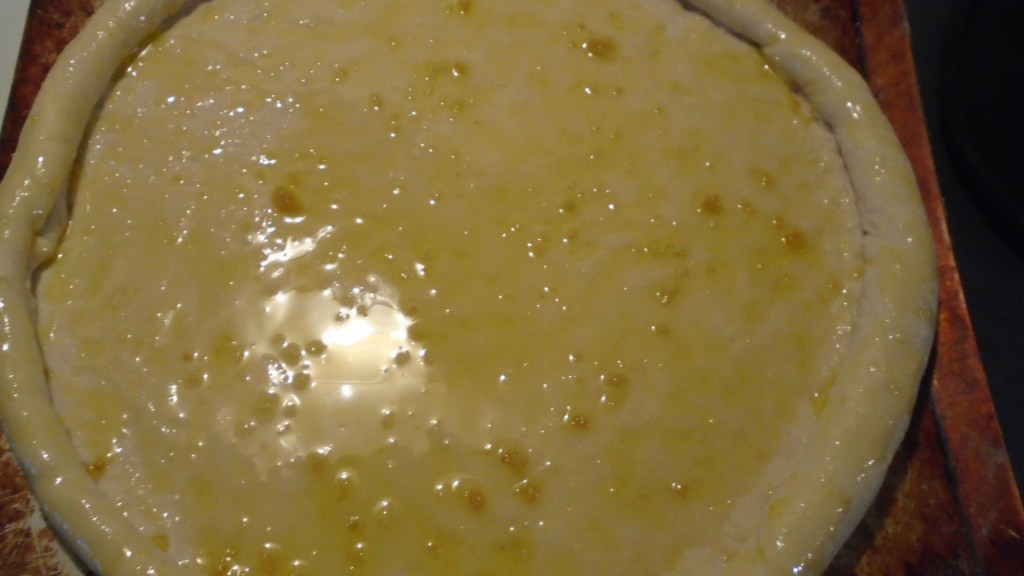
Spread the olive oil mixture onto the raw pizza crust. Allow the oil to soak into the dough for about one minute and then blot with a paper towel, to remove excess oil.
Spread the olive oil
Blot with a paper towel…
…to soak up excess oil
Ready to bake!
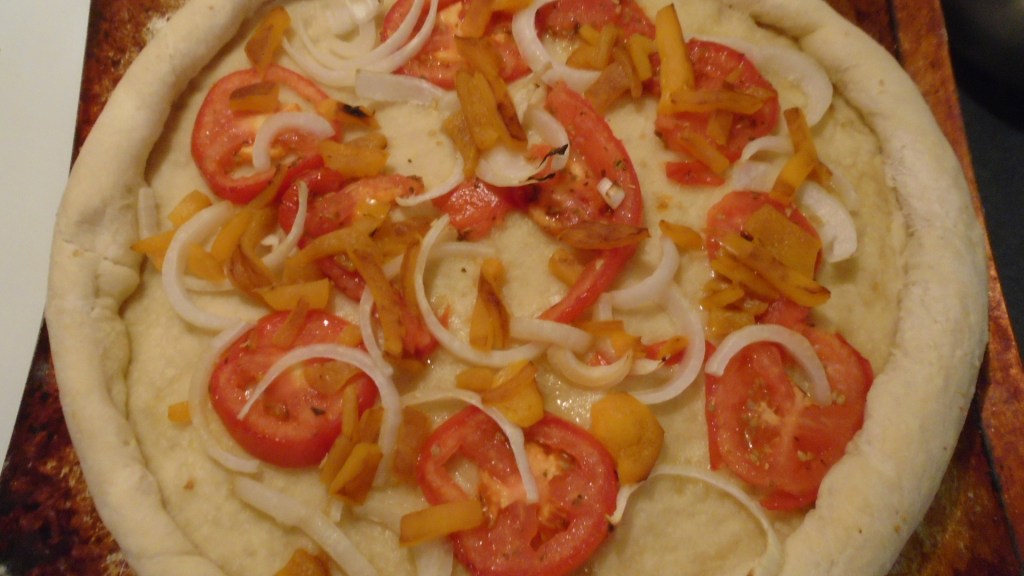
Add tomatoes, bell peppers and onion.
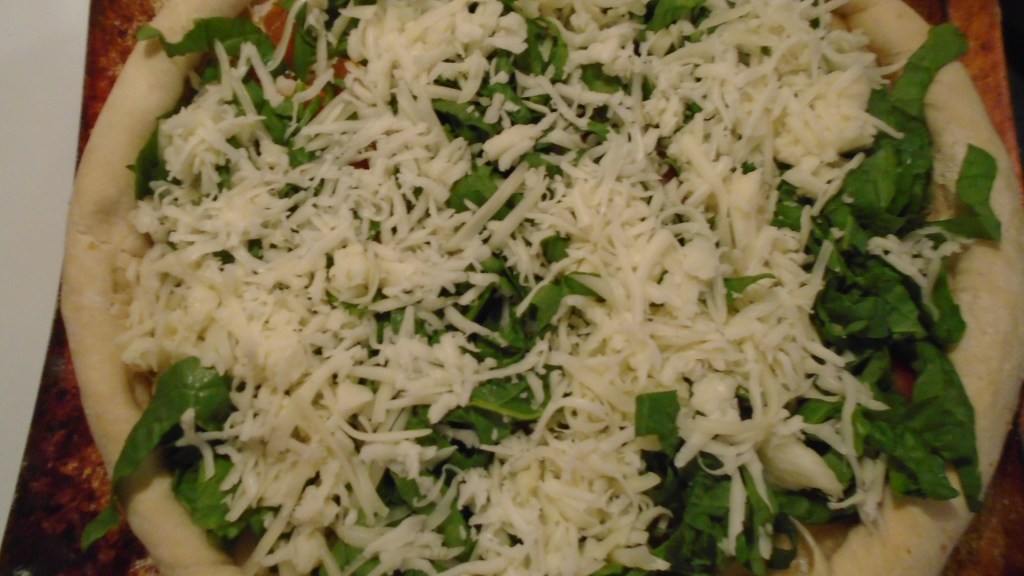
Bake at 425° for 10 minutes. Remove pizza crust and add the spinach. Top with mozzarella and Parmesan.
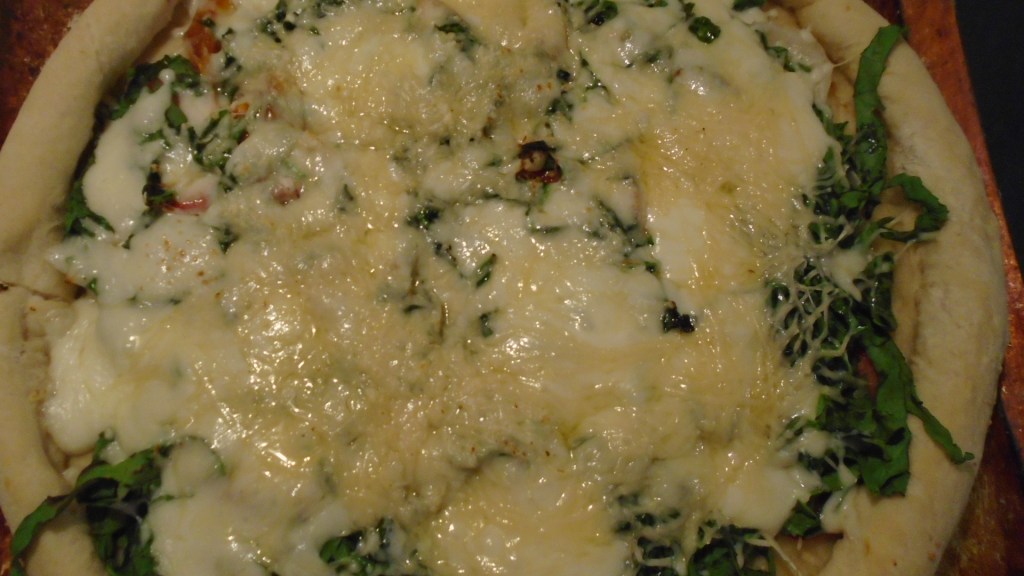
Bake for another 15 minutes, or until the cheese begins to bubble and brown.
Remove the pizza from the oven, top with fresh basil. Serve immediately.
As you might recall from my previous post, I purchased 3 pounds of fresh shrimp a few days ago. I used half of the shrimp in the Camarones ala Diabla but, what did I do with the other half?
Well, to be honest, the Camarones ala Diabla was intended solely for me. I made it fiery hot, just as I like, and it was only fair that I made a second entrée for everyone else.
The tangy sauce complemented the crispy shrimp perfectly.
Crunchy Shrimp Tacos
Who can resist fried shrimp? Even people who don’t love shrimp will sample a little, when it’s fried.
Ingredients for the garden filling:
2 Roma tomatoes, diced
3 green onions, diced,
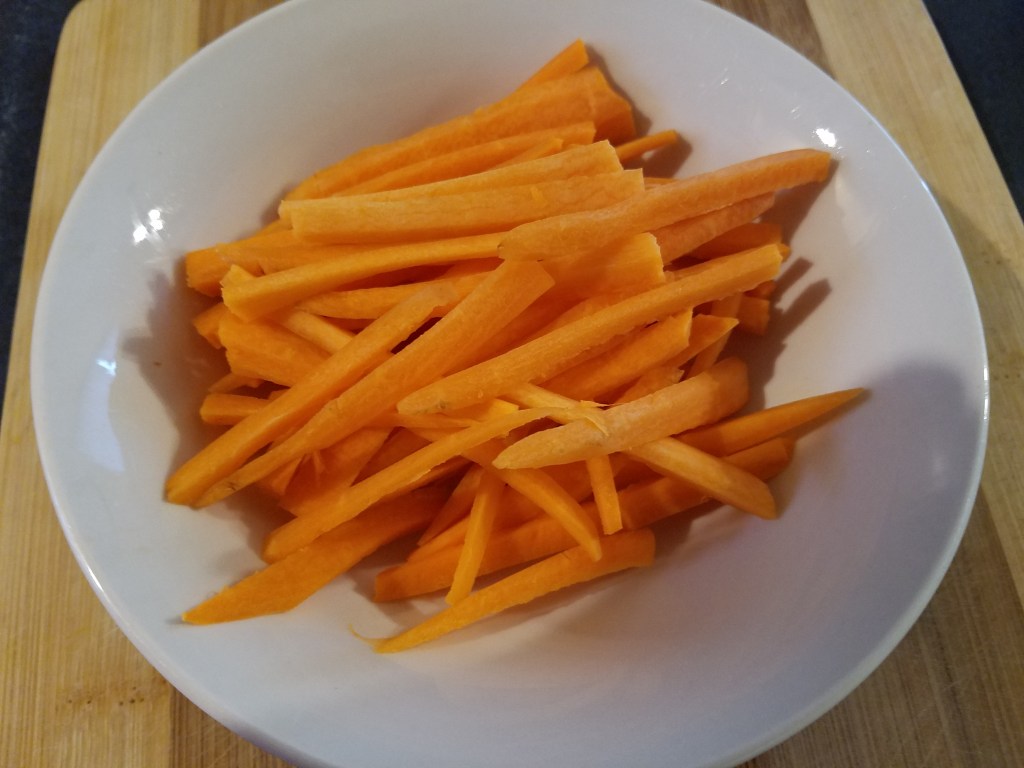
1 large carrot, matchstick cut
1 large jalapeño, stemmed, seeded and diced
½ cup fresh spinach, chopped
¼ cup bell pepper, diced
Ingredients for the sauce:
½ cup mayonnaise
3 Tbs spicy ketchup (chili sauce)
½ tsp garlic powder
½ tsp cumin powder
Ingredients for the fried shrimp:
1/2 cup vegetable oil
1 cup milk
3/4 cup flour
1/2 cup cornstarch
1 large egg
1 tablespoon Sriracha sauce
Two dashes of Maggi seasoning sauce (less than ¼ tsp)
Salt and pepper to taste
1 cup Panko breadcrumbs
1 lime, quartered
1.5 pounds medium shrimp, peeled and deveined
8 flour tortillas (homemade this time)
Directions:
Prepare the garden filling by chopping, dicing and slicing all of the ingredients. Toss in a bowl and squirt a little lime juice over the top and mix briefly. Set aside.
Prepare the sauce by mixing all of the ingredients in a bowl. Store in the refrigerator until needed.
Heat the vegetable oil in a large skillet over medium-high heat.
In a large bowl, whisk together milk, flour, cornstarch, egg, Sriracha, Maggi sauce and salt and pepper, to taste. This will be the batter for the shrimp.
Add some Panko breadcrumbs to a separate bowl.
Working one at a time, dip the shrimp into the batter, then dredge in Panko breadcrumbs, pressing to coat.
Add the shrimp to the skillet, one at a time and cook until golden and crispy. This only takes 2 or 3 minutes. Transfer to a paper towel-lined plate.
Assemble the tacos by smearing some sauce on a tortilla, adding a small handful of garden filling and topping with several shrimp and a few squirts of lime.
This was a fun thing to work on while ‘Zooming’ with distant family members. If I counted correctly, we had 10 people on the Zoom call, along with cameos from our various pets.
Chicken wings are easy to make, especially if they are baked in the oven. You can use any type of sauce imaginable for the wings, which makes wings an exciting go-to recipe for a weekend afternoon.
This time, I went for an Asian flair.
Ingredients:
2.5 lbs chicken wings (about 20 drummets and mid-joints)
1 Tbs cooking oil
2 Tbs sliced ginger
6 garlic cloves, mashed
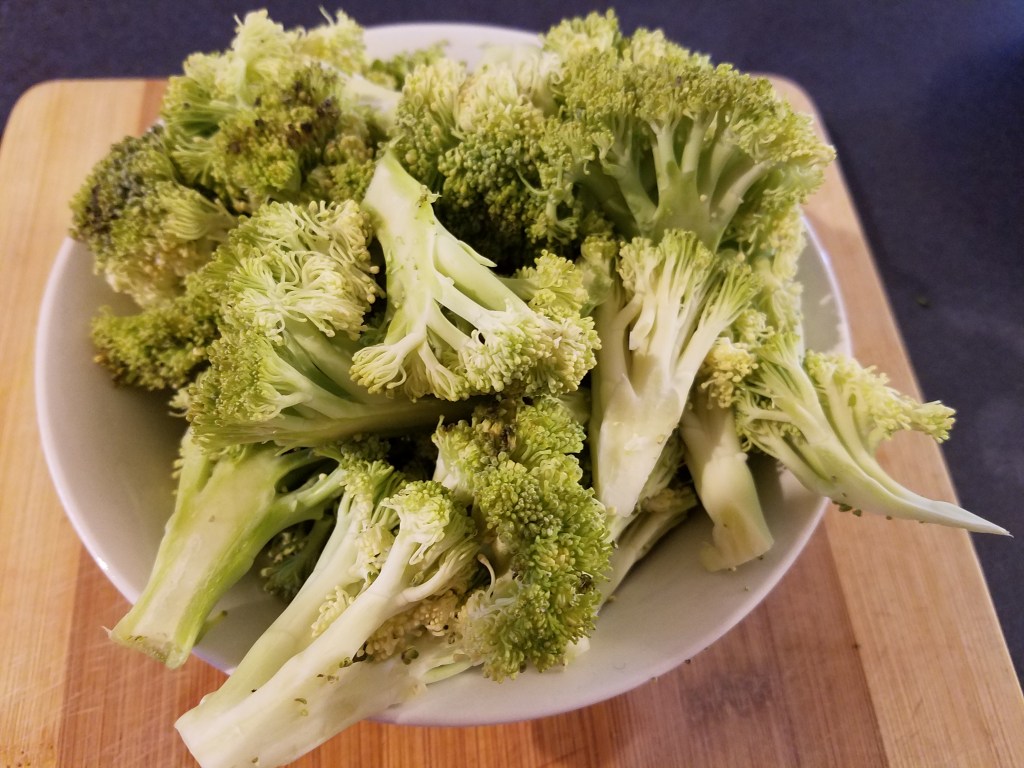
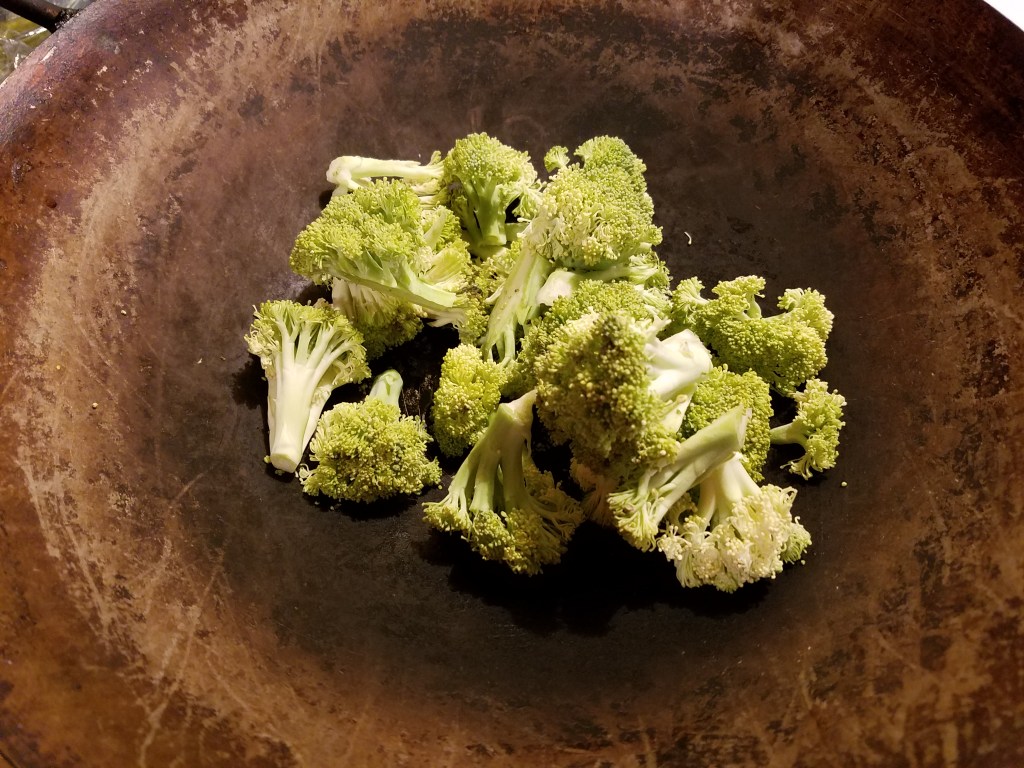
2 cups broccoli, chopped
1 white onion
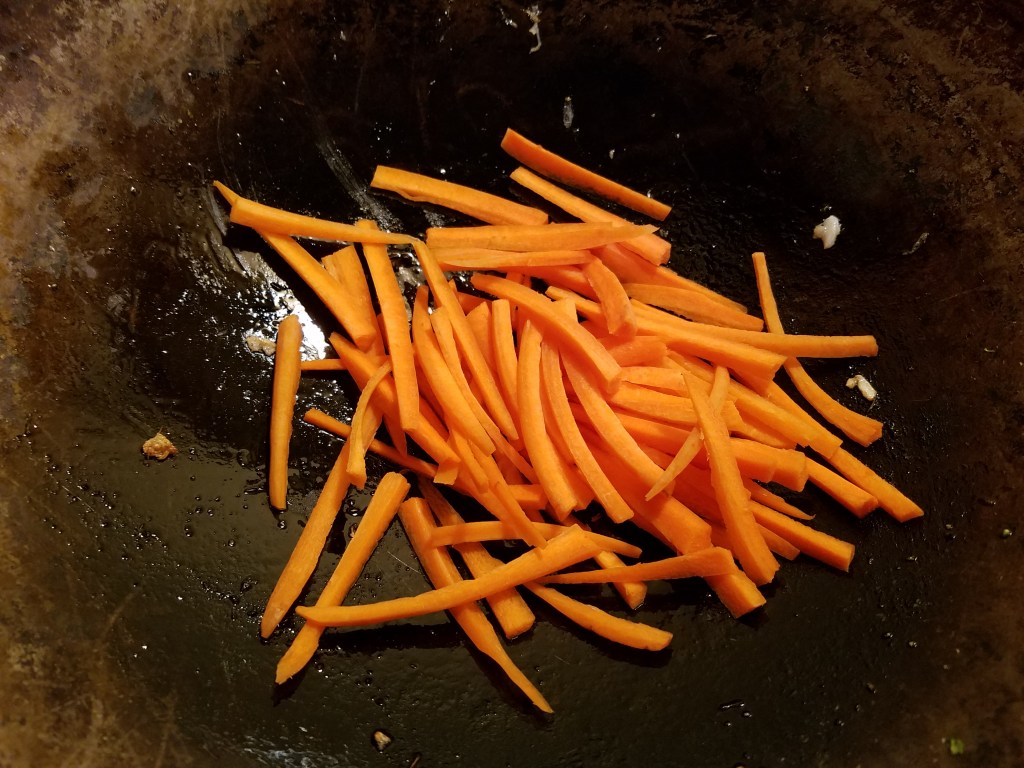
3 small carrots
3 jalapeños, seeds removed
¼ cup cooking oil
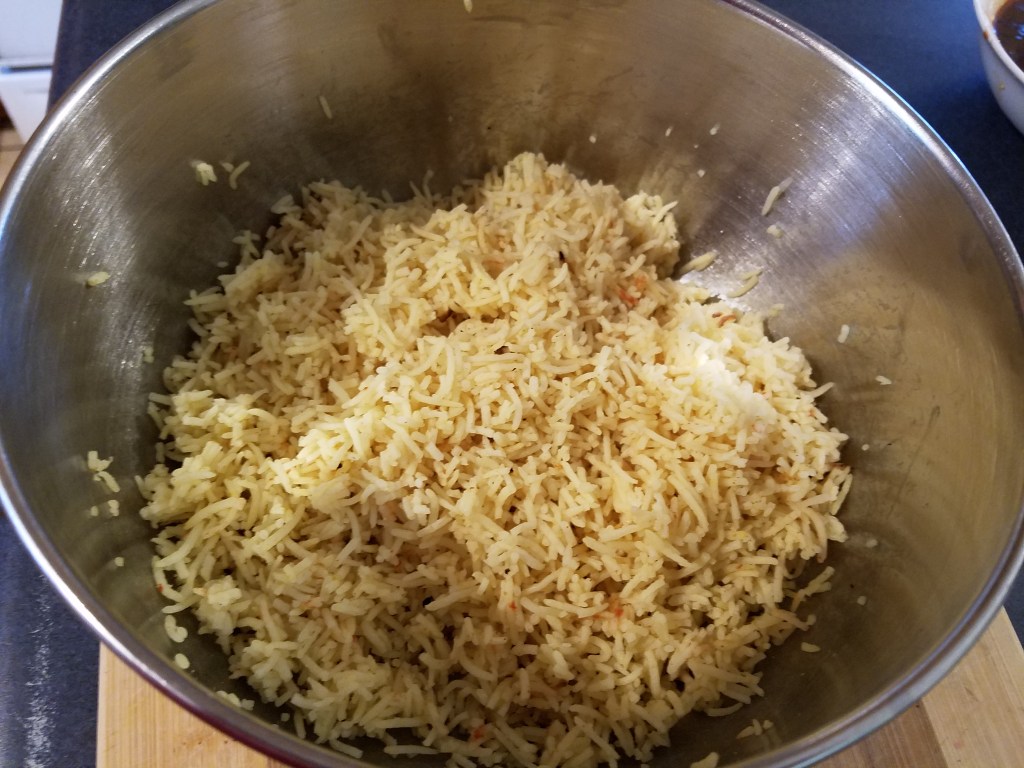
2 cups cooked rice (day-old rice is best)
Asian sauce (Ingredients shown below)
Ingredients for the sauce:
1/3 cup ketchup
1/3 cup apricot preserves
3 Tbs soy sauce
2 Tbs Sriracha sauce
2 Tbs Hoisin sauce
1 ½ tsp oyster sauce
½ tsp fish sauce
Directions:
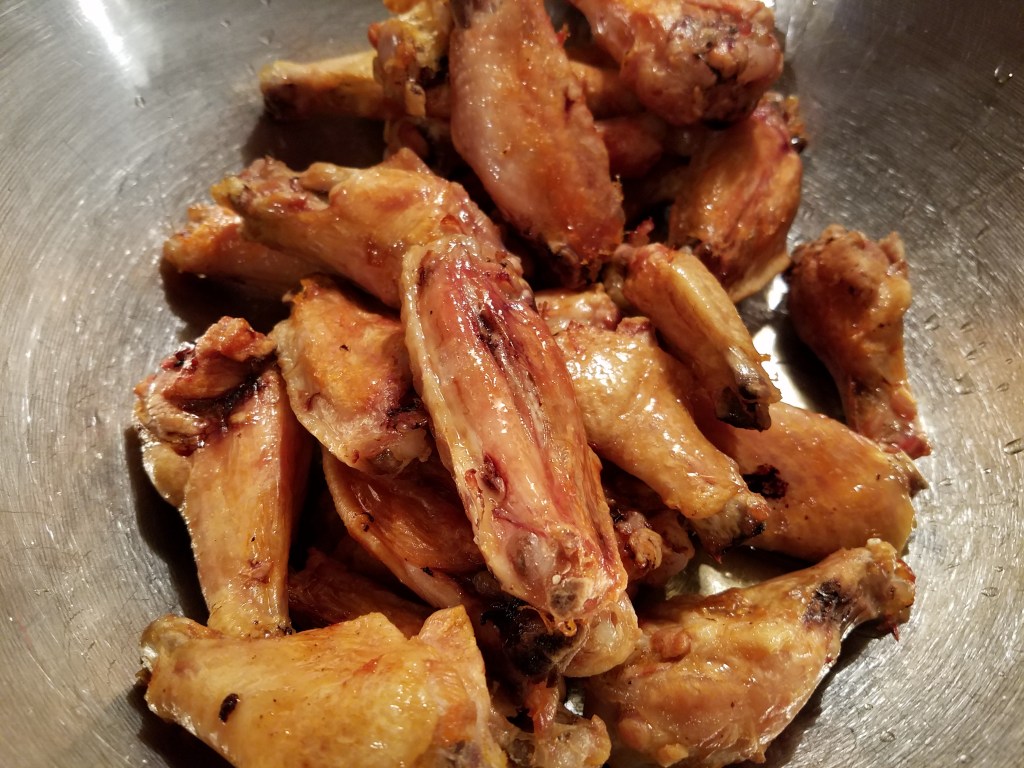
Rinse the chicken wings in cold, clean water. Allow the wings to air dry for about 20 minutes. Pat them dry with a paper towel and place them on a parchment paper covered backing tray. Bake at 400° for 30 minutes and then turn them over to brown on the other side. Turn the oven down to 350° and bake for another 30 minutes, or until the skin on the wings have crisped.
While the wings are baking, prepare the sauce. Mix all of the sauce ingredients together in a bowl. Pour into a sauce pan and simmer for about 10 minutes at low heat. Whisk the sauce while it cooks. Return the sauce to the bowl and set aside.
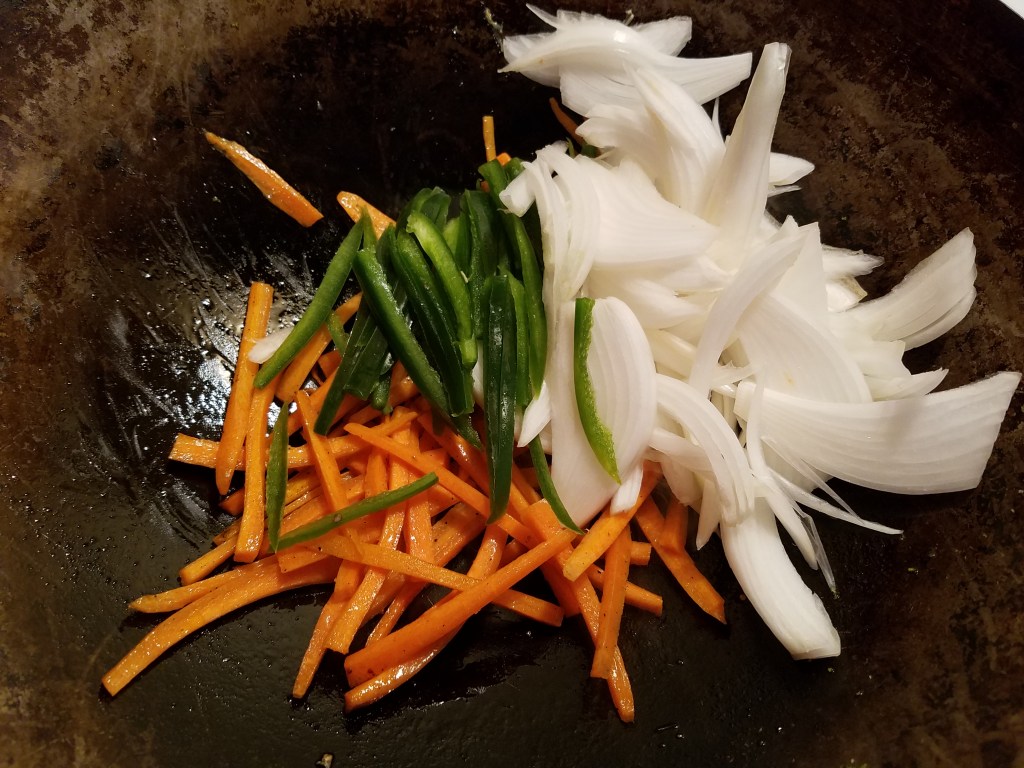
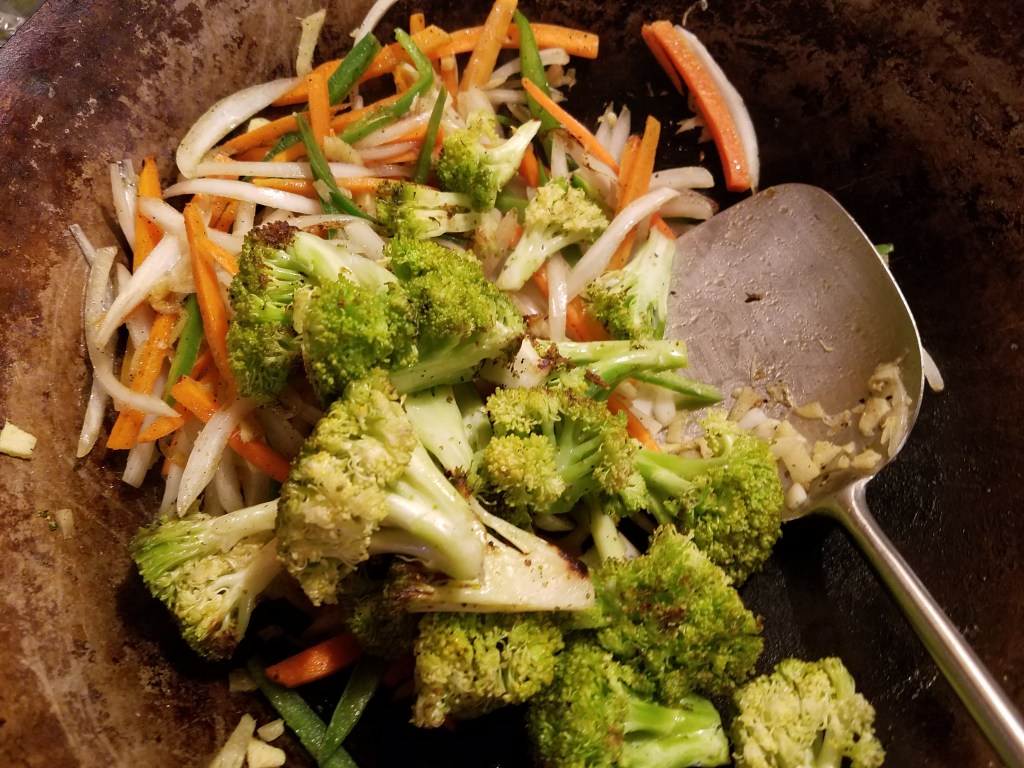
Cut the vegetables. I went for long and slender pieces this time so that meant julienne cuts on the onion and jalapeño and match stick cuts for the carrots. Set the vegetables aside.
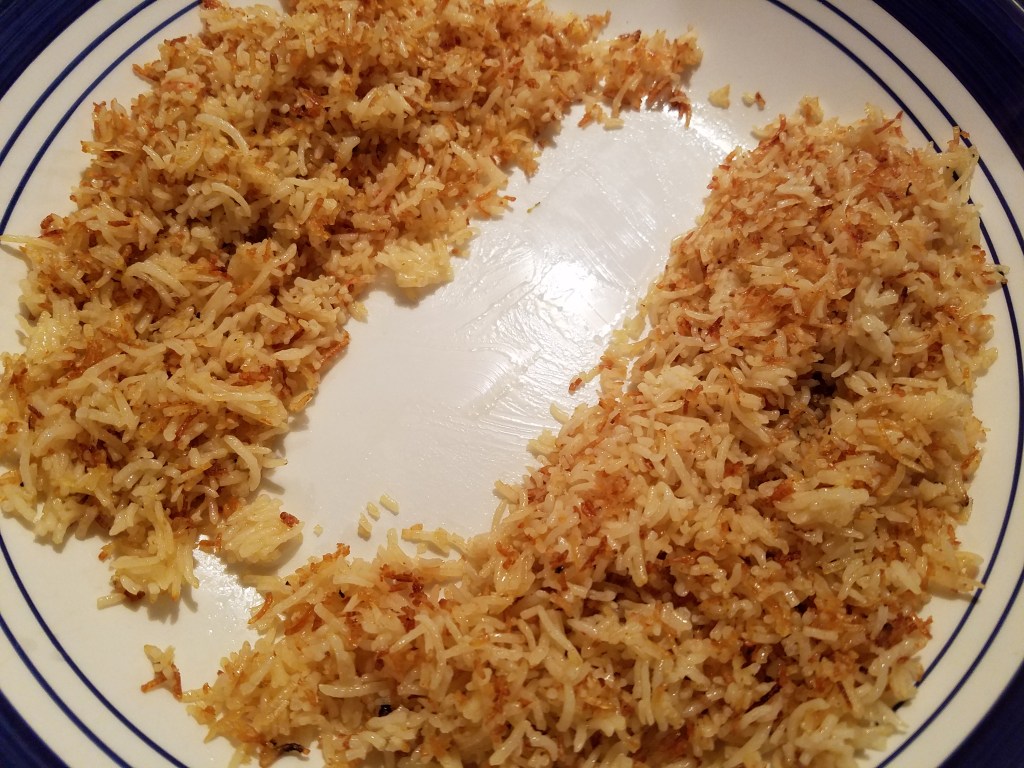
Take the cooked rice and add it to a mixing bowl. Add about ¼ cup cooking oil and thoroughly mix the rice by hand. All of the grains of rice should glisten when mixed properly.
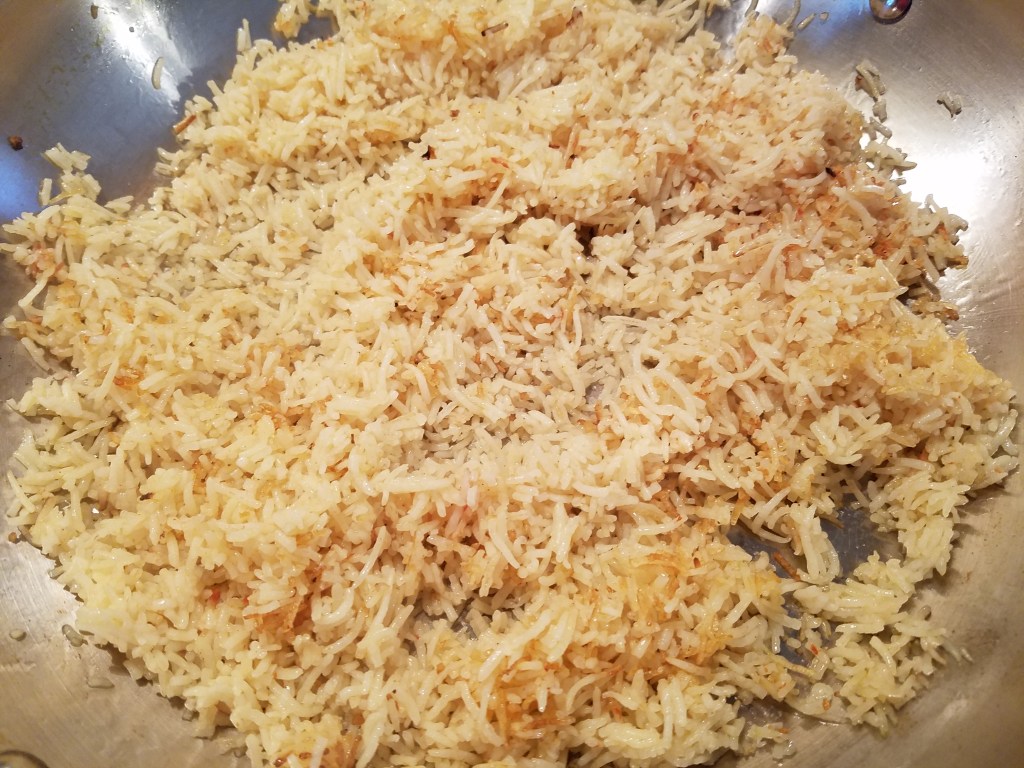
Add the rice to a large skillet. Do not add oil. Spread the rice out evenly over the bottom of the skillet and cook at low/medium heat for 4 to 5 minutes. Do not stir!
Turn the rice over after about 5 minutes and crisp the other side. The rice should turn light brown. Turn the heat off after 4 or 5 minutes. Keep the rice on the stove top while the vegetables are cooked.
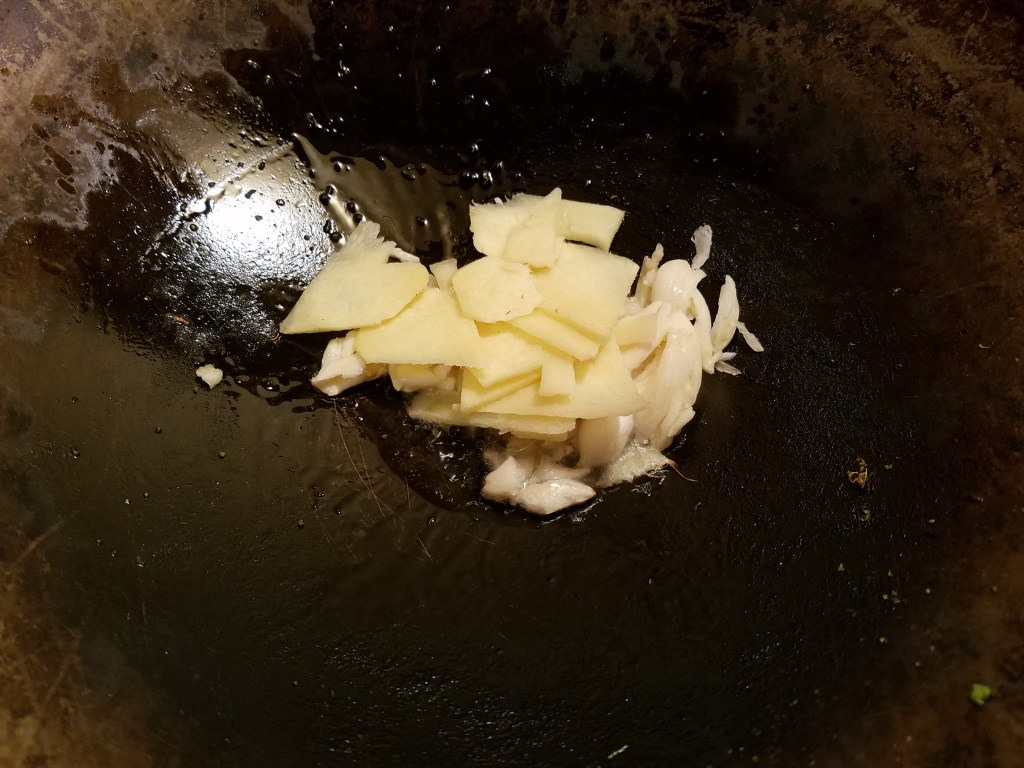
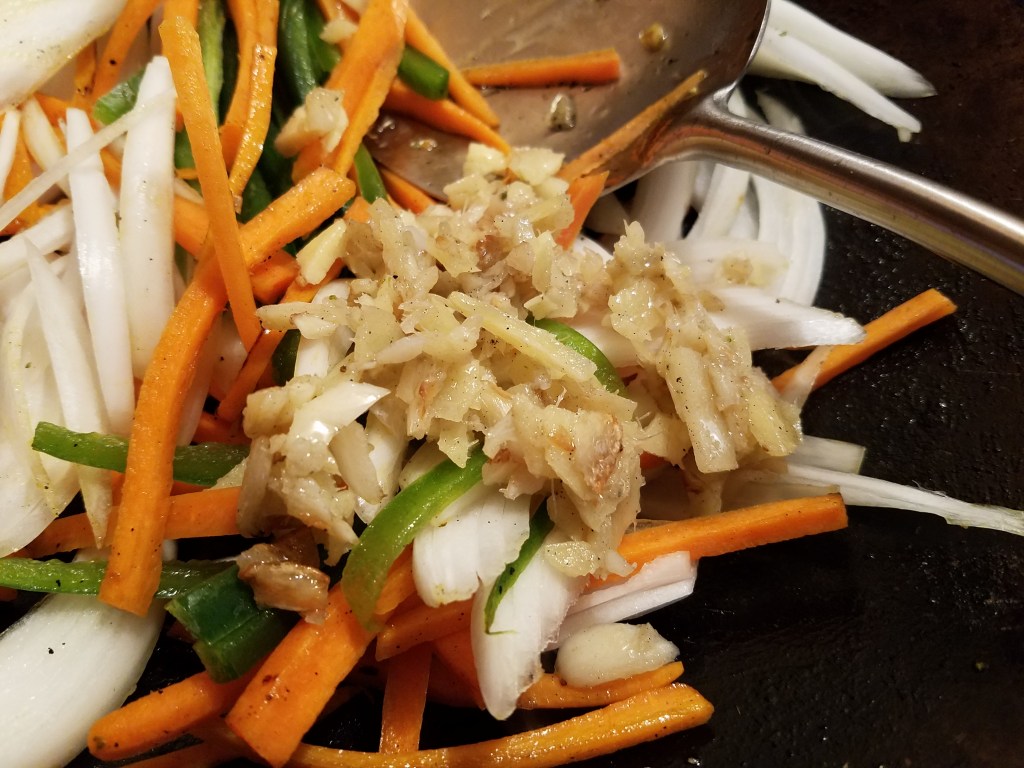
In a wok, add 1 Tbs cooking oil and the ginger and garlic. Simmer at low heat for about a minute. Remove the ginger and garlic, (before the garlic browns). Set the ginger and garlic aside.
Add the broccoli pieces to the wok. Set heat to low and stir-fry briefly.
Cover the broccoli with a lid, or aluminum foil. Steam the broccoli for 5 to 7 minutes, stirring occasionally. Remove the broccoli to a bowl and cover.
Add the carrots to the wok and turn the heat up to medium. Stir fry for a few minutes and then add the onion and jalapeño. Chop some of the cooked ginger and garlic and add it the wok. I added about 2 tablespoons of ginger and garlic. Add the broccoli and stir briefly.
Pull the wings from the oven and add them to a large mixing bowl. Pour the Asian sauce over the wings and toss to coat. Add the wings to a serving platter.
Arrange the crispy rice and stir-fried vegetables on another platter.
Serve with plenty of napkins. The wings are going to very sticky!
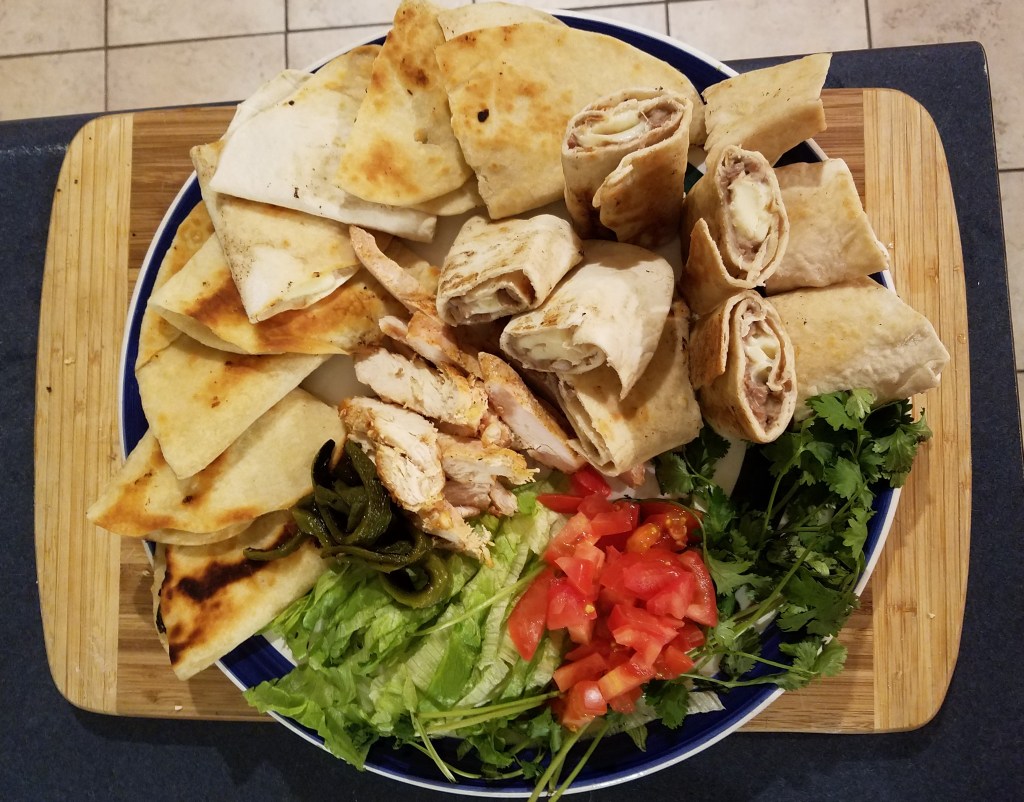
Botanas are snacks, or appetizers. A variety of small snacks are served on a large platter and are intended to be served communally.
I’ve been wanting to make refried beans for several days now and this seemed like a good way to showcase them. Homemade tortillas, fire roasted poblano chiles, mesquite grilled chicken and queso Chihuahua offer bold flavors and textures to the party platter. Lettuce, cilantro and tomato add bright colors to the ensemble.
The botanas platter took several hours to complete. Boiling dried beans and preparing tortilla dough take an hour and half each to complete. Roasting chiles and the chicken on an outdoor grill requires another hour, or more. Some of these tasks can be done in advance and kept chilled and then reheated, when you are ready to assemble the platter.
Ingredients for Refried Beans:
2 cups dry pinto beans, cleaned and rinsed
1 guajillo chile, stemmed and seeds removed
1 cup onion, sliced in large rings
½ gallon water
¼ cup lard
2 Tbs bacon fat
½ tsp salt
½ tsp cumin
Directions for refried beans:
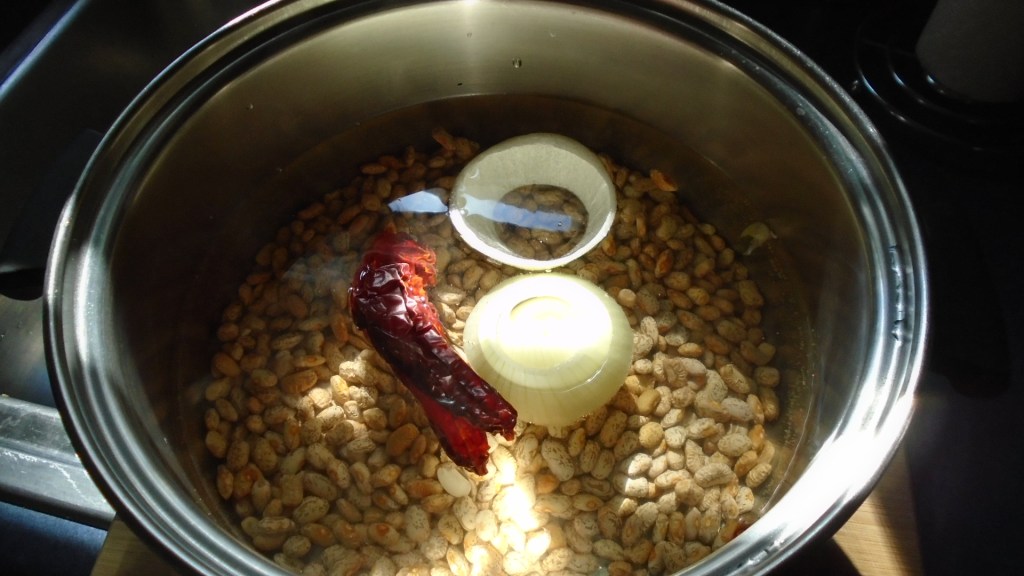
Add dry pinto beans to a pot of water. Turn heat to high.
Slice the guajillo chile in half. Add the chile and onion to the pot.
When the pot begins to boil, turn the heat to low and cover. Simmer for one and a half hours.
Strain beans and discard the onion and chile. Rreserve one or two cups of the broth.
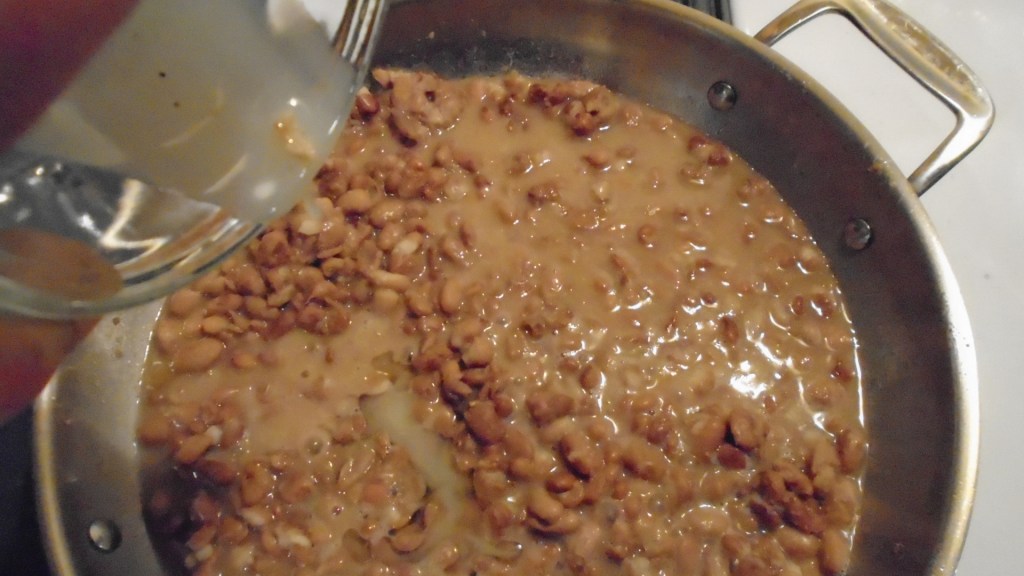
In a large skillet, add the lard. Melt the lard at low/medium heat.
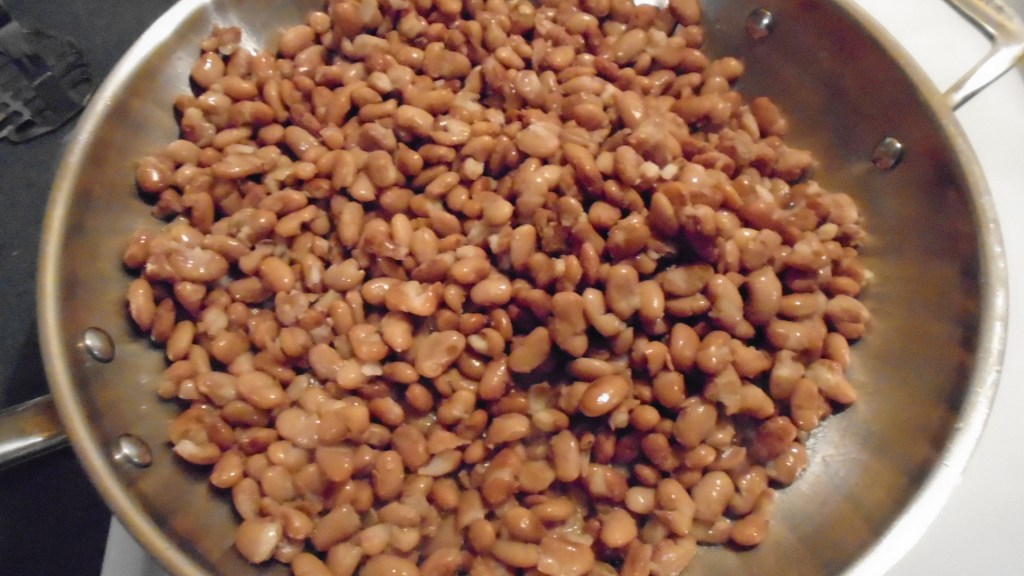
Add cooked beans and stir. Fry the beans for about 5 minutes.
Add about 1 cup of the reserved bean broth. Simmer and stir for one minute.
Add the bacon fat and stir for another minute.
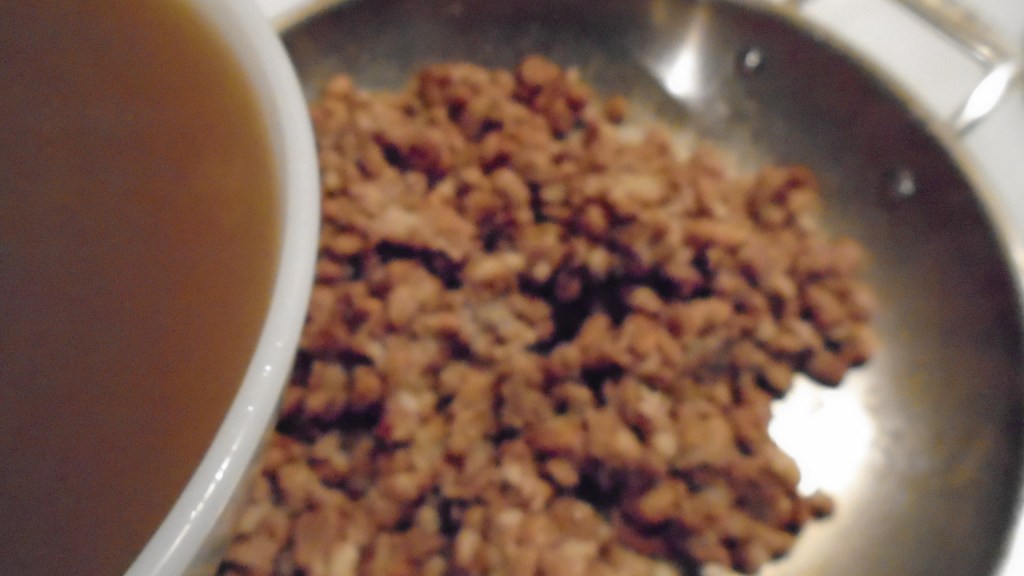
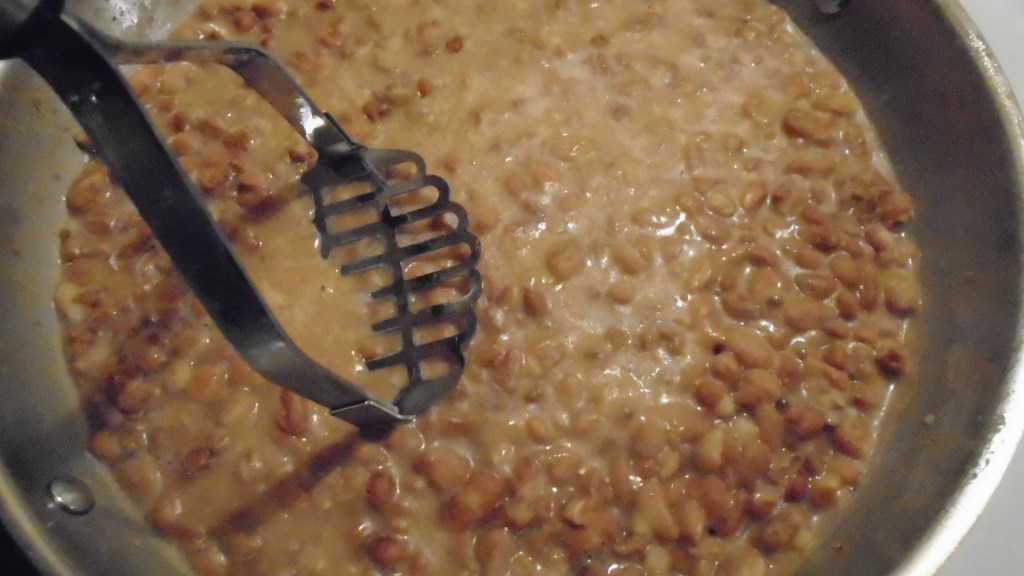
Mash the beans with a potato masher or large fork. Mash and mix the beans until they are creamy. Add more broth if desired.
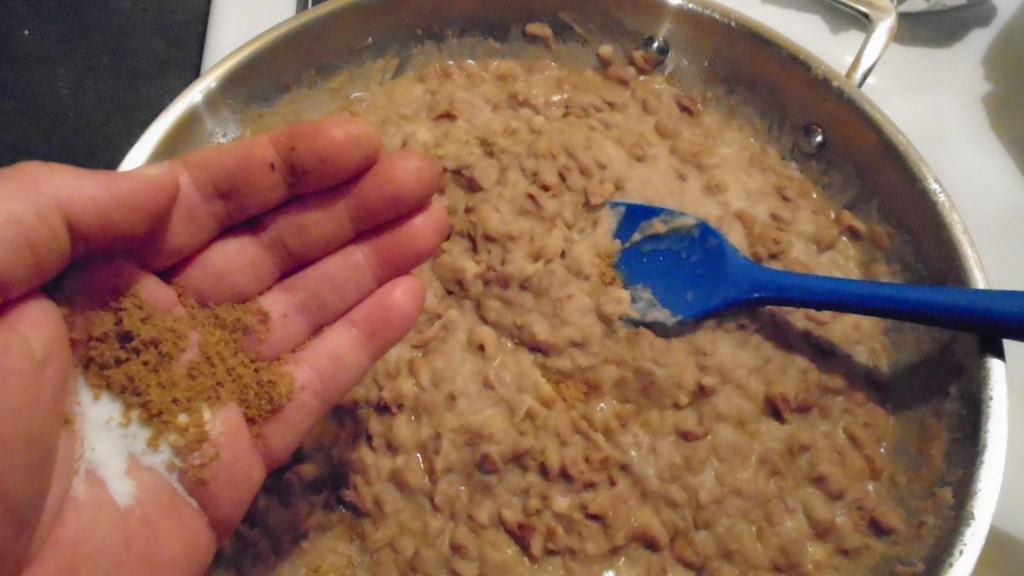
Add salt and cumin. Stir for a minute. Turn heat off and turn out to a serving bowl.
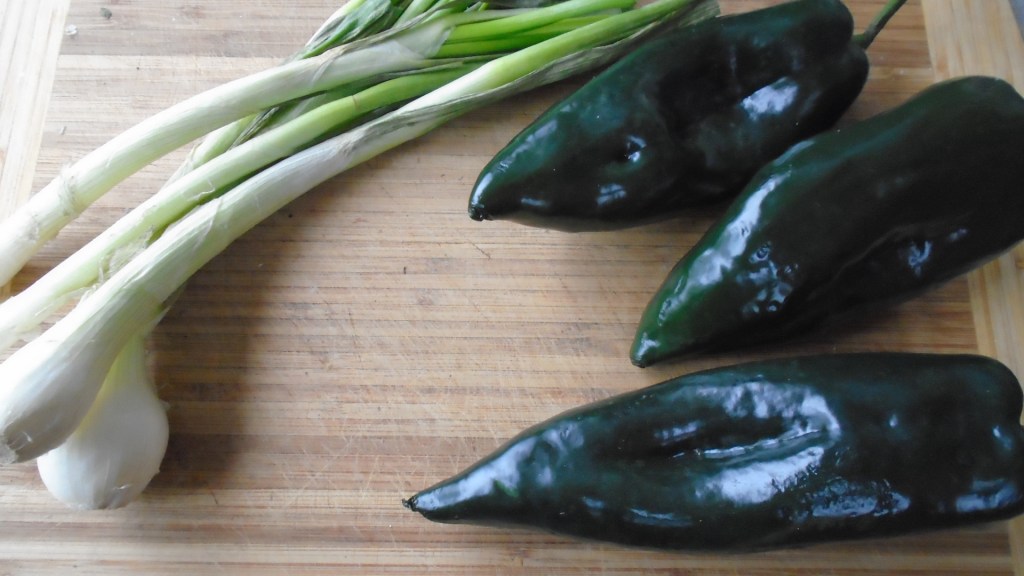
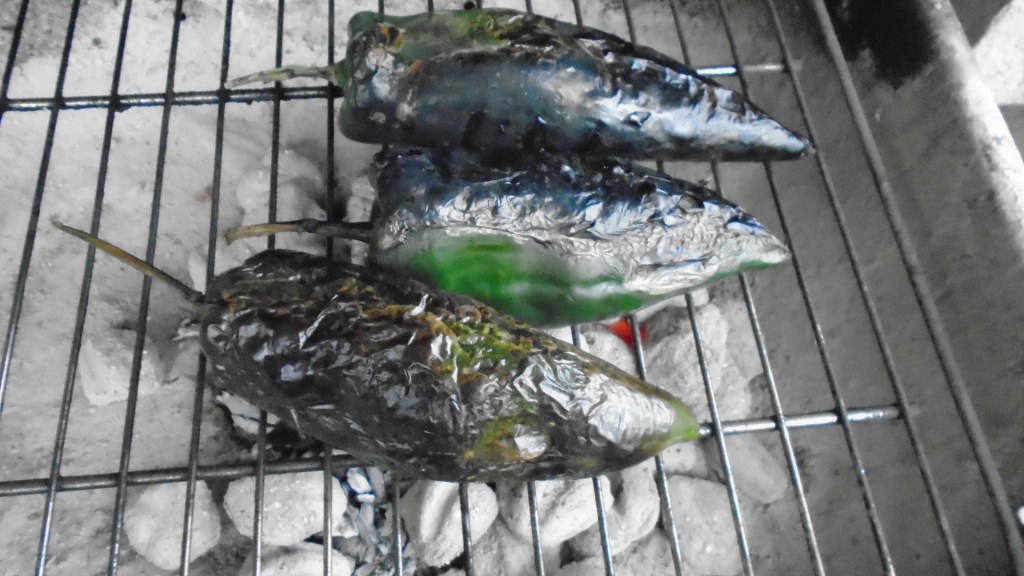
Ingredients for Fire Roasted Poblano Chiles:
3 fresh poblano chiles
The green onions will be grilled, too. They will be in another recipe.
Directions:
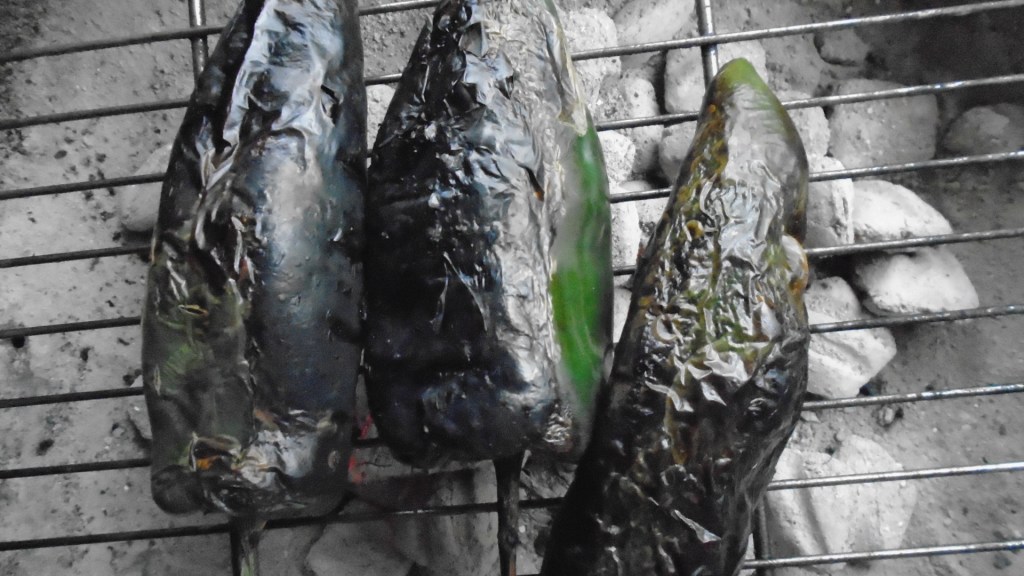
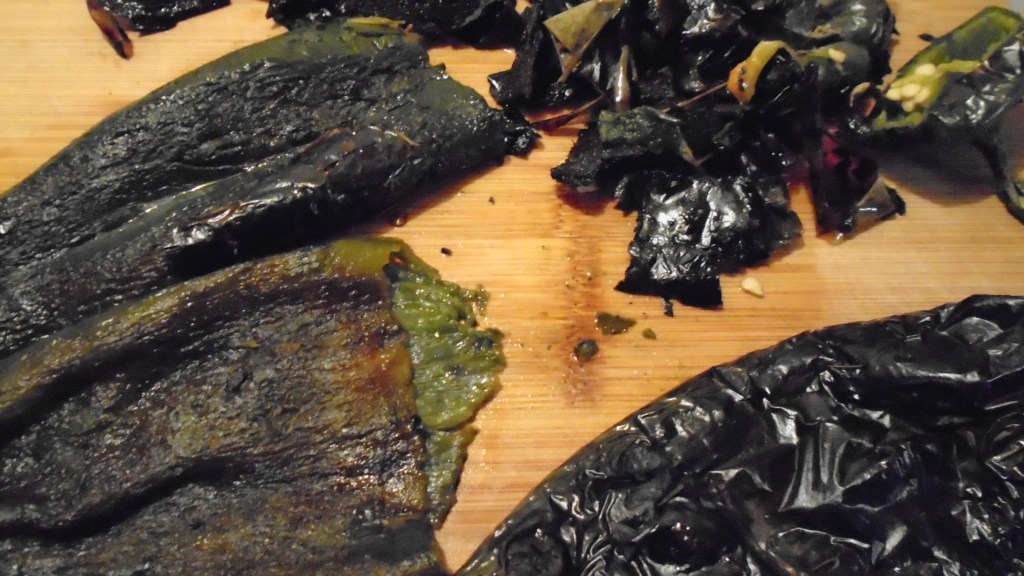
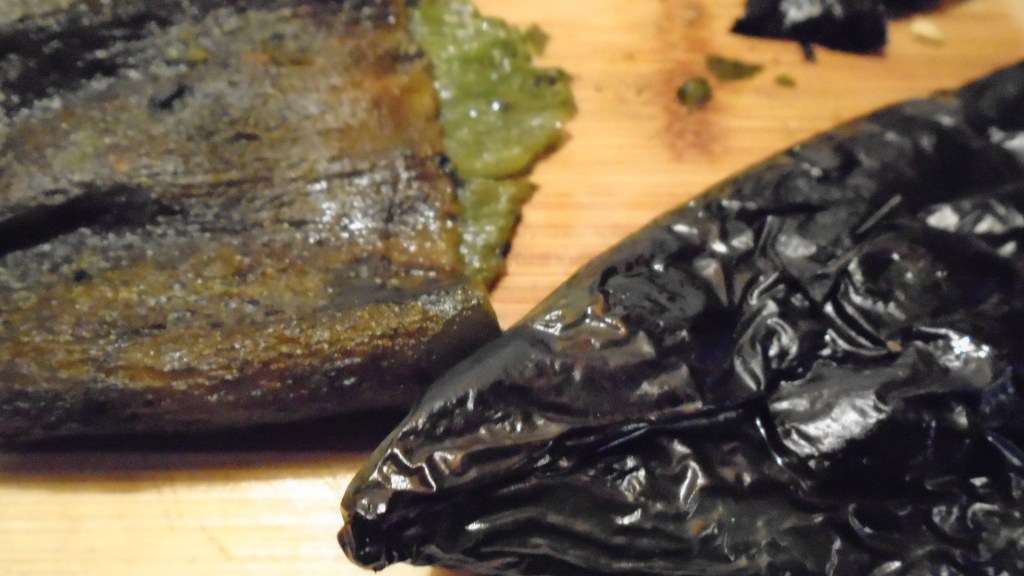
Roast chiles on the grill at very high heat. Turn the chiles every 3 or 4 minutes to char each side.
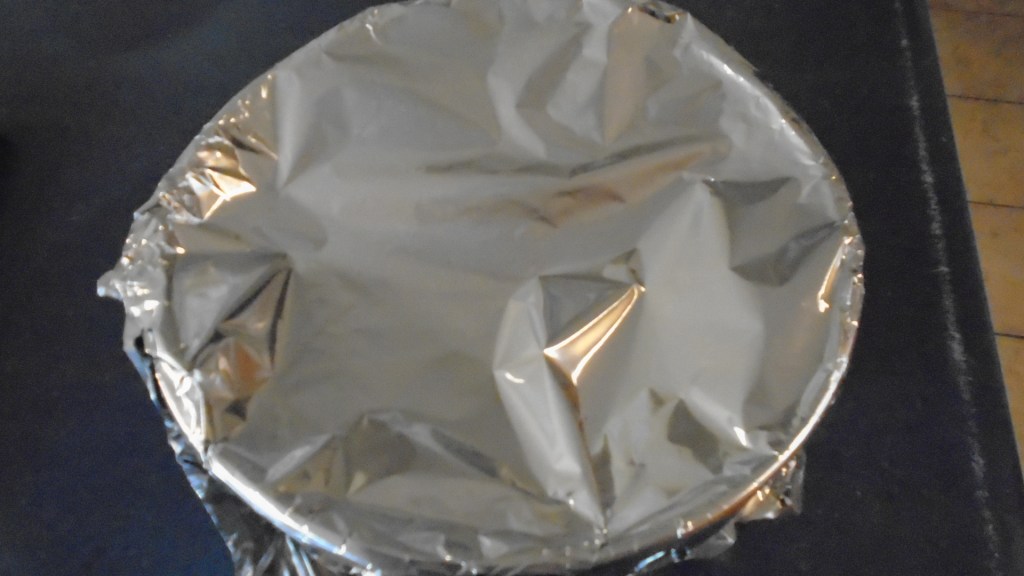
Once the chiles are charred on all sides, place them in a bowl and cover with foil or plastic wrap. The chiles will soften and cool to room temperature in about 15 minutes.
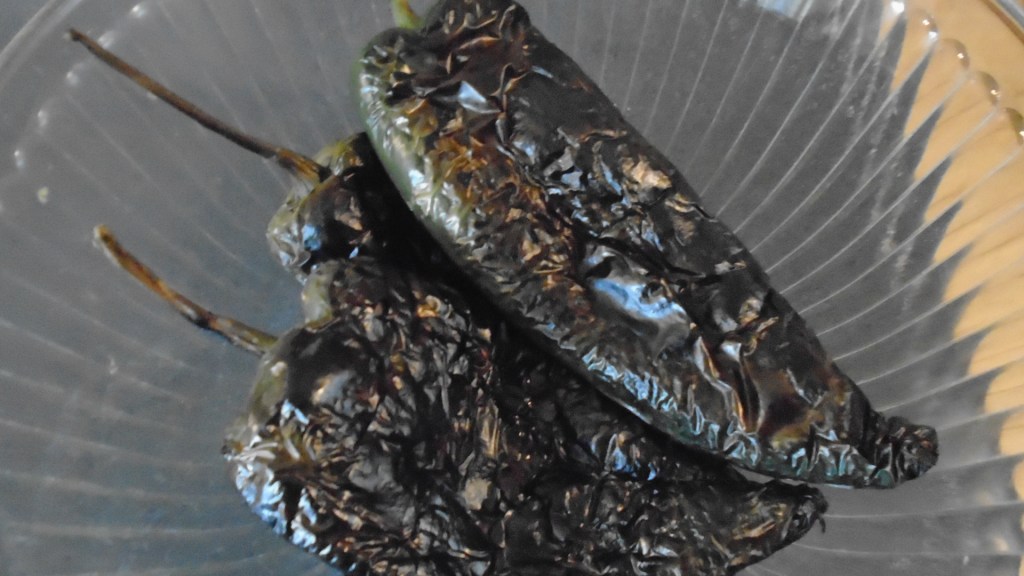
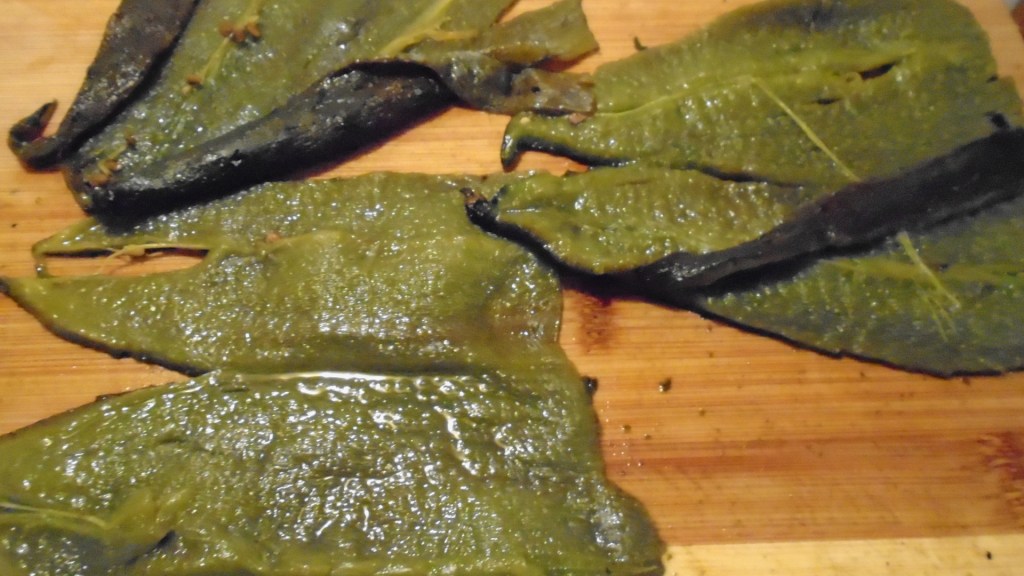
Remove the chiles and peel the charred outer skin away from the chiles. The charred parts should easy separate from the rest of the chile. Cut the stem off and pull out the seed cluster.
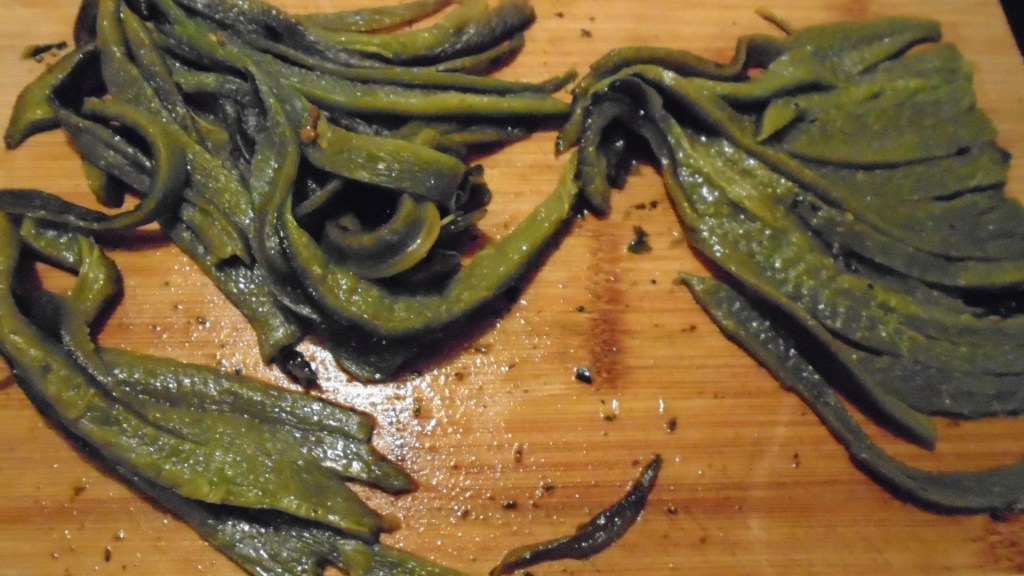
Slice the chiles lengthwise and lay the chile out on a cutting board. Remove any seeds that were missed.
Slice the chiles in thin ribbons, about ¼” thick. Set aside.
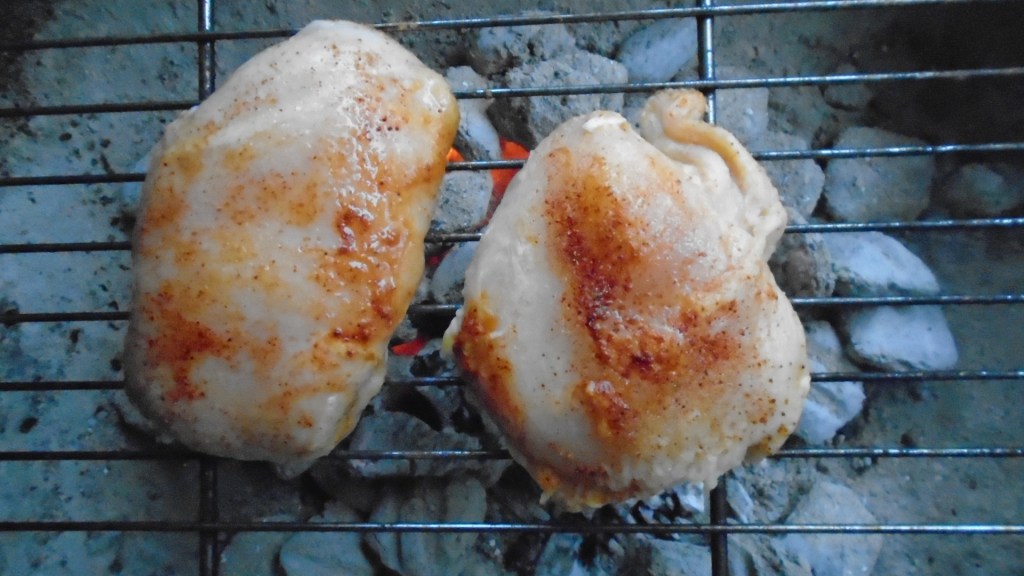
Pollo a la Parrilla de Mezquite
(Mesquite Grilled Chicken)
Ingredients
2 medium sized chicken breasts
1 tsp red chile powder
1 tsp cumin
1 tsp garlic powder
1 Tbs olive oil
Directions:
Sprinkle chile powder, cumin and garlic over the chicken. Drizzle with olive oil and toss, to mix.
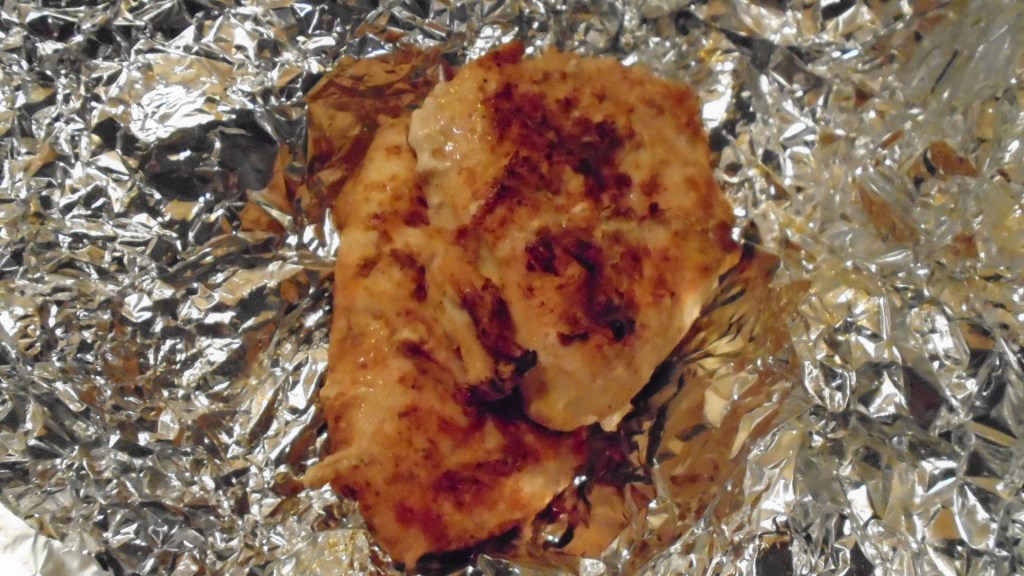
Carefully place chicken on a hot grill and grill each side for 3 to 4 minutes. Remove the chicken, wrap in foil and store in a warm place until ready to serve.
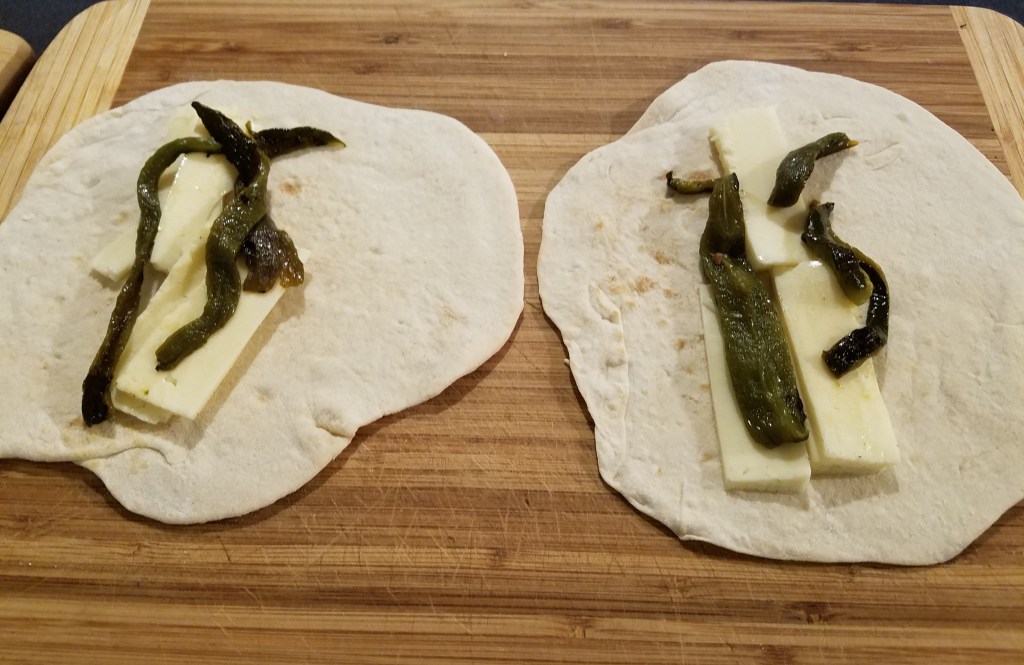
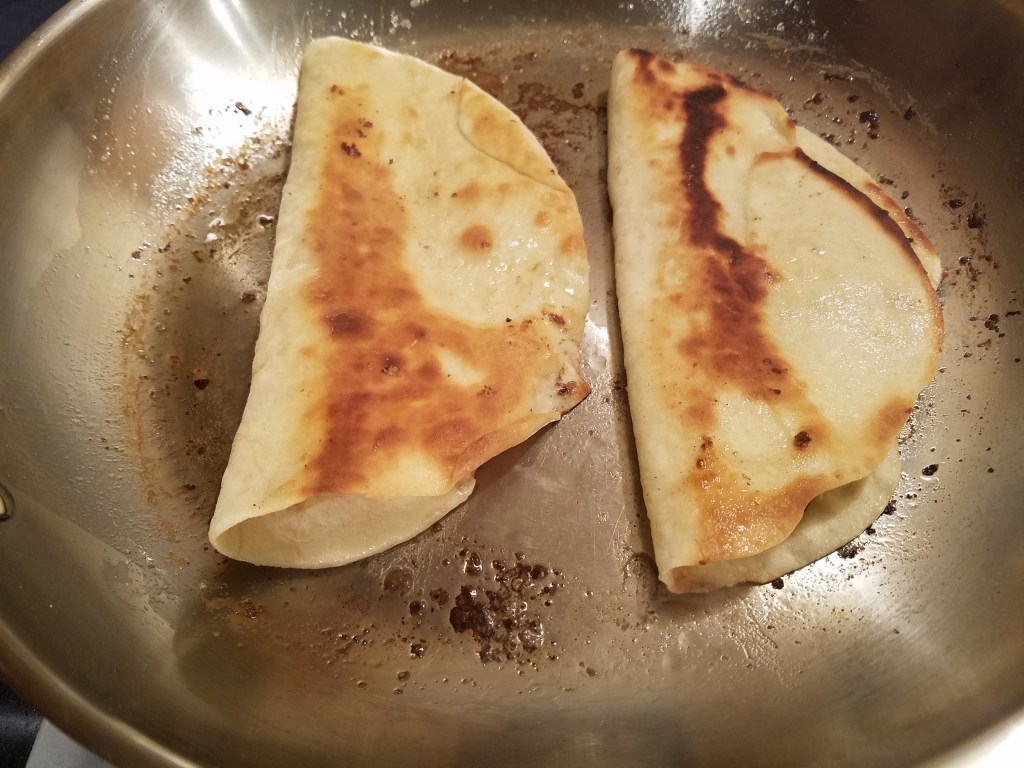
Quesadillas de Rajas con Queso
(Quesadilla with Poblanos and Cheese)
Ingredients:
Flour tortillas
Sliced roasted chile poblano
Sliced Chihuahua cheese
Directions:
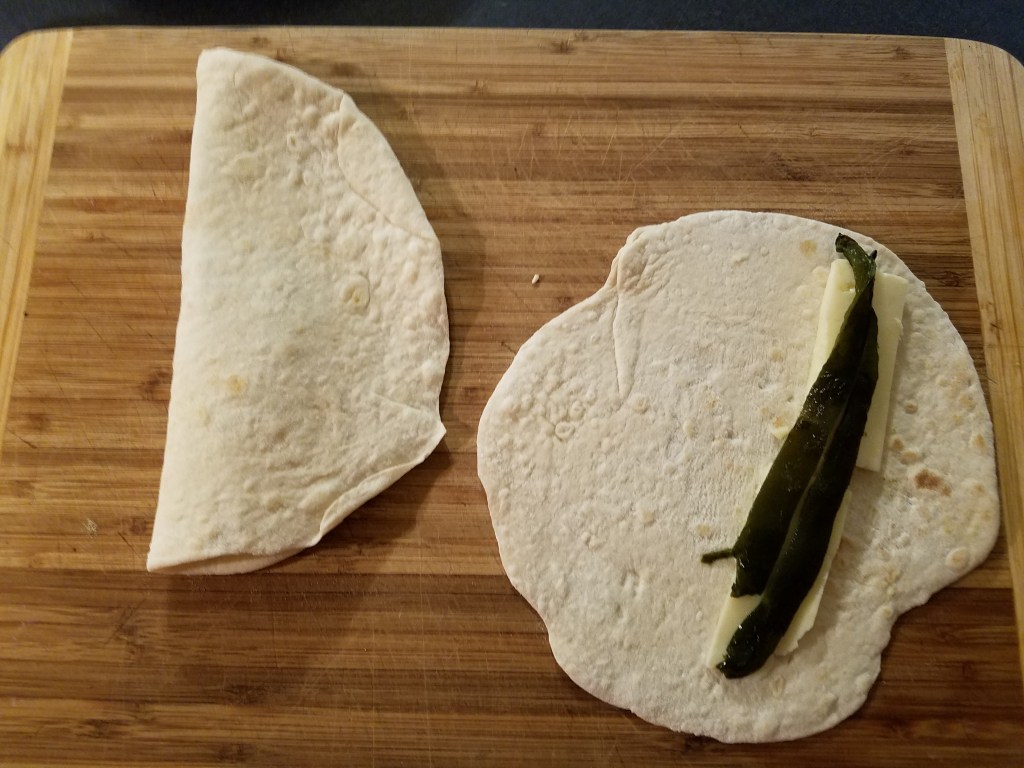
Add sliced cheese and strips of poblano pepper to one half of a tortilla.
Make a quesadilla by folding the tortilla to cover the cheese and chile.
Fry the quesadilla in butter and olive oil at low/medium heat for a few minutes on each side.
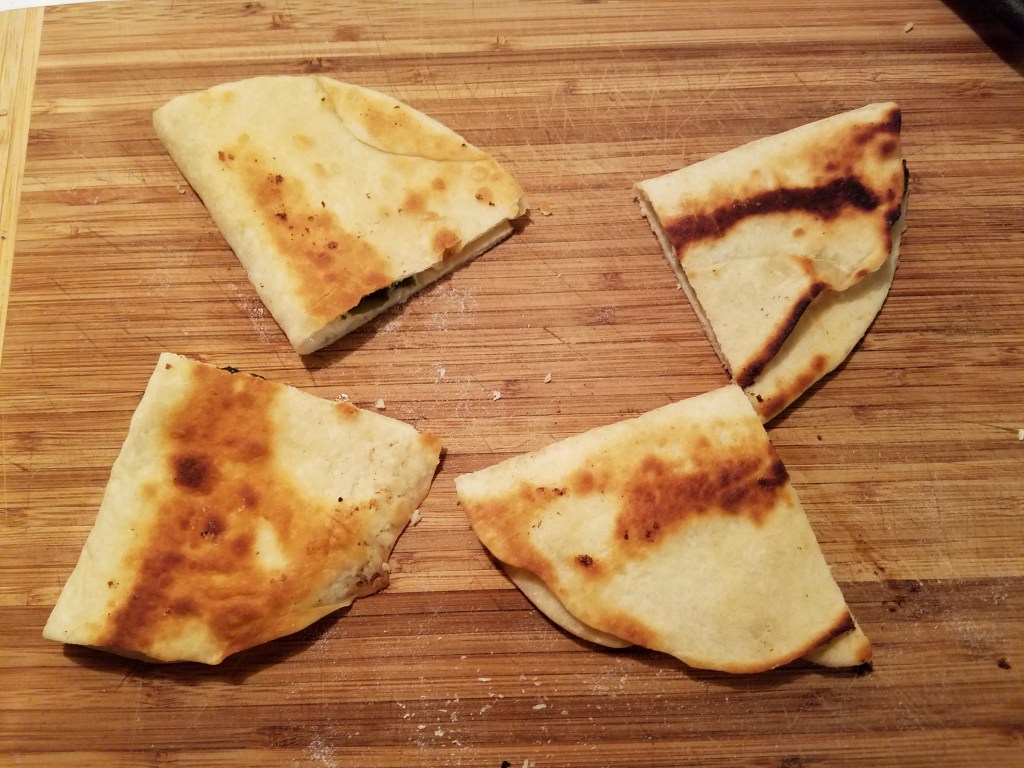
Remove and cut the quesadillas in half.
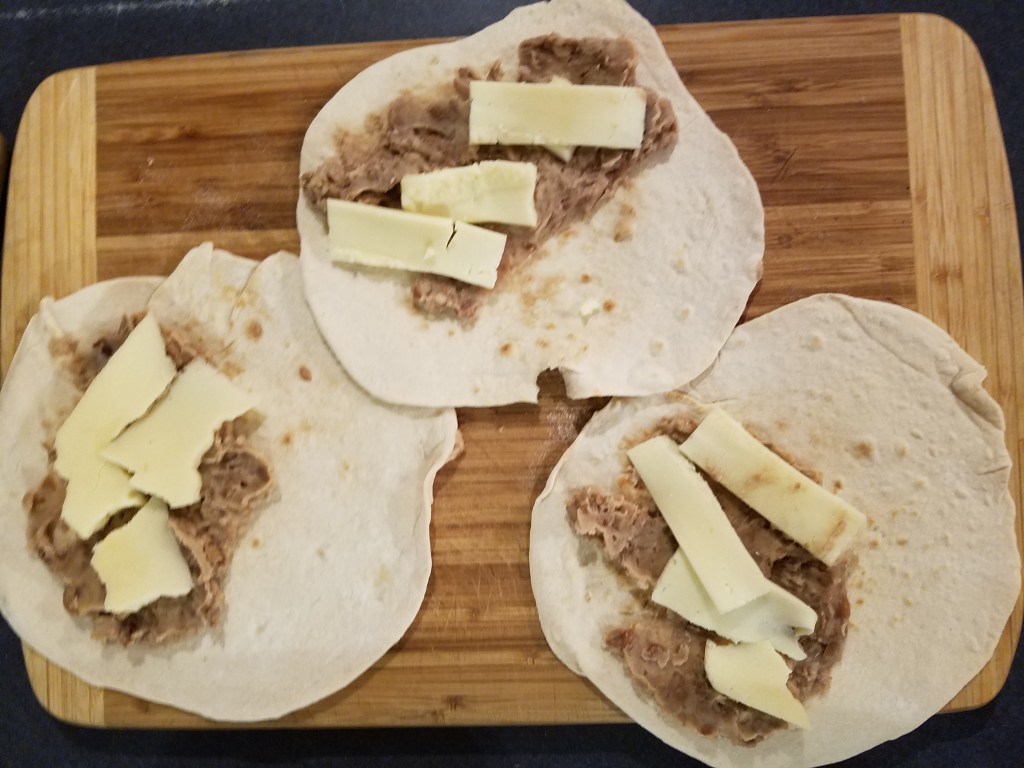
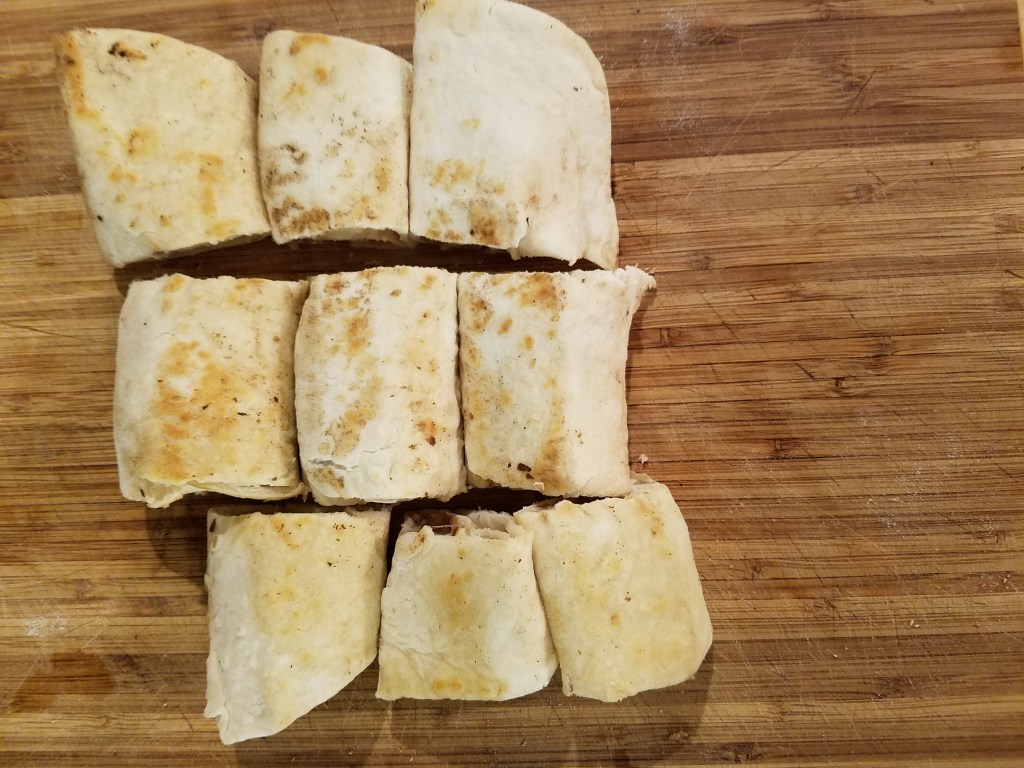
Burritos pequenos
(Small burritos)
Ingredients:
Flour tortillas
Refried beans
Sliced Chihuahua cheese
Directions:
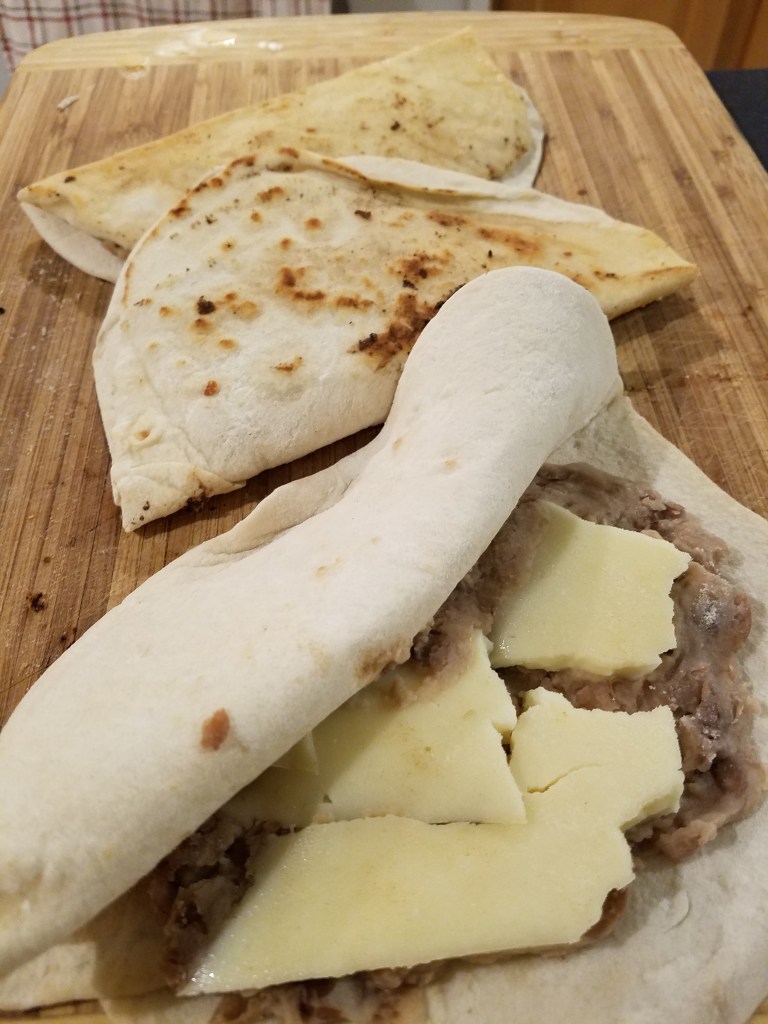
Add refried beans and cheese to a tortilla.
Roll the tortillas to form burritos.
Pan fry in butter and olive oil at low/medium heat for a few minutes.
Remove burritos and slice into small, bite sized pieces.
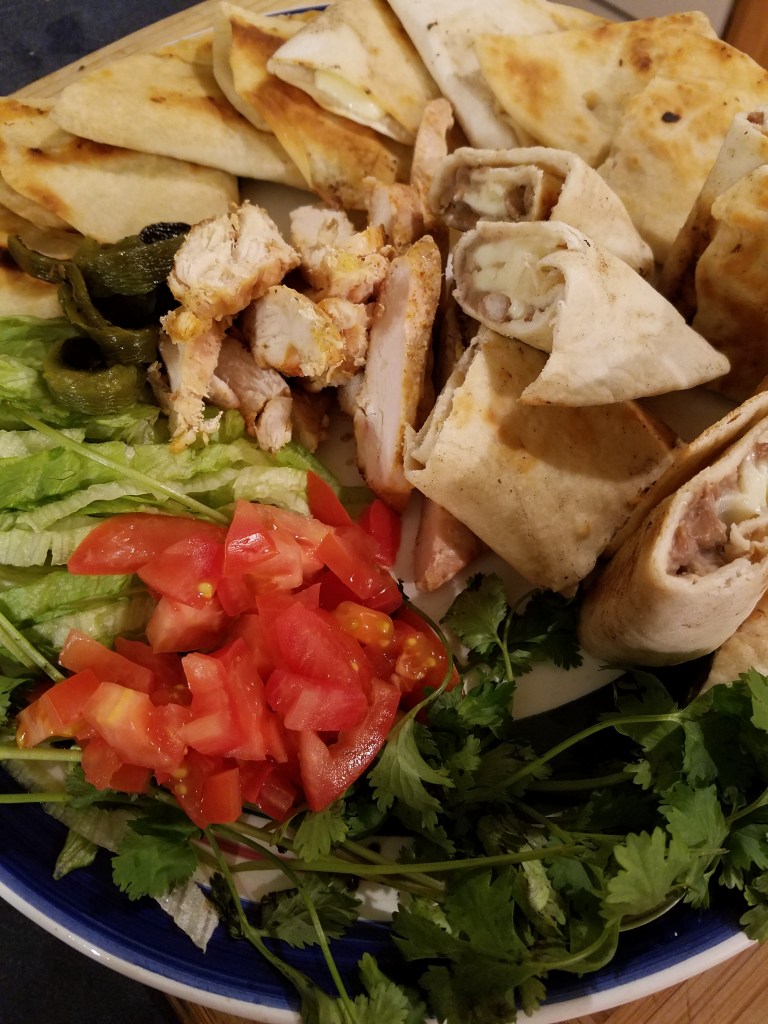
Assemble the botanas platter
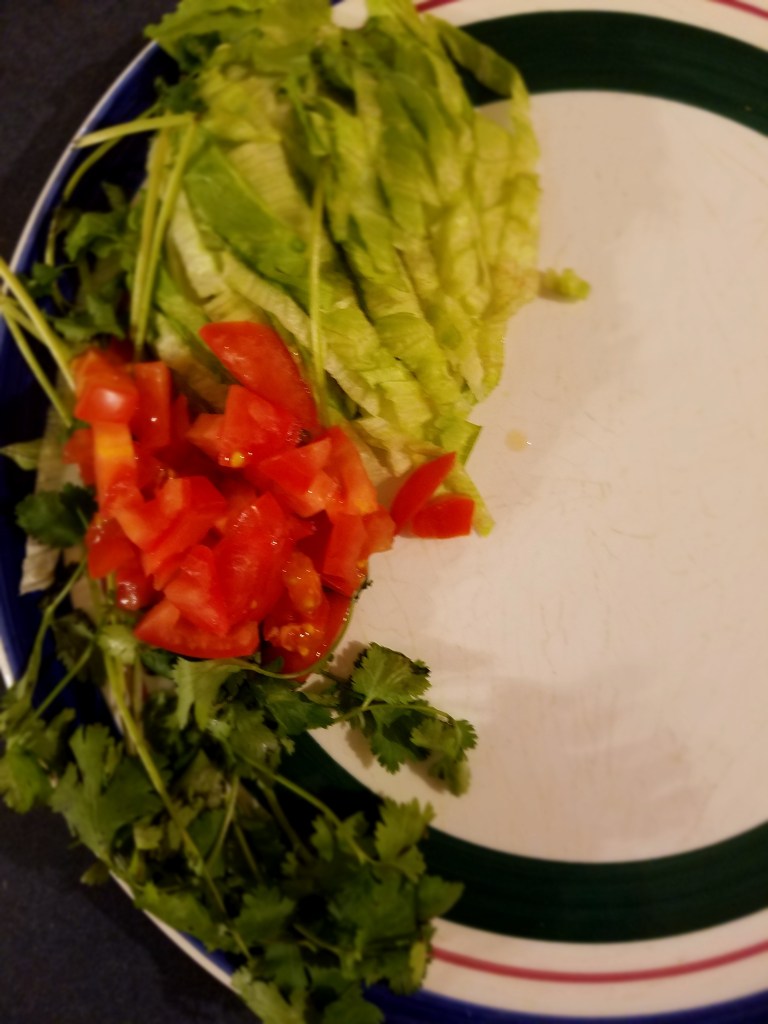
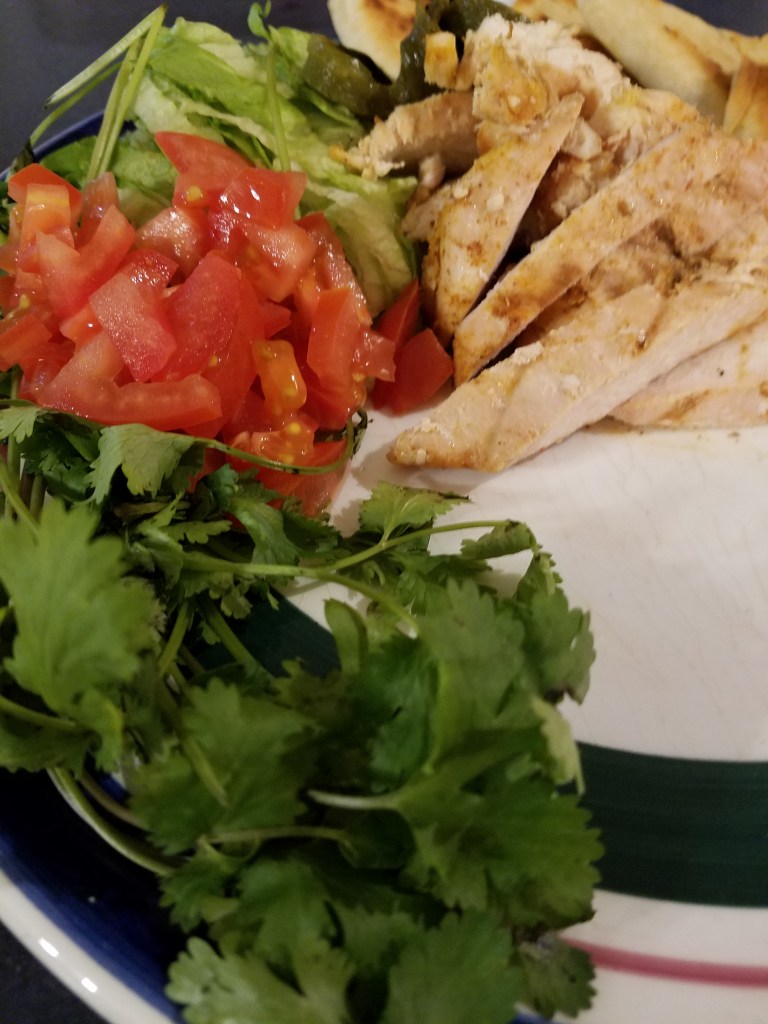
Arrange the lettuce, cilantro and tomato on one edge of the plater. Nestle sliced chicken next to the salad. Add a bouquet of roasted poblano next to the chicken.
Arrange the quesadillas and mini-burritos in a decorative array to complete the platter.
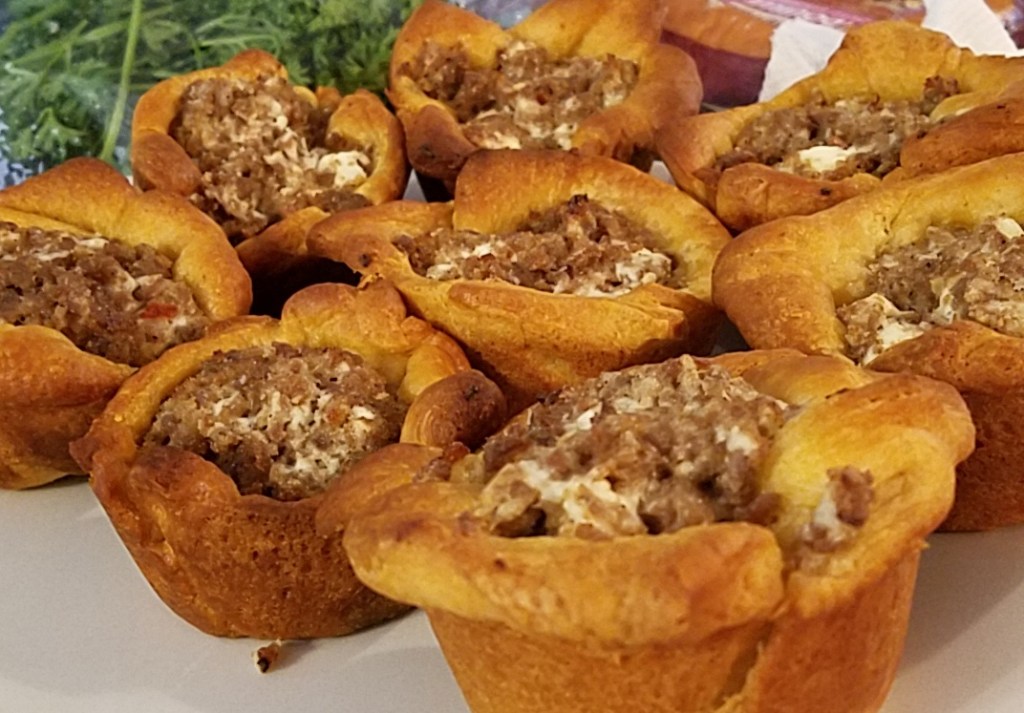
The inspiration for my most recent post came from a brunch dish I made recently. I was expecting early morning visitors but I didn’t know how many (or if any) would show. I took a page from one of my wife’s recipes and changed it a little. She uses crescent roll dough to make a delicious breakfast sausage and cream cheese casserole. Her recipe makes enough to feed a small army, which is perfect for large, holiday breakfasts. Since I didn’t know how many people would actually show up, I decided to alter the recipe to make individual pastry cups. Leftovers can be stored in the refrigerator for several days and they are can be pulled out and reheated in a microwave oven for a quick and easy breakfast, or a light snack.
Breakfast Sausage and Cream Cheese Pastry Shells
Ingredients:
2 8-count crescent roll tubes
1 lb bulk breakfast sausage (mild)
8 oz cream cheese (1 pack)
Directions:
Cook the sausage in a skillet and remove, to cool to room temperature.
Once cooled, crumble the sausage by hand to break down any large clumps.
Add the cream cheese to the sausage and mix thoroughly with a spatula.
Unroll the crescent roll dough on a clean and lightly floured surface.
Form the dough into a rectangle and press the edges together with your fingers. Press the perforated parts of the dough together, lightly, with your fingers.
Using a pastry cutter, or a clean credit card, if you don’t have a pastry cutter, slice the dough into 4” squares, to make 12 squares. The squares don’t have to be perfectly square.
Lay the squares over the holes of a non-stick muffin pan. Press the squares down to conform to the pan.
Drop the sausage and cream cheese mixture in the pastry shells by spoon.
Bake at 375° for 15 to 20 minutes, or until the edges of the pastry are golden brown.
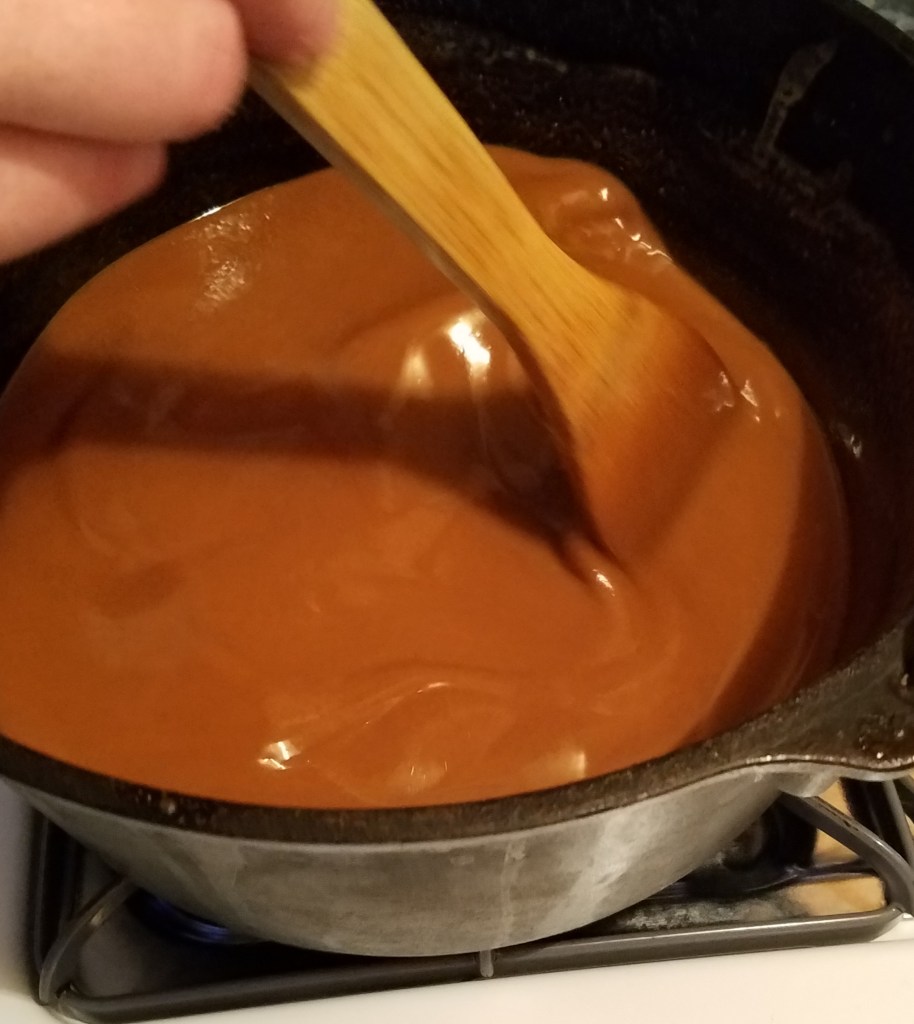
At the heart of every good gumbo lies a good roux.
I probably make 3 or 4 roux every week but they are of the small variety. You know, two tablespoons of butter, two tablespoons of flour added to two cups of stock or broth. A small roux takes just a few minutes to prepare and it usually come out just fine.
I have been telling myself that I make gumbo every year or two. I think that’s because I really enjoy gumbo. The truth of the matter is that I have probably only made it four times, (now five times). As much as I love a good hot bowl of gumbo, I dread making the roux. There are very few things in life that can vex me like a making a big batch of roux.
Making roux for a gumbo is not easy; at least it’s not easy for me. The volume of the roux needed is much larger than my normal roux. Additionally, the roux needs to cook longer to achieve a deep, rich lustrous color and flavor. Lastly, pushing the cooking process too far results in a burnt roux, which I am unfortunately prone to doing. If a roux burns it must be tossed and another one must be made. Nothing good ever happens by attempting to save a burnt roux.
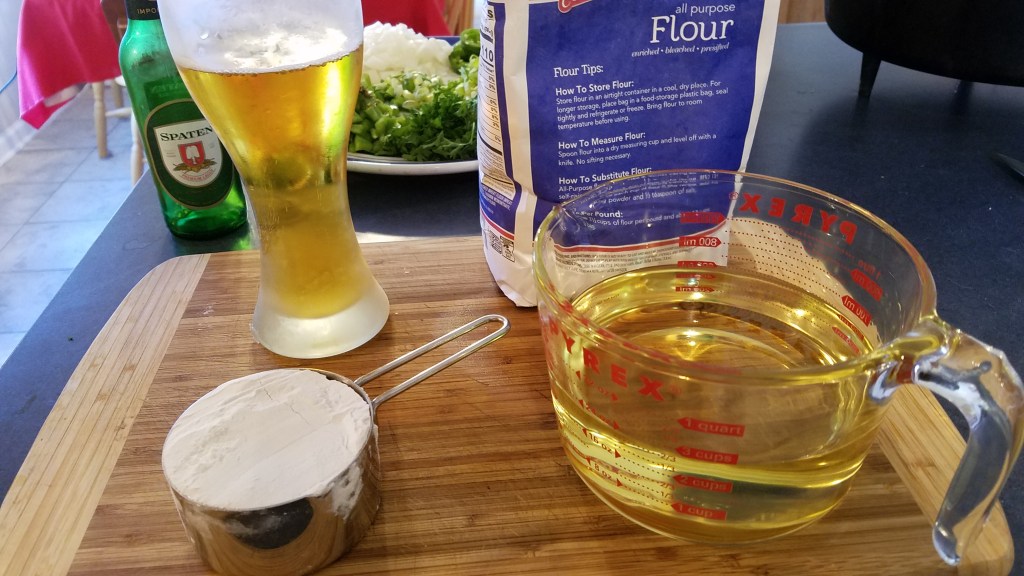
The good German lager is for me, not the roux!
Once you start a roux you can’t leave it alone until it has finished. A roux must be stirred constantly to prevent the flour from burning. Even the tiniest amount of burnt flour will affect the entire roux.
My step-by-step method for making a roux:
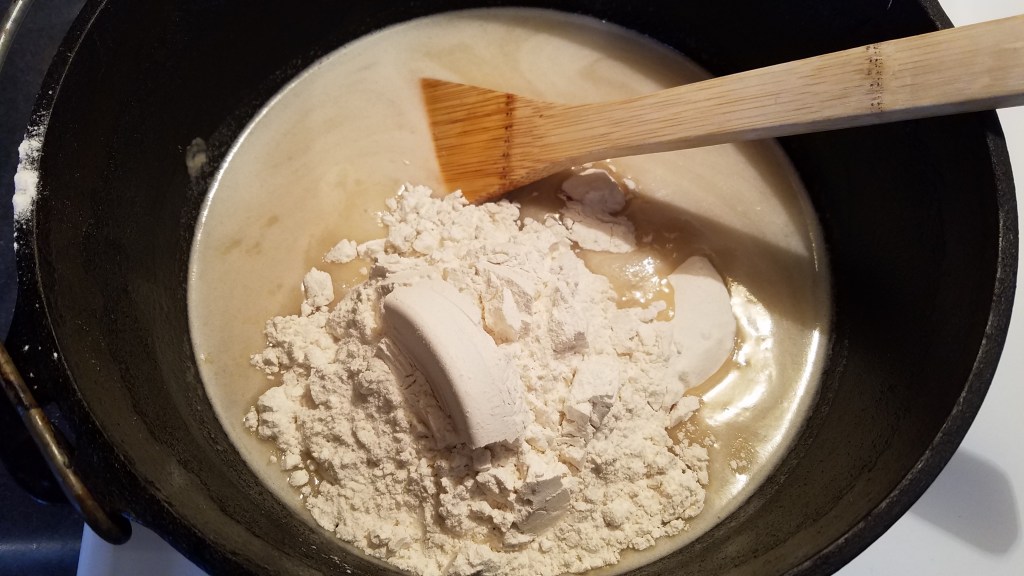
1) Add equal amounts of oil and flour to a Dutch oven (over low/medium heat).
2) Stir continuously, making sure to scrape the bottom and edges of the pot as you stir.
3) Keep stirring while the roux goes from blonde, to tan, to mahogany, to chocolate brown.
4) Taste a sample of the roux, after allowing it to sufficiently cool.
5) Detect a hint of burnt flavor, throw away the roux and wipe the Dutch oven clean.
6) Repeat.
Three more important pieces of advice that are often overlooked:
1) Use the bathroom before starting the roux. You won’t be able to break away from the action until the roux is finished (maybe 45 minutes to an hour).
2) Pour yourself a drink and make sure that it’s within arm’s reach as you stir.
3) Keep a small aloe vera plant in the kitchen, close to the stove, in case of burns.
As for the aloe vera, it’s really good for minor burns. Roux is jokingly referred to as Cajun Napalm. Even a tiny drop of the hot roux can cause your skin to blister. I got two blisters from this batch. I would have had three blisters but, when I got hit for the third time, I quickly pinched off the tip of an aloe leaf and rubbed it on the burn.
Look closely and you’ll see I removed a tip from a leaf, at the right.
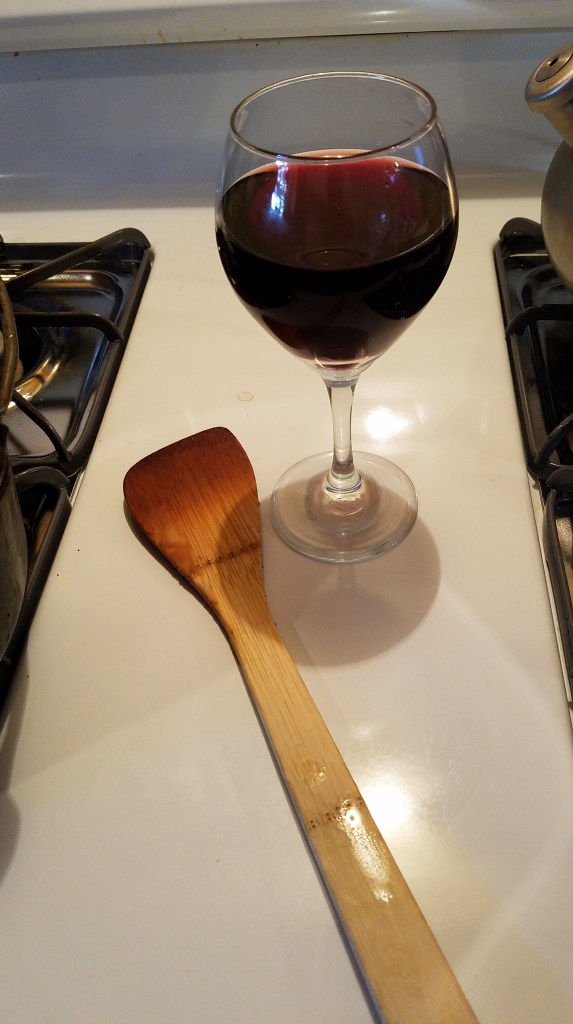
My drink of choice for the 1st roux was Spaten Lager. A nice Cabernet Sauvignon got me through the 2nd roux. Note the flat ended spatula…this is essential!
As I mentioned, I burned the first roux and had to start another one. I cooked the roux over low heat both times.
For the first attempt I used 3 cups canola oil and 3 cups flour. I cooked the roux for 67 minutes and it reached a near-perfect chocolate brown color, but the roux had a slight burnt flavor.
For the second attempt I decided to use 2 cups canola oil, 1 cup lard and 3 cups flour. I cooked the second roux for 50 minutes. I brought the roux to a dark tan and shut the heat down before it turned to mahogany. I didn’t want to run the risk of the burning the roux a second time!
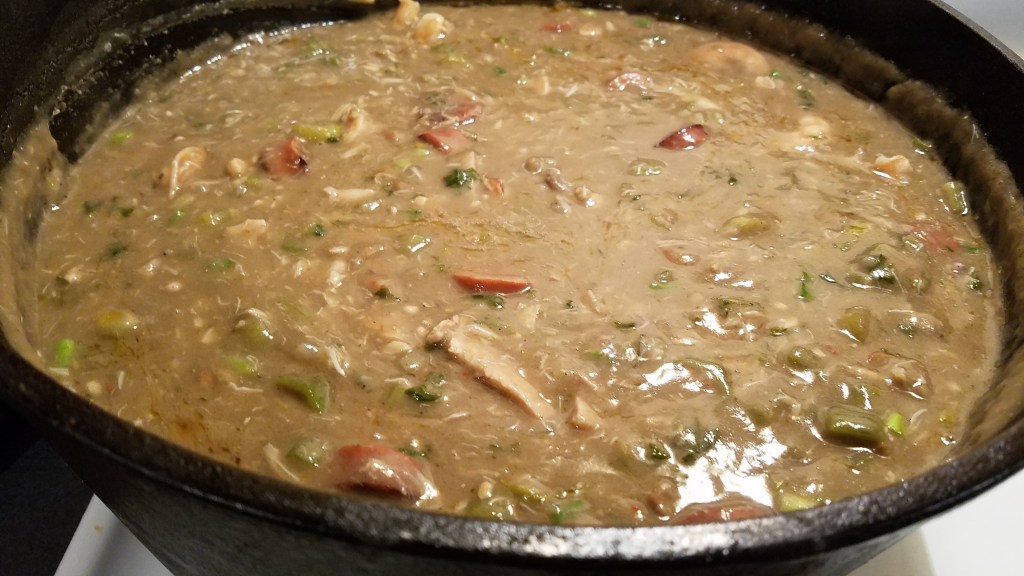
This recipe makes about 2 gallons of gumbo (25 to 30 servings).
Ingredients:
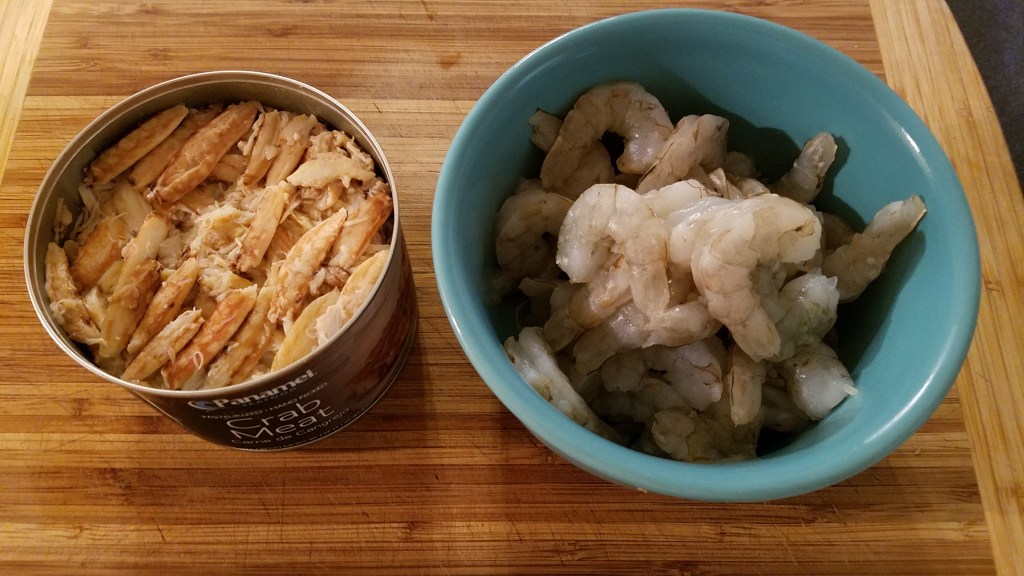
1 lb medium sized shrimp, shell on and deveined
1 1/2 lbs cooked chicken breast, cut into 1/2″ cubes
3 cups canola oil
3 cups all-purpose flour
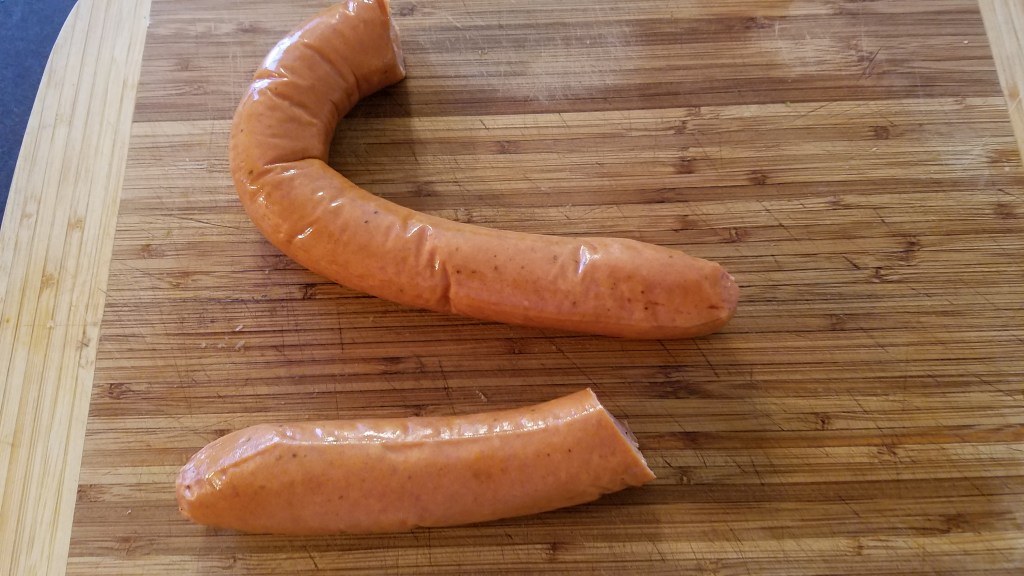
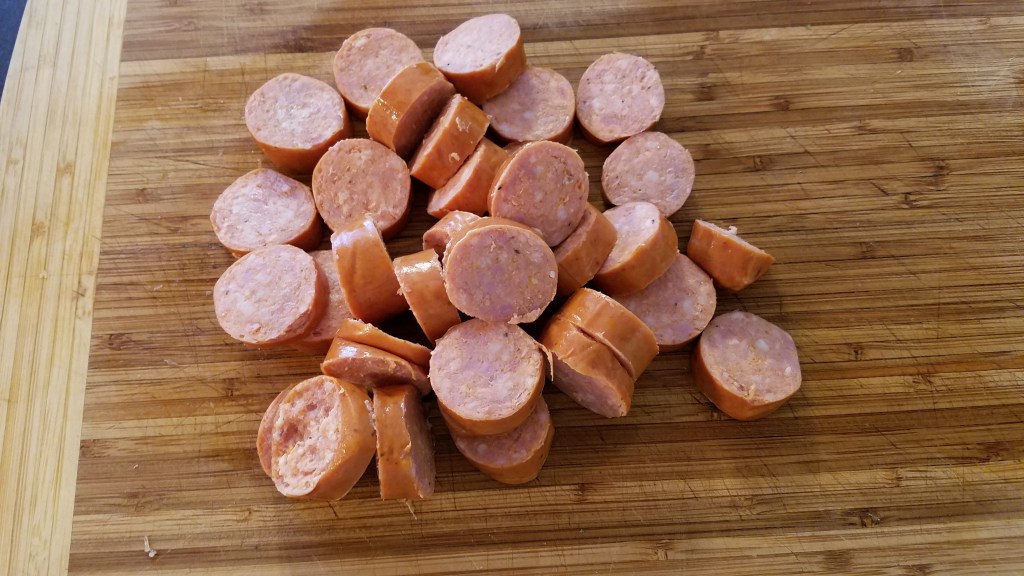
1 lb Andouille, cut into 1/2″ thick slices
1 large onion, chopped
1 bell pepper, chopped
1 large jalapeño, seeded and sliced
2 cups celery, chopped
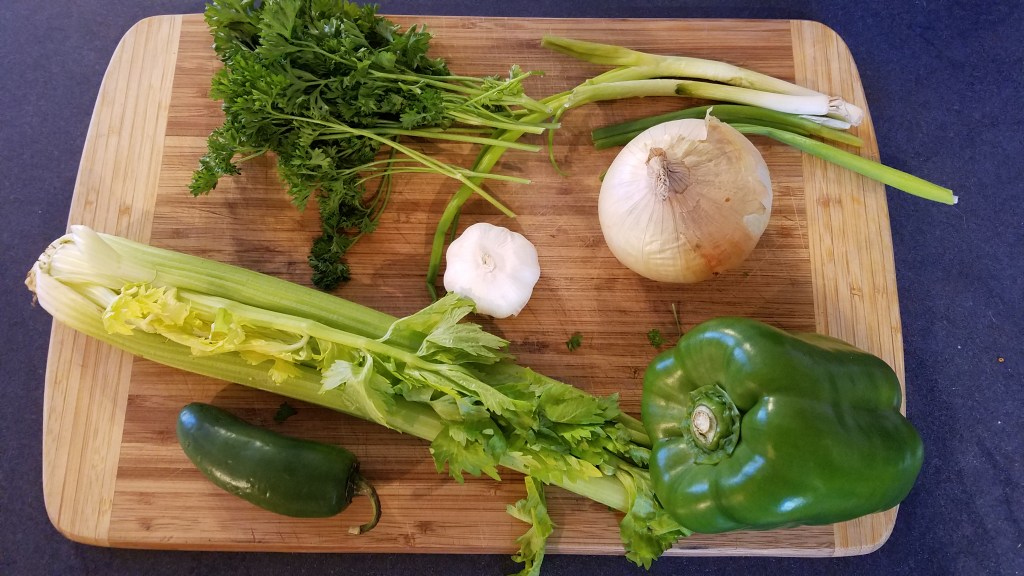
1 whole head of garlic, minced
1 1/2 cups parsley, chopped
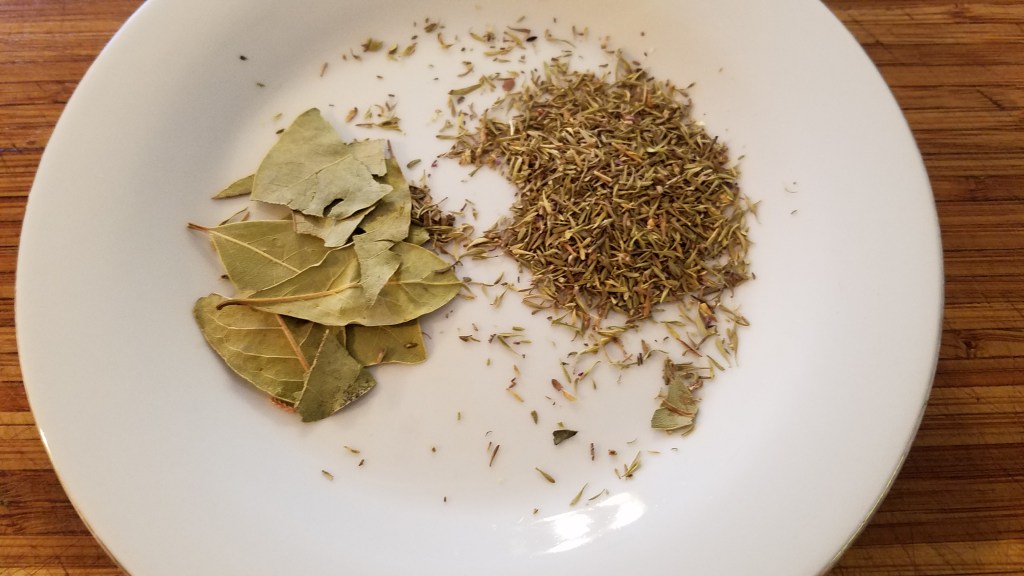
1 Tbs dried thyme
1 Tbs bay leaves
32 oz chicken stock
32 oz vegetable stock
1/2 cup shrimp stock reduction
12 oz okra, chopped
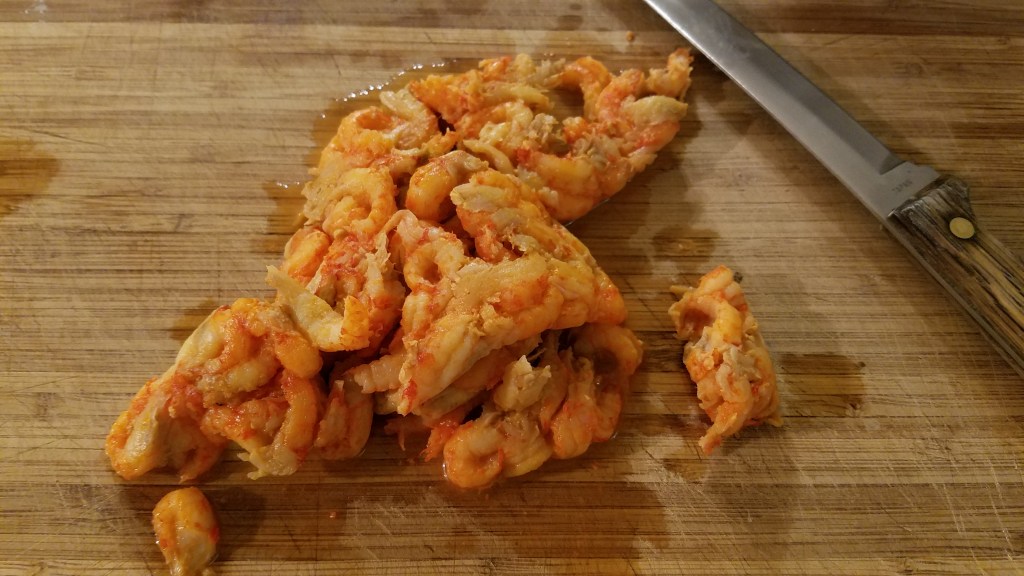
1 lb. crawfish tail meat
1 lb. crabmeat
1/2 cup clam stock reduction
12 oz white clams (about 12 clams)
Lots and lots of hot, steamed white rice
Directions:
I also added a small amount of beef scraps.
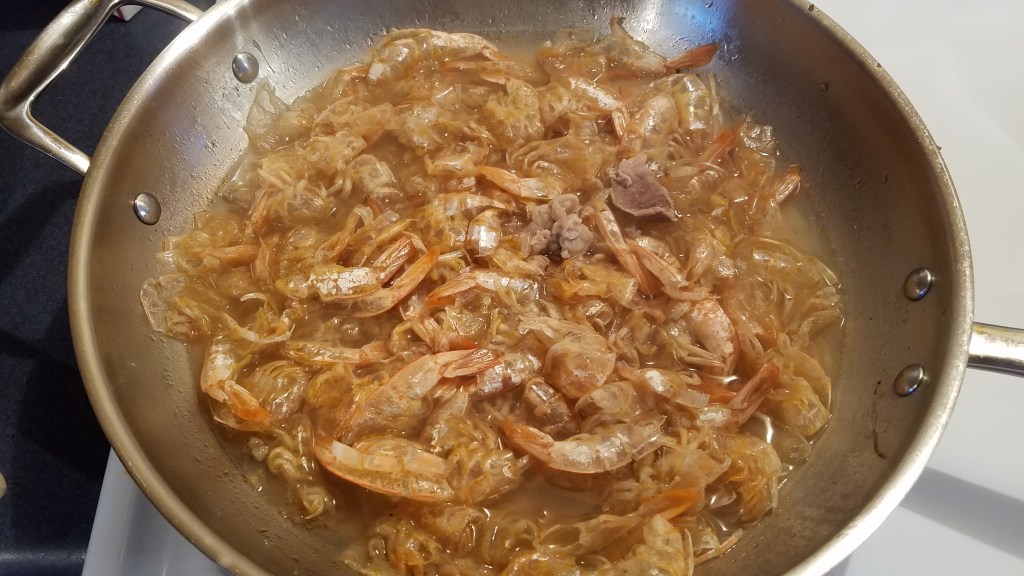
After about 15 minutes
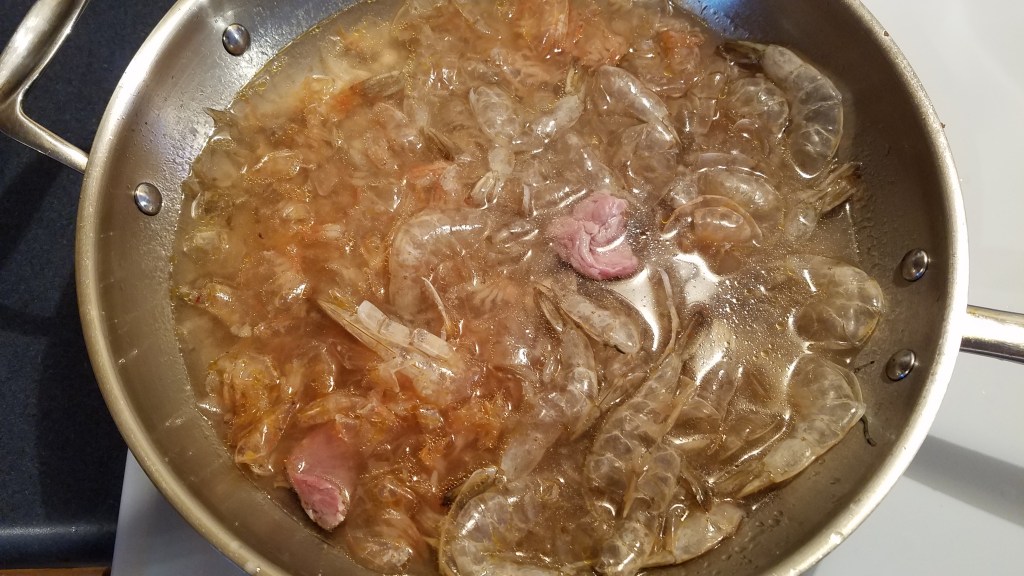
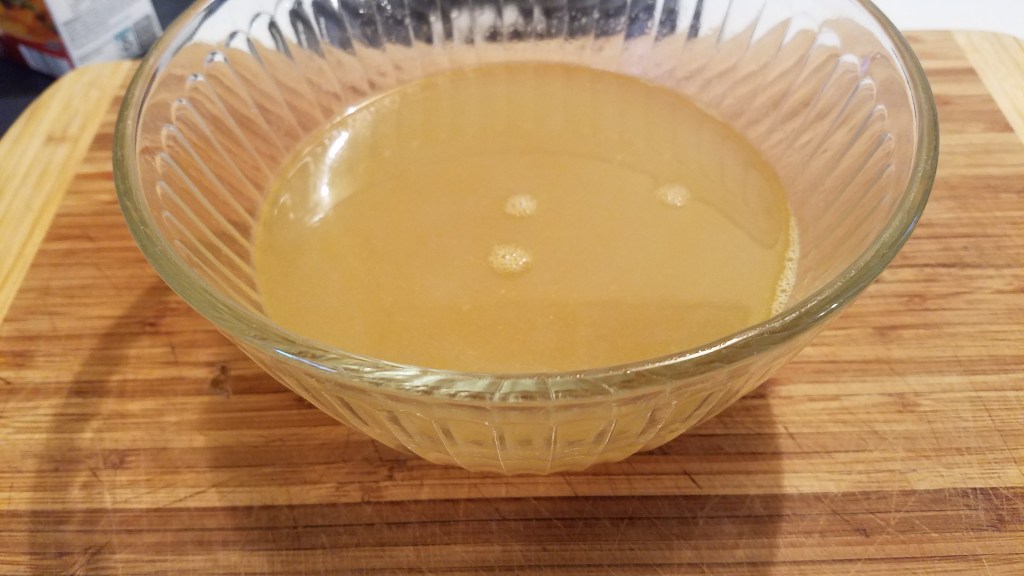
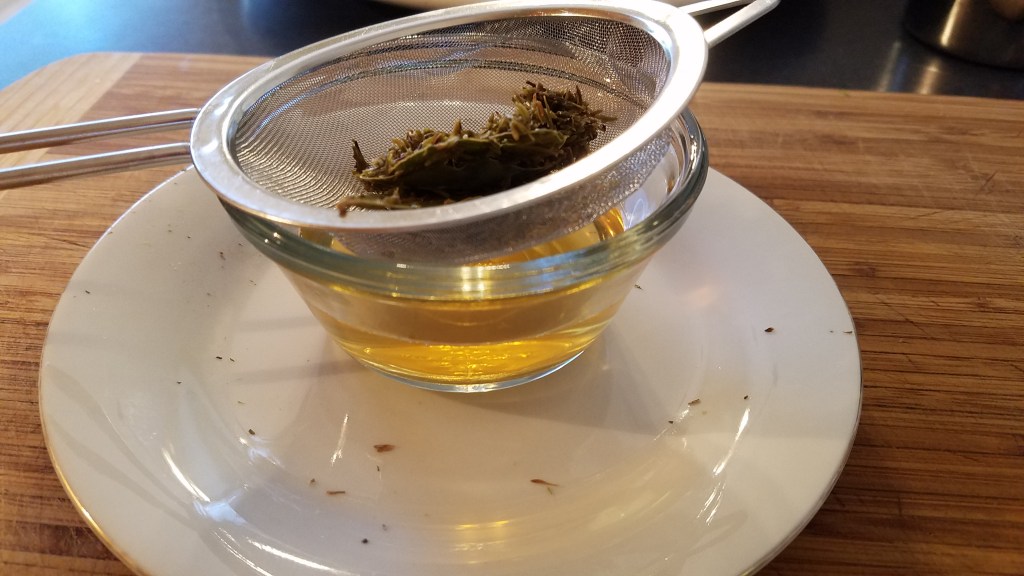
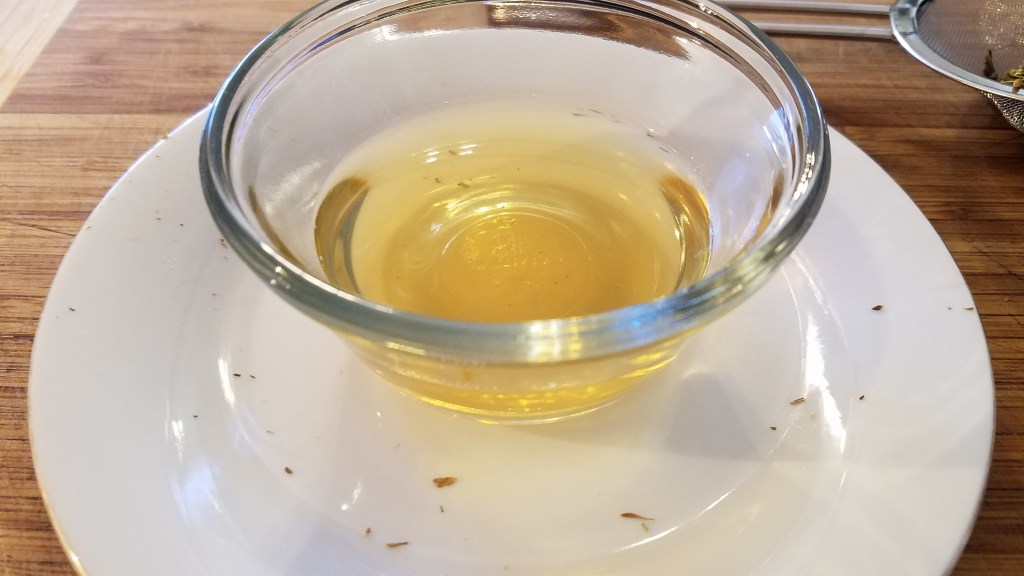
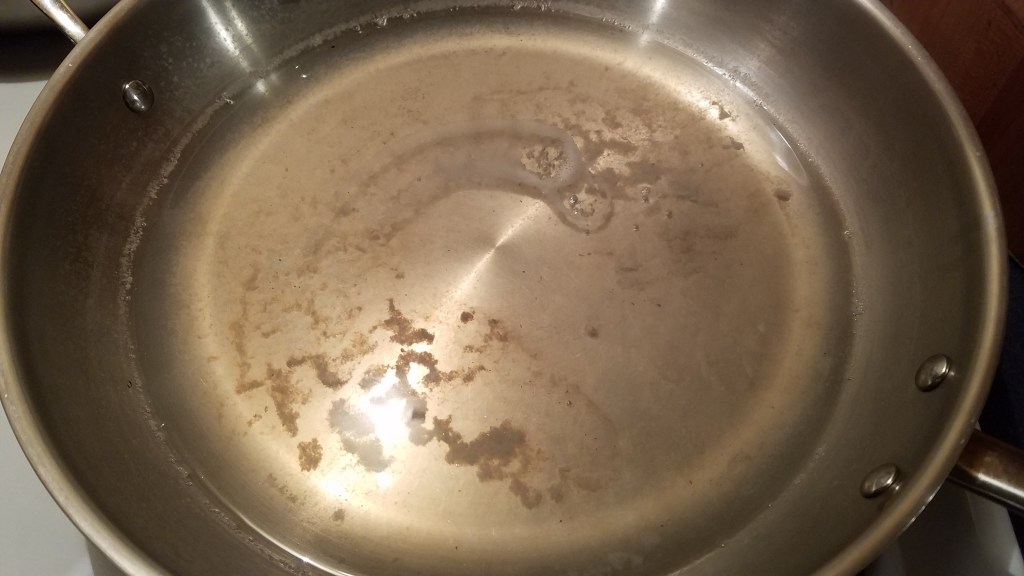
Remove the shells from the shrimp and place in a skillet or pot. Add a teaspoon of seasoning salt. Cover with water and simmer at medium heat for about 15 minutes. Strain the liquid and reserve. Discard the shrimp shells. Heat the liquid in the pan until it reduces by at least half. Reserve the reduction.
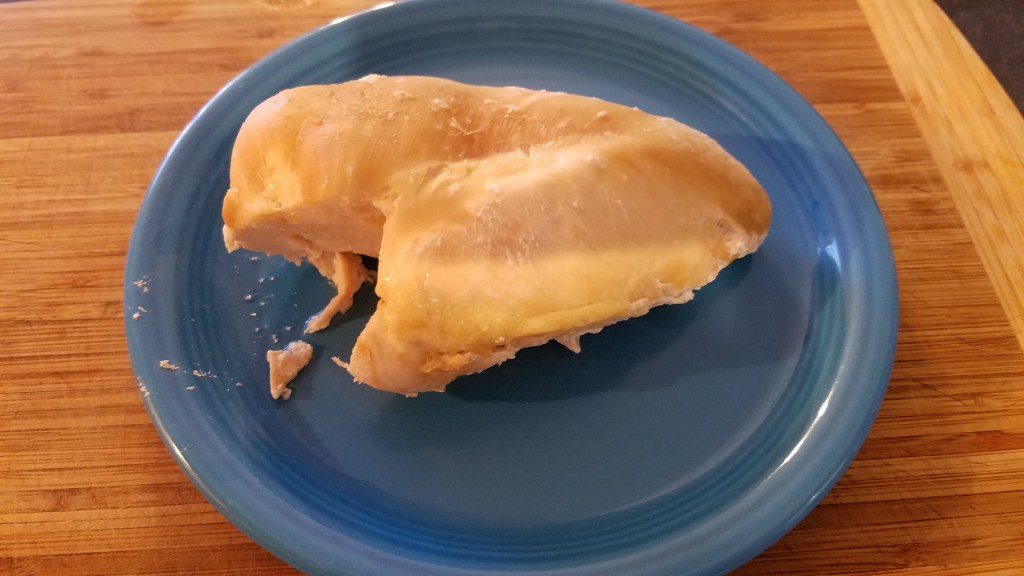
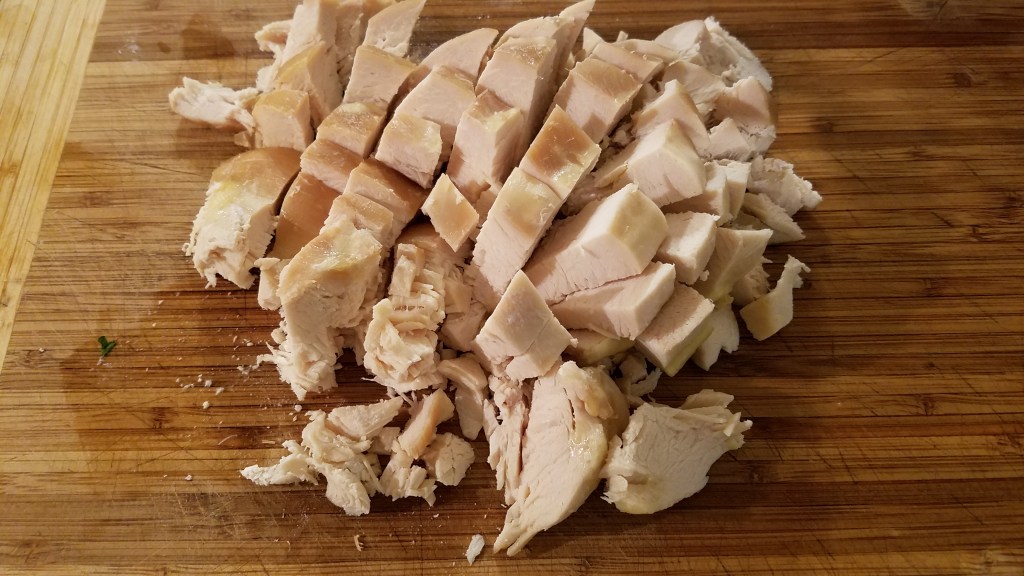
Put the chicken in a pot and cover with water. Boil at low heat until cooked (about 40 minutes). Remove the chicken to a platter and cool to room temperature.
In a small bowl, add the thyme and bay leaves. Cover with water and steam in a microwave for about a minute. Leave the herbs in the water and set aside.
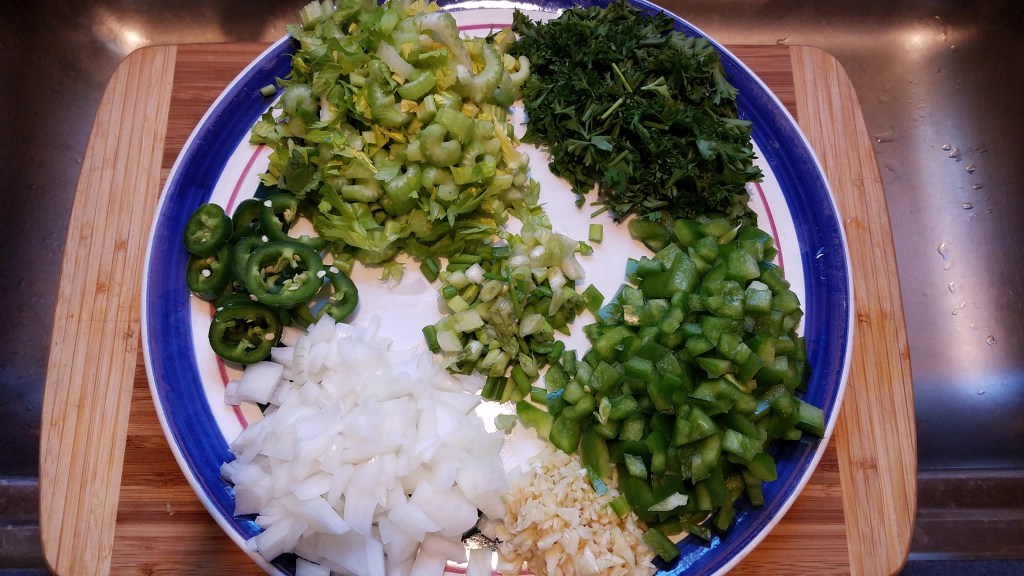
Prep the vegetables and set aside.
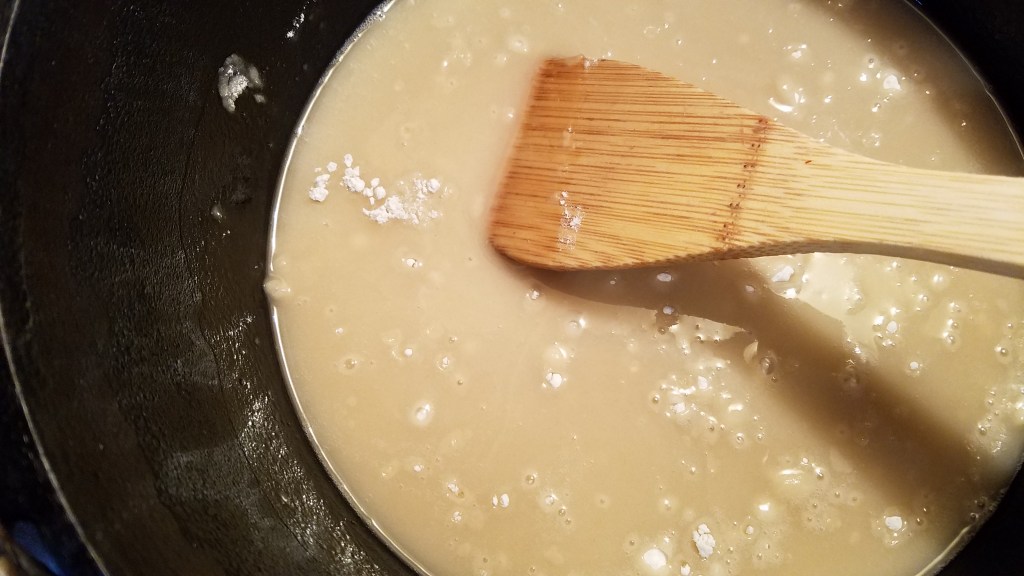
Heat a large Dutch oven over medium heat. (I used a 12” deep Dutch oven). Add 1 cup oil and 1 cup flour and stir to incorporate. Reduce heat to low/medium. Add remaining oil and stir. Add the remaining flour and stir constantly.
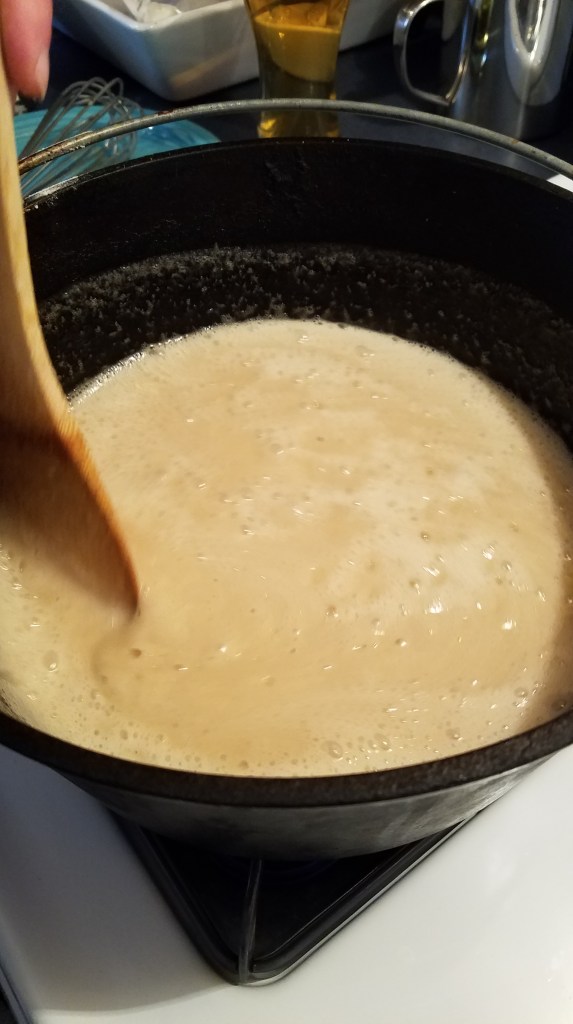
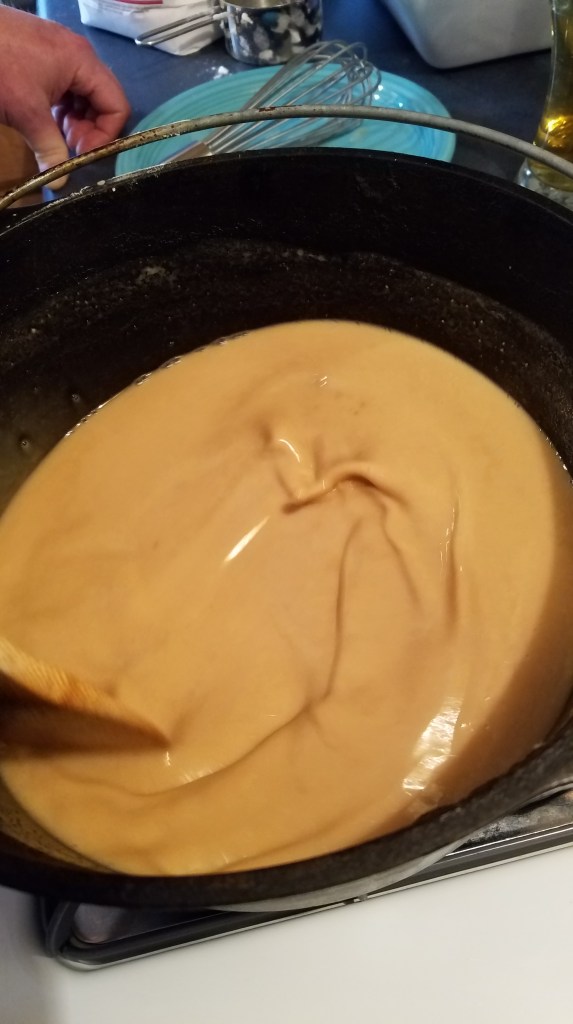
After about 15 minutes the roux will begin to change from pale yellow to blonde. Turn the heat to low and keep stirring.
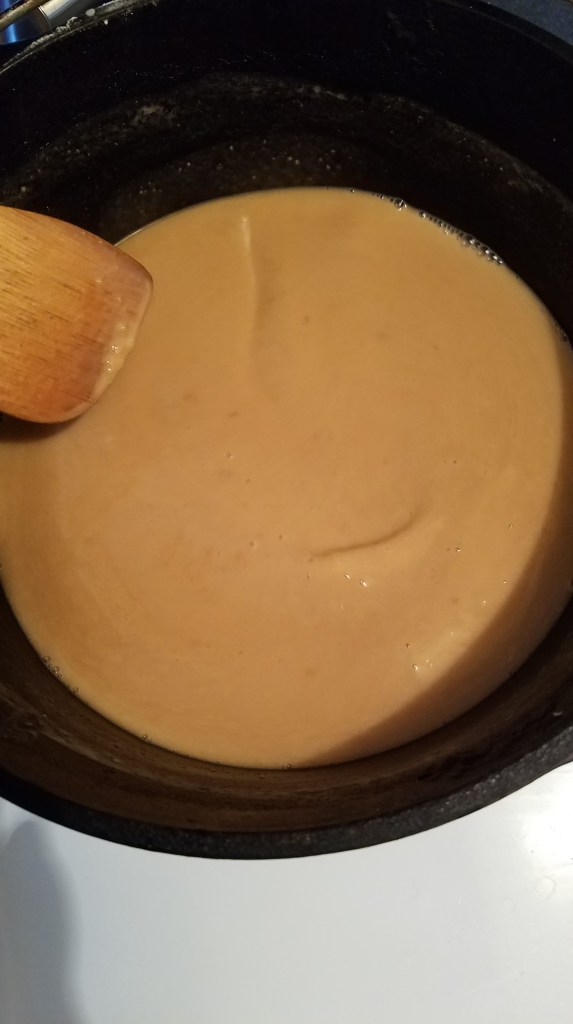
The roux will continue to darken and will become light tan and then dark tan. Once the roux has turned to tan pay extra attention to the aroma and color of the roux as you stir.
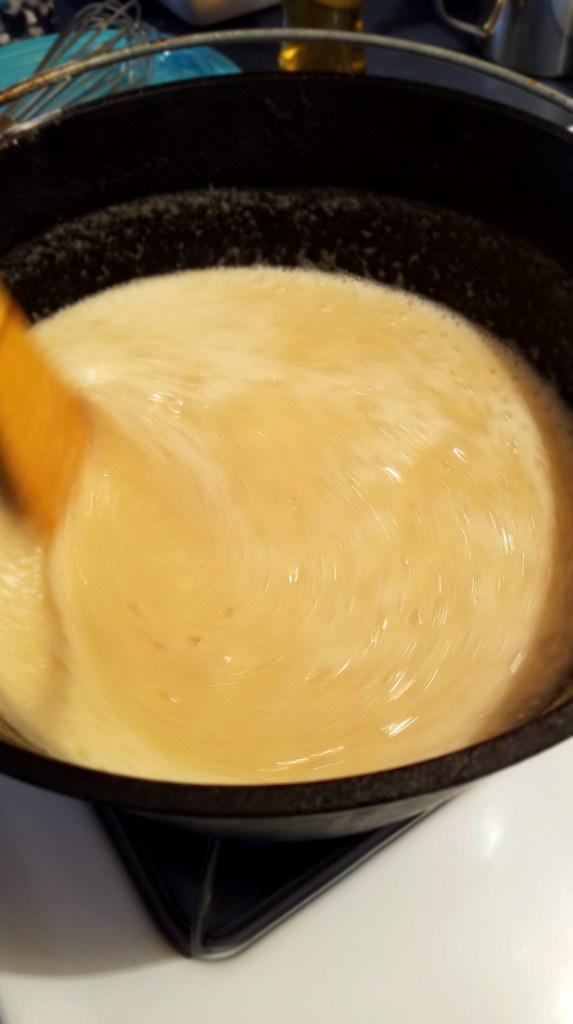
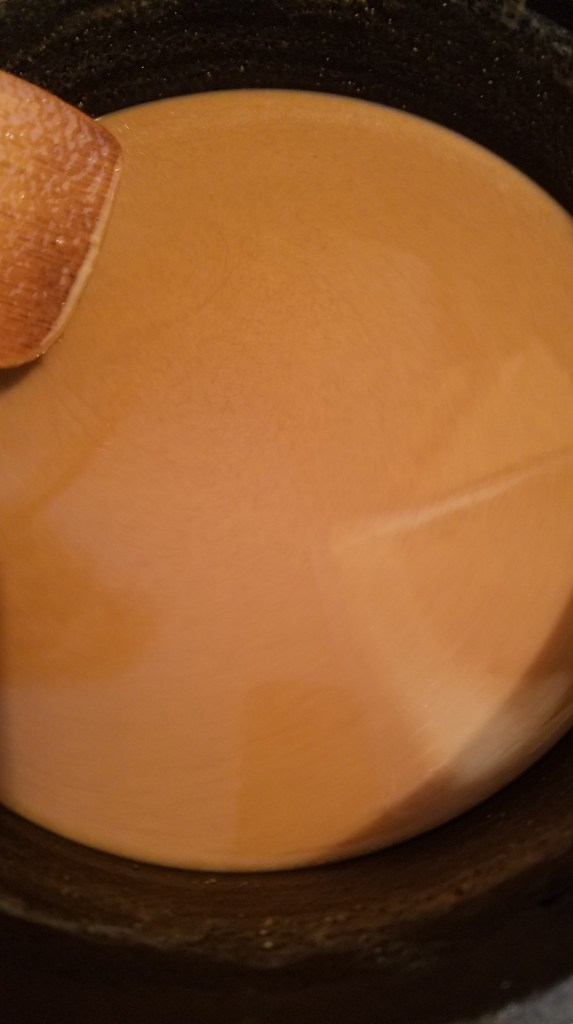
The color of the roux will begin to take on reddish/brown hue soon. This is where I usually turn off the heat but, if you are brave and careful, keep stirring until the roux becomes chocolate brown.
Maybe I should have stopped here…
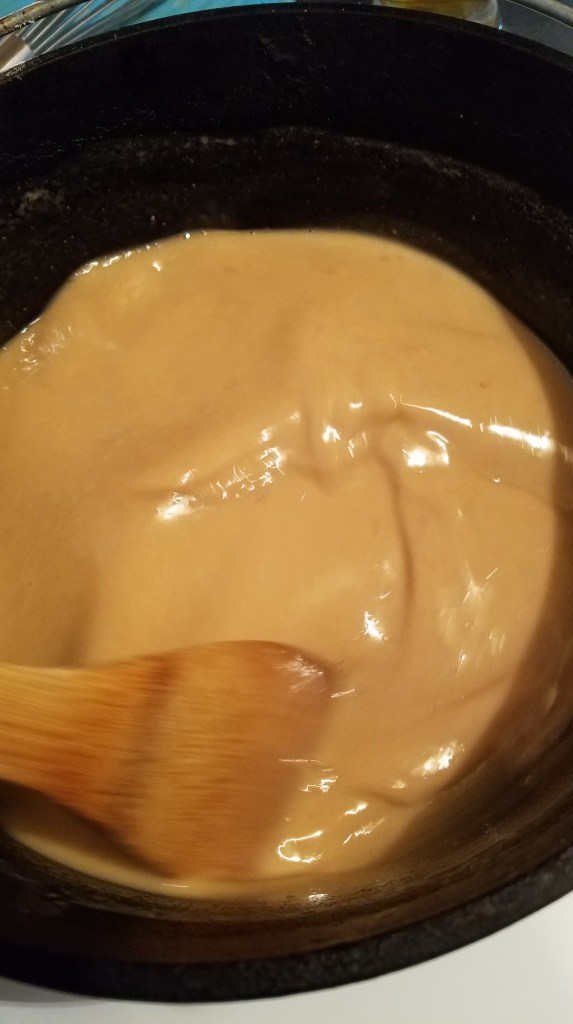
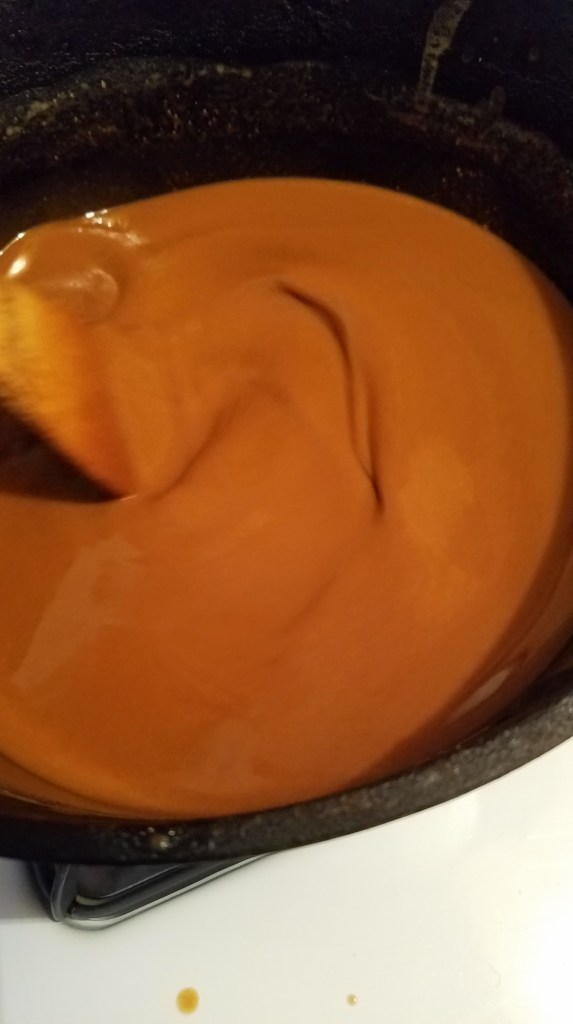
Or here…
But I went to far and burned it!
Once you are finished with the roux, turn off the heat and continue stirring for several more minutes. The roux will remain very hot for at least 30 minutes. Set the roux aside for now.
I stopped just short of mahogany on my second roux…yes, I chickened out!
And now, the easy part!
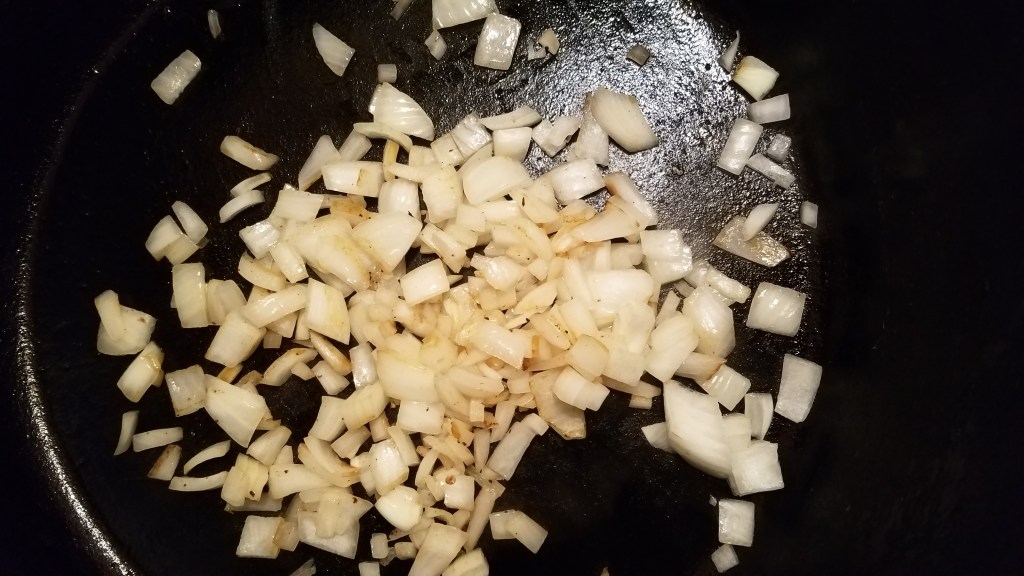
In a very, very large Dutch oven, (I used a 14” deep Dutch oven), add the chopped onion. Sauté until the onion begins to turn brown.
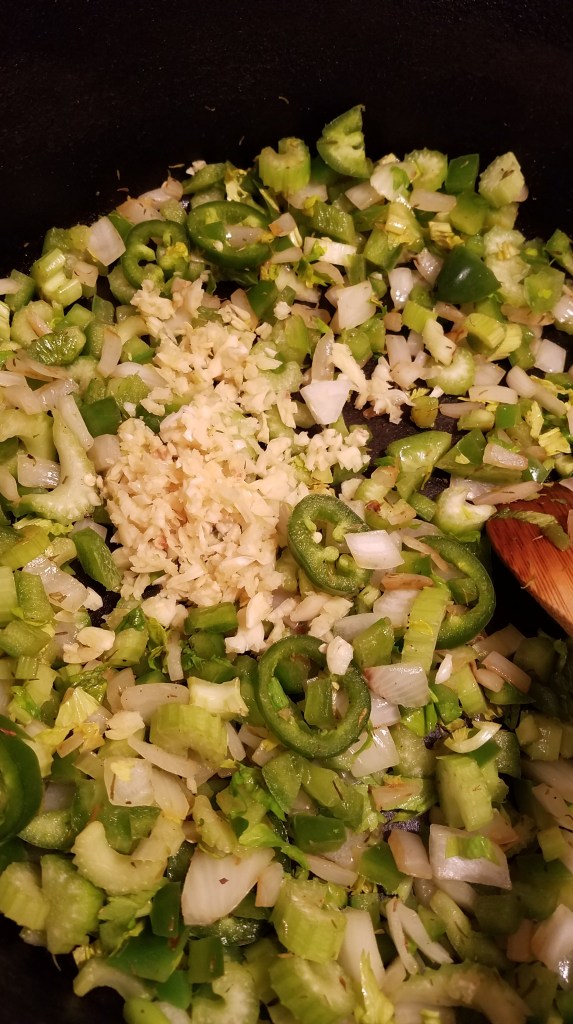
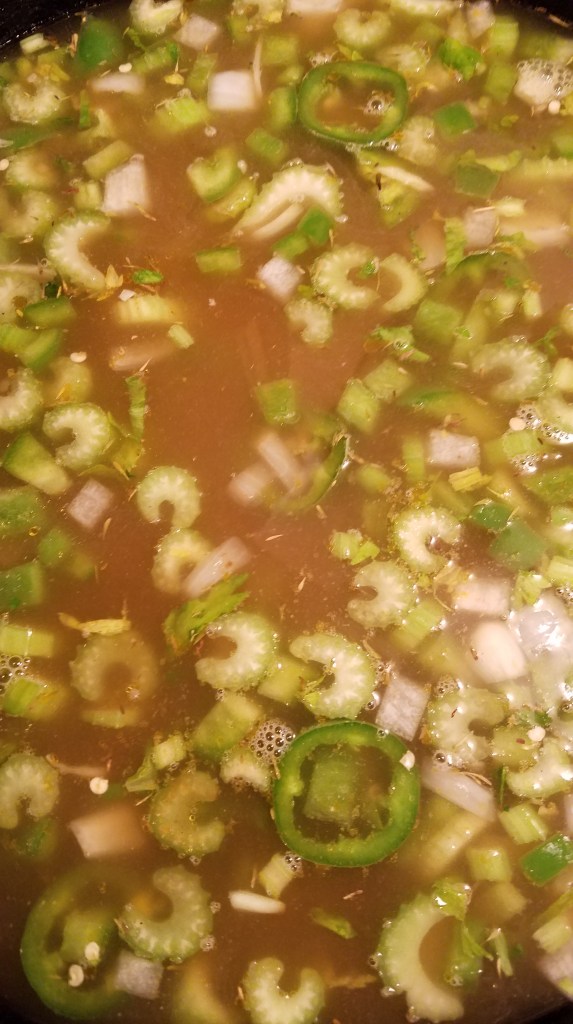
Add the bell pepper, celery and jalapeño. Stir for a minute and add the garlic. Stir for a few minutes and then remove everything to a bowl.
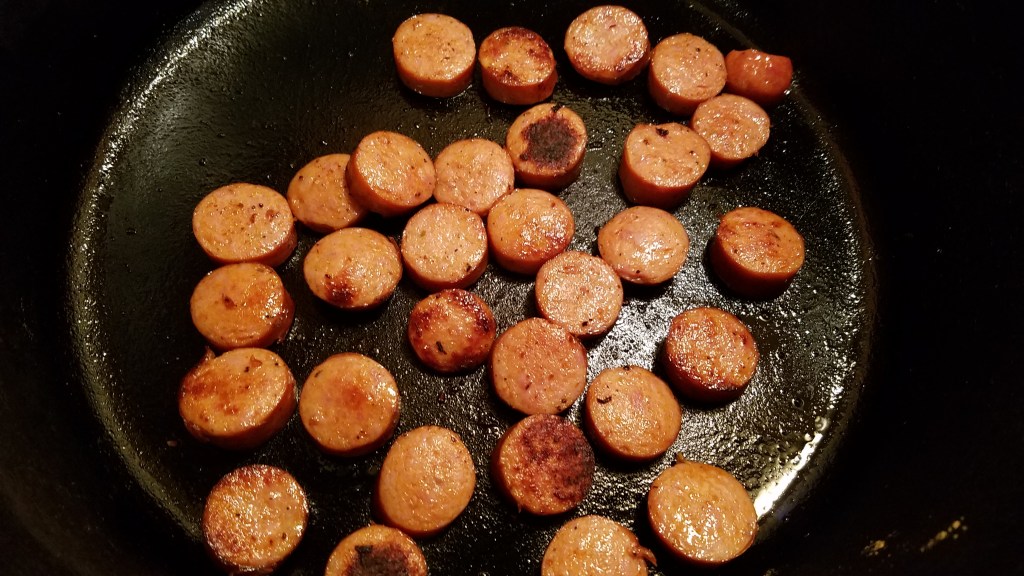
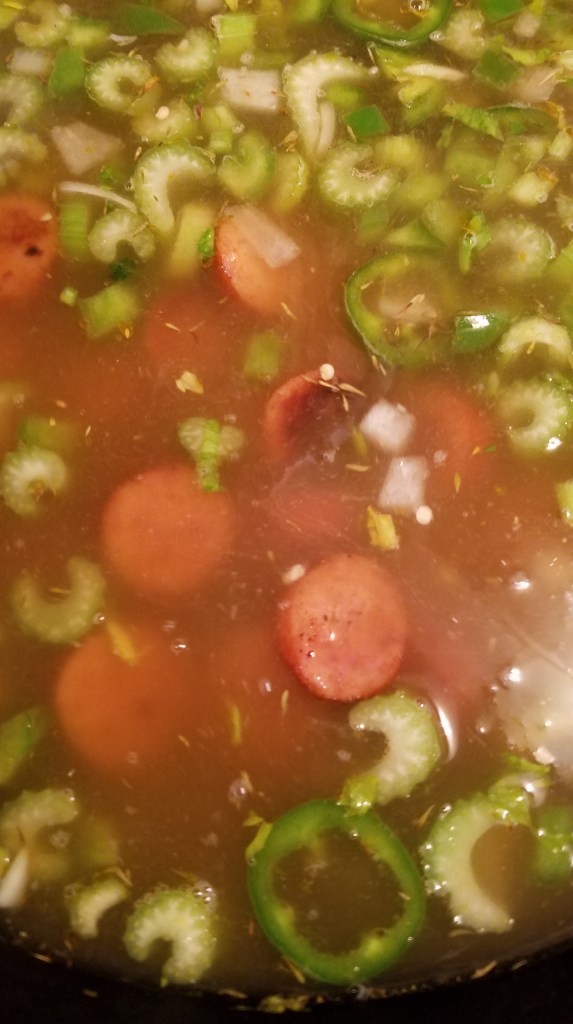
Add the sliced Andouille to the pot. Stir over medium/high heat to brown the Andouille. Remove the Andouille and set aside.
Add the chicken stock and vegetable stock to the pot and cook over high heat for 2 minutes. Return the onions and Andouille to the pot. Add the water from the steamed thyme and bay leaves. Discard the bay leaves and add the thyme to the pot. Turn the heat down to medium.
Add the vegetables
Add the Andouille
Strain the thyme and bay leaves
Liquid from thyme and bay leaves
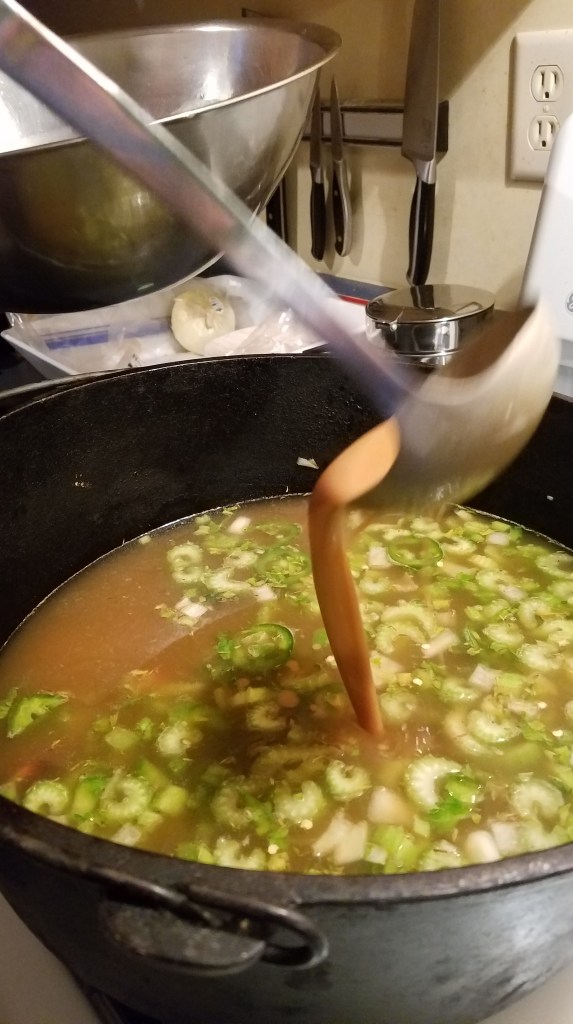
Add about half of the roux to the pot and stir, to mix.
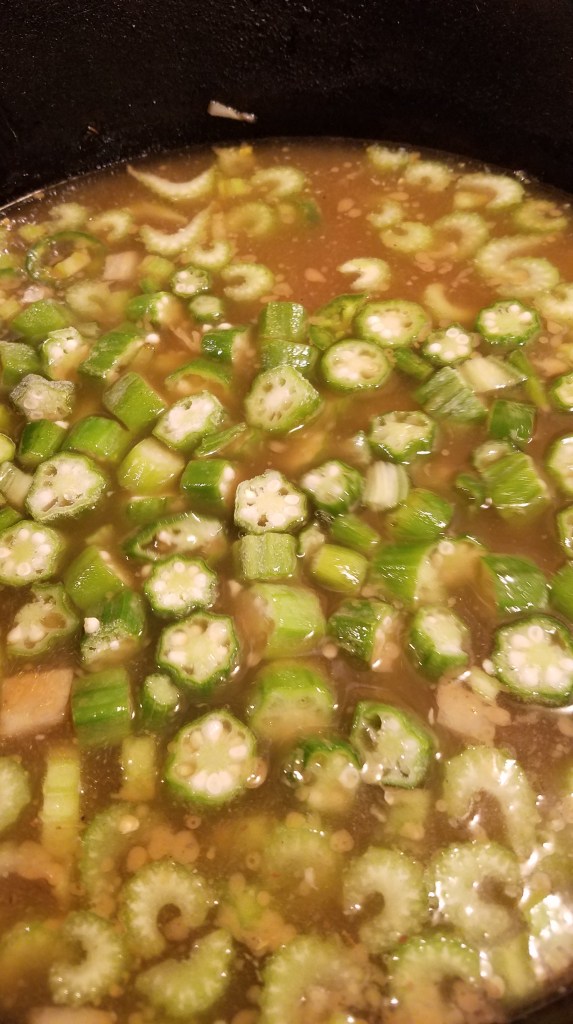
Add the okra and stir.
Add the rest of the roux and stir. The roux will thicken quickly. If it is too thick, as mine was, add some water. I added 3 cups of water. Continue stirring.
Add the crawfish meat. Stir briefly and turn the heat to low/medium.
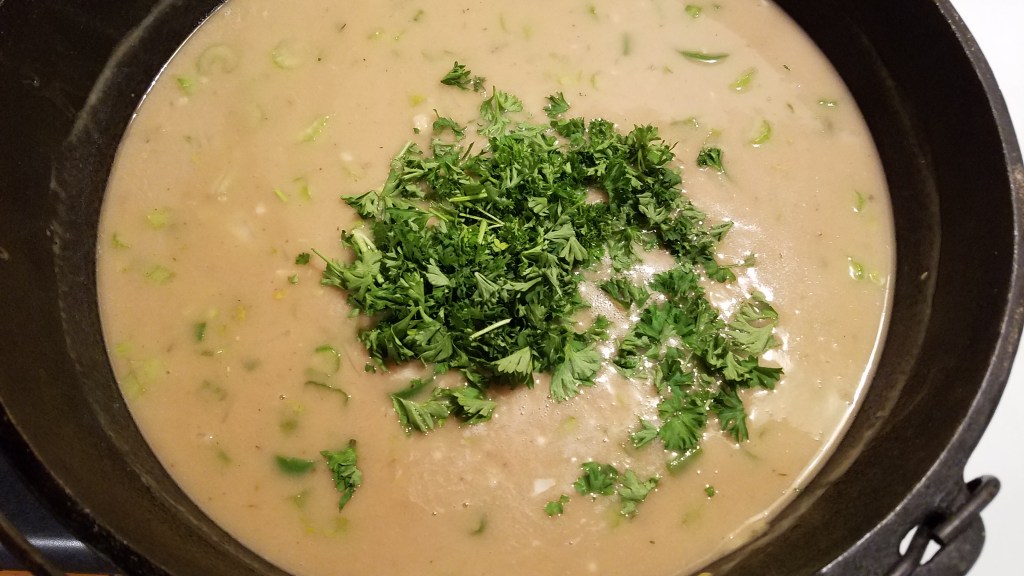
Add the parsley and stir.
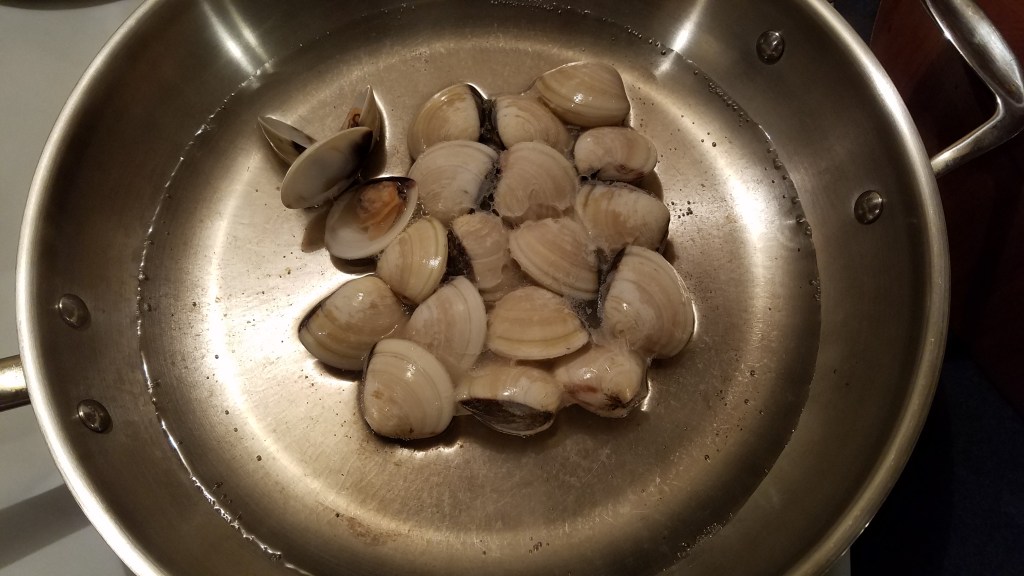
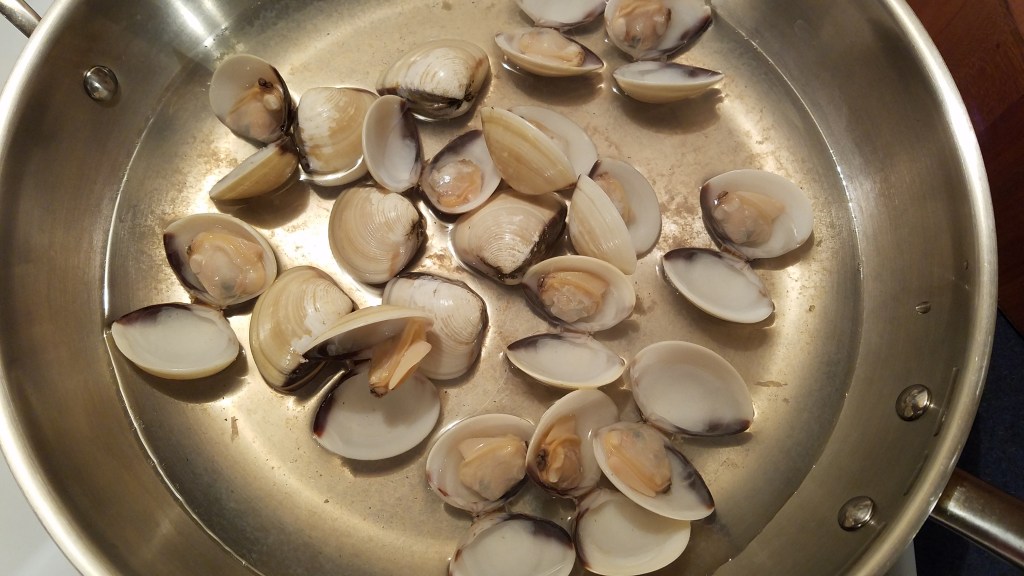
In a large skillet, add two cups of water. Set the heat to high and cover. When the water reaches a hard boil, add the white clams, turn off the heat and cover. The clams will snap open quickly. Steam the clams for about a minute and remove to a bowl. If some of the clams have not opened, bring the water back to boil and add the unopened clams. If they pop open, hooray! If they don’t open, they are doomed and will need to join the burned roux, in the trash can. (All of my clams opened – Yippee!)
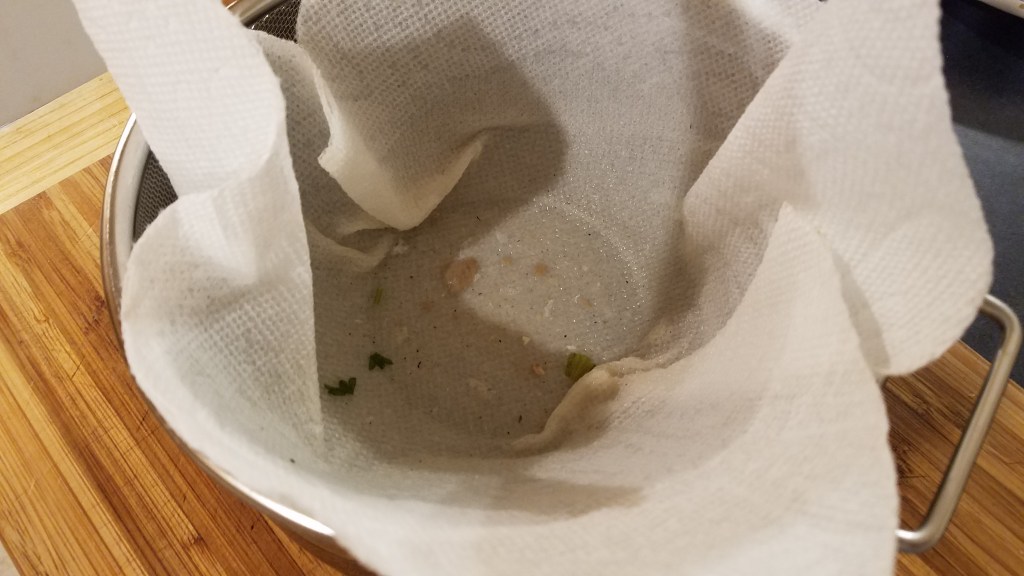
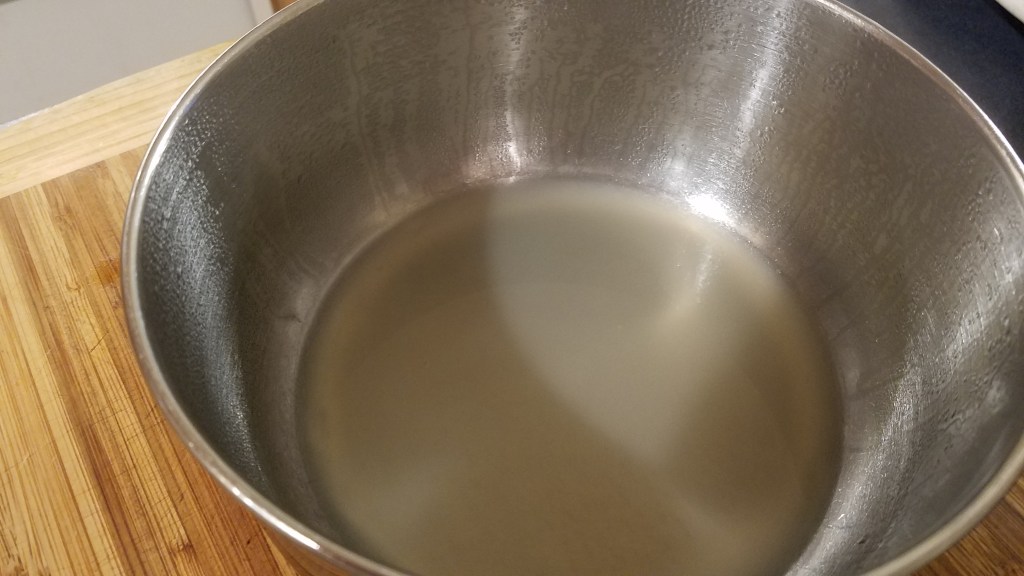
Reduce the steaming liquid from the clams to about one third. You should wind up with a milky white reduction. Strain the liquid through a paper towel and sieve to remove any sandy grit. Add the reduction to the gumbo pot.
Pull the clams from the shells and add the clams to the gumbo. Discard the shells.
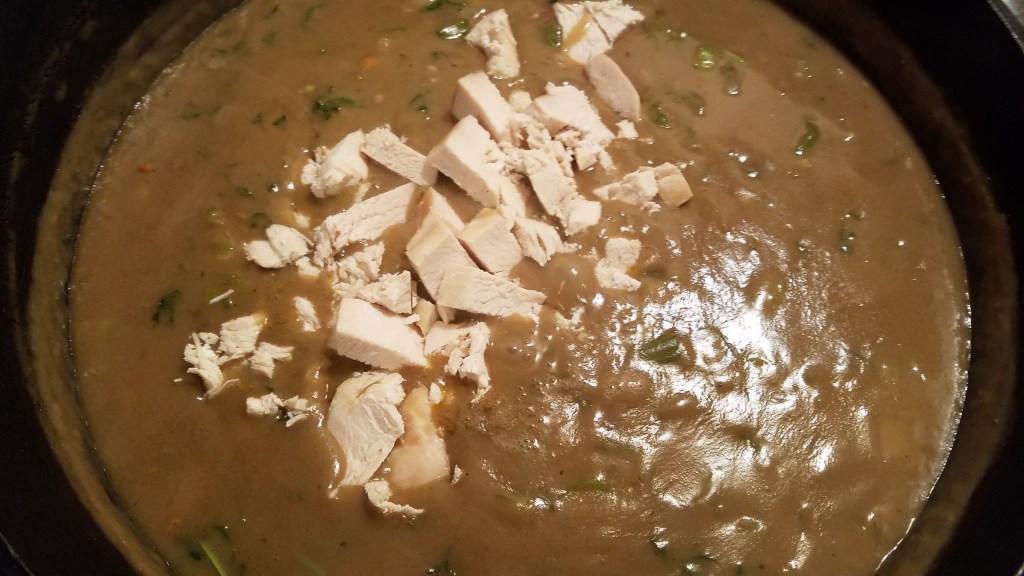
Add the chicken to the gumbo and stir.
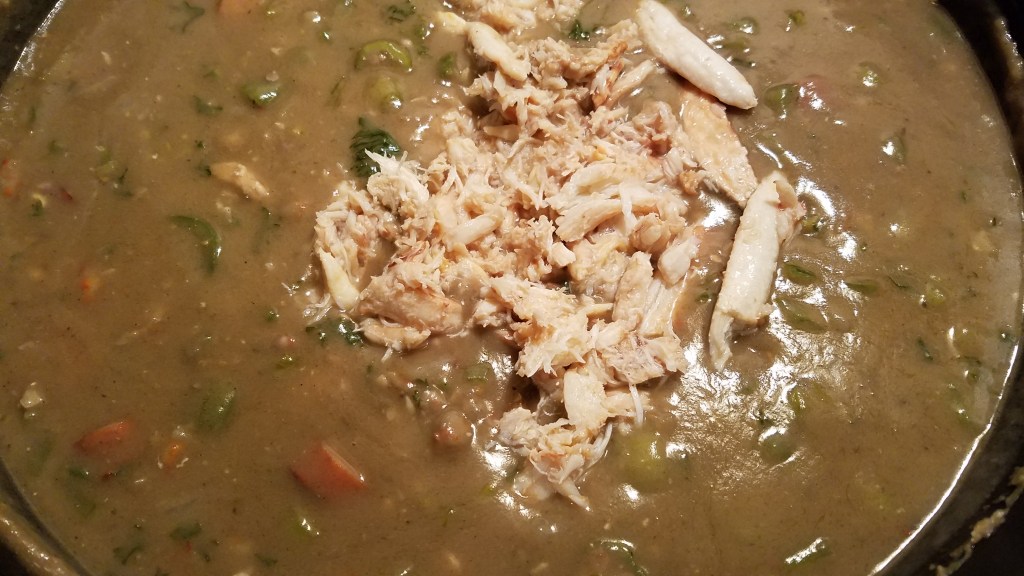
Add the crab and stir.
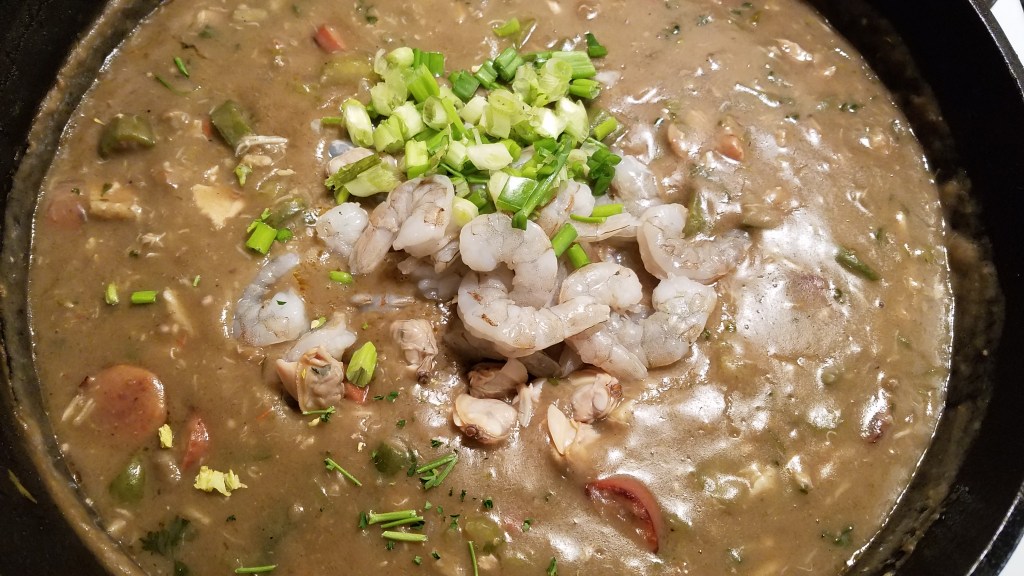
Add the shrimp and green onions to the gumbo and stir. The shrimp will cook within a couple of minutes.
Give the gumbo a good final stir.
Serve in bowls, over warm white rice.
So, other than a few 2nd degree burns and a failed roux, everything went according to plan!
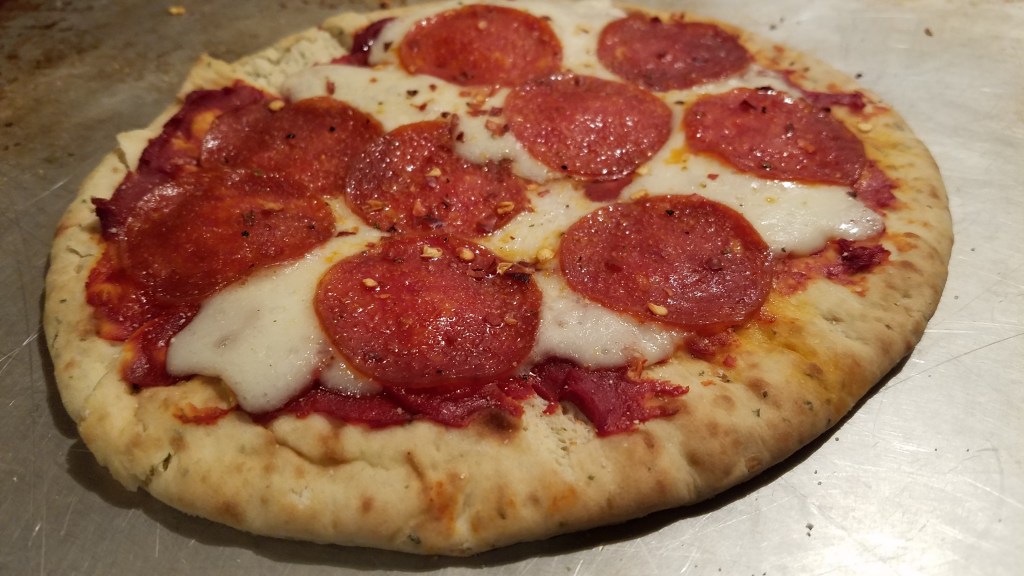
I never order ham and pineapple pizza, when I go out for pizza, or when I order pizza for delivery. It seems like such a silly thing. I prefer a more classic pizza, I suppose. But, when life gives you ham and pineapple, it’s time to make Hawaiian pizza.
I came down with a cold the other day and I promptly crawled into bed. That’s my preferred remedy for nearly all illnesses. I dreamed about making a pizza. When I awoke, some hours later, I made that pizza. I recently picked up some garlic naan at my local Indian market and I knew it would be perfect for the occasion. Naan is an Asian flatbread, similar to pita, in case you are not familiar with it.
Naan is typically oval shaped, about 6” x 8”, which makes a perfect individual serving.
Prep time: 5 minutes. Bake time: 10 minutes.
Ingredients:
1 naan flatbread
2 oz tomato paste
1 oz mozzarella cheese, sliced
8 to 10 pepperoni slices
A dash of garlic salt
A dash of red pepper flakes
Directions:
Smear the tomato paste on the naan. Add the sliced cheese and pepperoni.
Bake in a 375° oven for 10 minutes, or until the cheese melts and begins to brown.
Remove from the oven and scatter a little garlic salt and red chili flakes on top.
I used some leftover Chihuahua cheese, instead of Mozzarella.
I intended to use ground chicken for the spring rolls but all I could find at the store was ground turkey so, here we go. I suppose this could be an opening act for a Thanksgiving dinner or maybe an appetizer served during a football game. It’s also a good way to use leftover turkey after Thanksgiving.
Make sure to use spring roll wrappers, not egg roll wrappers. Spring roll wrappers are more dense and they are thinner than egg roll wrappers.
Ingredients:
1 Tbs soy sauce
1 green onion, chopped
1 garlic clove, smashed
1 tsp rice wine vinegar
1/4 tsp ground black pepper
1 tsp cornstarch
1 lb ground turkey
2 Tbs cooking oil divided
2 cloves garlic, finely minced
1 tsp fresh ginger, grated
1-2 stalks green onion, chopped
1/2 head of cabbage, about 8 ounces, shredded
2 carrots julienne cut
2 Tbs oyster sauce
50 frozen spring roll wrappers, defrosted
2 cups cooking oil
Cornstarch Slurry:
1 Tbs cornstarch
1/4 cup water
Dipping sauce:
1/2 tsp sesame oil
3 Tbs soy sauce
1 tsp Hoisin sauce
1 tsp Garlic Chili Paste
Instructions:
Prepare the Filling:
In a large bowl, combine the soy sauce, green onion, garlic, vinegar, pepper and cornstarch. Add the ground turkey and mix well. Marinate for at least 10 minutes.
Chop, mince and grate the various stir-fry vegetables.
Heat a wok over high heat. When hot, add 1 tablespoon of cooking oil. Add the turkey and stir-fry until browned. Remove the browned turkey and set aside in a bowl.
Turn the heat down to medium. Add a tablespoon of cooking oil. Add the green onion, garlic and ginger and stir-fry for 30 seconds. Add the carrots and cabbage. Stir well and turn the heat up to medium-high. Stir fry the vegetables for 2 minutes, or until the carrots have softened.
Return the cooked turkey back to the wok and stir. Add the oyster sauce and toss to coat. Turn the mixture out to a strainer and let liquids drain. Wet ingredients don’t make good spring rolls!
Wrapping Spring Rolls:
Make a cornstarch slurry with cornstarch and water. Open the spring roll wrapper package, peel the
wrappers apart from each other and cover them with a moistened paper
towel.
Lay a wrapper on a clean surface. Position the wrapper with a corner facing toward you . Add about 1 tablespoon of filling to the bottom point of the wrapper. Fold the left and right sides in toward the middle (the wrapper should look like an envelope). Starting from the bottom of the wrapper, roll upward and apply pressure with your fingers to prevent air pockets. Dip a finger in the cornstarch slurry and paint the top corner of the wrapper. Finish wrapping and secure the wrap by gently pressing along the seam. Stage finished spring rolls on parchment paper, or wax paper and keep them covered with a damp paper towel.
Frying Spring Rolls
Add about 2 cups of oil to a wok and turn the heat to
high. The depth of the oil should be
about 2 inches. Once the oil is hot,
carefully slide spring rolls into the oil, one at a time. I fried about 8 spring rolls at a time, to
avoid overcrowding.
Turn the egg rolls over while the fry. When they are golden brown and crispy, remove
to a paper towel lined plate and keep warm.
Mix the dipping sauce ingredients together in a small bowl.
Arrange the spring rolls on a serving platter and place the dipping sauce in the middle of the platter.