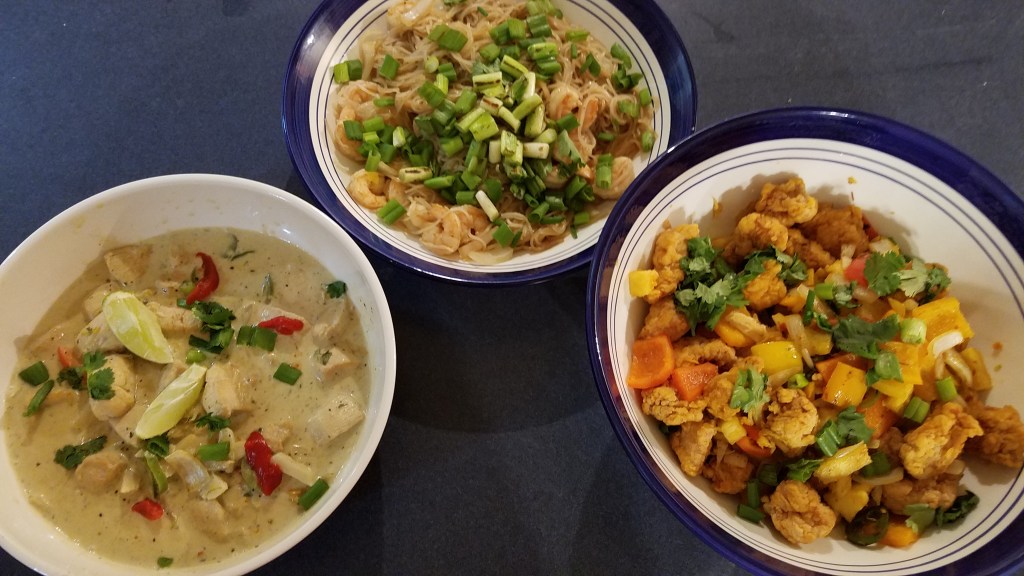
- Thai Green Curry Chicken
- Shrimp with Rice Noodles
- Chicken with Peppers and Pineapple
Stay tuned for recipes…
Merry Christmas!
Stay tuned for recipes…
Merry Christmas!
My favorite sort of days evolve and flow in natural, unpredictable ways. I don’t always plan meals ahead of time, and even when I do, my instincts guide me when it actually comes time to cook.
1. Segmented Grapefruit
I saw some nice looking grapefruit at the store recently. Even though they weren’t bonafide Texas Ruby Red grapefruit, they were large and ripe and I thought they would make a nice addition to the next day’s breakfast.
I like grapefruit but I don’t like the white, bitter pith and I don’t like the membranes between the segments. I wasn’t a big fan of grapefruit until I discovered that I could cut away the parts that I didn’t like! I started by cutting the top and bottom off, just to the point where I could see the fruit beneath. Then I used a sharp kitchen knife to spiral cut the rind, deeply enough to get beneath the pith. Then I cut the segments, sliding the knife along the sides of the membrane, leaving nothing but pristine segments. This takes some practice but it’s definitely worth the effort.
2. Citrus Aromatic
I decided to use the grapefruit rinds to make a citrus aromatic on the stovetop. It’s an easy thing to do and it makes the entire house smell fantastic. I heated a pot of water and added some star anise, a cinnamon stick and a crushed nutmeg seed. Just as I was about to toss the grapefruit rinds into the pot I had an idea. I could use the rinds to make candied ginger and still use the top and bottom pieces of the grapefruit for the aromatic pot.
3. Candied Grapefruit Peels
Once the aromatic pot was simmering, I sliced the grapefruit rinds into thin strips. I boiled the rinds three times in water, to remove some of the bitterness and then I made a simple syrup, using 1 cup of water and 1 cup of sugar. I brought the syrup to a boil while whisking.
I added the cut grapefruit rinds to the syrup and simmered them at low heat for about 20 minutes. Once the rinds turned translucent, I moved them to a wire rack to dry for about 4 hours. On a dry day, they might have dried in an hour but the humidity was high and they took most of the day to dry. After a few hours I dredged the pieces in sugar and then I returned them to the rack. An hour later, I tossed them in sugar again and let them finish drying on the wire rack.
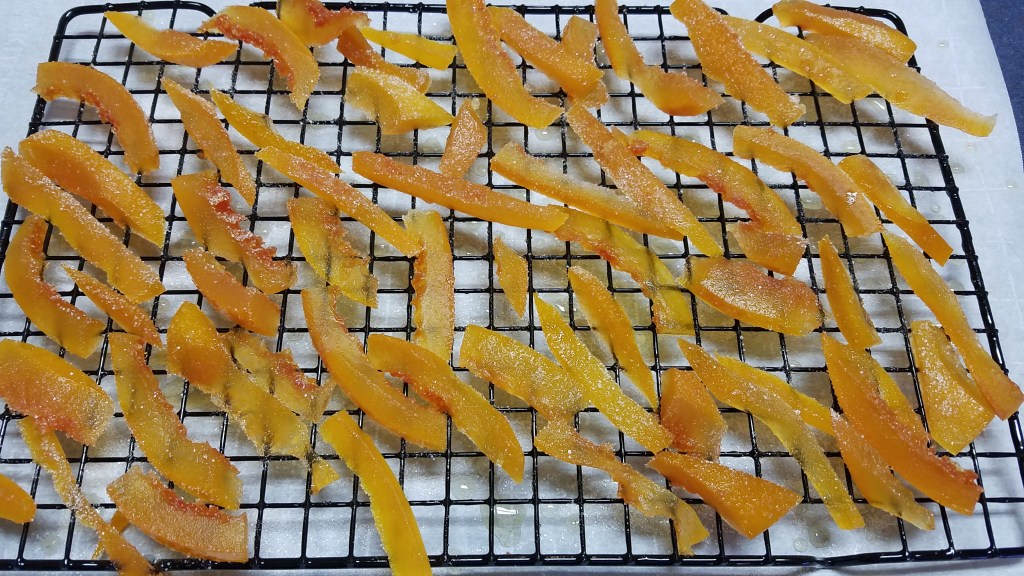
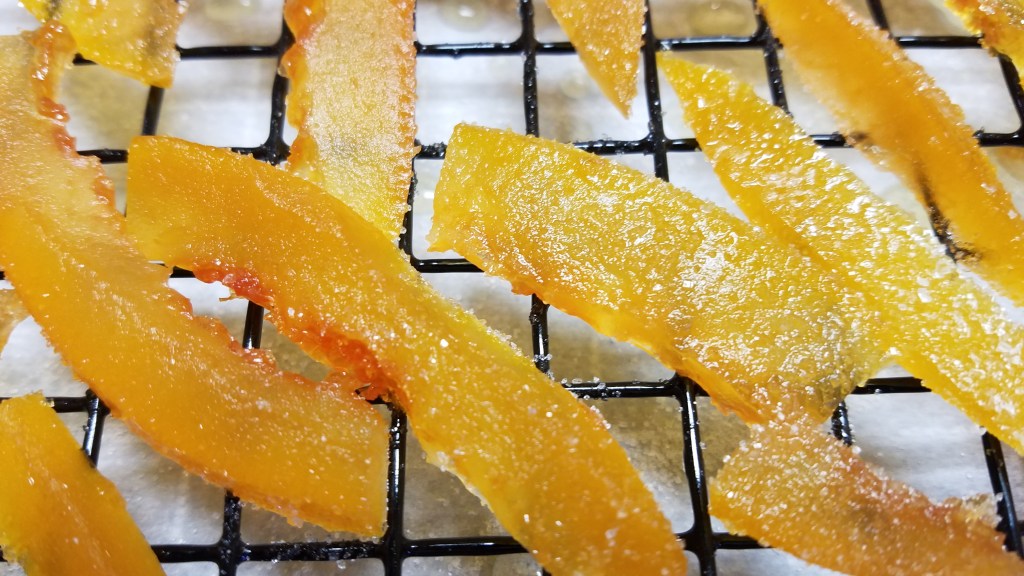
I was left with 1 cup of grapefruit flavored simple syrup. Being the frugal sort of cook that I am, I devised a plan to use the syrup.
4. Sweet and Sour Chicken
Ingredients:
1 cup flour
3/4 cup cornstarch
2 lbs chicken thighs, skinned and deboned
1 cup cooking oil
For the sauce:
1 cup simple syrup (from the candied grapefruit)
1 cup ketchup
1 ½ Tbs soy sauce
1 tsp Hoisin sauce
1 tsp rice vinegar
For the stir-fry:
1 Tbs cooking oil
½ tsp sesame oil
2 garlic cloves, smashed
1 Tbs fresh ginger, minced
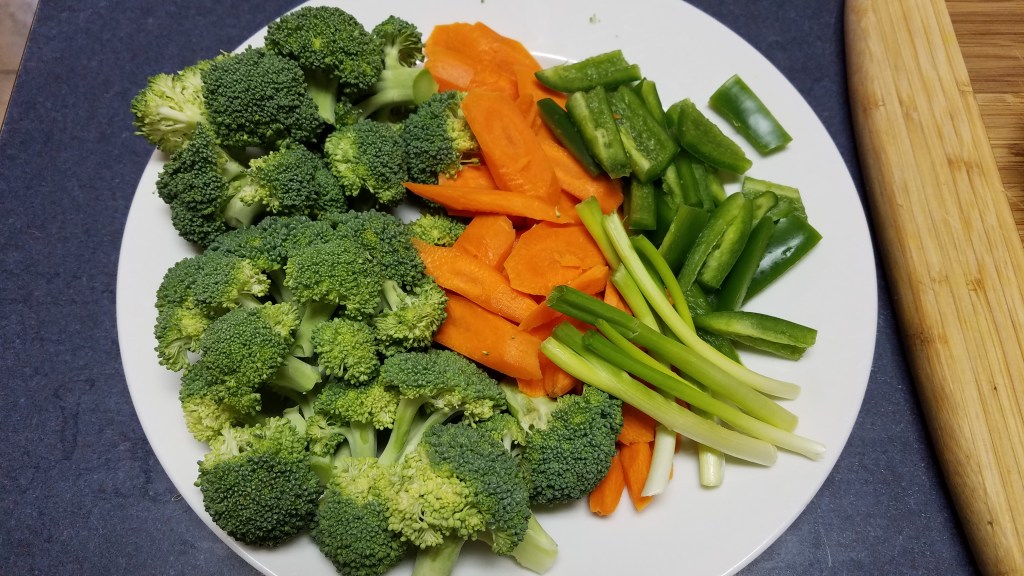
½ lb broccoli florets
3 green onions, chopped
2 large carrots, sliced diagonally
2 large, mild jalapeños, seeded and chopped
1/4 cup cilantro
Directions:

In a large bowl, combine the cornstarch and flour. Whisk to combine. Remove half of the flour mixture and set aside.
Remove the skin from the chicken thighs and debone. Cut the chicken into bite sized pieces. Add the chicken to the bowl containing half of the cornstarch and flour. Toss to coat the chicken. Leave the chicken in the flour dredge for 10 minutes.
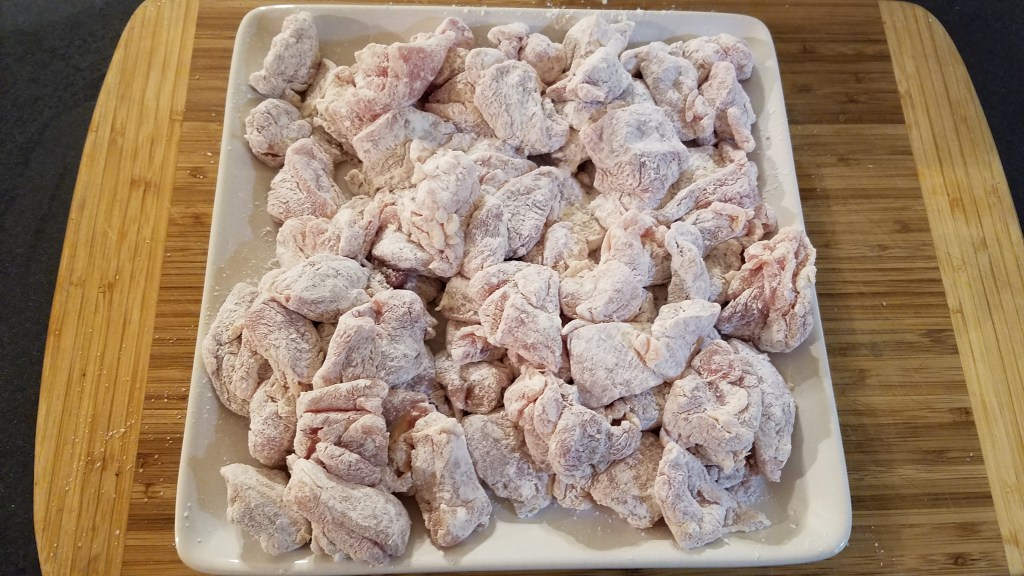
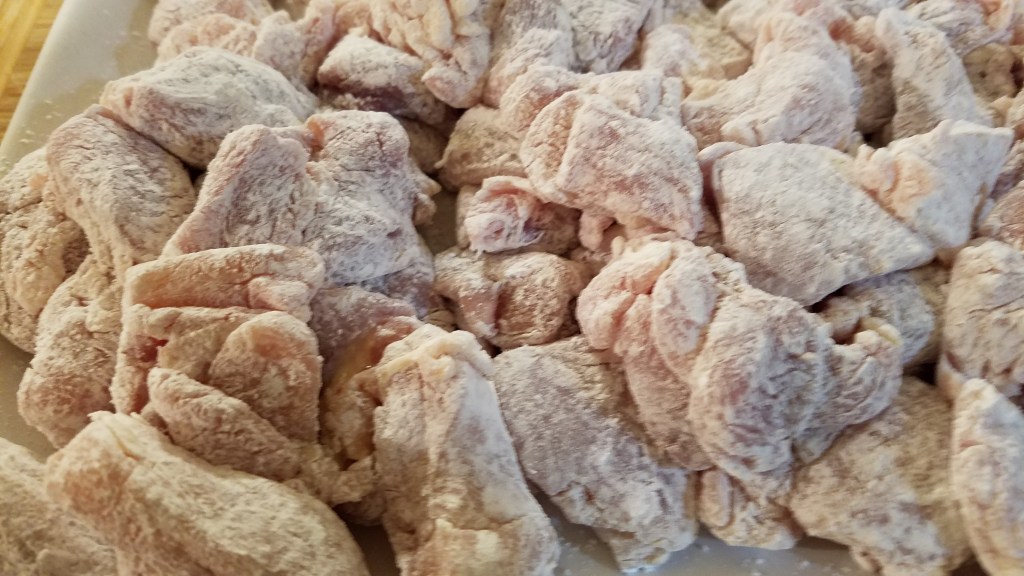
Prepare a wok by adding 1 cup of cooking oil and set the heat to high.
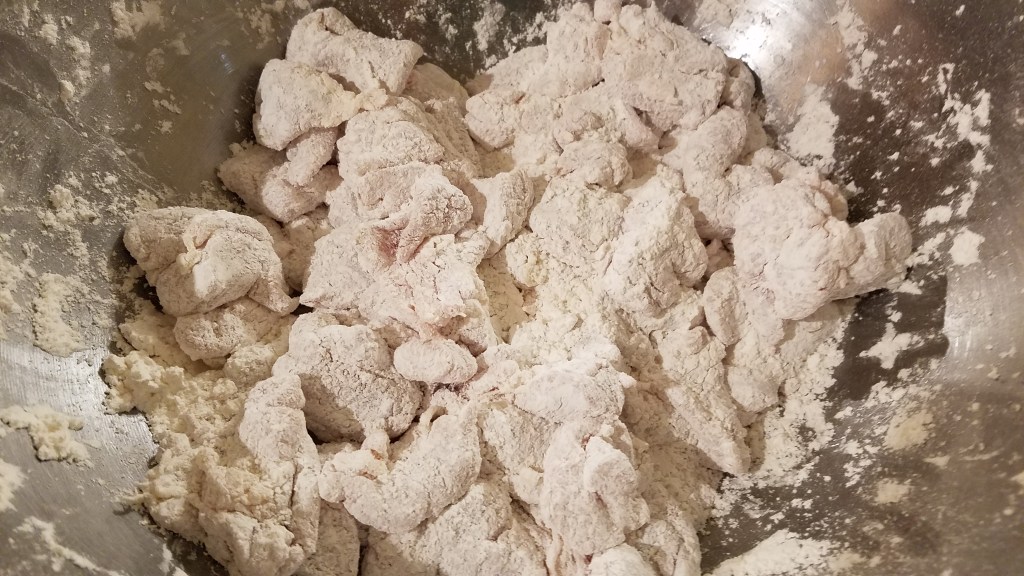
Add remaining flour to the chicken and toss to coat.
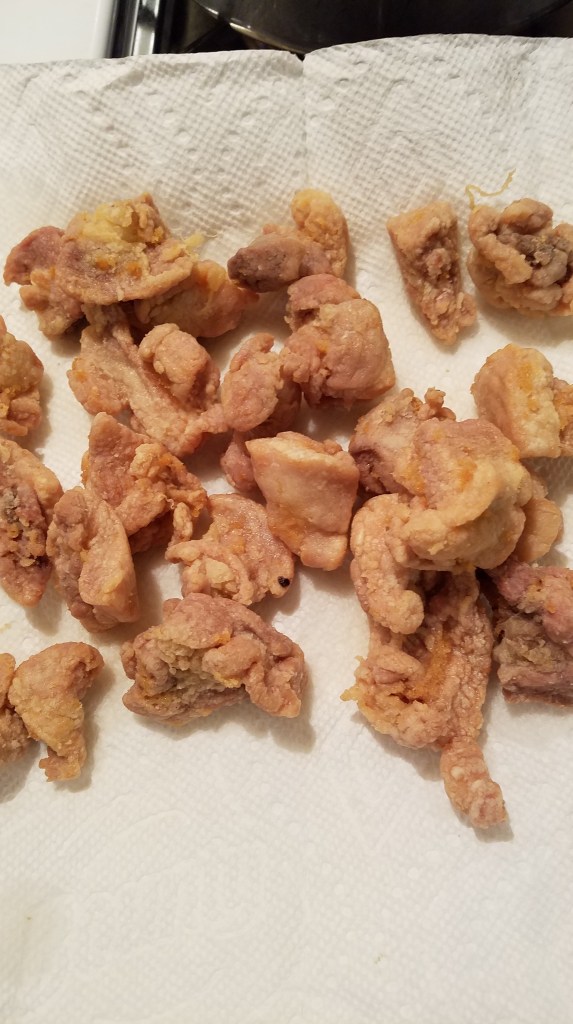
Add the chicken to the hot oil, a little at a time. Fry the chicken until crispy, golden brown.

Remove to a paper towel lined plate and keep warm.

Remove the oil from the wok and wipe the wok clean with a paper towel.
Combine the ingredients for the sauce in a small bowl. Set aside.
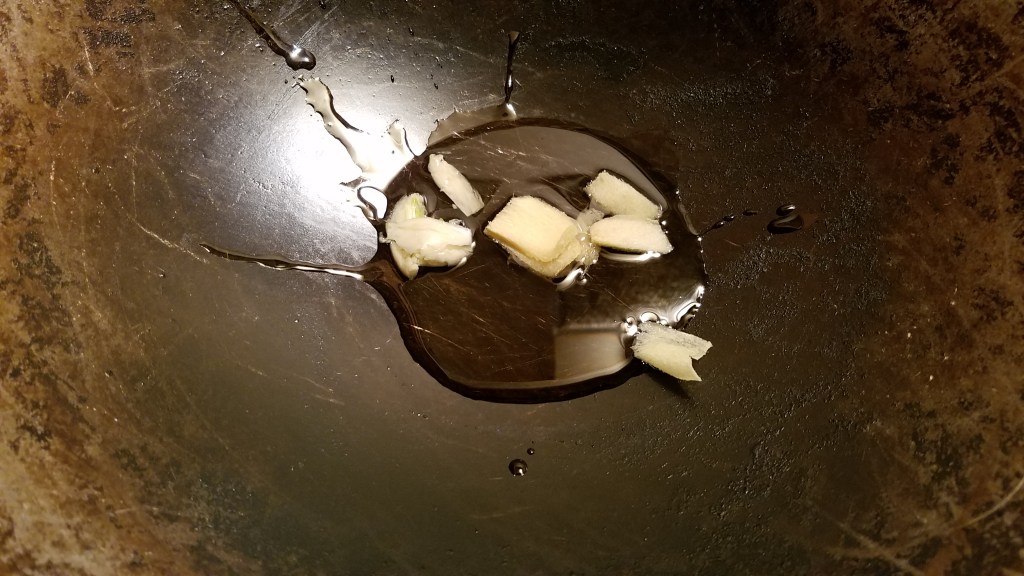
Add 1 Tbs cooking oil and ½ tsp sesame oil to a hot wok. Add the garlic and ginger and simmer for a few seconds.
Add the vegetables and stir-fry until the vegetables are tender. Remove the vegetables to a bowl and keep warm.

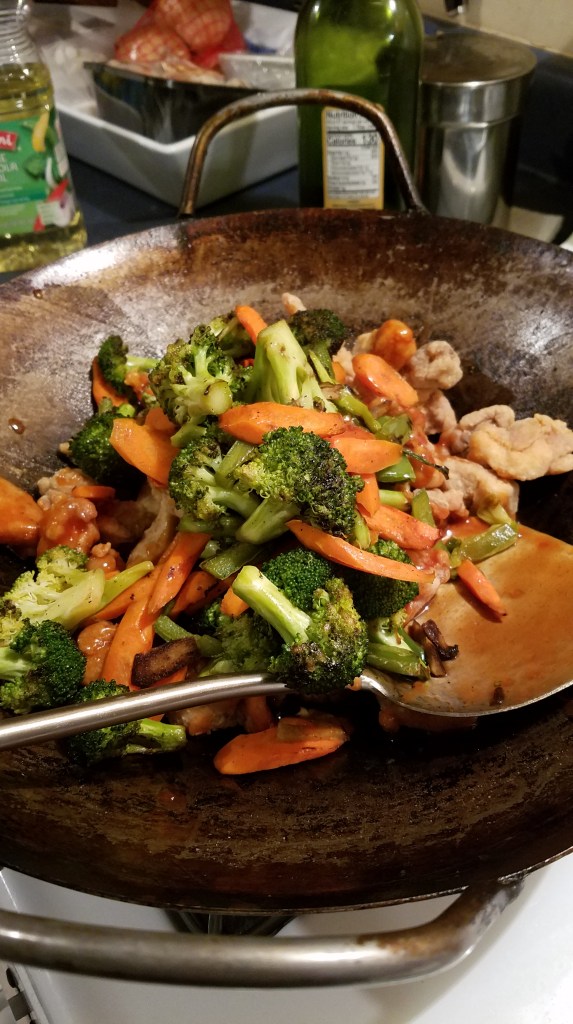
Add the sauce to the wok at medium heat. Once the sauce begins to bubble, add the chicken and stir to coat.


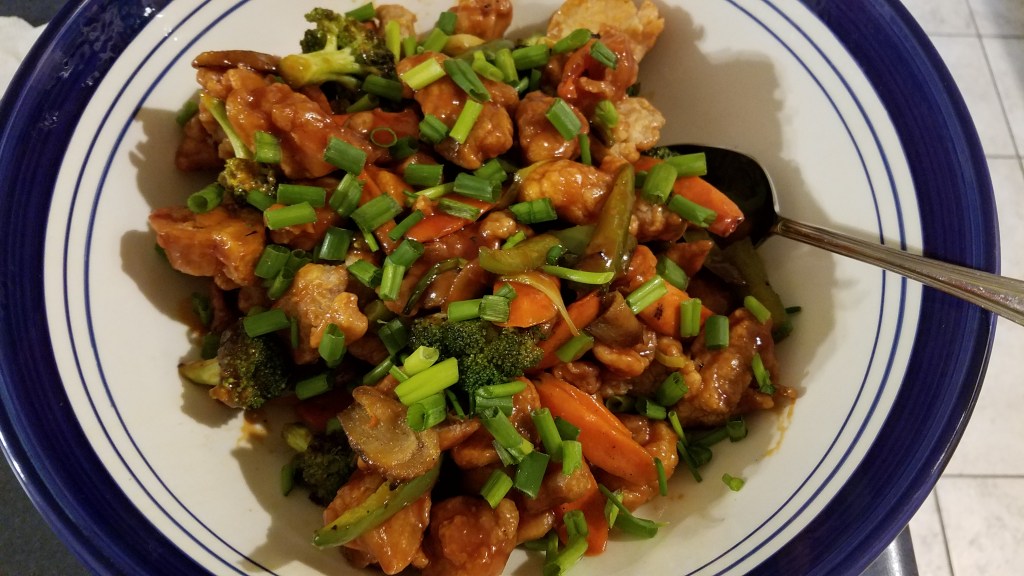
Add the vegetables and stir to combine. Turn out to a large serving bowl.
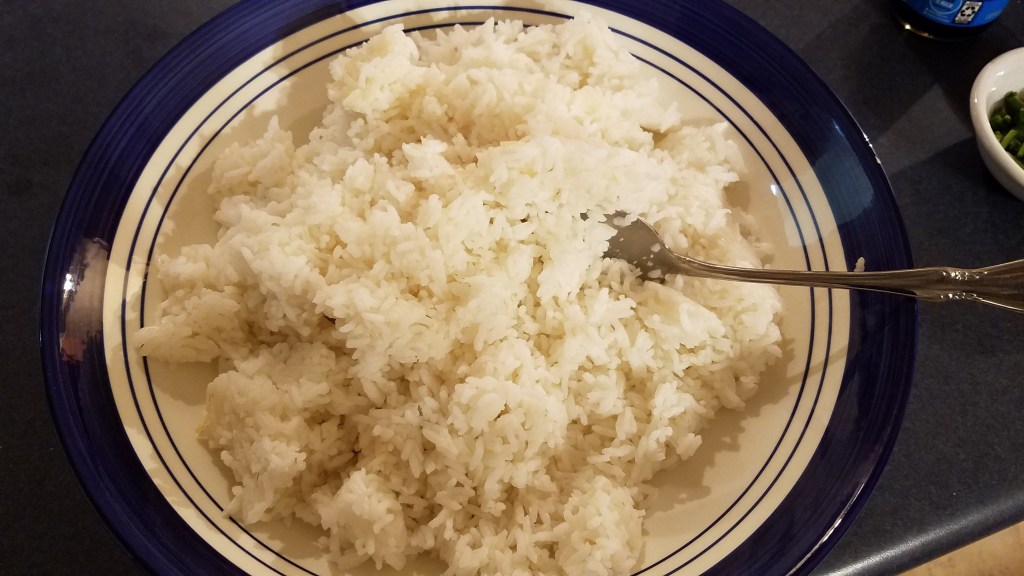
Top with cilantro and serve in bowls with steamed jasmine rice.
Happy Holidays!
Three steps
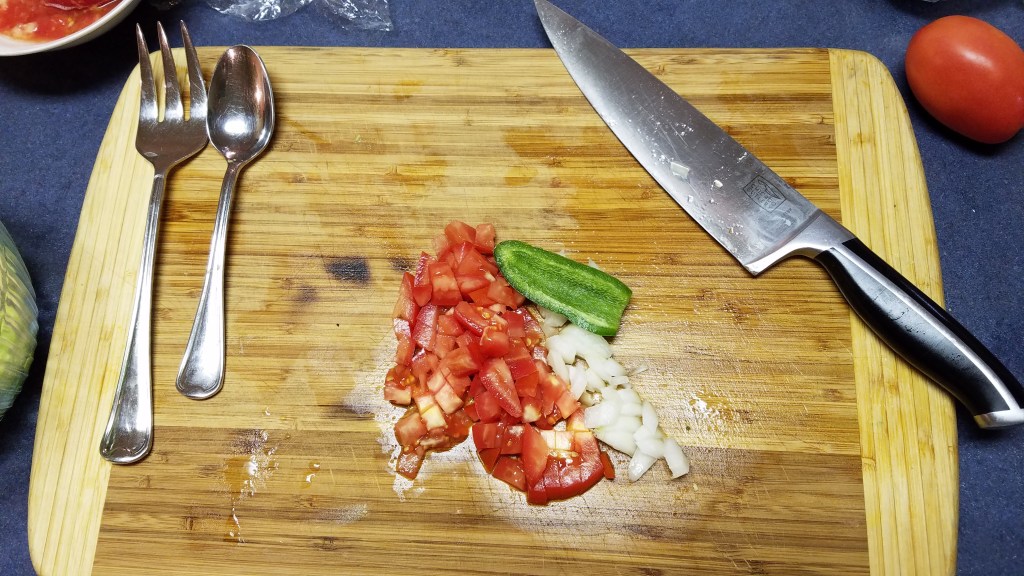
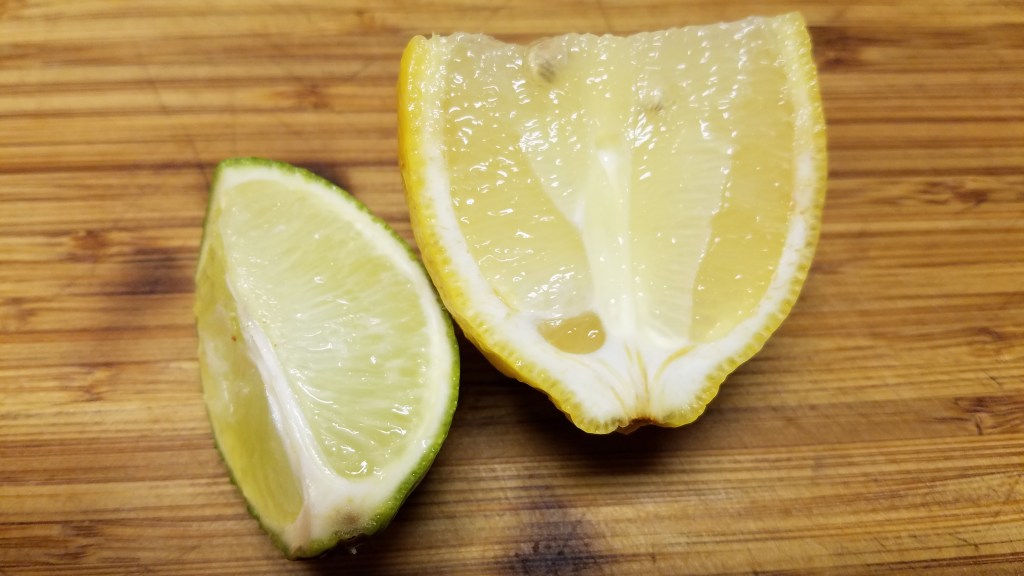

Nothing warms the soul like a bowl of good, hot soup. Pozole is much more than just a bowl of hot soup! Pozole is the heart and soul of family and tradition in Mexico. It is often served during holidays and special occasions. It’s a cold remedy during the fall and winter months and it’s the sort of thing contains everything that is good for the body, mind and soul.
The warmth of the broth is essential. The heat of the chiles restores drained energy. The depth of flavor from the vegetables and meat make it a meal by itself.
It’s a strange thing, posting recipes on a food blog. I prepare food and then I post the recipes and pictures, sometimes right away and sometimes days and days later. This post is the last in a series of posts from a dinner party that my wife and I hosted nearly two weeks ago. The memory of the party is still clear in my mind. Good friends and family gathered around to share stories and we had some laughs and we learned just how much we mean to each other. The food that I served seems so distant now but the memories of our visit remains fresh, like homemade bread, warm from the oven.
As with previous posts in the series, I did not capture all of the process with pictures. The most glaring omission, in my opinion, is that I didn’t take a picture of the finished dish. Heck, I didn’t even take a picture of the pozole after adding the hominy, which is a real tragedy, since hominy is the key ingredient in pozole.
The pozole was sort of an afterthought as I planed the meal. I had already decided to serve green enchiladas and red enchiladas, along with guacamole and Mexican rice. I thought it would be nice to open with a soup. Pozole seemed right for the occasion.
Ingredients:
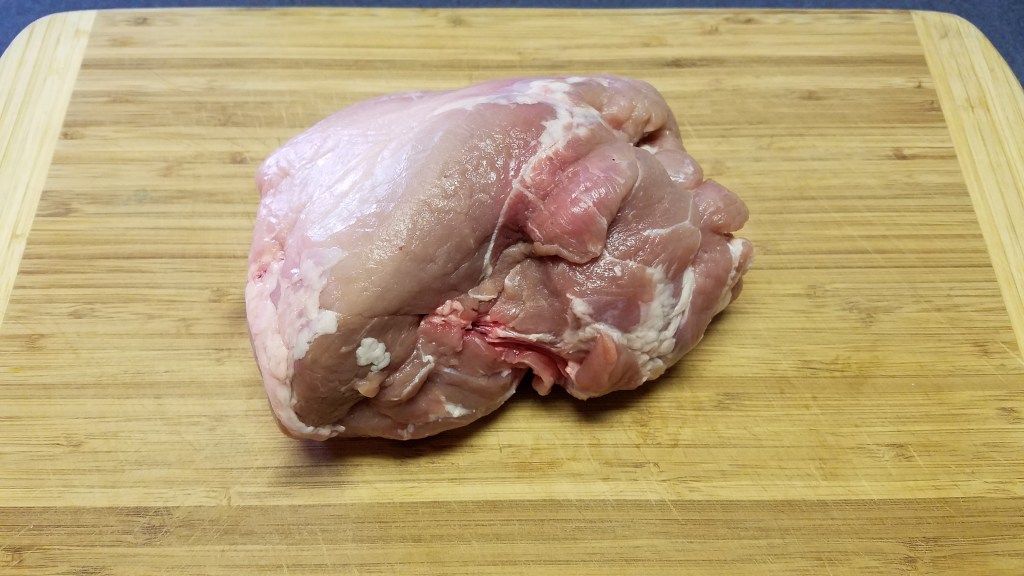
2 lbs pork shoulder
¼ onion (no need to cut)
3 bay leaves
1 tsp coarse salt
1 tsp cracked black pepper
4 to 8 guajillo chiles (4 for mild heat, 8 for caliente!)
1 tomato, diced
1 tsp dried oregano
6 garlic cloves
4 Tbs flour
4 Tbs butter
2 cups vegetable stock
1 large can of hominy (30 ounce can)
Directions:
Cut the pork into large pieces.
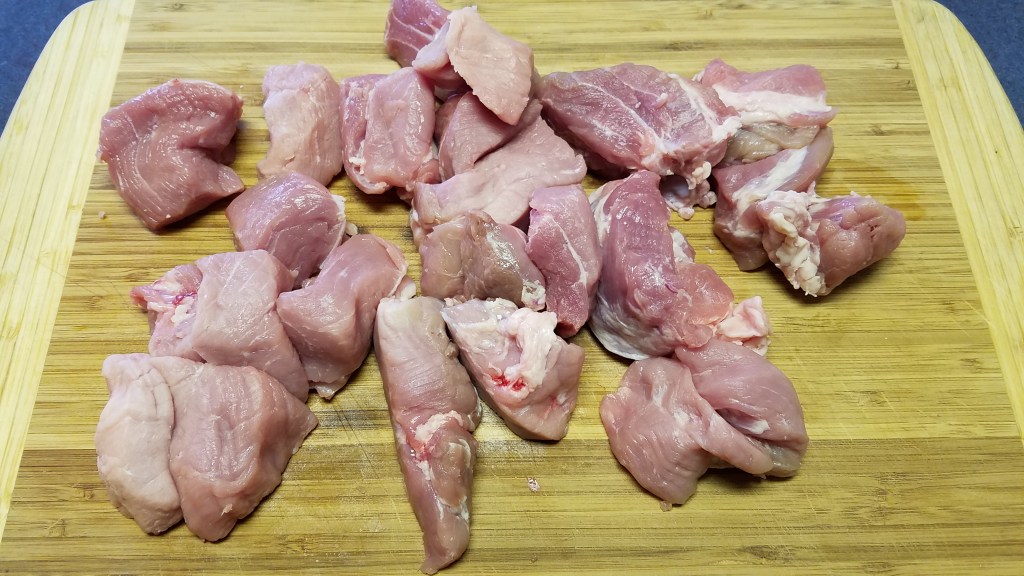
Sear the pork in a Dutch oven at high heat for a few minutes. Stir to lightly brown the meat.
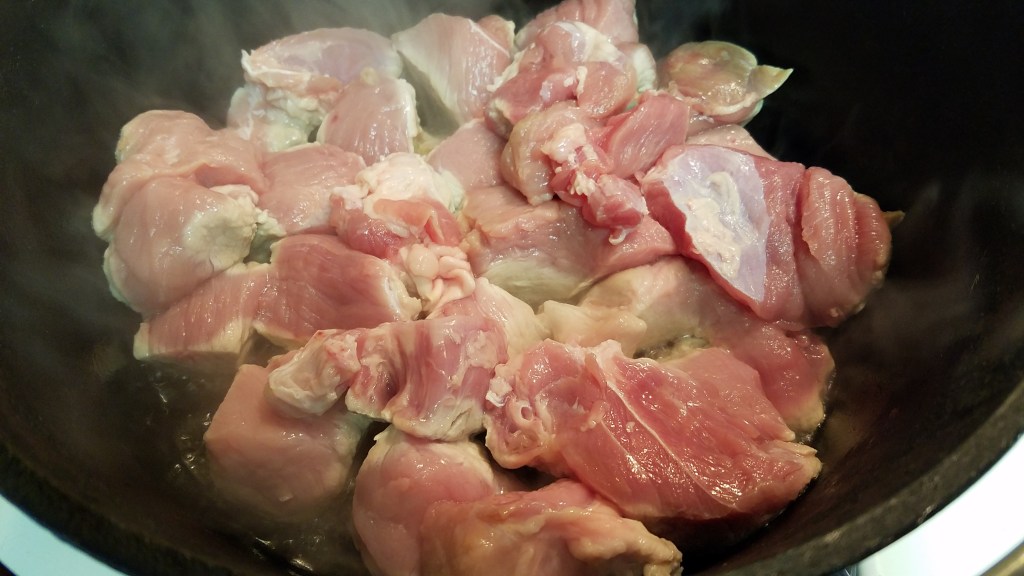
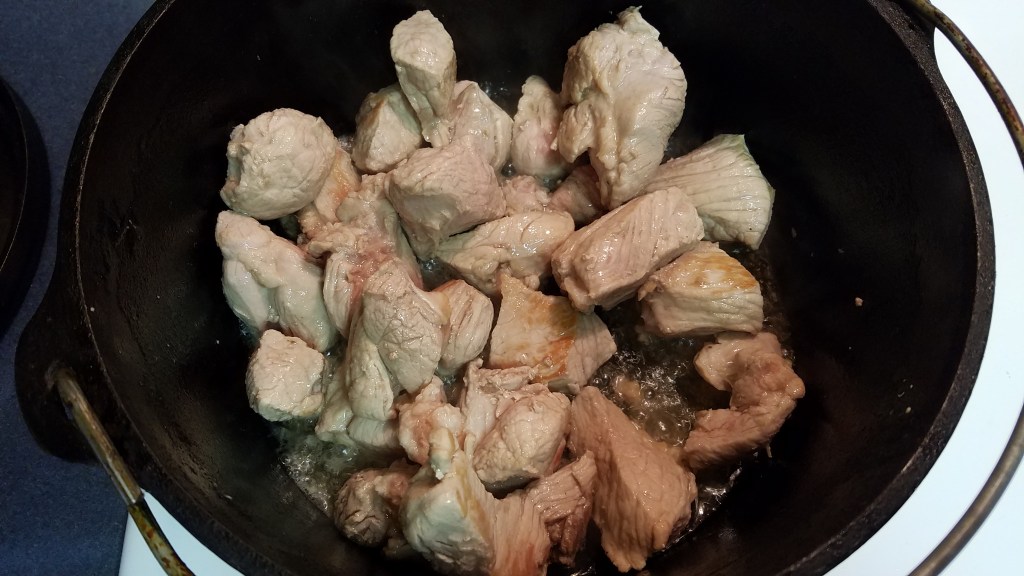
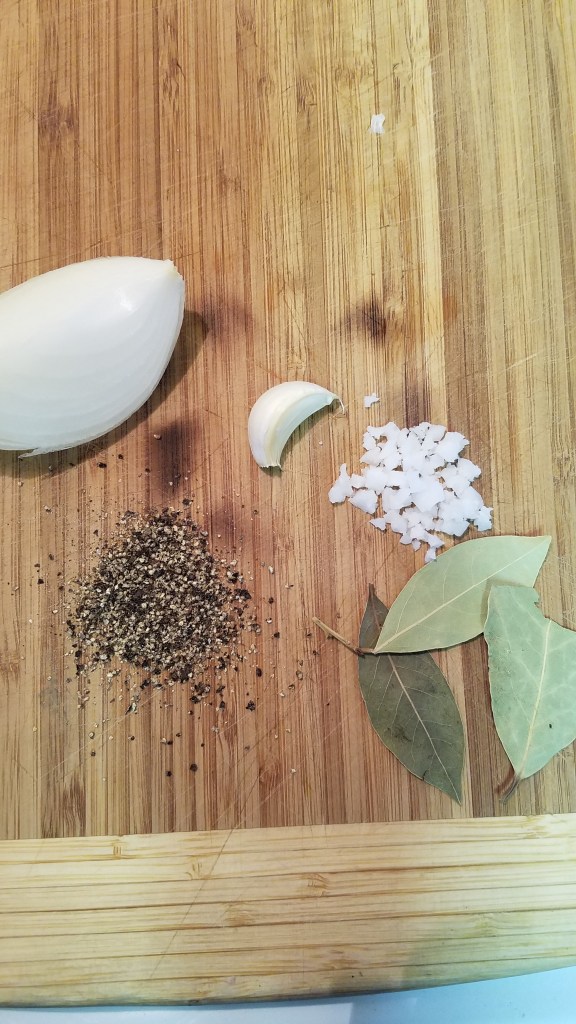
Add water to the Dutch oven to cover the pork by about two inches. Add the onion, bay leaves, salt and pepper.
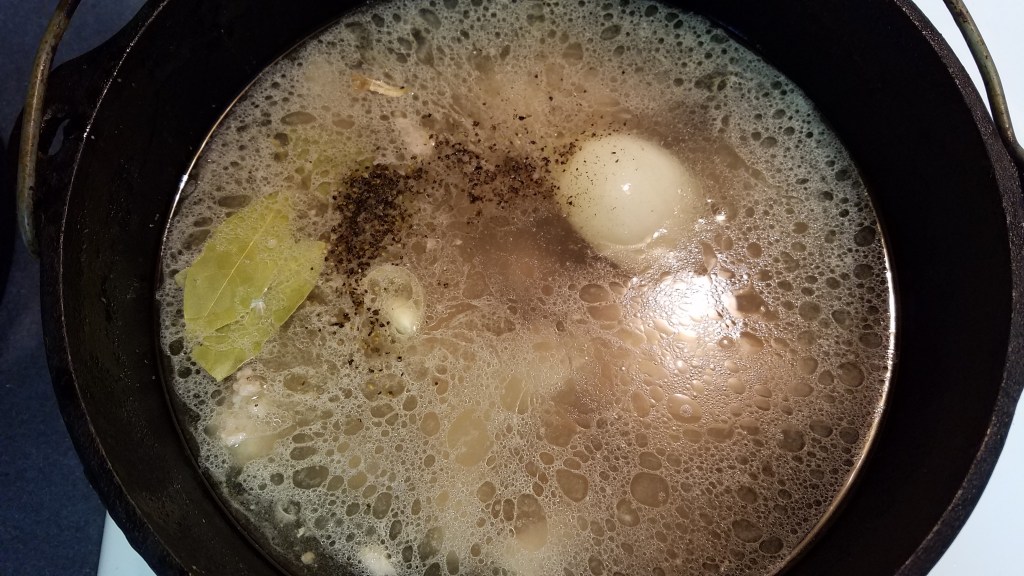
Set the heat to low and simmer the pork for two hours. When the pork is tender enough to shred with a fork, remove to a platter and reserve the liquid.
Steam the guajillo chiles for 20 minutes, until softened.
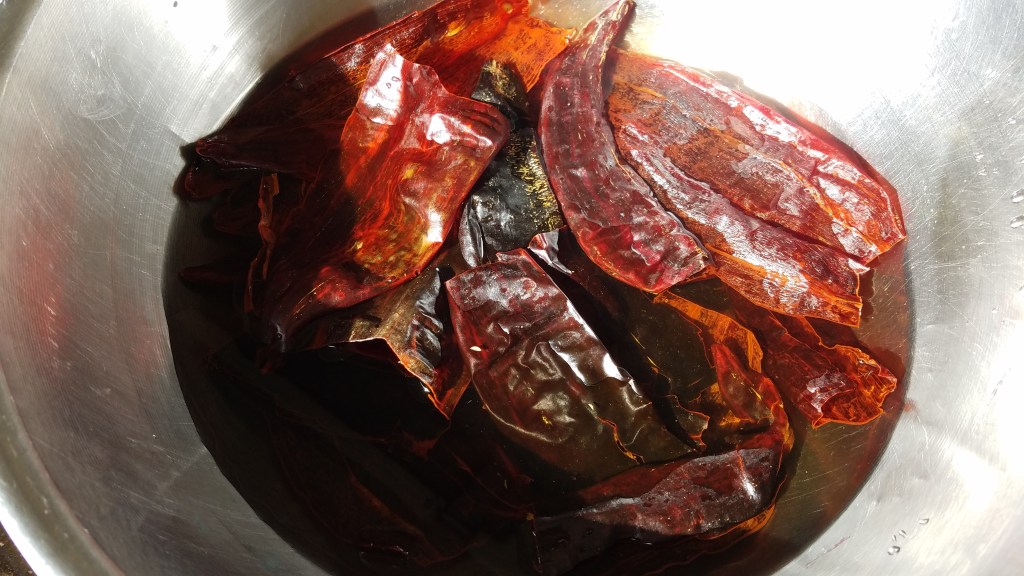
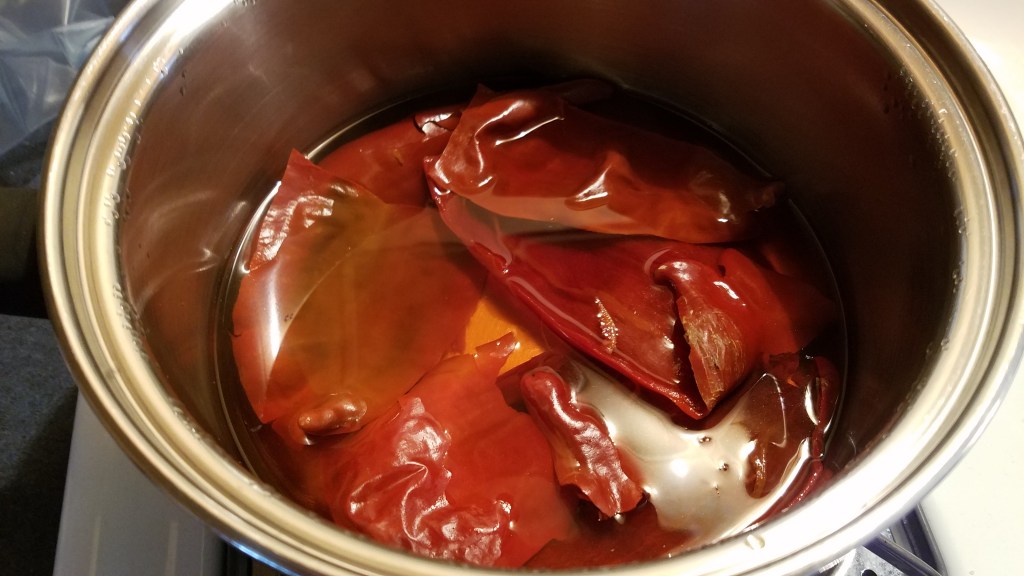
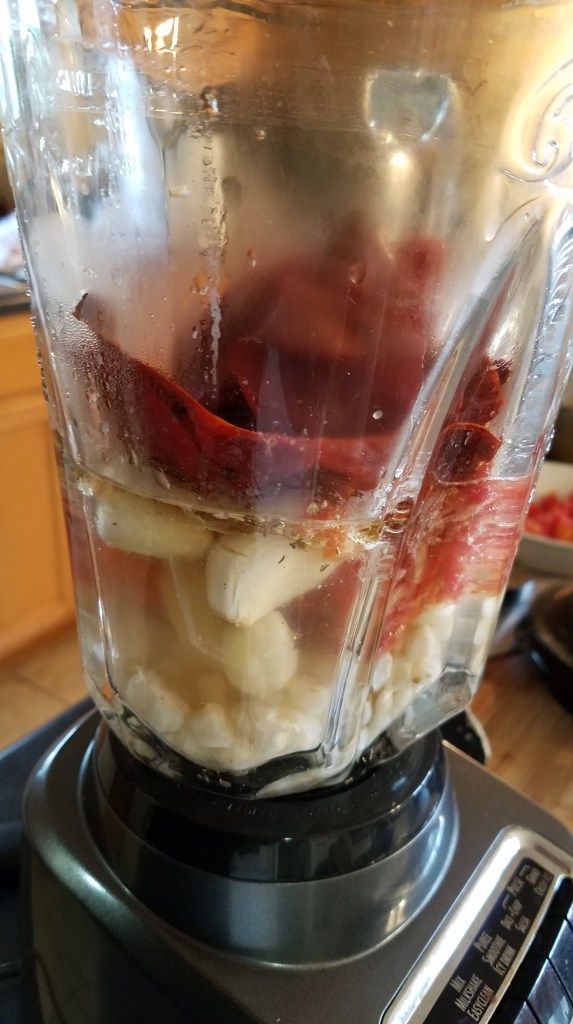
Puree the chiles, tomato, oregano, garlic and 1 cup of the hominy and 1 cup of vegetable stock in a blender.
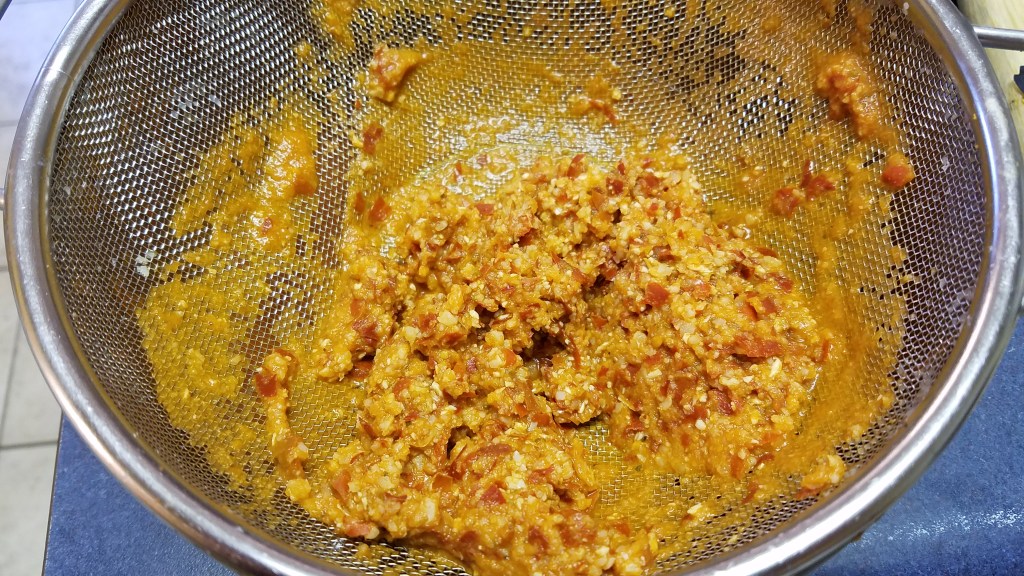
Strain the mixture to remove the seeds and pulp.
Add the butter and flour to the Dutch oven and prepare a roux. Add the remaining vegetable stock and about 3 cups of the broth from the cooked pork. Whisk to incorporate the mixture.
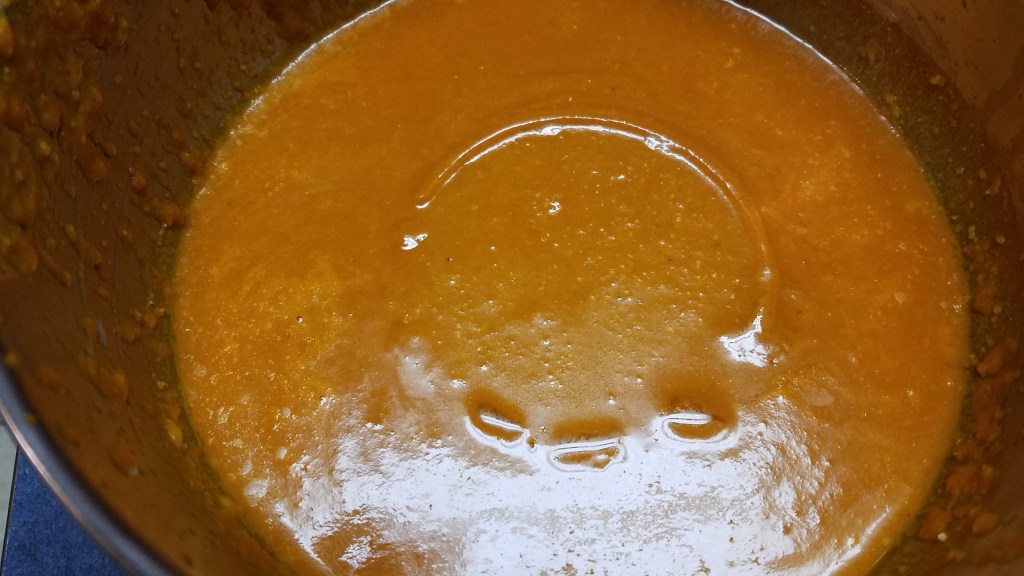
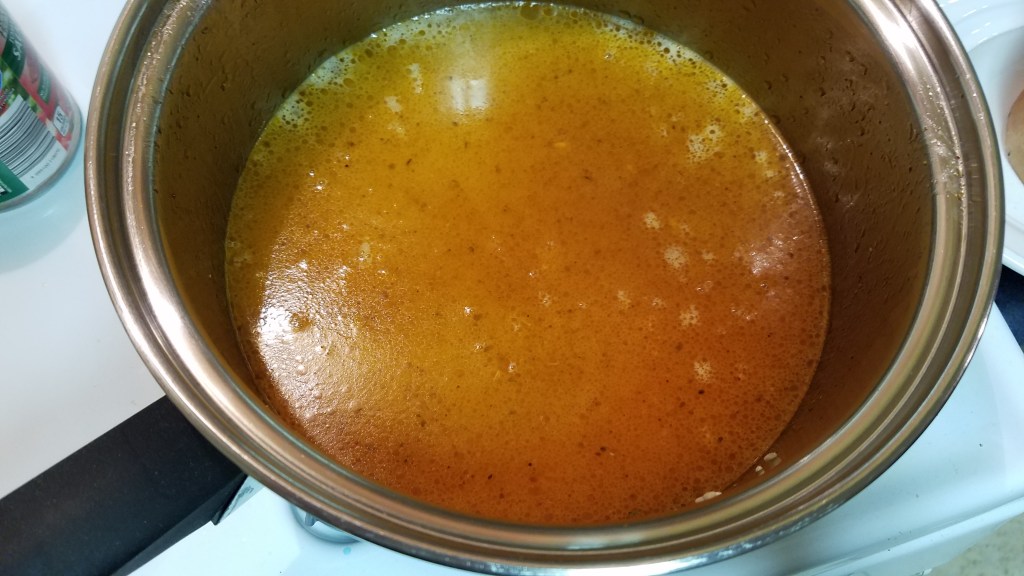
Add the pork and pureed vegetable mixture.
Simmer for 15 minutes. Add the hominy and simmer for another 15 minutes.
Serve in bowls. Prepare a platter of condiments including sliced iceberg lettuce (or cabbage), cilantro, sliced onion and sliced jalapeño. Place the platter in the center of the table so that guests may add what they like to their soup.
This is the quintessential enchilada. Seasoned ground beef, wrapped in corn tortillas and smothered with red chili sauce and topped with cheddar cheese. If I am strapped for time, I use canned enchilada sauce. Most stores carry a variety of brands and most brands offer at least two types of sauce: mild and hot.
On this occasion I started from scratch. I re-hydrated some dried guajillo and ancho chilies to make the base for the enchilada sauce. As I mentioned in my previous post, I didn’t take a lot of pictures during the process but this is so simple to make, I don’t believe instructional photos are really that necessary.
Ingredients:
1 lb. ground beef
2 Tbs dried onion flakes
1 Tbs dried oregano
1 Tbs cumin
Salt (to taste)
16 oz sharp cheddar cheese (1 lb)
14 corn tortillas
3 Tbs butter
3 Tbs flour
2 cups prepared enchilada sauce (see the recipe here)
2 cups vegetable broth
Directions:
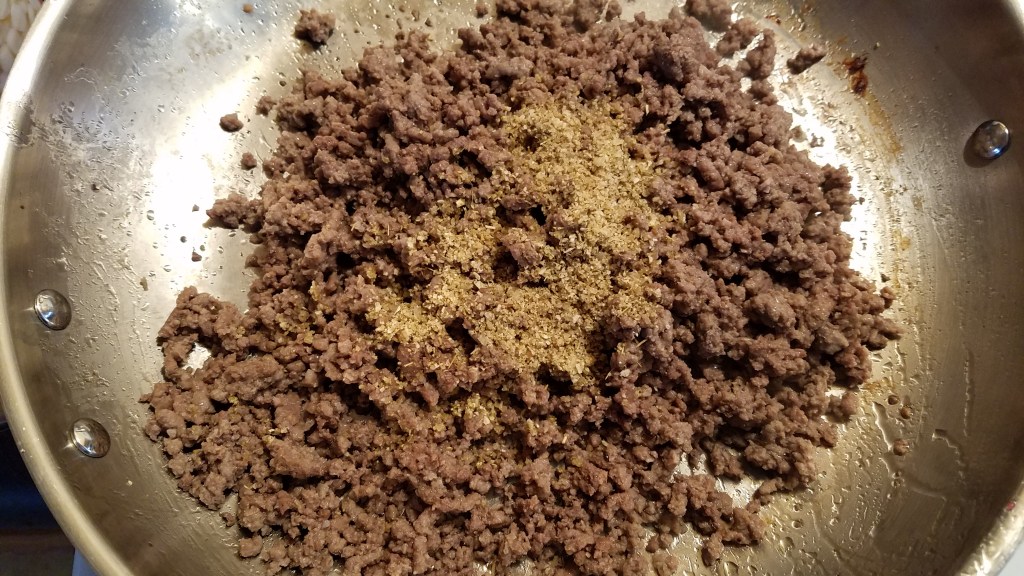
Brown the ground beef in a skillet. Strain out the grease. Return the skillet to the stove at low heat.
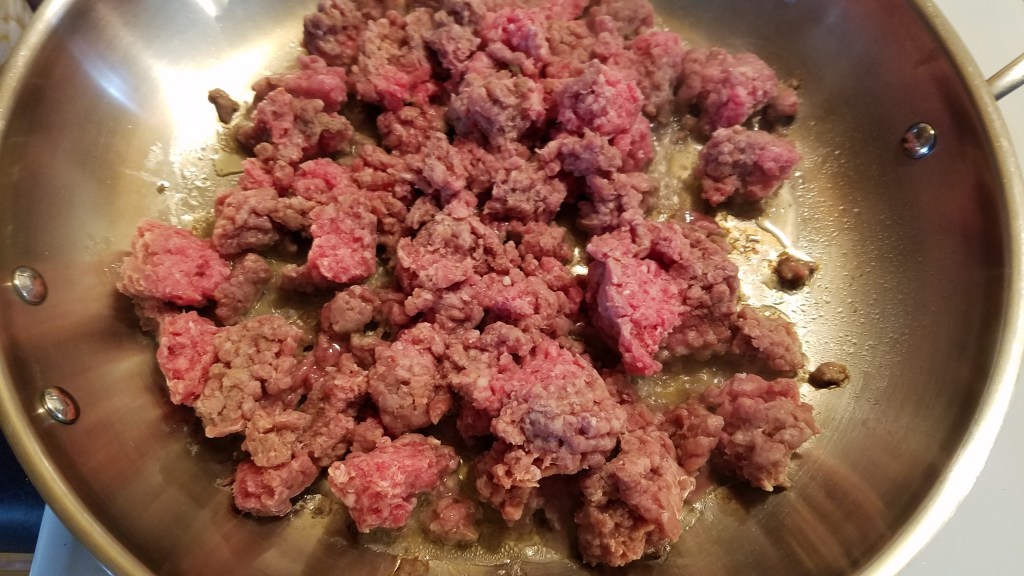
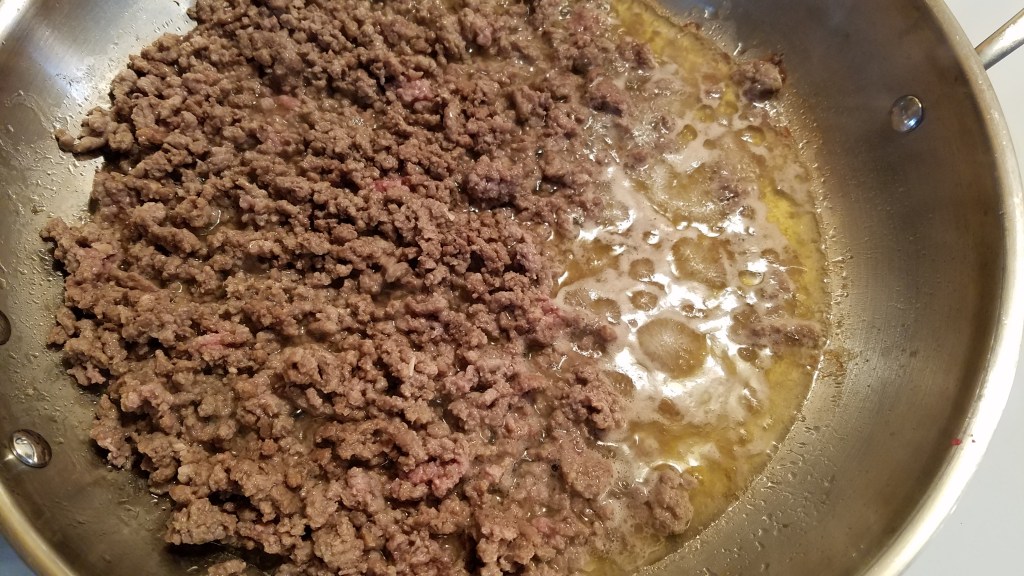
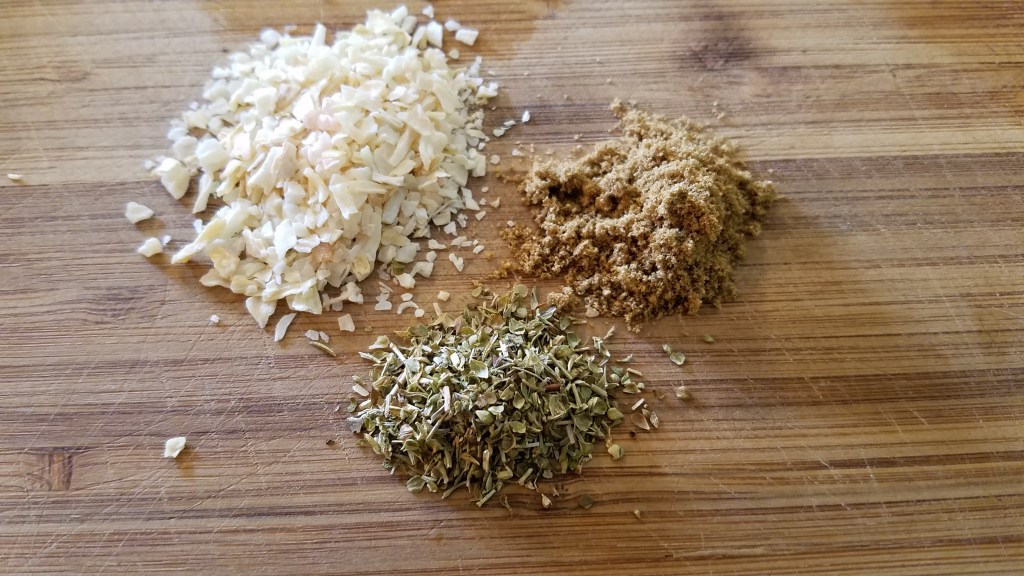
Crush the seasonings in a mortar and pestle and add them to the ground beef. Stir and simmer for 10 minutes. Add salt to taste. Transfer the ground beef to a large mixing bowl and cool to room temperature.
While the beef cools, prepare a roux with the butter and flour. Add the vegetable broth and enchilada sauce. Stir and simmer until thickened. Pour about half of the sauce into a large ceramic or glass casserole dish. Reserve the remaining sauce.
Grate the cheese and divide in half. Add half of the cheese to the ground beef and mix by hand.
Lay tortillas on a clean work surface and add the beef and cheese mixture. Roll the enchiladas and place them in the casserole dish. Pour the remaining sauce over the enchiladas and top with the remaining cheese.
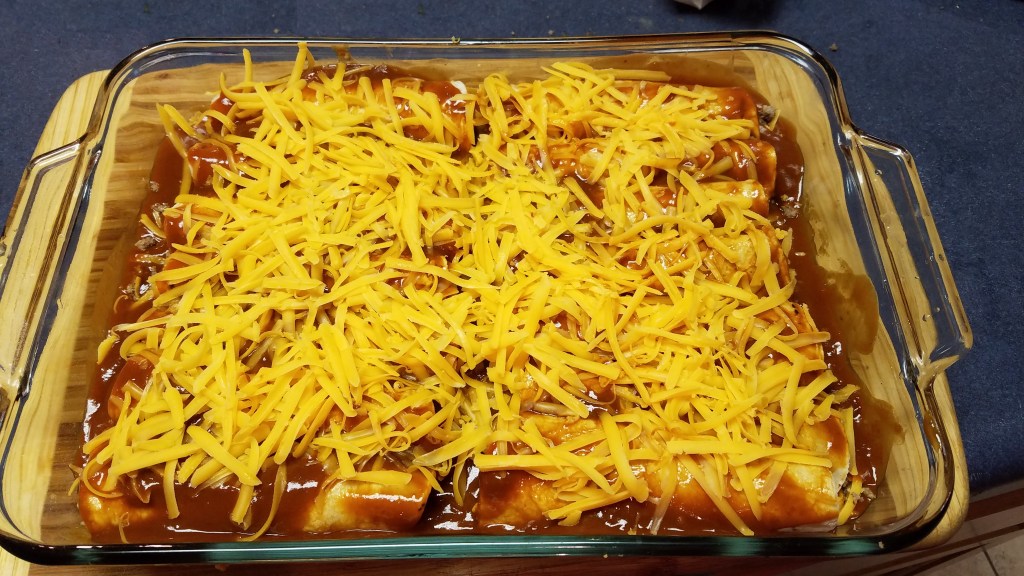
Bake at 350° for 30 minutes, or until the cheese begins to bubble and brown.
Serve warm.
I served two types of enchiladas during a recent dinner party, along with Mexican rice, refried beans and guacamole. I found myself forgetting to take pictures along the way because I was having too much fun visiting with friends and family.
Consider this Part I of a three-part series of posts.
Ingredients:
4 chicken tenderloins
1 Tbs chicken bullion
1 tsp cumin powder
1 bay leaf
5 oz fresh spinach (I used half of a 10 oz bag)
4 Tbs butter
4 Tbs flour
2 cups vegetable stock
14 corn tortillas
1 lb Chihuahua cheese, cut into ½” strips
½ cup salsa verde
Directions:
Trim 4 large chicken breasts and remove the tenderloins. Add the tenderloins to a pot of water (about 4 cups) and reserve the breast meat for another dish. Add the bouillon, cumin powder and bay leaf.
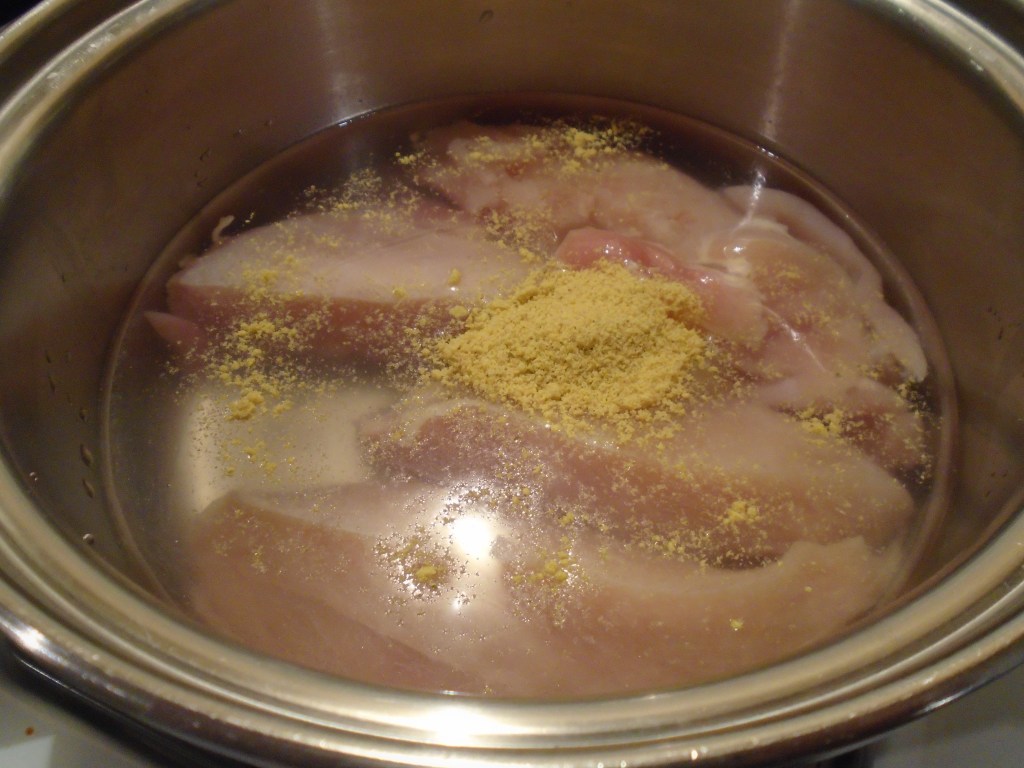
Cover the pot and simmer the tenderloins on low heat for one hour. Turn the heat off and leave the pot covered for 30 more minutes.
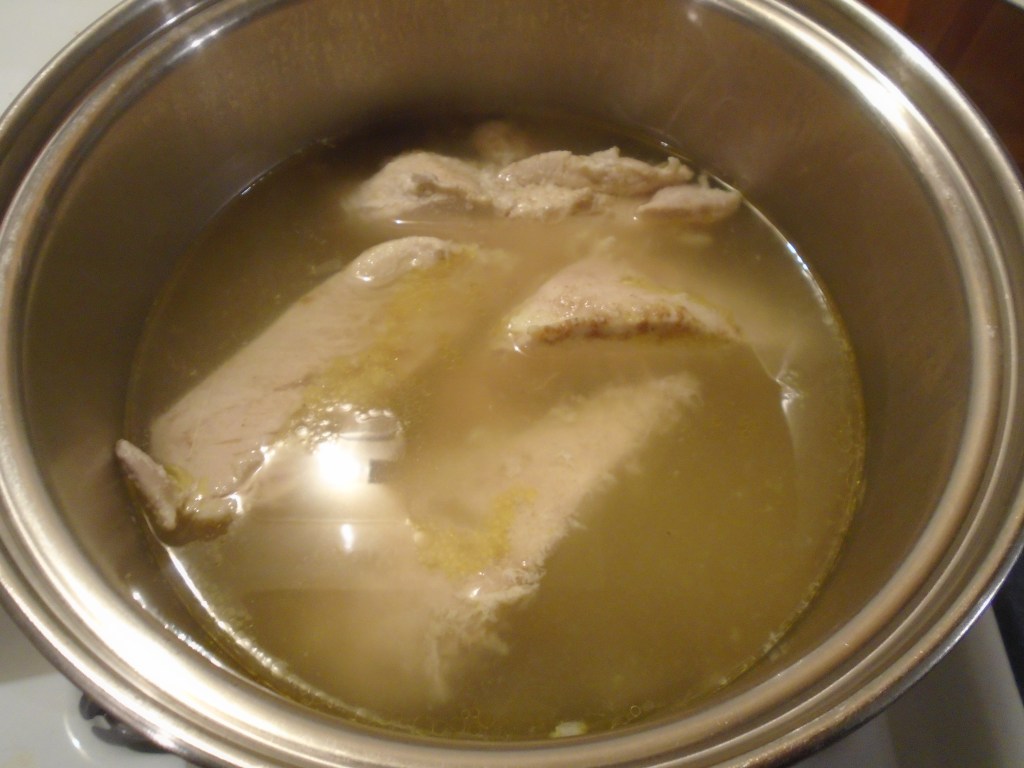
Remove the chicken pieces to a cutting board.

Partially flatten the chicken by pressing with the broad side of a kitchen knife. Pressing the chicken breaks apart the meat and makes it easier to shred.
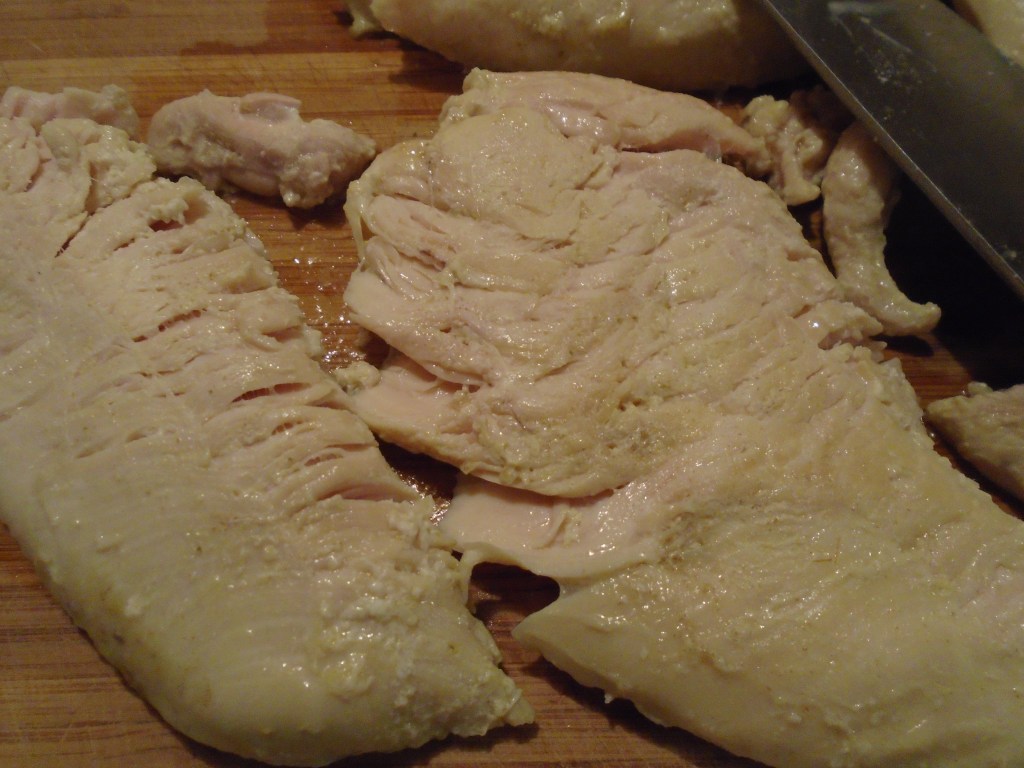
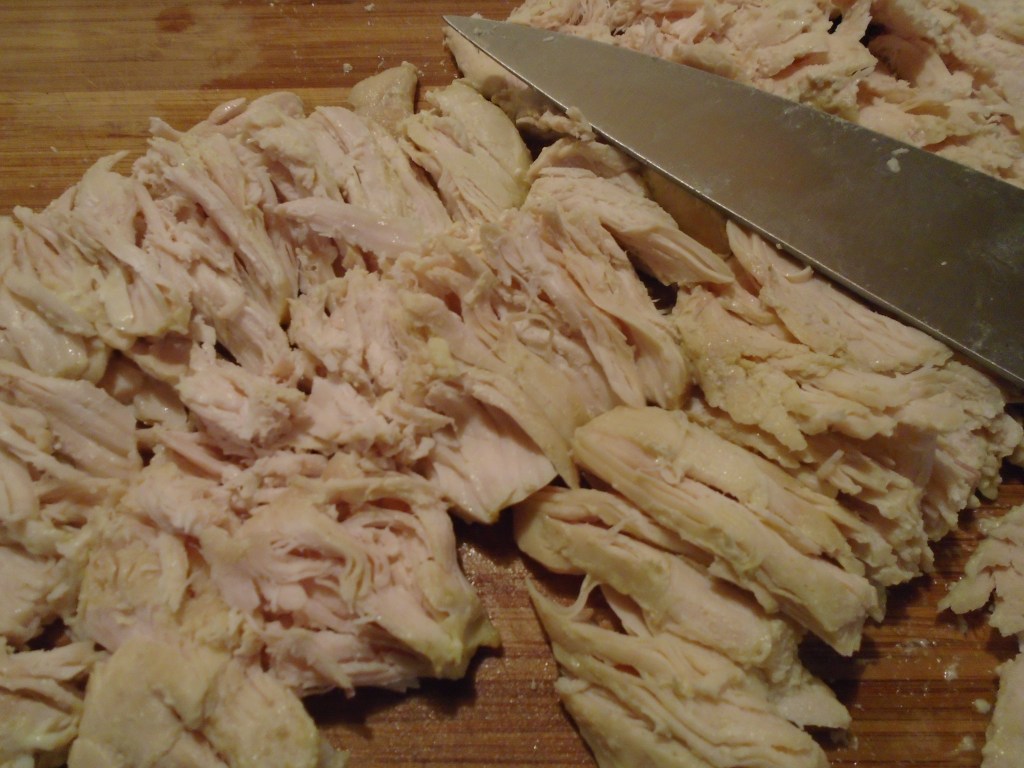
Gently scrape the chicken across the grain to shred the chicken.
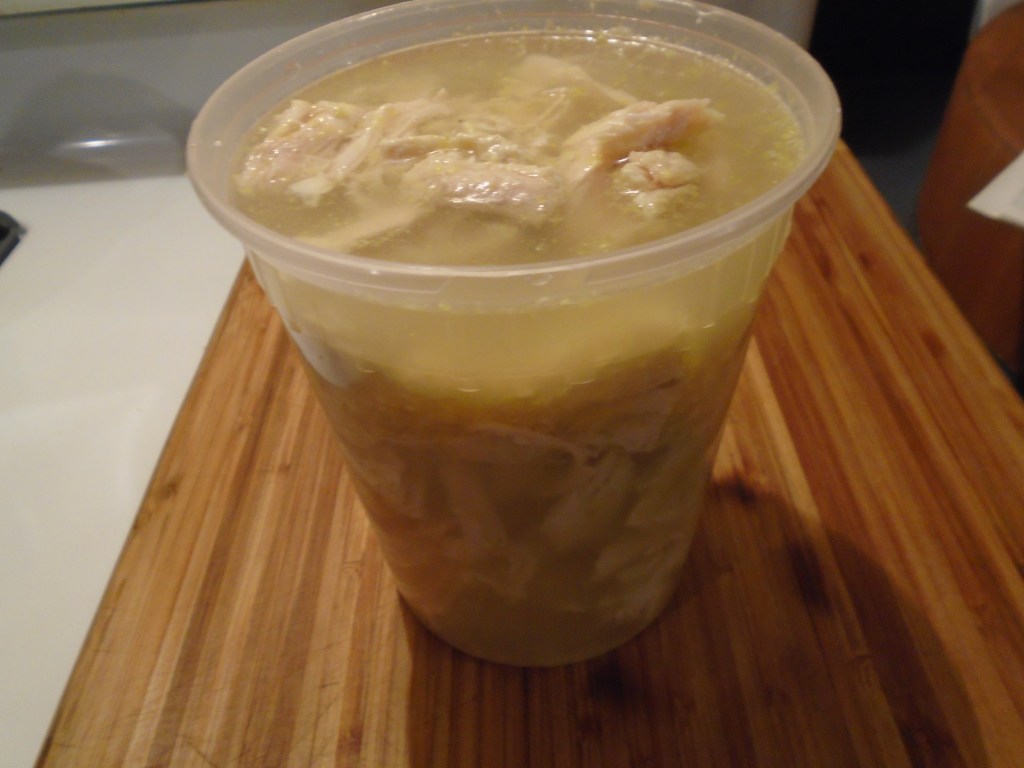
Note: I stored the chicken in a seal-able container, along with the chicken broth. This can keep for a few days in the refrigerator with no worries.
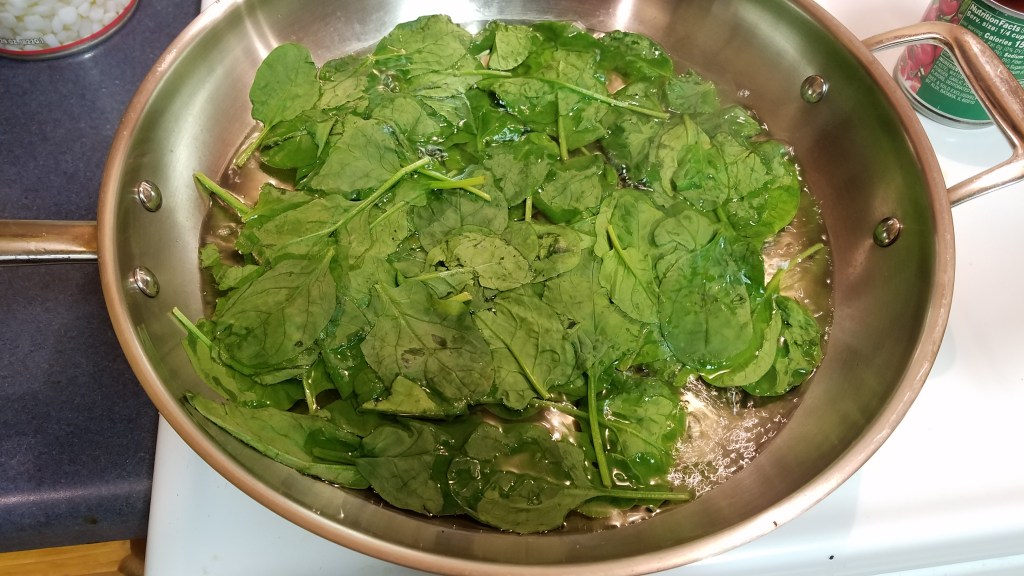
Steam the spinach for a few minutes until it begins to wilt. Drain and set aside.
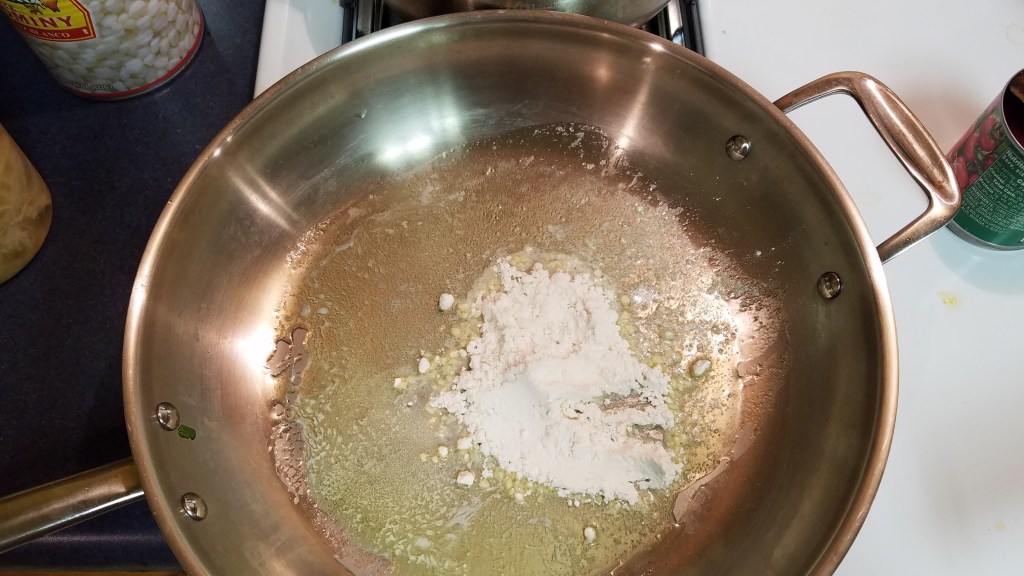
Start a roux with butter and flour. Add vegetable stock and whisk until the sauce forms and thickens. Add the chicken and chicken broth. Continue to stir to incorporate. Keep the heat set at medium and stir until the sauce thickens again.
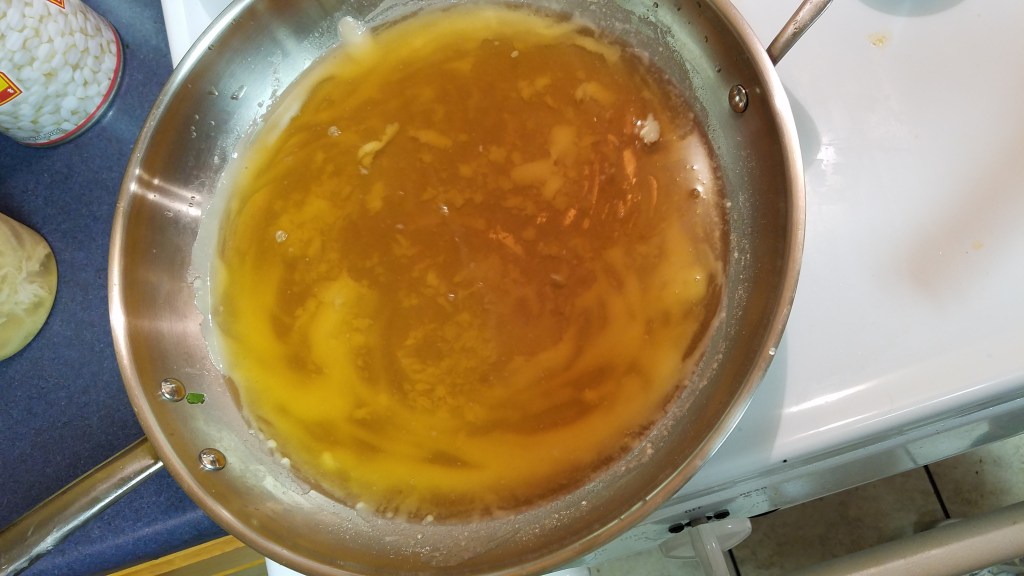
Ladle about 1 cup of the sauce into a ceramic or glass casserole dish.
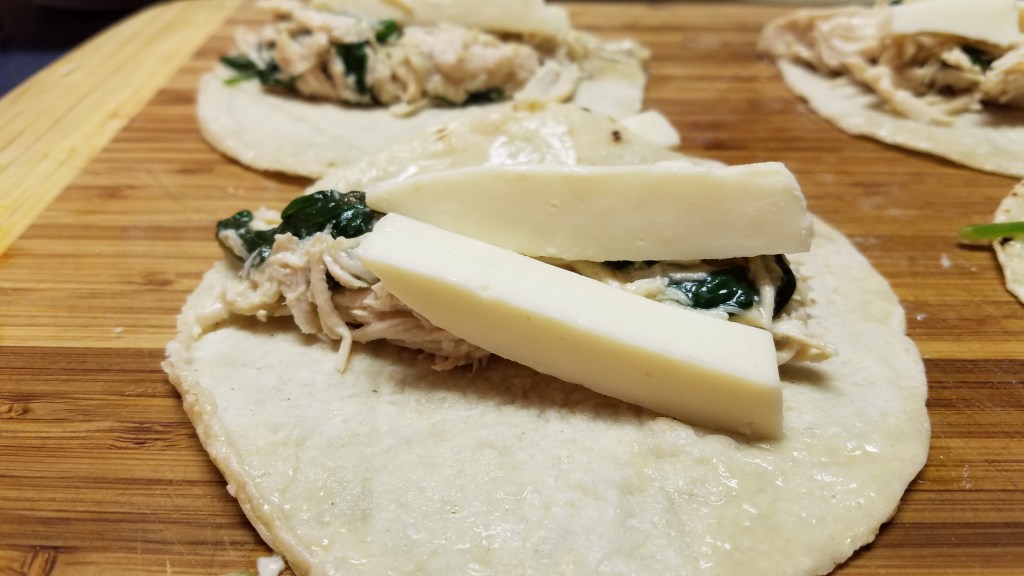
Arrange some tortillas on a clean work surface and place equal amounts of chicken and spinach on the tortillas. Add a strip or two of cheese. Roll the enchiladas and place them side by side in the casserole dish. Continue rolling and placing enchiladas until the dish is full. Pour the remaining sauce on top of the enchiladas.

Top with more Chihuahua cheese.
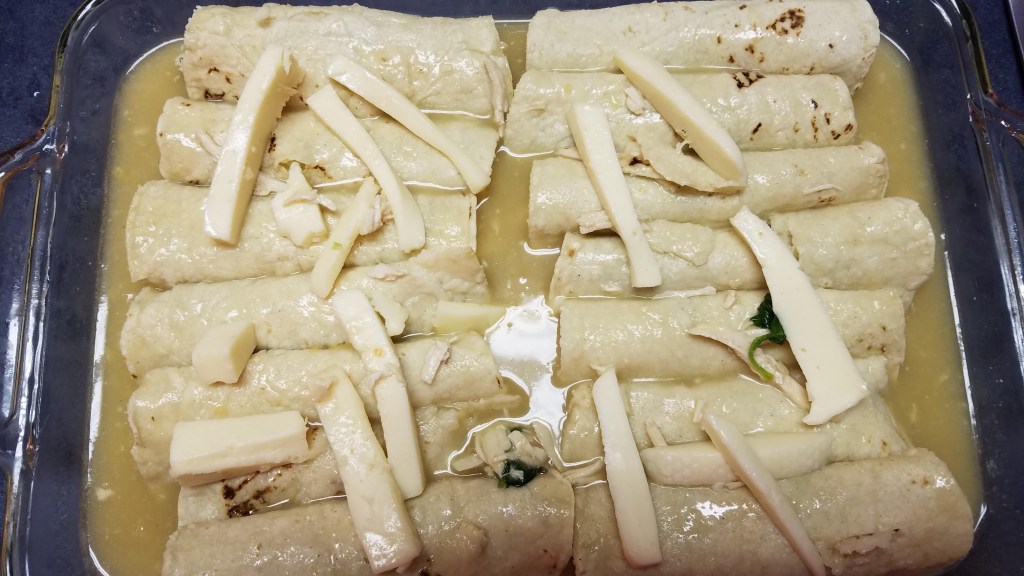
Lightly cover the casserole with aluminum foil and bake at 350° for 30 minutes. Remove from the oven and uncover. Serve warm.


I came down with a cold the other day and I promptly crawled into bed. That’s my preferred remedy for nearly all illnesses. I dreamed about making a pizza. When I awoke, some hours later, I made that pizza. I recently picked up some garlic naan at my local Indian market and I knew it would be perfect for the occasion. Naan is an Asian flatbread, similar to pita, in case you are not familiar with it.
Naan is typically oval shaped, about 6” x 8”, which makes a perfect individual serving.
Prep time: 5 minutes. Bake time: 10 minutes.
Ingredients:
1 naan flatbread
2 oz tomato paste
1 oz mozzarella cheese, sliced
8 to 10 pepperoni slices
A dash of garlic salt
A dash of red pepper flakes
Directions:
Smear the tomato paste on the naan. Add the sliced cheese and pepperoni.
Bake in a 375° oven for 10 minutes, or until the cheese melts and begins to brown.
Remove from the oven and scatter a little garlic salt and red chili flakes on top.

This recipe is inspired by tamales with poblano chilis. Most tamales I have eaten have been filled with beef, pork or chicken and, although I have had some great tamales over the years, one type of tamale remains unique among the rest because of its simplicity, clarity and sheer perfection. If you’ve never had a green chili tamale you’ve been missing out on a wonderful thing!
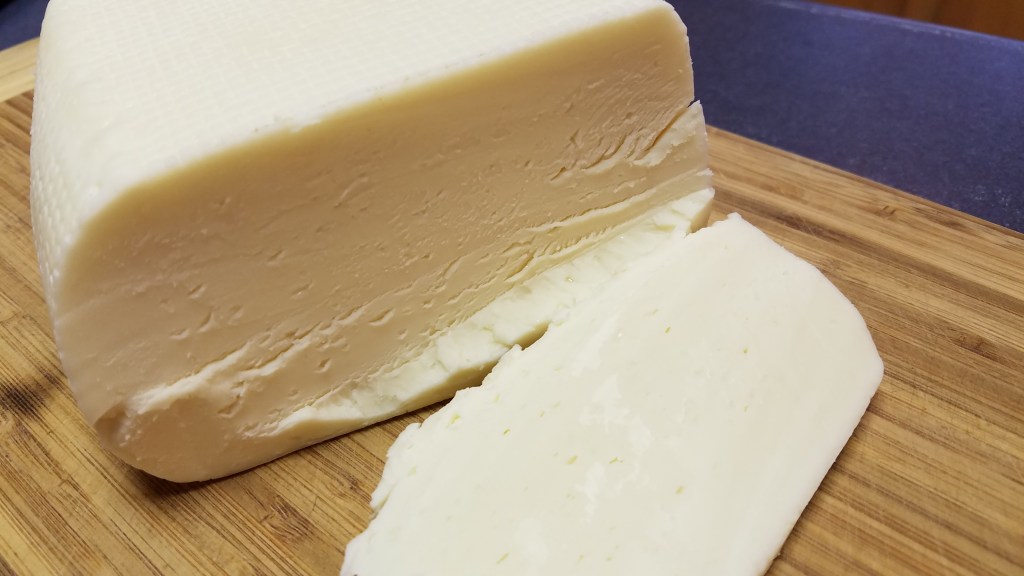
Here in the United States, poblano chilis are mostly known as the main ingredient in chili rellenos…you know, the big green chili dipped in fluffy egg whites and fried to a delicious, golden brown. As for Chihuahua cheese, well, it’s a soft, pale cheese, similar to, but not exactly like mozzarella. Poblano chilis and Chihuahua cheese were made for each other.
Oh, by the way, mark your calendar. I’m making a vegetarian dish!
Ingredients:
4 chilis poblano, roasted and cut into slivers
1 lb Chihuahua cheese (cut into ¼” sticks)
3 Tbs butter
4 Tbs flour
½ tsp cumin
½ tsp garlic powder
4 cups vegetable stock
14 corn tortillas (homemade, if you’re lucky)
¼ cup green sauce (salsa verde: tomatillo/serrano sauce)
* check out the recipe for salsa verde here *
Directions:
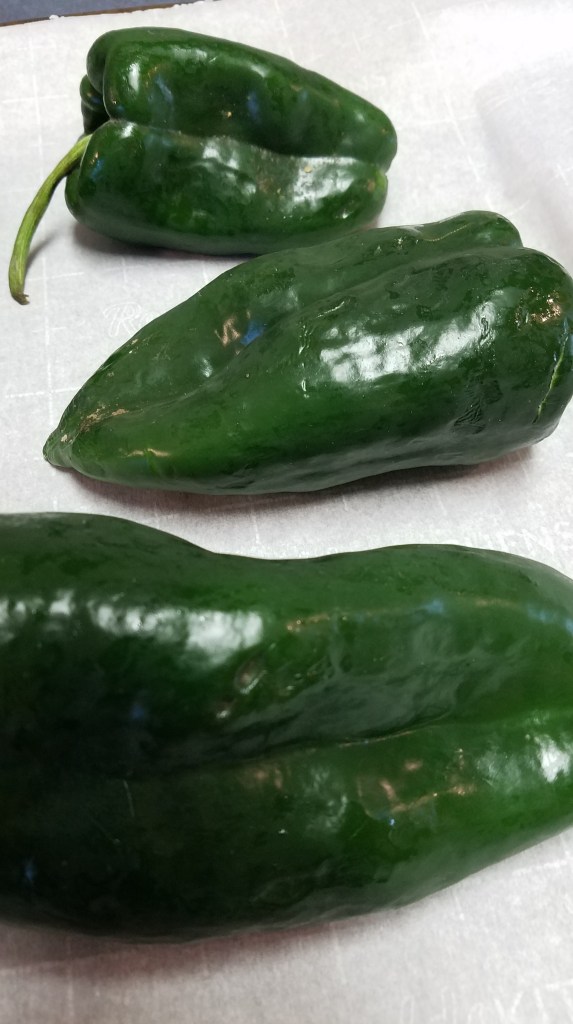
Rinse the poblanos under cold water. Dry them off and place them on a parchment paper covered baking sheet. Bake at 400° for 30 minutes, turning every 10 minutes.
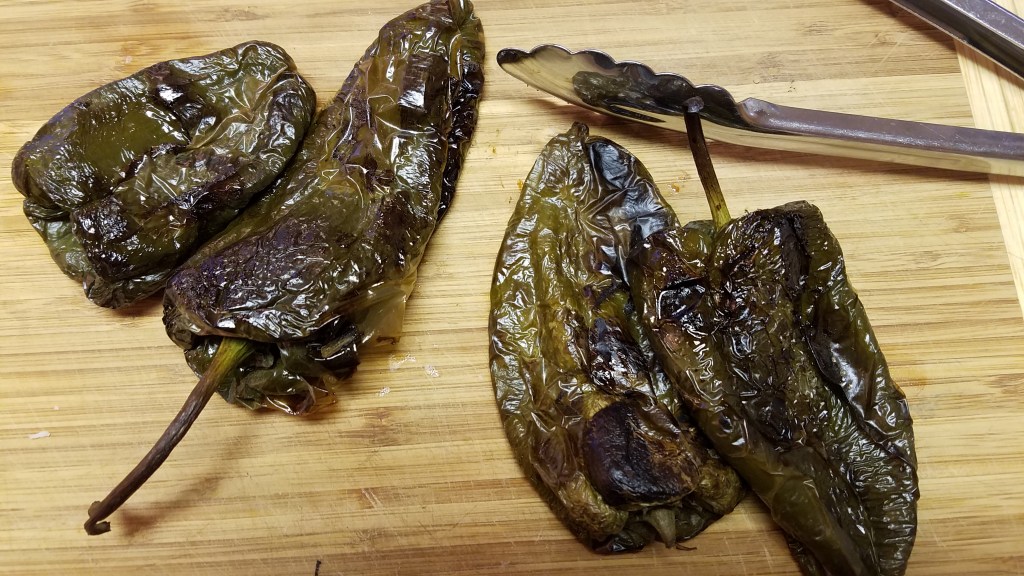
Once the chilis have blistered on all sides, remove them and place them in a plastic storage bag for about 15 minutes. Steaming the chilis will allow you to easily peel away the outer layer of the chilis.
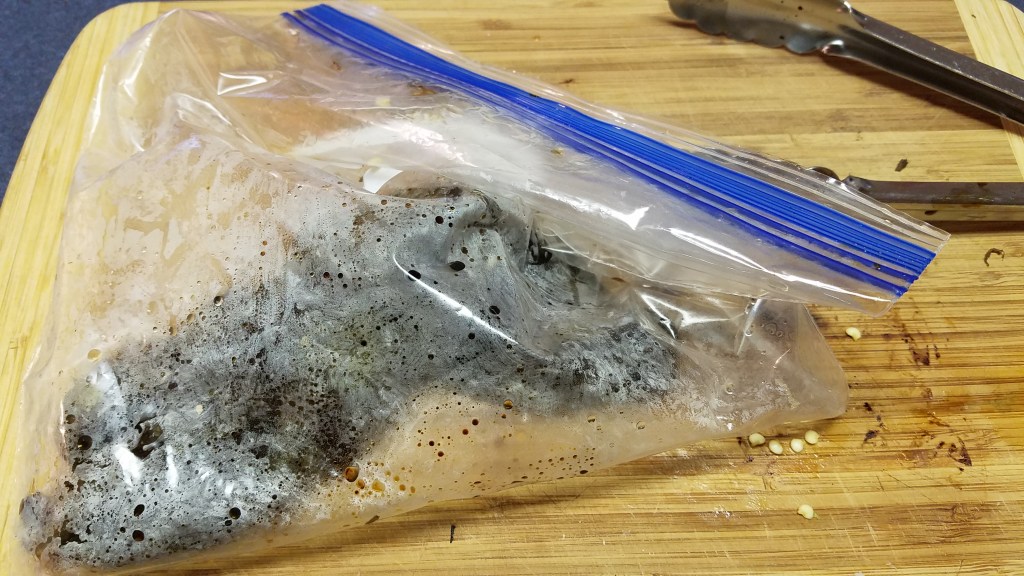
Once the chilis have steamed and cooled, remove them from the bag and place them on a clean work surface. Remove the stems and peel away the outer “skin” of the chilis. They should peel easily. Slice the chilis lengthwise and lay them open. Remove the seeds.
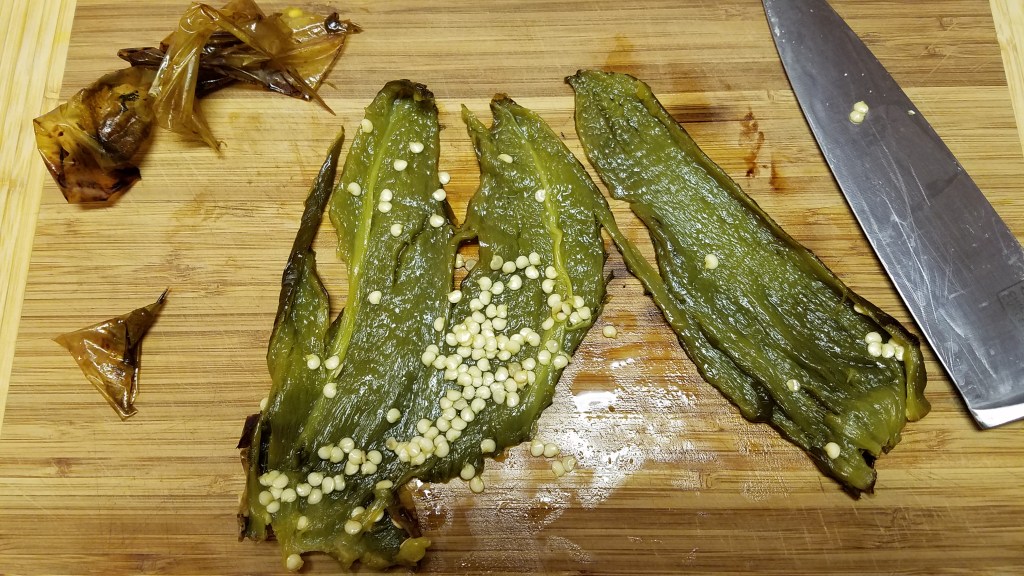
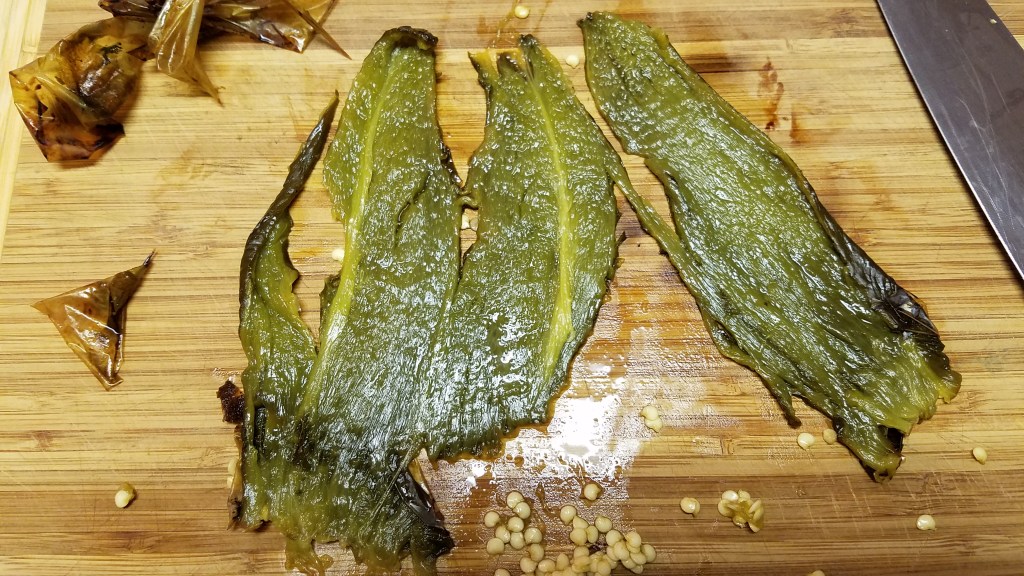
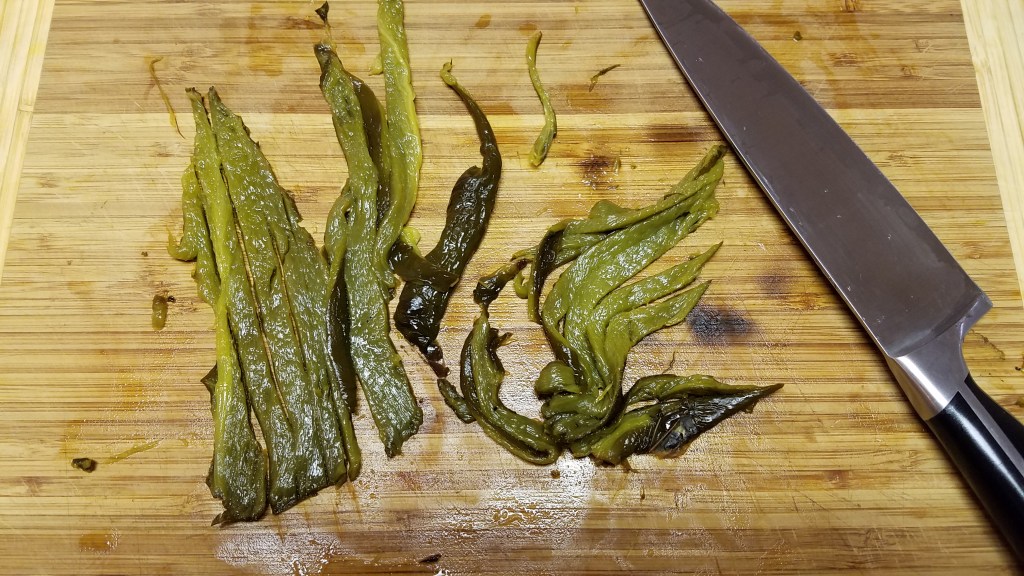
Cut the cleaned chilis into thin ribbons and set aside.
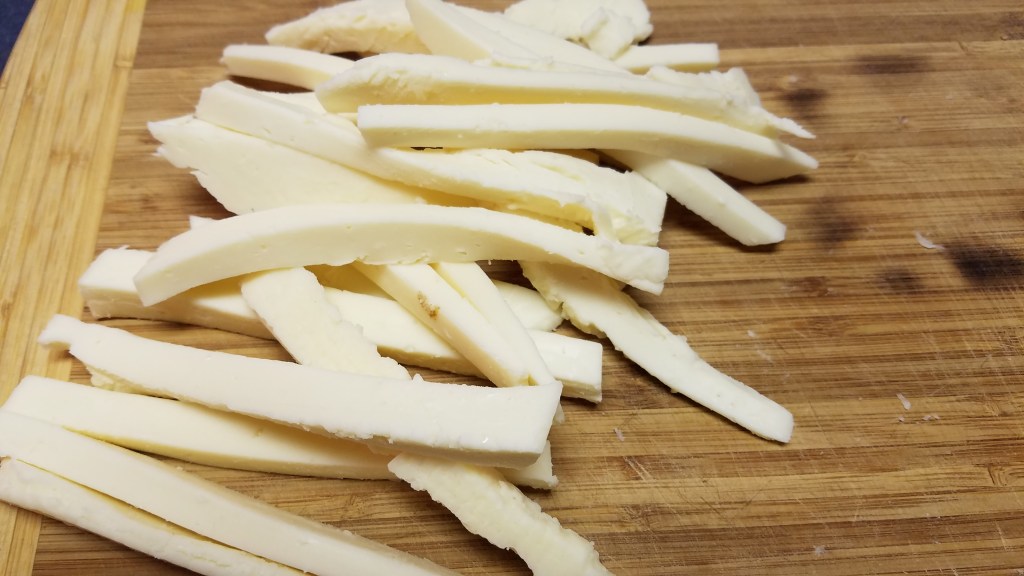
Slice the cheese into ¼” sticks. Set aside.
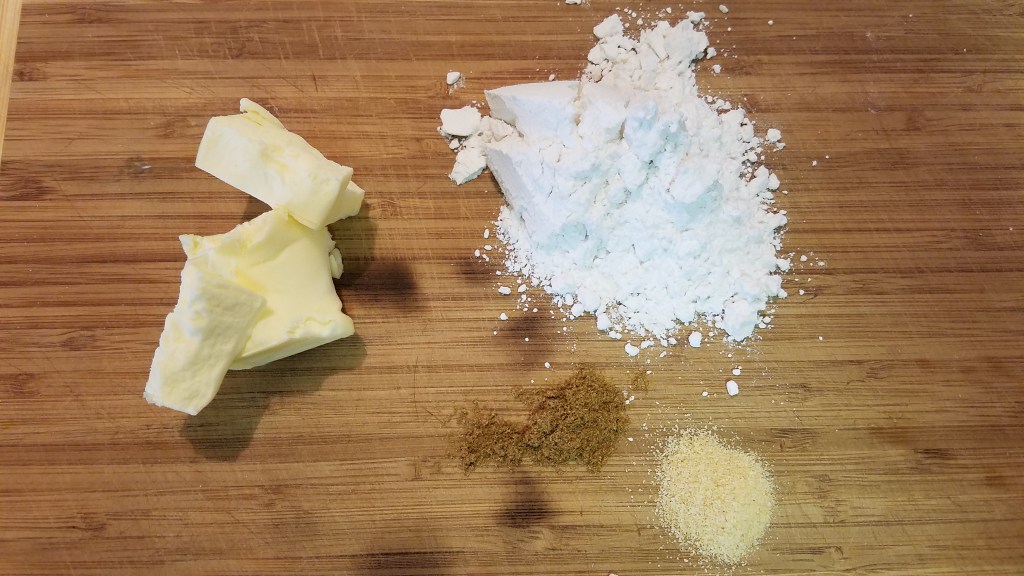
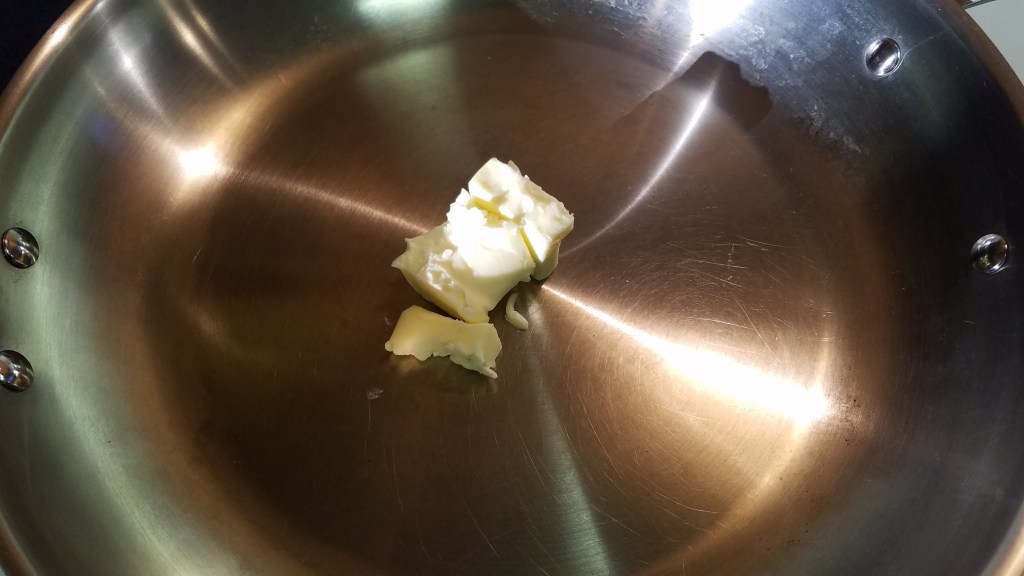
Start a roux with the butter and flour. Add the cumin and garlic powder. Simmer and whisk for a few minutes.
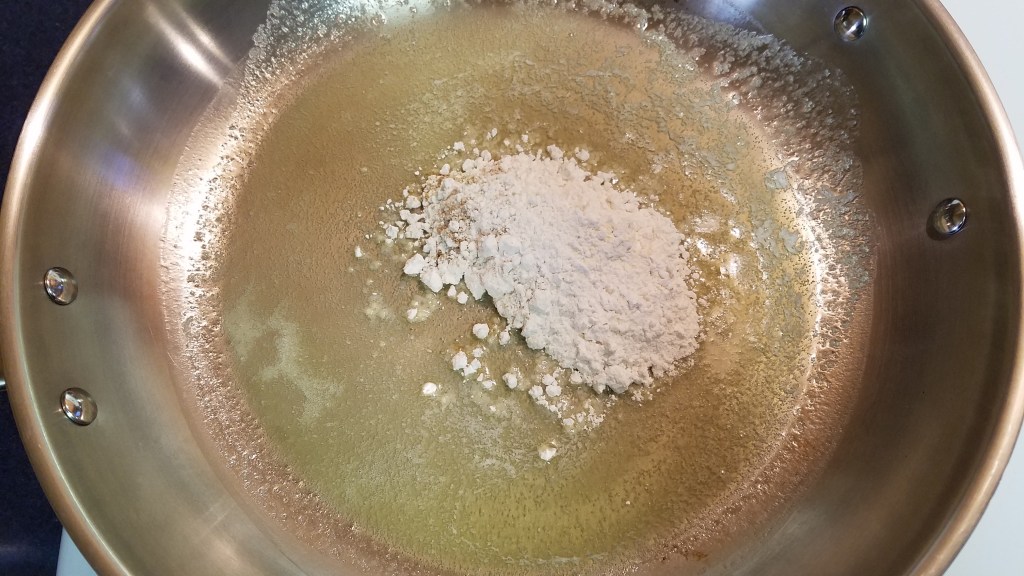
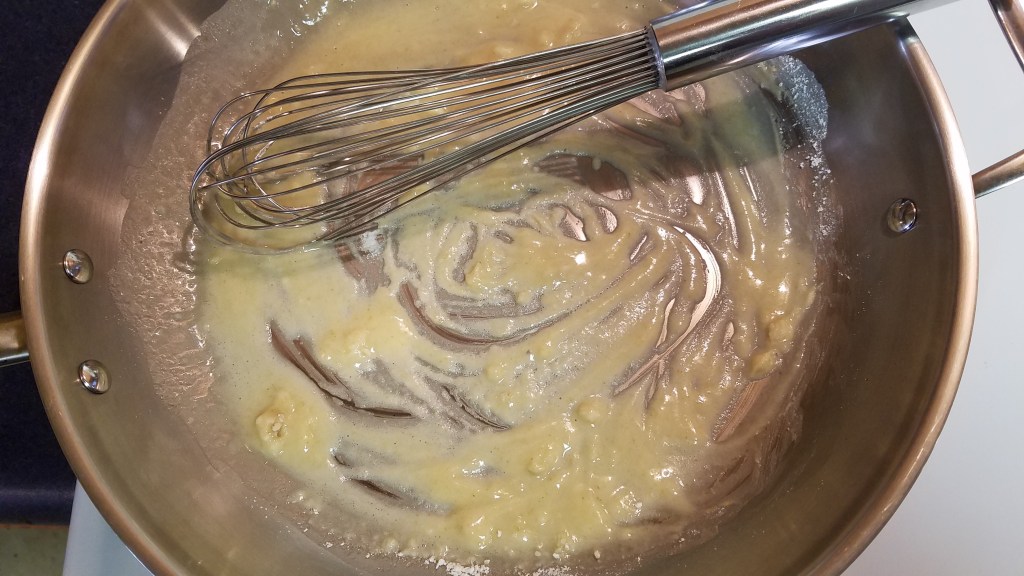
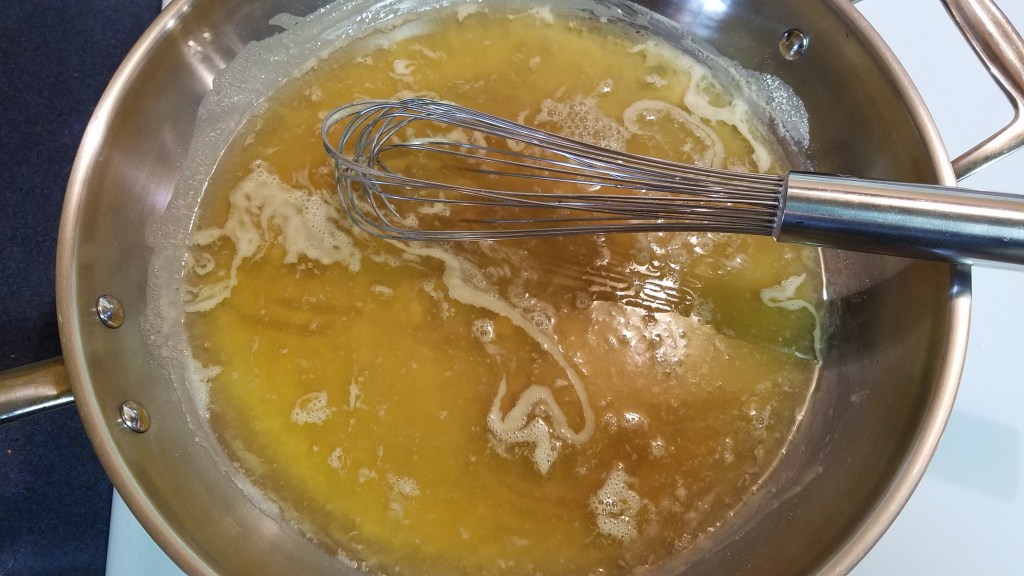
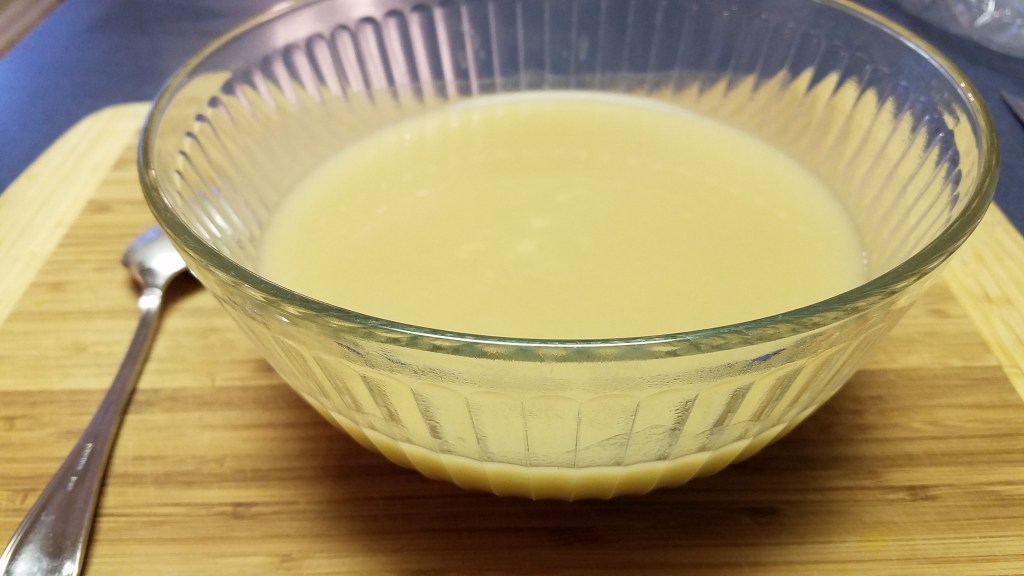
Add the vegetable stock. Stir until thickened.
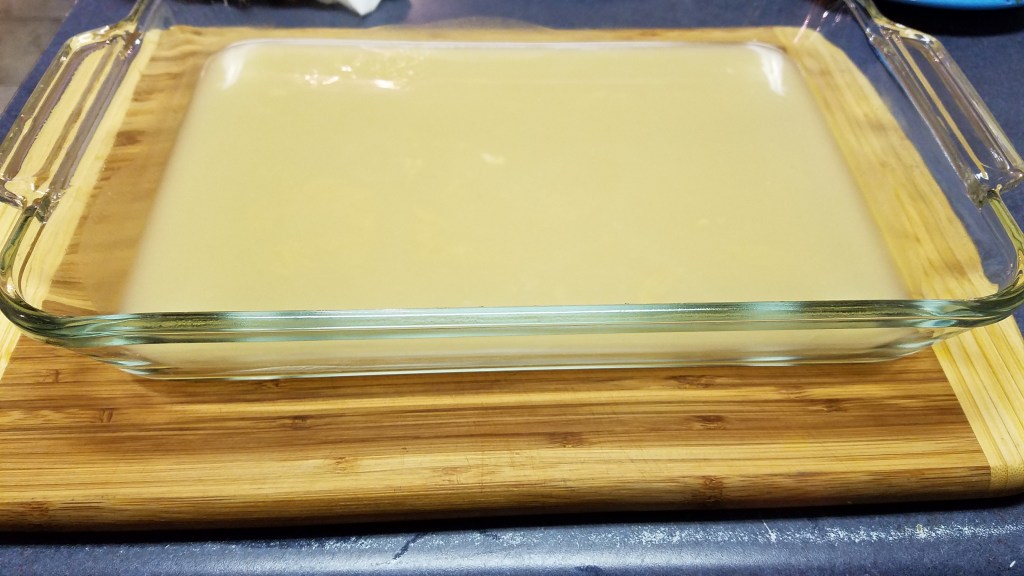
Pour one half of the sauce into a large casserole dish. Keep the rest of the sauce in a warm place.
Lay some tortillas on a clean work surface and add the fillings. These will be some thin enchiladas!
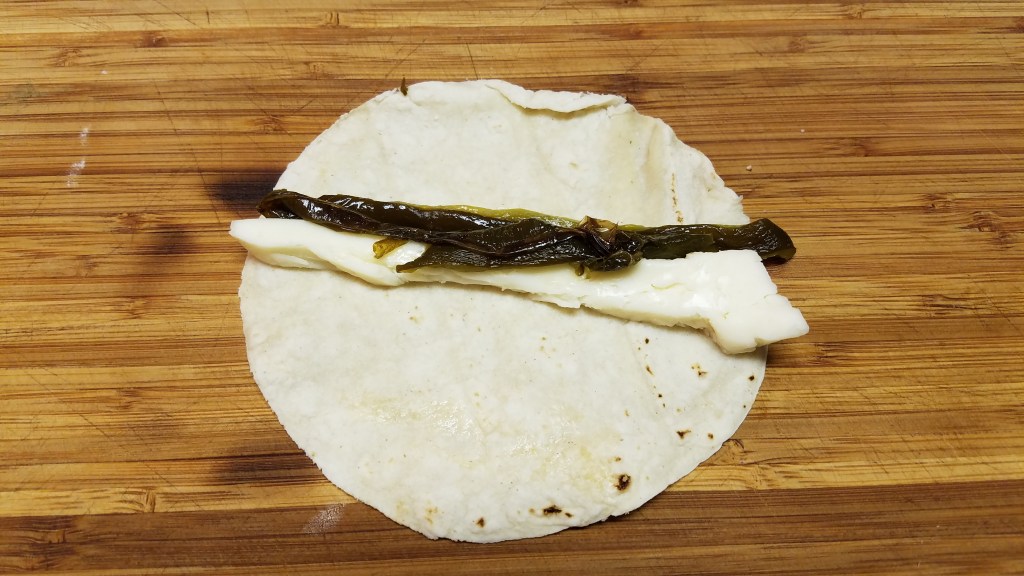
Add 1 strip of cheese and an equal amount of poblano chili to a tortilla.
Roll the tortilla and place in the casserole dish. Continue in this fashion until you run out of chilis, cheese or tortillas. Pour the remaining sauce over the enchiladas.

Add some dots of the salsa verde along the top of the enchiladas.
Add strips of Chihuahua cheese across the top of the rolled enchiladas.
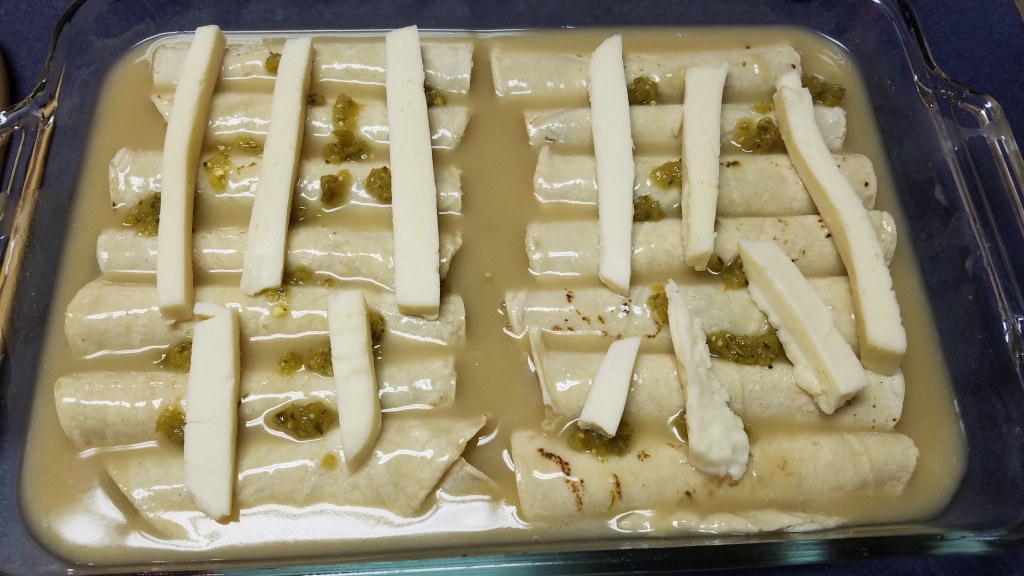
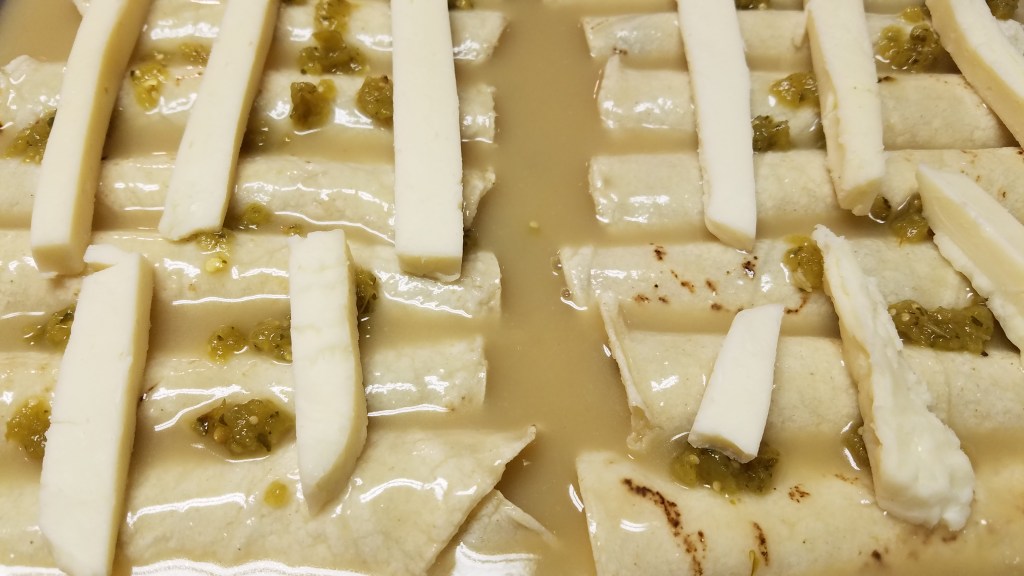
Bake in a 350° oven for 25 to 30 minutes, or until the cheese on top bubbles and begins to brown.
Note: I was hungry and I forgot to take a picture of the final dish. I trust that you can imagine what the finished dish looked like…soft, creamy enchiladas with a toasted cheesy topping. Yes…that pretty much sums it up. Enjoy!
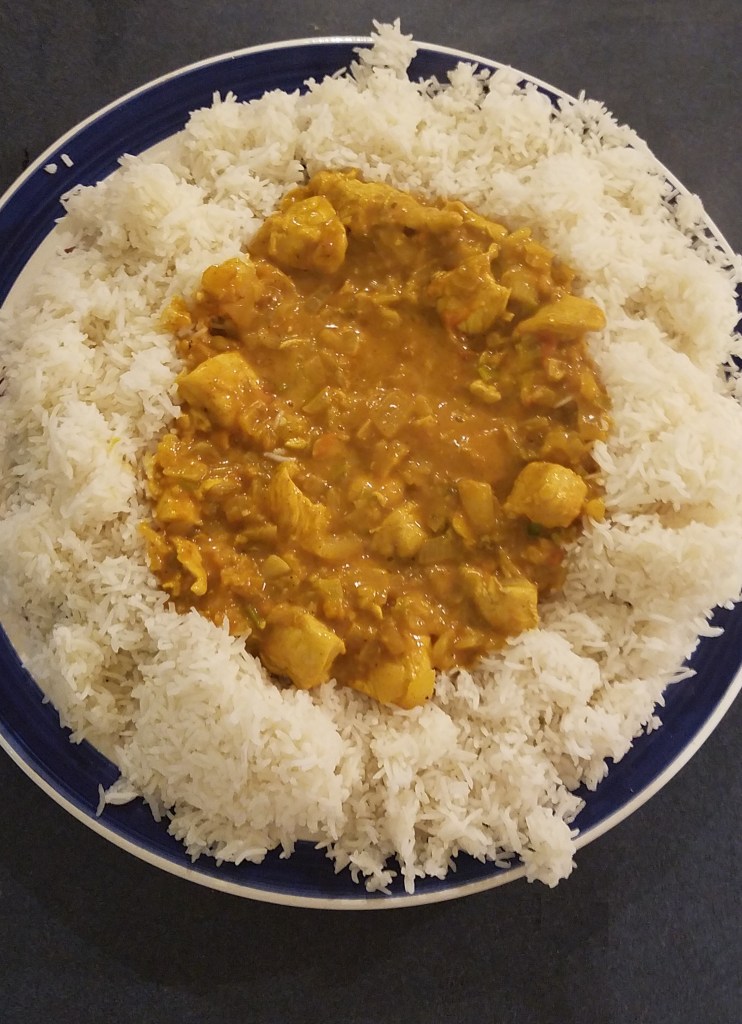
I enjoy making a delicious curry dish every now and then but I have to admit, curry vexes me. I’m the sort of guy that likes to know the subtle intricacies of the ingredients that I use but I have to admit, my understanding of curry is shamefully shallow. Fortunately, my lack of understanding doesn’t prevent me from cooking with curry. I’d like to make my own curry blends someday but, for now I will keep relying on my tried and true prepared blends.
Many years ago I received a boxed set of six curry spices from a friend. Each container held 2 ounces of various spices. There was Chaat Masala, Tandoori Masala, Garam Masala, Tea Masala and two that were simply labeled Hot Curry and Mild Curry. I have used a little of each of them over the years and I still have those containers in my cupboard, tucked away in a far corner. They have held up remarkably well over the years. Some spices lose their potency and aroma over time but these seem to have incredible staying power! I only use a teaspoon or two when I make a curry.
This is a variation of a turkey curry that I bravely made several Thanksgivings ago, while visiting relatives.
Ingredients:
1 tsp hot curry
1 tsp mild curry
1 tsp turmeric
2 Tbs olive oil
1 yellow onion, chopped
5 garlic cloves, minced
1 ½ Tbs fresh ginger, minced
1 1/2 lbs chicken breasts, cut into 1 ½ inch pieces
½ cup chicken broth
1 ripe tomato, chopped
A pinch of salt
1 tsp cornstarch mixed with 2 tsp water (thickening slurry)
1/3 cup coconut milk
2 Tbs chopped cilantro
1 green onion, chopped
Directions:
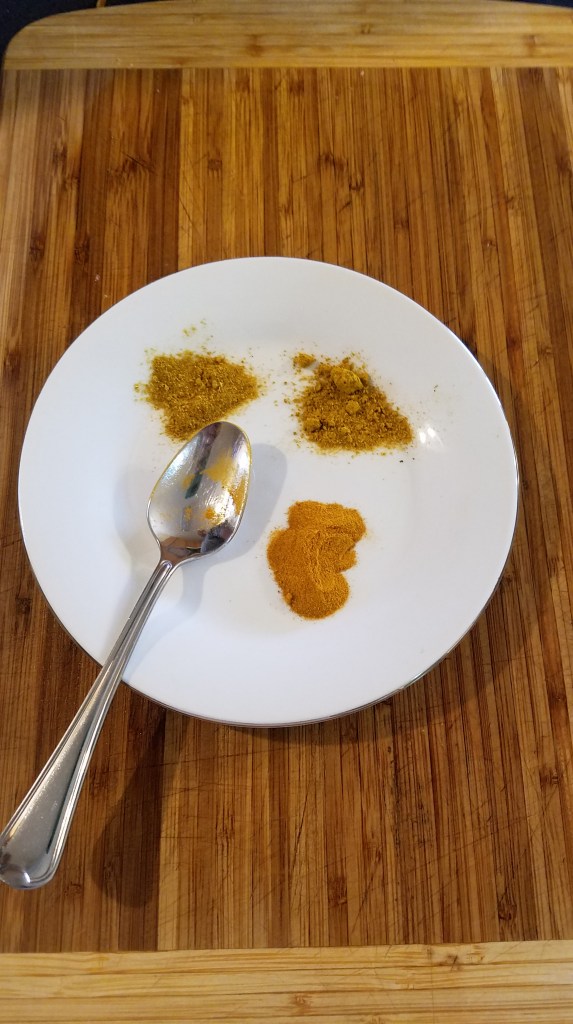
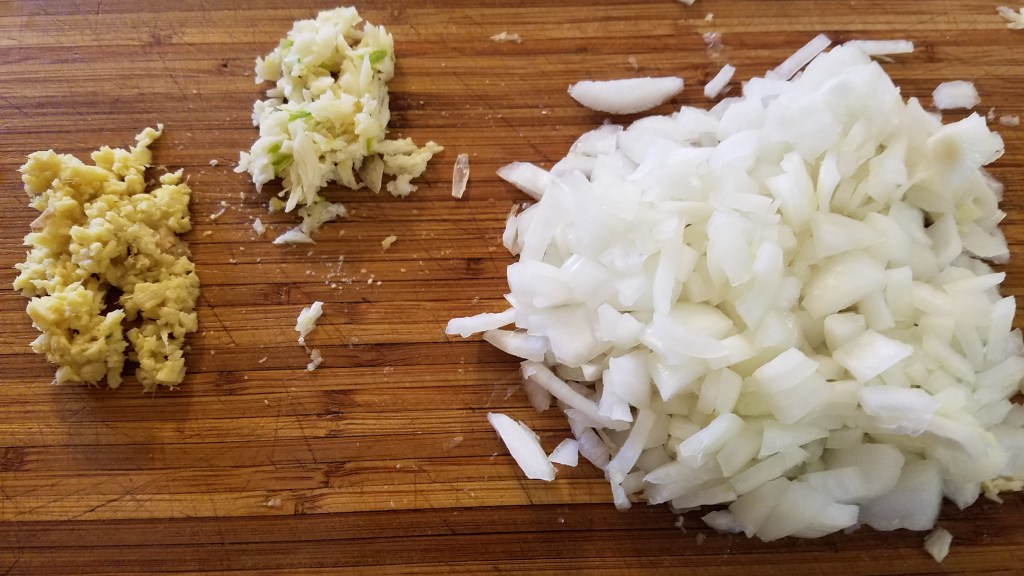
Mix the spices in a small bowl. Set aside.
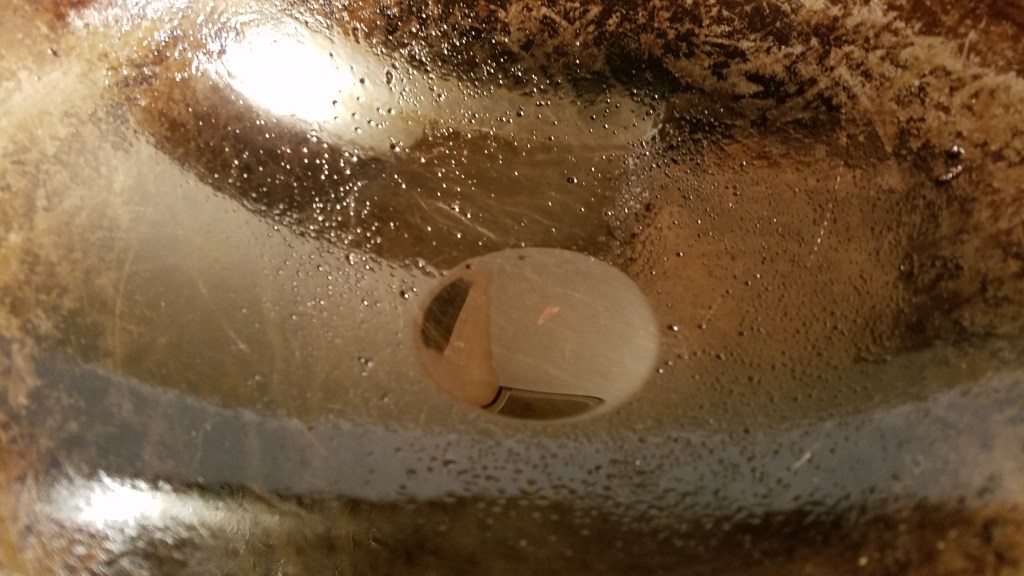
Heat olive oil in a wok over medium-high heat.
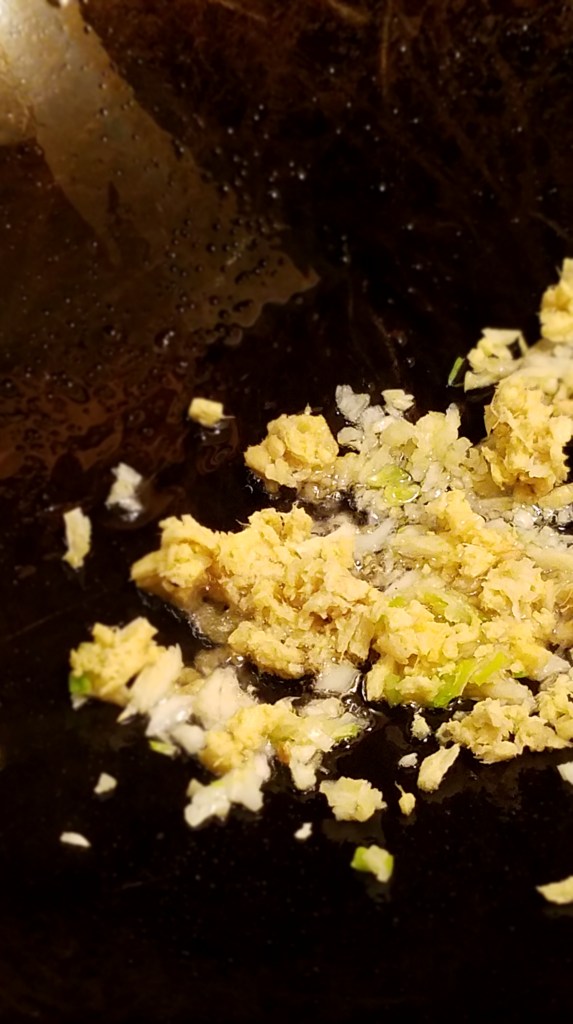
Add the garlic and ginger, sauté for about 30 seconds.
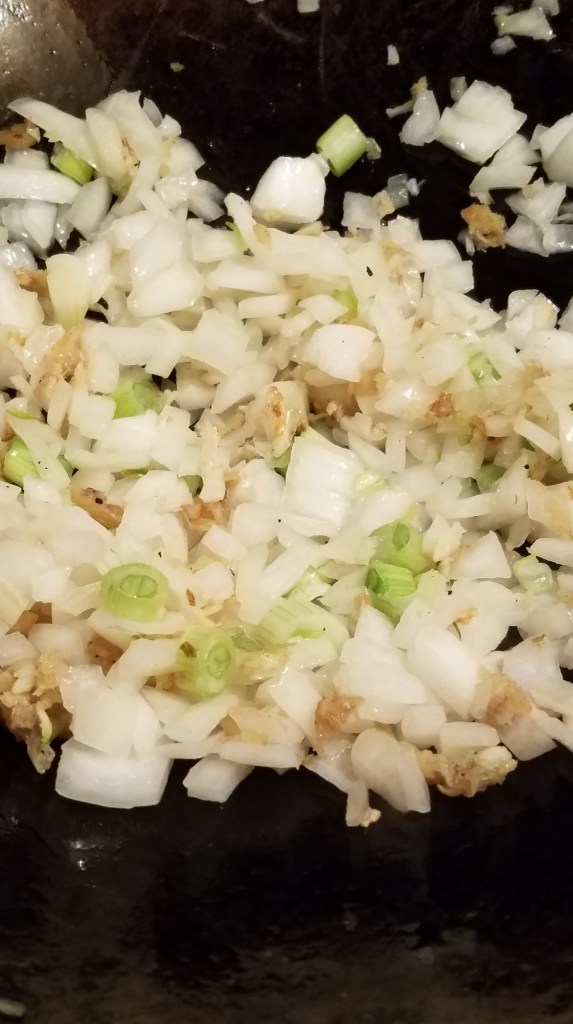
Add the onion and sauté until they almost turn golden brown, about 4 or 5 minutes. Add the curry spices. Sauté another 30 seconds and then remove everything from the wok and keep handy.
Add the chicken to the wok.
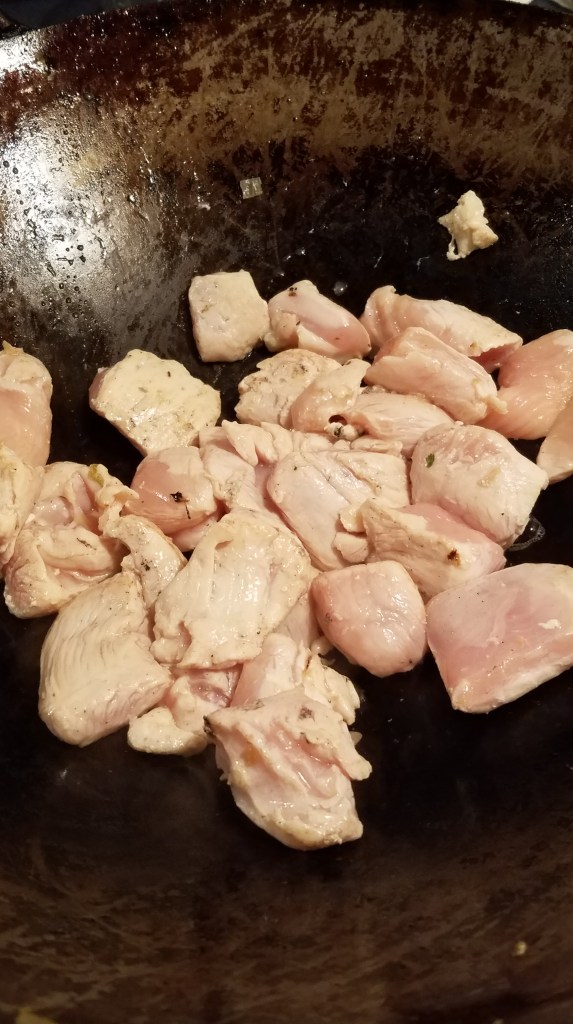
Stir-fry the chicken until the chicken turns white and firm, about 5 minutes.

Once the chicken has cooked, add the cooked onion and garlic and stir.
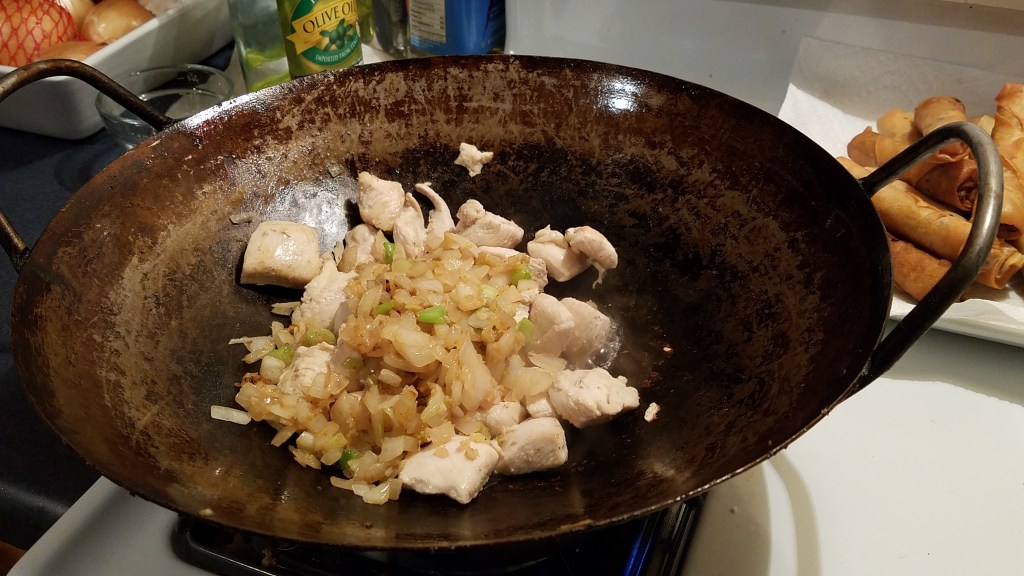
Add the chicken broth and tomato and bring to a boil, then reduce heat to medium-low. Simmer for 5 minutes.

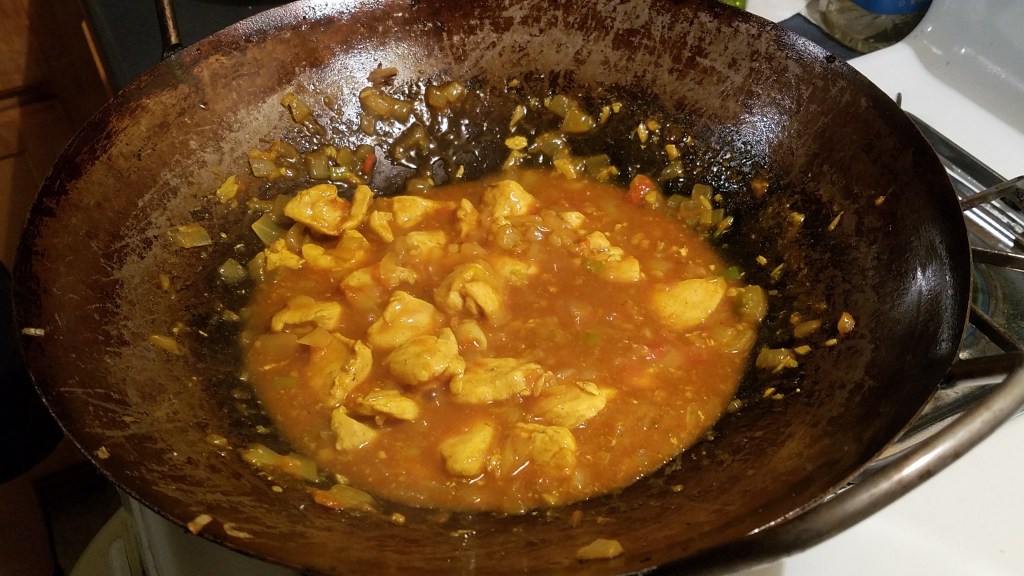
Add a pinch of salt. Stir and taste. Add more salt, if you like. Stir in the cornstarch and water slurry, to thicken sauce slightly. Simmer for a few more minutes.
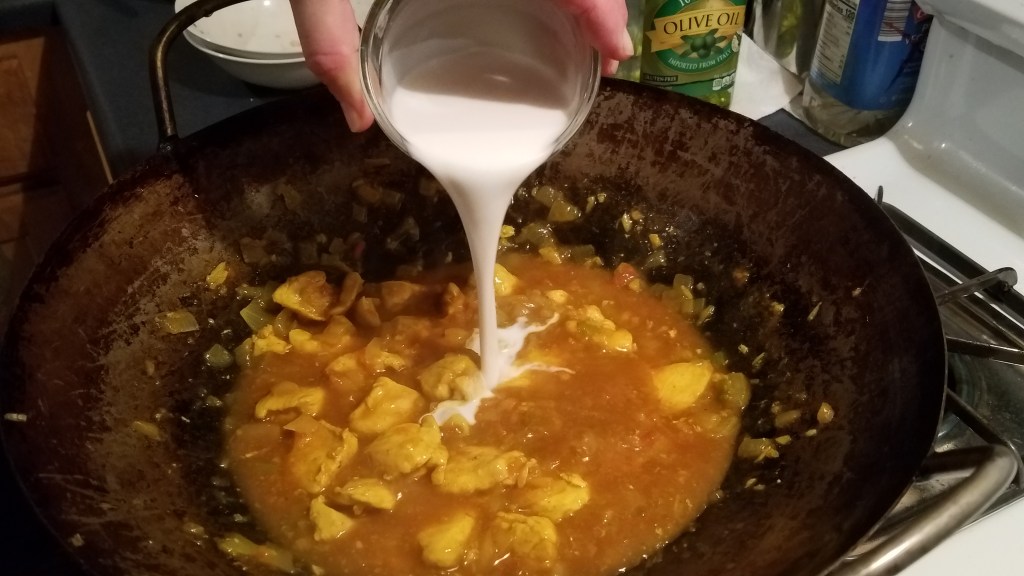
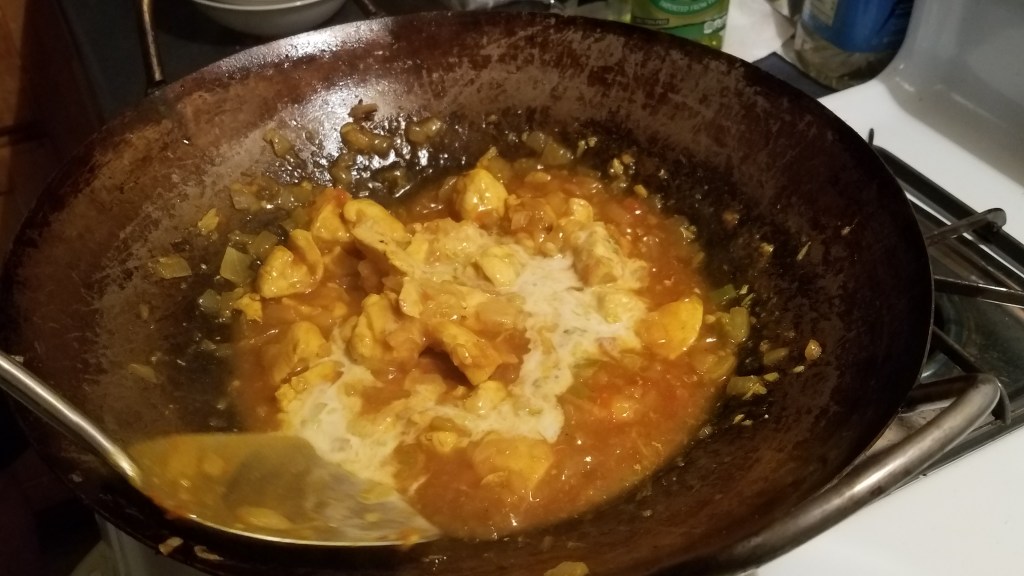
Stir in the coconut milk and turn out to a serving bowl. Serve warm with cilantro and green onions over basmati rice.