First, I predict that when the Oxford Dictionaries and Merriam-Webster reveal their word of the year, they will choose “social distancing” as their ‘word of the year’. I know that might come as a surprise to some people because “social distancing” is actually two words, but that sort of rule-breaking has not swayed scholars in recent years.
Secondly, “social distancing” has become a popular phrase that I am already tired of. The phrase, ‘social distancing’ reeks of Orwellian creepiness. To me, it is misleading and confusing.
“Quarantined” is a very elegant and succinct word, and it more accurately describes what we are experiencing now and it ties us to our past. Not so long ago, if you contracted malaria, you were quarantined. If you succumbed to bubonic plague, you were quarantined. If members of society wanted to inhibit the spread of disease, you were quarantined, or you could choose to quarantine of your own accord, if you were concerned of spreading a disease.
Let’s investigate the origin of the word quarantine, shall we?
Quarantine: From Latin quadrāgintā
From Italian quarantina (“forty days”), the period Venetians customarily kept ships from plague-ridden countries waiting off port,[1] from Latin quadrāgintā (“forty”)
A period of 40 days. A sanitary measure to prevent the spread of a contagious plague by isolating those believed or feared to be infected.
Is that too much to ask?
Be safe, be prepared and stay in touch with those you hold dear. This time will pass and we will have new challenges to occupy our time.
Oh no, I forgot to get jalapeños during my weekly trek to the toilet paper store, er, I mean grocery store.
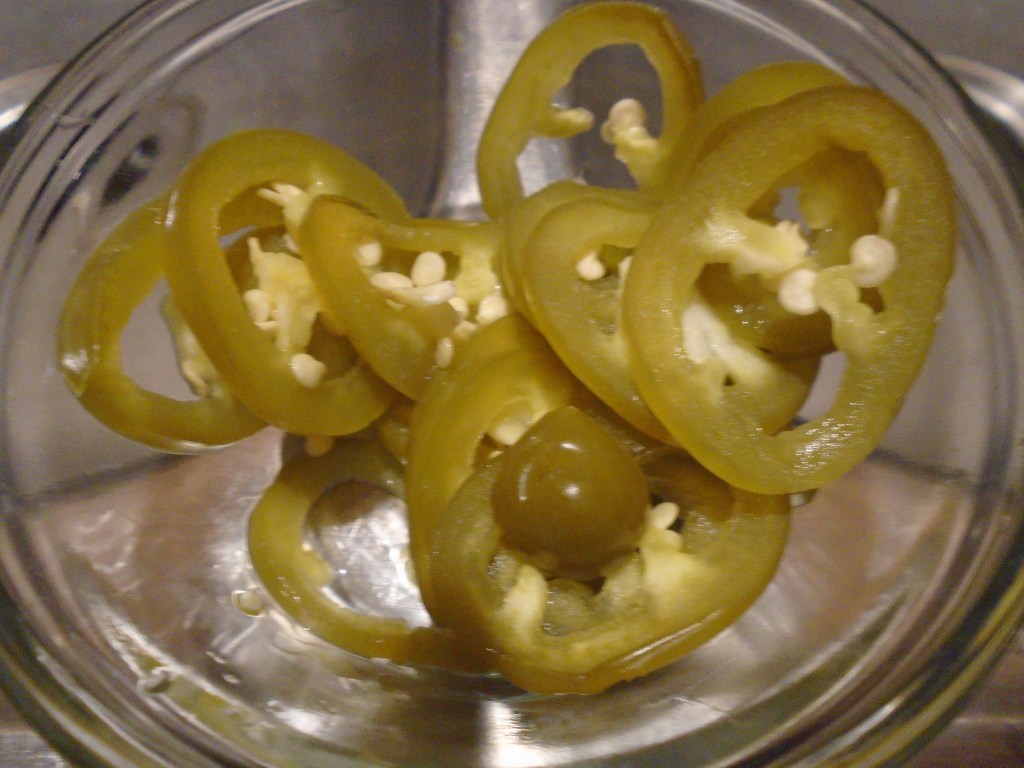
The good thing is that I have some fresh jalapeños and vinegar and sugar. Pickled jalapeños only take a few minutes to make and they can be just as good as store bought.
Ingredients:
3 Tbs white vinegar
3 Tbs water
1/2 tsp sugar
1 garlic clove, smashed
2 fresh jalapeños, sliced
Pinch of salt
Directions:
Combine the vinegar, water and sugar in a small microwave safe bowl. Heat in the microwave until the mixture begins to boil. Carefully remove the bowl and add the garlic, jalapeño and pinch of salt. Wait 10 to 15 minutes and enjoy some tangy peppers!
I was reading a post from Ella at thewackyspoon.com recently and she mentioned a “Well Stocked Spice Cabinet” and that made me think about my ten essential spices. It didn’t take me very long for to come up with my ten. These are the things I use nearly every day. I’m taking a certain liberty by adding some dried herbs because I treat them like spices.
salt
black pepper corns
garlic powder
chili powder
cumin
cayenne pepper
oregano
basil
cinnamon
rosemary
I believe many of these would find their way on many cook’s essential 10. What I find interesting (and sad) is what didn’t make the cut.
onion powder, bay leaves (laurel), paprika, turmeric, parsley, mint, sage, chocolate (yes, chocolate!)… The list goes on and on.
Spices and herbs are the things we, as cooks, use to make mundane food exceptional. All manner of vegetables, fruit and meats are heightened by the spices we add. What would our world be without our favorite spices?
Thank you, Ella for giving me something to ponder!
I am adopting a new kitchen motto:
Keep it simple, but add lots of spice!
I’m interested to see what others might offer for their top ten…
My first Reuben sandwich came from an airport deli. To be precise, I was at D/FW Regional Airport, Terminal 2E (American Airlines), on a sunny spring day, in 1977. I wasn’t traveling and I wasn’t meeting anyone. I was there just for fun.
When I was a 12 and 13 years old, I used to ride my bike to the airport just for fun. That’s the sort of thing I did while other kids were playing sports or hanging out at the mall. Yes, I was a little odd.
In some ways, going to the airport, by myself, made me feel connected with other people. It was an interesting way to observe people, without being obtrusive. I imagined stories about the people I saw and dreamed about the places that they would go to and places they had been. I was living life vicariously by watching others but it poured gasoline on the fire of my imagination.
I rarely had much money…usually nothing more than a dollar or two. But, on that day I had five dollars in my pocket. I gazed at the menu, reading the descriptions of the sandwiches that the deli had to offer. One sandwich in particular drew my attention. The Reuben. I had never had corned beef and sauerkraut was something I never imagined on a sandwich and rye bread was something I imagined only existed in New York. I had to have it.
I savored every bite of that Reuben sandwich and I still recall its warmth, aroma and the piles of sliced corned beef to this day. Every time I have a Reuben sandwich I recall the fun times I had during my trips to the airport, when I was globetrotting teenager, at least in my mind.
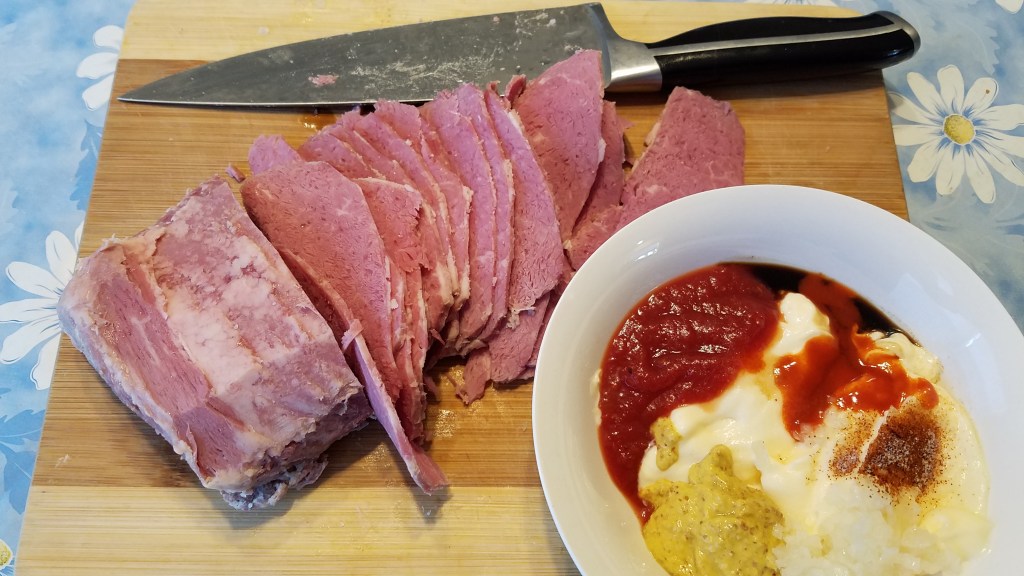
The Reuben that I am making today will have sour dough bread, instead of rye. Other than that, I have remained true to the classic sandwich recipe. I bought a beef roast that came with corned beef seasoning and followed the directions on the package. I boiled the roast for a few hours and then let it rest until cooled.
Ingredients:
2 lbs prepared corned beef roast
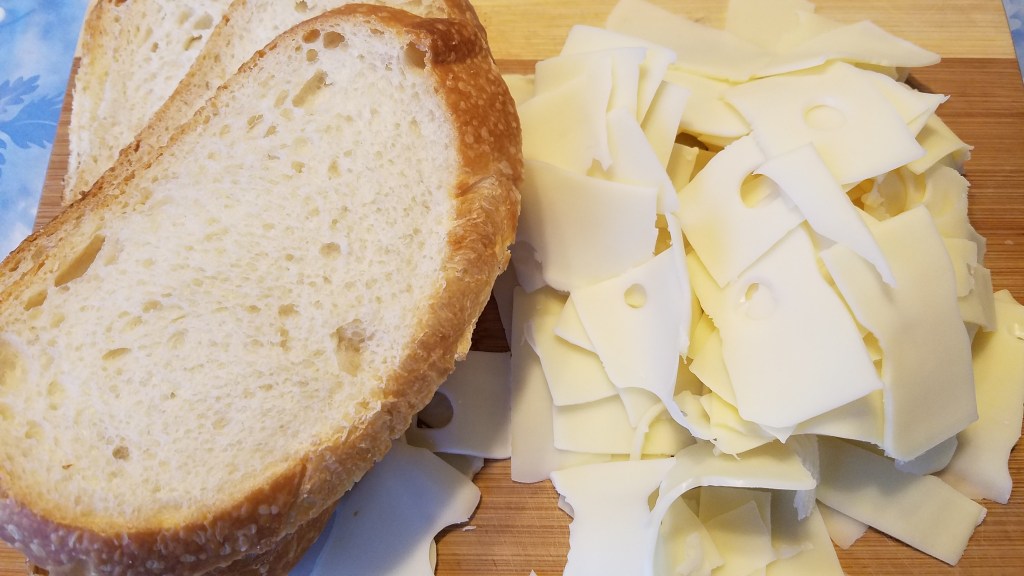
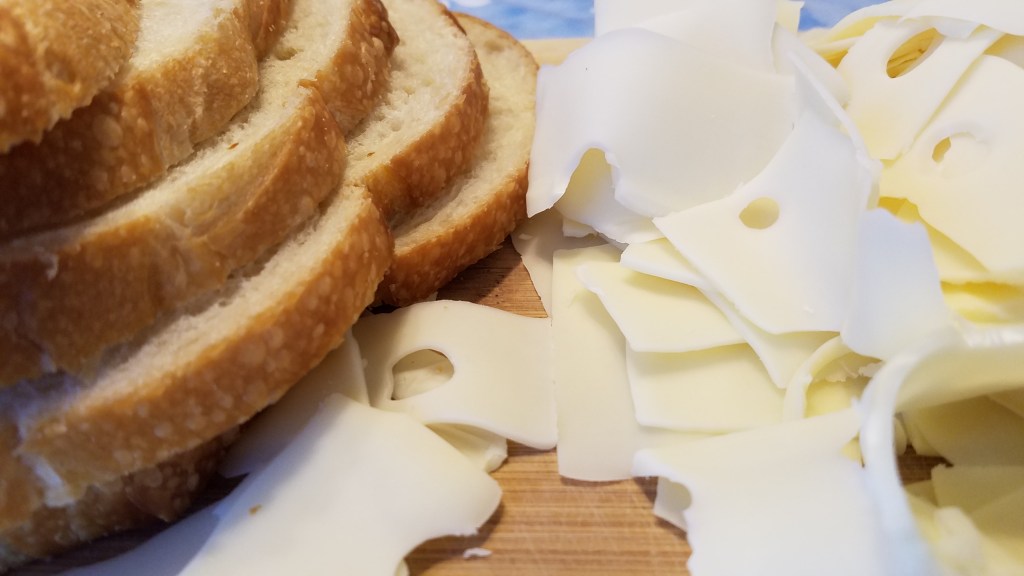
16 oz Swiss cheese, sliced
1 ½ cups sauerkraut
1 ½ cups Russian dressing (ingredients and directions below)
Sour dough bread, sliced
1 Tbs olive oil
2 Tbs butter
Directions:
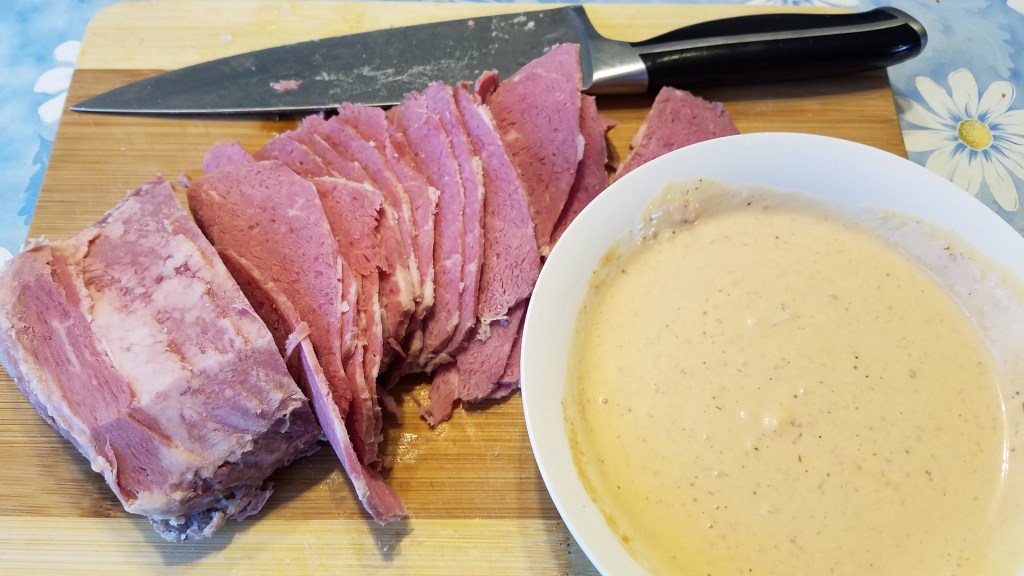
Slice the corned beef, ¼” slices or thinner if you can. Slice the Swiss cheese. Set these aside.
Preparing the Russian dressing:
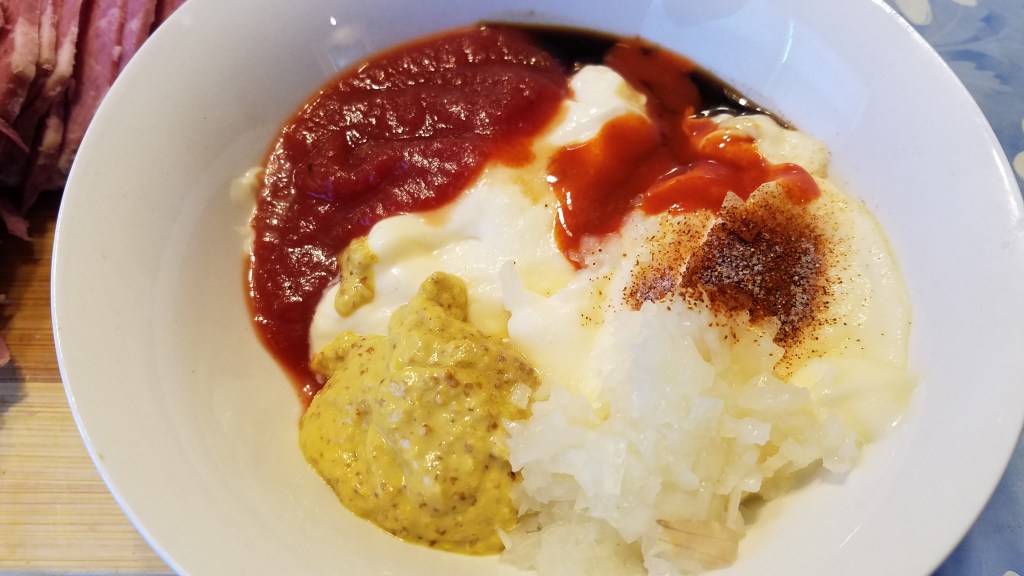
2 Tbs onion, minced and pulverize with the broadside of a knife
1 cup mayonnaise
3 Tbs chili sauce (spicy ketchup)
2 Tbs horseradish, from a jar
1 tsp Worcestershire sauce
1/4 tsp paprika
Combine all and mix thoroughly. Set aside.
Assembling the sandwich:
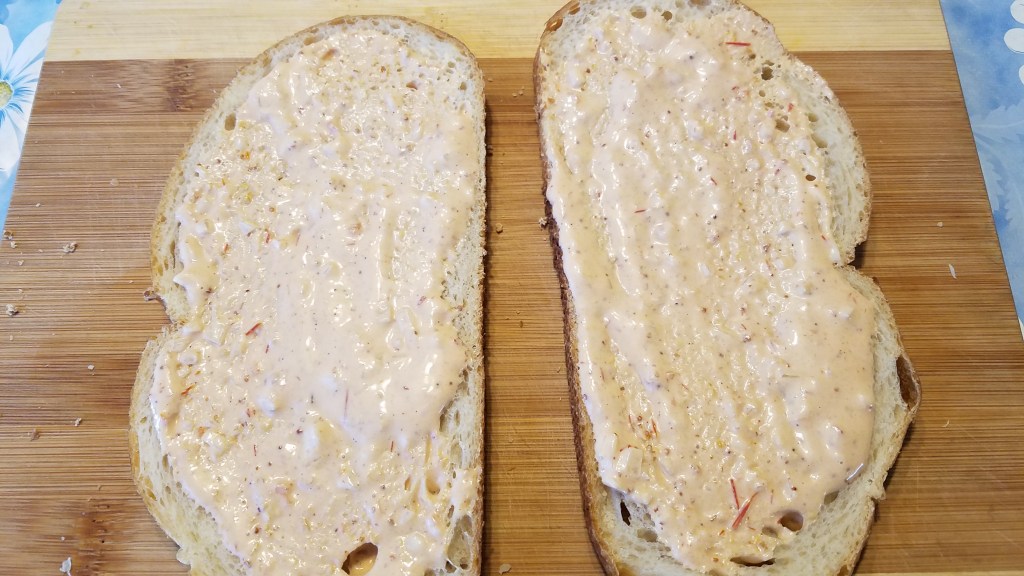
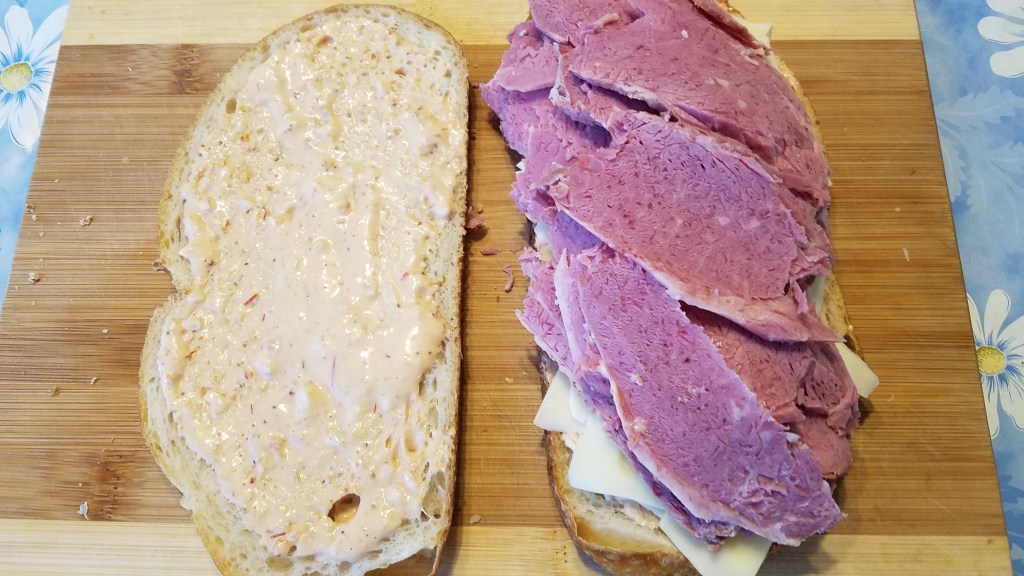
Lay slices of bread on a clean work surface. Slather Russian dressing on both slices.
Lay slices of Swiss cheese on one of the slices.
Pile slices of corned beef on one top of the cheese.
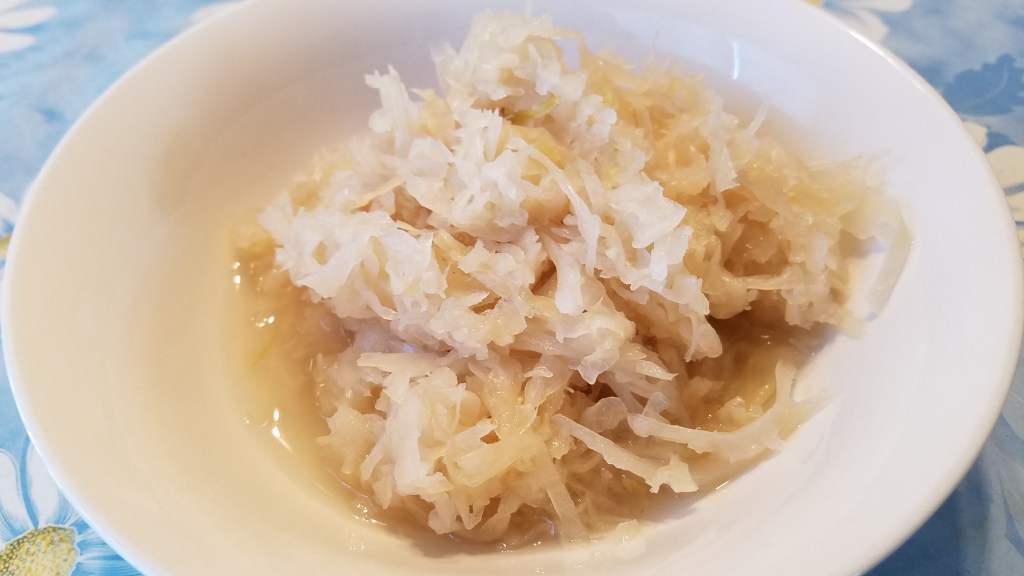
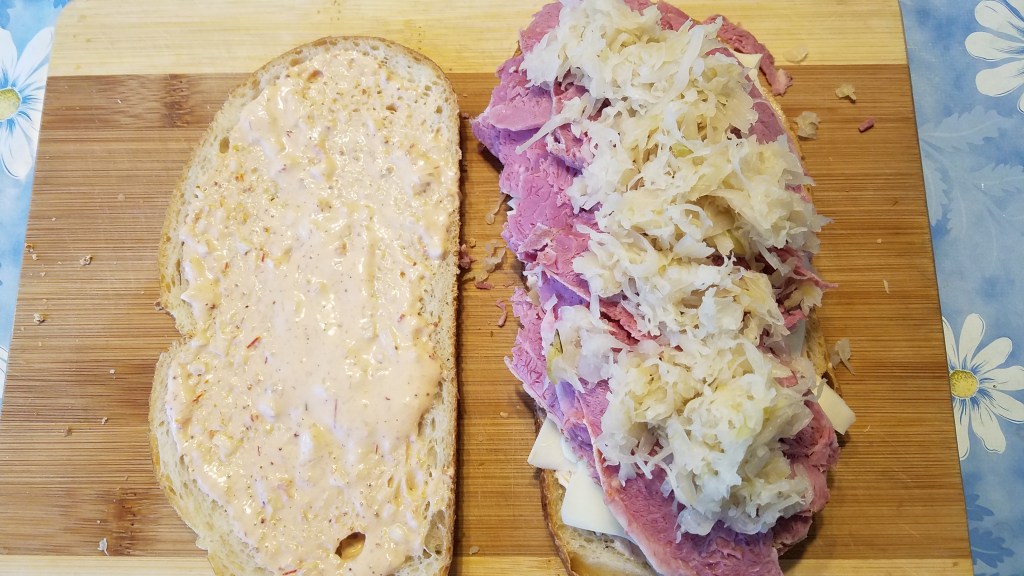
Squeeze some sauerkraut in your hands to remove as much of the liquid as possible. Lay the sauerkraut on top of the corned beef.
Top the sandwich with the other slice of bread. Repeat the process to make a second sandwich.
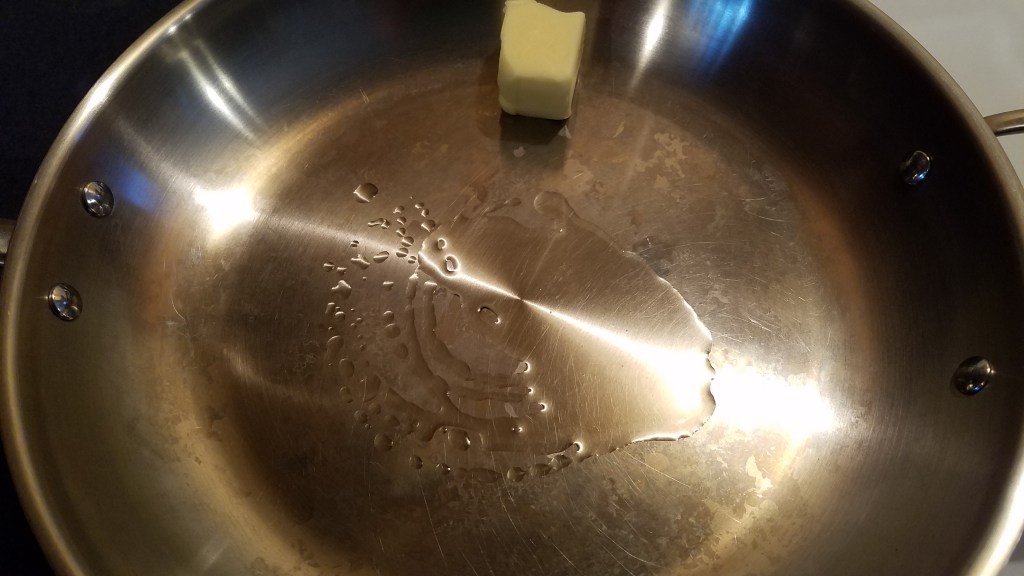
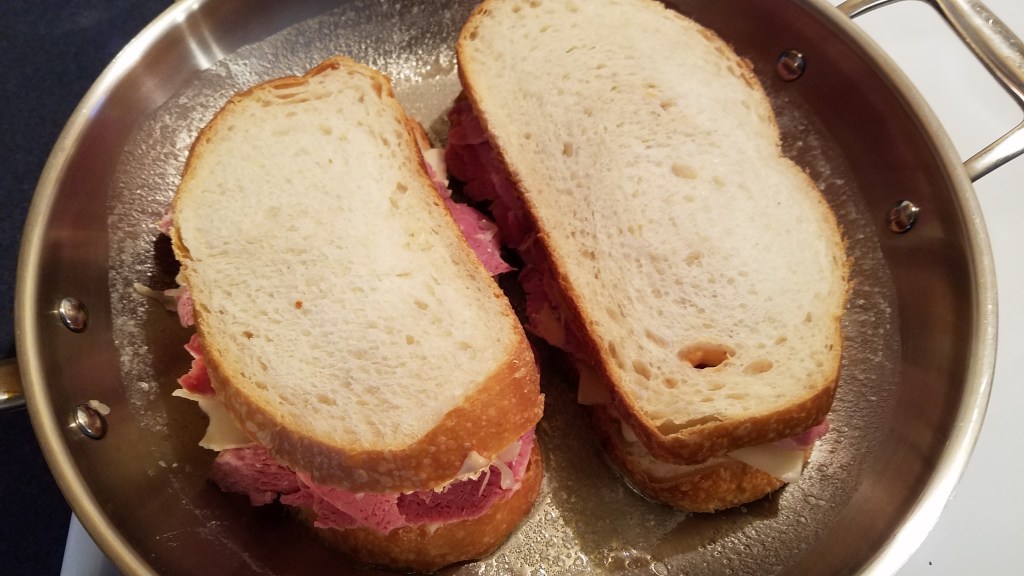
Heat a skillet to medium/low heat. Add olive oil and butter.
When the butter melts, turn heat to low and carefully lay the sandwiches onto the skillet.
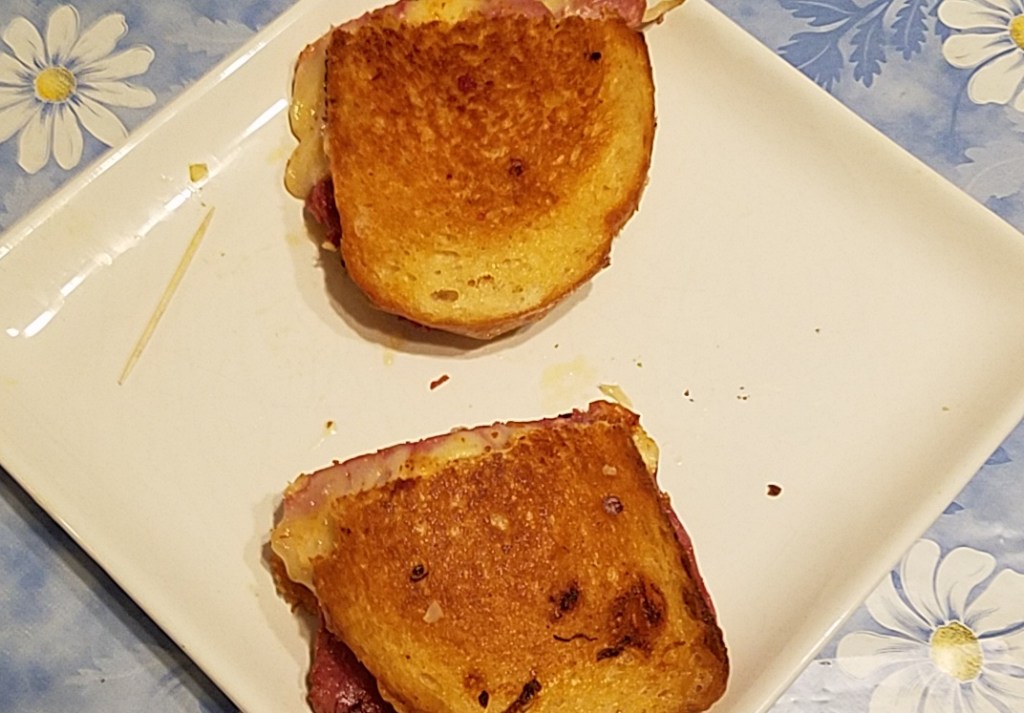
Brown both sides of the sandwiches, turning occasionally. Continue to turn until both sides have browned and the cheese has melted.
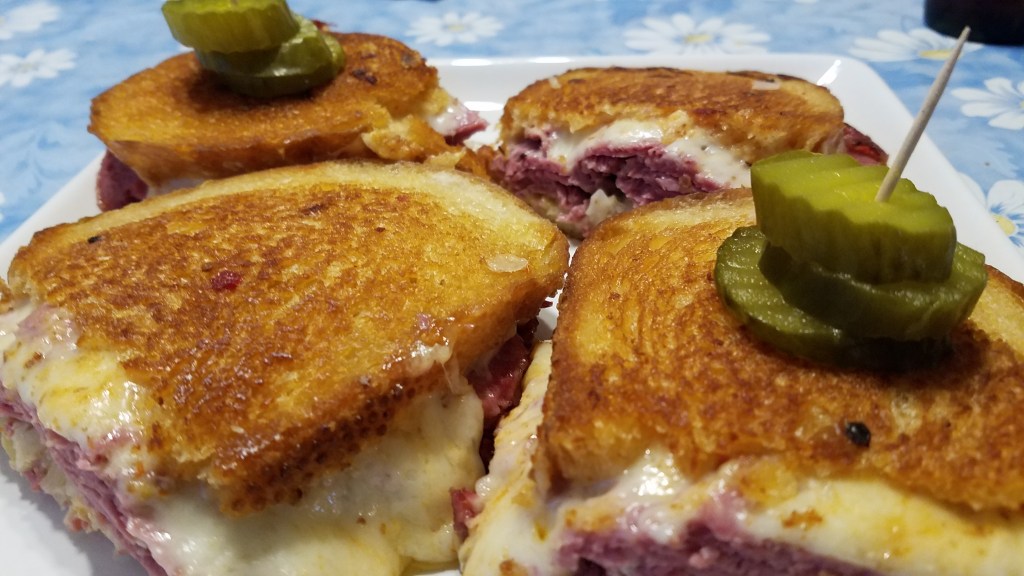
Remove the sandwiches and slice them in half.
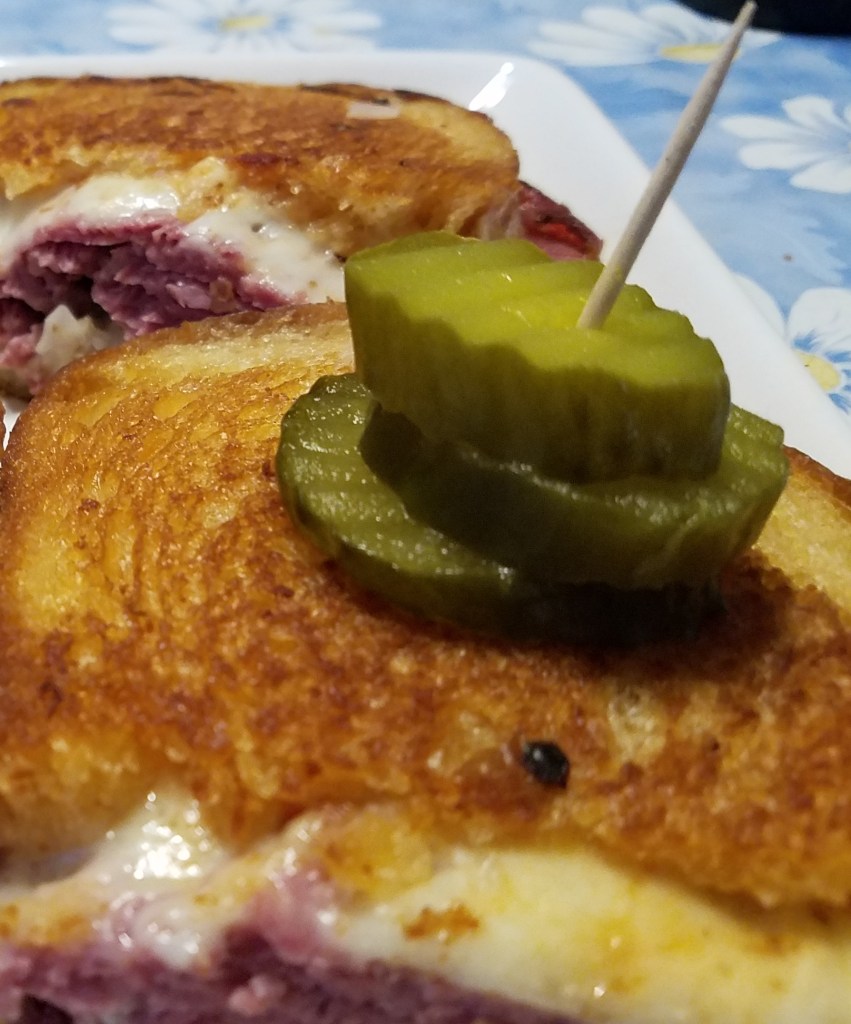
Secure the sandwiches halves with toothpicks and dill pickle slices.
I haven’t been to a grocery store in over a week and I’m glad to have missed out on the recent onslaught of anxious people that are on a quest to hoard sanitary items and toilet rolls. Today’s trip to the store was juvenile but necessary. Beer and snacks.
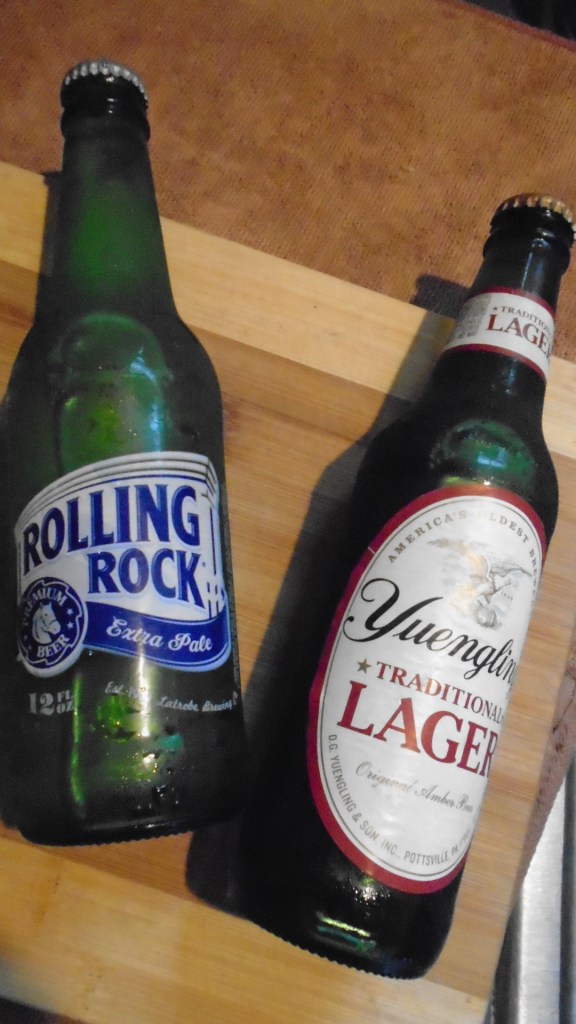
My good friend from Miami…Miami, Manitoba, Canada, mind you, wants to know what sort of beer I got when I went on my beer run today. Well, Graham, for your pleasure, I offer you two beers! Both are originally products of Pennsylvania, which is where I was born.
Rolling Rock est. 1939, Latrobe Pennsylvania. Brewed in Latrobe, PA, until purchased by Anheuser–Busch in 2006. Now it’s brewed wherever Anheuser–Busch wants to brew it, which might be in any of the 13 cities in the U.S., where Anheuser-Bush brews. There is a much storied myth and history behind the “33” and the pony that is displayed on the bottles. I’m all for a good mystery, but I prefer to drink the beer, rather than dwell on the myth.
Yuengling est. 1829, Pottsville, PA. Yuengling claims to be the oldest brewery in the U.S. It’s near Wilkes-Barre PA, in the heart of the Pennsylvania coal mining region. The name Yuengling is an Anglicized version of Jüngling. David Gottlieb Jüngling was the entrepreneur that started the brewery and I give him a wink and a nod, each time I enjoy one of his beers.
Since I bought two types of beer, I had to make a choice of which I would drink first. Rolling Rock won, easily. Rolling Rock has a “clean” taste. It finishes like it starts, clean and crisp. I used to refer to Rolling Rock as a poor man’s Heineken. It’s a straightforward pale ale that fits any occasion, even self-quarantining, I suppose.
I will finish with the Yuengling. Yuengling lager is probably the better beer, when compared to Rolling Rock, because of its distinct sweetness and balanced hops flavor. Yuengling’s mystery is in the unique flavor of the beer, where Rolling Rock’s mystery is the number 33 and a pony. Taste wins, in my book.
Either one is fine with me, really. It’s just nice to be able to sit down and enjoy a beer once in a while.
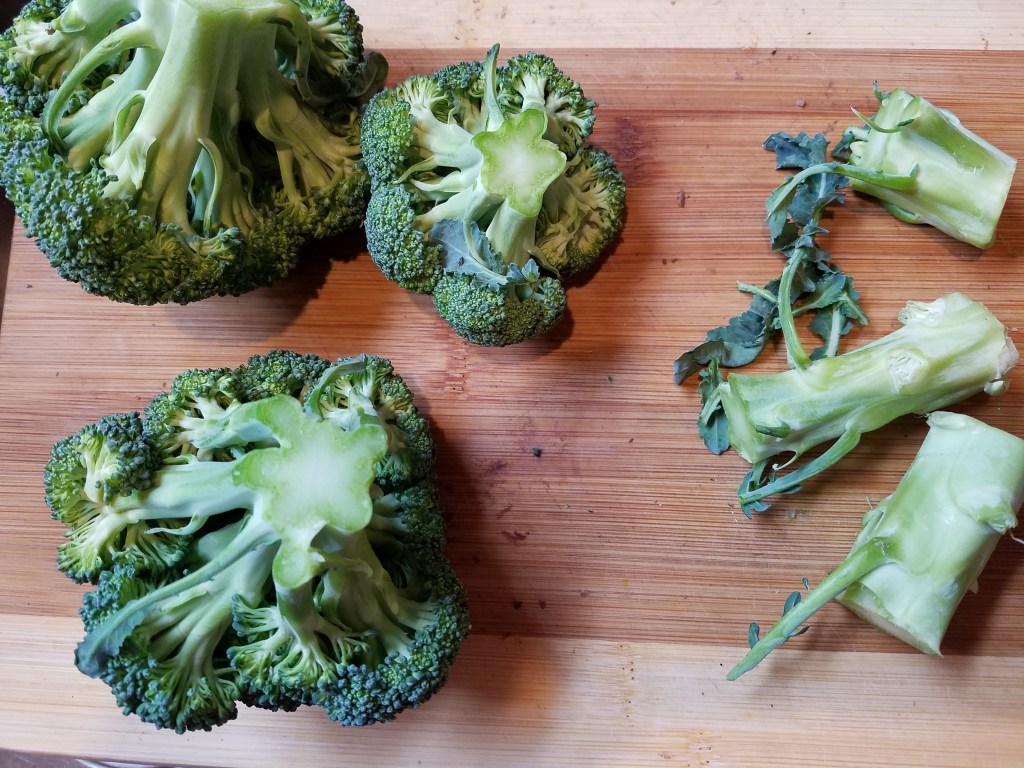
Last night I made steamed broccoli as a side dish to the main course. When I steam vegetables I strive for an even texture throughout the pieces. This is a challenge when it concerns broccoli because although the florets are fluffy and not very dense the stems are dense and thick. One solution to the problem is to cut the dense pieces into smaller sizes that will soften at the same rate as the florets. Another solution is to not include the thick stems at all.
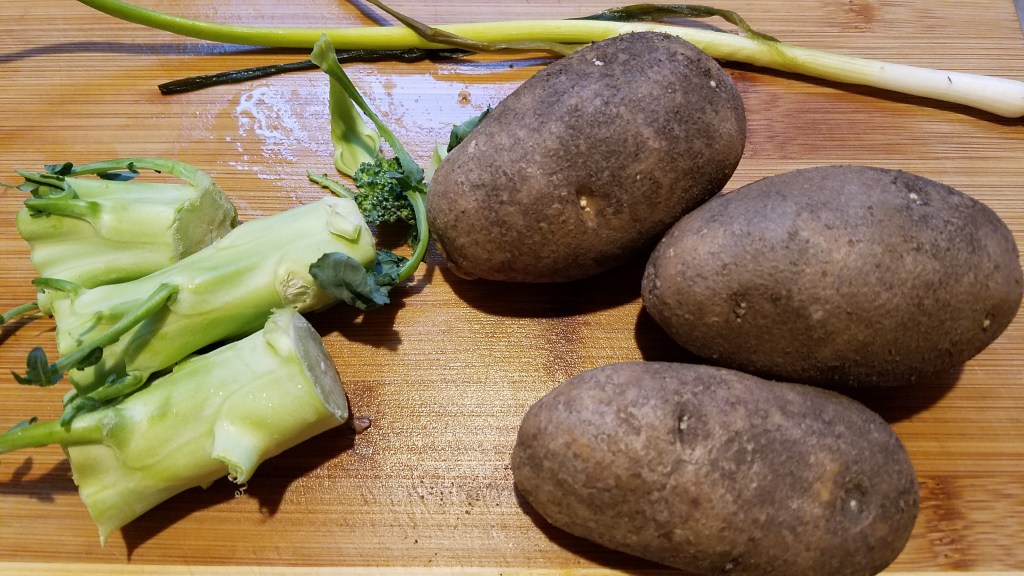
I chose the latter option, but that didn’t mean I was going to waste perfectly good broccoli.
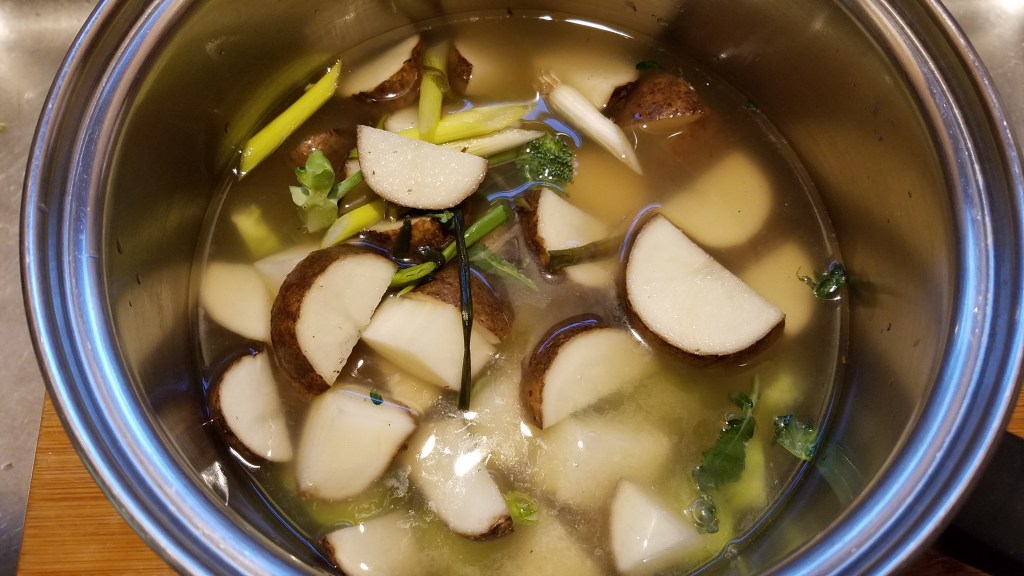
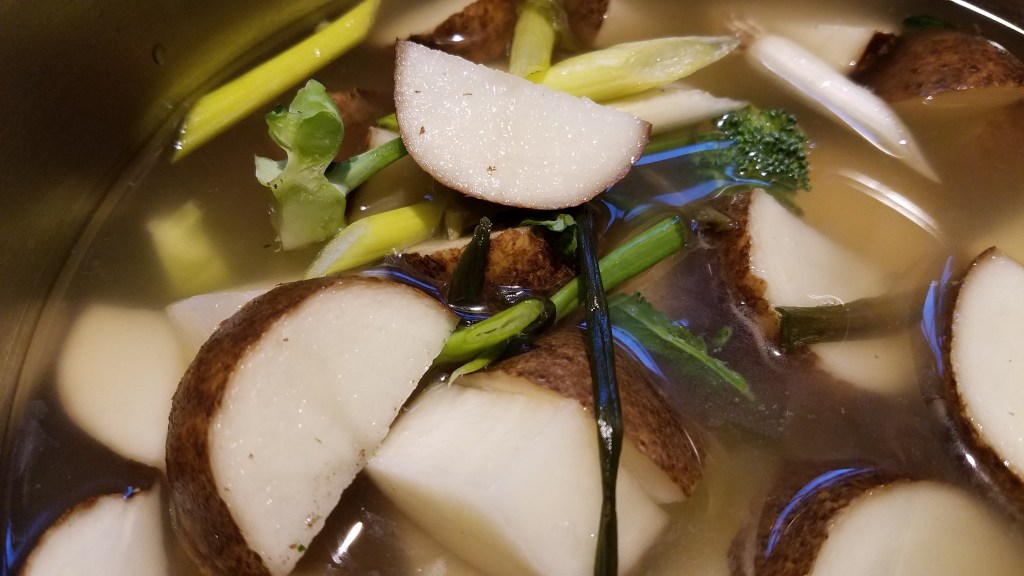
I rummaged around the kitchen and searched for vegetables that were on their way out. Wilted vegetables might lose their visual appeal but they still retain their nutritional value. I found some green onions that were wilted and a few potatoes that were smaller than the rest.
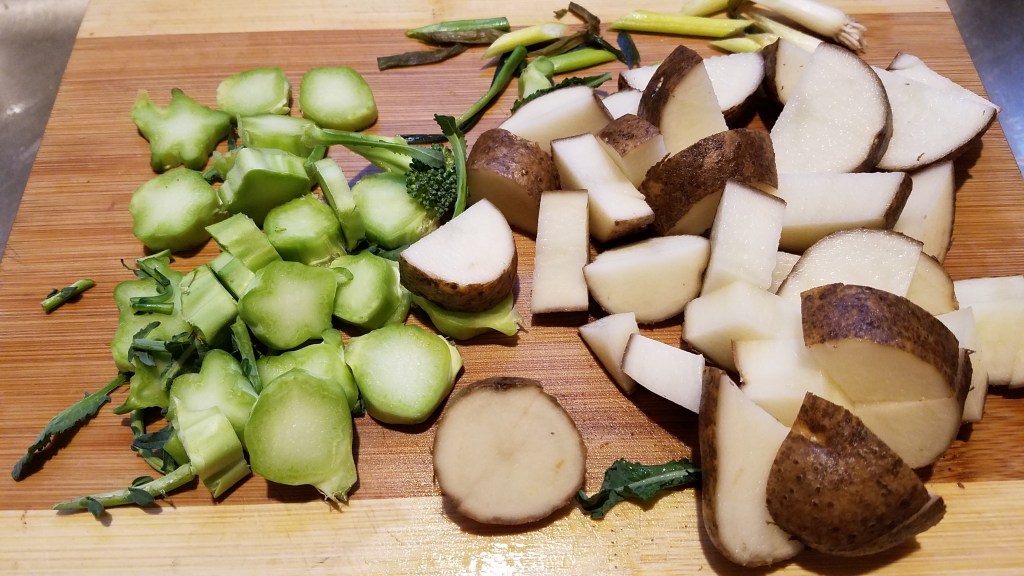
I rough cut the vegetables and tossed them into a pot.
I added 2 cups of chicken stock and simmered at low heat, covered, for one hour.
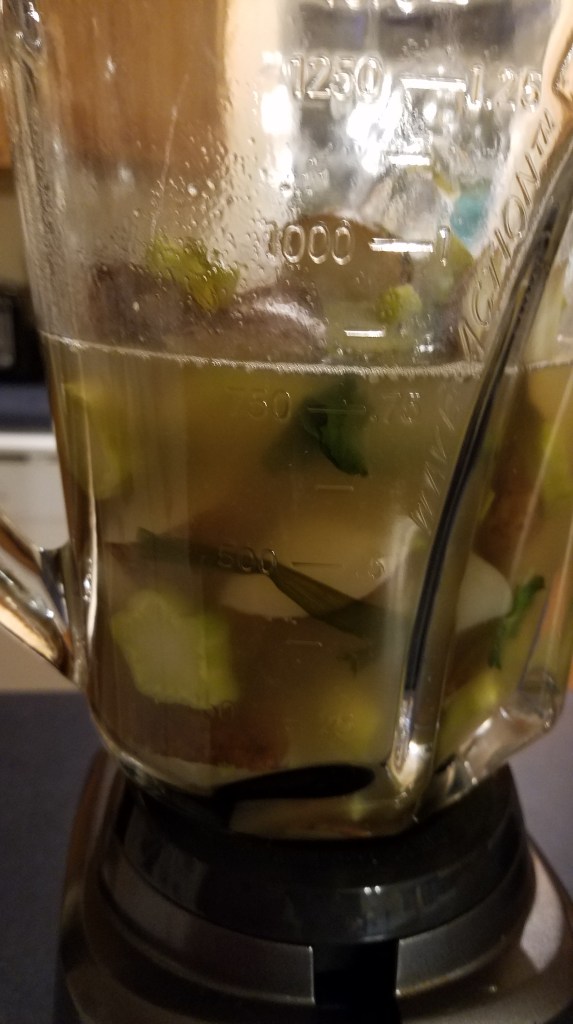
Once the vegetables had sufficiently softened, I poured everything into a blender and pulsed to puree.
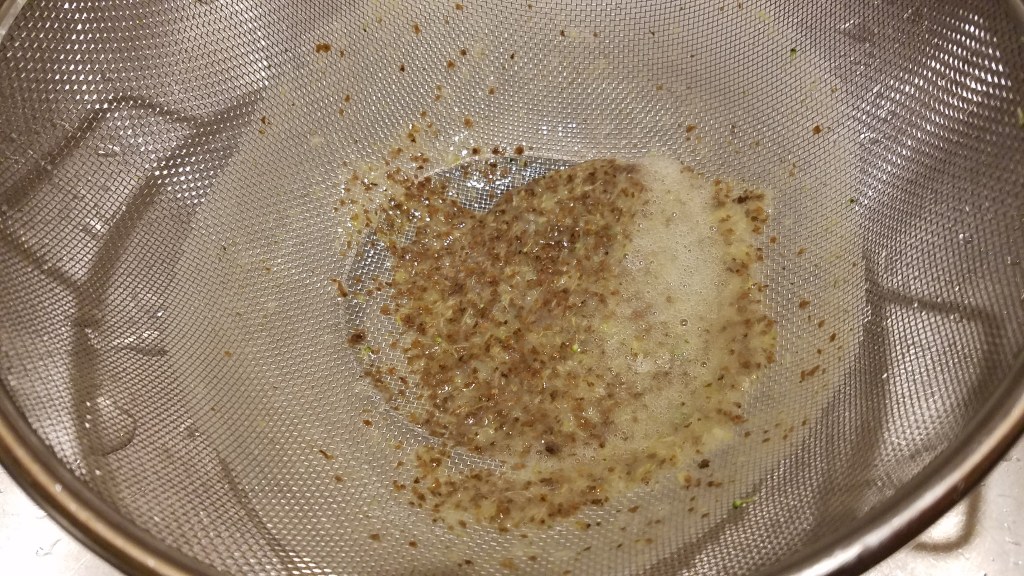
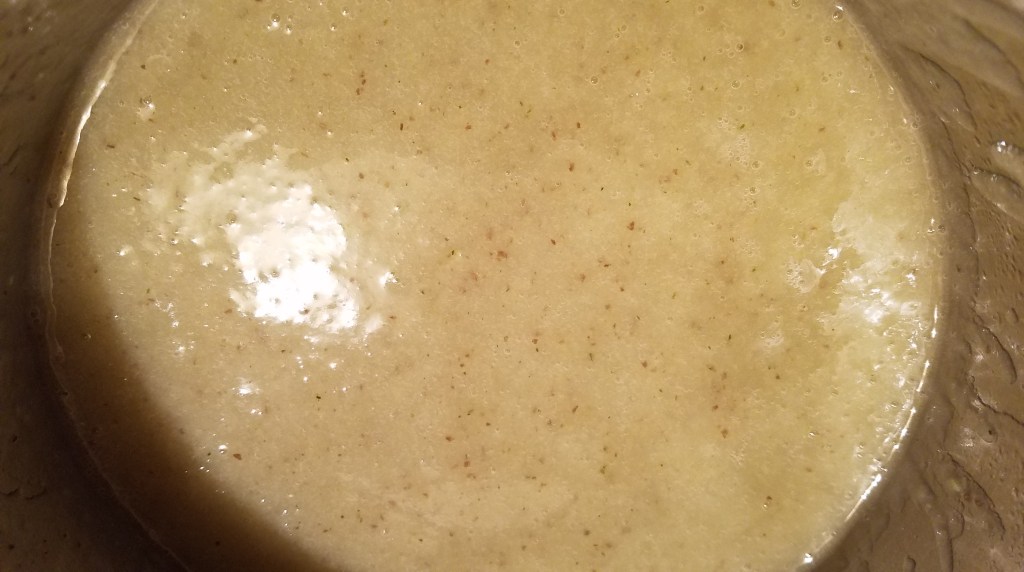
I strained out the remaining little pieces of potato skins and was rewarded with a creamy, hearty soup.
Anything can be added to the soup at this point. Maybe some leftover sausage scraps or some lunch meat that has been relegated to the back of the meat drawer.
I chose to chop another wilted green onion for the topping and then added some dried Parmesan cheese. After a few twists from the pepper grinder, the soup was ready to eat.
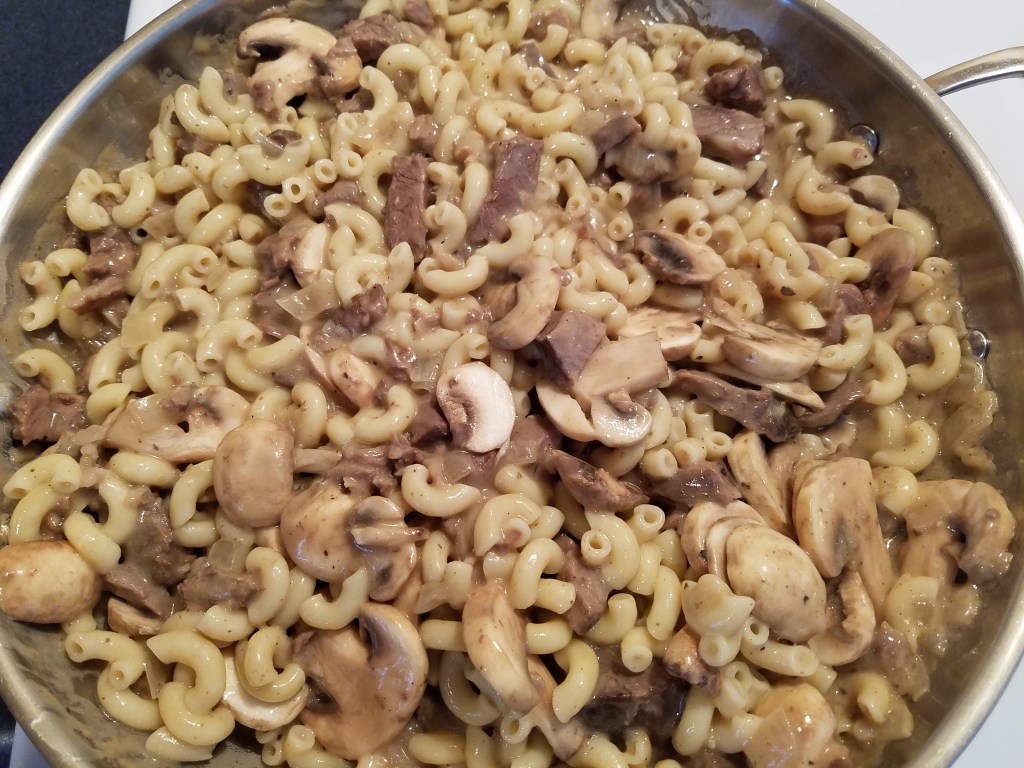
This isn’t a classic Beef Stroganoff…it’s more like a stripped down version. But that is where my heart is tonight. Basic. Essential. Sincere.
I didn’t realize I was making Beef Stroganoff until I was nearly done making this dish. It all started rather innocently with me deciding what to do with a leftover beef pot roast that was at risk of drying out in the refrigerator.
I pulled some items from the refrigerator and the pantry and I began putting stuff in measuring cups, as if I was working from a recipe. Who was I trying to fool? I was just making stuff up, as usual.
The simple fact of the matter is, I just wanted to make something to help ease our troubled minds. Our lives are under a tremendous strain right now and our emotions are conflicted.
We need to find some comfort every day. We should gather our families together to share a meal and make time to share our thoughts and feelings.
Ingredients:
1 ½ cups elbow macaroni
1 Tbs olive oil
1 medium onion, chopped
2 Tbs butter
2 Tbs flour
2 cups chicken stock
2 Tbs beef bouillon
1 Tbs ground black pepper
1 Tbs salt
½ cup half and half
1 Tbs Worcestershire sauce
1 ½ lbs cooked beef roast
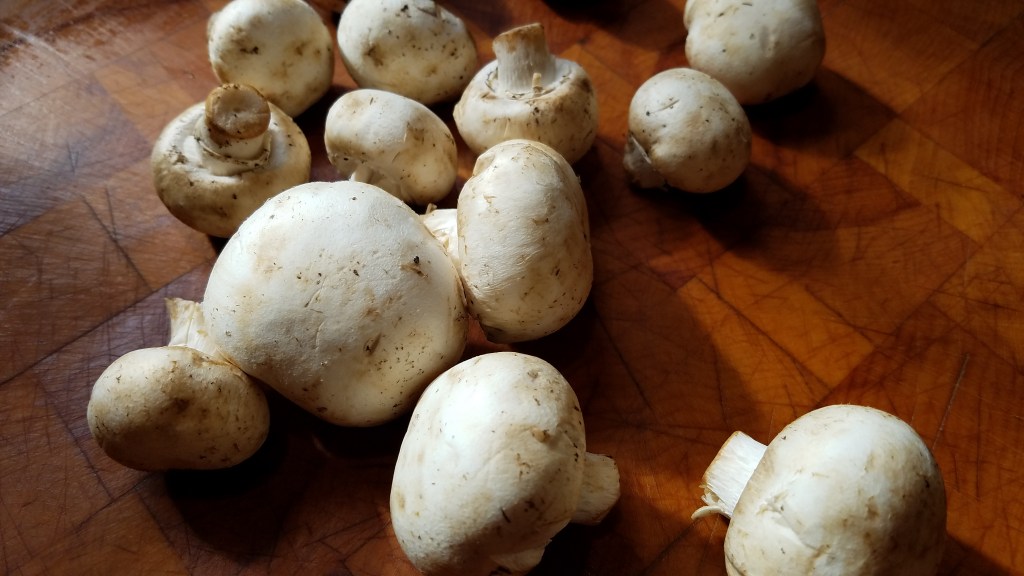
8 oz fresh mushrooms, sliced
Directions:
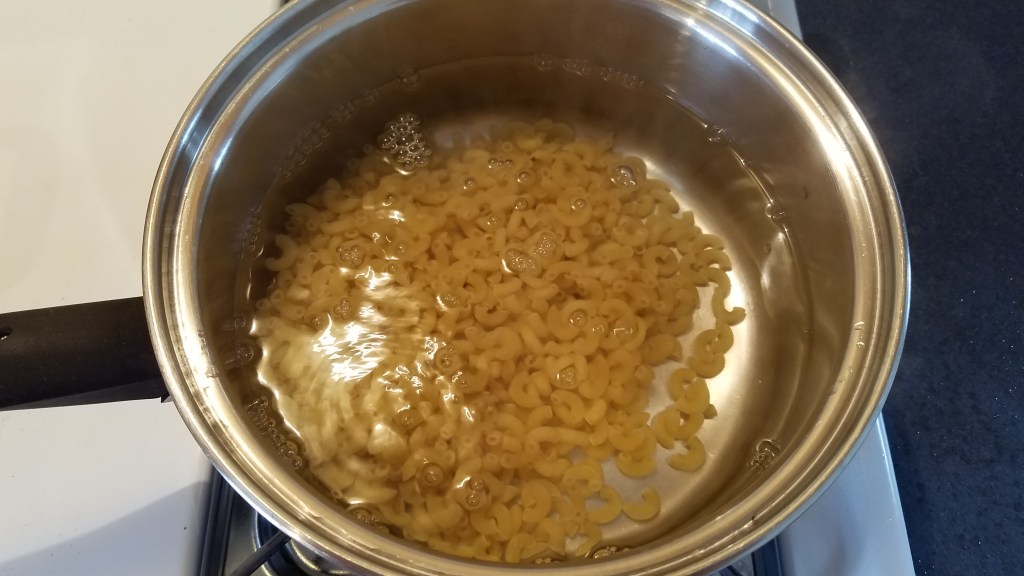
Boil the macaroni in a large pot of lightly salted water. Strain the macaroni when it becomes tender. Set aside.
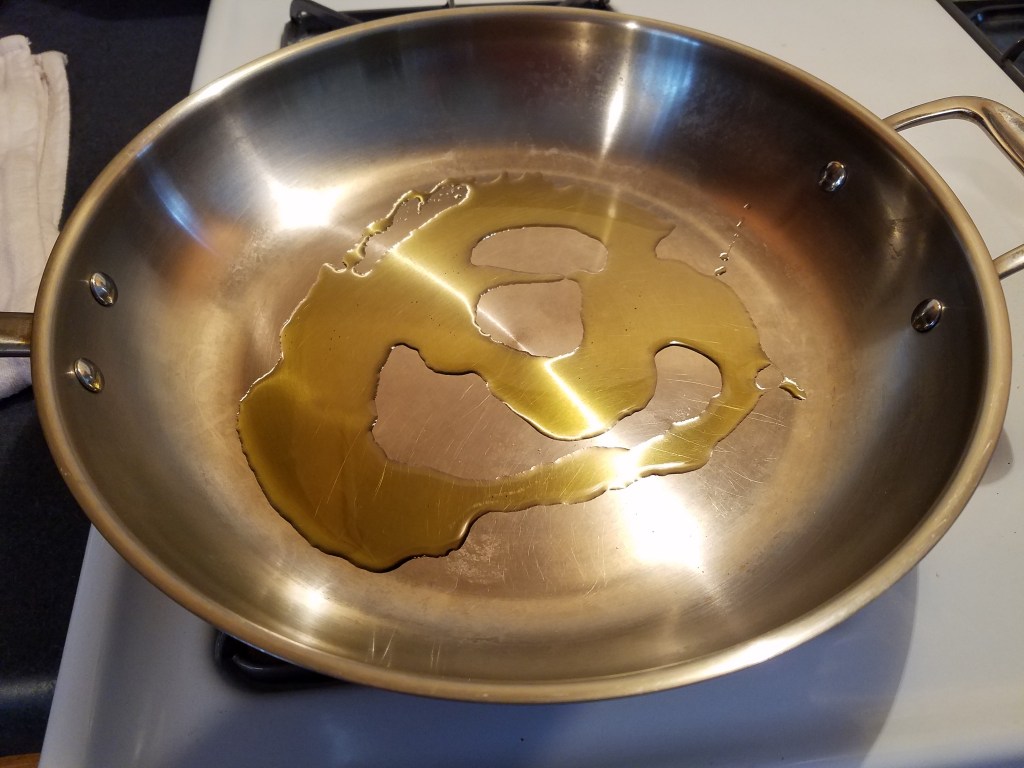
In a large skillet, add olive oil and sauté the onion until the onion begins to soften.
Move the onion aside, in the pan and add butter. Set the heat to low.
Add flour and whisk the butter and flour.
Add the chicken stock, beef bouillon, pepper and salt. Turn heat to medium and whisk. Once the sauce thickens add the Worcestershire sauce and the half and half. Whisk to incorporate.
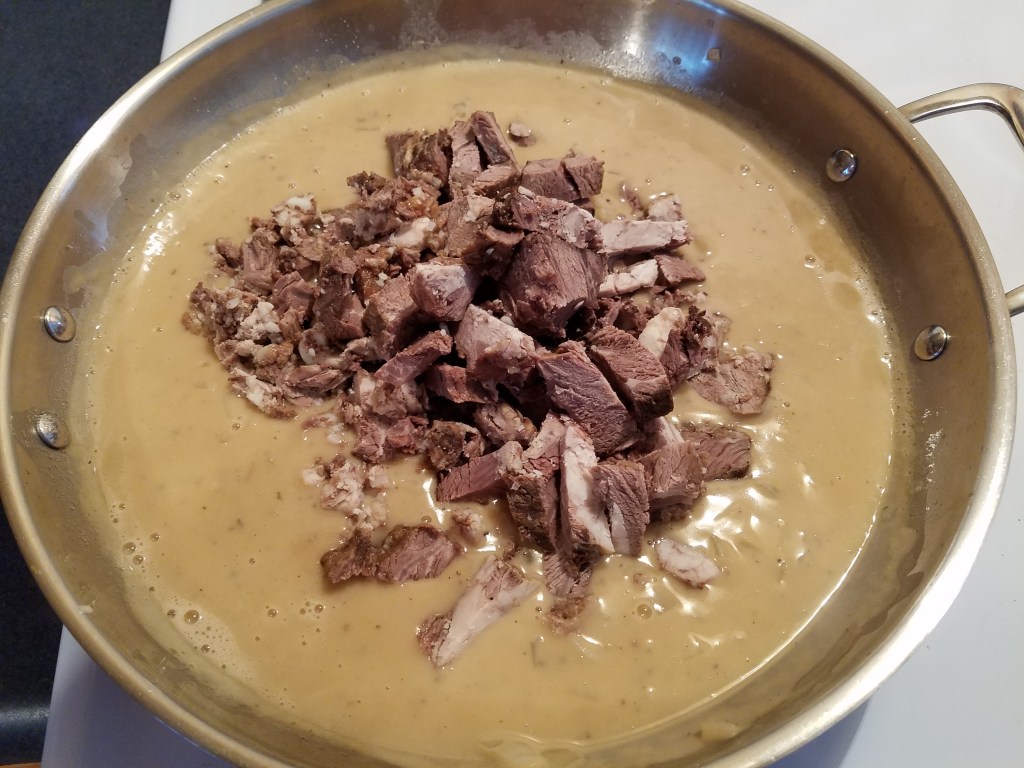
Add the beef and stir.
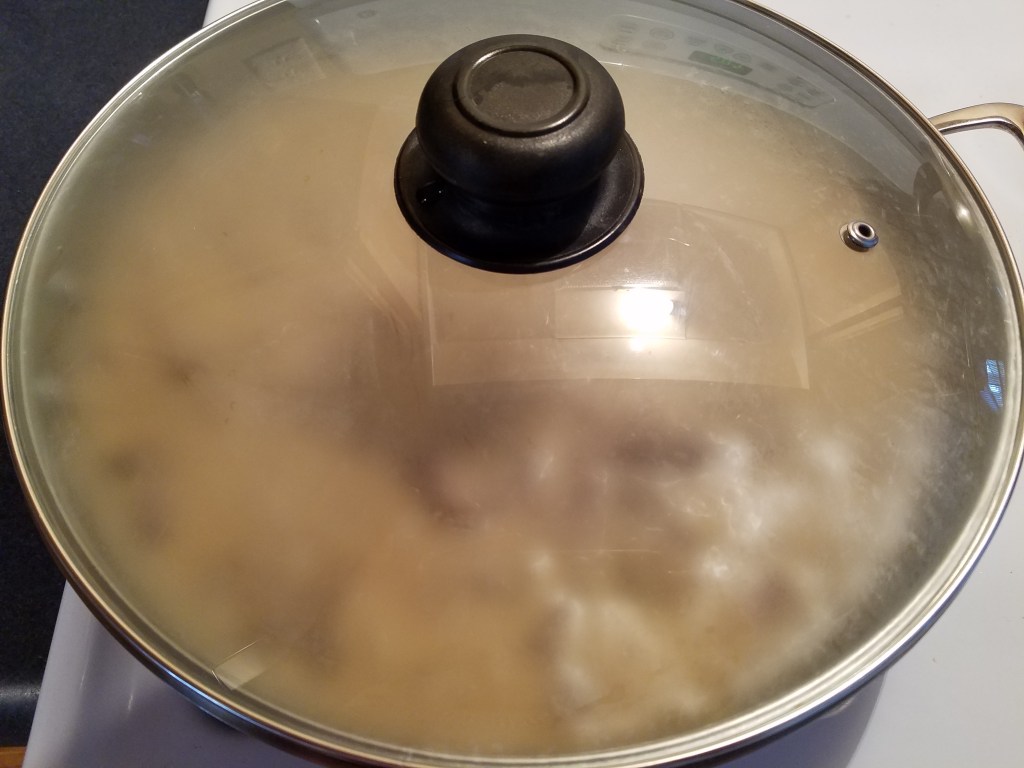
Cover and simmer at low heat for 30 minutes.
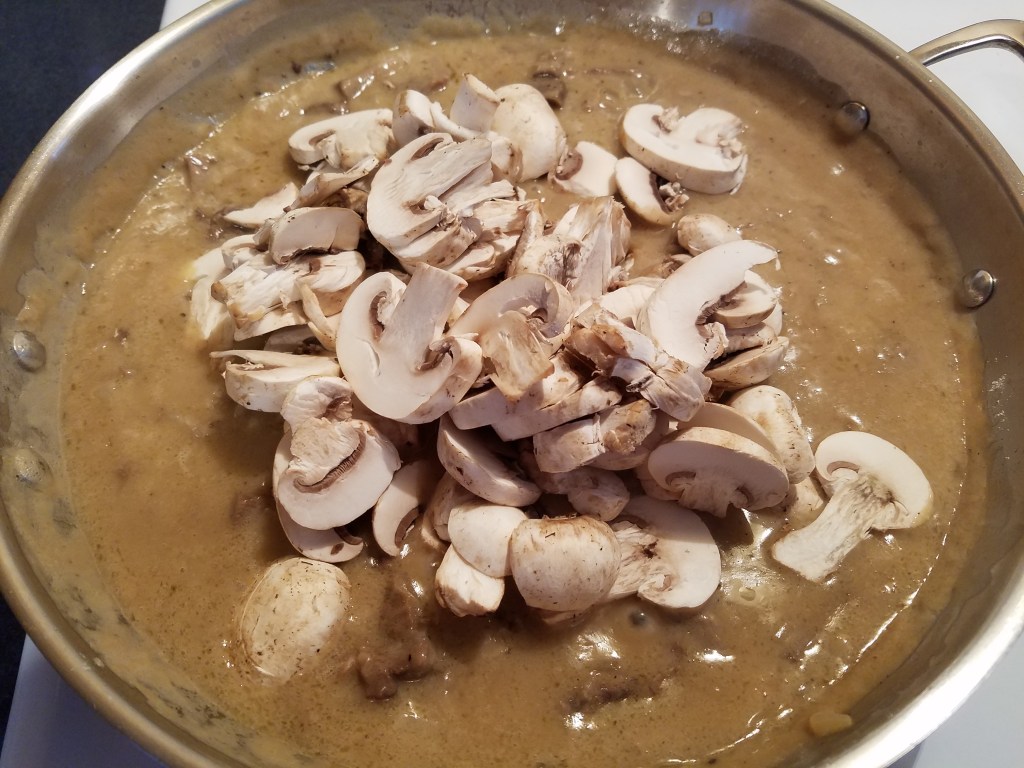
Add the mushrooms and stir briefly. Turn off the heat and add the macaroni. Stir to mix and turn out to a large serving bowl.
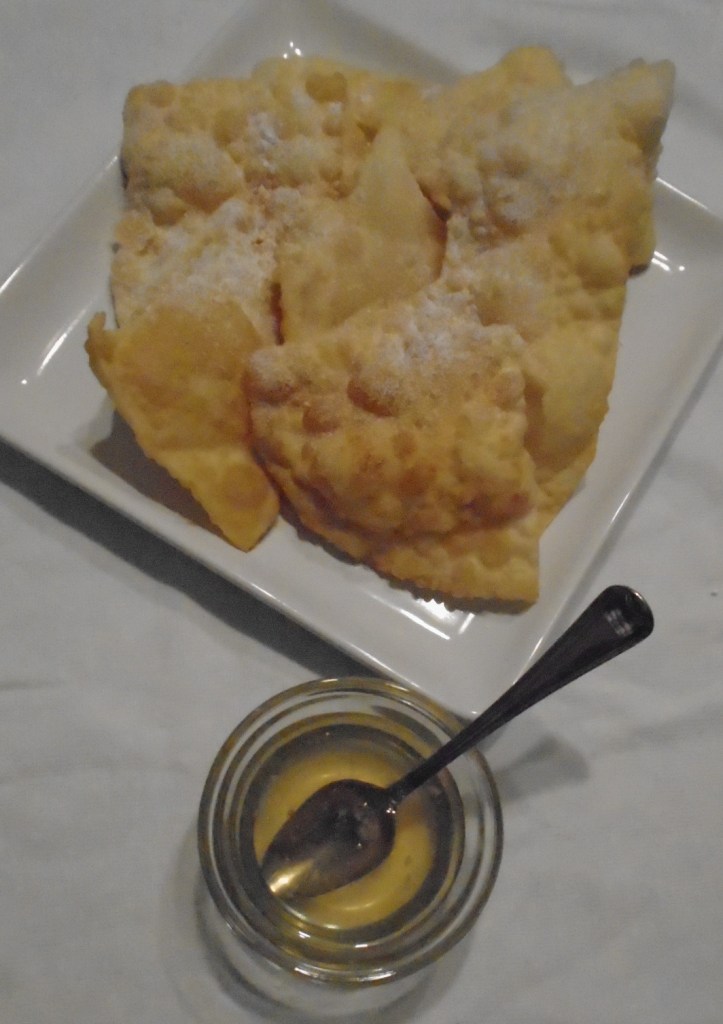
Special occasions call for special meals. When I make a special Mexican dish, I like to make homemade flour tortillas. When I make homemade tortillas, I sometimes make sopapillas, because sopapillas are made from the same tortilla dough.
Sopapillas are Mexican pastries that are quickly fried in hot oil and served warm, with honey.
Once in a while wires get switched and everything gets thrown into reverse.
Several days ago, I made an apple crumble and I challenged myself to use 100% of the apples during the process. One of the results was an unexpectedly delicious apple syrup. The aroma, taste and color of the syrup was reminiscent of floral honey. I couldn’t wait to try the syrup in a recipe where honey is normally used.
It didn’t take long to find a way to highlight the apple syrup. That’s when my usual thought process switched into reverse.
Sopapillas are made from tortilla dough and, since I was going to need to make tortilla dough, why not make make some homemade tortillas? And, since I was going to have homemade tortillas on hand, why not make some Mexican food?
If you want to see my recipes for apple syrup and homemade tortillas click on these links:
Add oil to a large, deep skillet. Set heat to medium.
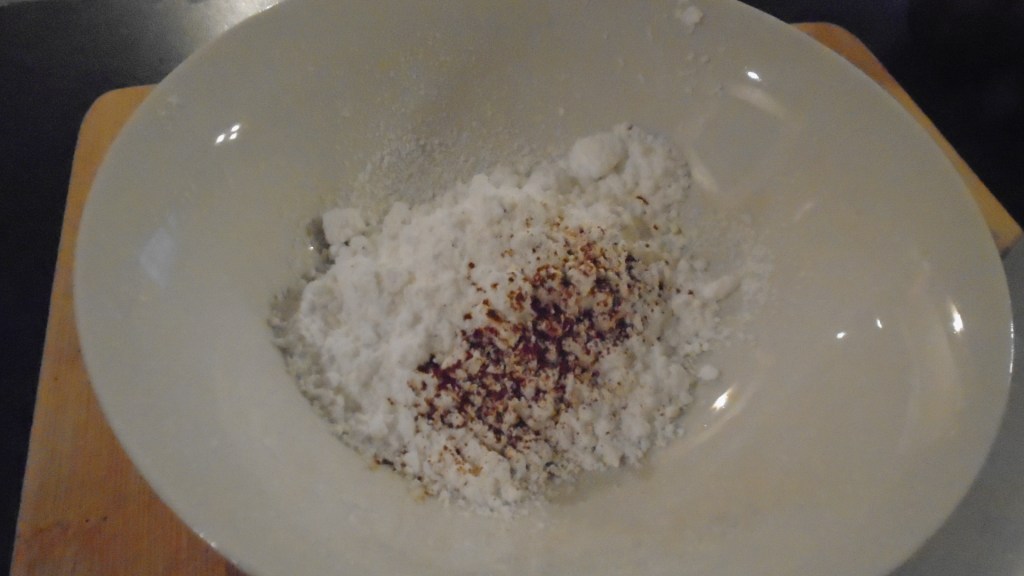
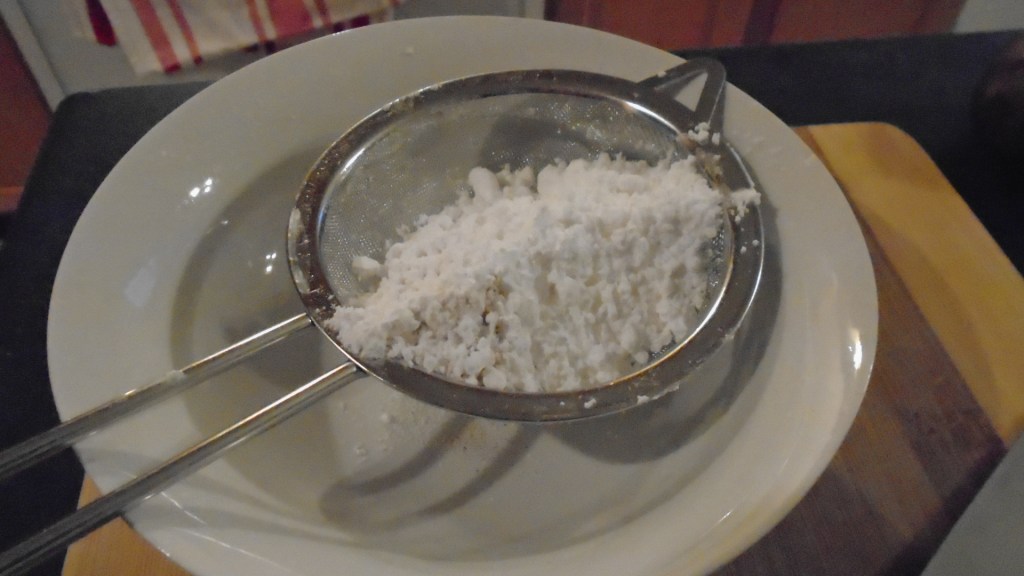
Mix the powdered sugar and cinnamon in a small bowl. Set aside.
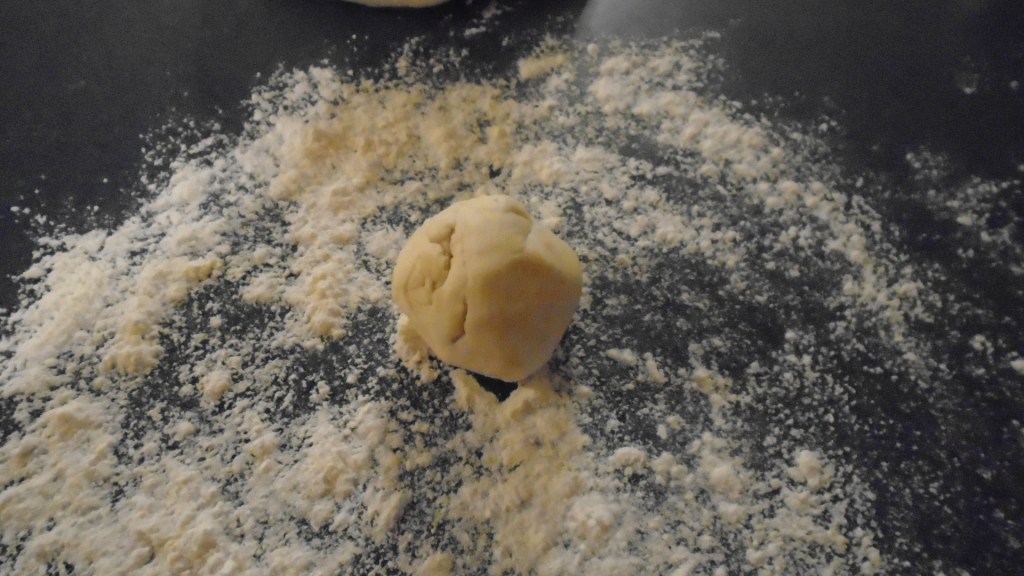
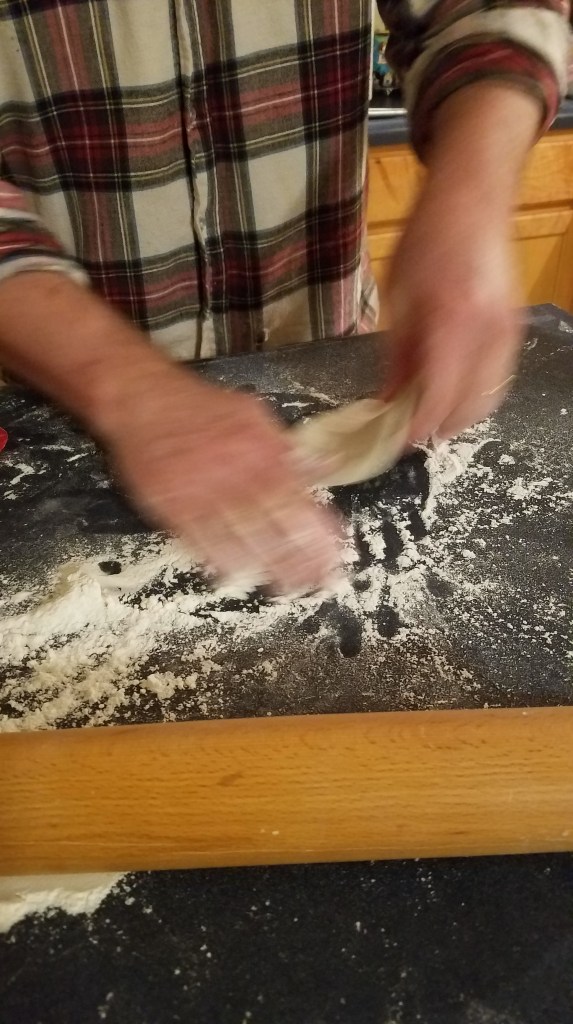
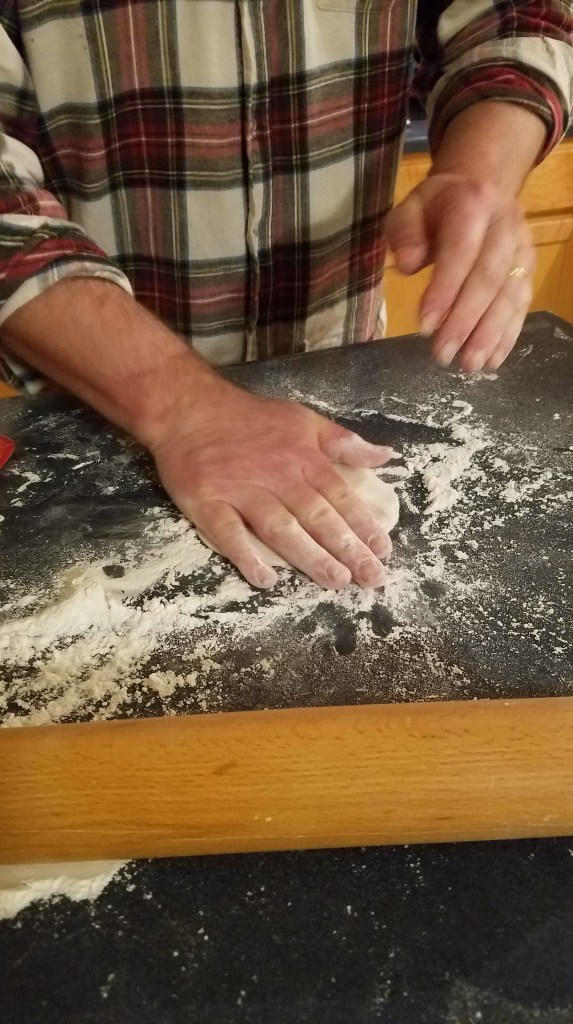
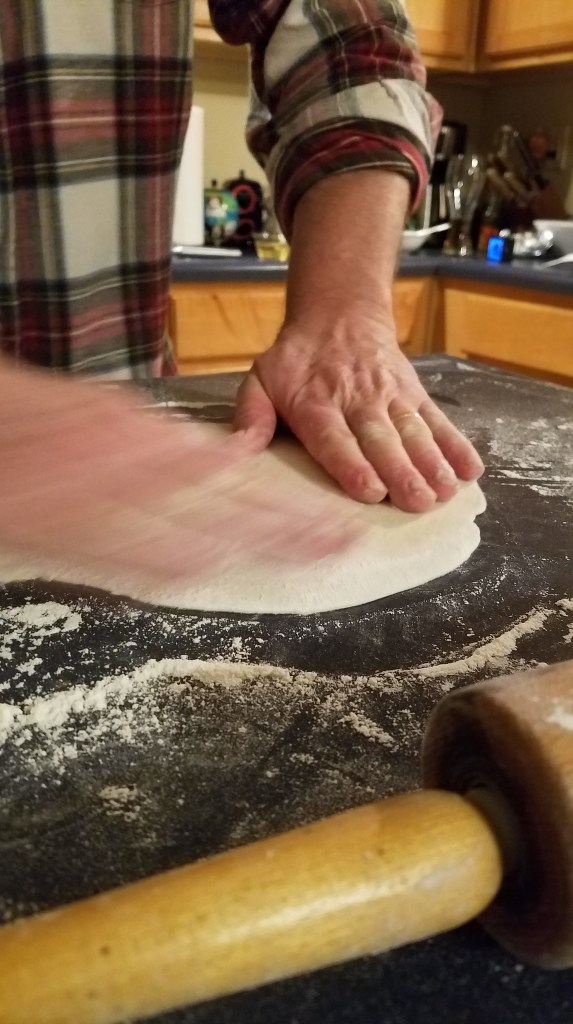
Pinch off a golf ball sized piece of dough, roll it into a ball and place it on a floured work surface.
Using your hand, press down on the dough to form a disc.
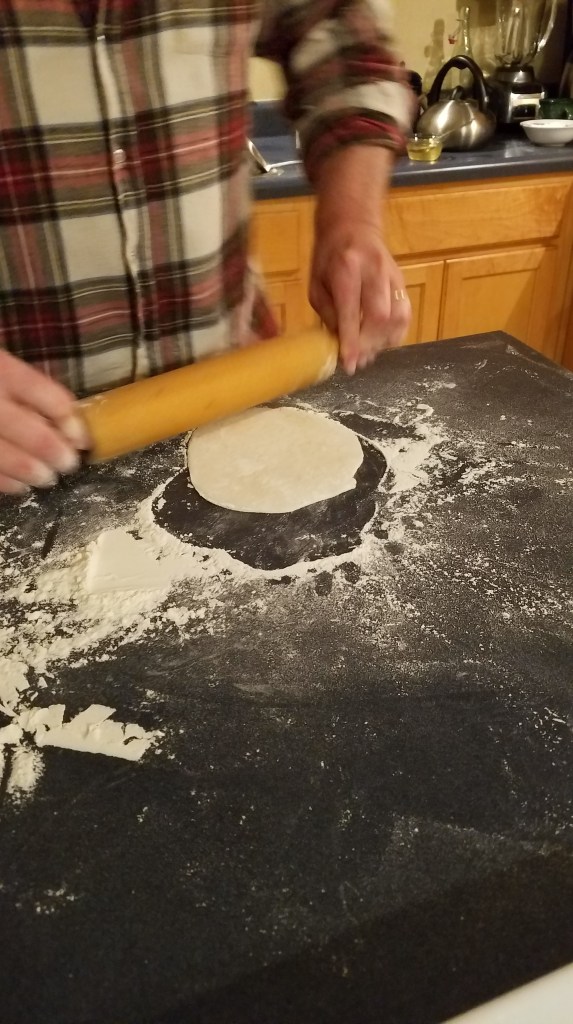
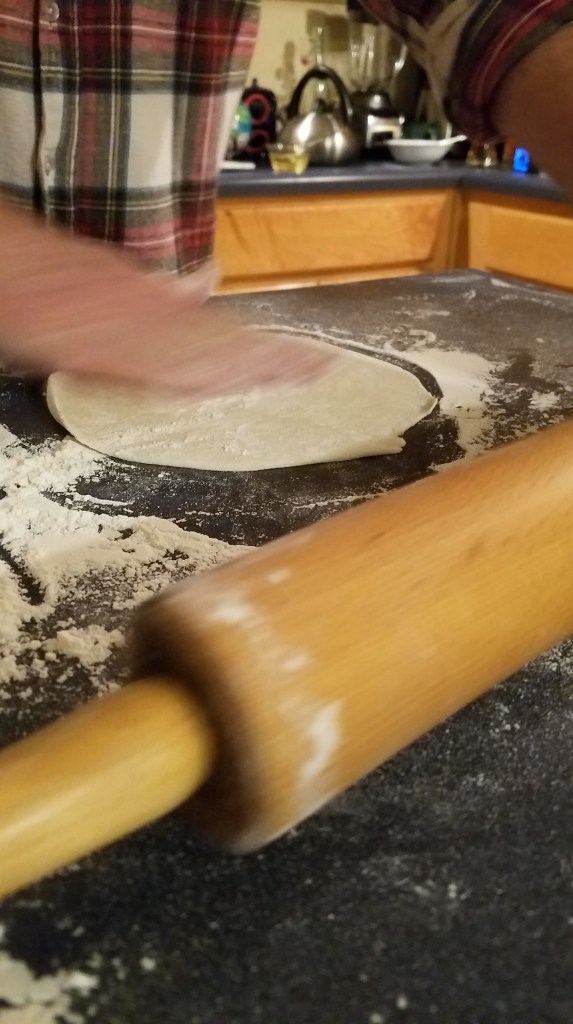
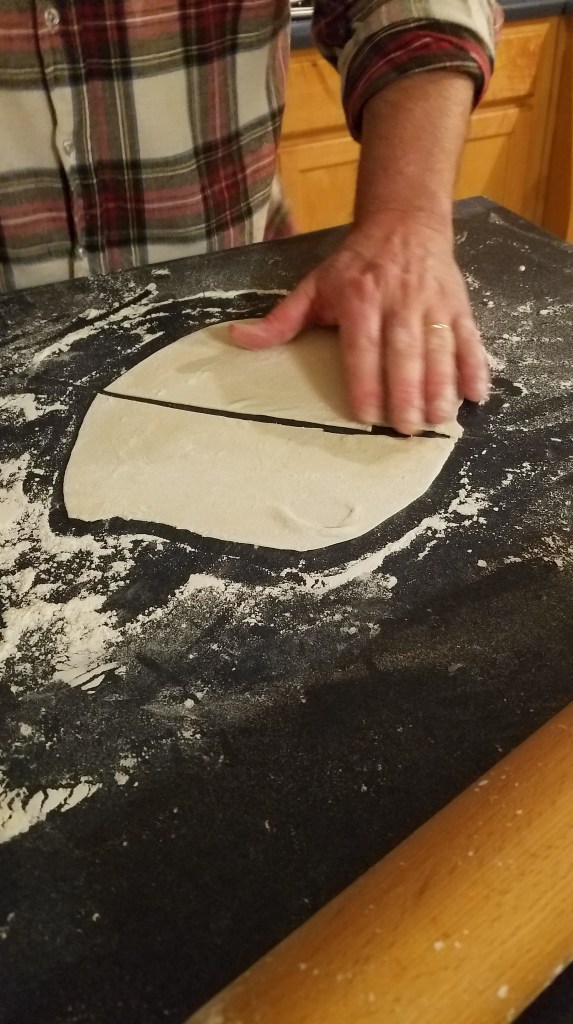
With a rolling pin, roll out the dough to form a larger, thinner disc. I suggest rolling it out to ¼” thick, or thinner. I like to roll out the dough very thin.
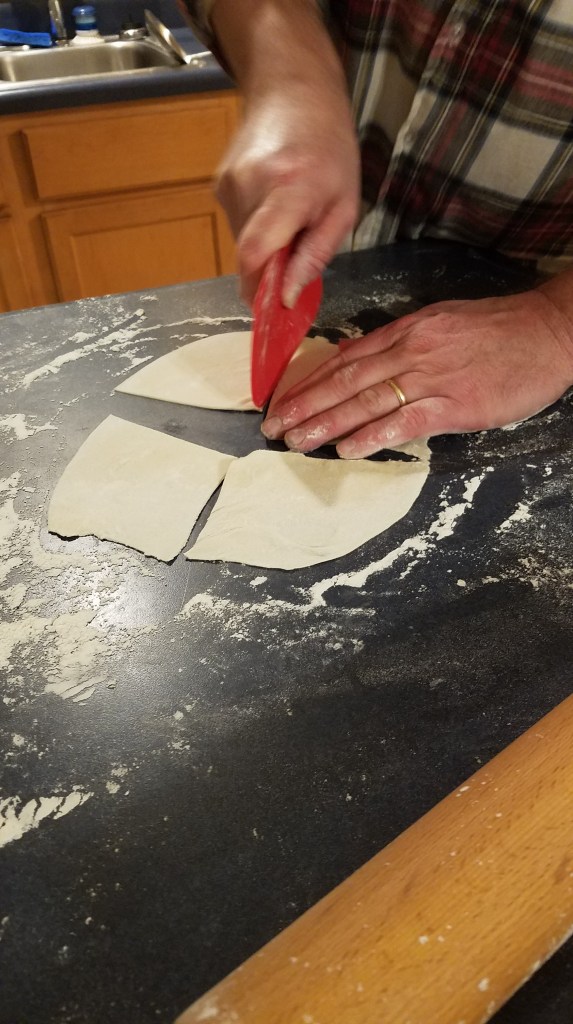
Using a pastry cutter, slice the disc into quarters.
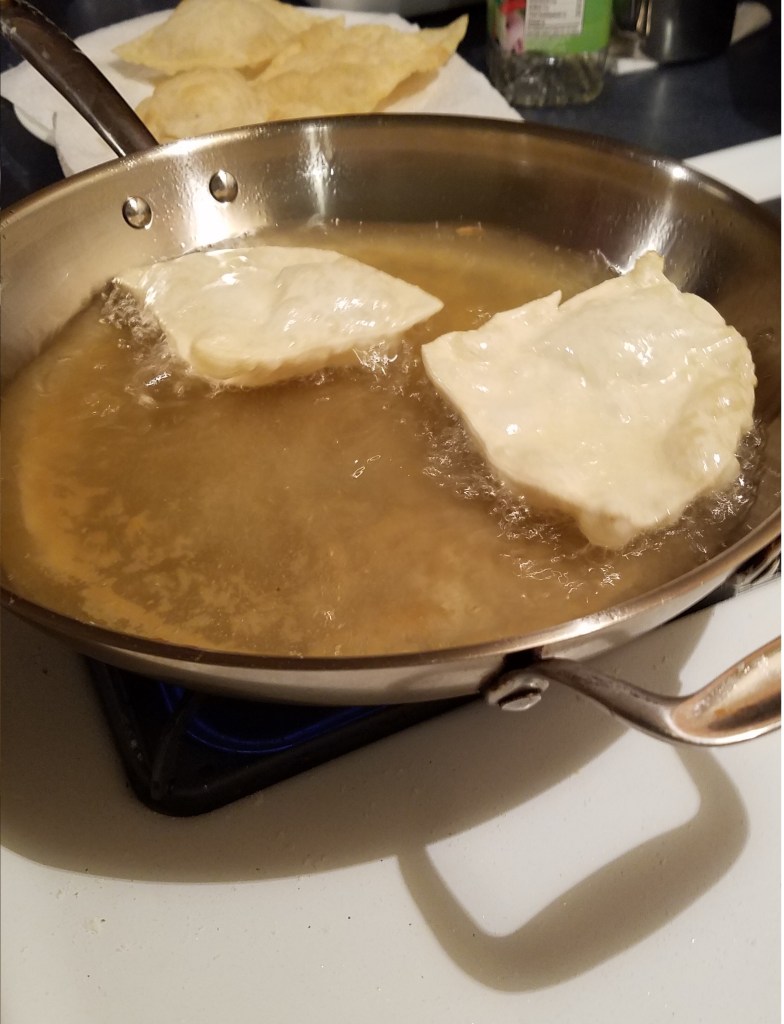
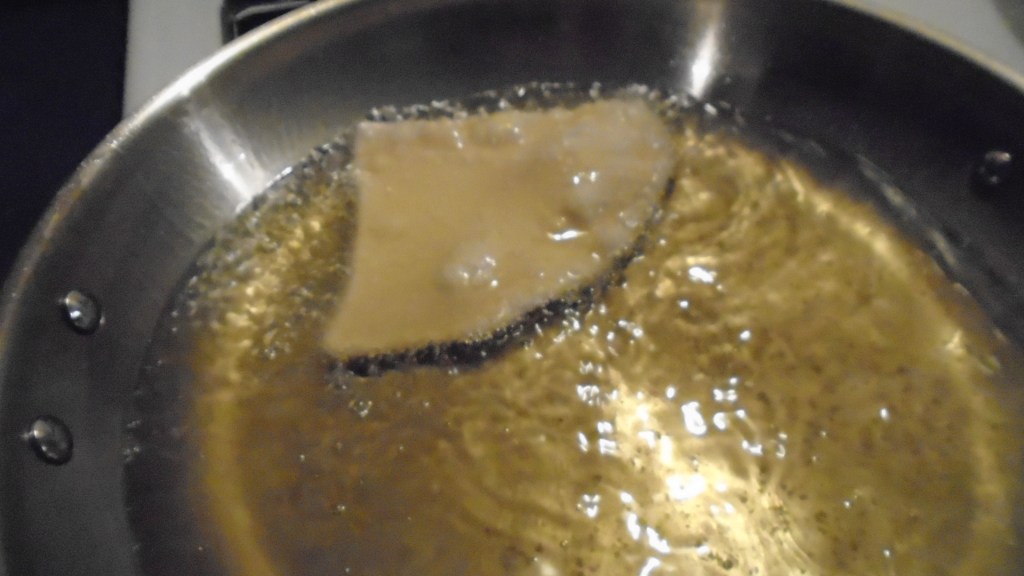
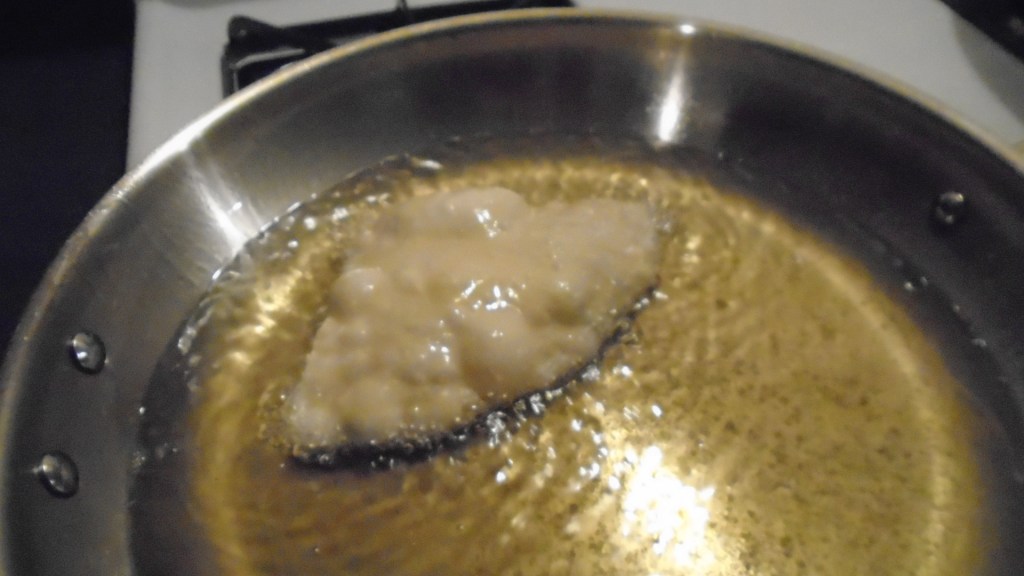
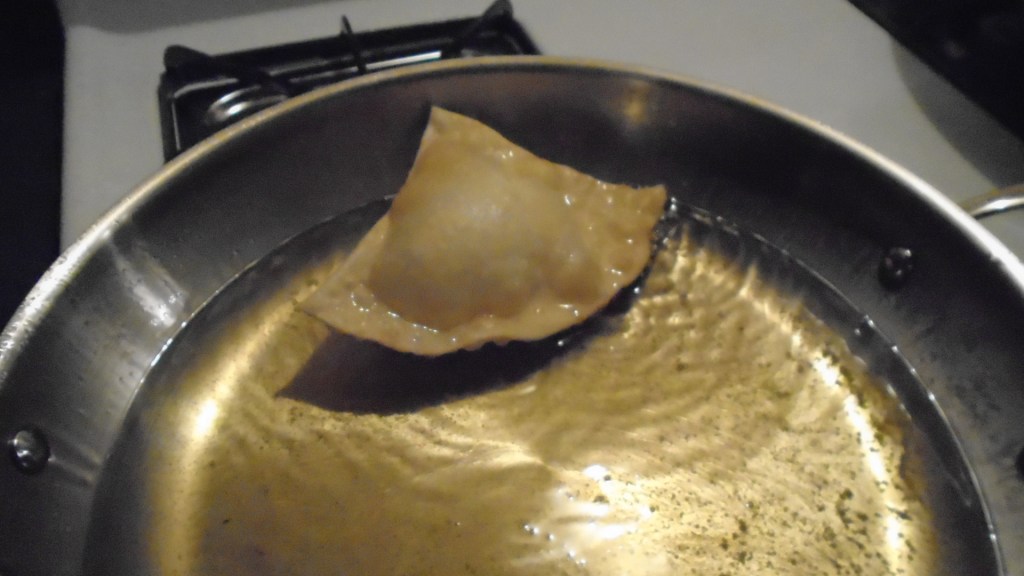
Carefully transfer the cut pieces of dough to the hot skillet, one at a time. Avoid crowding the pan. I usually make 3 sopapillas at a time.
With a large cooking spoon, ladle hot oil over the sopapillas while the fry in the oil. The sopapillas should begin to puff up quickly. After about 30 seconds, turn the sopapillas over and cook for another 30 seconds.
Carefully remove the sopapillas to a paper towel lined plate.
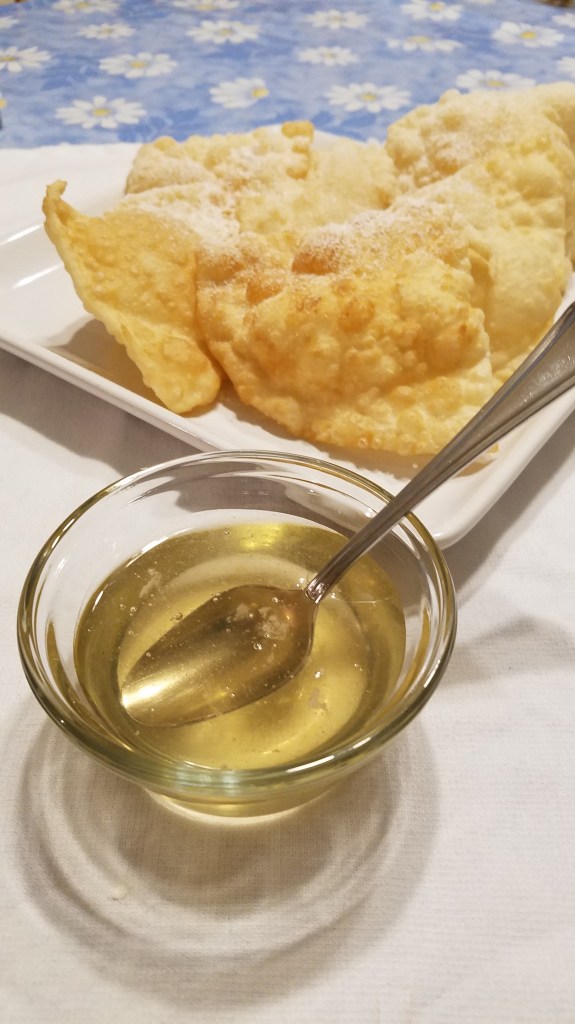
Transfer the sopapillas to a serving platter and dust them lightly with powdered sugar.
Serve warm with copious amounts of apple syrup!
Drizzle the syrup over the sopapillas or tear off the corners of the sopapillas and drizzle some syrup directly into the sopapilla. It’s okay, I won’t tell.
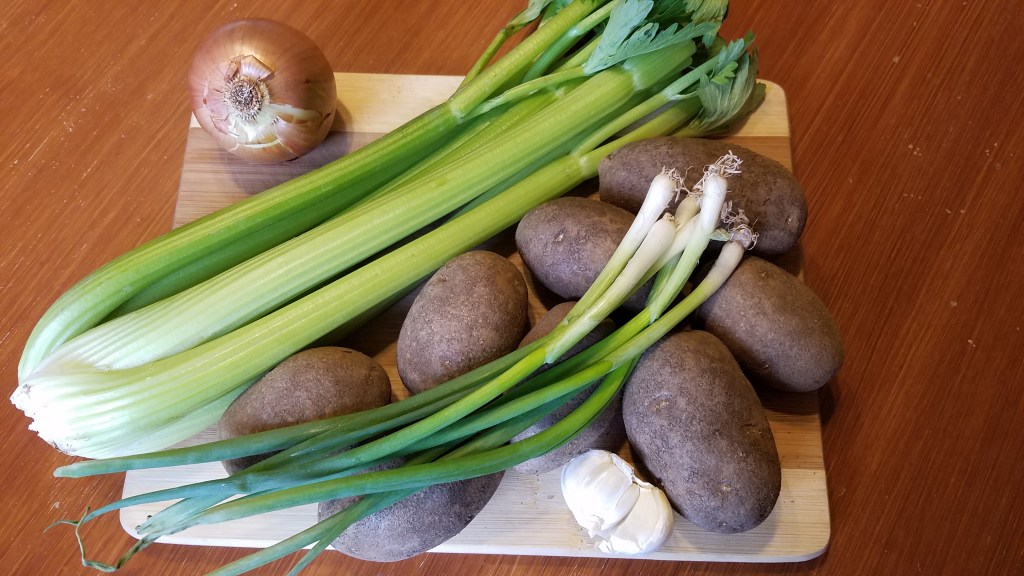
8 small russet potatoes, peeled and roughly chopped
1 Tbs olive oil
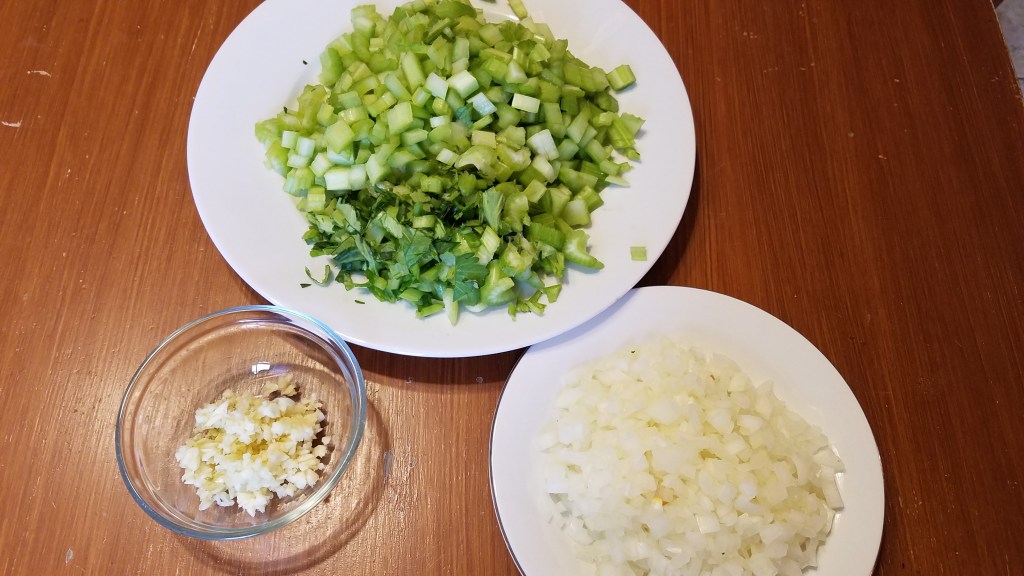
1 medium sized onion, chopped
5 cloves garlic, minced
6 stalks celery, chopped
1 Tbs butter
2 Tbs flour
4 cups vegetable broth
2 cups chicken broth
½ cup half-and-half (whole milk and cream)
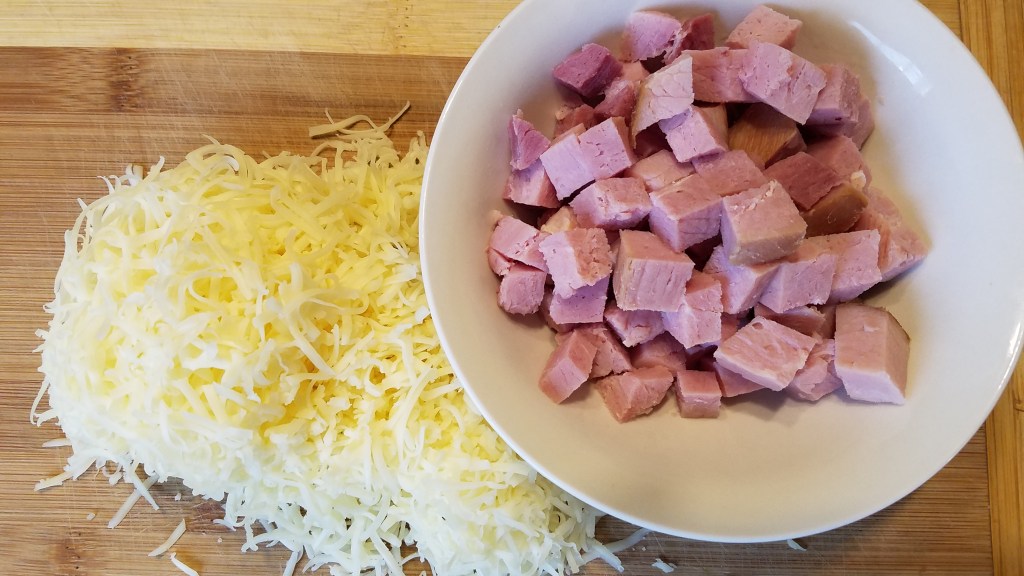
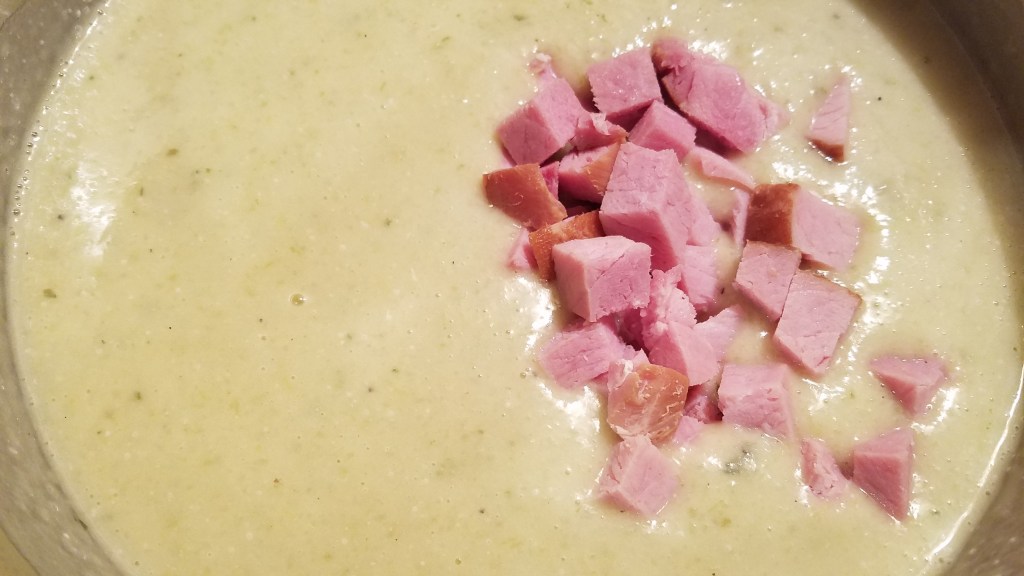
1 cup smoked ham, chopped into ½” cubes
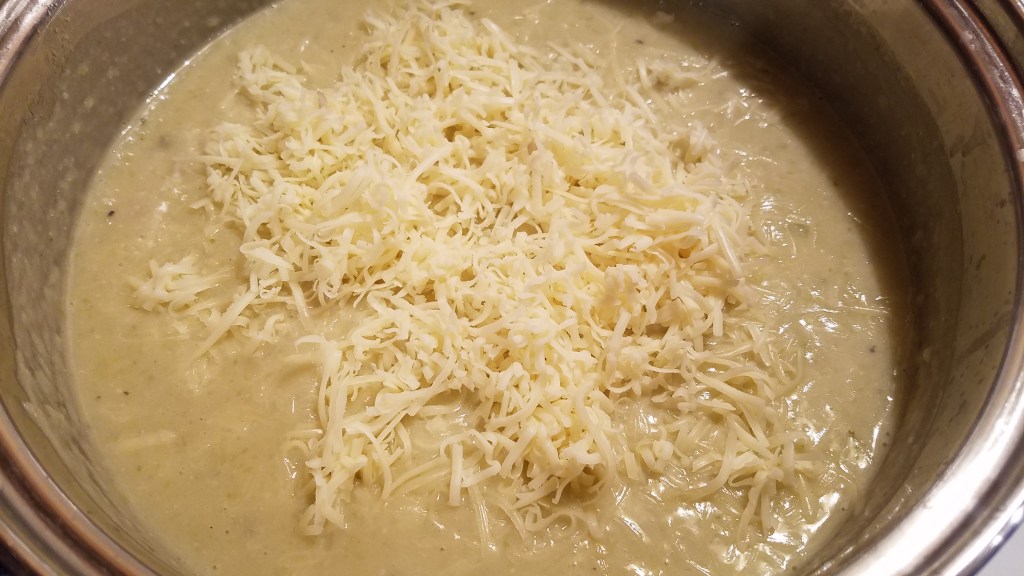
5 oz white cheddar cheese, grated
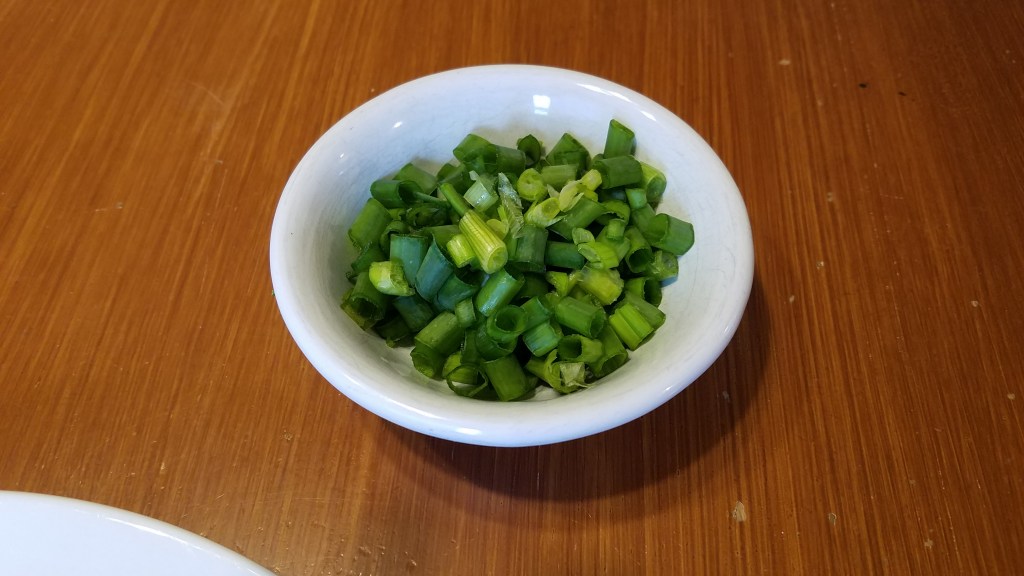
4 green onions, chopped
salt and pepper to taste
Directions:
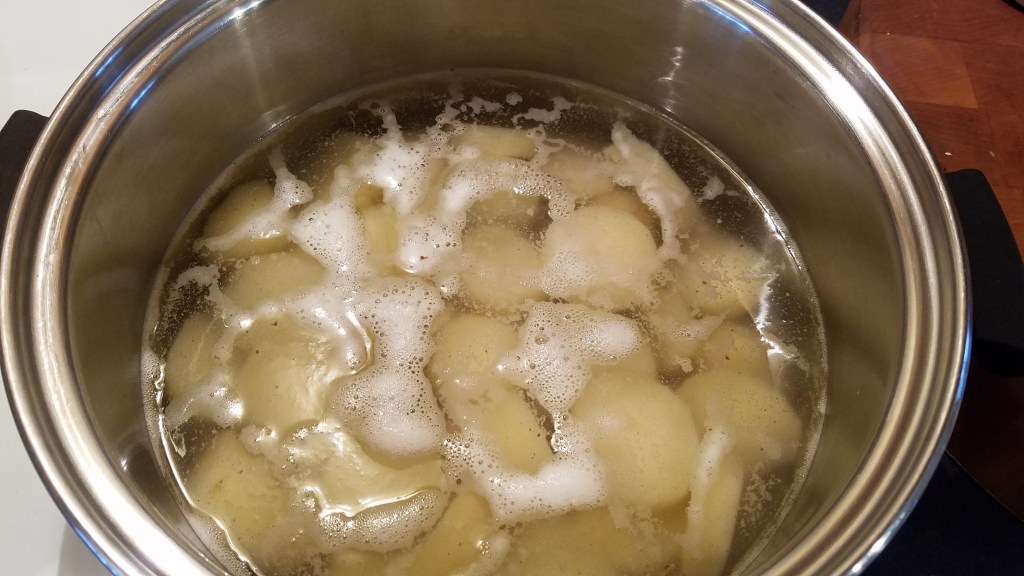
Bring a pot of water to boil and add the diced potatoes. Boil the potatoes until cooked through and softened. Strain the potatoes in a colander.
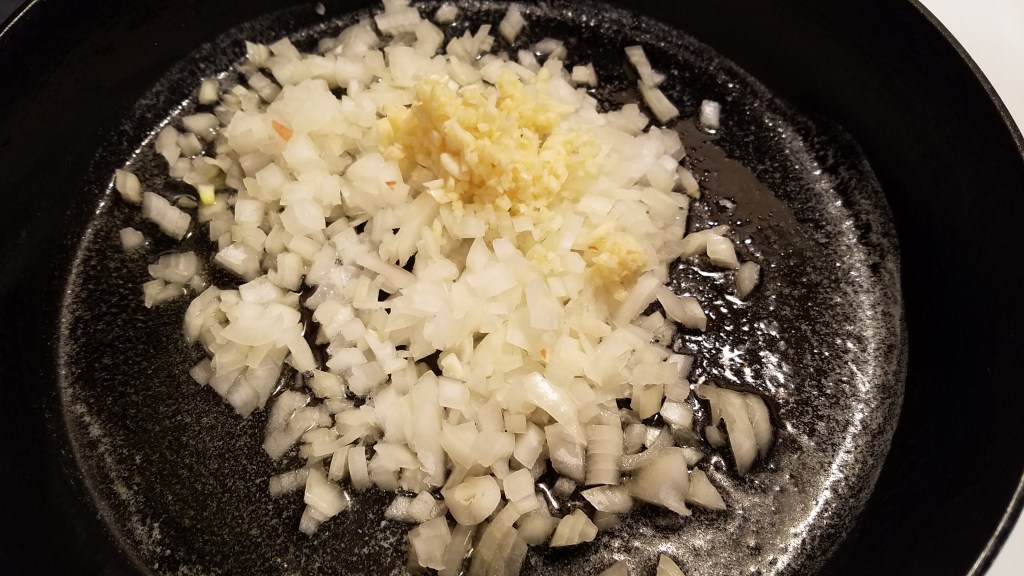
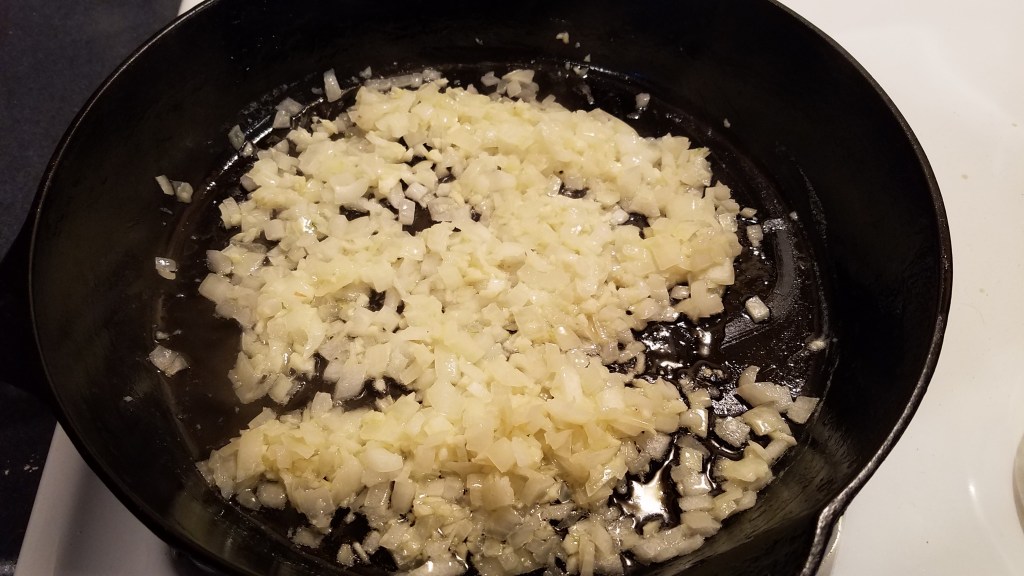
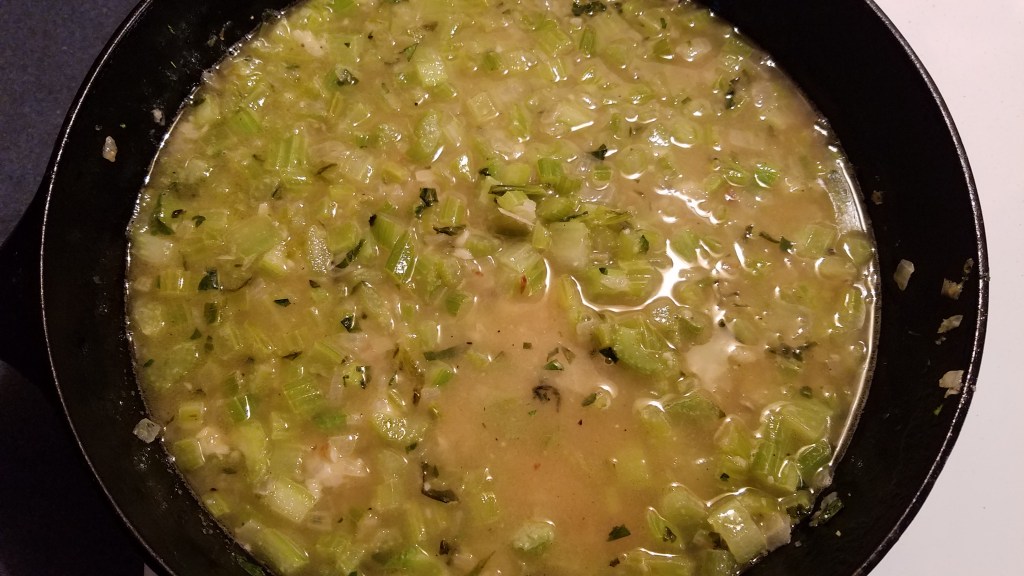
In a large pot over high heat, add olive oil, garlic and onions. Cook and for a minute or two, until the onions are translucent.
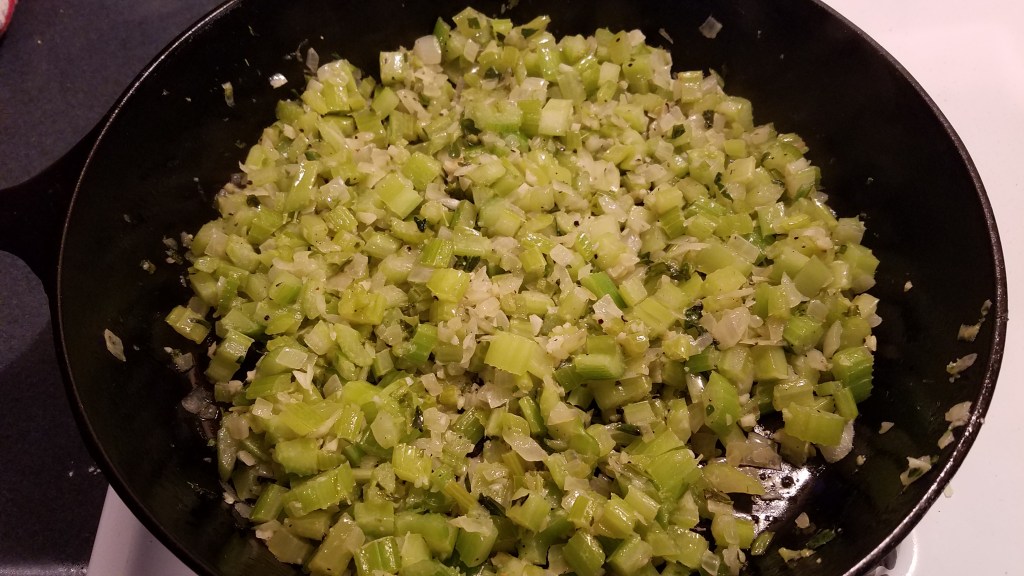
Add the chopped celery stalks and cook for another 3 minutes.
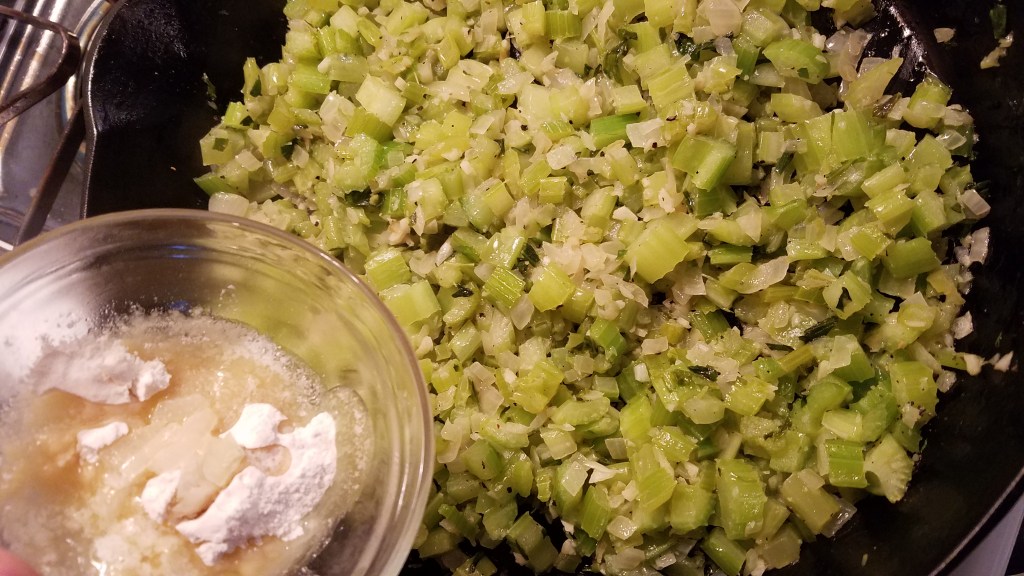
In a small bowl, add 1 tablespoon of butter to 2 tablespoons of flour. Mix and mash together with a fork. Add a splash of broth and mix a little more. Add the mixture to the pan. Stir to combine.
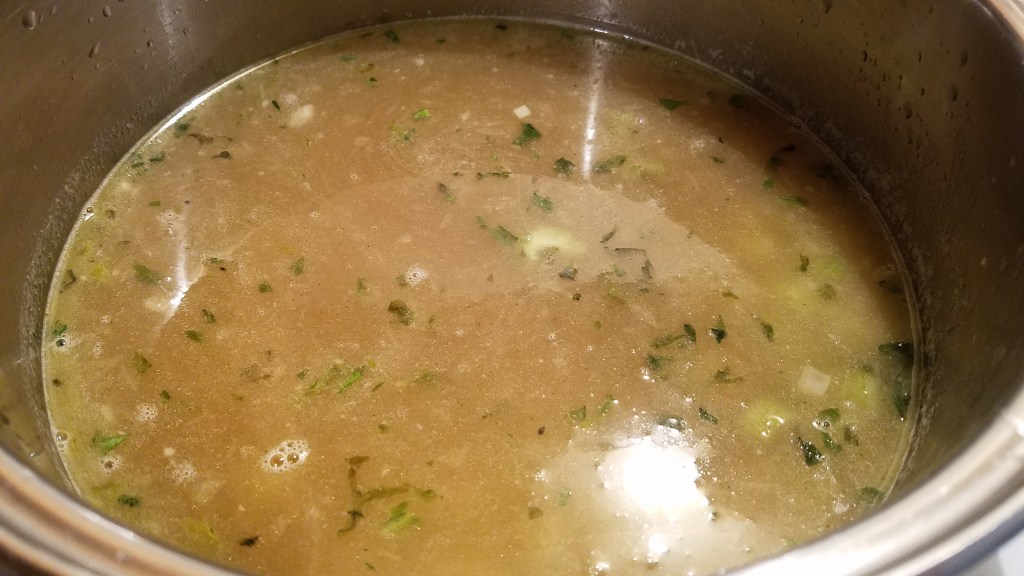
Add the vegetable broth and chicken broth. Stir and bring to boil. Cover and simmer on low heat for 30 minutes.
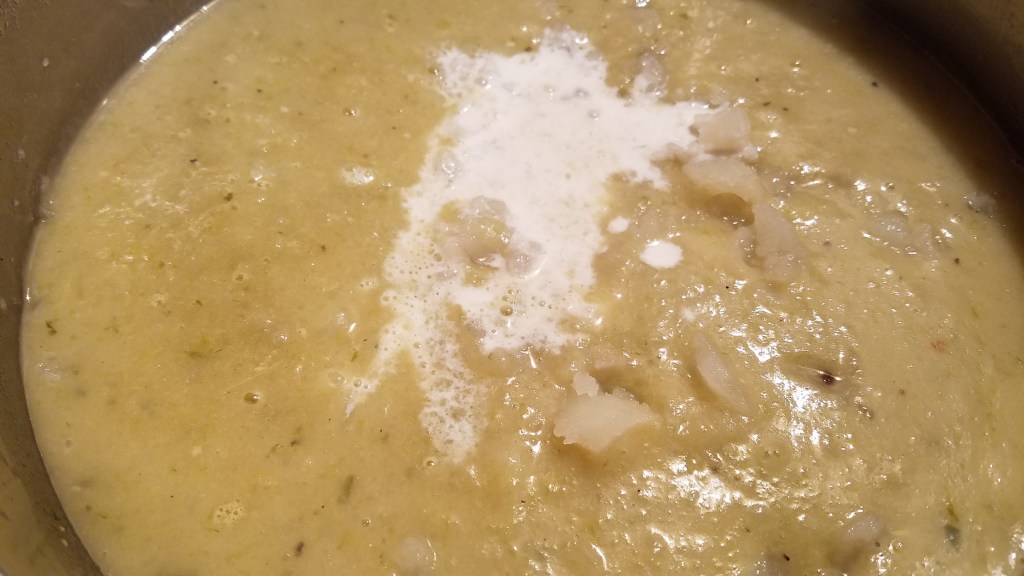
Pour the soup into the blender and add the potatoes. Puree until smooth. This may need to be done in batches, depending on the capacity of the blender. Return the soup to the pot.
Add the half and half and the ham. Heat at low temperature for a few minutes while stirring occasionally.
Turn the heat off and add the shredded cheese. Slowly stir the soup once or twice. Do not over-stir. Allow the cheese to melt without much interference. Add salt and pepper to taste.
I bought a large bag of Gala apples about two weeks ago and promptly put them in the crisper drawer in my refrigerator. Every time I open the refrigerator I see them and I am reminded that I need to do something with them.
Today seems like the perfect day to use them. Even though they have been kept cool and they still feel crisp, they won’t last forever. On top of that, I want something to do at home, so that I am not tempted to join the frenzied mob who are in panic mode as they rush to the store to empty the shelves of toilet paper and sanitizer.
Toilet paper, really?! If I was preparing for an emergency quarantine, toilet paper might make my it on my list of “100 things I need” but it would be pretty far down on the list. People are weird. I should know…I’m people, too.
I don’t want to make light of the situation surrounding the virus that has recently been declared a pandemic event. It’s serious business. People want to stay healthy and invisible threats, like viruses, play on our fears.
So, with that in mind, I want something to keep me occupied in the safe, confines of my home. I also want to stretch my resources to their fullest potential, which means that I don’t want to waste anything. If I wind up being confined to my home for a while, I want to be prepared and I want to be frugal.
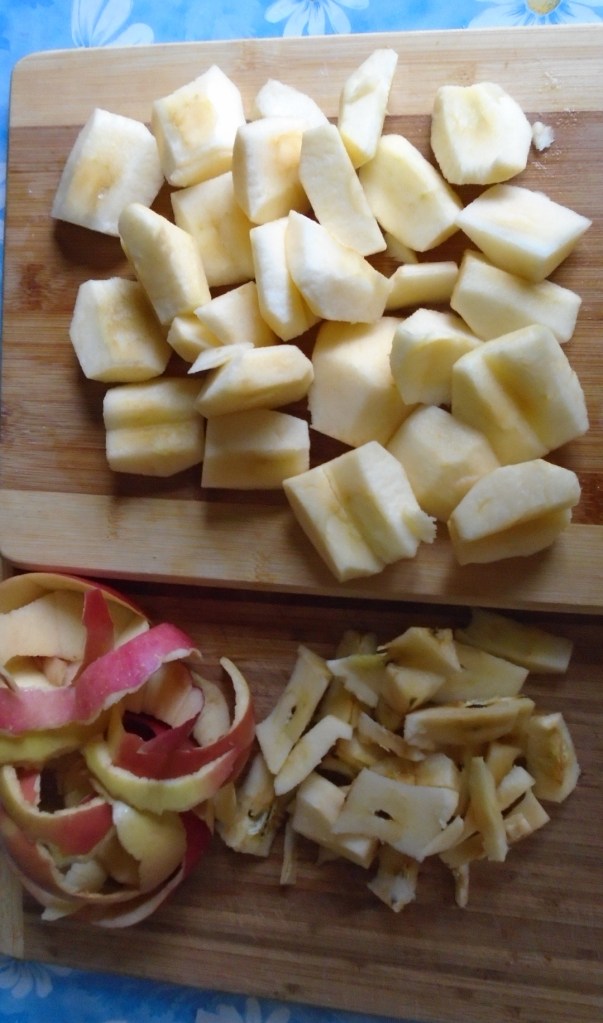
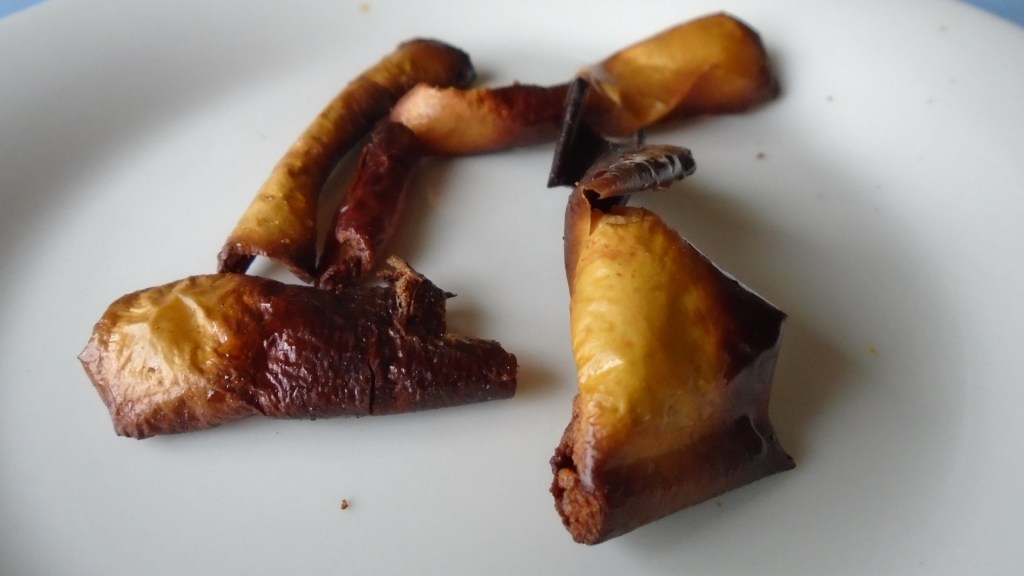
Today is the day I will use those apples and I will use every part of them. I will save the peels to make apple chips and I will save the cores to make apple syrup. I will use the stems…ok, I won’t be using the stems but I definitely could. I could glue the stems together to make little stick-figure people and animals. Maybe next time.
Apple Filling Ingredients:
2 lb apples
1 Tbs white flour
1/2 cup sugar
2 Tbs lemon juice
1/2 tsp ground cinnamon
Topping
1 cup rolled oats
1 cup flour
1 cup brown sugar
1/2 tsp baking powder
1 tsp cinnamon powder
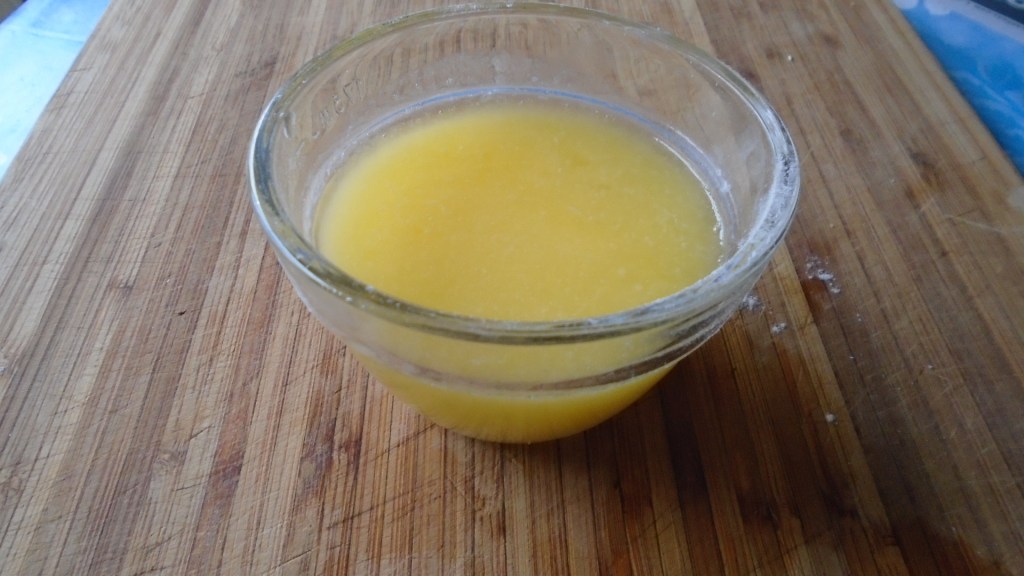
1/2 cup butter, melted
¼ tsp salt
Directions:
Set oven to 350°
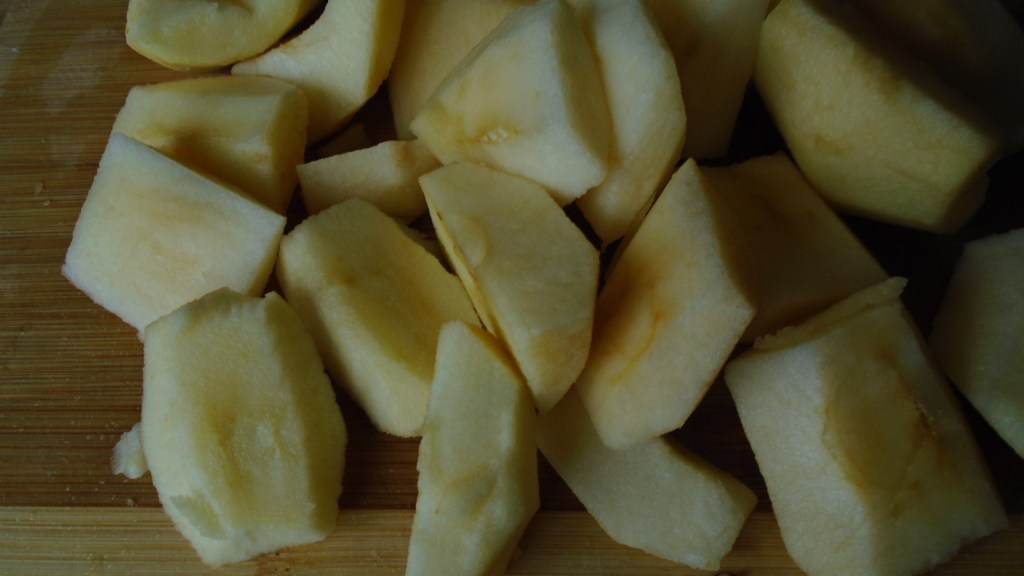
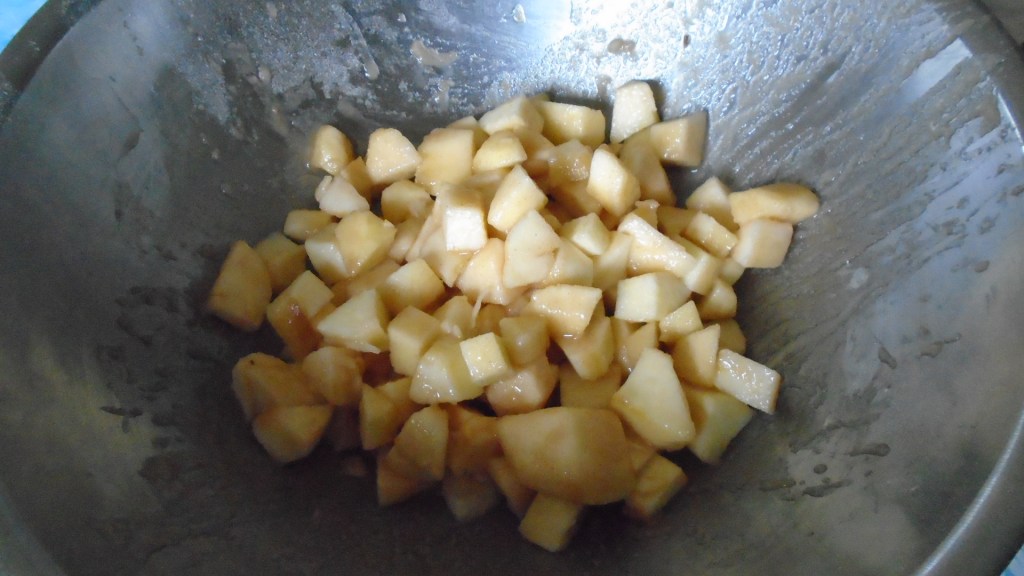
Peel apples and cut into ½” pieces.
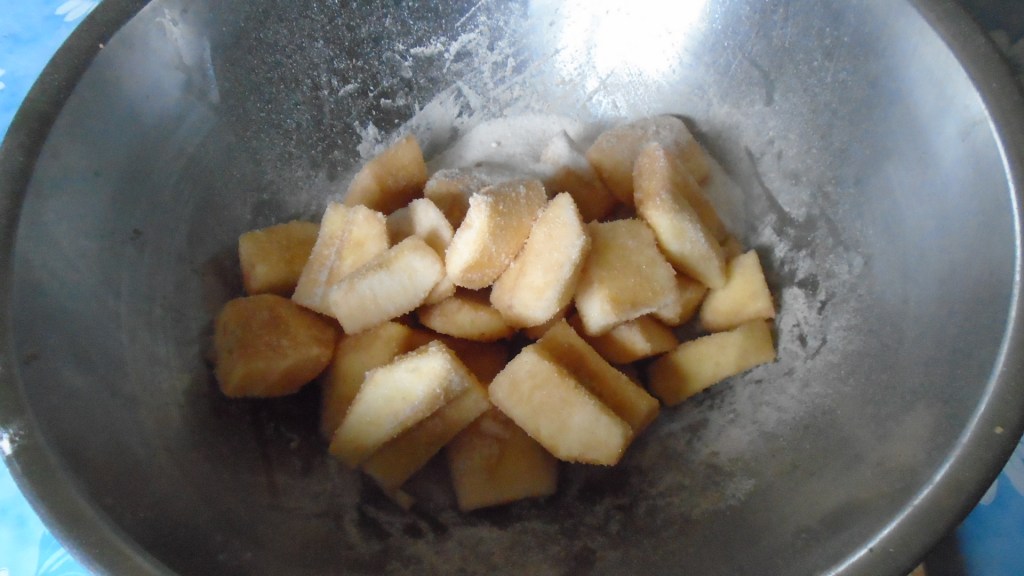
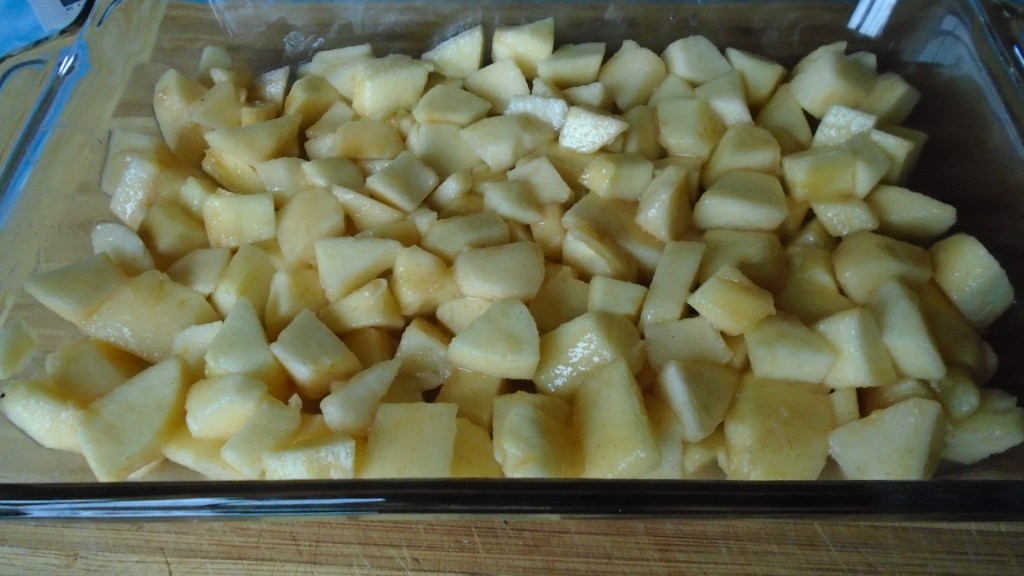
Place apple pieces in a bowl. Sprinkle with the flour, sugar and cinnamon. Mix briefly with a spatula. Add the lemon juice and toss. Spread the apple mixture across the bottom of a 2 quart baking dish.
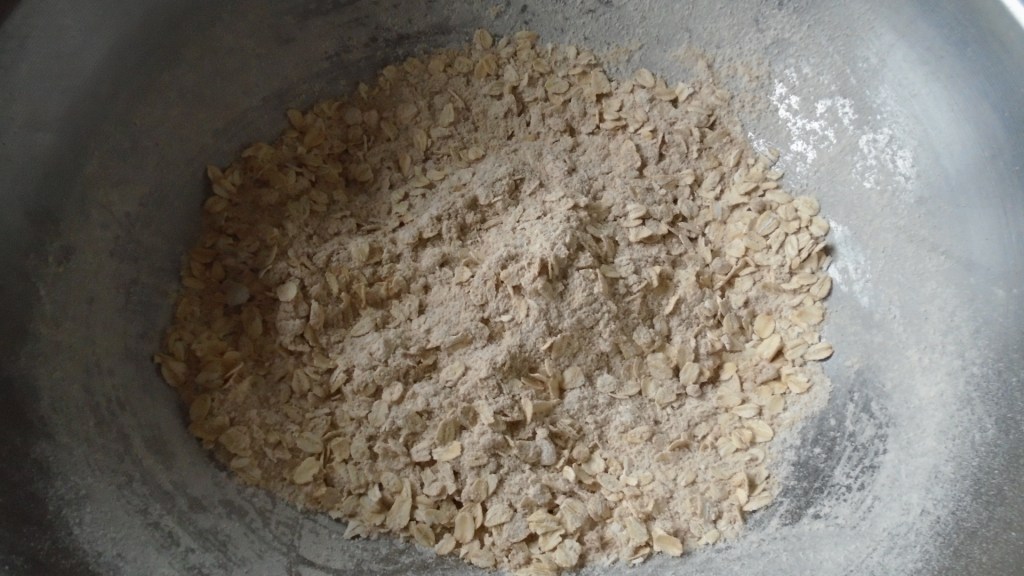
Add all of the topping ingredients, except the melted butter, to a bowl. Mix with a spatula.
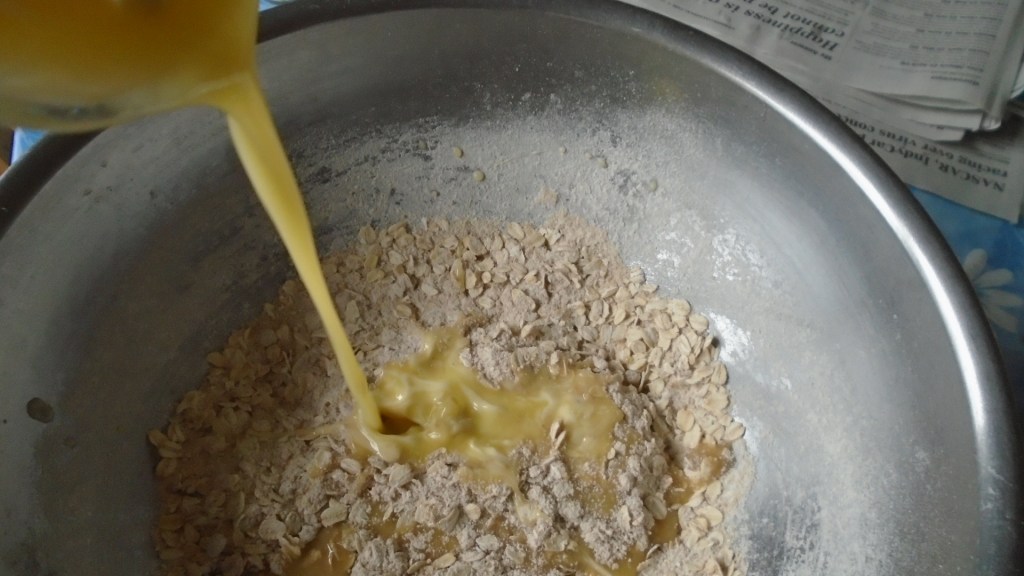
Add the melted butter and mix until all of the dry ingredients have absorbed the butter. Spread the mixture over the apples.
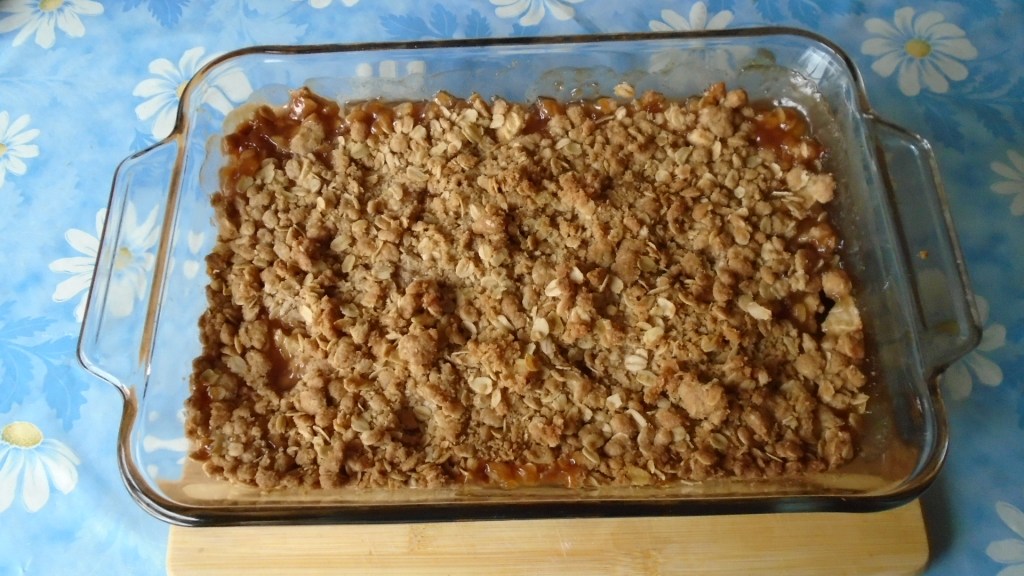
Bake for 30 to 40 minutes or until golden brown. Remove and let stand for 10 minutes before serving. This allows the apple filling to congeal.
Serve warm with vanilla ice cream or a glass of cold milk.
Apple Peel Chips
Ingredients:
Apple peels from 7 or 8 apples
1 tsp lemon juice
2 Tbs sugar
1 tsp cinnamon
½ tsp cardamom
Directions:
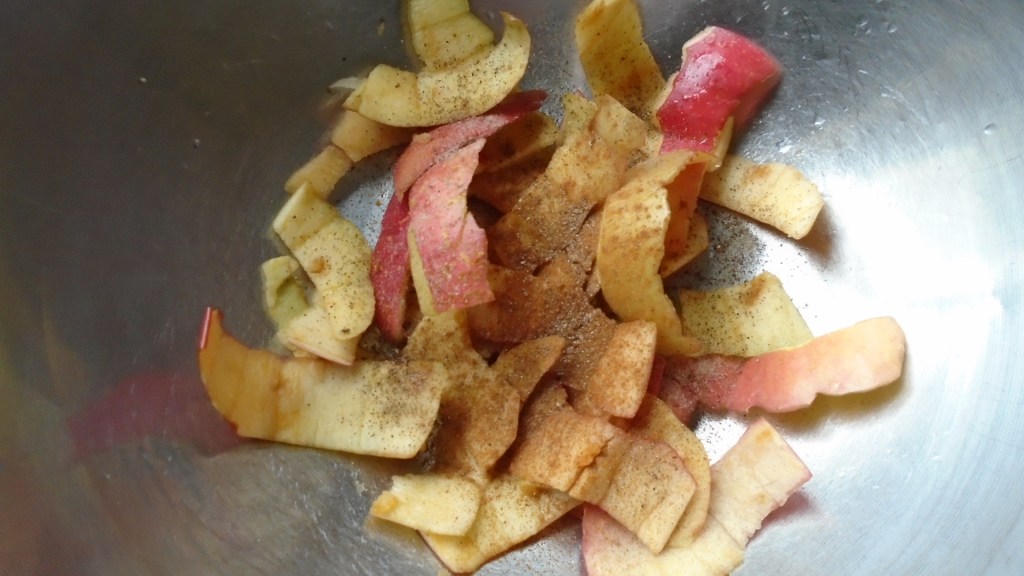
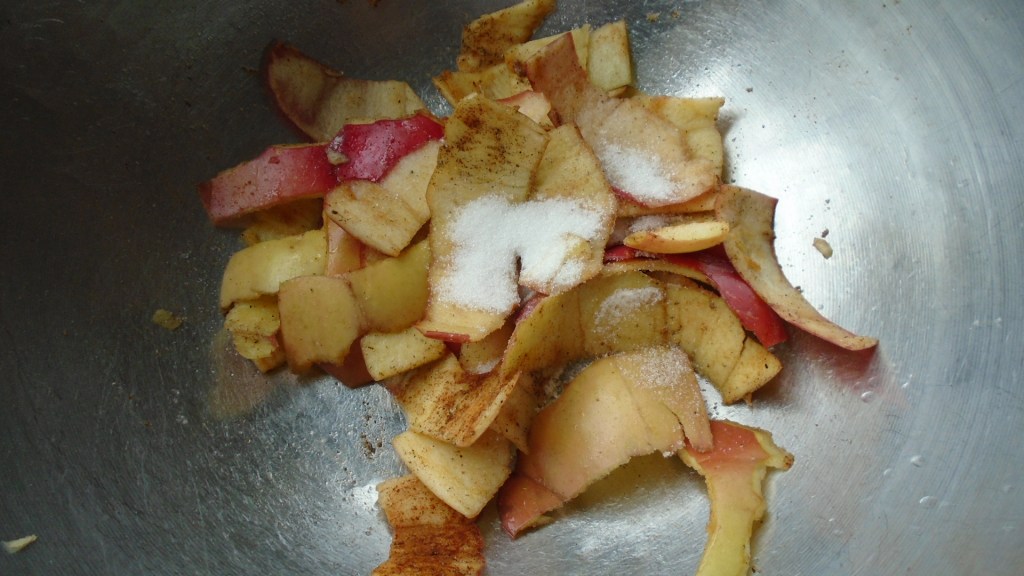
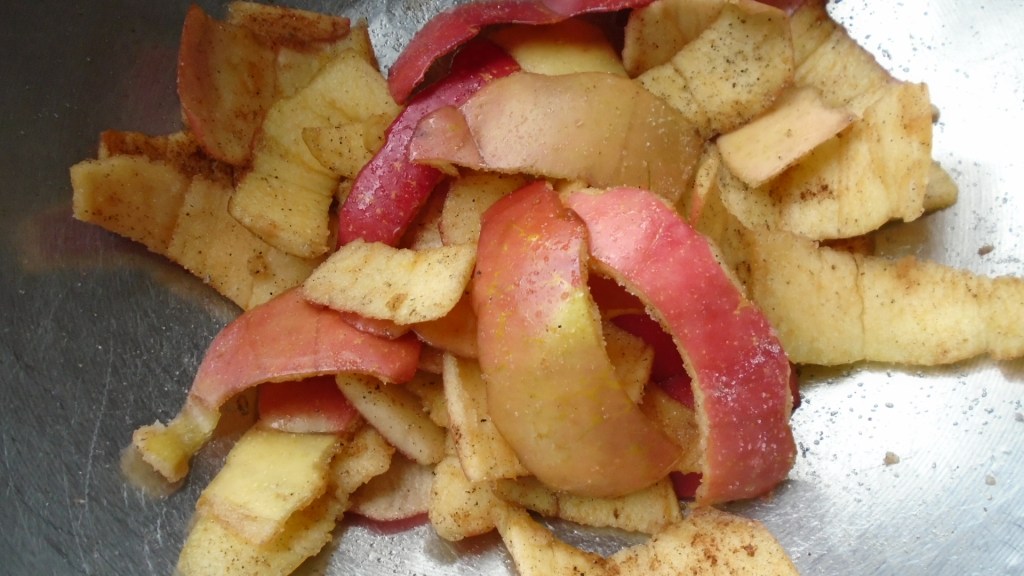
Add all ingredients to a mixing bowl. Toss to coat the apple peels.
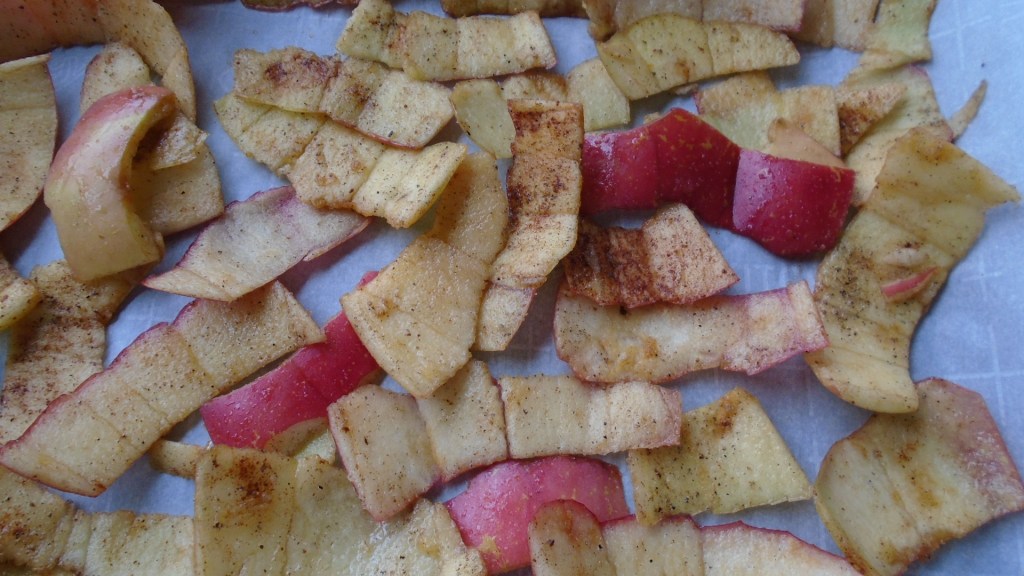
Spread the apple peels on a parchment paper lined baking tray.
Bake at 300° for about 15 minutes. Turn the peels over and continue backing for another 15 minutes. Remove from oven and allow the peels to cool.
Apple Syrup
The syrup produced by this recipe is very close to the color, consistency and flavor of honey. I will definitely use it as a substitution for honey in some future recipes.
Ingredients:
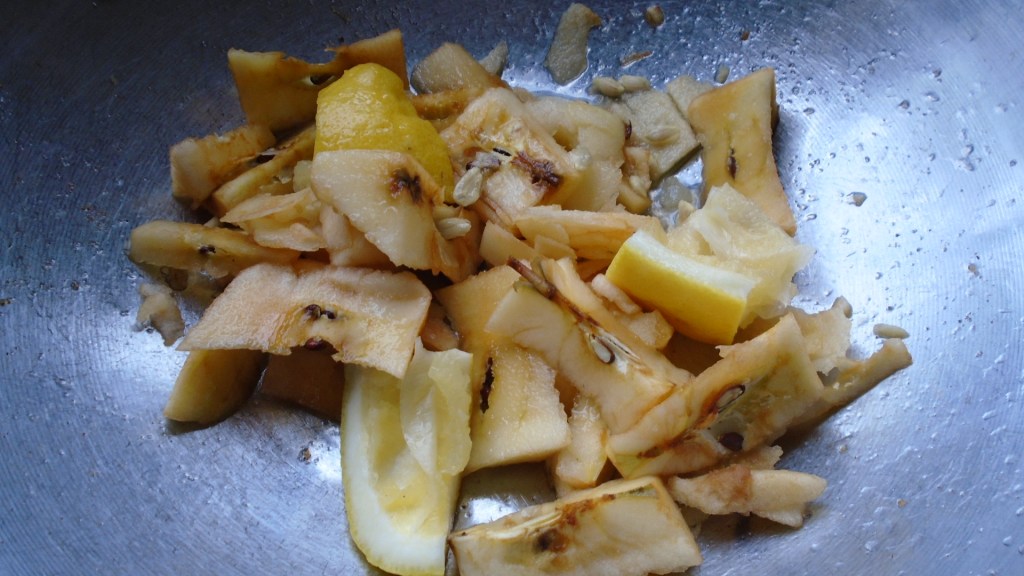
Apple cores from 7 to 8 apples
½ lemon, juice and peel
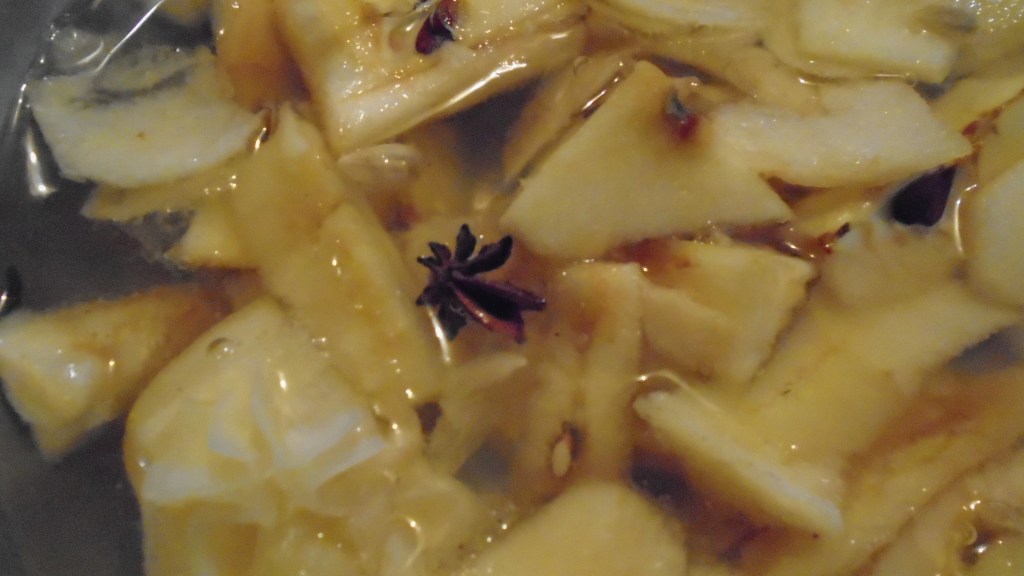
1 small star anise (or 1/8 tsp anise seed)
White sugar (amount needed is described in the directions)
Directions:
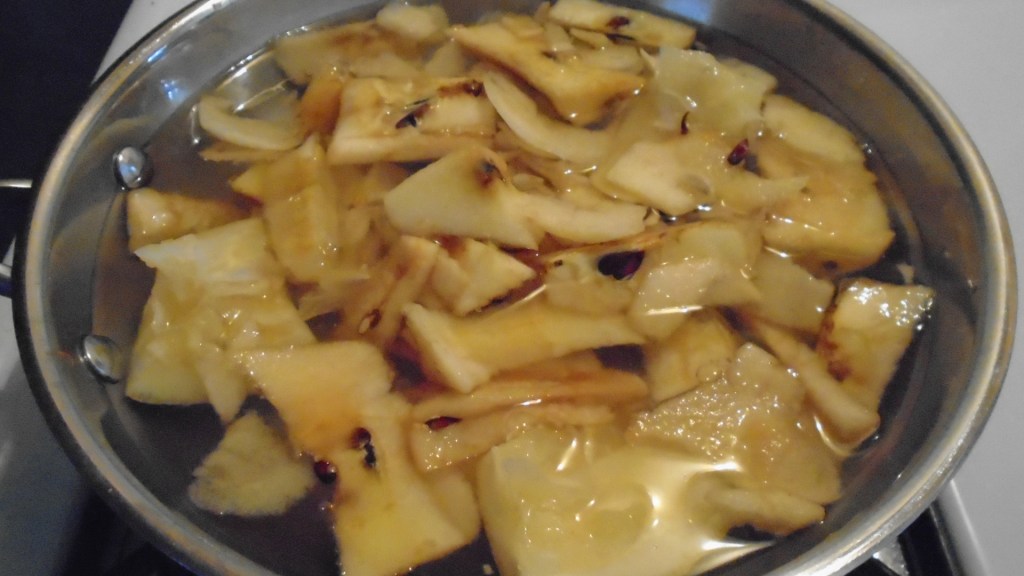
Add apple cores, lemon juice and lemon peel to a small saucepan. Cover with water and simmer at low heat for 1 hour.
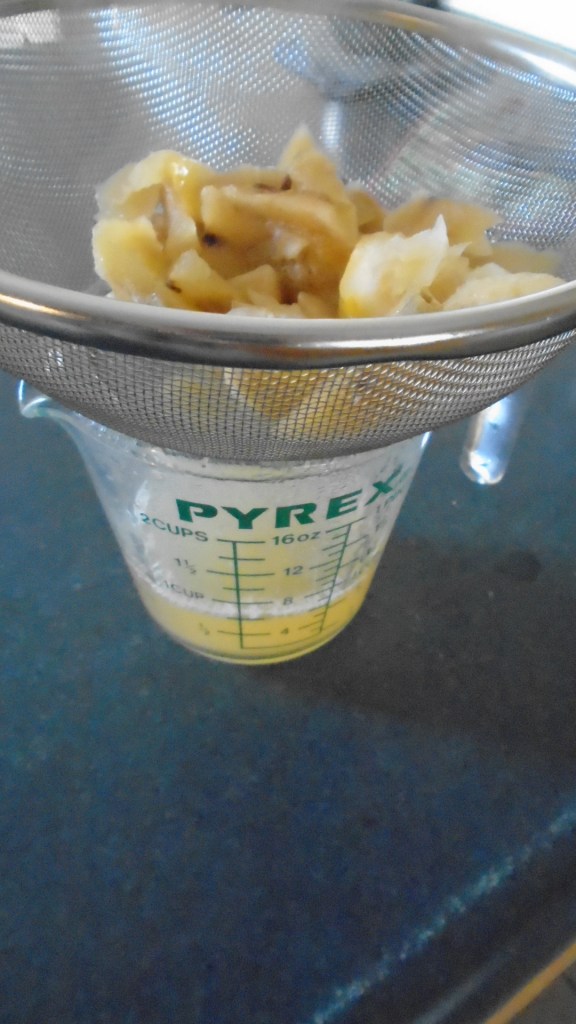
Strain the solids and reserve the liquid. Return the liquid to the saucepan and turn heat to medium. Reduce by one half.
3/4 cup liquid – add 1 1/2 cups sugar
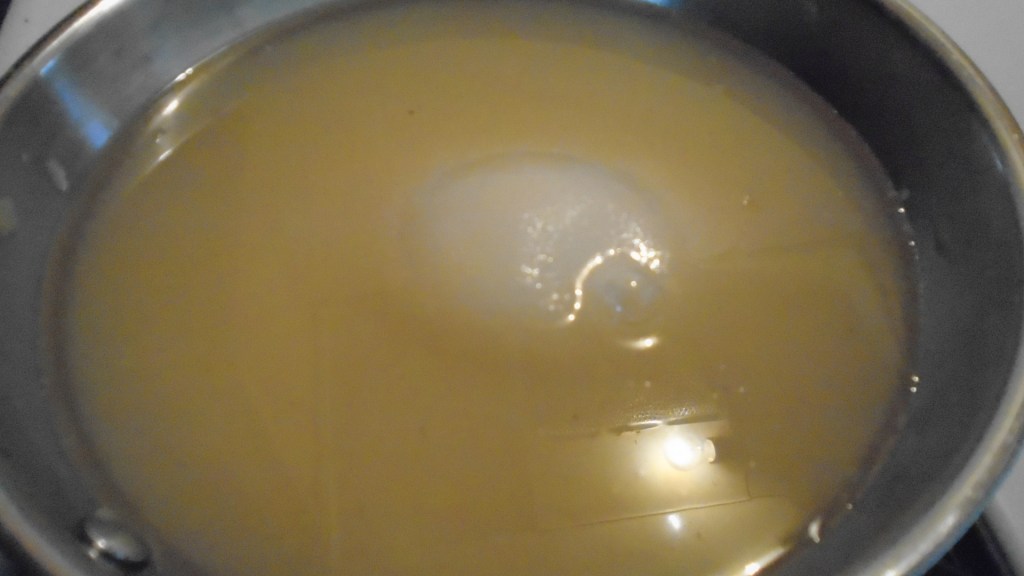
Carefully pour the hot liquid into a heat resistant measuring cup. Take note of how much liquid you have. You will be adding twice that amount of sugar to the pan. Return the liquid to the saucepan and add then add the sugar. I wound up with 3/4 cups of liquid so I added 1 1/2 cups of sugar.
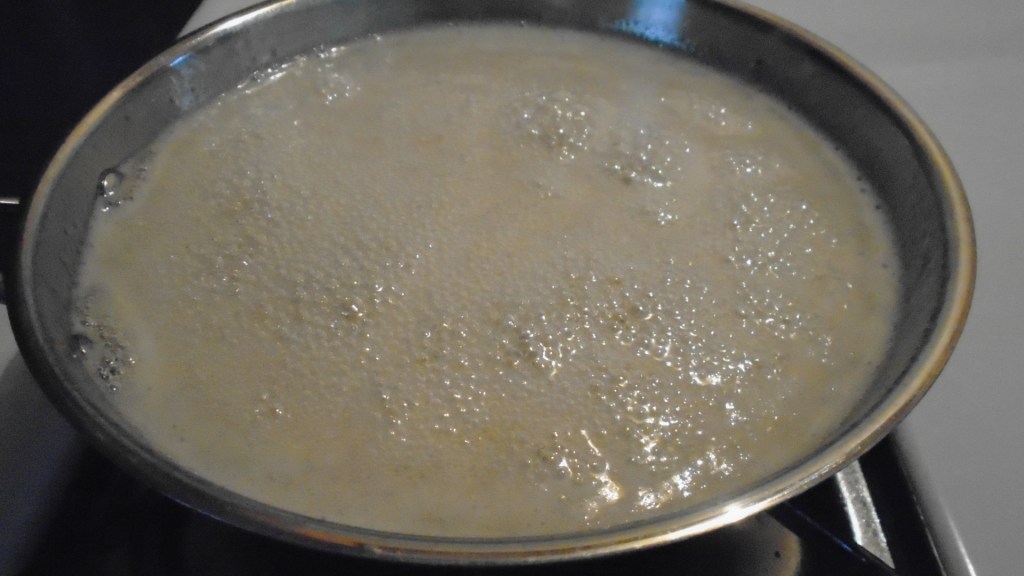
Simmer for about 5 minutes at medium heat while whisking. When the liquid begins to bubble and froth forms, turn the heat off and remove from the pan from the heat. Test the syrup with a spoon. If the syrup clings to the back of the spoon, the syrup is done. If the syrup seems too runny, return it to the heat for another minute or two. Be careful not to overheat, unless you want to make hard candy!
Remove syrup and allow to completely cool before placing it in a storage container. The syrup will continue to thicken as it cools. The syrup should last for a few weeks in a refrigerator.