Sometimes I get a grandiose idea and I get all fired up and I spend hours and hours focusing on my goal until the plan reaches fruition. And then there’s all those other days, when the grandiose idea fizzles like a flat soda.
Welcome to Flat Soda Day.
My idea was inspired by a craving for gorditas. Gorditas, which translates to “little chubbies”, are puffy corn tortillas stuffed with meats and sauces, or whatever else you might want to put in them. When made properly, gorditas are wonderfully crispy, warm, corn flavored pockets full of savory bliss. Like so many Mexican dishes, they instantly make me feel at home when I eat them, regardless of where I eat them.
Step number one for gorditas: prepare carnitas. Carnitas, which translates to “little meats”, is typically made with pork shoulder and is slowly roasted and then shredded. I tend to think of carnitas as the little brother of barbacoa. Carnitas are more gentle in flavor than bold, beefy barbacoa but, carnitas are probably more versatile.
In fact, carnitas are so versatile that I completely abandoned the notion of making gorditas and I decided to use them in burritos. That’s ok. I had some carnitas left over and made gorditas a few days later.
I usually roast a pork shoulder when making carnitas. The fat ratio in a pork shoulder is precisely what is needed for good carnitas. This time, I had a pork loin, which is very lean. I also had a few small pieces of leftover beef ribeye in the refrigerator. The fat content of the ribeye was just what the lean pork needed. I added a little lard, to further bump the fat content up, and then I roasted the meat for about 6 hours at low temperature.
Ingredients:
1 Tbs cumin
1 Tbs oregano
2 tsp paprika
2 lbs pork loin
1 cup orange juice
1/4 cup cooking oil
1 onion, chopped
1 jalapeño, sliced
1 ½ Tbs lard
¾ lb beef ribeye (cooked to medium rare)
Directions:
Combine the cumin, oregano, paprika and oil in a small bowl. Mix together.
Coat the pork loin with the spices and oil.
Combine the remaining ingredients in a large Dutch oven. Add the pork loin to the Dutch oven. Cover and cook at 250° for 6 hours. Remove from oven. Shred the meat with two forks.
Heat a cast iron skillet. Add shredded meat to the skillet and sear for a few minutes, or until the meat begins to char. Turn the meat and sear for another minute. Remove meat.
Serve in any number of dishes. Burritos, enchiladas, gorditas, flautas, chalupas, tacos…
I recently made a beef and vegetable stir fry. When I say recently, I really mean two months
ago.
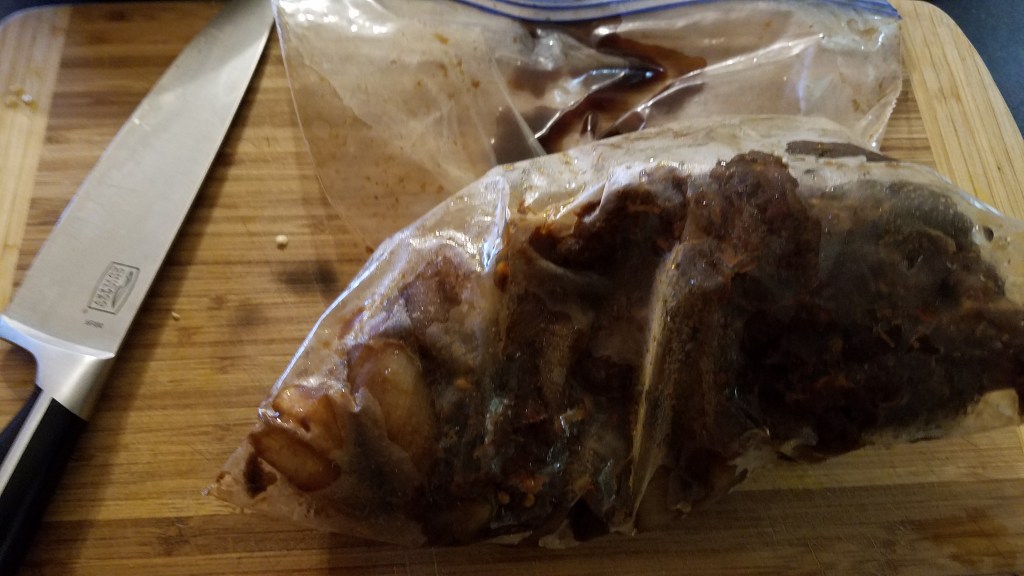
I realized that I had way more beef than I needed for the dish, so I put the marinated beef in a freezer bag, along with the marinade, and tossed it in the freezer for later use.
Fast forward two months.
I had a big frozen block of marinated meat. Now what?
Well, a sensible cook would have thawed the beef in the refrigerator for a day. But, I was not in a sensible mood. I was hungry and I wanted to make dinner RIGHT NOW. My solution was undoubtedly unconventional but I promise, the end result was delicious.
Note: I used Canola oil throughout the entire stir-fry process until the very end. I used sesame oil to prepare the leafy celery tops and green onions, which topped the dish. The intermittent and distinct flavor of sesame oil gave the dish an element of surprise.
Ingredients:
1 lb frozen, marinated beef strips
2 Tbs cooking oil (I used canola oil)
2 Tbs fresh sliced ginger
1 onion, julienne sliced
2 medium sized carrots
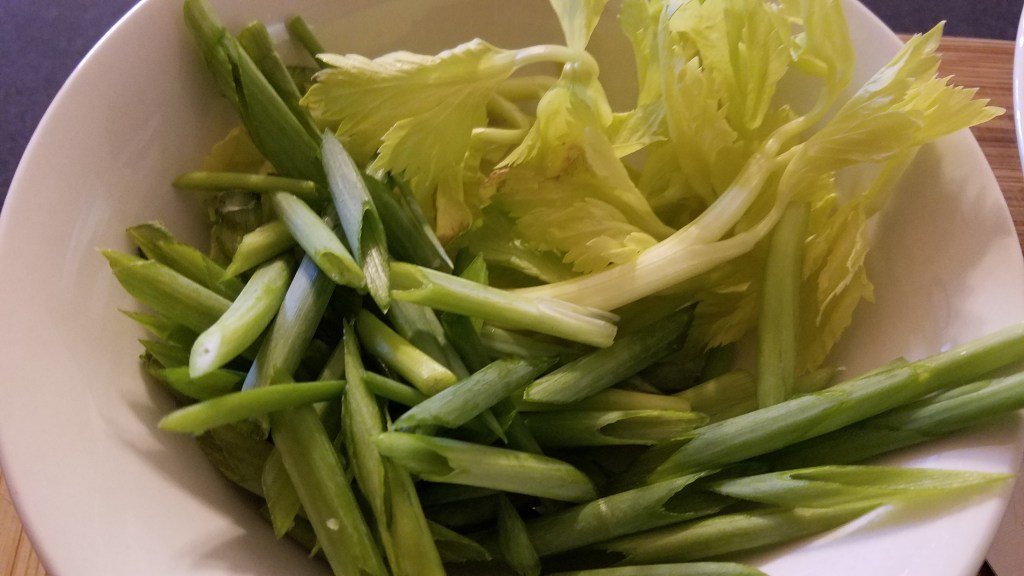
2 celery stalks (with leafy green tops)
1 quarter head of cabbage
1 tsp sesame oil
2 green onions
2 jalapeños
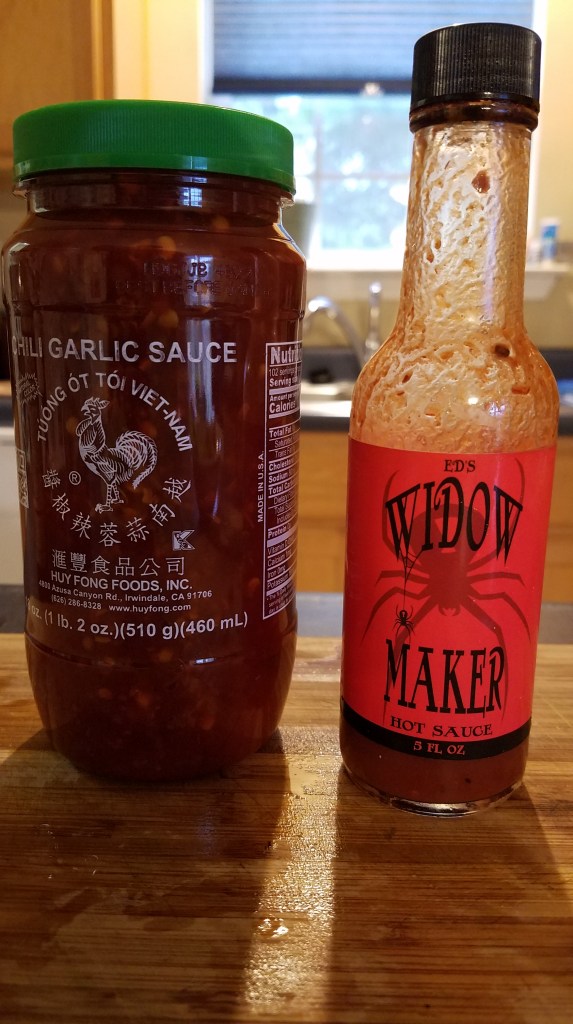
Spicy sauces: Vietnamese chili garlic sauce and Ed’s Widow Maker (local wicked, habanero sauce)
Cooked white rice, enough for to serve four.
Directions:
Prepare steamed white rice.
Keep warm.
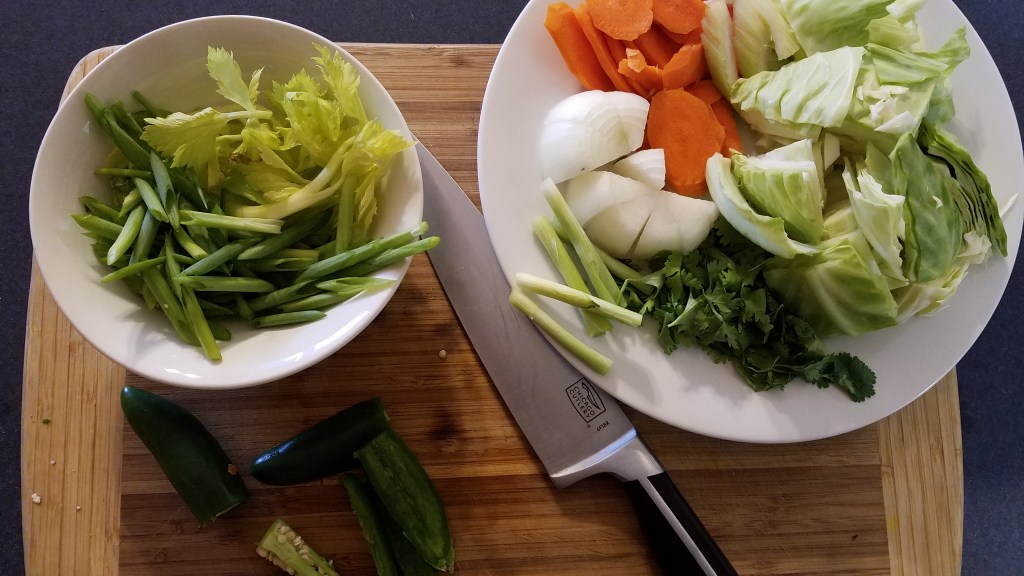
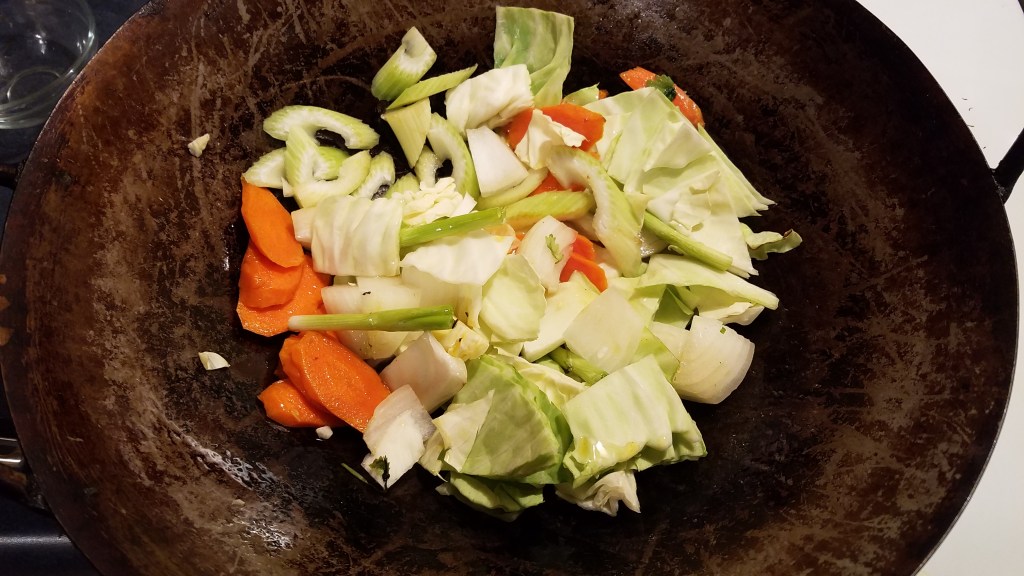
Prepare vegetables. Chop and slice. Set aside.
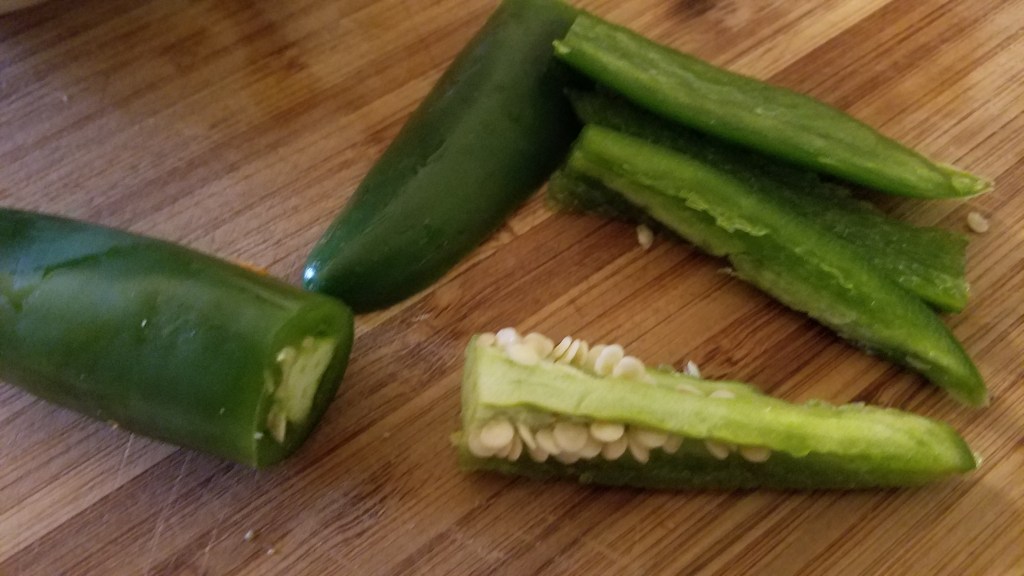
Box-cut jalapenos to remove seeds and membranes.
Frozen solid! OMG…what now?
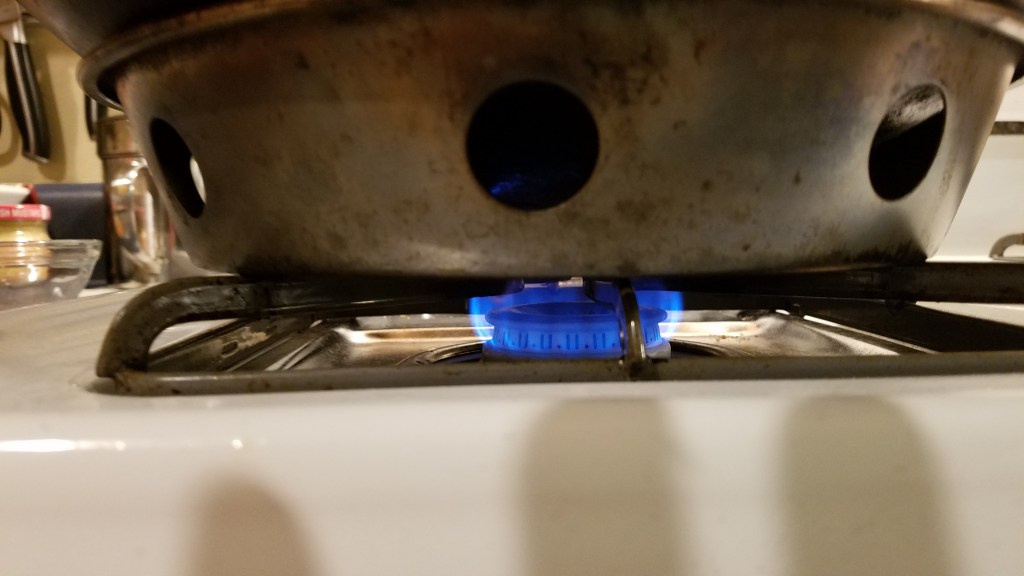
Heat a wok to low heat.
Add 1 tablespoon of cooking oil.
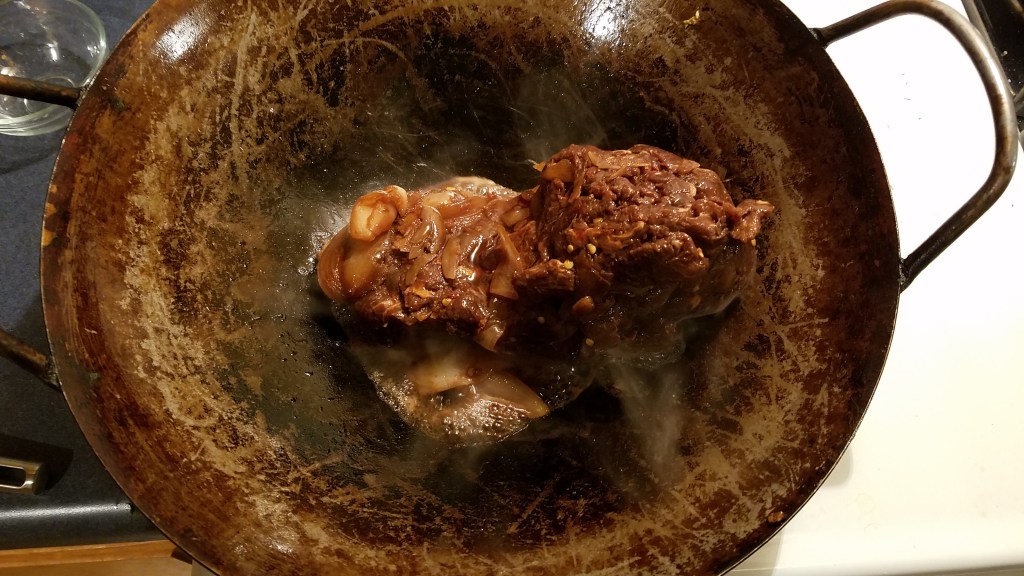
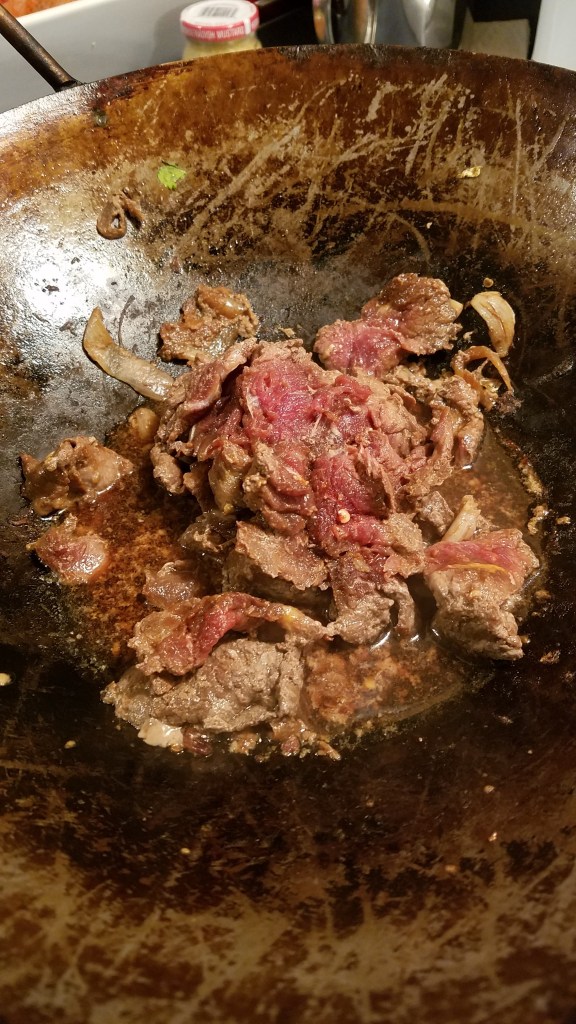
Add the frozen beef. Stir to coat
and cover.
Low heat!
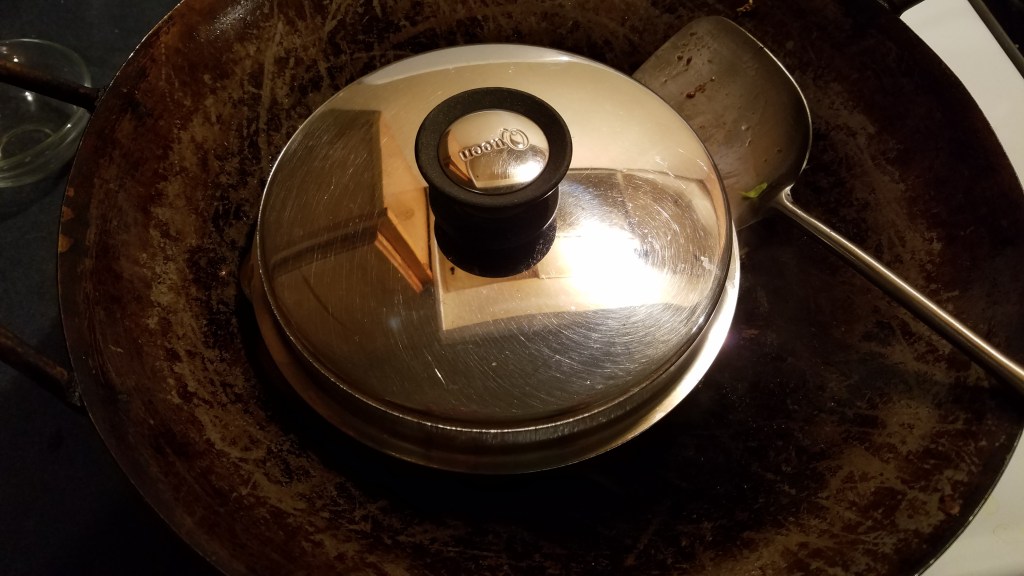
Cover and thaw.
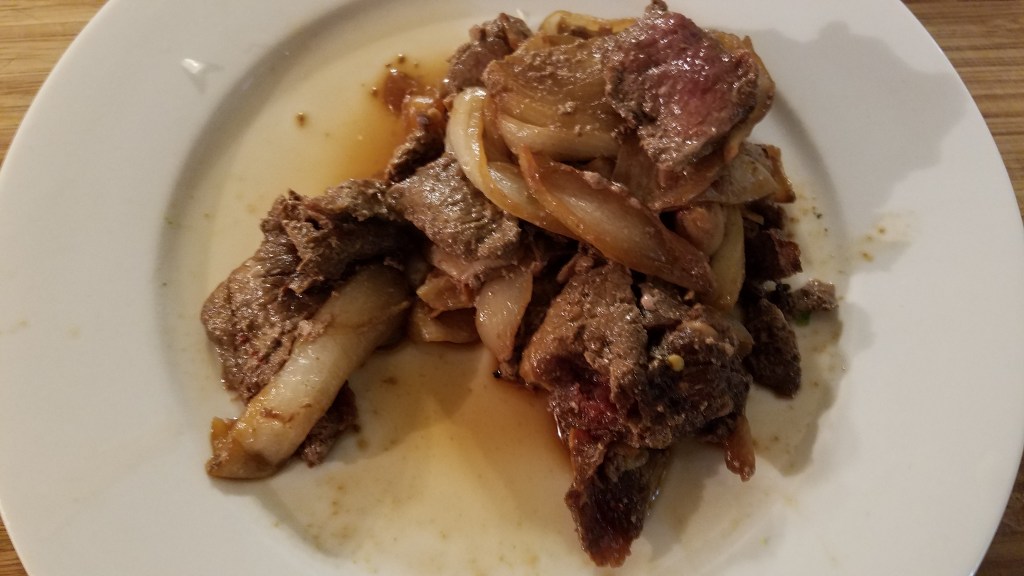
Turn every few minutes and remove portions of beef as they warm and separate from the frozen glob of meat. Set the thawed pieces of meat aside on a plate.
Continue to heat the beef until all of it is thawed. This
took about 10 minutes at low heat, covered.
Remove and set aside.
Add one tablespoon cooking oil to wok and crank up the heat.
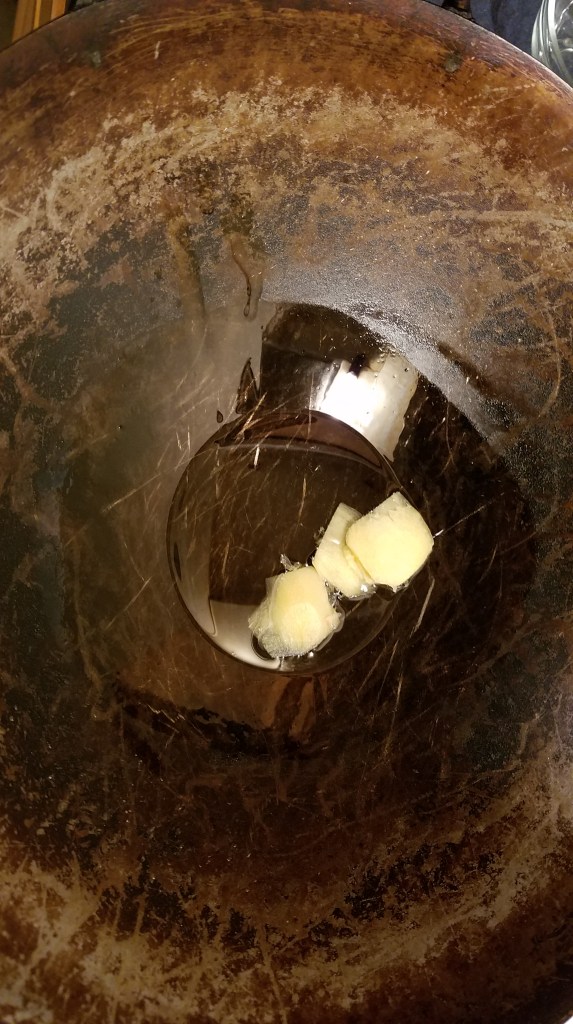
Add sliced ginger and stir for 30 seconds.
Add the vegetables and stir fry until the vegetables become
tender, but not overcooked.
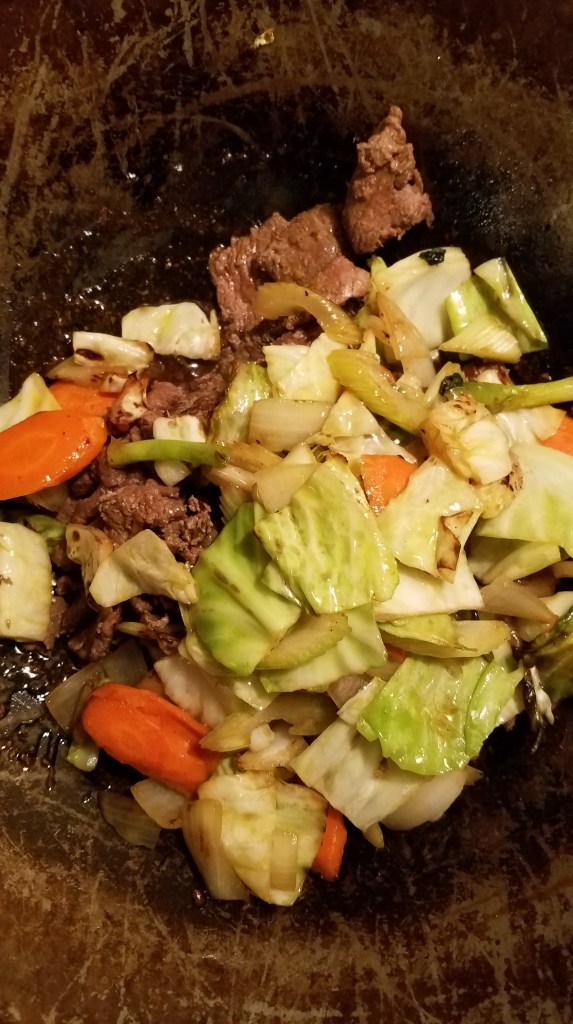
Add the beef and stir over high heat. Turn the heat off and prepare the serving
dish.
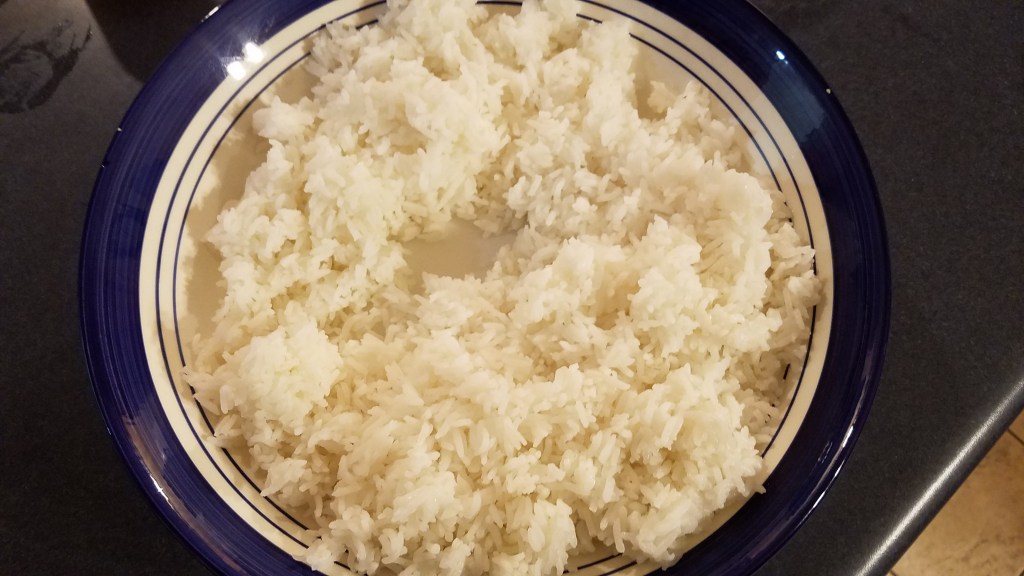
Add cooked white rice to a large serving bowl. Create a well in the center, for the stir fry.
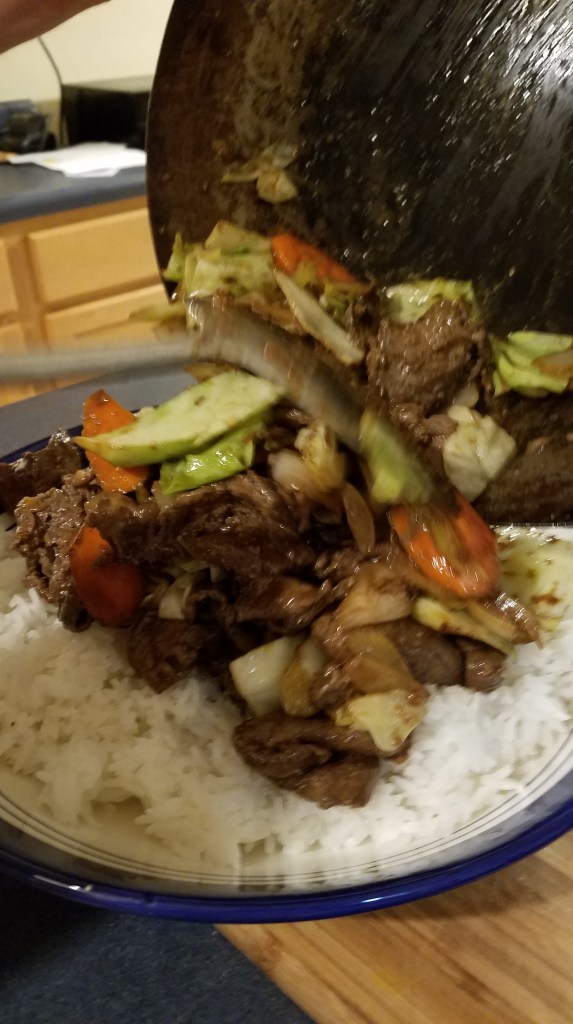
Add the stir-fried beef and vegetables to the bowl.
Return the wok to the stove and set heat to high. Add 1 teaspoon sesame oil. Add the celery tops and green onion. Stir fry for about one minute and transfer to the top of the serving bowl.
Serve with additional hot sauces and fresh jalapeño for the adventuresome…no need to punish everyone, I suppose.
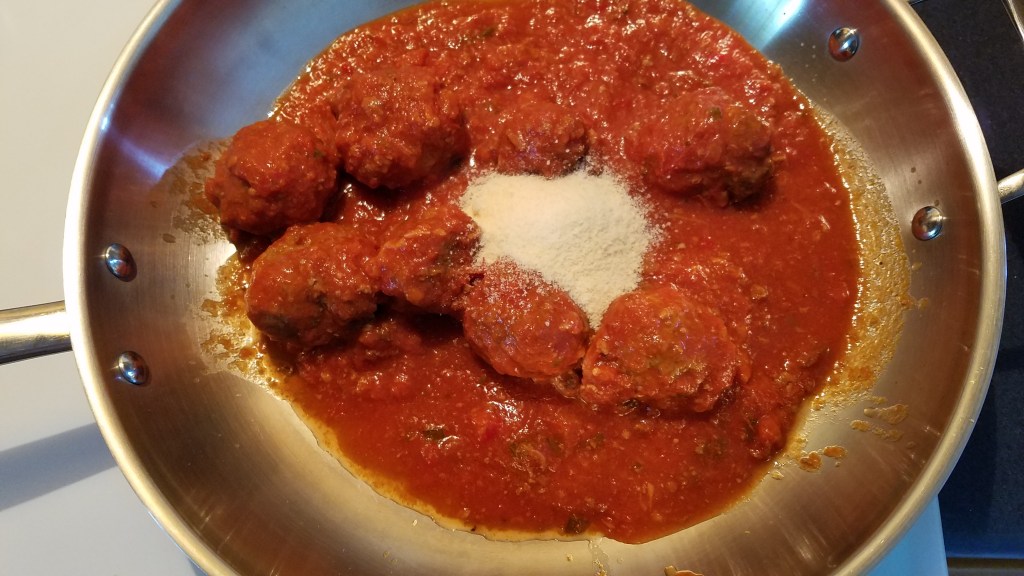
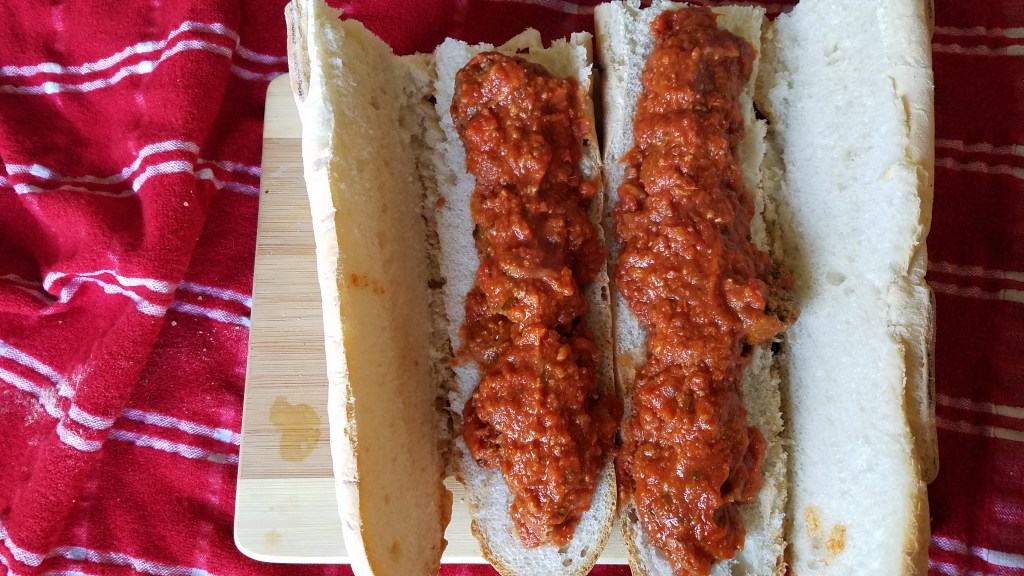
When I make spaghetti and meat balls I almost always make extra
sauce and meatballs. I sometimes use the
extra sauce to make meatball sub sandwiches.
Ingredients:
2 cups of cooked meatballs in marinara sauce
½ cup dry Parmesan cheese
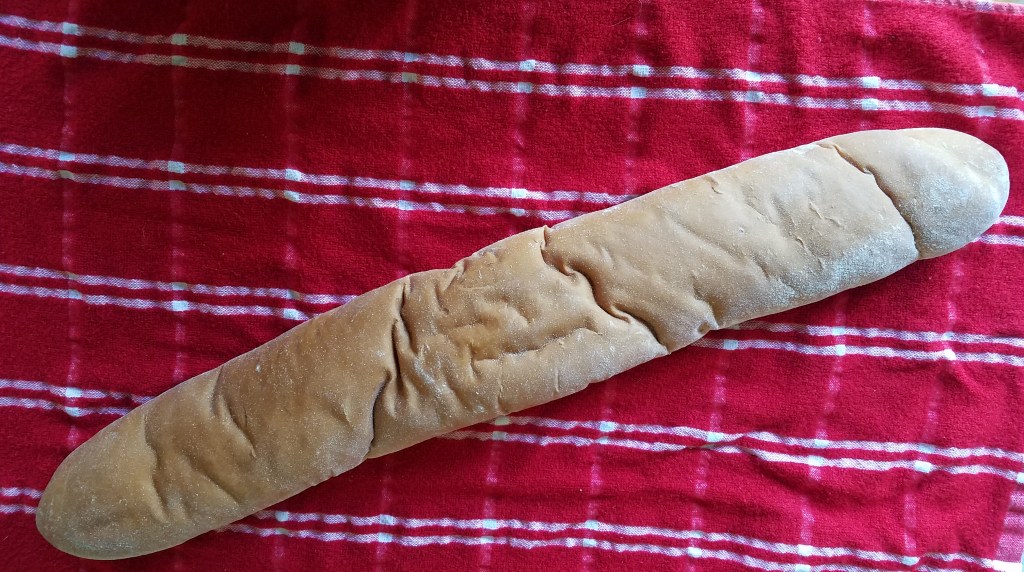
1 large New Orleans style Po’ Boy bread loaf (or any good
French loaf)
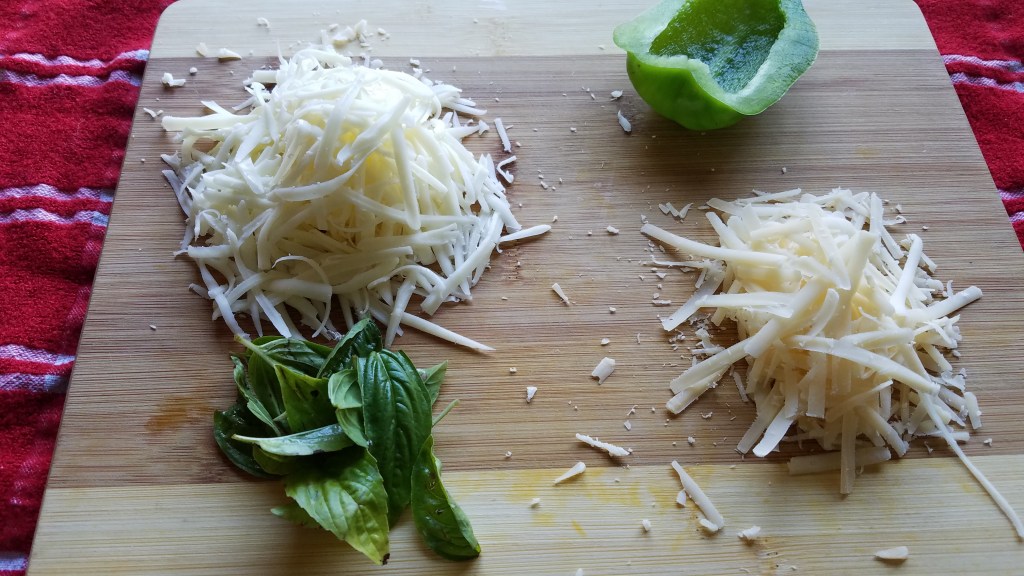
1 cup Mozzarella cheese, grated
½ cup fresh Parmesan cheese, grated
1 Tbs olive oil
1 clove of garlic, smashed
¼ bell pepper, sliced into ¼” strips
2 Tbs chopped fresh basil
Directions:
Warm the meatballs and marina is a skillet. Add the dry Parmesan and mix. Simmer over low heat for about 10 minutes.
While the meatballs warm, grate the cheese and prepare the
garlic and bell pepper. Chop the
basil. Set aside.
In a small pan, add olive oil and garlic. Heat the pan on low/medium heat and then add
the bell pepper. Sauté for a few
minutes, until the peppers have softened.
Heat the oven broiler.
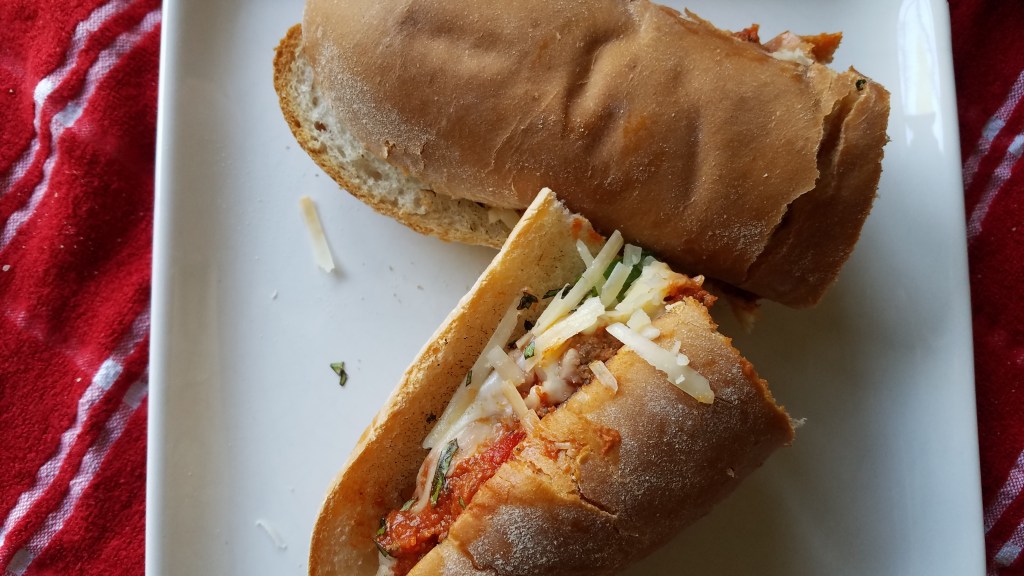
I used a 24” bread loaf, which made 4 subs.
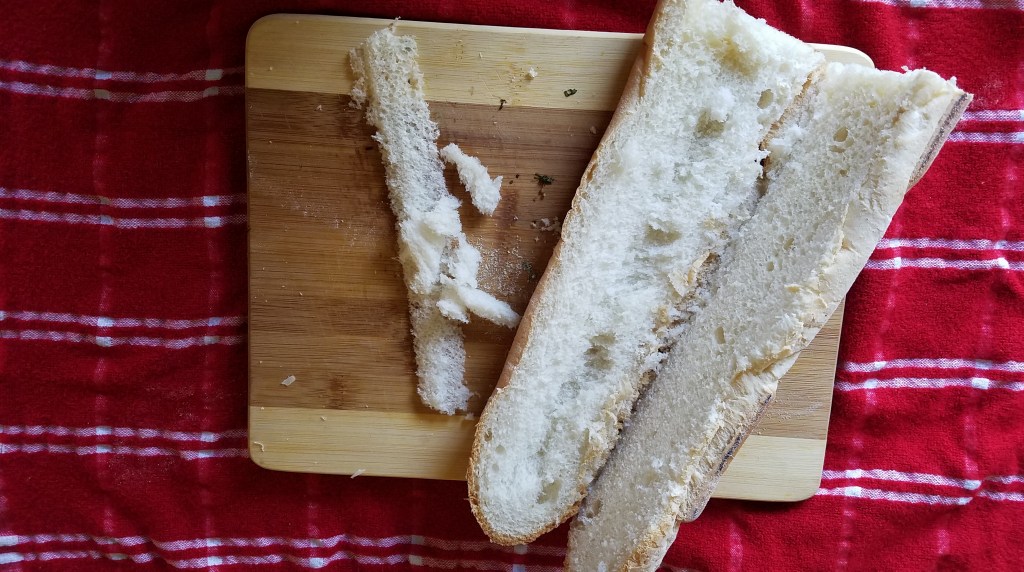
Slice the bread loaf but do not cut through all of the
way. Cut a “V” shaped trough in one of the lengths.
Add the meatballs and marinara to the trough in the bread
loaf.
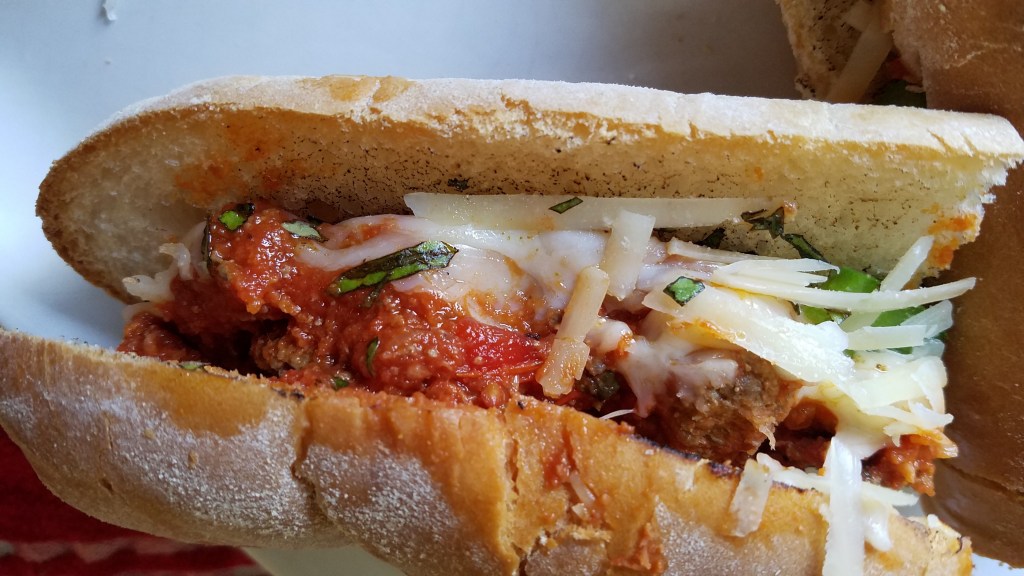
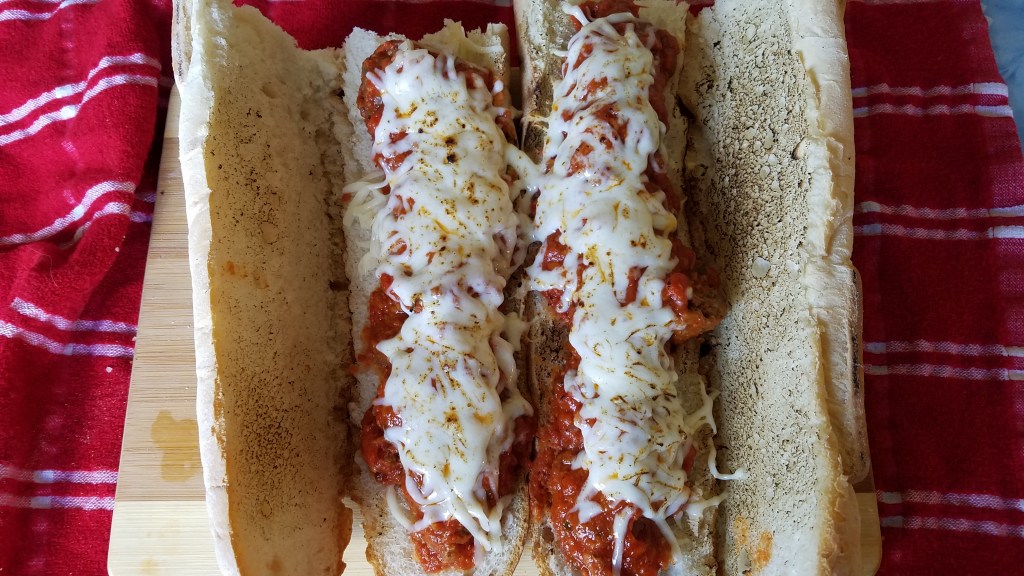
Add the mozzarella and Parmesan cheese. Put the subs under the oven broiler to melt
the cheese.
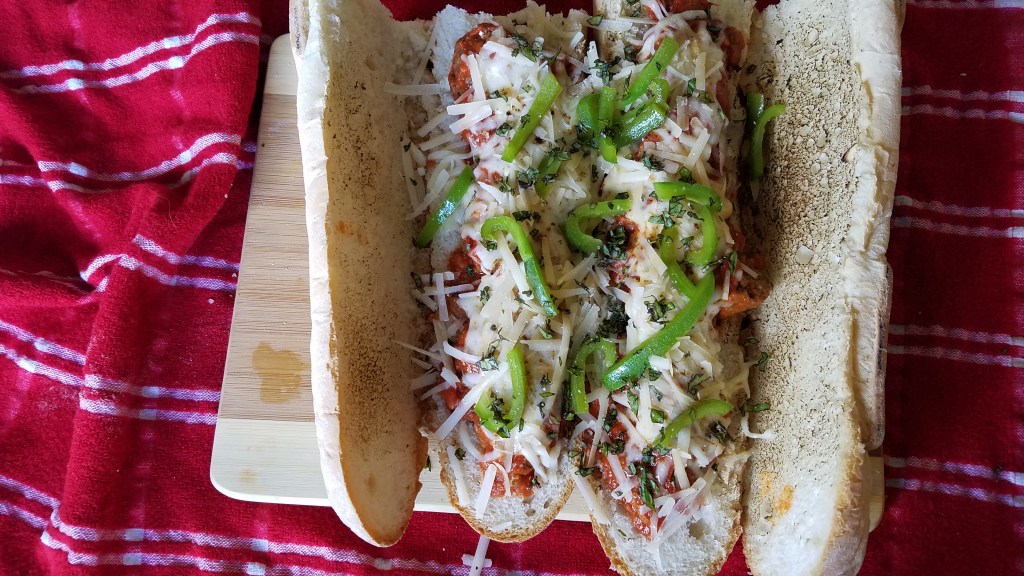
Remove the subs and layer with the bell pepper and a little more fresh Parmesan cheese and basil.
“Great pizza and bad pizza have one thing in common…they are both unforgettable.”
Suffice it to say that I am a big fan of pizza. Any pizza can be a great pizza if it is made with
passion and bravado. New York, Chicago,
Des Moines…it doesn’t matter which particular city or which style you prefer,
pizza has become our Great Unifier. Even
when we argue about which type of pizza is the best, we are really acknowledging
the existence of all forms of pizza. The
love of pizza embraces every culture, every race, every nation. Pizza knows no boundaries. Pizza brings us all together and we owe pizza
a debt of gratitude. Make pizza, not
war!
Being a humble, home cook, I don’t have a wood-fire brick oven,
I don’t make my dough with semolina flour and I don’t use buffalo mozzarella. But, that doesn’t prevent me from producing
some satisfying pizza pies. I try to include
at least one ingredient that elevates a common pizza to the next level and I
put my heart and soul into each and every one.
Today’s pizza experience is somewhat typical for me. By that, I mean that I used some ingredients that I have not used before and I employed some techniques that I did not see coming, until inspiration struck me. Anyone who knows me knows that I rarely make a recipe the same way twice and pizza fits my philosophy perfectly.
We’re making two pizzas.
I usually use tomato sauce from a jar, and I’m not ashamed
to admit it. There are some really good
sauces available and I use an inexpensive brand, flavored with basil and
garlic. But, now that I have fresh
tomatoes from the garden, I am making my own sauce.
Ingredients for the pizza sauce:
2 cups diced ripe tomatoes
4 smashed garlic cloves
¼ tsp red chili flakes
Directions for sauce:
Cook the tomatoes, garlic and chili flakes in a large skillet until tomatoes are completely softened. Strain the solids and reserve the sauce. Reduce the sauce by half. Set aside.
Prepare pizza dough. See
my recent post on pizza dough here:
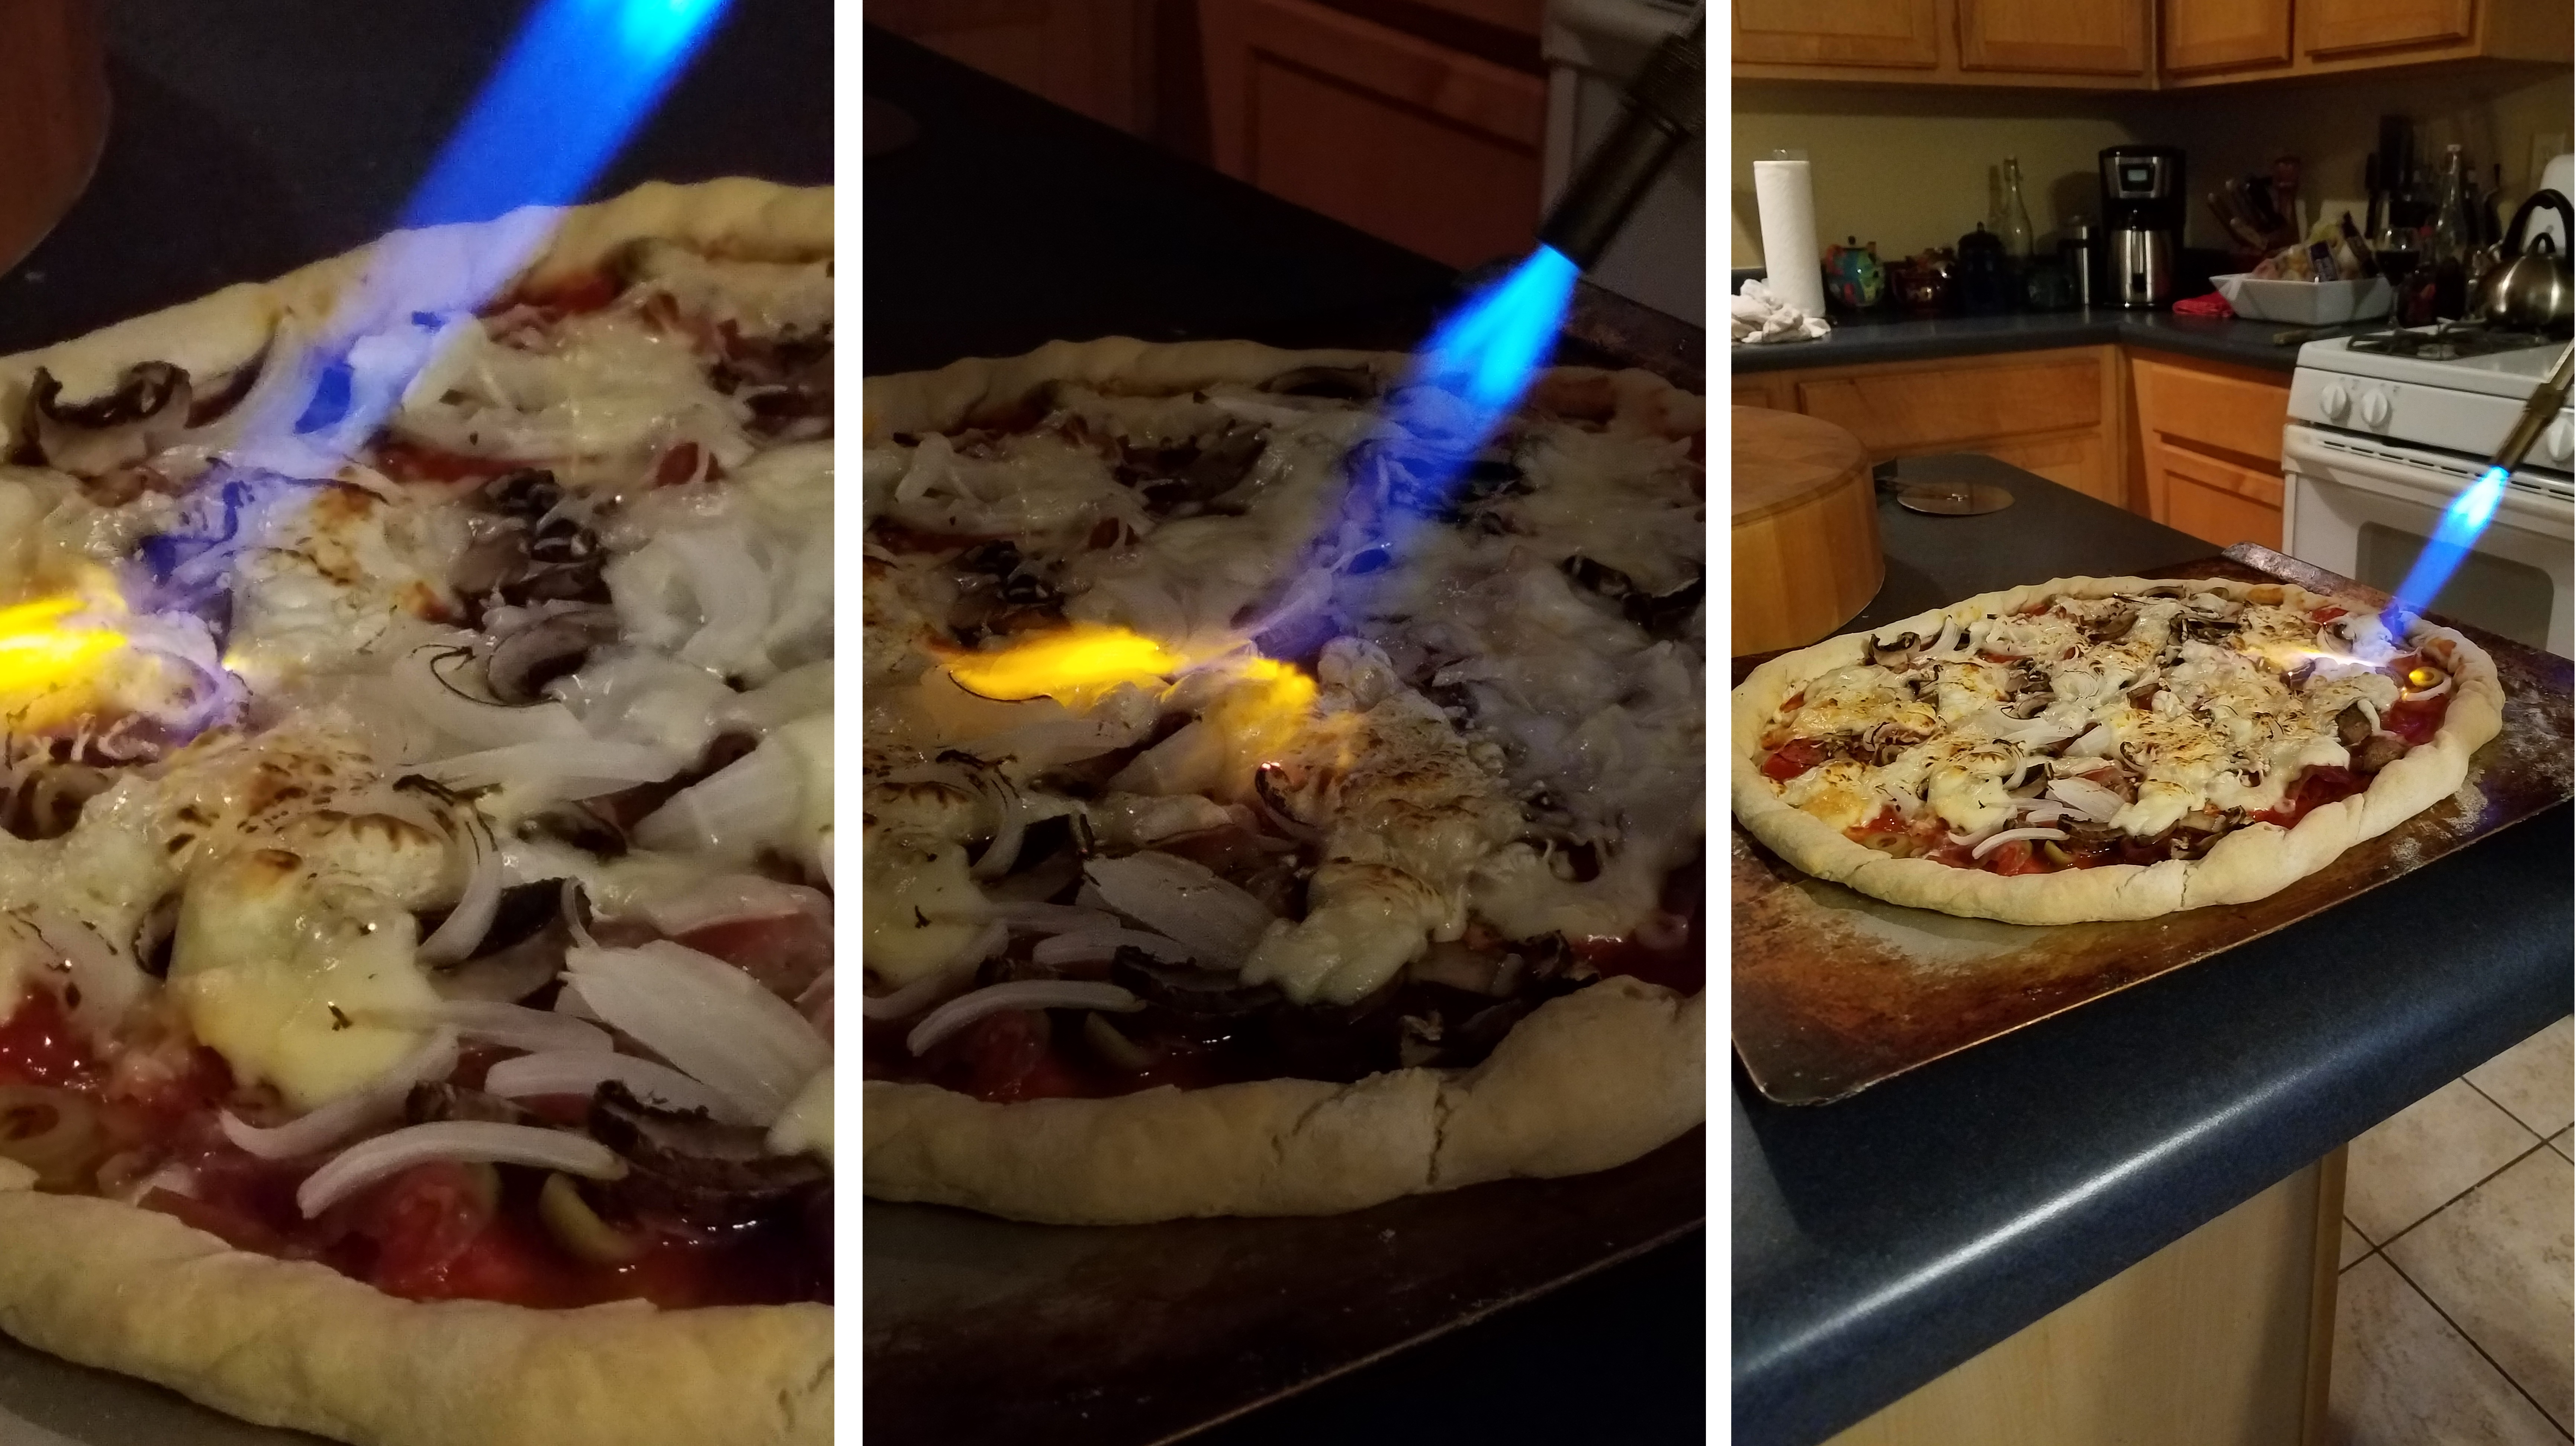
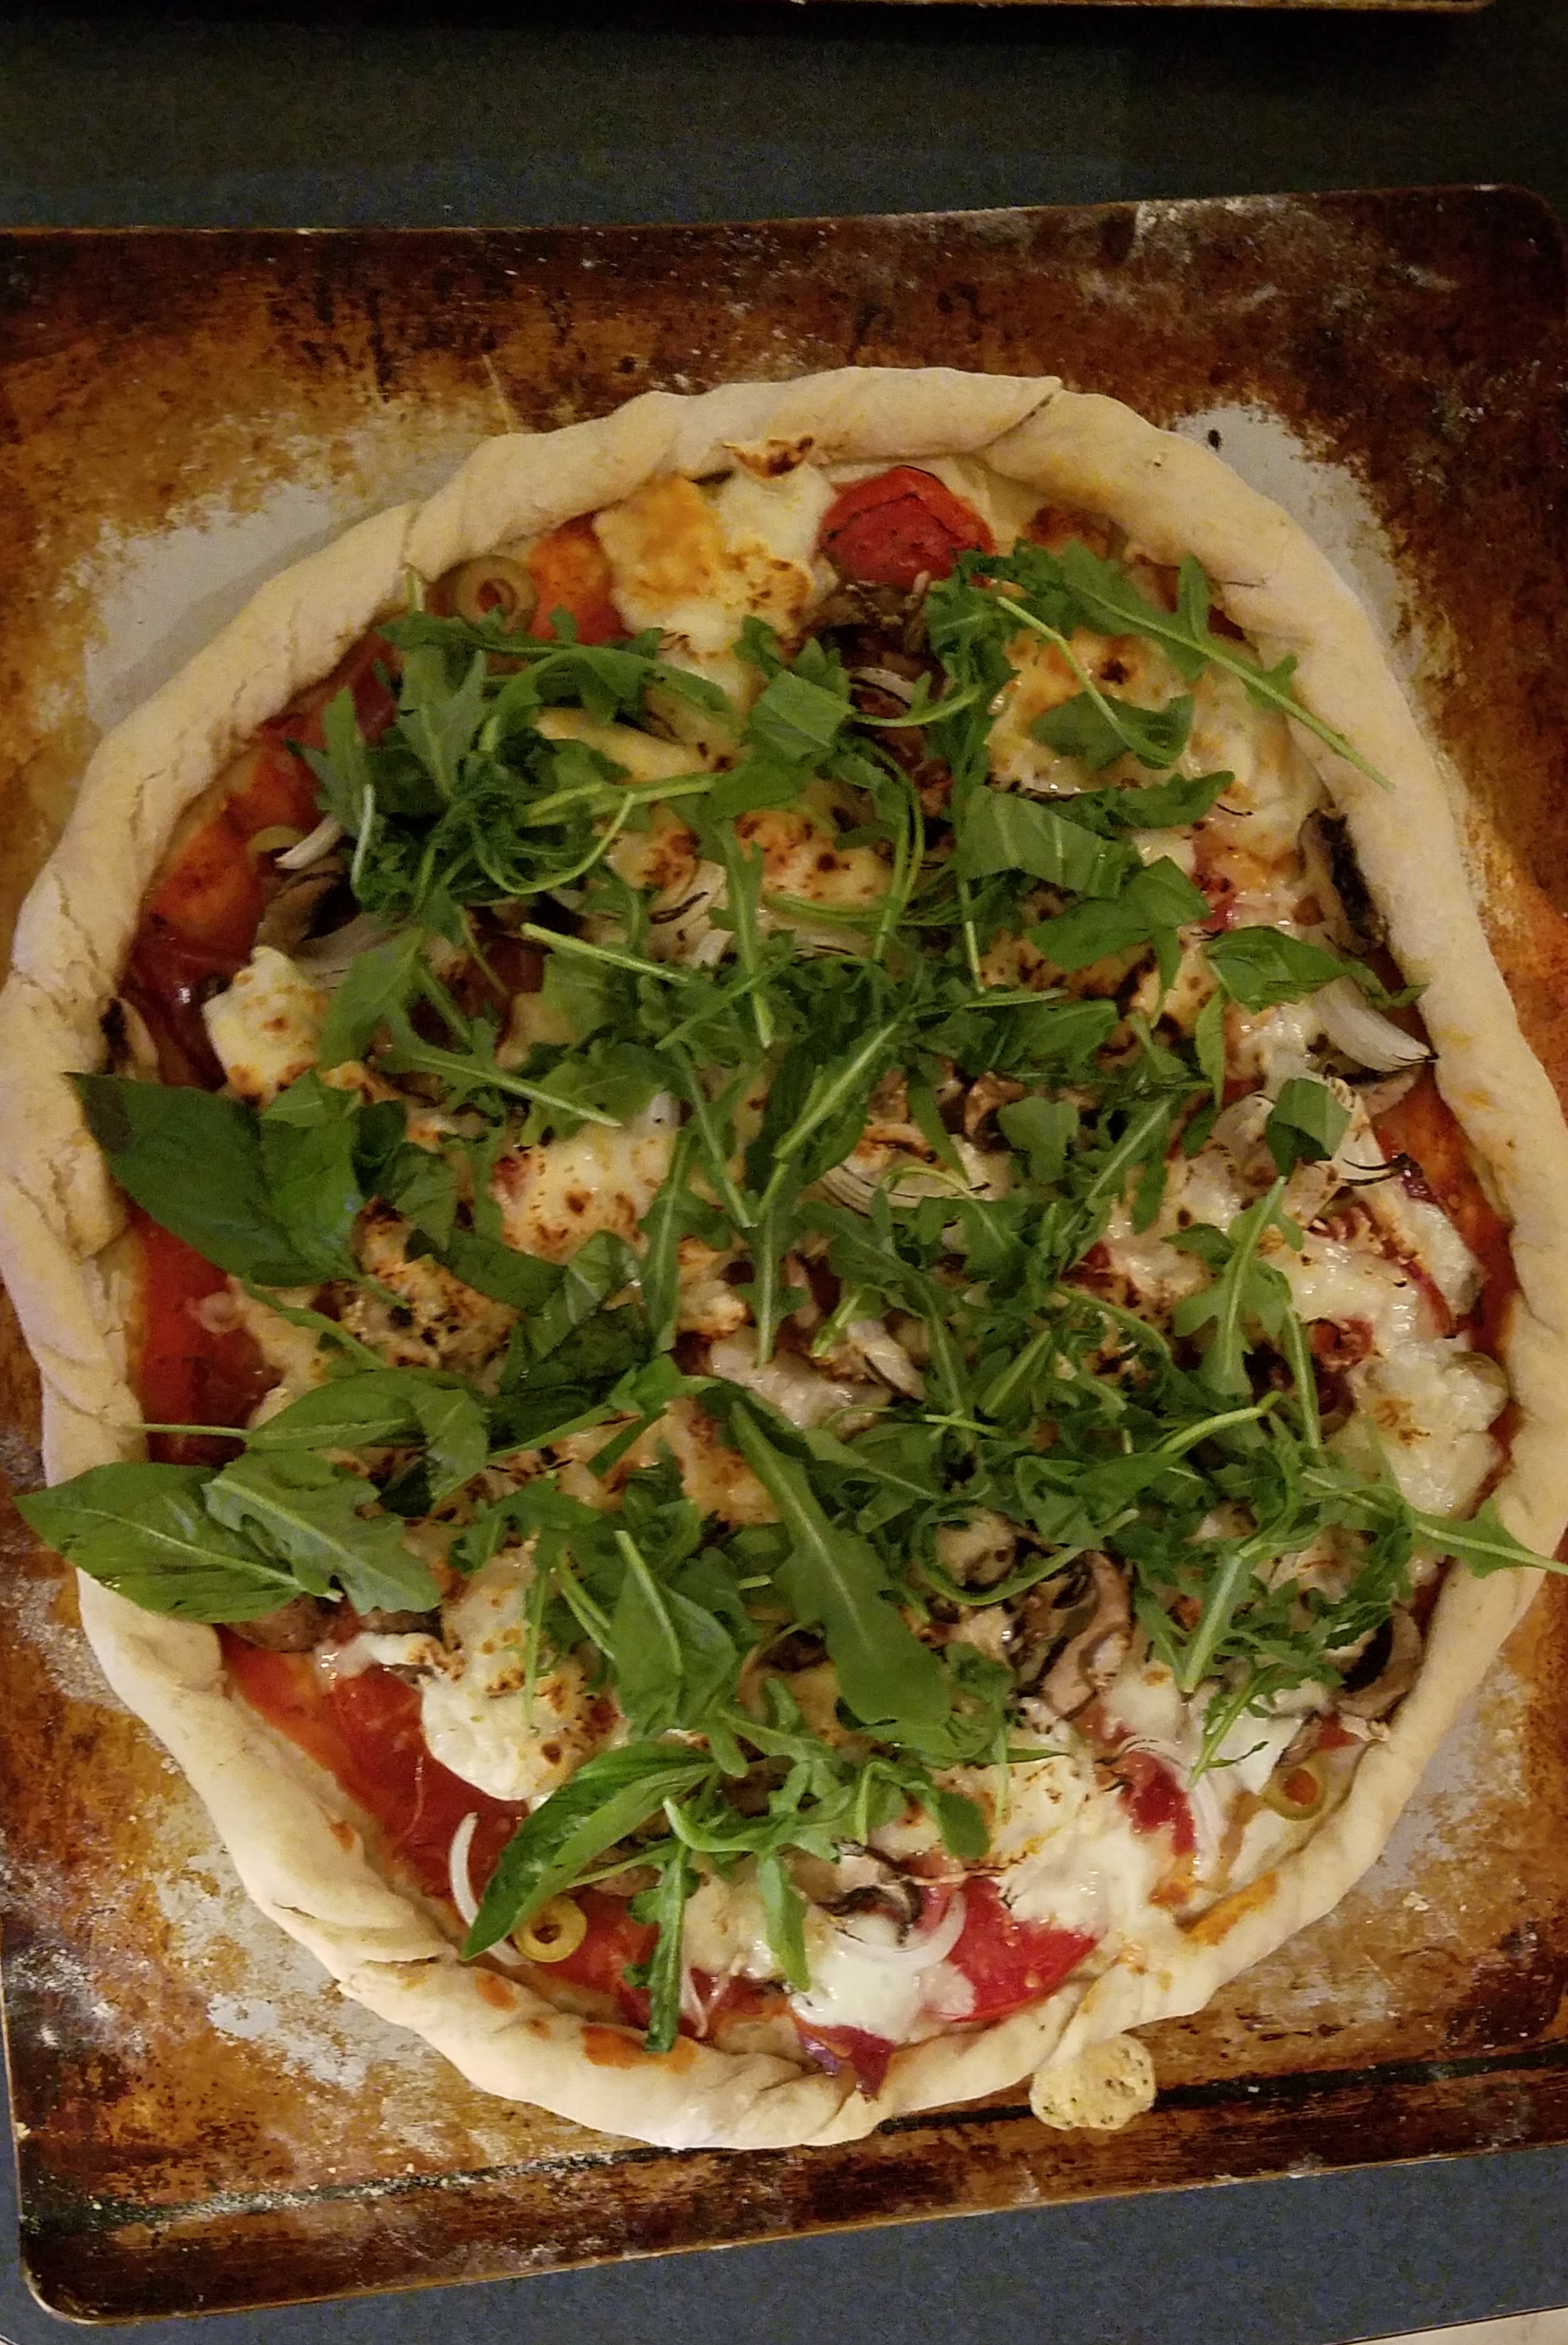
Spread tomato sauce on cooked pizza dough. Lay tomato slices around the outer edge of the pizza. Sprinkle olives across the pizza. Drape the speck capriciously across the pizza, gently. Allow the cured meat to rise and fall…resist the urge to press it down. Distribute the mushrooms and scatter strips of mozzarella across the pizza and finish with the julienne onion and Parmesan. Bake for 10 minutes. Remove from oven. Use a blowtorch to blister the mozzarella. Toss fresh arugula on top. Cut and serve.
Pizza #2
Ingredients for the toppings:
1 cup tomato sauce
3 oz pepperoni slices
6 oz sliced mozzarella cheese
2 ounces grated Parmesan cheese
Directions for making
pizza:
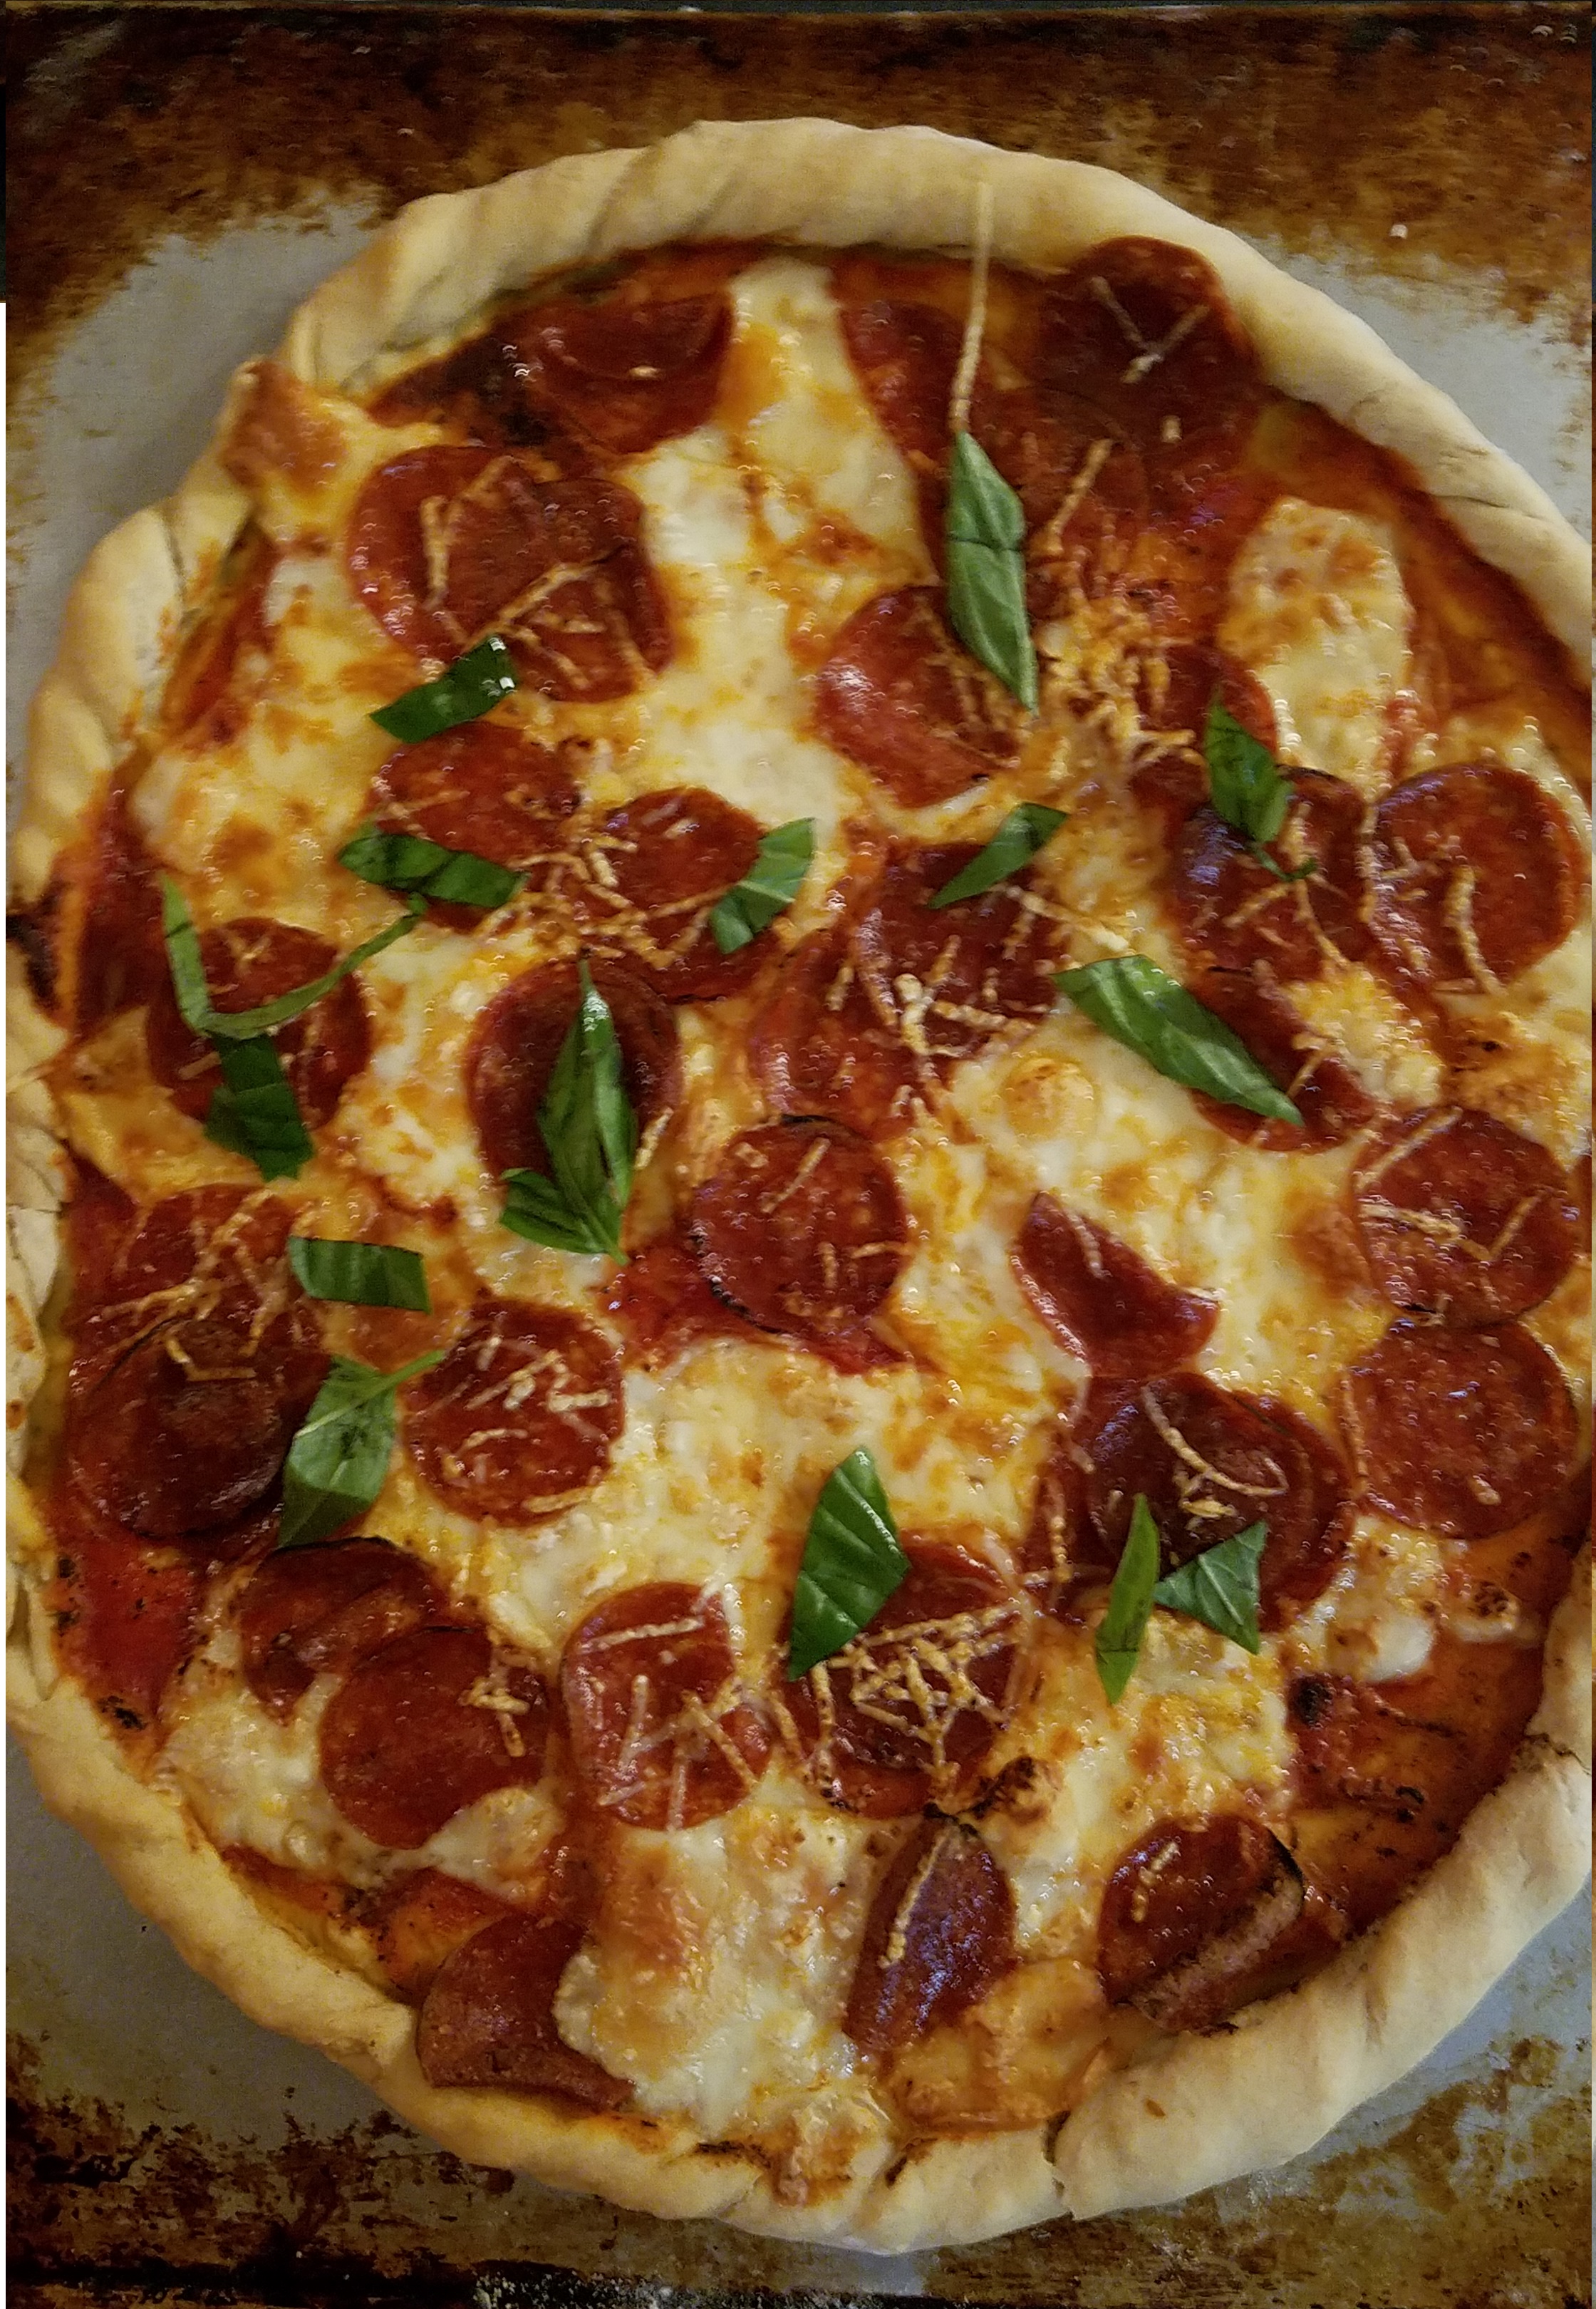
Spread tomato sauce on cooked pizza dough. Scatter strips of mozzarella across the pizza. Top with pepperoni. Bake for 10 minutes and remove from oven. Use a blowtorch to char the pepperoni. Sprinkle with Parmesan cheese. Cut and serve.
The homemade tomato sauce makes both pizzas special. It is a straightforward sauce…sweet and simple.
The speck and arugula was my favorite of the two pizzas but both
pizzas benefited by the blowtorch.
Since speck is a dry, cured meat I layered the mozzarella on top, to keep the speck from becoming too dry. Blistering the mozzarella with the blowtorch made the mozzarella sizzle and gave it a special saltiness.
For the pepperoni pizza, I laid the pepperoni on top of the mozzarella,
giving me an opportunity to put a char on the pepperoni with the blowtorch,
which made it as crispy as a brick-oven could produce.
Now, go make some pizza but, for goodness sake, make it good!
I thought I was going to submit a post about how I make pizza
but I became overwhelmed. And then, it
occurred to me that when I make pizza I am really doing two things. First, I make the dough and then I make the
pizza. As a result, I felt the need to
break this topic up into two parts. So, this
post is about making pizza dough and I will make a separate post about dressing
up the pizza.
I usually approach cooking with a sense of whimsy, as if whatever
will happen, will happen. But making
dough is a different thing for me. I am
not a baker. I’m just a home cook that
wants to make something tasty for my family.
So, when I step into a baker’s shoes, I get a little bit nervous.
When I make dough I become serious. If you have ever seen a Marx Brothers movie
you might recall how the clown of the troupe, Harpo becomes very serious when
he sits down, to play the harp.
That’s how I imagine I look as I start to make pizza
dough. Intent.
Focused. Resolute.
But, I don’t stay that way for very long. At some point, during the process I begin to
relax. Maybe it happens when I start
kneading the dough. The sensation of the
soft, pliable dough under my palms and fingers gives me satisfaction and I feel
like a kid again. Maybe that’s why I
used to bring my young kids into the kitchen when I made pizza. They would stand on a chair, next to me, and knead
the dough on the counter top and then they would help me roll it out into a
wide circle and they would “paint” the pizza dough with tomato sauce, smearing
the sauce with a large spoon grasped by their tiny hands.
Pizza needs to be fun.
Making pizza should be a celebration.
Maybe that’s what Harpo Marx felt when he spent time with
his kids.
This recipe will make 2 large, 14” thin crust pizzas
Ingredients for the
dough:
3 cups all-purpose flour (you will need additional flour throughout
the process)
1 packet of Instant
Dry Yeast
1 ¼ cup warm water
2 Tbs olive oil
Note: I use Instant
Dry Yeast, which can be added directly to the flour, rather than Active Dry Yeast, which is added to
warm water. Either way is fine, but I
have found the Instant Dry Yeast method to be the easiest and most
reliable.
Directions:
Whisk the flour and yeast together in a bowl. Set aside.
Heat the water to about 100°. You can do this in a microwave oven or just
use very hot tap water.
In a separate large mixing bowl, add the water and add about ½ cup of the flour mixture. Whisk until smooth.
Gradually add more flour and mix with a spatula. Keep adding flour and mixing until all 3 cups of the flour has been added. At this point, you might want to mix by hand. Keep adding flour in small amounts and mix by hand until the dough forms a ball and does not stick to your hands. The additional flour needed might be anywhere between ¾ cup to 1 cup…you will know when the dough is ready to knead when the dough ball becomes easy to pick up and rolls around in your hands, without sticking. Turn the dough out onto a floured surface and dust your hands with a little bit of flour. Knead for about two minutes. You should feel the dough becoming more pliable and supple.
Put the dough ball back into the mixing bowl and cover tightly with
aluminum foil. Some people suggest
covering with a damp towel but I prefer sealing it with the foil.
Put the bowl in a proofing cabinet and allow the dough to rise for
at least a half hour. Oh, what’s that?
You don’t have a proofing cabinet?
Well, neither do I. In warmer
months, I put the bowl on the seat of my pickup truck and roll up the windows. It works perfectly. The dough should double in size within a half
hour to an hour.
When I
made pizza today the outside temperature was 91° with 64% humidity (heat index
at 105°), which is perfect for dough that needs to rise but is miserable for
anyone wanting to mow their lawn…which is why I chose to make pizza today,
instead of mowing the lawn!
During
cooler months, I set the bowl on my stove top and set the oven at 250°
I prepare the pizza
toppings while the dough rises but I will skip that part for now…
When the dough has risen, heat the oven to 400°.
At this point, I
should mention that I use a standard, conventional oven. In fact, my oven broiler stopped working over
a year ago but the rest of the oven works just fine. Since I don’t have a pizza oven, or any other
fancy trappings, I use a two-bake method for the pizza dough. I bake the dough first and then add toppings
and bake again, to finish. I use
insulated aluminum cookie sheets…no fancy pizza stones, or perforated pizza
pans for me!
Divide the dough in half and turn out one of the halves onto
a lightly floured surface. It’s time to
get a feel for the dough again. Roll the
dough and knead it. The dough will
probably be a little sticky. Add some
flour and knead. Bring the dough back to
a silky and pliable consistency. It should
be easy to handle and feel sturdy, but not dense, or hard.
Pat the dough down into a disc, with your hands. Press the dough out and widen it. Add a little more flour to the work surface
and flip the disc over. Press it again
with your hands. When you feel that the
dough is ready, roll it out with a rolling pin.
If the dough falls apart or if you feel that something isn’t right, don’t
worry. Pick it up and start again. Roll the dough out enough so that it is just a
bit larger than your baking sheet. (I have done this up to three times, just to
get it right). Gently fold the dough
over in half and pick it up and place it on the backing sheet. Unfold the dough onto the sheet and center it
as best as you can. It’s tricky work, to
be sure.
Curl the edges of the dough with your fingers. It’s not necessary but I like to have a definable
crust.
Pic
Repeat the process with the other half of the dough and
then, place both cookie sheets in the hot oven.
Bake for about 10 minutes. Take
the pizza crusts out and flip them over.
Brush a little olive oil on the back side of the pizza crust and bake
for a few more minutes. This will give
you a nice, crisp crust.