Day 4 Mushrooms

People use all sorts of things to measure time.  The obvious choice, of course, is a clock, but when you think about it, there are other more subtle ways to measure time.

Your newborn baby sleeps through the entire night.  Congratulations, you just made it to six months, or has it been a year?  Your neighbors have their trash cans lined up on the street.  Oh, it’s weekly trash pickup day.  You see Christmas decorations pop up at local stores when there wasn’t any the day before.  It must be September already. 

The kitchen is full of time measuring devices, aside from a clock on the stove or microwave oven.  The refrigerator and pantry are full of time reminders.  Expiration dates and “best sold by” dates are on just about everything.  They tell you the necessary information, which is, “use this item before this time, or you will risk making everyone sick”.  What they don’t tell you is when you bought the item.  All you care about is the expiration date, and that’s OK.

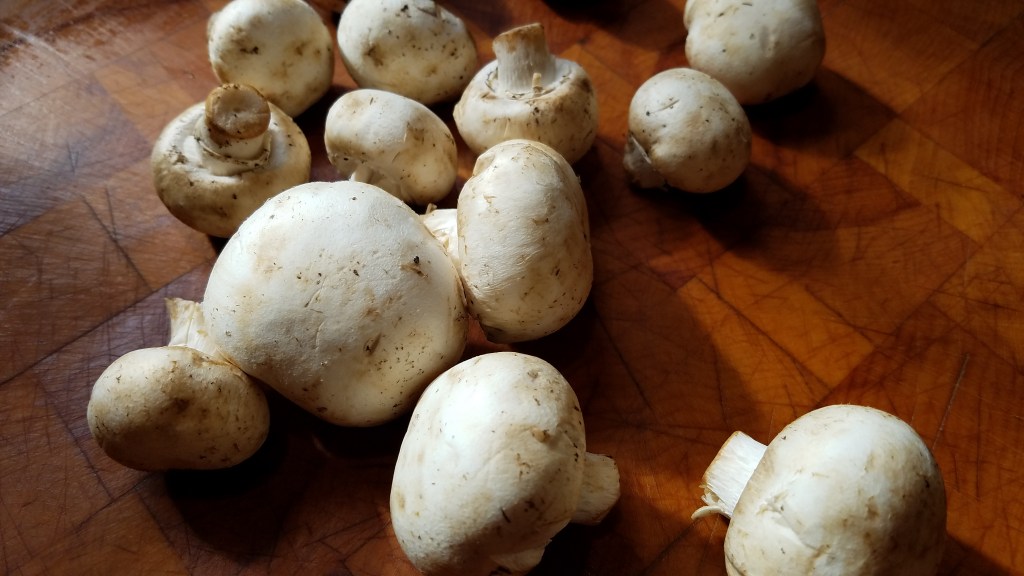
Some food items are like time bombs.  Their life clock starts ticking from the moment you put them in your shopping basket until the moment you eat them.  King among those sort of items is common, white button mushrooms.

I look at mushrooms like this…

Day 1 – The mushrooms are nearly perfect.  Rinse off the dirt, pat them dry and you can use them in fresh salads or any other purpose.

Day 2 – The mushrooms have barely changed.  You might want to trim off the bottoms of the stems because they have turned a little brown, otherwise they are still good for any use.

Day 3 – Why haven’t I used these yet?  If I use them now, I will need to pluck the stems out of the mushroom caps.  They’re still fresh enough for salads, but just barely.

Day 4 and 5 – Critical warning!  Mushrooms look a little smaller and browner than they did a few days ago.  They also feel wet, in a not-so-good way.   Use them now, or risk the death throes of Day 6, or dare I mention, Day 7!

Day 6 and 7 – Well, I really screwed up!  I knew this was coming.  I open the package and inspect the mushrooms.  They have big, soft brown spots on them, and they aren’t white anymore, and wow, what’s that awful smell?

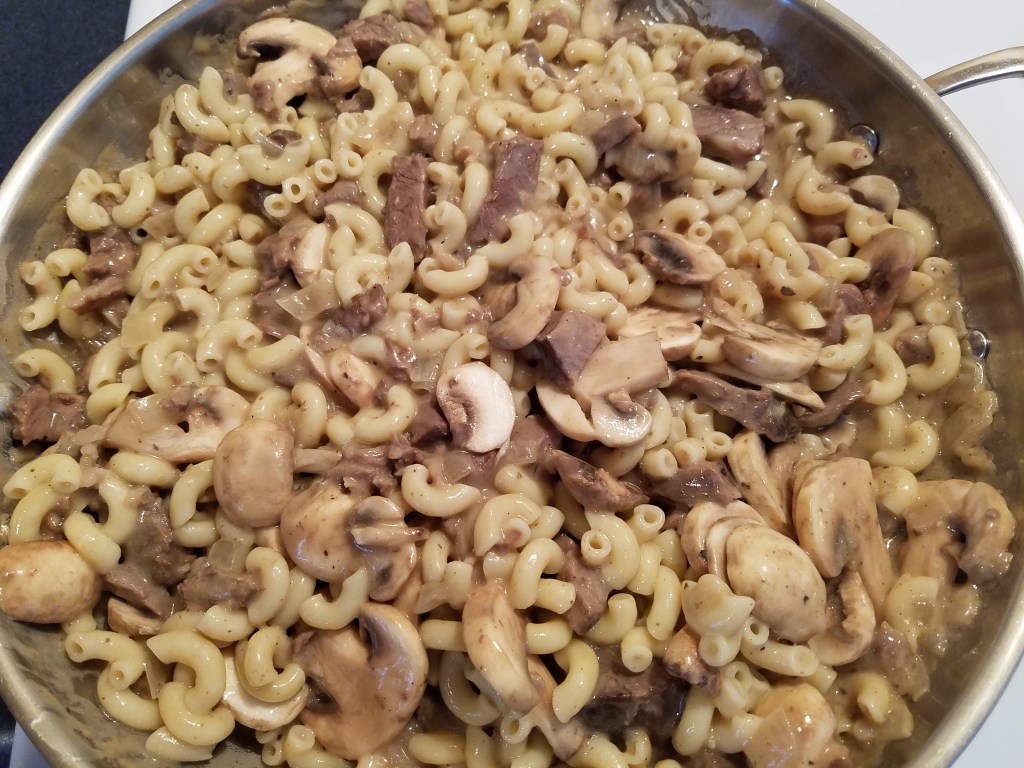
Fortunately, I’m only on Day 4 with my mushrooms.  They aren’t salad worthy, and I need to find a way to disguise them and showcase them at the same time.  Sauces are great solutions for vegetables and fungi as they enter their “autumn years”.

Let’s make some jägerschnitzel!

First of all, if your menu choice contains an umlaut in its name, you earn bonus points, and possibly a James Beard award!  Secondly, if it is a compound German word, you receive the smug satisfaction of knowing a compound word when you see one. 

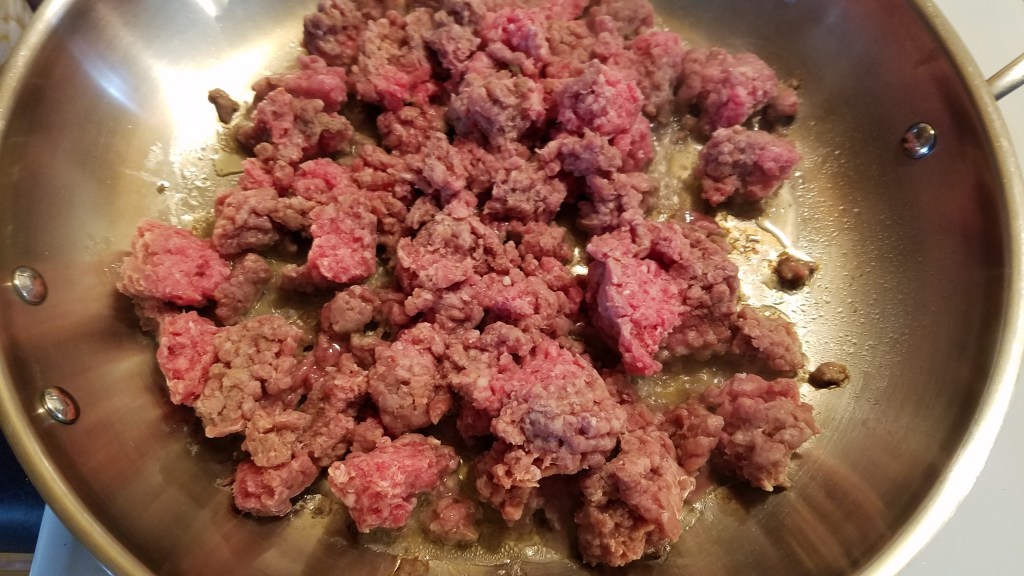
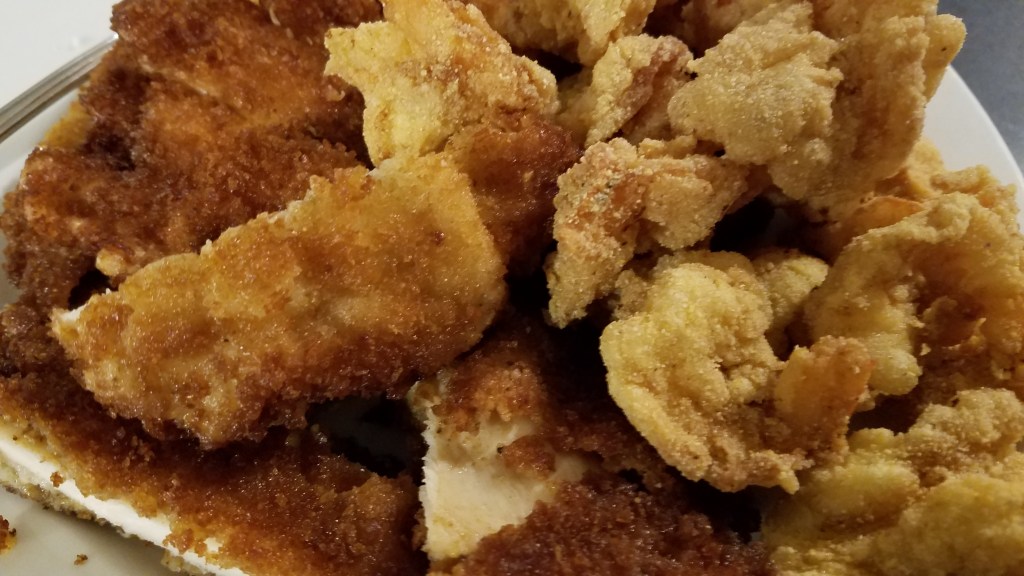
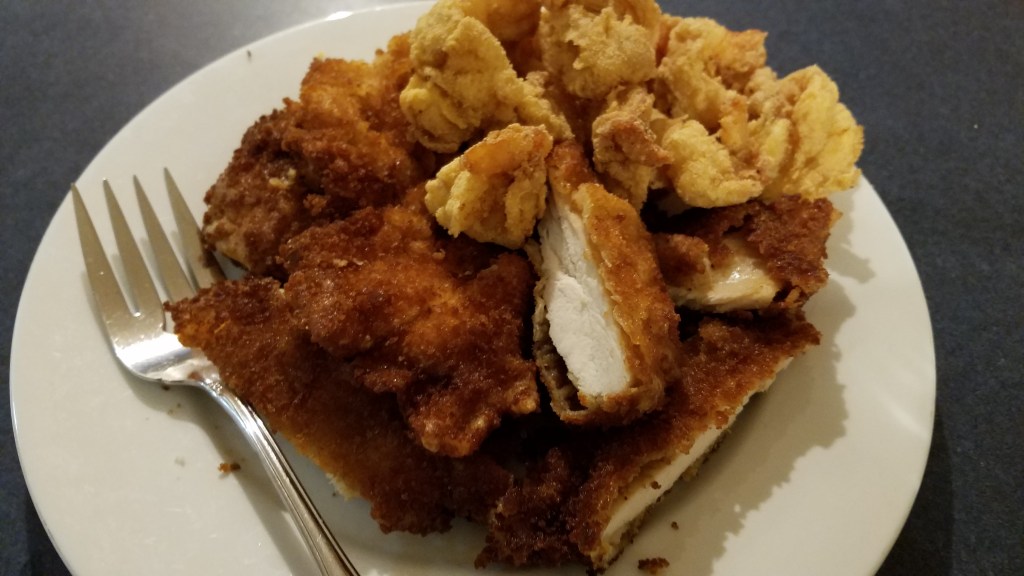
Jägerschnitzel is a hunter’s schnitzel with mushroom gravy.  Jäger means “hunter” and schnitzel means…well, schnitzel means schnitzel.  Schnitzel refers to the pounding and breading method used when preparing the meat.

I made a few substitutions along the way, like sake instead of white wine and panko breadcrumbs instead of traditional breadcrumbs and I’m happier for it!  I only took a few photos, but trust me, this is fairly easy to make and is very satisfying. 

Mushroom Gravy Ingredients:

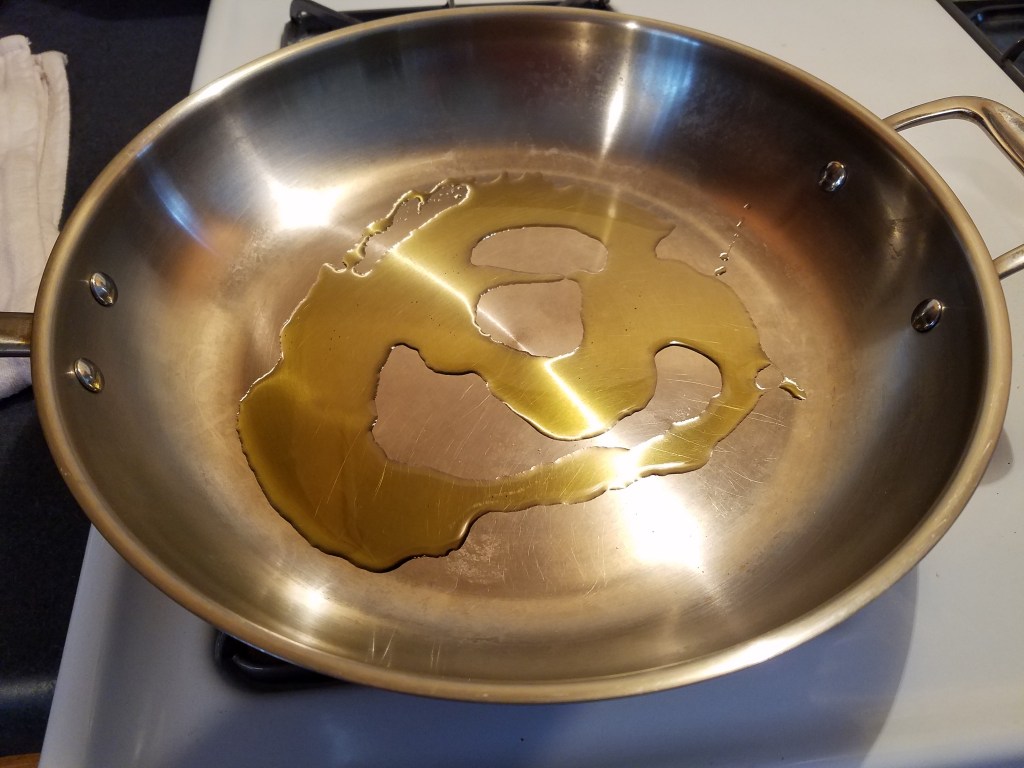
2 tablespoons olive oil

2 tablespoons butter
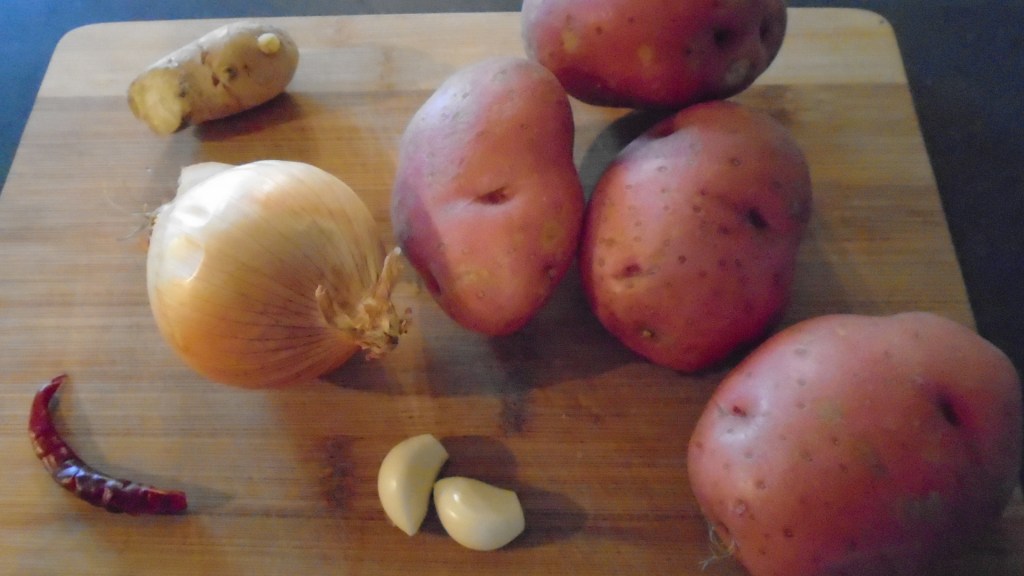
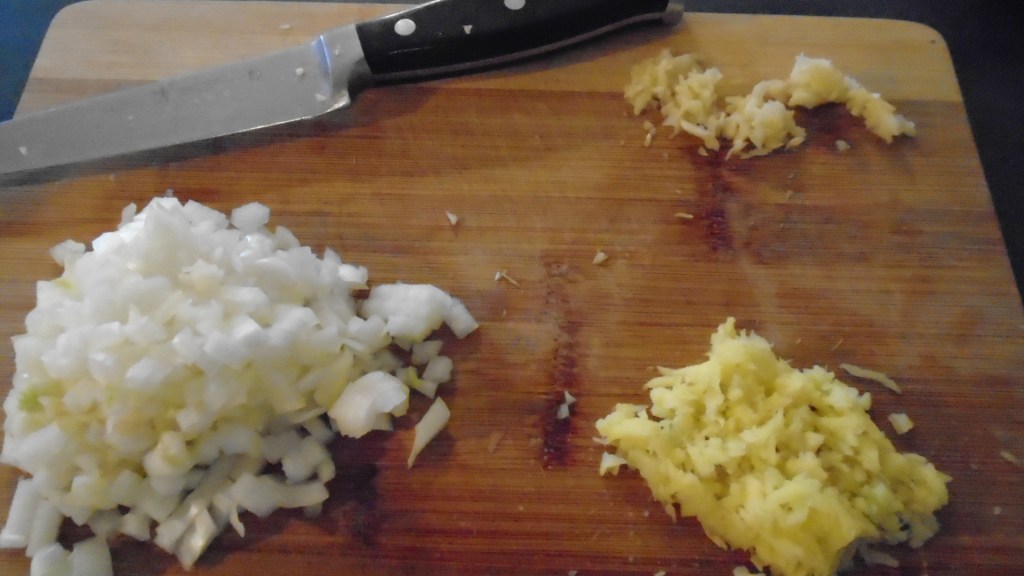
½ onion, chopped

2 garlic cloves, minced

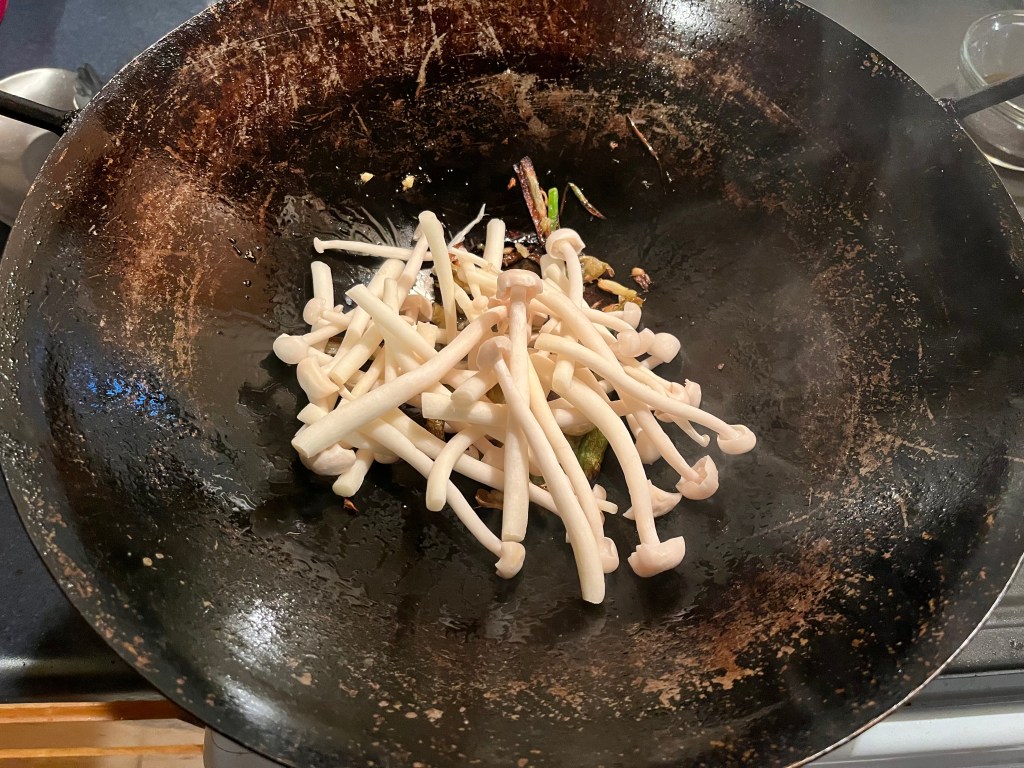
8 ounces mushrooms, sliced

¼ cup flour

½ cup white wine (I used saké)

2 cups beef stock

2 teaspoons Dijon mustard, or whole grain mustard

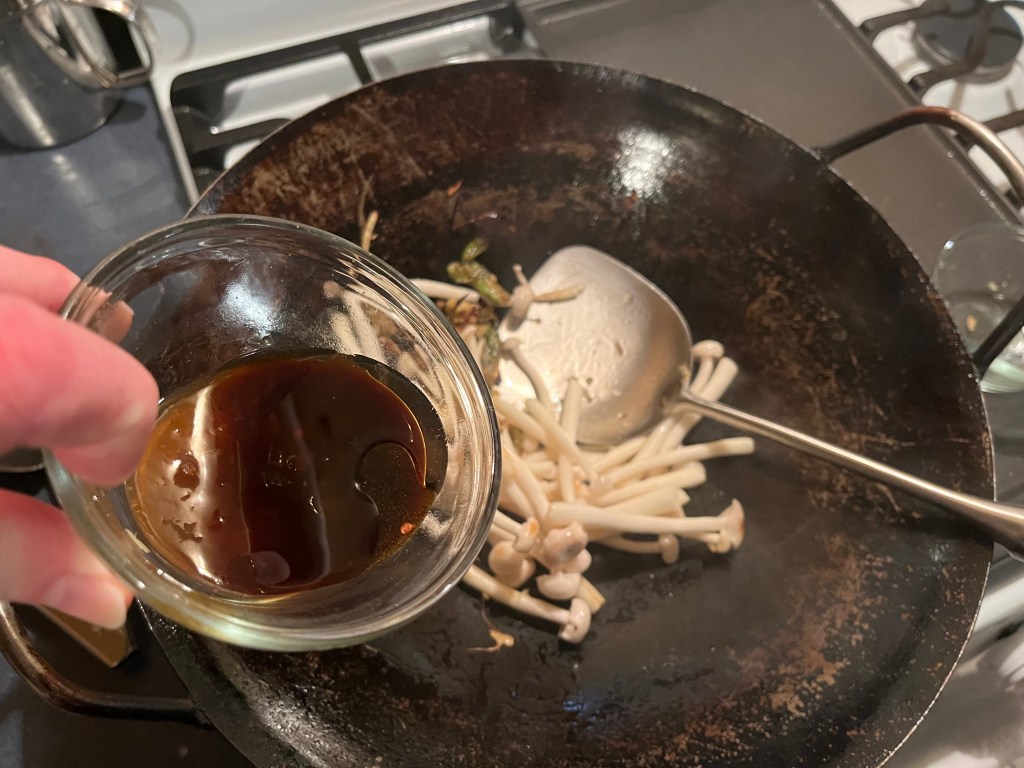
1 tablespoon Worcestershire sauce

Salt and pepper, to taste

Mushroom Gravy Directions:

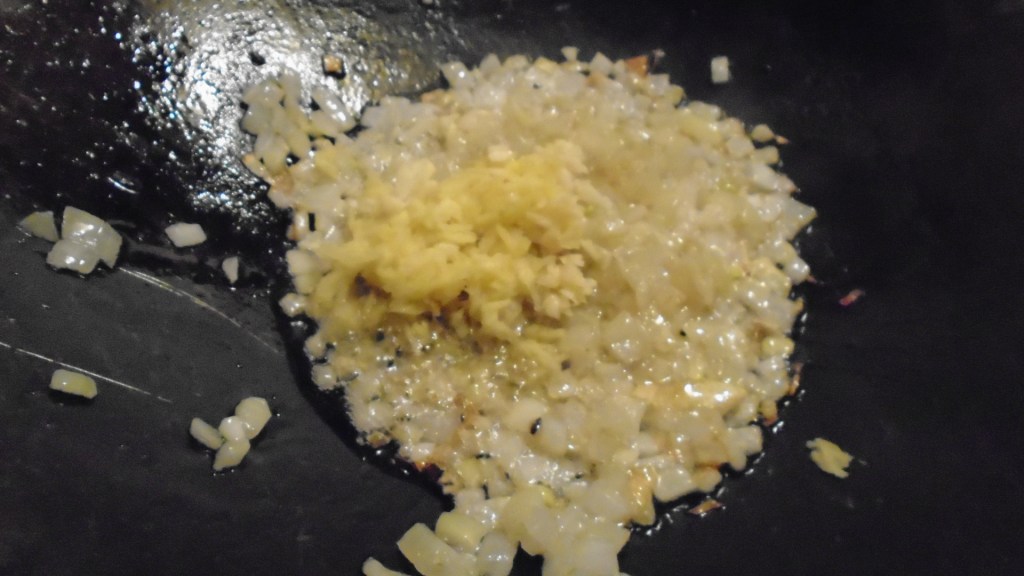
Heat the olive oil in skillet.  Add butter and chopped onion.  Stir for two minutes. 

Add garlic and continue stirring for another two minutes.

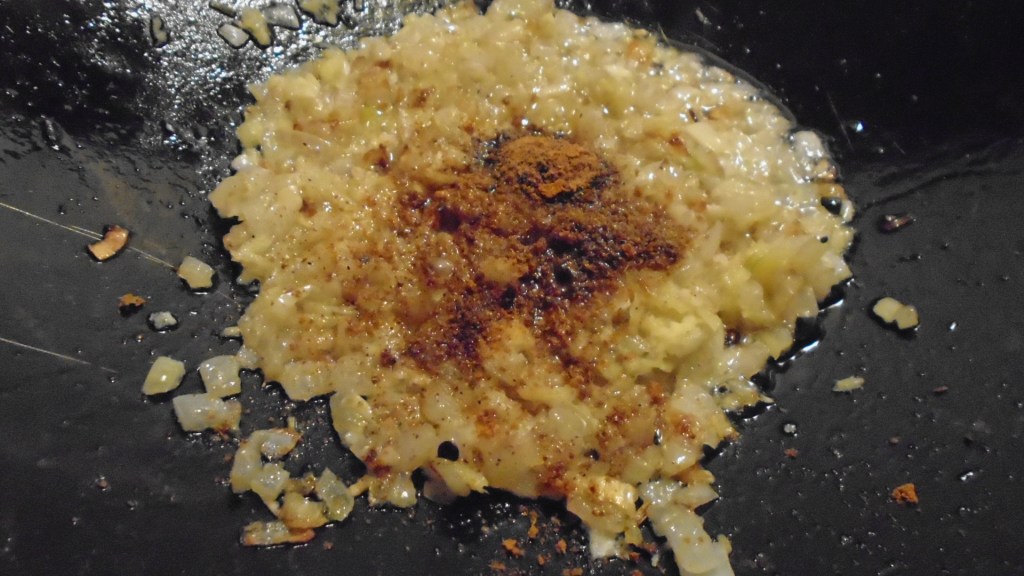
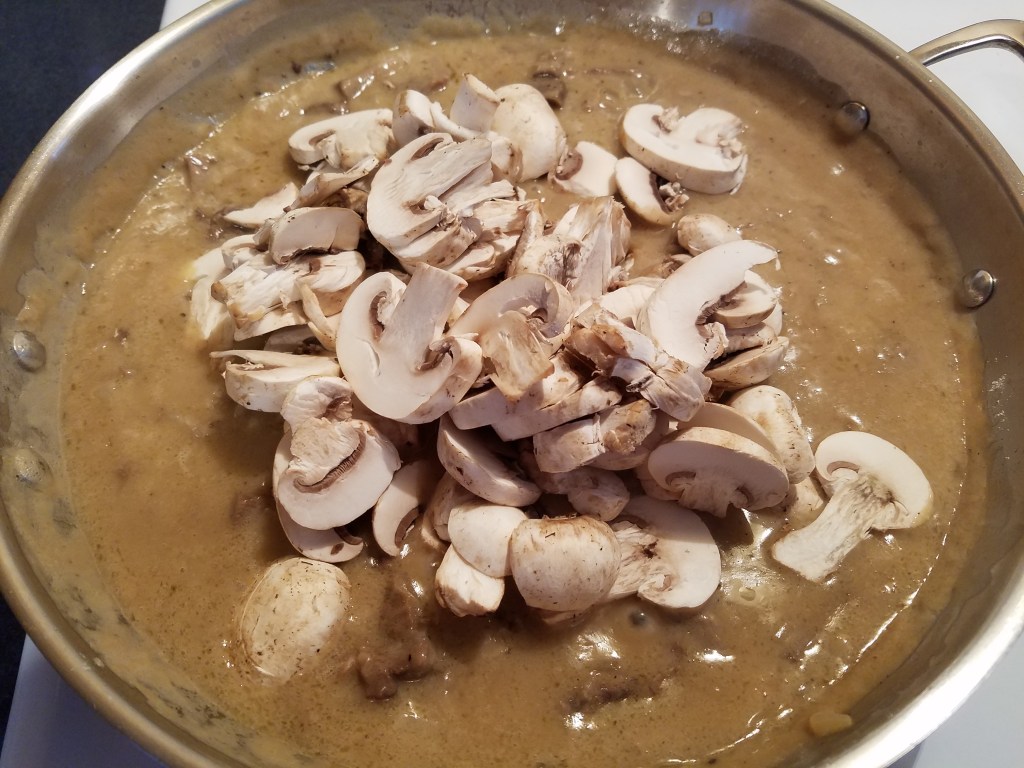
Add mushrooms and stir for three minutes.

Add flour and mix to combine.

Add wine and cook for three minutes.

Add beef stock and stir sauce for about five minutes, until thickened.

Add mustard and Worcestershire sauce. 

Add salt and pepper, to taste.

Schnitzel Ingredients:

1 cup cooking oil

4 boneless, center cut pork chops, pounded to about 1/8” thick

2 eggs

2 teaspoons water

1 ½ cup breadcrumbs (I used panko)
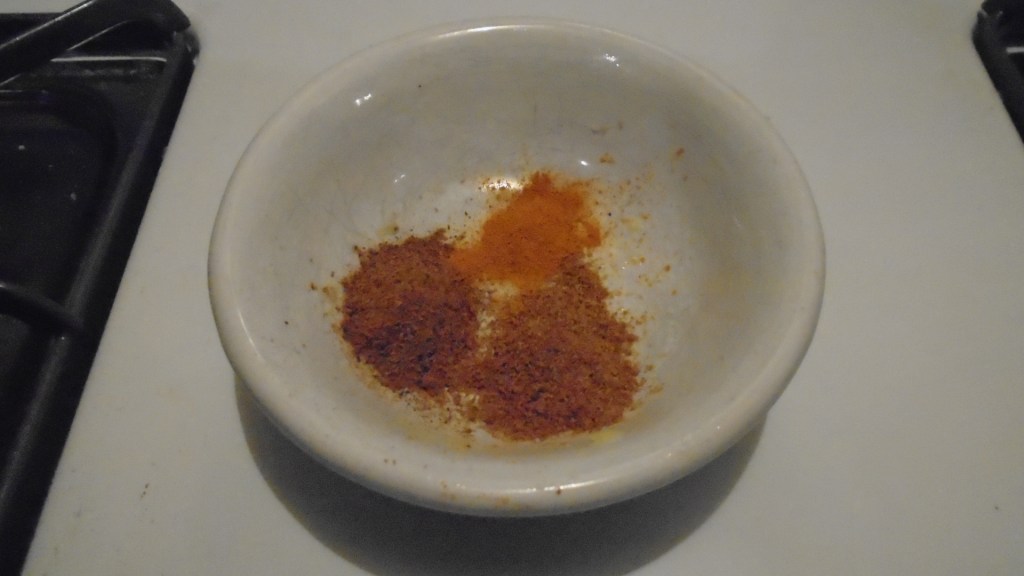
1 teaspoon salt

1 ½ teaspoon black pepper

2 teaspoon smoked paprika

½ teaspoon caraway seeds, crushed

Schnitzel Directions:

Pound the pork chops until they are very thin, about 1/8” thick.  I like to lay the chops on wax paper and add another piece of wax paper on top and then pound the chops with the flat side of a meat cleaver.

Mix the eggs in a large bowl with water.

Spread the flour across a large plate.

Spread the breadcrumbs across a large plate.

Dredge the pork in the flour, dip in egg wash, and dredge in the breadcrumbs.

Fry the thin pork chops in hot oil for about three minutes and turn them over.  Continue frying for another three minutes, or until golden brown, and remove them to warm place.

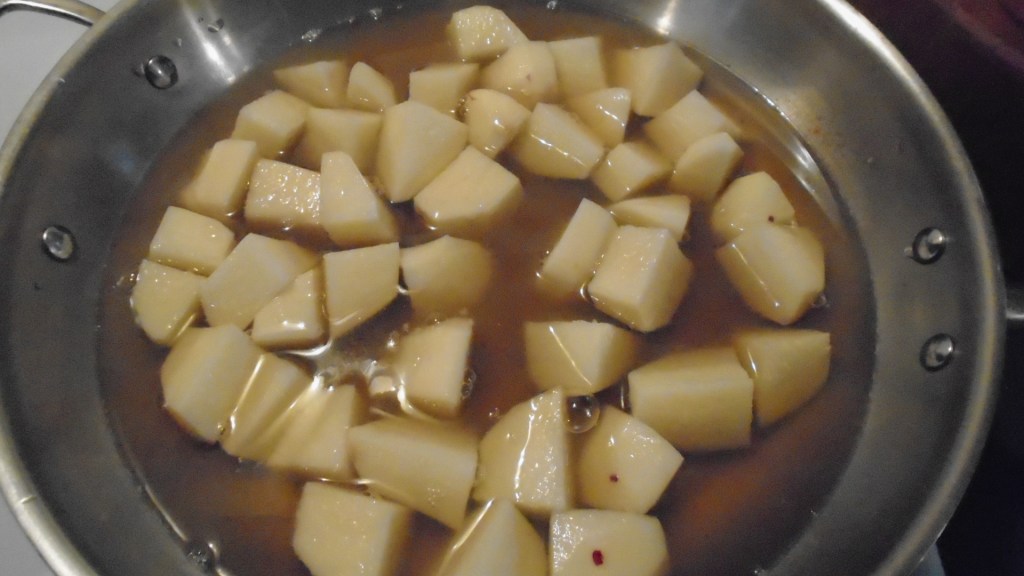
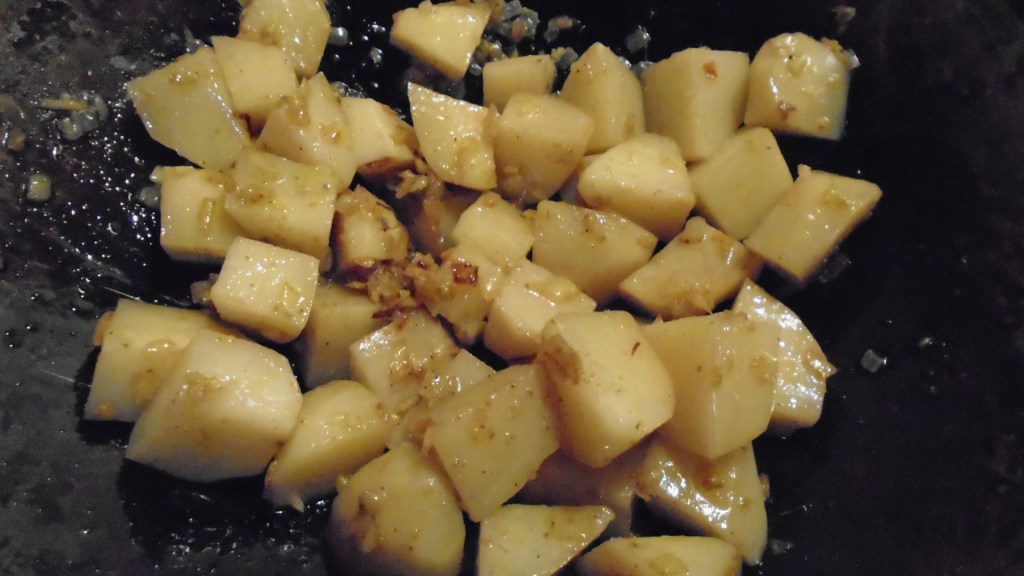
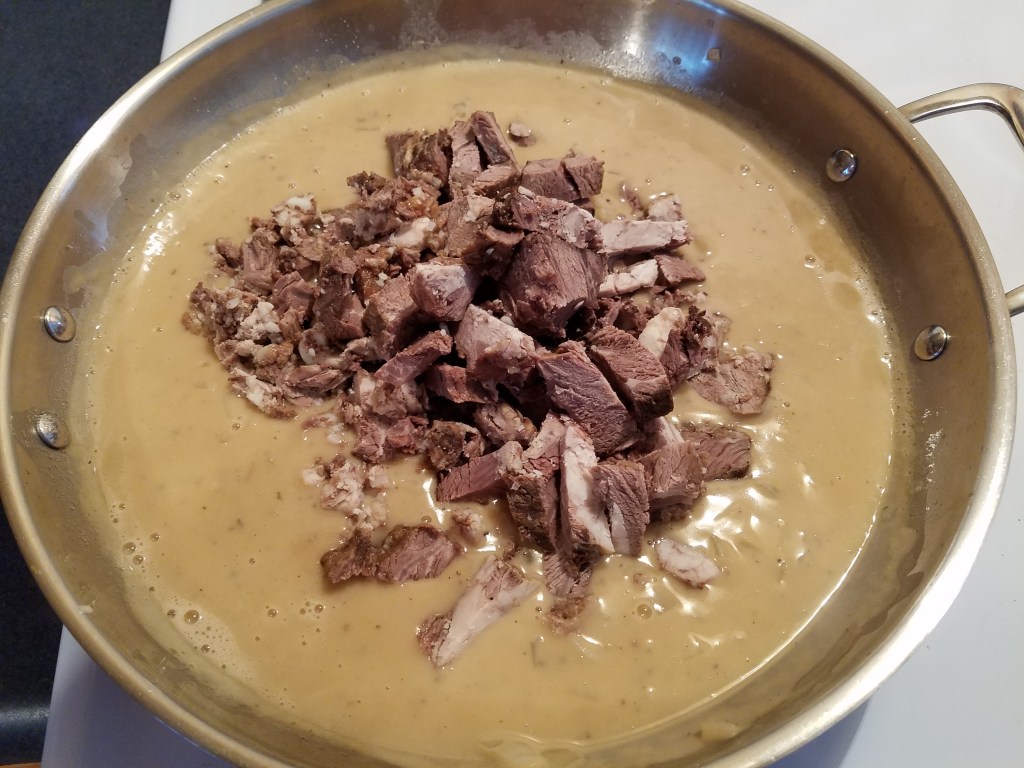
I serve the schnitzel with fried potatoes on a platter with the mushroom gravy on the side.  This allows each person the option to add as much gravy as they like to the schnitzel.  I like to pour the gravy over everything!

And a little sauerkraut seals the deal!

Seafood Mushrooms

For me, a trip to a farmers’ market is like a holiday.  Going to an international farmers’ market is like a romp through Disney World’s Magic Kingdom!  I run from one produce aisle to another, like a kid on a sugar rush, gawking at all of the wonderful, magnificent fruits and vegetables.  “Oooh, they have Sumo oranges!  Wow, durian fruit…that’s scary!  Hey, look at all the types of bok choy…which kind should I choose?” 

The “thinky” part of my brain, that causes me to come to the market in the first place, just to buy a thing, gives way to the impulsive, spastic part of my brain that screams, “Grab everything…you’ll figure out what to do with it when you get home!”

On this particular trip to the international farmers’ market, after making the rounds through the produce aisles twice, I found my way back to the refrigerated display case that houses the fungi, you know, all the different kinds of mushrooms.   I was drawn to a small package of slender, white mushrooms that were labeled, “Seafood Mushrooms”.  I had no idea what seafood mushrooms were, which is ultimately what compelled me to buy them.  I guess I’m a sucker for a good mystery!

When I returned home, I consulted the all-knowing internet to see what seafood mushrooms were and how they are used in recipes. 

Here’s what I found:

Seafood mushrooms are a smaller version of Enoki mushrooms.  They are white mushrooms with long, white stems and mushroom caps. The mushrooms have a mild, earthy, slightly sweet flavor and they taste a little like seafood when cooked, with a subtle flavor of lobster or shrimp.  They are crunchy when raw and become chewier, the longer they are cooked.

Since I only bought a small, five-ounce package of mushrooms, I decided to make an appetizer that would feature the mushrooms prominently. 

Seafood Mushroom Stir-Fry

Prepare the mushrooms.  Rinse the mushrooms under cool running water.  The mushrooms are conjoined in a bundle at the base, which needs to be trimmed away to separate the mushrooms. 

Ingredients:

1 Tablespoon olive oil

3 green onions, white parts only, cut lengthwise

1 Tablespoon fresh ginger, grated

5 ounces seafood mushrooms, cleaned and separated

2 teaspoon soy sauce

1 Tablespoon Hoisin sauce

Directions:

Heat a wok to medium heat.  Add oil and green onion. 

Stir frequently for two minutes.

Add grated ginger and stir for one minute.

Add mushrooms, soy sauce and Hoisin sauce.

Stir for two to three minutes.

Remove and serve in small serving bowls.

Grilled Chicken Wings

Summer is just around the corner and winter rules no longer apply!  Winter rules, as it relates to wings, call for fried or baked chicken wings.  The heat of the oven is wonderul in the colder months but now, with temperatures reaching over 90°, I want to cook outdoors, whenever possible.  

This weekend has brought a heavy dose of hot sun and no rain, so grilling is a great option!

I thought long and hard about the dry rub and sauce for the wings.  The small amount of ghost pepper powder worked well in the rub because the grilling process nearly removed all of its spiciness.  The vinegar, apricot jam and hot sauce balanced perfectly.  These were not crazy hot, like I am prone to do.  They were sweet with a hint of heat.

Ingredients:

For the wings:

2 Tbs garlic powder

2 Tbs paprika

2 Tbs dried thyme

1 tsp ghost pepper powder (or cayenne pepper)

For the basting sauce:

½ cup apricot jam

½ cup hot sauce

3 Tbs butter

2 Tbs vinegar

1 tsp sesame oil

3 cloves roasted garlic

Directions:

Heat an outdoor grill to 400°.  I used charcoal with a few small chips of mesquite, for a little smoky flavor.

Mix the garlic powder, paprika, thyme and ghost pepper powder in a small bowl.  Set aside.

Rinse and wash the chicken wings under cold water.  Remove any quills that might be lingering on the wing tips (I always find a few).

Allow the wings to air-dry for 10 to 15 minutes.

Prepare the basting sauce by adding all of the sauce ingredients to a mixing bowl.  Whisk to combine.  Pour the sauce into a small skillet and cook at low/medium heat until the sauce begins to bubble.  Cook for a few more minutes and return to the mixing bowl.  Set aside.

Toss the wings with the seasonings in a large bowl to coat evenly.

Carefully place the wings on the grill and cover.  Go ahead, bunch them together.  This is one of those times that crowding is a good thing.  The wings will steam and roast, at the same time.

Grill for 15 minutes and turn the wings over.

Grill for another 15 minutes and turn them again.  Baste the wings with the sauce.

Let the wings roast over the coals for another 15 minutes and turn them again.  Baste one last time and roast for another 15 minutes.

Carefully remove the chicken wings and place in a large mixing bowl.

Add any remaining basting sauce and toss to coat the wings.

Serve with crisp carrot sticks and ranch dressing.

I added a little fresh cilantro from the garden because, hey, I’ve got fresh cilantro!

Just for Fun – Italian Marinade

I imagine that most home cooks have marinated meat at some point in their home cooking career.  So, if you’re looking for a new or trendy marinade, go to your search bar and type “new trendy marinade”. 

This post is just for fun. 

I’ve mentioned this before but I feel the need to repeat it…what’s up with the monstrous chicken breasts?!  When did this happen? 

I’ve seen lap dogs that are smaller than the chicken breasts I find at my local grocery store.  I’m not saying it’s a bad thing, it’s just that, well… 

The good thing is that these mammoth chicken breasts still tastes like chicken but it’s weird…weird, I tell ya’! 

Back in old days…hmm, maybe 20 years ago, if I wanted to filet a chicken breast I would simply lay the breast on a cutting board and slice it in half, horizontally.  Simple enough.  But these pterodactyl sized chicken breasts nowadays are so large that I find myself slicing it twice, instead of once.  I make a horizontal cut near the top and another cut near the bottom of the breast. 

I really didn’t intend on ranting about gargantuan chicken breasts.  It’s just that it’s so…weird

Let’s make a simple marinade for a big breasted bird.

Italian Marinade for Chicken

Ingredients:

Oh, let’s add a little olive oil…

Directions:

Cut the chicken breast horizontally to ½” thickness. 

Pour the marinade over the chicken.  Place the chicken and marinade in a plastic storage bag and refrigerate for at least two hours, but no more than twelve hours. 

Remove the chicken from the marinade.  Prepare the chicken as you wish…bake, grill, pan fry, or roast.

Here’s a little secret:  The marinade does not have to be discarded.  If you bring the marinade to a rolling boil in a pot for a few minutes it will be perfectly safe to use.  After it has boiled, bacteria will have been killed and you can safely use it for sauces or basting. 

Mongolian Beef

This is probably the easiest Chinese stir-fry dish to make and it might be my favorite, if I had to pick a favorite.  There’s something about the simple marriage of tender sliced beef and green onions that excites me.  Soy sauce, brown sugar, ginger, and garlic is the only extra flavor you need to make this a spectacular dish. 

I like to top the dish with chili garlic paste (Sambal Oelek) and cilantro.  Just a little dab of chili garlic paste brightens the flavor and, if you are anything like me, you might even add a big dollop of Sambal Oelek. 

This is the sort of dish that I can taste, just by imagining it.  Rich, beefy lusciousness that is so satisfying!

Ingredients:

3 Tbs cooking oil

1 1/2 Tbs ginger, minced

4 or 5 cloves garlic, minced

1/2 cup soy sauce

1/4 cup water

1/2 cup brown sugar

1 lb flank steak, or any other lean cut of beef

1/3 cup cornstarch

2 green onions , sliced

Chili garlic paste, as much as you like 🙂

¼ cup cilantro

Directions:

Slice the beef into thin pieces, no more than a quarter inch thick, and toss with cornstarch.  Set aside.

I’ve made hundreds of stir-fry beef dishes and I’ve made them many different ways.  If I just tossed the beef strips in the wok without powdering them in starch first, the beef juices would cook out and sit at the bottom of the wok.  The meat would steam in the juices, instead of frying, which would cause the beef to become tough and I would eventually have to add cornstarch or flour to the meat juices to thicken the sauce.  Dusting the beef prior to stir-frying helps tenderize the beef as it cooks and the juice that runs out is absorbed by the cornstarch, which means that the meat, itself acts as a thickener for the sauce that is added later.  Trust me on this. 

Slice and chop the ginger and chop the garlic.   Set aside.

Cut the roots off of the green onions and cut the onions into 2” pieces.  Separate the white parts from the green stems.  The white pieces will be used at the beginning of the stir-fry and the green parts will be added near the end of the stir-fry.

Heat oil in a wok at low-medium heat. Add the chopped ginger and garlic and stir for 30 seconds. Add the white parts of the green onion and stir for two minutes. 

Remove the onion, ginger and garlic and reserve.

One at a time, add soy sauce, water and brown sugar to the wok and boil for about 5 minutes or until the sauce thickens. Remove the sauce to a bowl and set aside.

Place a tablespoon of oil in the wok and heat over medium-high heat.  Add the beef and stir-fry for about 2 minutes. Cook to medium rare.  Over-cooking the beef will make the meat tough and dry. 

Return the sauce to the wok and turn the heat to high.  Stir-fry for about 30 seconds, just to coat the meat.  Add both parts of the green onions, ginger and garlic and stir-fry for another minute.

Add some steamed jasmine rice to individual serving bowls.

Add the beef and onions to the bowls. 

Top with cilantro and Sambal Oelek. 

This is as good as it gets!

Aloo Fry

This is a fun and easy way to add variety to a meal and a good way to spice up ho-hum potatoes.  You don’t have to serve this with a curry dish but it certainly goes well with one.  This could be served with baked chicken and vegetables or anything else you desire.

I had just finished making a vegetable stock from vegetable scraps and I boiled the potatoes in the stock, instead of boiling them in water.  Regular water would have worked just fine, but the broth seemed right for the dish.

Ingredients:

3 large red potatoes, washed, peeled and diced into ½ inch cubes

1 medium onion, finely chopped

2 cloves garlic, mashed and minced

1 tsp fresh ginger, minced

Salt, to taste

½ tsp turmeric

1 tsp Garam Masala

1 tsp cumin

1 Tbs lemon juice

1 dry chile de arbol

2 Tbs cooking oil

Cilantro, for garnish

Directions:

Boil the potatoes for about 15 minutes, or until the potatoes are nearly cooked.  Strain potatoes and rinse under cold water.  Set aside.

Heat oil in a wok and add the chile de arbol.

Remove the chile de arbol after 30 seconds.  Add chopped onions and fry for 2 to 3 minutes on medium heat.

Add ginger and garlic and fry for 2 minutes until the onions are lightly browned.

Add the spices, along with salt to taste.

Add diced potatoes and stir for a minute or two.

Sprinkle some water over the potatoes and cover the wok and cook for 5-8 minutes.  Stir occasionally to prevent the potatoes from sticking to the wok.

Sprinkle a little more water if needed and cook for another 3-5 minutes until the potatoes are thoroughly cooked.

Turn off the heat and add lemon juice.  Add chopped cilantro and serve.

Super Easy Salmon

Well, it’s official.  Our worldwide dilemma has caused the train to jump of the tracks.  The Catholic church announced that we can stop abstaining from eating meat on Fridays for the remainder of Lent.  At least, that is what one bishop from New Jersey has decreed.

It seems that we have suffered enough.  Maybe a delicious hamburger and fries will pick up our spirits. 

Lent is one of those old-world traditions that I actually appreciate.  Fasting and simplifying our lives through meditation and reverence for 40 days each year seems like a healthy practice.

So, let’s prepare a nice salmon filet, shall we?

Ingredients:

2.5 lb fresh salmon filet

3 Tbs Dijon mustard

3 tsp lemon juice

3 tsp mayonnaise

1 ½ tsp chili sauce (spicy ketchup)

¼ cup capers

Directions:

Set oven to 375°.

Lay the salmon, skin-side down, on a parchment paper lined baking sheet.

Combine Dijon mustard, lemon juice, mayonnaise and chili sauce in a small bowl. 

Spread the mixture across the top of the salmon.  Make sure to coat the entire surface to prevent the fish drying while baking.

Sprinkle capers across the top of the fish.

Bake uncovered at 375° for 20 to 25 minutes.  Remove and allow to rest for a few minutes before serving.

Serve with sautéed asparagus and rice.

Beef Stroganoff-ish

This isn’t a classic Beef Stroganoff…it’s more like a stripped down version.  But that is where my heart is tonight.  Basic.  Essential.  Sincere.

I didn’t realize I was making Beef Stroganoff until I was nearly done making this dish.  It all started rather innocently with me deciding what to do with a leftover beef pot roast that was at risk of drying out in the refrigerator. 

I pulled some items from the refrigerator and the pantry and I began putting stuff in measuring cups, as if I was working from a recipe.  Who was I trying to fool?  I was just making stuff up, as usual. 

The simple fact of the matter is, I just wanted to make something to help ease our troubled minds.  Our lives are under a tremendous strain right now and our emotions are conflicted. 

We need to find some comfort every day.  We should gather our families together to share a meal and make time to share our thoughts and feelings. 

Ingredients:

1 ½ cups elbow macaroni

1 Tbs olive oil

1 medium onion, chopped

2 Tbs butter

2 Tbs flour

2 cups chicken stock

2 Tbs beef bouillon

1 Tbs ground black pepper

1 Tbs salt

½ cup half and half

1 Tbs Worcestershire sauce

1 ½ lbs cooked beef roast

8 oz fresh mushrooms, sliced

Directions:

Boil the macaroni in a large pot of lightly salted water.  Strain the macaroni when it becomes tender.  Set aside.

In a large skillet, add olive oil and sauté the onion until the onion begins to soften.

Move the onion aside, in the pan and add butter.  Set the heat to low.

Add flour and whisk the butter and flour. 

Add the chicken stock, beef bouillon, pepper and salt.  Turn heat to medium and whisk.  Once the sauce thickens add the Worcestershire sauce and the half and half.  Whisk to incorporate.

Add the beef and stir.

Cover and simmer at low heat for 30 minutes.

Add the mushrooms and stir briefly.  Turn off the heat and add the macaroni.  Stir to mix and turn out to a large serving bowl.

Enchiladas Roja

This is the quintessential enchilada.  Seasoned ground beef, wrapped in corn tortillas and smothered with red chili sauce and topped with cheddar cheese.  If I am strapped for time, I use canned enchilada sauce.  Most stores carry a variety of brands and most brands offer at least two types of sauce: mild and hot. 

On this occasion I started from scratch.  I re-hydrated some dried guajillo and ancho chilies to make the base for the enchilada sauce.  As I mentioned in my previous post, I didn’t take a lot of pictures during the process but this is so simple to make, I don’t believe instructional photos are really that necessary.

Ingredients:

1 lb. ground beef

2 Tbs dried onion flakes

1 Tbs dried oregano

1 Tbs cumin

Salt (to taste)

16 oz sharp cheddar cheese (1 lb)

14 corn tortillas

3 Tbs butter

3 Tbs flour

2 cups prepared enchilada sauce (see the recipe here)

2 cups vegetable broth

Directions:

Brown the ground beef in a skillet.  Strain out the grease.  Return the skillet to the stove at low heat.

Crush the seasonings in a mortar and pestle and add them to the ground beef.  Stir and simmer for 10 minutes.  Add salt to taste. Transfer the ground beef to a large mixing bowl and cool to room temperature.

While the beef cools, prepare a roux with the butter and flour.  Add the vegetable broth and enchilada sauce.  Stir and simmer until thickened.   Pour about half of the sauce into a large ceramic or glass casserole dish.  Reserve the remaining sauce.

Grate the cheese and divide in half.  Add half of the cheese to the ground beef and mix by hand.

Lay tortillas on a clean work surface and add the beef and cheese mixture.  Roll the enchiladas and place them in the casserole dish.  Pour the remaining sauce over the enchiladas and top with the remaining cheese.

Bake at 350° for 30 minutes, or until the cheese begins to bubble and brown.

Serve warm.

Quick Chick & Shrimp

Several days ago, as I was driving home after an arduous, long day of work, I wondered what I should do for dinner.  It was just going to be my wife and I for dinner.   I started to think about fish.  And then, I thought about shrimp, and then I realized that what I was wanting was something akin to the classic British, “fish and chips”.  Then I thought about mac and cheese, and how that mac and cheese goes so well with fried shrimp, or fried fish.  And then, I realized I didn’t have any fish.  Chicken.  Yes, chicken, instead of fish.  The synapses in my brain jump around in quirky ways like that most of the time.  I really enjoy my drives home, except when I find myself driving next to people texting on their cell phones!

I allowed myself an hour to prepare the meal.  Time at home is precious for me during this busy part of the year.  I typically have about 4 to 5 hours after I get home to prepare a meal, eat it and digest it before I trot off to bed.   

Mac and cheese…check.  Chicken and shrimp…a quick prep and fry…check.  Steamed broccoli…a few minutes in the microwave…check.

The most time consuming part of the meal was the mac and cheese.  The rest was a flurry of flour and cornmeal and chopping a few things.  Easy.

I made enough mac and cheese for six people and I made enough chicken and shrimp for two or three.

My son and his girlfriend joined us, just as we were cleaning up after dinner.  We had enough chicken and shrimp left to share and plenty of mac and cheese.  It was all gone in a matter of a few minutes.  Mac and cheese saved the day…Perfect!

Ingredients:

1 ½ cup fresh broccoli

½ cup cooking oil

2 medium sized chicken breasts, thinly sliced

10 raw jumbo shrimp, peeled and deveined

1 1/2 cup flour

1/3 cup cornmeal

2 eggs

1 tsp garlic powder

½ tsp cayenne pepper

Directions:

Cut the broccoli into large, bite-sized pieces.  Place in a microwave safe bowl.  Seal with plastic wrap and set aside.

Cut chicken into 3” to 4” pieces. 

Butterfly cut the shrimp.  I do a back butterfly, cutting into the backside, instead of the underside.  Set aside.

Heat the oil in a skillet at medium/high heat.

Pour the flour onto a plate.  Dredge the chicken in flour, egg and then flour again.  Drop chicken in pan and pan fry to golden brown, remove to a paper towel lined plate.  Keep warm.

Add the cornmeal to the remaining flour and mix with a fork.

Dredge the shrimp in flour and cornmeal mixture, egg and then flour and cornmeal mixture again.  Drop the shrimp into the hot oil and cook for about 1 minute, or until the shrimp begins to brown and feels firm to the touch.

Lay the shrimp on the paper towel lined plate, along with the chicken, and keep warm.

Put the covered broccoli in the microwave and cook for about 2 minutes, or until the broccoli has softened. Serve with mac and cheese and ketchup or spicy ketchup.