It occurred to me that I’ve shared recipes that use cast iron skillets and Dutch ovens but, most of those recipes showed how cast iron cookware can be used in the comfortable confines of the kitchen. The real beauty of cast iron cookware is what it can do outdoors!
There’s nothing like the unbridled, primal thrill that comes from cooking outdoors…just ask any backyard barbecue chef or weekend pit master.
My first outdoor cooking experience came when I was a Boy Scout. If there was such a thing as an underachiever merit badge, I would have earned it. Despite my short-lived, lackluster scouting career, I did learn a lot about nature, and I enjoyed camping and hiking with my friends. The extent of my cooking was usually limited to charred hot dogs, roasted on a skewer, or pouring a can of SpaghettiOs into my mess kit and warming it over the campfire, but I swear those were the best hot dogs and SpaghettiOs ever! Everything just tastes better when it’s cooked outdoors, over a lively campfire.
When I became a father, I rekindled my love of outdoor cooking when I became a father of Scouts. Both of my kids joined Scouting programs and, I am pleased to say they achieved ranks, knowledge, and experiences that far surpassed my pitiful attempt, so many years ago. I had the pleasure of cooking lots of meals and teaching kids how to cook outdoors. I took a deep dive into Dutch oven cooking.
One of the “Scout dads” made a fire pit from a large, steel wheel rim. He added casters, so that it could be moved about easily, and he welded a pole to the base with a sturdy arm that could be used to suspend a Dutch oven. It’s very heavy and not something I would want to take on campouts, so I keep it on my back porch. I know that most people don’t have a cool handmade fire pit like this, but a simple campfire tripod can be purchased for a modest price, and it can achieve the same results.

Backyard Enchiladas
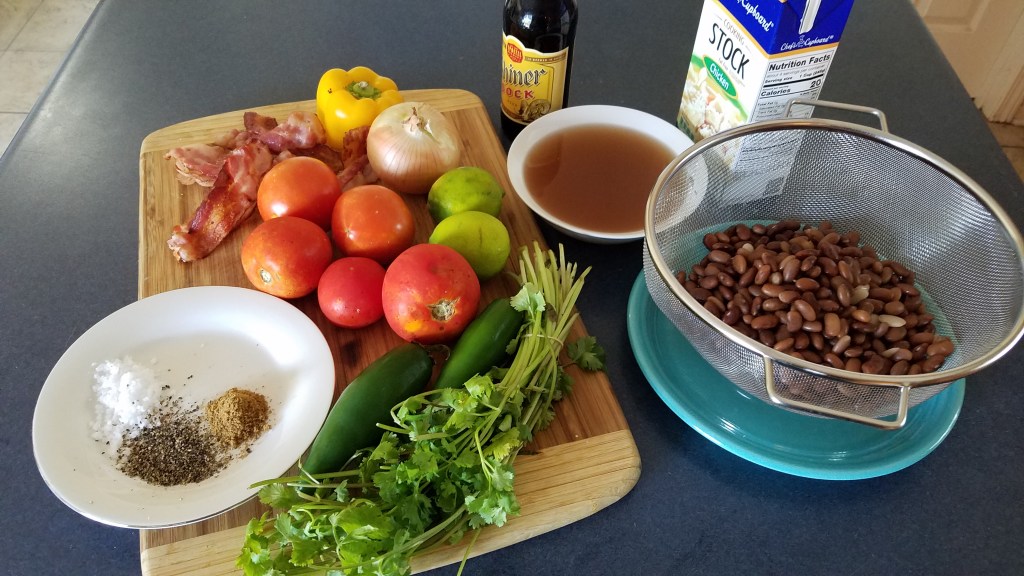
I made a few substitutions to the ingredients, based on what I had on hand. Feel free to use whatever ingredients you like! I used a 5-quart cast iron Dutch oven for this recipe. It’s a beast of a Dutch oven at 14” wide and 9” deep and it is perfect for making a big batch of stew, or a big batch of enchiladas! You will need some additional tools such as, fire resistant gloves, long metal tongs, a Dutch oven lid lifter, and a Dutch oven lid stand. You can find these items at an outdoor supply store, or shop online.
Total prep time (for me) was about 1 1/2 hours. Total cooking time for the enchiladas was about 1 hour.
Ingredients:
7 bone-in, skinless chicken thighs (about 2 ½ pounds)
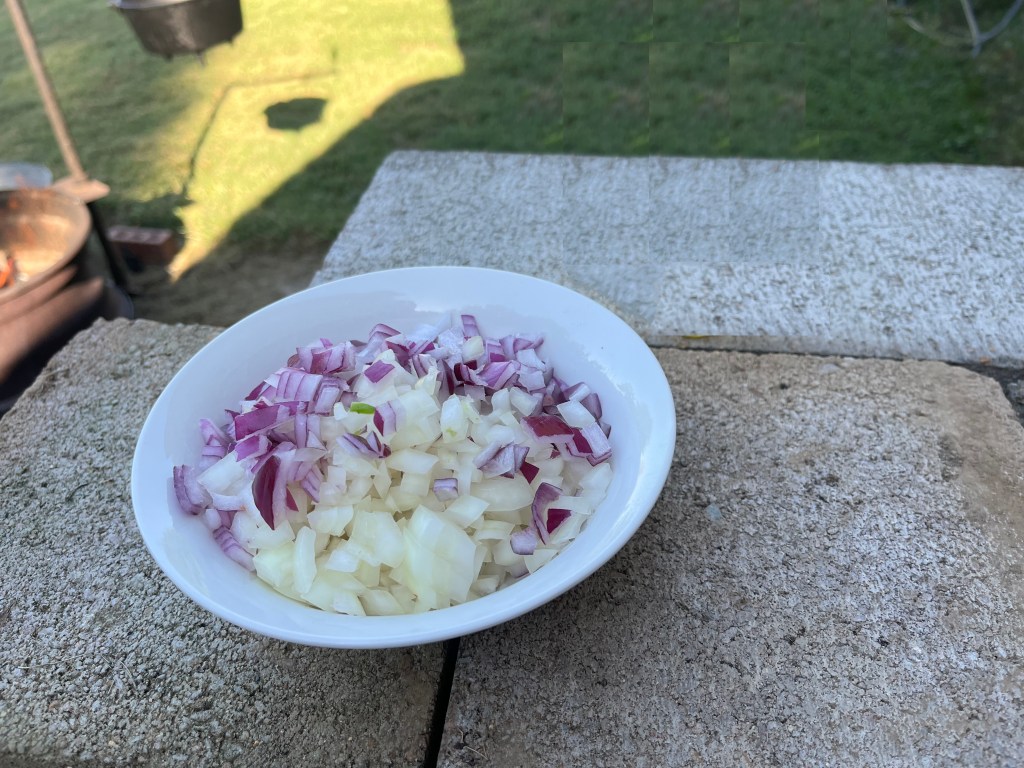
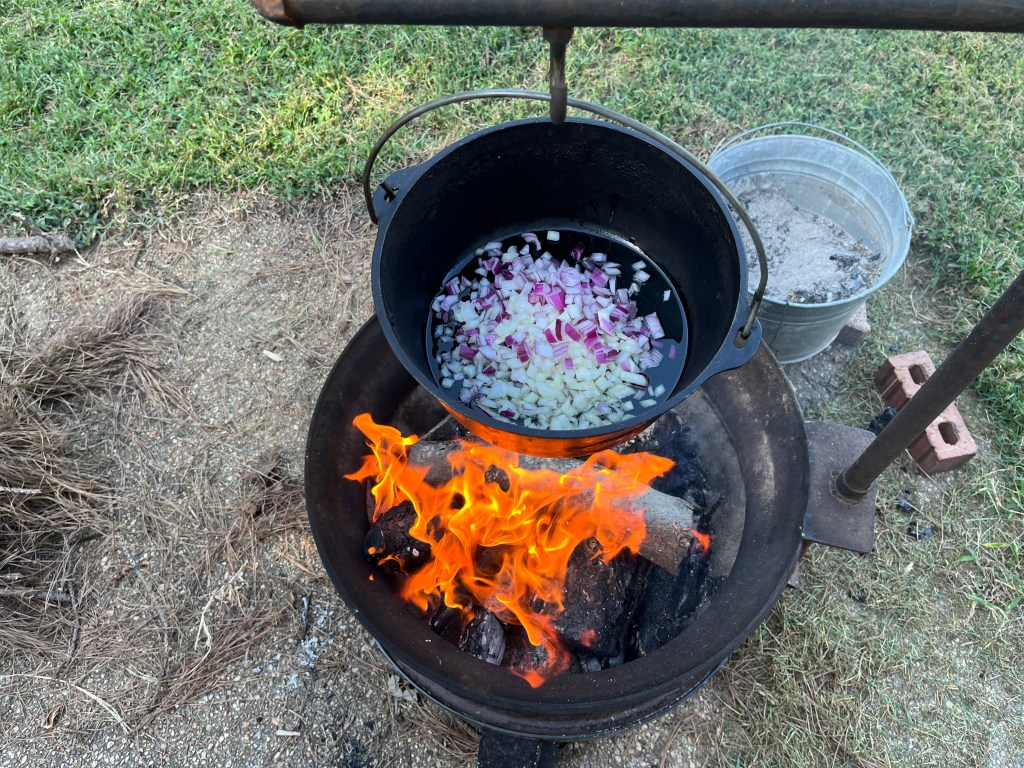
One large onion, diced (I used half of a red onion and half of a white onion)
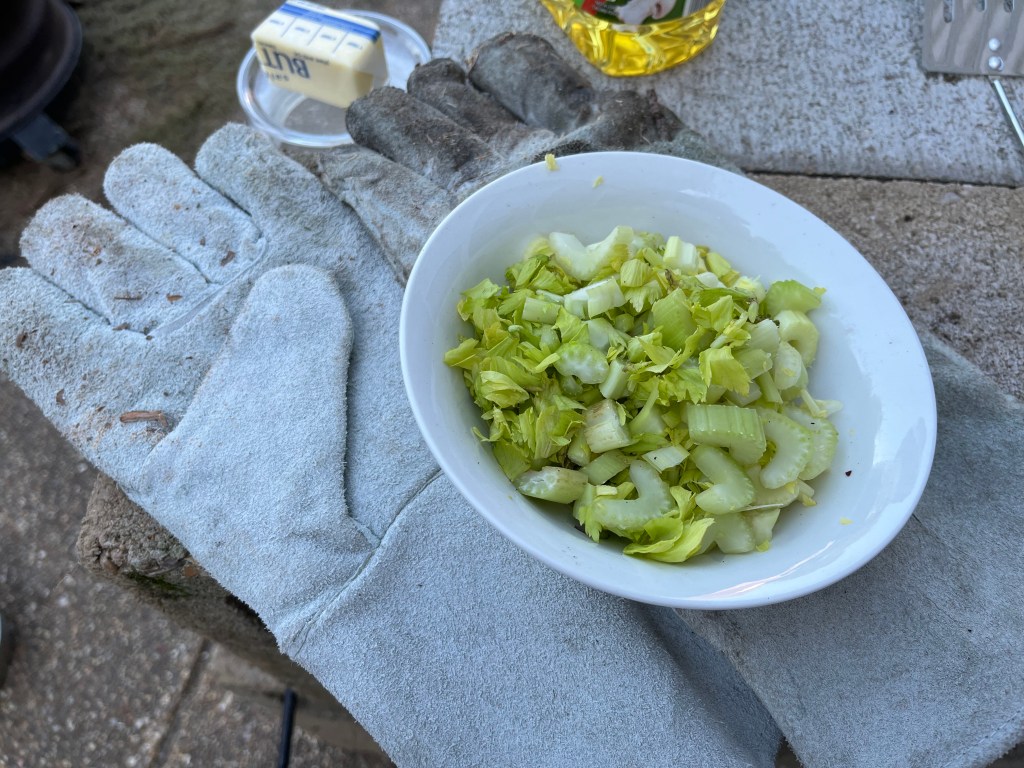
3 celery stalks (chopped)
4 tablespoons butter
6 tablespoons flour
32 ounces chicken broth
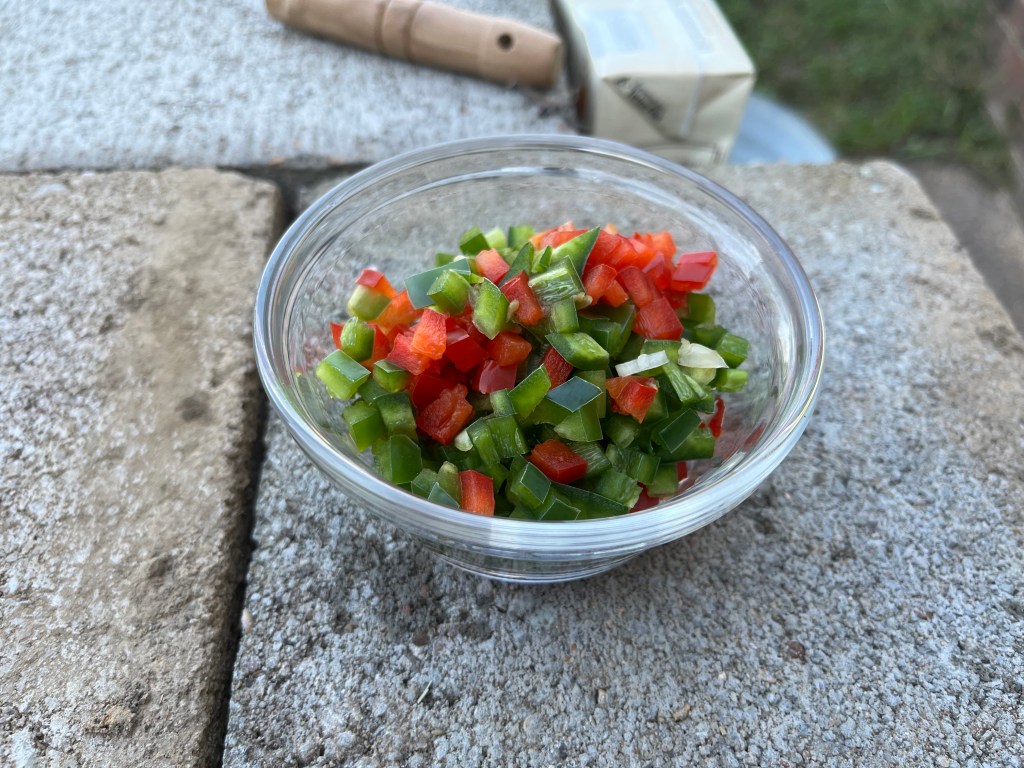
1 large jalapeño (seeded and diced)
¼ of a large red bell pepper (seeded and diced)
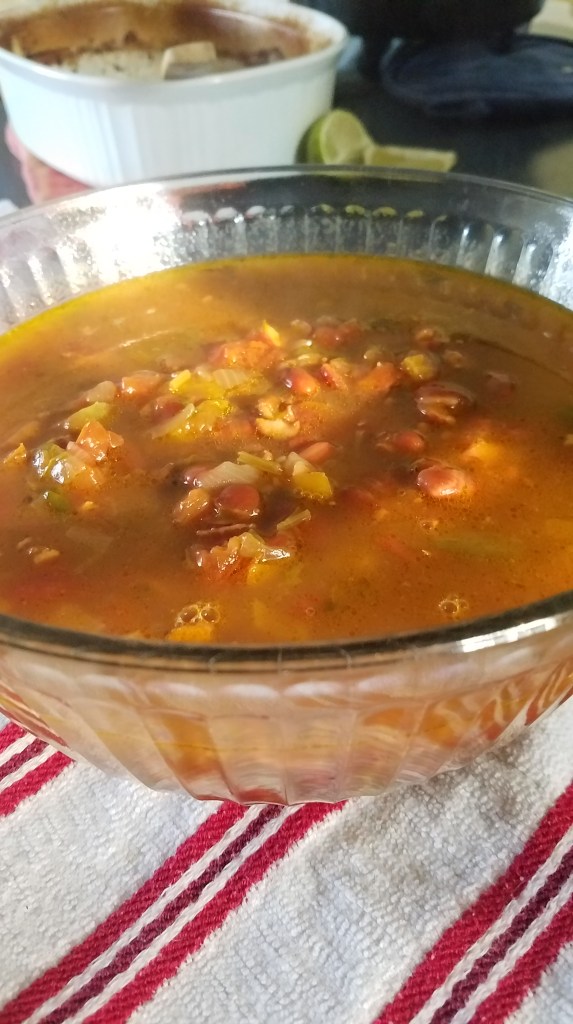
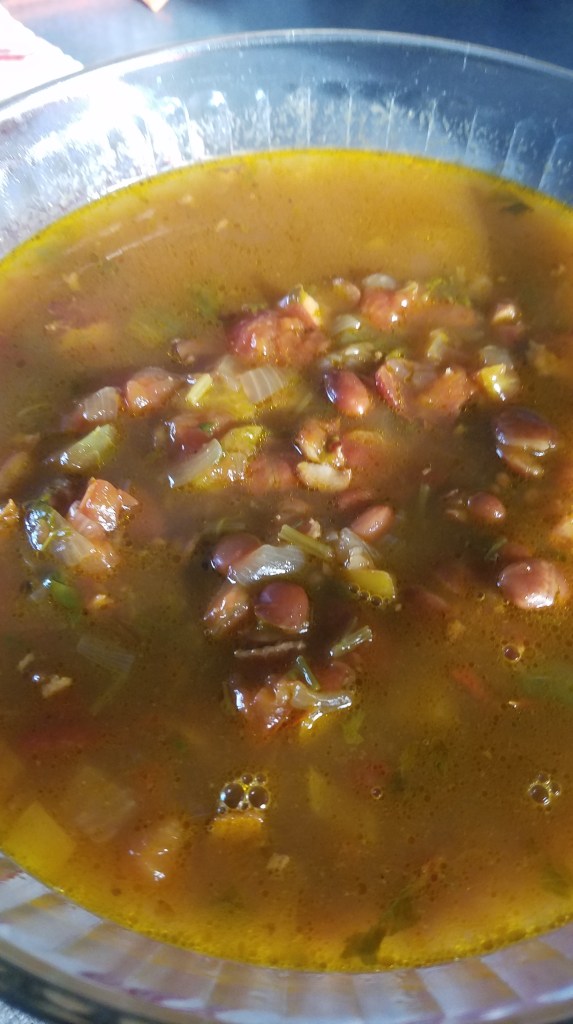
2 cups prepared green sauce (roasted, blended tomatillos and serrano chiles)
20 corn tortillas, pan fried in hot oil until they just become stiff, but pliable.
8 ounces Monterrey Jack cheese, shredded (I used Havarti cheese)
16 ounces cotija cheese (Mexican crumbing cheese)
½ cup fresh cilantro
Directions:
If there was ever a time to be fully prepared, cooking outdoors is it. Whether you plan on cooking in your backyard, as I have done, or cooking outdoors, far away from home, preparation is the key to success! If you plan on doing something like this on a camping trip, I suggest that you do all of the measuring, dicing, and chopping at home, in advance of your trip. Pack items that need to stay cool in a portable cooler and pack non-perishable items in a large tote bag or basket. I have found that things I can do quickly in my kitchen take much more time when I attempt to do them outdoors! I don’t like searching for utensils or cookware when I’m outdoors and I really don’t like trying to chop and dice vegetables on a wobbly surface, while I’m crouched in an awkward position. The idea is to make outdoor cooking fun, not to prove you can prepare the whole thing “from scratch”.
With that said, I will illustrate the various stages of preparation, but these steps do not have to be done in this order.
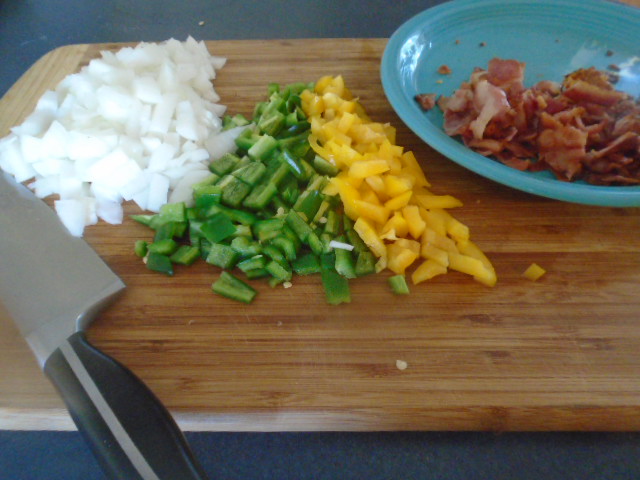
Prepare the Vegetables

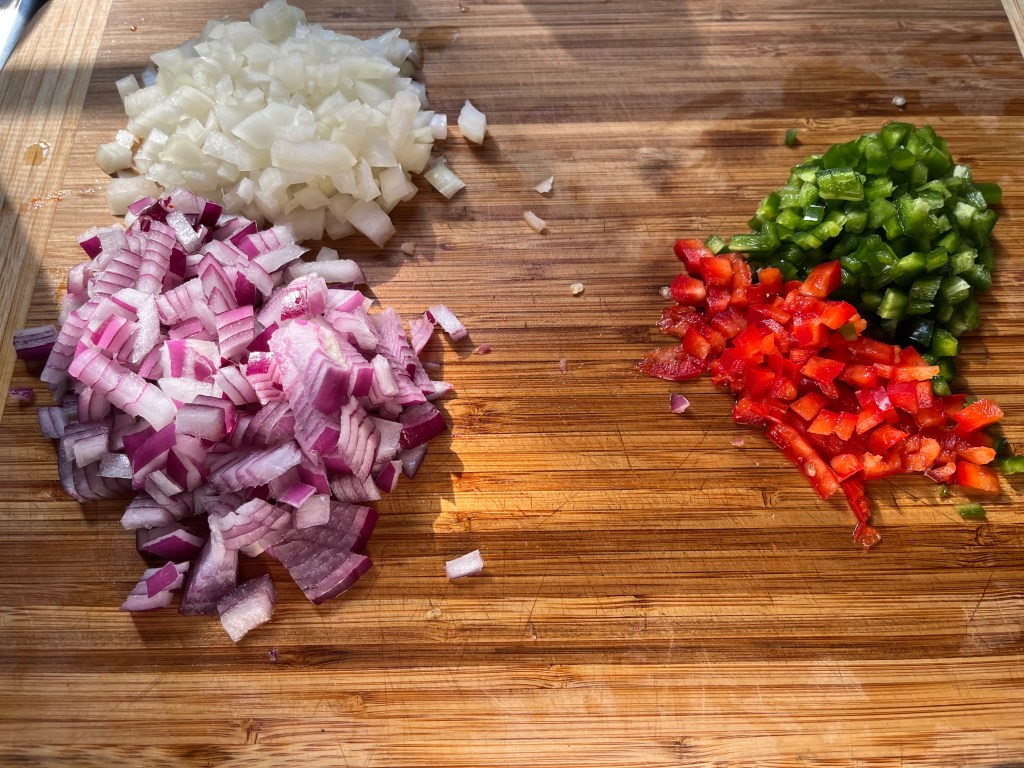
Dice the onions and set aside.
Dice the jalapeño and red bell pepper and set aside.
Chop the celery (leaves and stalks) and set aside.


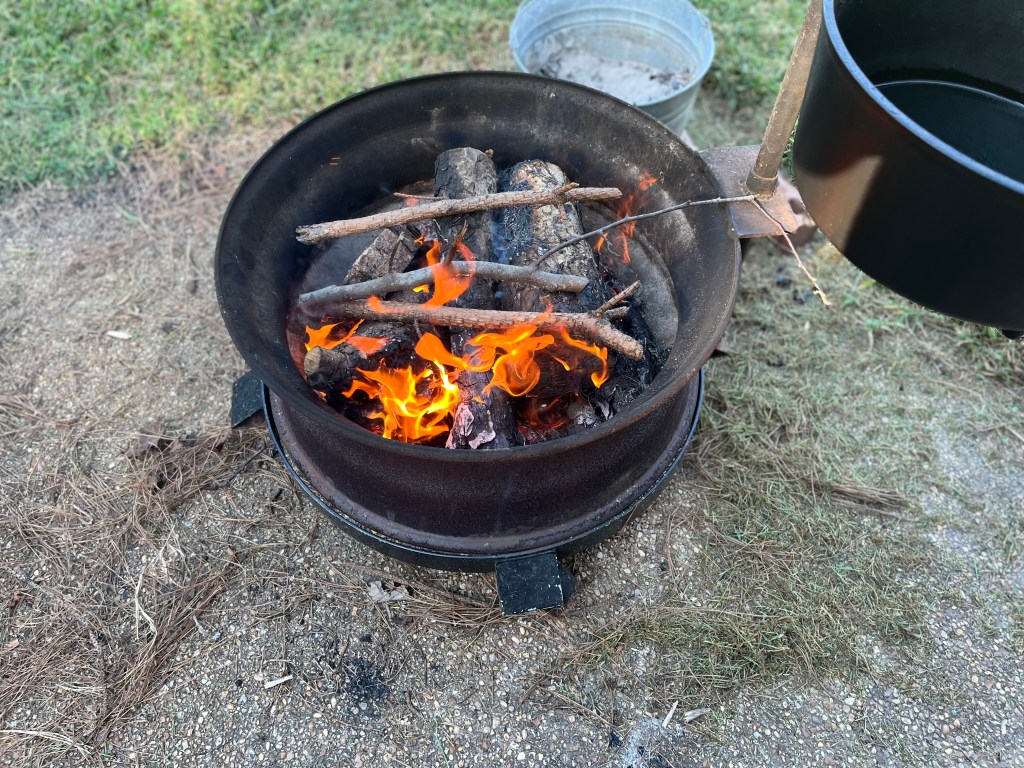
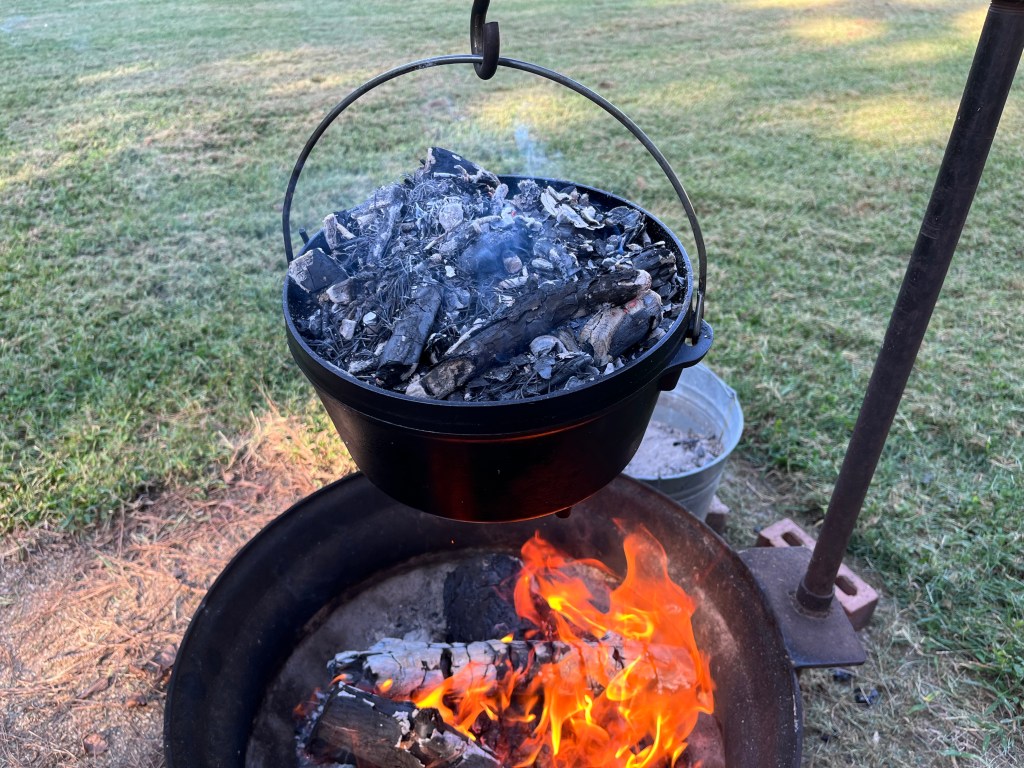
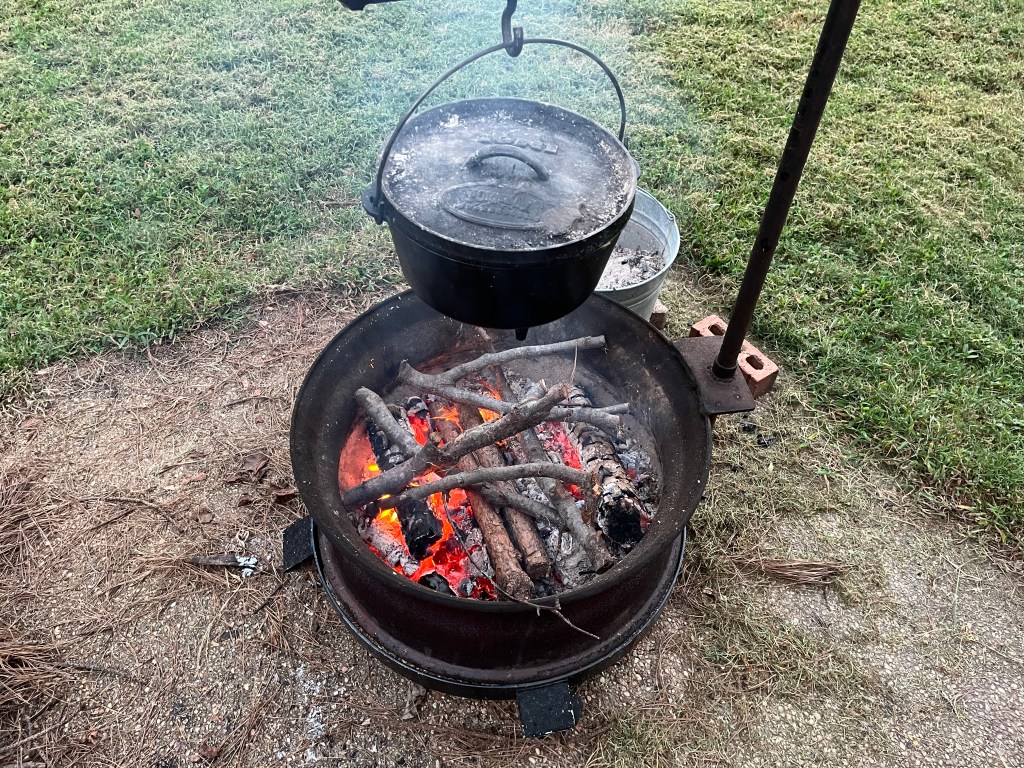
The Fire (and coals)
Start a fire and add logs to it to make a mound of hot coals. Keep adding more wood to maintain hot coals. I started the fire about an hour and a half before I cooked over it and I kept adding more wood during the cooking process.


Prepare the Tortillas
Add some cooking oil to a small pan and fry the corn tortillas to the point where they begin to stiffen but are still pliable. I did this on my stovetop, indoors, for convenience but, this could be outdoors over the coals, if you feel brave and adventurous. Set the tortillas aside.

Cooking the Enchiladas
Now that all of the prep work is done and the coals are raging hot, it’s time to cook!
Add just enough oil to cover the bottom of the Dutch oven. Add the diced onions and simmer over high heat for a minute or two.

Normally, I would trim the fat from the chicken thighs before cooking but, I wanted to render some of the fat to add flavor to enchilada sauce, and I wanted to avoid burning the chicken!

Pack the bone-in chicken thighs into the Dutch oven. (I put four pieces on bottom and three on top).

Cover the Dutch oven and pile plenty of hot coals on top of lid.

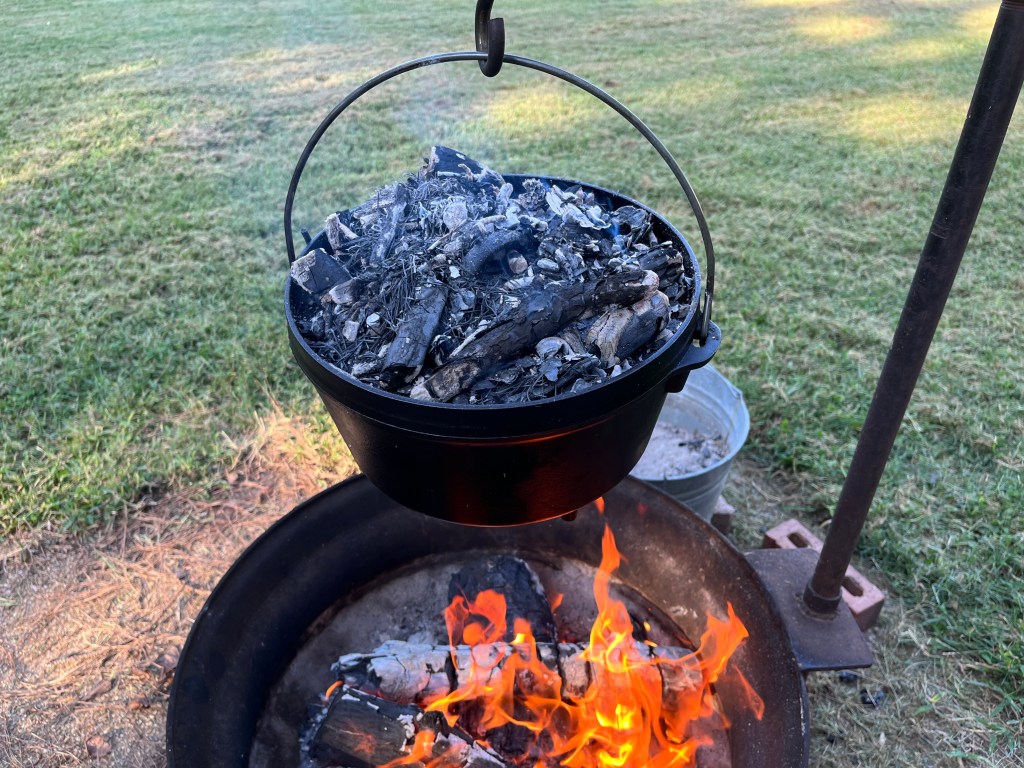
I piled on as many hot coals on top that I could. I wanted a lot of heat coming from top and bottom.
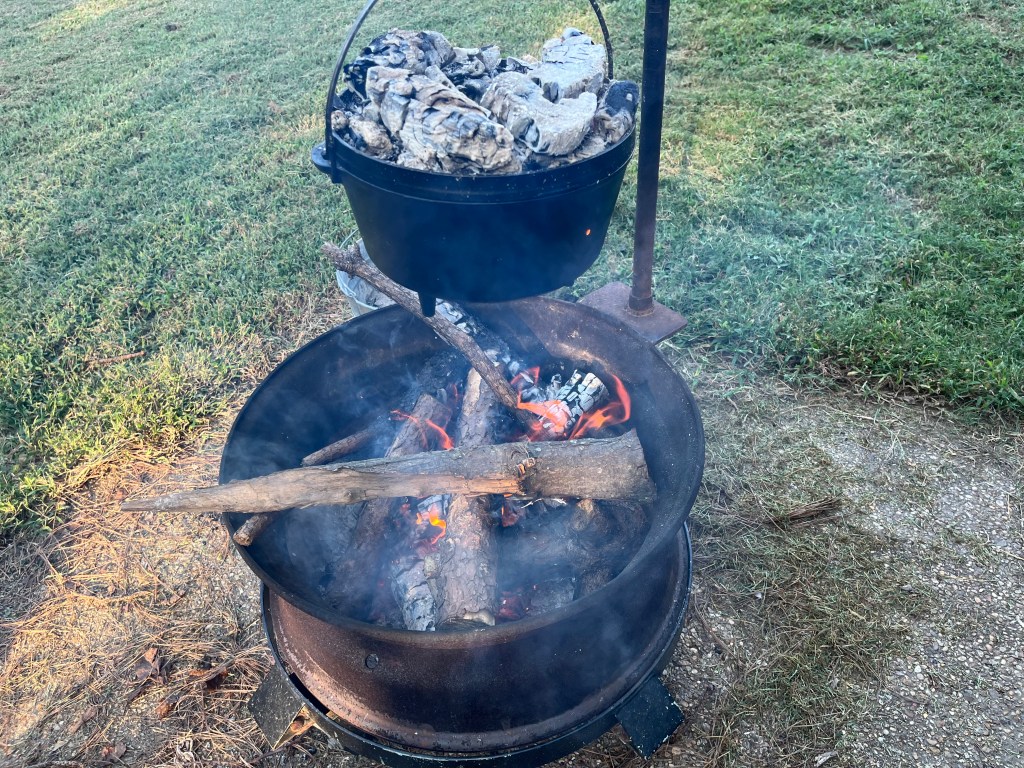
Cooking time will depend on how hot the coals are and how close the Dutch oven is to the heat source. Rotate the lid a quarter turn every ten minutes to ensure that the heat is evenly distributed. Luckily, when I checked the chicken after twenty minutes it was sufficiently browned and cooked. If you’re using a thermometer, the internal temperature of the chicken should be at least 165º F.

Remove the Dutch oven from the fire and remove the cooked chicken. Allow the chicken to rest and cool for a few minutes. I took the chicken inside and set it on a cutting board. Pull the chicken from the bones. Discard bones and any tough pieces of cartilage. If the chicken does not easily pull away from the bone, it hasn’t cooked long enough. Throw it all back into the Dutch oven and finish cooking.
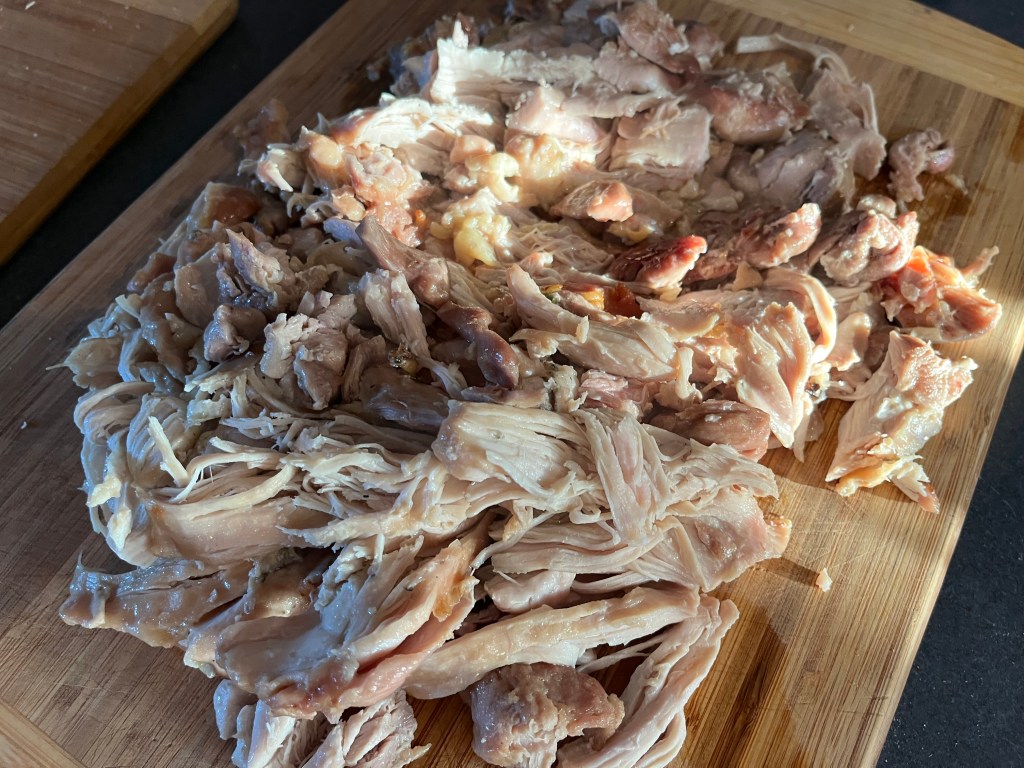
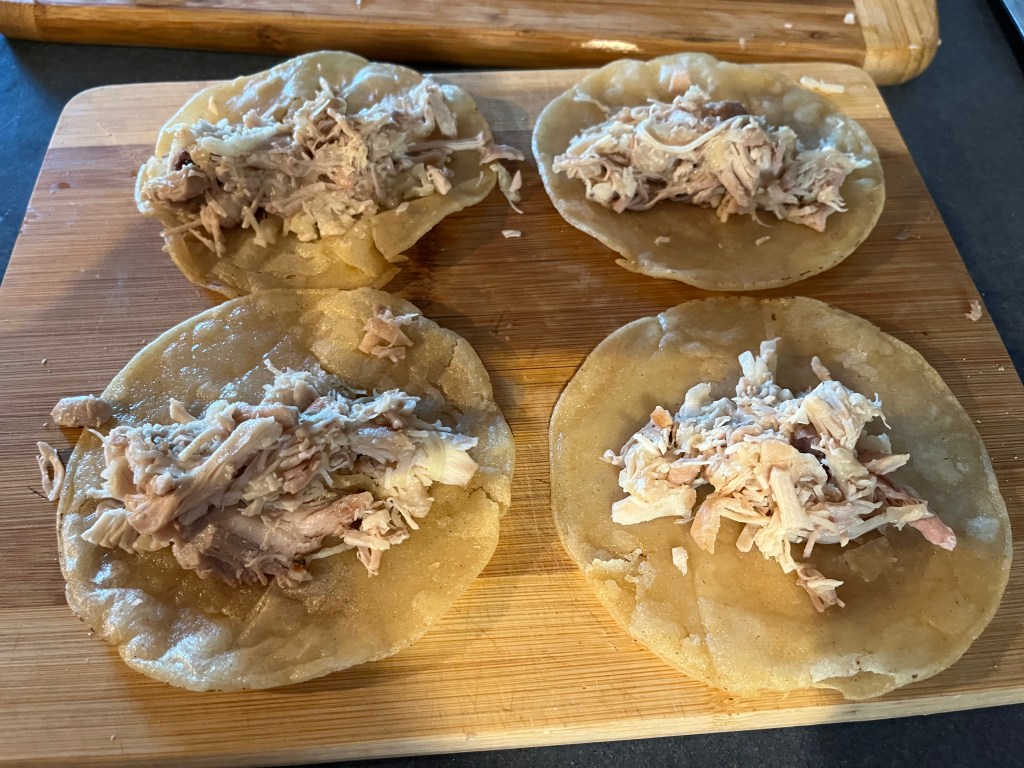
Shred the chicken with a knife and fork.
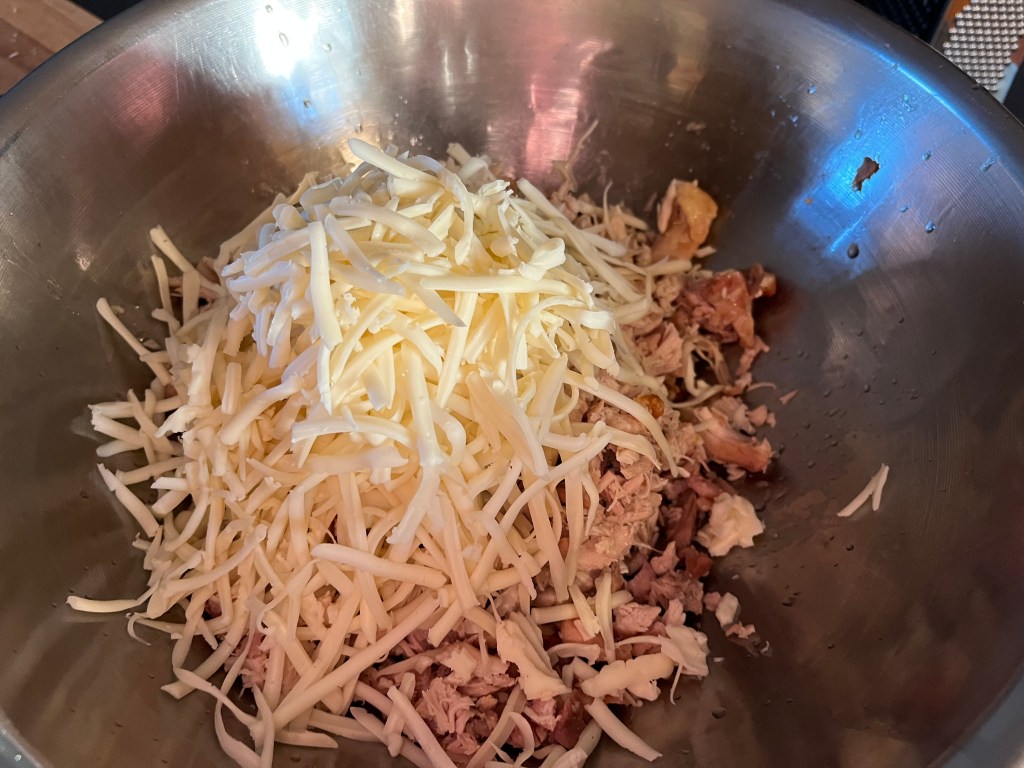
Shred the Monterrey Jack cheese ( I substituted with Havarti) and add the cheese to the shredded chicken. Mix well.

Assemble the enchiladas by placing the chicken and cheese mixture into prepared tortillas and wrapping them. Set the rolled enchiladas aside.

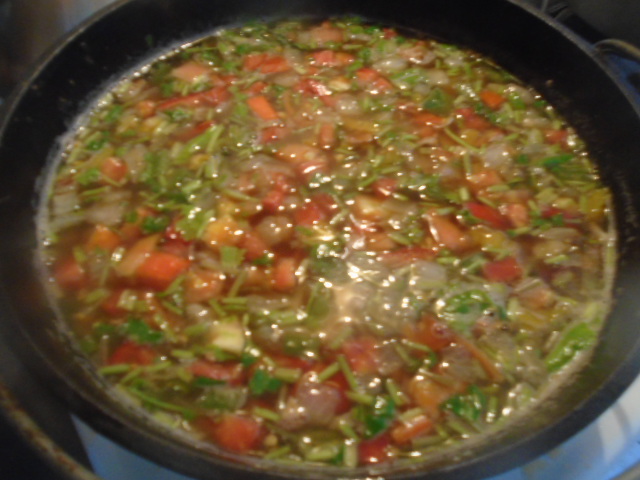
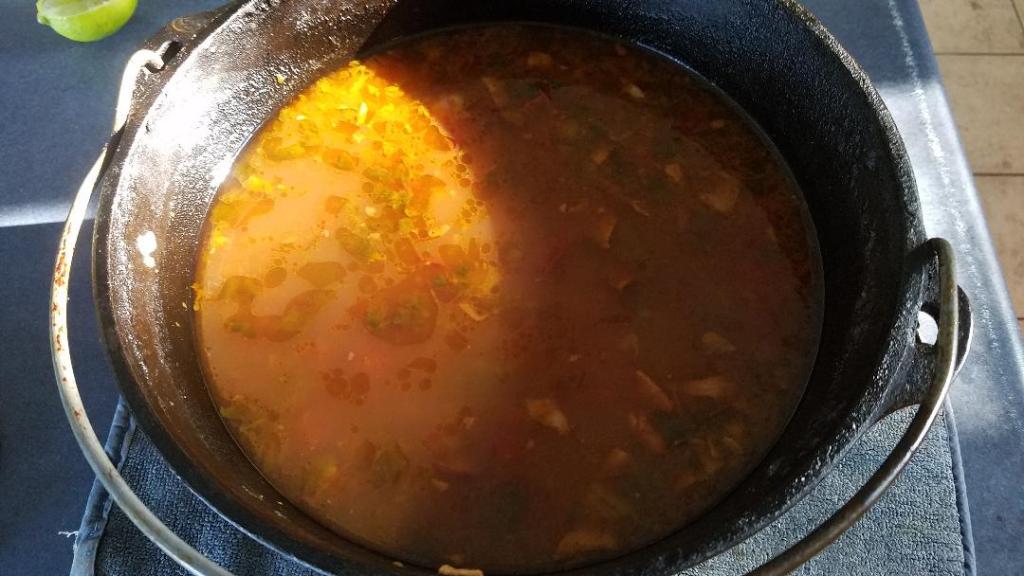
Place the Dutch oven back over the hot coals. Add the chopped celery and simmer, while stirring occasionally, for about 5 minutes.

Add butter and flour. Whisk for a few minutes until the mixture makes a smooth roux.
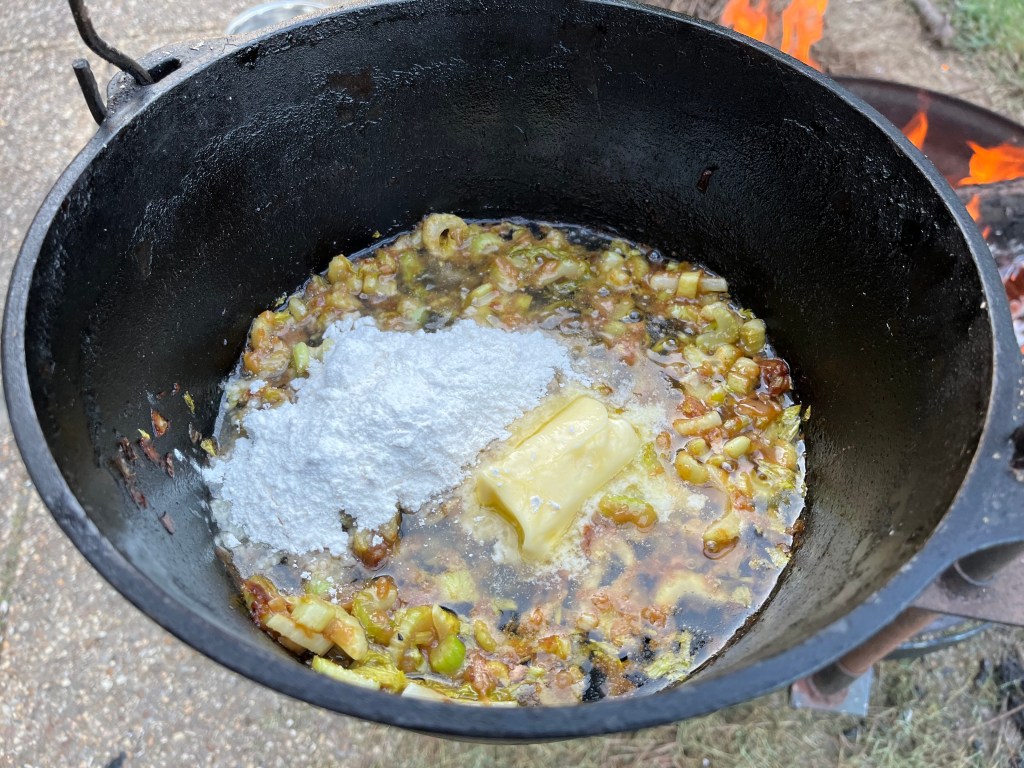

Add the chicken broth and continue whisking for a few minutes, until the sauce thickens.

Add the chopped jalapeño and red bell pepper. Mix briefly.

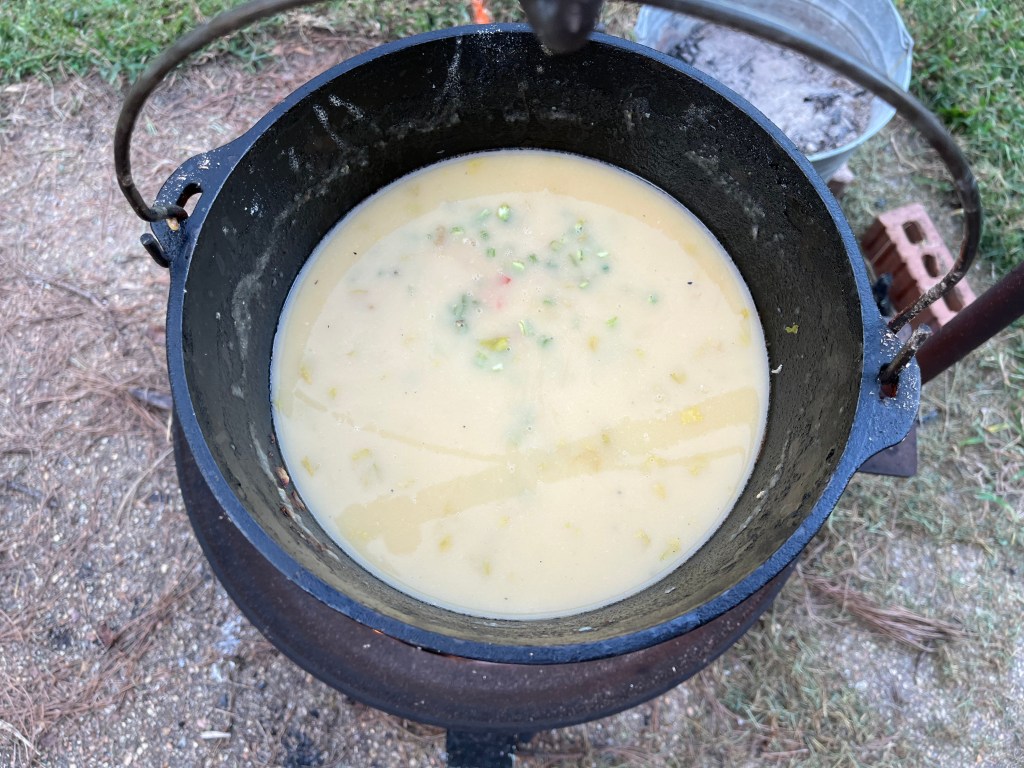
Add the prepared green chile sauce and mix to incorporate. (Note: I used a homemade green chile sauce but, a good store-bought salsa verde will also work. Serrano chiles bring a significant amount of heat to the sauce I made. I used 1 serrano to every 6 or 7 tomatillos. It made a very spicy sauce but, when I added it to the enchilada sauce, it mellowed and gave the sauce a nice “green” flavor to the sauce. That’s what I look for in chicken enchiladas…a nice, spicy “green” flavor).


Here comes the tricky part! After the sauce was ready, I carefully poured half of it into a very large bowl. I knew that the enchiladas were going be stacked on top of each other, and I wanted to make sure that they were surrounded by the sauce. It might not have been necessary, but I wanted to achieve homogeneity. (Hey, my spell checker is telling me homogeneity is really a word!) Pouring a sauce from a very hot and very large Dutch oven is not easy! It requires a good deal of strength and skill. If you’re not up to the challenge, just use a ladle to remove half of the sauce.

Carefully add a layer of enchiladas to the Dutch oven.

Stack the remaining enchiladas on top and pour the remaining sauce over them.
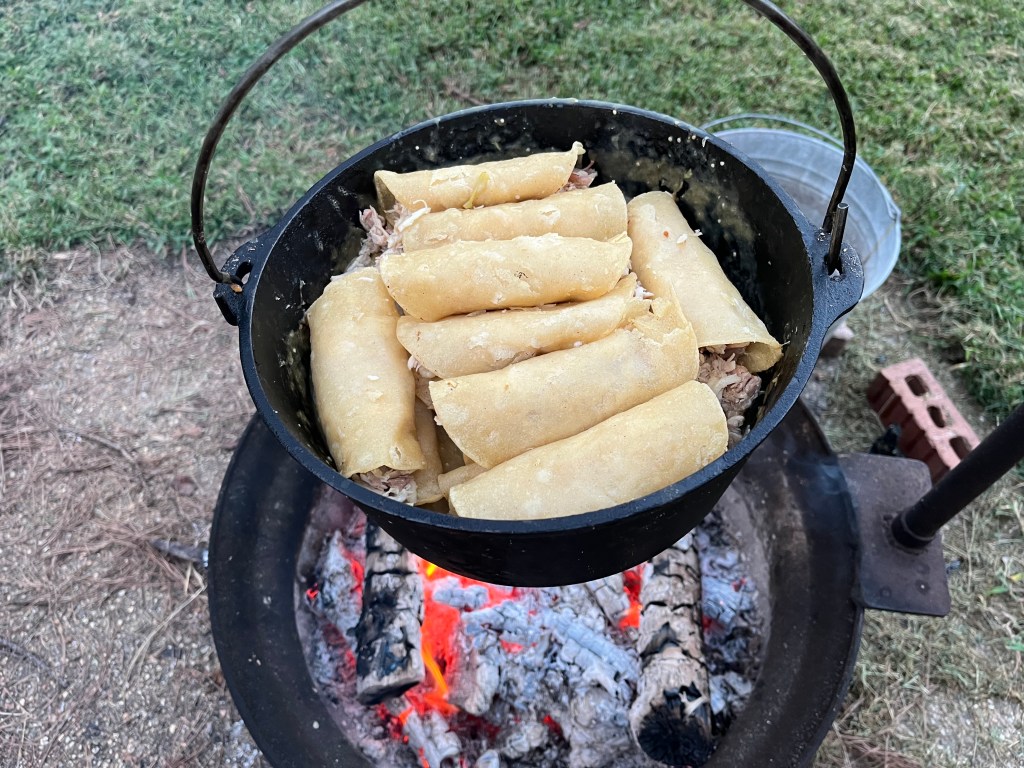
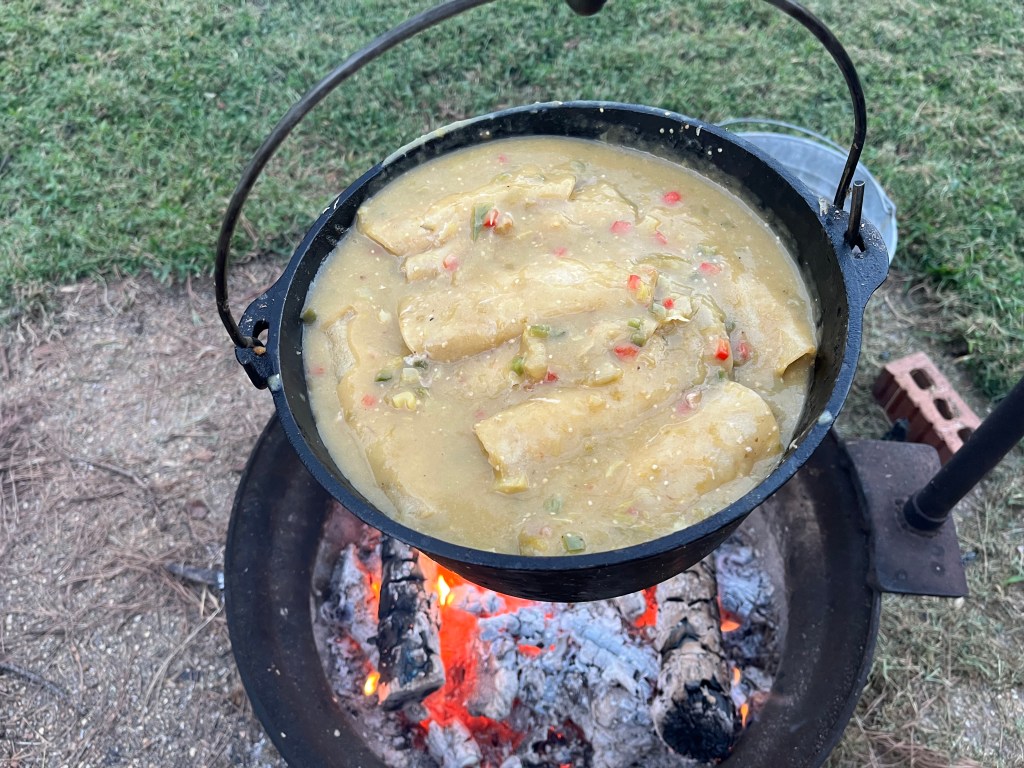
Cover and simmer over medium heat for about 15 minutes. No need to add coals to the top, this time!
Remove the Dutch oven and let it rest, uncovered for a few minutes.

It’s time to dig in!
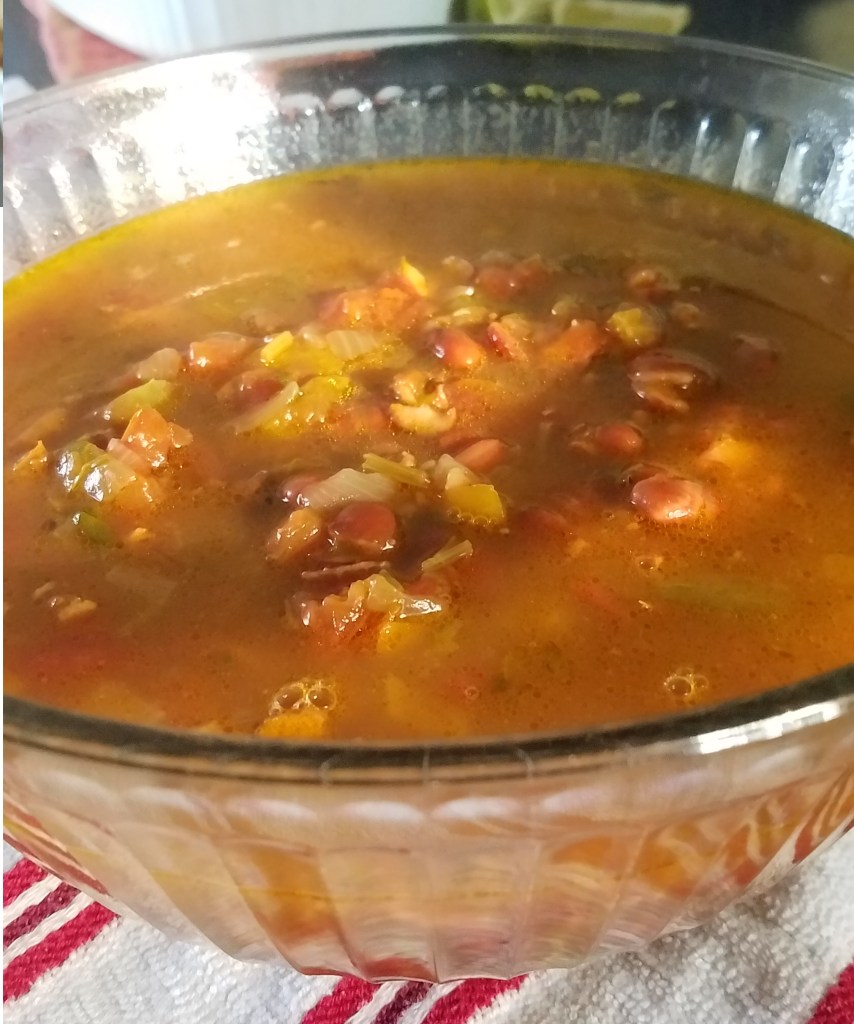
Pull the enchiladas out of the Dutch oven with tongs or ladles. They’re going to break apart either way, so don’t worry about glamorous presentation!
Serve with rice, cotija cheese, cilantro, and a fresh, cool salad. (Adding cucumbers to the salad will offer some relief in case the enchiladas are too spicy)!