All-Day-Long Texas Chili (with sincere apologies to my fellow Texans)

I know that if I go to heaven I’ll have to answer for my sins.  I’m just hoping that the good Lord will forgive me for occasionally putting beans in my chili. 

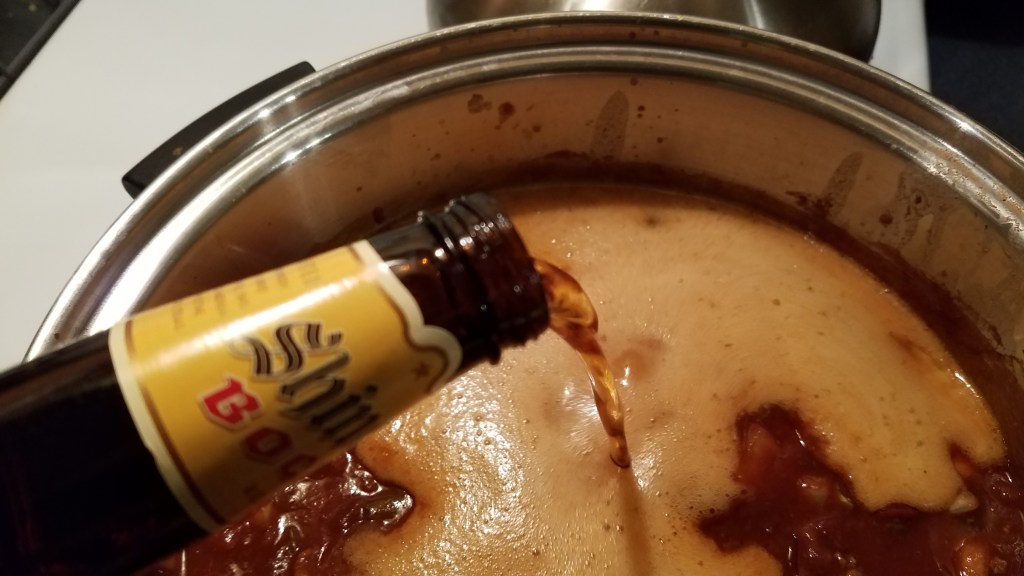
I hope that adding this excellent Texas beer to the mix will tip the scale in my favor. 

But, if I’m not accepted in heaven, I’m sure I’ll fit in just fine with the fiery fiends of hell.  I’ve spent years and years eating spicy chiles and I’m confident that I can take the heat!

It seems like every time I make chili I make it a little bit differently than the last time I made it.  If you know me, that’s to be expected.  I rarely replicate a recipe.  I like the unexpected twists and turns of the path, unexplored.  This time around, I added some dark chocolate and cinnamon.  I’ve added cocoa powder in past recipes but I wasn’t impressed.  This time I used an actual piece of good dark chocolate and the result was amazing!  The flavor was deep and rich and not too spicy.  I have to confess, the beans added a heartwarming earthiness to the overall dish.  This ranks near the top of my chili making experiences.

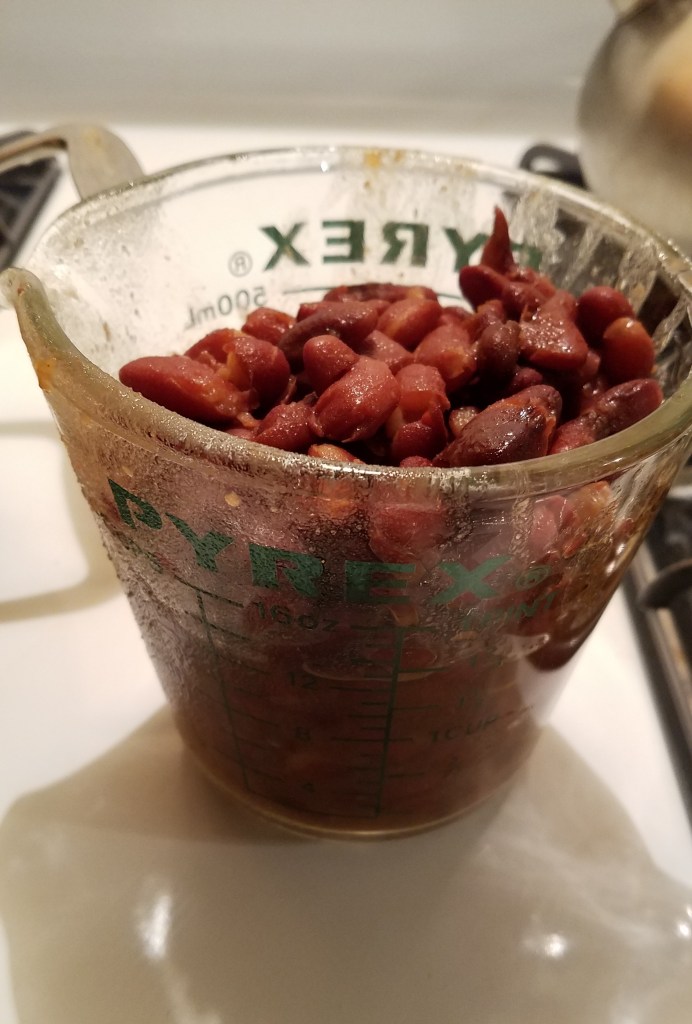
Chili doesn’t take very long to prepare, unless you plan on adding uncooked beans to it.  I soaked kidney beans and simmered them in a large pot for 4 or 5 hours, until they were fully cooked and soft.  Once the beans were cooked the rest of the process only took about one hour.
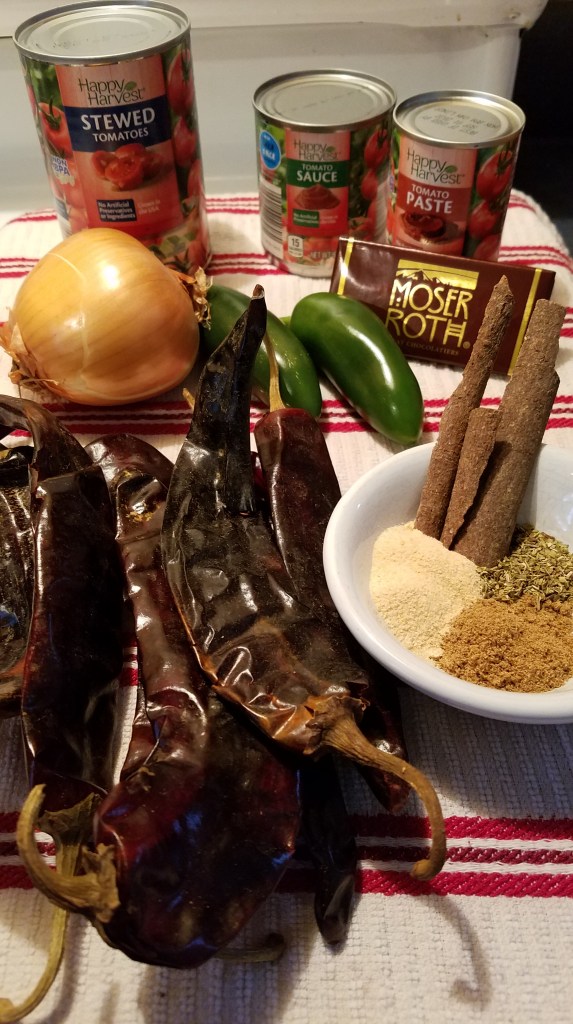
Ingredients:

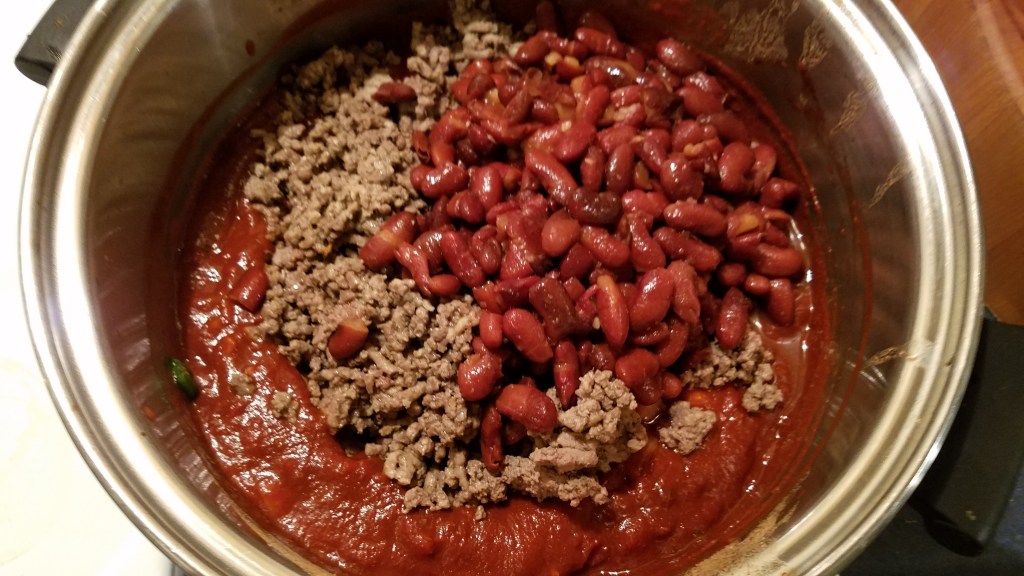
2 cups cooked kidney beans

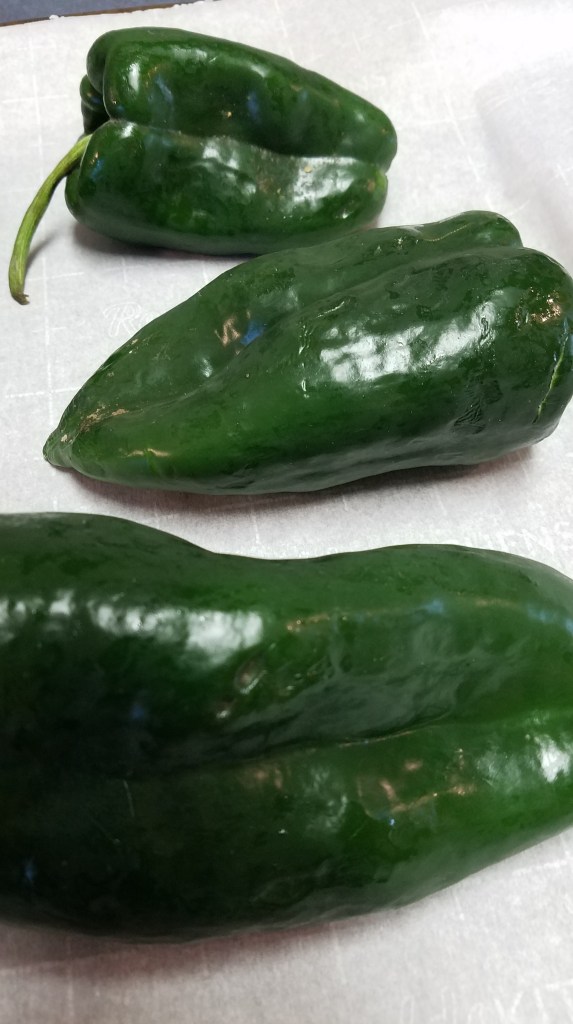
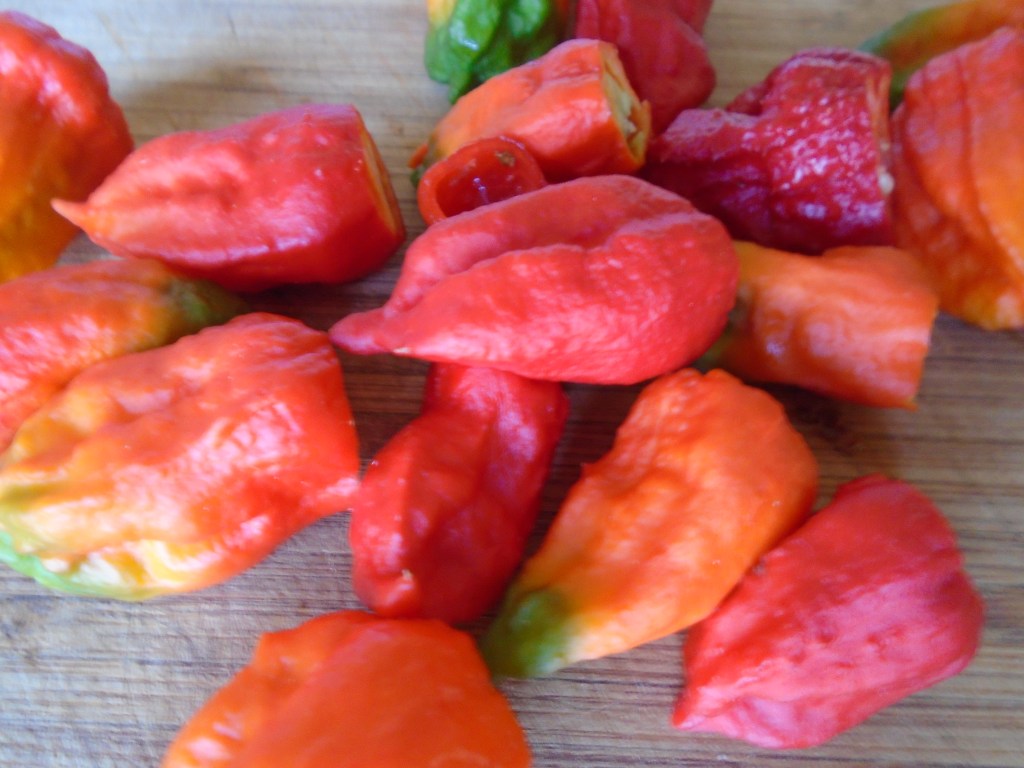
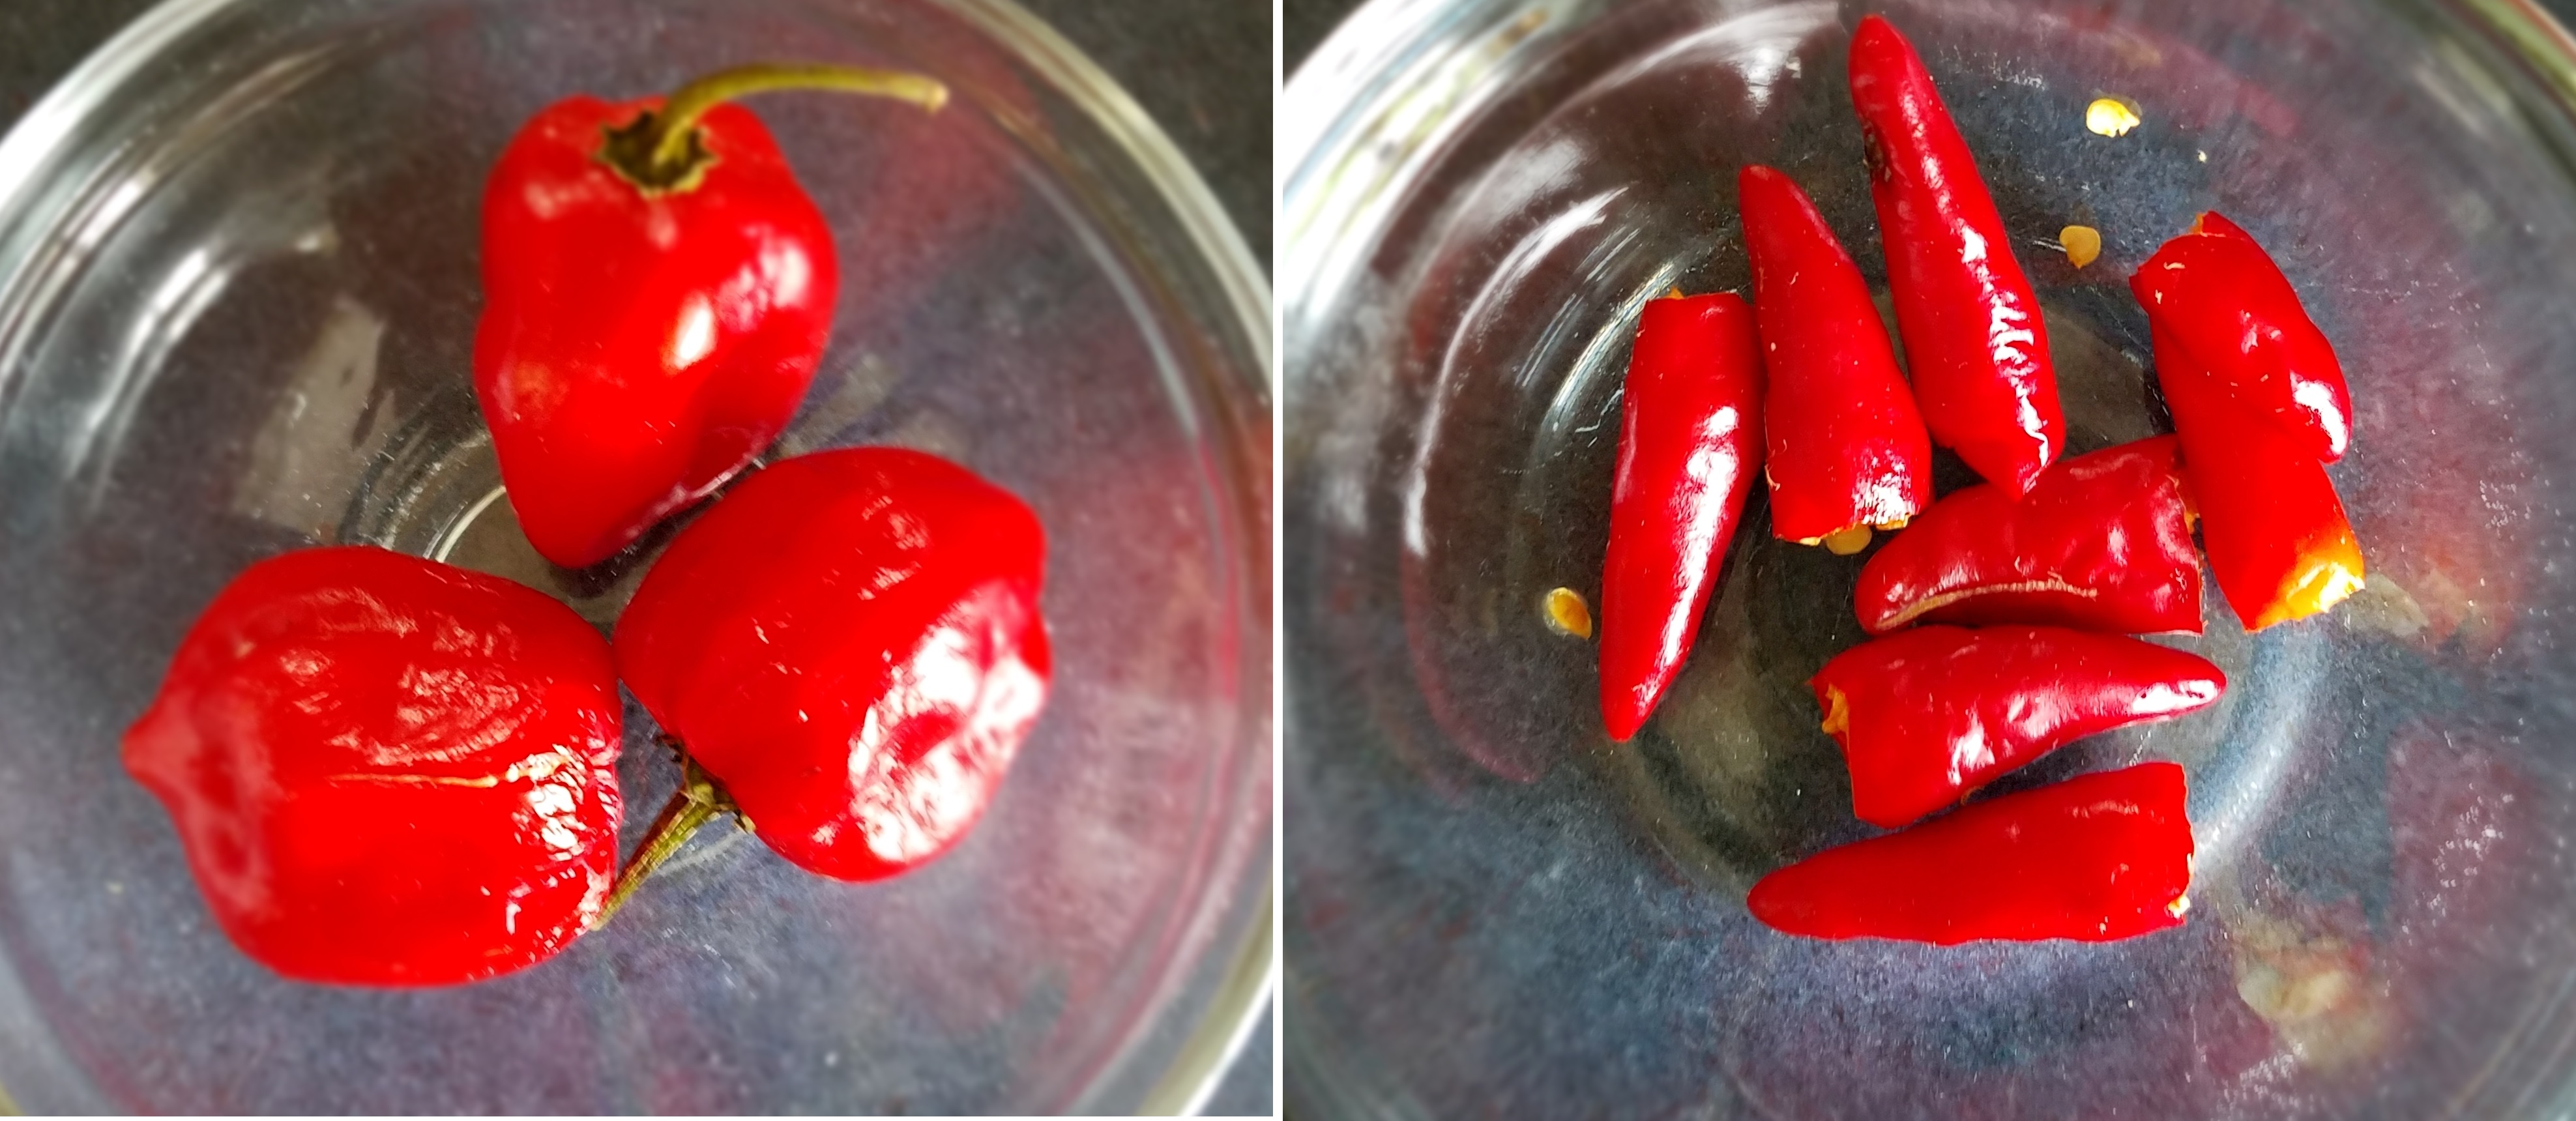
6 or 7 guajillo chiles
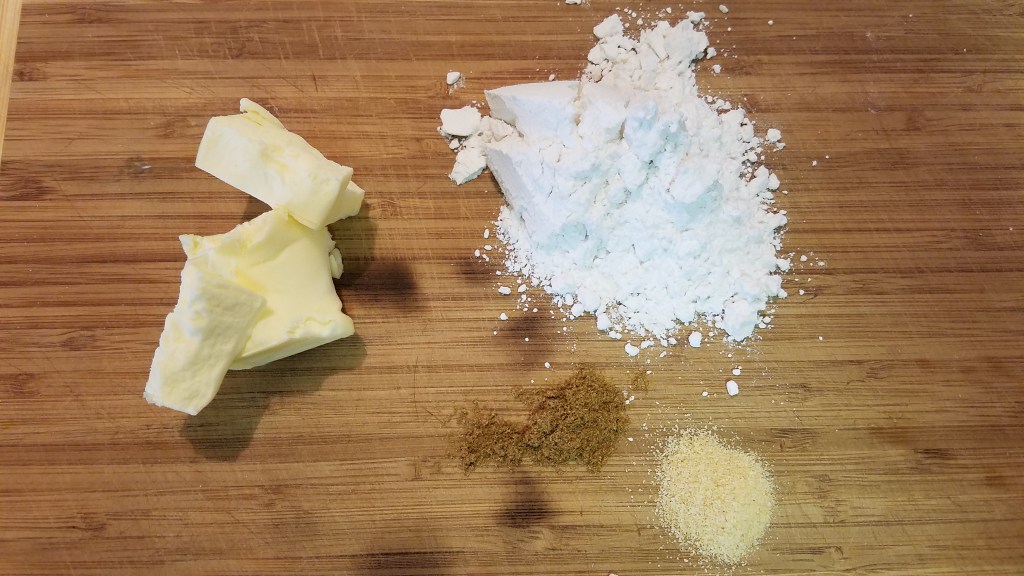
2 Tbs sugar

½ cup water (water from the steamed chiles works)

1 oz dark chocolate bar

2 or 3 cinnamon sticks

2 lbs ground beef

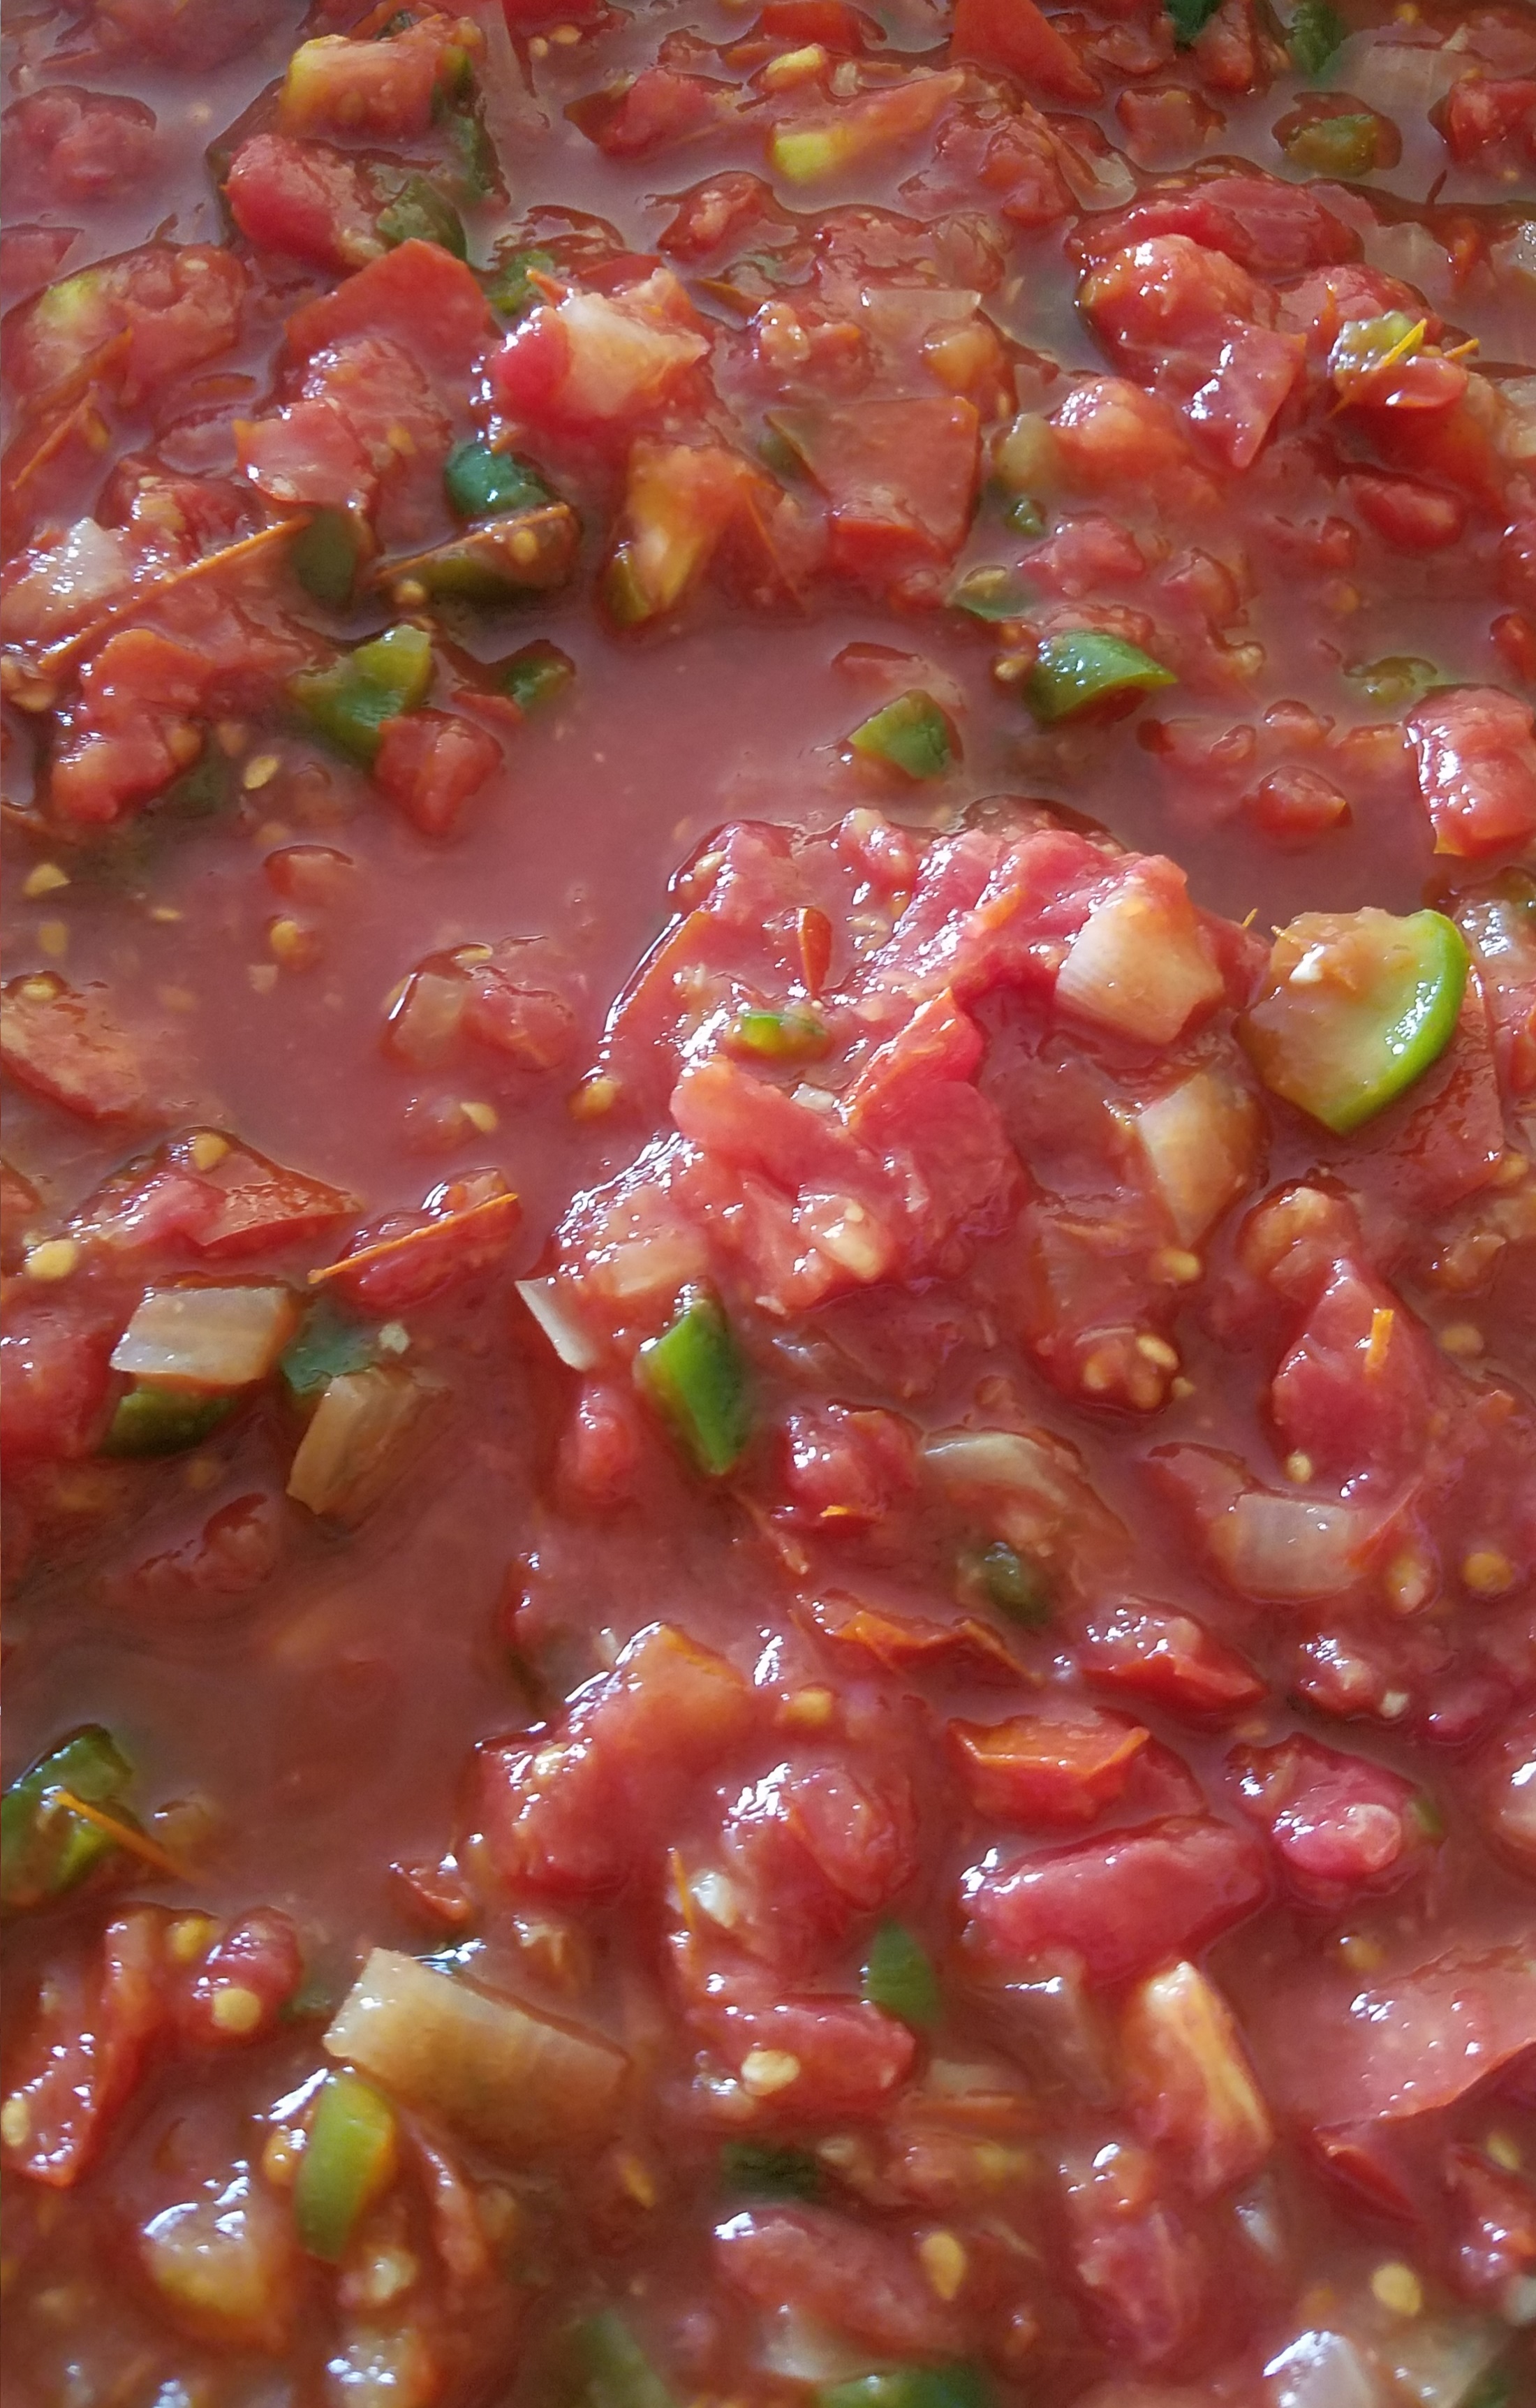
15 oz stewed tomatoes

8 oz tomato paste (1 and ½ cans)

8 oz tomato sauce

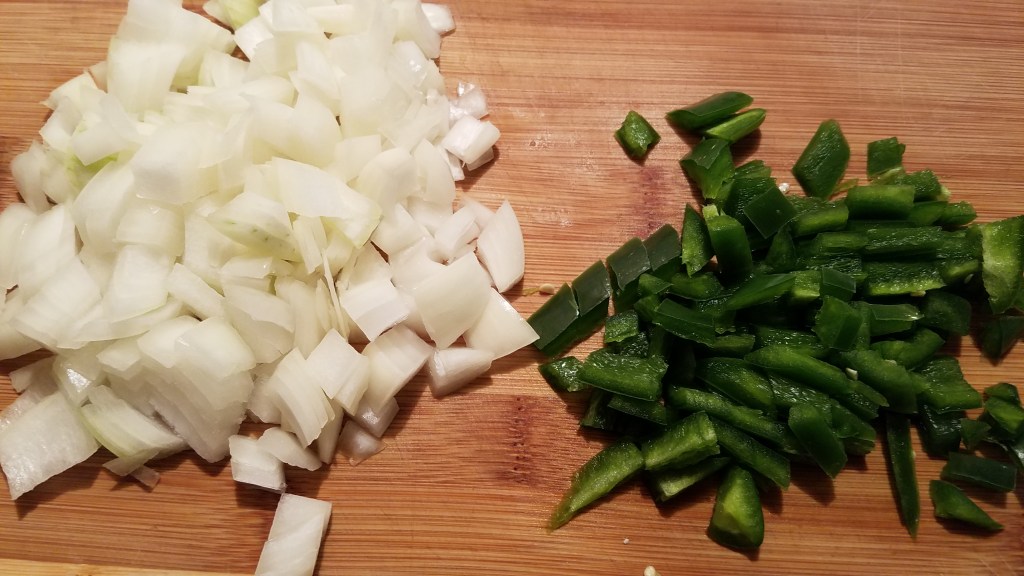
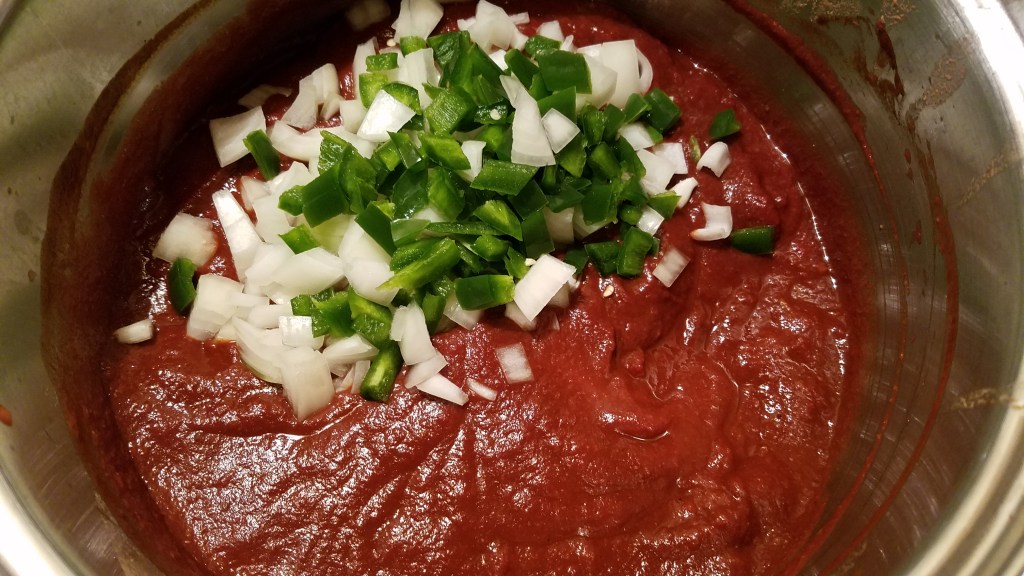
2 jalapeños, seeded and chopped

1 onion, chopped

1 Tbs dried oregano

1 ½ Tbs cumin powder

1 ½ Tbs garlic powder

¼ cup cilantro

2 cups water

1 beer (12 oz)

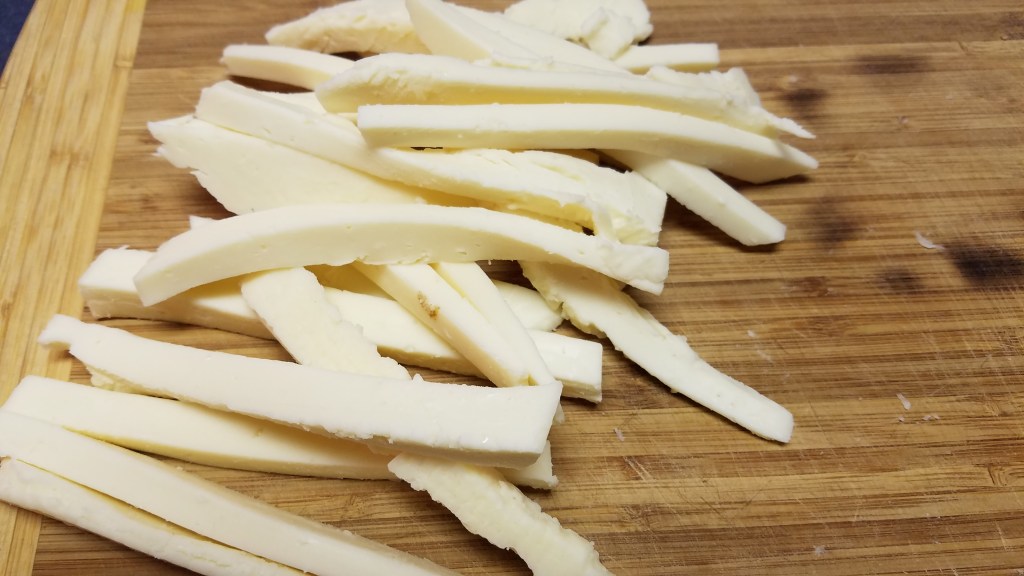
¼ cup cheddar cheese, shredded

Saltine crackers

Directions:

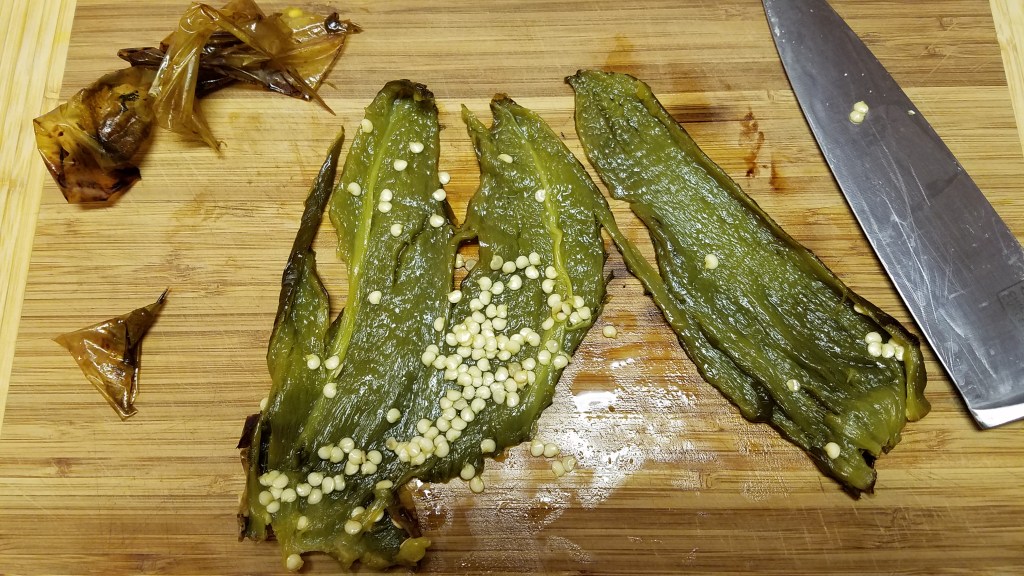
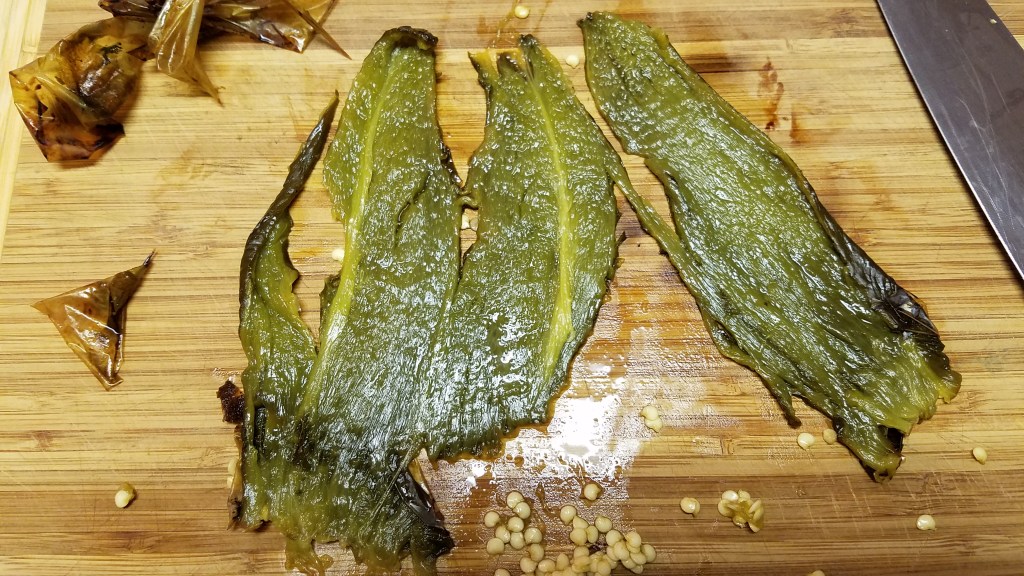
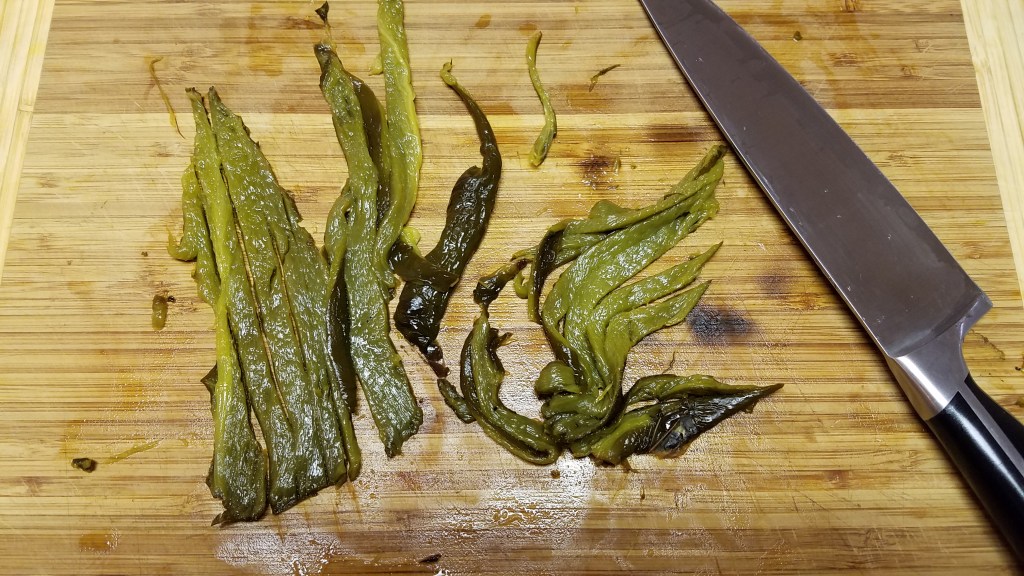
Steam the chiles.  Remove the stems from the chilies and slice them open.  Remove the pith and seeds. Steam the chilies in a little water in a large, covered skillet for 20 to 30 minutes.

Drain the chilies and add them to the blender with a little water.  Pulse until the chilies form a sauce.

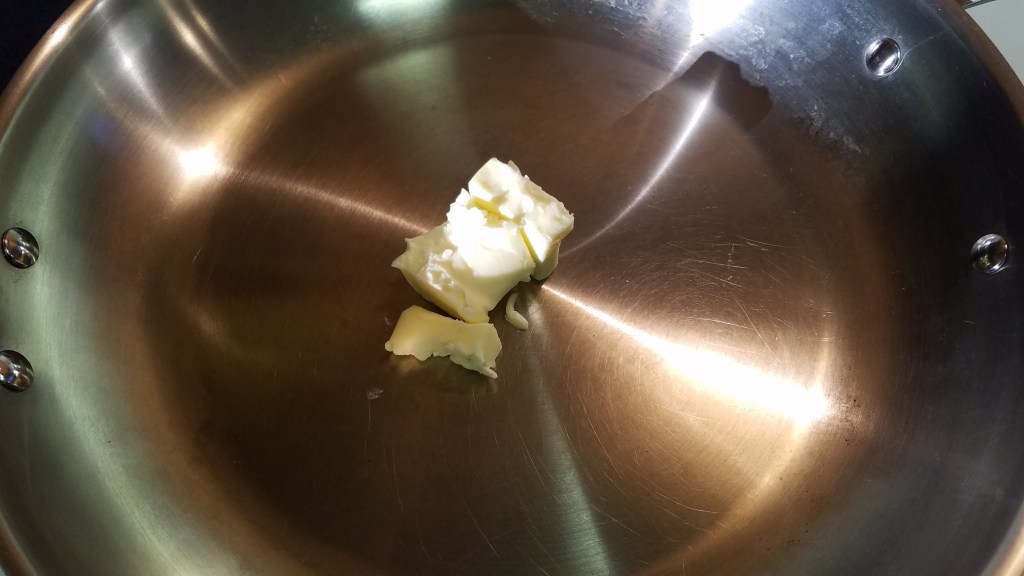
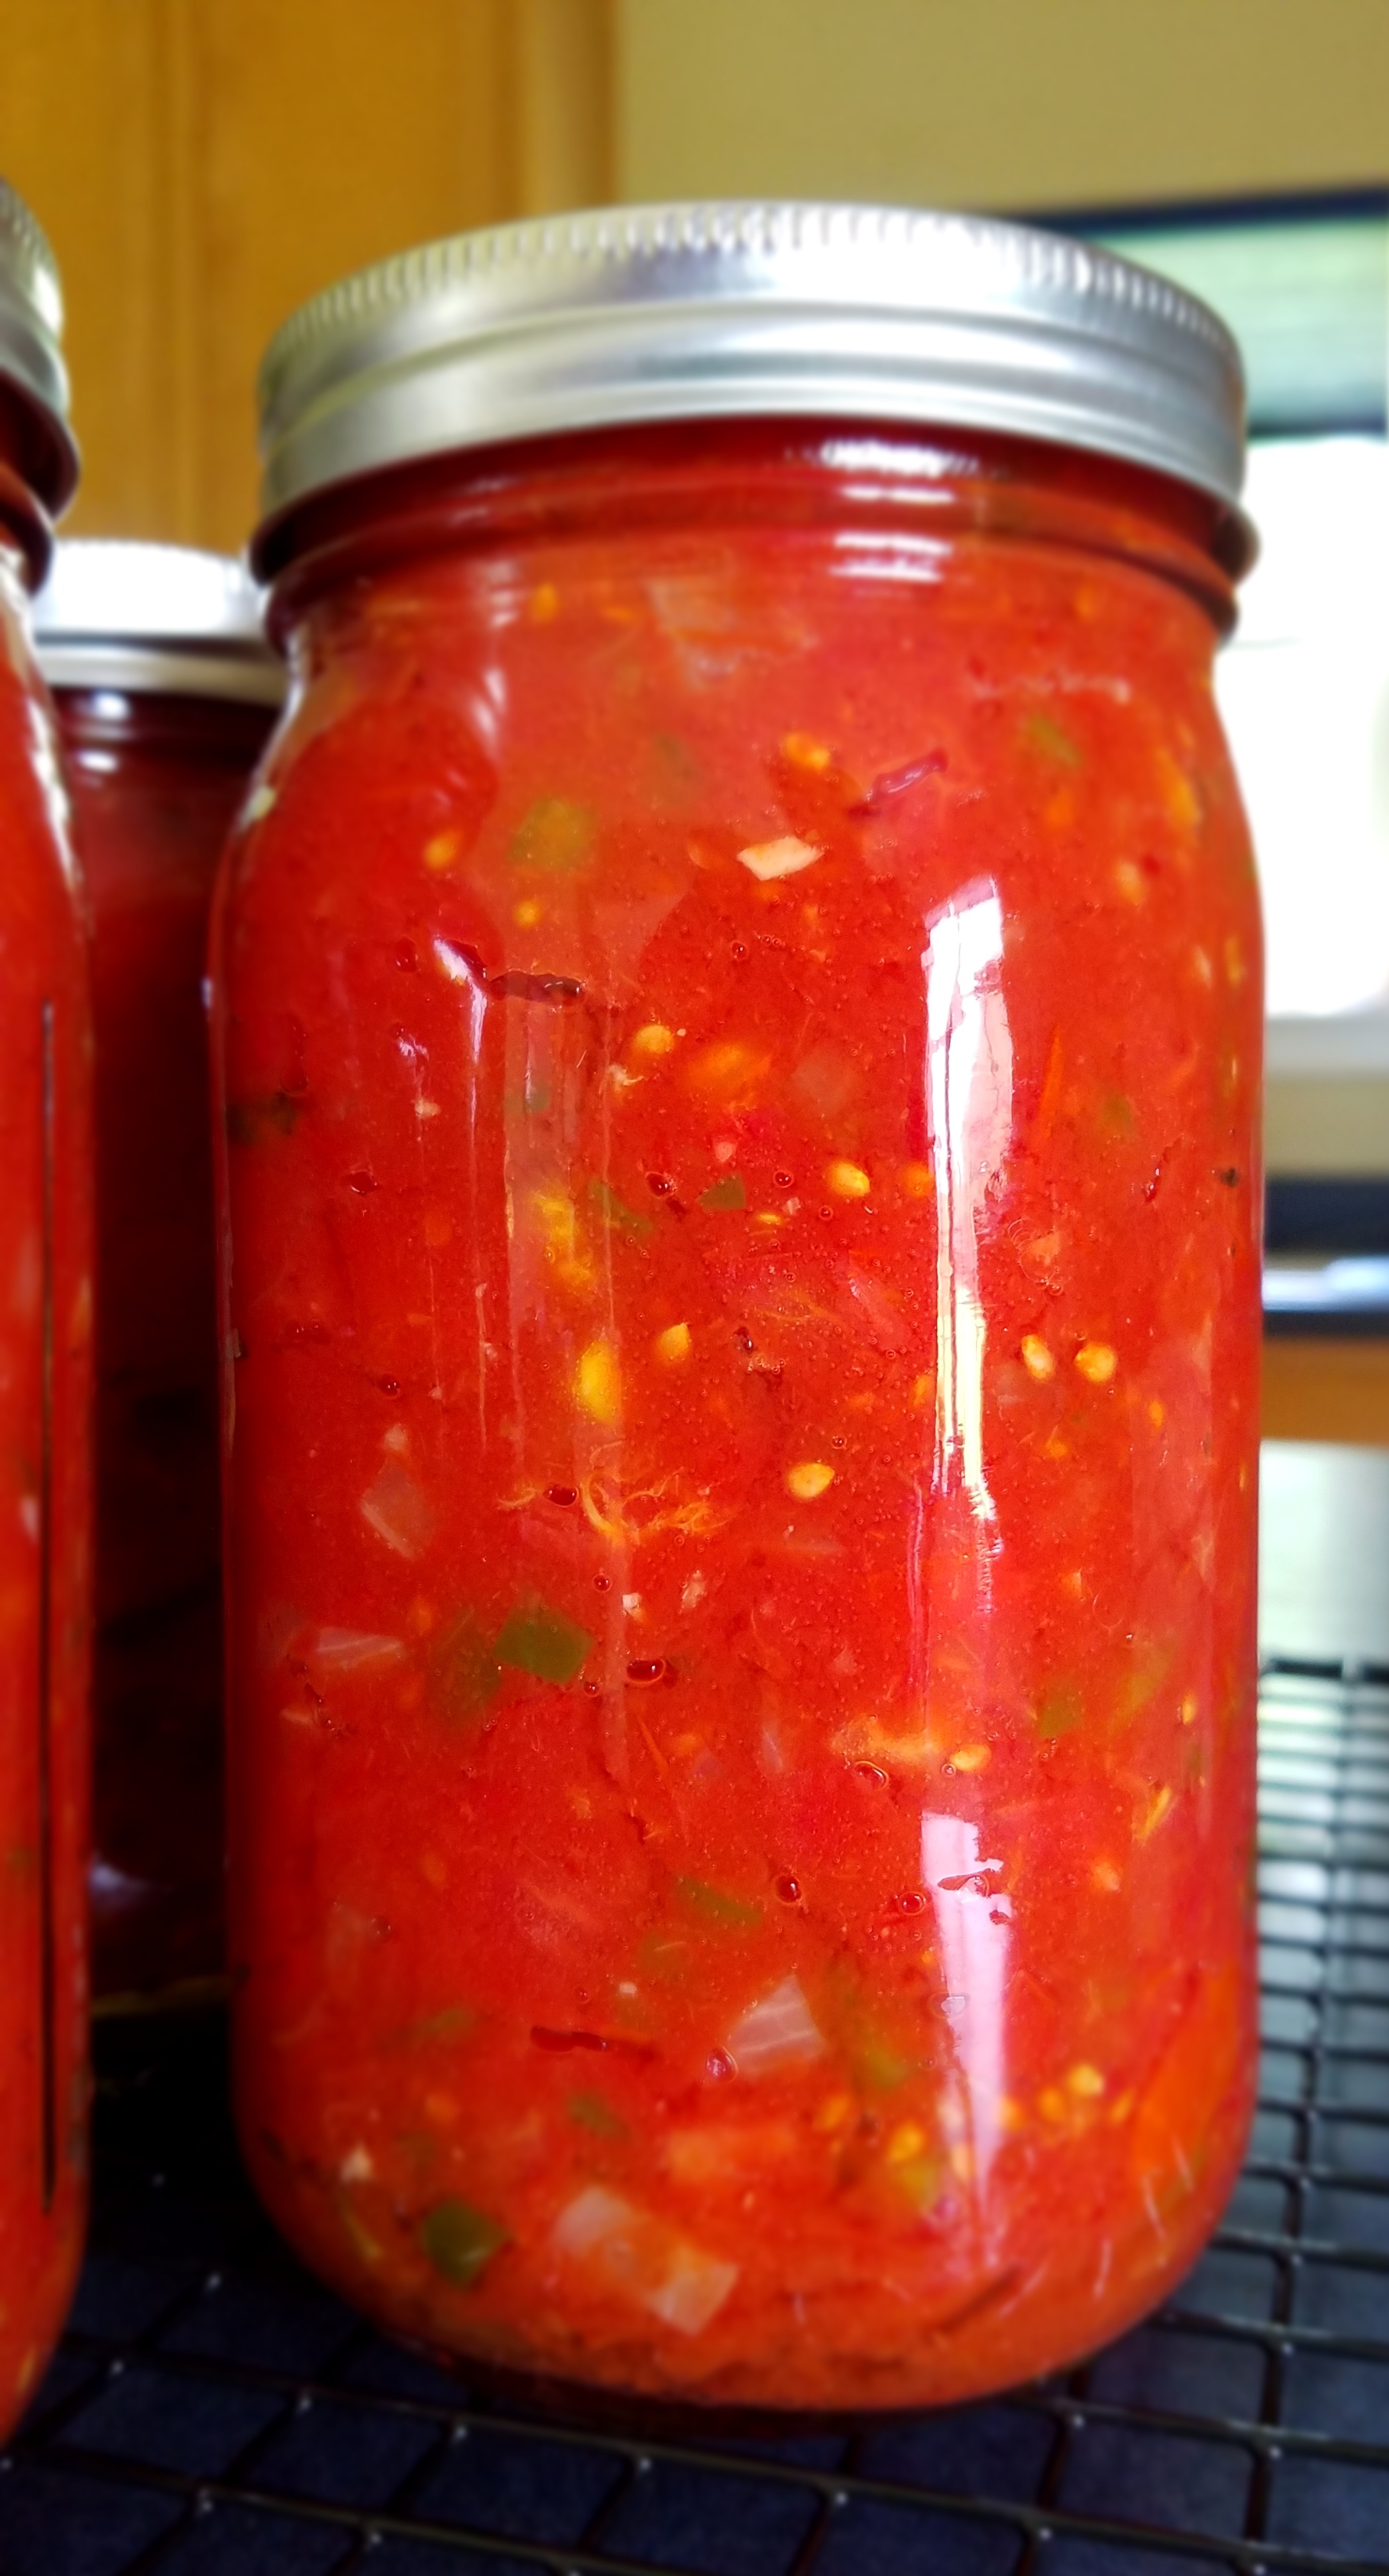
Add the chili sauce to a large skillet and simmer at low heat.  Add the sugar and allow the sauce to reduce by one half. 

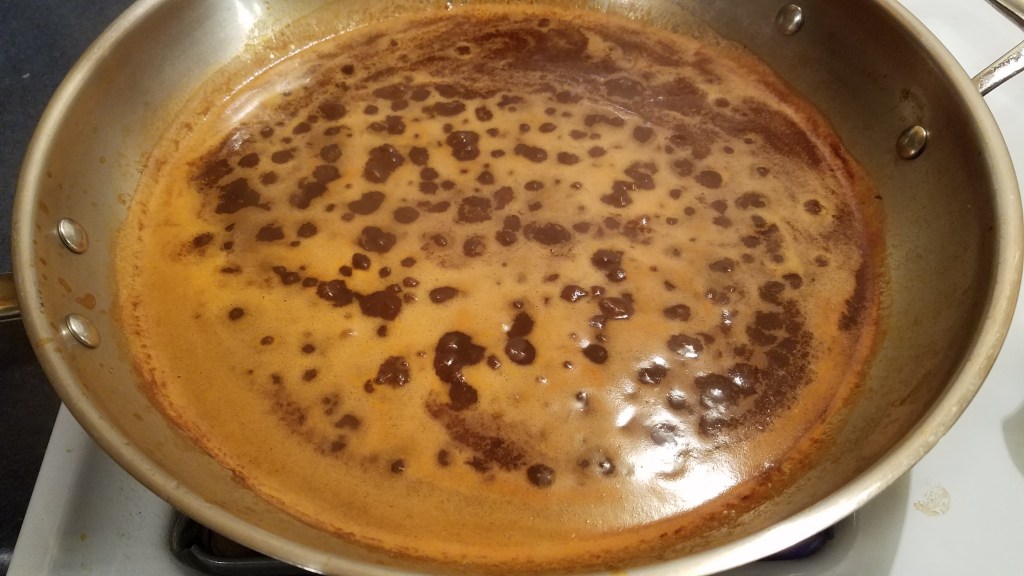
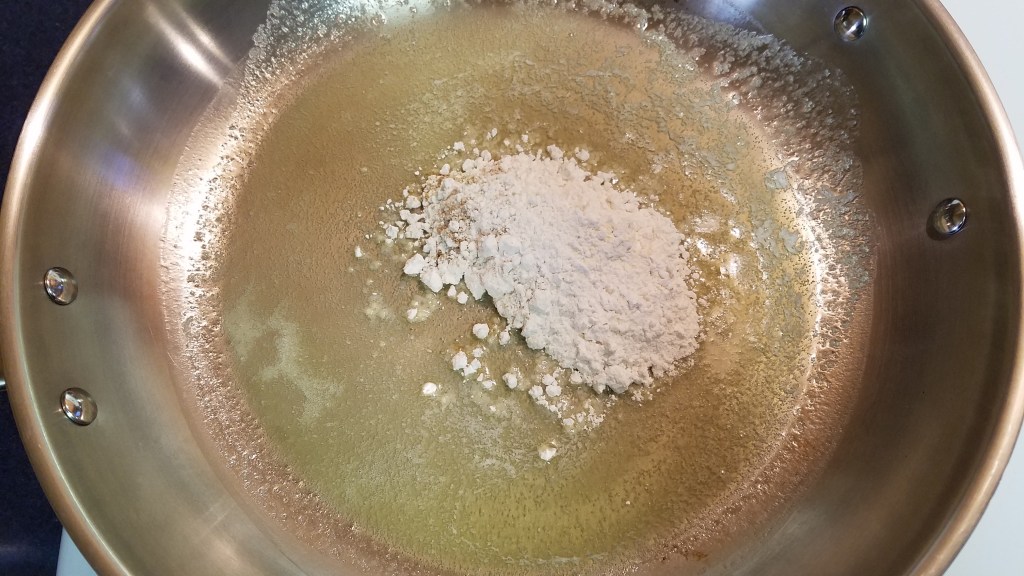
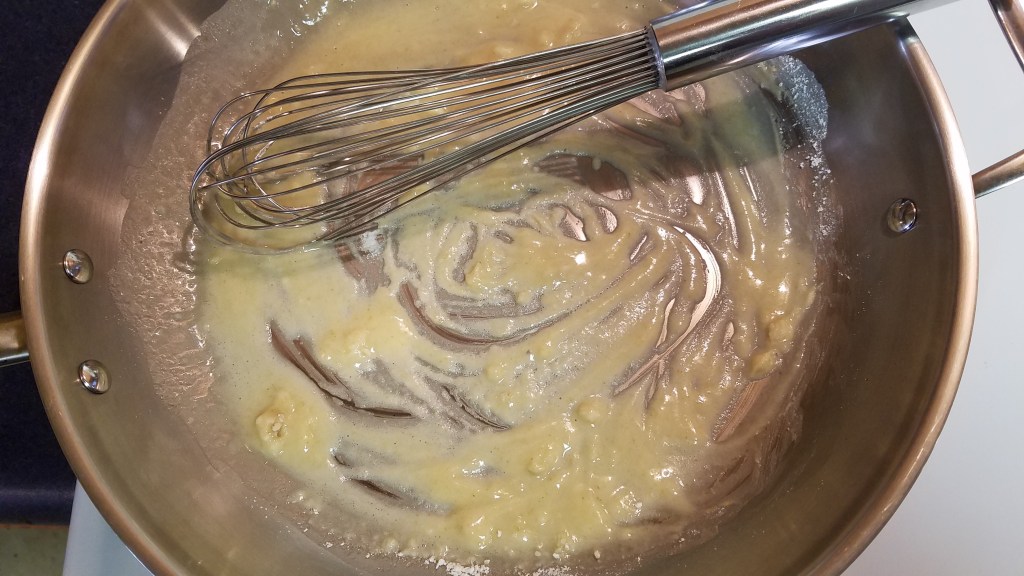
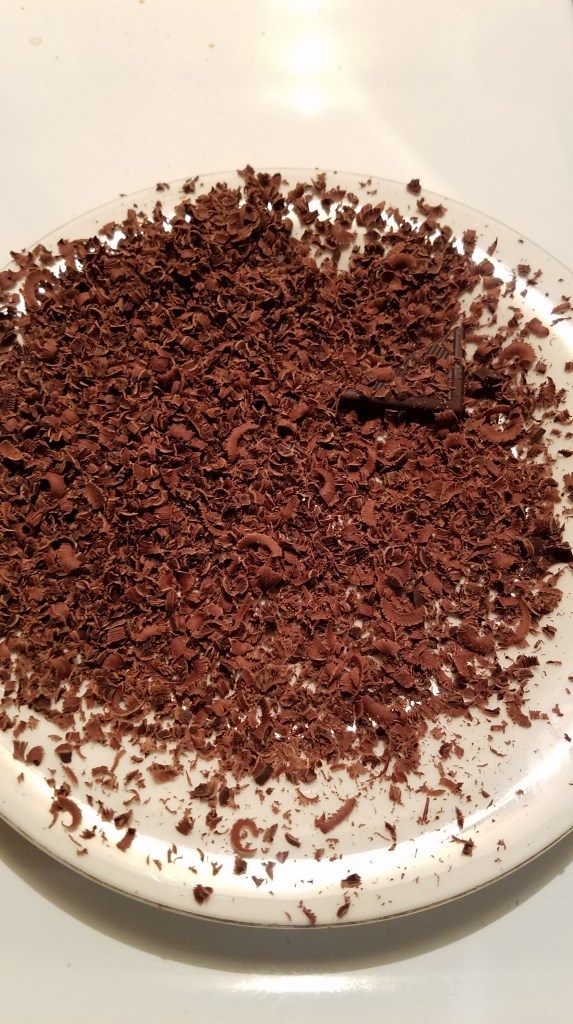
Grate the chocolate and add it to the sauce. Stir the sauce as the chocolate melts.

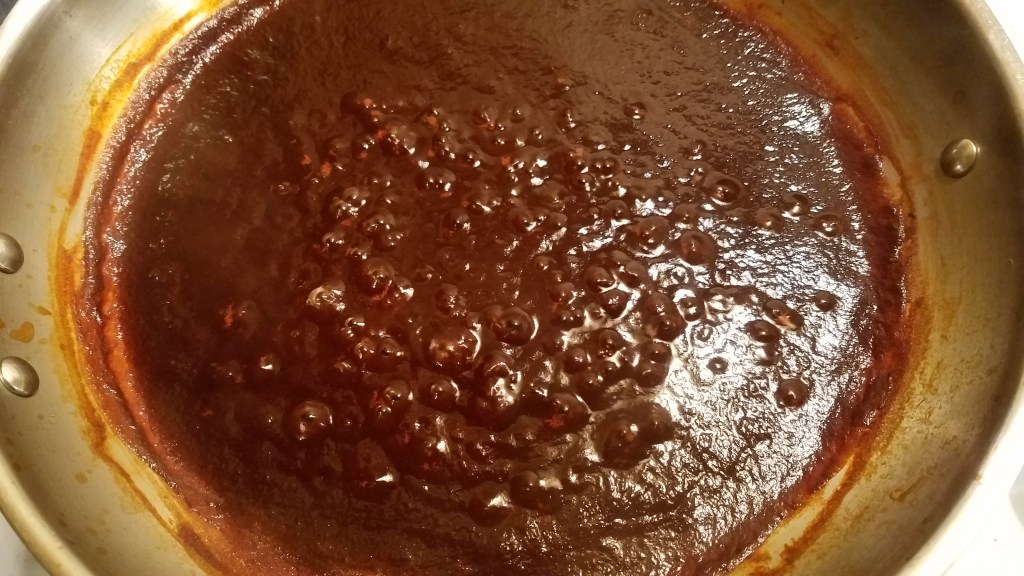
Add the cinnamon sticks to the sauce and continue simmering.  Simmer the sauce until it reduces by one third. 

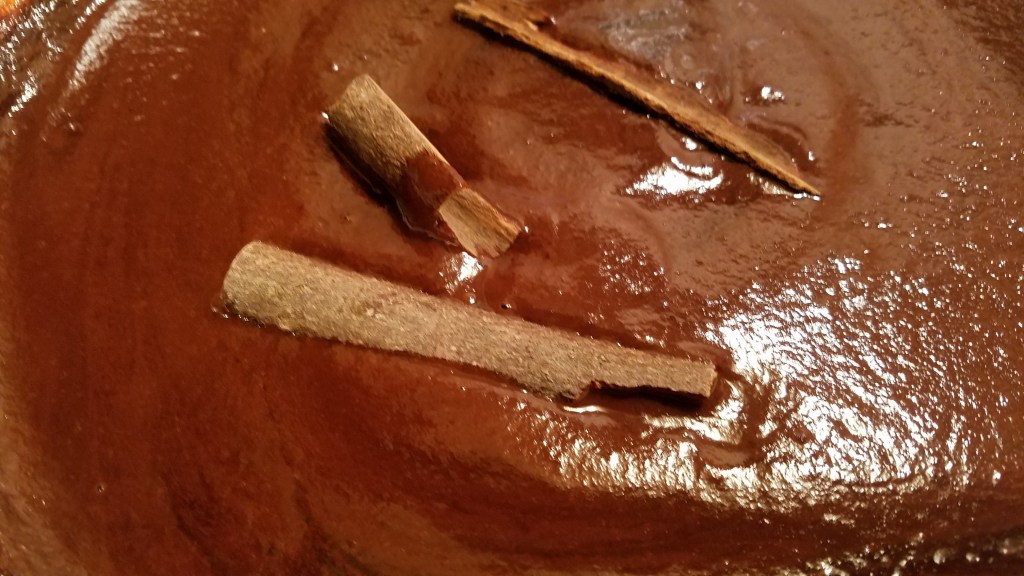
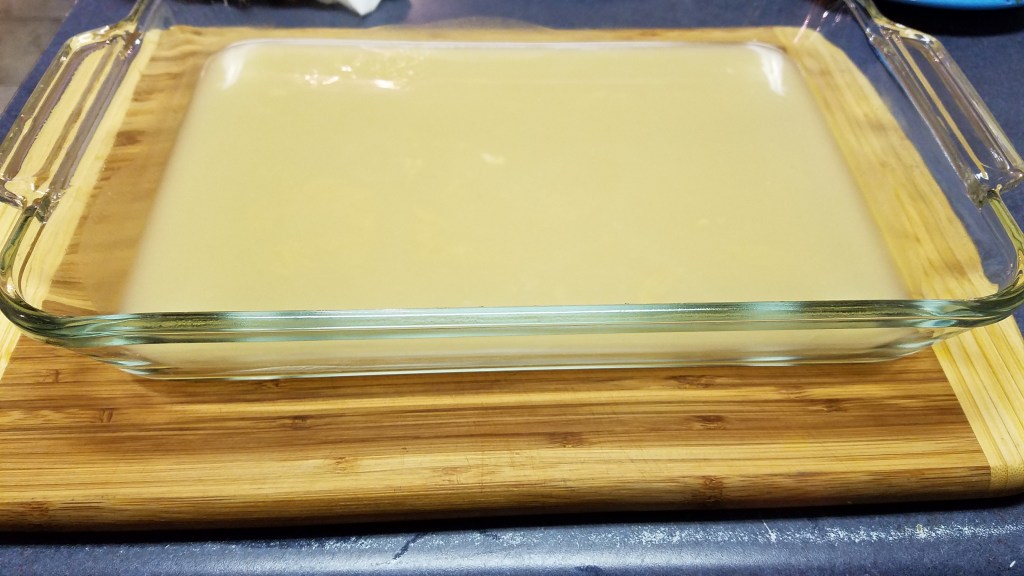
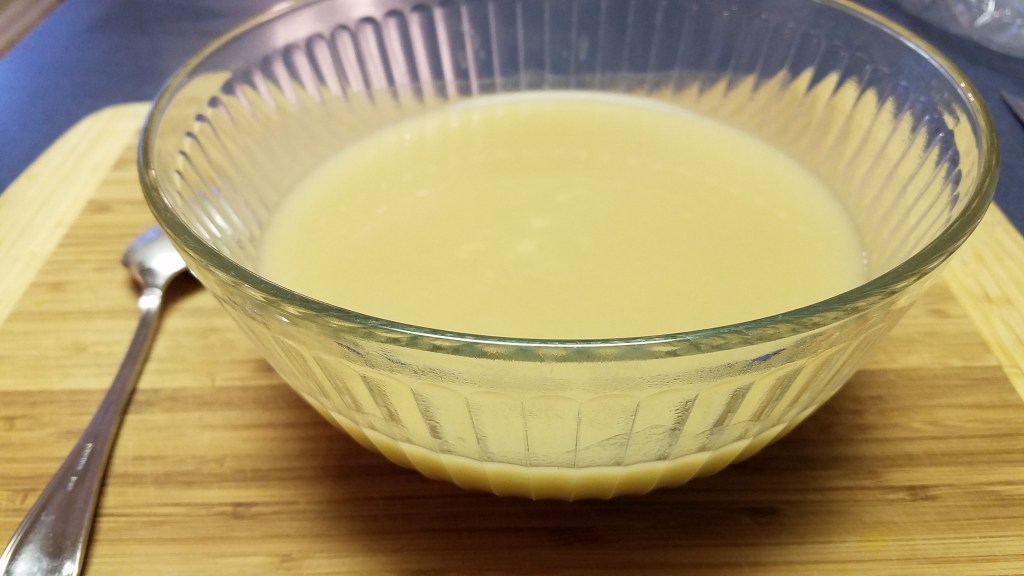
Remove the cinnamon sticks and reserve the thickened sauce in a bowl.

Brown the beef in a skillet.  Keep warm.

In a large pot, add the stewed tomatoes. 

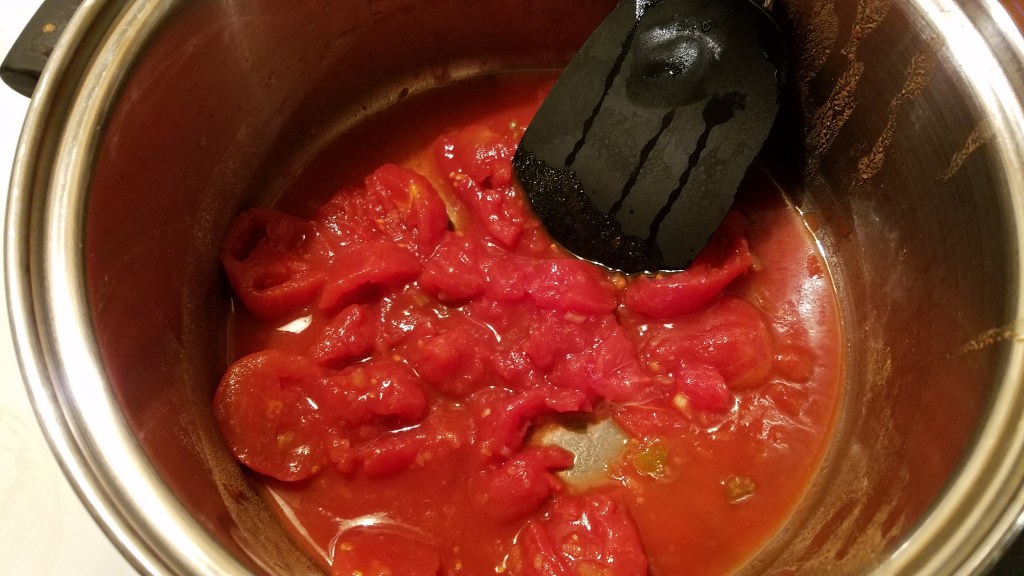
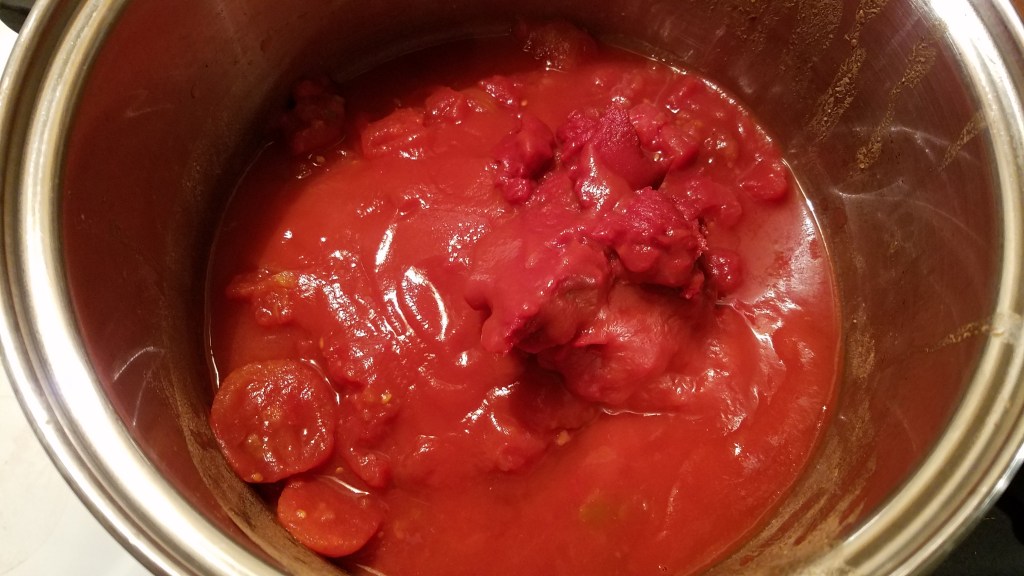
Break the tomatoes into bite sized chunks with a spatula and add the tomato sauce and tomato paste. Simmer for a few minutes, while stirring.

Add the onion and jalapeño. Simmer for another 10 minutes and the add the oregano, cumin powder and garlic powder. Simmer for 10 minutes. Add the cilantro.

Add the browned beef and cooked beans.

Add 2 cups of water and the beer.  Simmer and stir occasionally for 45 minutes at low heat.

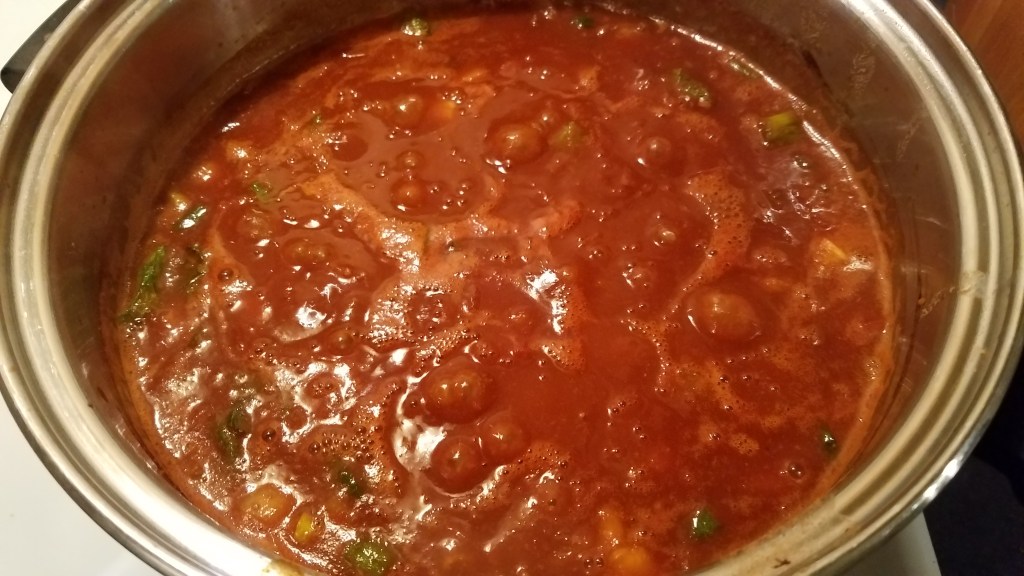
Serve in bowls, topped with shredded cheese and saltine crackers, on the side.

Enchiladas de Queso Chihuahua con Chili Poblano

This recipe is inspired by tamales with poblano chilis.  Most tamales I have eaten have been filled with beef, pork or chicken and, although I have had some great tamales over the years, one type of tamale remains unique among the rest because of its simplicity, clarity and sheer perfection.  If you’ve never had a green chili tamale you’ve been missing out on a wonderful thing!

Here in the United States, poblano chilis are mostly known as the main ingredient in chili rellenos…you know, the big green chili dipped in fluffy egg whites and fried to a delicious, golden brown.  As for Chihuahua cheese, well, it’s a soft, pale cheese, similar to, but not exactly like mozzarella.  Poblano chilis and Chihuahua cheese were made for each other.

Oh, by the way, mark your calendar.  I’m making a vegetarian dish!

Ingredients:

4 chilis poblano, roasted and cut into slivers

1 lb Chihuahua cheese (cut into ¼” sticks)

3 Tbs butter

4 Tbs flour

½ tsp cumin

½ tsp garlic powder

4 cups vegetable stock

14 corn tortillas (homemade, if you’re lucky)

¼ cup green sauce (salsa verde: tomatillo/serrano sauce)

* check out the recipe for salsa verde here *

Directions:

Rinse the poblanos under cold water.  Dry them off and place them on a parchment paper covered baking sheet.  Bake at 400° for 30 minutes, turning every 10 minutes. 

Once the chilis have blistered on all sides, remove them and place them in a plastic storage bag for about 15 minutes.  Steaming the chilis will allow you to easily peel away the outer layer of the chilis.

Once the chilis have steamed and cooled, remove them from the bag and place them on a clean work surface.  Remove the stems and peel away the outer “skin” of the chilis.  They should peel easily.  Slice the chilis lengthwise and lay them open.  Remove the seeds. 

Cut the cleaned chilis into thin ribbons and set aside.

Slice the cheese into ¼” sticks.  Set aside.

Start a roux with the butter and flour.  Add the cumin and garlic powder.  Simmer and whisk for a few minutes.

Add the vegetable stock.  Stir until thickened. 

Pour one half of the sauce into a large casserole dish.  Keep the rest of the sauce in a warm place.

Lay some tortillas on a clean work surface and add the fillings.  These will be some thin enchiladas!

Add 1 strip of cheese and an equal amount of poblano chili to a tortilla.

Roll the tortilla and place in the casserole dish.  Continue in this fashion until you run out of chilis, cheese or tortillas.  Pour the remaining sauce over the enchiladas.

Add some dots of the salsa verde along the top of the enchiladas.

Add strips of Chihuahua cheese across the top of the rolled enchiladas.

Bake in a 350° oven for 25 to 30 minutes, or until the cheese on top bubbles and begins to brown.

Note: I was hungry and I forgot to take a picture of the final dish.  I trust that you can imagine what the finished dish looked like…soft, creamy enchiladas with a toasted cheesy topping.  Yes…that pretty much sums it up.  Enjoy!

Ghost Peppers

Of all the peppers that my garden produced this season, these are by far the hottest.  They are insanely hot!  It’s hard to find a way to use them in recipes.  I wouldn’t dare throw one in a stir-fry and I wouldn’t want to take even a small bite of a fresh one.  I like to dry them and crush them into a powder.  Once they are in powder form, I can add a small pinch to sauces or flour dredges when I want a serious kick.

I wear latex gloves when I work with the peppers.  In order to prepare the peppers for the food dehydrator, I cut off the stems and slice the peppers into small rings. 

Then I lay them on the dehydrator tray and I make sure to allow space for the air to circulate evenly.  I put the dehydrator in the garage and ventilate by opening the garage door.  The air that comes out of the dehydrator is nearly lethal.  Seriously.  I take shallow breaths when I am near the chillis. 

I set the dehydrator at 100° and let it run for 12 hours.

Once the peppers are dry and crisp, I put them in a spice grinder and pulverize them. 

I don’t use this spice grinder for anything else because no matter how much I clean it, it still hangs on to some of the oils and residue of the chillis.  I made the mistake of using my coffee grinder once and suffered the consequences.  I cleaned the grinder several times but the coffee beans picked up the heat from the chillis for the next several grinds.  The subsequent coffee brews were painful.

This is a ridiculous amount of spice! It will be used sparingly over the next several years.

Now I’m ready to make some crazy hot wings!

¡Salsa Picante!

My garden is at its zenith.  This summer has provided a rare, but welcomed, balance of sunshine, heat  and rain.  I haven’t watered the garden in over two months and I haven’t used any pesticides or fertilizer.  Nature has been kind to me, this season!

This week’s harvest provided four gallons of tomatoes and lots of different varieties of peppers.  That means it’s time to make salsa!   This recipe will make 4 quarts of salsa and, now that I have made it, I wish I would have doubled or tripled the batch.  This is not a quick process…be prepared to spend a more than a couple of hours prepping the vegetables and cooking sauces.  The end result is definitely worth the work.  I plan on giving one or two quarts away to friends and keeping the others for my family.  I don’t know why I even bother canning the stuff, since my family and I can gobble down a quart in a day or two.  But, I will try to hide a quart and bring it out as a surprise, long after summer has gone. 

Aside from the optional habanero and tabasco chiles, I consider this to be a basic salsa.  The proportions listed in the recipe should produce a “medium” heat salsa.  If you want to tweak this recipe, I suggest roasting or smoking one or more of the items.  For example, you could put the jalapeños on the grill and smoke with some mesquite wood, or you could char the onion and tomato over hot coals, or wrap the head of garlic in aluminum foil and bake for 15 minutes.  Any of these things will add a new, distinct profile to your salsa. 

I stared at the habaneros and tabascos for a long time and finally decided to pass on them.  I would love to include them but I believe the end result would have been too spicy for some folks.  I will dice them and sauté them in a little tomato sauce and add it to my private reserve!

For this recipe, I made the tomato sauce from fresh tomatoes.  If you don’t have access to fresh tomatoes, canned tomato sauce will work just fine. 

Ingredients:

1 gallon diced tomatoes

2 cups diced onion

2 cups diced bell pepper

1 ½ cups diced jalapeño

Juice of 2 limes

1 head of garlic (about ¼ cup) minced garlic

3 habanero chiles (optional)

8 tabasco chiles peppers (optional)

½ gallon tomato sauce

2 cups vegetable stock (reduced to sauce)

Directions:

See my previous post to make the vegetable stock reduction: https://toothpicktales.com/2019/08/11/a-conversation-on-conservation-and-consideration/

Heat the tomato sauce in a large uncovered pot on the stove.  If you are using the vegetable stock, add it now.  Simmer at low heat while vegetables are prepared.

Chop vegetables into small pieces.  Tomatoes should be about ½” pieces and the onions and chiles should be cut into ¼” pieces.  Strain the juice from the tomatoes and set aside. 

Add all ingredients to the sauce.  Cook uncovered for one hour.  Turn the heat off and add the lime juice and stir to incorporate. 

I have to confess, I did not cook the salsa long enough and I forgot to add the lime juice when I made this.  Within a day after canning, juice started creeping out of the jars.  When I unscrewed the ring the lid popped off, from the pressure inside.  I dumped the salsa back into a pot and cooked it at a low boil for 30 minutes and then added the lime juice.  I have canned it again and I hope that does the trick.  If not, I will come clean and relay the sordid details!

Sanitize canning jars.  I use a bleach and water solution.  The bleach to water ratio should be 2 teaspoons of bleach to 1 gallon of water.

Lay empty canning jars, lids and rings in the kitchen sink, after plugging the drain.  Fill the sink with 3 gallons of boiling water.  Add 6 teaspoons of liquid bleach.  Remove the jars after two minutes and allow them to air dry. 

Fill the jars with salsa and leave about ½” air space at the top.  Cover the jar with the lid and secure by gently tightening the ring with your fingertips. 

Immerse the jars in boiling water and pull them out after 15 minutes and allow them to cool on a cooling rack.