Dinner for one tonight. Every now and then my family has plans in the evening and we don’t to eat together. That’s when I consider making something to eat that I know I enjoy but others, not so much.
Tonight, no TV, no phone, no distractions. Just me, a knife, a cutting board and some fresh food. This was 30 minutes of pure joy and relaxation, which is exactly what I needed after a day of the chaos of my work day!
There’s something eerie about Vietnamese spring rolls. The translucent quality of the wraps appeals to me in a strange way. The texture is a little gummy and stretchy, which again, can be challenging. I remember being hesitant when I was introduced to them but, once I had one, I was hooked.
These are REAL spring rolls! Just one bite invokes thoughts of spring and summer. These aren’t the little fried doo-dads that you get from a Chinese restaurant. These are full of big, bright flavors and they have an elegance that fried spring rolls can’t deliver.
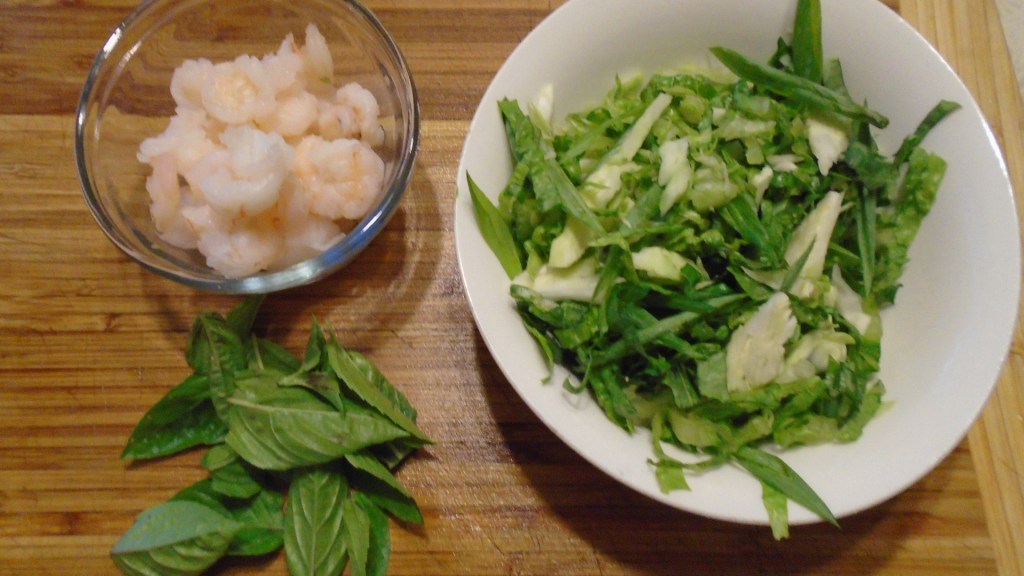
I used ingredients that I had on hand. I wasn’t about to make a trip to the store to find Thai basil. Any sort of crunchy green, leafy vegetables are perfect.
Ingredients:
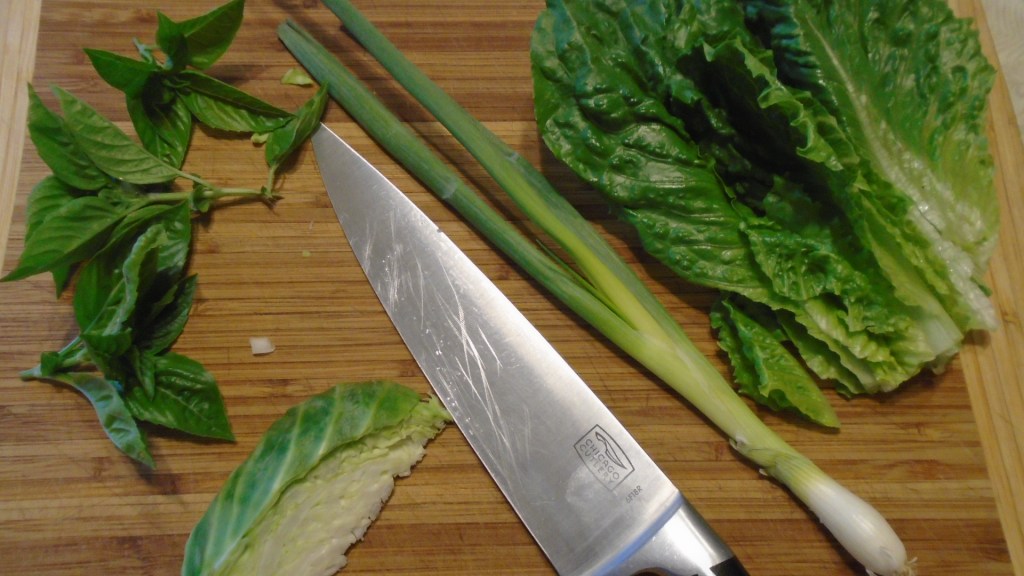
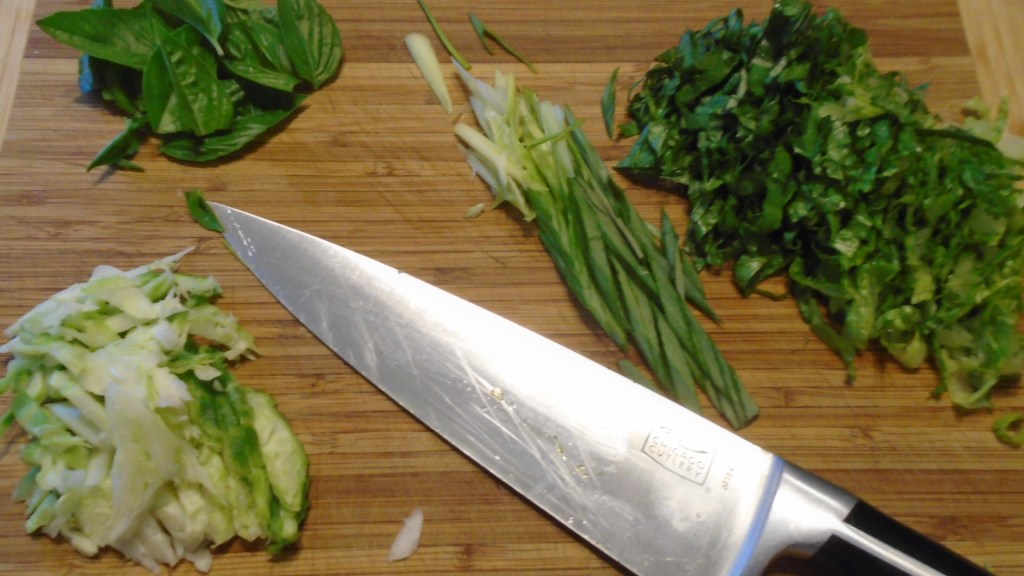
½ cup shredded cabbage
¾ cup Romaine lettuce, thinly sliced
1 green onion, sliced
¼ cup fresh basil
8 to 10 medium sized shrimp, boiled
4 spring roll wraps
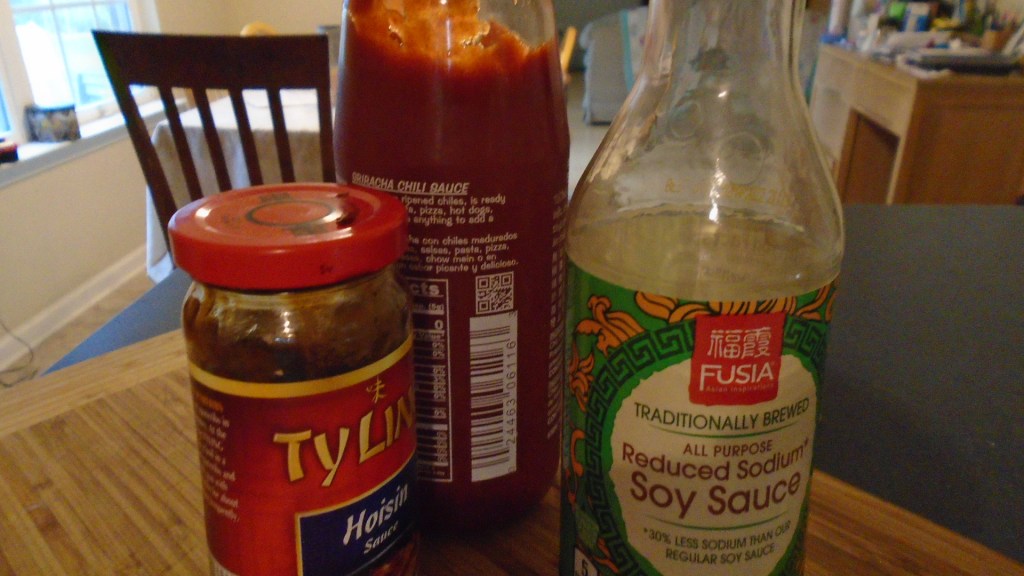
3 Tbs Hoisin sauce
2 Tbs Sriracha sauce (use less, if you like but make don’t omit!)
1 Tbs soy sauce
Directions:
Chop and slice the vegetables. Set aside
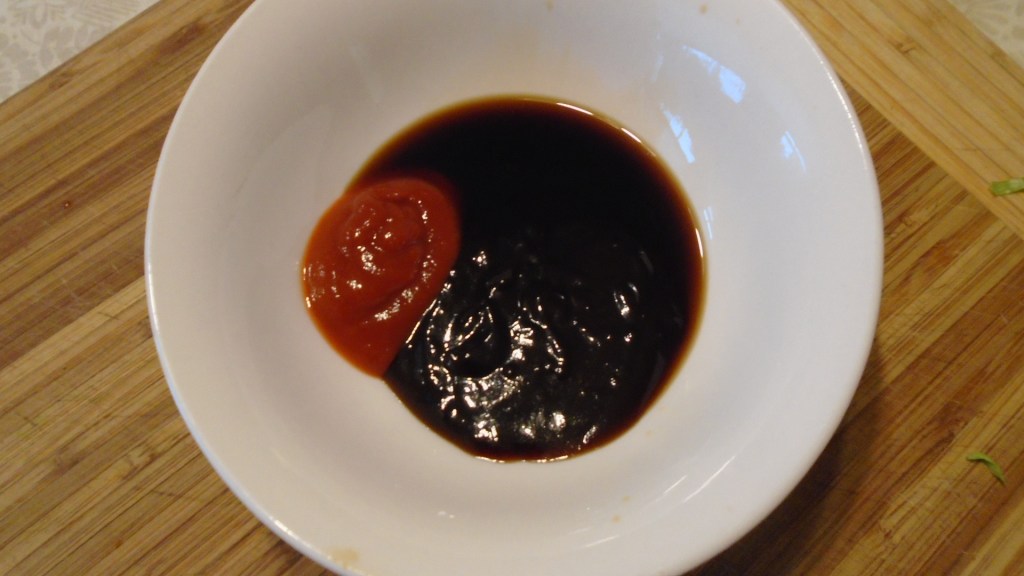
In a small bowl, mix the Hoisin sauce, Sriracha and soy sauce. Set aside.
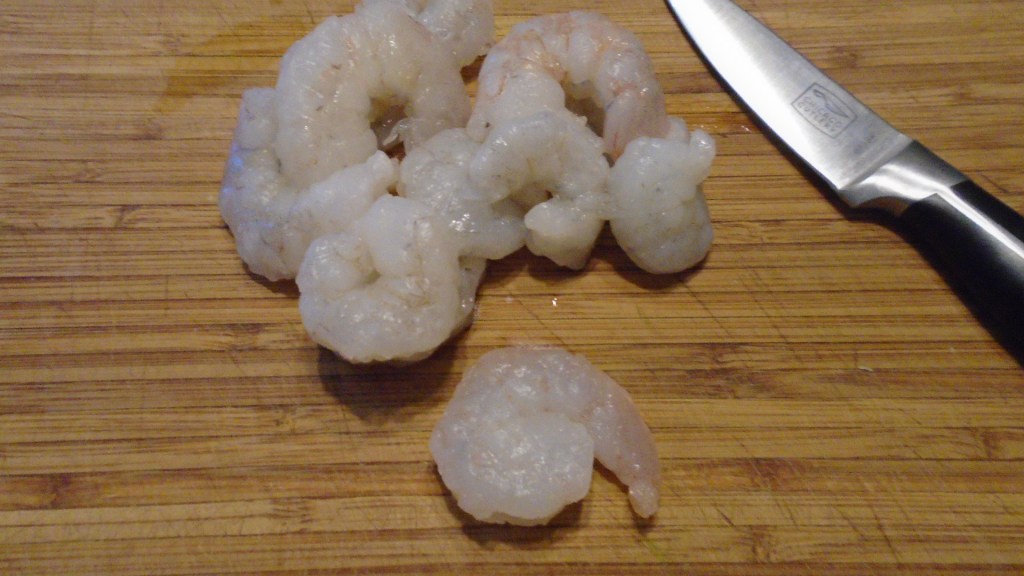
Slice the shrimp in half, lengthwise and parboil. I added the shrimp to a small amount of boiling water and removed the shrimp after one minute.
Chill the shrimp in the freezer for a few minutes.
Prepare the spring rolls by dipping the wraps in a plate filled with water. Once the wrap becomes pliable, remove it to a work surface and add the fillings. Wrap by folding over the edges and rolling from bottom to top, just like folding a burrito.
Serve with the dipping sauce.
Serve with Vietnamese iced coffee, if you have the time to prepare. Otherwise, a nice crisp, refreshing beer will suffice.
There’s a reason why I turn to Mexican food so often. Mexican cuisine has a rich and long history of embracing other cultural cuisines while maintaining its own identity. Some cultures have a tendency to cling to strict tradition, when it comes to their cuisine, while other cultures are more willing to change and adapt.
When it comes to cooking at home, versatility and adaptability is the name of the game! So, when it’s time to plan a meal, I want to use items that I am familiar with but I want to combine them in new and interesting ways.
I can stuff anything I want into a tortilla and call it a taco. I can wrap anything I want in a tortilla and cover it with sauce and it becomes an enchilada. My imagination is only restricted by considering the taste, texture and nutritional quality of the final outcome. Once I consider those aspects, the rest of the process is a simple matter of deciding what cooking methods I want to use to achieve my goal.
I pulled some fresh chilis from the garden and I cooked down some fresh tomatoes to make a sauce. I had leftover smoked pork roast in the refrigerator and Monterrey Jack cheese and corn tortillas. The rest of the ingredients were spices that I always keep on hand.
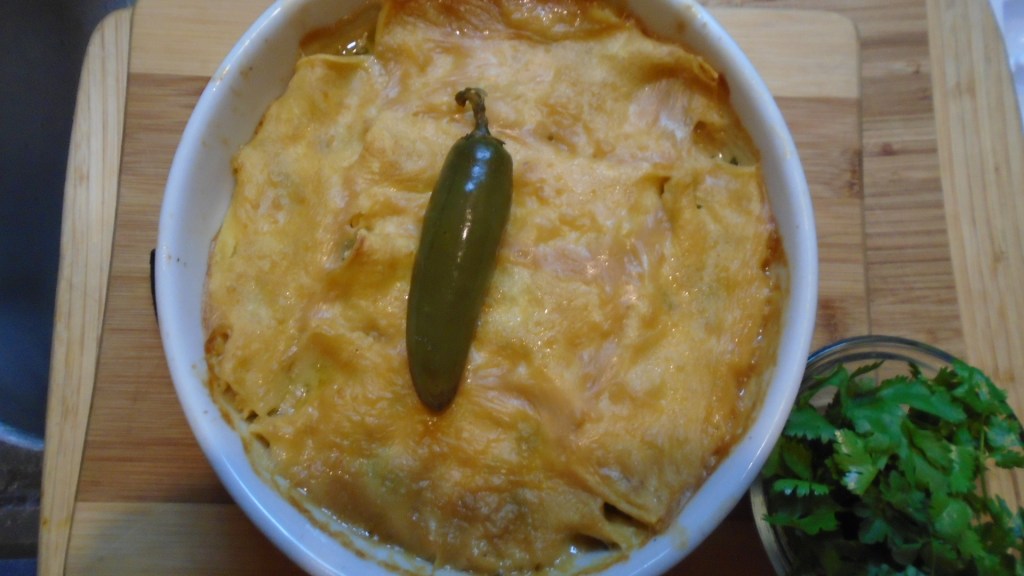
And that is why I’m making Smoked Pork Enchiladas!
Ingredients:
1 red jalapeño, seeded and sliced
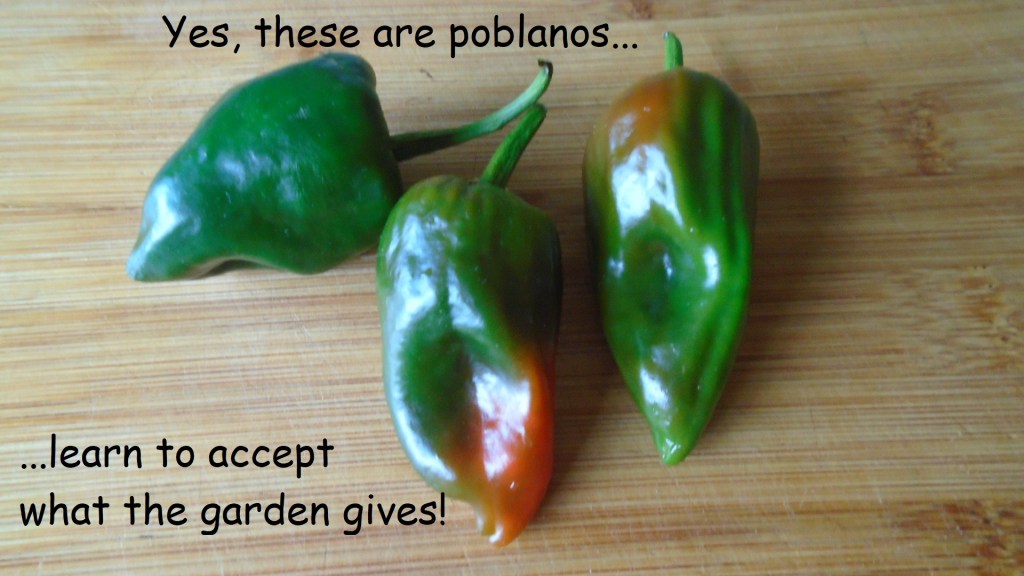
3 small poblano chilies, seeded and chopped
1 Tbs cooking oil
2 cloves garlic, smashed
½ cup diced onion
1 ½ cups tomato sauce
2 Tbs red chili powder
1 ½ Tbs cumin powder
1 Tbs Mexican oregano, crushed
2 tsp garlic powder
1 lb. smoked pork roast, sliced and chopped
12 oz Monterrey Jack cheese
10 corn tortillas, softened by dredging in hot oil.
Directions:
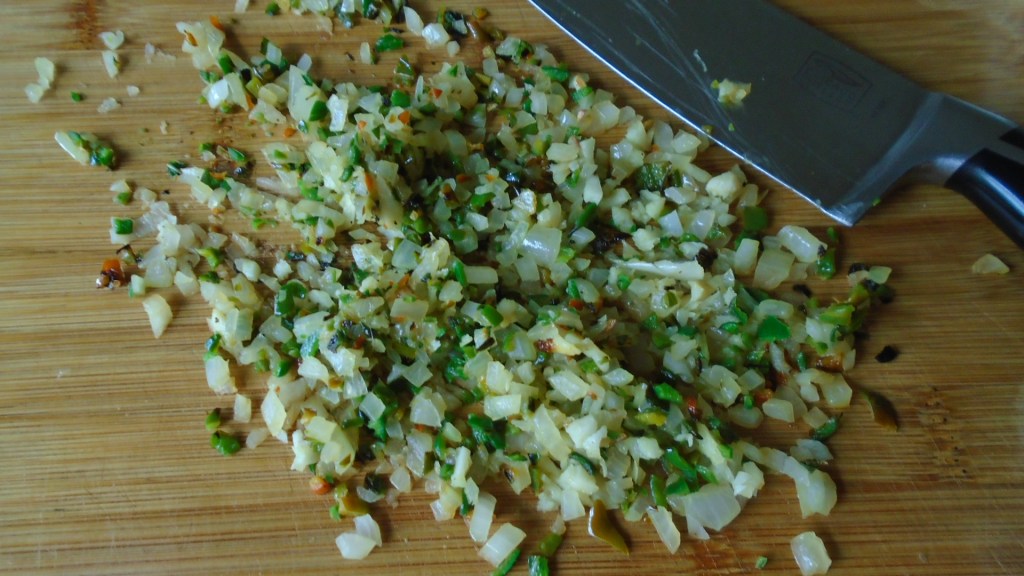
Prepare the chilies. Remove the stems and seeds. Slice the jalapeño into thin rings.
Remove the stems and seeds from the poblano chiles. Slice and dice the chilies.
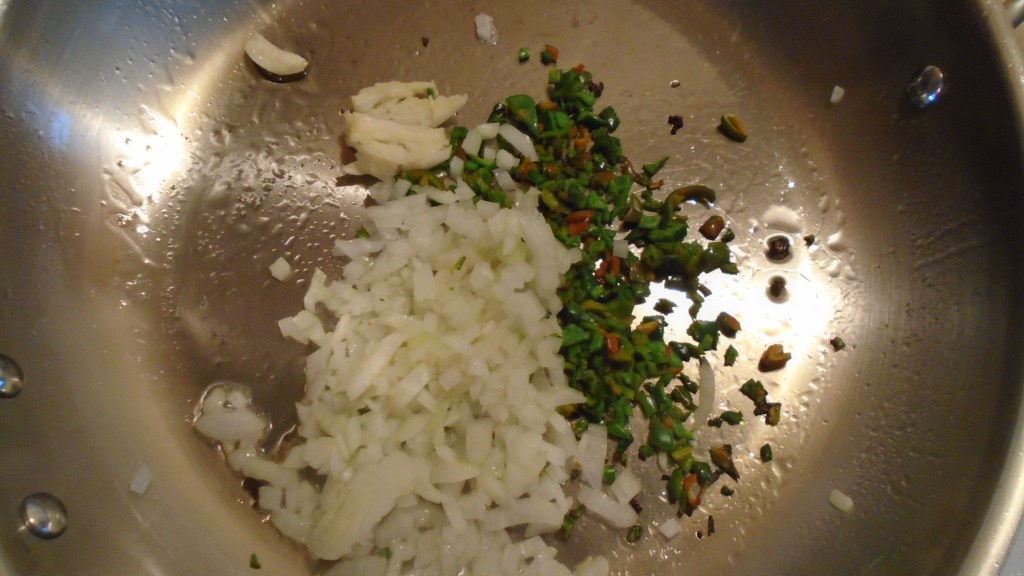
Add 1 tablespoon of cooking oil to a large, oven-proof skillet. Set the heat to low/medium heat. After the oil is hot, add the chopped poblanos and garlic. Simmer and stir for five minutes, or until the chiles and garlic sweat and soften. Add the onions and saute for another 5 minutes.
Remove the chiles and garlic and place on a cutting board. Chop the chiles and garlic into smaller pieces.
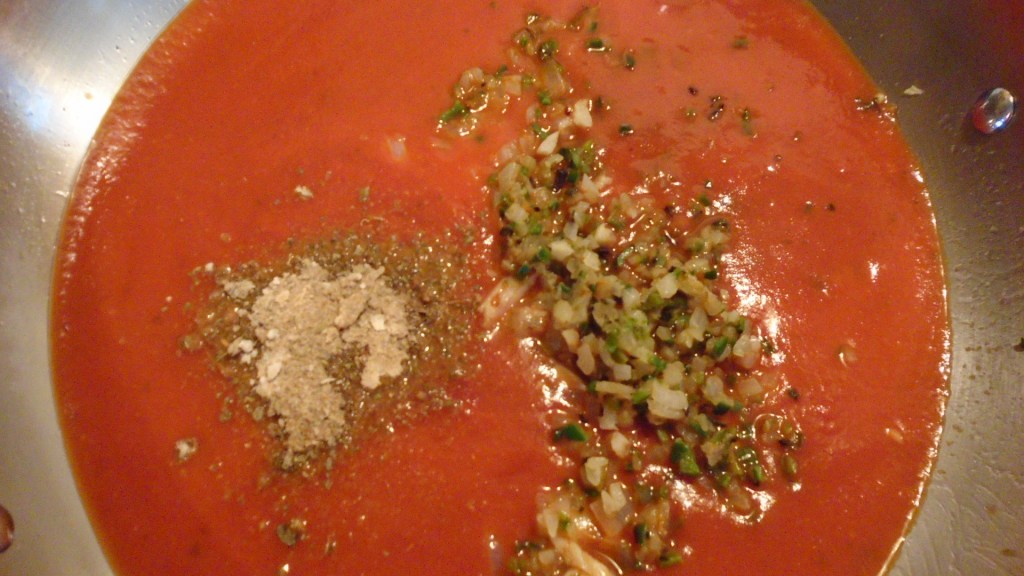
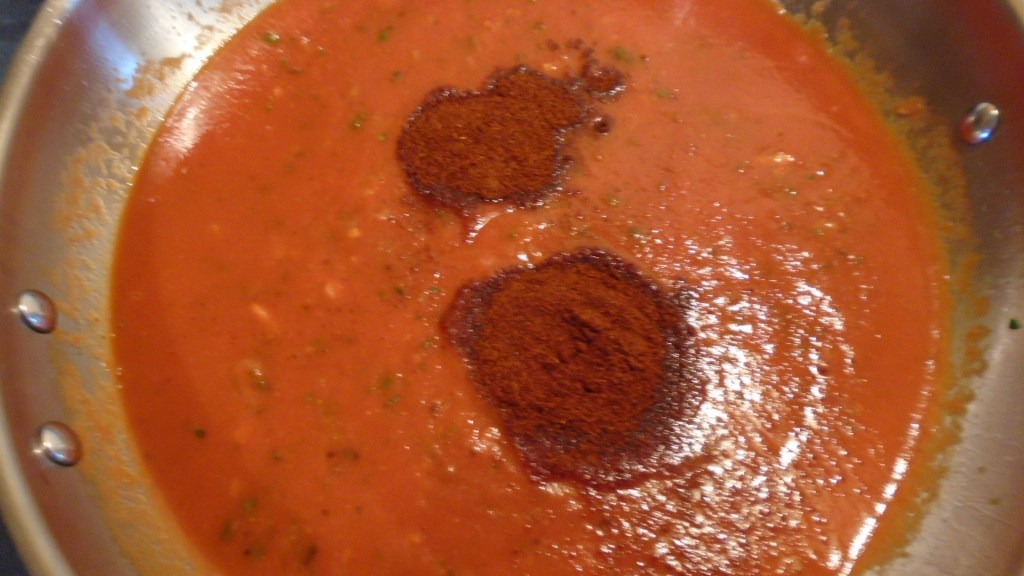
Add the tomato sauce to the pan and cook at medium heat. Add the cooked garlic, chilies and onion. Add the red chili powder, cumin, oregano and garlic powder. Simmer and stir for ten minutes. Remove the sauce and place in a bowl.
Slice and chop the smoked pork and place in a mixing bowl. Shred 12 ounces of Monterrey Jack Cheese. Set aside.
In a large mixing bowl, combine the chopped pork and 8 ounces of the shredded cheese. Reserve the other 4 ounces of cheese for the topping.
Spread the tomato sauce mixture across the bottom of an oven-proof pan. A thin layer is all you will need.
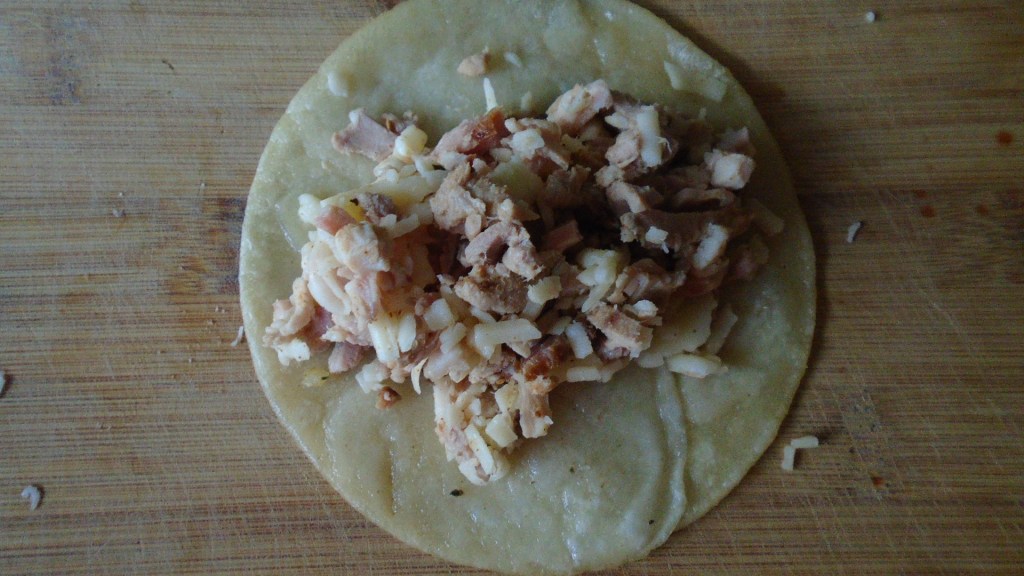
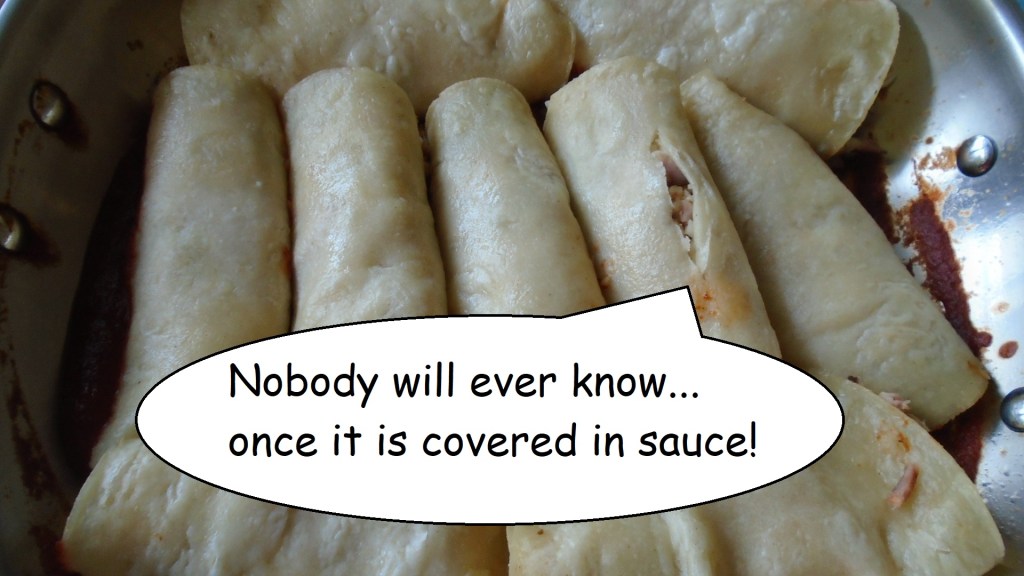
Prepare the enchiladas by placing a few tablespoons of pork and cheese mixture in a tortilla. Wrap the enchilada and place into the pan. Repeat, until all of the enchiladas fill the pan.
Cover the enchiladas with the remaining sauce.
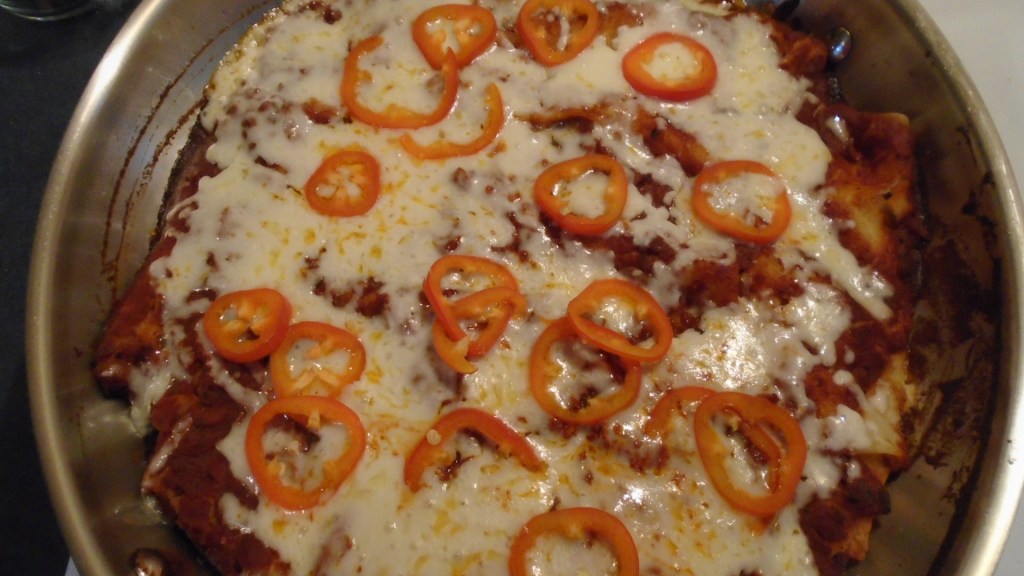
Bake in a 350° oven for 30 minutes. Top the enchiladas with the remaining 4 ounces of cheese and sliced jalapeño. Return to the oven for another 5 minutes. Remove the pan from the oven and allow the enchiladas to rest for about 5 minutes before serving.
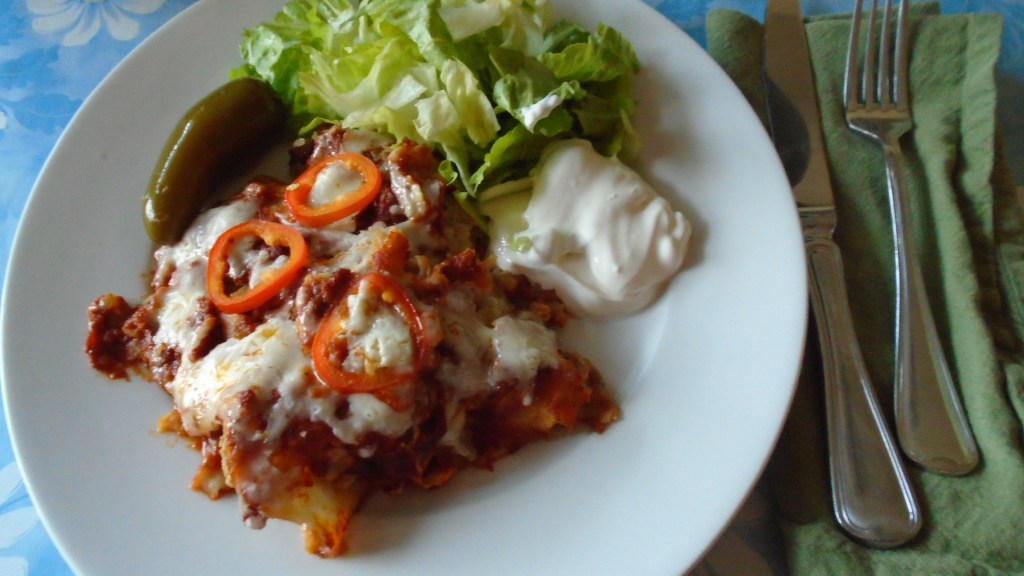
Serve with crisp lettuce, a splotch of sour cream and a whole, pickled jalapeño.
¡Más sabroso para Tex-Mex! (give it a tasty Tex-Mex finish)
Yes, it’s another pizza post. I swear I’m not making pizza every day…really! The last post, Shrimp Pizza, was actually from last May. I just now got around to posting it.
This post is from Sunday, August 9. I had no intention of submitting a post because there was nothing novel about my approach to the pizzas – – until the power went out.
I have been dubbed an “essential worker” during this pandemic and I’m not entirely convinced that my work is essential but apparently, others do. Many of my fellow employees have either contracted the virus or have been exposed to people who have tested positive which has resulted in several employees being asked to self-quarantine for 14 days. On top of that hardship, we recently replaced our old operating system with a new one and we’ve spent the last several weeks learning how to operate the new system. Needless to say, It’s been a stressful time.
I’ve been working long hours and six day work weeks for the last few months and I don’t foresee that changing in the foreseeable future.
I say all of this to illustrate how important Sundays have become. Some of my Sundays are spent decompressing, as I try to forget about all of the craziness and other Sundays are filled with lots of domestic chores that I have ignored because of previous decompression Sundays. This last Sunday was a mixture of work and relaxation. Yard work filled the first part of the day, before the temperature crested 95° and became too hot to work outdoors, and that was followed by making pizza dough, followed by a short nap, while the dough was rising.
There was a beautiful balance to the day, until the power went off. An electrical power transformer in our neighborhood failed and several houses lost power for about six hours. Of course, I didn’t know how long the power would be out so I decided to finish the pizza-making process on the outdoor grill. I prepared the grill while there was still some sunlight. I prepped the ingredients for the pizza and made my tools handy, a la mise en place.
By the time the coals were hot, I had about 30 minutes of sunlight remaining. I rolled out the dough and took them to the grill to bake.
Back in the house, the last shafts of sunlight faded and candles were lit. Baked pizzas were carried inside, one by one, to be sliced on a dimly lit cutting board. And, just as we all settled down to eat, the power came back on.
We turned the lights off and ate by candlelight.
Now that’s a great Sunday!
Bon appétit!
Ingredients:
5 cups flour
2 cups water
1 Tbs olive oil
¼ cup pitted Kalamata olives
¼ cup pitted black olives
¼ cup julienne sliced onions
2 oz sliced capocollo
2 oz sliced hot calabrese
2 oz can of anchovies, packed in oil
12 oz mozzarella, horridly crumbled by hand
6 slices of sun dried tomatoes, probably less than 1 oz
¾ cup marinara (I used a thin, homemade marinara sauce)
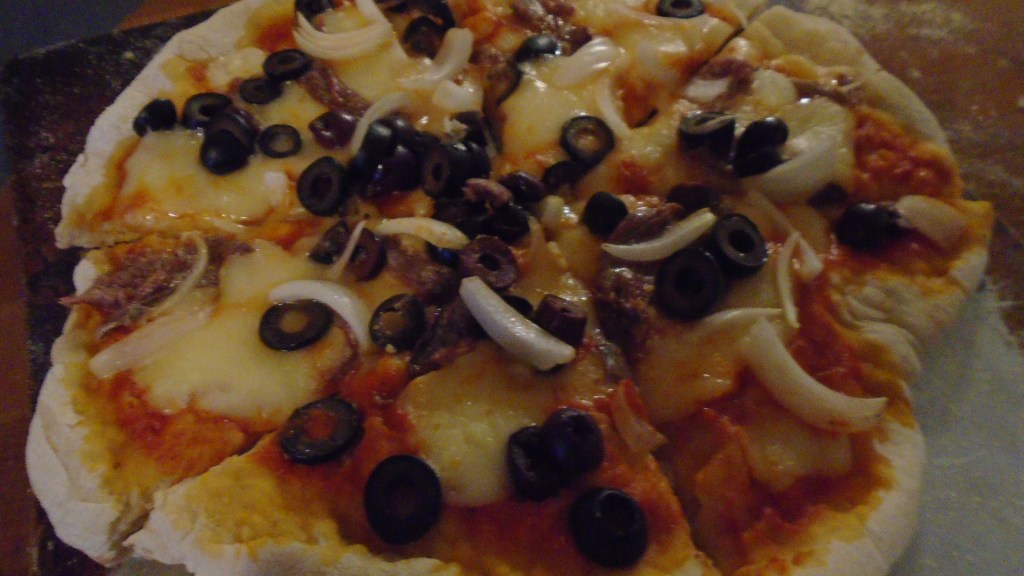
I made three pizzas. Each pizza started with a base of marinara and Mozzarella.
The last shreds of light on Italian cold cuts
A glimpse of onion, basked in the light of the setting sun
A mixture of olives catching the last rays of the sun
Pizza Uno: Anchovy, onion and olives
Pizza Due: capocollo, onion, olives and sun dried tomatoes
Pizza Tre: hot calabrese
Directions:
Prepare the pizza dough, using the flour, water an olive oil. If you want to see one of my pizza dough recipes, check it out here.
Let the dough rest and rise for at least one hour.
Sprinkle an ample amount of cornmeal on three baking sheets.
Separate the dough into three equally sized balls. Roll them out with a rolling pin and transfer them to the baking sheets.
Bake one pizza at a time by sliding the pizza dough onto the hot grill. Add tomato sauce (marinara) and add cheese and toppings of your choice.
Close the cover of the grill and bake for about 10 minutes. Lift the cover of the grill and inspect the quality of the pizza by carefully prying up a portion of the pizza and checking the crispness of the bottom. You’ll know when the pizza is done. Pull it off and place the next pizza dough on the grill. Repeat until all of the pizzas are done.
I used a very thin homemade marinara, made with just a hint of anchovy… Shhh!…don’t tell anyone!
As I mentioned above, in the Ingredients section, I crumbled the mozzarella, rather than grating or slicing it. The sun was setting and I needed to get the pizzas on the grill, pronto! But, there’s more to it than that. Random chunks of mozzarella are perfect for grilled pizza. The pizza has a marvelous haphazard, spontaneous look, texture and taste. I suppose I could say that it is “rustic”. Yeah, that’s it.
Don’t forget to thank the service crew members that come out to replace your transformer in the unrelenting August heat. Sure, they are getting paid for their work, but take a moment to realize that while you are sweating over a hot grill, they are sweating twice as much. And don’t forget, they are the real essential workers!
When I think about making pizza I first consider the taste that I want. Do I want something spicy, like pepperoni, or perhaps something more subdued, like ground beef? Do I want a thick, rich, tomato sauce, or a thin whisper of tomato sauce? Do I want bold herbs and spices?
After I decide on the taste, I start to think about the flavor. Taste and flavor are not synonymous, even though we sometimes use taste and flavor interchangeably when describing food. Flavor includes taste, texture and aroma, among other sensory experiences, like sight and sound. Taste is like listening to a musical instrument and flavor is like listening to an orchestra.
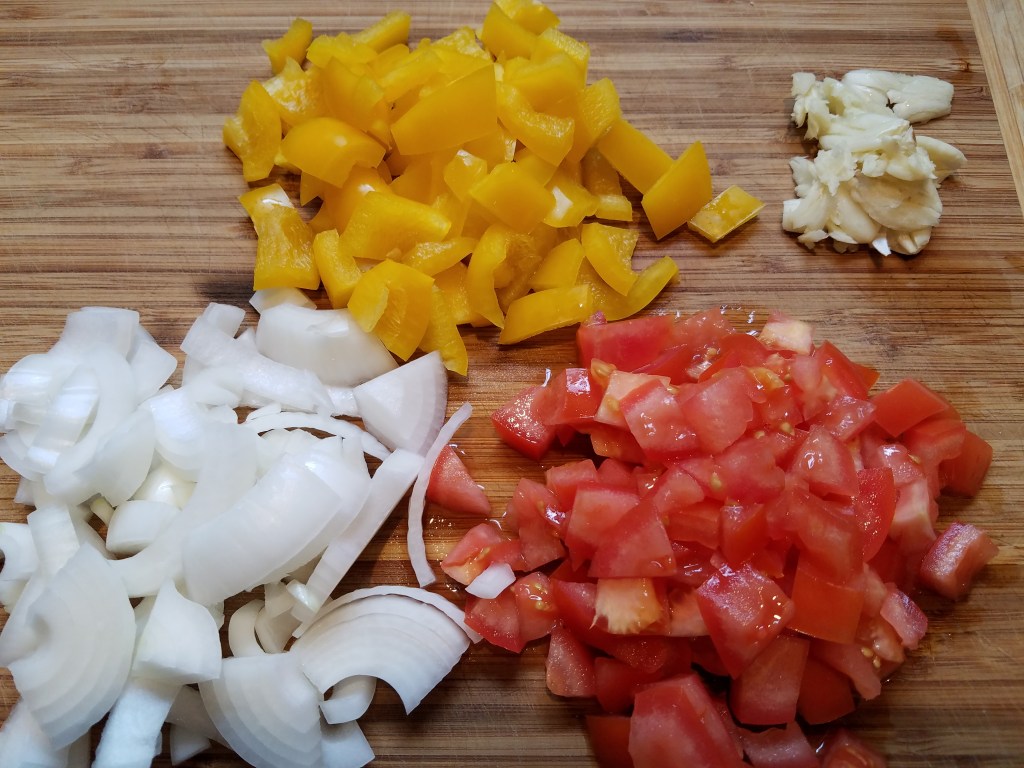
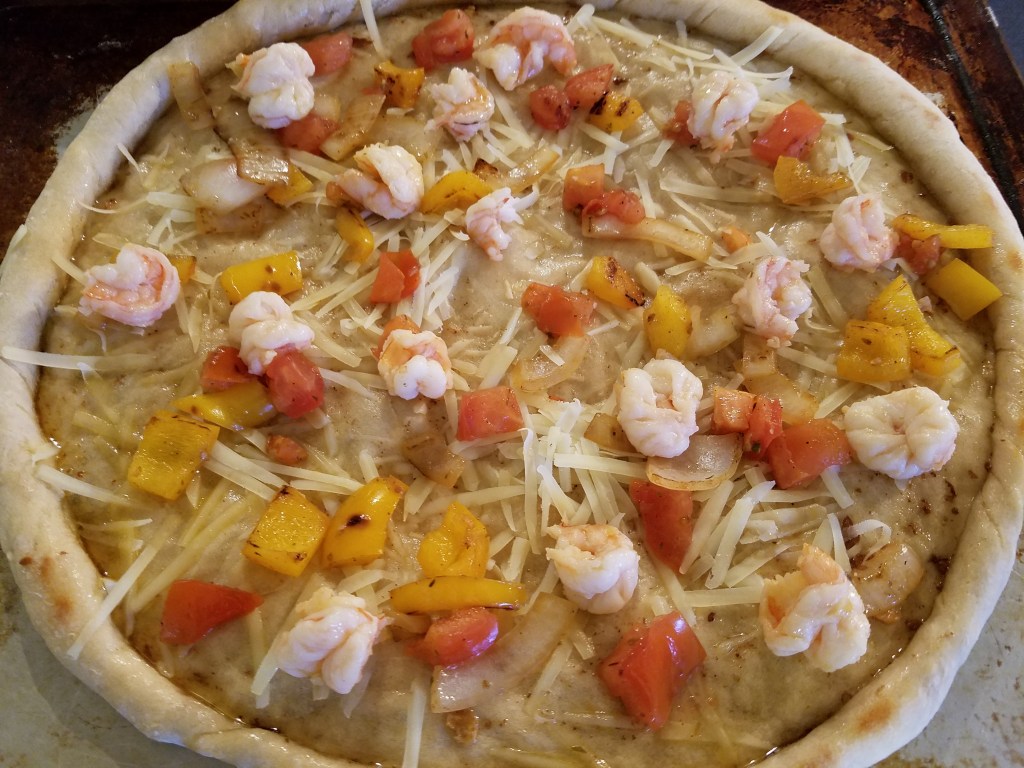
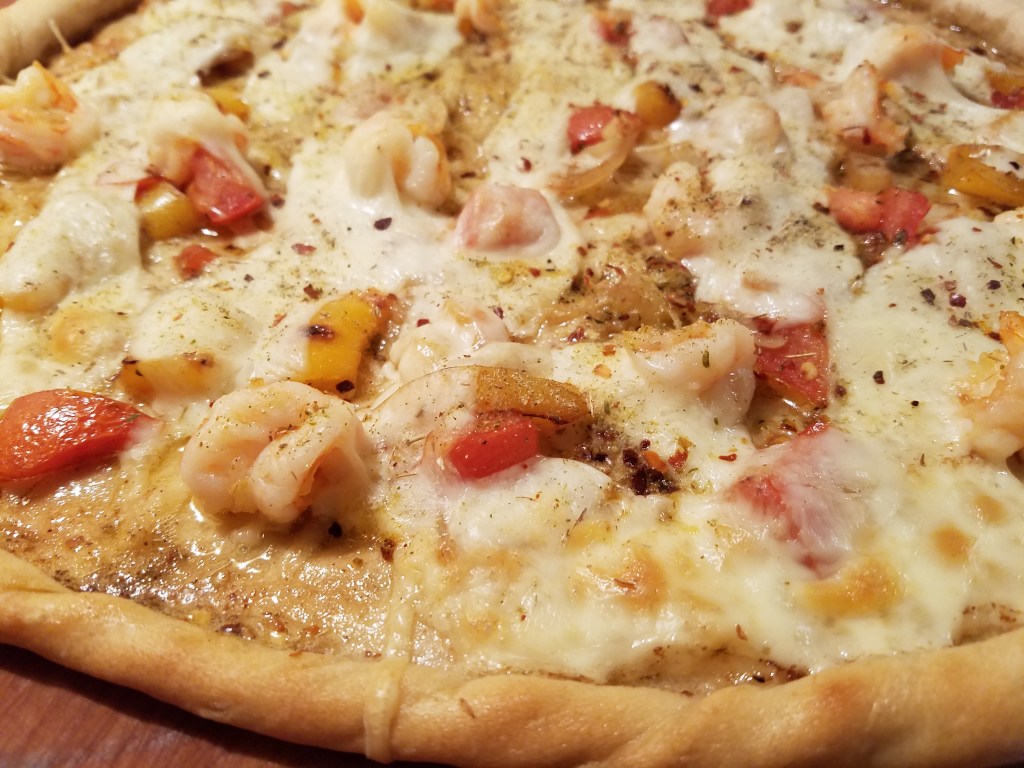
I have made pizzas with shrimp before but none of them had the flavor I wanted, until now. Charring yellow bell peppers provided a slightly sweet taste that green peppers can’t provide. The garlic and onion, along with butter and oil made a fantastic sauce. The overall flavor of the pizza was reminiscent of shrimp scampi, complete with a spritz of lemon juice. Subtle use of herbs and spices rounded out the flavor nicely. And of course, Parmesan cheese and mozzarella was the perfect choice to go with shrimp and the vegetables.
This was a pizza symphony!
Ingredients:
1 tsp dried oregano
1 tsp red chili flakes
½ tsp salt
1 cup raw medium sized shrimp, peeled and deveined
2 Tbs butter
3 Tbs olive oil
5 cloves garlic, mashed
1 orange bell pepper
1 white onion
1 medium sized tomato, chopped
Juice of ¼ lemon
¾ cup grated Parmesan cheese
4 oz sliced mozzarella cheese
Directions:
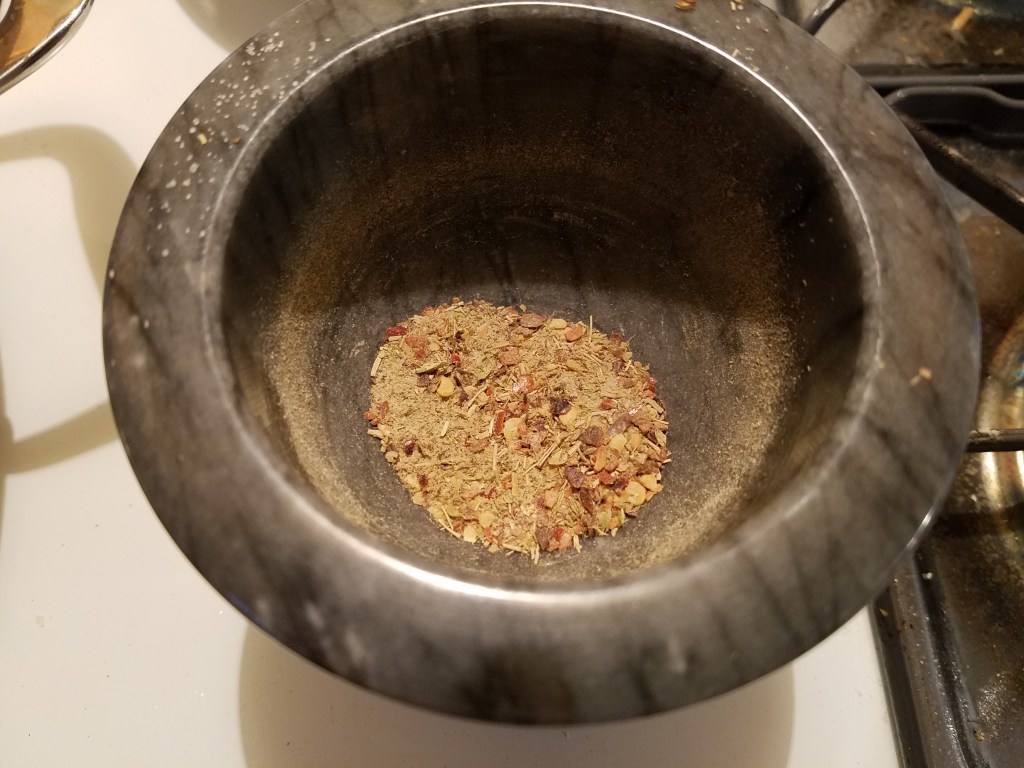
Crush the oregano, chile flakes and salt in mortis and pestle. Set aside.
Butterfly the shrimp and flatten them with the broad side of a chef’s knife. Set aside.
Add butter and oil to a skillet. Set the burner to very low heat.
Mash the garlic cloves and add them to the skillet. Simmer at very low heat for 3 to 4 minutes. The garlic should be soft, but not browned. Remove the garlic to a cutting board. Mash the garlic into a paste. Set the garlic aside.
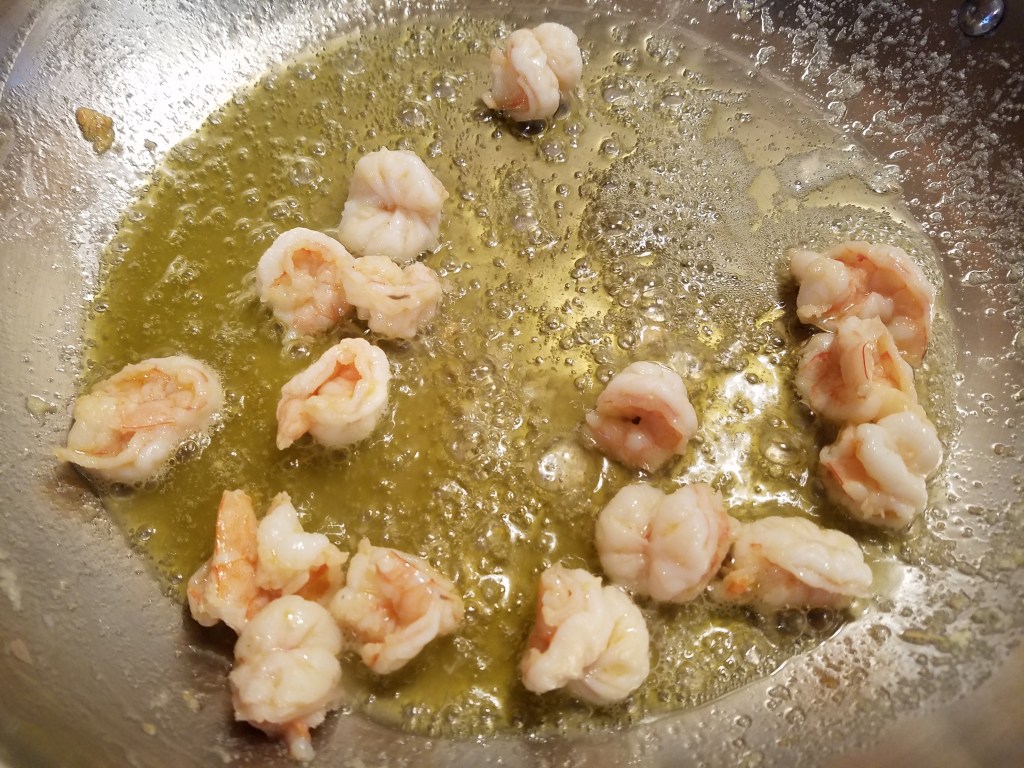
Turn the heat up to medium and add the shrimp to skillet and simmer, while stirring. Cook the shrimp until they just begin to turn pink. Remove the shrimp from the skillet and keep warm.
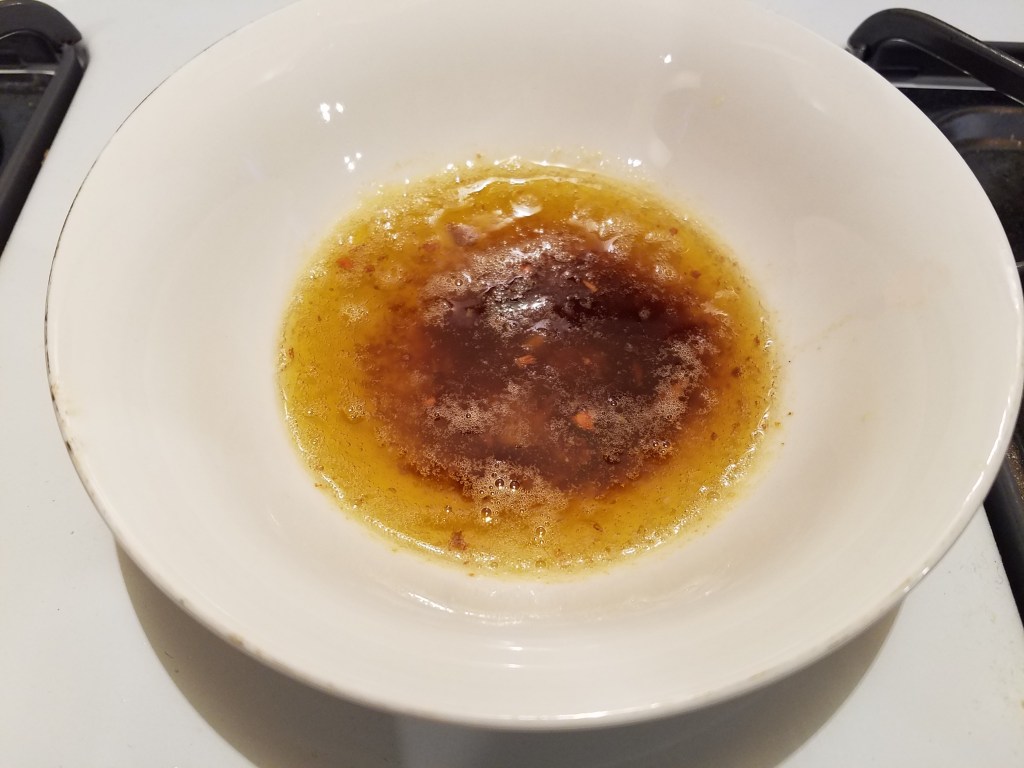
Pour the hot butter and oil from the pan into a small bowl and set aside. Return the skillet to the stove and set the heat to high.
Add the bell pepper and onion to the skillet and sauté at high heat until they begin to char.
Add the chopped tomato and stir briefly. Remove everything from the skillet and set aside.
Prebake the pizza dough in a 400° oven for about 5 minutes. Remove the pizza and place on a heat proof surface.
Pour the butter/oil mixture on prebaked pizza dough. Use a brush to thoroughly coat the dough.
Blot excess oil from the pizza with a paper towel.
Sprinkle ½ cup of the grated Parmesan cheese onto the dough.
Add charred bell peppers and onion. Add the garlic paste.
Top with the shrimp.
Squeeze a little lemon juice over the pizza.
Add ¼ cup of grated Parmesan cheese.
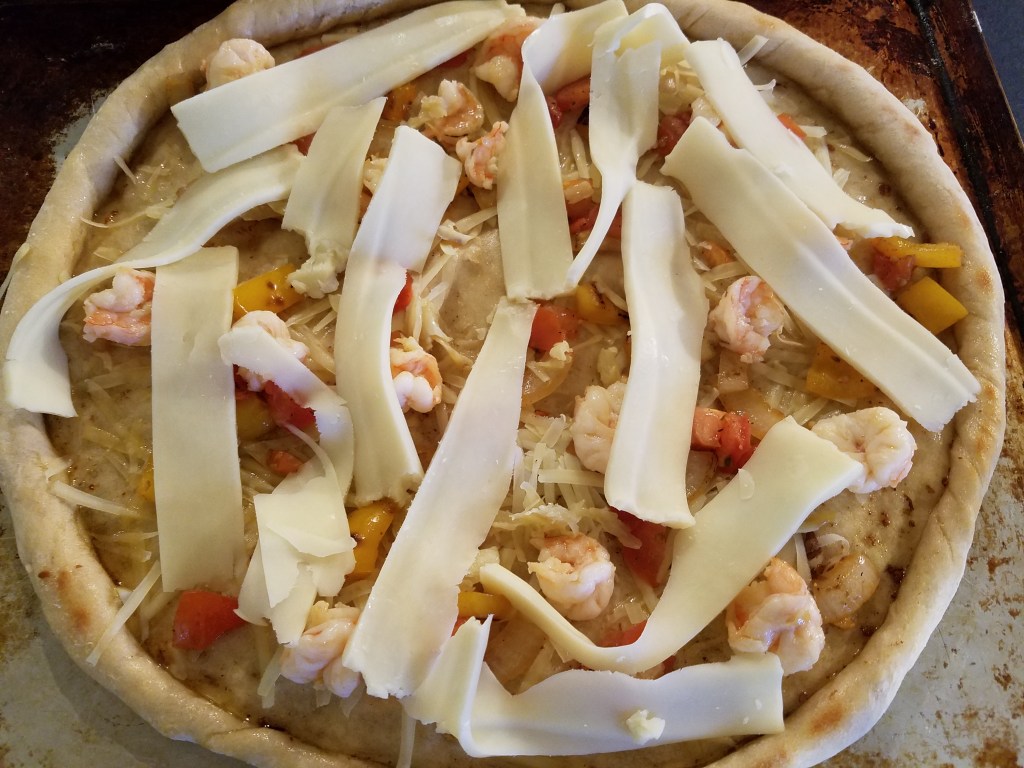
Layer with slices of mozzarella.
Scatter the crushed oregano, chile flake and salt across the top of the pizza.
Bake in the oven for about 10 minutes at 400°, or until the cheese bubbles and begins to brown.
Sometimes we just have to throw something together in a hurry. This happens to the best of us, especially now. It feels like the whole world is closing down on us and we have so little time to find joy. So little time to give comfort to others. So little time for ourselves.
Yes, times are strange, but one thing remains. We must eat, and eat, we will.
Many people have influenced the way I cook. One of the many cast of characters was the mother of my friend, Barry.
Ginger Hornburg was a sweet and feisty, pint-sized woman. Her husband, Jack, was a giant, in stature and in heart. The two were mismatched, when seen side by side, but it was clear that they were made for each other. There was love there, and it was plain to see.
On one occasion, I watched Ginger make dinner. Her recipe for chicken enchiladas was typical for the time…shredded chicken, cream of mushroom soup, shredded cheese and corn tortillas. Bake and serve. Done!
When she realized that I was interested in watching her cook she made a point to tell me that the key ingredient was green chilis. To prove the point she showed me a small can of Old El Paso diced green chiles (mild). I’ve never forgotten that. Green chilis are essential for chicken enchiladas.
I’ve grown and changed as a cook but I haven’t forgotten essential truths. Green chilis are the defining touch to Tex-Mex chicken enchiladas and I have Ginger to thank for that!
Let’s make a fast and furious enchilada dinner.
I made these enchiladas while having a Zoom meeting with distant family members and then I followed that with a phone conservation with another friend.
Start to finish time for this meal was about 45 minutes. I remember when I could crank out a meal in 30 minutes. Oh, those were the days. I must be getting slower in my old age. Or, maybe I’m learning to savor life’s little moments. Yah… whatever!
I was lucky to have some grilled chicken in the refrigerator.
Chicken Enchiladas – mas rapido!
I intentionally overstuffed these enchiladas because I wanted to use all of my left over chicken and I wasn’t working from a recipe. I was doing the thing I do best…pulling things out of the refrigerator and pantry and whipping up a quick meal.
.
As I mentioned previously, the key to this dish is pickled jalapeños. Seriously, the pickled tanginess of the chilis is the defining element of true Tex-Mex chicken enchiladas. No exceptions. Don’t mess with Texas and don’t mess with Ginger!
No walk-through photos on this one. I was too busy Zooming and talking to people on the phone! Scroll down to see a photo of the finished dish.
Ingredients:
1 ½ cups water
2 chicken bouillon cubes
1 Tbs butter
1 Tbs flour
2 cups grilled chicken, shredded and chopped
2 green onions, chopped
3 whole pickled jalapeños, chopped
1 cup fresh spinach, roughly chopped
1 ½ Tbs cumin powder
1 Tbs red chili powder
2 tsp garlic powder
1 tsp dried oregano
6 corn tortillas
8 oz Monterrey Jack cheese, shredded
¼ cup sour cream
½ cup fresh cilantro
Directions:
Add the chicken bouillon cubes to the water and heat in the microwave for 2 minutes. Remove and set aside.
Prepare a roux by heating butter in a skillet. Add the flour and whisk. Add the water and whisk until the sauce thickens. Remove the skillet from the heat set aside.
Prepare a round 9 inch casserole dish. Smear a little of the sauce on the bottom of the dish.
In a mixing bowl, combine the shredded chicken, green onions, jalapeños, spinach, cumin, chili powder, garlic powder and oregano. Mix with a spatula or wooden spoon.
Soften the corn tortillas in hot oil and set aside.
Apply a heavy portion of the chicken mixture to each of the tortillas and roll the tortillas. Place the rolled enchiladas in the casserole dish. Rotate the enchiladas to coat all sides with the sauce.
Top with cheese and bake at 350° for 25 to 30 minutes, or until the top is bubbling and golden brown.
Serve with sour cream and cilantro.
And please, take time to show young people how you cook, even if they are wild-eyed, scraggly teenagers!
Recently, on my way home from work, I had a sudden craving for shrimp toast, you know, the classic Chinese takeout appetizer. I wanted to try making it at home, even though I’d never attempted it.
There’s always that moment, during the drive home, when I consider whether I know exactly how to make the thing I am thinking of, or if I will need to improvise. This was definitely going to require some improvisation.
I imagined how shrimp toast tastes as it’s pulled out of the fryer. Hot and crunchy on the outside and soft and creamy shrimpiness on the inside. And then, as I waited at a red light, I came to a sad realization. Shrimp toast is great when it’s hot and fresh but given time, it cools and becomes a squishy, oily, shrimp-flavored sponge. The craving for takeout-style shrimp toast was gone.
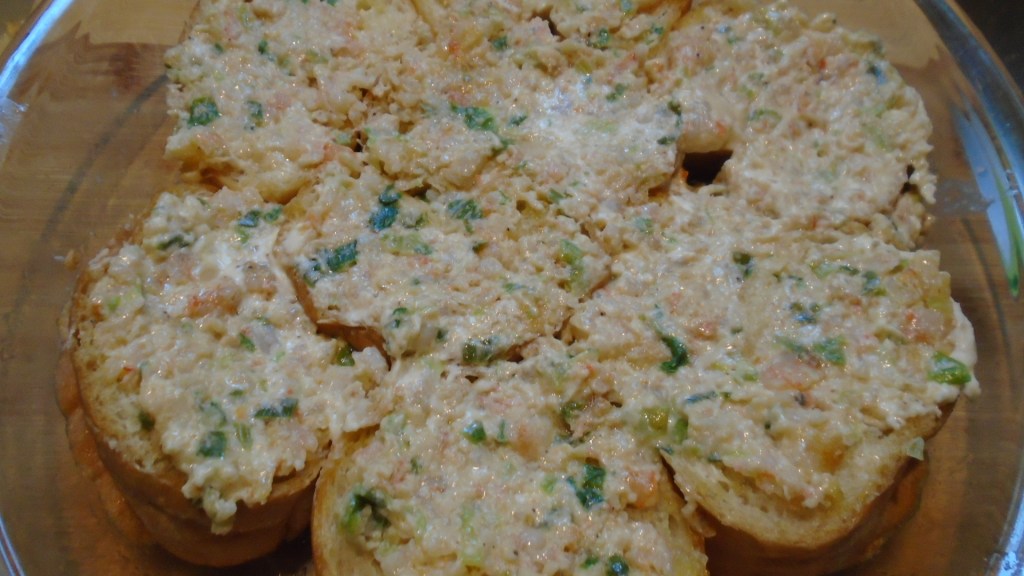
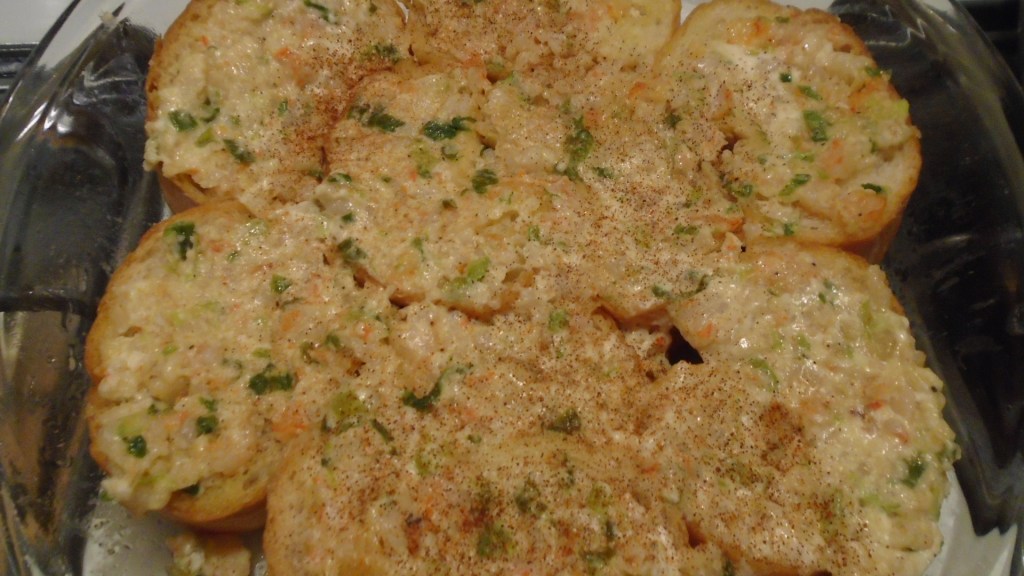
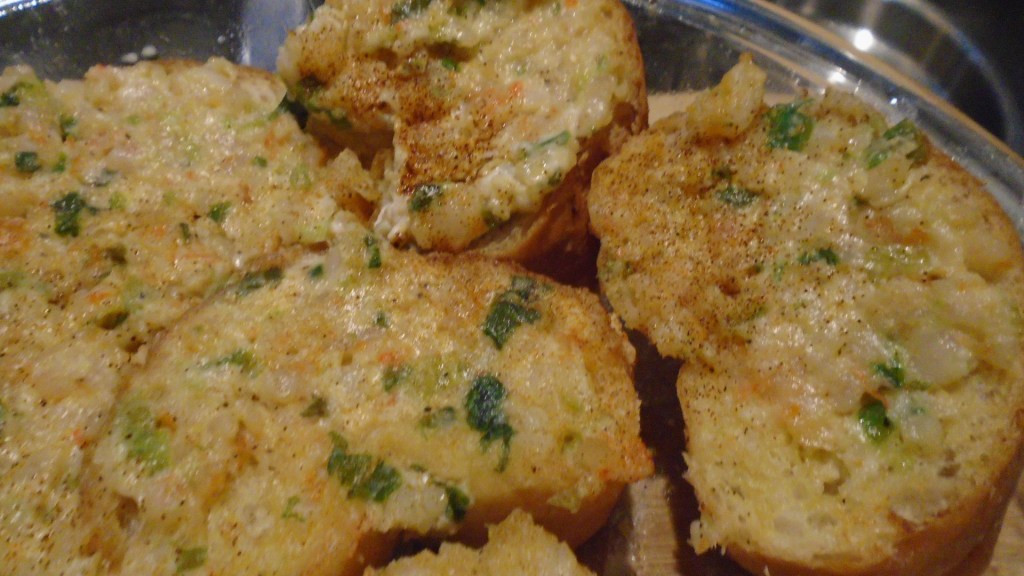
I took a moment to think about what I was actually craving. In my mind, I imagined a baked, creamy shrimp spread on top of thick slices of toasted French bread. I couldn’t recall what the dish was actually called but I was evoking crostini. I kept referring to it as “shrimp toast” as I drove home and, in truth, that’s really all it is…it’s just not the deep fried Chinese takeout variety.
Since I was already in a seafood frame of mind I decided to pair the crostini with New Orleans-style blackened fish.
Shrimp Crostini with Blackened Tilapia
Ingredients for the Shrimp Crostini:
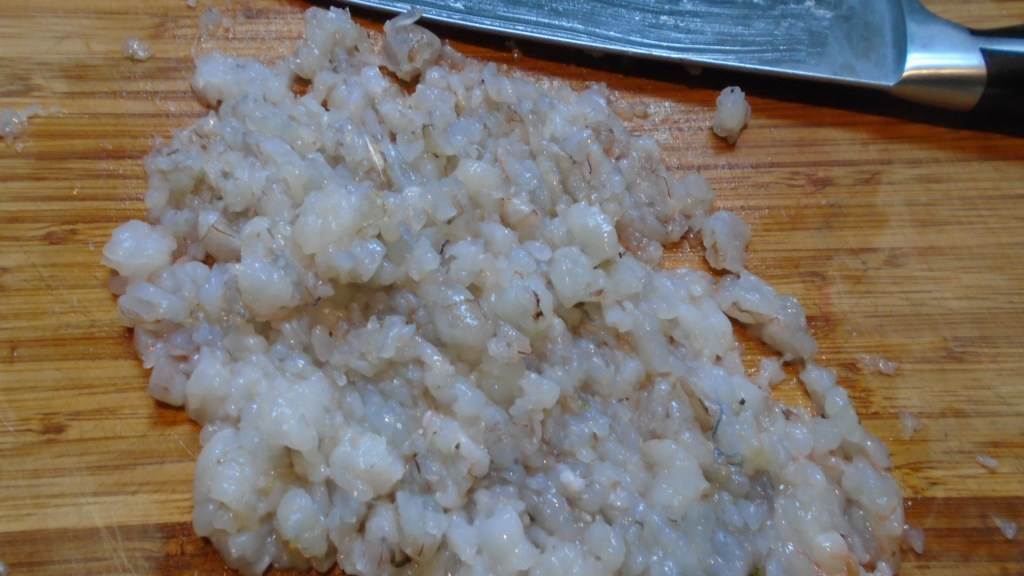
½ lb fresh shrimp, peeled, deveined and finely chopped
¼ cup diced green onions, chopped fine
3 Tbs mayonnaise
3 Tbs cream cheese
1 tsp garlic powder
1 tsp Cajun seasoning
½ tsp salt
9 slices of good quality, fresh French bread (1” thick)
2 Tbs butter
Directions:
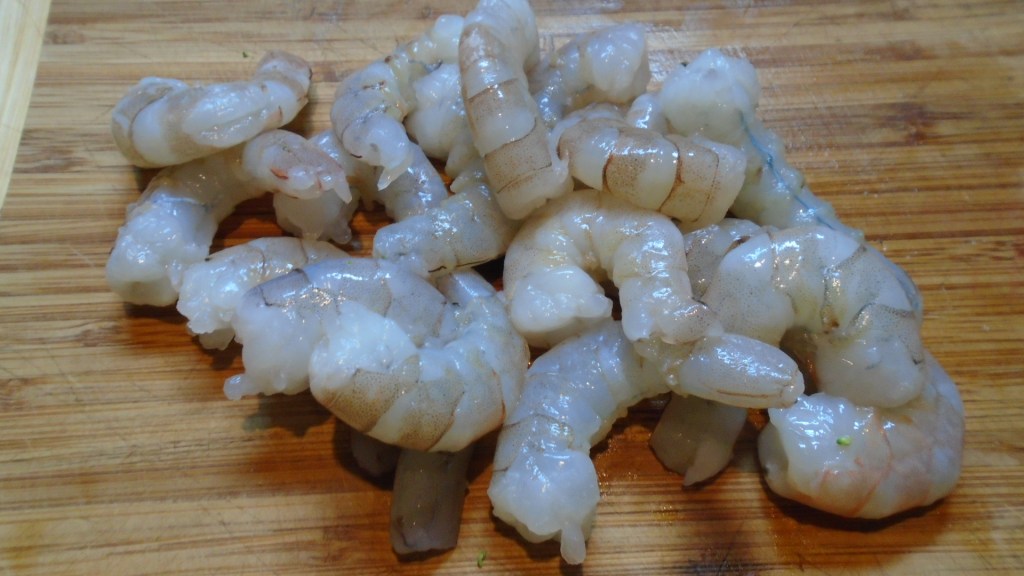
Peel and devein the shrimp. Rinse thoroughly under cool water. Chop into small pieces.
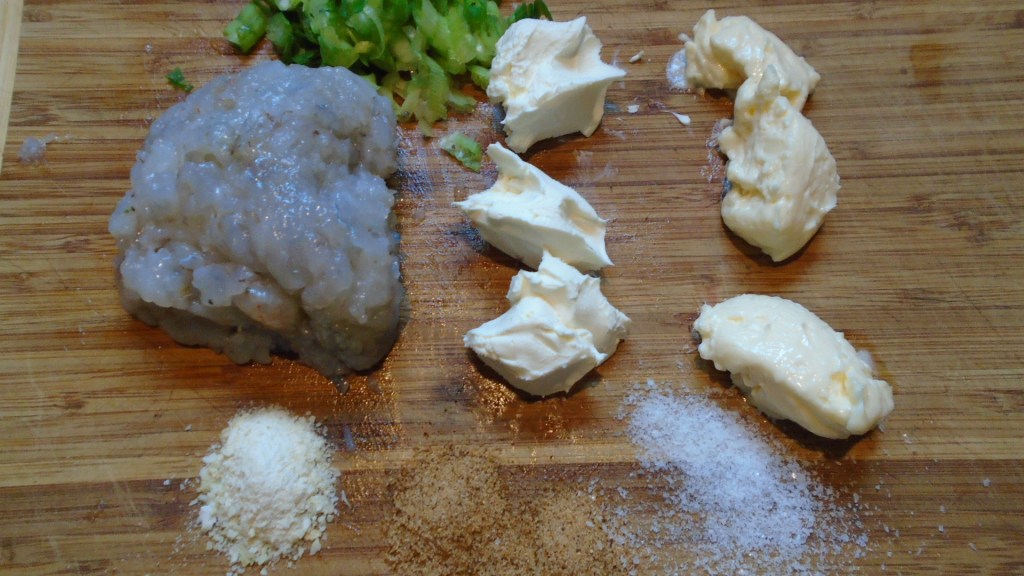
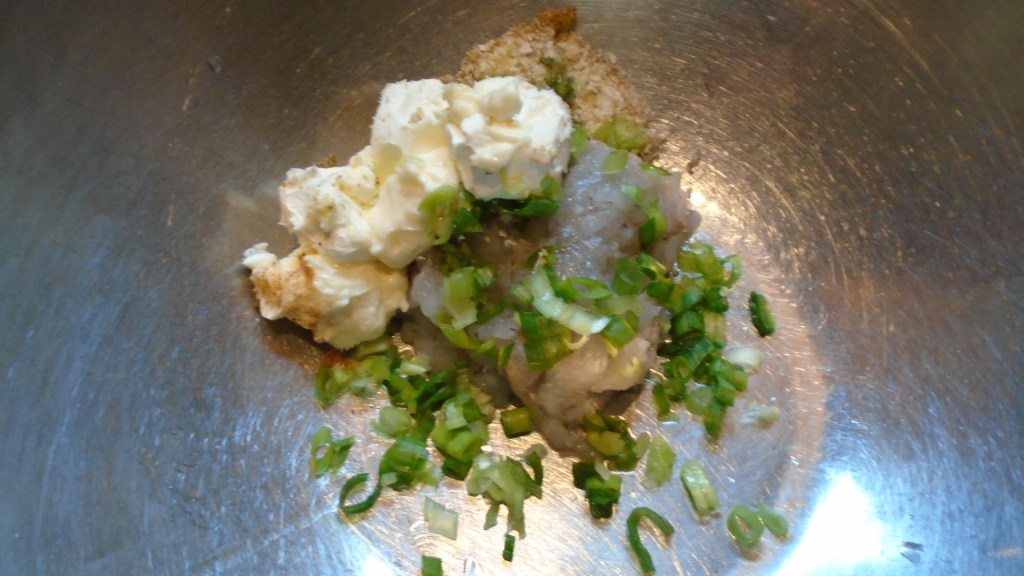
Add the shrimp and remaining ingredients, (excluding the bread!) to a large mix bowl. Beat the heck out everything with a whisk, fork or any other suitable weapon.
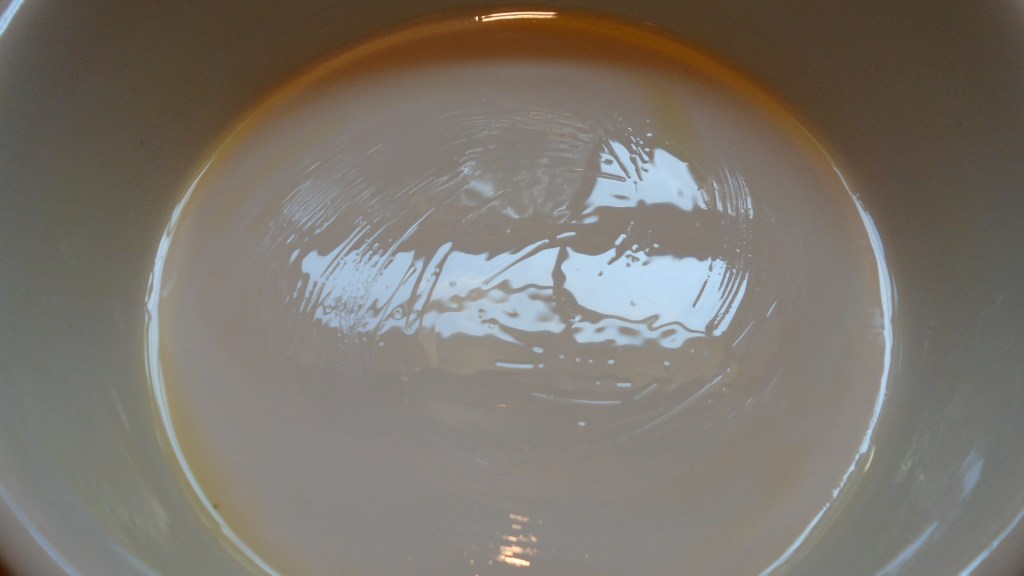
Prepare a 9” round ceramic backing dish by spreading 2 tablespoons of oil across the bottom and sides of the dish. Wipe away excess with a paper towel.
Add the shrimp mixture to the dish and press the mixture down firmly with your fingers, spreading it to the edges of the dish.
Bake in a 400° oven for 10 to 15 minutes, or until the top begins to brown. Remove and cool on a wire rack.
While the shrimp cools, prepare the French bread.
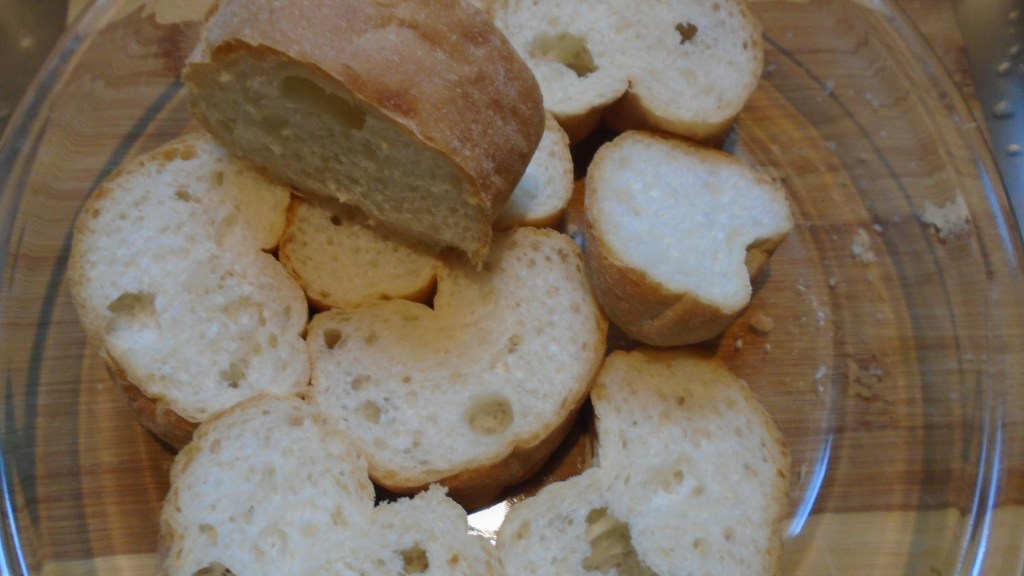
Slice the bread into 1” thick pieces.
Melt the butter and brush over both sides of the bread slices.
Place the pieces of bread in a 9” glass pie plate.
Using a spoon, or a small spatula, add dollops of the baked shrimp mixture to the toast. Press the toast together as tightly as possible.
Put the pie plate in a 400° oven for 5 to 7 minutes, or until the sides of the toast are crisp. Remove and cool on a wire rack.
Ingredients for the Blackened Tilapia:
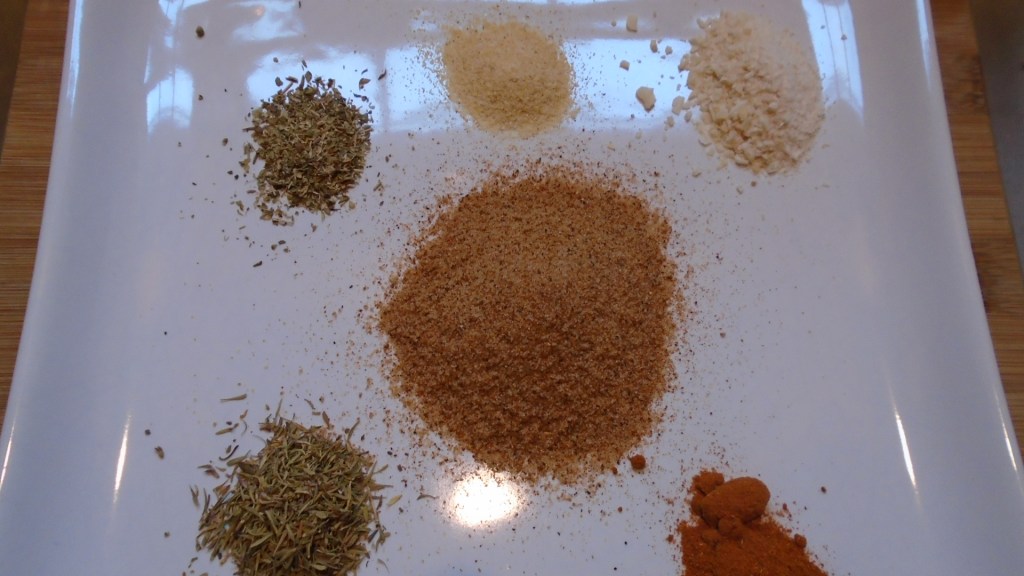
3 Tbs Cajun seasoning
1 tsp oregano
1 tsp dried onion flake, ground fine
1 tsp garlic powder
1 tsp cayenne powder
1 tsp dried thyme
4 tilapia filets (about 1 lb)
Directions:
Mix all of the dried seasonings together.
Spread the seasonings across a large platter.
Lay the tilapia filets on the seasoning and press down firmly with your hands to coat the fish. Turn the fish over and repeat.
Heat a heavy steel skillet or cast iron skillet to high heat.
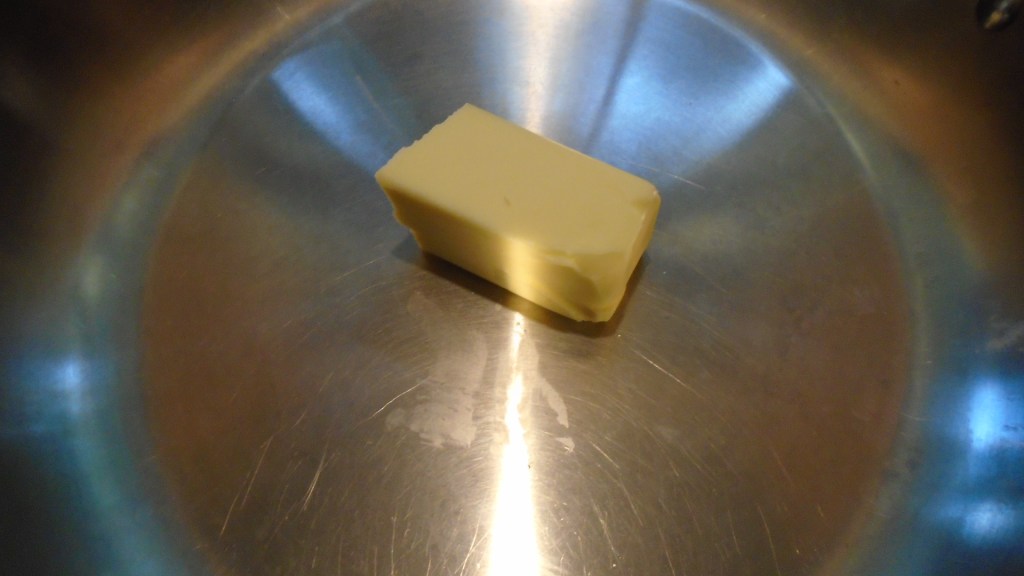
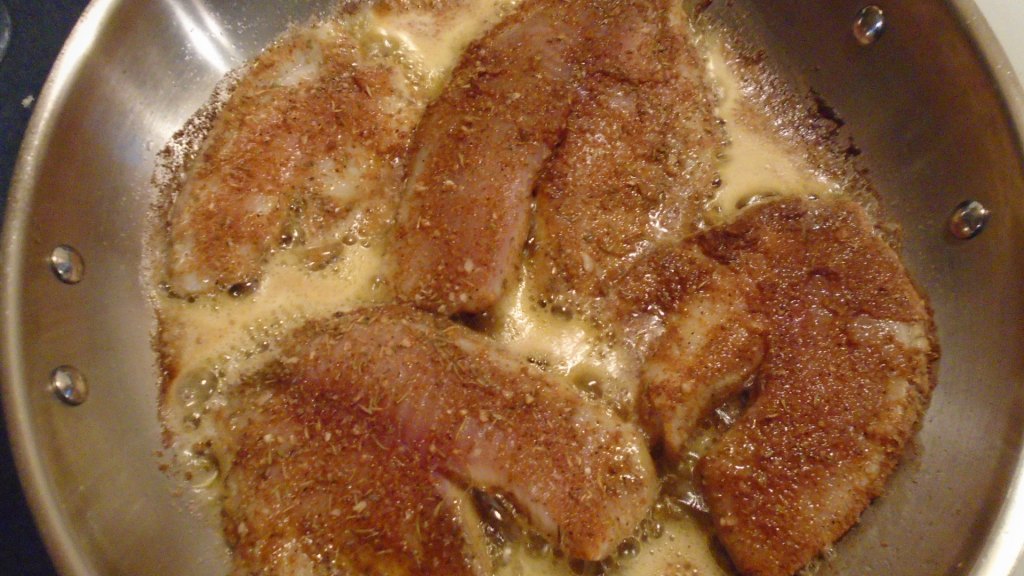
Once the skillet is screaming hot, add the butter. Just as soon as the butter is almost completely melted, which will happen quickly, add the filets.
Stand back. Don’t mess with the fish. After about two minutes, the butter will brown. Carefully turn the fish over with a large flat spatula and let the fish fry for another two minutes. Press the fish with the side of your thumb. If it feels firm, it’s done. If it doesn’t feel firm, it will in about another 30 seconds.
Carefully remove the fish with a spatula and place on a serving dish.
Serve on a bed of steamed rice and steamed broccoli.
Louisiana hot sauce is the preferred condiment for the Shrimp Crostini and Blackened Fish. Use as directed.
For those of you following my blog you may have noticed that I’ve been quiet for a month, or so. These last few months have been rough. Covid-19 is alive and well in the U.S. and I, along with many others, are adapting to the situation as best as we can.
I haven’t stopped cooking but I have to admit, my spirits have been down and I find it difficult to do much more than wake up, go to work, eat, sleep and repeat. I’m sure I’m not the only one experiencing those kind of feelings. I’ve been relying on tried and true recipes much of the time and I’ve been making lots of comfort food, most of which is not new or novel or worth posting. You get the idea.
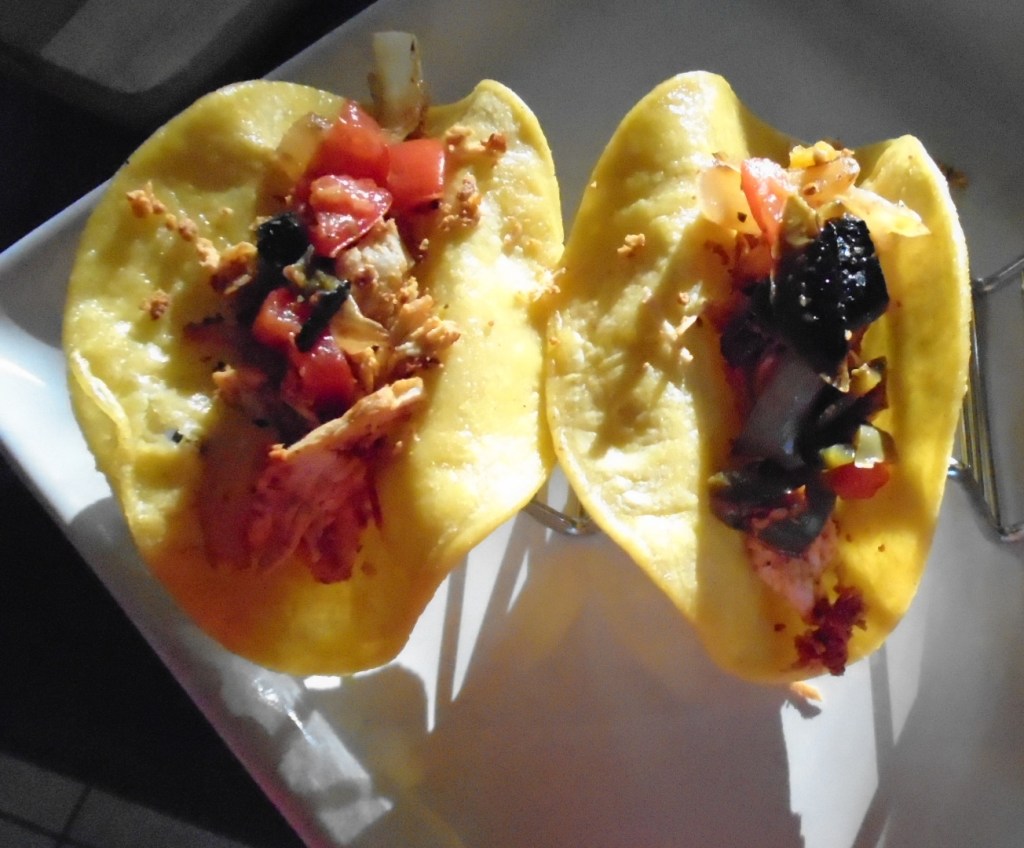
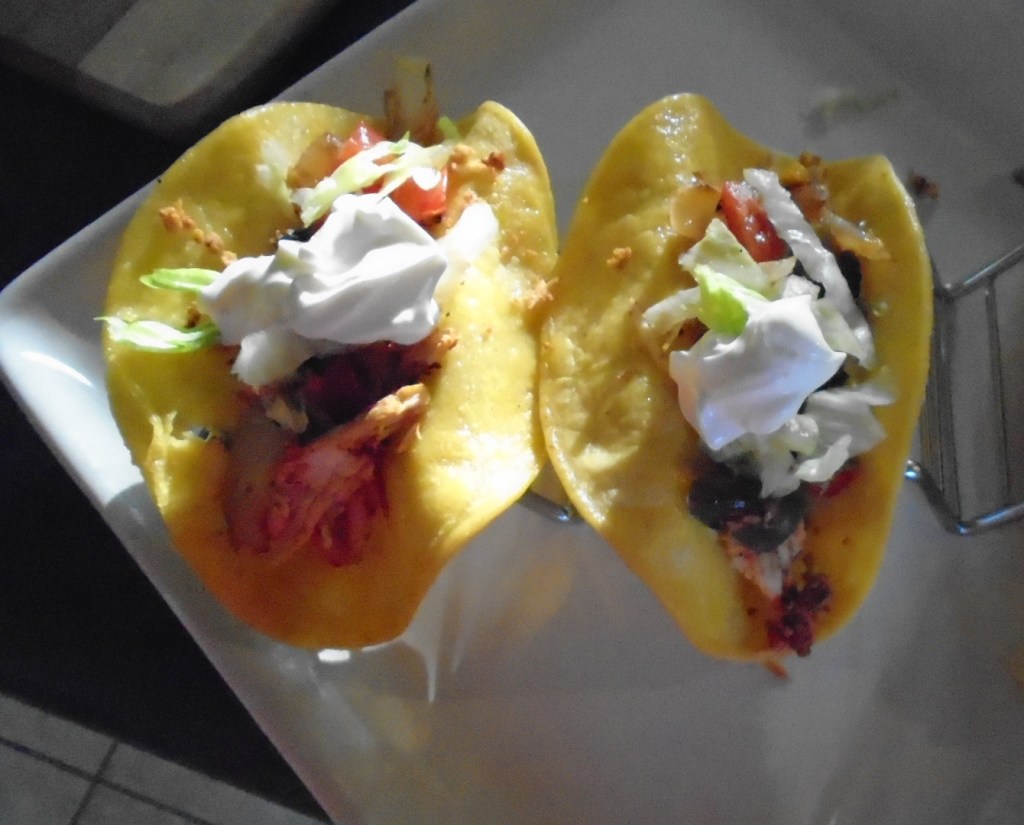
This particular dish, Mesquite Smoked Chicken Tacos, was something I did back in early March, when many people in the U.S. were staying at home to avoid transmitting the virus. I took all three weeks of my vacation from work and I tilled my garden with nothing but a shovel and my bare hands, day after day. I ventured out to buy seeds and seedlings and planted all sorts of vegetables.
I returned to work two months ago and I’ve faced all sorts of challenges. So, you may see posts from me frequently or there may be big gaps between them. Such is life.
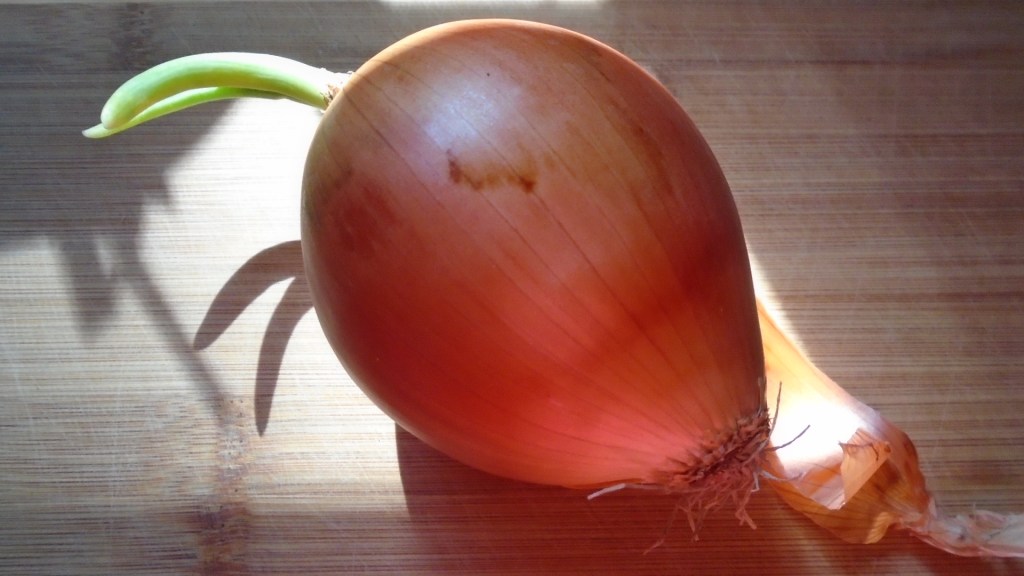
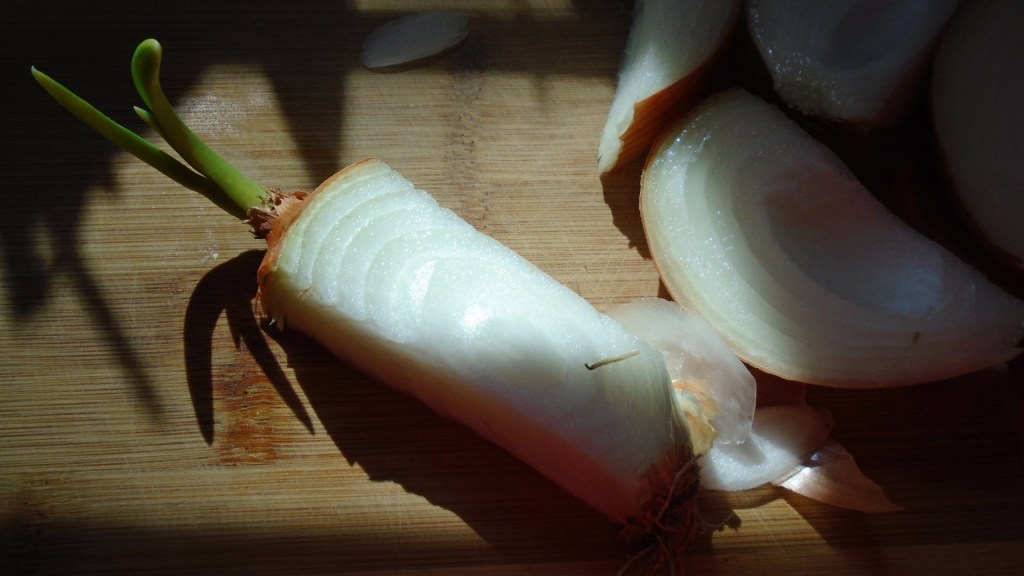
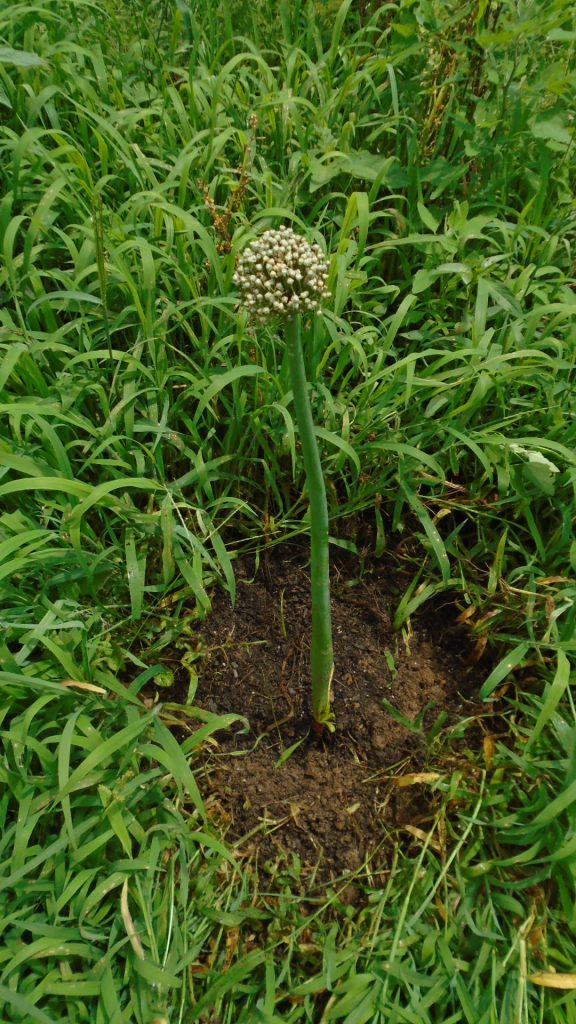
When I began making this recipe, I came across and onion that had started to sprout, in my pantry. I’m not the sort of person that throws anything away without consideration so, I cored the onion, used the edible part of the onion and planted the core.
Here’s what became of that onion core I planted. It should be ready to harvest in a few weeks.
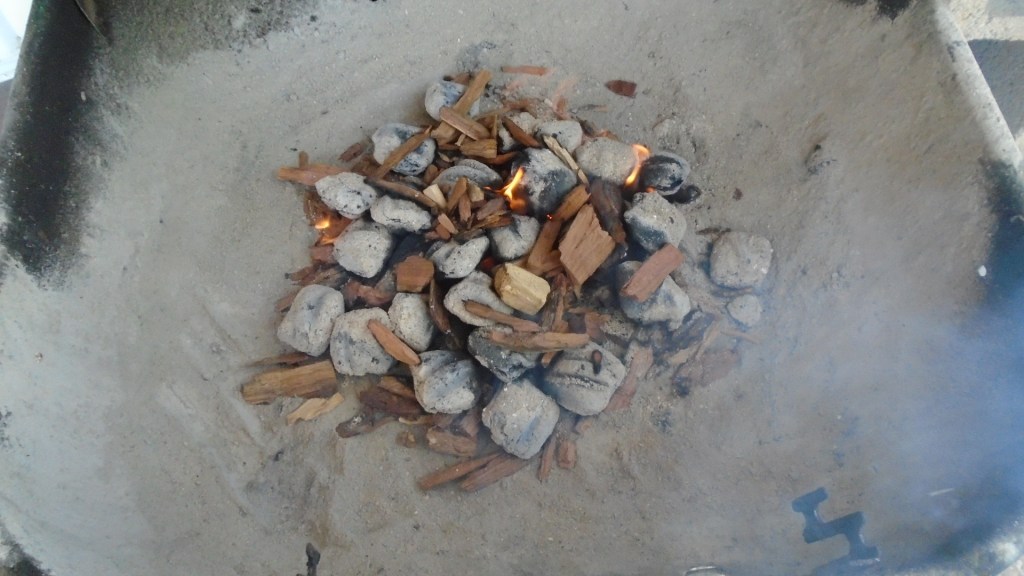
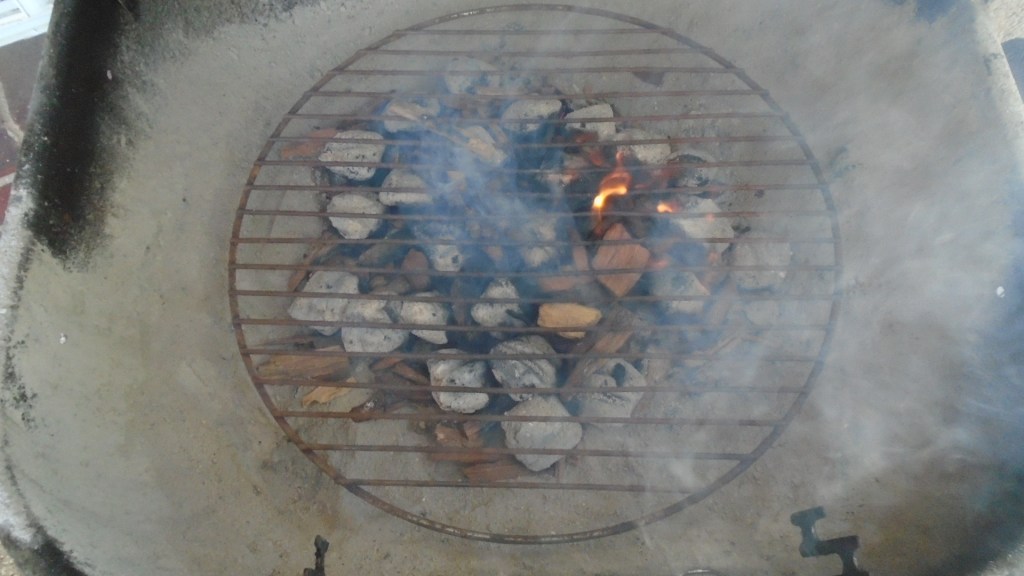
For this recipe, I used a small charcoal grill, along with a few chunks of dry mesquite, for smoke. Any hard wood would be fine…oak, hickory… But, true to my Tex-Mex heritage I opted for mesquite.
Ingredients:
2 lbs chicken breast, cut into 1” thick slices
8 oz can tomato sauce
1 Tbs cumin powder
2 tsp red chile powder
1 tsp oregano
1 large onion, diced
4 jalapeños, fire roasted, steamed, peeled and diced
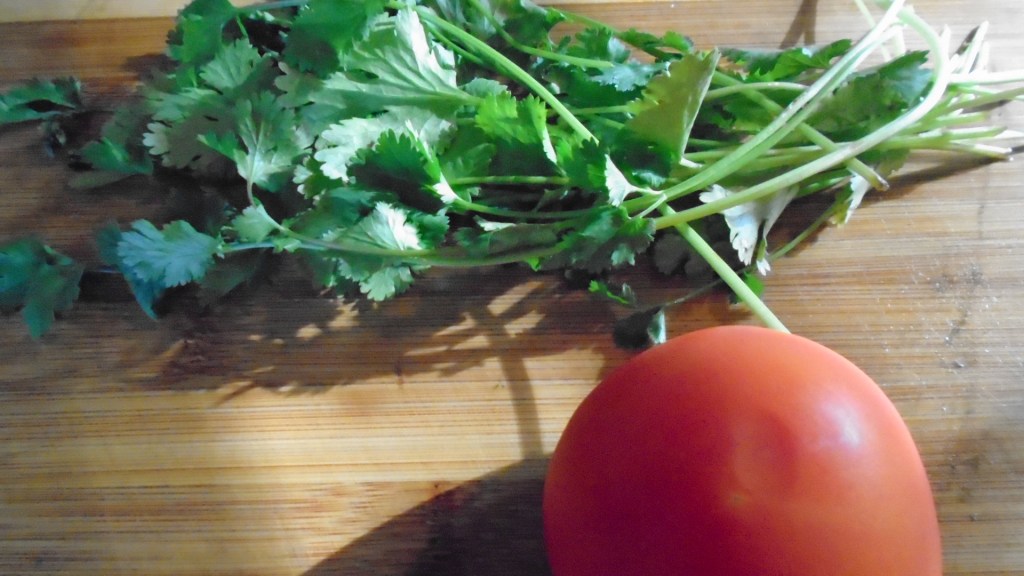
3 Roma tomatoes, chopped
Corn tortillas, briefly fried in oil
1 cup iceberg lettuce, chopped
2 green onions, chopped
½ cup sour cream
Directions:
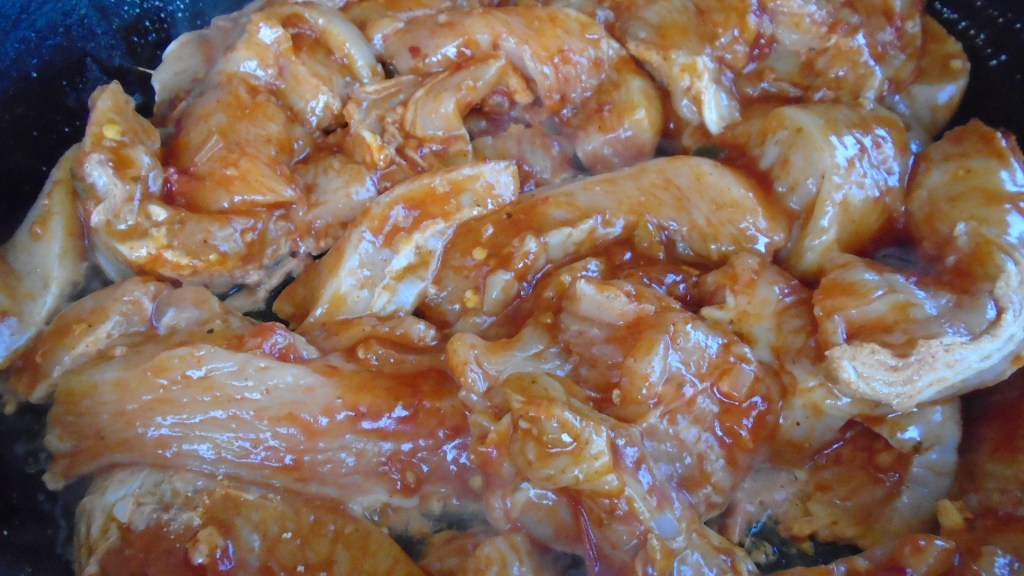
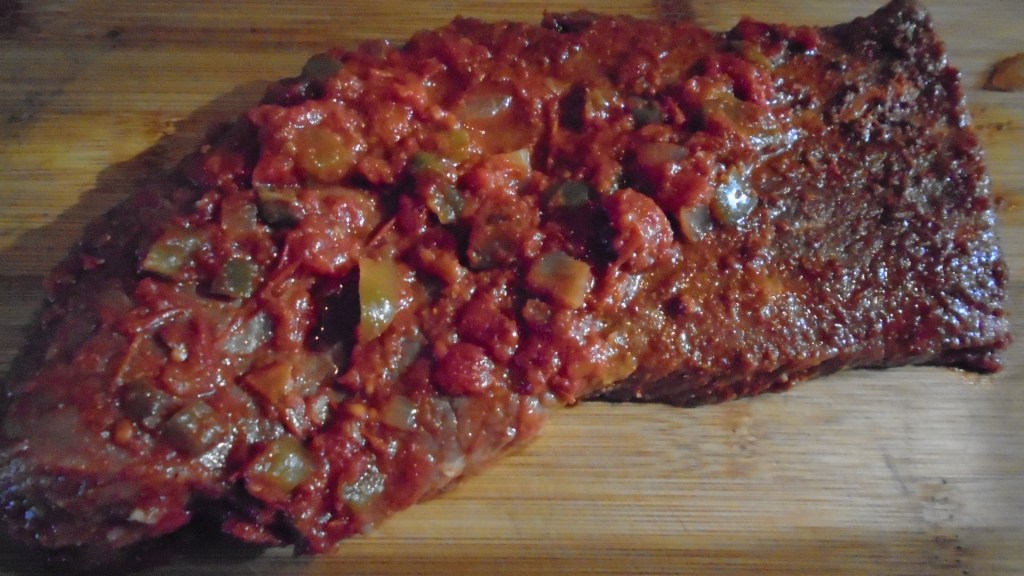
Marinate the chicken in the tomato sauce, cumin, red chile powder and oregano for at least an hour.
Start the charcoal grill. Add a few pieces of mesquite to the coals, when the coals become hot.
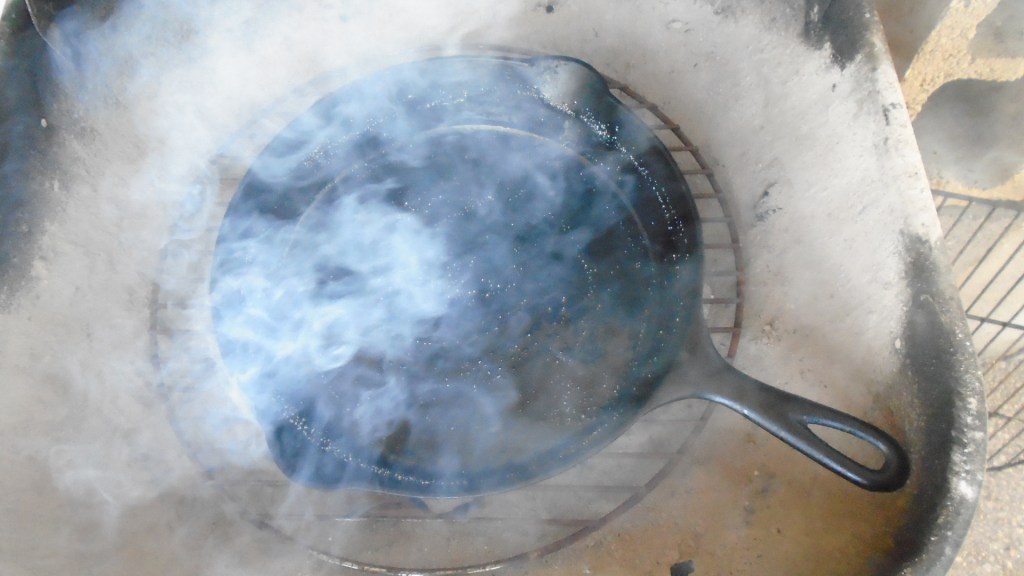
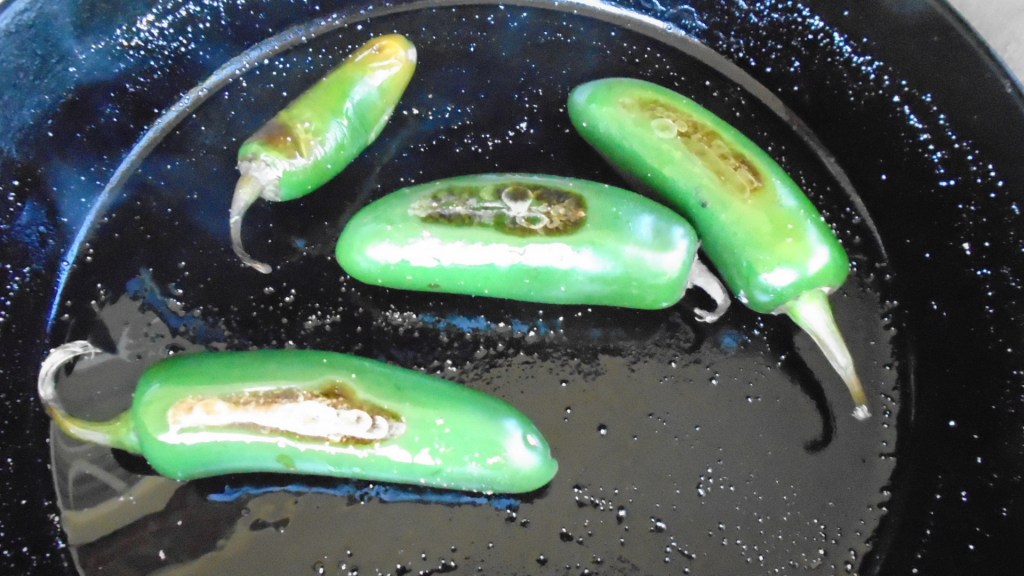
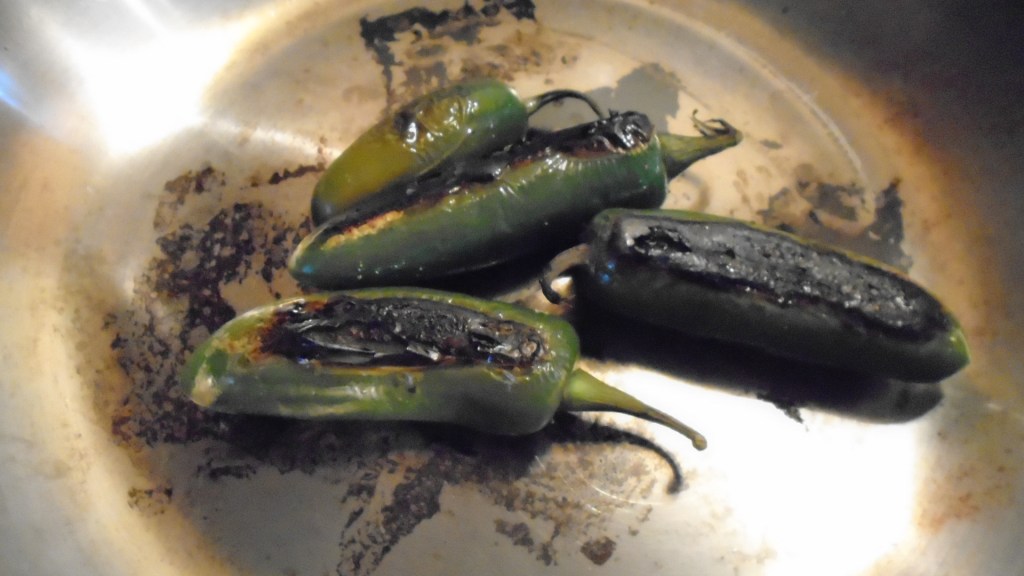
Once the grill is screaming hot, lay a cast iron skillet on the grate and add a tablespoon of cooking oil. Add the whole jalapeños and let them sizzle and char on all sides.
Remove the jalapeños and take them inside to steam in a covered skillet with a scant amount of water for a few minutes. Turn the heat off and allow the jalapeños to steam for about 10 minutes.
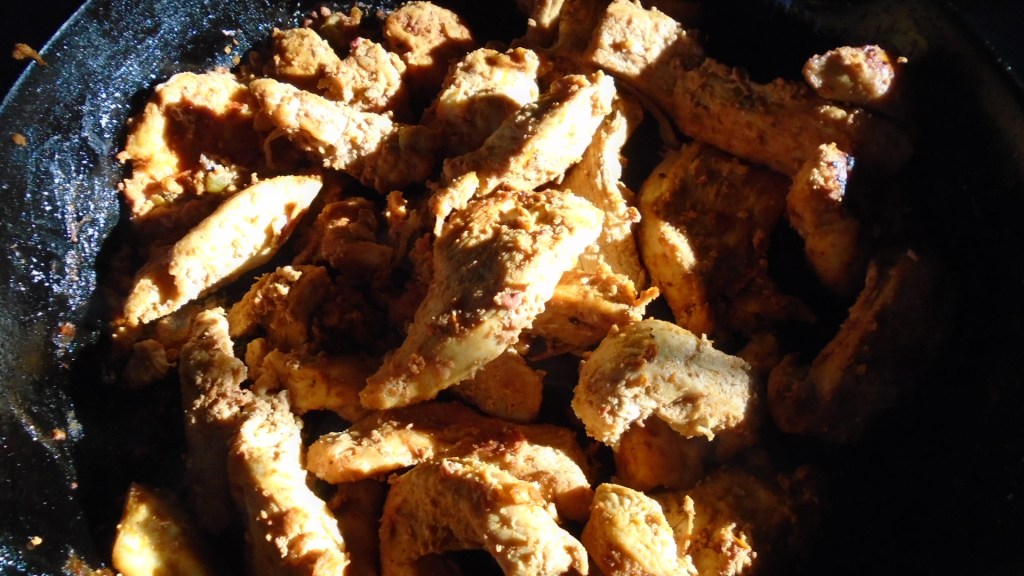
Add the chicken to the cast iron skillet and return it to the charcoal grill. Cook the chicken over low heat for about an hour, turning the chicken every 15 minutes.
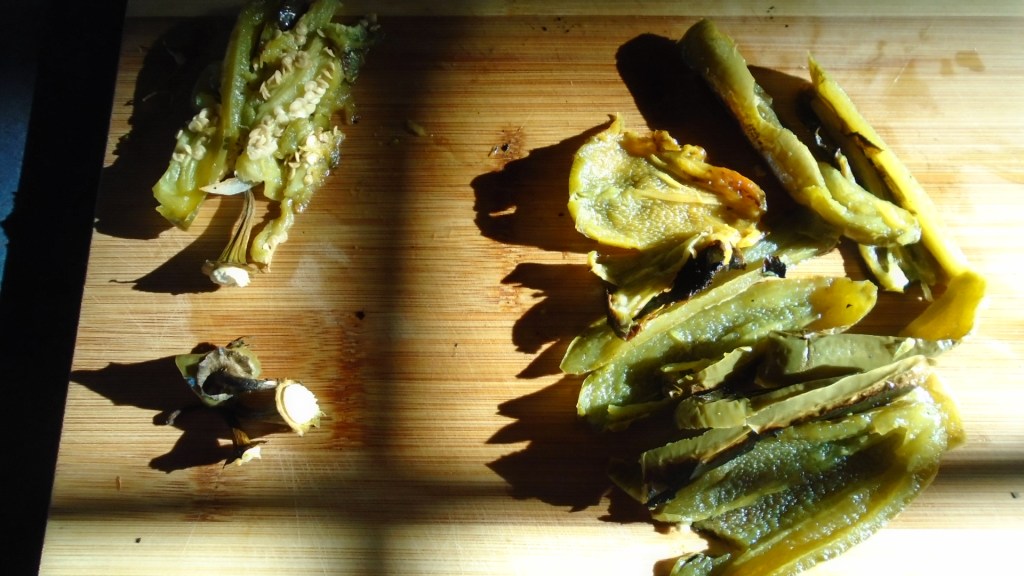
While the chicken cooks, remove the jalapeños from the skillet and peel away the charred skins. Remove the seeds and stem and then chop the jalapeños into small pieces.
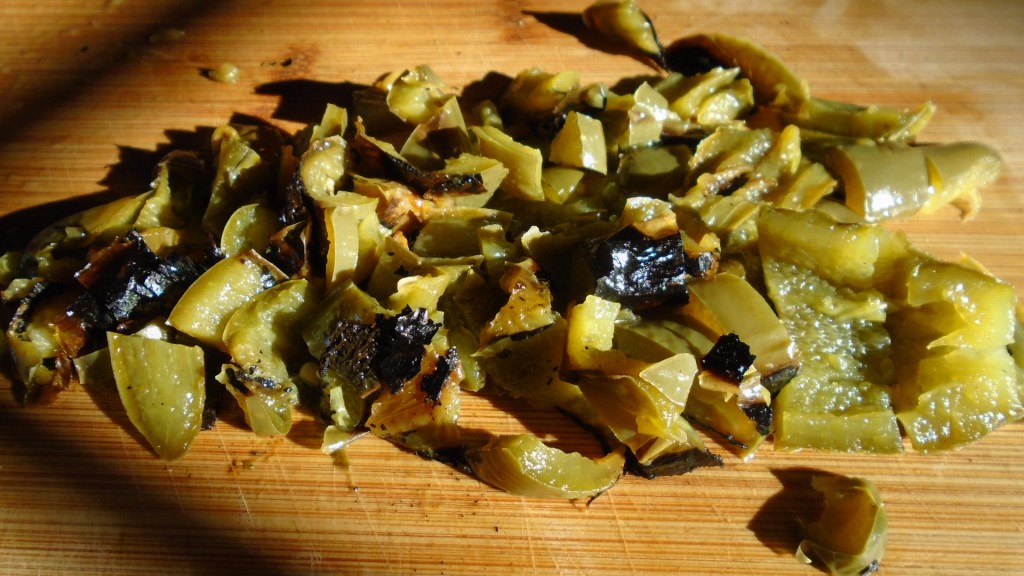
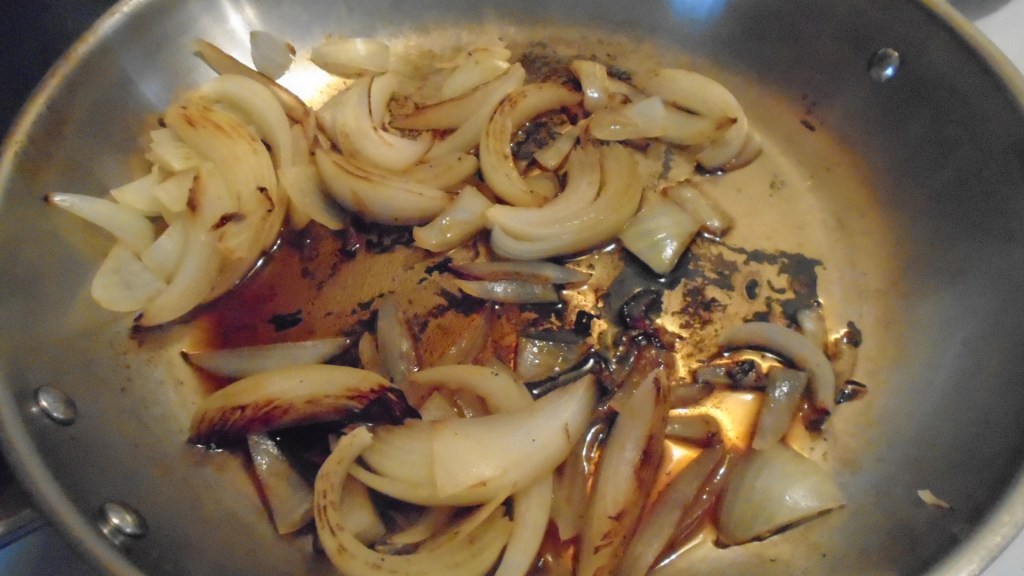
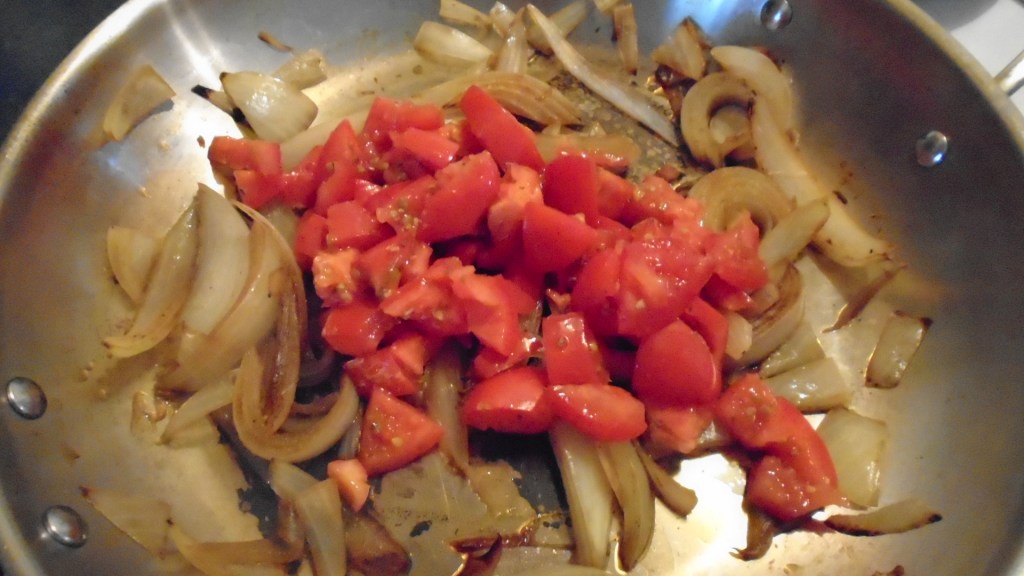
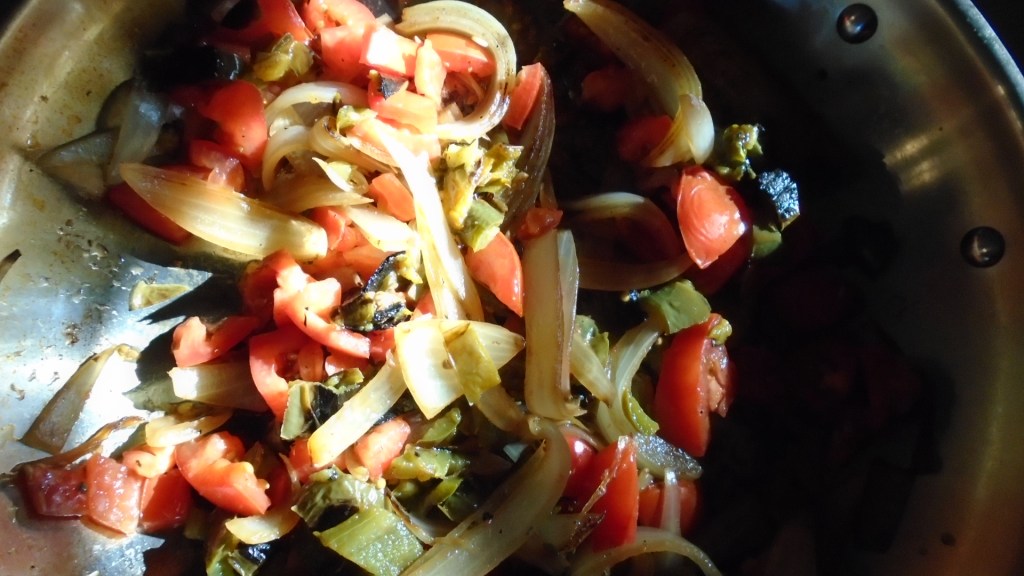
Add the jalapeños, onion and two tomatoes to the skillet and simmer at low/medium heat for several minutes, until the onions begin to soften. Remove to a serving bowl.
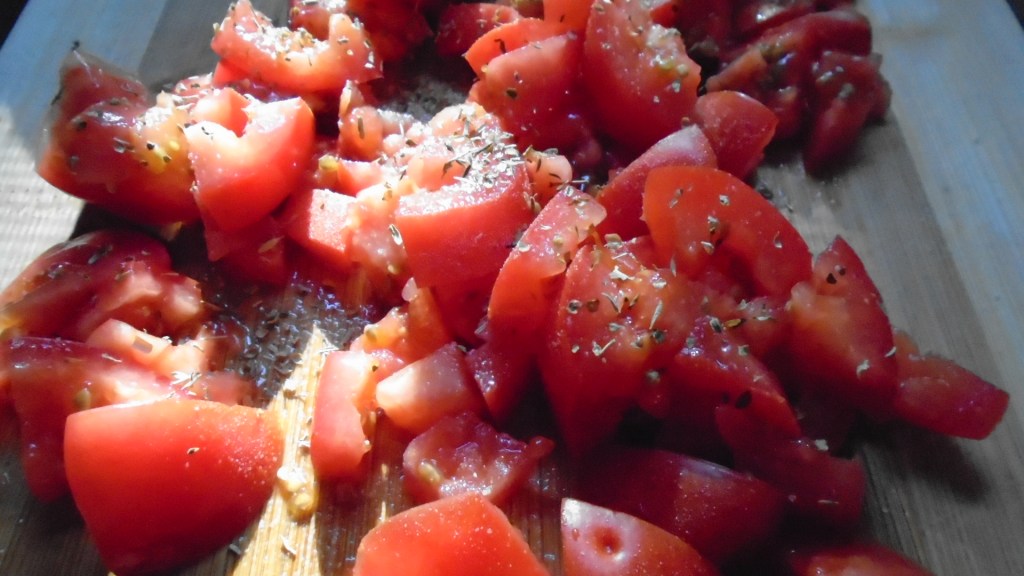
Chop the remaining tomato and sprinkle with garlic salt and oregano. Set aside.
Soften corn tortillas in a little hot oil. Set the tortillas aside until you are ready to assemble the tacos.
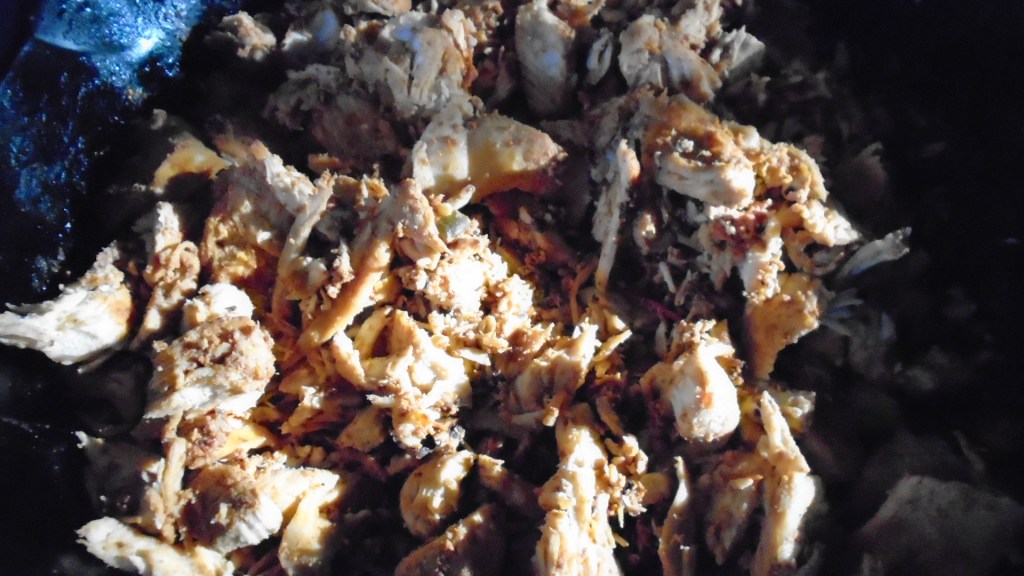
Remove the chicken from the grill and roughly chop into bite sized pieces.
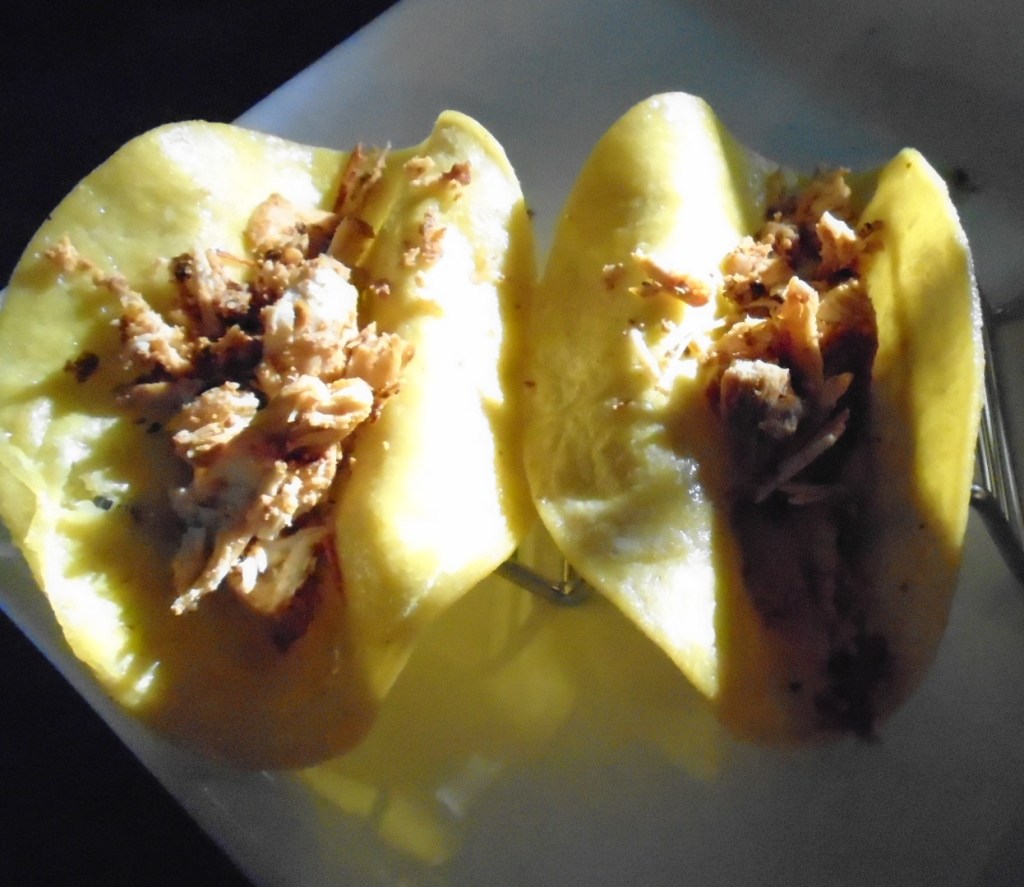
Assemble the tacos by adding some chicken followed by some of the cooked tomato, onion and jalapeños, followed a little lettuce and then add a small dollop of sour cream and top with fresh, seasoned tomatoes and green onion.
Serve with rice and beans, a fresh salad, or fruit.
Summer has definitely arrived! Temperatures are reaching into the 90’s daily and the high humidity makes it swelteringly hot. I spend most of my time going from one air conditioned environment to the next. Saturdays are the exception.
My yard is loving this hot, muggy weather. If I don’t cut the grass every week I wind up with a jungle on my hands. So, I psyche myself up and devote an entire day to yard work. There’s grass to cut and bushes to trim. The vegetable garden needs weeding and harvesting. I try to cram it all into one day’s work, which doesn’t always happen.
The thing that motivates me to do all of this is the promise of an ice-cold beer and a delicious dinner from the grill, when the work is done.
Step One: put a beer, or two, in the refrigerator.
Step Two: marinate some meat and refrigerate until needed.
Step Three: Chop vegetables and fruit for the dinner and keep cool.
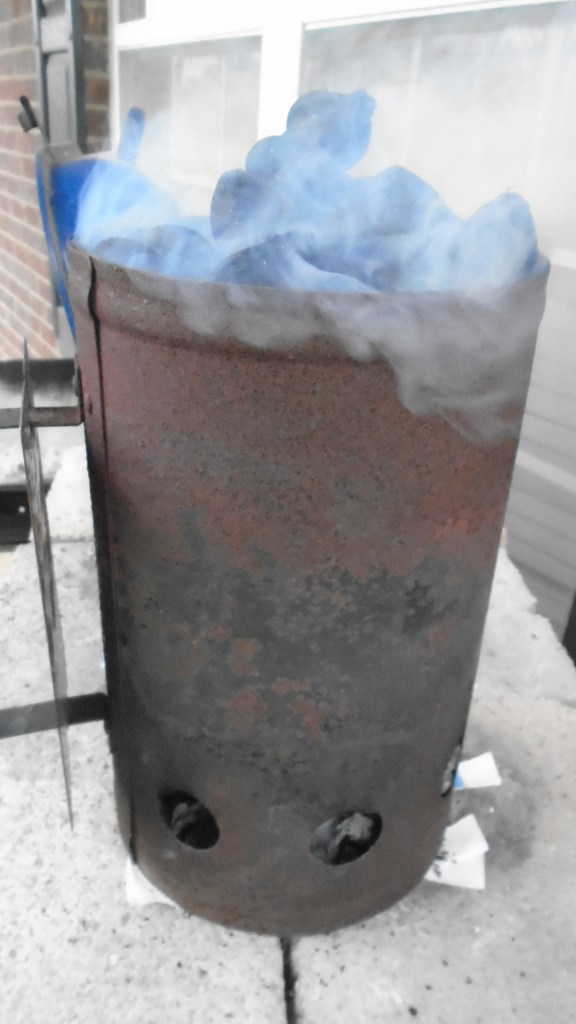
Step Four: Clean and prepare an outdoor grill. Have tools and charcoal ready when they’re needed.
Step Five: Do the yard work. Get hot, sweaty, thirsty and hungry.
Step Six: Take a long cool shower.
Step Seven: Open the beer. Take a sip. Take the beer with you for the next few steps.
Step Eight: Start the coals for the grill.
Step Nine: Grill the meat.
Step Ten: Relax and celebrate your hard work with a cold beer, good food and good friends.
Saturday Fajitas (Fajitas para el sábado)
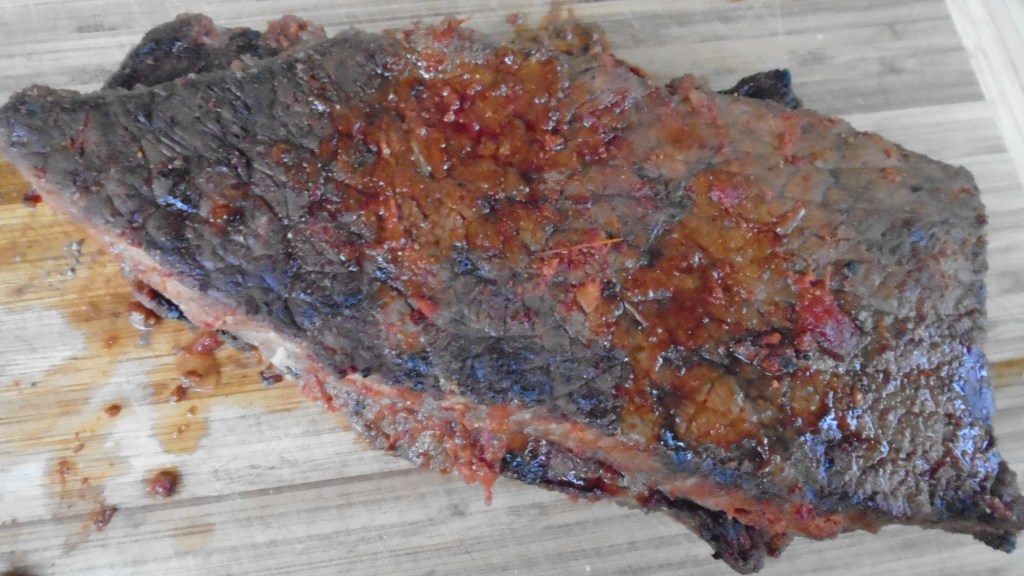
Skirt steak has become ridiculously overpriced during the last several years. Beef, in general is sky-rocketing in price, due to the demand. Skirt steak is a tough, albeit tasty, cut of beef. It is comes from the diaphragm of cattle and therefore is muscular and tough. A marinade that contains citrus will help tenderize and flavor the beef.
Today, I am using a top round steak. Top round is another a muscular cut of beef and is more lean than skirt steak but I like to use it as a substitute for skirt steak, when the price is right.
Ingredients:
2 lbs top round steak
Juice of 1 lime
1 Tbs red chile powder (polvo de chile rojo)
2 tsp cumin powder (comino en povo)
1 cup salsa (tomato, onion, chiles, etc.)
1 yellow onion (cebolla amarilla)
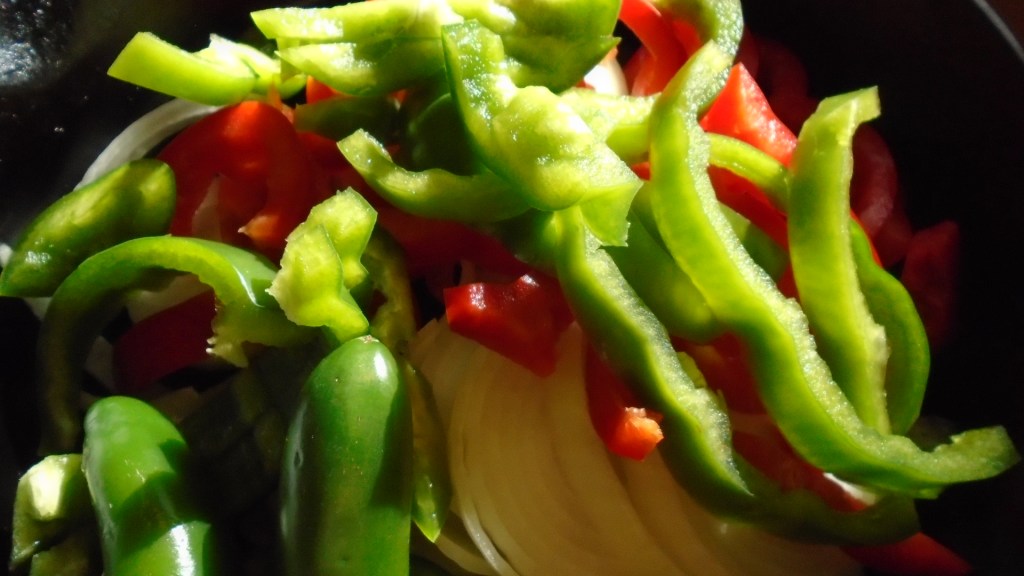
1 red bell pepper (pimiento roja)
1 green bell pepper (pimeinto verde)
2 fresh jalapeños
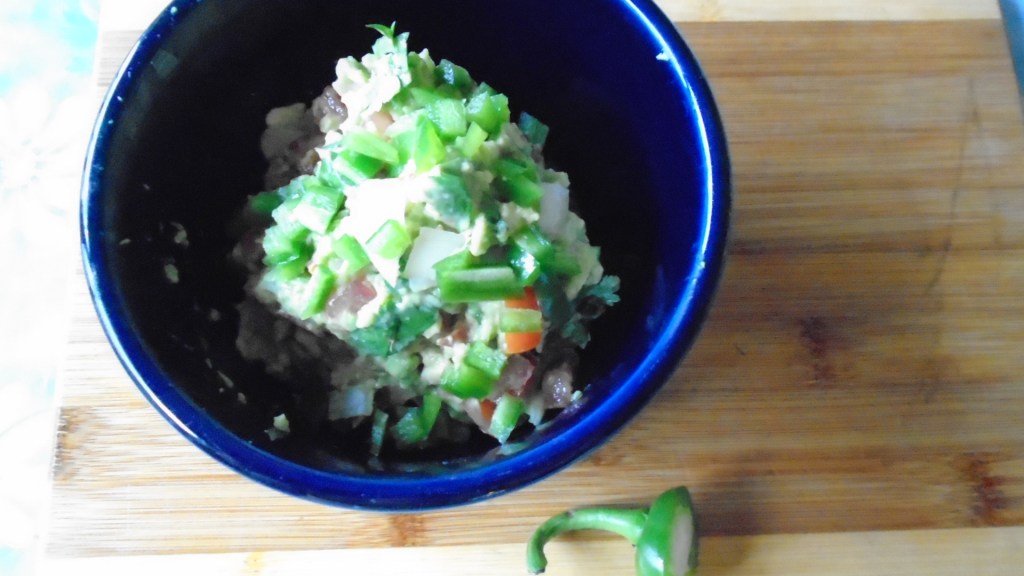
2 cups freshly made guacamole a la Mexicana (ingredients below)
½ cup sour cream (crema fresca)
2 cups chopped lettuce (lechuga cortada)
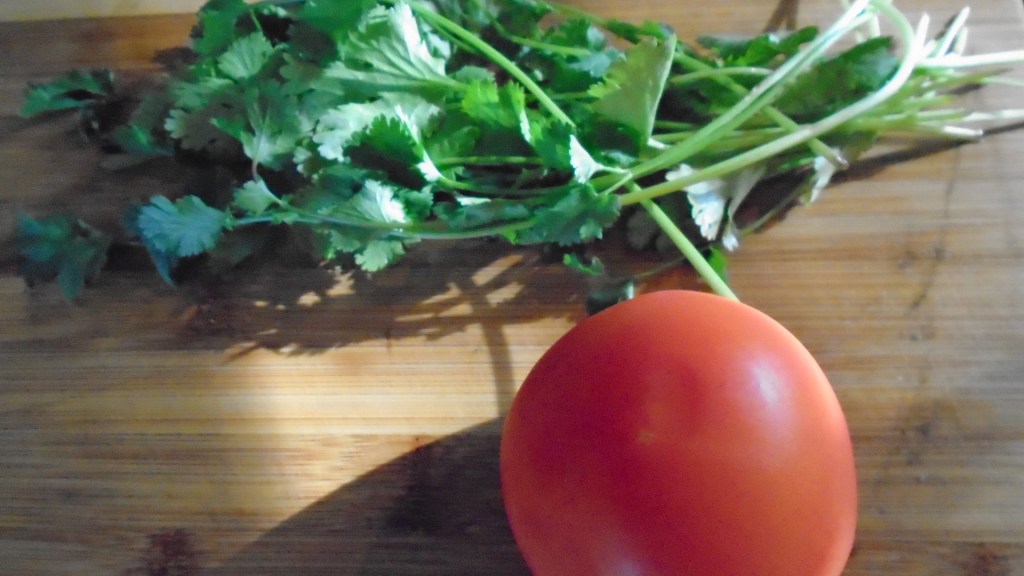
1 cup chopped cilantro (cilantro cortada)
Soft corn or flour tortillas (tortillas suaves de maíz o harina)
Directions:
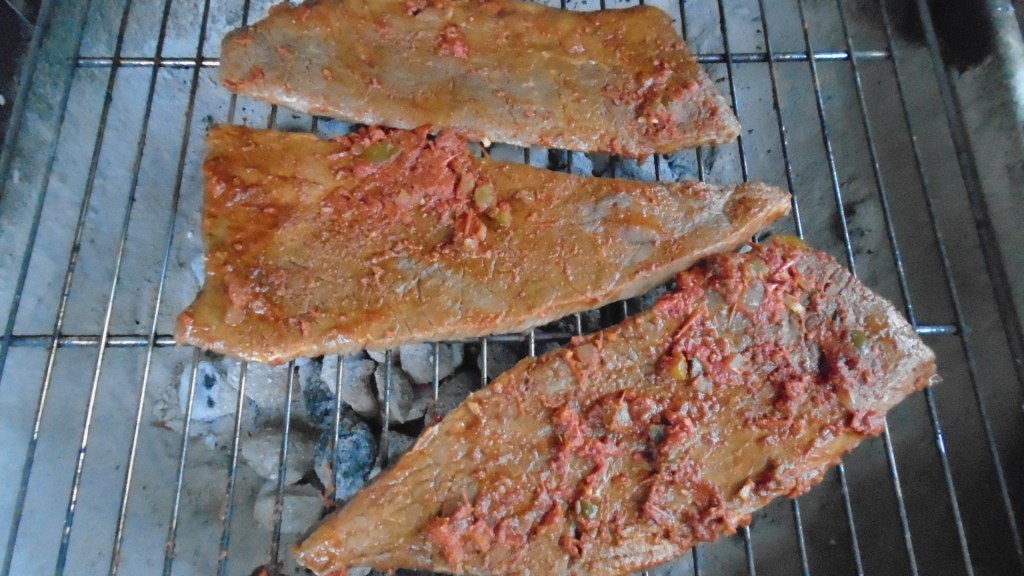
Apply lime juice to the beef. Dust the beef with chile powder and cumin. Slather salsa across both sides of the beef. Cover and refrigerate until it’s time to grill.
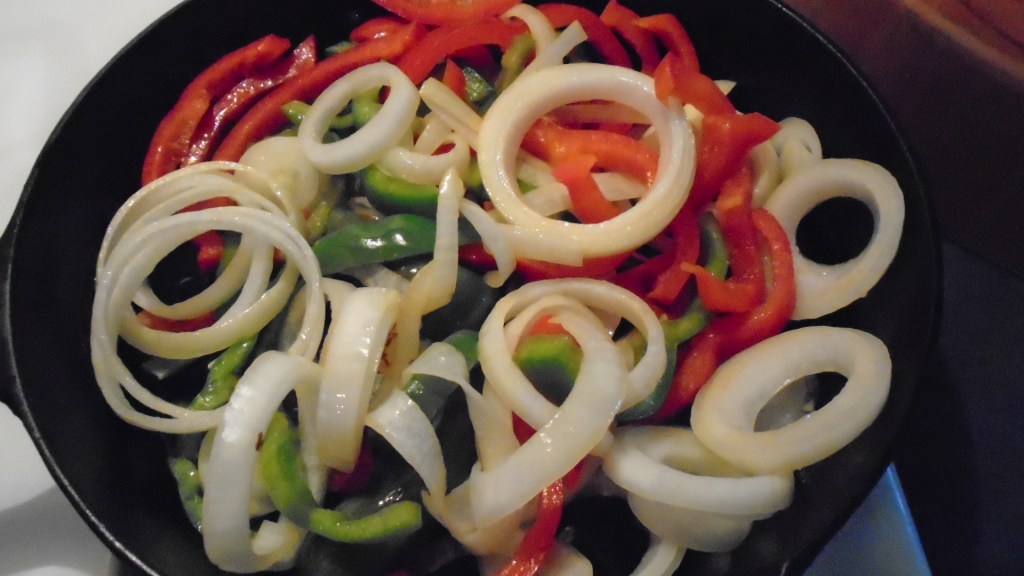
Slice onions and peppers into rings. Store in refrigerator. Leave the jalapeños whole. They will be grilled, later.
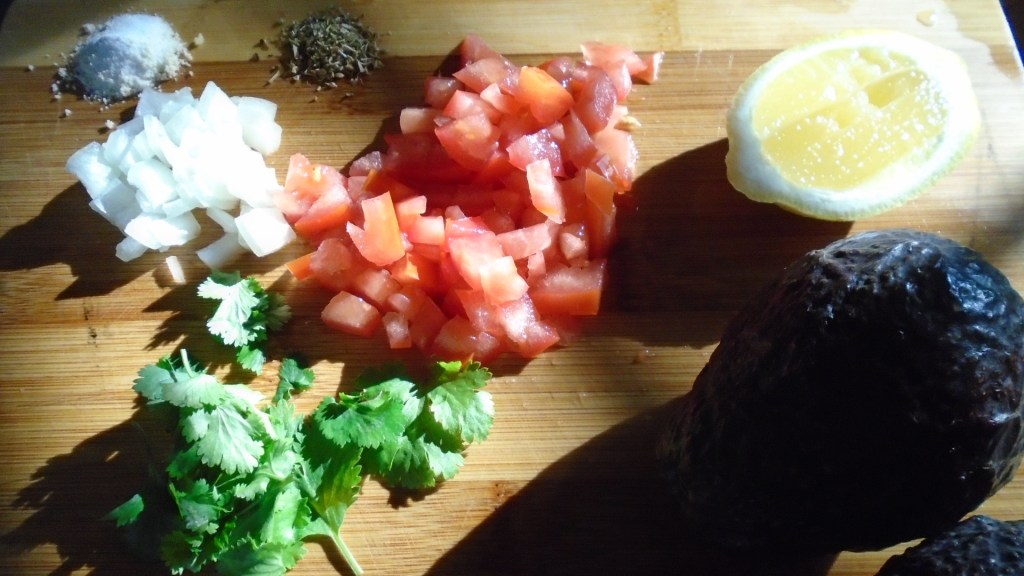
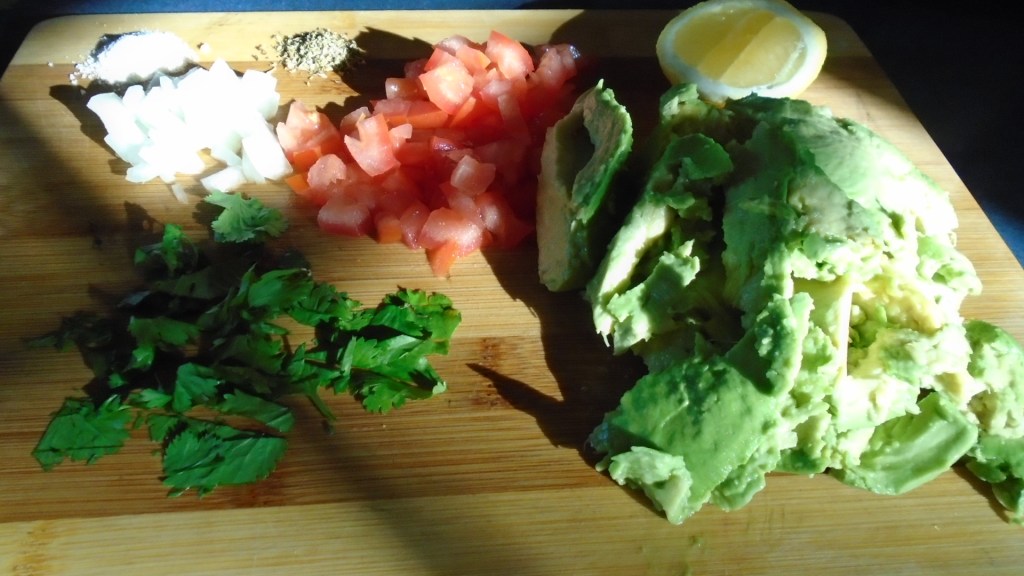
Prepare the guacamole: The ingredients and the amounts of the ingredients should suit your personal taste. I used 3 avocados, 1 chopped Roma tomato, ¼ cup chopped cilantro, 2 tablespoons chopped onion, ½ teaspoon garlic salt, ½ teaspoon oregano and the juice of ½ lemon. Mix gently to combine. Cover and refrigerate.
At this point you can clean and prepare the grill and set about to the yard work. Before you head outside to prepare the grill, remove the beef from the refrigerator so that it can warm to room temperature.
After a cool shower and a sip of cold beer, start the coals for the grill. Don’t be shy with the coals. High heat is needed for medium rare beef!
As the coals heat, return to the kitchen and pan fry the onion and bell pepper rings in a skillet. Add a tablespoon of oil to the skillet and then add the vegetables. Stir for a few minutes, remove and keep warm.
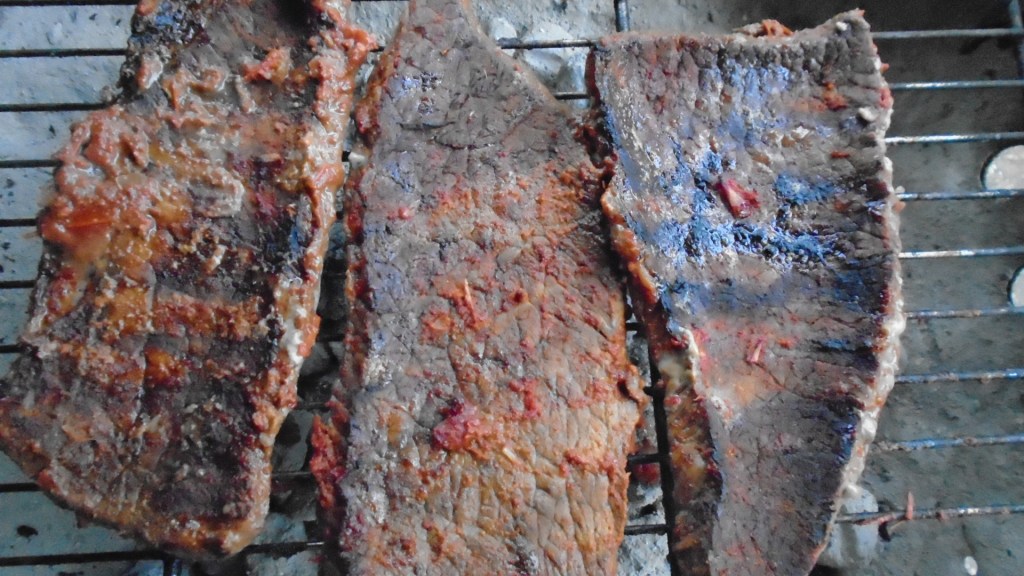
Now, back to the grill. Lay the strips of beef on the grill. Find room for the jalapeños and lay them on the grill. Turn the jalapeños frequently to produce a slight char on each side. Turn the steaks after three minutes and grill for another two minutes.
Remove everything from the grill and head back to the kitchen.
Set the jalapeños aside.
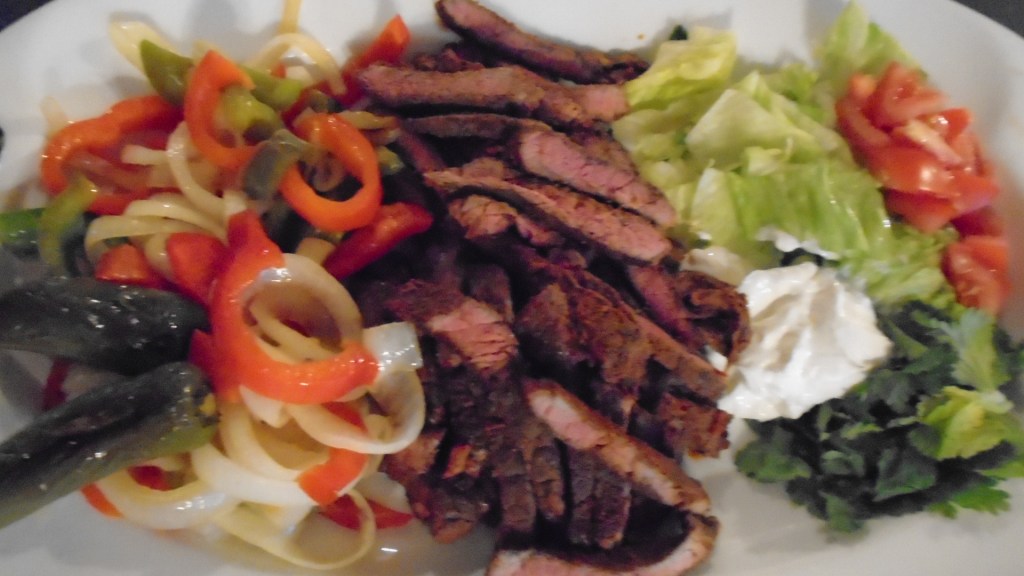
Let the steaks rest for five minutes. While the steaks rest, arrange the vegetables on a platter. Add the lettuce, sour cream and grilled jalapeños to the platter.
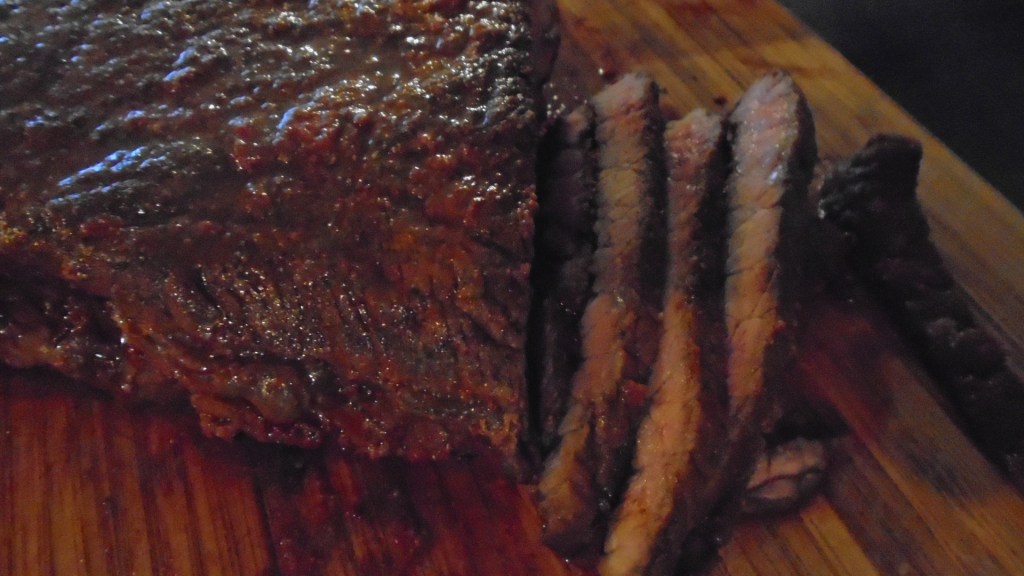
Cut the steak into ¼” slices and arrange the strips on the platter.
Serve with warm tortillas (and that second beer!)
Fill your days with hard work and reward yourself for a job well done. Cook your steaks with love but don’t cook your steaks well done!