There’s a million fun ways to make ramen. This is one of those ways.
Ingredients:
1 Tbs brown sugar
1 Tbs Hoisin sauce
1 Tbs soy sauce
1 Tbs sesame oil
2 tsp chili garlic sauce
2 pork loin cutlets ( ½” thick)
1 cup sliced mushrooms
4 green onions, chopped
¼ cup fresh basil, chopped
1 large jalapeño, sliced
1 wickedly spicy chili of your choice, thinly sliced (optional)
½ tsp toasted sesame seeds
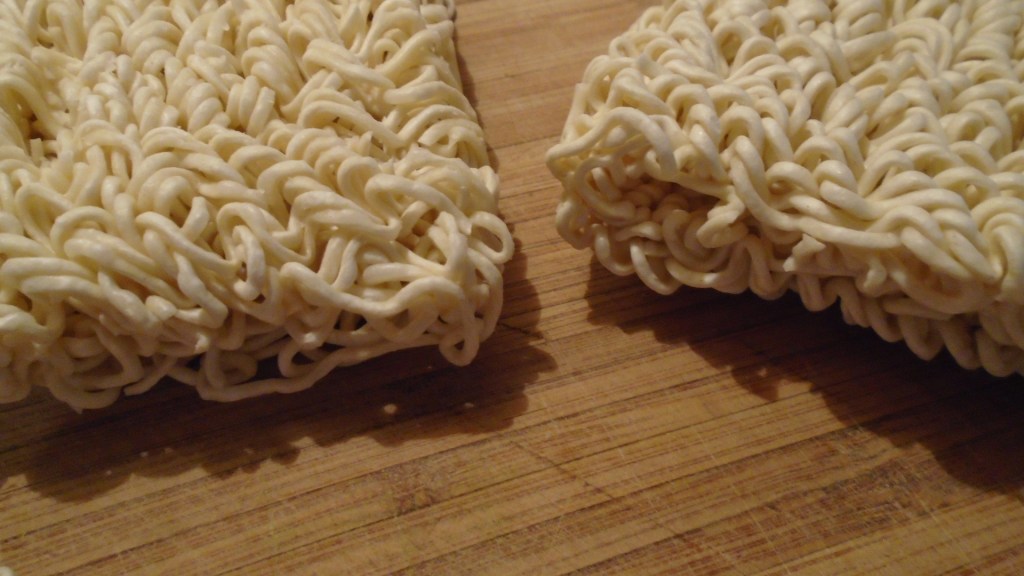
2 packs of dry ramen, save the spice packets for another day
Directions:
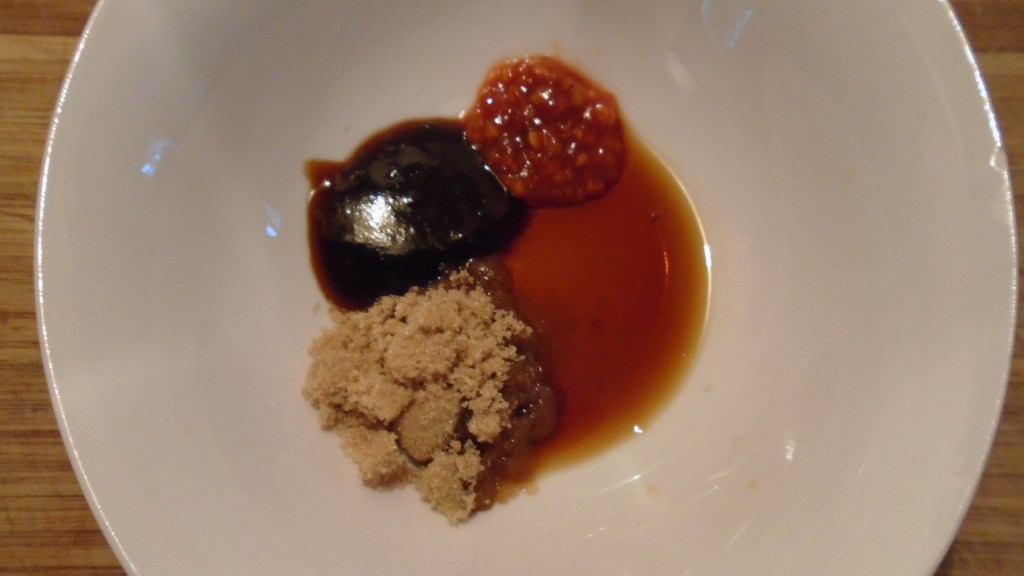
Mix the brown sugar, Hoisin sauce, soy sauce, sesame oil and chili garlic sauce in a small bowl.
Smear the mixture over the pork cutlets.
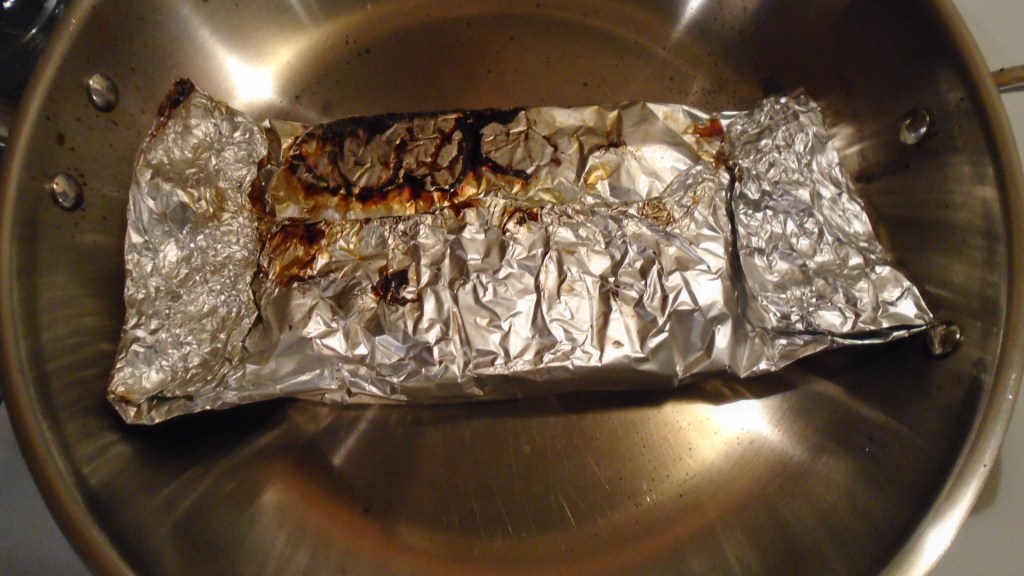
Lay the pork cutlets on a sheet of heavy duty aluminum foil and wrap tightly.
Heat a skillet at high heat. Lay the aluminum packet on the skillet and press with a heavy object, such as a tea kettle full of water, or small pot filled with water.
Turn the packet over every minute, with tongs. Remove the packet after 5 minutes. Set aside.
Set a pot of water to boil. Add the ramen and stir briefly until the ramen is tender. Strain the ramen noodles and set aside.
Slice the pork into ½” thick strips. Set aside.
Pour the juices from the aluminum foil pack into a small sauce pan. Scrape away any solids that remain on the aluminum foil and add them to the pan. Add 2 cups of water to the pan and simmer at medium medium/high heat. Allow the sauce to boil for a minute and then turn the heat off. Add the toasted sesame seeds.
Add some of the cooked noodles to a serving bowl. Add some sliced pork and raw vegetables. Pour some of the broth into the bowl and steep for a few minutes. Serve warm.
Valentine’s Day week, 2021, remember that?! The Big Freeze! Snowmageddon! The Snowpocalypse! The events seem blurry to me now but it was big deal, at the time. Here, in the deep South, we were crippled by the massive arctic blast.
My wife and I somehow found a way to commute to work, when others couldn’t, or were too scared to try. We’re just rugged, that way, I suppose. We came home, tired and hungry each day and our dinners were slapped together quickly with whatever food we had in the house and we went to bed early, only to face another day of bitter cold and icy roads.
It wasn’t until the end of the cold snap that I decided to make this suitable “cold day” meal.
Ingredients:
1 large yam
2 medium yellow squash
3 green onions
1 cup broccoli
2 Tbs butter
¼ cup milk
2 Tbs heavy cream
1 cup turkey or chicken broth
Directions:
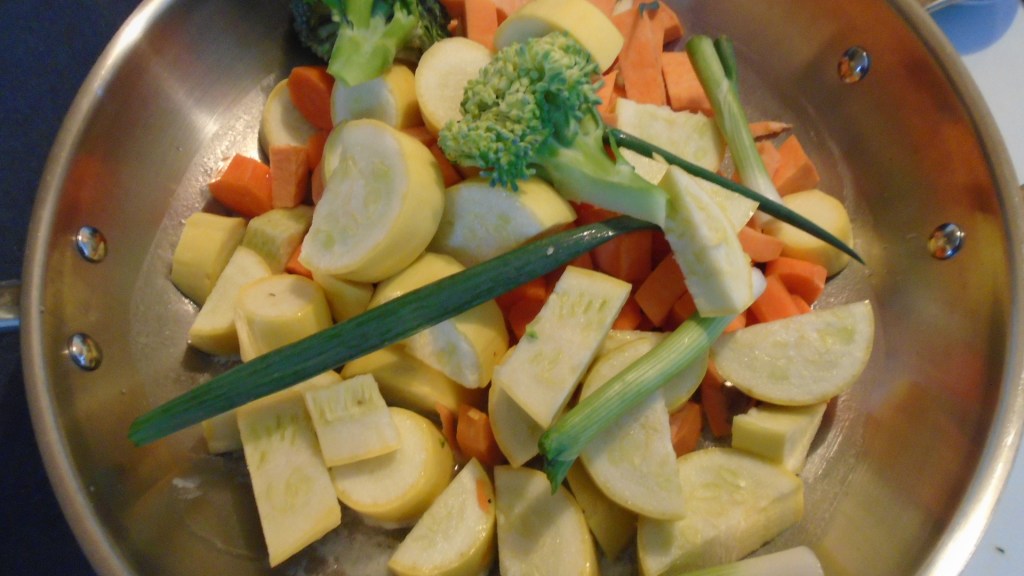
Wash and rinse vegetables. Chop the vegetables into 1 to 2 inch pieces.
Melt the butter in a large saucepan over low heat. Add the vegetables to the pan and sauté for about 15 minutes, or until the vegetables begin to soften.
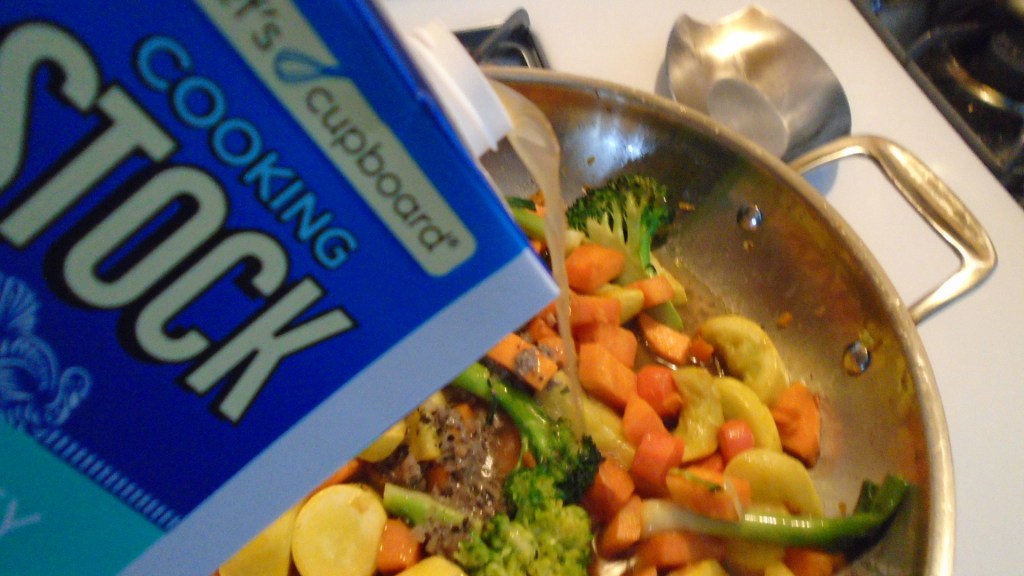
Add the turkey or chicken broth. Simmer for 30 minutes.
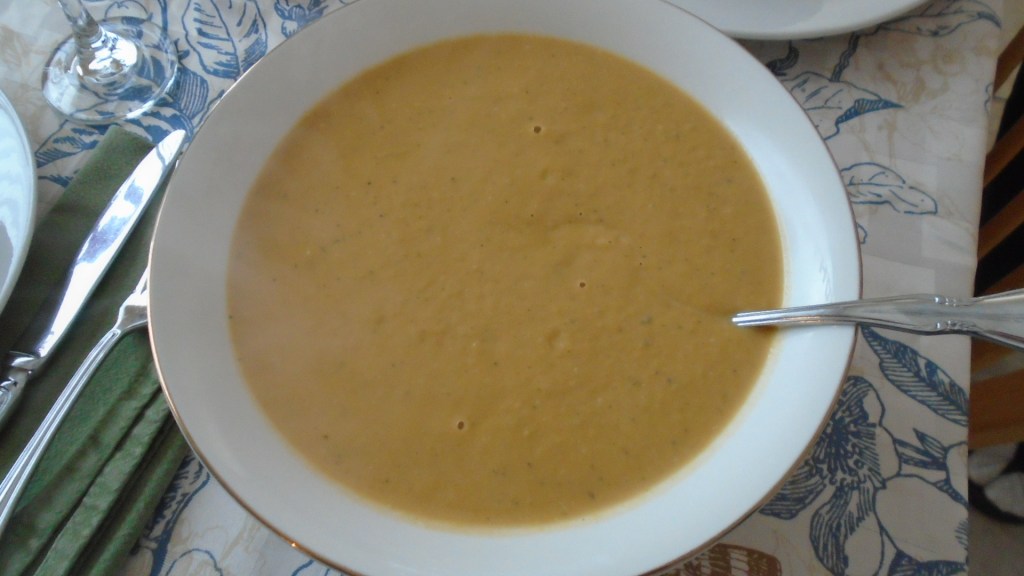
Pour the vegetables and broth into a mixer and puree.
Return the pureed mix to the sauce pan and simmer at low heat. Add a the milk and cream and simmer for a few more minutes, while stirring gently.
A tip of the hat to legendary chef Emeril Lagasse for this one. Emeril is a master of simplicity and he has a deep respecet for quality ingredients. Say what you want about TV chefs but Emeril’s attention to detail and culinary skill is inspiring! This particular recipe is about as simple as it gets and the result can make you feel like you’re eating at a four star restaurant.
As with any good cut of lean meat, high heat and short cooking time is key. I was afraid of serving undercooked meat until I realized that it’s not the color of the finished meat that matters…it’s the temperature. Bring the meat to a high enough temperature to kill bacteria and you’re safe to serve!
Ingredients:
4 large garlic cloves, pressed
1 Tbs Dijon mustard (I substituted with a German, stone ground mustard)
4 tsp chopped fresh rosemary
1 tsp coarse salt
1 tsp ground black pepper
2 lbs boneless pork loin roast, excess fat trimmed (I cut the roast into two equal pieces)
1 cup warmed chicken stock
Fresh rosemary sprigs or fresh parsley, for garnish
Directions:
Mix the pressed garlic cloves, mustard, rosemary, salt and pepper together. Rub the mixture over the entire pork roast.
Place the pork, fat side down, into ceramic roasting pan. Roast the pork for 30 minutes at 400° F, then turn the roast over and roast until a meat thermometer, inserted into the center of the roast, reads 140° F, about 25 to 30 more minutes.
Remove the roast from the oven and let the roast cool for about 10 minutes.
Deglaze the roasting pan with warmed chicken stock and pour into a small saucepan. Simmer the sacue for a few minutes.
Cut the pork into thin 1/3-inch-thick slices and arrange overlapping slices on a serving platter. Drizzle the sacue over the pork and garnish fresh rosemary sprigs or parsley.
Serve with baked or steamed vegetables. I chose broccoli and baked potatoes.
With nearly a foot of snow on the ground and with fresh snow still falling, I find solace in knowing that I had ripe tomatoes on the vine last Thanksgiving. Stay safe and warm and wish for Spring!
I hesitate to say that this is a no-fail recipe but I can say that it’s never failed me. I first heard of roasting chicken in a paper bag many years ago when I didn’t have much money and I only had rudimentary cooking utensils, but that didn’t stop me from making an fantastic dinner. This is a perfect recipe for the young bachelor who wants to impress but can’t afford a dozen long stemmed roses!
I roasted a whole, small hen in a paper grocery bag with dried herbs, potatoes and carrots. The hen came out tender and juicy and perfectly cooked and the vegetables were full of flavor.
It’s important to note that you will need a large paper bag. Grocery store paper bags are perfectly suitable and they don’t add to the cost of the meal. Don’t forget to request paper bags when you go to the store to buy the chicken!
Use an ordinary grocery store bag
For this recipe, I used two boneless, skinless chicken breasts instead of a whole hen.
Ingredients:
¼ cup Herbe de Provence (or an Italian herb mix)
½ tsp red chile flakes
½ tsp salt
1 tsp dried onion
½ tsp cracked black pepper
2 Tbs olive oil
2 large boneless, skinless chicken breasts
1 head of broccoli (about ½ lb)
1 lb small potatoes
2 large carrots
2 ears of fresh corn on the cob
A few small fresh chiles
4 oz fresh mushrooms
½ onion peeled but not chopped or sliced
3 Tbs butter, melted
¼ cup fresh basil
½ tsp sea salt, crushed
¼ tsp cracked black pepper
For the roasting bag: One large paper grocery bag and a few tablespoons of cooking oil.
Directions:
Add olive oil, herbs, chile flakes, dried onion, salt and pepper to a mixing bowl. Whisk to combine. Add the chicken to the bowl and toss to coat. Marinate the chicken in the refrigerator for at least one hour.
Prepare the bag for roasting. Lay a large casserole dish on a work surface. A glass or metal pan can be used, as long as it is deep enough to collect juices that might run out of the bag when it is comes out of the oven.
Stand the paper bag in the dish and smear the entire bag with cooking oil. I like to pour a little oil onto a paper towel and scrub the bag with soaked paper towel. This doesn’t require much oil…just enough to wet the bag a little. Set aside.
Wash the vegetables and allow them to air dry for several minutes. Cut the corn into 3 to 4 inch pieces. Leave the rest of the vegetables whole.
In a large mixing bowl, add 3 tablespoons melted butter, ¼ cup fresh, chopped basil, ½ tsp salt and ¼ tsp black pepper. Mix together, briefly. Add the potatoes, carrots and corn to the bowl and toss.
Add all of the vegetables to the paper bag, in no particular order. Place the chicken breasts on top of the vegetables. Clasp the top of the paper bag and roll together tightly to seal.
Place in a 350° oven for 45 minutes to 1 hour, depending on how tender you like your vegetables.
Remove the baking dish from the oven and allow to cool on a table for a few minutes. Carefully cut a whole near the top of the bag to allow the steam to escape. Cut the remaining top portion of the bag away.
Remove the chicken and vegetables from the bag and move to a cutting board. Cut the broccoli and carrots into bite sized portions. Arrange the vegetables on a serving platter. Slice the chicken into serving slices and nestle the chicken in the vegetables.
Enjoy the aroma and celebrate with good friends and loved ones!
Mardi Gras is right around the corner and that means King Cakes are back in season. My wife recently made her first attempt at making a King Cake and I must say, it was superb! The texture of the cake was springy and light and the sweet glaze that topped the cake was sprinkled with yellow, green and purple confectioner sugar, in traditional New Orleans style. We have been nibbling at the large cake for a few days and it occurred to me that it might be well suited for French toast. So, that’s what I did this morning.
Ingredients:
Several 1” thick slices of King Cake
2 eggs
1 cup whole milk
¼ cup heavy cream
¼ lb butter (on stick)
Maple syrup
Directions:
Add eggs, milk and heavy cream to a shallow baking pan, or shallow plastic storage container. Whisk the ingredients briskly.
Lay the slices of King Cake in the mixture and allow the cake to soak for 15 minutes. Turn the slices over and soak for another 15 minutes.
While the cake soaks, heat a large skillet, at low heat, and add the butter.
Once the butter begins to bubble, turn the heat up to medium heat. Place slices of cake into the pan. Do not overcrowd the pan.
Cook for about 3 to 5 minutes and turn the slices over, after they have browned. Cook for another 3 to 5 minutes and remove the slices to a serving dish.
Odds and ends. Bits and pieces. Those little leftovers from previous meals that were too good to throw away but too small to make a meal, on their own.
Go ahead, take them out of the fridge and set them on the table. Imagine how they can be used to make a brand new meal.
The ingredients are like colors on a painter’s palette, or notes and chords, waiting to be arranged to make music. These are the elements of creation!
Some of my favorite meals have started this way.
Reinventing leftovers can be rewarding in many ways. There is satisfaction in knowing that good food won’t be wasted and there is the feeling of exuberance that comes from self-expression and creative thinking.
I made this dish way back in April, 2020, during a time when I was sheltering at home, in an attempt to stem the tide of the pandemic. If there was ever a time to think frugally, it was then. People were hoarding toilet paper, disinfectants and many store shelves were empty. What a time!
1 cup sautéed vegetables (onions, tomatoes and mushrooms)
3 10” flour tortillas
1 Tbs olive oil
16 oz grated cheddar cheese
2 Tbs butter
2 Tbs flour,
1/3 cup milk
1 tsp hot sauce
¼ cup sliced, pickled jalapeños
¼ cup diced green onions
¼ cup chili-garlic sauce
½ cup sour cream
½ cup chopped iceberg lettuce
2 Roma tomatoes
Directions:
Chop the enchiladas into tiny pieces with a kitchen knife.
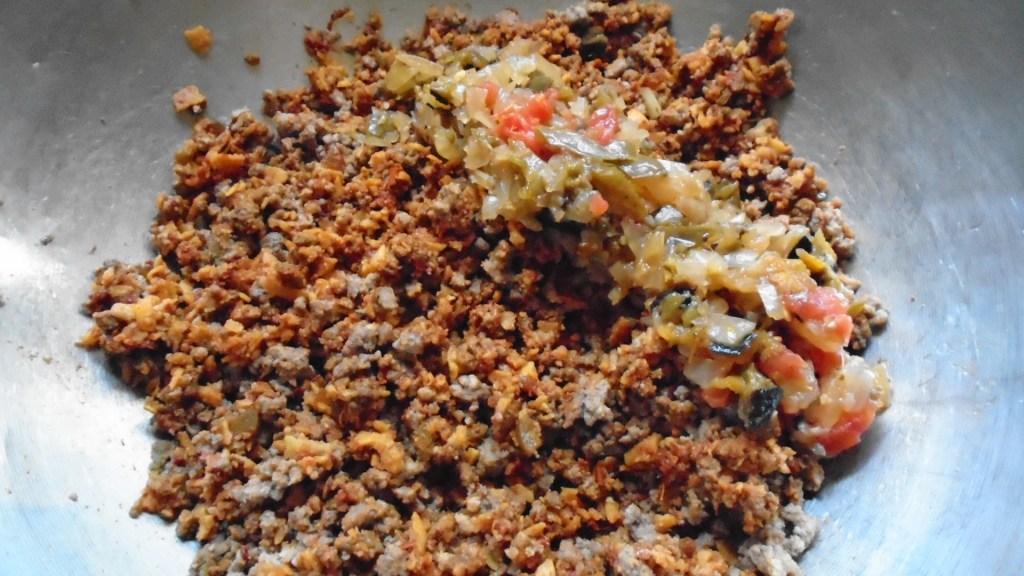
Add the chopped enchiladas to a large mix bowl and add the cooked ground beef.
Chop the sautéed onions, tomatoes and mushrooms.
Add the chopped vegetables to the mixing bowl.
Mix everything together thoroughly.
Divide the mixture into thirds and assemble the burritos.
Add olive oil to a large skillet and set heat to low/medium.
Carefully lay the burritos in the pan, seam side down.
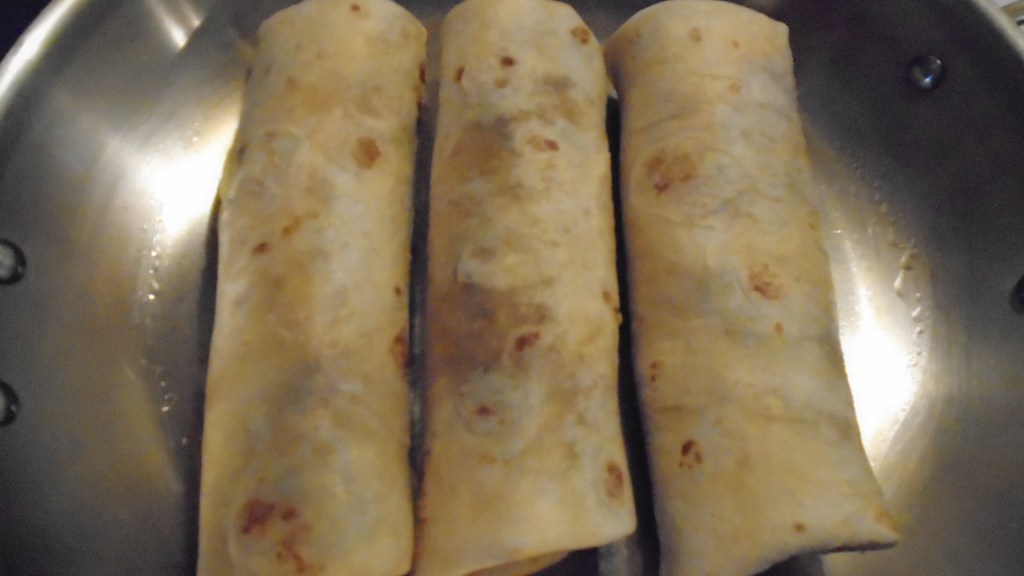
Sear the burritos on all sides until they are light, golden brown.
Remove the burritos to serving plates and keep in a warm place.
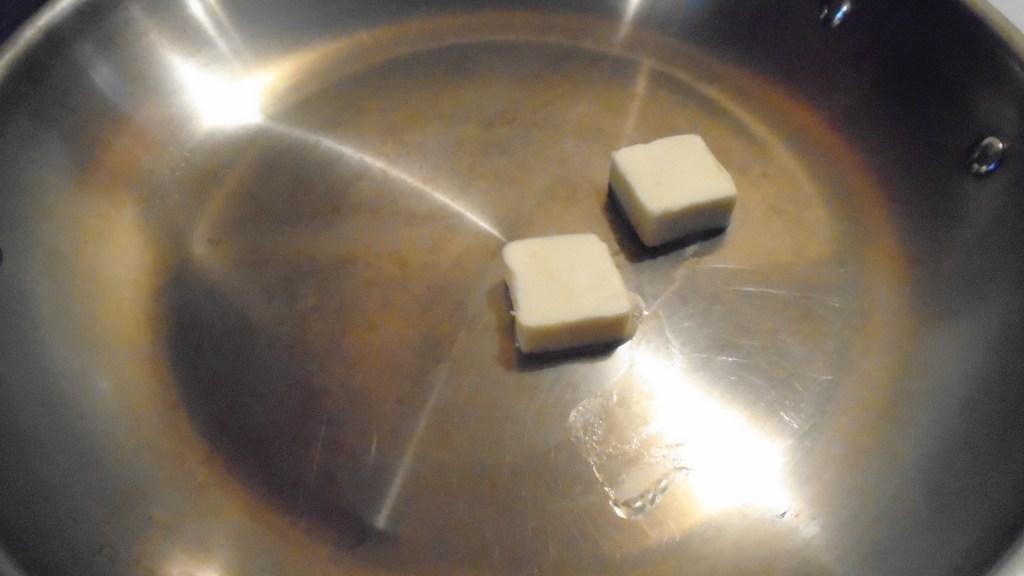
Add 2 tablespoons of butter to the skillet and set the heat to low.
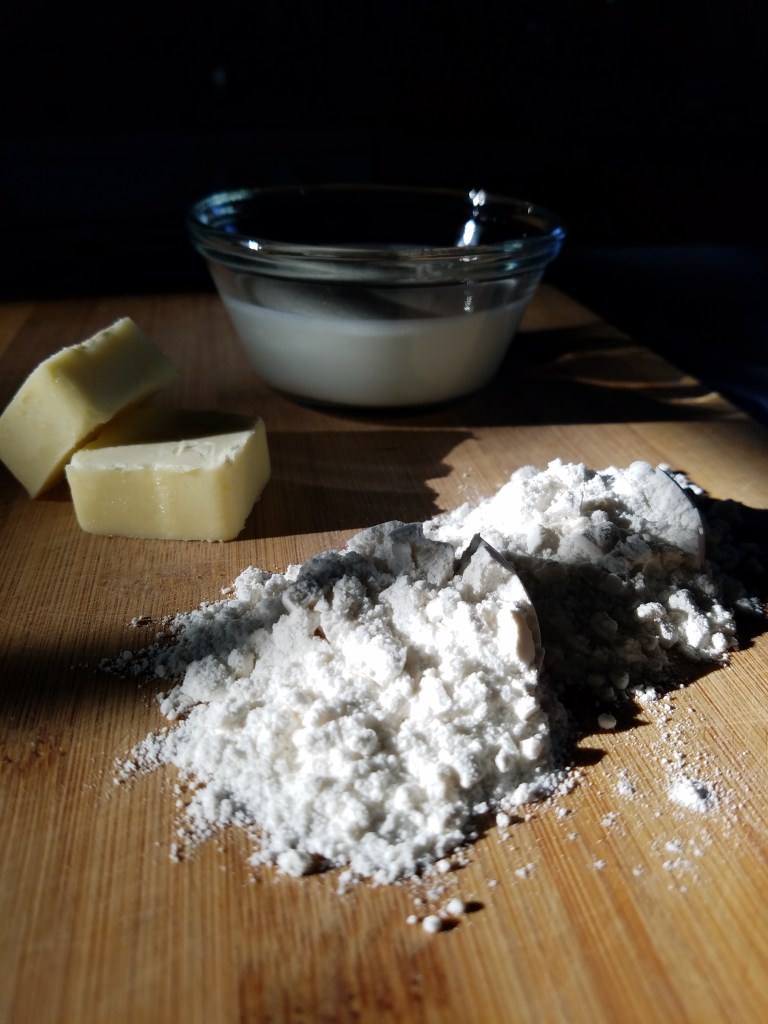
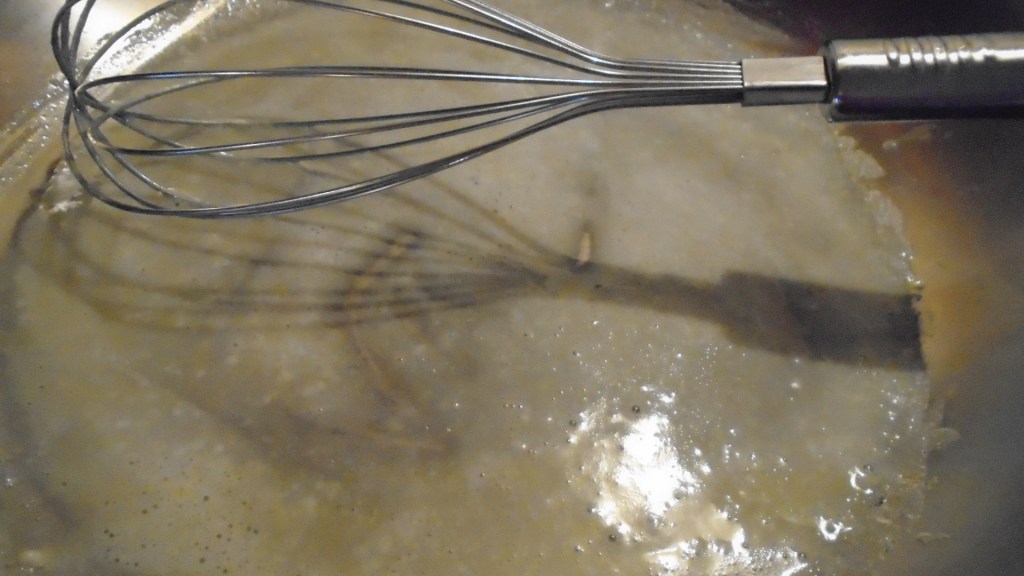
Once the butter melts, add the flour and whisk, to form a paste.
Simmer the butter and flour, while whisking, for about one minute.
Add the milk and whisk to combine.
Gently fold in the grated cheese and turn the heat off. Mix until the cheese sauce is smooth. Avoid over-mixing the sauce, to prevent the sauce from breaking.
Once the cheese sauce is warm and blended, cover each burrito with the sauce.
For a mild burrito, top with green onions.
For a spicier burrito, top with chili-garlic sauce and jalapeños.
Serve with sliced tomato, chopped lettuce and sour cream.
2020 has been one heck of a ride and I can’t think of a more suitable way to wrap up the year than by wrapping it up in tamales. Tamales might just be the perfect metaphor for 2020. I was fully prepared to offer a long lament about the year 2020, now that the year has finally come to an end, but I feel a greater need to close the door to the past year and move on.
Anyone who has made tamales knows that it requires time, dedication and stamina, beyond the scope of preparing a typical meal.
There comes a point in the tamale making process where it seems like it will never end and I wonder why I chose to make them, in the first place. The only thing that carries me beyond that moment of futility is a steadfast determination and a belief that I will find satisfaction, when the job is done.
I could go on and on about the agony and ecstasy of making tamales but, I don’t want to discourage anyone from making tamales. Making tamales is a rite of passage.
My method for making tamales takes two days. On the first day, I roast the meat and make the sauce. On the second day, I prepare the masa dough, assemble the tamales and then steam them.
Day one: Roast the meat and make the sauce.
Ingredients for the meat filling:
5 lb Pork butt (shoulder roast) (substitute with chicken or beef)
¼ cup cooking oil
1 cinnamon stick, broken into pieces
1 Tbs coarse salt
2 tsp cumin powder
2 tsp cracked black pepper
3 or 4 bay leaves
2 Tbs dried onion flakes
2 tsp red chile powder
2 tsp dried Mexican oregano
2 cups chicken stock (or beef stock)
2 Tbs rendered bacon fat or rendered beef fat
Directions:
Wash the roast in cool water and pat dry. Add the oil to a large Dutch oven and set the heat to high. Sear the roast on each side and then set it aside to cool. Discard remaining oil from the Dutch oven.
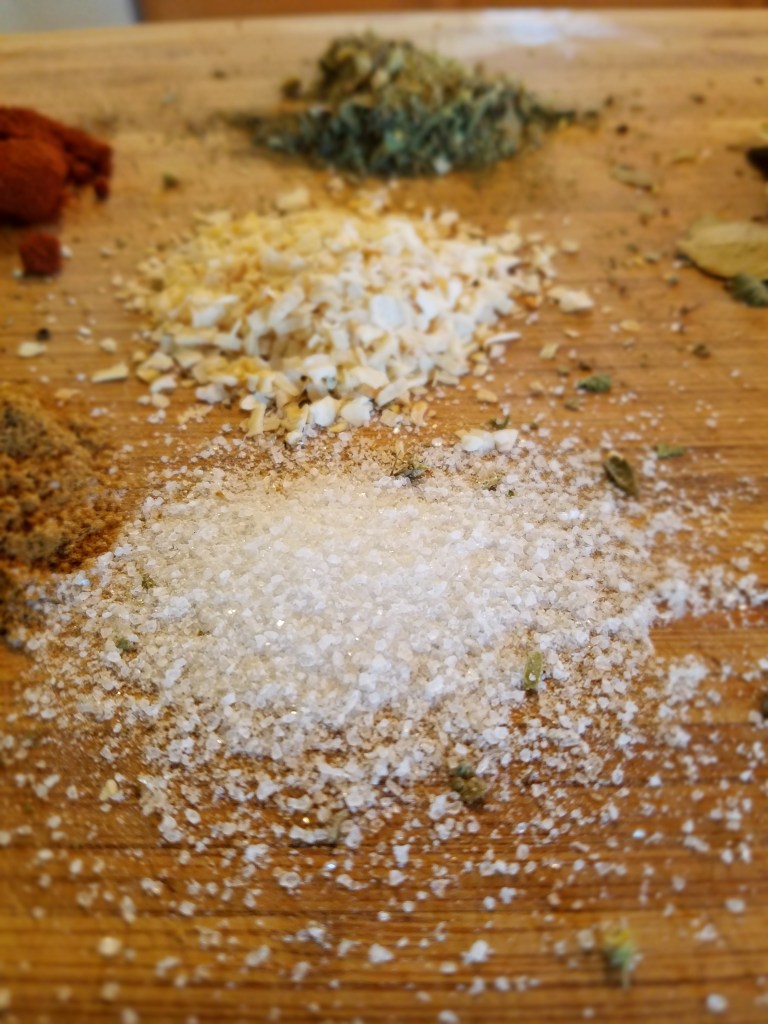
Combine all of the spices (cinnamon stick, salt, cumin, black pepper, bay leaves, dried onion, chile powder and oregano) and grind them in a mortar and pestle.
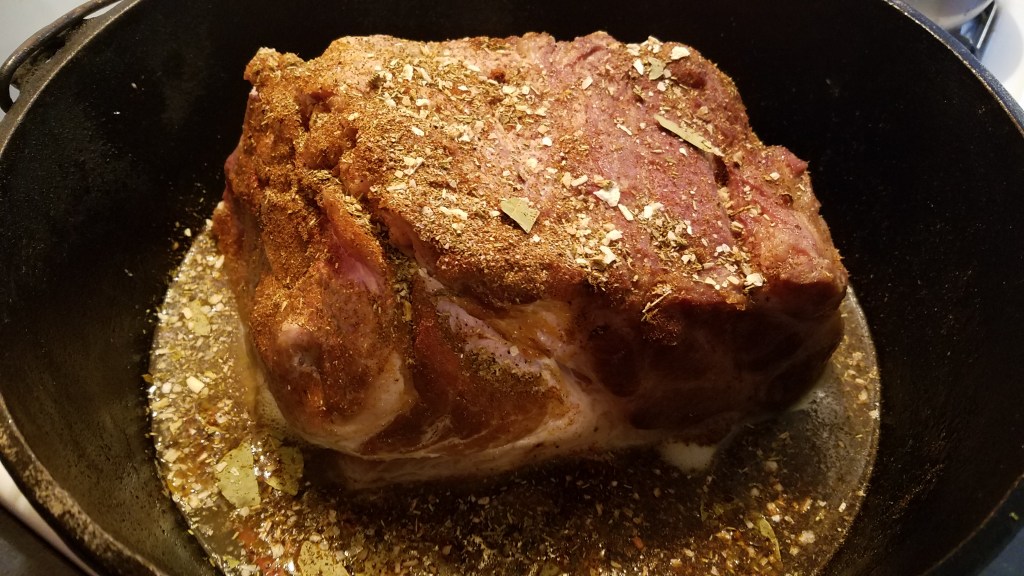
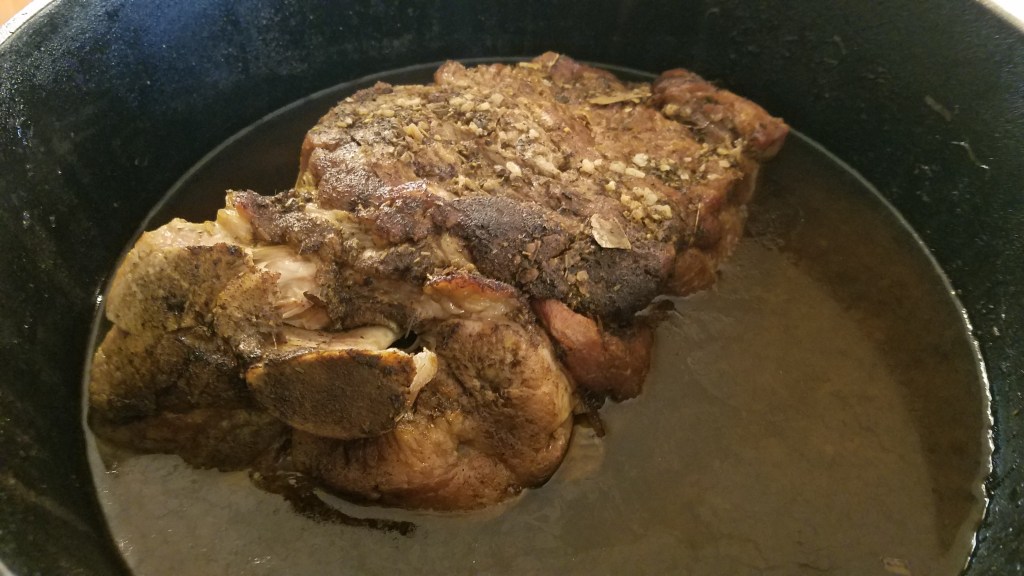
Coat the roast with the blended spices and return the roast to the Dutch oven. Add 2 cups of stock. Cover the Dutch oven and place in a 225° oven for six hours.
Remove the Dutch oven from the oven and let the roast rest for about 20 minutes.
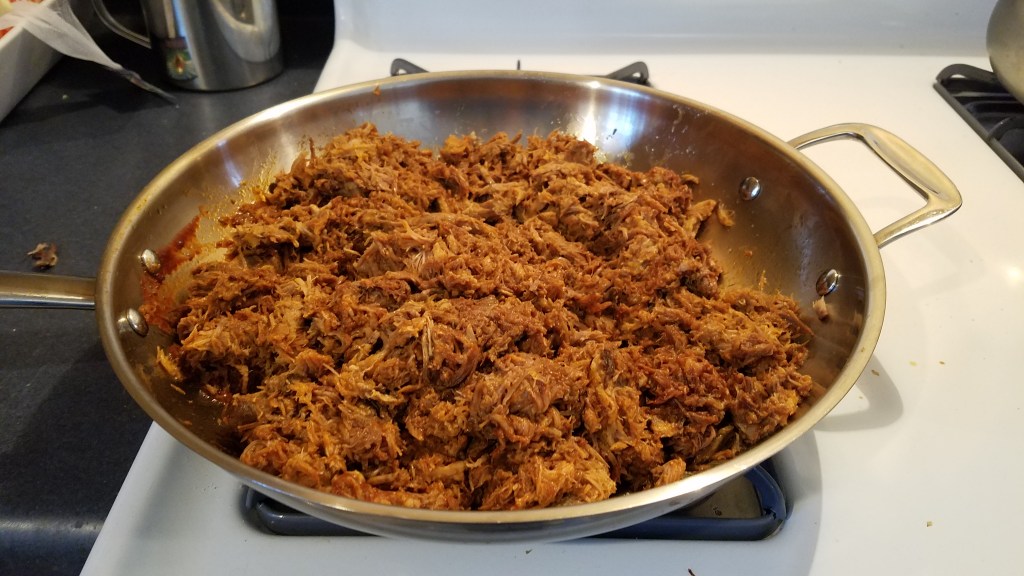
Shred the roast with forks and add some of the shredded meat to a large skillet. Add a few teaspoons of rendered fat to the skillet and set the heat to medium/high. Stir the meat for several minutes and remove to a large bowl. Repeat the process until all of the shredded meat has been fried quickly in the skillet.
Ingredients for the sauce:
20 dried guajillo chiles, stemmed and seeded
3 chile de arbol, stemmed and seeded
3 allspice berries
1 tsp fennel seed
1 tsp sesame seed
2 tsp dried onion flakes
1 tsp garlic powder
1 ½ tsp salt
8 oz tomato sauce
Directions:
Stem and seed the chiles.
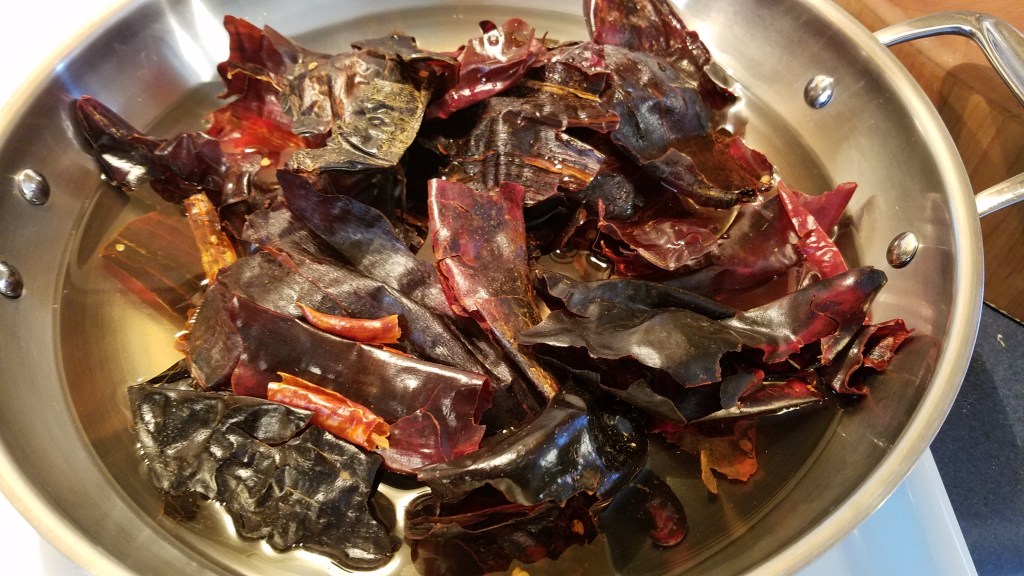
Whole, dried chiles
Discard stems and seeds
Steep the chiles in hot water for at least 30 minutes.
Remove the chiles and place them in a blender. Add some of the water, used during the steeping process, to the blender.
Puree the chiles and strain over a large mixing bowl to remove the pulp.
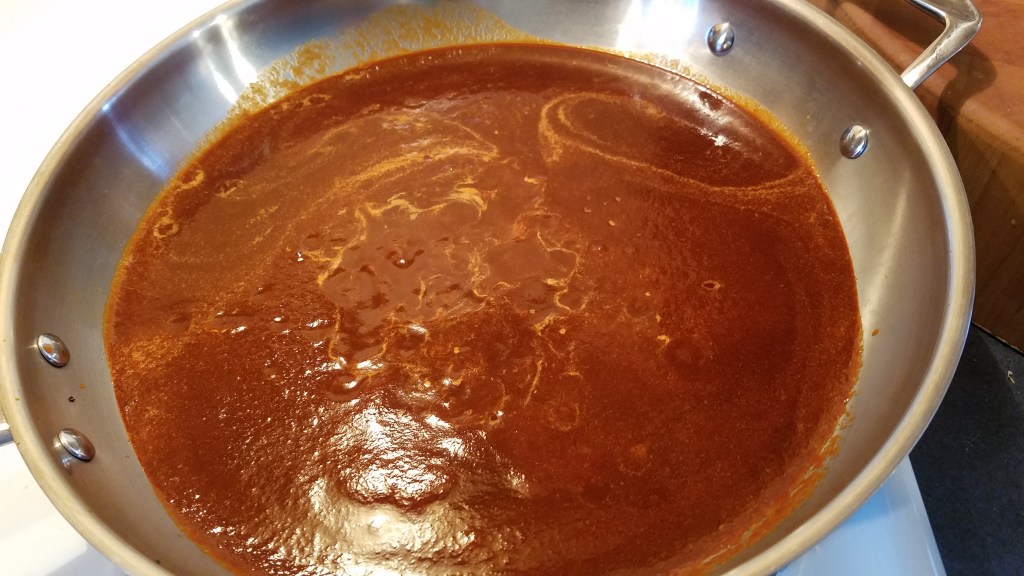
Move the sauce from the bowl to a large skillet. Set the heat to low and simmer.
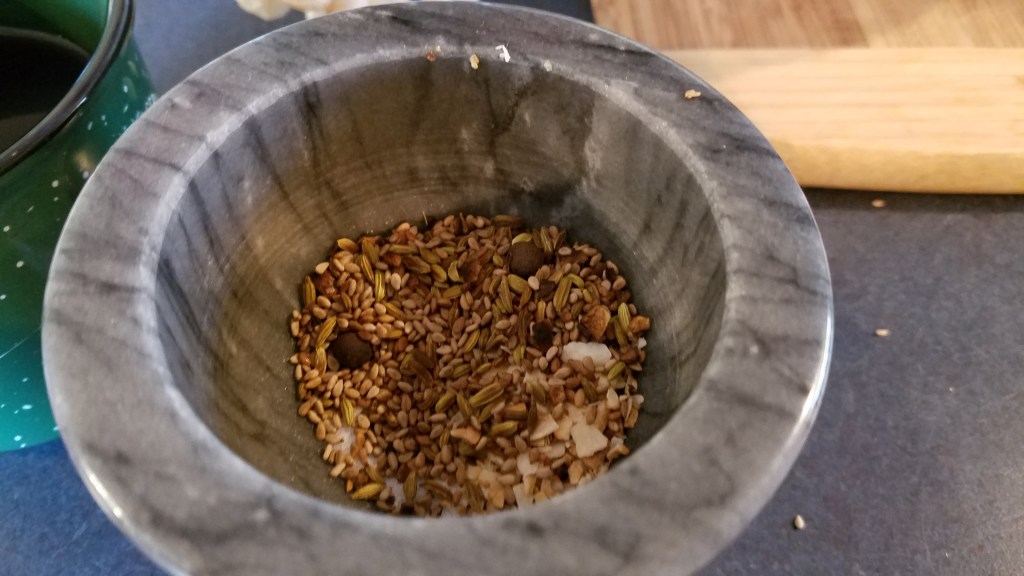
While the sauce simmers, toast the allspice berries, fennel seeds, sesame seeds and dried onion in a pan, at low heat. Keep the different items apart in the skillet because the onion flake will toast quickly and will need to be removed first. Continue toasting the other spices until they become fragrant.
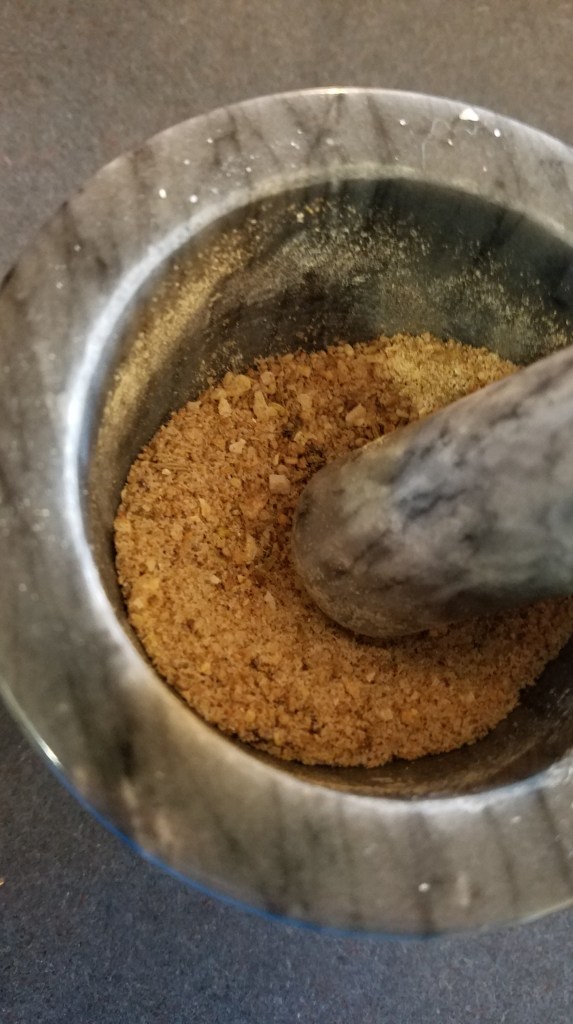
Grind the toasted spices in a mortar and pestle and add the garlic powder and salt. Add the spices to the sauce.
Add 8 ounces of tomato sauce to the sauce.
Whisk and stir the sauce at low heat for about 15 minutes. Remove the sauce to a large bowl.
Return the shredded meat to the pan and set heat to medium. Add some of the sauce and mix. Once the sauce is thoroughly mixed with the meat, remove the meat and allow to cool to room temperature. Once the meat has cooled, place it in an airtight container or sealable storage bag and refrigerate.
Day two: Prepare the masa and assemble the tamales.
For the masa:
1 package of corn masa (4 lbs)
Baking powder
Lard or vegetable shortening
Water or broth
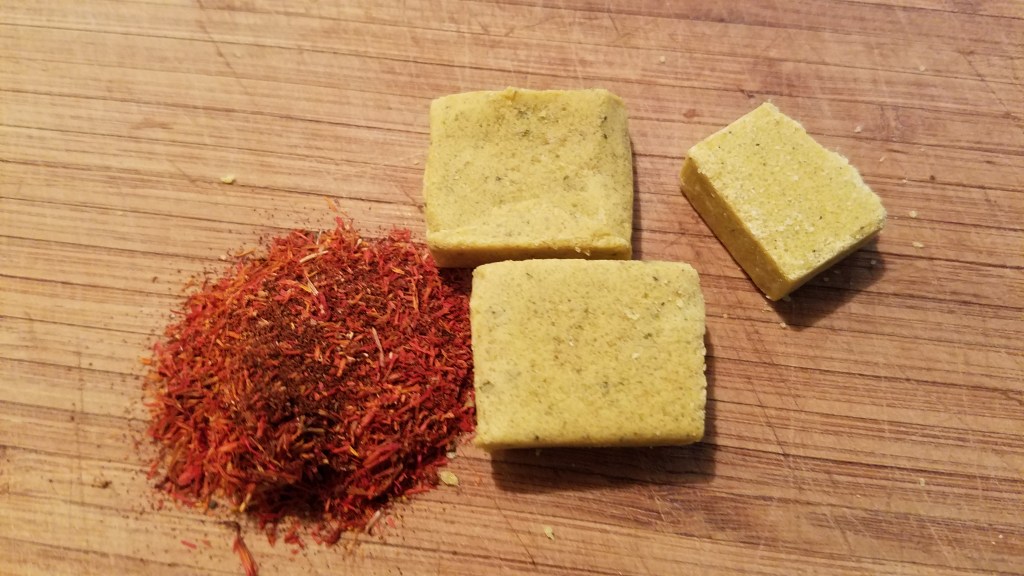
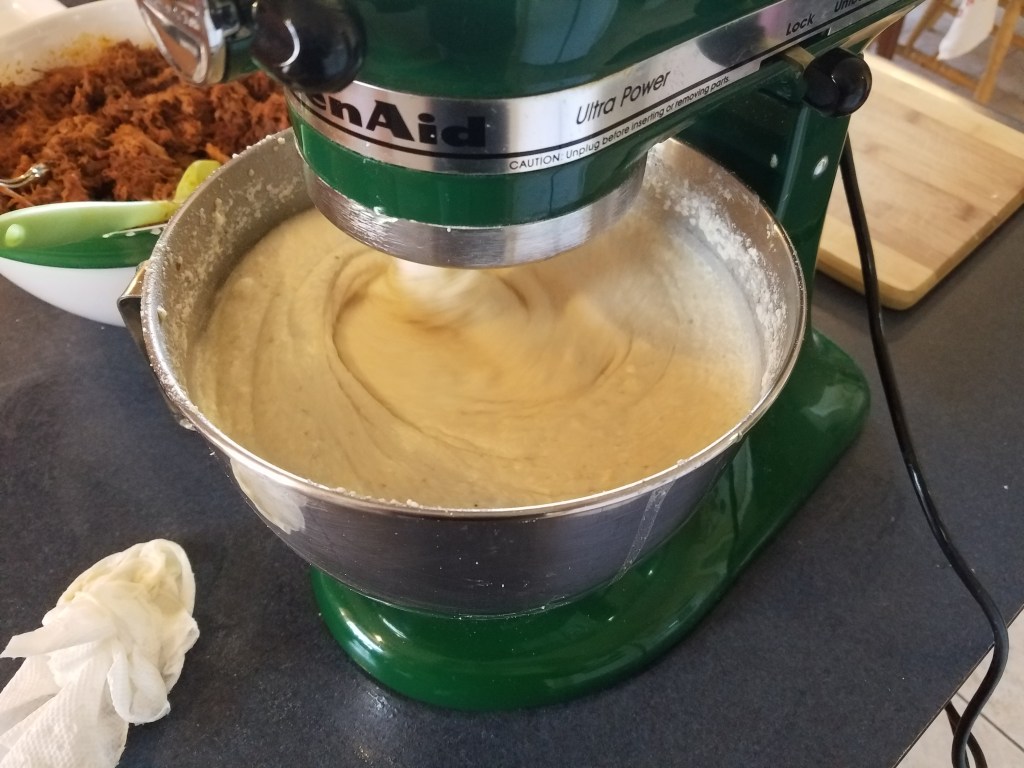
Follow the directions on the bag of masa. Most masa mixes call for the addition of baking powder, lard and water. The general idea is to add baking powder, lard and water to the masa and then mix to produce a fluffy, wet dough. I used water and added some chicken bouillon and dried Mexican safflower leaves, (azafran en flor), to give a warm color to the masa. I soaked the bullion and safflower in warm water before adding it to the masa mix.
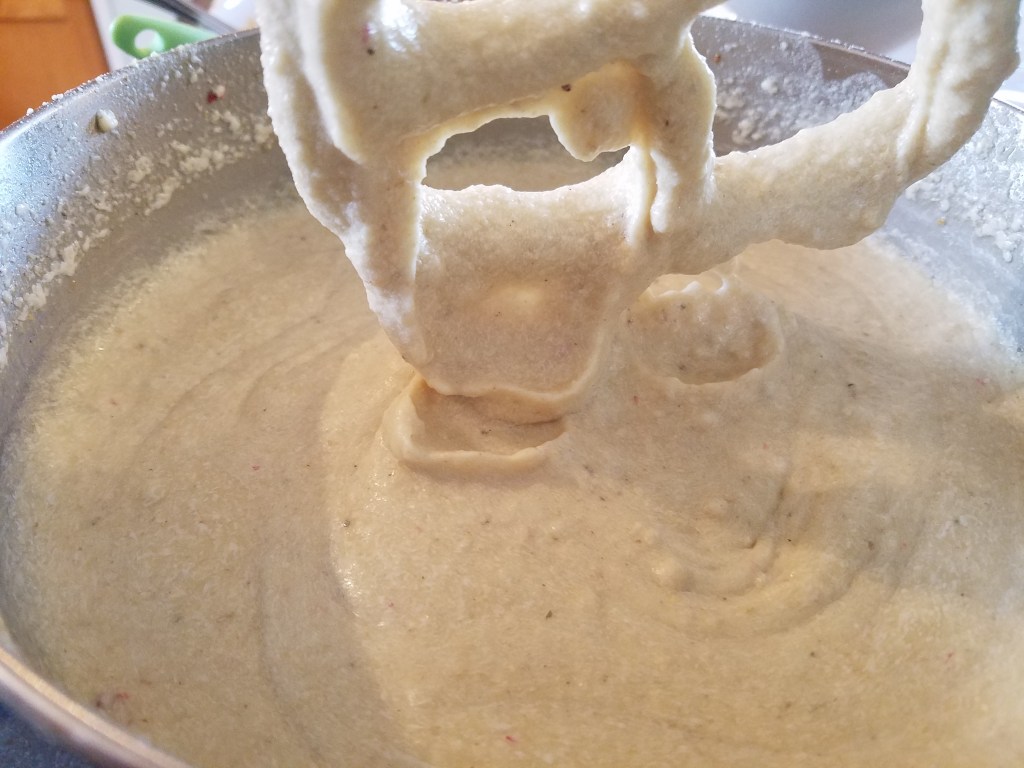
Masa dough needs to be creamy and wet, making it easy to spread.
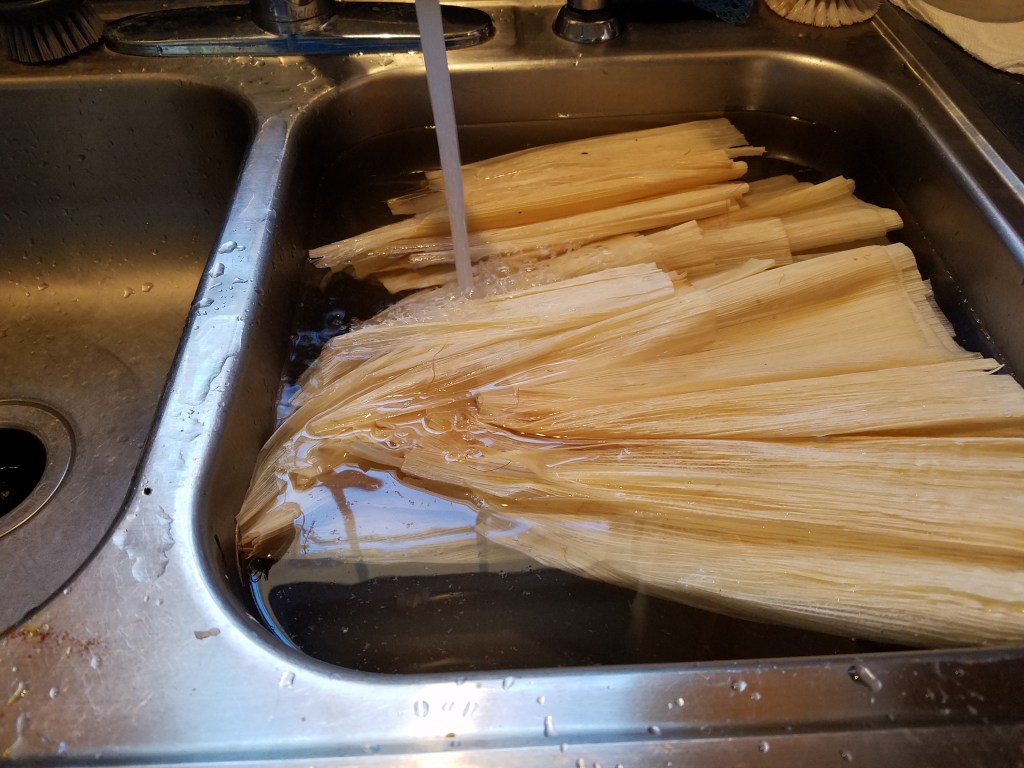
Soften corn husks by soaking them in warm water for 45 minutes to an hour. A clean sink full of hot tap water will do the trick.
Add some water to a tamale steamer and place the steamer on the stove top. Set the heat to medium and cover the steamer with a lid.
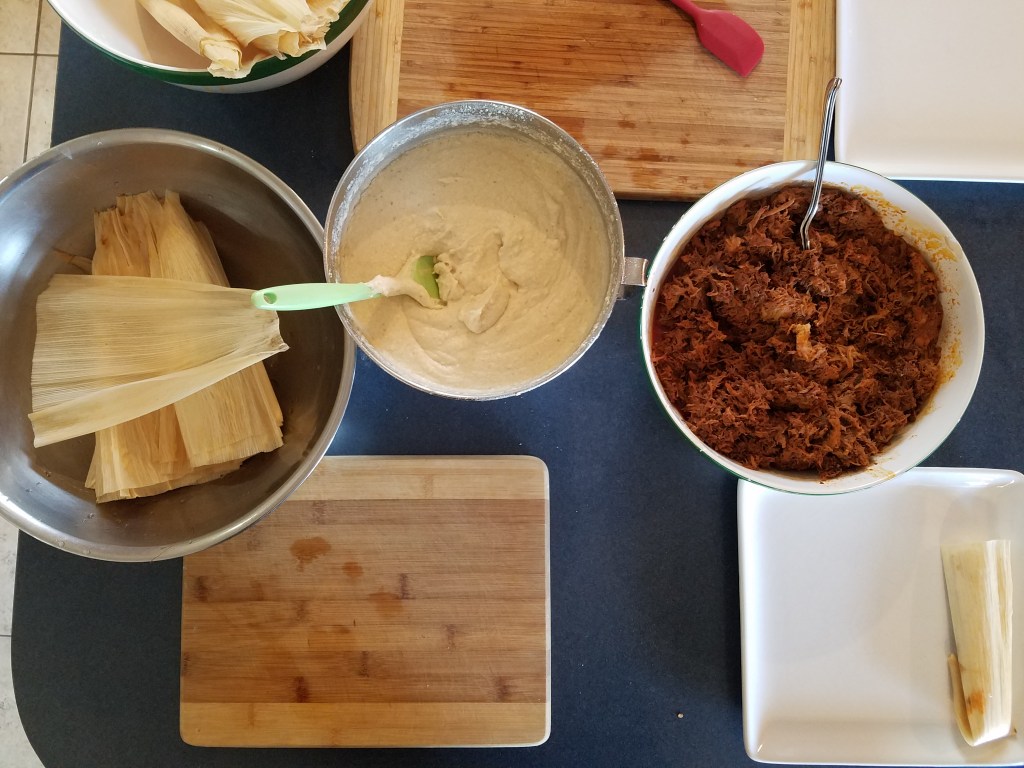
Prepare a large area to assemble the tamales. Arrange the work space so that others can help assemble tamales. Each person will need to be able to easily access the corn husks, masa and filling, and a tray for the wrapped tamales.
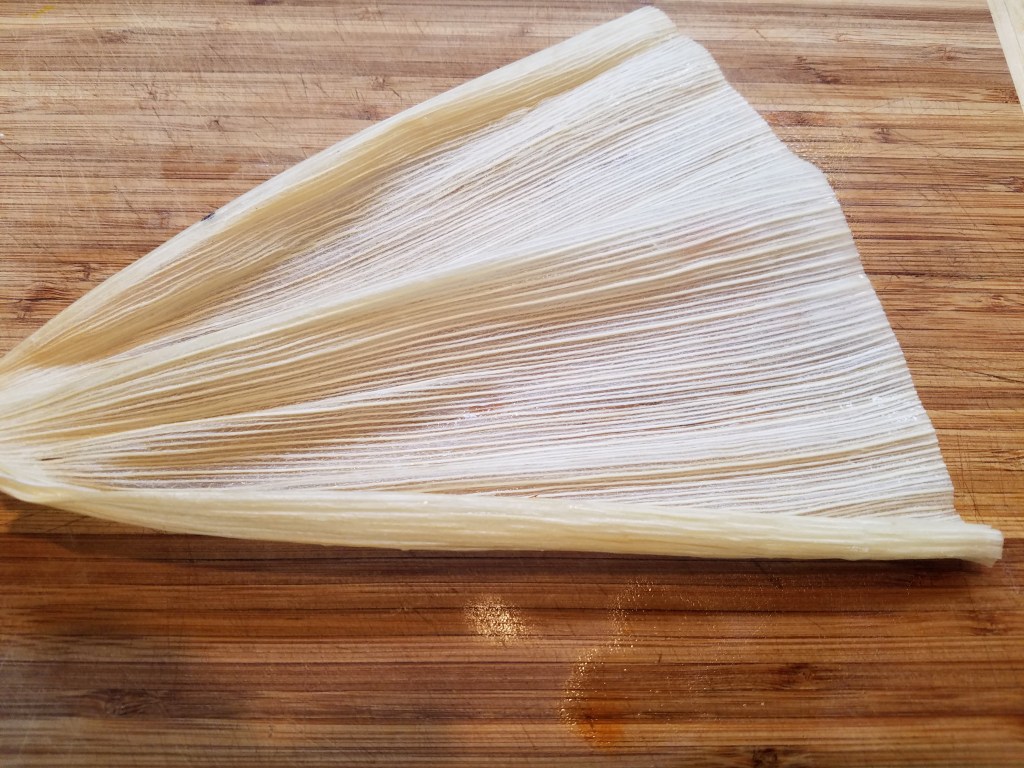
Lay a corn husk down on the work surface.
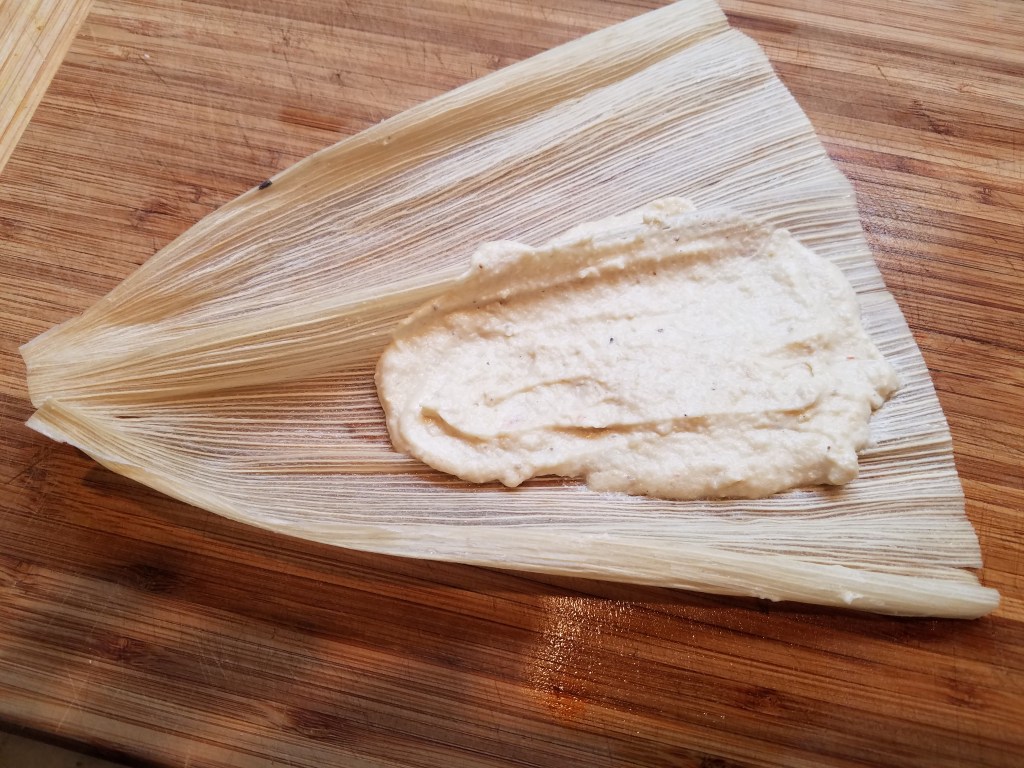
Apply about 2 tablespoons of masa to the center of the husk and smear the masa out toward the wide end of the husk. Don’t spread the masa across the entire husk. You will want to leave the edges of the husk clean.
Place about 2 tablespoons of the filling on top of the masa.
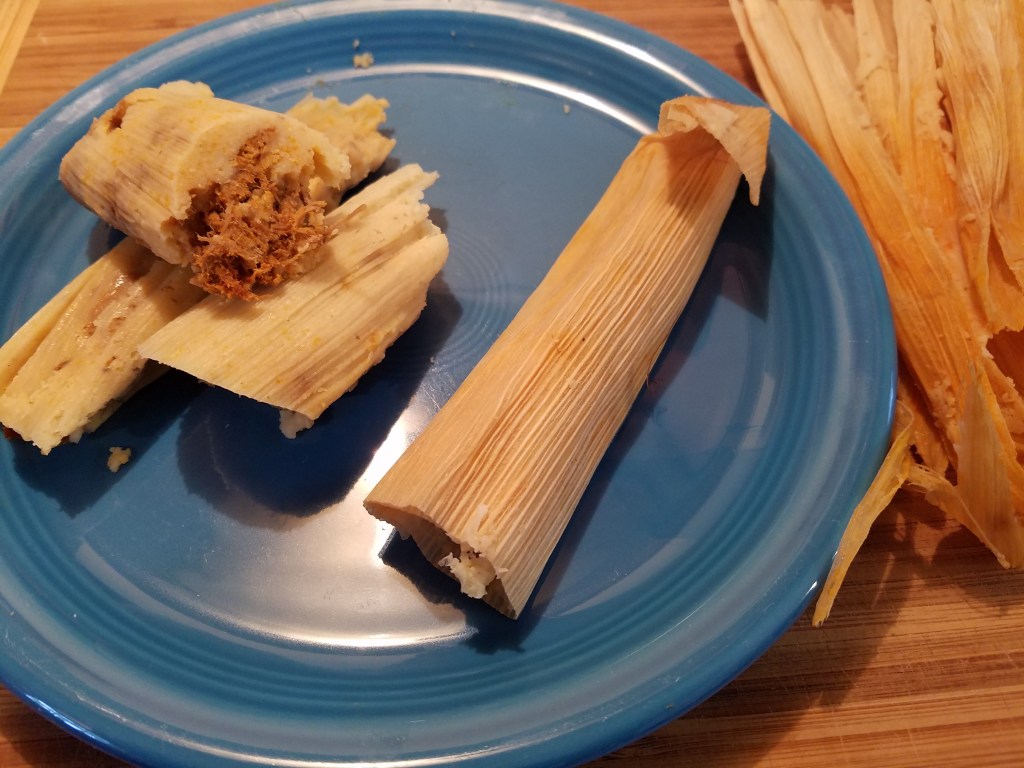
Roll the corn husk and finish by folding the pointed end over and placing the tamale on a staging tray or dish.
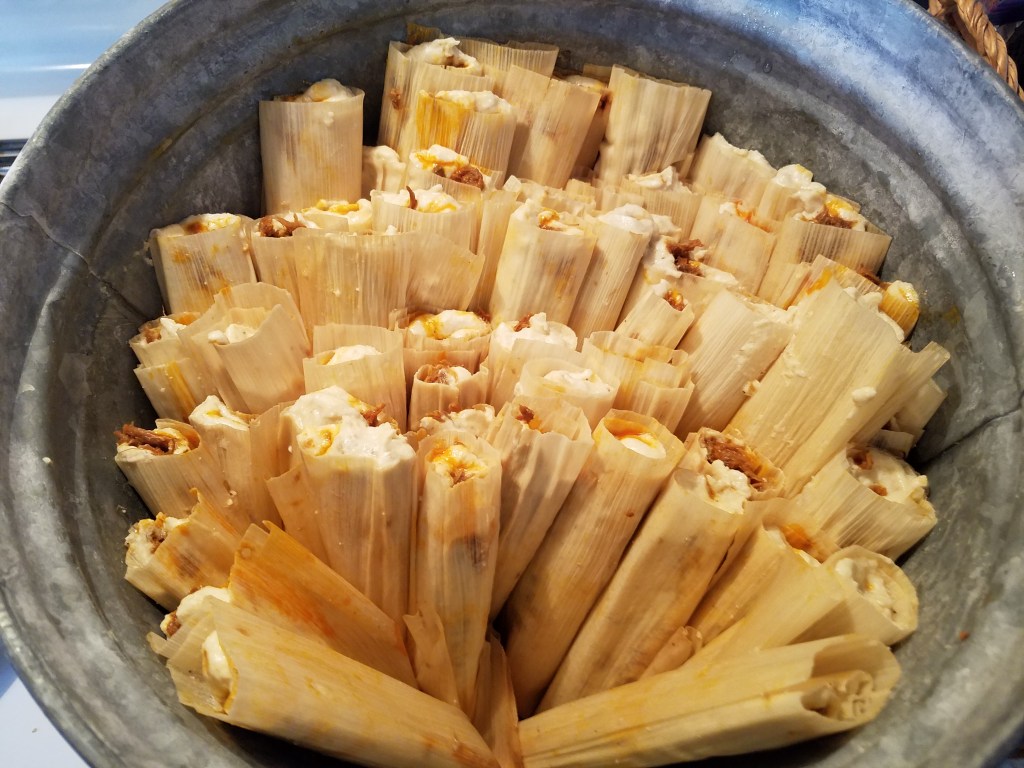
Once you have prepared a few dozen tamales, place them vertically in the steamer, with the folded ends pointed down.
Steam for an hour and then turn the heat off. Carefully remove the tamales and stack them on a tray.
Continue steaming tamales until they are all cooked.
At this point they are ready to eat or, you might want to wrap them in aluminum foil, in sets of 3 or 4, to save for later, or to send as gifts for friends and family.
I like to take packs of tamales to work and give them to co-workers.
You can freeze foil-wrapped tamales for weeks or months. To reheat, remove the foil and place in a microwave oven for about 30 seconds, or keep them in foil and warm them in a conventional oven for about 20 minutes at 350°.
Tamales can be topped with enchilada sauce, smothered in a warm cheese sauce or they can be eaten just as they are, hot or cold.
Best wishes to all of you during the upcoming year! Keep your family and friends fed with delicious food.
This is what’s known in the biz as a two-fer. Yes, I know I just posted a chicken flautas recipe but these two recipes were made four months apart, so I feel vindicated and clever for presenting another fun-filled flautas episode. Consider it and encore, or maybe a sequel. Either way, flautas deserve attention and they should be enjoyed as often as you can make them, or eat them.
Juxtaposing these two different approaches to flautas illustrates the versatility of Mexican cuisine. You can wrap anything you want into a corn tortilla, fry it and call it a flauta. Amazing!
Once again, for this recipe, I had the benefit of starting with chicken that had previously been cooked.
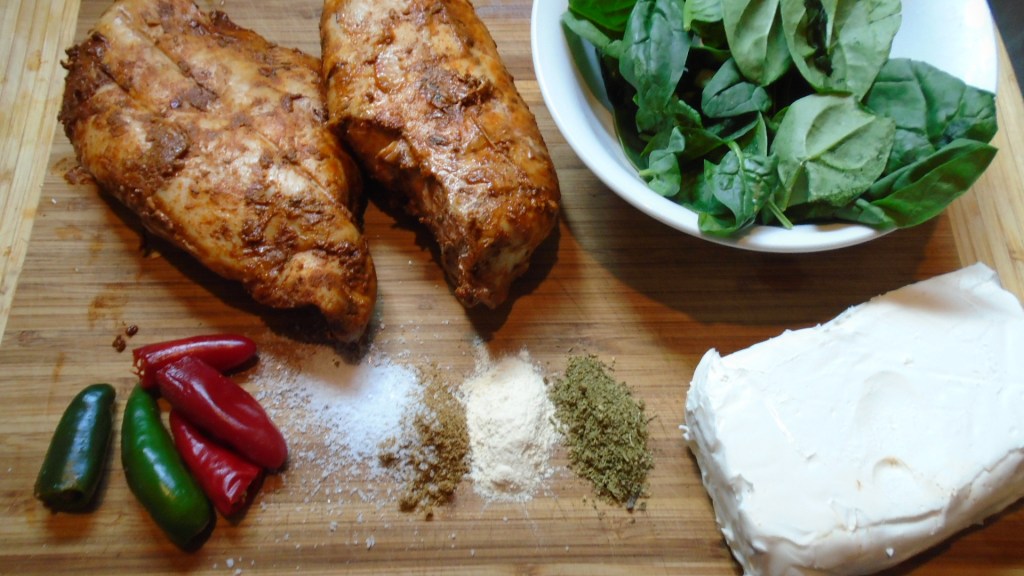
Ingredients:
3 cups chicken, cooked and shredded
8 oz cream cheese softened
1 ½ tsp cumin
1 tsp salt
1 tsp garlic powder
1/2 tsp Mexican oregano
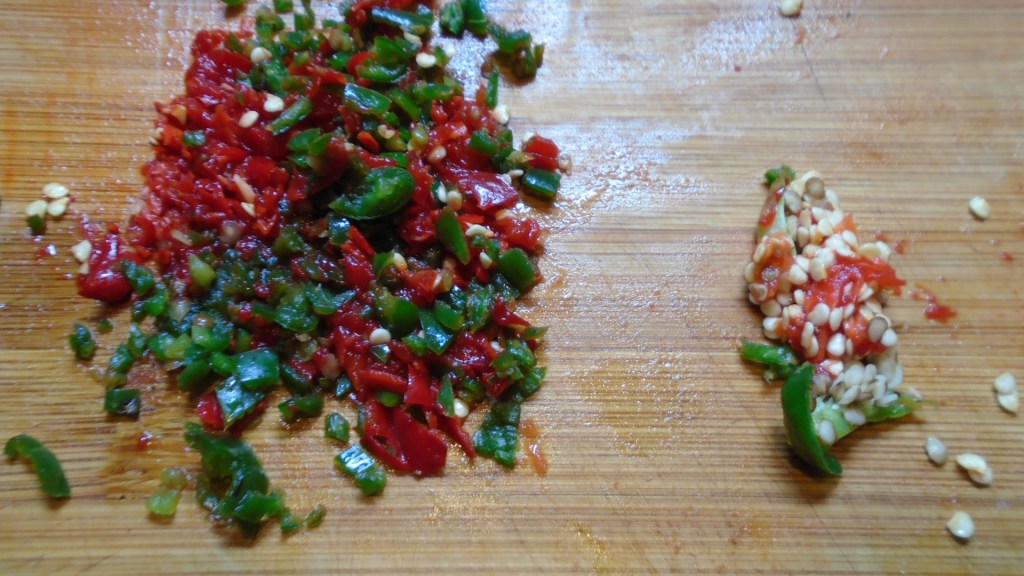
Red and green chiles (about ¼ cup)
1 1/2 cups spinach chopped
6 corn tortillas
cooking oil for frying
Directions:
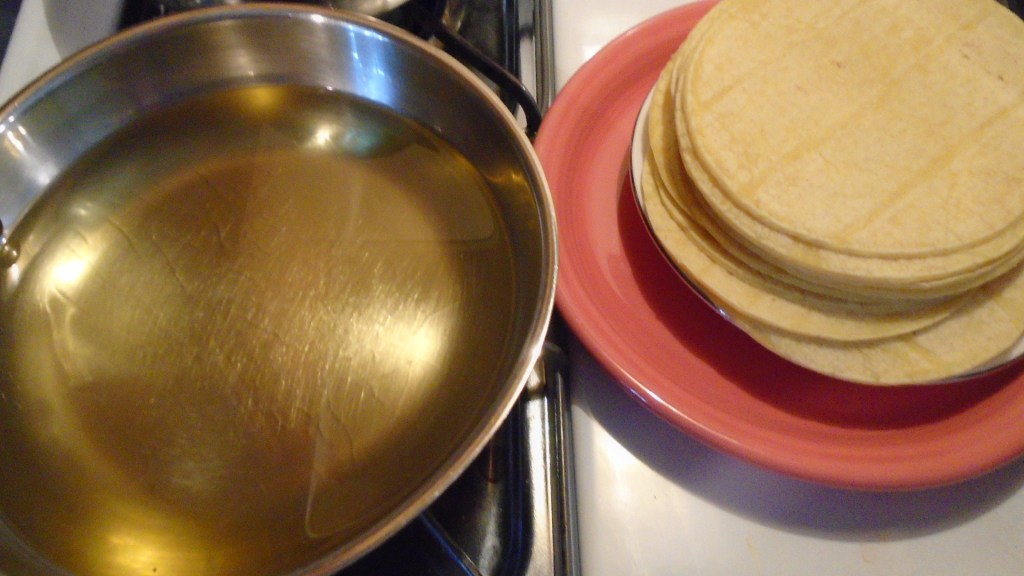
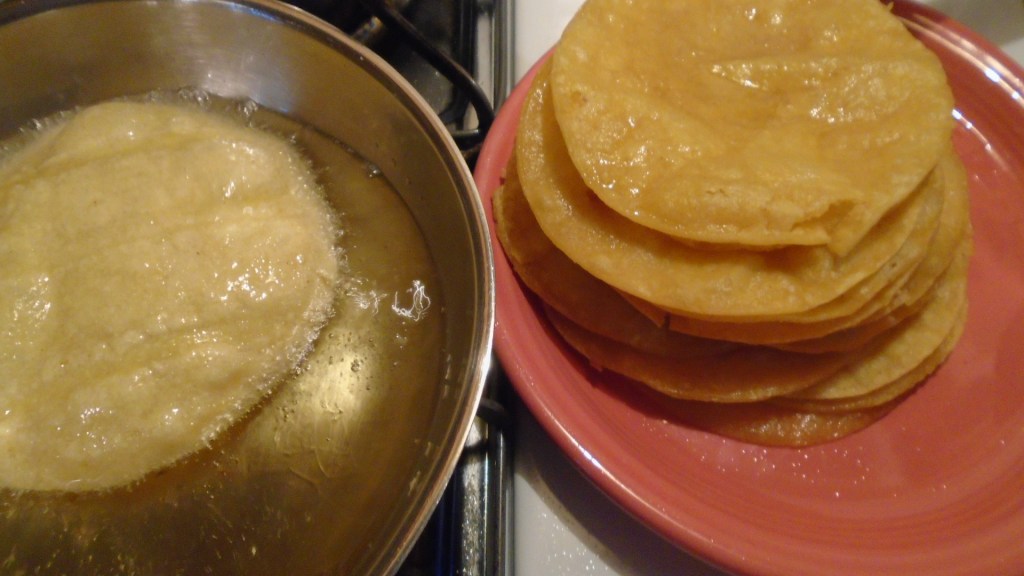
Soften the tortillas by adding them to hot oil for several seconds. Set the tortillas aside.
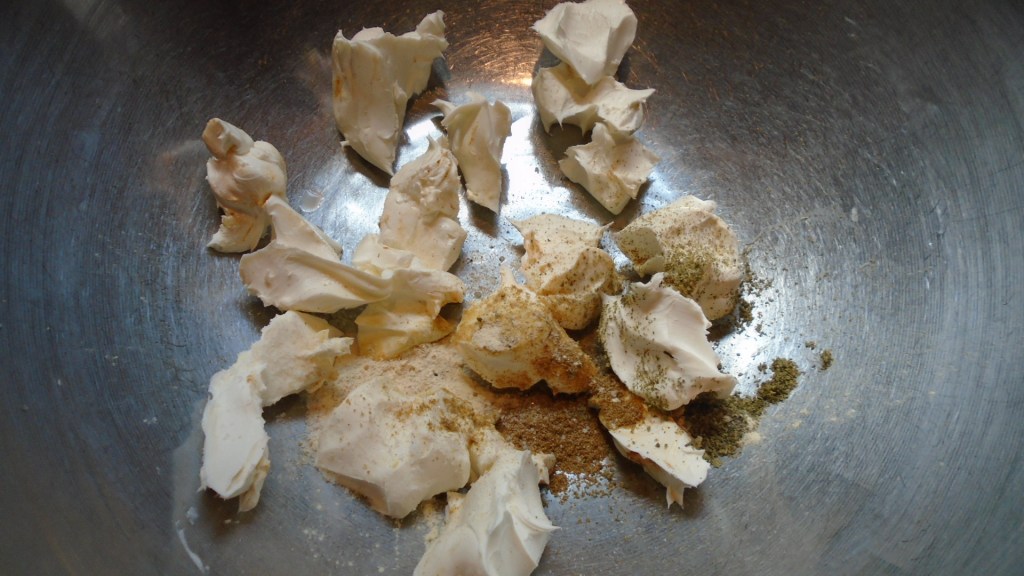
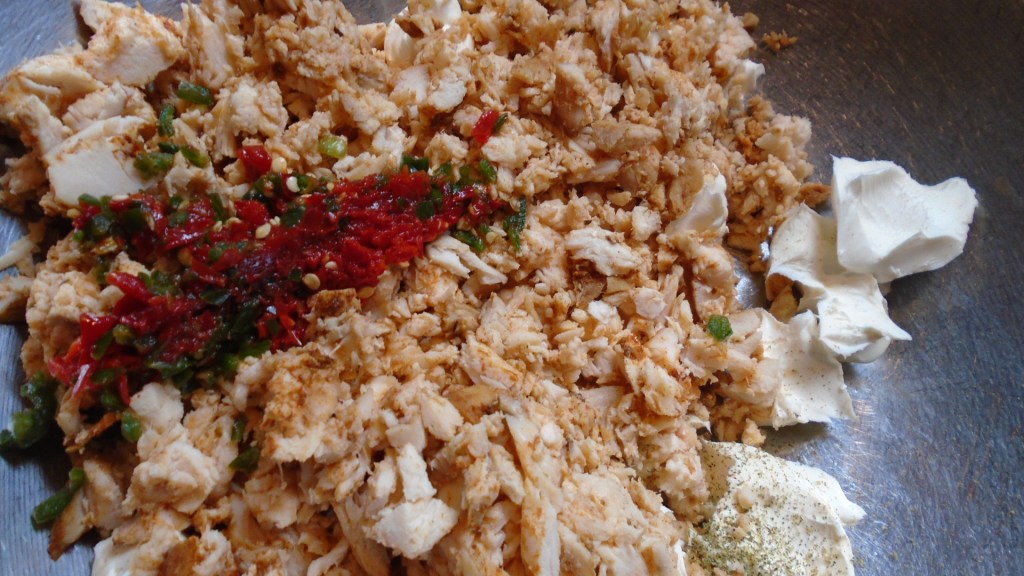
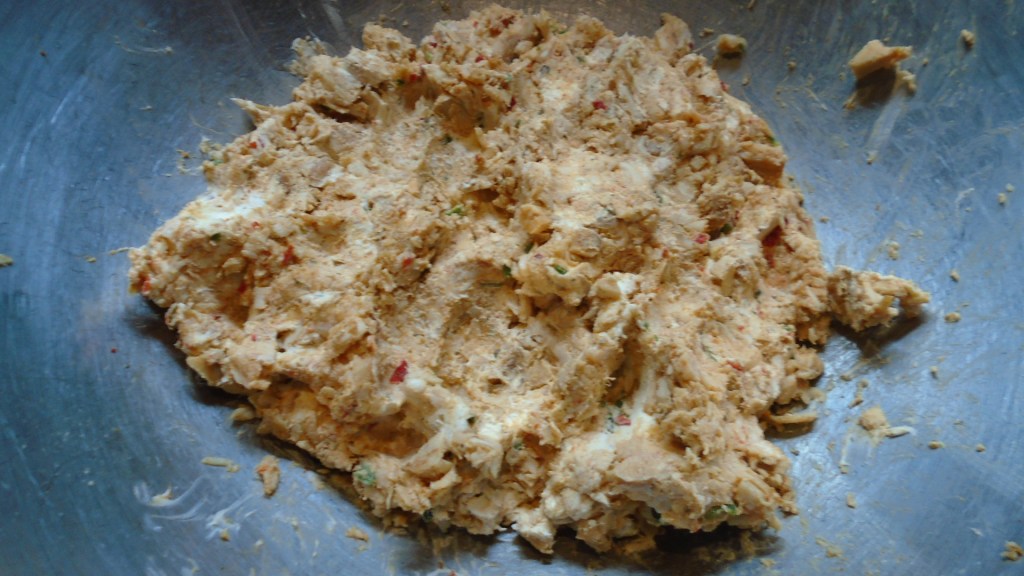
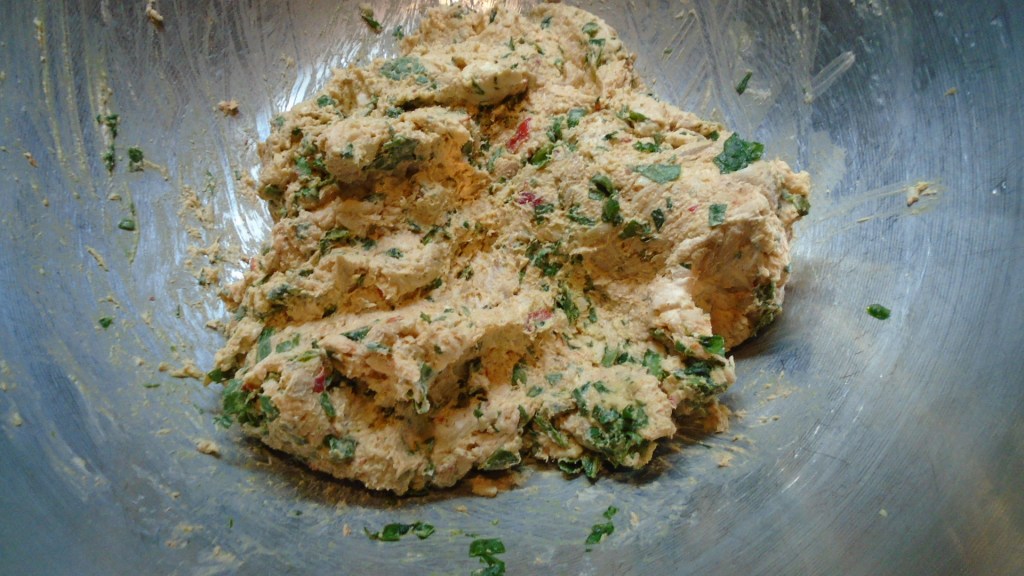
In a large bowl mix together the shredded chicken, cream cheese, cumin, salt, garlic powder, oregano, chiles and spinach. Add salt and pepper to taste.
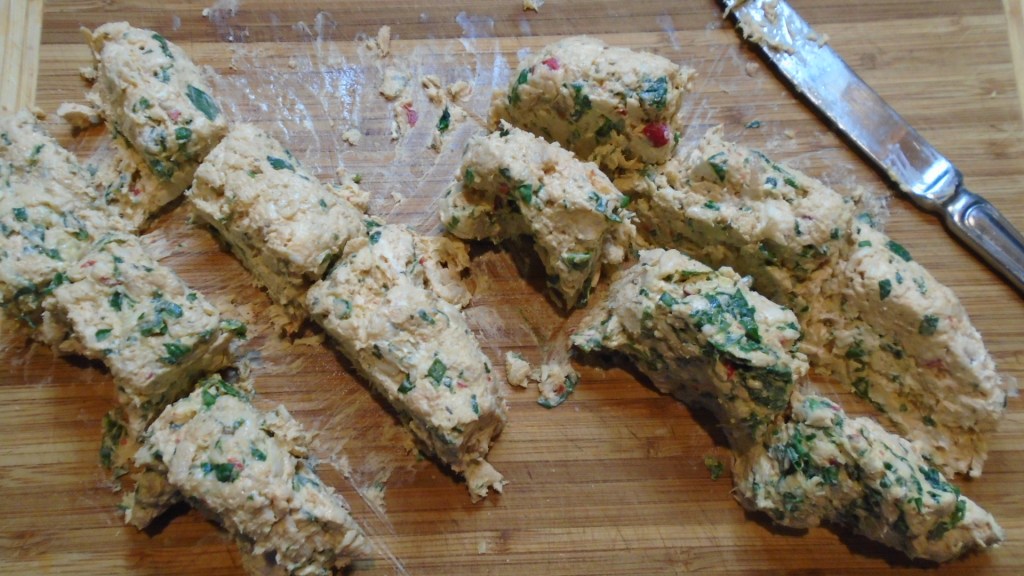
Form the mixture into long logs, or snakes, if you like. Portion the mix by cutting them into sections. This makes it easy when it comes to rolling up the flautas.
Assemble the flautas by adding a portion of the mix and rolling them up in the softened tortillas. Skewer two flautas together with a toothpick, to hold them together while they fry.
Pour enough cooking oil into a skillet to about ½” in height. Set the heat to medium.
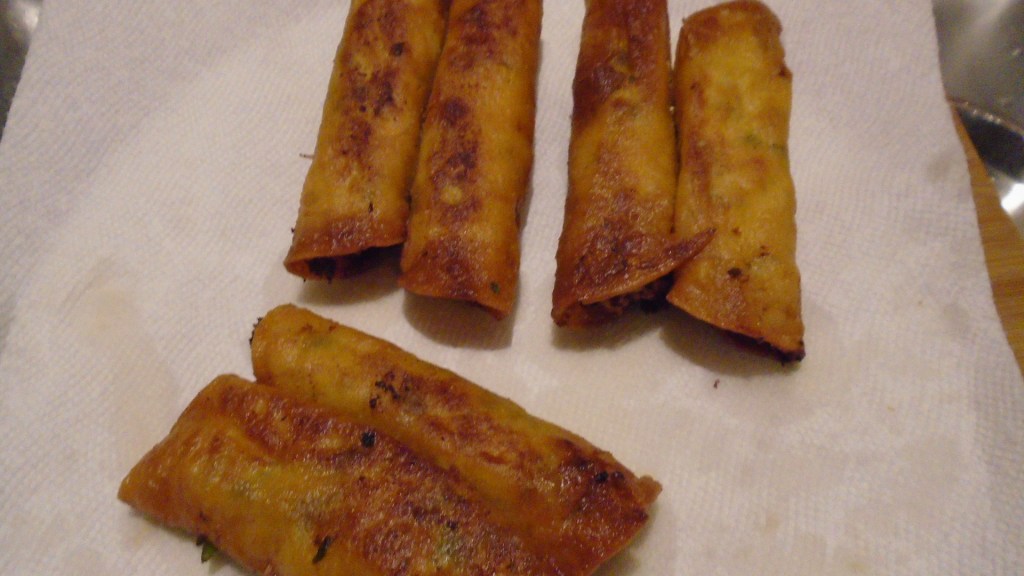
Cook the flautas in the hot oil, gently turning with tongs once or twice until they are golden brown on both sides.
Remove the flautas to a paper towel-lined plate.
Serve warm.
But wait, there’s more!
Flautas are wonderful crispy treat but I think of them as an appetizer. Here’s an easy way to incorporate them into a full-fledged Mexican feast.
Cheese Enchiladas in Red Sauce
Ingredients:
1 1/2 cups Colby-Jack cheese
1 cup onion, diced
6 corn tortillas, softened in hot oil
2 cups prepared red enchilada sauce
cooking oil for frying
chopped green onions for garnish
I used homemade red enchilada sauce but the store-bought variety will work, too.
Directions:
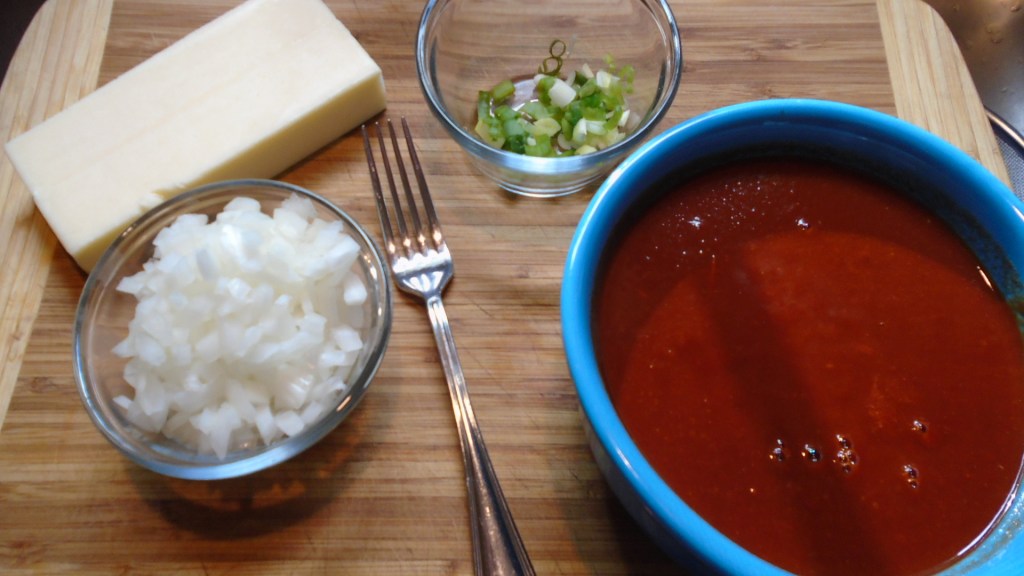
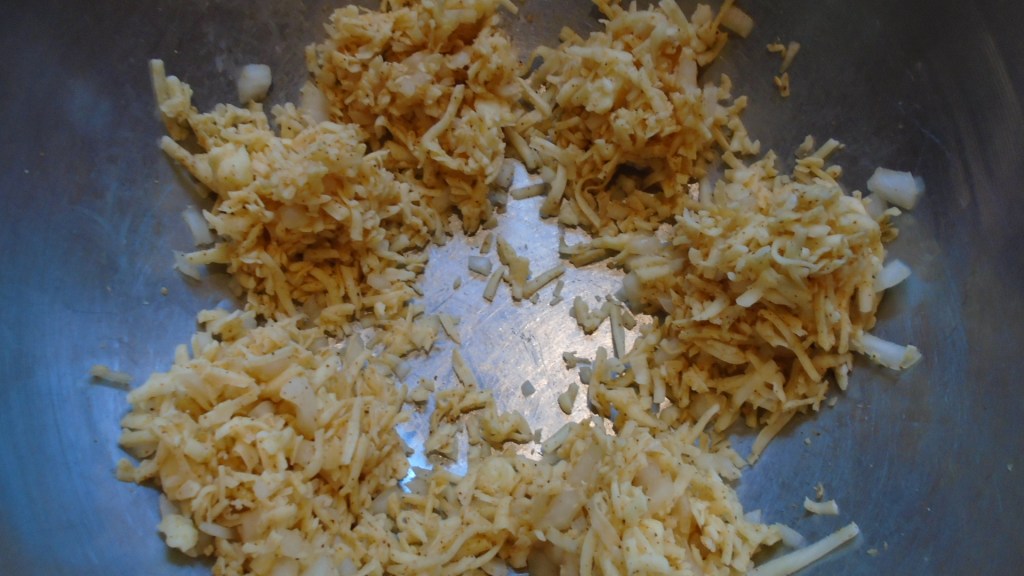
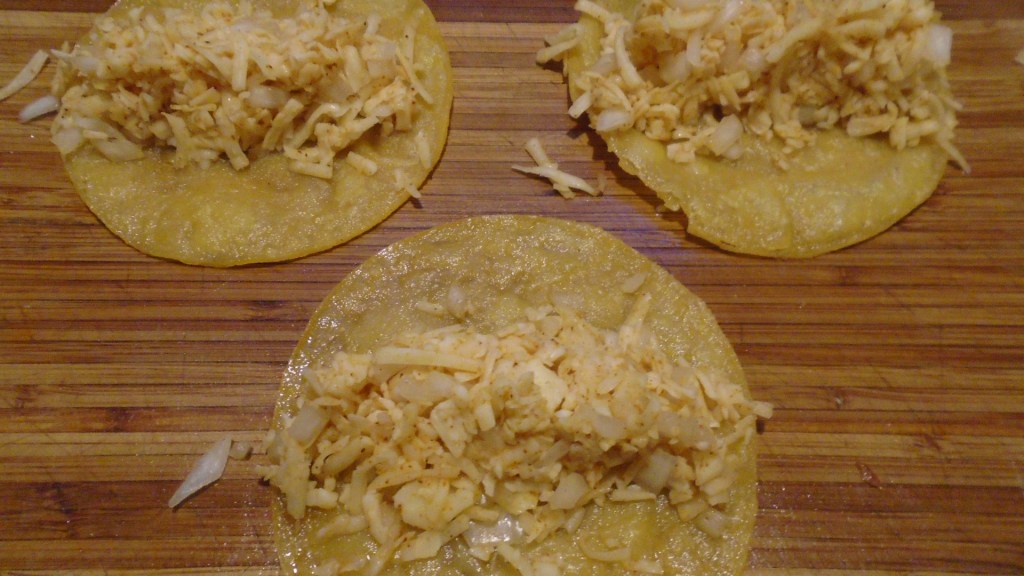
Mix the grated cheese and diced onion in a large bowl. In the same bowl, separate the mixture into six equal portions.
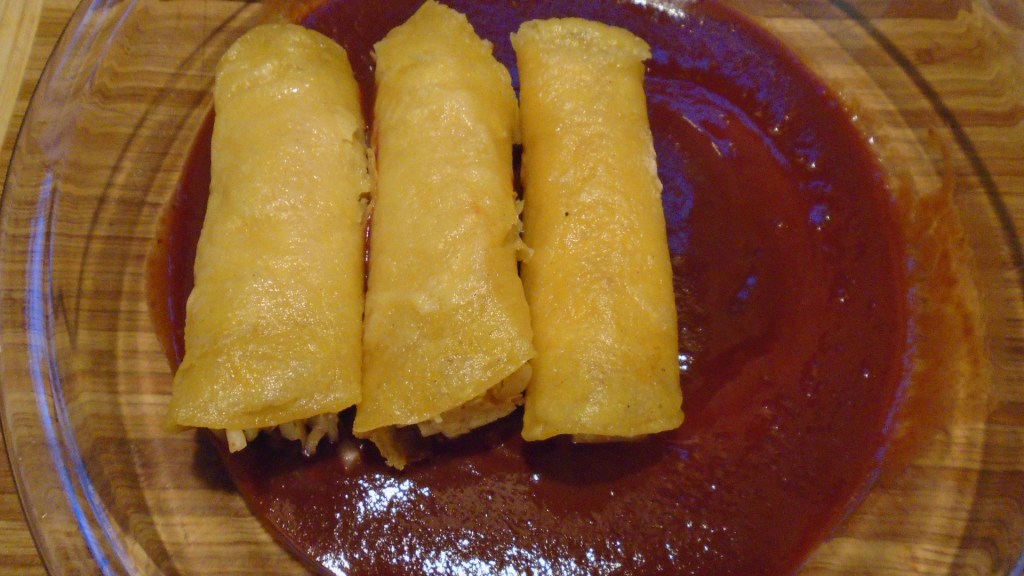
Pour some enchilada sauce into a 8” or 9” glass pie pan. Pour just enough sauce to cover the bottom of the pan.
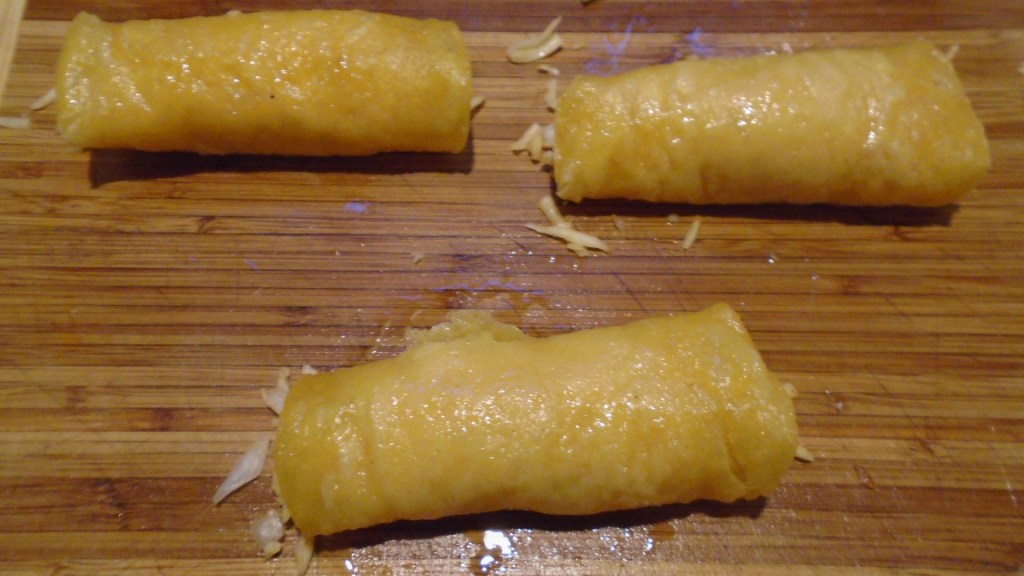
Roll the enchiladas, just as you rolled the flautas. Place the enchiladas, seam side down, into the pie pan.
Cover the enchiladas with the remaining sauce.
Bake at 300° for 20 to 30 minutes. Remove from the oven and let the enchiladas rest for 5 minutes, before serving.
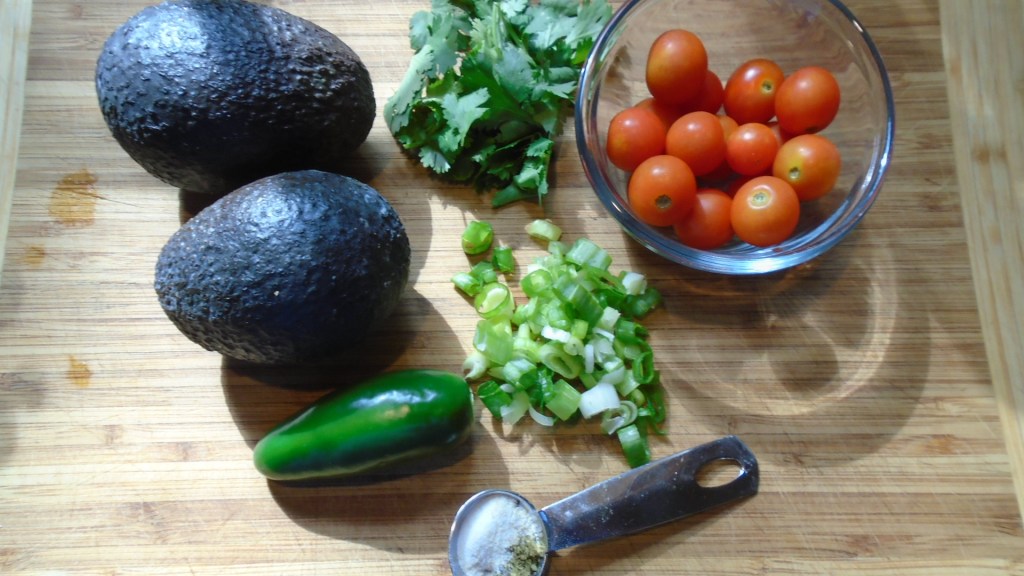
Serve with Mexican rice and guacamole salad, or sour cream.
I’m convinced that one of the secrets to imaginative cooking is learning how to resist going to the store when you realize you are out of an essential ingredient for a dish. If necessity is the mother of invention, adversity might be the father.
Lasagna just isn’t lasagna without the lasagna pasta. That’s a fact. So, if your heart is truly set on having lasagna and you don’t have the pasta, go to the store and get some. But, if you’ve just come home from a long day at work, you might dread the thought of getting back into the car to face the teeming masses at the grocery store just to pick up a box of pasta. That is the conundrum I faced today.
I reluctantly switched gears and started to think of alternatives for dinner. I wanted to use the ricotta, because it had been in the refrigerator for a few weeks. I rummaged through the refrigerator and found some chicken thighs that I had grilled, the previous weekend. The needle of my culinary compass quickly swung from Italian to Tex-Mex, (who would have guessed?!)
I imagined how I could use cheese and mushrooms and chicken to make flautas (taquitos). It’s during these kinds of moments of brilliance when I become convinced that I’m on the verge of making a brand new, never-seen-before creation. I use the flash of inspiration and get to work.
This sort of inspiration is actually a façade, as any honest cook knows, but it is an excellent motivator! Here is what the all-knowing internet has to say about the matter: From hispanickitchen.com, “Requesón is a soft Mexican cheese similar in texture to ricotta cheese. It has a mild flavor that can be used for both sweet and savory dishes. Because this cheese doesn’t melt completely when in contact with heat, it is the perfect cheese for golden fried taquitos.”
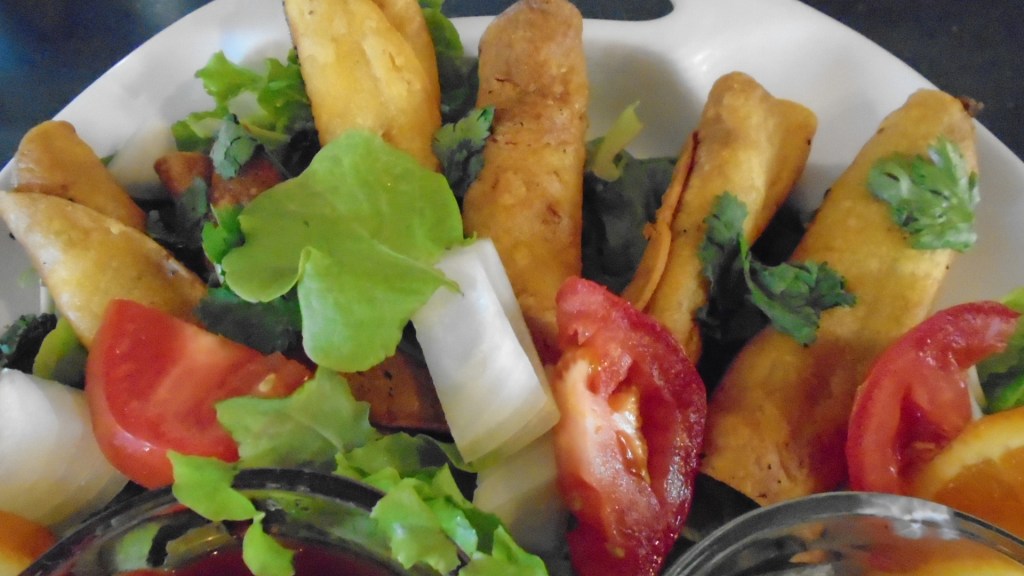
Chicken Flautas with Ricotta Cheese and Mushrooms
Ingredients:
4 grilled chicken thighs (skin on)
1 cup of uncooked rice
1 Tbs olive oil
1 Tbs butter
3 Tbs cup diced onion
4 large white, button mushrooms, chopped
15 oz ricotta cheese (or queso requesón, if you’re lucky enough)
1 tsp Mexican oregano
¼ cup cooking oil
12 corn tortillas
For the garnish:
1 small white onion, sliced
1 large ripe tomato, sliced
1 orange, sliced
2 cups mixed greens (spinach, lettuce, etc.)
½ cup sour cream
½ cup salsa
Cilantro leaves (as much as you like)
Directions:
Remove the skin from the chicken thighs and reserve one of the skins to flavor the rice.
Set the rice on the stove to boil. Add one of the chicken skins and cook the rice according to the directions on the package. Remove the skin before serving.
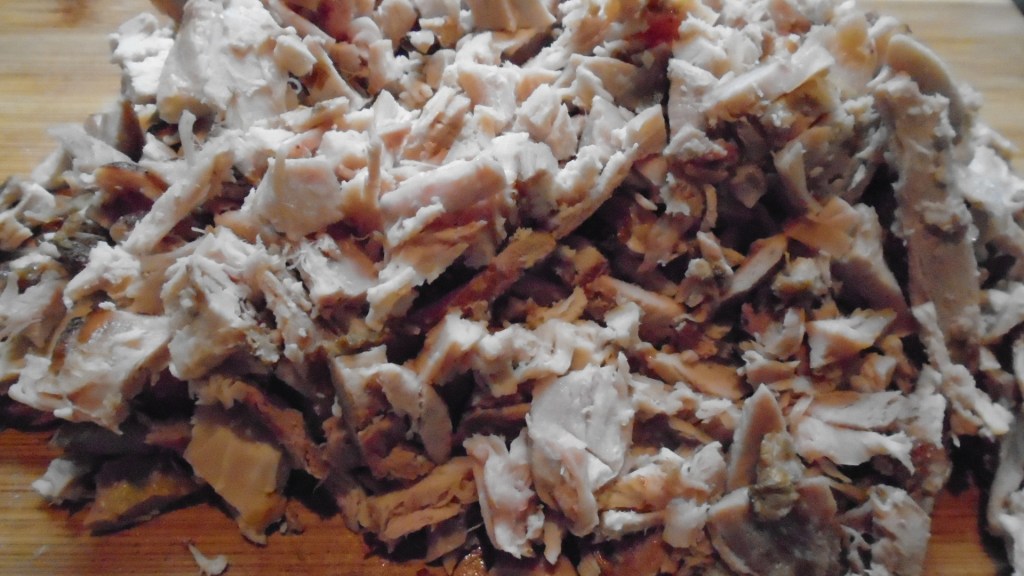
Shred and chop the chicken. Set aside.
Heat the oil and butter in a large skillet.
Add the onions and sauté until the onions begin to brown.
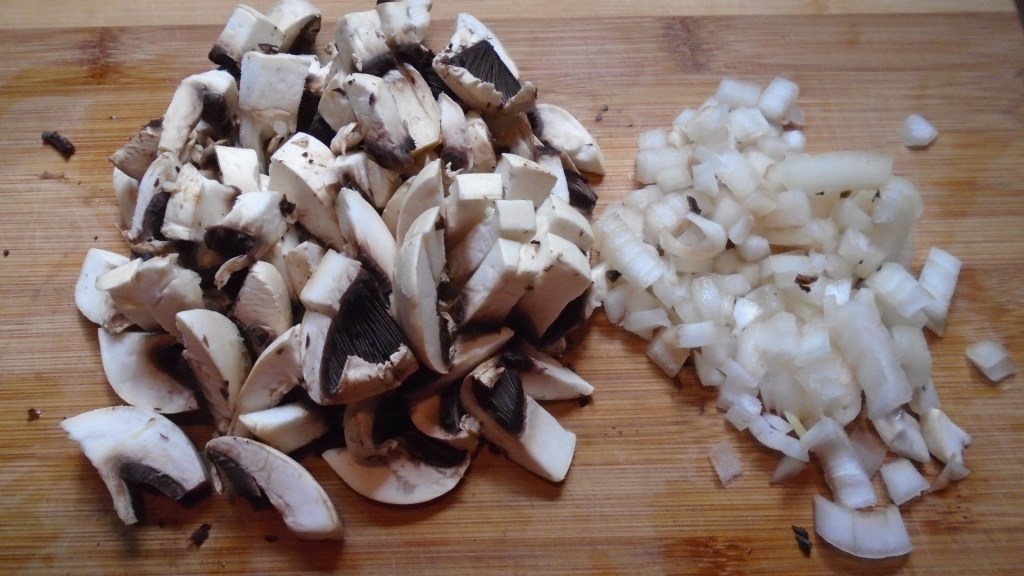
Add the mushrooms and stir for one minute.
Remove the onions and mushrooms to a bowl and set aside.
Add the ricotta cheese to the onions and mushrooms. Mix to combine.
Add the oregano and mix thoroughly.
Add the shredded chicken and mix. Set aside.
Soften the tortillas by frying in hot cooking oil. Set aside.
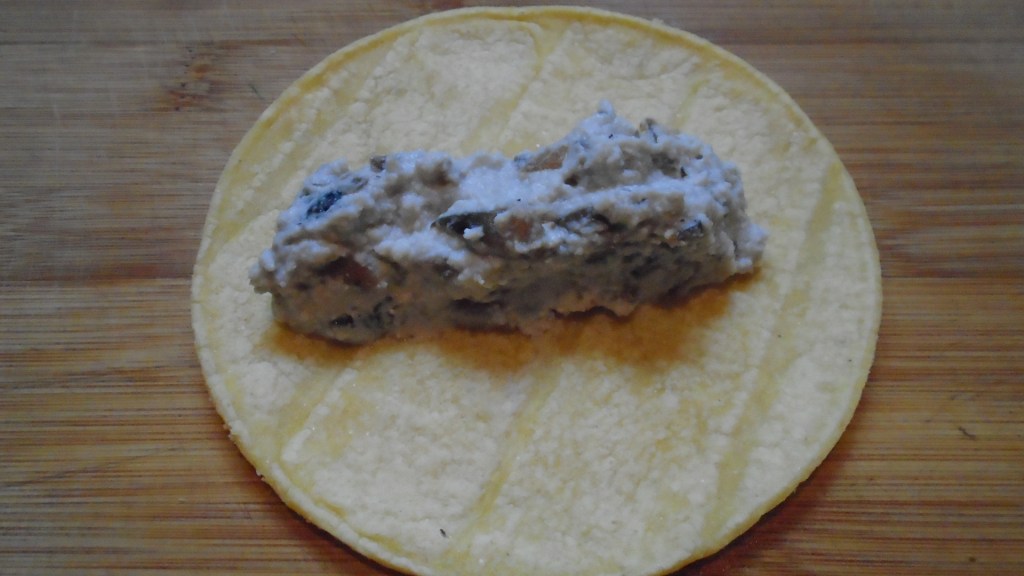
Prepare the flautas. Lay a tortilla on a work surface and add about 3 tablespoons of the chicken mixture. Form the chicken into a thick bead and roll the tortilla.
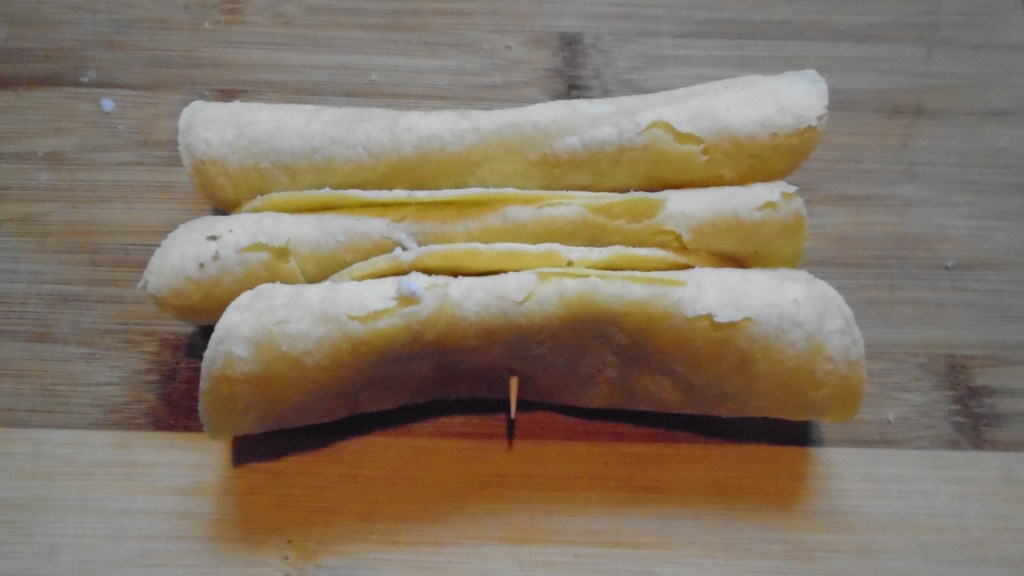
Skewer the tortilla with a toothpick. *Yay for toothpicks*
Assemble the rest of the tortillas and skewer them in sets of three.
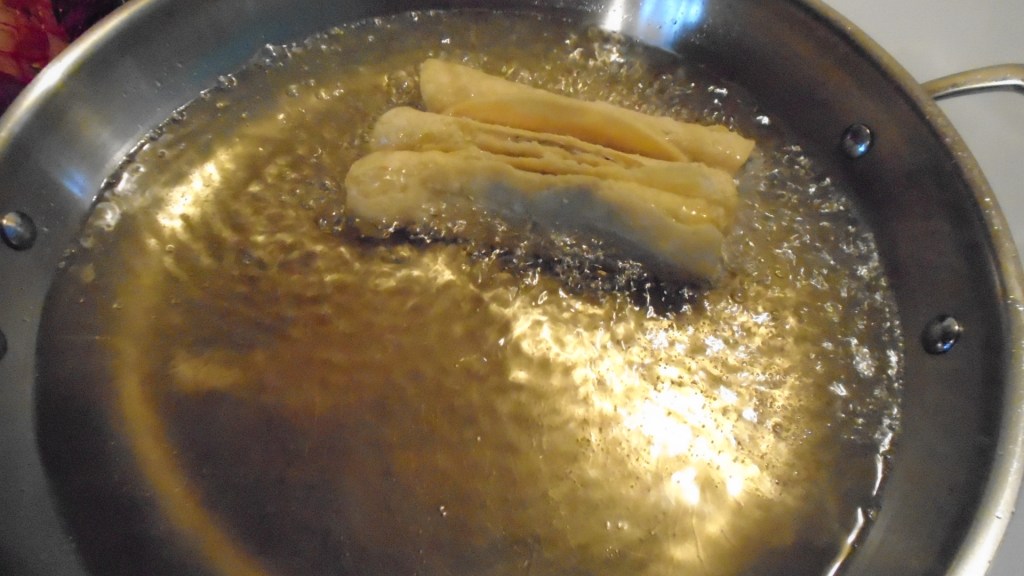
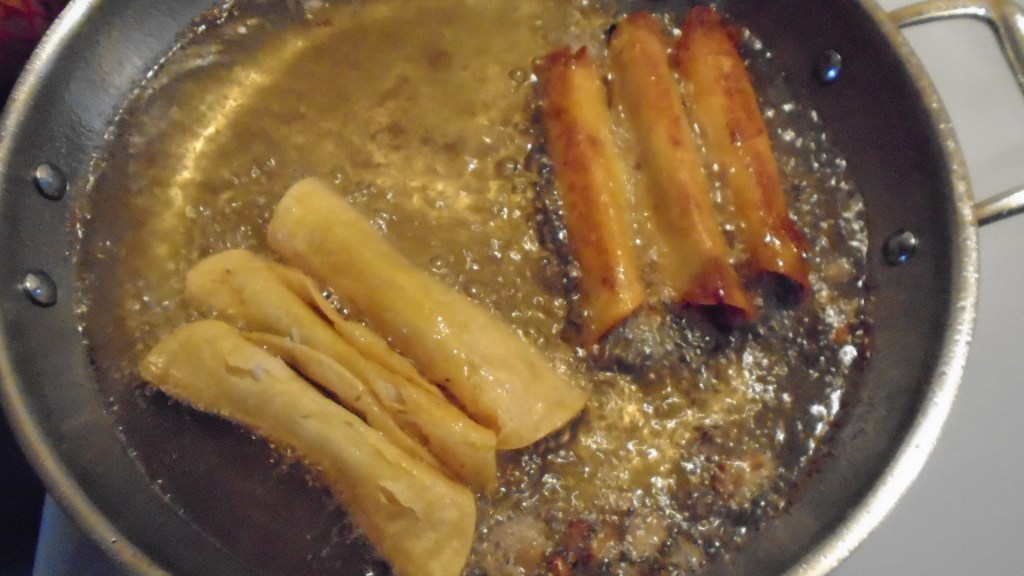
Fry the rolled flautas in hot oil, turning a few times, until they are crispy and golden. Remove to a paper towel-lined plate.
Assemble the flautas on a large platter and adorn with the garnishes.
Enjoy with a delicious red wine, which was intended to pair with the lasagna!