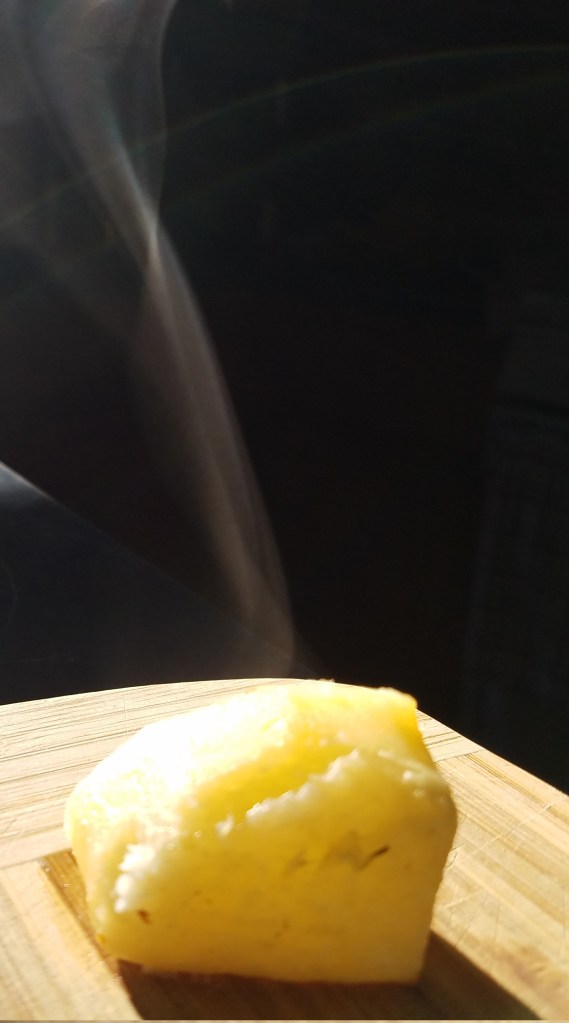
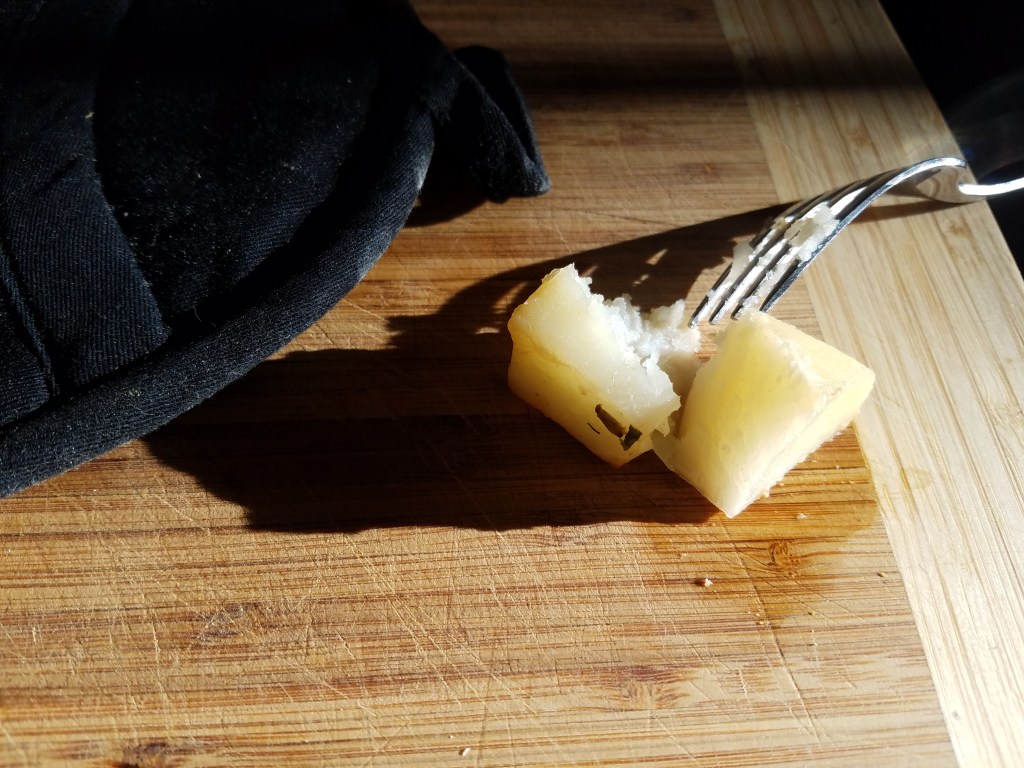
This is a fun and easy way to add variety to a meal and a good way to spice up ho-hum potatoes. You don’t have to serve this with a curry dish but it certainly goes well with one. This could be served with baked chicken and vegetables or anything else you desire.
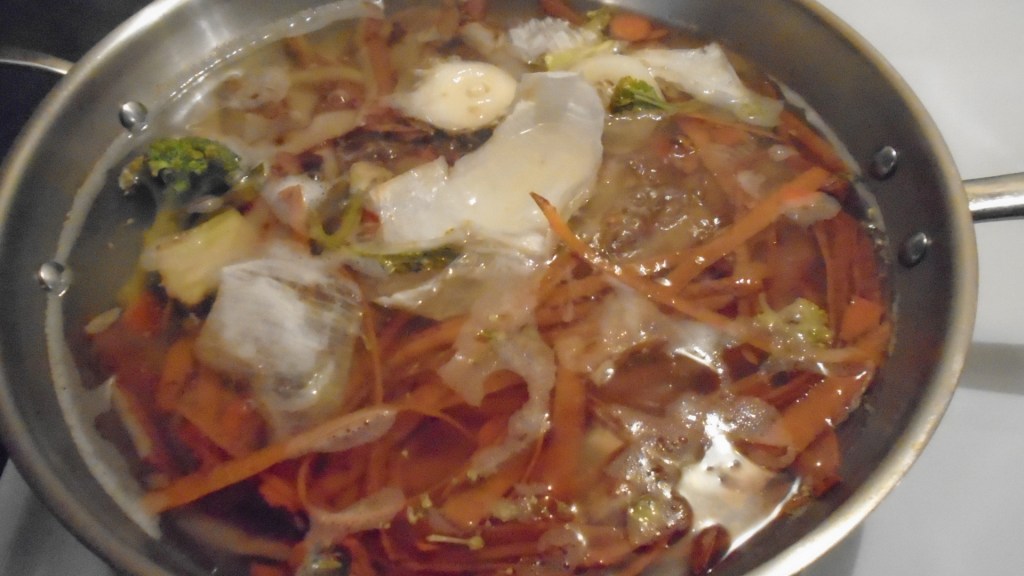
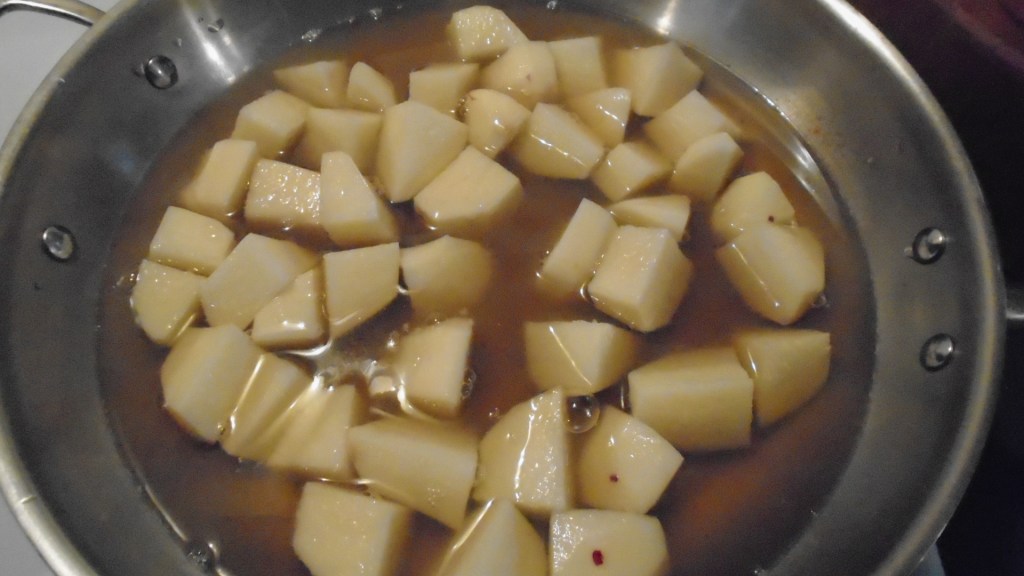
I had just finished making a vegetable stock from vegetable scraps and I boiled the potatoes in the stock, instead of boiling them in water. Regular water would have worked just fine, but the broth seemed right for the dish.
Simmer vegetable scraps…
…for 30 minutes.
Vegetable Broth
Ingredients:
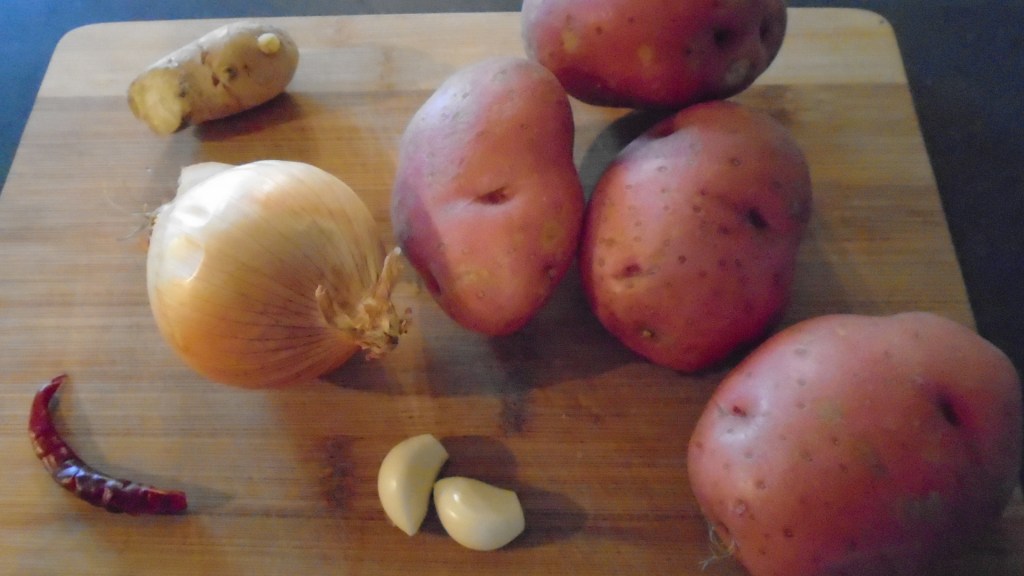
3 large red potatoes, washed, peeled and diced into ½ inch cubes
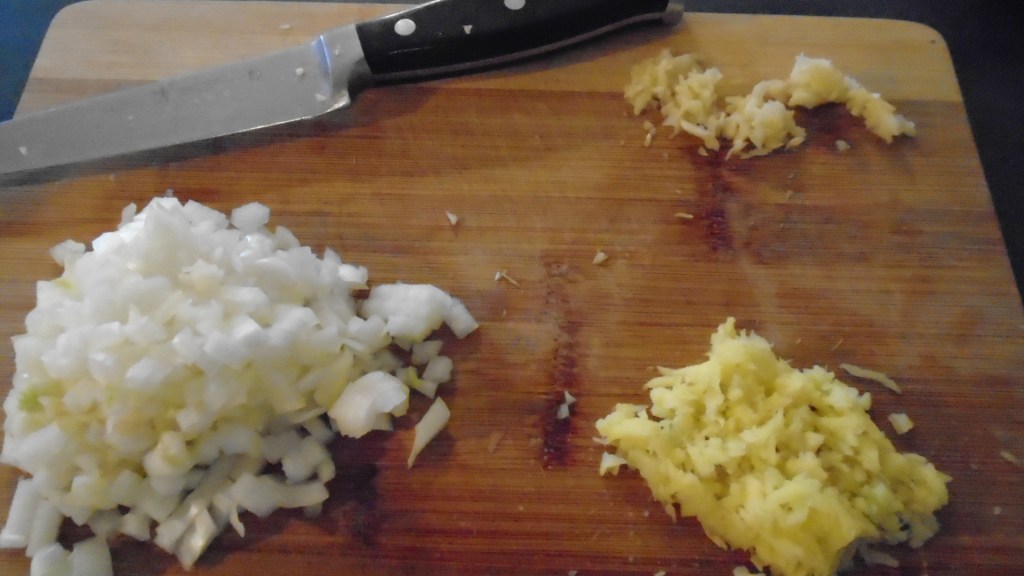
1 medium onion, finely chopped
2 cloves garlic, mashed and minced
1 tsp fresh ginger, minced
Salt, to taste
½ tsp turmeric
1 tsp Garam Masala
1 tsp cumin
1 Tbs lemon juice
1 dry chile de arbol
2 Tbs cooking oil
Cilantro, for garnish
Directions:
Boil the potatoes for about 15 minutes, or until the potatoes are nearly cooked. Strain potatoes and rinse under cold water. Set aside.
Heat oil in a wok and add the chile de arbol.
Remove the chile de arbol after 30 seconds. Add chopped onions and fry for 2 to 3 minutes on medium heat.
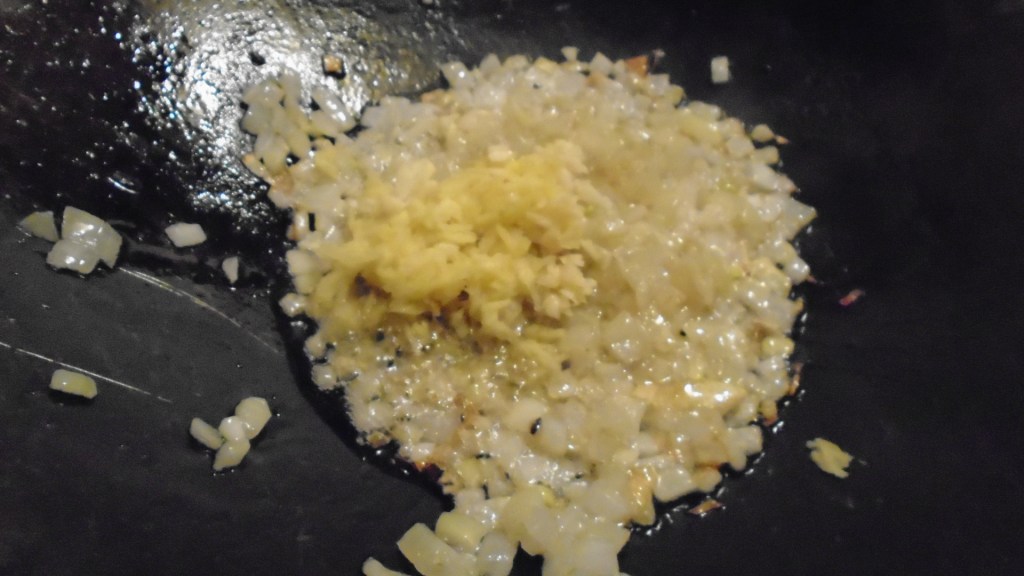
Add ginger and garlic and fry for 2 minutes until the onions are lightly browned.
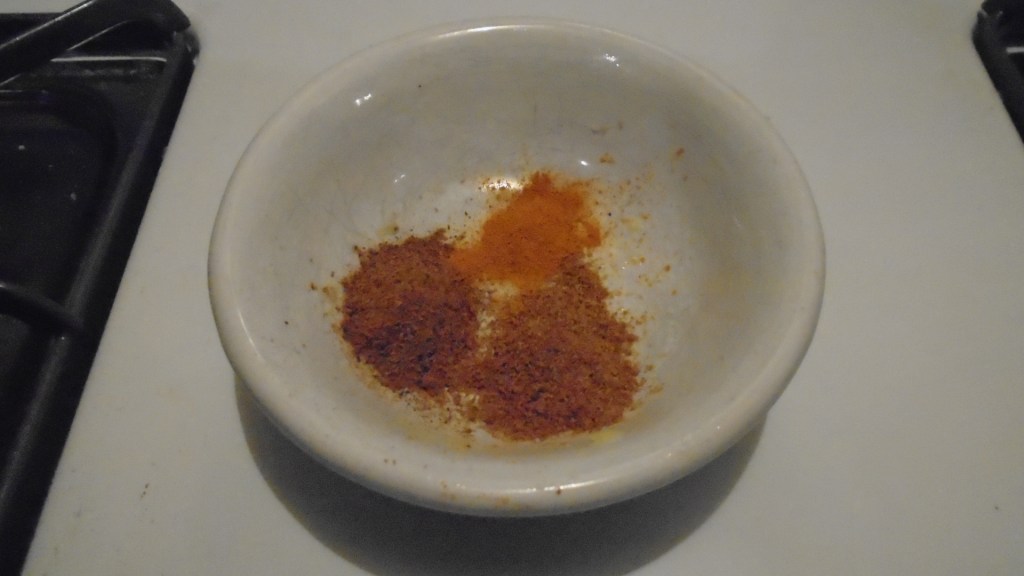
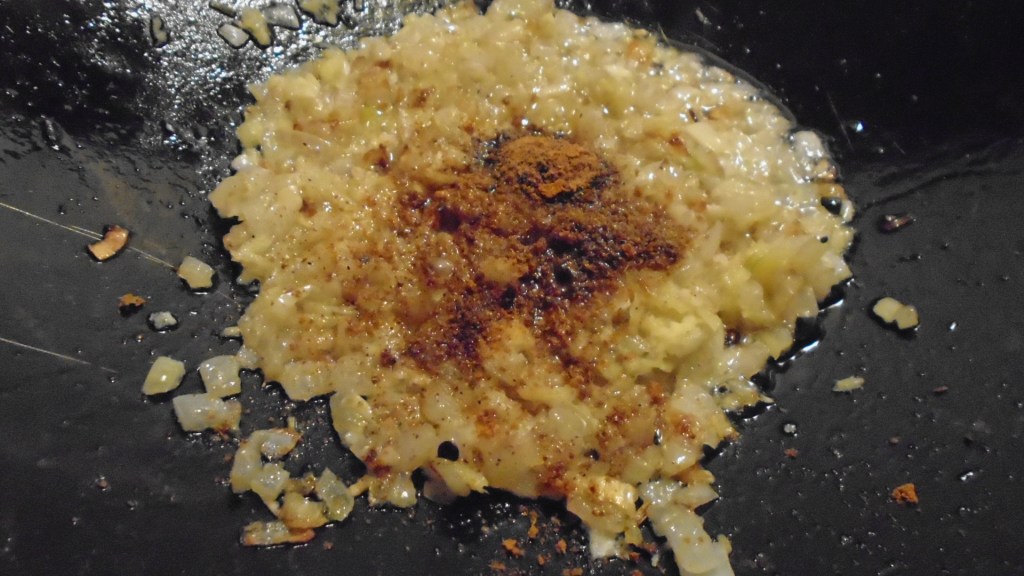
Add the spices, along with salt to taste.
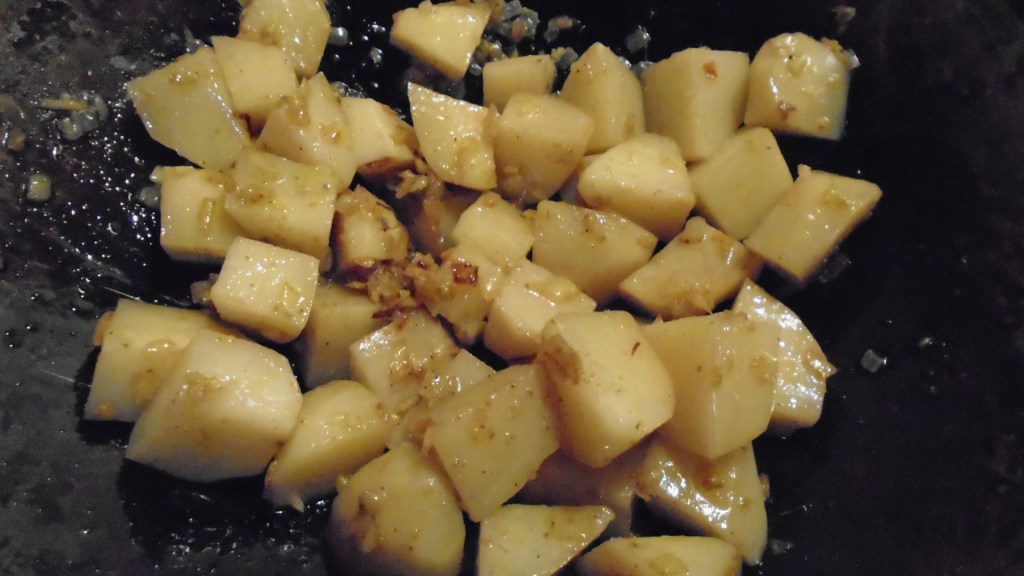
Add diced potatoes and stir for a minute or two.
Sprinkle some water over the potatoes and cover the wok and cook for 5-8 minutes. Stir occasionally to prevent the potatoes from sticking to the wok.
Sprinkle a little more water if needed and cook for another 3-5 minutes until the potatoes are thoroughly cooked.
Turn off the heat and add lemon juice. Add chopped cilantro and serve.
One evening, about a month and a half ago, when this whole Covid-19 pandemic thing was just beginning to bear down on us, I spoke with my son on the phone for about 20 minutes while he made a sandwich for his girlfriend, who was coming home from work.
He switched to speaker phone, after his girlfriend came home, so that he could finish making the sandwich. We all joked and talked about how strange things had become and we finally got down to serious business.
You see, my son’s girlfriend manages a pizzeria and of course, I had to ask her what she likes on her pizza. At first, she said that she didn’t really like pizza but I couldn’t accept the fact that someone in the pizza biz wouldn’t like pizza. I finally got her to nail down some of the toppings she likes.
Beef, but not too much Italian spice, cheese…lots of different kinds, including feta, thinly sliced onion and bell pepper.
I got feisty and mentioned anchovy and I could feel the anxiety coming through the phone line, yes I was speaking on a land line!
Why is it that so many people say they don’t like anchovies yet they have never tried them?
I told her that I would make a big pizza for her, just the way she likes it and I would put anchovies on half of it, just to give her an opportunity to try them. I even told her that I would drop it off at her door, so that we wouldn’t run the risk spreading the virus.
Did I do that? No.But, that doesn’t mean I won’t.
So, with that, I present a photo of the sandwich that my son made.
Game controller and copper wiring optional
Here’s my guess at the ingredients:
Large, soft bread loaf, 6”cut
Deli turkey, sliced
Roma tomato, sliced
Iceberg lettuce, rough chopped
Onion, sliced
While we were going on about pizza and pizza toppings my son kept talking about a tiny coat hanger that he found on the ground earlier that day. OK. Good for you, I thought. You found a tiny coat hanger.
I should have realized that this was just one of the many infinitesimally small things that my son sees every day that the rest of us are oblivious to.
I asked him to send me a picture…and he did.
All I could think after seeing this was, now some poor mouse can’t hang up his jacket!
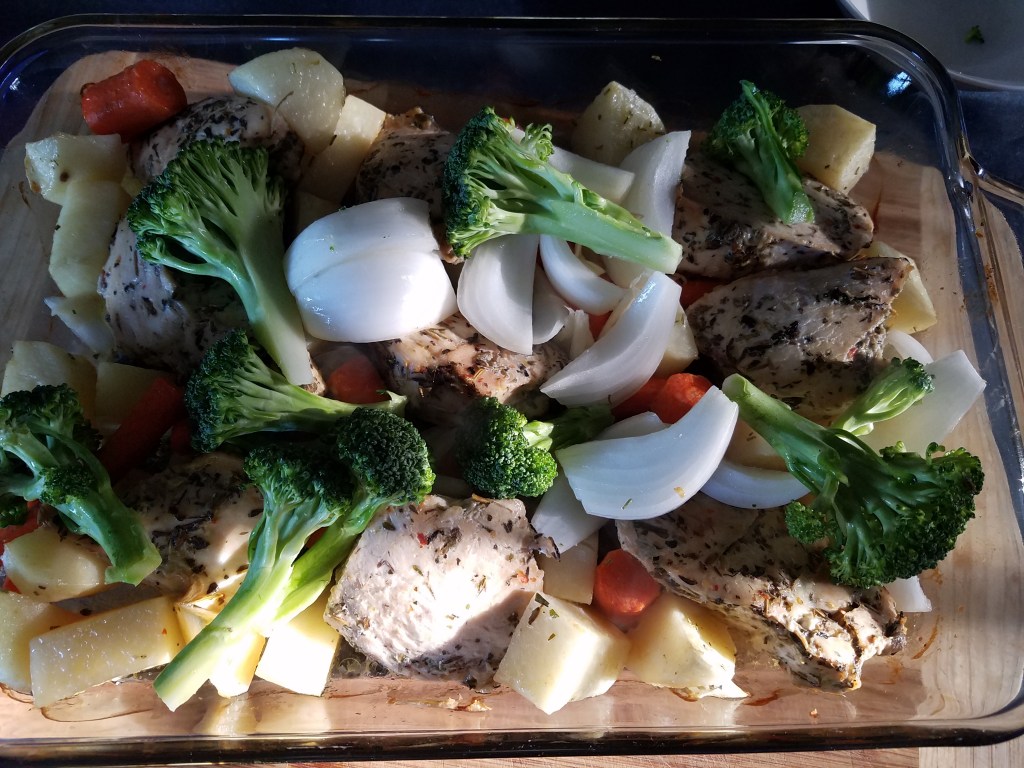
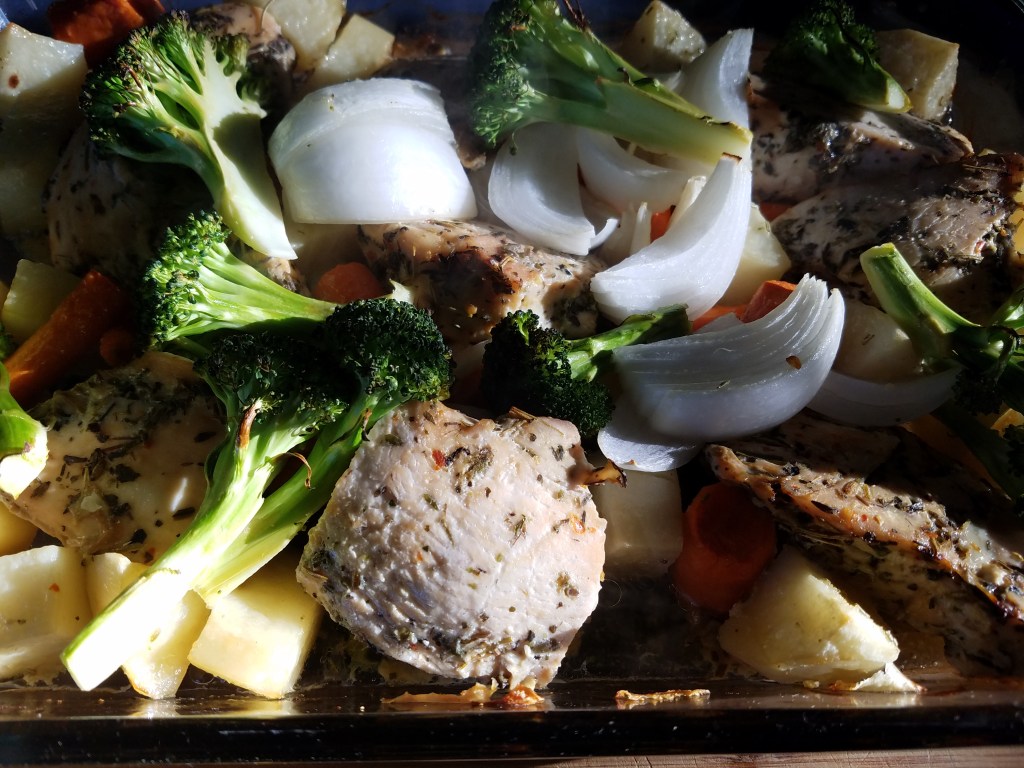
French peasant food is perfect for easing minds and bringing families together during troubled times. This was simple to make, since everything baked in one dish, and the aroma coming from the kitchen wafted throughout the house, teasing and tempting us.
Ingredients:
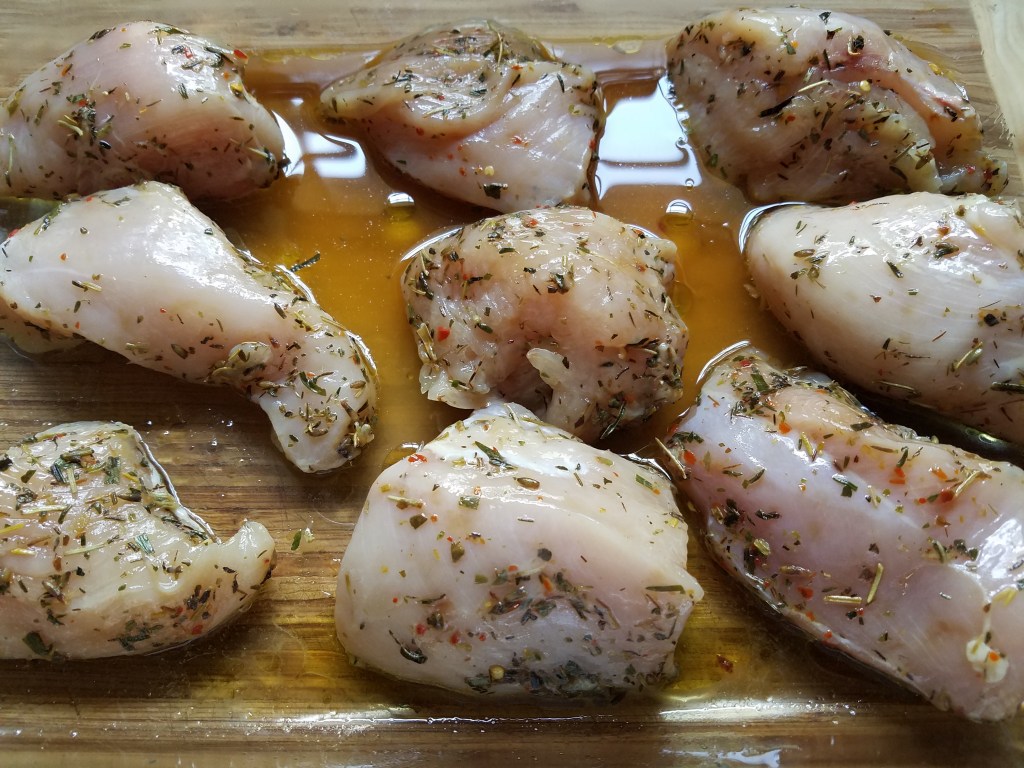
2 lbs boneless, skinless chicken breasts
2 Tbs Herbs de Provence
¼ cup vinegar and oil dressing (I cheated by using inexpensive, store-bought Italian dressing)
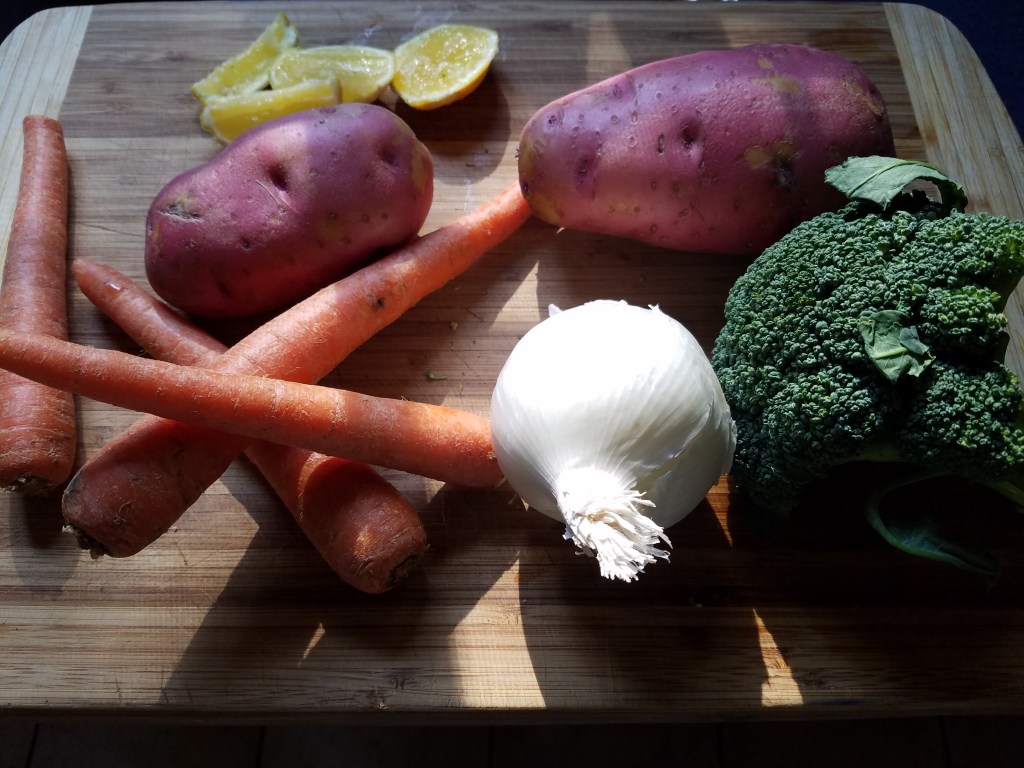
2 large red potatoes, peeled and cut into chunks
3 or 4 carrots, peeled and cut into large pieces
A few rosemary sprigs
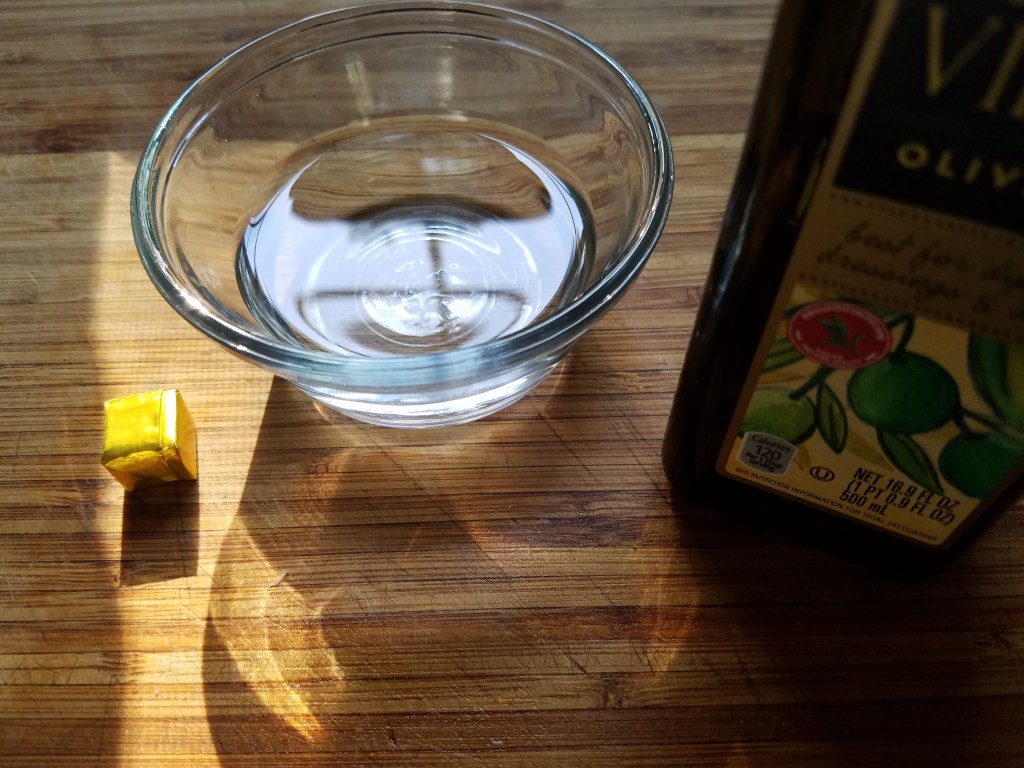
One cube of chicken bouillon
Several splashes of olive oil, probably 2 Tbs, total
1 ½ cup broccoli florets with stems
1 white onion, sliced into wedges
1/3 whole lemon (juice only)
¼ cup water
½ loaf French bread
3 Tbs unsalted butter
2 tsp garlic salt
Directions:
In a large mixing bowl, add the vinegar and oil dressing and add the Herbs de Provence. Add the chicken and mix by hand. Marinate the chicken for at least one hour in the refrigerator.
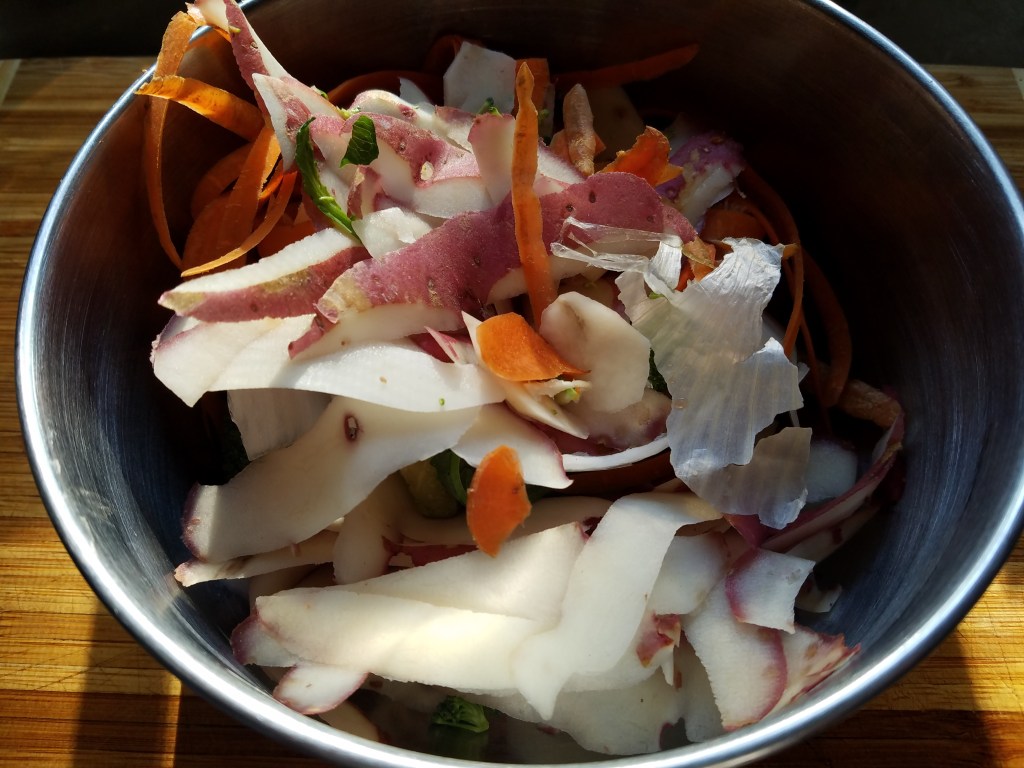
Peel and cut the vegetables. Set aside. Reserve the peels and scraps from the vegetables and use them in a vegetable stock, for use in another dish.
Set the oven to 400°.
Strip the rosemary leaves away from the stems.
Toss the potato and carrot pieces in olive oil and rosemary. Set these aside.
Add the chicken bouillon cube to ¼ cup water. Heat in the microwave for a minute to soften the bouillon. Crush the bouillon with a small fork and mix with the warm water. Set aside.
Pour a little olive oil into a large baking dish and add the chicken. Top with the potatoes and carrots and drizzle the chicken bouillon broth over everything.
Bake the chicken, potatoes and carrots in the oven for about 45 minutes.
Squirt lemon juice over the broccoli and onion and toss with a little olive oil.
Carefully pull the baking dish from the oven and check to see if the potatoes and carrots are nearly baked all the way. If the potatoes or carrots are still hard, and can’t be easily split with a fork, return to the oven and check them again in 10 minutes.
Pull the dish out again and add the broccoli and onion.
Return the dish to the oven and bake for another 20 minutes.
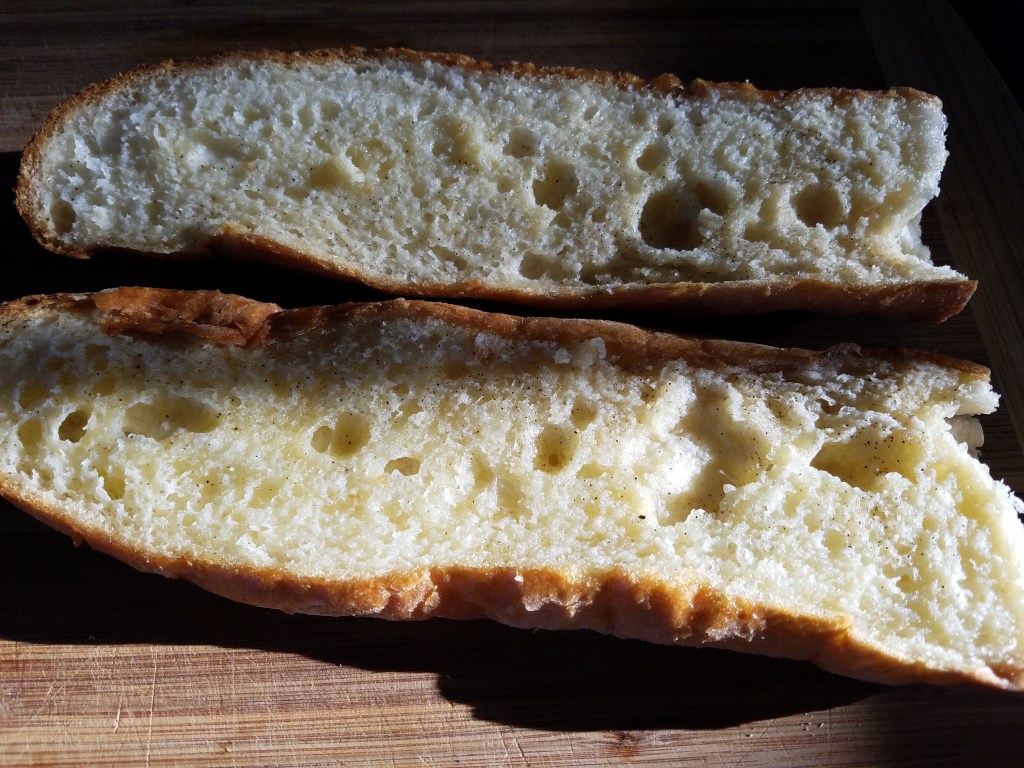
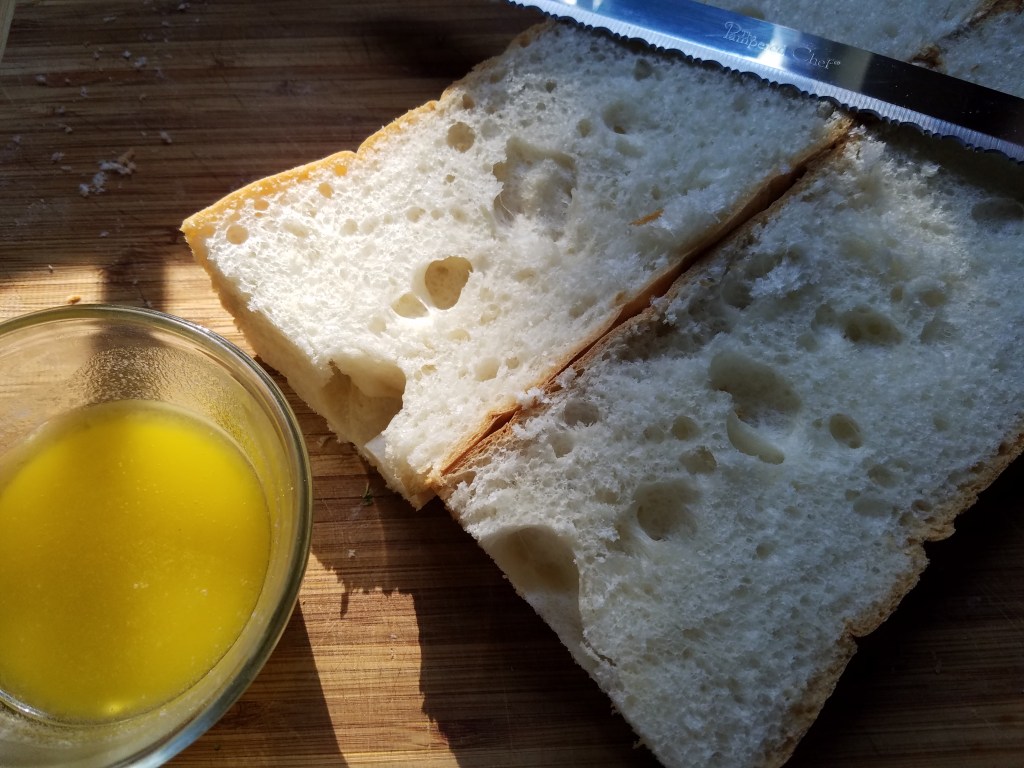
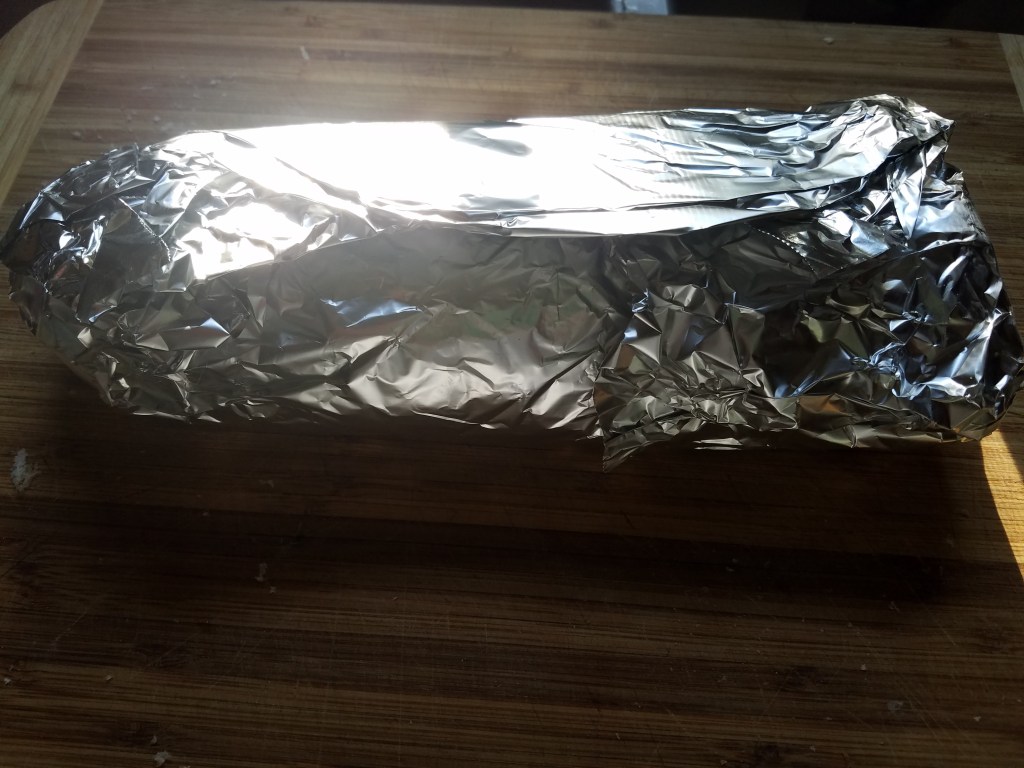
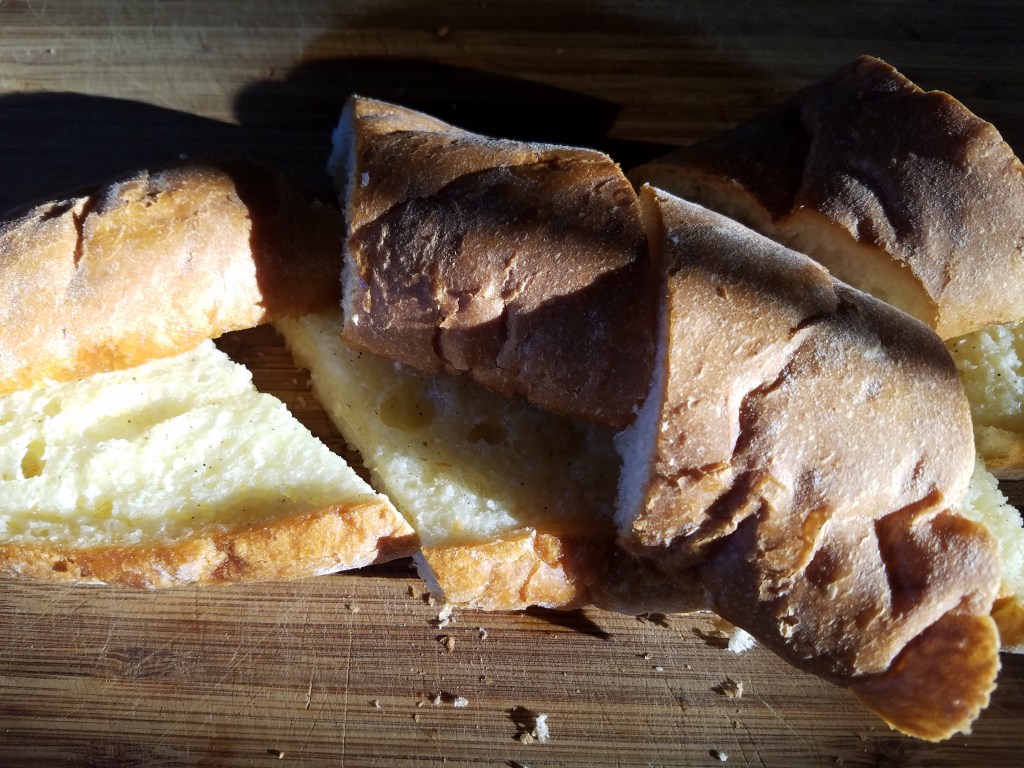
Slice a loaf of French bread lengthwise and slather with melted butter and sprinkle it with the garlic salt. Wrap in aluminum foil and bake for 20 minutes.
I’m looking forward to the day that we can all return to our favorite restaurants.
Our favorite local Mexican restaurant seems to be doing steady take-out business, during this time of isolation, but I’m sure that they’re not getting the same amount of business that they would if diners were allowed to come in to have a meal.
I miss our favorite waiters. I miss the comfortable, casual dining experience. I miss my litre of Dos Equis with two limes! Yes, these are hard times indeed!
I order takeout food about once a week to support our local restaurants but I have to say, the food just isn’t as appealing when it comes in squeaky, white styrofoam boxes. I recently ordered molcajete, which, when ordered in a restaurant, arrives in a large, black stone mortar vessel. Molcajete is an impressive dish! Chicken, beef, shrimp, vegetables, chiles, fruit, nopales (cactus) and all sorts of other good things flow over the edges of the great stone bowl. It is a symbol of prosperity and bounty but, when it comes in a styrofoam box, it just looks like table scraps and then there is a separate styrofom box that contains rice, beans and tortillas, wrapped in foil.
So tonight, I want to honor our local restaurateurs by making a meal to honor the struggling fine dining establishments and the little Mexican casitas, like the one I love.
In honor of this momentous occasion, I’m using the last jar of my homemade salsa that I canned back in July, 2019. I’m going to have to wait another two months for more fresh garden salsa…Aghh!
~ Enchilada Combination Platter ~ : One beef enchilada, smothered in ranchero sauce, topped with queso blanco. One cheese enchilada stuffed with roasted poblano peppers. Served with rice, refried beans, sour cream and garden salad.
Ingredients:
6 corn tortillas, softened by simmering briefly in hot oil
Beef enchiladas:
4 chiles guajillo, seeded and stemmed
2 cups homemade salsa (tomato, onion, jalapeño and cilantro)
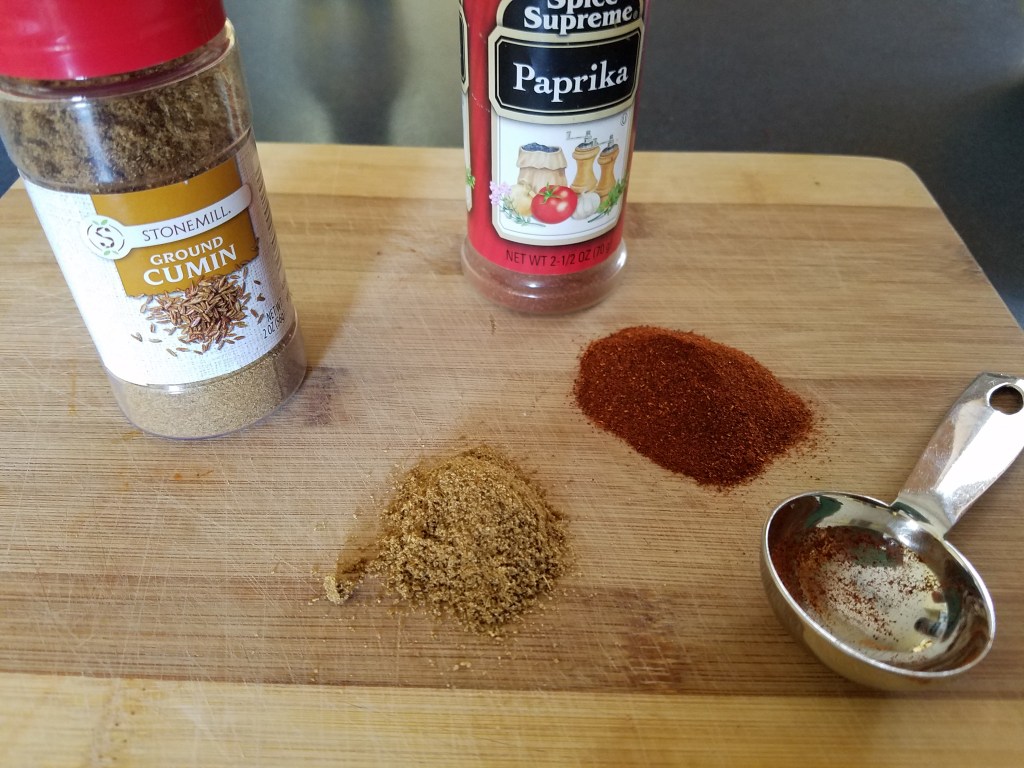
1 Tbs cumin
1 Tbs paprika
1 tsp brown sugar
¾ lb ground beef, browned
½ cup queso Chihuahua (any melting cheese can be used)
¼ cup half-and-half (or whole milk)
Cheese and Poblano enchiladas:
1 cup queso Chihuahua (Monterrey Jack cheese can be used as a substitute)
½ cup poblano chiles, seeded, stemmed, roasted and peeled.
Directions:
Before we get started, here’s something to consider…
As a former line cook at a Tex-Mex restaurant and as someone who wants to replicate a restaurant style dish, I suggest preparing as much of these ingredients in advance as possible. Nothing impresses like being able to throw together a complex meal quickly. Chop the vegetables, smoke the peppers, brown the ground beef, shred the cheese…you get the idea.
Steam the dried guajillo chiles for 20 minutes.
Slice the chiles down one side. Scrap away the flesh and discard the thick skins.
Add the guajillo chile pulp to the salsa. Add the cumin, paprika and brown sugar. Mix and set aside.
Brown the ground beef, but not to the point of completely browned. The meat will finish cooking in the oven, later.
Assemble the enchiladas:
Add 1 Tbs cooking oil to an oven-proof skillet. Place the skillet on the stove top and set heat to low.
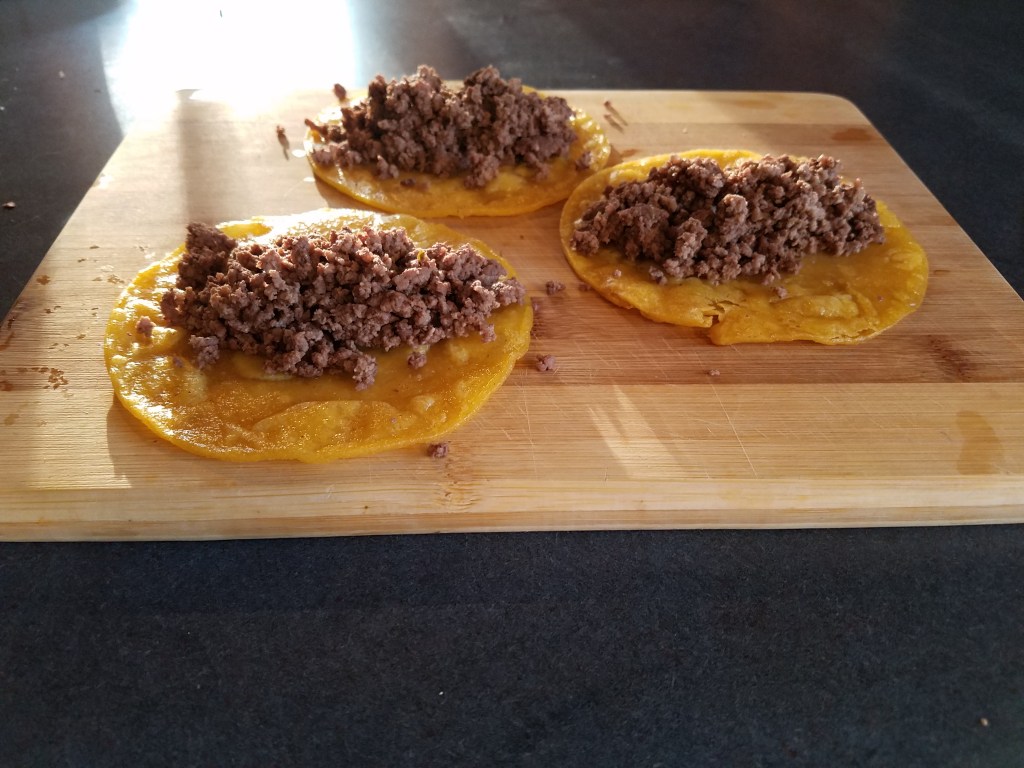
Lay 3 softened corn tortillas on a clean surface and fill them with ground beef. Roll them up and transfer them to the skillet, seam side down. Lightly brown the bottoms of the enchiladas.
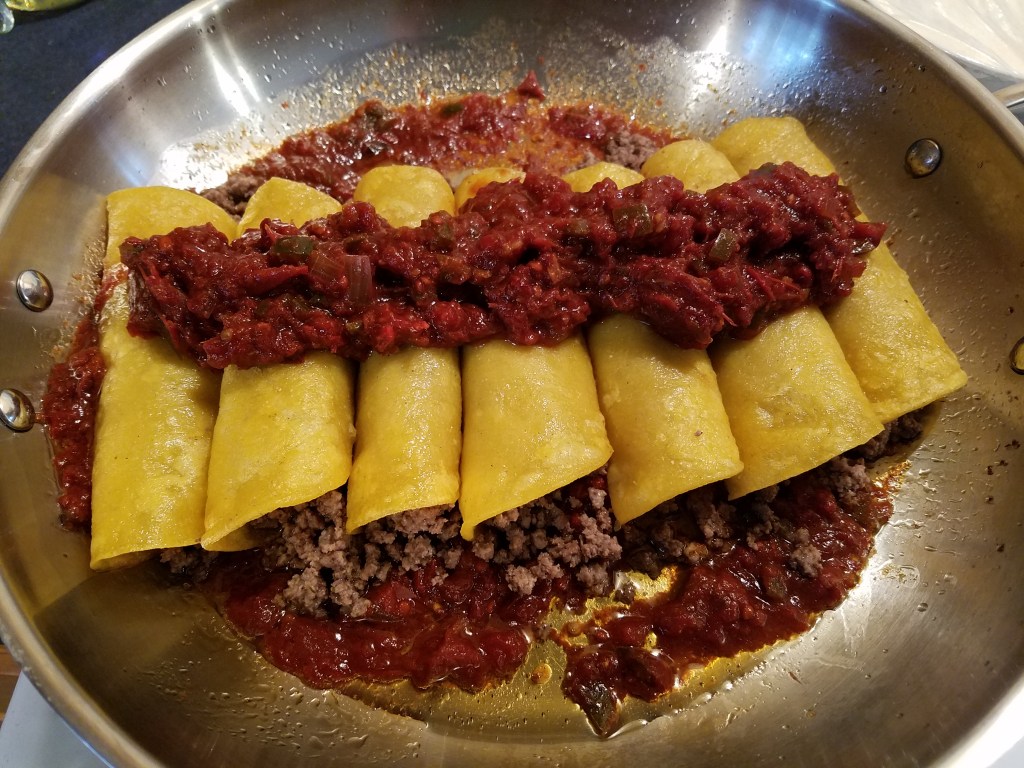
Add salsa and guajillo chile mixture to the pan. Top the enchiladas with more salsa. Place in a 300° oven, uncovered for 15 minutes.
While the beef enchiladas bake…
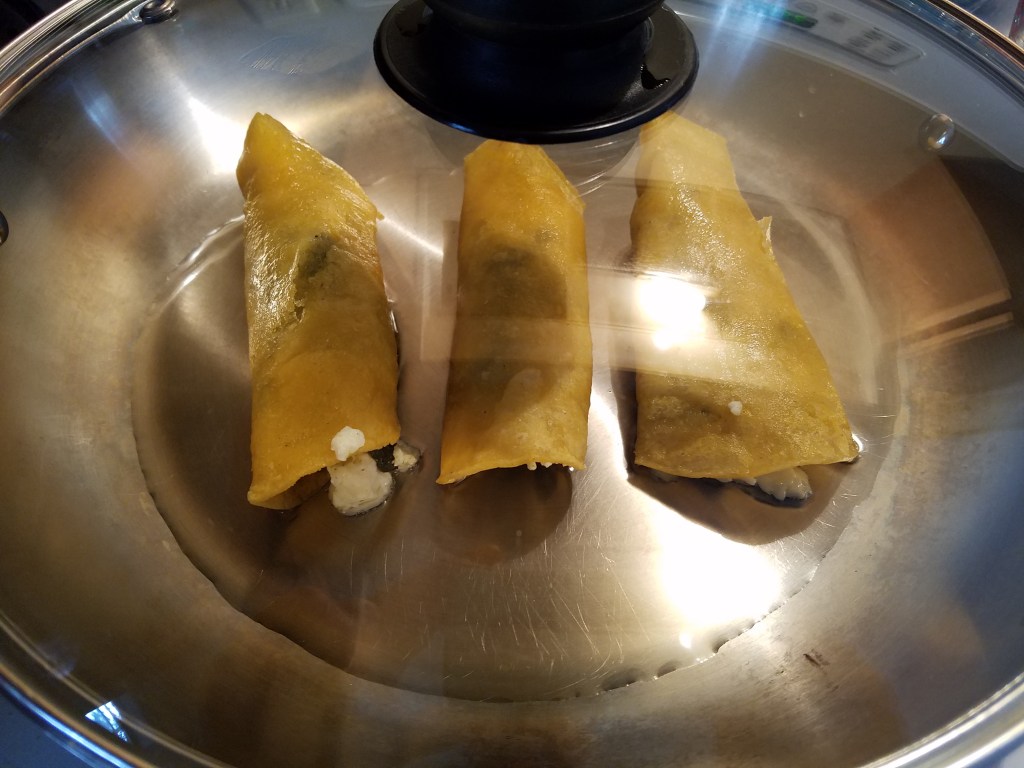
Lay 3 softened corn tortillas on a clean surface and fill them with crumbled Mexican cheese. Top with chopped, roasted poblanos and wrap the tortillas to form the enchiladas.
Place the enchiladas in skillet, seam side down, and simmer over very low heat, covered, for about 10 minutes. Covering the skillet is important. These enchiladas need to be soft enough to cut with a side of a fork.
In another skillet, simmer the half-and-half for about a minute, until it starts to bubble. Add the crumbled queso Chihuahua and turn off the heat. Stir until the cheese melts. Keep warm.
Assemble the platters:
Nestle some chopped lettuce, tomato and carrot strips together on one edge of the platter. Adorn with cilantro and sour cream.
Add refried beans and Mexican rice to the other side of the platter, leaving the middle of the platter open for the enchiladas.
Carefully lay a beef enchilada on the platter and a cheese enchilada next to it.
Drip some white cheese sauce over the beef enchilada and the refried beans.
Top the sour cream with pickled jalapeños.
Serve it like you mean it!
Los saludo cocineros y cocineros! Mantenga sus puertas abiertas … ¡Volveré tan pronto como pueda!
(I salute you, cooks and chefs! Keep your doors open…I’ll be back as soon as I can!)
This was a fun thing to work on while ‘Zooming’ with distant family members. If I counted correctly, we had 10 people on the Zoom call, along with cameos from our various pets.
Chicken wings are easy to make, especially if they are baked in the oven. You can use any type of sauce imaginable for the wings, which makes wings an exciting go-to recipe for a weekend afternoon.
This time, I went for an Asian flair.
Ingredients:
2.5 lbs chicken wings (about 20 drummets and mid-joints)
1 Tbs cooking oil
2 Tbs sliced ginger
6 garlic cloves, mashed
2 cups broccoli, chopped
1 white onion
3 small carrots
3 jalapeños, seeds removed
¼ cup cooking oil
2 cups cooked rice (day-old rice is best)
Asian sauce (Ingredients shown below)
Ingredients for the sauce:
1/3 cup ketchup
1/3 cup apricot preserves
3 Tbs soy sauce
2 Tbs Sriracha sauce
2 Tbs Hoisin sauce
1 ½ tsp oyster sauce
½ tsp fish sauce
Directions:
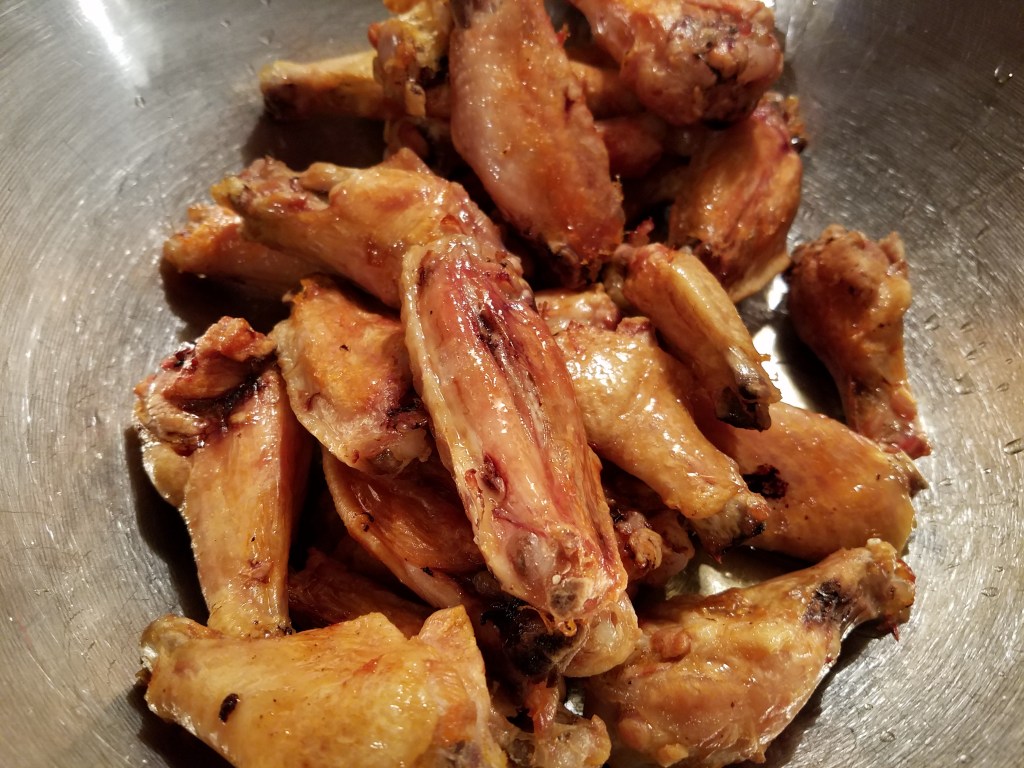
Rinse the chicken wings in cold, clean water. Allow the wings to air dry for about 20 minutes. Pat them dry with a paper towel and place them on a parchment paper covered backing tray. Bake at 400° for 30 minutes and then turn them over to brown on the other side. Turn the oven down to 350° and bake for another 30 minutes, or until the skin on the wings have crisped.
While the wings are baking, prepare the sauce. Mix all of the sauce ingredients together in a bowl. Pour into a sauce pan and simmer for about 10 minutes at low heat. Whisk the sauce while it cooks. Return the sauce to the bowl and set aside.
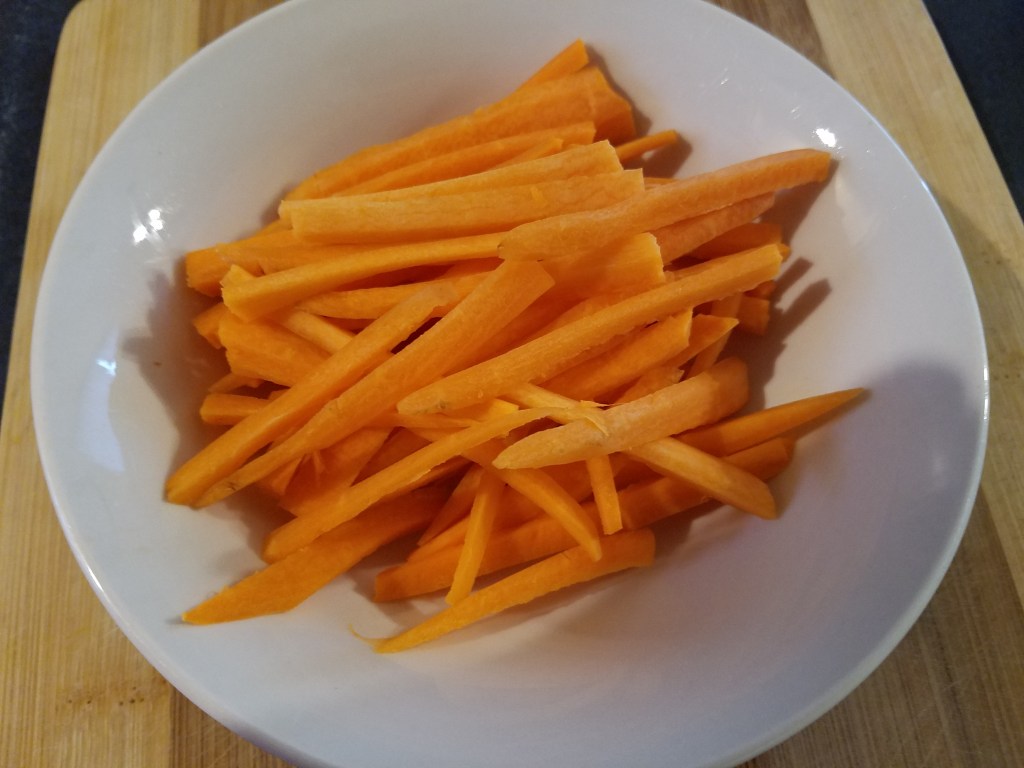
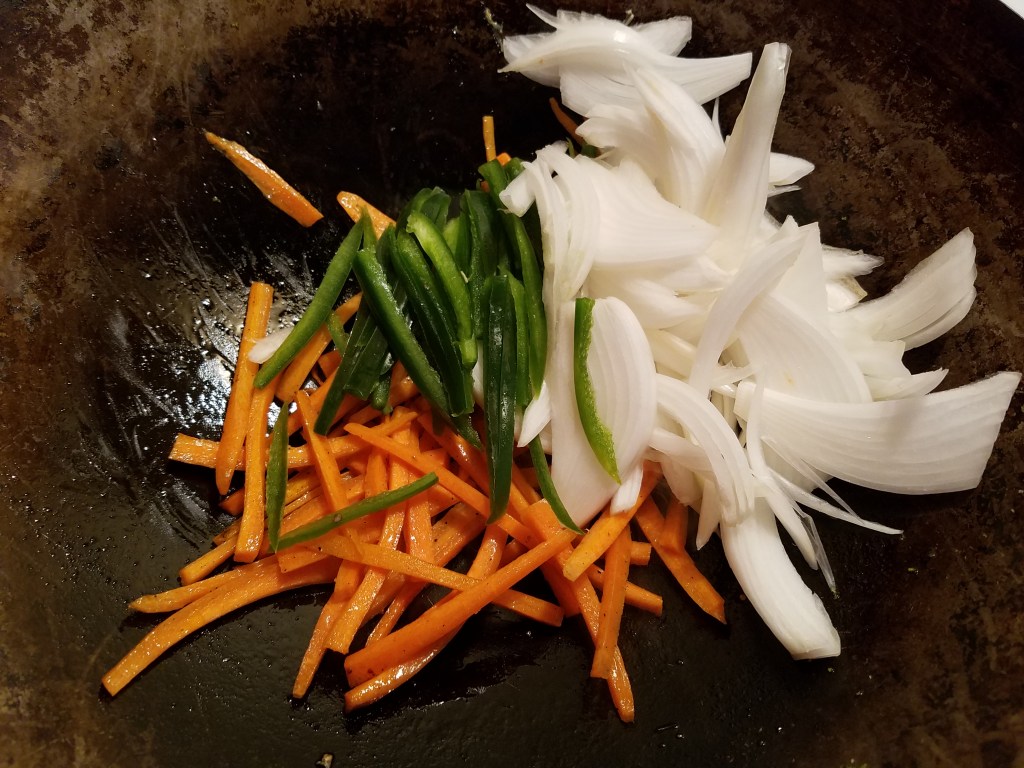
Cut the vegetables. I went for long and slender pieces this time so that meant julienne cuts on the onion and jalapeño and match stick cuts for the carrots. Set the vegetables aside.
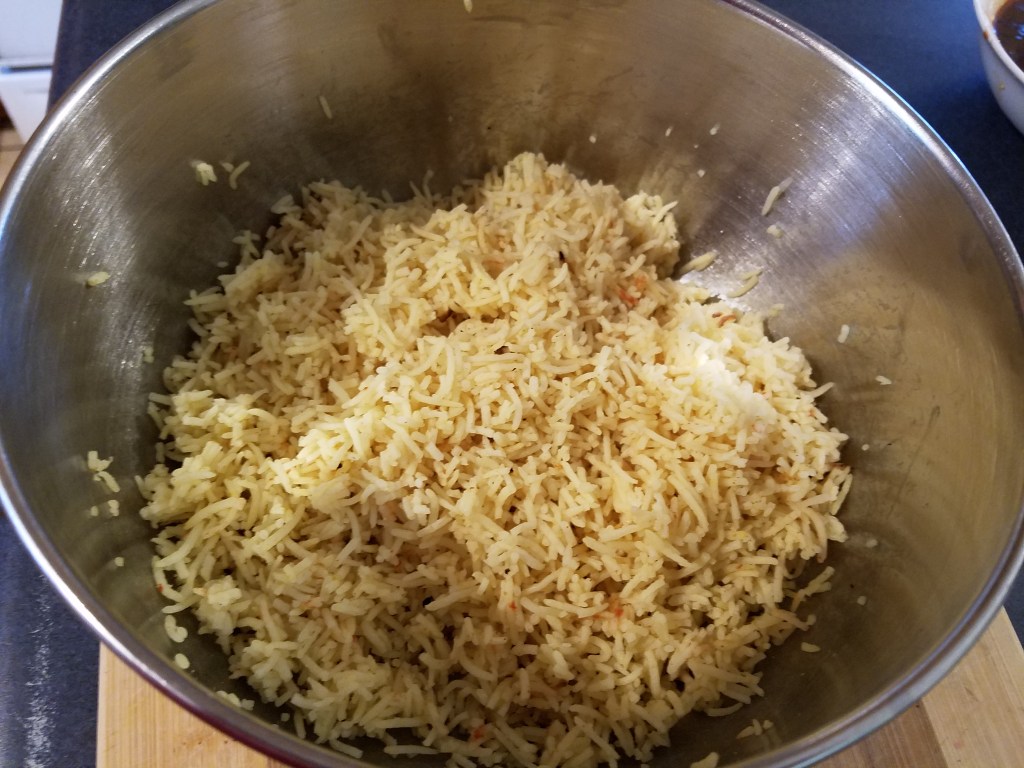
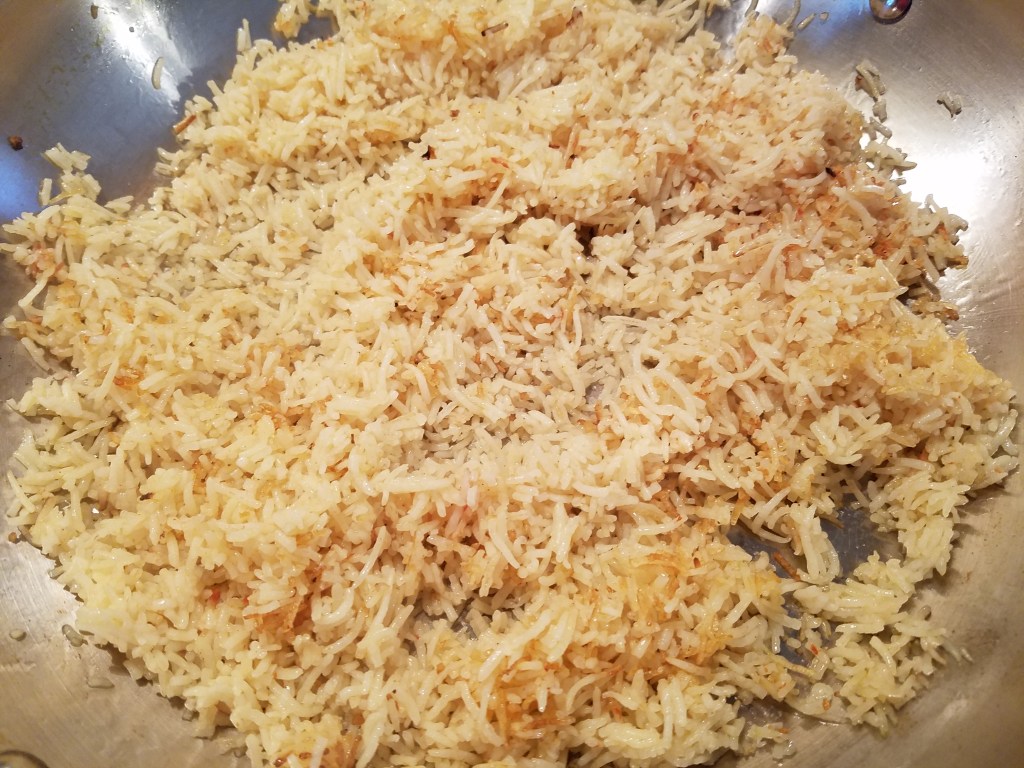
Take the cooked rice and add it to a mixing bowl. Add about ¼ cup cooking oil and thoroughly mix the rice by hand. All of the grains of rice should glisten when mixed properly.
Add the rice to a large skillet. Do not add oil. Spread the rice out evenly over the bottom of the skillet and cook at low/medium heat for 4 to 5 minutes. Do not stir!
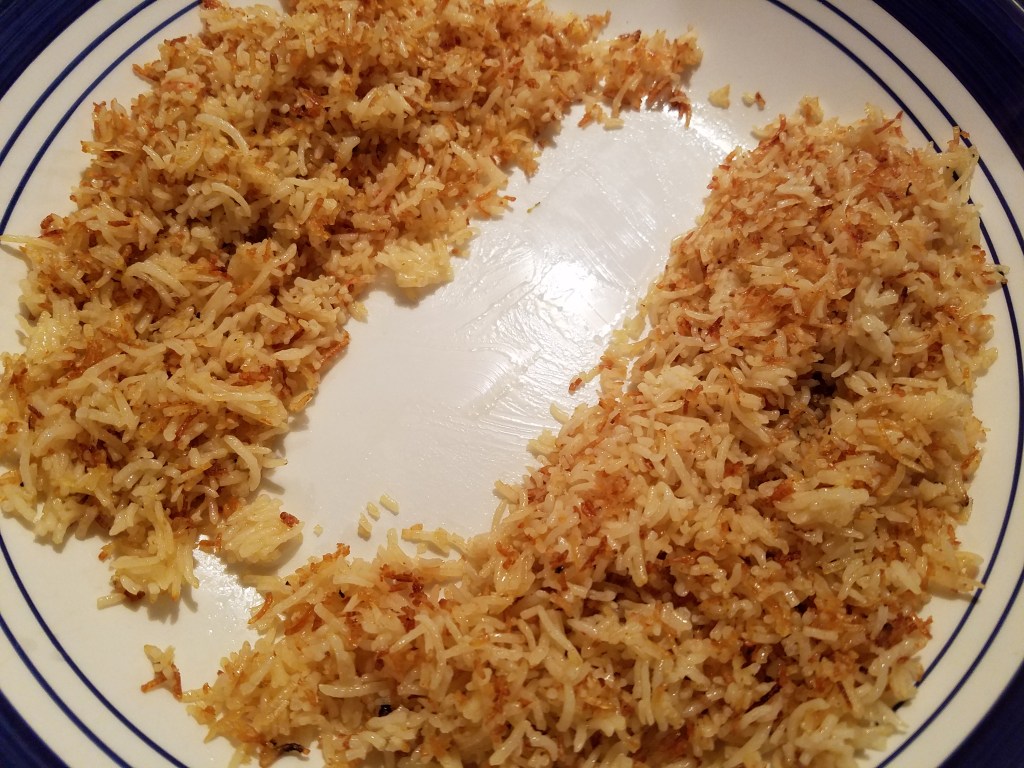
Turn the rice over after about 5 minutes and crisp the other side. The rice should turn light brown. Turn the heat off after 4 or 5 minutes. Keep the rice on the stove top while the vegetables are cooked.
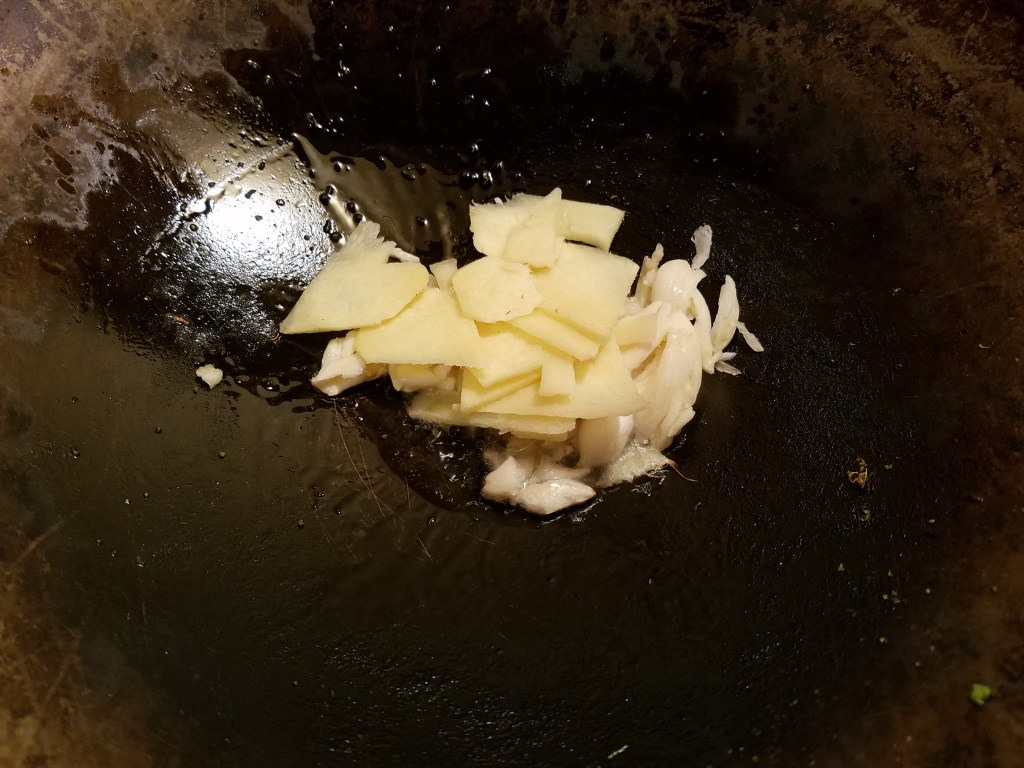
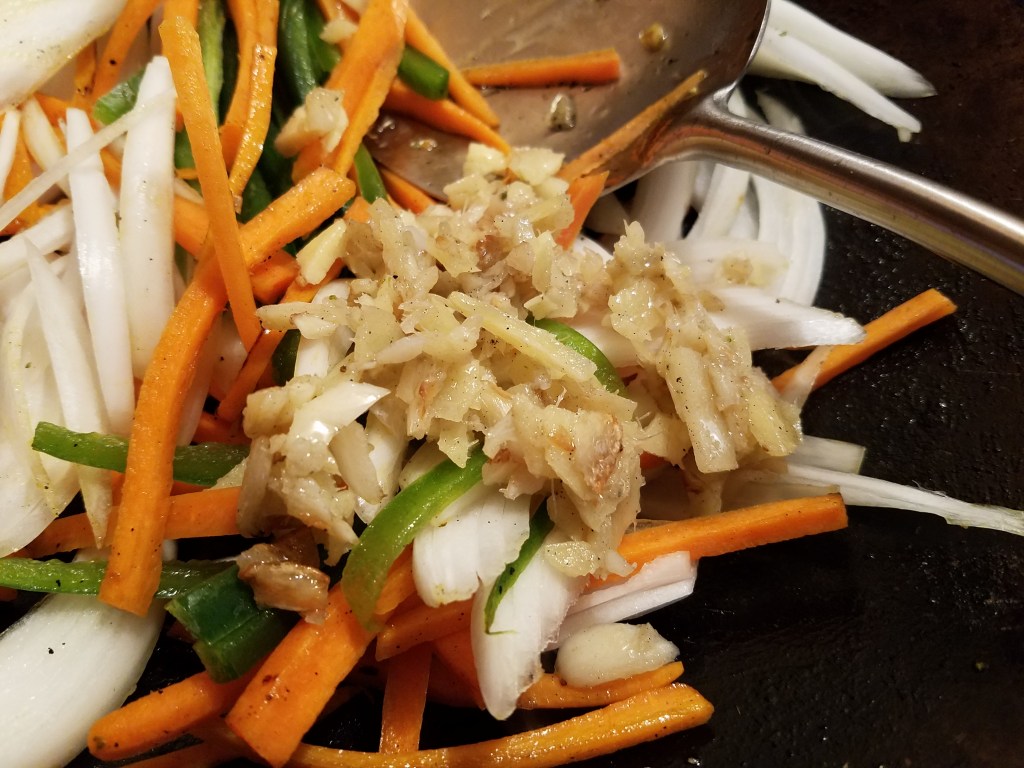
In a wok, add 1 Tbs cooking oil and the ginger and garlic. Simmer at low heat for about a minute. Remove the ginger and garlic, (before the garlic browns). Set the ginger and garlic aside.
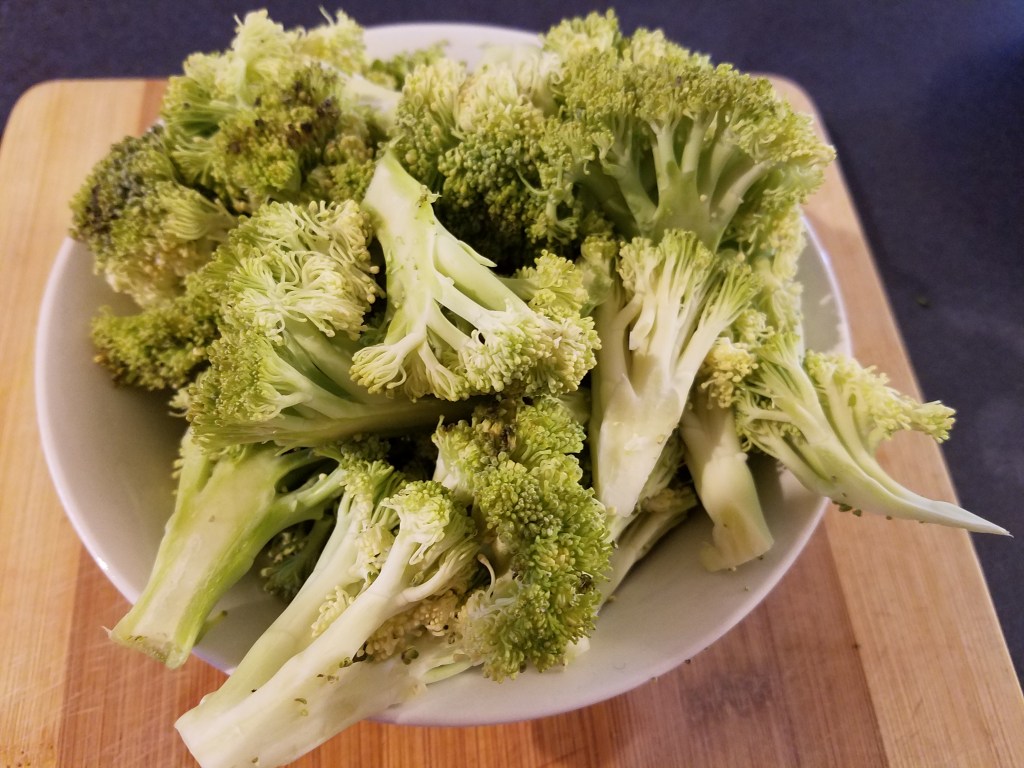
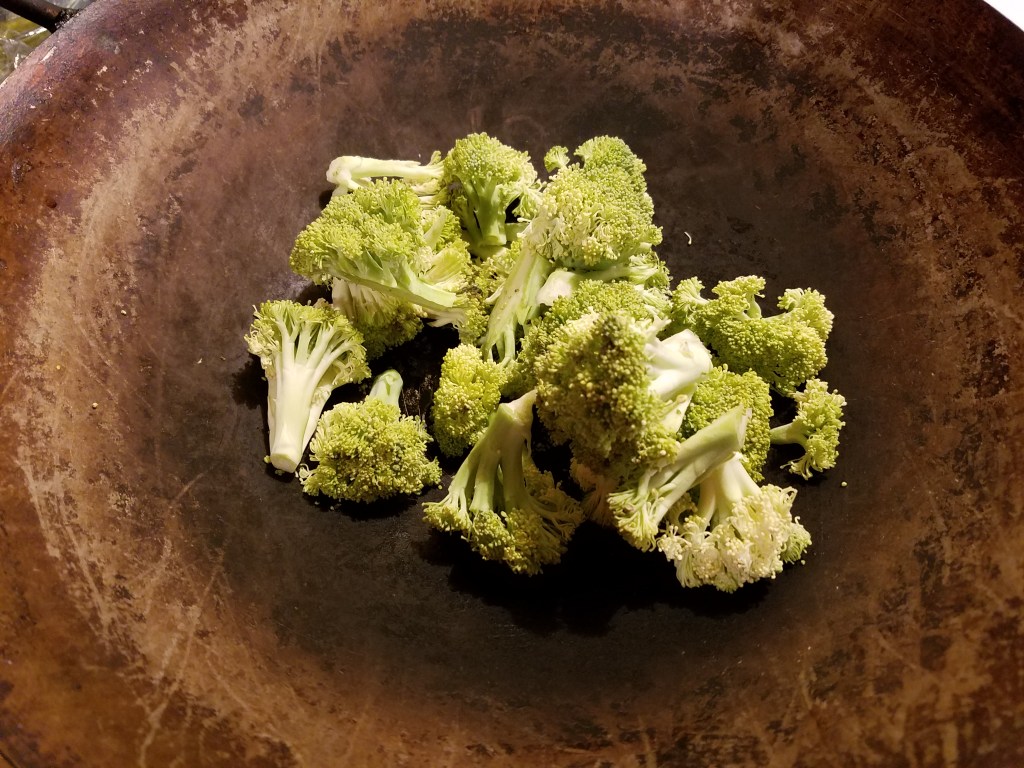
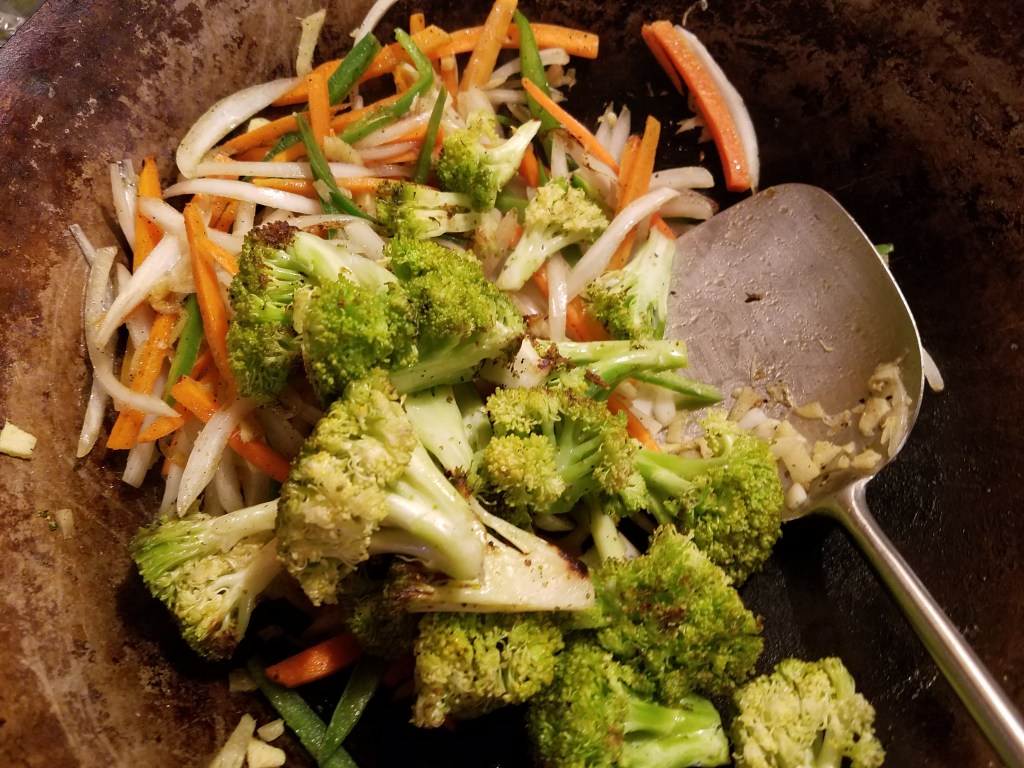
Add the broccoli pieces to the wok. Set heat to low and stir-fry briefly.
Cover the broccoli with a lid, or aluminum foil. Steam the broccoli for 5 to 7 minutes, stirring occasionally. Remove the broccoli to a bowl and cover.
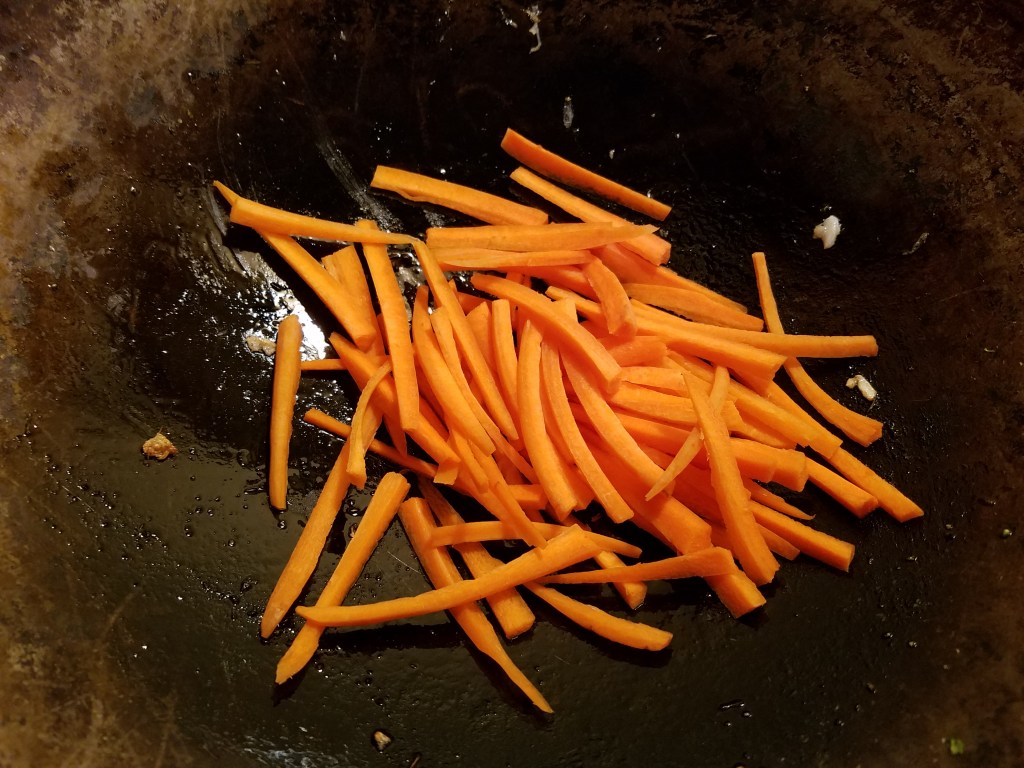
Add the carrots to the wok and turn the heat up to medium. Stir fry for a few minutes and then add the onion and jalapeño. Chop some of the cooked ginger and garlic and add it the wok. I added about 2 tablespoons of ginger and garlic. Add the broccoli and stir briefly.
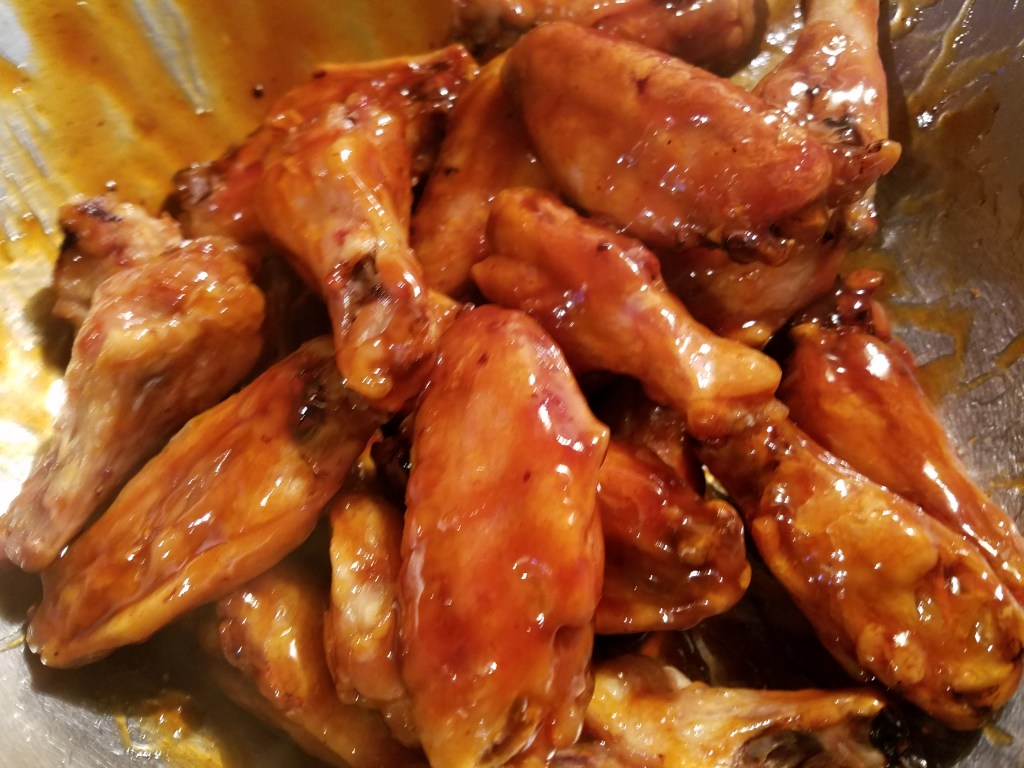
Pull the wings from the oven and add them to a large mixing bowl. Pour the Asian sauce over the wings and toss to coat. Add the wings to a serving platter.
Arrange the crispy rice and stir-fried vegetables on another platter.
Serve with plenty of napkins. The wings are going to very sticky!
Botanas are snacks, or appetizers. A variety of small snacks are served on a large platter and are intended to be served communally.
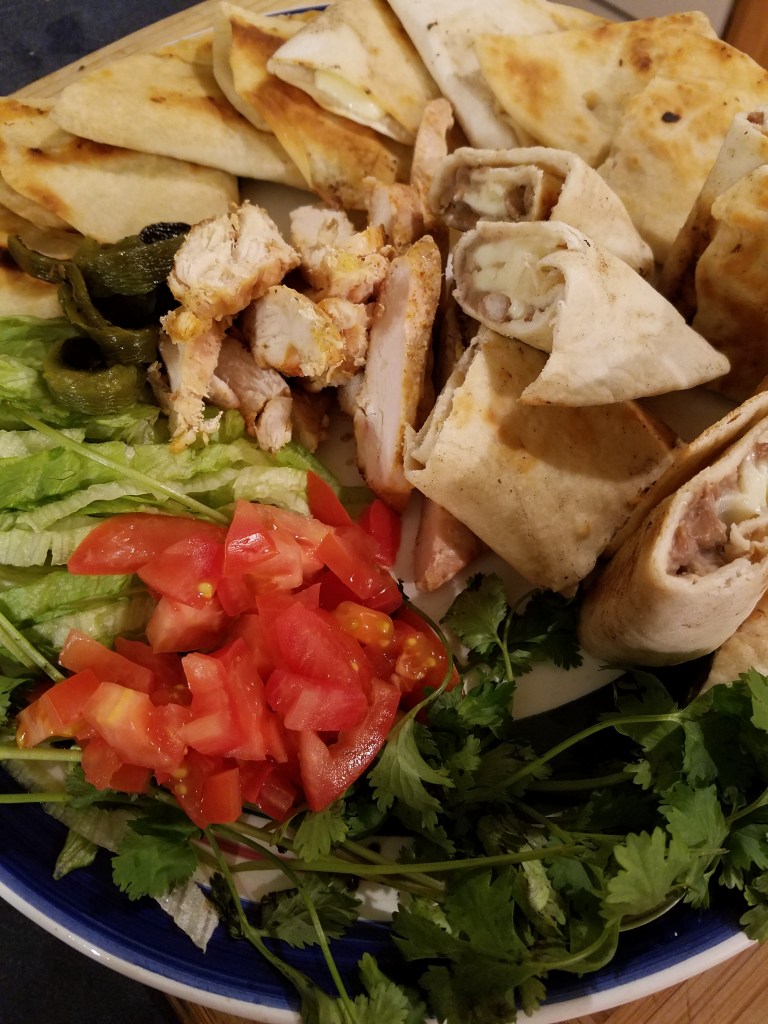
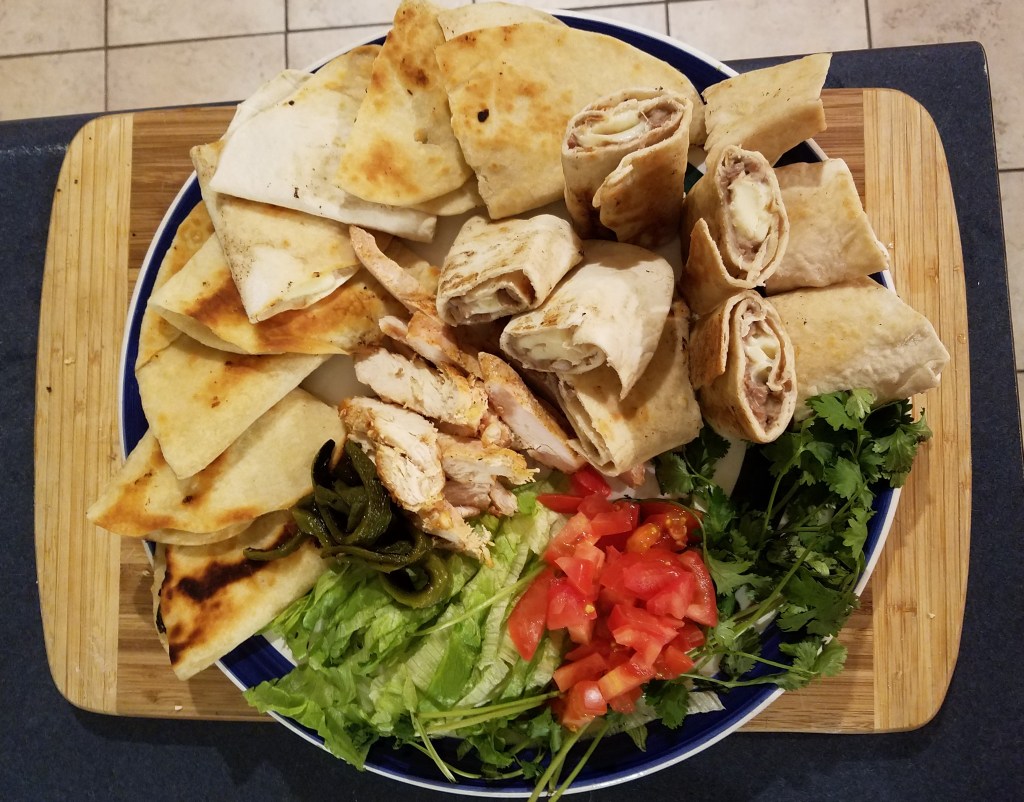
I’ve been wanting to make refried beans for several days now and this seemed like a good way to showcase them. Homemade tortillas, fire roasted poblano chiles, mesquite grilled chicken and queso Chihuahua offer bold flavors and textures to the party platter. Lettuce, cilantro and tomato add bright colors to the ensemble.
The botanas platter took several hours to complete. Boiling dried beans and preparing tortilla dough take an hour and half each to complete. Roasting chiles and the chicken on an outdoor grill requires another hour, or more. Some of these tasks can be done in advance and kept chilled and then reheated, when you are ready to assemble the platter.
Ingredients for Refried Beans:
2 cups dry pinto beans, cleaned and rinsed
1 guajillo chile, stemmed and seeds removed
1 cup onion, sliced in large rings
½ gallon water
¼ cup lard
2 Tbs bacon fat
½ tsp salt
½ tsp cumin
Directions for refried beans:
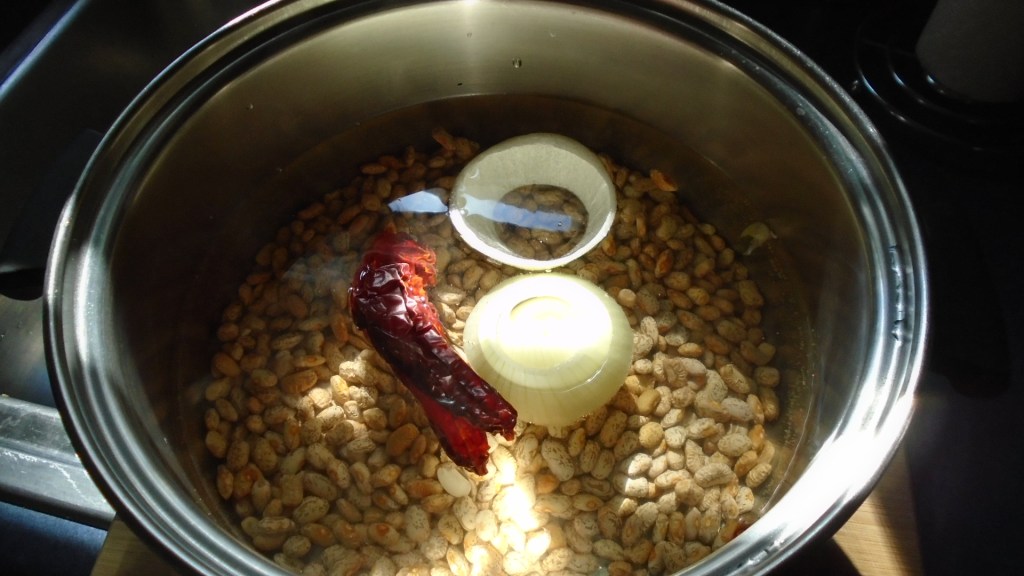
Add dry pinto beans to a pot of water. Turn heat to high.
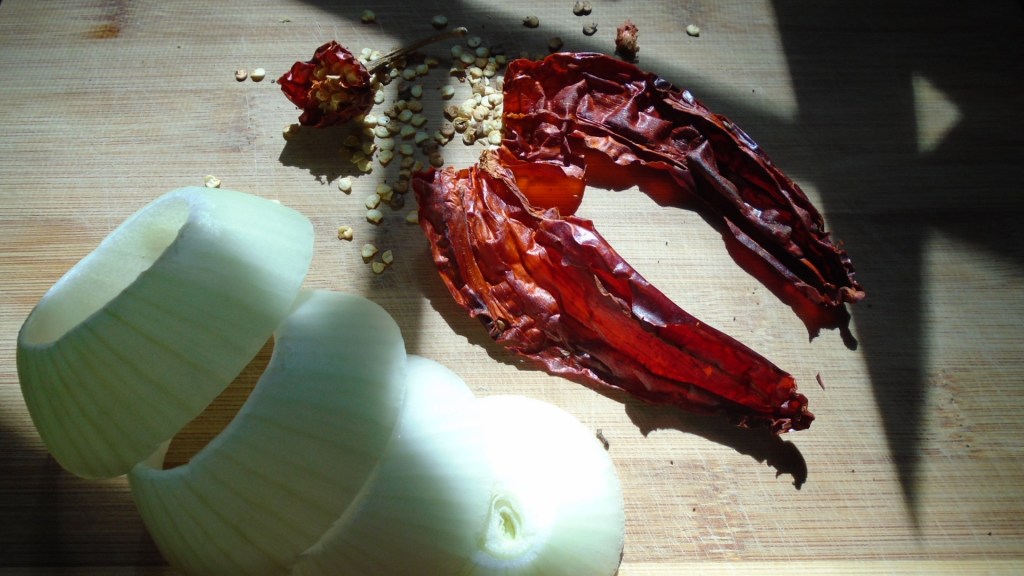
Slice the guajillo chile in half. Add the chile and onion to the pot.
When the pot begins to boil, turn the heat to low and cover. Simmer for one and a half hours.
Strain beans and discard the onion and chile. Rreserve one or two cups of the broth.
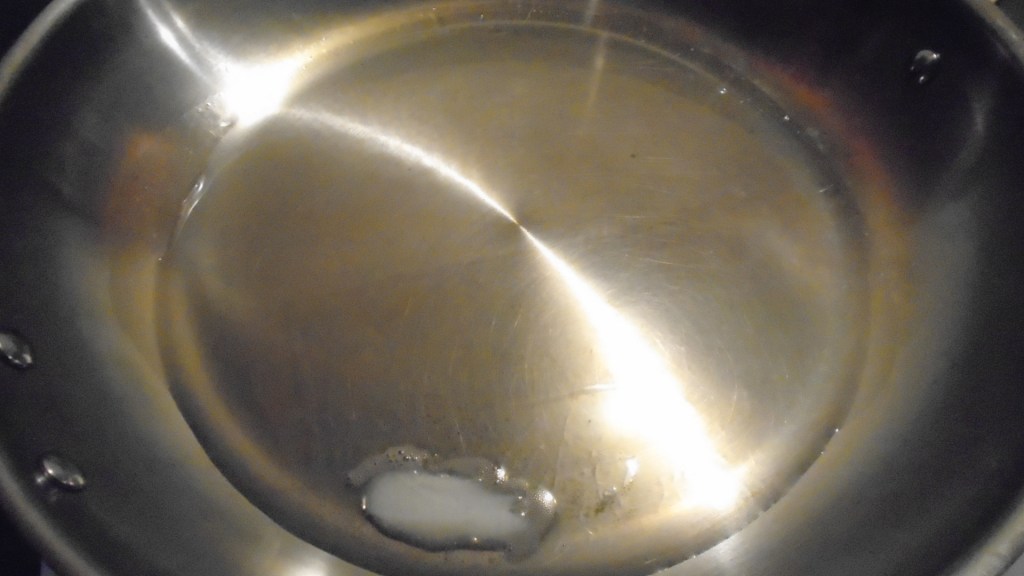
In a large skillet, add the lard. Melt the lard at low/medium heat.
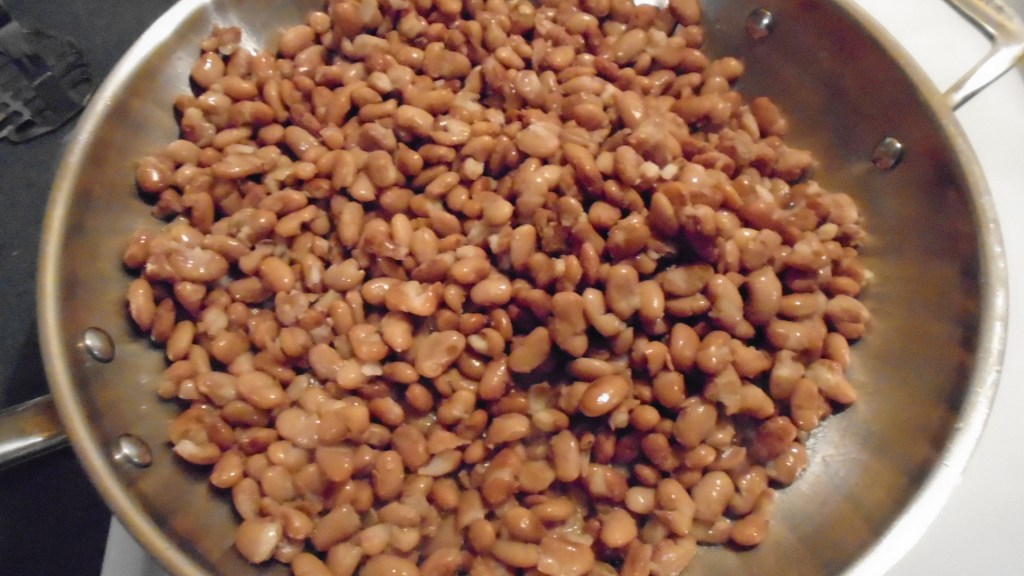
Add cooked beans and stir. Fry the beans for about 5 minutes.
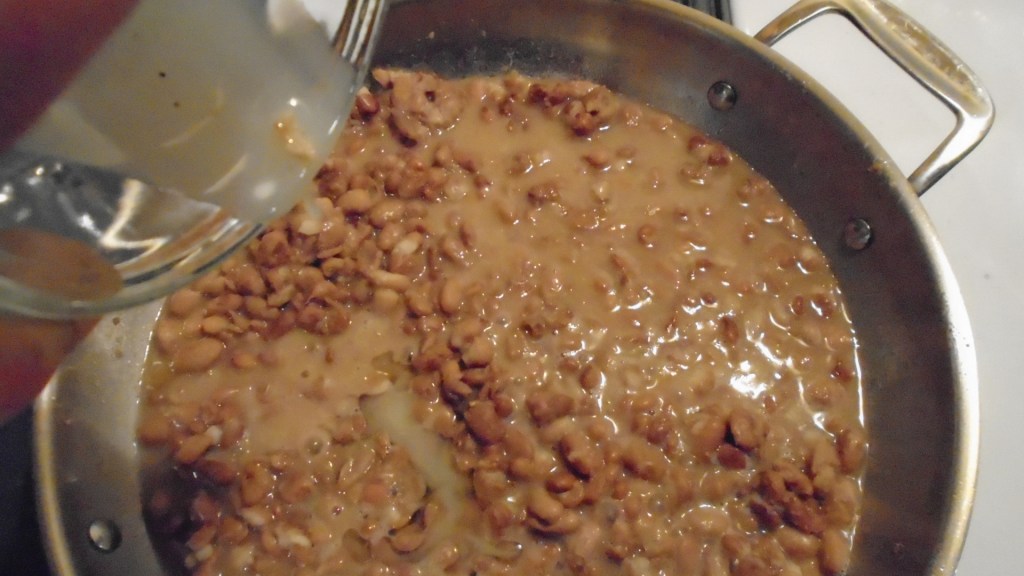
Add about 1 cup of the reserved bean broth. Simmer and stir for one minute.
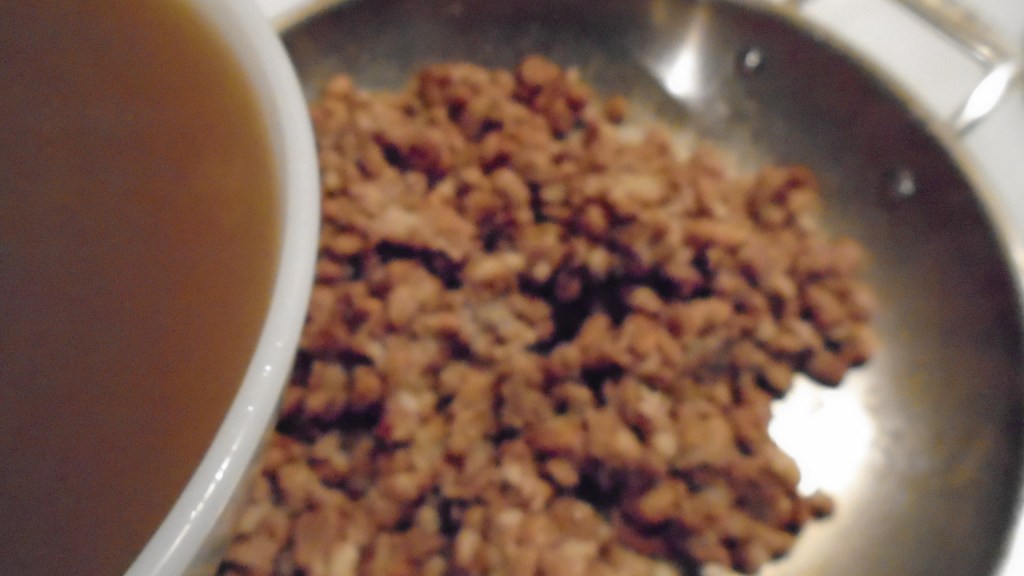
Add the bacon fat and stir for another minute.
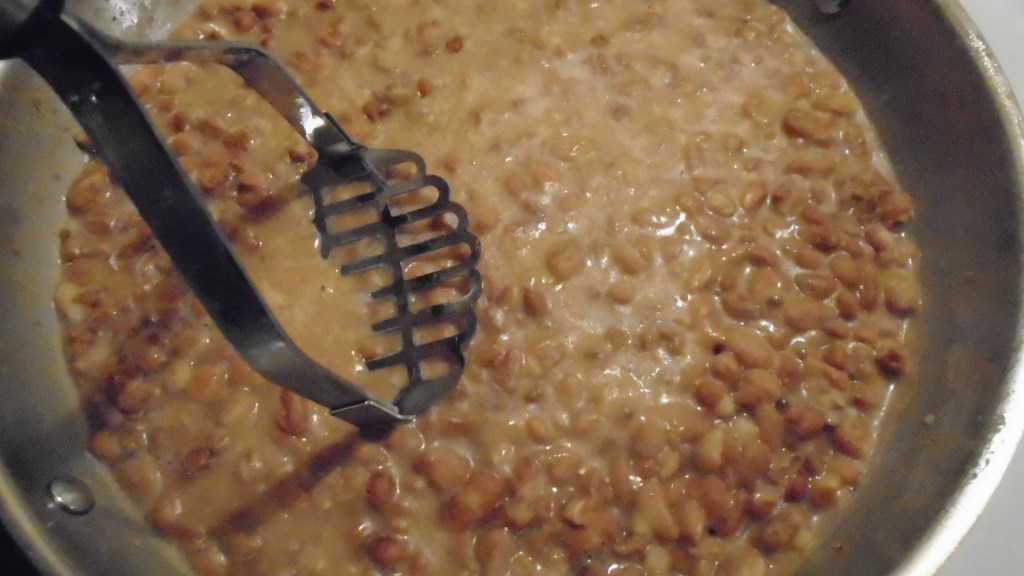
Mash the beans with a potato masher or large fork. Mash and mix the beans until they are creamy. Add more broth if desired.
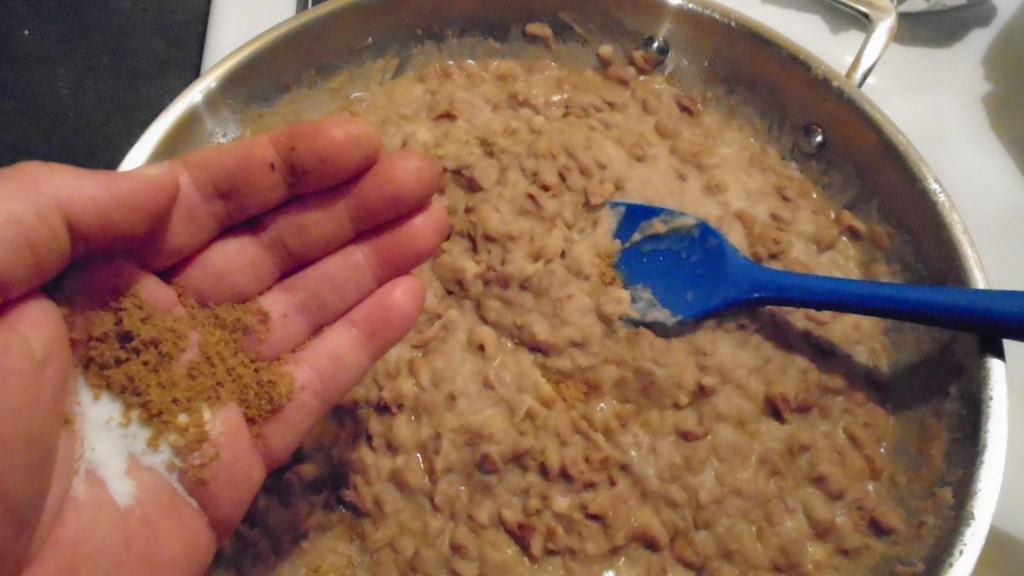
Add salt and cumin. Stir for a minute. Turn heat off and turn out to a serving bowl.
Ingredients for Fire Roasted Poblano Chiles:
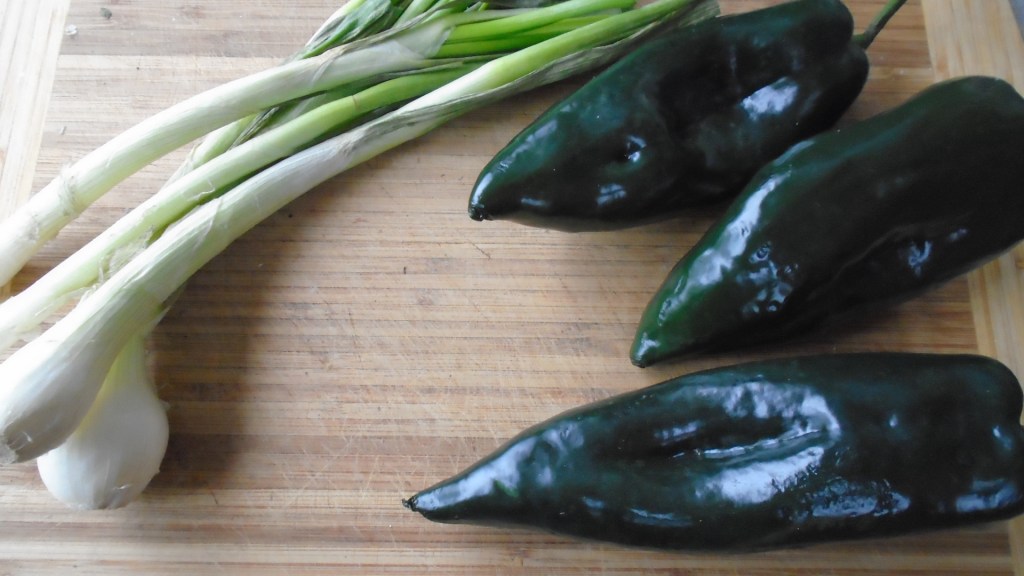
3 fresh poblano chiles
The green onions will be grilled, too. They will be in another recipe.
Directions:
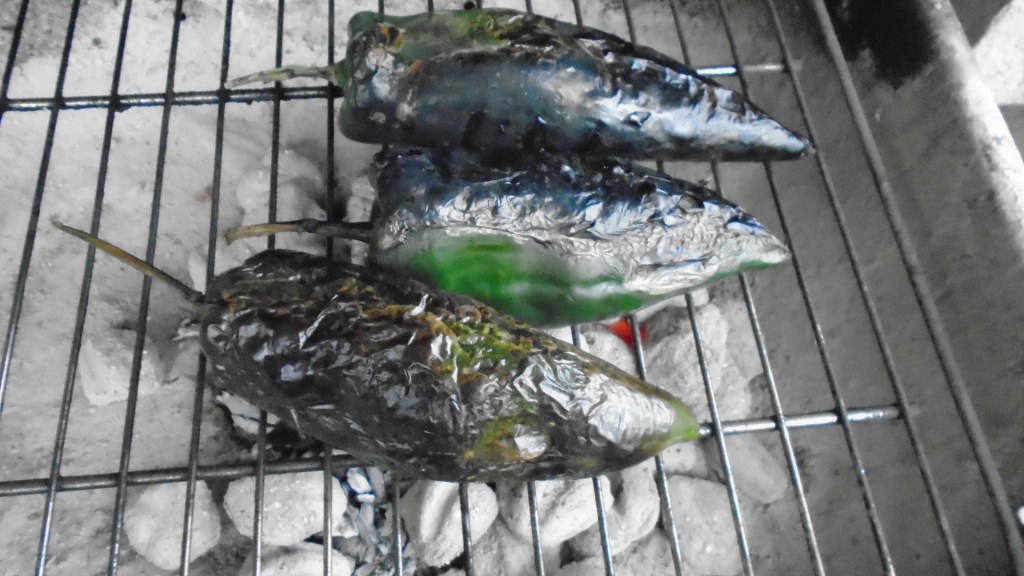
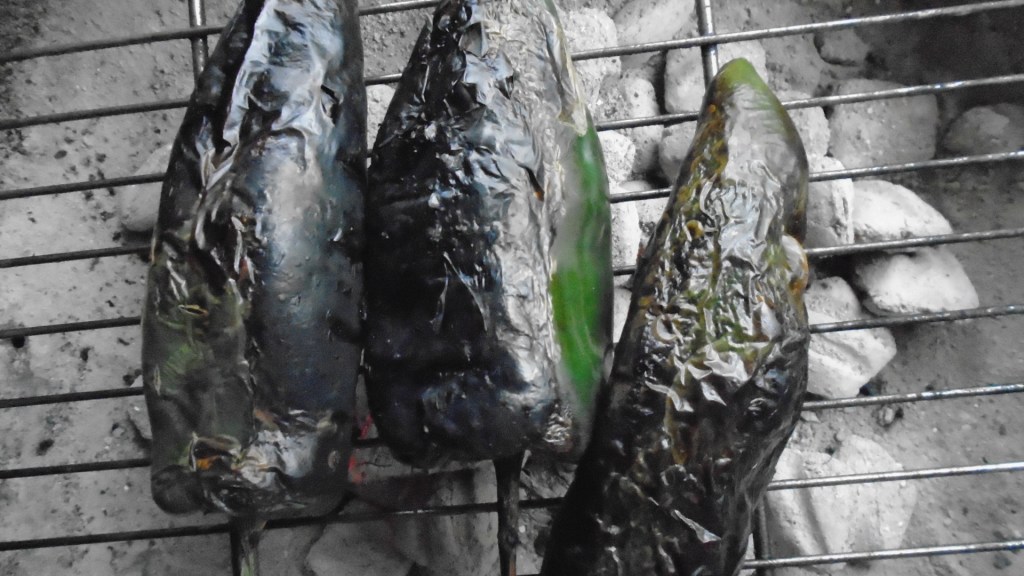
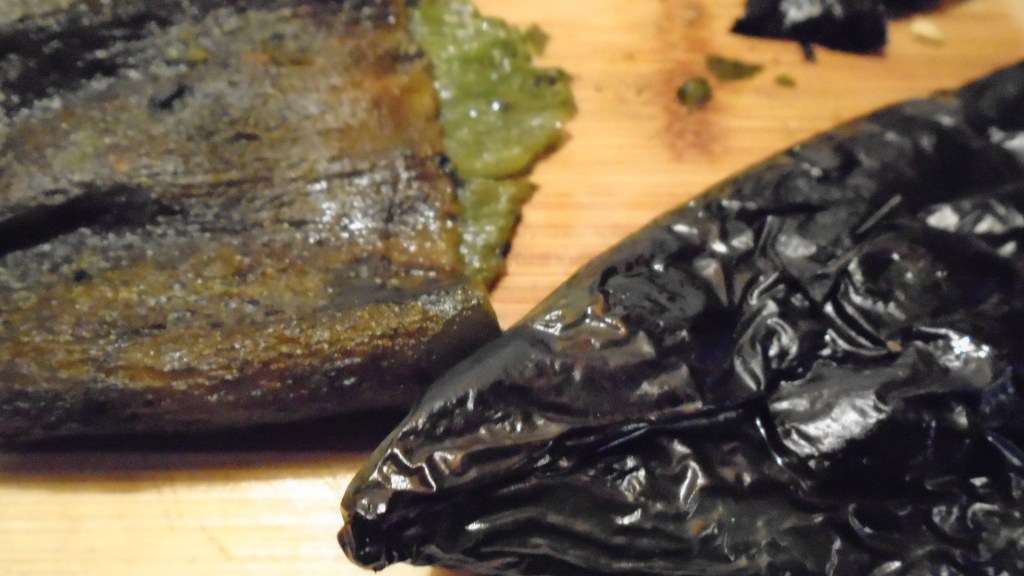
Roast chiles on the grill at very high heat. Turn the chiles every 3 or 4 minutes to char each side.
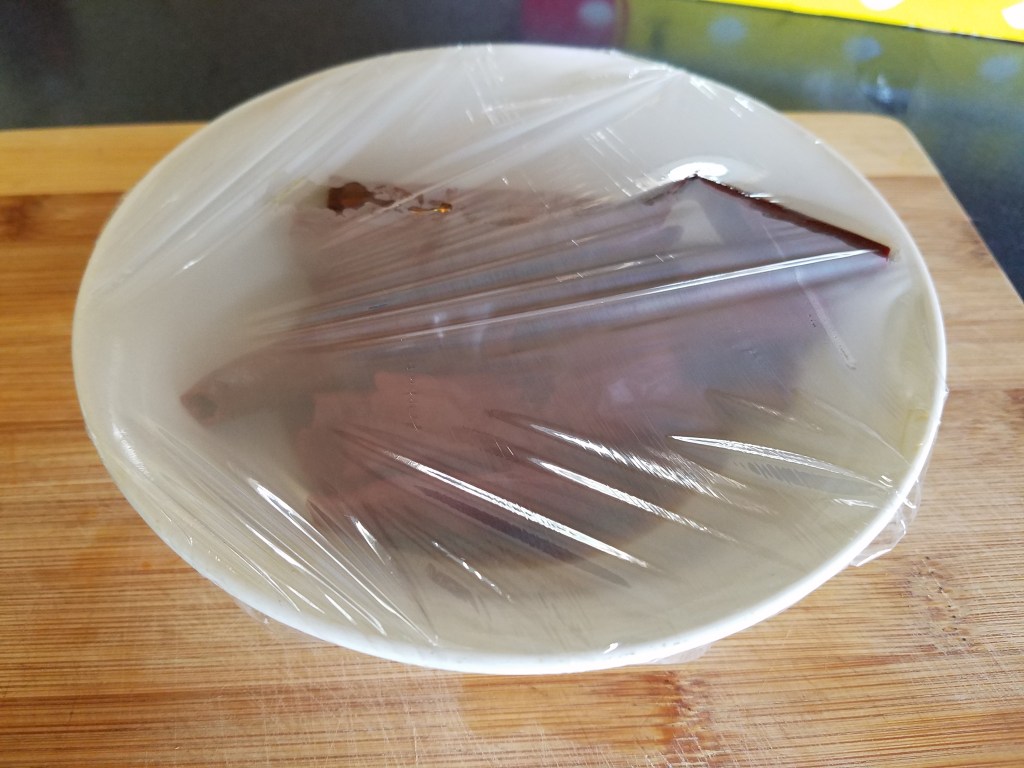
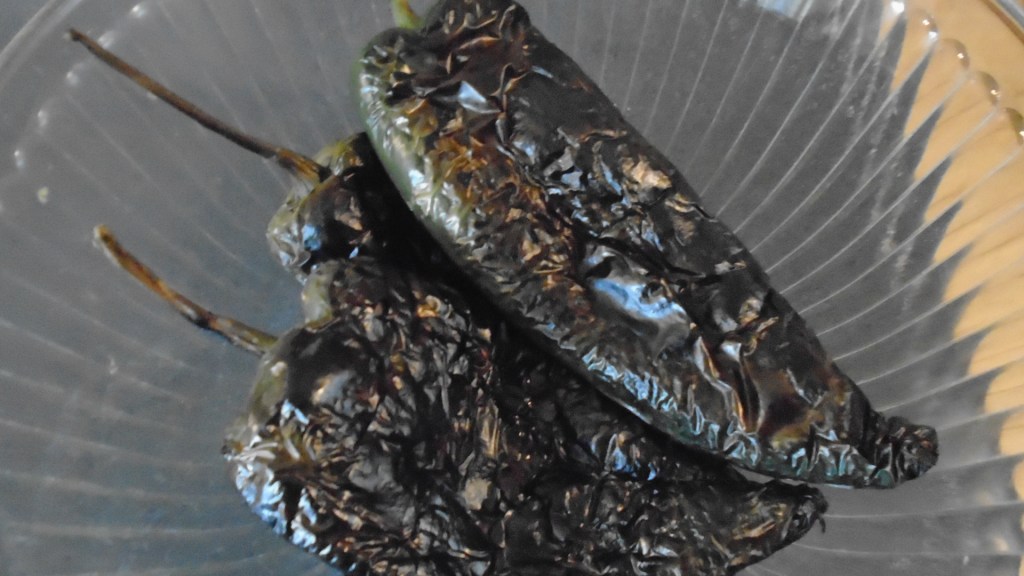
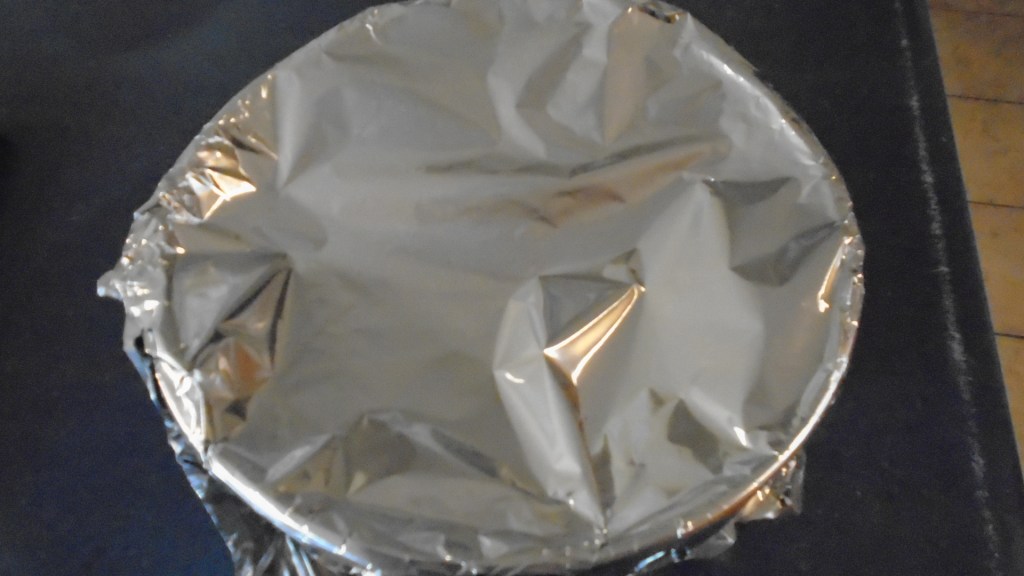
Once the chiles are charred on all sides, place them in a bowl and cover with foil or plastic wrap. The chiles will soften and cool to room temperature in about 15 minutes.
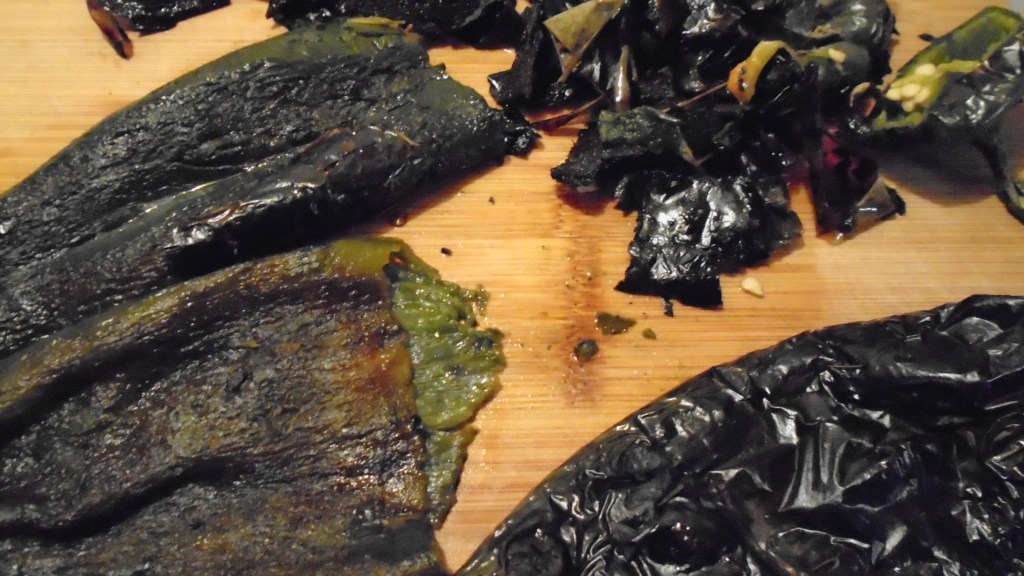
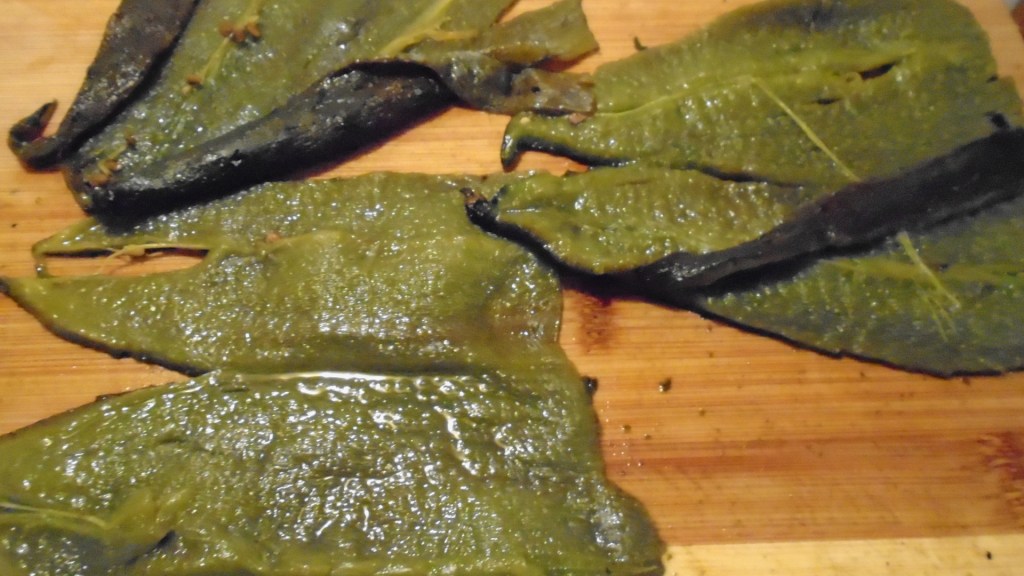
Remove the chiles and peel the charred outer skin away from the chiles. The charred parts should easy separate from the rest of the chile. Cut the stem off and pull out the seed cluster.
Slice the chiles lengthwise and lay the chile out on a cutting board. Remove any seeds that were missed.
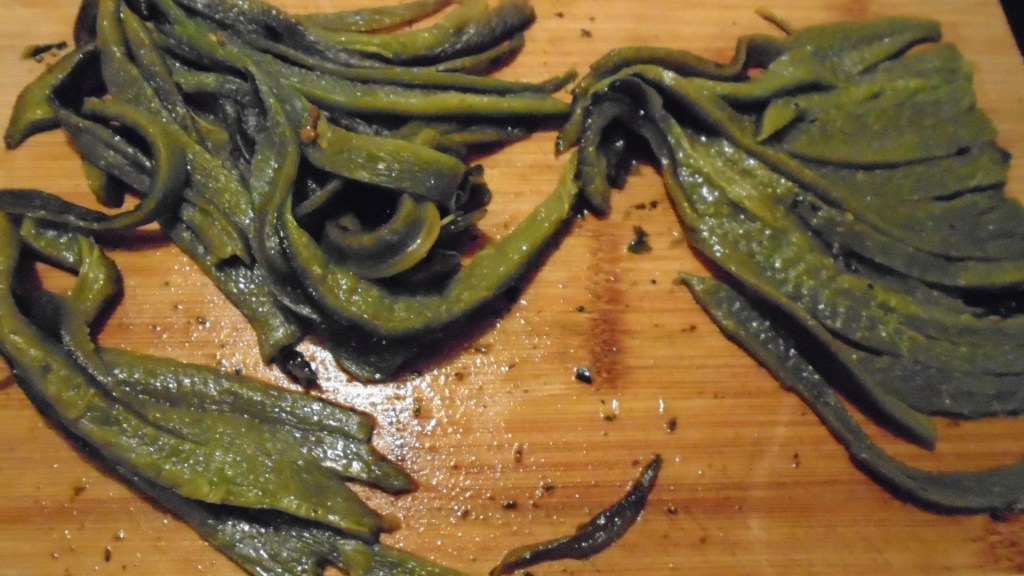
Slice the chiles in thin ribbons, about ¼” thick. Set aside.
Pollo a la Parrilla de Mezquite
(Mesquite Grilled Chicken)
Ingredients
2 medium sized chicken breasts
1 tsp red chile powder
1 tsp cumin
1 tsp garlic powder
1 Tbs olive oil
Directions:
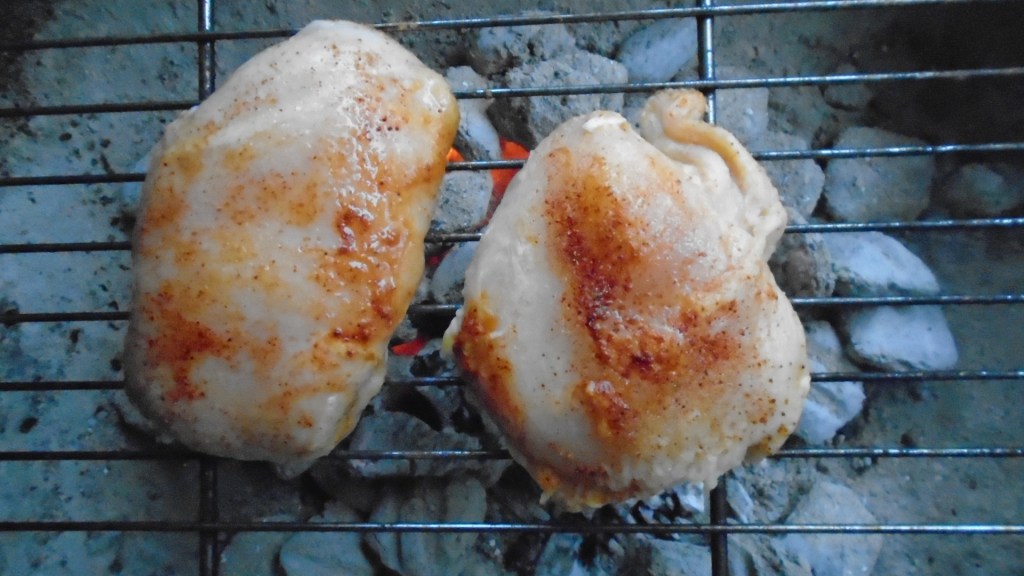
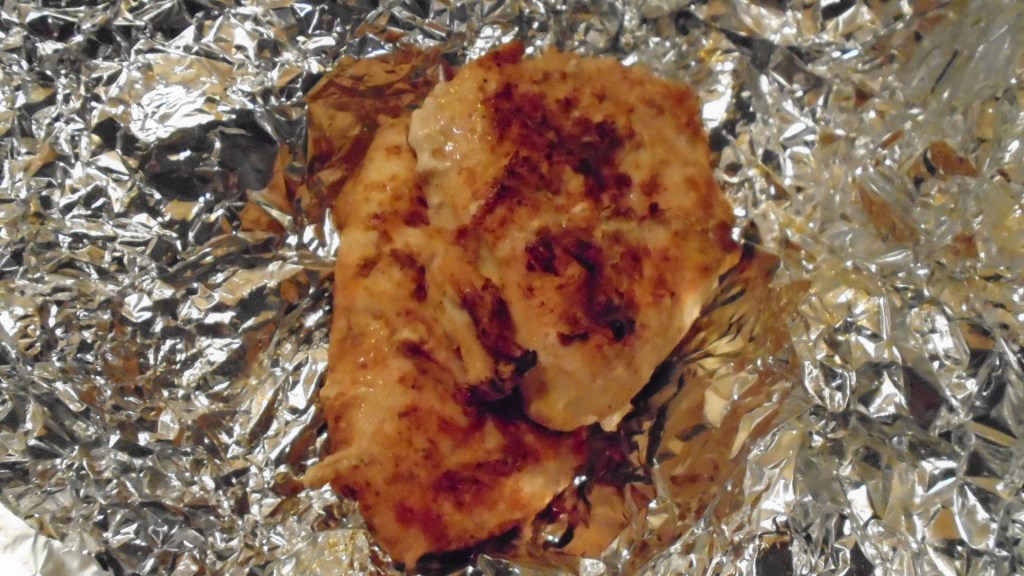
Sprinkle chile powder, cumin and garlic over the chicken. Drizzle with olive oil and toss, to mix.
Carefully place chicken on a hot grill and grill each side for 3 to 4 minutes. Remove the chicken, wrap in foil and store in a warm place until ready to serve.
Quesadillas de Rajas con Queso
(Quesadilla with Poblanos and Cheese)
Ingredients:
Flour tortillas
Sliced roasted chile poblano
Sliced Chihuahua cheese
Directions:
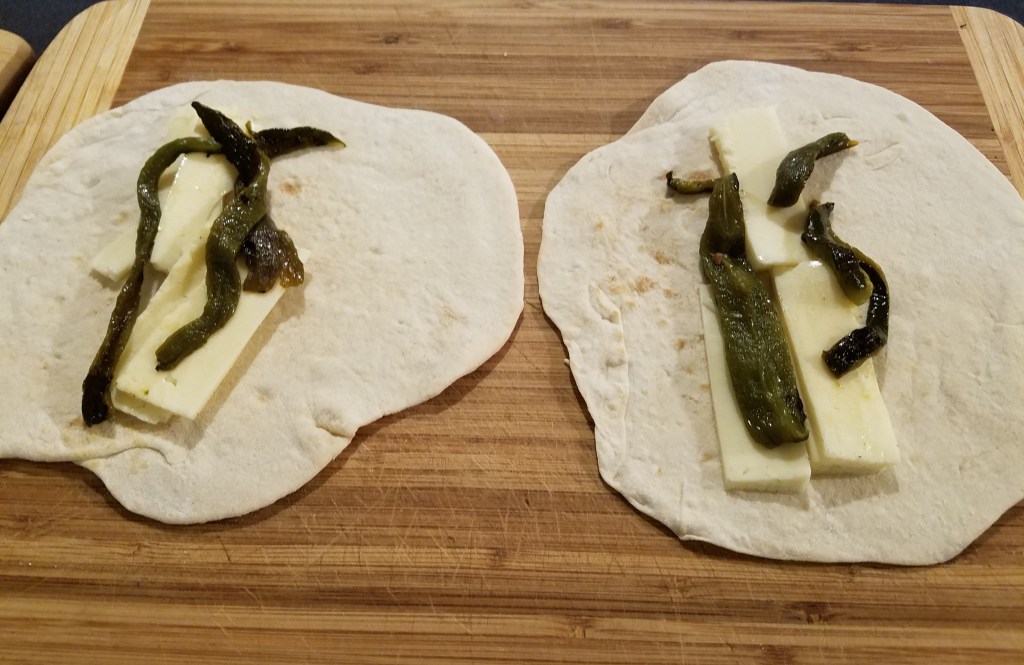
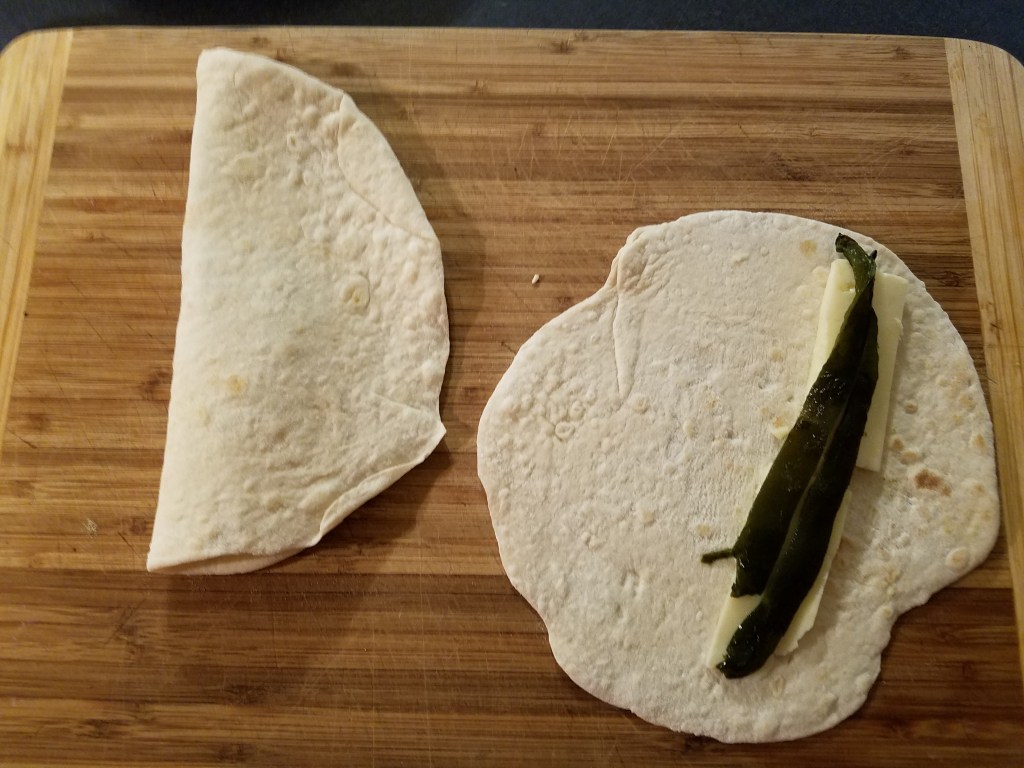
Add sliced cheese and strips of poblano pepper to one half of a tortilla.
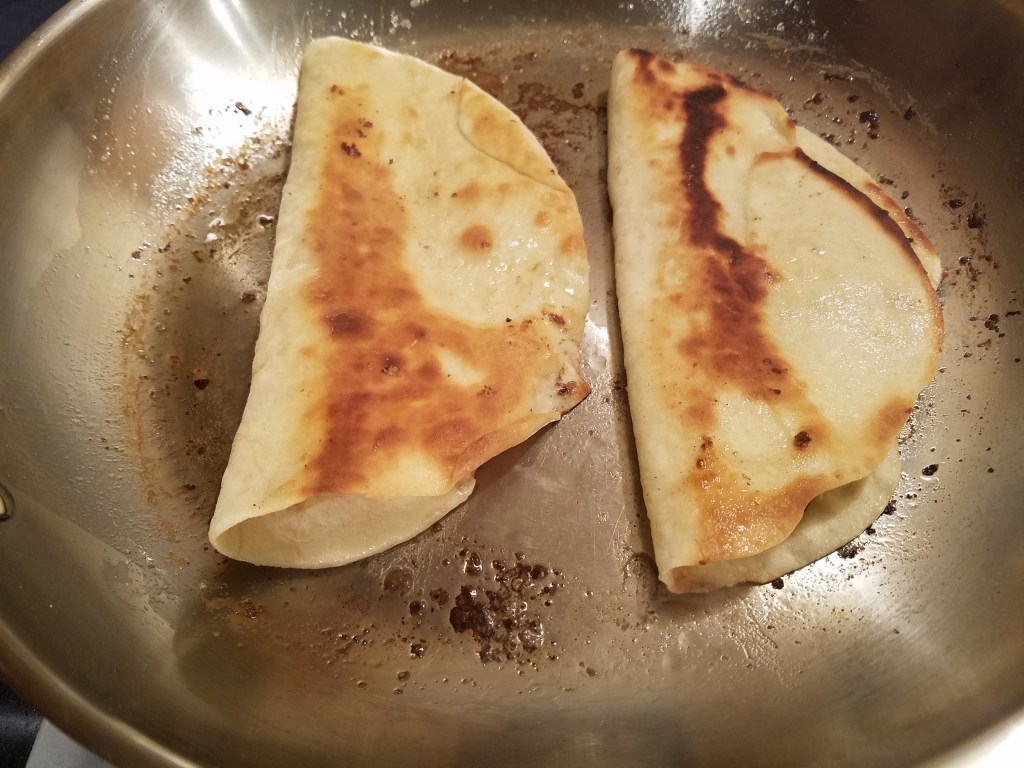
Make a quesadilla by folding the tortilla to cover the cheese and chile.
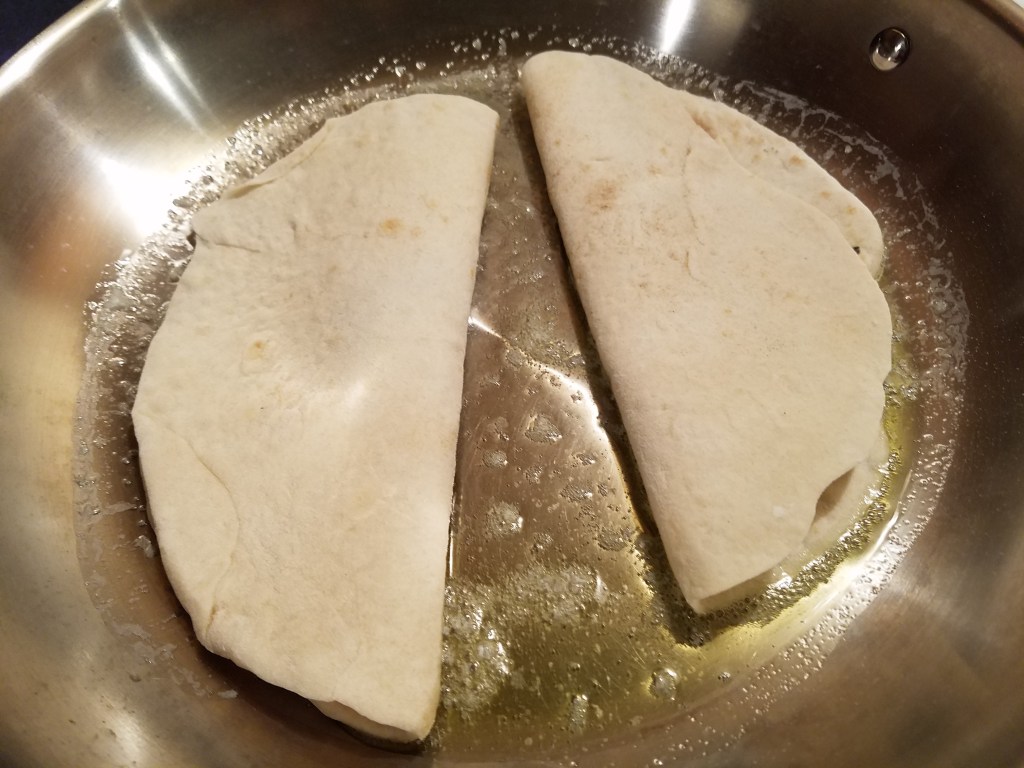
Fry the quesadilla in butter and olive oil at low/medium heat for a few minutes on each side.
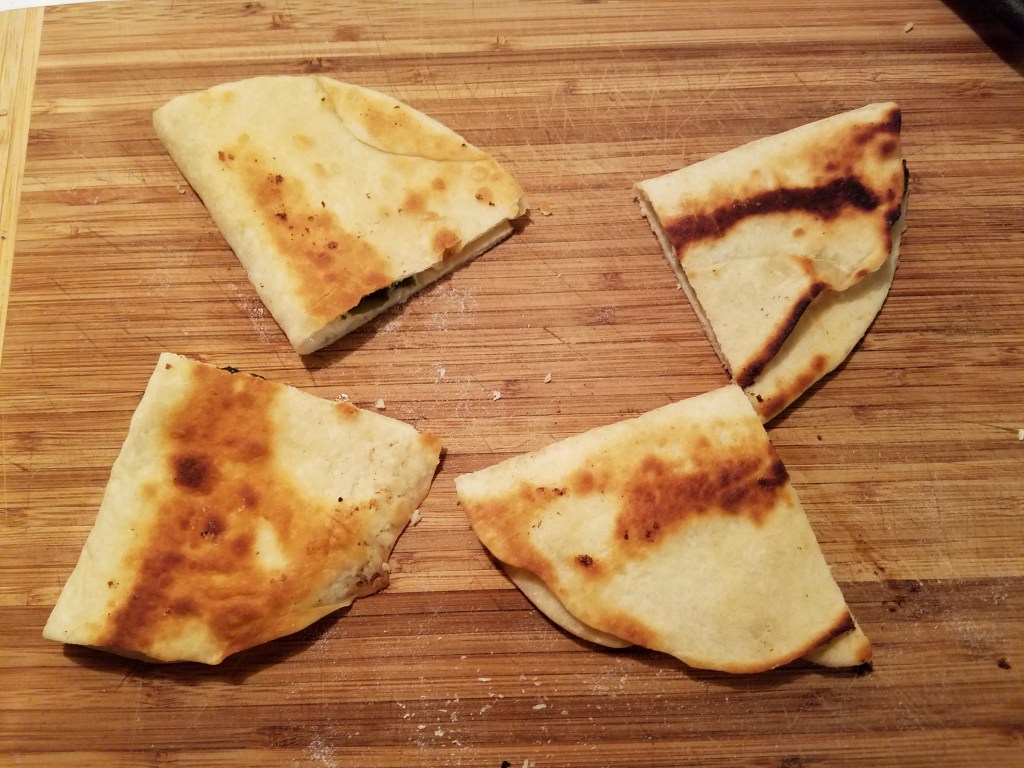
Remove and cut the quesadillas in half.
Burritos pequenos
(Small burritos)
Ingredients:
Flour tortillas
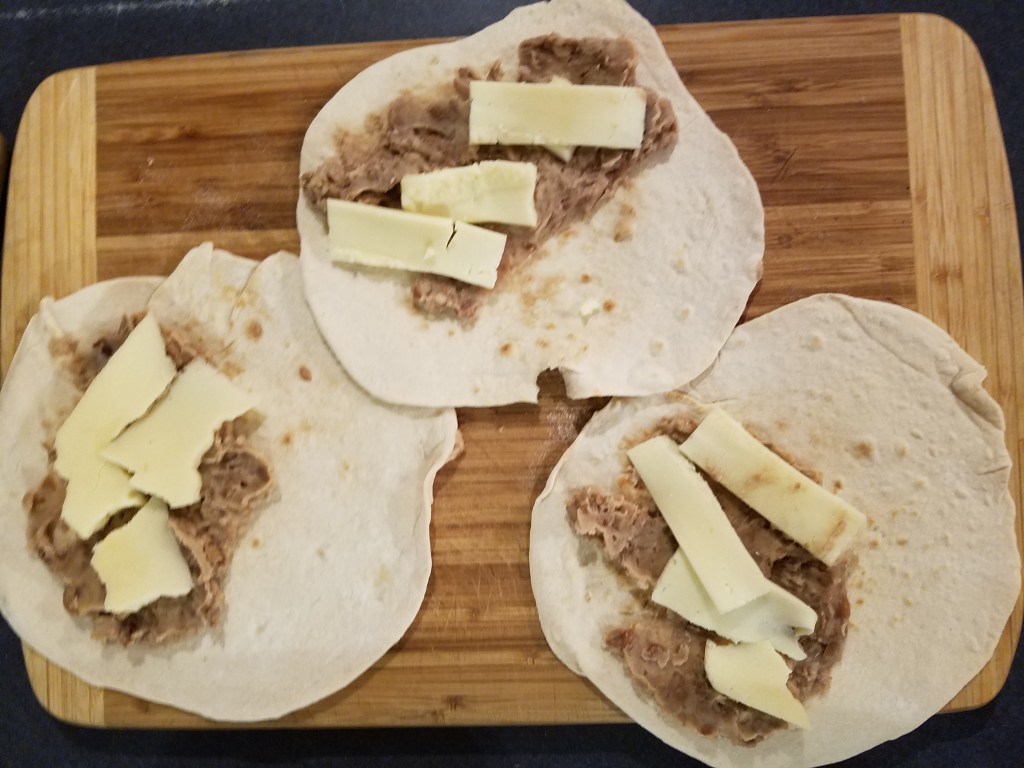
Refried beans
Sliced Chihuahua cheese
Directions:
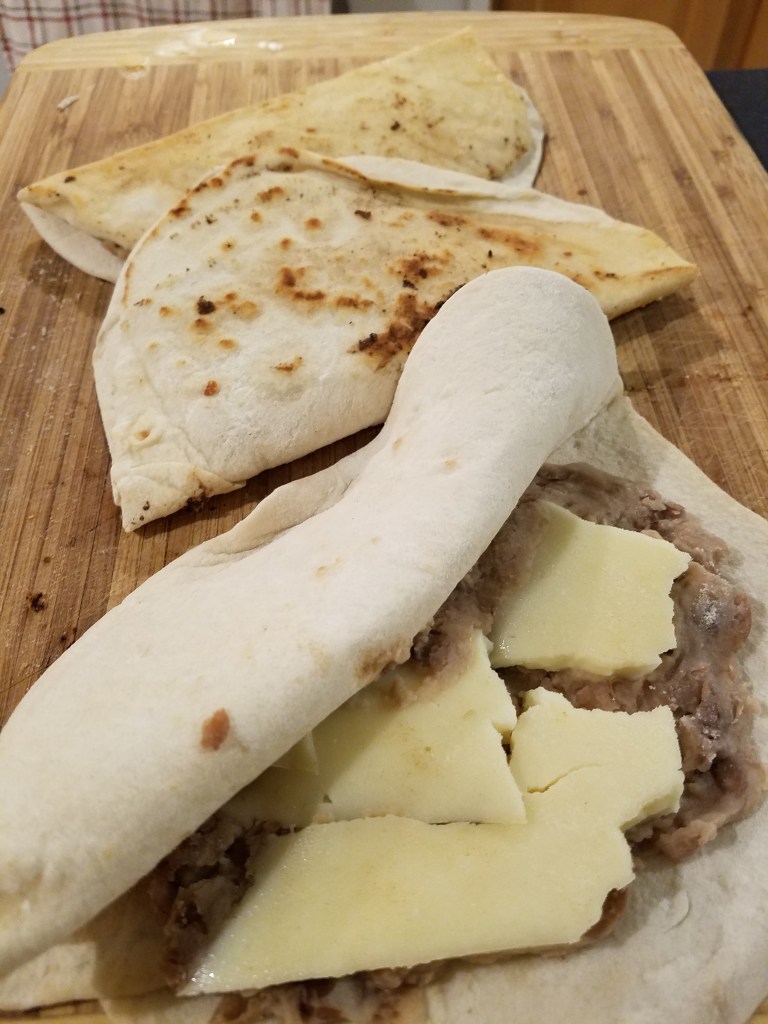
Add refried beans and cheese to a tortilla.
Roll the tortillas to form burritos.
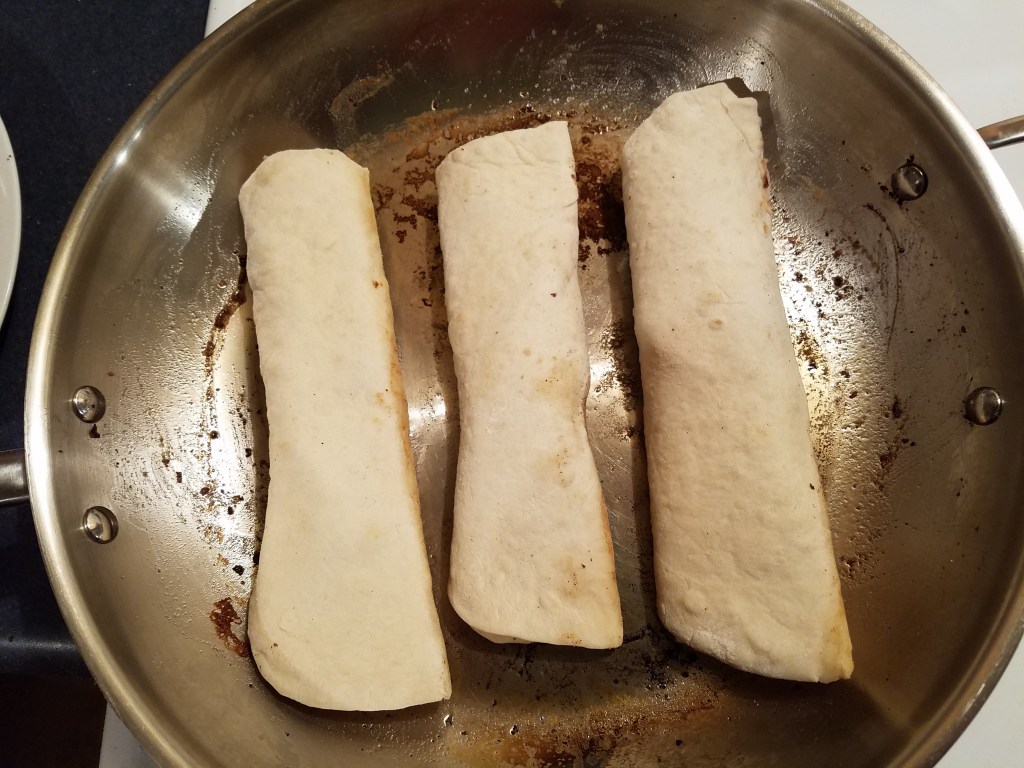
Pan fry in butter and olive oil at low/medium heat for a few minutes.
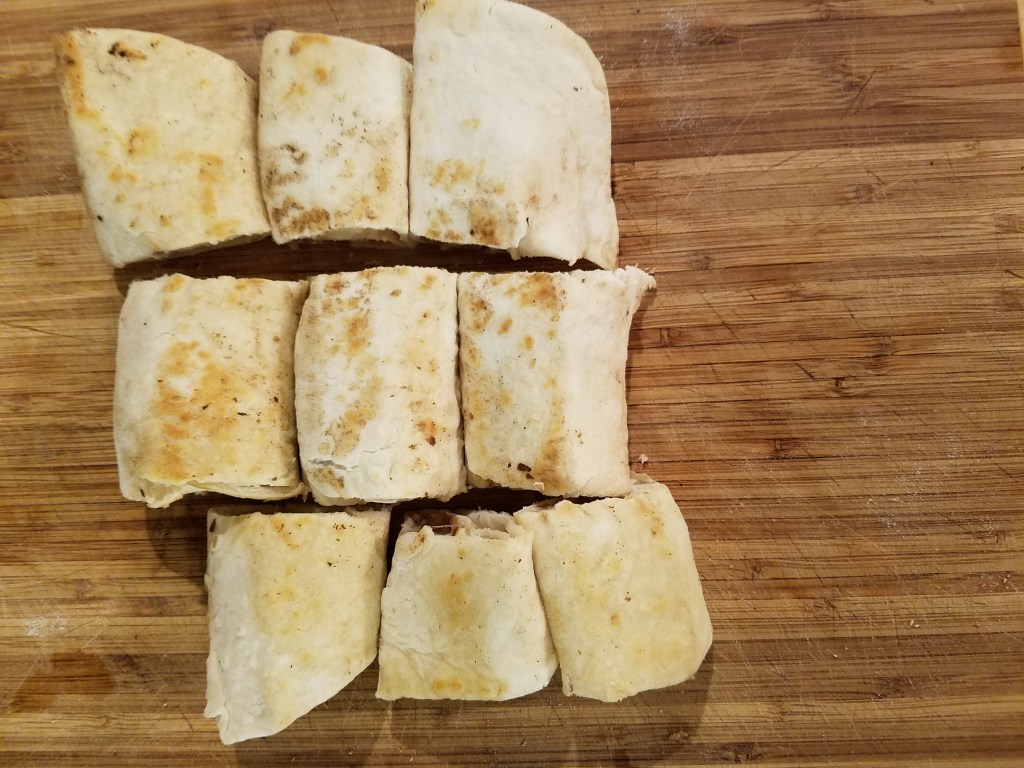
Remove burritos and slice into small, bite sized pieces.
Assemble the botanas platter
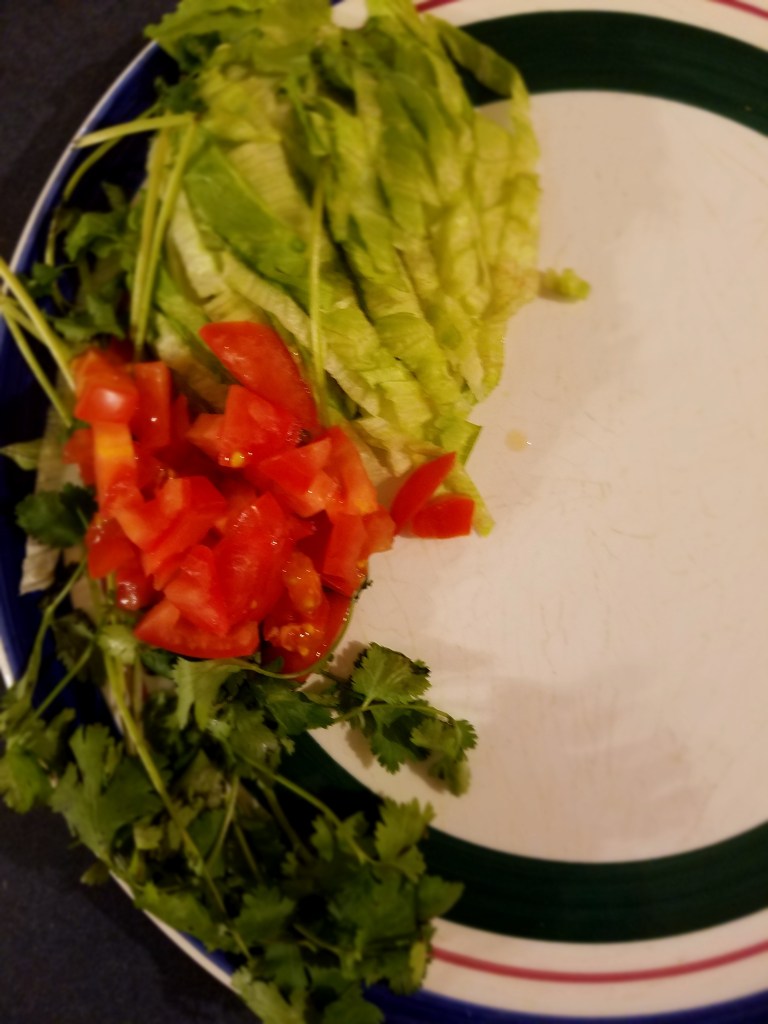
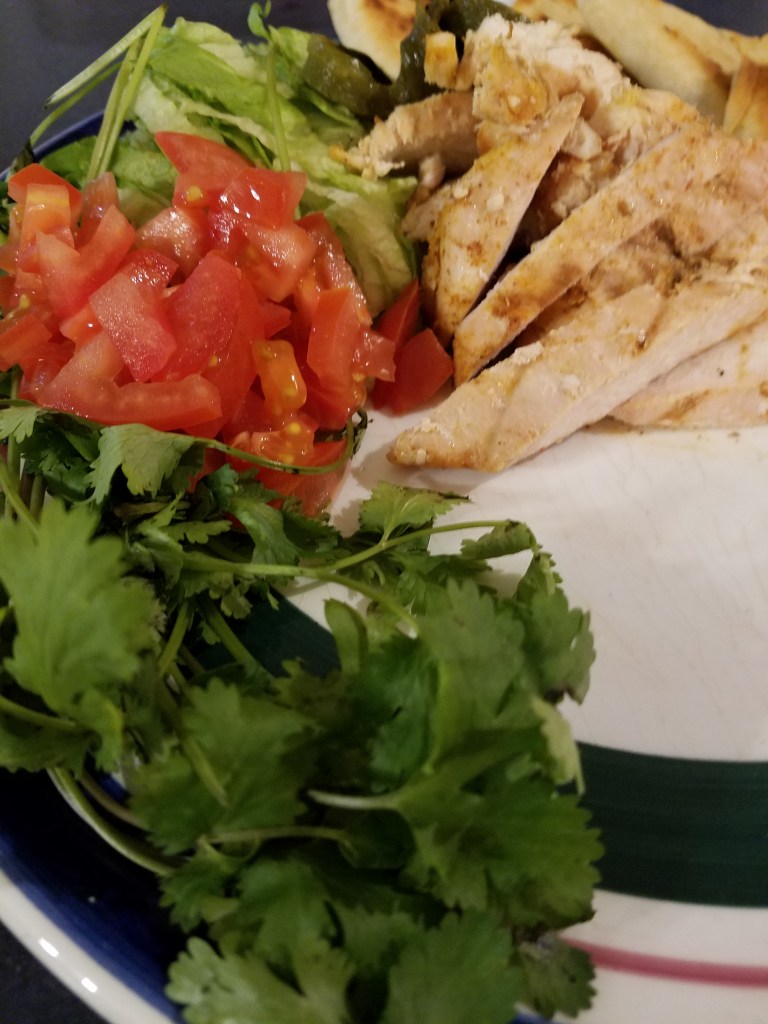
Arrange the lettuce, cilantro and tomato on one edge of the plater. Nestle sliced chicken next to the salad. Add a bouquet of roasted poblano next to the chicken.
Arrange the quesadillas and mini-burritos in a decorative array to complete the platter.
Well, our first major holiday during the pandemic is nearly over and I hope everyone is safe and well. I thought that maybe this was our second holiday, considering the pandemic was on the rise during Valentine’s Day but, I believe we were still in “discovery mode” during that time. The virus was mostly abroad and we only had a few cases reported in the United States. It’s amazing how quickly our perception changed.
Churches are not having services, which is very odd, especially during a religious holiday. Many families are separated from each other and there are unfilled seats at our dinner tables. I’m thankful for our phones and the internet because we still have the ability to reach out to those we love.
But, enough of all that. This is a food blog. Let’s dig in.
I am fortunate that my daughter was available to help make this dish. She’s a mac and cheese aficionado and I was thrilled to have her on my team!
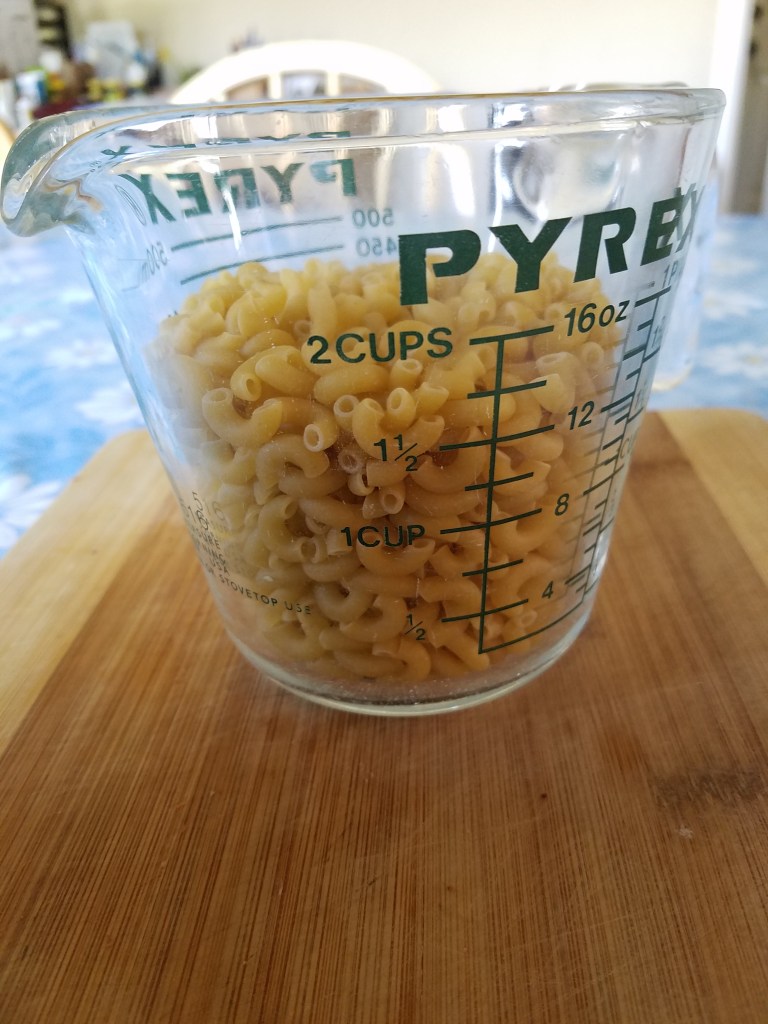
This is a variation of the recipe I posted several months ago. If you want to see the original post, click here. The original recipe calls for 2 cups of dry macaroni noodles and I only had 1 ¾ cups this time, so I scaled some of the other ingredients down accordingly and made a few substations.
Easter Mac and Cheese
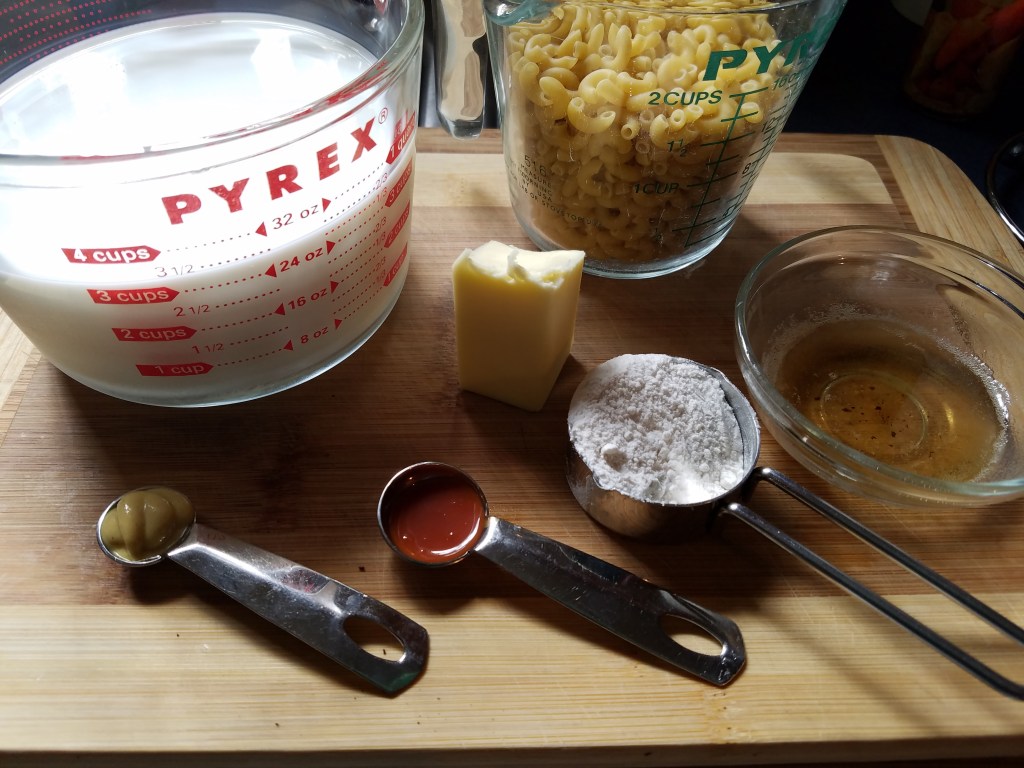
Ingredients:
3 strips thinly sliced bacon
Freshly ground black pepper, to taste
1 ¾ cups elbow macaroni
¼ cup butter
2 tsp bacon fat
¼ cup flour
3 ½ cups whole milk
½ tsp Dijon mustard
1 tsp Tabasco sauce
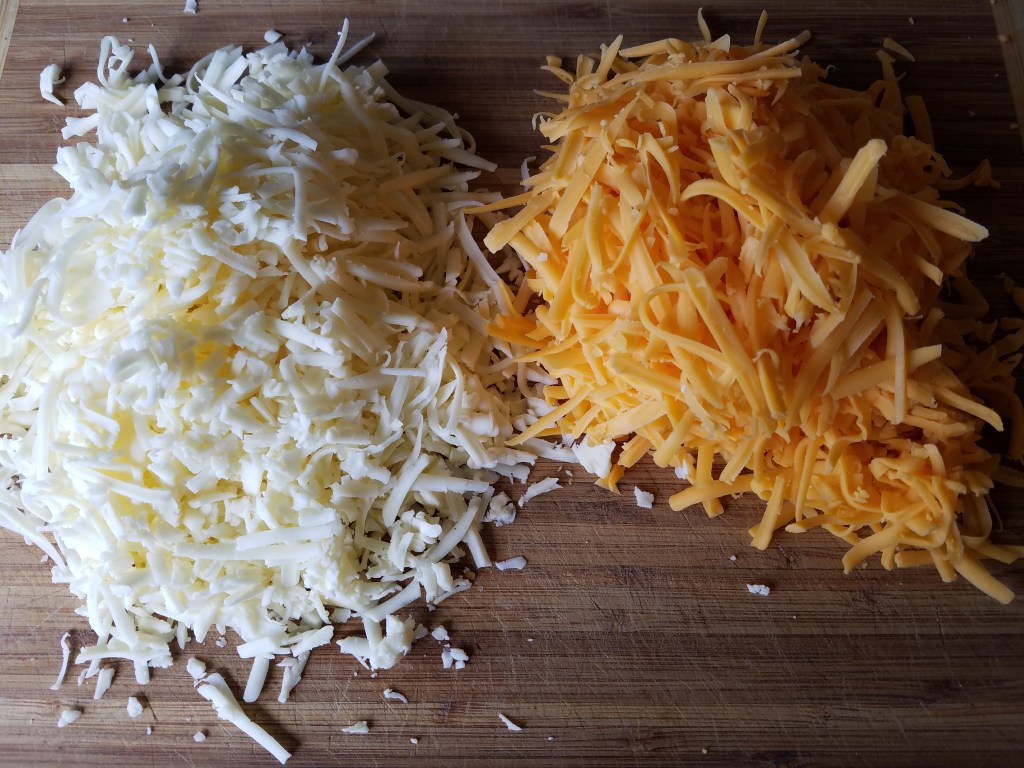
8 oz sharp cheddar cheese, grated
8 oz queso Chihuahua (white Mexican cheese), grated
Directions:
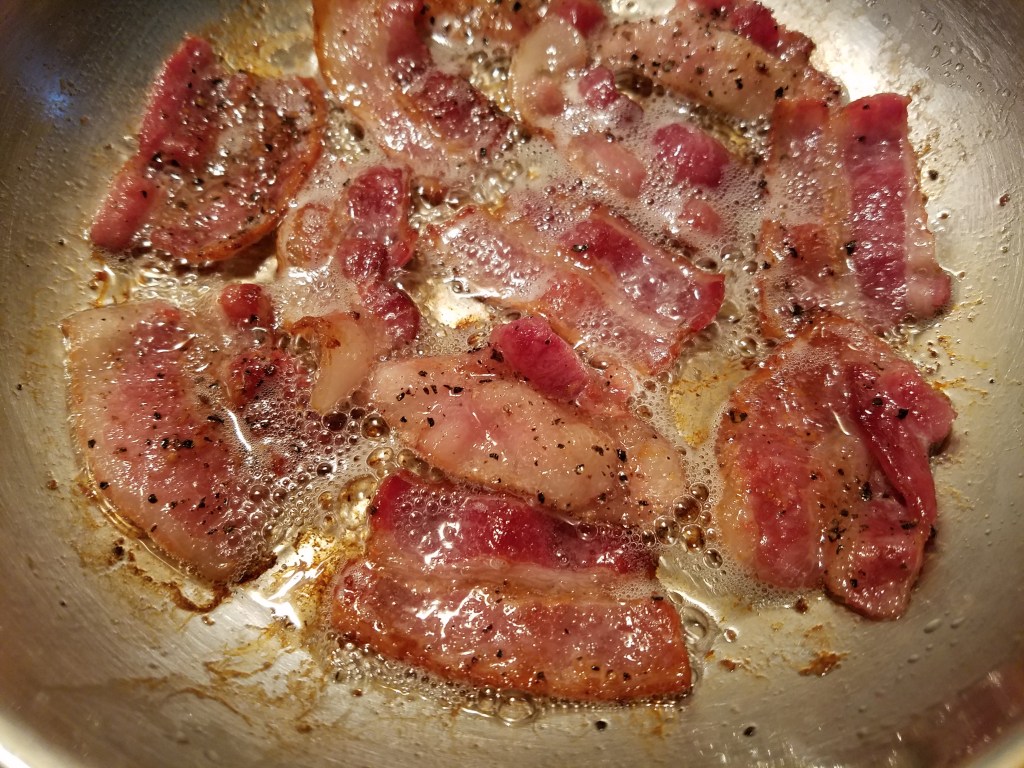
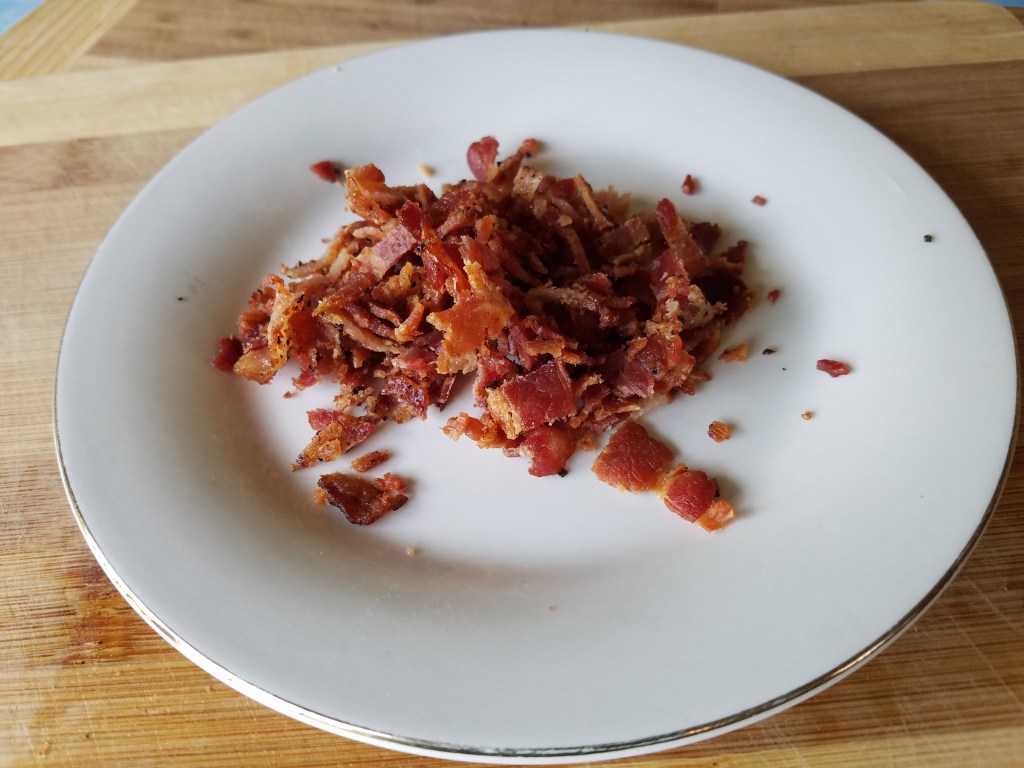
Cut the 3 slices of raw bacon into 2” pieces with a sharp knife. Add the bacon pieces to a small frying pan. Crowding the pan is recommended because the bacon needs to be cooked at the lowest heat setting and the resulting bacon fat will help regulate the temperature. Frying the bacon at low heat will help ensure that the bacon and the bacon fat does not burn.
Add freshly ground black pepper to the bacon. I probably used between ¼ and ½ teaspoons. The pepper will flavor the bacon and the fat that it produces.
Remove the bacon once it has become firm. Set aside. Reserve the fat for later.
Reserve the bacon fat.
Boil the elbow macaroni in a large pot of water.
While the macaroni boils, heat the milk in a microwave oven for about a minute or two. The goal is to warm the milk to about 120°, or just a little hotter than bath water. Set the milk aside.
Strain the macaroni after it has become soft. Leave the macaroni in a colander and reserve at least 1/3 cup of the starchy water.
In the same large pot, now empty, add the butter and bacon fat. Set the heat to low and simmer for a minute.
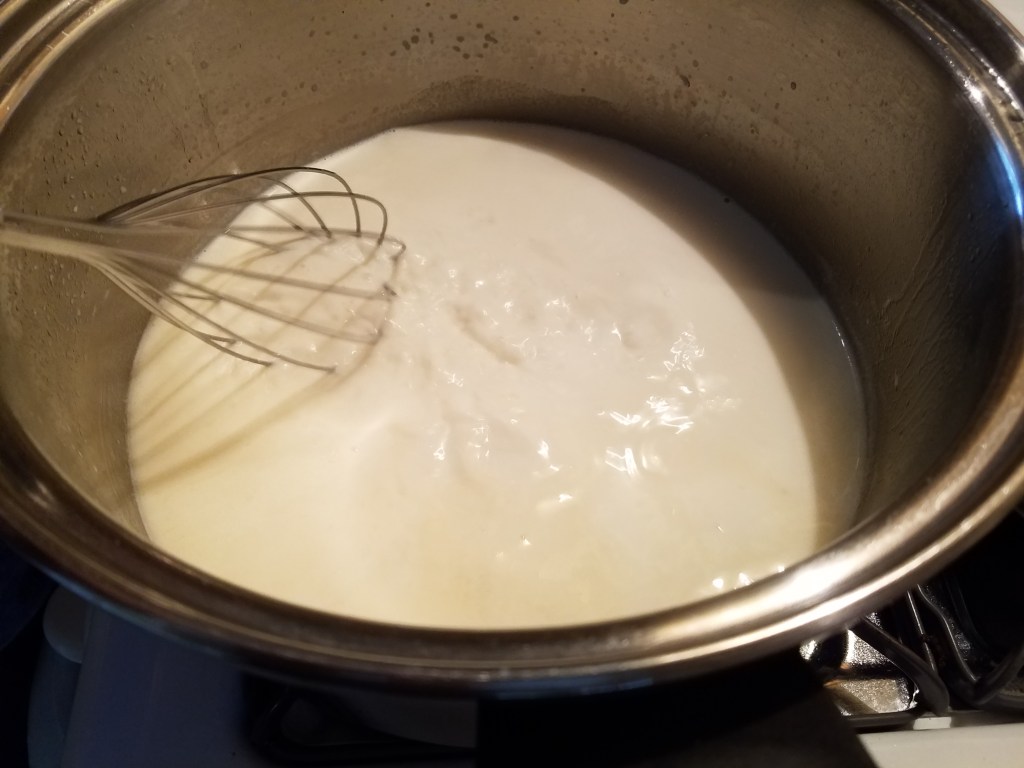
Add the flour and whisk, to form a roux.
Slowly add warm milk, while whisking. Turn the heat to medium high and keep whisking for a few minutes while the sauce thickens.
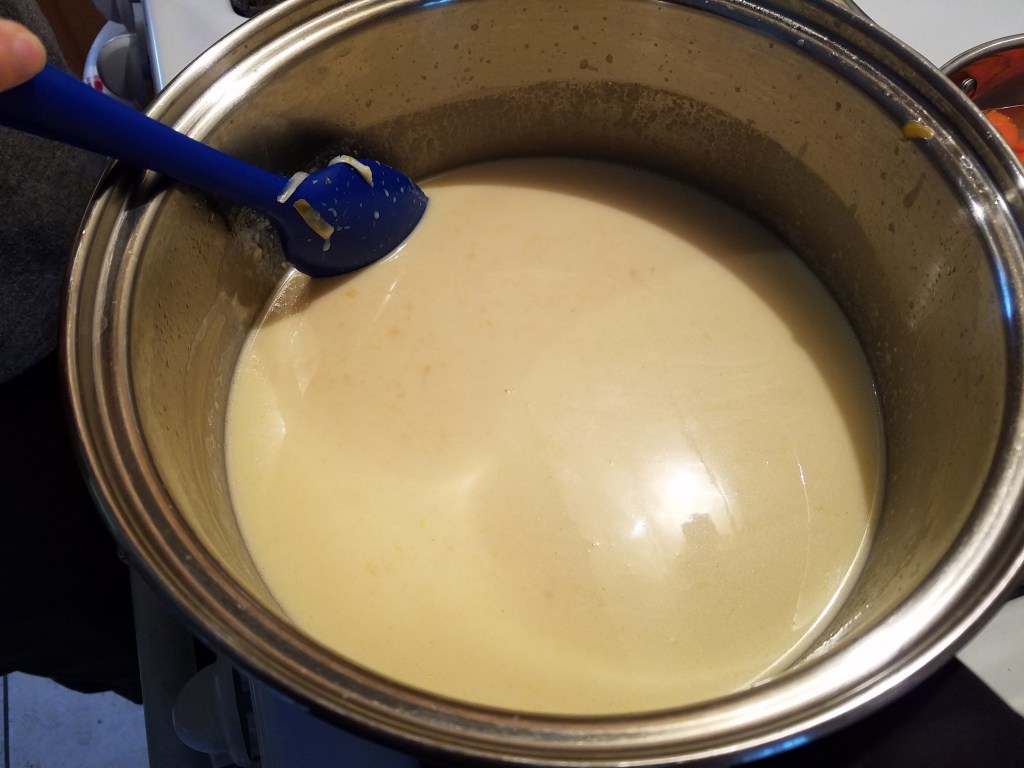
Add the Tabasco sauce and mustard. Whisk to incorporate. Once the sauce has thickened, turn the heat to low.
Slowly add the grated cheese. Stir slowly, with a spatula, as the cheese is added.
When the cheese has melted, add the macaroni and fold, to coat the macaroni.
Pour the mac and cheese in an oven-proof backing dish and bake at 350° for 15 to 20 minutes, or until it starts to bubble.