In my never-ending attempt to rid my refrigerator of leftovers I found myself falling back on a familiar theme: Tex-Mex. Mexican cuisine can be made with all sorts of things and that’s what makes it so easy to rely on, when having to decide what to scrape together for dinner.
For this meal, corn tortillas tied everything together. I made three different types of tacos, two with beef and one with turkey. All of them shared some of the typical taco toppings like lettuce, tomato, onion, cilantro and sour cream. Each one had at least one signature ingredient and each had a different kind of cheese.
Each taco had its own, unique quality. Everyone that ate them had their own favorite.
This was fun to make but, I have to admit, it didn’t come together as quickly as I wanted.
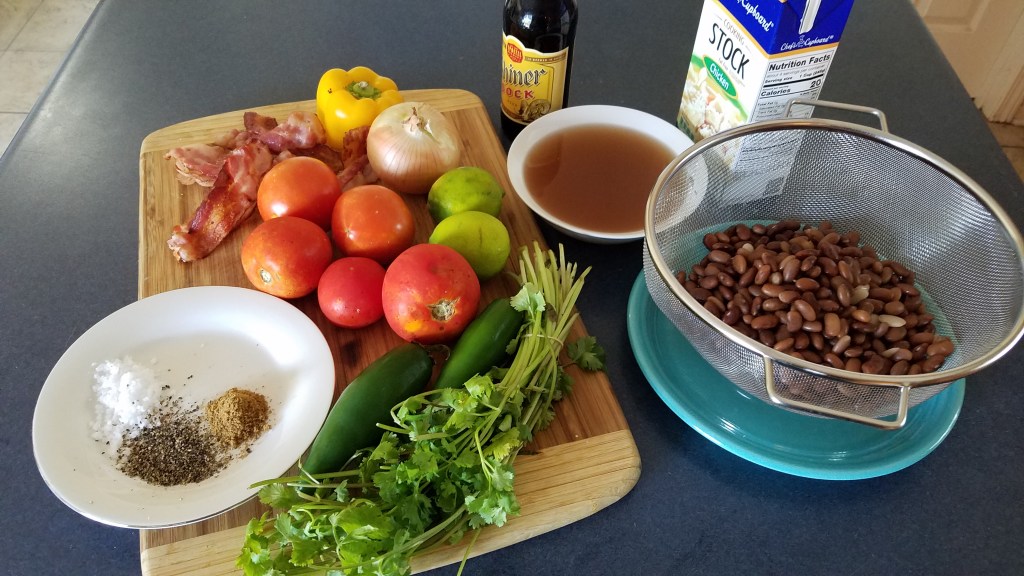
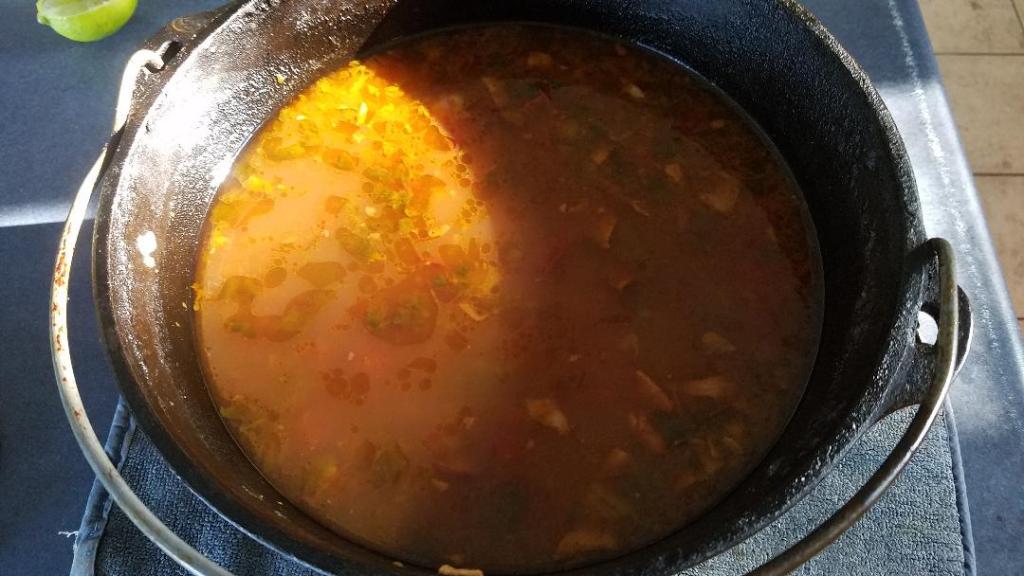
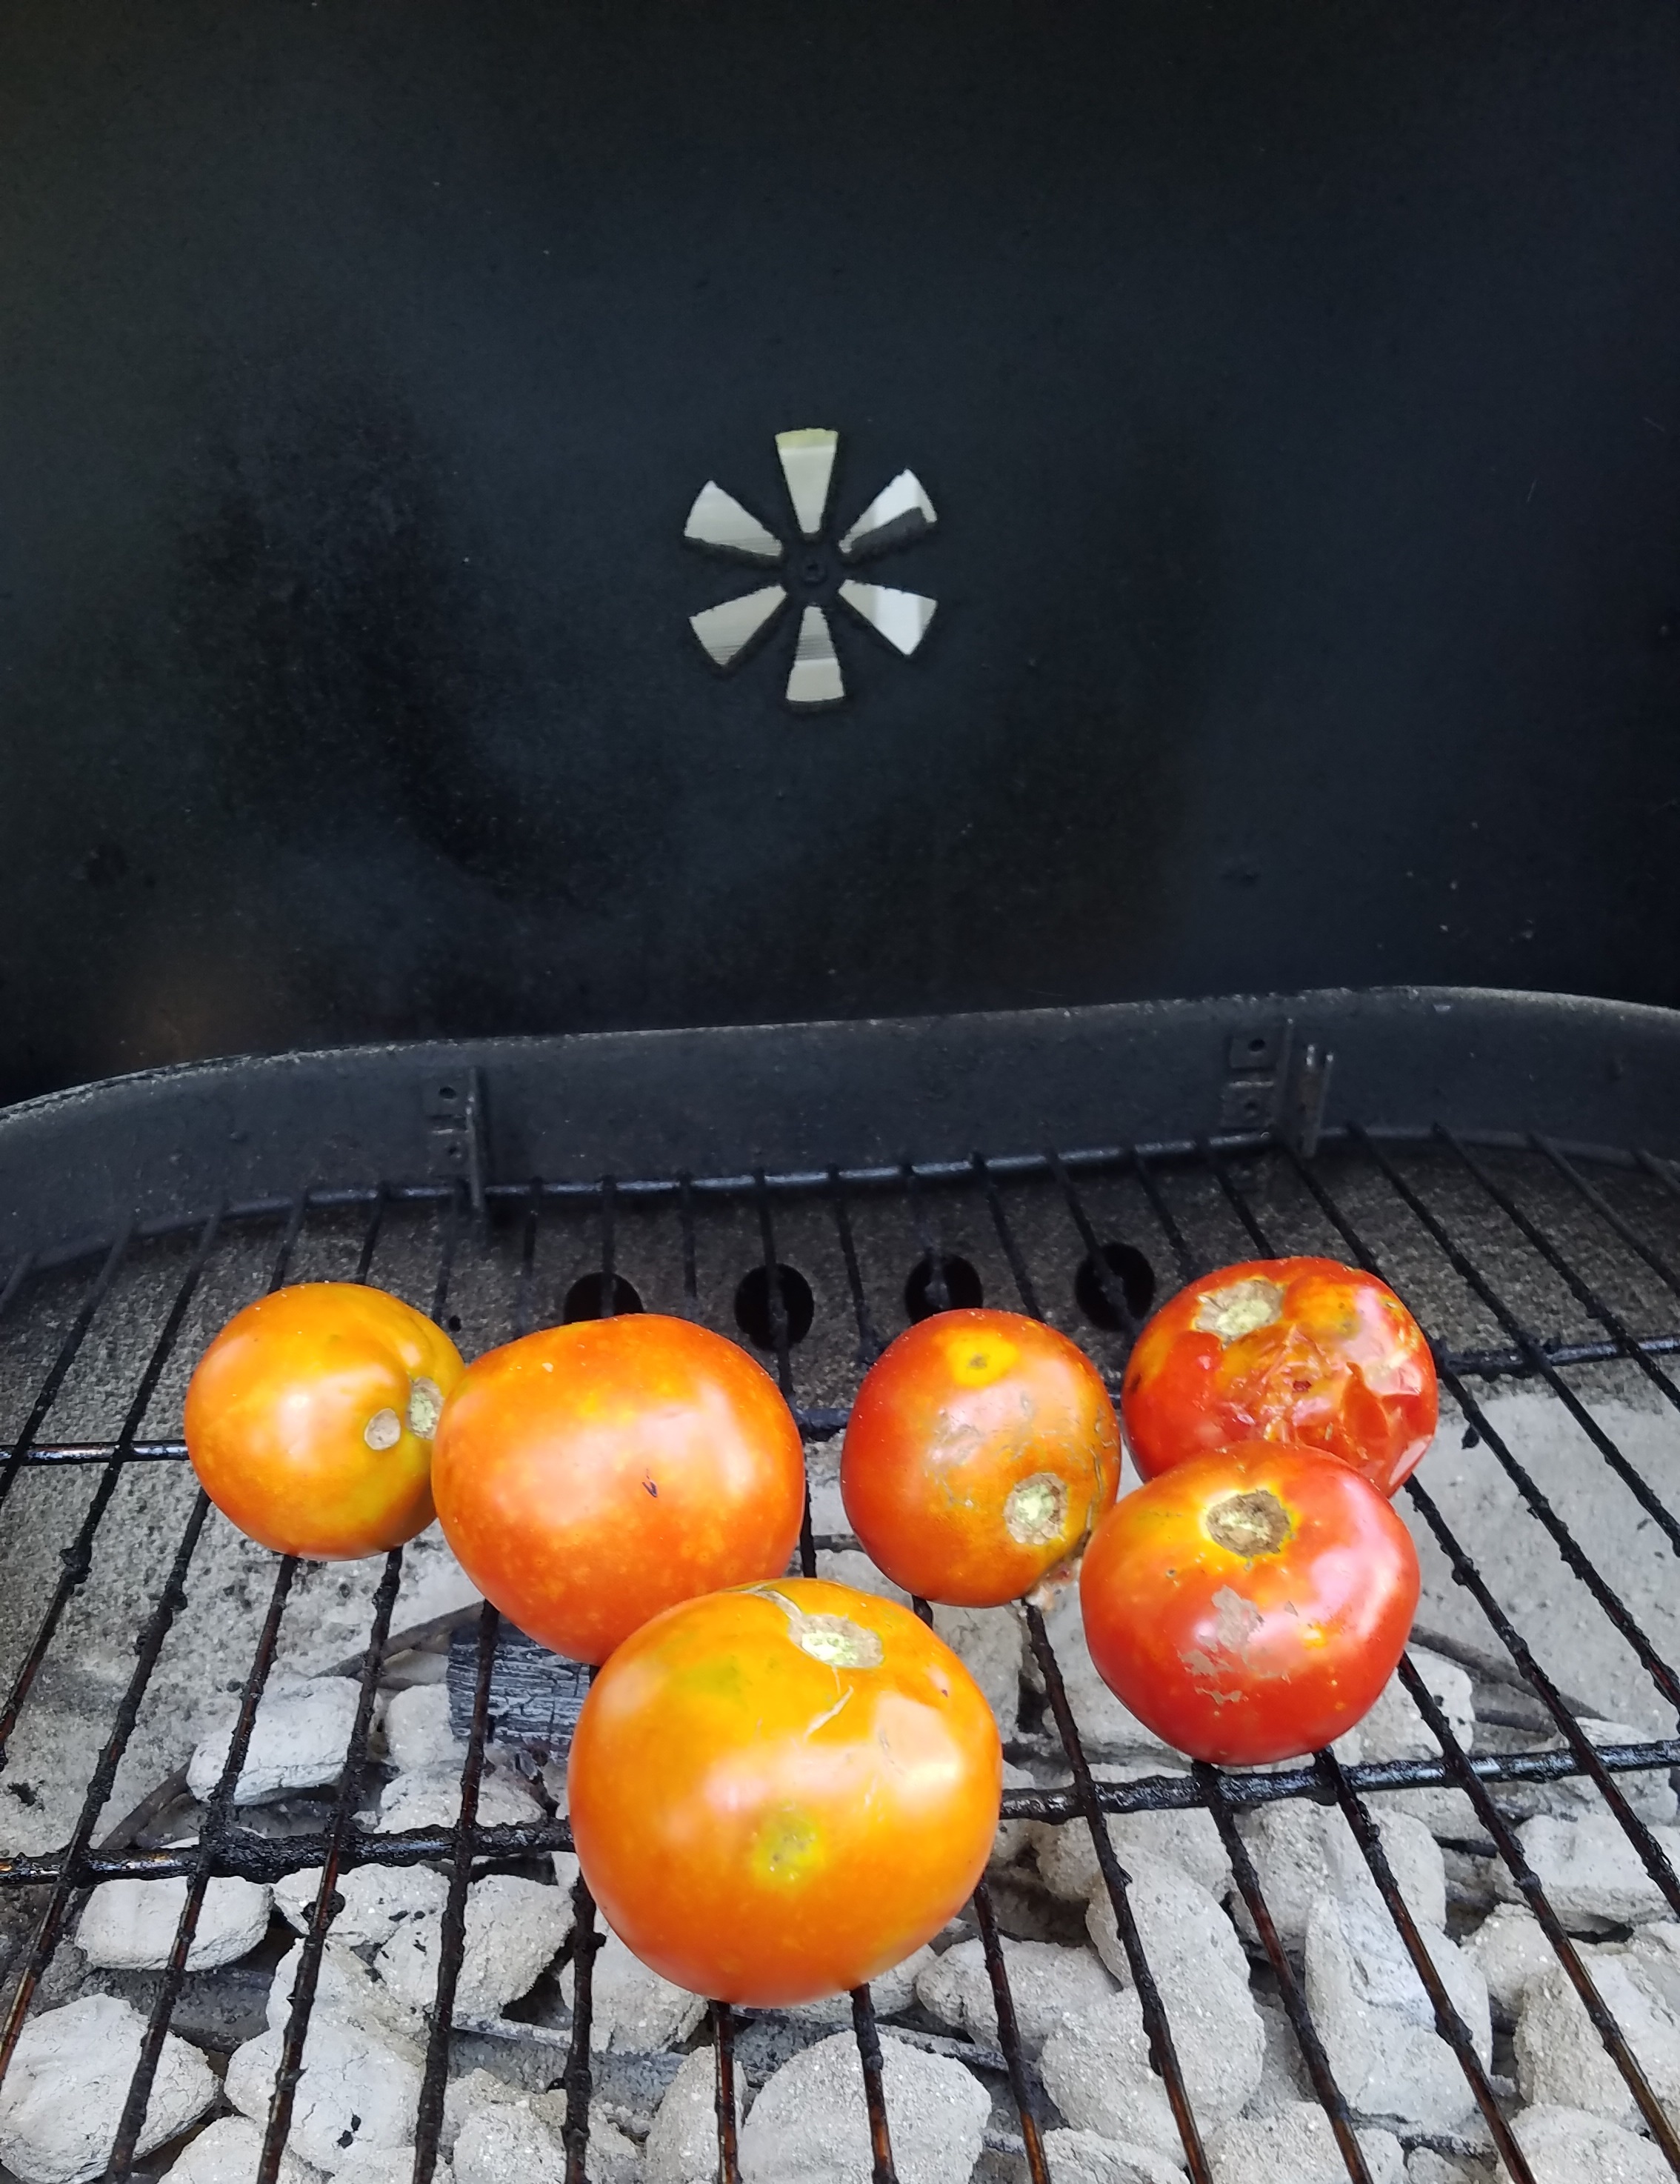
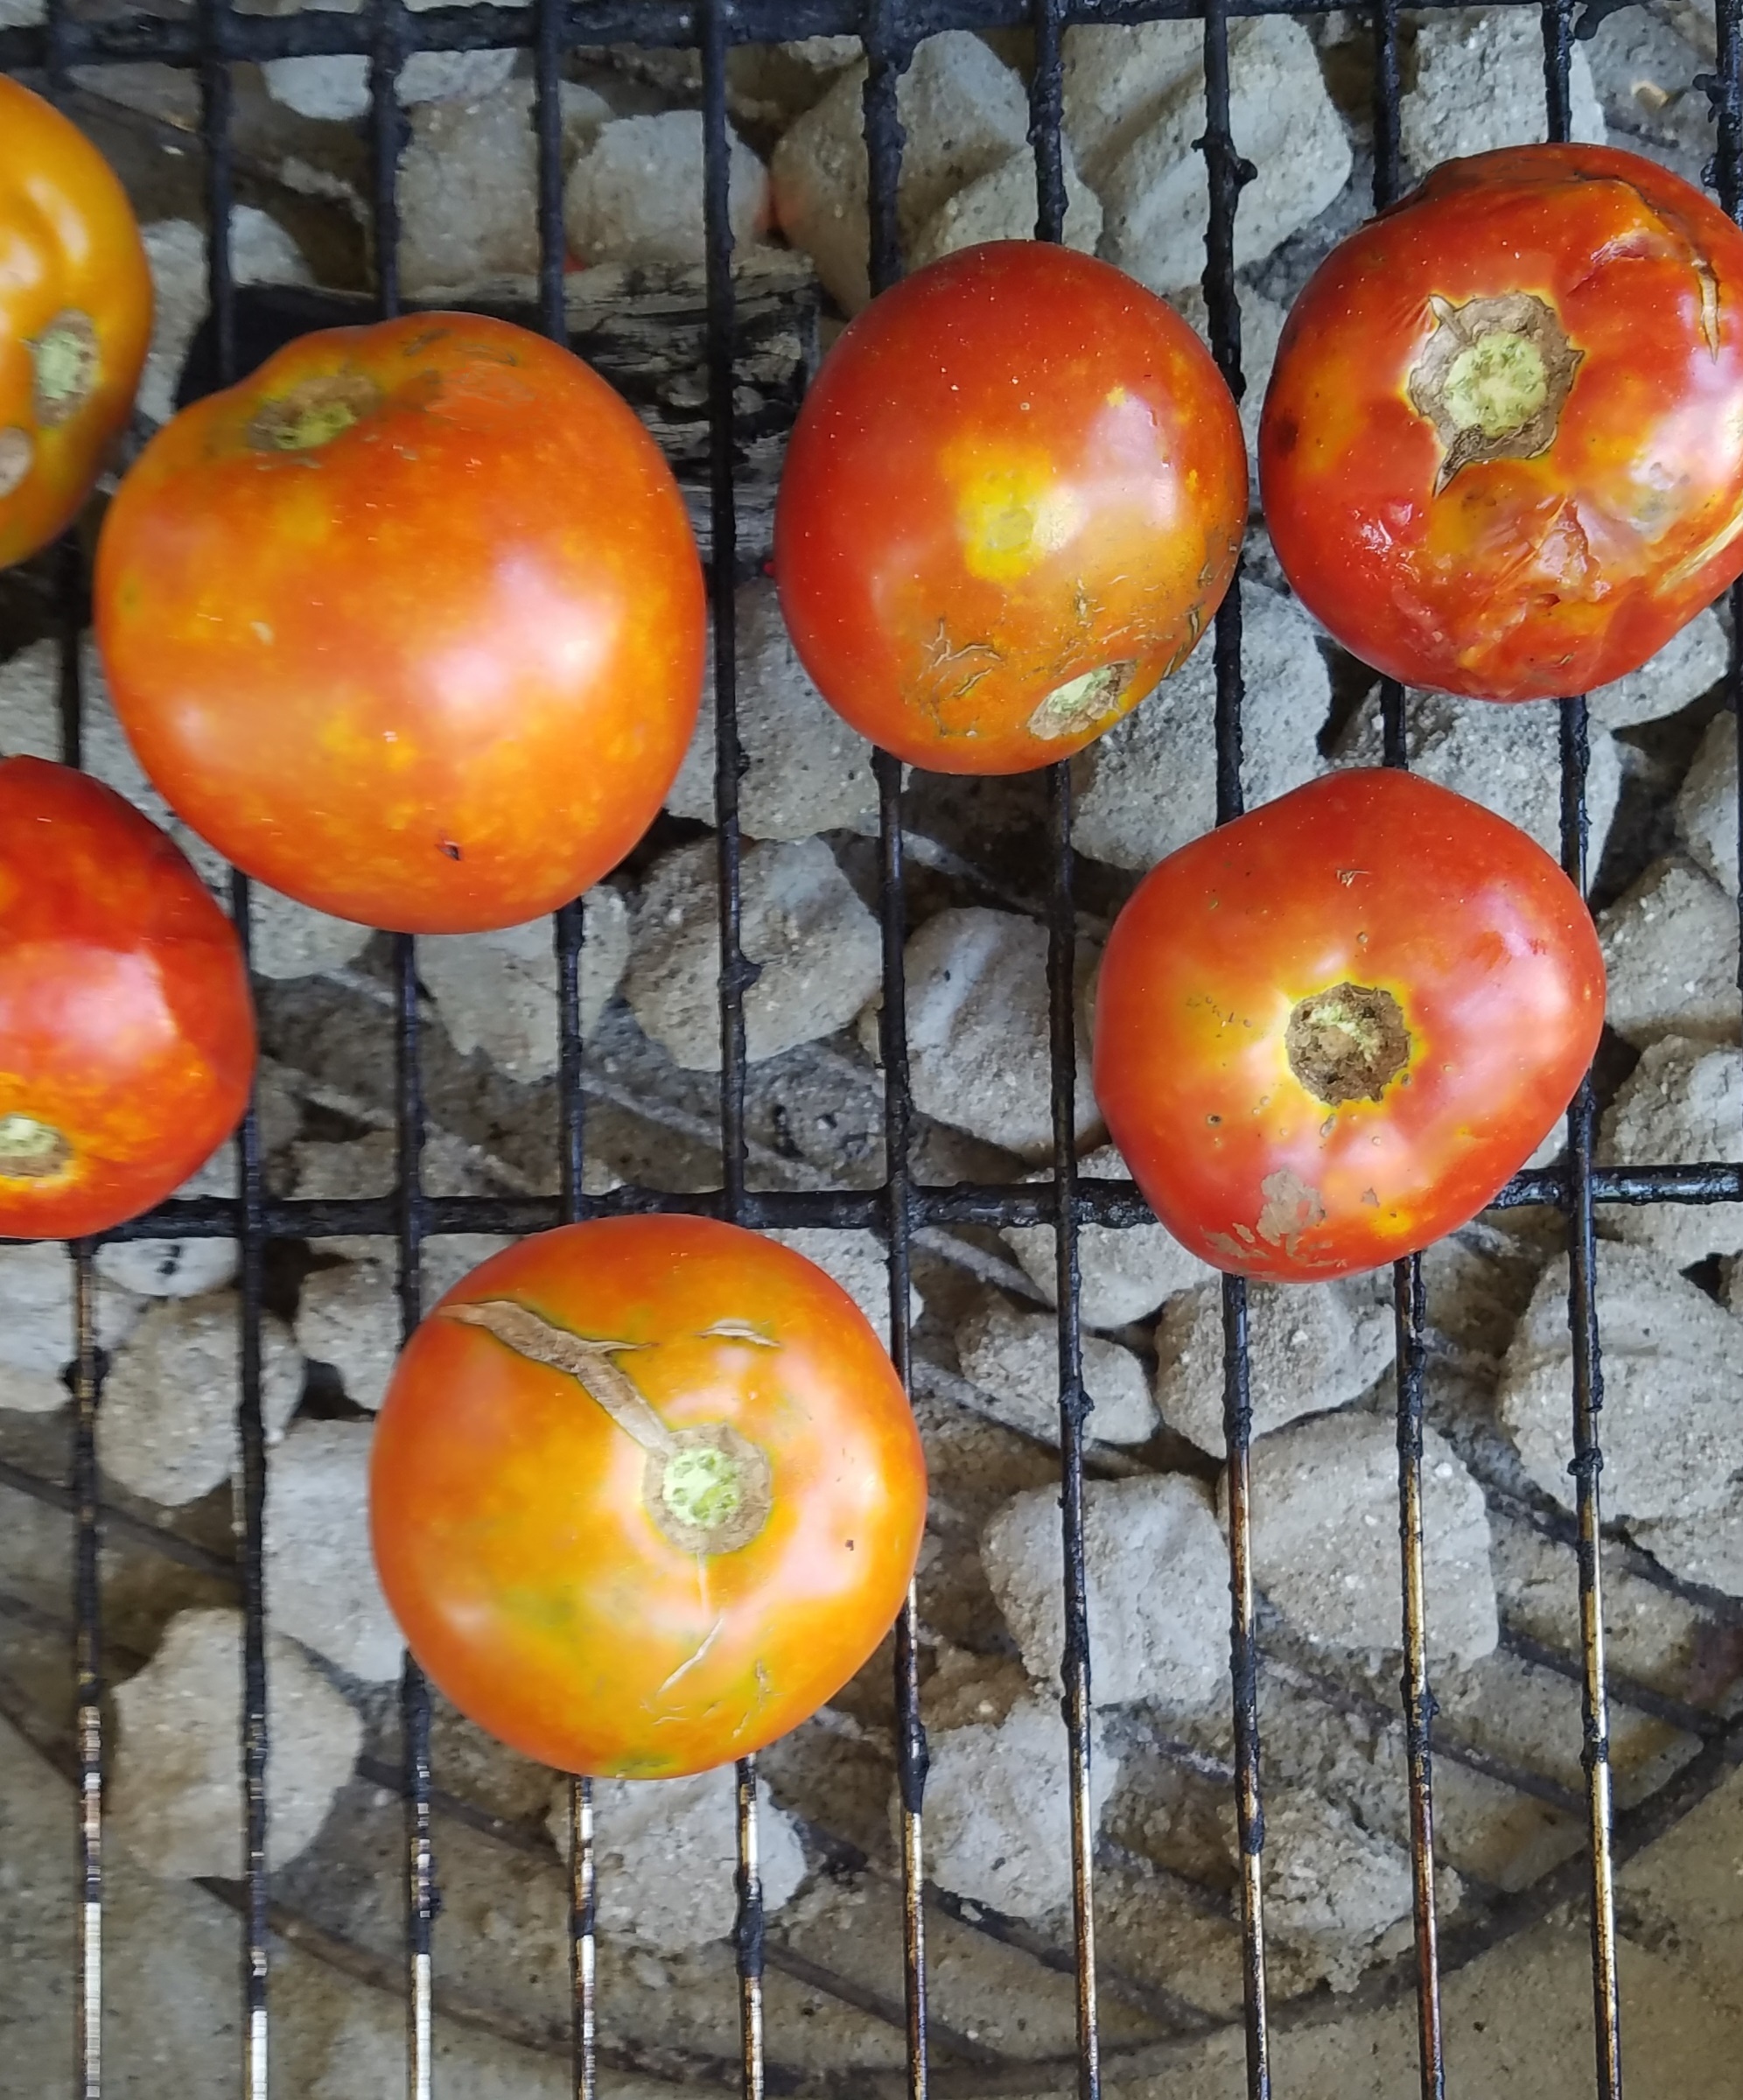
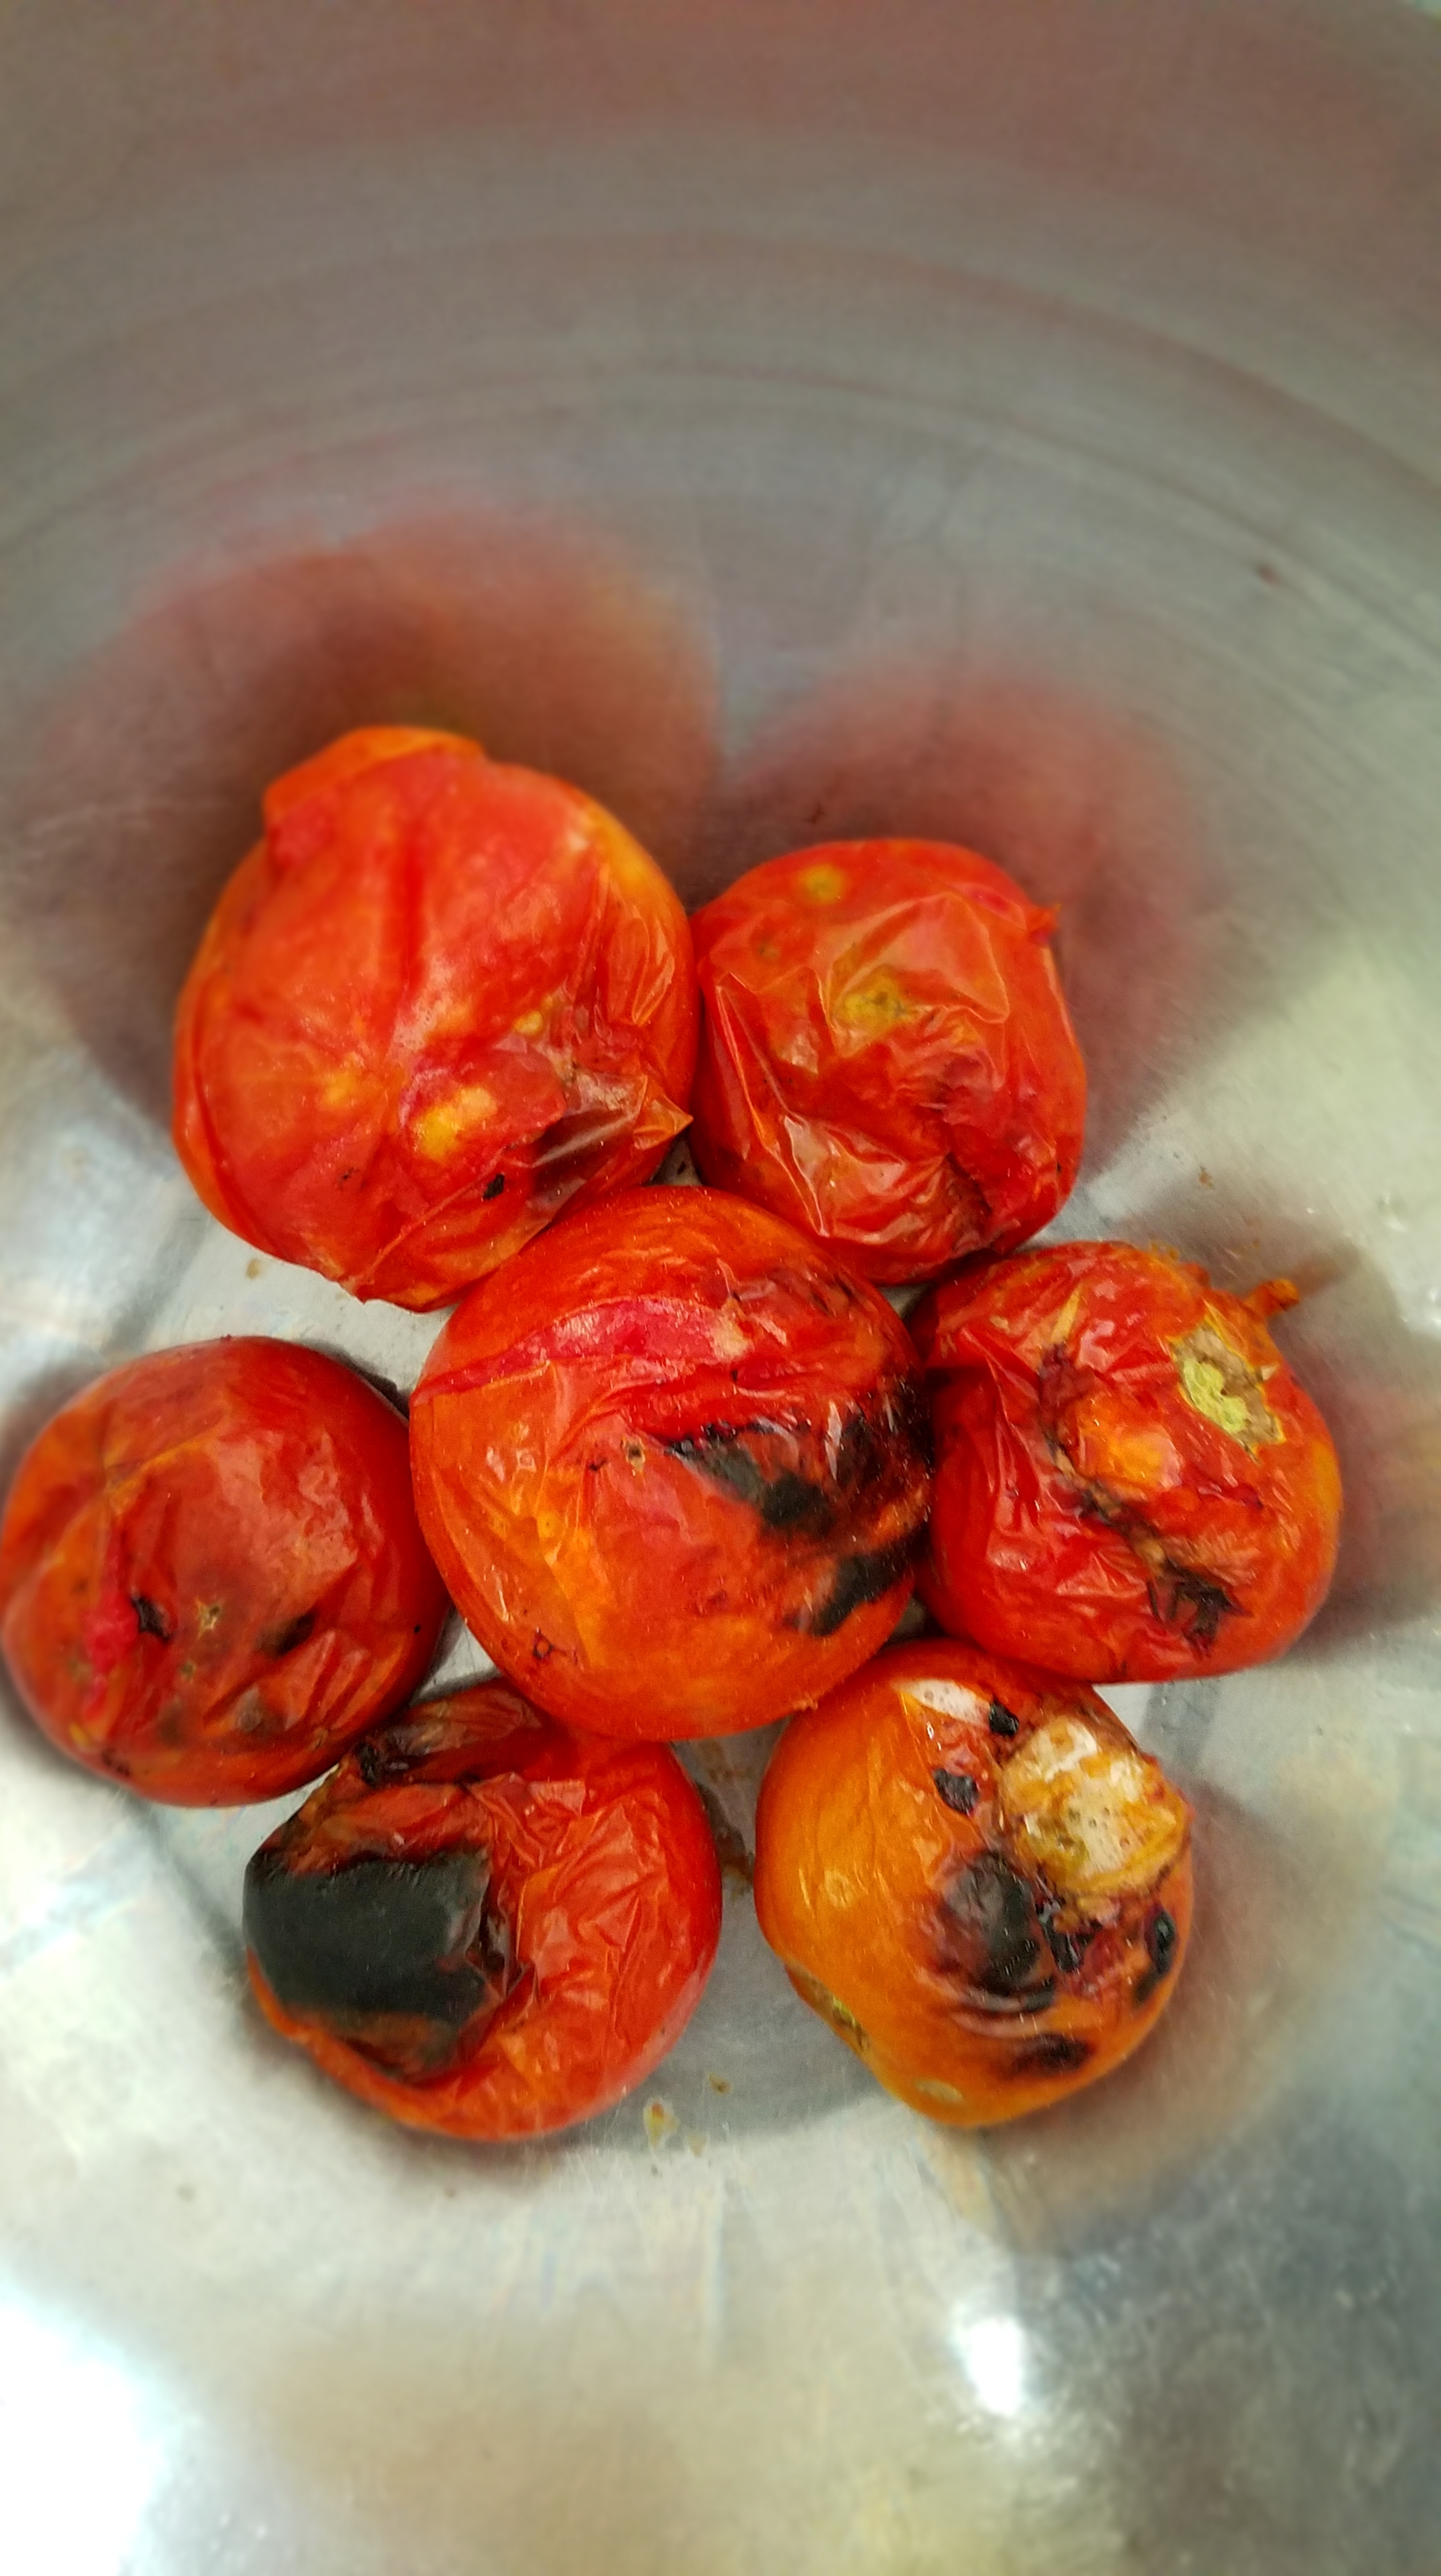
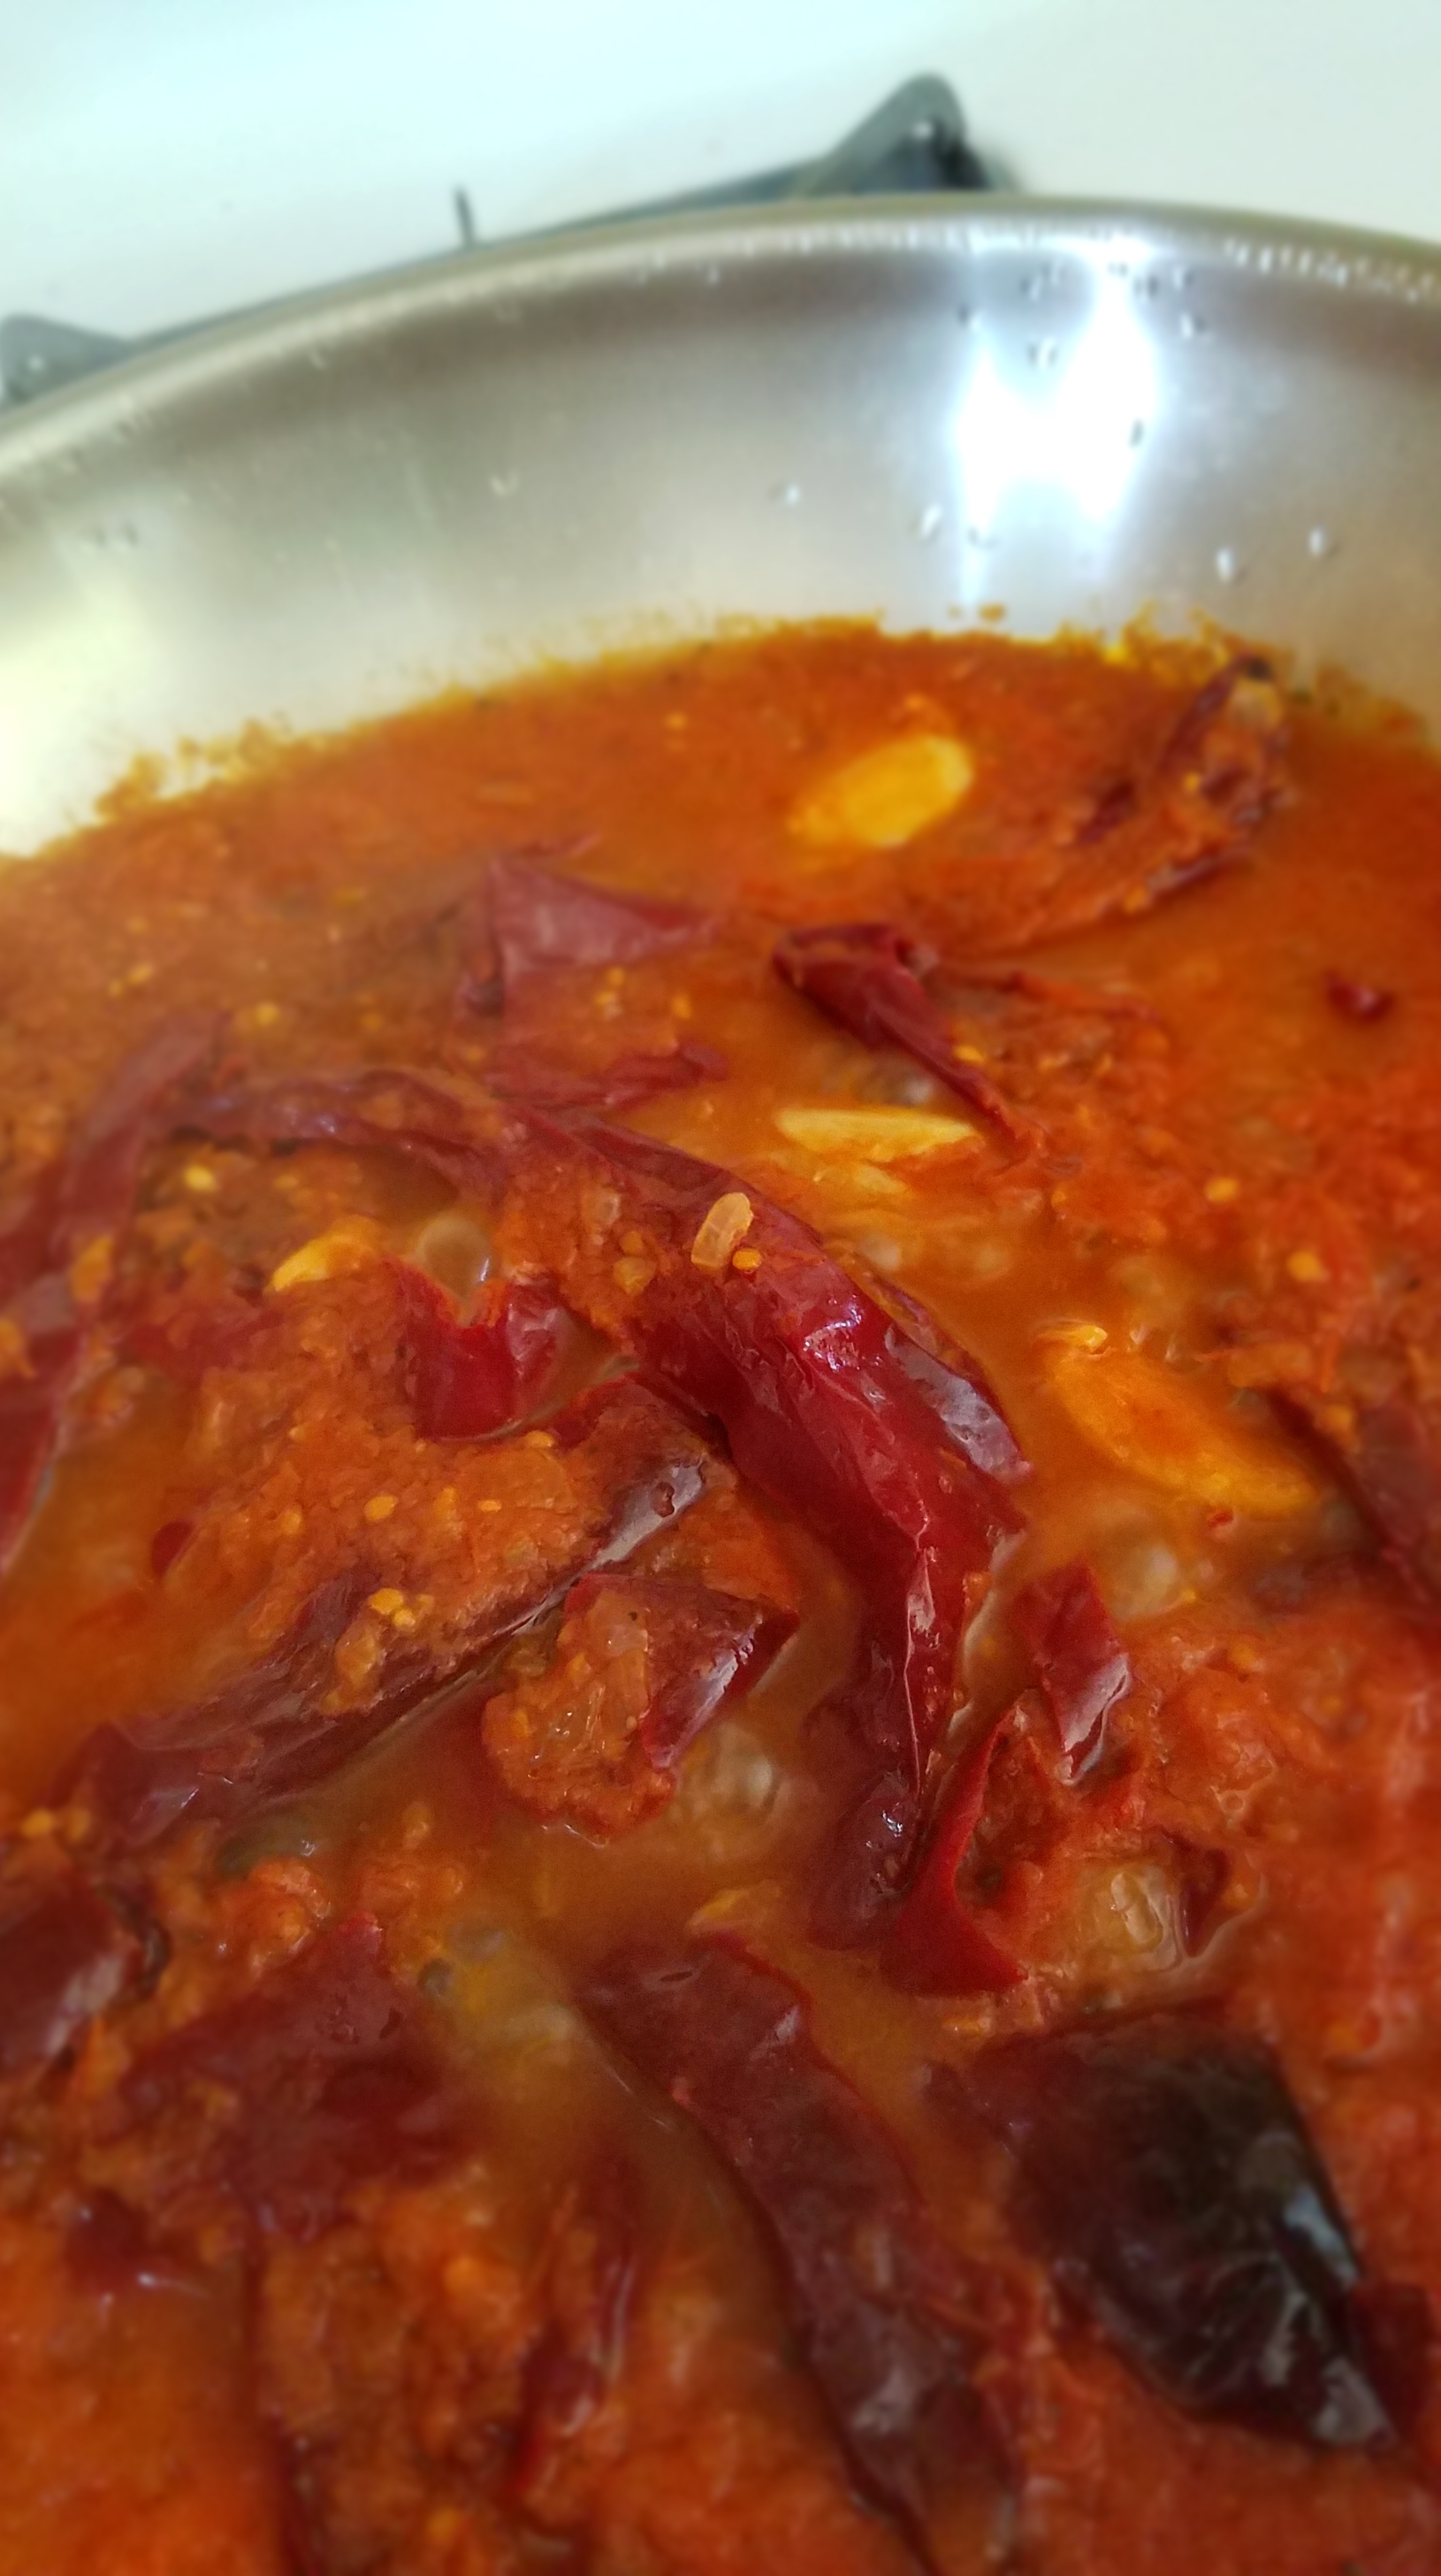
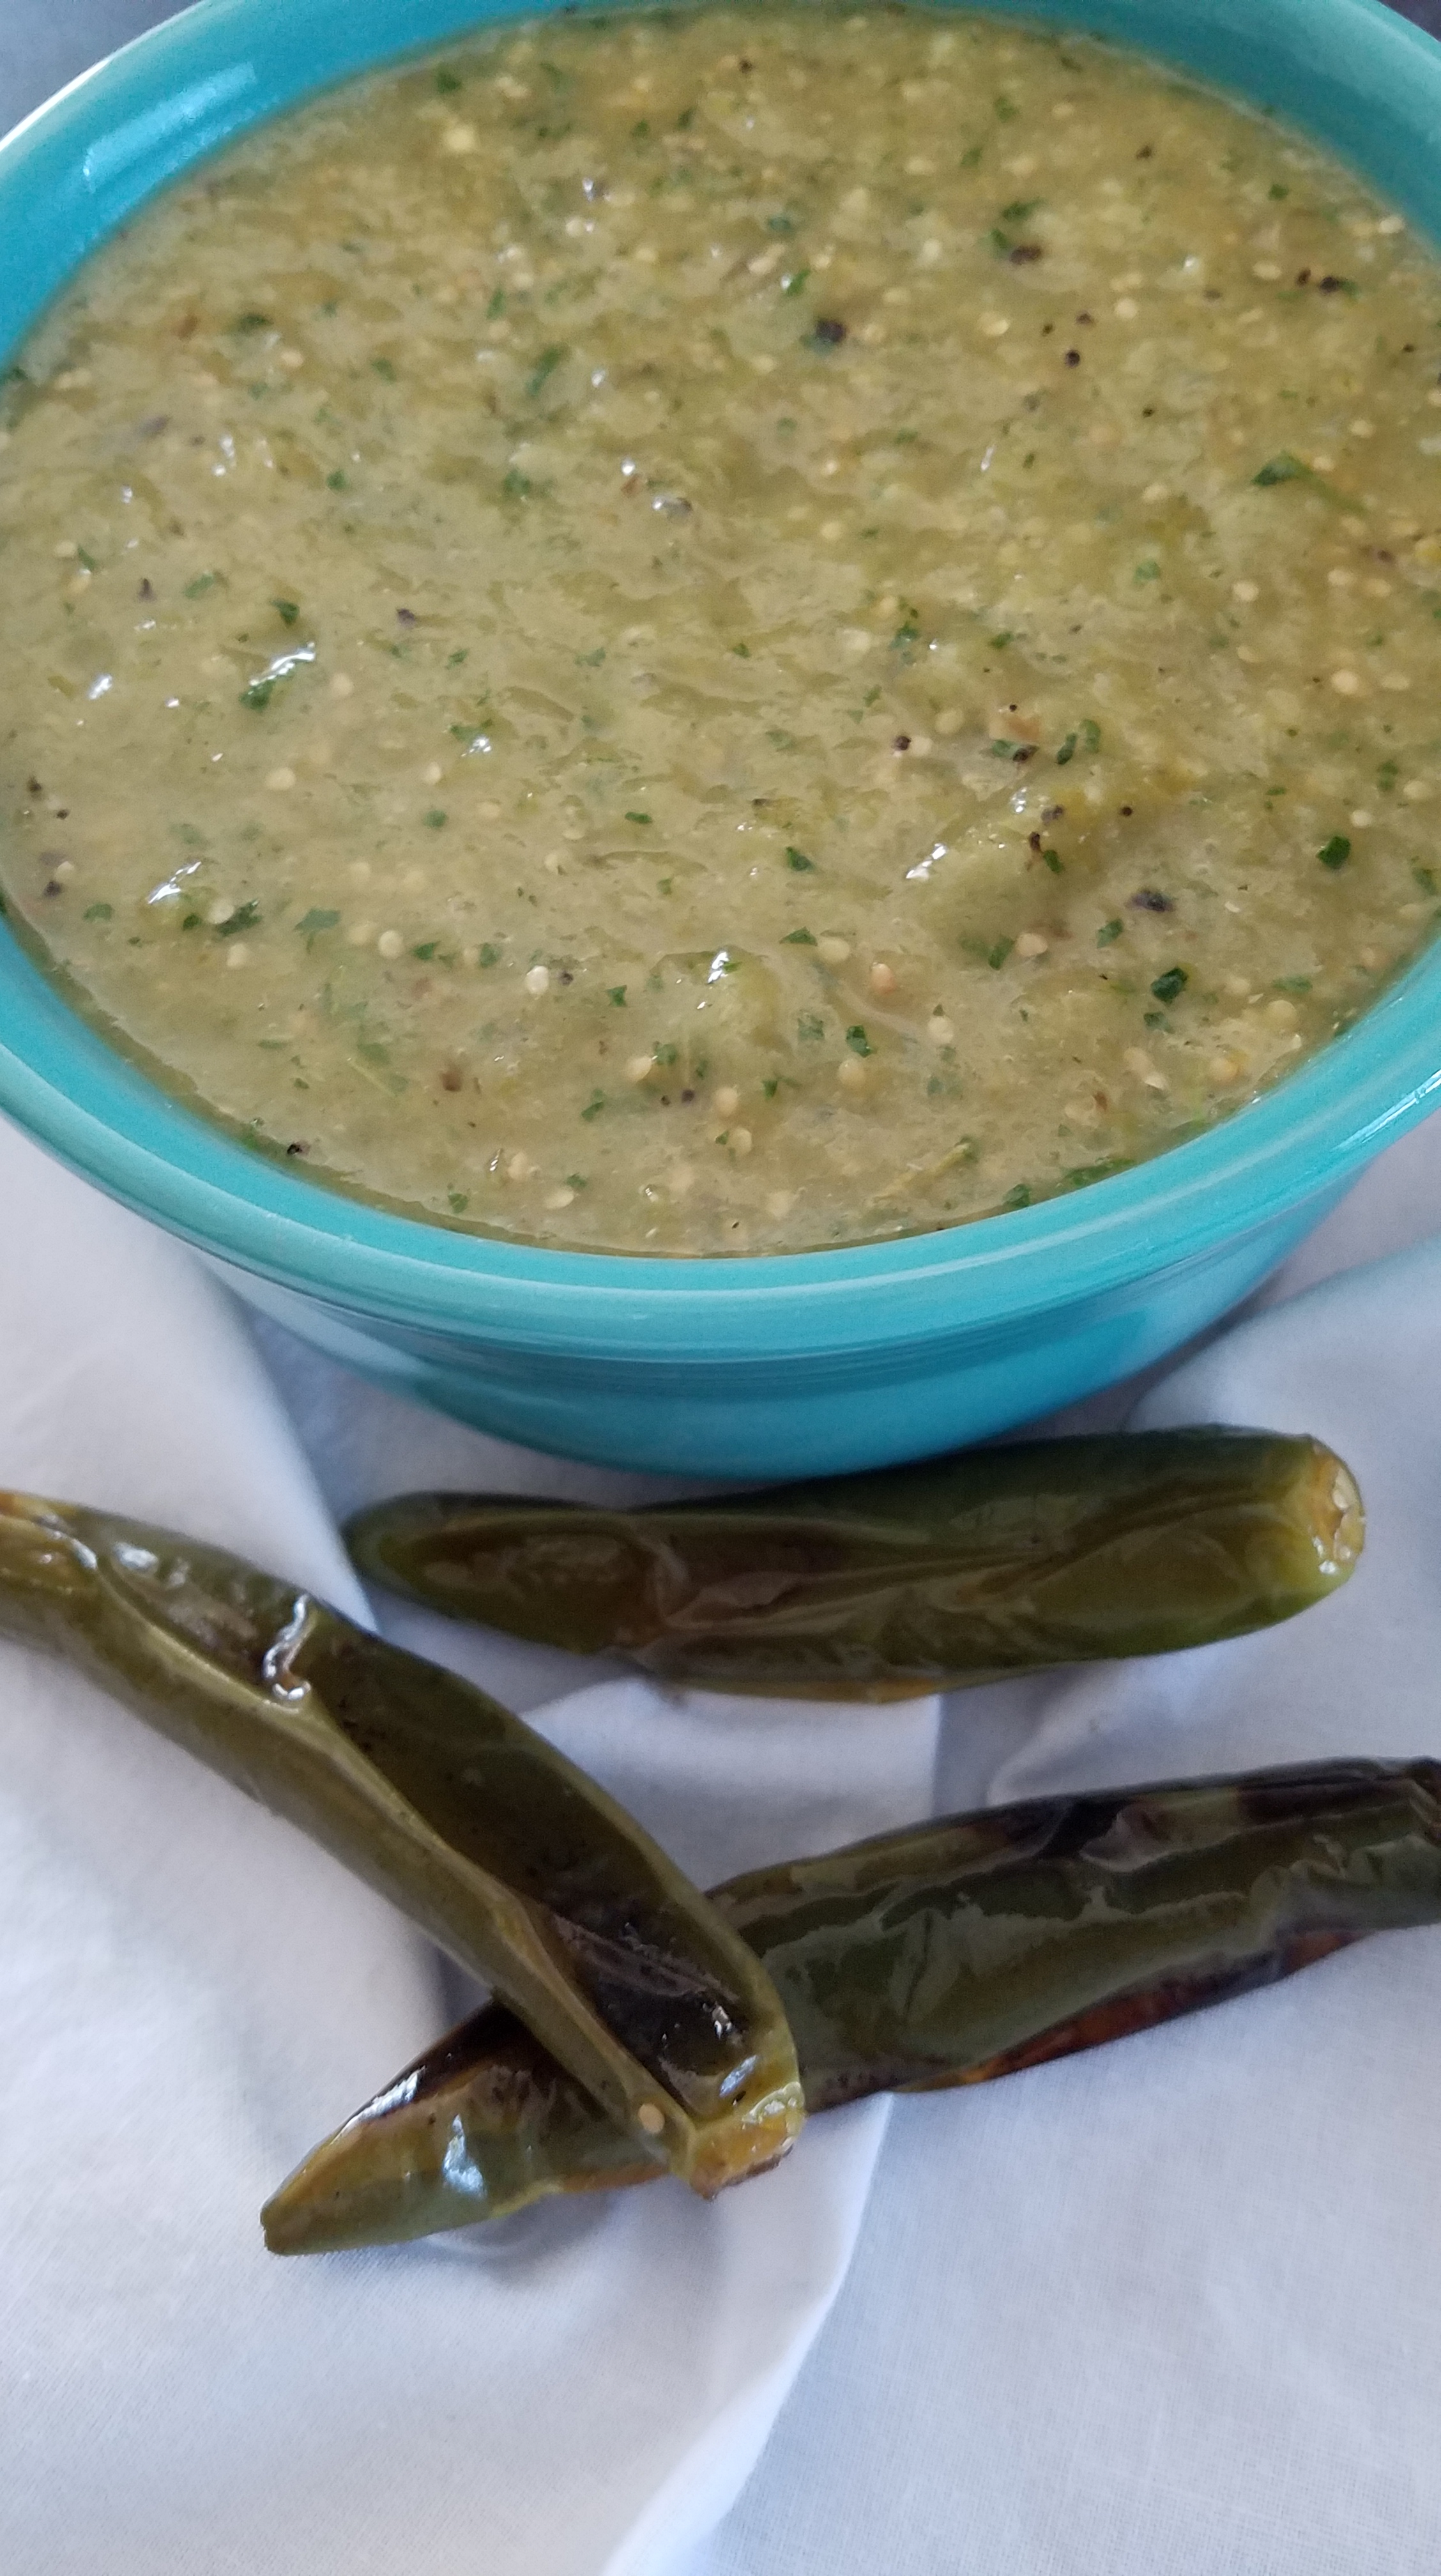
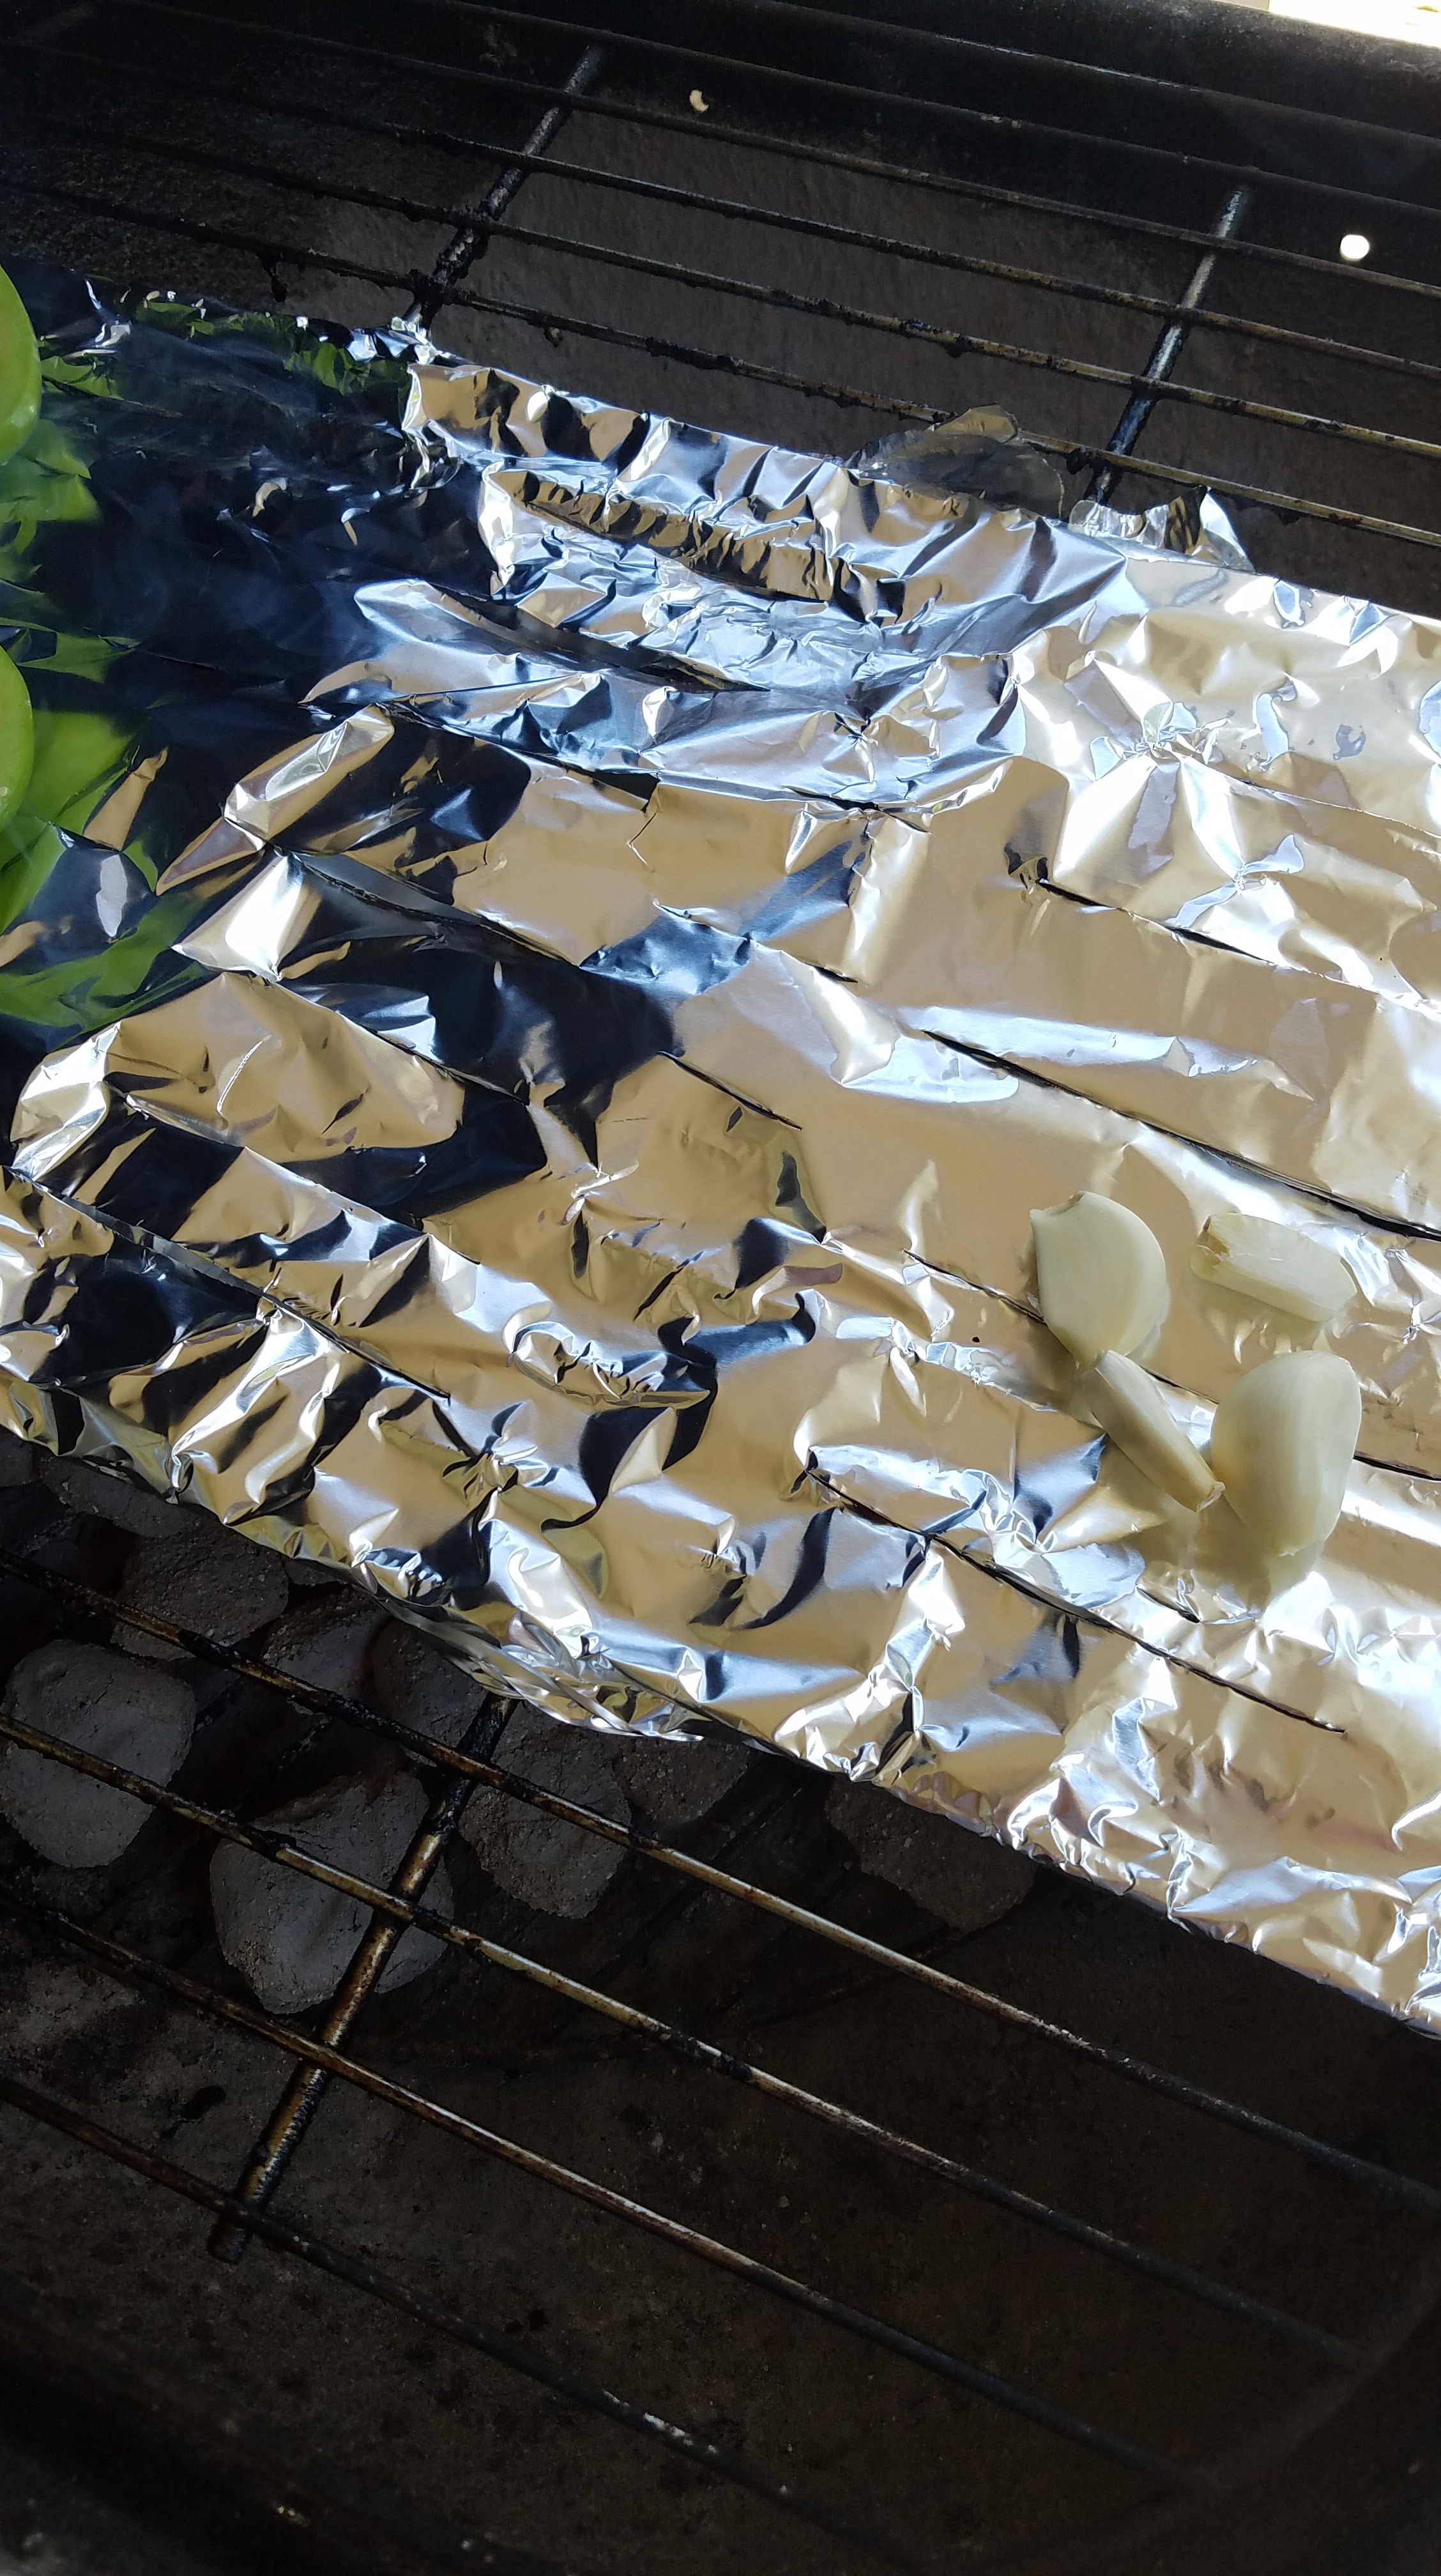
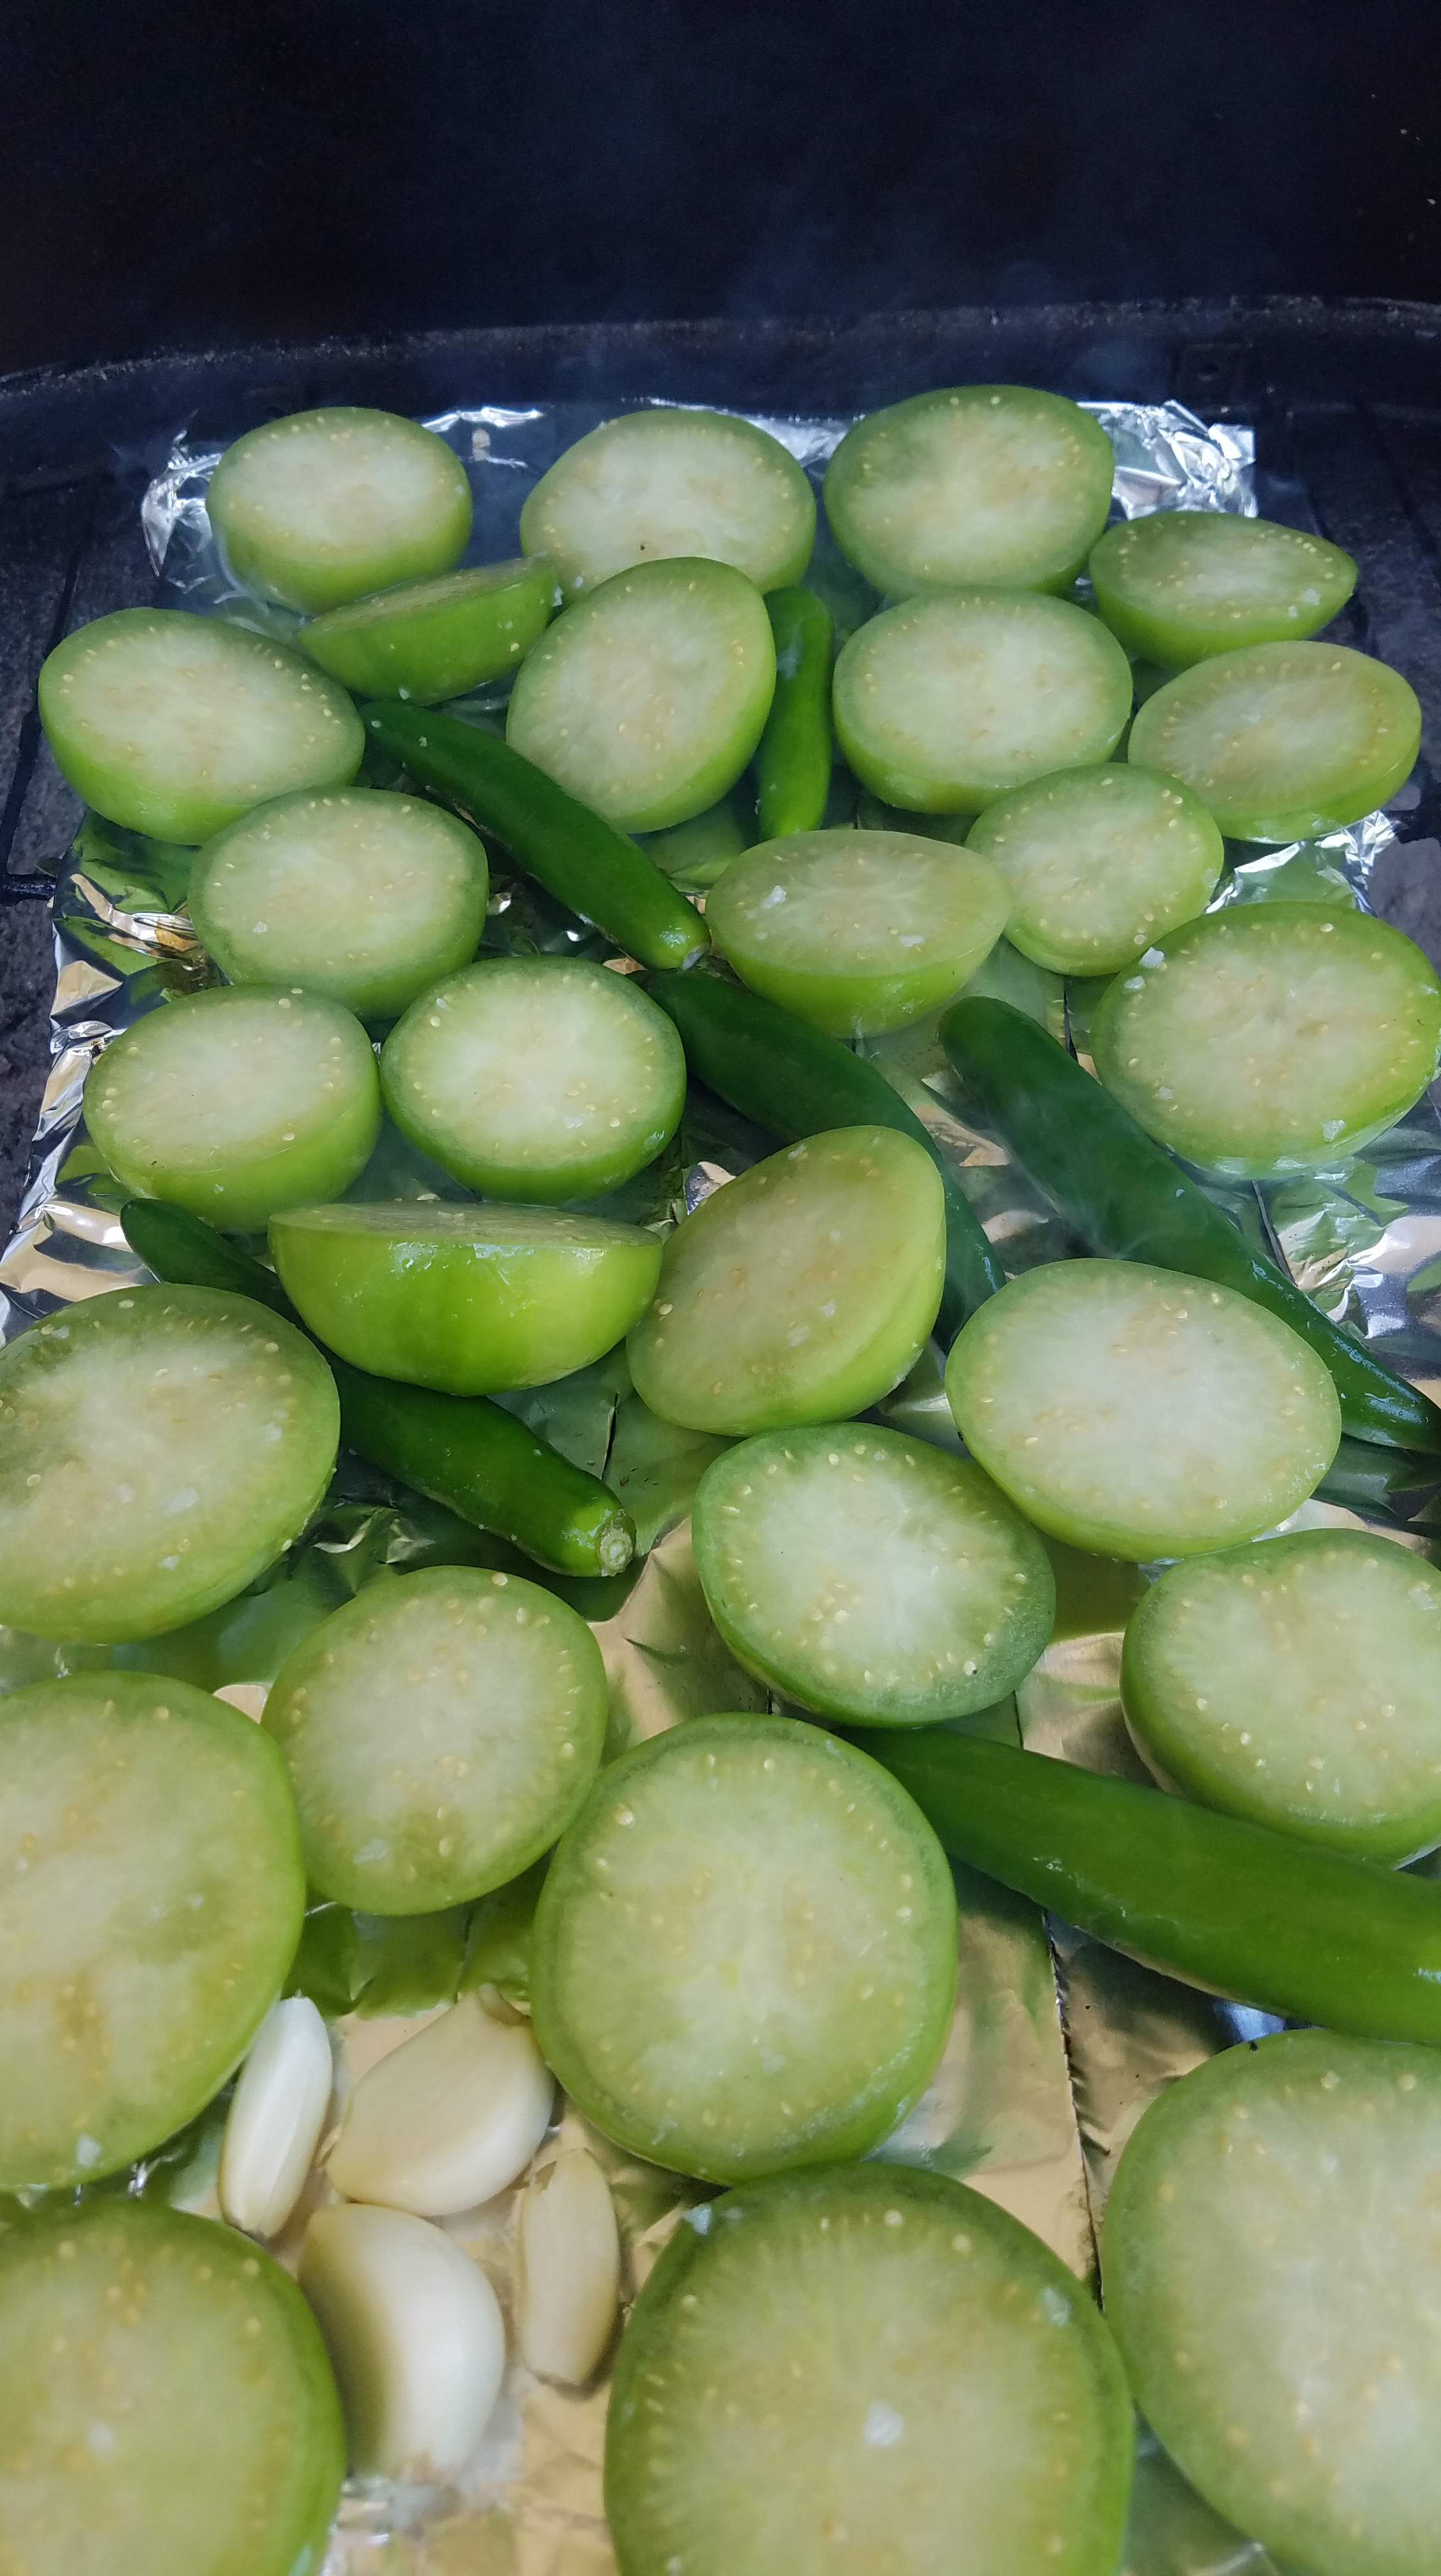
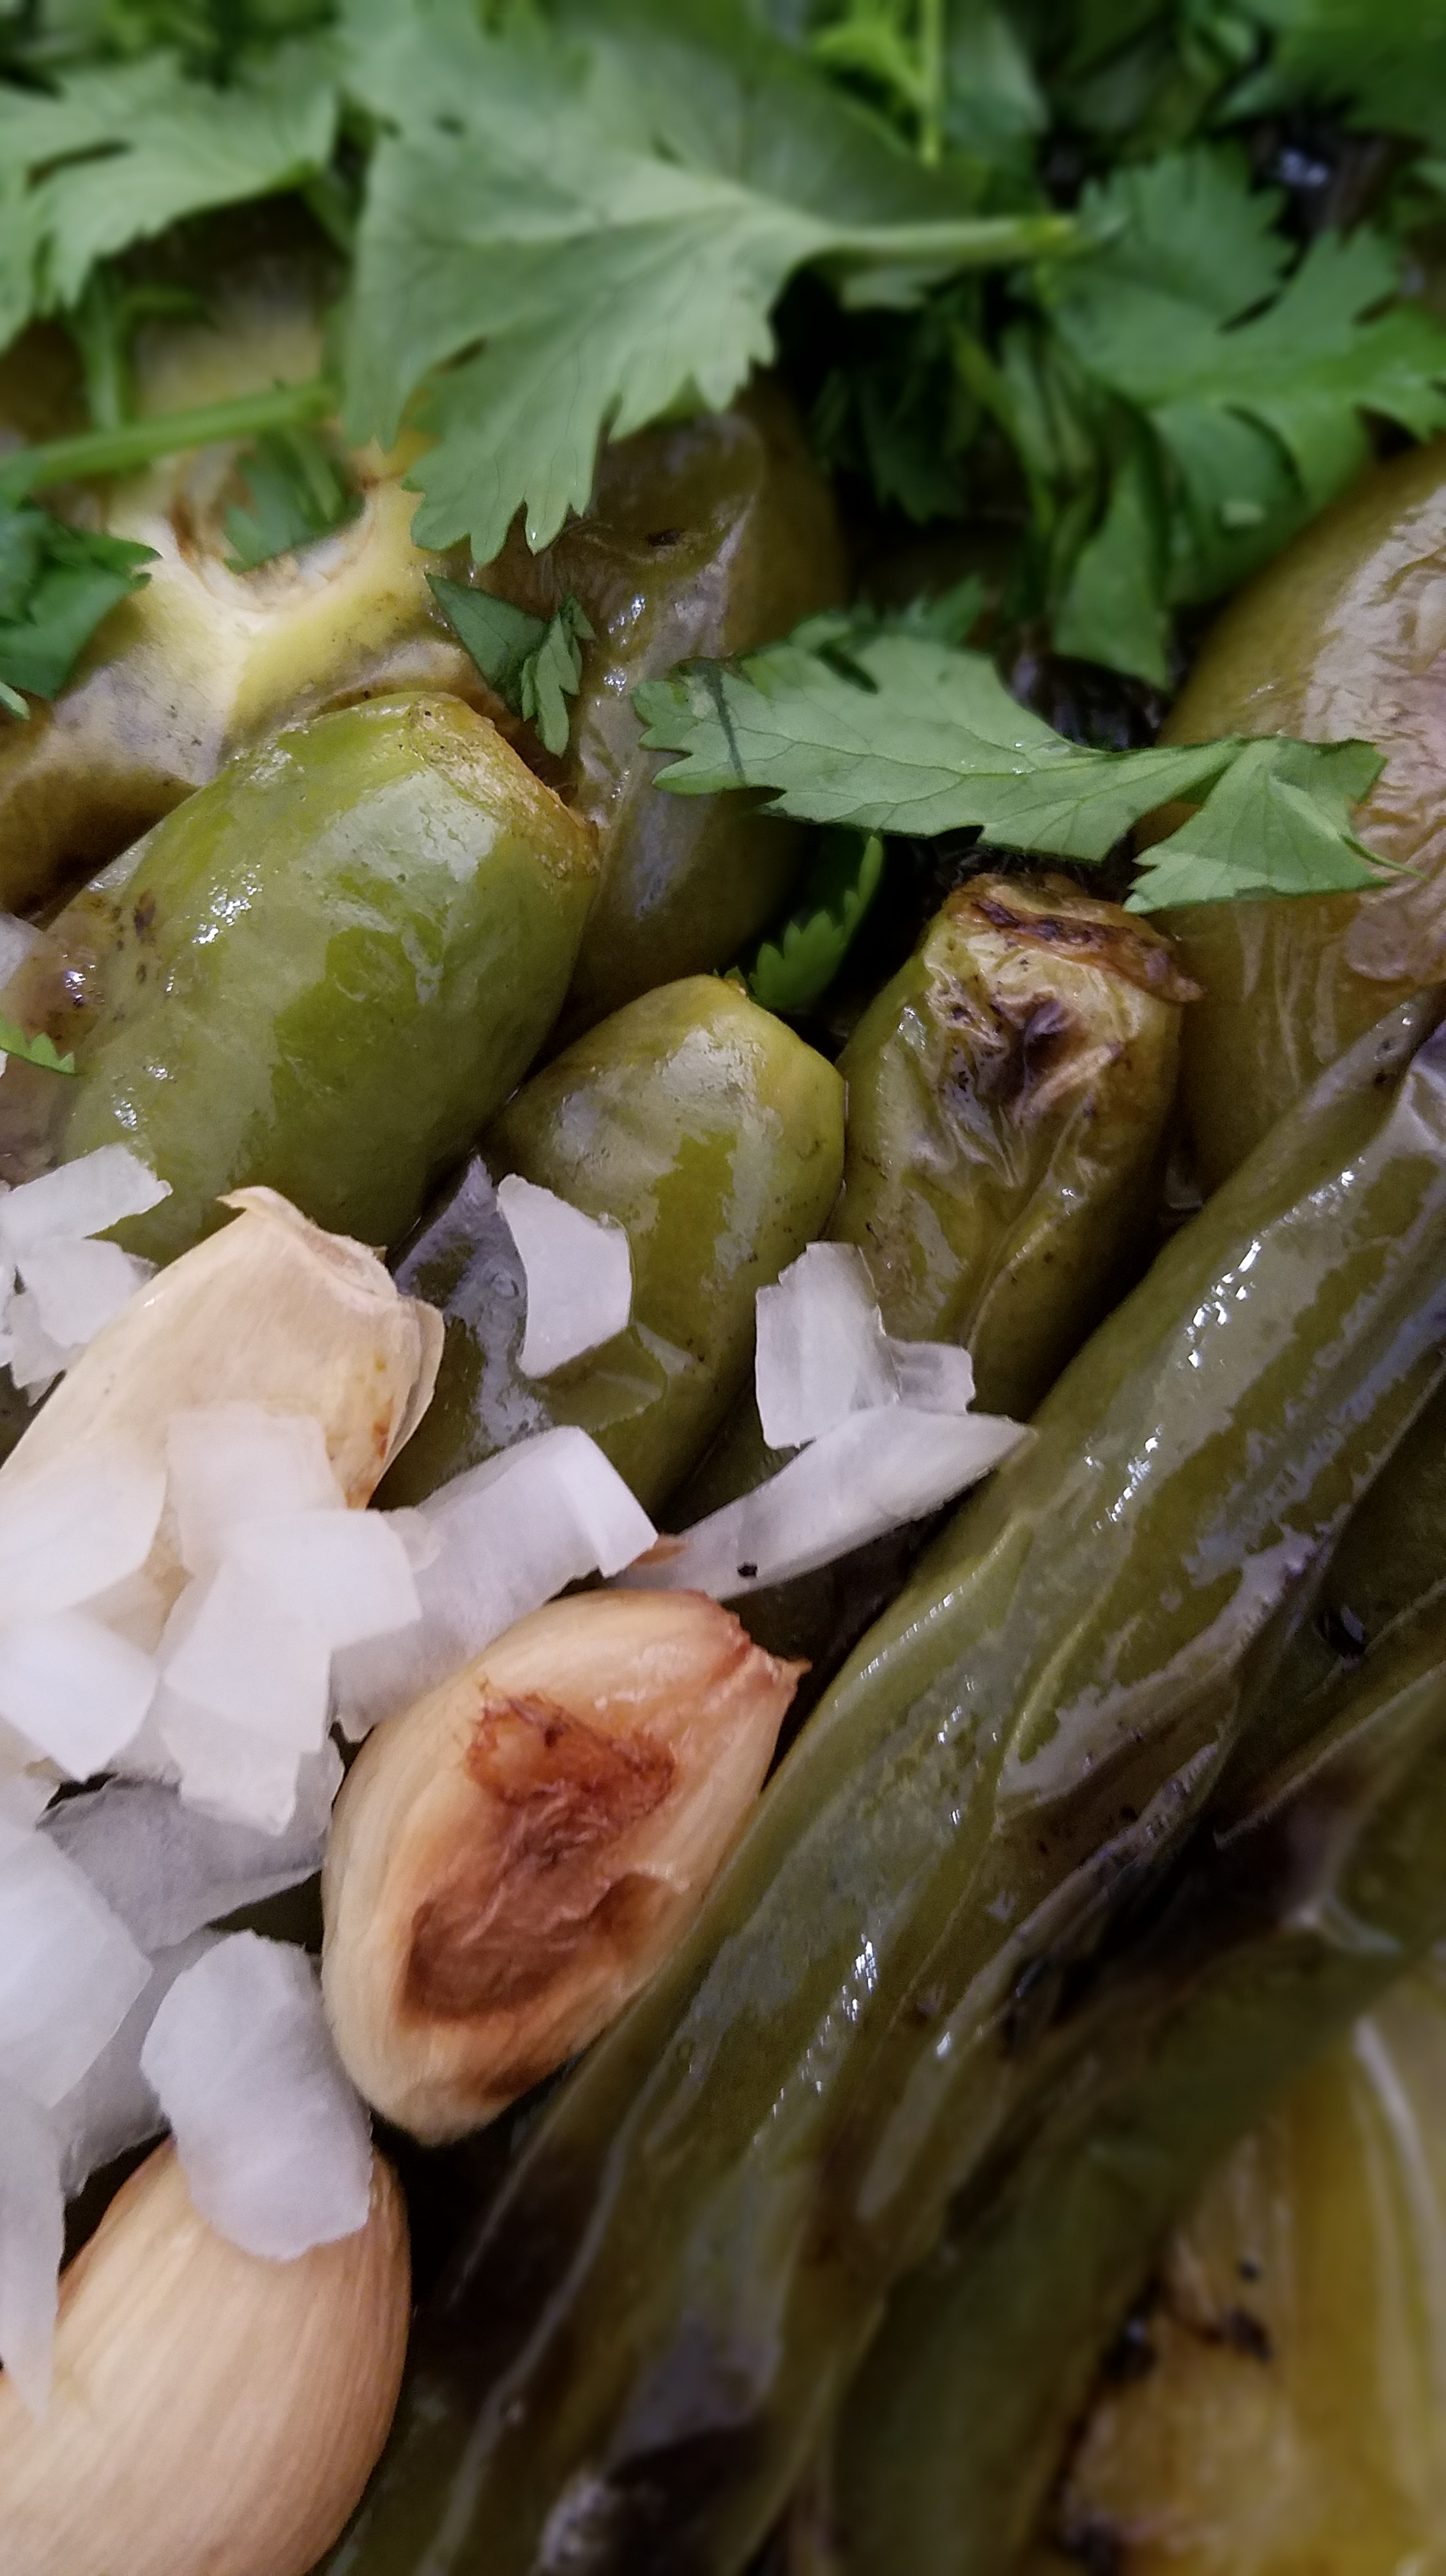
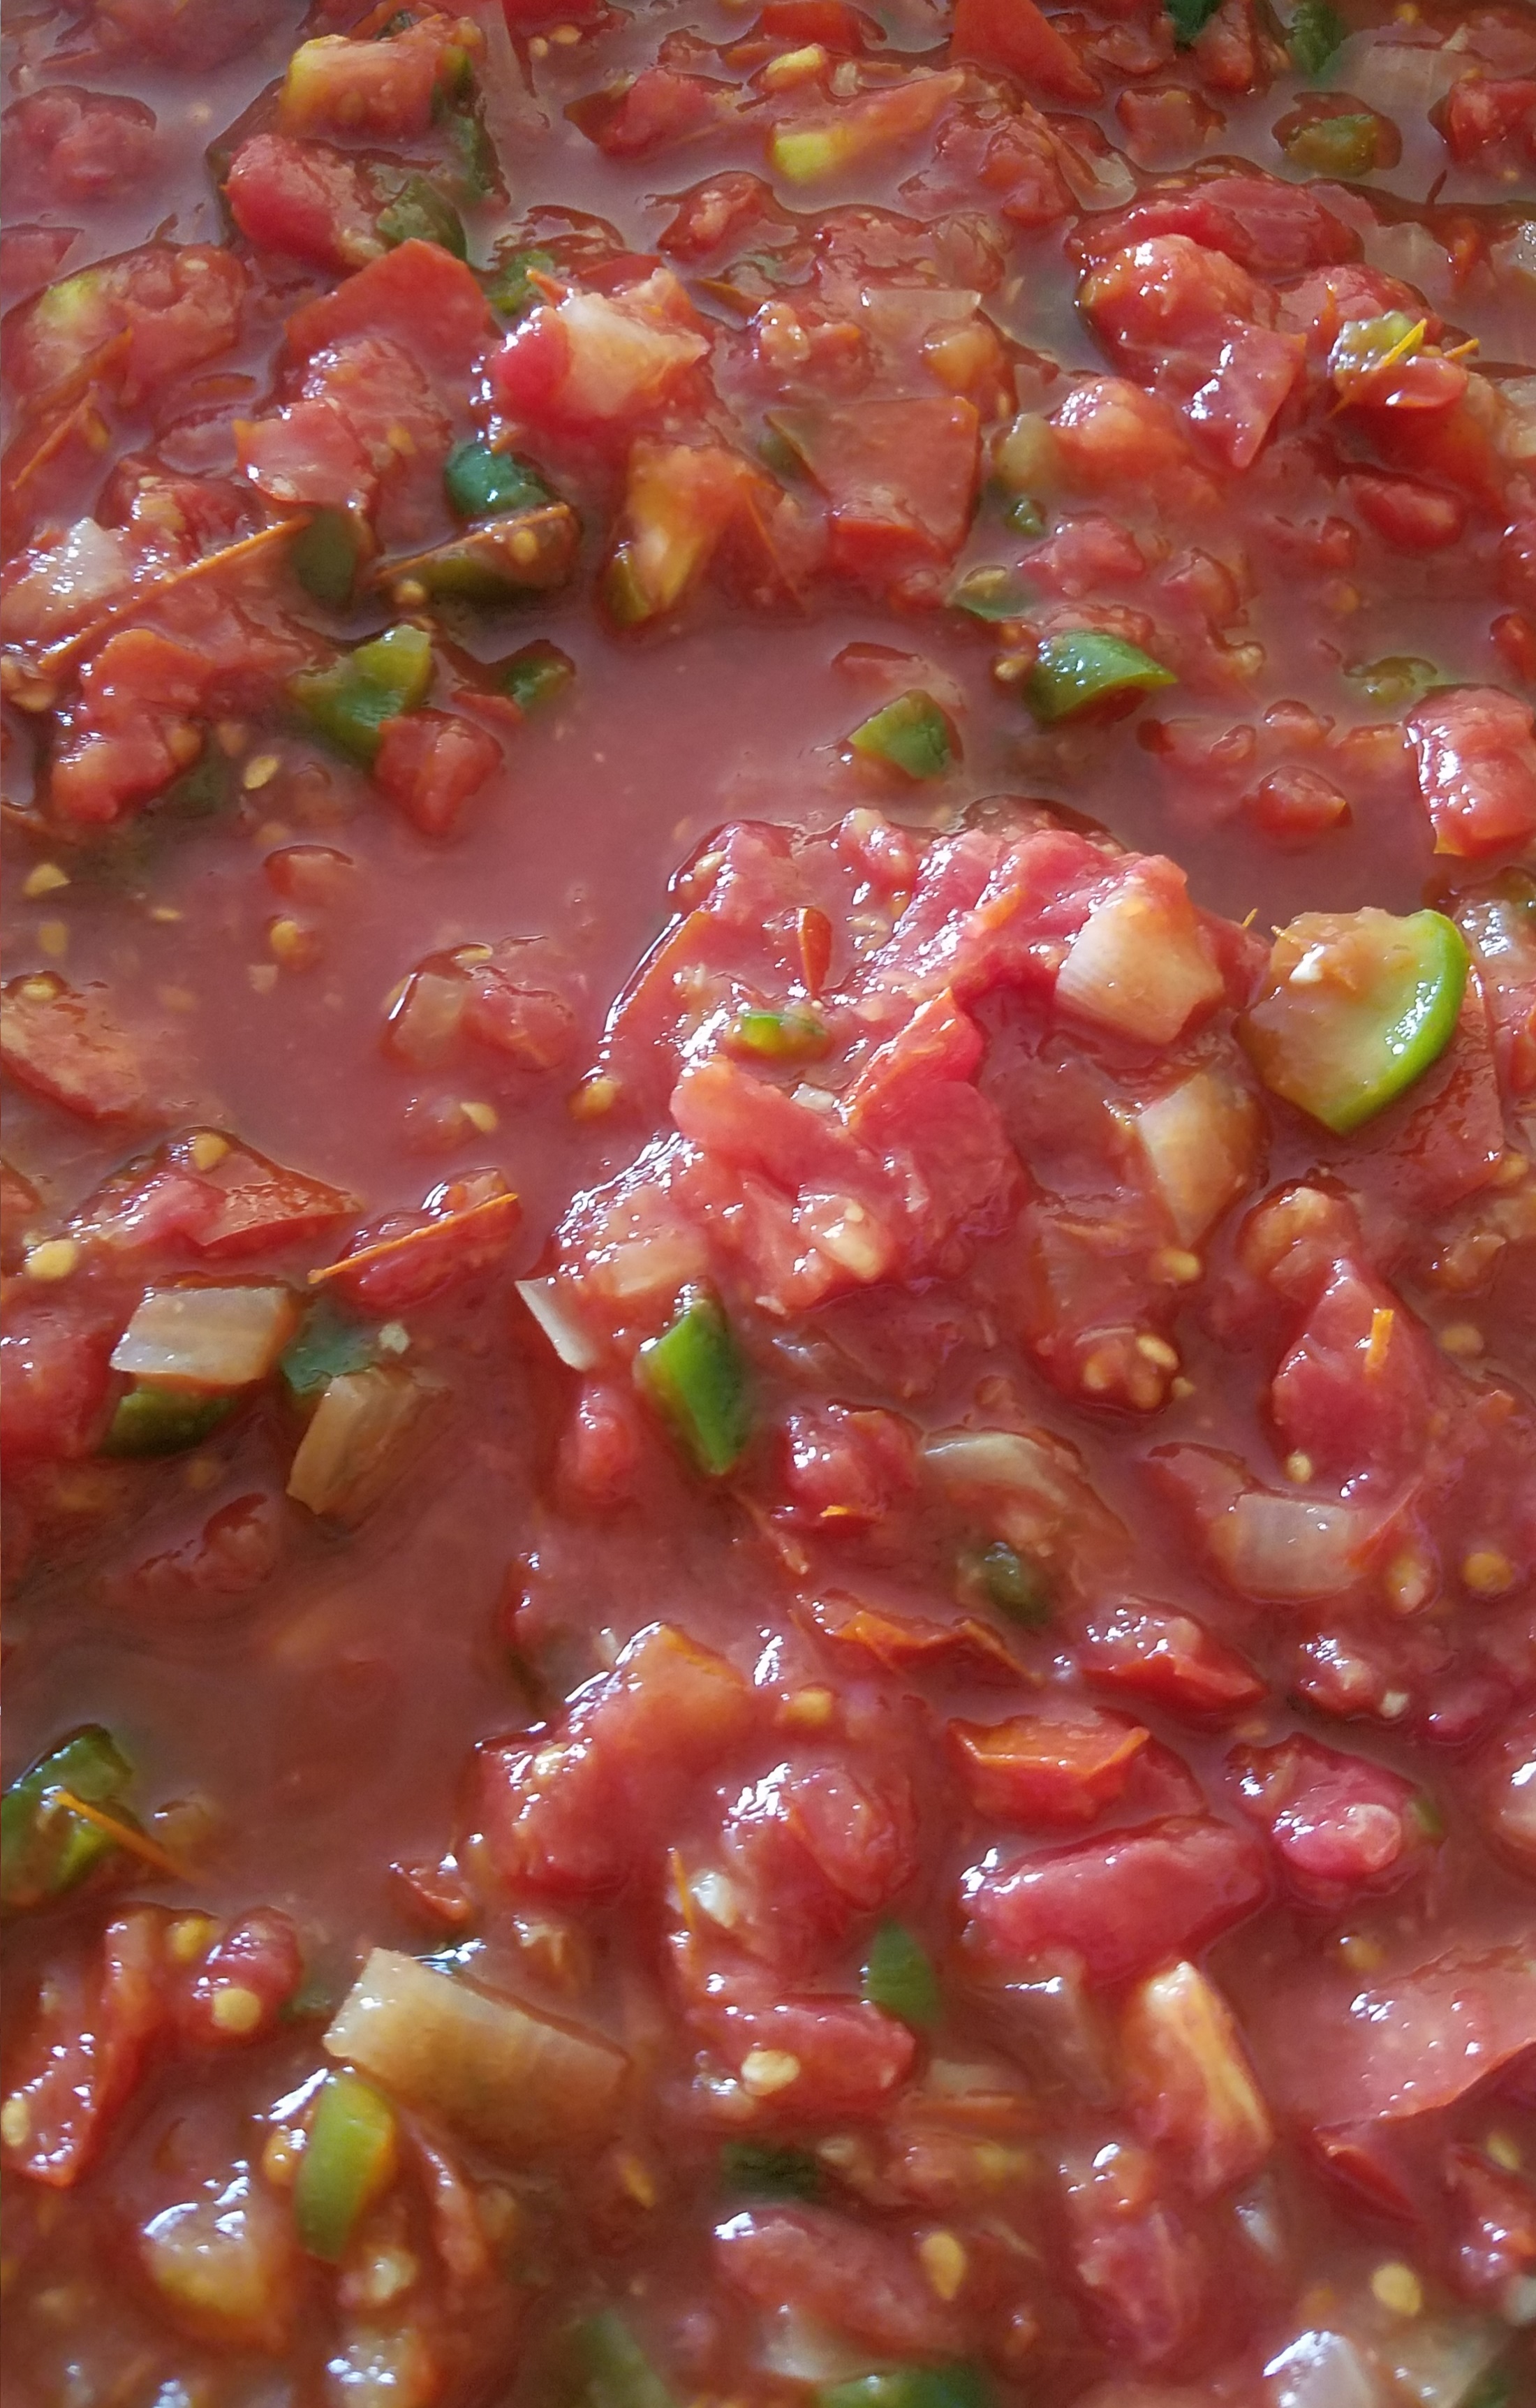
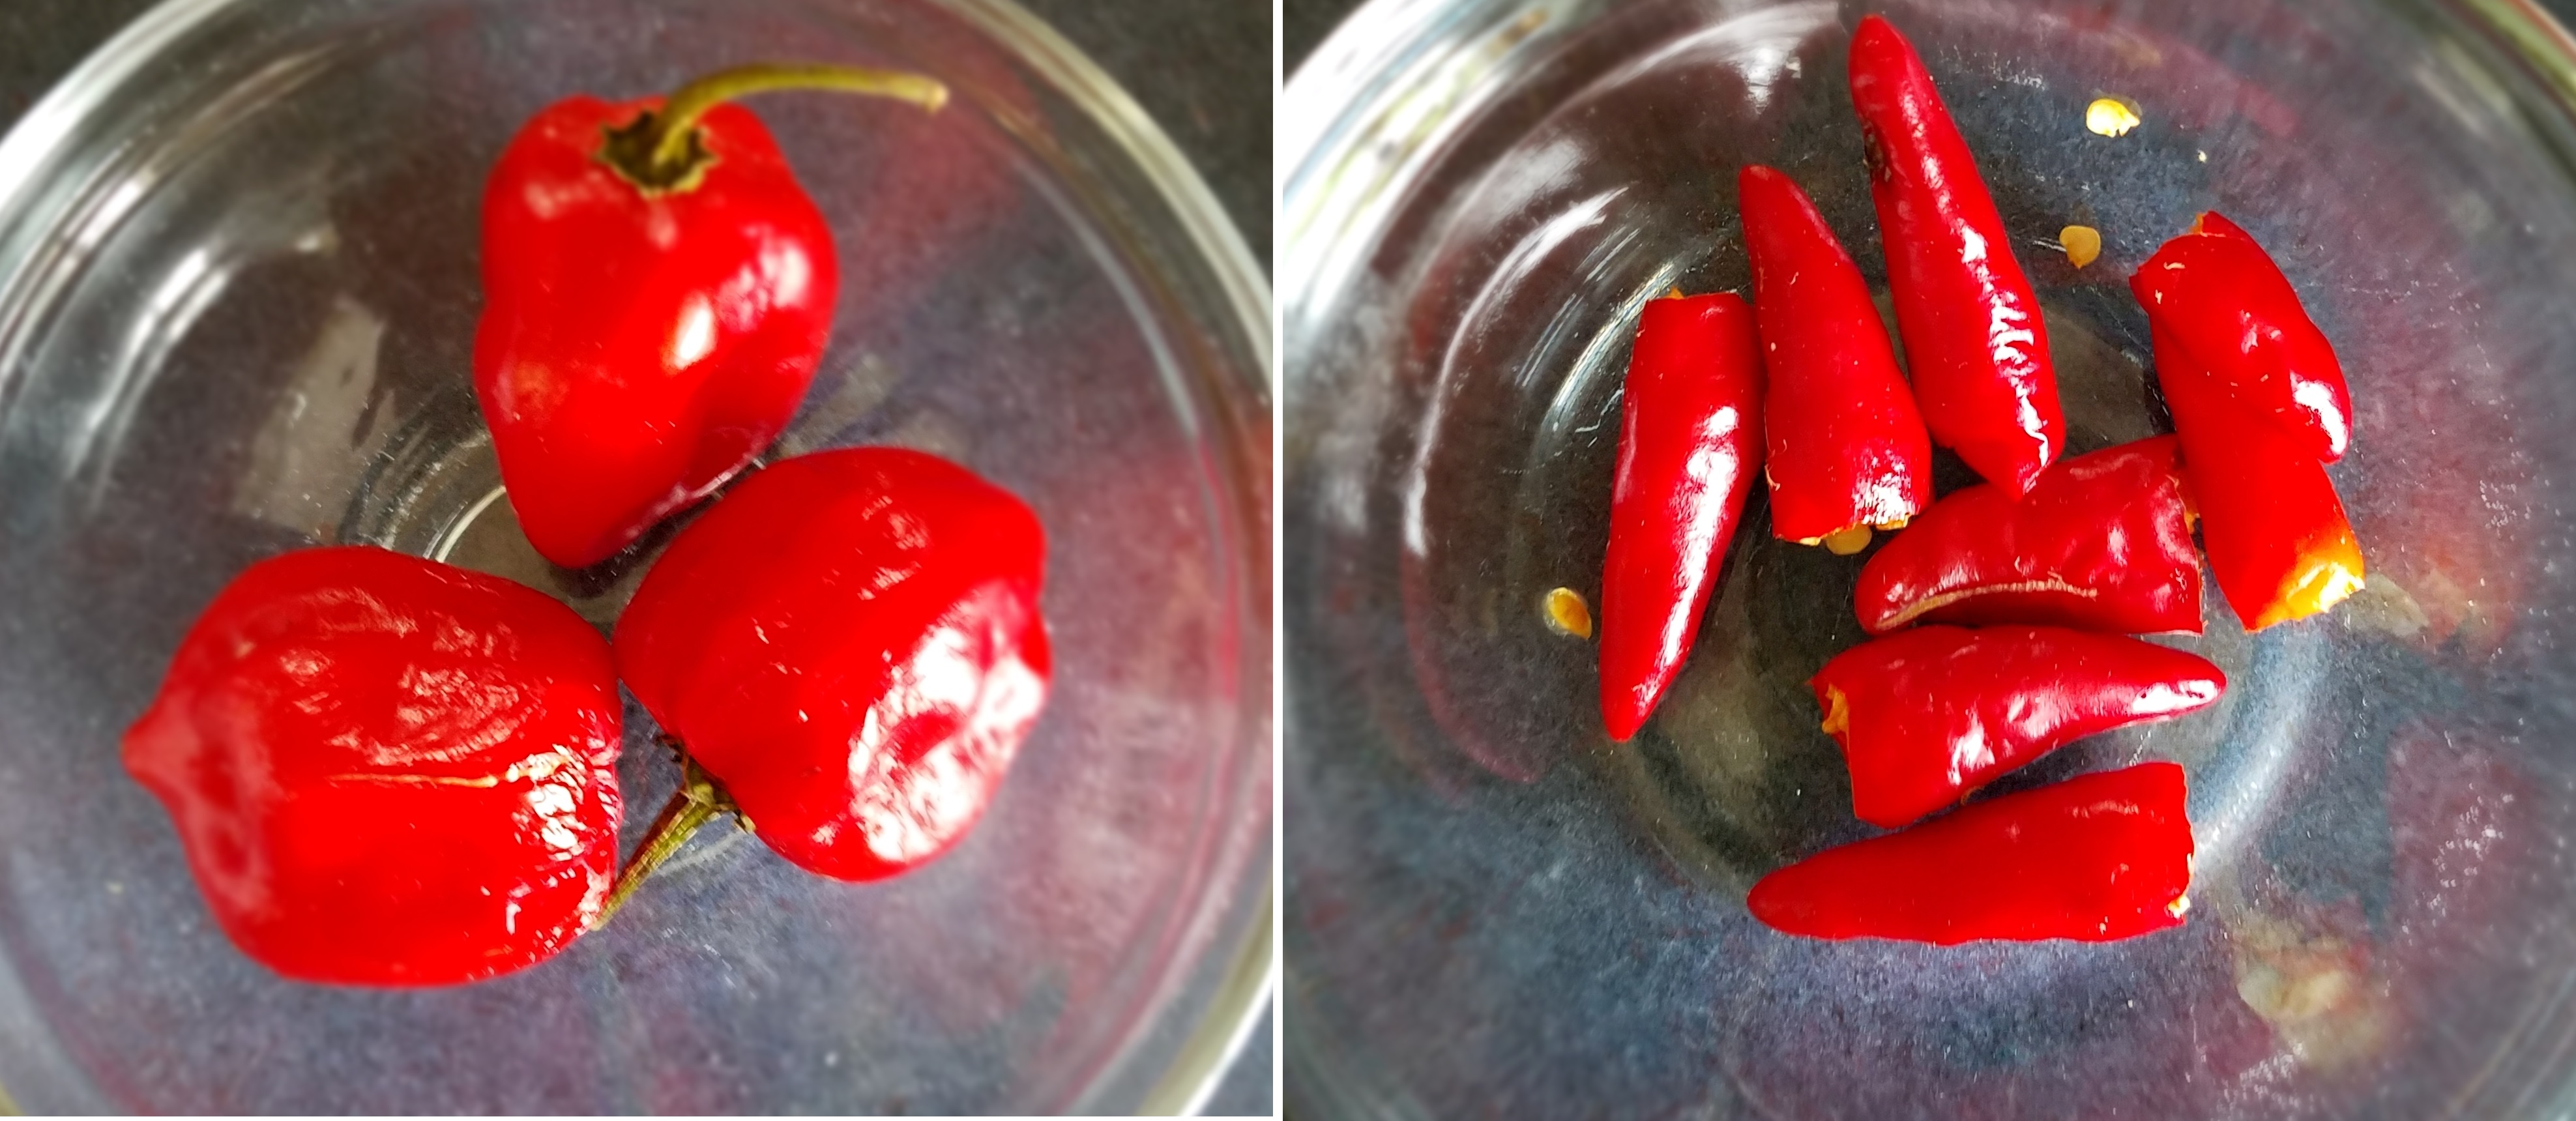
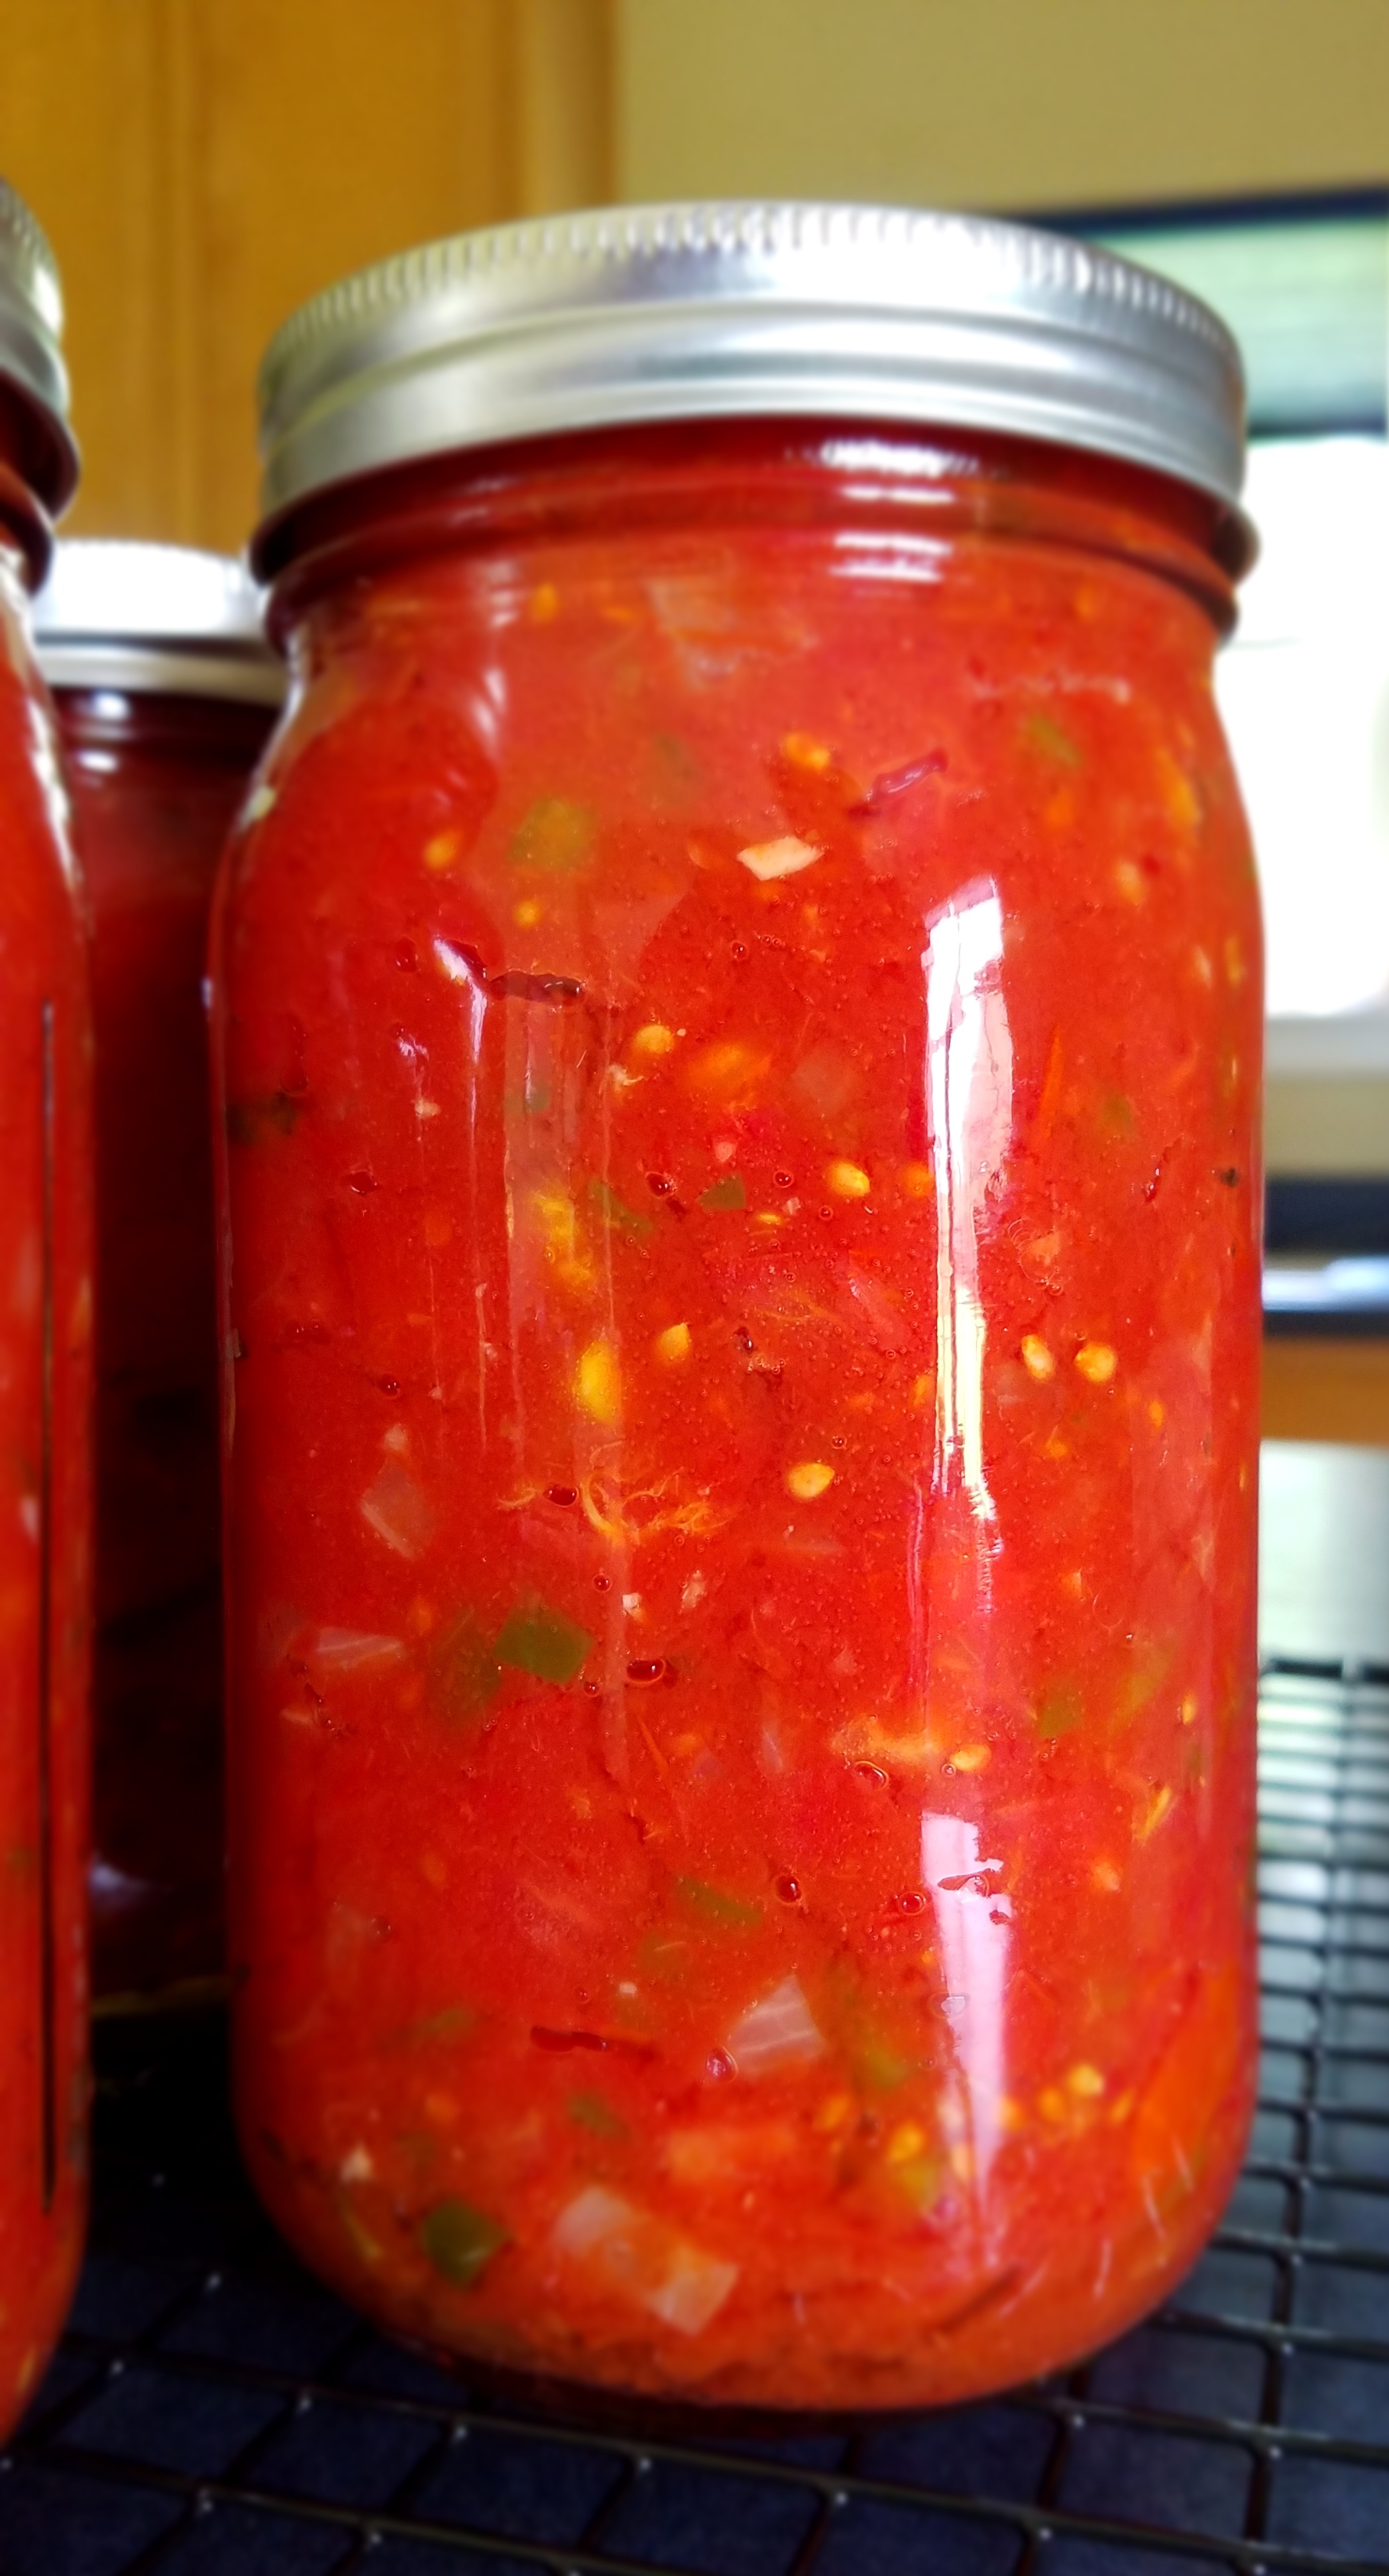
I had some tomatoes from the garden that needed to be used so I cooked them down to a sauce and added jalapeños, onion and garlic. I pureed the sauce after it cooked for about 40 minutes. Normally, I would use picante sauce from a jar but I just can’t resist fresh sauce, when I have the ingredients in my garden.
One more comment before we jump into the recipe. I sometimes use two corn tortillas per taco, instead of just one. These tacos are prepared like “street tacos”, which is to say they resemble authentic Mexican tacos. They are not the crispy corn tortillas that you might find at a grocery store, or ones that you might get at a fast food restaurant.

The tortillas are heated just to a point where they are still soft and pliable. Doubling up on the tortillas means that the tacos are more durable. I hate tacos that fall apart in my hands!
Ingredients:
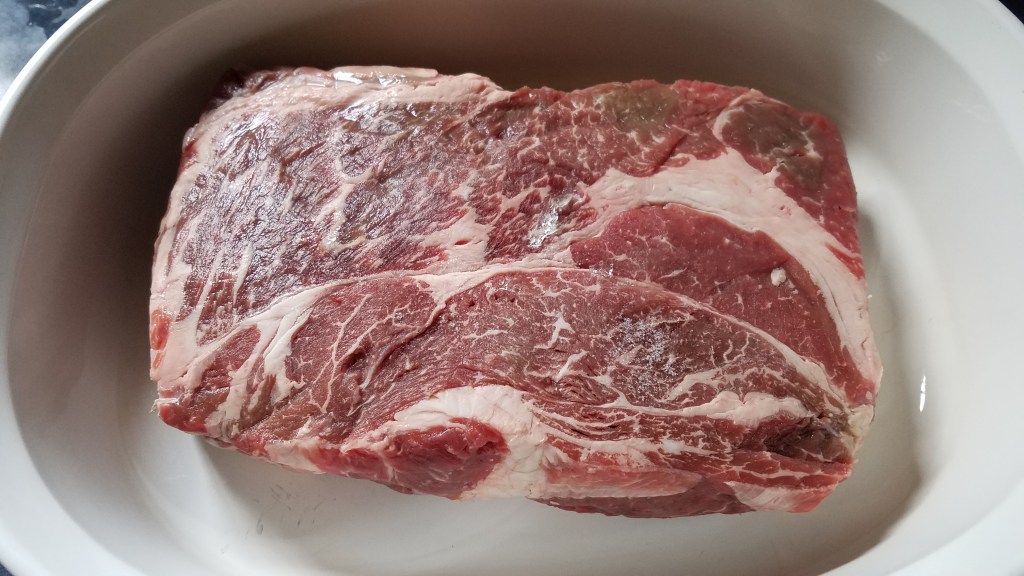
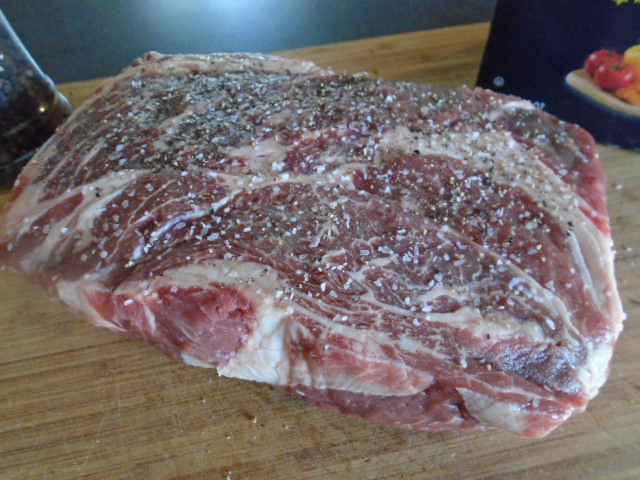
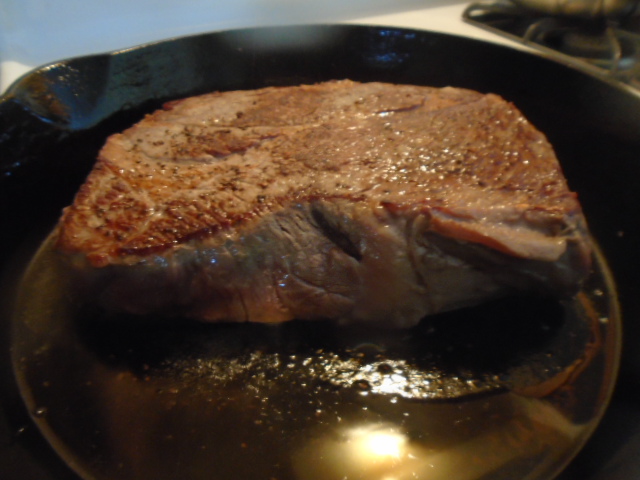
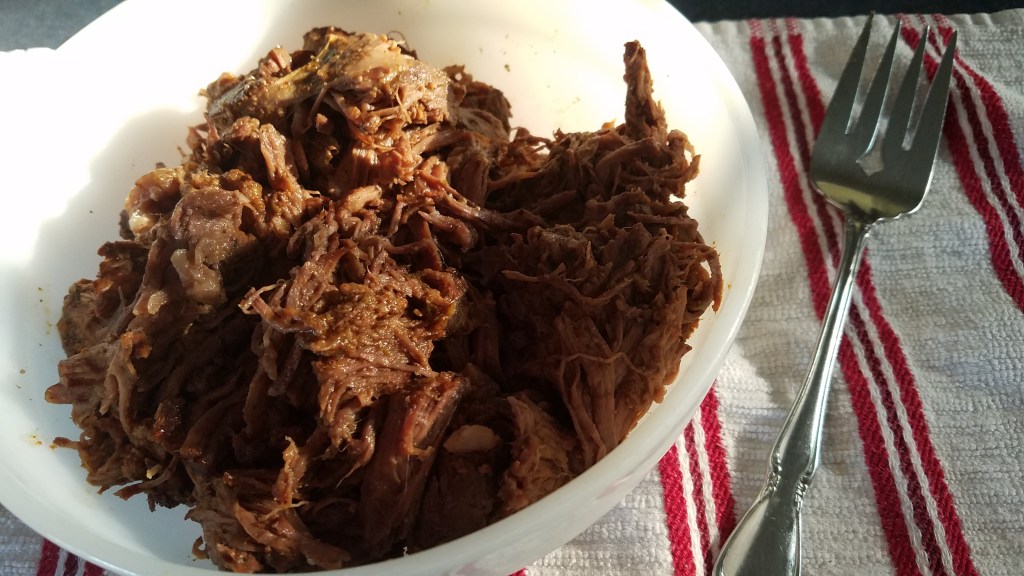
½ cup beef barbacoa
½ cup cooked ground beef
½ cup cooked ground turkey
1 cup prepared spicy tomato sauce
1 Tbs chipotle in adobo sauce (diced)
¼ cup sautéed sliced mushrooms
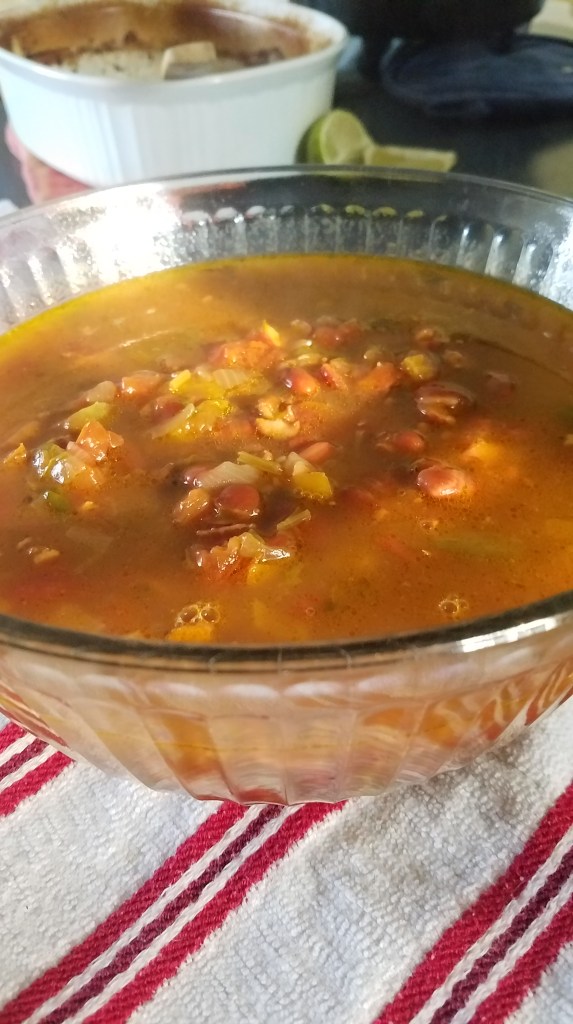
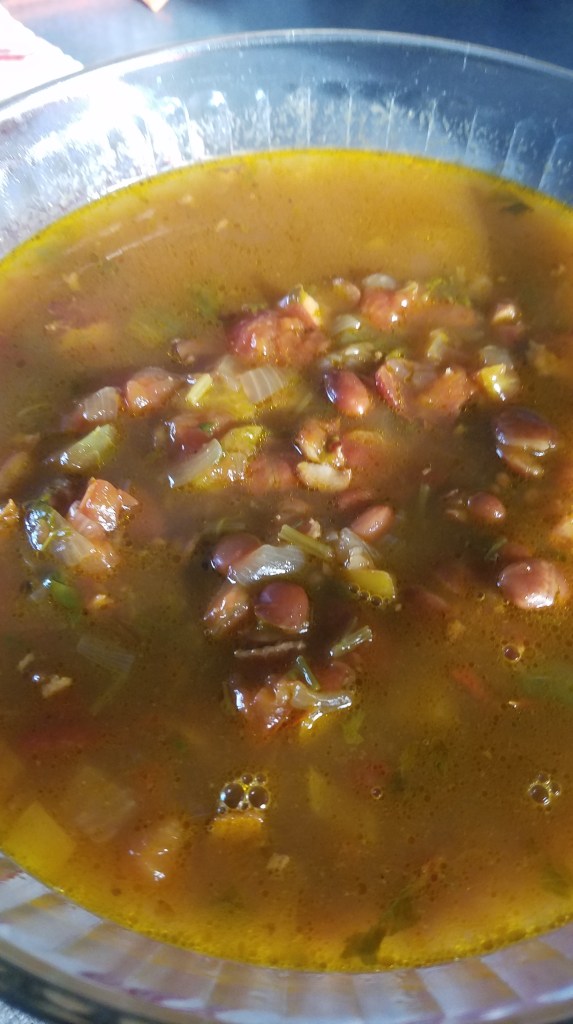
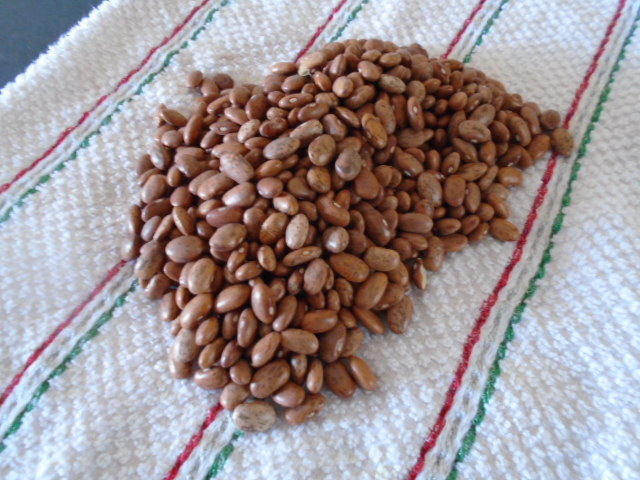
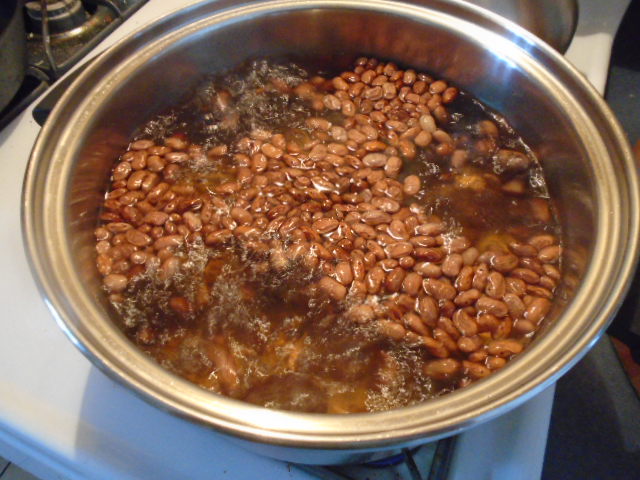
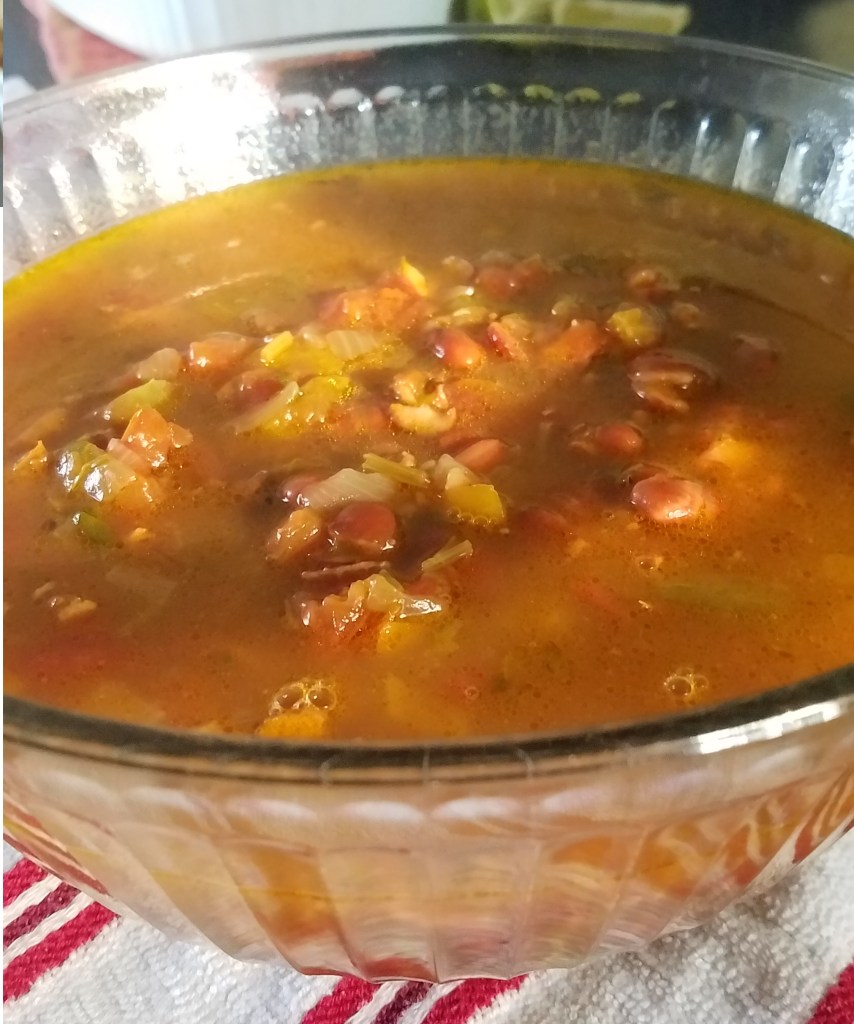
½ cup borracho beans, drained
¼ cup spicy mayo/sour cream sauce
½ cup grated cheddar cheese
½ cup cotija cheese
½ cup grated Monterey Jack cheese
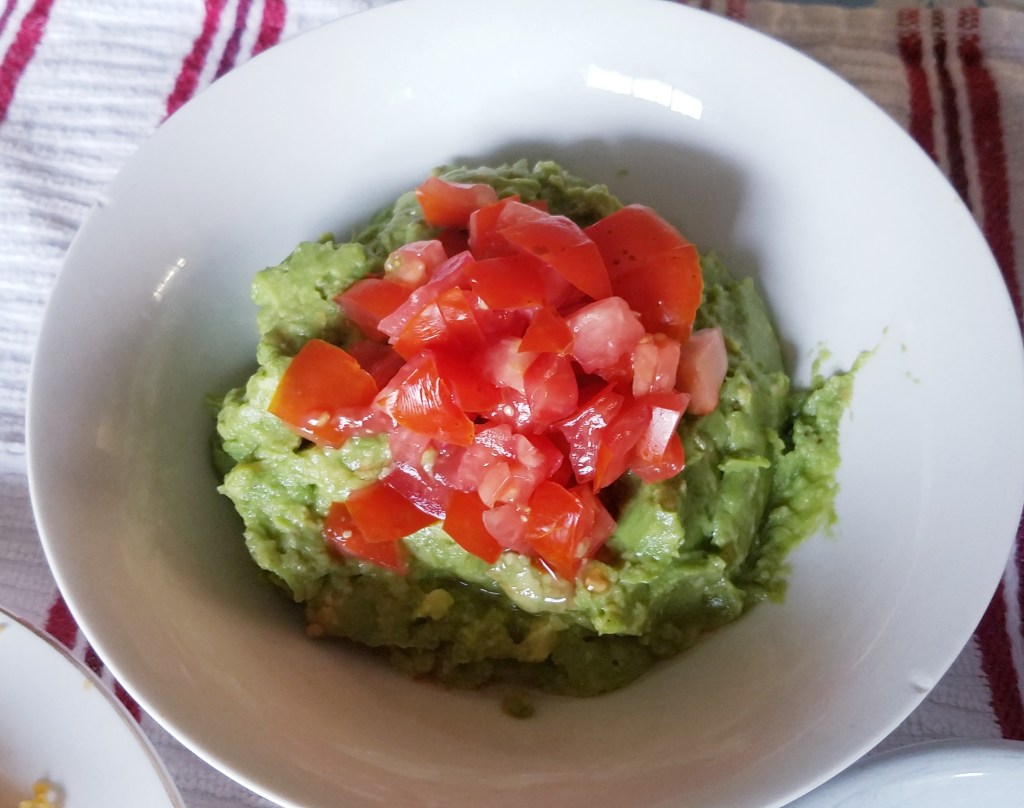
¼ cup diced tomatoes
½ cup shredded lettuce
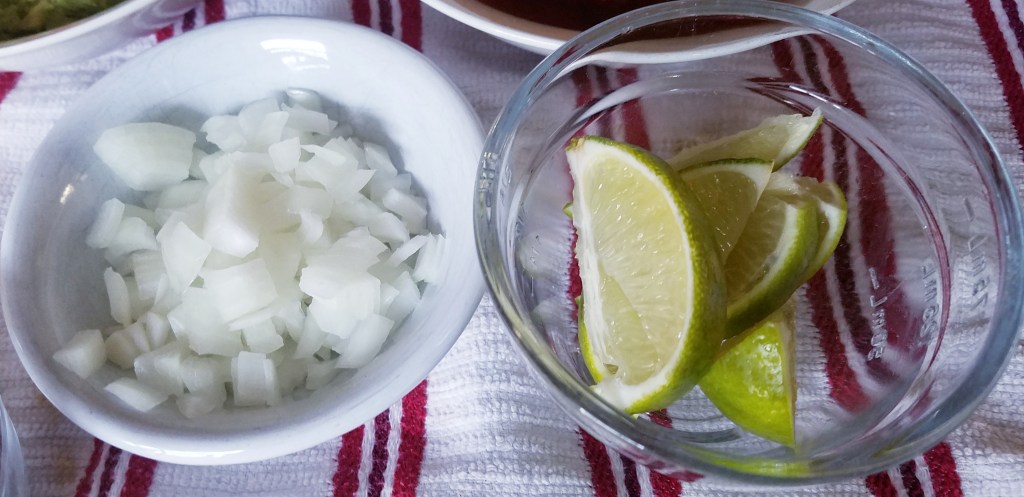
¼ cup diced onion
½ cup cilantro
6 pitted black olives, chopped
¼ cup sour cream
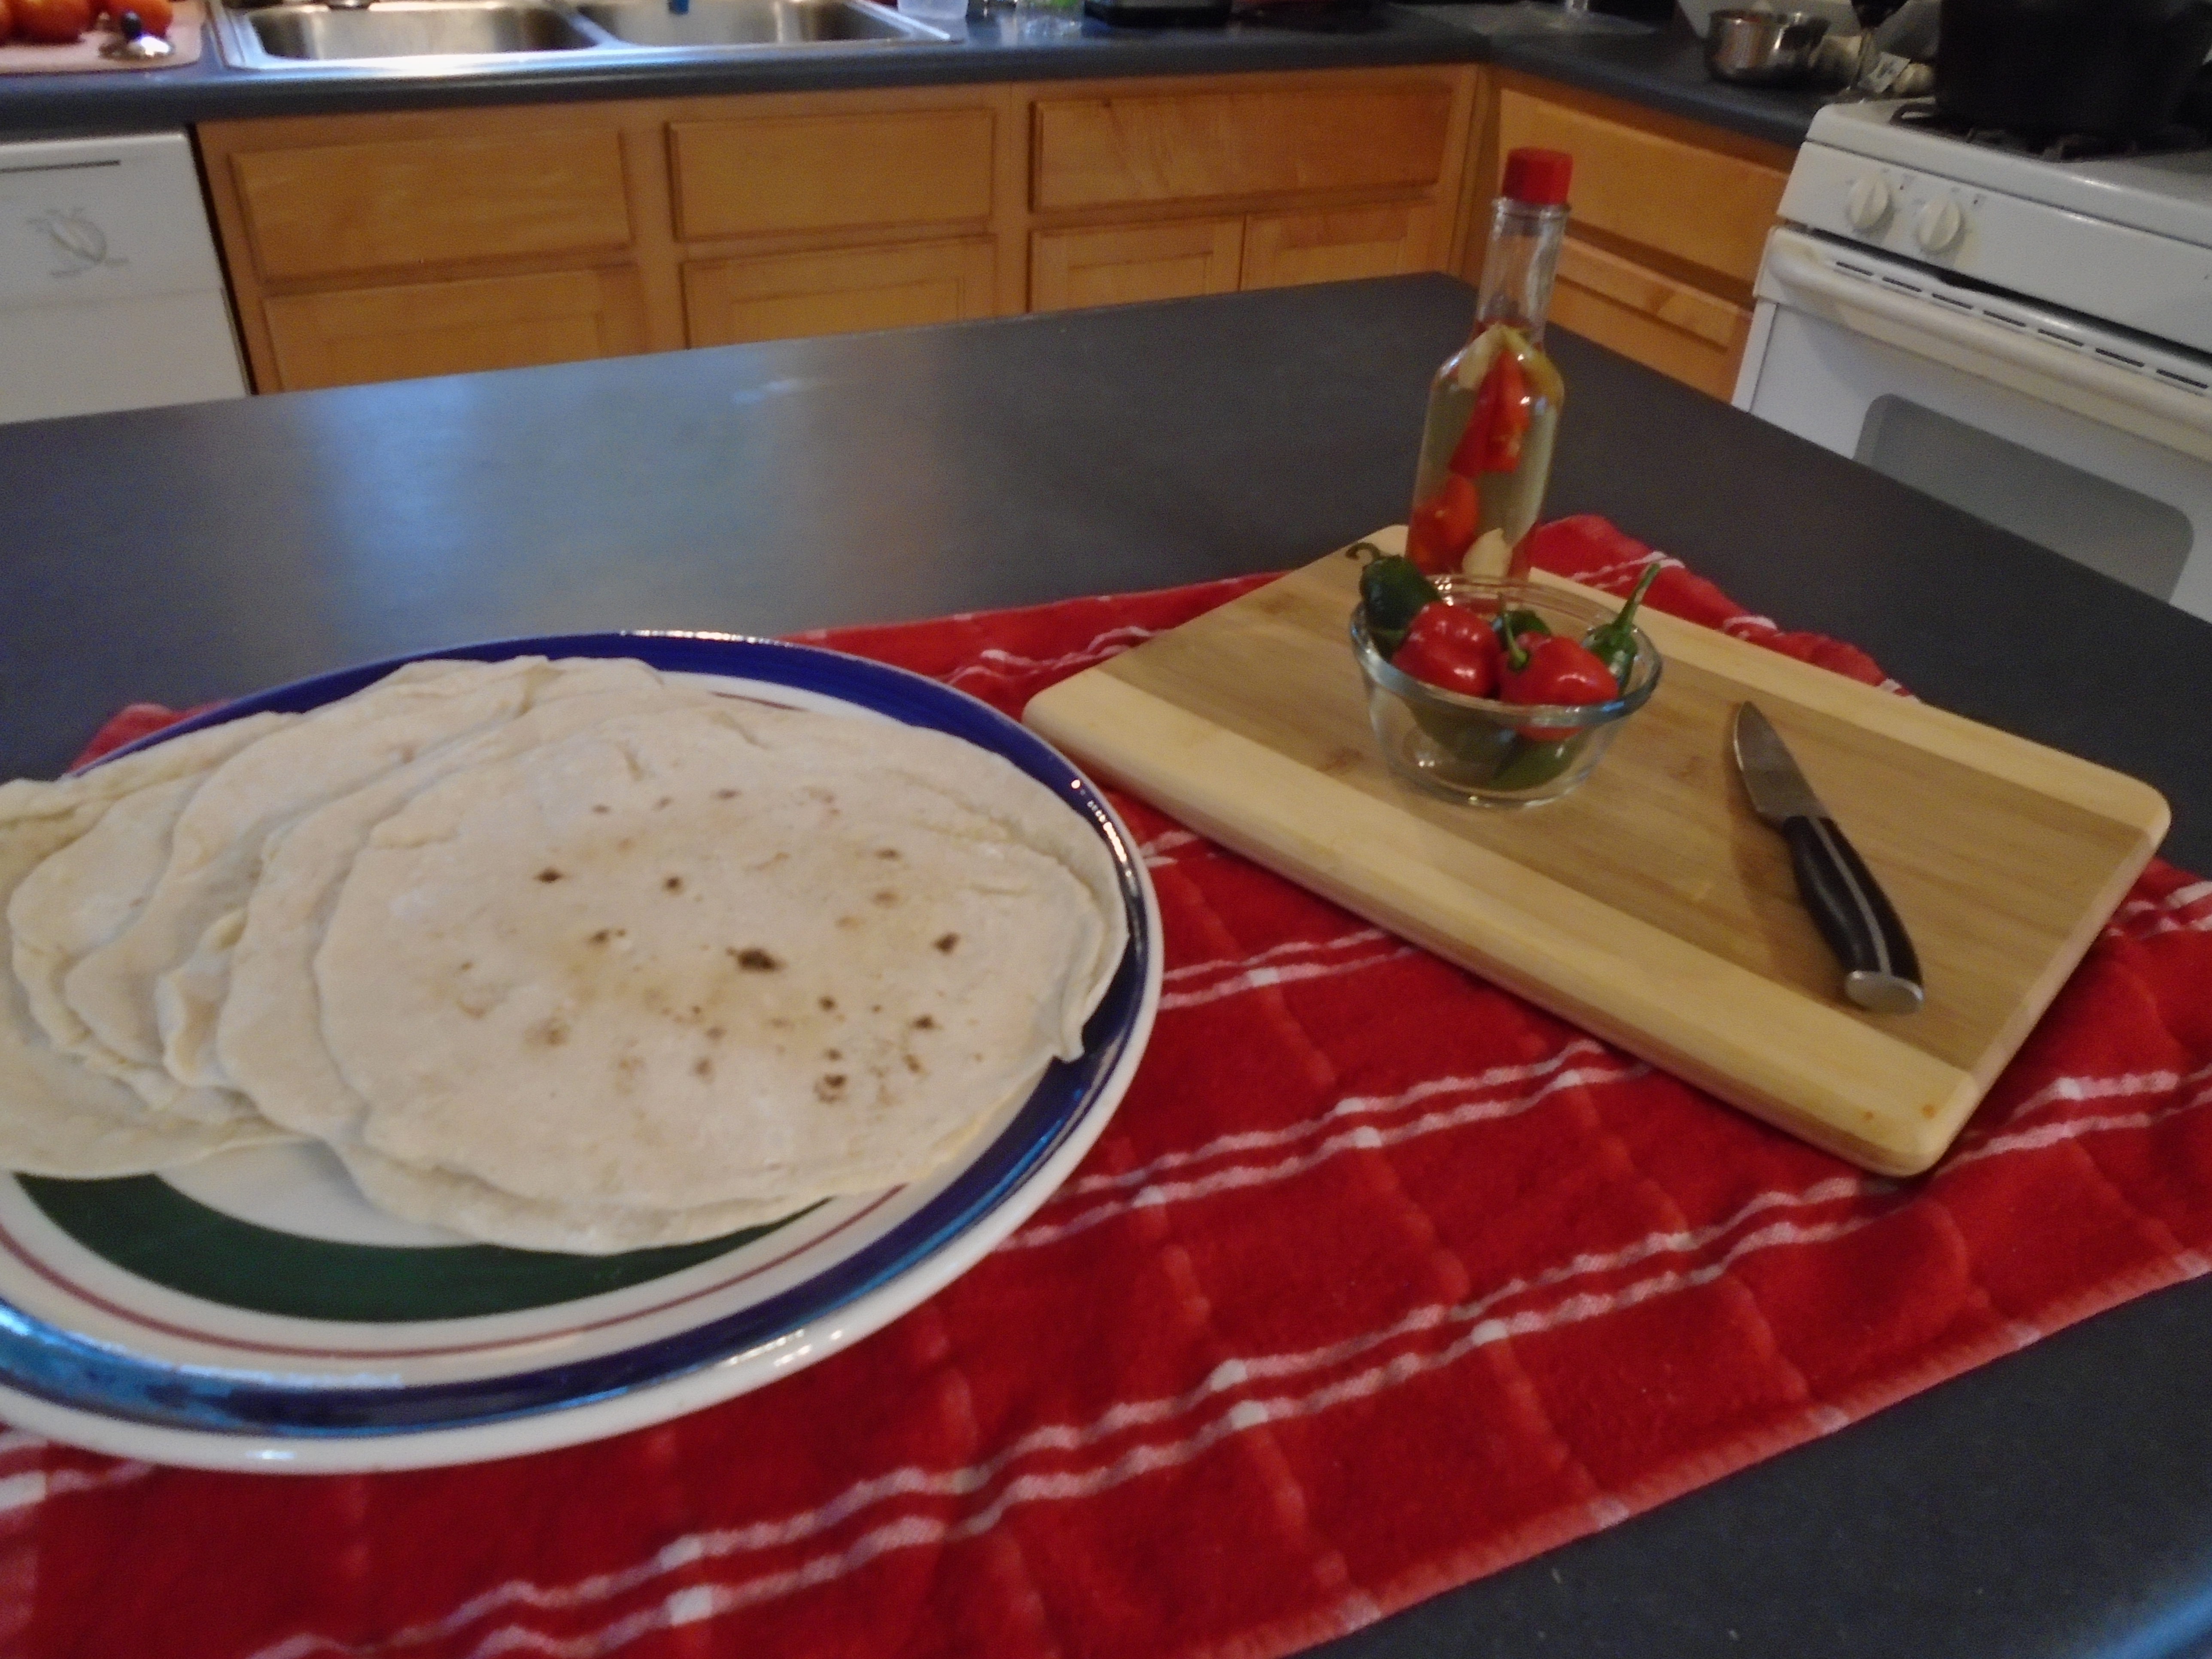
18 corn tortillas
lime wedges
Directions for the salsa:
If you don’t want to make fresh salsa, use a store bought salsa of your choice…otherwise, this is what I did to make the salsa for this dish.


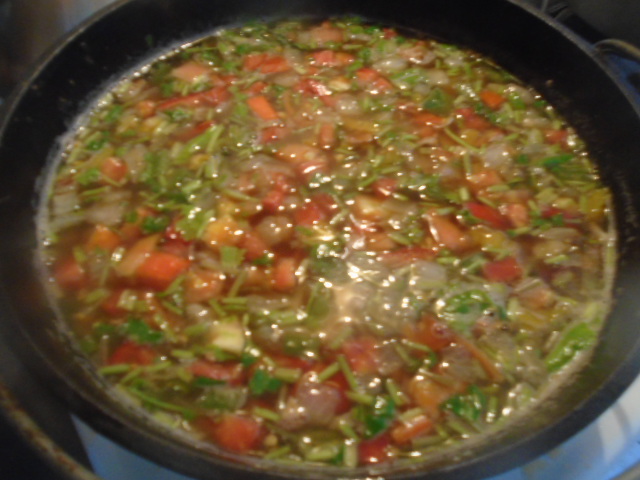
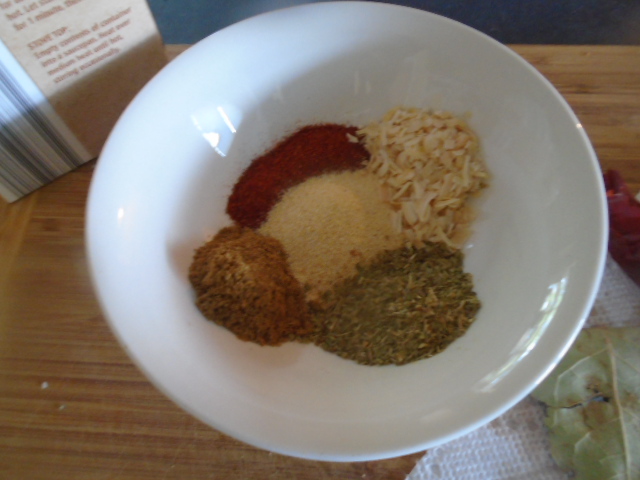
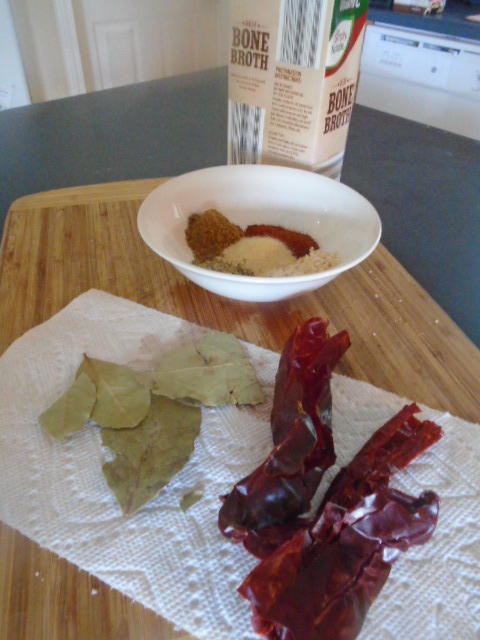
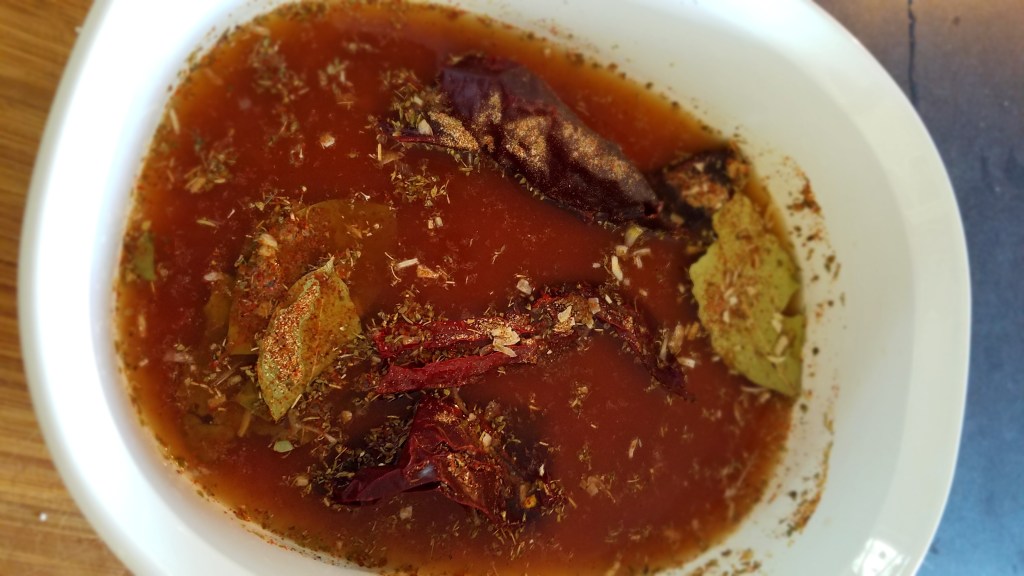
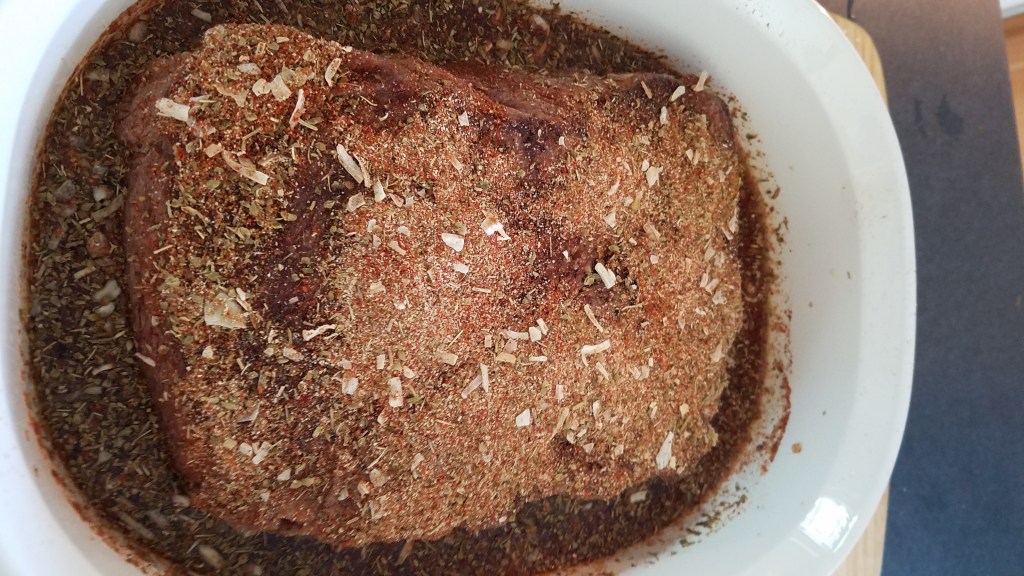
Dice 6 to 8 small to medium sized tomatoes. Add to a large pot and simmer at low heat. Dice ½ onion and smash 3 garlic cloves and add those to the pot. Add 1 tsp dry oregano and 1 Tbs cumin powder. Simmer at low/medium heat for 30 to 40 minutes, stirring occasionally to prevent the sauce from burning on the bottom of the pot. Puree the contents. Now you have fresh sauce! Set this aside.

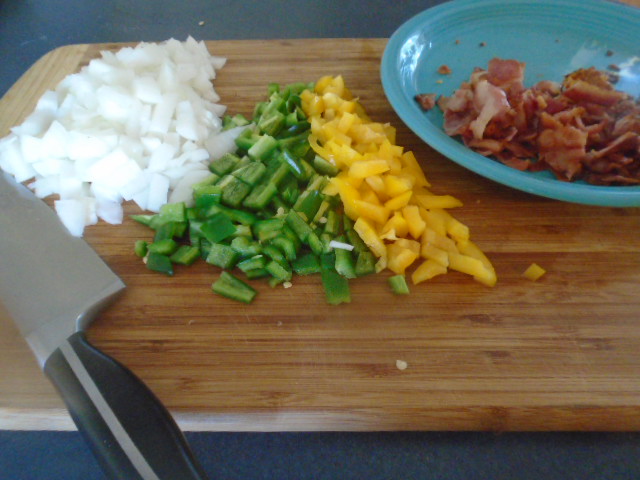
While the sauce is cooking, prepare the rest of the ingredients for the tacos. You will be chopping, peeling and slicing vegetables so keep a bowl handy for the refuse.


sour cream, lettuce and spicy mayo sauce 
chipotle in adobo sauce
Peel, chop and dice all of the vegetables. Set aside. Grate the cheese and set aside.
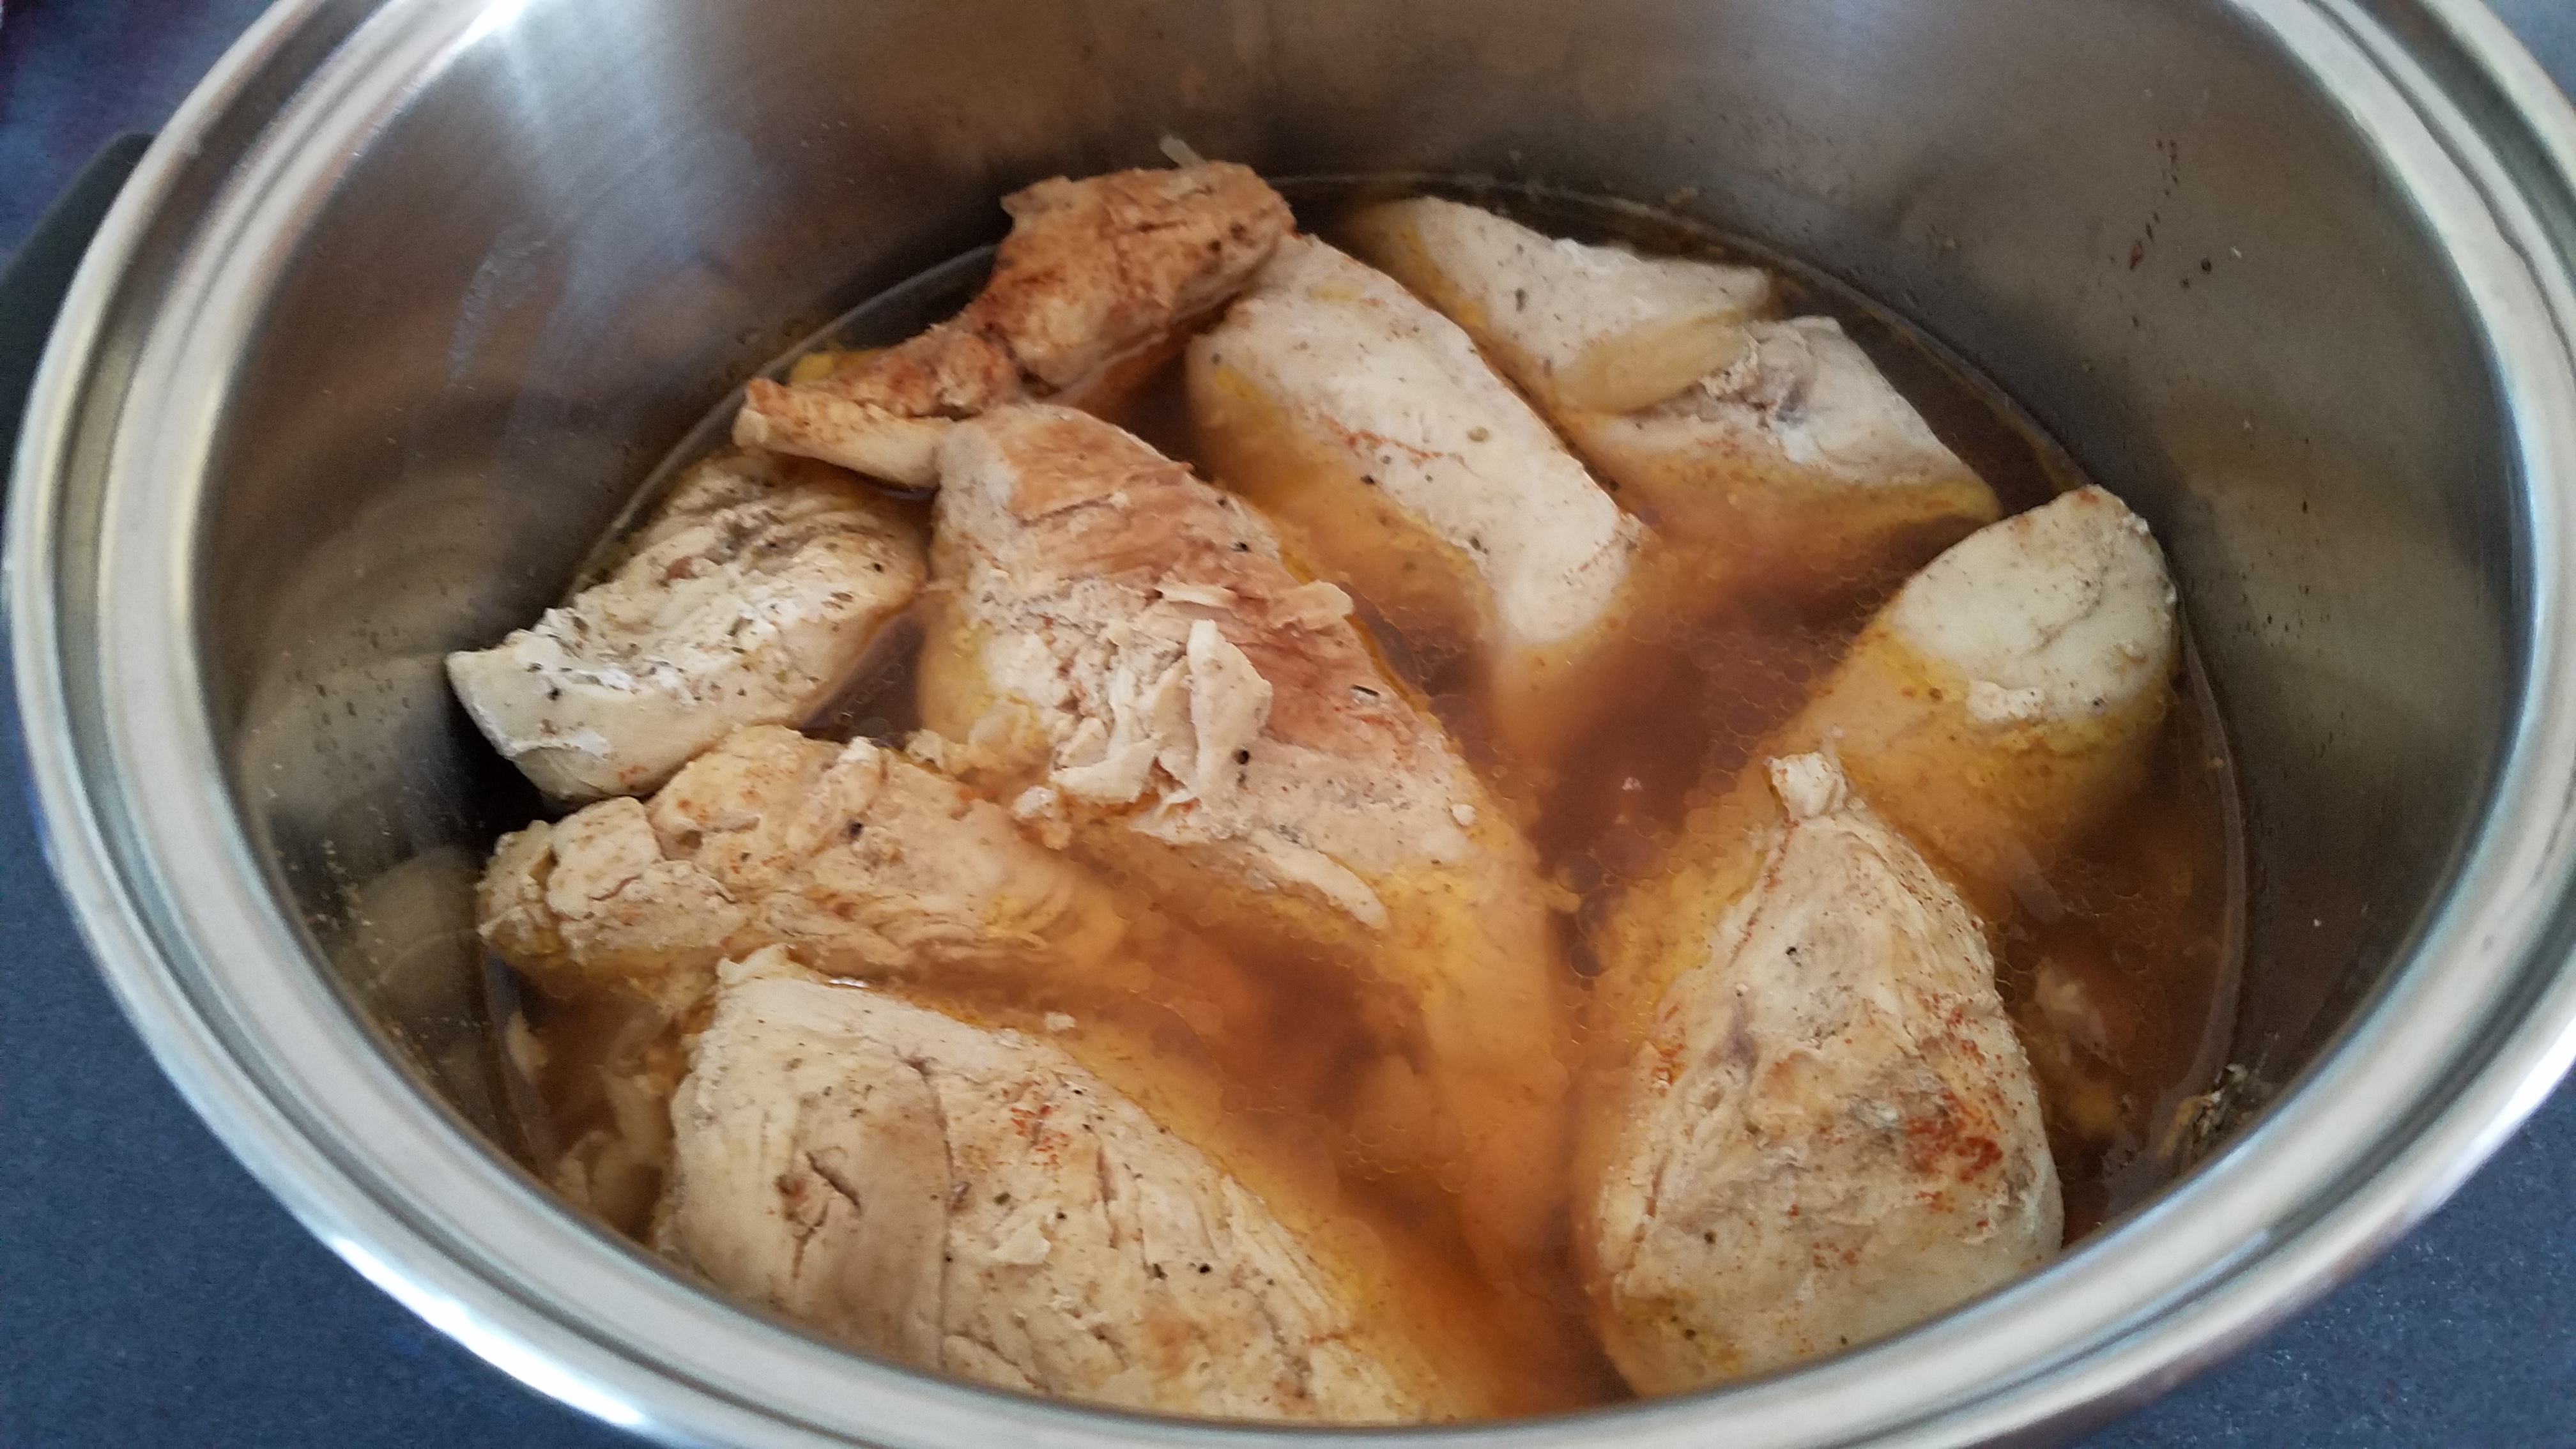
Break apart and crumble the meat. Lay the meat in separate piles on a baking sheet lined with parchment paper and warm in the oven at 250° for about 15 minutes.


Heat a pan, or a comal, on the stove to low/medium heat. Add a little oil and cook the tortillas on each side. Add a little more oil after two or three tortillas are cooked. The tortillas should cook for about 20 seconds on each side. Remove to a plate and keep warm.

I kept forgetting what I was going to put on each taco so I decided to write it down on a 3×5 index card. Not a bad idea, especially for someone with the attention span of a gnat, like me.

Directions for assembling the tacos:
I recently got some taco holders as a gift and, although I don’t use them often, they made it easy to assemble tacos and they made a nice presentation.
I worked on all three tacos simultaneously.


For the barbacoa taco:
Start by adding some barbacoa. Add borracho beans, followed by salsa and cheddar cheese.
For the ground beef taco:
Start with ground beef. Add minced chipotle sauce, salsa and cotija cheese.
For the turkey taco:
Add ground turkey, followed by mushrooms, followed by the mayo/sour cream sauce, Monterey Jack cheese and black olives.
Top all three tacos with lettuce, tomato, onion, carrot, cilantro and finally, a small dollop of sour cream. Serve with lime wedges.