My first Reuben sandwich came from an airport deli. To be precise, I was at D/FW Regional Airport, Terminal 2E (American Airlines), on a sunny spring day, in 1977. I wasn’t traveling and I wasn’t meeting anyone. I was there just for fun.
When I was a 12 and 13 years old, I used to ride my bike to the airport just for fun. That’s the sort of thing I did while other kids were playing sports or hanging out at the mall. Yes, I was a little odd.
In some ways, going to the airport, by myself, made me feel connected with other people. It was an interesting way to observe people, without being obtrusive. I imagined stories about the people I saw and dreamed about the places that they would go to and places they had been. I was living life vicariously by watching others but it poured gasoline on the fire of my imagination.
I rarely had much money…usually nothing more than a dollar or two. But, on that day I had five dollars in my pocket. I gazed at the menu, reading the descriptions of the sandwiches that the deli had to offer. One sandwich in particular drew my attention. The Reuben. I had never had corned beef and sauerkraut was something I never imagined on a sandwich and rye bread was something I imagined only existed in New York. I had to have it.
I savored every bite of that Reuben sandwich and I still recall its warmth, aroma and the piles of sliced corned beef to this day. Every time I have a Reuben sandwich I recall the fun times I had during my trips to the airport, when I was globetrotting teenager, at least in my mind.
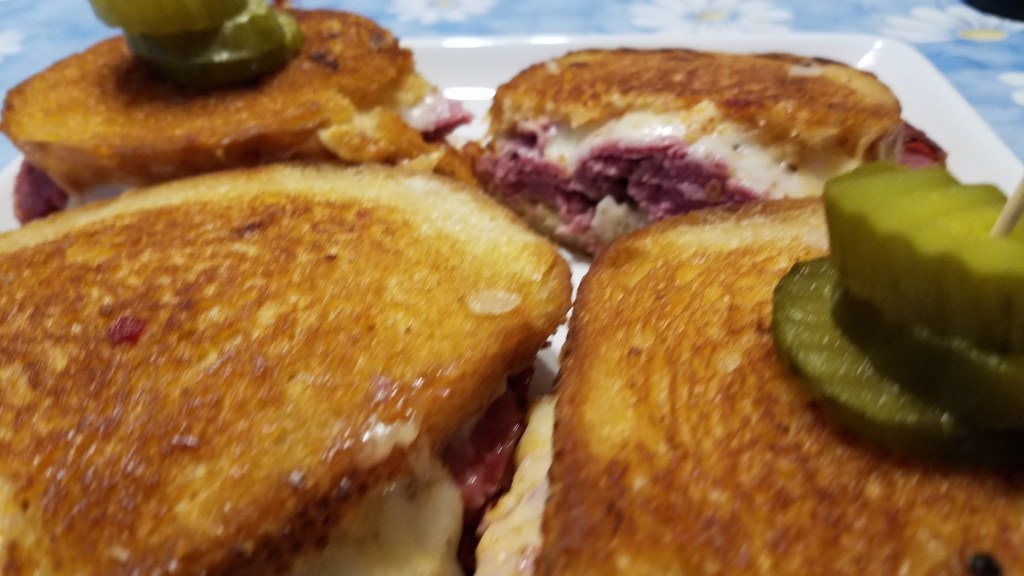
The Reuben that I am making today will have sour dough bread, instead of rye. Other than that, I have remained true to the classic sandwich recipe. I bought a beef roast that came with corned beef seasoning and followed the directions on the package. I boiled the roast for a few hours and then let it rest until cooled.
Ingredients:
2 lbs prepared corned beef roast
16 oz Swiss cheese, sliced
1 ½ cups sauerkraut
1 ½ cups Russian dressing (ingredients and directions below)
Sour dough bread, sliced
1 Tbs olive oil
2 Tbs butter
Directions:
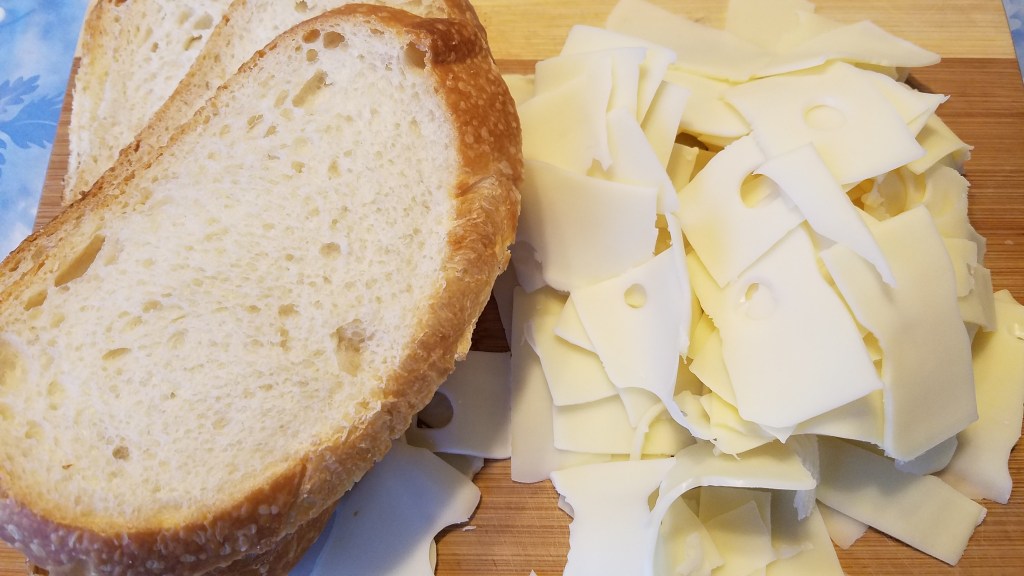
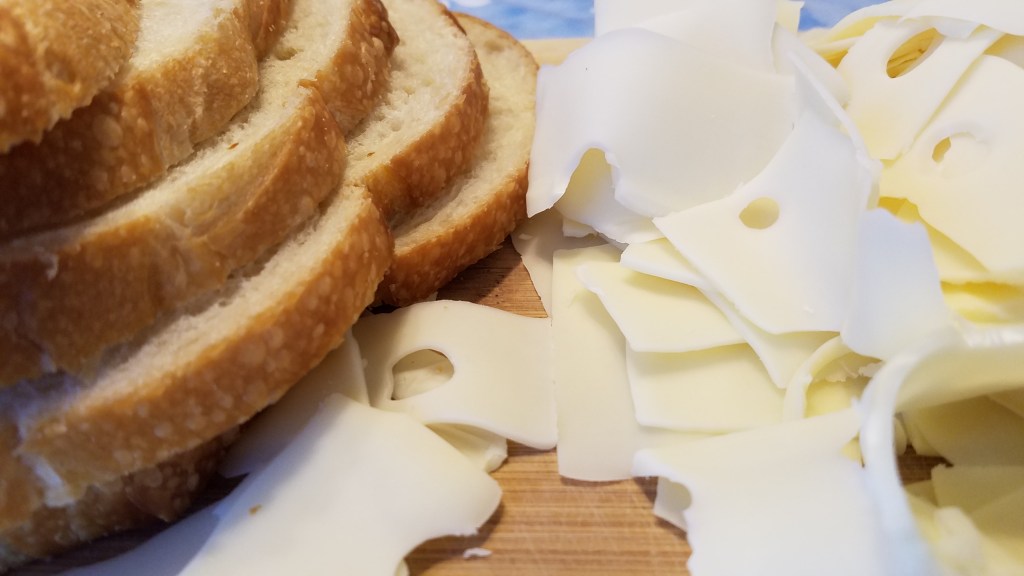
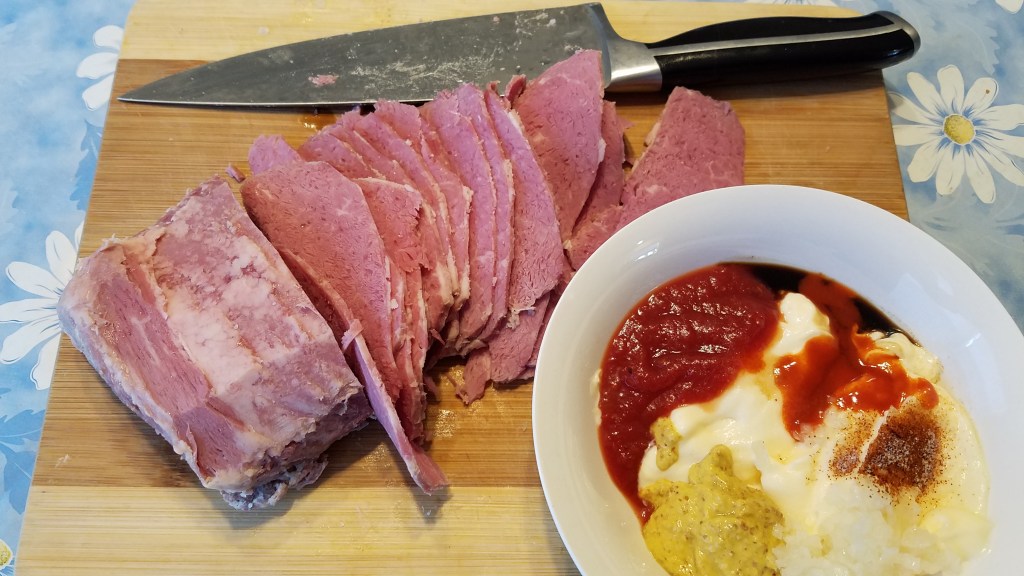
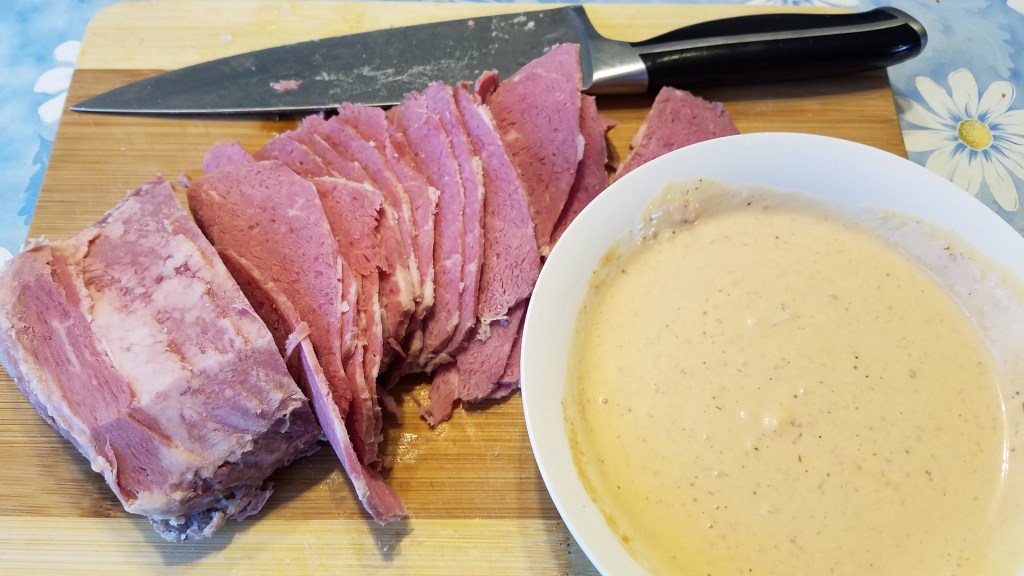
Slice the corned beef, ¼” slices or thinner if you can. Slice the Swiss cheese. Set these aside.
Preparing the Russian dressing:
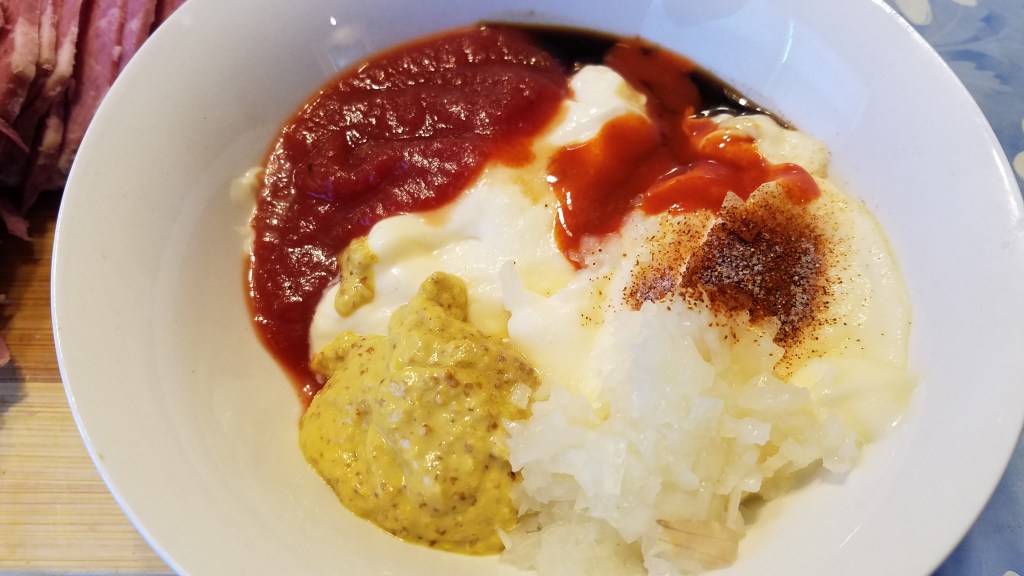
2 Tbs onion, minced and pulverize with the broadside of a knife
1 cup mayonnaise
3 Tbs chili sauce (spicy ketchup)
2 Tbs horseradish, from a jar
1 tsp Worcestershire sauce
1/4 tsp paprika
Combine all and mix thoroughly. Set aside.
Assembling the sandwich:
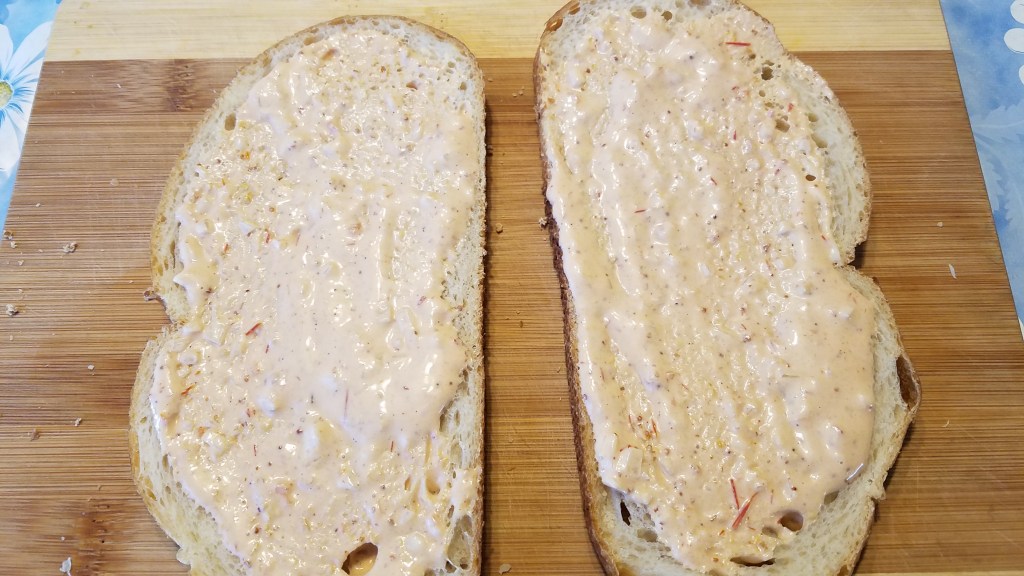
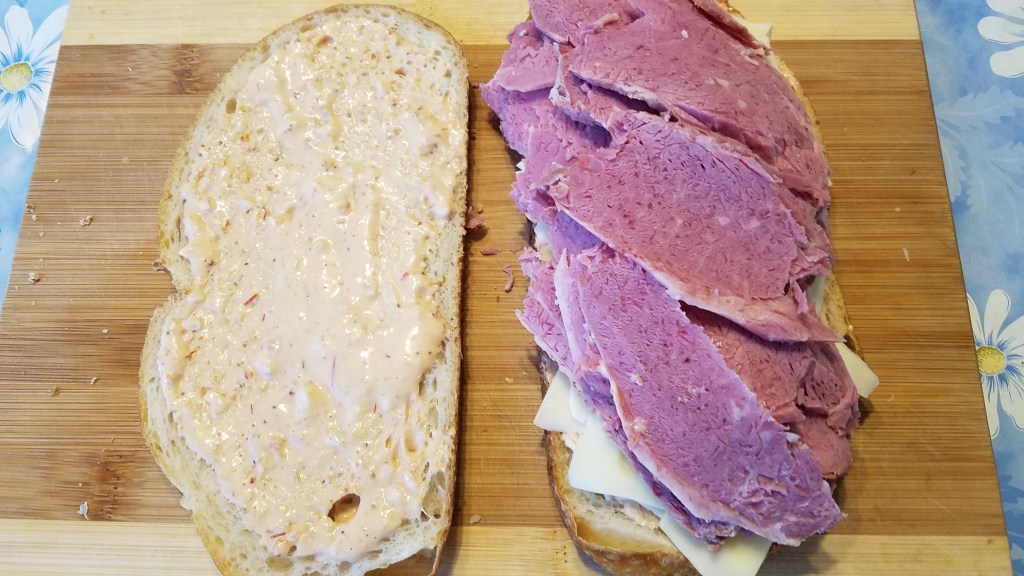
Lay slices of bread on a clean work surface. Slather Russian dressing on both slices.
Lay slices of Swiss cheese on one of the slices.
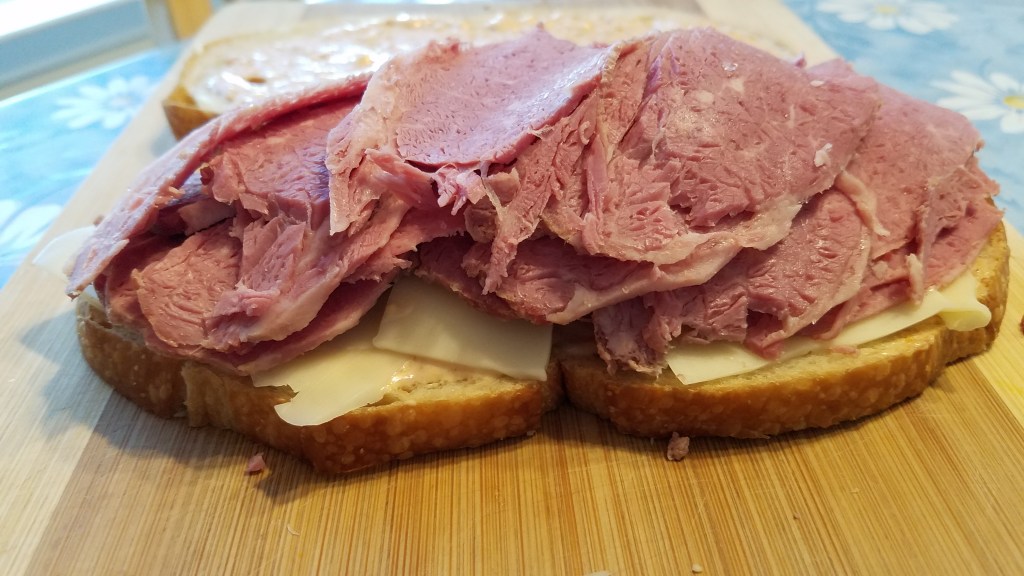
Pile slices of corned beef on one top of the cheese.
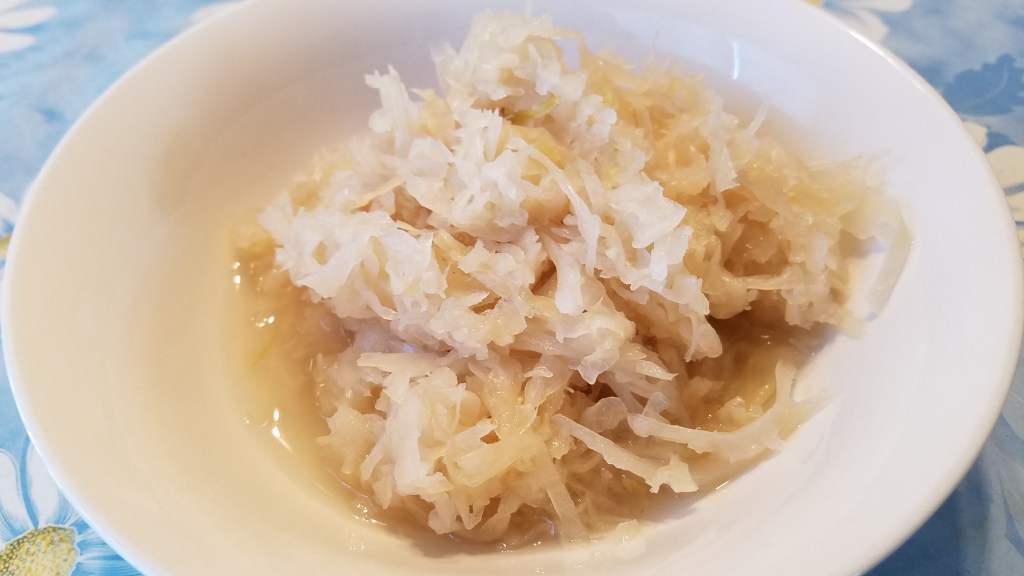
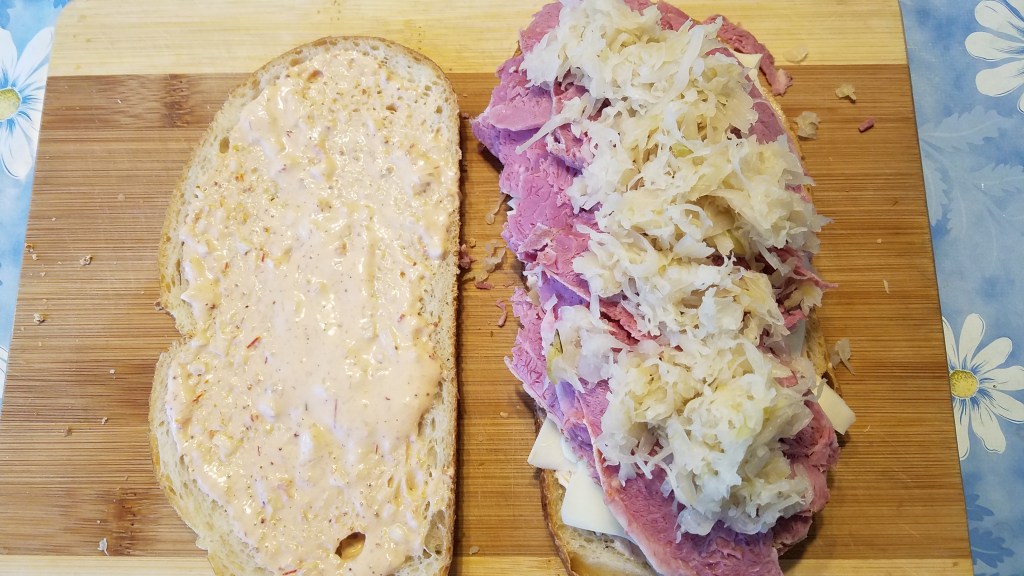
Squeeze some sauerkraut in your hands to remove as much of the liquid as possible. Lay the sauerkraut on top of the corned beef.
Top the sandwich with the other slice of bread. Repeat the process to make a second sandwich.
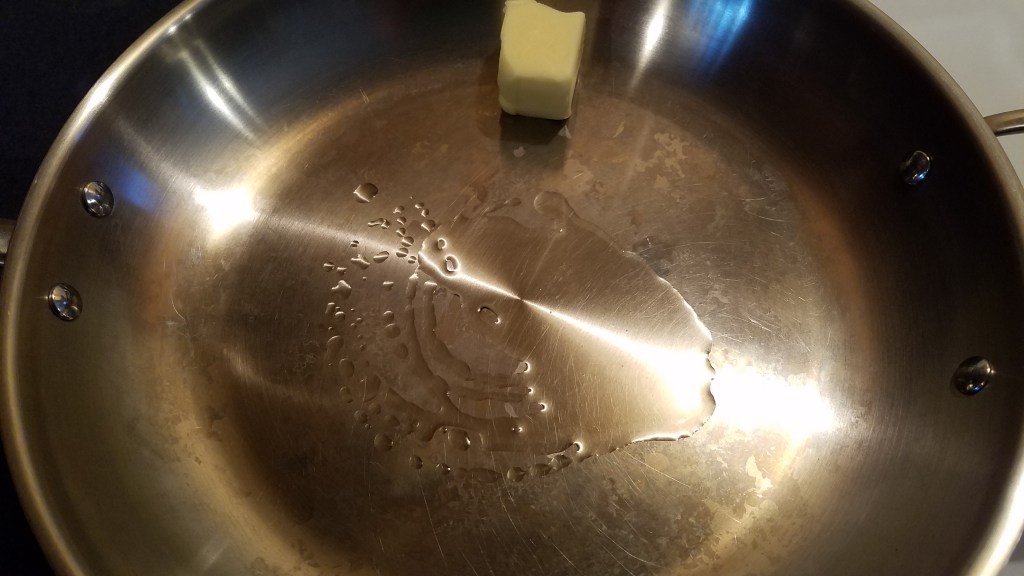
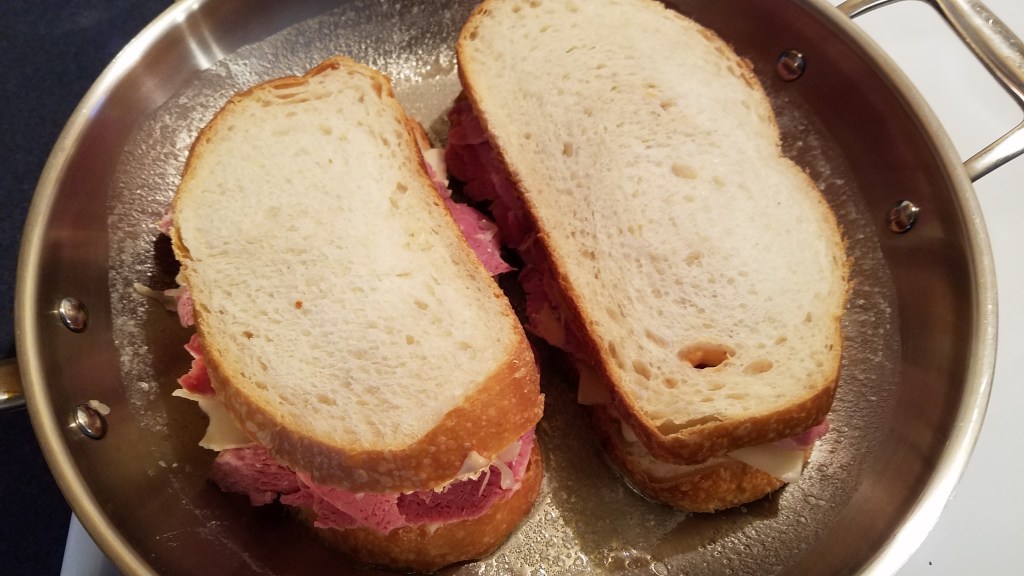
Heat a skillet to medium/low heat. Add olive oil and butter.
When the butter melts, turn heat to low and carefully lay the sandwiches onto the skillet.
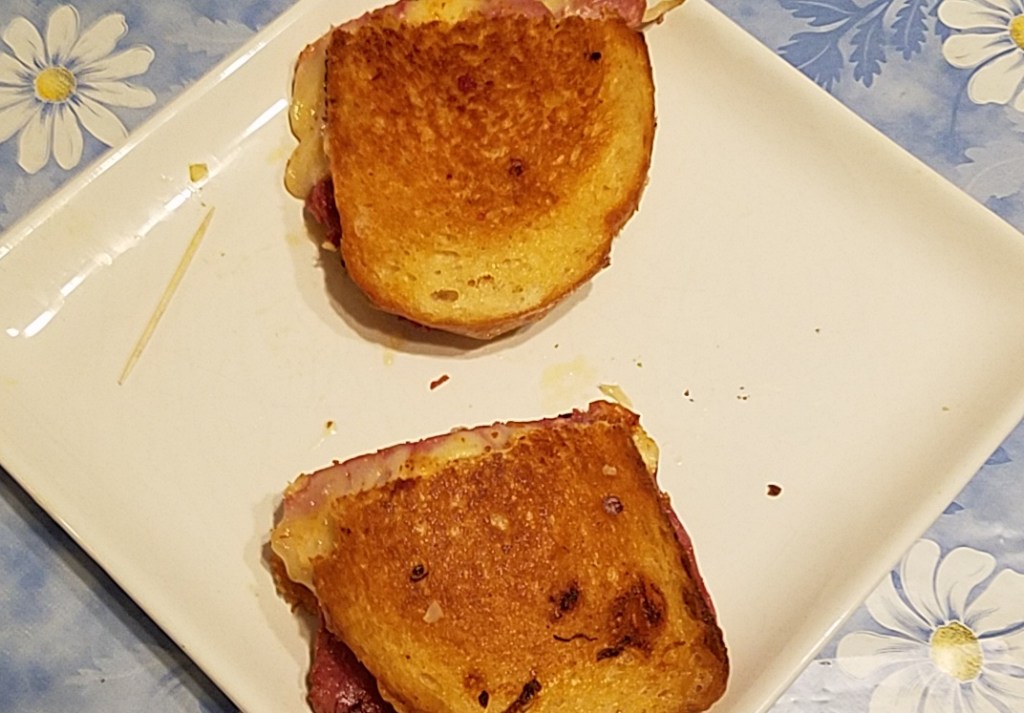
Brown both sides of the sandwiches, turning occasionally. Continue to turn until both sides have browned and the cheese has melted.
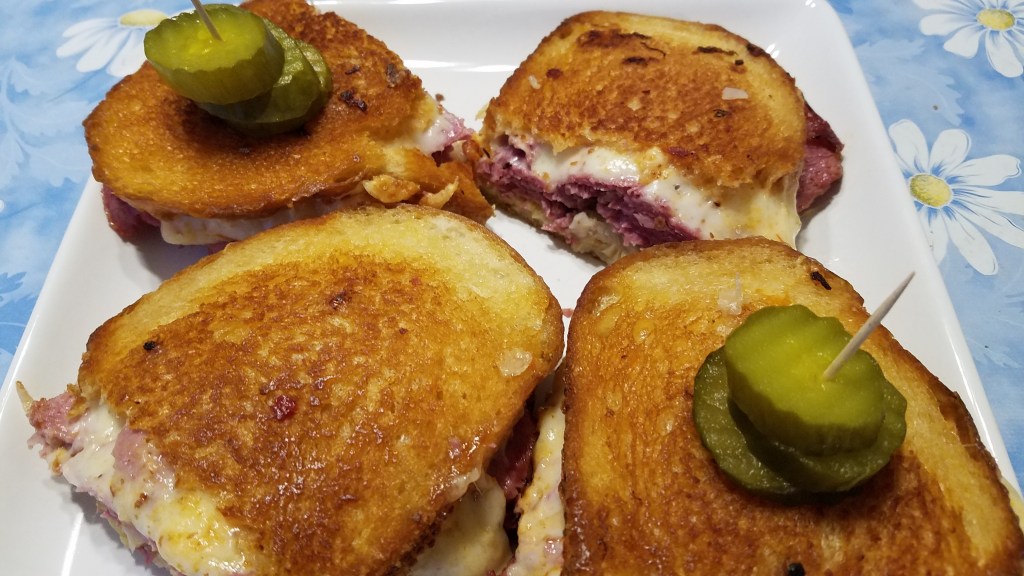
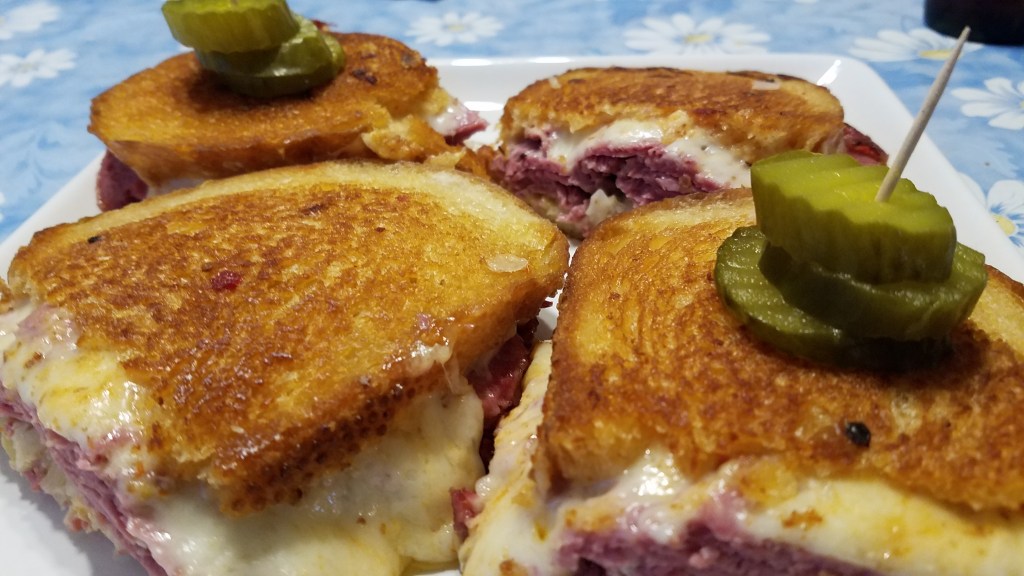
Remove the sandwiches and slice them in half.
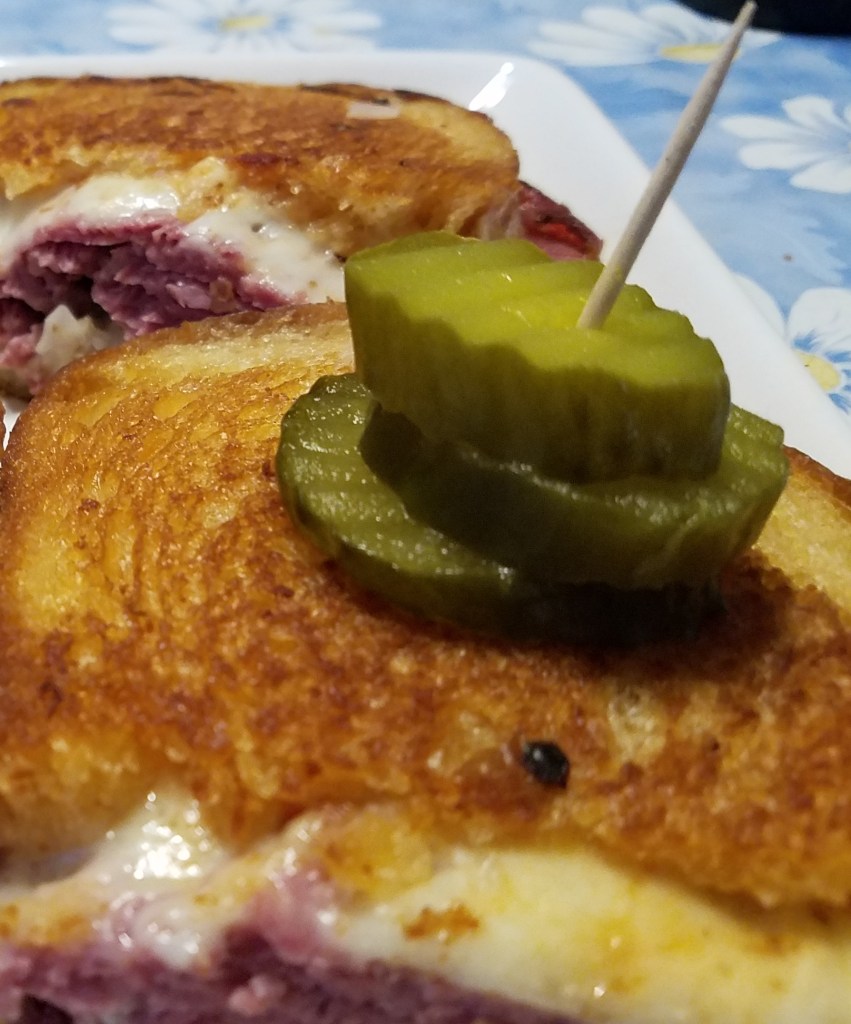
Secure the sandwiches halves with toothpicks and dill pickle slices.
I haven’t been to a grocery store in over a week and I’m glad to have missed out on the recent onslaught of anxious people that are on a quest to hoard sanitary items and toilet rolls. Today’s trip to the store was juvenile but necessary. Beer and snacks.
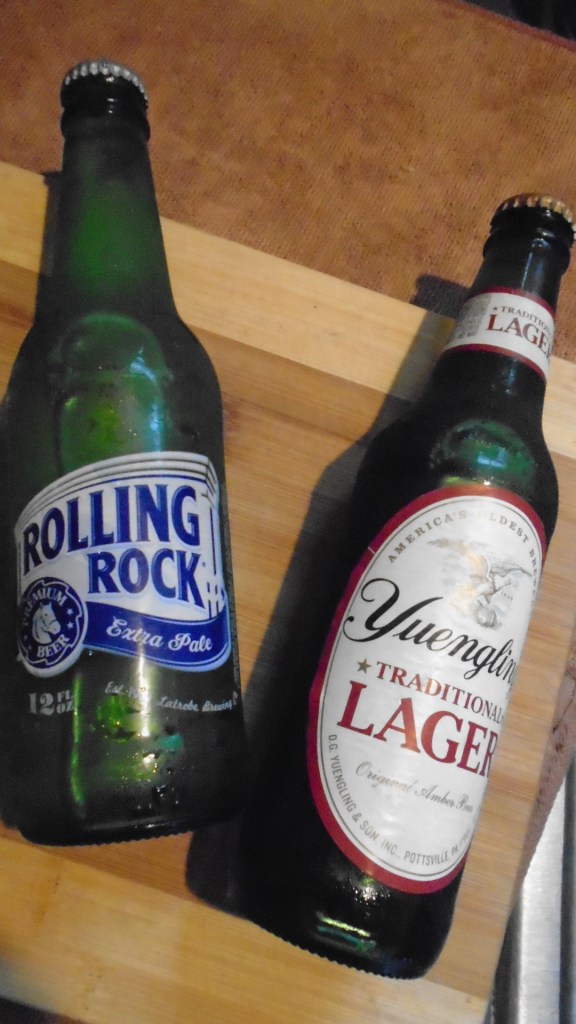
My good friend from Miami…Miami, Manitoba, Canada, mind you, wants to know what sort of beer I got when I went on my beer run today. Well, Graham, for your pleasure, I offer you two beers! Both are originally products of Pennsylvania, which is where I was born.
Rolling Rock est. 1939, Latrobe Pennsylvania. Brewed in Latrobe, PA, until purchased by Anheuser–Busch in 2006. Now it’s brewed wherever Anheuser–Busch wants to brew it, which might be in any of the 13 cities in the U.S., where Anheuser-Bush brews. There is a much storied myth and history behind the “33” and the pony that is displayed on the bottles. I’m all for a good mystery, but I prefer to drink the beer, rather than dwell on the myth.
Yuengling est. 1829, Pottsville, PA. Yuengling claims to be the oldest brewery in the U.S. It’s near Wilkes-Barre PA, in the heart of the Pennsylvania coal mining region. The name Yuengling is an Anglicized version of Jüngling. David Gottlieb Jüngling was the entrepreneur that started the brewery and I give him a wink and a nod, each time I enjoy one of his beers.
Since I bought two types of beer, I had to make a choice of which I would drink first. Rolling Rock won, easily. Rolling Rock has a “clean” taste. It finishes like it starts, clean and crisp. I used to refer to Rolling Rock as a poor man’s Heineken. It’s a straightforward pale ale that fits any occasion, even self-quarantining, I suppose.
I will finish with the Yuengling. Yuengling lager is probably the better beer, when compared to Rolling Rock, because of its distinct sweetness and balanced hops flavor. Yuengling’s mystery is in the unique flavor of the beer, where Rolling Rock’s mystery is the number 33 and a pony. Taste wins, in my book.
Either one is fine with me, really. It’s just nice to be able to sit down and enjoy a beer once in a while.
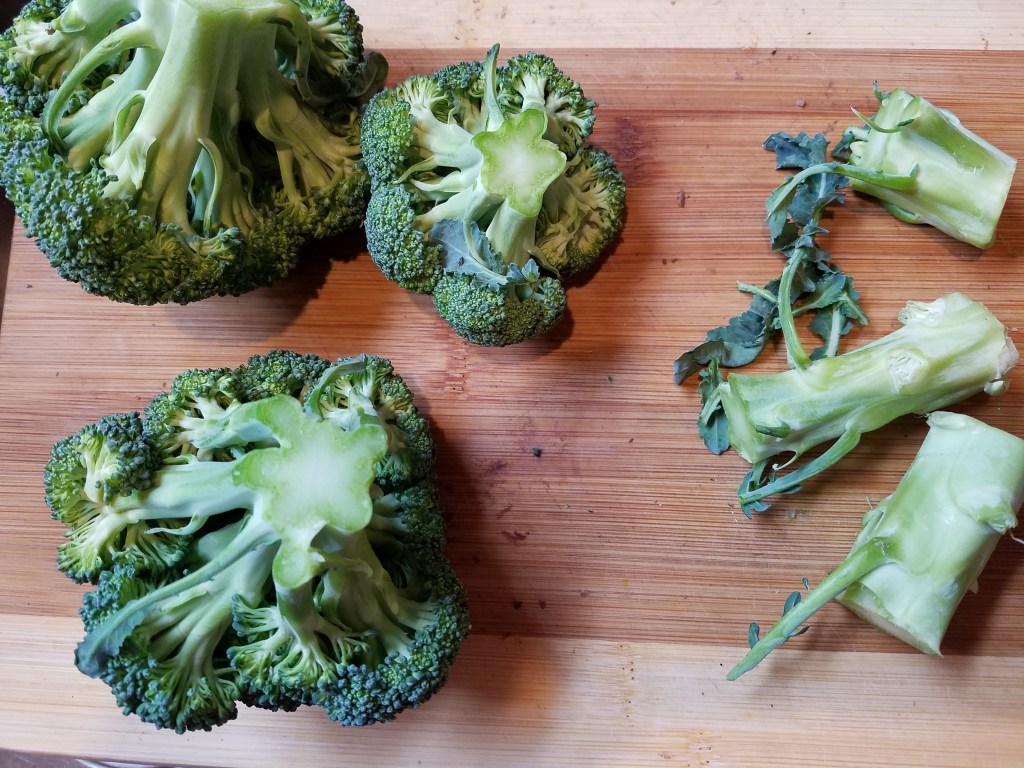
Last night I made steamed broccoli as a side dish to the main course. When I steam vegetables I strive for an even texture throughout the pieces. This is a challenge when it concerns broccoli because although the florets are fluffy and not very dense the stems are dense and thick. One solution to the problem is to cut the dense pieces into smaller sizes that will soften at the same rate as the florets. Another solution is to not include the thick stems at all.
I chose the latter option, but that didn’t mean I was going to waste perfectly good broccoli.
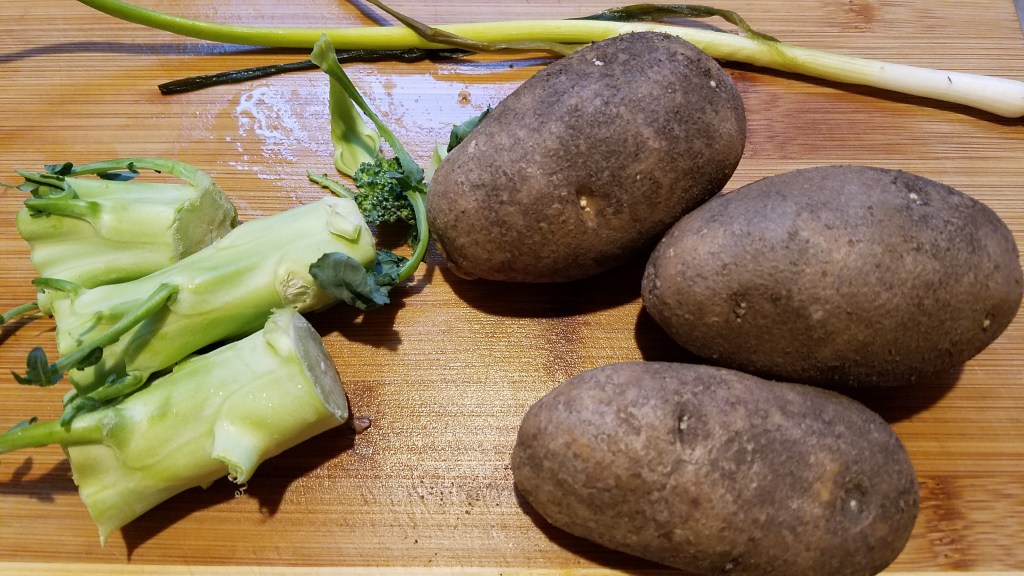
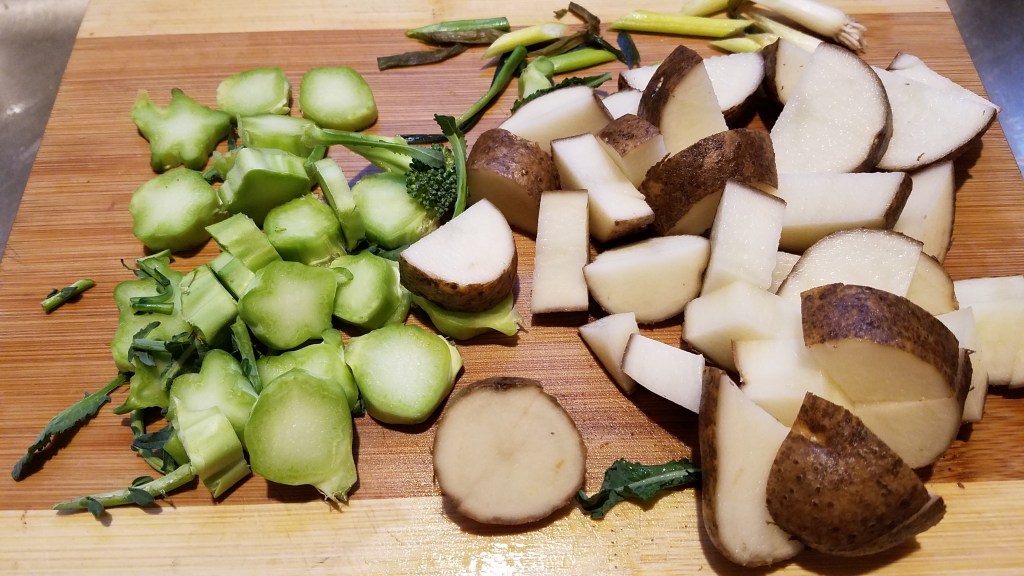
I rummaged around the kitchen and searched for vegetables that were on their way out. Wilted vegetables might lose their visual appeal but they still retain their nutritional value. I found some green onions that were wilted and a few potatoes that were smaller than the rest.
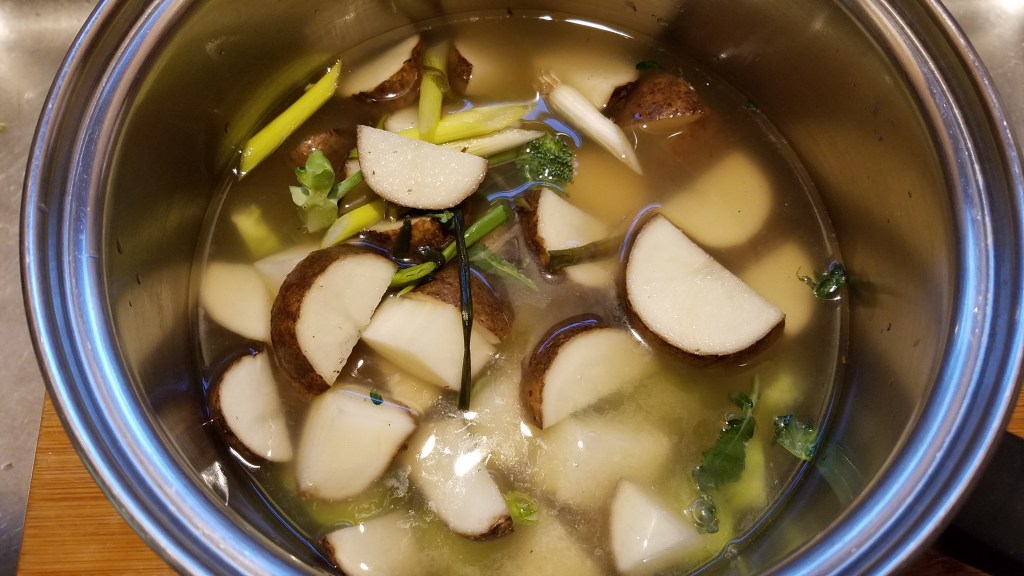
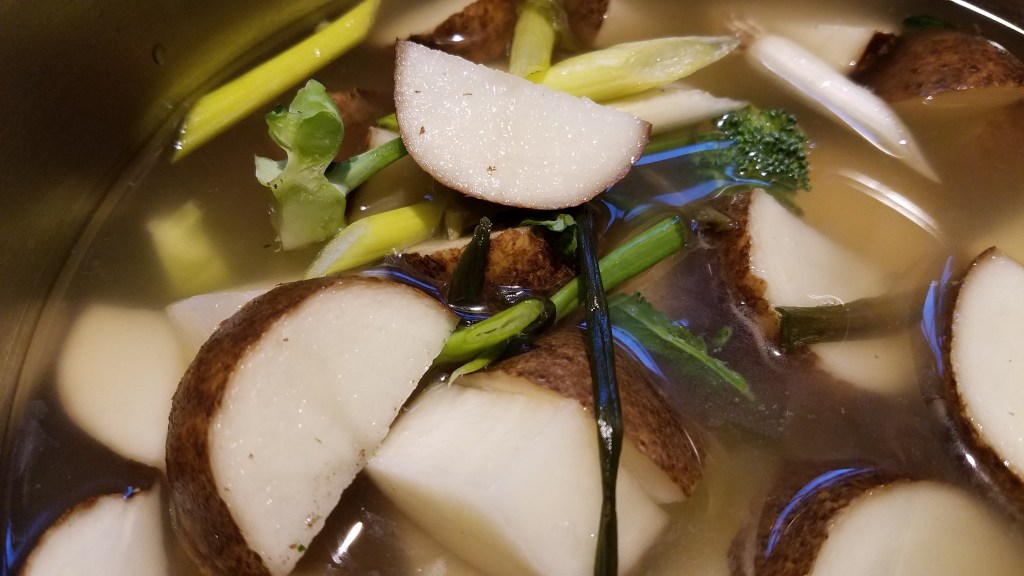
I rough cut the vegetables and tossed them into a pot.
I added 2 cups of chicken stock and simmered at low heat, covered, for one hour.
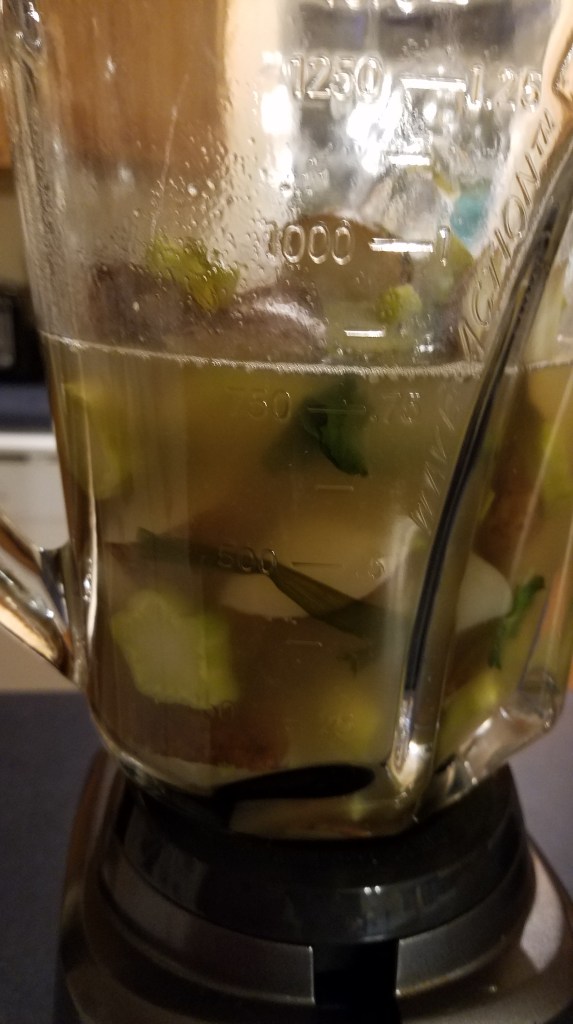
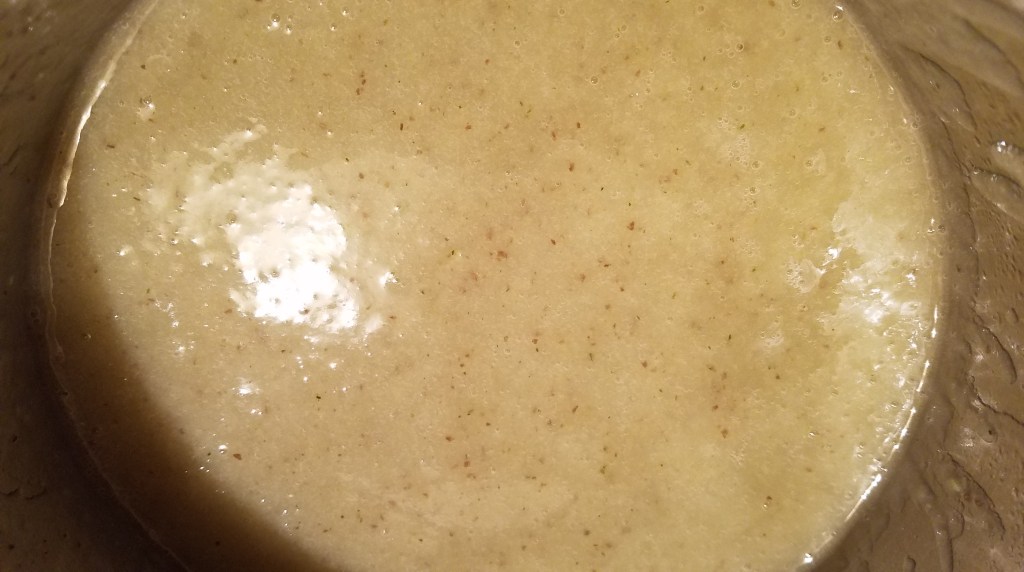
Once the vegetables had sufficiently softened, I poured everything into a blender and pulsed to puree.
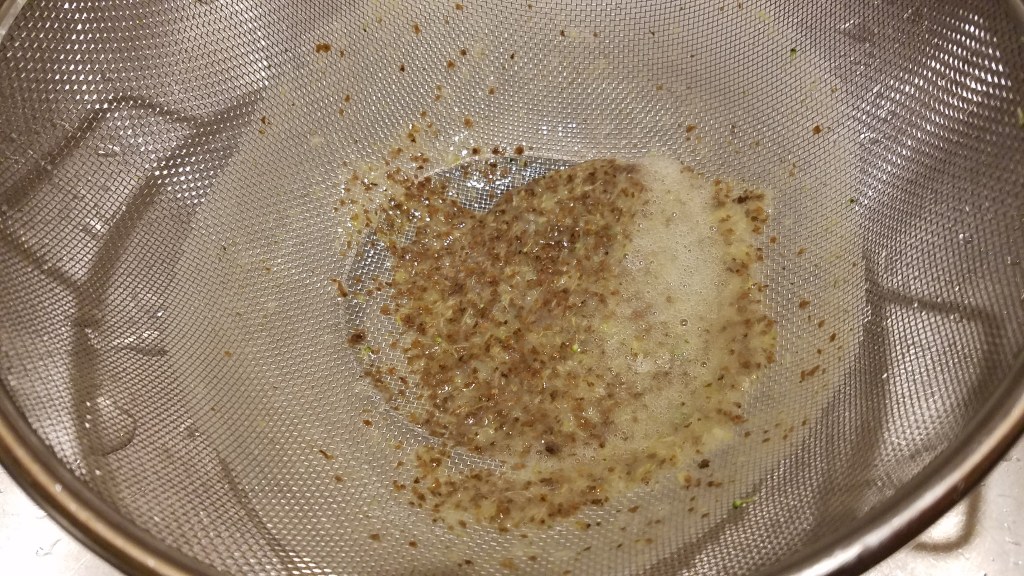
I strained out the remaining little pieces of potato skins and was rewarded with a creamy, hearty soup.
Anything can be added to the soup at this point. Maybe some leftover sausage scraps or some lunch meat that has been relegated to the back of the meat drawer.
I chose to chop another wilted green onion for the topping and then added some dried Parmesan cheese. After a few twists from the pepper grinder, the soup was ready to eat.
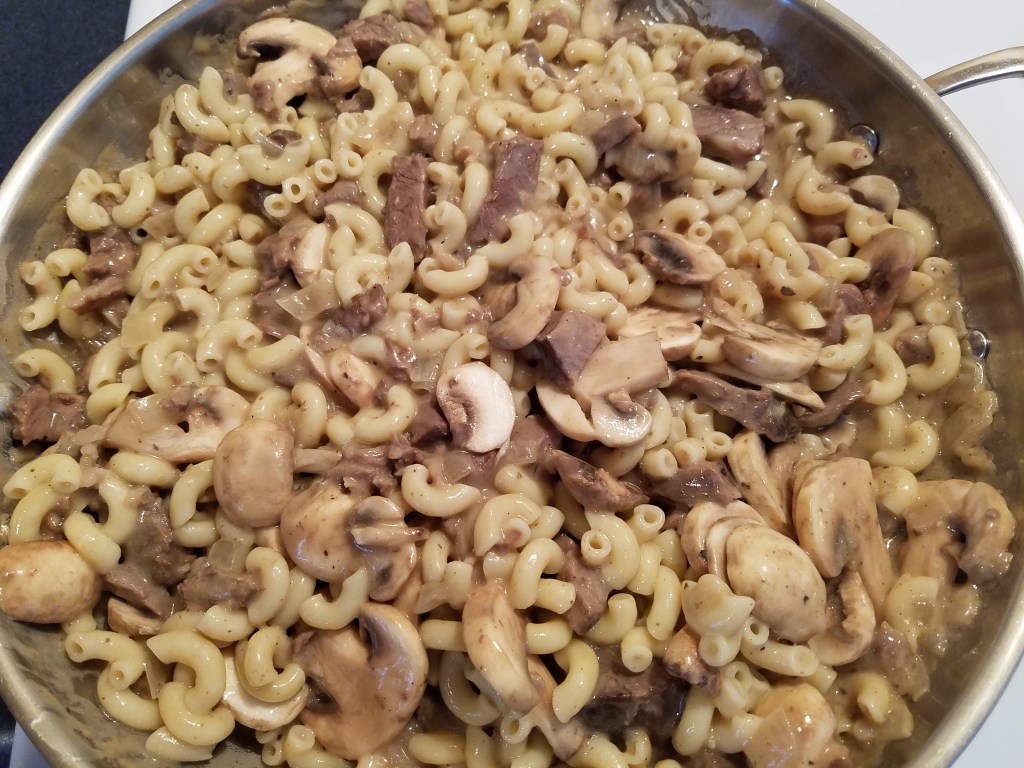
This isn’t a classic Beef Stroganoff…it’s more like a stripped down version. But that is where my heart is tonight. Basic. Essential. Sincere.
I didn’t realize I was making Beef Stroganoff until I was nearly done making this dish. It all started rather innocently with me deciding what to do with a leftover beef pot roast that was at risk of drying out in the refrigerator.
I pulled some items from the refrigerator and the pantry and I began putting stuff in measuring cups, as if I was working from a recipe. Who was I trying to fool? I was just making stuff up, as usual.
The simple fact of the matter is, I just wanted to make something to help ease our troubled minds. Our lives are under a tremendous strain right now and our emotions are conflicted.
We need to find some comfort every day. We should gather our families together to share a meal and make time to share our thoughts and feelings.
Ingredients:
1 ½ cups elbow macaroni
1 Tbs olive oil
1 medium onion, chopped
2 Tbs butter
2 Tbs flour
2 cups chicken stock
2 Tbs beef bouillon
1 Tbs ground black pepper
1 Tbs salt
½ cup half and half
1 Tbs Worcestershire sauce
1 ½ lbs cooked beef roast
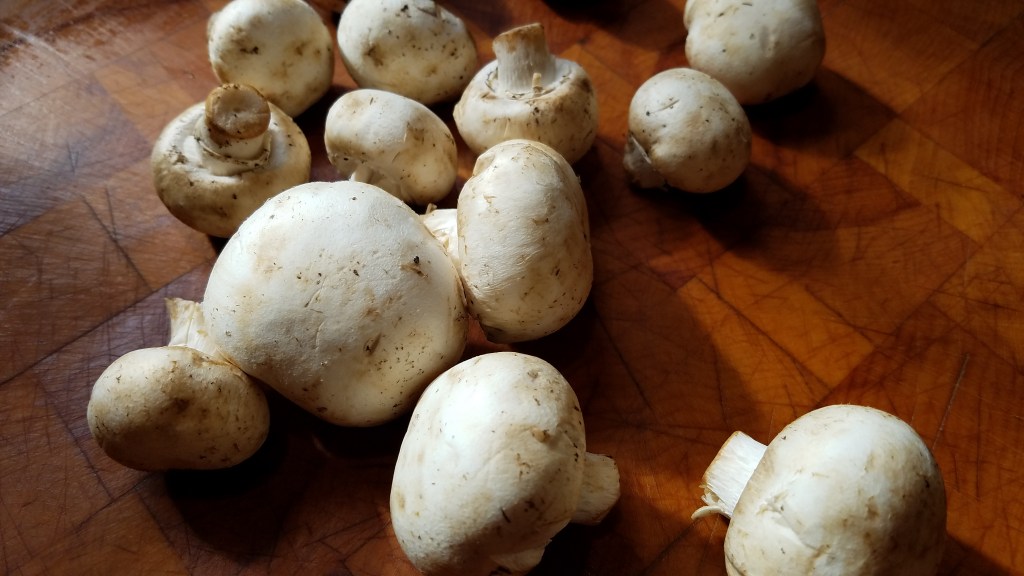
8 oz fresh mushrooms, sliced
Directions:
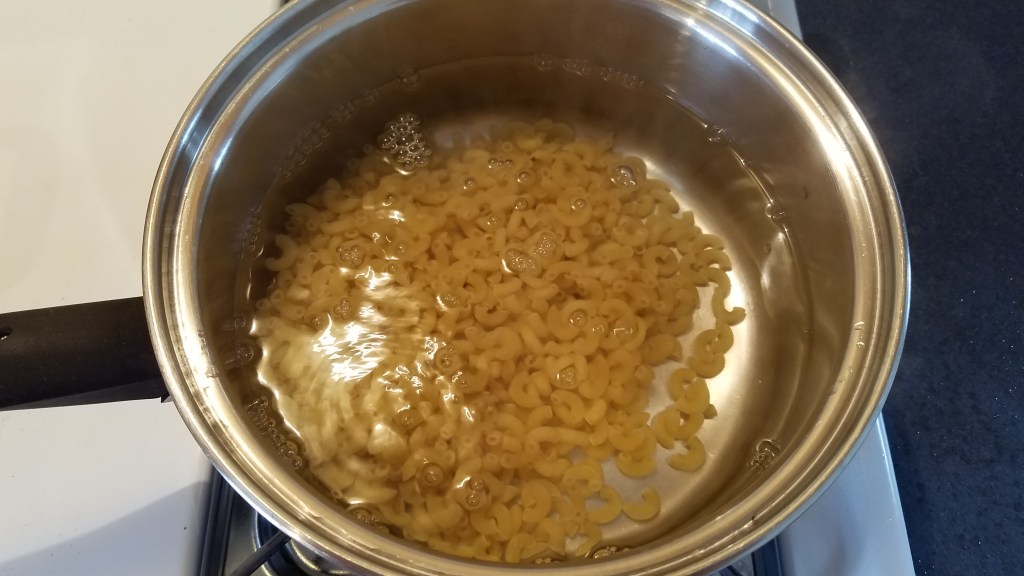
Boil the macaroni in a large pot of lightly salted water. Strain the macaroni when it becomes tender. Set aside.
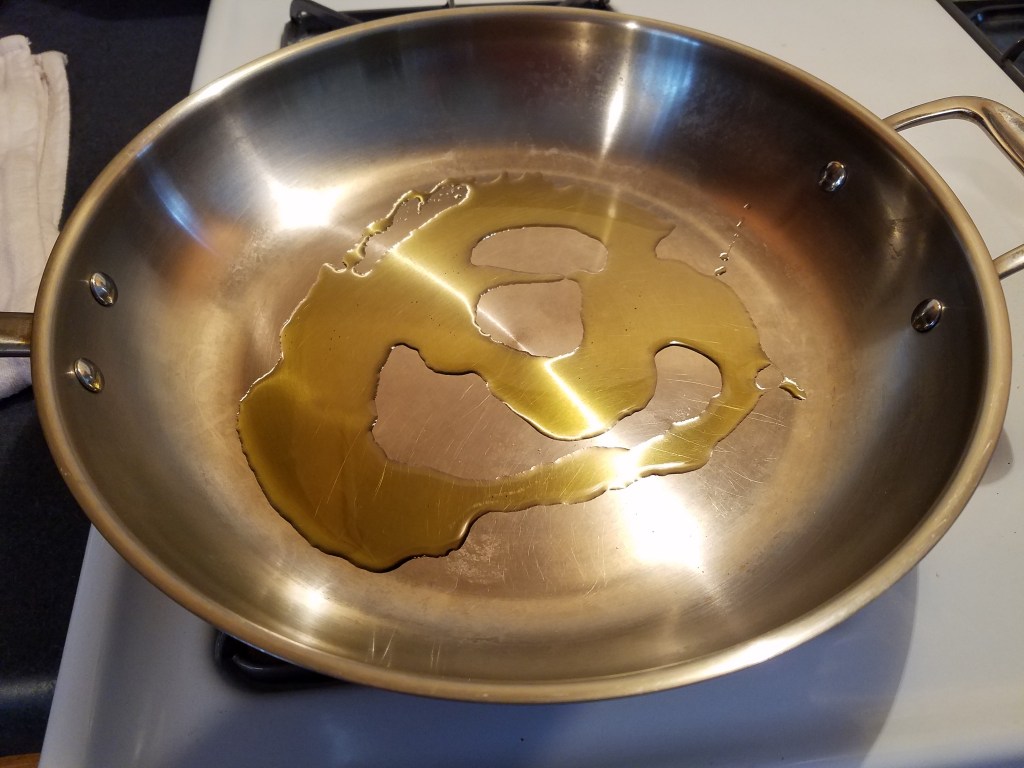
In a large skillet, add olive oil and sauté the onion until the onion begins to soften.
Move the onion aside, in the pan and add butter. Set the heat to low.
Add flour and whisk the butter and flour.
Add the chicken stock, beef bouillon, pepper and salt. Turn heat to medium and whisk. Once the sauce thickens add the Worcestershire sauce and the half and half. Whisk to incorporate.
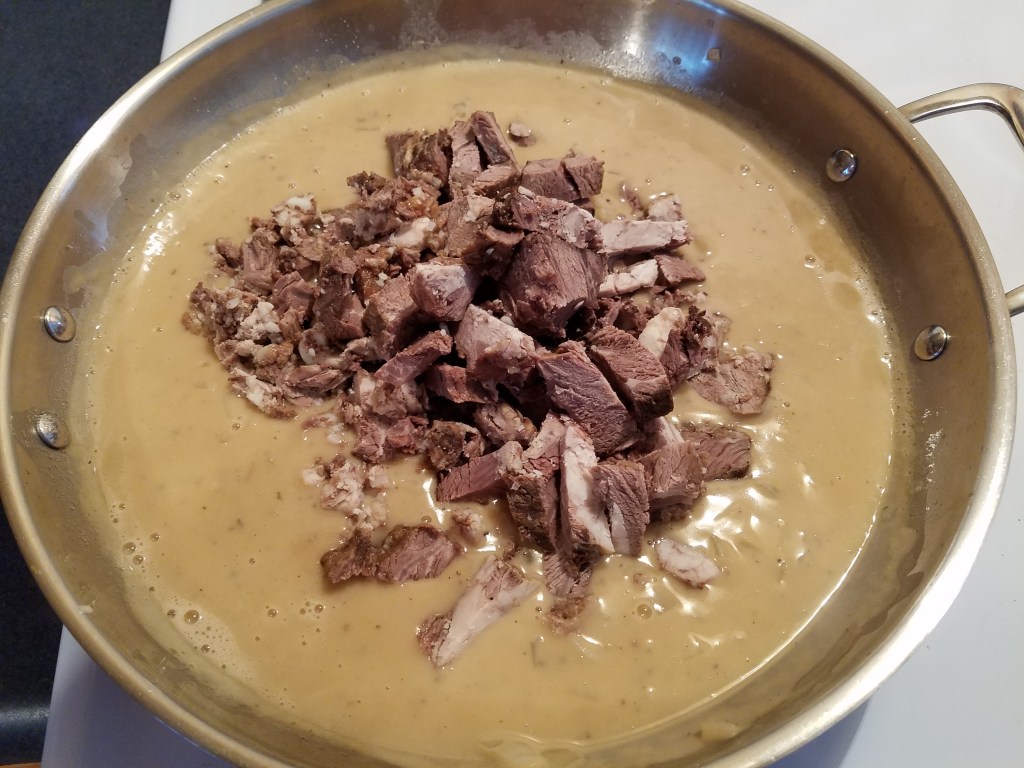
Add the beef and stir.
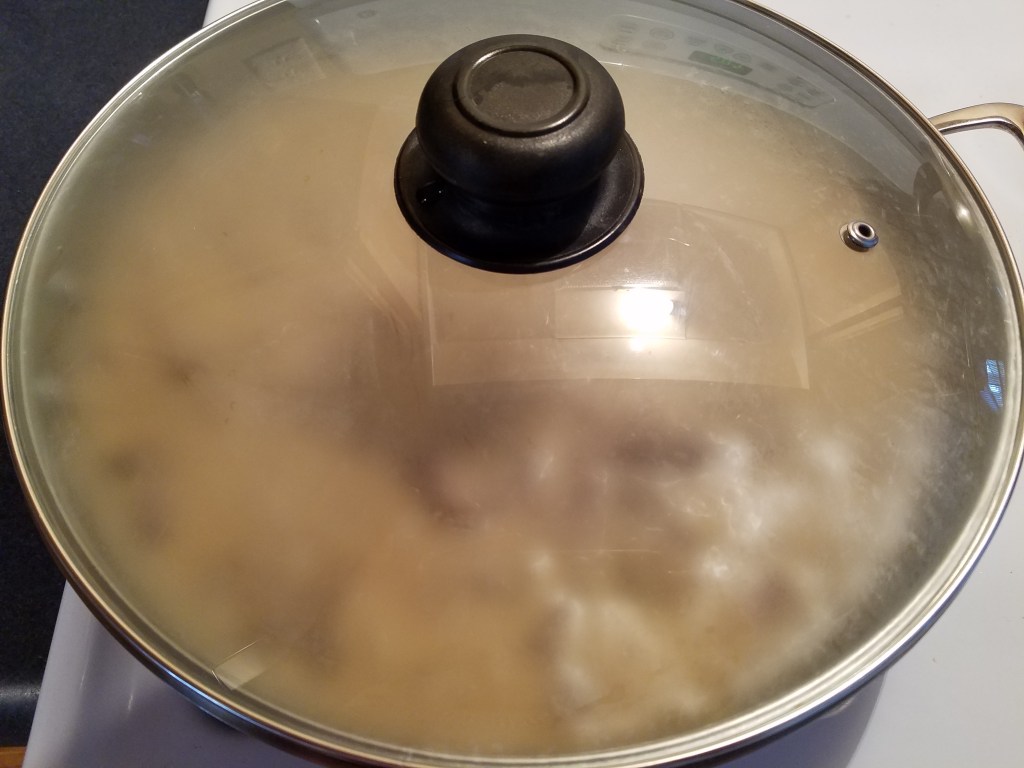
Cover and simmer at low heat for 30 minutes.
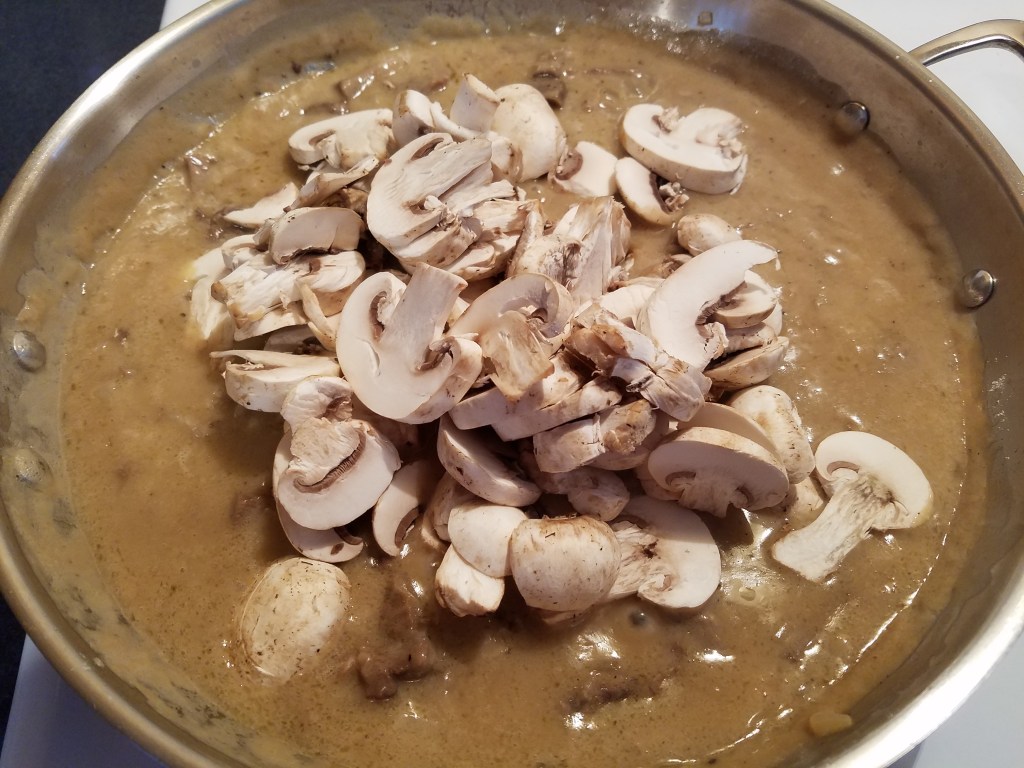
Add the mushrooms and stir briefly. Turn off the heat and add the macaroni. Stir to mix and turn out to a large serving bowl.
I bought a large bag of Gala apples about two weeks ago and promptly put them in the crisper drawer in my refrigerator. Every time I open the refrigerator I see them and I am reminded that I need to do something with them.
Today seems like the perfect day to use them. Even though they have been kept cool and they still feel crisp, they won’t last forever. On top of that, I want something to do at home, so that I am not tempted to join the frenzied mob who are in panic mode as they rush to the store to empty the shelves of toilet paper and sanitizer.
Toilet paper, really?! If I was preparing for an emergency quarantine, toilet paper might make my it on my list of “100 things I need” but it would be pretty far down on the list. People are weird. I should know…I’m people, too.
I don’t want to make light of the situation surrounding the virus that has recently been declared a pandemic event. It’s serious business. People want to stay healthy and invisible threats, like viruses, play on our fears.
So, with that in mind, I want something to keep me occupied in the safe, confines of my home. I also want to stretch my resources to their fullest potential, which means that I don’t want to waste anything. If I wind up being confined to my home for a while, I want to be prepared and I want to be frugal.
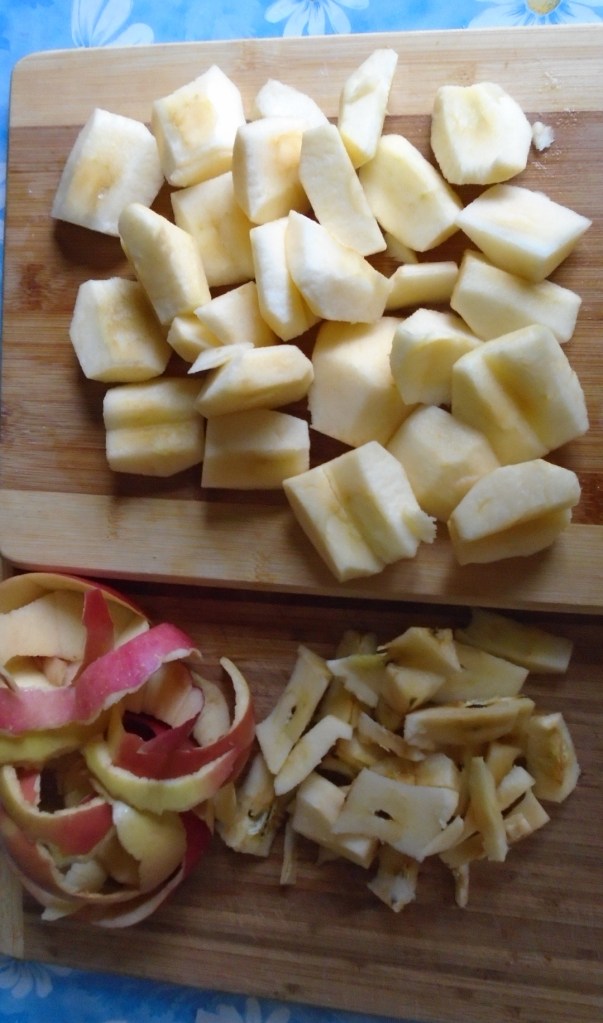
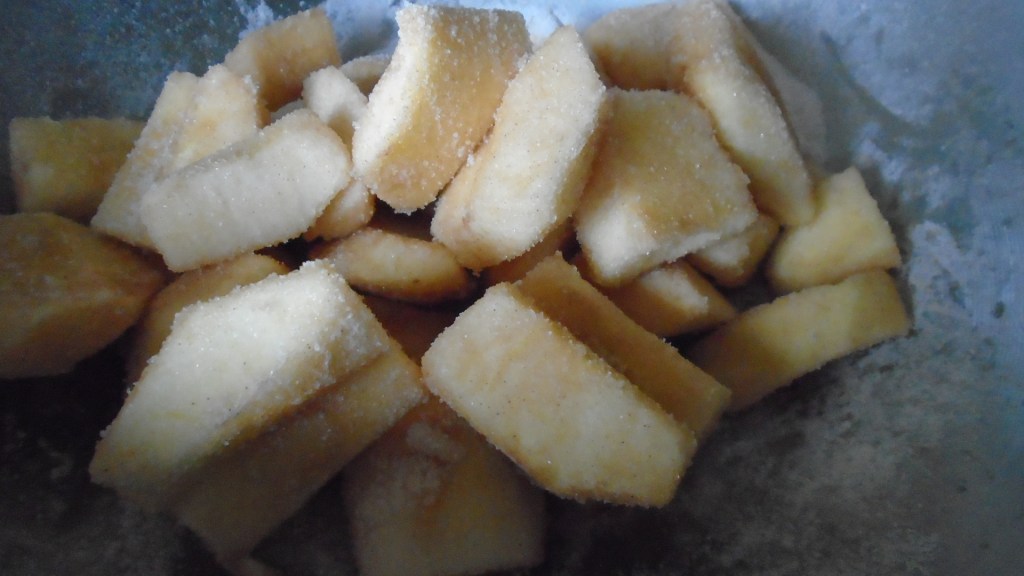
Today is the day I will use those apples and I will use every part of them. I will save the peels to make apple chips and I will save the cores to make apple syrup. I will use the stems…ok, I won’t be using the stems but I definitely could. I could glue the stems together to make little stick-figure people and animals. Maybe next time.
Apple Filling Ingredients:
2 lb apples
1 Tbs white flour
1/2 cup sugar
2 Tbs lemon juice
1/2 tsp ground cinnamon
Topping
1 cup rolled oats
1 cup flour
1 cup brown sugar
1/2 tsp baking powder
1 tsp cinnamon powder
1/2 cup butter, melted
¼ tsp salt
Directions:
Set oven to 350°
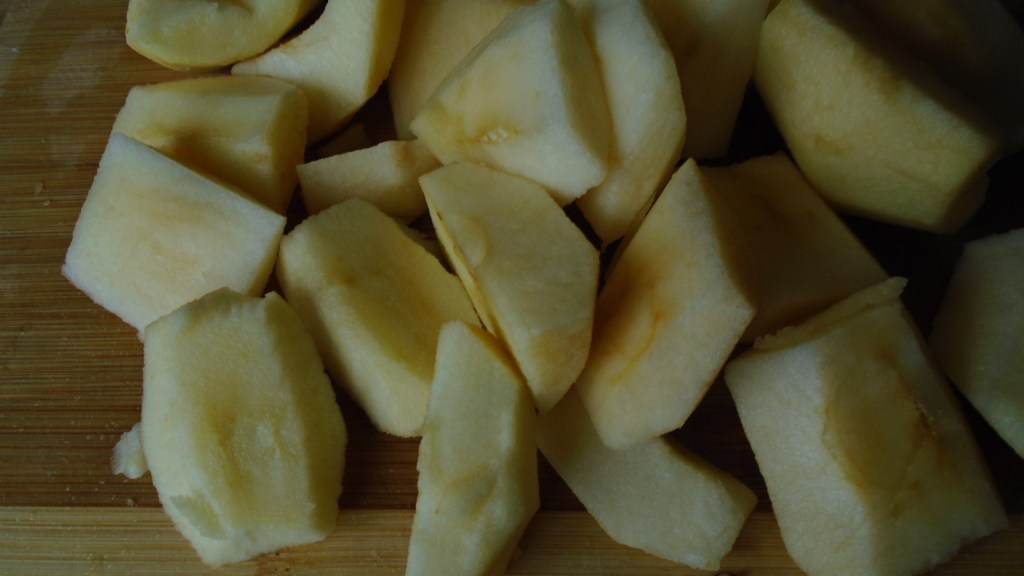
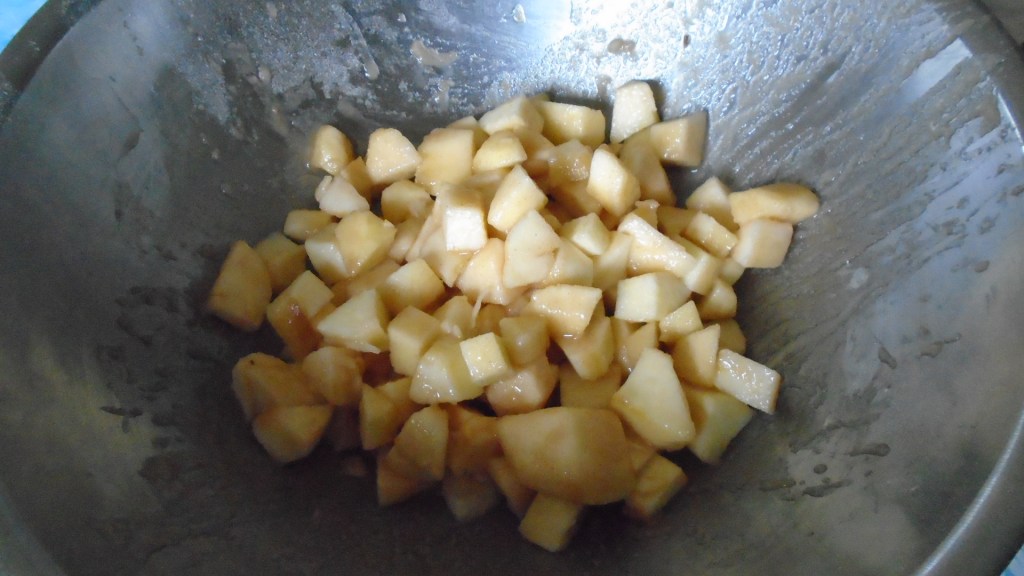
Peel apples and cut into ½” pieces.
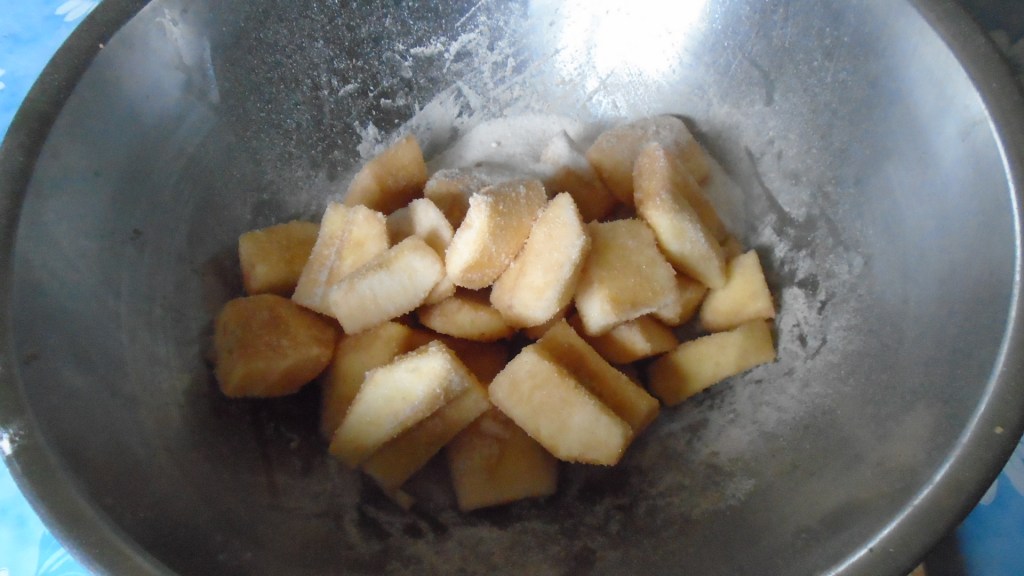
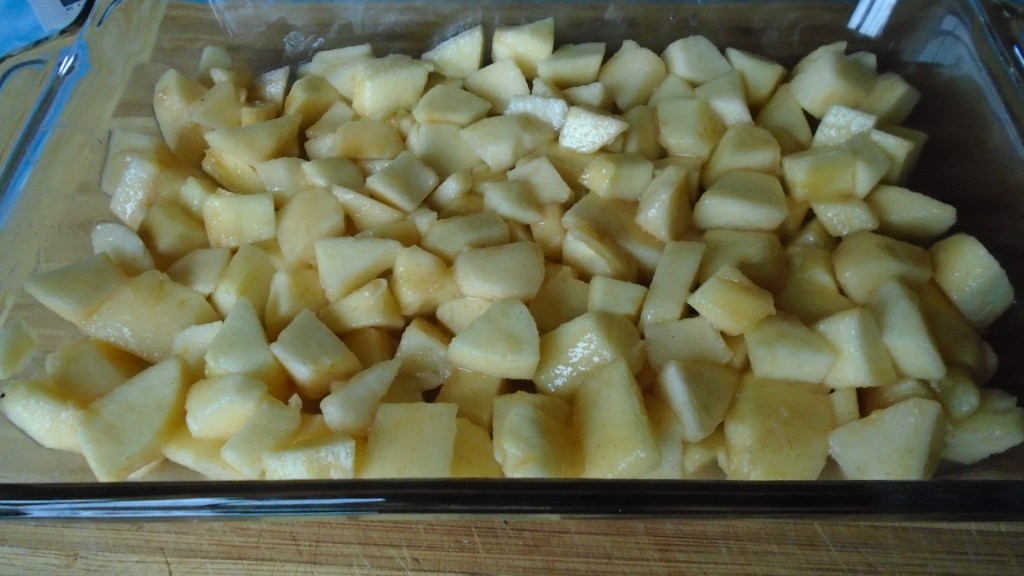
Place apple pieces in a bowl. Sprinkle with the flour, sugar and cinnamon. Mix briefly with a spatula. Add the lemon juice and toss. Spread the apple mixture across the bottom of a 2 quart baking dish.
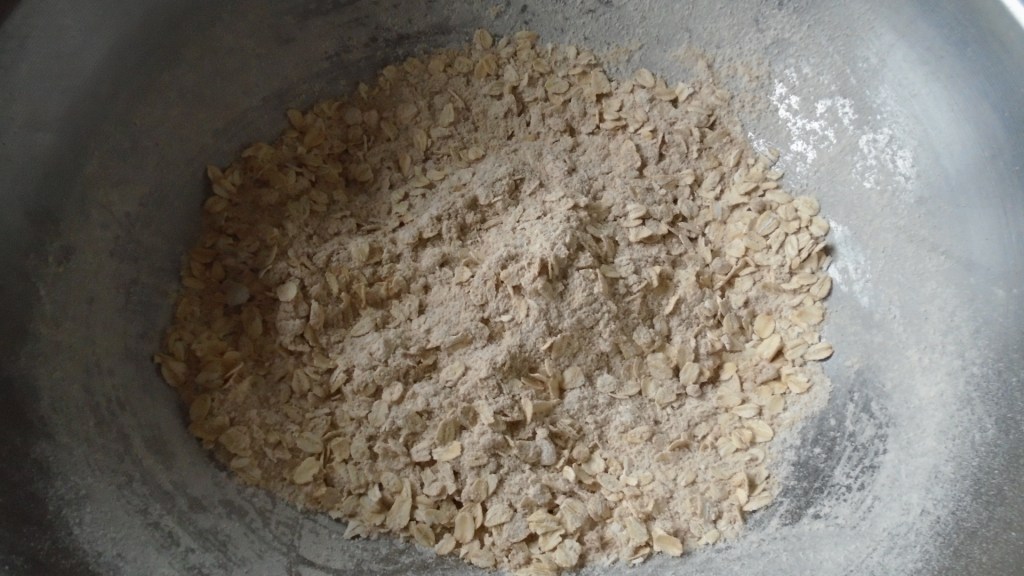
Add all of the topping ingredients, except the melted butter, to a bowl. Mix with a spatula.
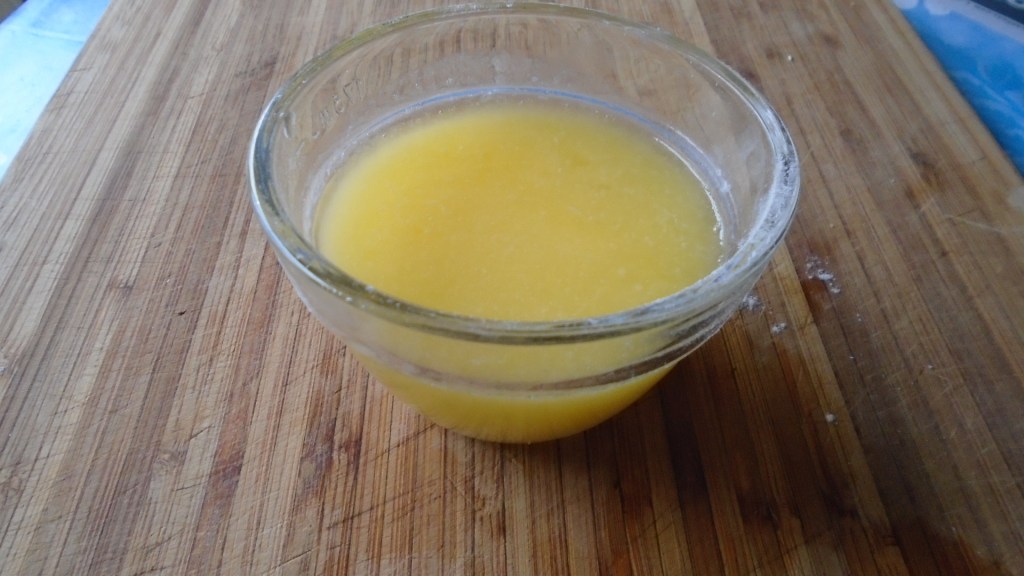
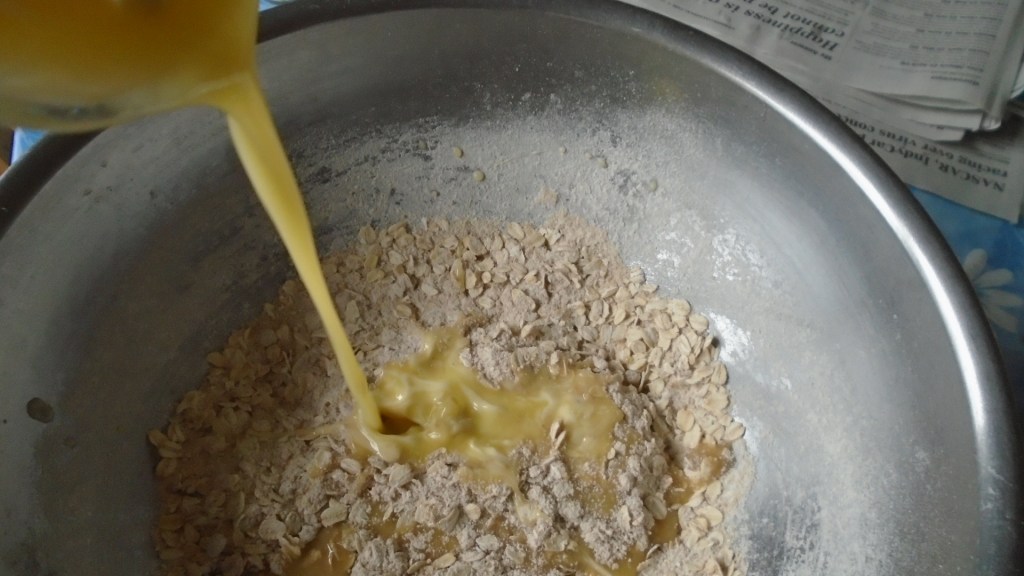
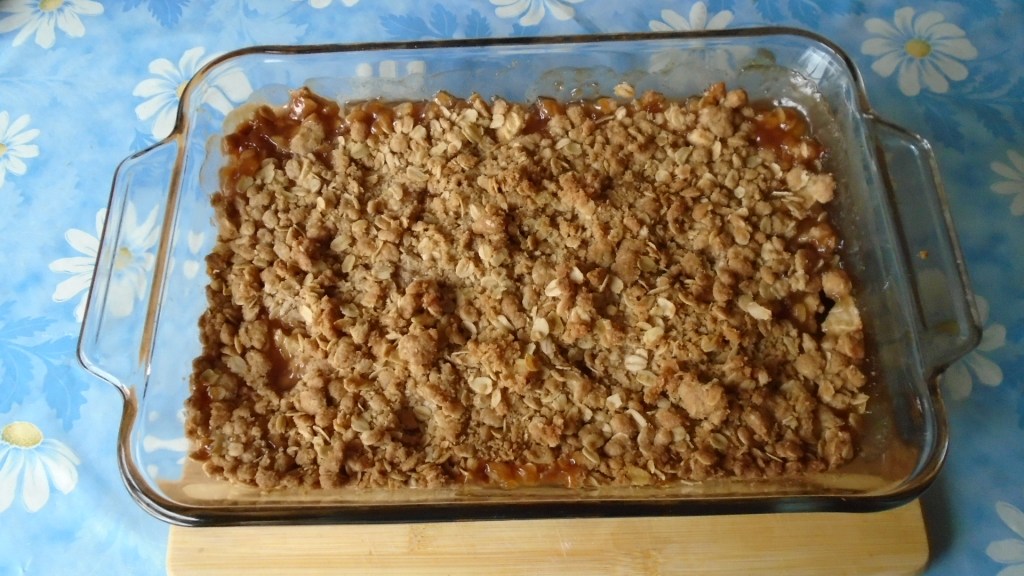
Add the melted butter and mix until all of the dry ingredients have absorbed the butter. Spread the mixture over the apples.
Bake for 30 to 40 minutes or until golden brown. Remove and let stand for 10 minutes before serving. This allows the apple filling to congeal.
Serve warm with vanilla ice cream or a glass of cold milk.
Apple Peel Chips
Ingredients:
Apple peels from 7 or 8 apples
1 tsp lemon juice
2 Tbs sugar
1 tsp cinnamon
½ tsp cardamom
Directions:
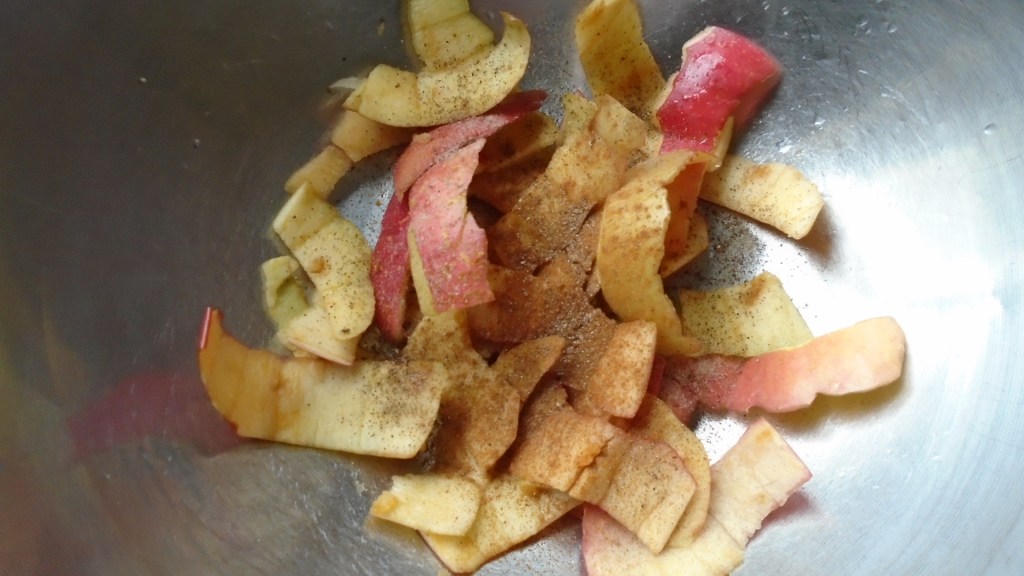
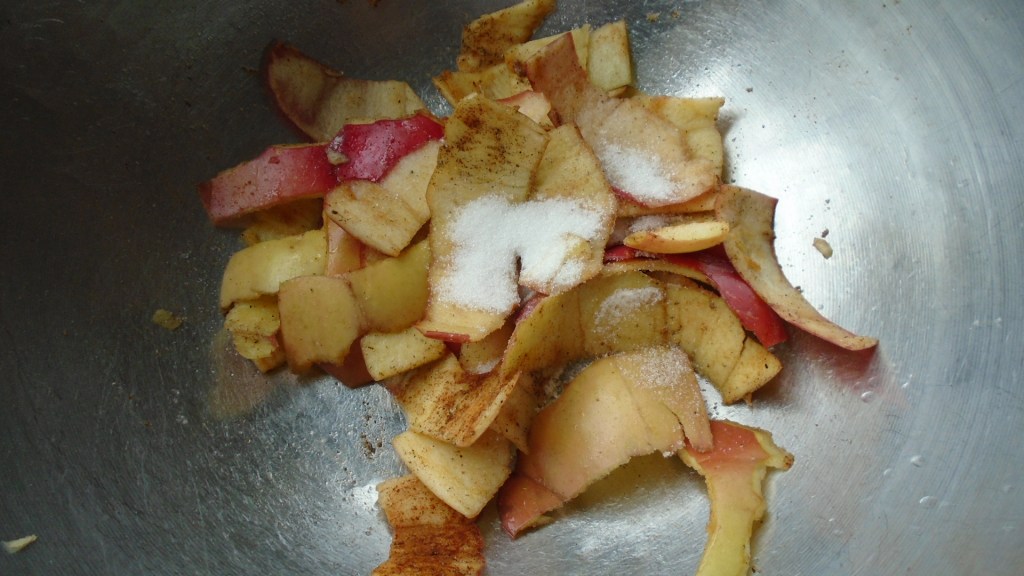
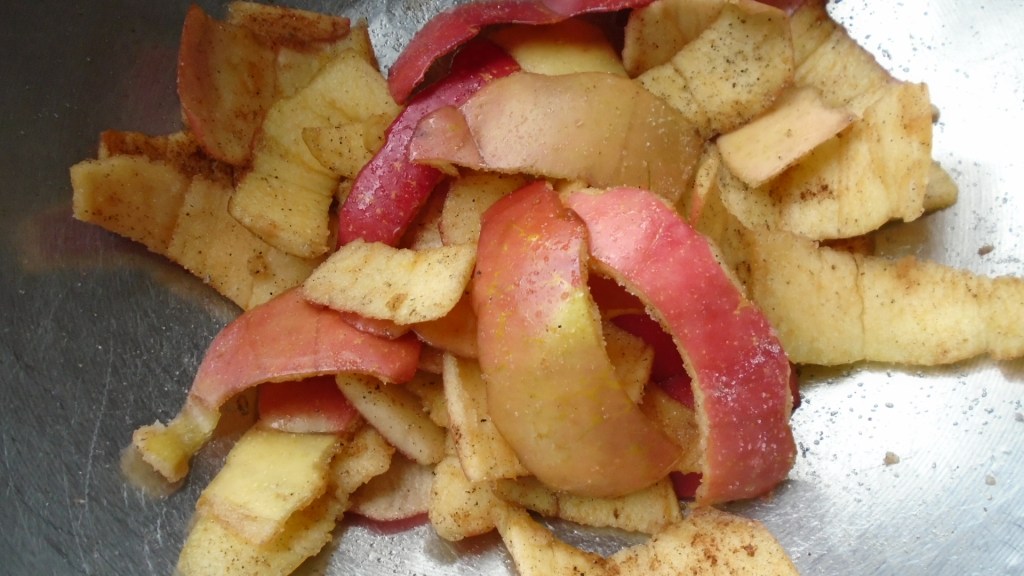
Add all ingredients to a mixing bowl. Toss to coat the apple peels.
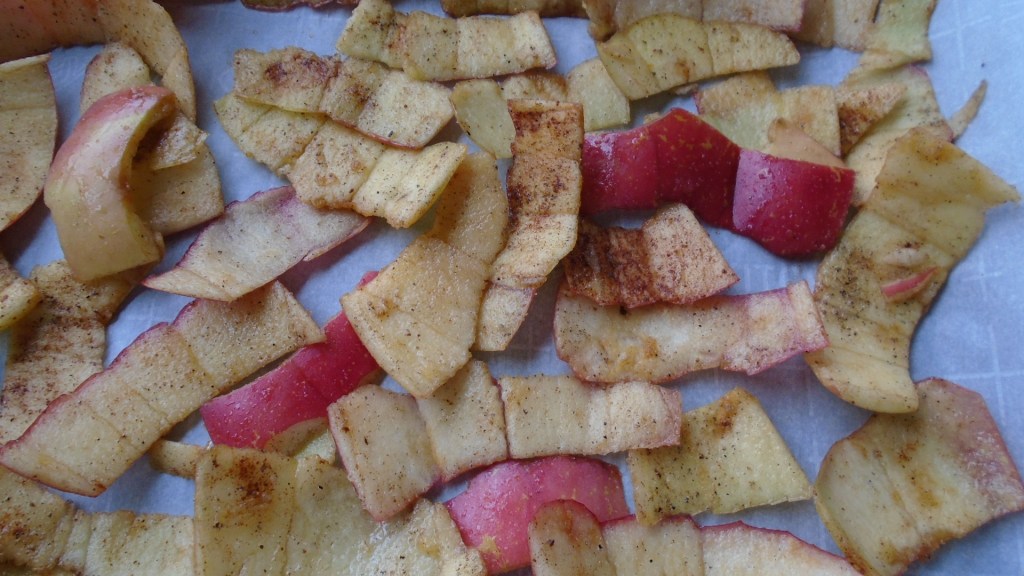
Spread the apple peels on a parchment paper lined baking tray.
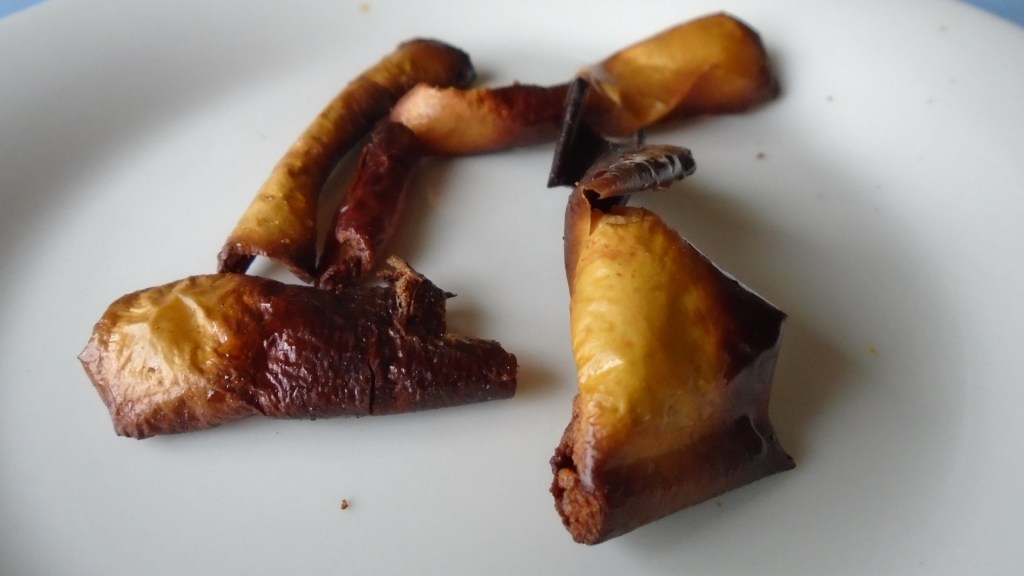
Bake at 300° for about 15 minutes. Turn the peels over and continue backing for another 15 minutes. Remove from oven and allow the peels to cool.
Apple Syrup
The syrup produced by this recipe is very close to the color, consistency and flavor of honey. I will definitely use it as a substitution for honey in some future recipes.
Ingredients:
Apple cores from 7 to 8 apples
½ lemon, juice and peel
1 small star anise (or 1/8 tsp anise seed)
White sugar (amount needed is described in the directions)
Directions:
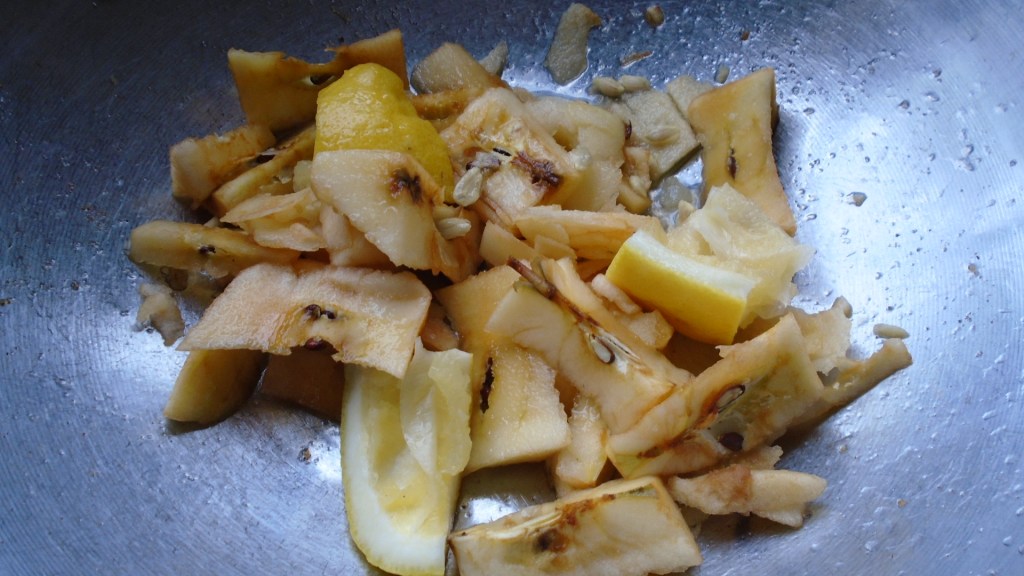
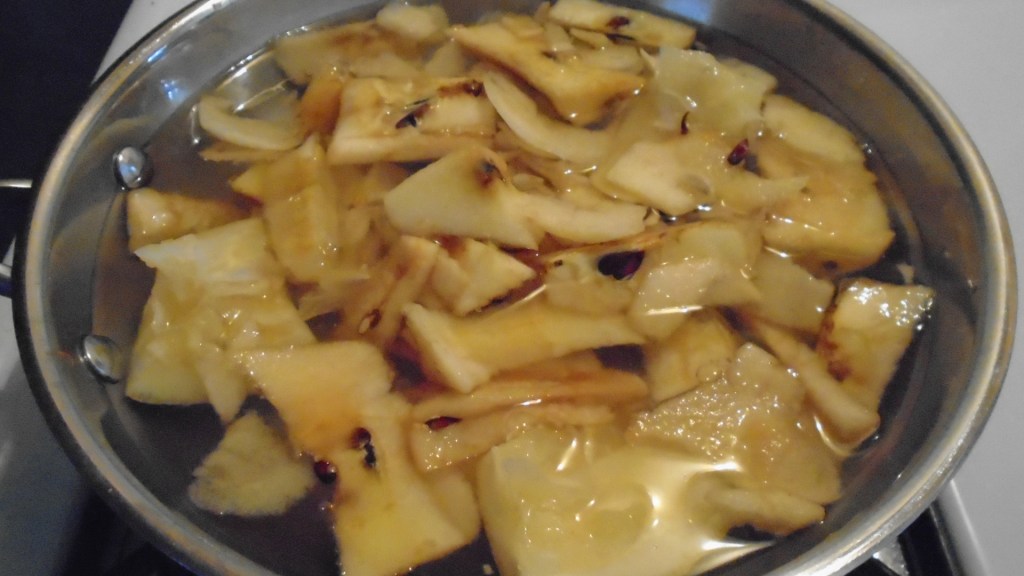
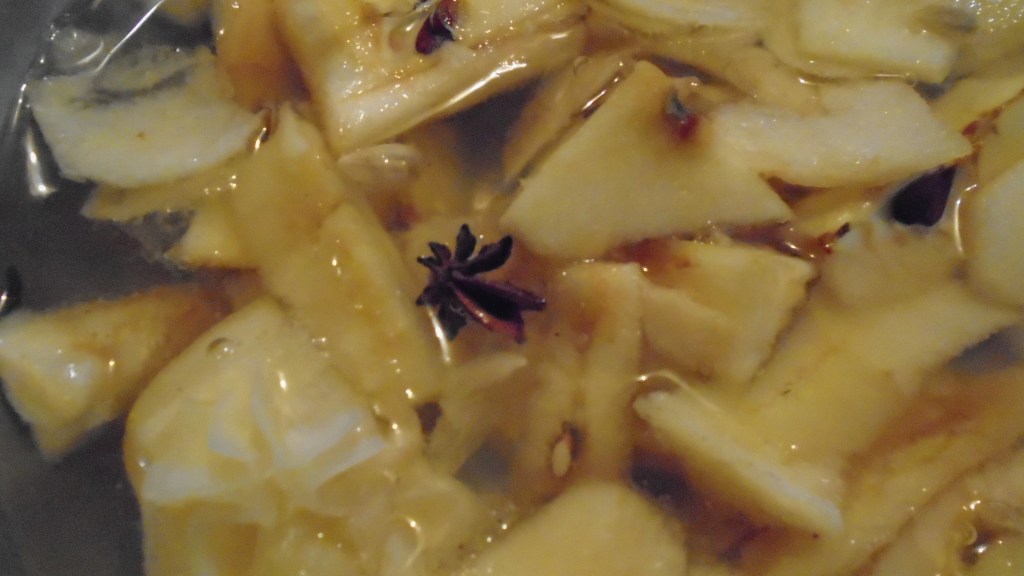
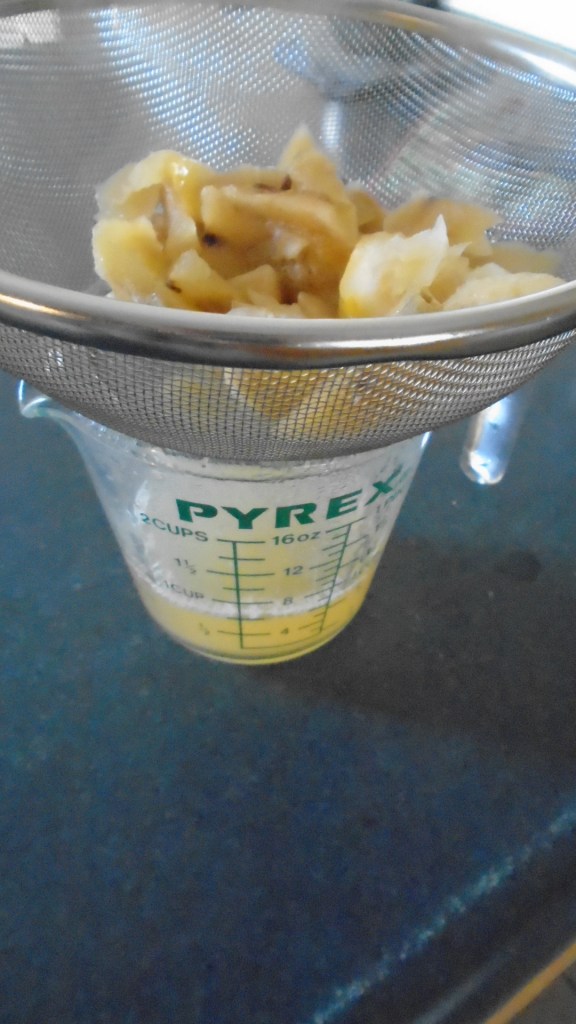
Add apple cores, lemon juice and lemon peel to a small saucepan. Cover with water and simmer at low heat for 1 hour.
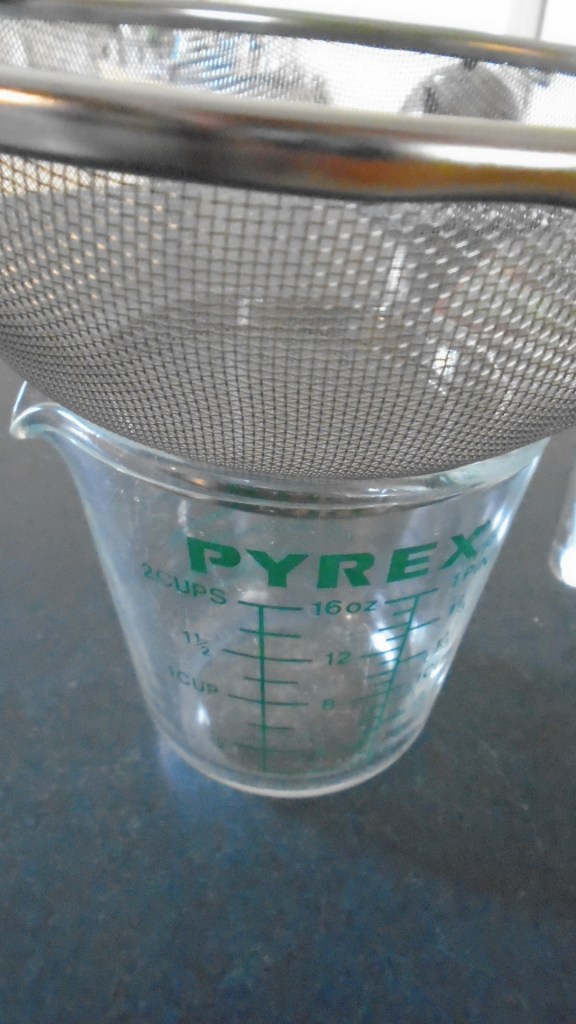
Strain the solids and reserve the liquid. Return the liquid to the saucepan and turn heat to medium. Reduce by one half.
3/4 cup liquid – add 1 1/2 cups sugar
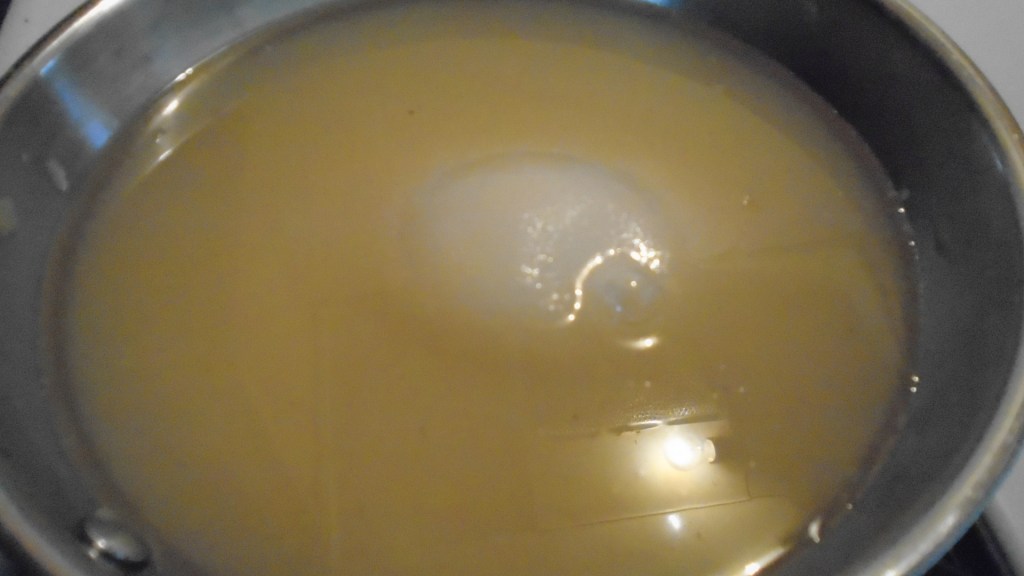
Carefully pour the hot liquid into a heat resistant measuring cup. Take note of how much liquid you have. You will be adding twice that amount of sugar to the pan. Return the liquid to the saucepan and add then add the sugar. I wound up with 3/4 cups of liquid so I added 1 1/2 cups of sugar.
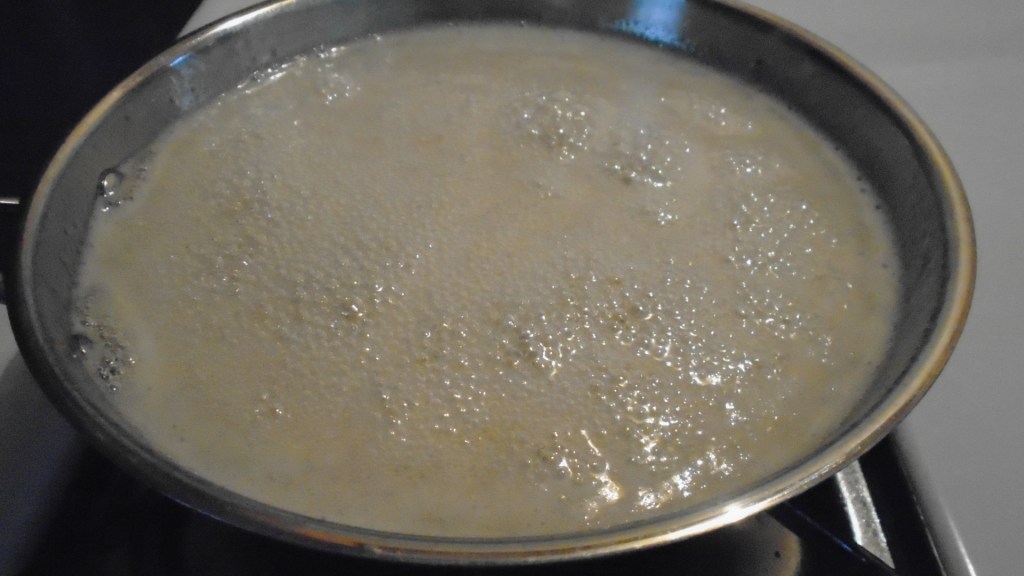
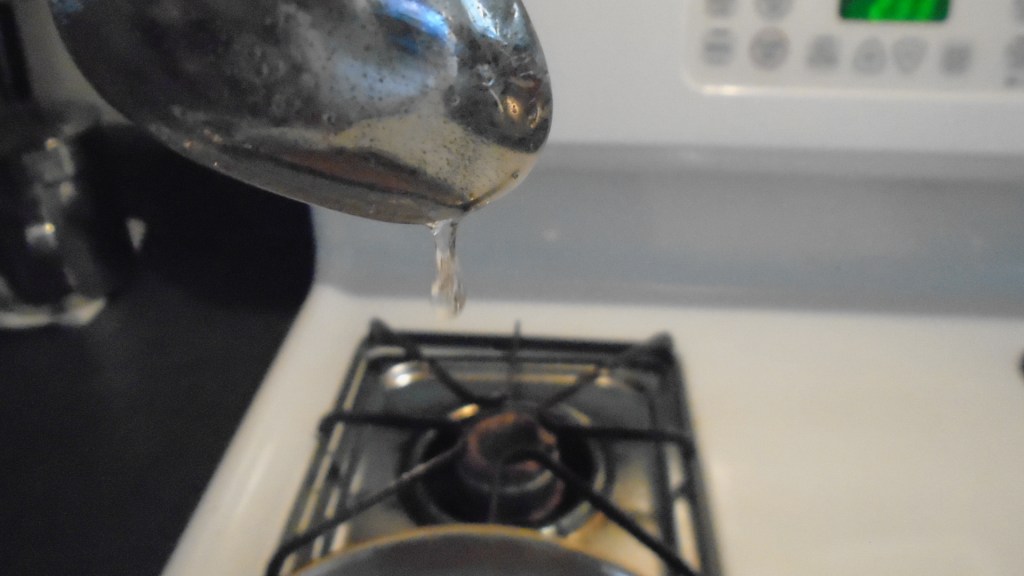
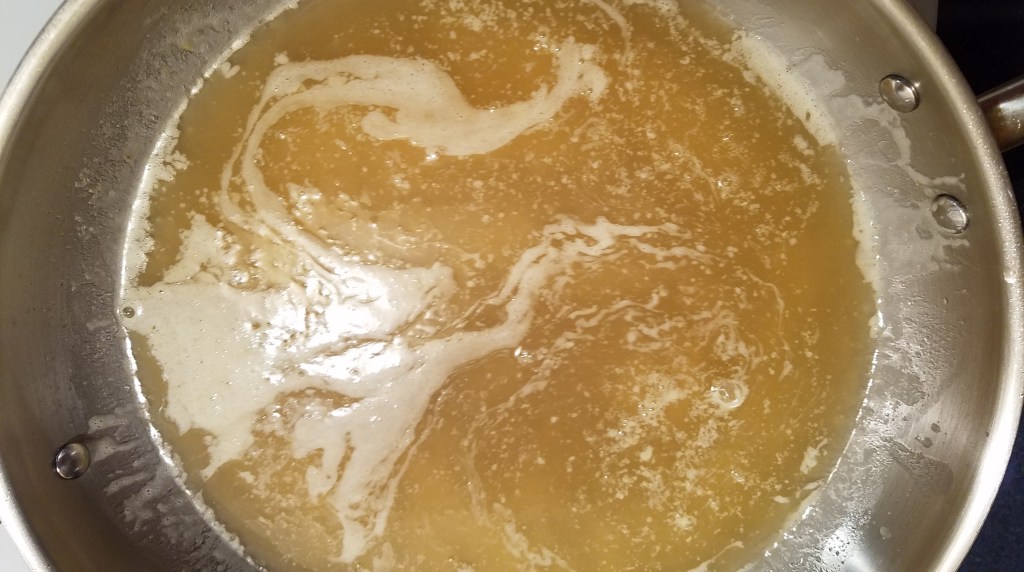
Simmer for about 5 minutes at medium heat while whisking. When the liquid begins to bubble and froth forms, turn the heat off and remove from the pan from the heat. Test the syrup with a spoon. If the syrup clings to the back of the spoon, the syrup is done. If the syrup seems too runny, return it to the heat for another minute or two. Be careful not to overheat, unless you want to make hard candy!
Remove syrup and allow to completely cool before placing it in a storage container. The syrup will continue to thicken as it cools. The syrup should last for a few weeks in a refrigerator.
Hooray! The crawfish are here, the crawfish are here!
Every year, around this time, crawfish and shrimp vendors start popping up at local gas station parking lots. They set up shop on the weekends, with pick up trucks and trailers for about 6 weeks and then they vanish, as quickly and as quietly as they arrived, returning to the bayous. But, while they are here, I have access to the biggest, freshest and most succulent gulf shrimp and wonderful, spicy, hot Cajun crawfish .
Most of these vendors only take cash. I rarely carry cash but, when these guys roll into town I don’t mind making a trip to the nearest ATM and withdrawing money from my bank account. I drive back to the seafood guys waving cash in my hand. Yes, it’s really that good.
I remember a time, just a few years ago, when I saw the crawfish guys boiling their shrimp and cawfish and I panicked, realizing that I was nearing the end of their short season. It was Saturday, around 5:00 pm. I drove the 3 miles to the bank teller machine and withdrew some cash. By the time I returned, they had already packed up and were gone. Gone! Gone for good, at least until the next year.
Never again. Lesson learned. I will not let the moment escape me. Even if all I get is a tiny sample of some briny shrimp or a few scrawny crawfish, I won’t pass up the opportunity to savor some of the finest food this world has to offer.
I am not a creole chef and I wasn’t raised on the bayou. I’m not Cajun…I’m Texan true and true, but I am forever mesmerized and enamored by the lure of fresh gulf seafood and funky, backwater fare.
Something good happens when the shrimp are set to boil. The world is a happier place when hot, red crawfish are pulled from the pot. Mystery and wonder fills the air. Friends are made instantly. Smiles become contagious. Romance is at hand. No struggles, no strife.
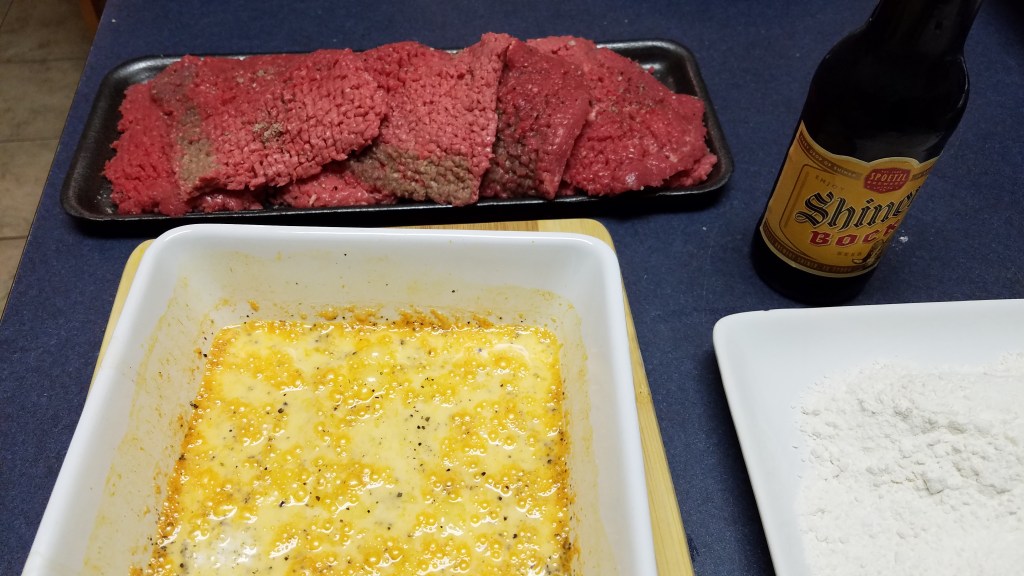
There’s really only one thing a good Texas boy can do after committing a sin, like adding beans to chili. Seek redemption! This is a Texas classic: chicken fried steak and gravy with mashed potatoes, turnip greens and Texas toast. As you might recall, I used Shiner Bock beer in that chili and although this recipe doesn’t call for beer, Shiner Bock is the common thread that ties these two posts together.
Any decent diner or restaurant in Texas will serve up a good chicken fried steak. One such restaurant, in Shiner, Texas, was noteworthy. My family and I had just finished taking a guided tour through the Spoetzl brewery, where they make Shiner Bock, and we stopped off at local restaurant for lunch. Any time we go back to Texas to visit we look for good smoked beef brisket and chicken fried steak. As it happened, the restaurant served chicken fried steak. My wife opted for what the menu referred to as the “ladies portion”. It was half the cost of the “regular” chicken fried steak. The server came out with a 14 inch oval platter with mashed potatoes and green beans and a monstrous portion of chicken fried steak that was so large that it hung over the sides of the platter. We all had a good laugh. I asked the waitress what the regular chicken fried steak looked like and she pointed to one that was being made for someone else. It was twice the size of the ladies portion. Insane! But that’s Texas for you. We all shared the chicken fried steak, since the portion was large enough to feed a small army. It was superb…one of the best I’ve ever had.
Chicken Fried Steak
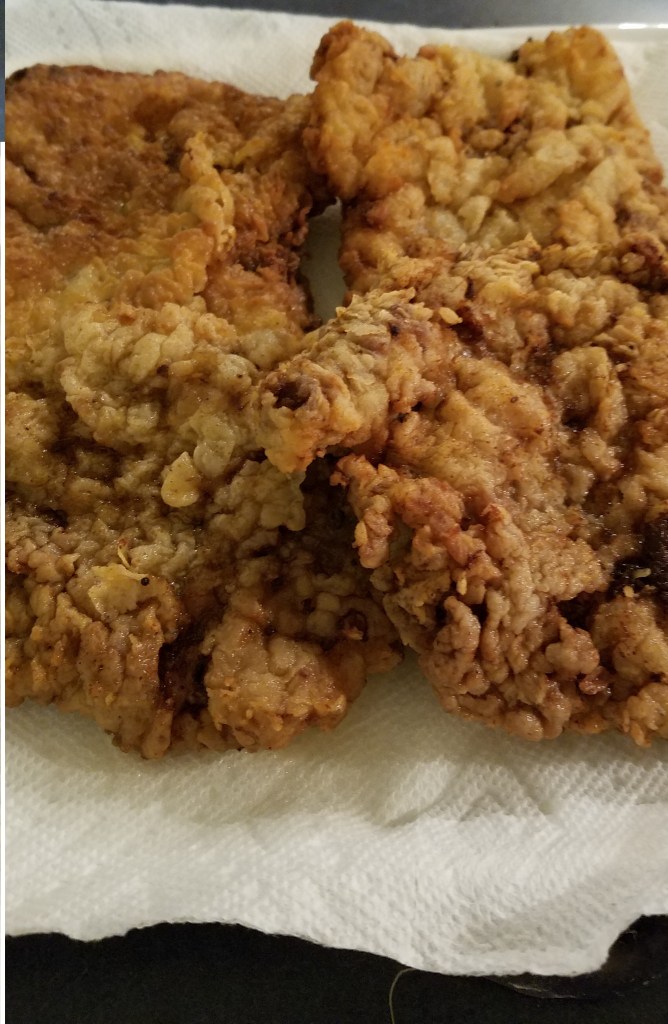
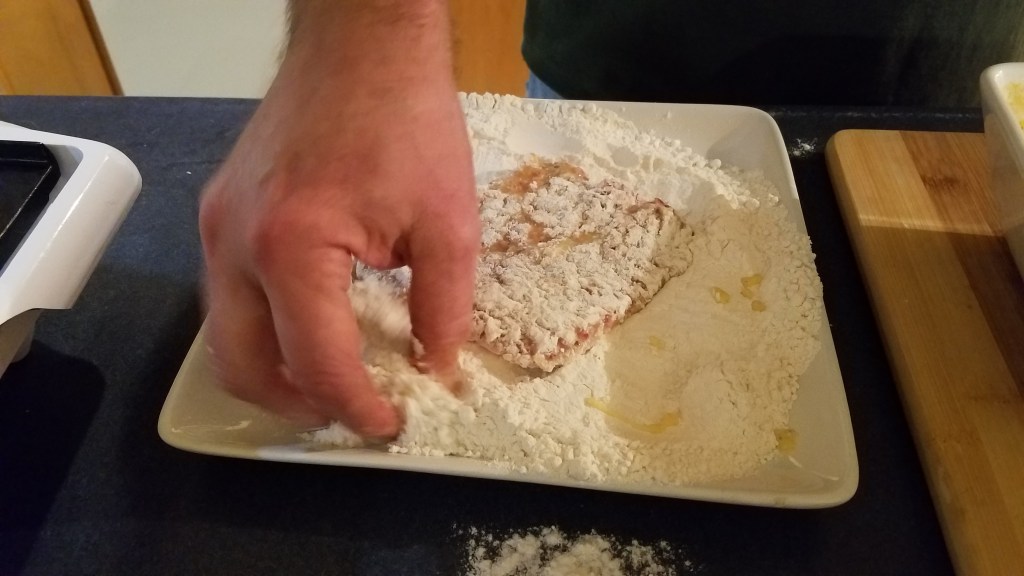
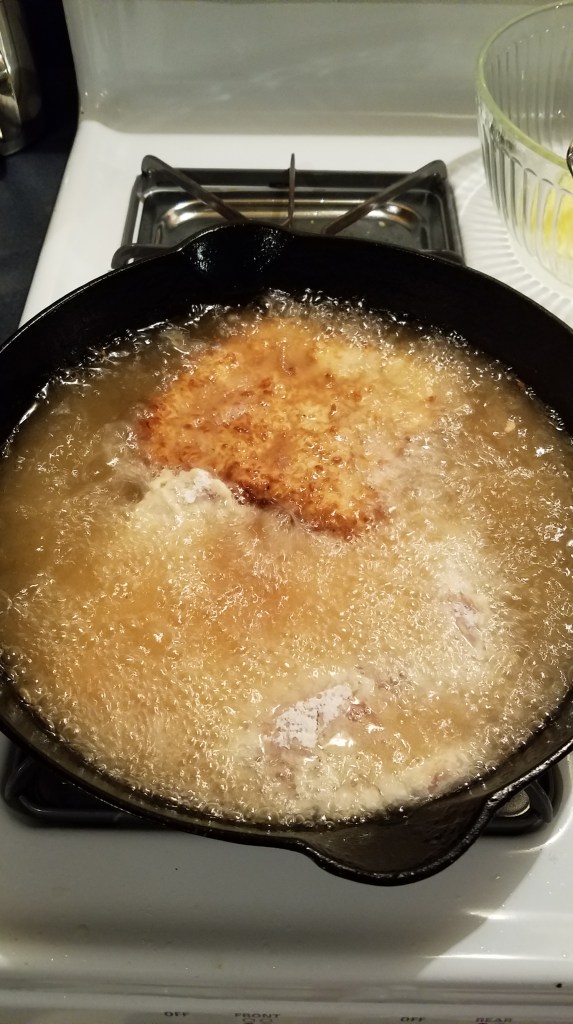
I have to say, the chi-fri I made this time around was really good. The cubed steak was tender and the breading had a good crunch and it clung to steak like a champion! I’ve included some photos, along with some recipes, but I have to admit that I stopped snapping pictures along the way. Sometimes it’s best to cherish the simple, beautiful moments in life.
Ingredients:
2 lbs cubed beef steaks (1/4” thick):
This can be 4 steaks at ½ lb each or 8 steaks at ¼ lb each
2 cups flour
2 tsp baking powder
1 tsp baking soda
1 tsp black pepper
1 tsp salt
1 1/2 cups buttermilk
1 egg
1 Tbs Tabasco sauce
2 cloves garlic, minced
3 cups cooking oil
For the gravy:
1/4 cup flour
4 cups milk
salt and pepper to taste
Directions:
Set up a 3-stage dredging station: steak, flour and buttermilk.
Place the cubed steaks on a plate.
For the dry dredge, stir together the flour, baking powder, baking soda, pepper, and salt. Place the mixture in a large, shallow bowl.
For the wet dip, add buttermilk, egg, Tabasco sauce, and garlic to a large shallow bowl. Stir to mix.
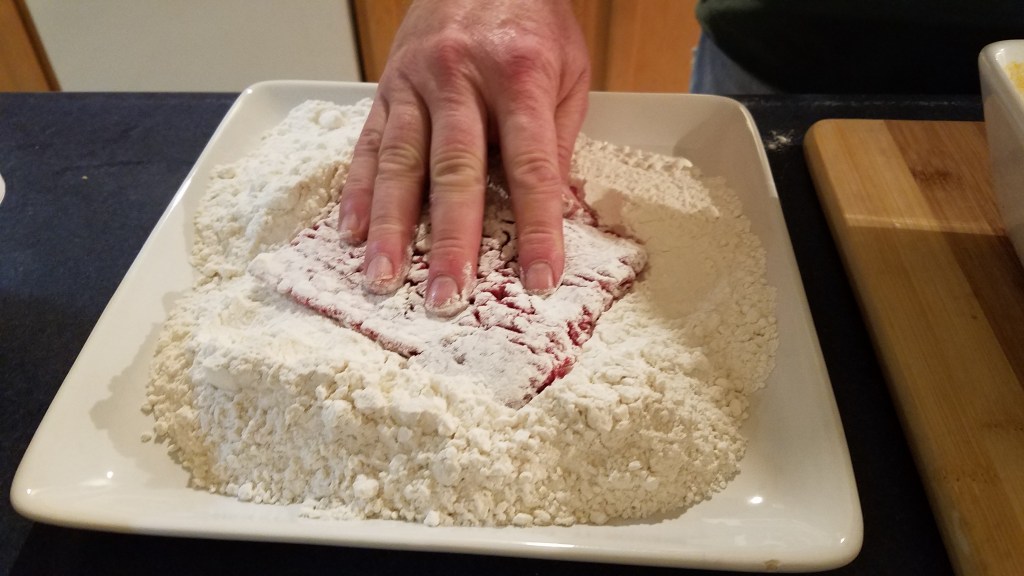
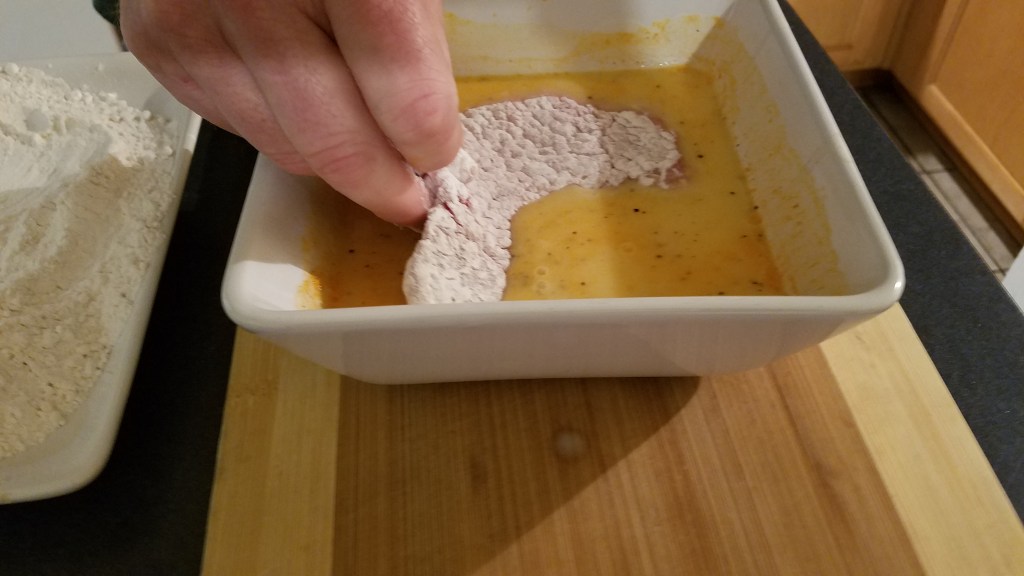
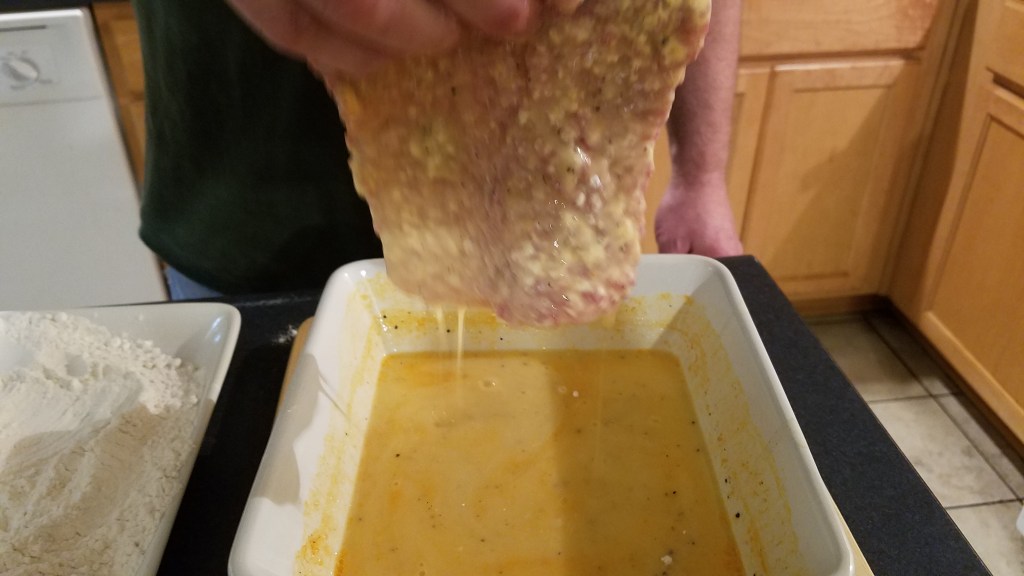
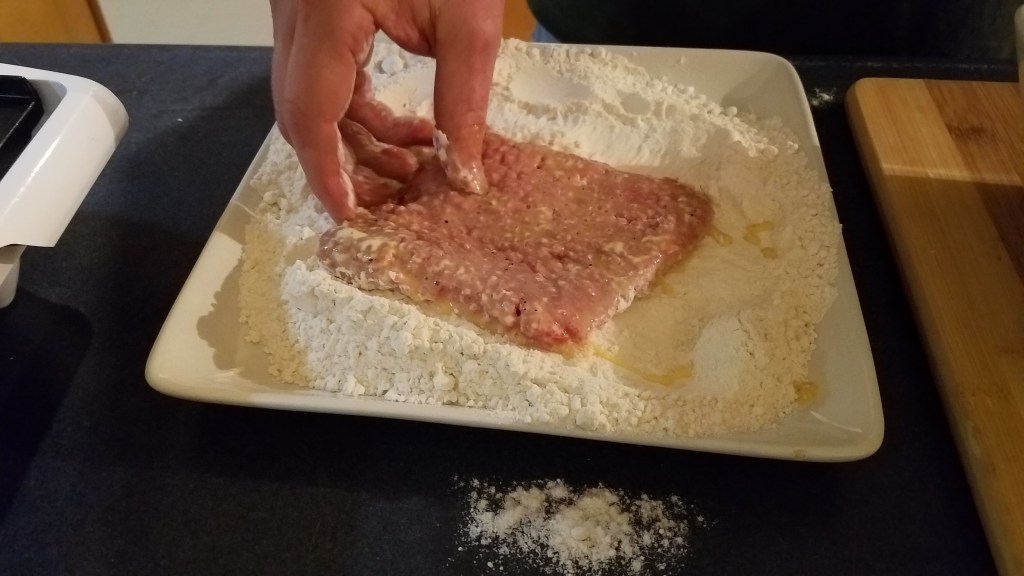
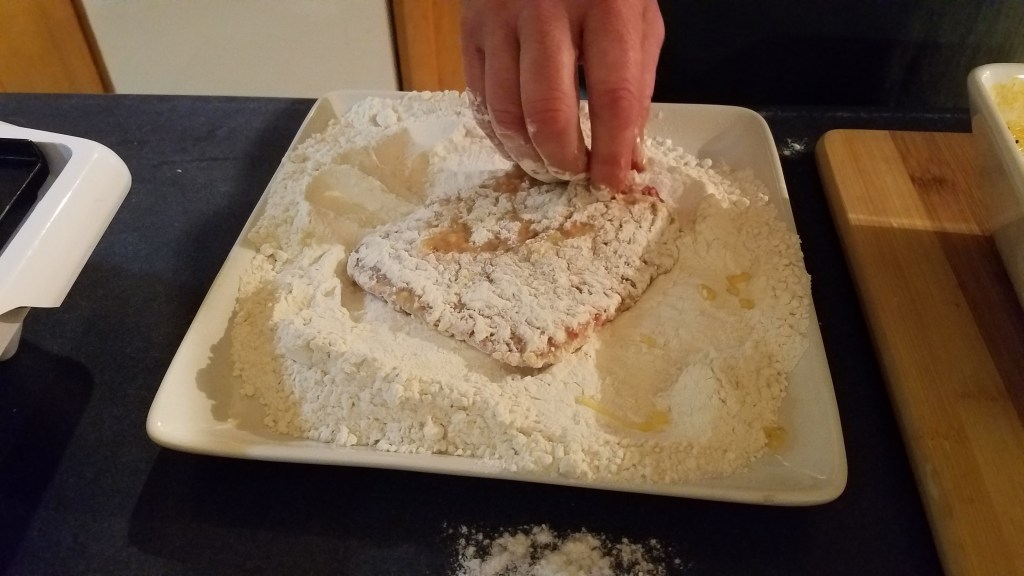
Dredge each steak in the flour and pat the steaks, to make sure they are completely covered. Shake off excess flour and dip the steaks in the buttermilk mixture and transfer back to the flour for another coating. Shake off excess flour.
Heat the oil in a cast iron skillet to medium/hot (325°). Gently lay the steaks in the hot oil and fry until golden brown, about 3 minutes per side. Do not crowd the skillet. Place the finished steaks on a plate lined with paper towels to drain.
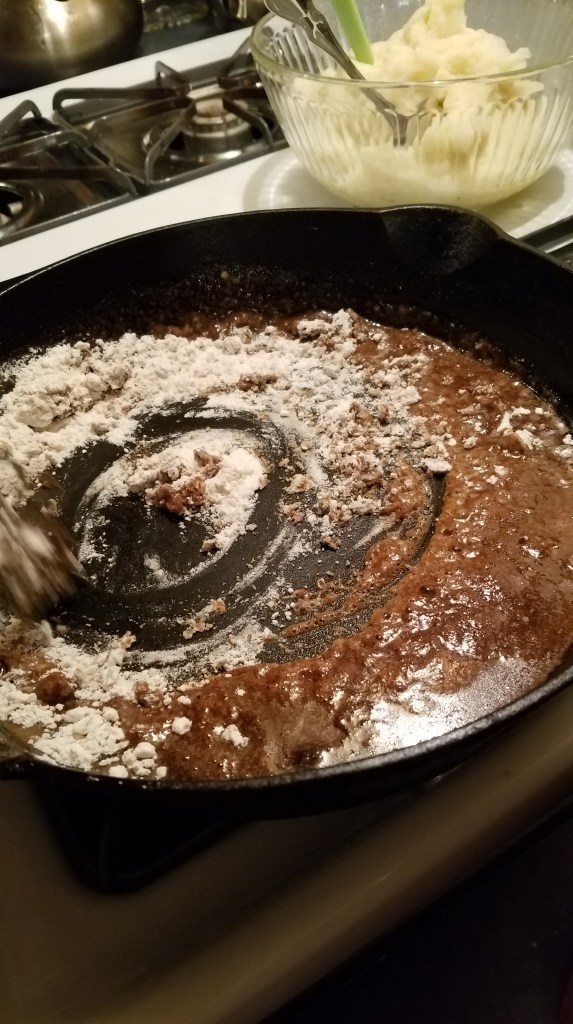
Once all of the steaks are done, drain the oil from the skillet, reserving 1/4 cup of the oil and some of the crunchy bits.
Gravy
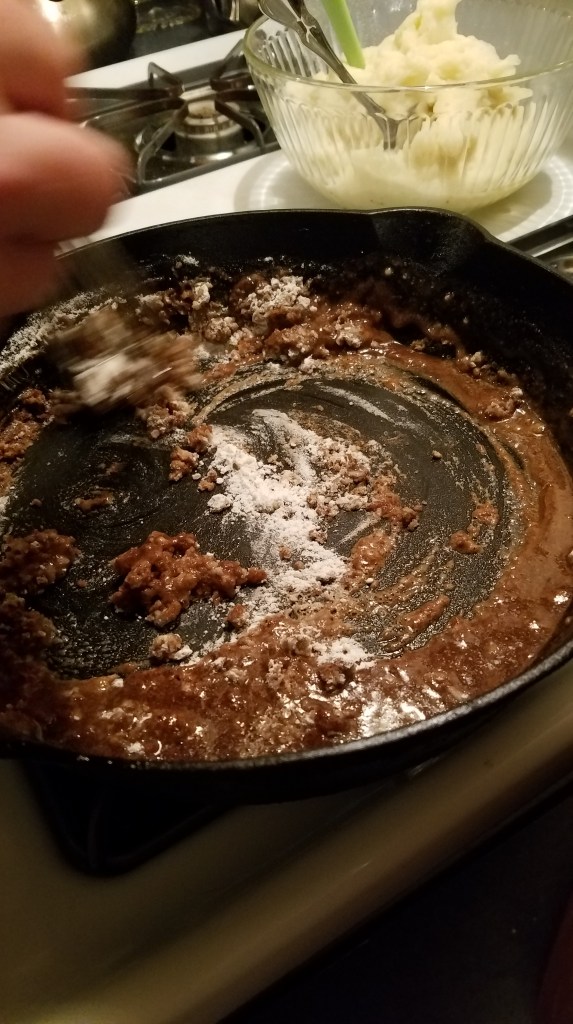
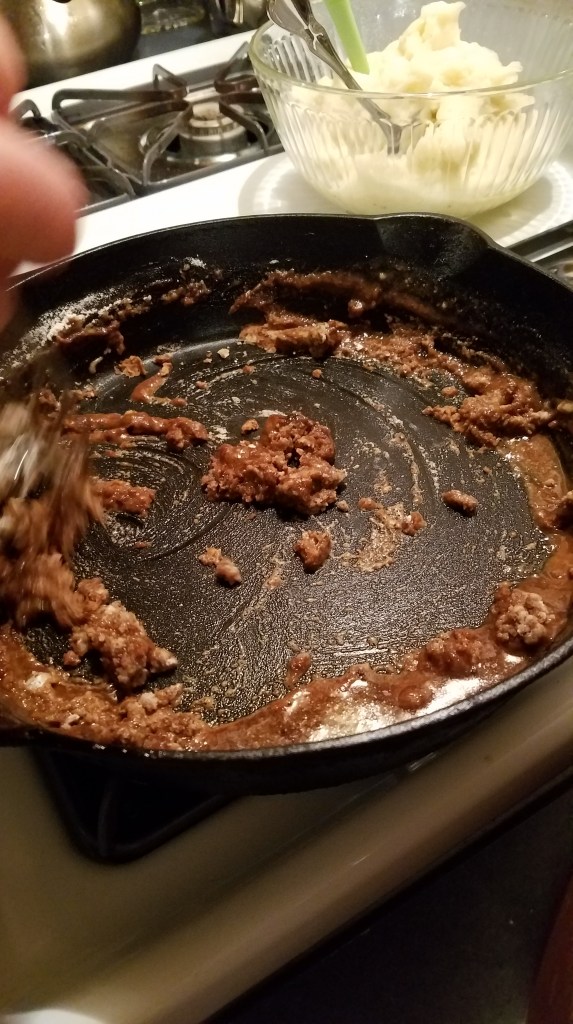
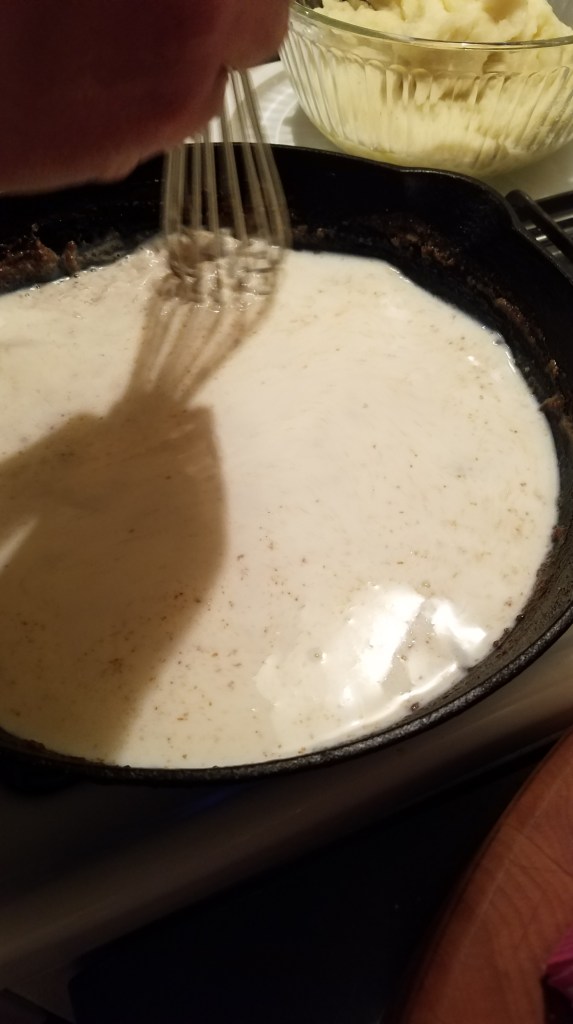
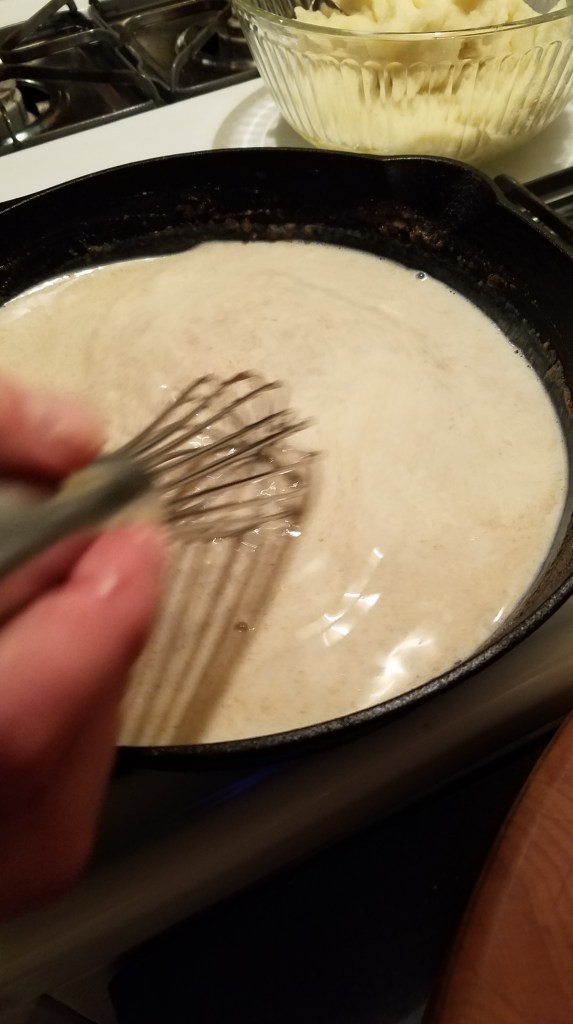
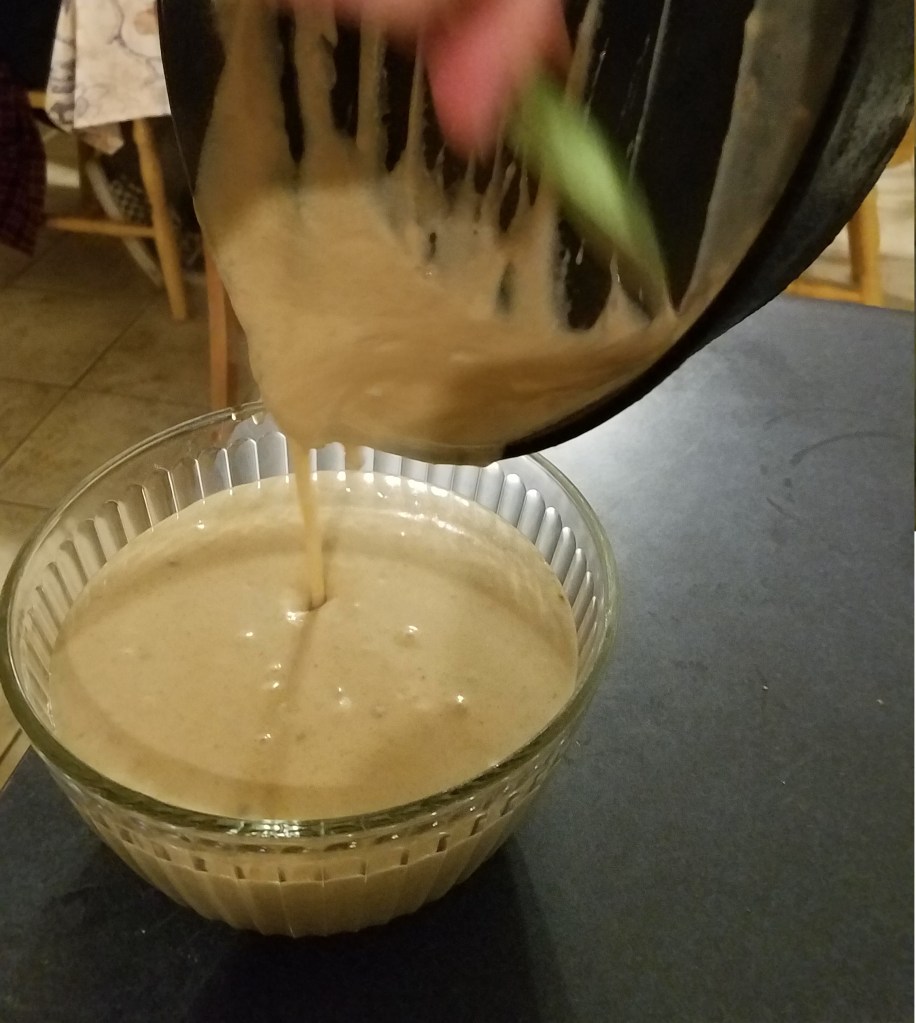
Return the skillet to stove at medium/low heat and add the reserved oil. Whisk the ¼ cup flour into the oil. Scrape the bottom of the pan with a wooden spatula to break the solids and mix into the gravy. Stir in the milk and raise the heat to medium. Whisk the gravy while it simmers and thickens. This should take about 5 minutes. Season the gravy with a little salt and pepper. Pour the finished gravy into a serving bowl and yes, you may lick the spoon!
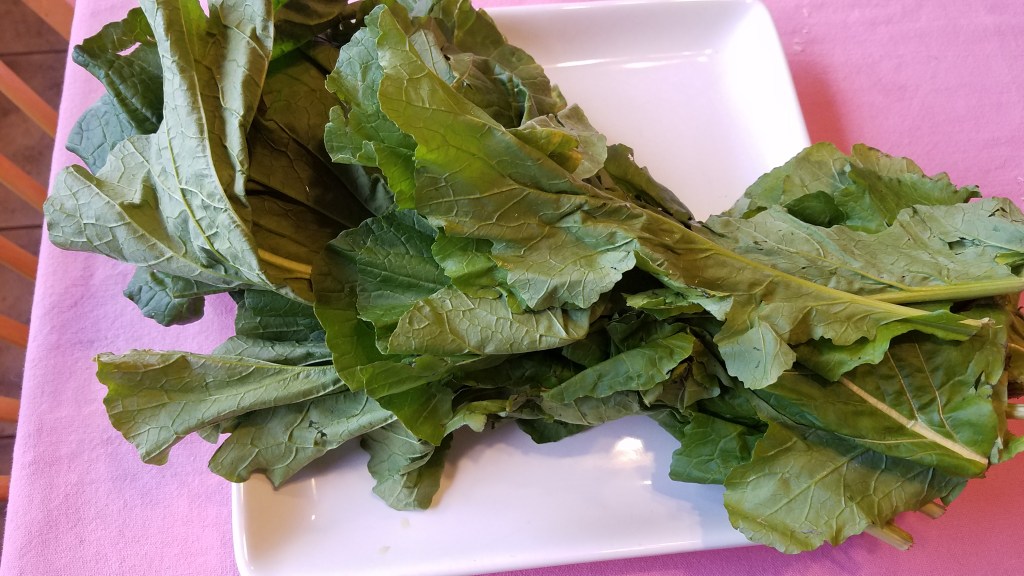
Turnip Greens
Turnip greens are simply the leafy green tops and stems of turnips. They are extremely rich in vitamins and minerals. Giving them a quick sauté will remove much of their bitterness. Once cooked, they are similar to cooked spinach in texture and taste. Many people add salt to greens but it’s really not necessary since they are high in sodium.
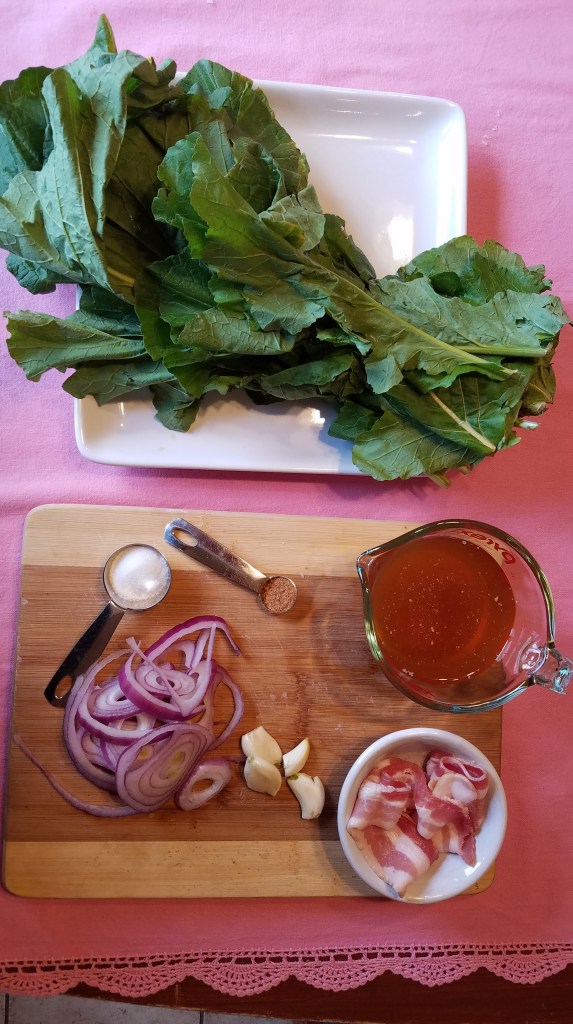
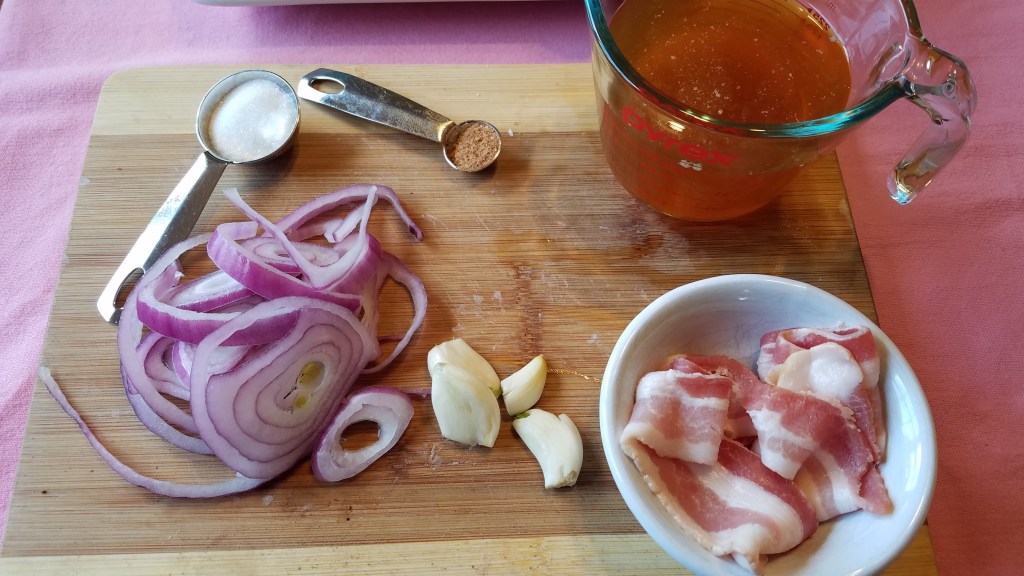
Ingredients:
1 Tbs olive oil
½ cup onion, julienne cut
4 garlic cloves, smashed
1 cup chicken stock (I used ½ cup ham stock and ½ cup water)
1 Tbs sugar
½ tsp Cajun seasoning
2 slices of thin cut bacon
1 bunch of turnip greens
Directions:
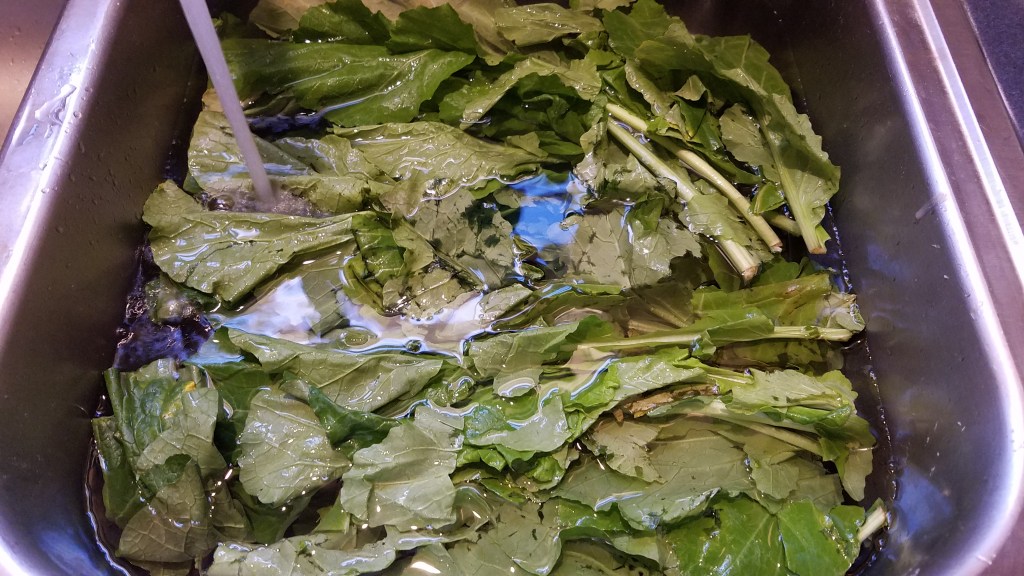
Soak the turnip greens in lots of cold water. Swish the greens around to remove any sand or dirt. Rinse the greens and set aside.
Fry the bacon just long enough to produce a little bacon fat. Don’t overcook the bacon. Remove the bacon and set aside to cool. Leave the bacon fat in the pan.
Add the olive oil, onions and garlic to the pan and sauté over medium heat, in a large skillet. Sauté until the onions are soft.
Chop the bacon into small pieces and add to the skillet
Add the chicken stock, sugar and Cajun seasoning. Stir for minute to dissolve the sugar.
Rough-chop the greens and add them to the hot skillet.
Stir and cook for a minute or two. The greens will wilt quickly. Turn the greens out to a serving bowl.
Serve with hot pepper sauce (green Tabasco peppers in vinegar)
Texas Toast
Texas toast means thick, sliced white bread. Yes, white bread; none of that healthy whole-grain stuff! If you want the real Texas chicken fried steak experience you have to do it right! If you’re particularly health-conscious, eat a bunch of salads and fruit during the week after your Chi Fri and you’ll be OK.
Ingredients:
10 slices of thick-cut white bread
1/2 cup butter, melted
Garlic salt, about 2 Tbs
Directions:
Melt the butter in the microwave for about 20 seconds. Butter melts very quickly in a microwave so be careful!
Lay the slices of bread on a work surface, such as a cutting board.
Liberally brush the melted butter on both sides of the bread. Sprinkle garlic salt on one side of each slice.
Grill the bread in a hot skillet. After about one minute, rotate the bread in the skillet to brown the bread evenly. Turn the bread over and grill the other side. Remove and serve warm.
I have to admit, I sometimes feel like Marco Polo when I visit an international food market. I imagine that I am a gallant adventurer, in search of spices and treasures from distant lands. There are so many strange and wonderful things to see, most of which I know little or nothing about. Fortunately, I almost always find a friendly proprietor that is happy to answer my questions and will guide me through the store, politely pointing out interesting things.
“Tell me about ghee,” I might ask. “Is it like clarified butter?” And then I might ask about the several different varieties of rice on a shelf and ask what properties they have that make them appropriate for some dishes but not suitable for others. Invariably, during my visit, I will reach a point where I run out of intelligent questions or the proprietor will begin to fidget and will look for a way to carry on with whatever they were doing before I captivated so much of their time.
It’s usually around that moment that I feel a sudden desire to return to my homeland, to share my stories and show my new treasures. I gather a few exotic wonders and pack them away in my sack, bid a fond farewell to my congenial friend, clasp my cloak about my neck and prepare for the arduous journey back home.
Ok, it’s really just a fifteen minute drive through a light drizzle that dampens the city streets but I like to believe that I am hoisting the sails of my sea bound schooner and that I am preparing to batten down the hatches, at a moment’s notice, in case the stormy seas start to surge.
I know the trade routes like the back of my hand and, in due time, I return to the happy harbor of my home. And that’s when the fun really begins…
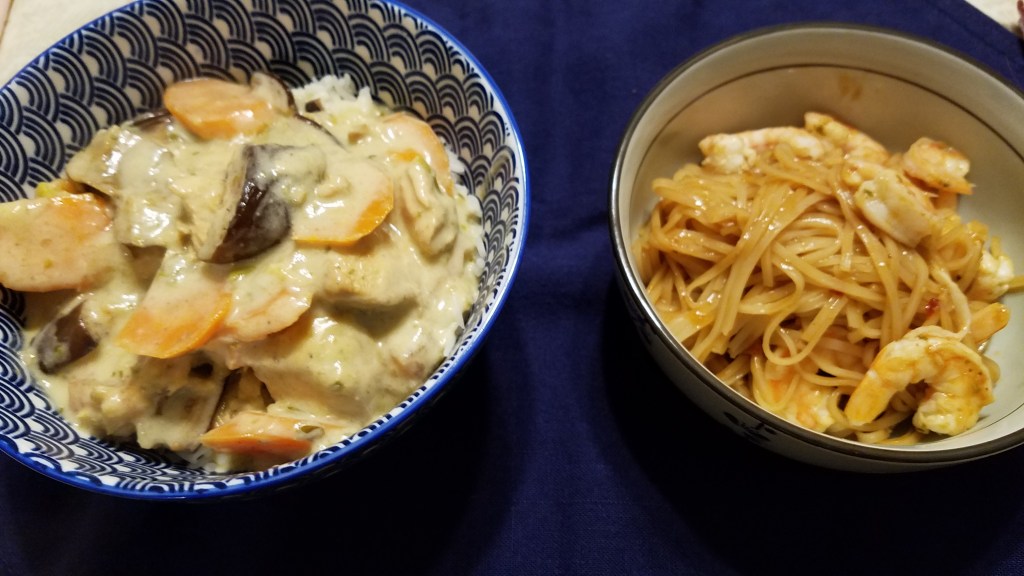
Coconut Chicken Curry with Pesto Sauce
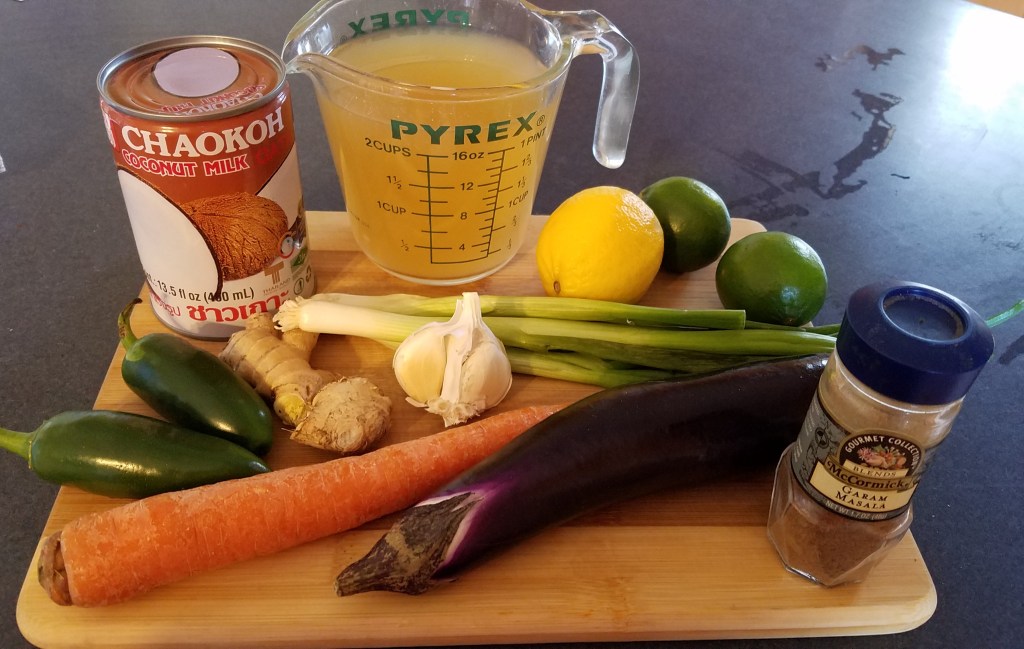
Ingredients:
1 ½ tsp salt
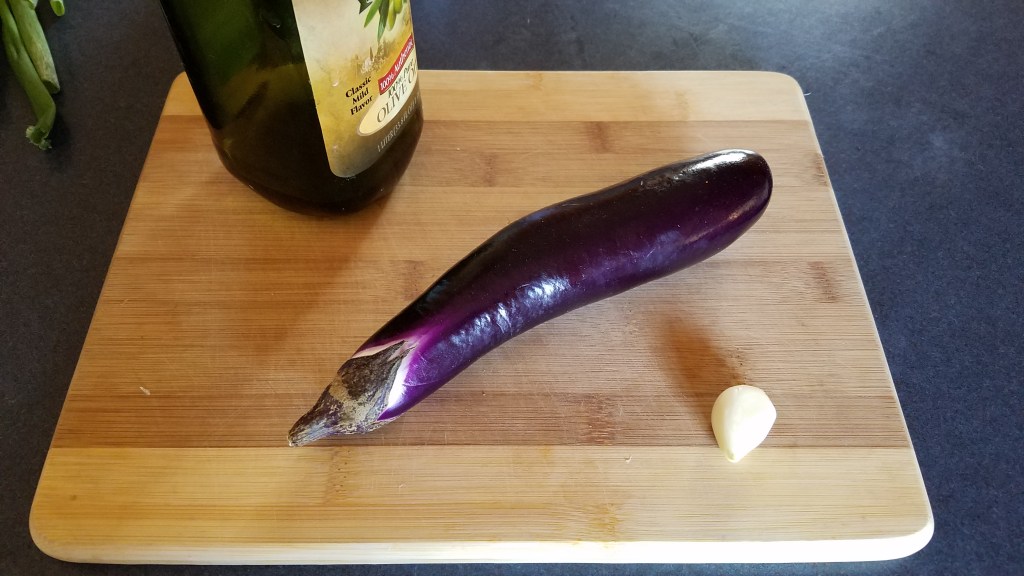
1 Japanese eggplant
1 Tbs olive oil
5 garlic cloves
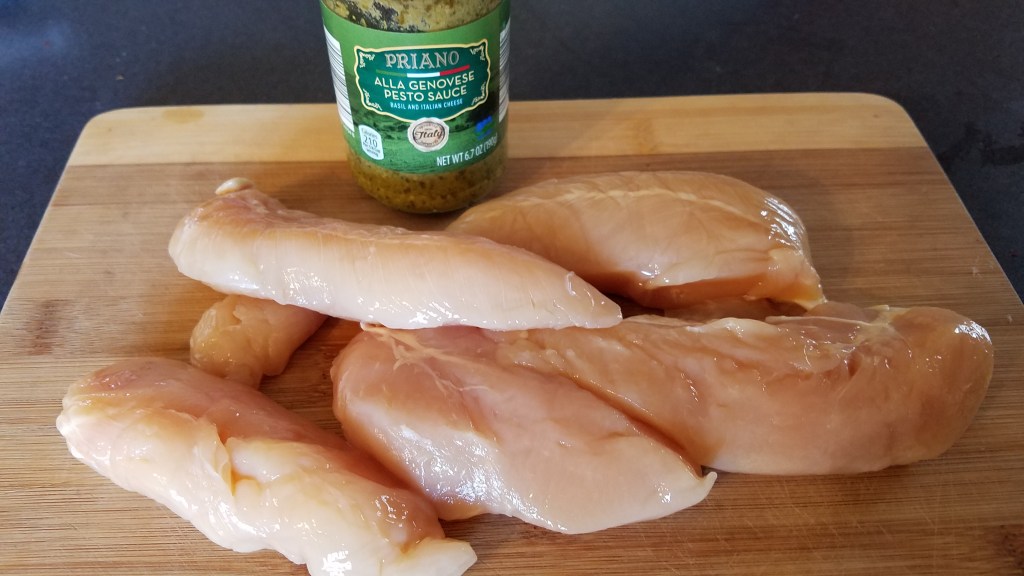
1 lb chicken tenders (tendons removed)
¼ cup basil pesto sauce
juice of 3 limes
juice of 1 lemon
1 ½ Tbs fresh ginger, sliced
1 Thai chili, sliced lengthwise
1 ½ Tbs chili powder
1 carrot
1 Roma tomato, chopped
2 cups chicken broth
2 tsp Garam Masala
13.5 oz Thai coconut milk
3 green onions
Directions:
Using a sharp kitchen knife, remove the white tendon that runs down the length of the chicken tender.
Cut the chicken into 1” pieces and place them in a bowl.
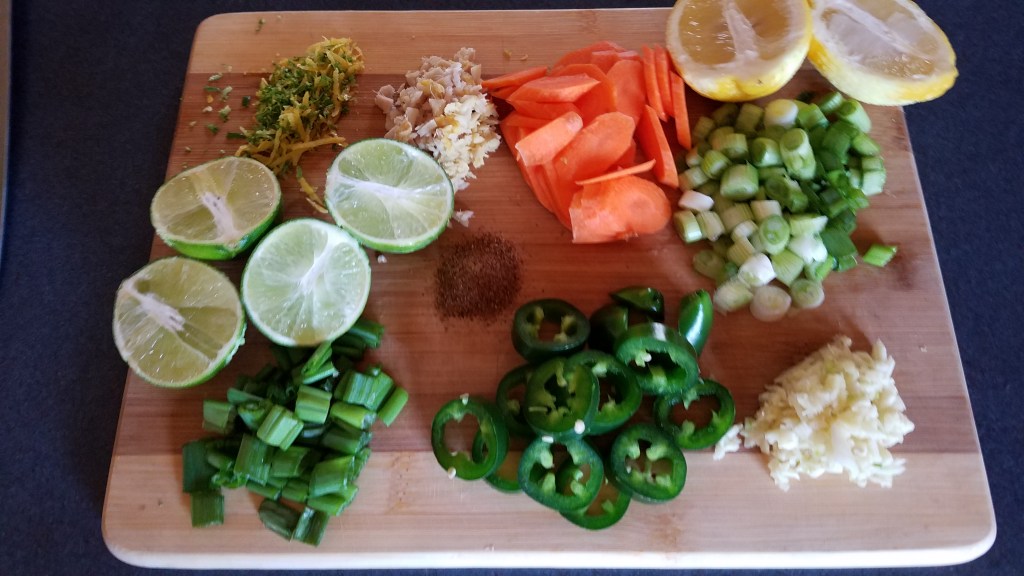
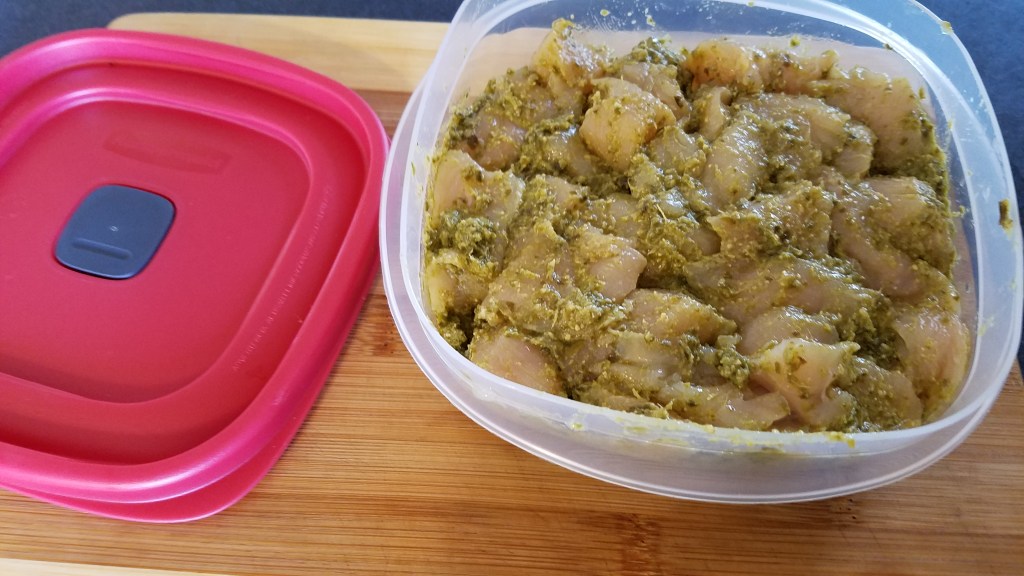
Add the pesto sauce, lime and lemon juice, sliced ginger, Thai chili and chili powder to the bowl and mix by hand. Marinate in the refrigerator for at least one hour.
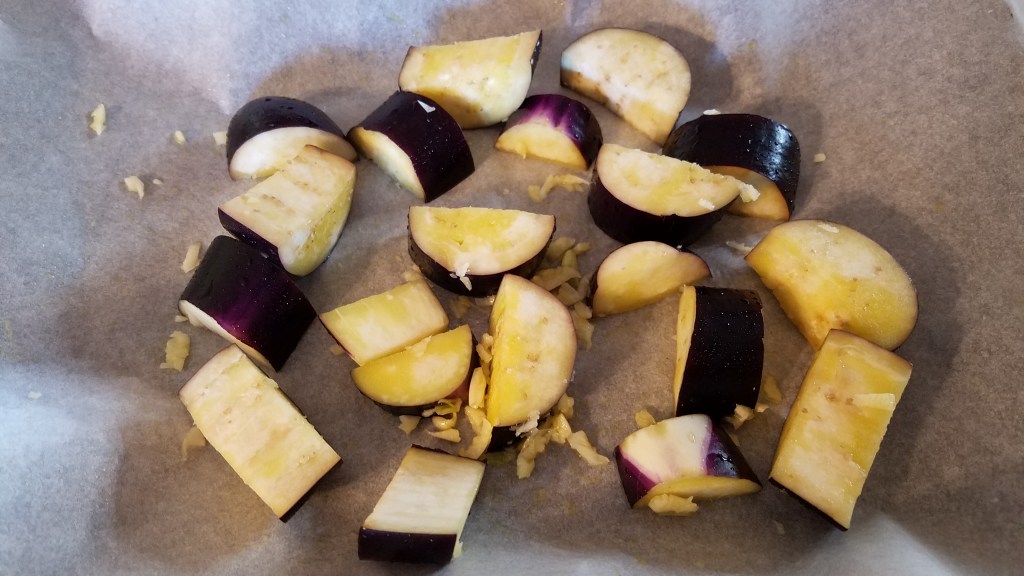
Cut the eggplant into 1” pieces and add them to a mixing bowl. Mince one clove of garlic and add it to the bowl, along with a tablespoon of olive oil.
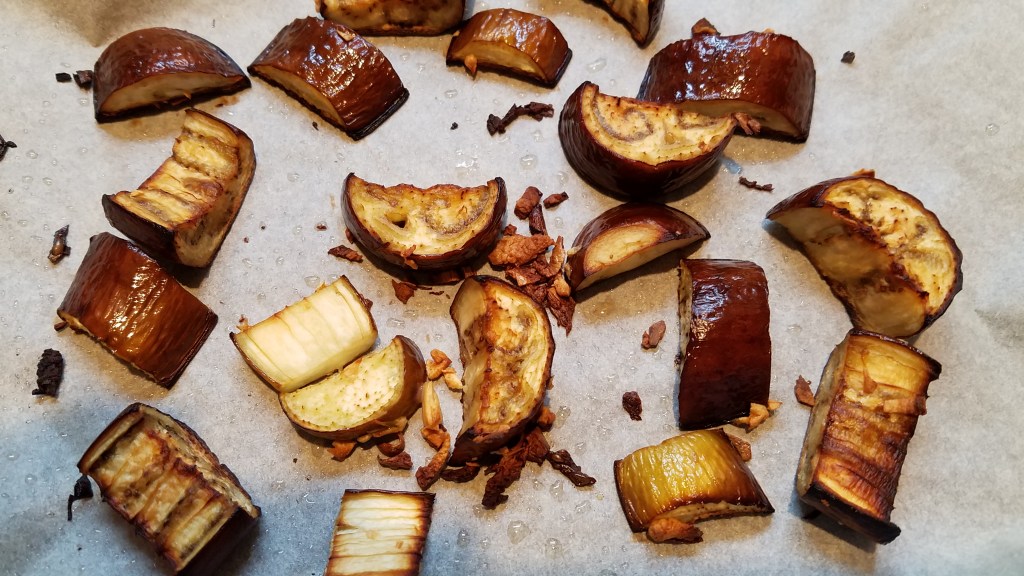
Spread the eggplant out on a parchment lined baking tray and roast in the oven at 400° for 20 minutes, or until the eggplant has browned a little. Remove and set aside in a bowl.
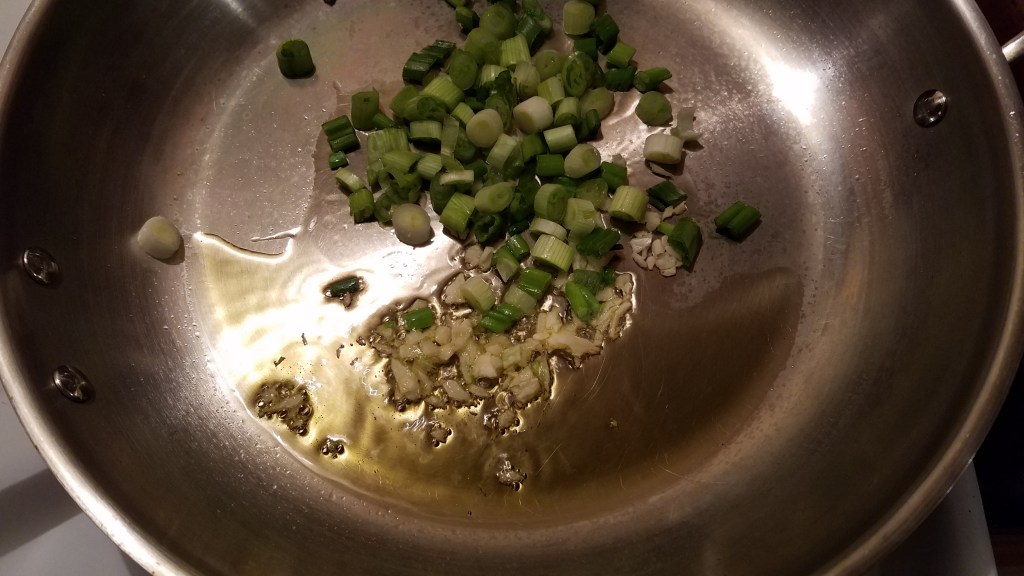
In a large skillet, sauté the onion and the remaining garlic for one minute, over low heat.
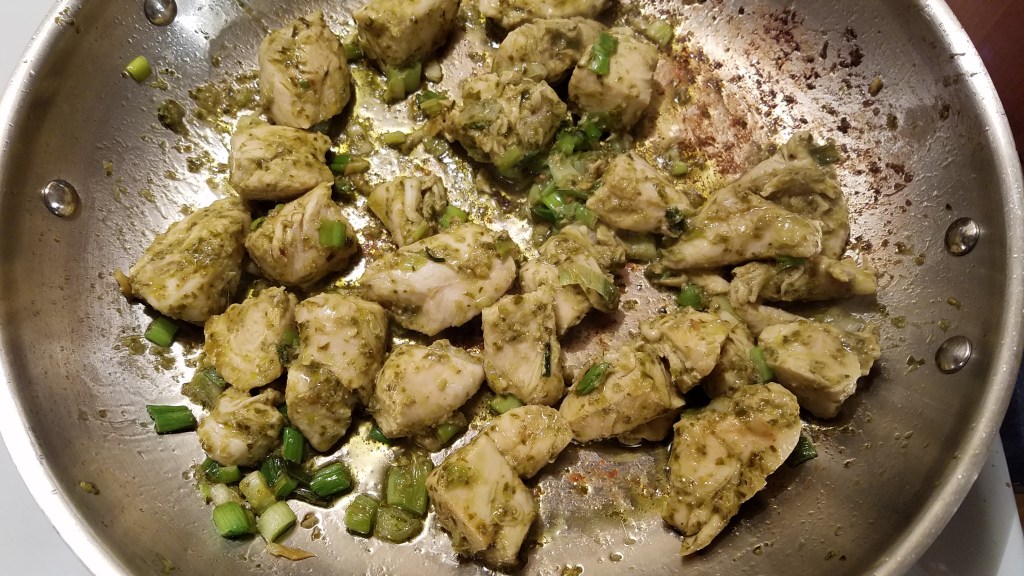
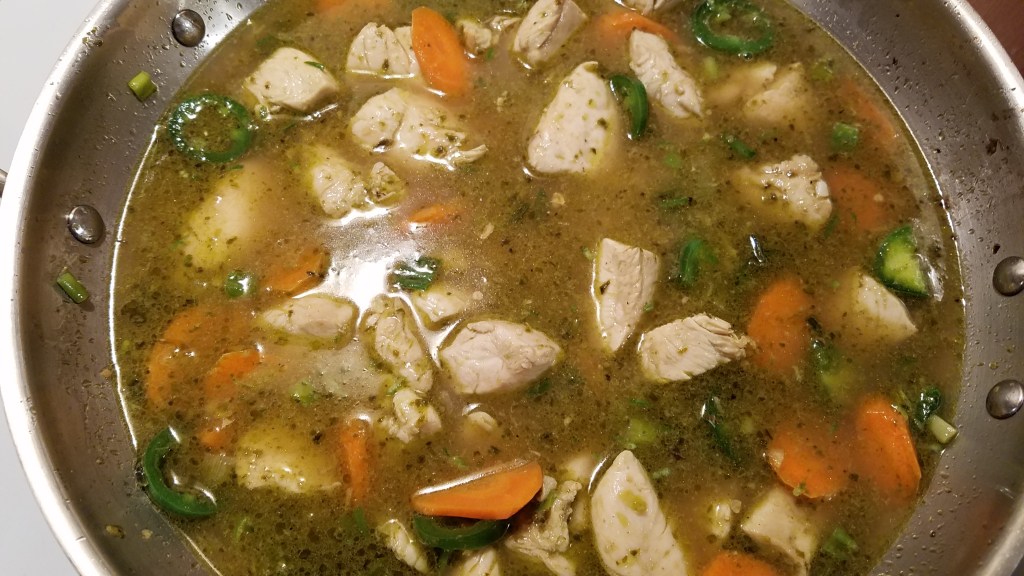
Add the marinated chicken and turn the heat up to medium. Stir the chicken while it cooks.
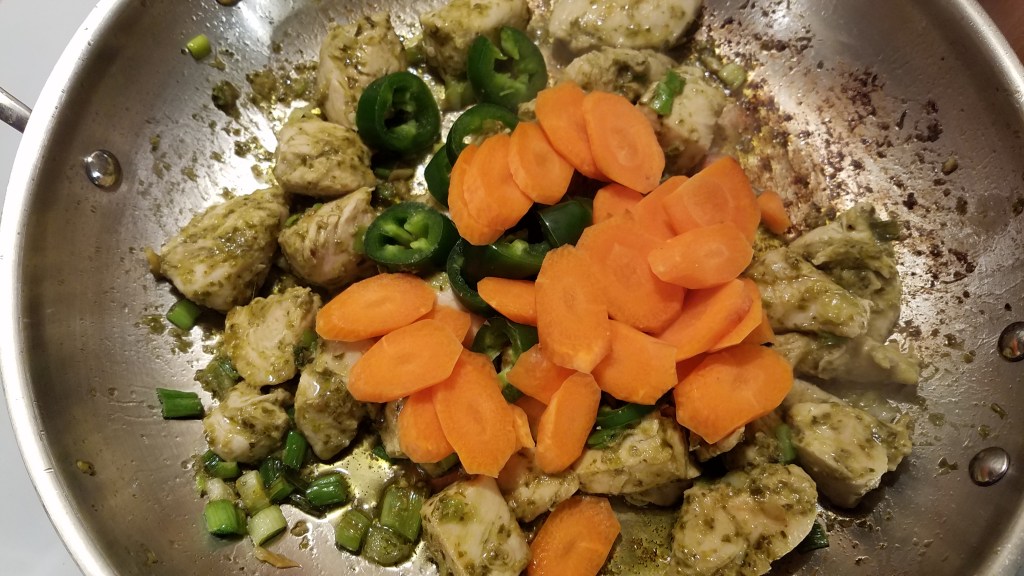
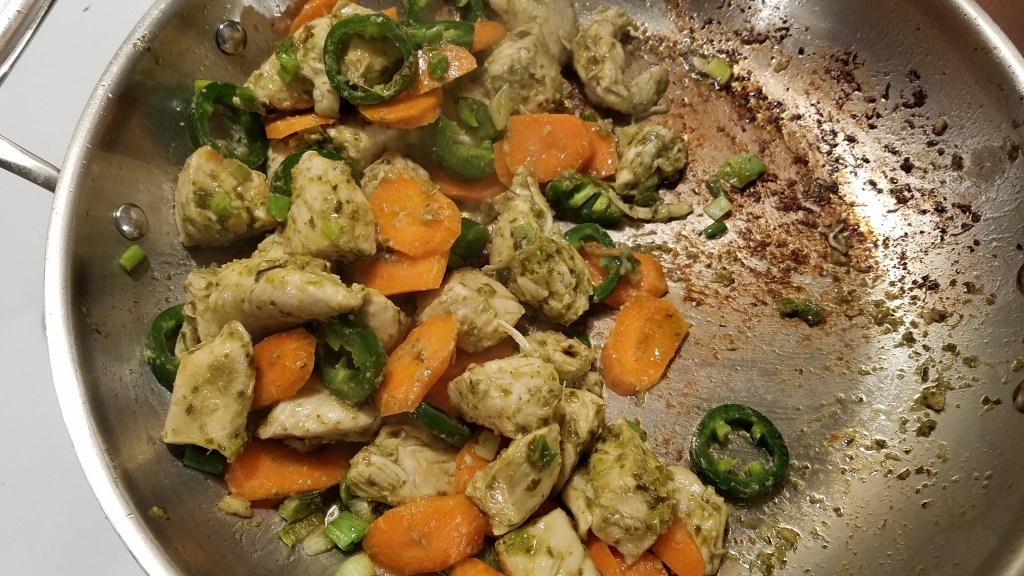
Once the chicken has firmed and turned white, add the sliced jalapeños and carrots. Stir frequently.
When the carrots begin to soften, add the chicken broth and deglaze the pan.
Add the Garam Masala, ginger, lime and lemon zest, lime and lemon juice. Simmer for about 5 minutes.
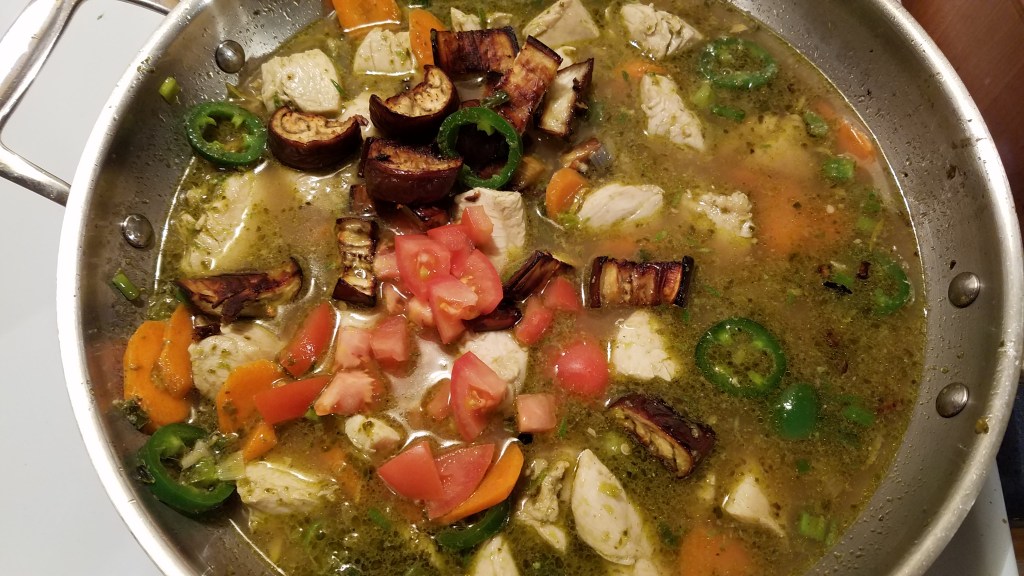
Add the tomato and eggplant and stir.
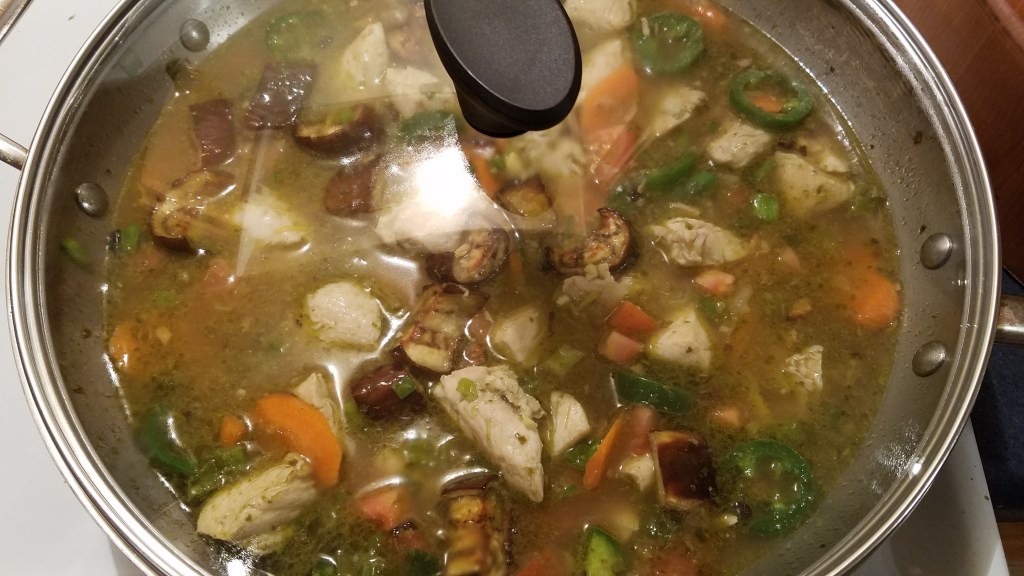
Cover the skillet and simmer at low heat for 15 minutes.
At this point, I tasted the broth and determined that the jalapeños were spicier than I had expected. I removed them and used them as a side dish, for anyone that wanted a little extra heat.
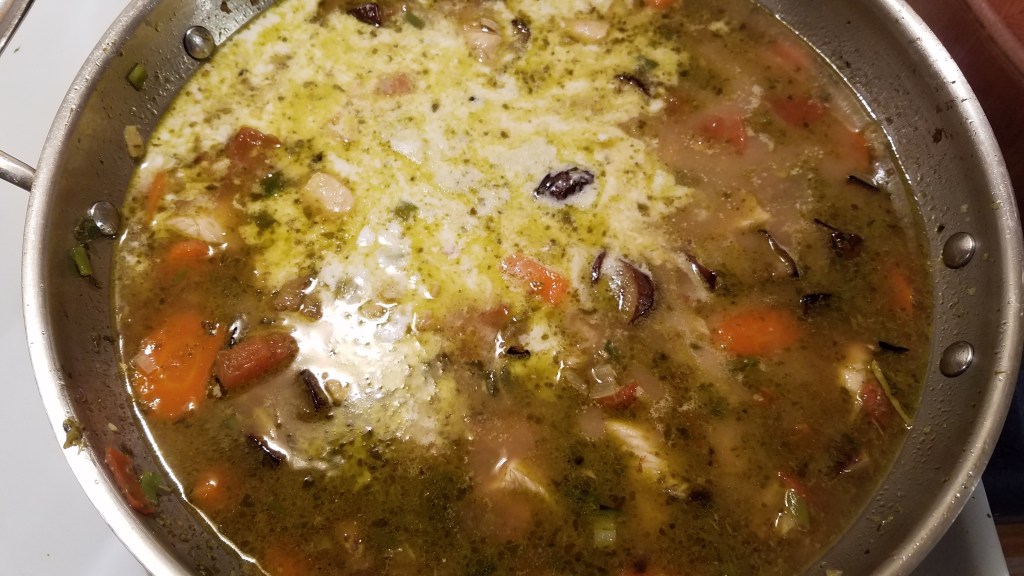
Add the coconut milk and mix with a spatula. Simmer uncovered for another 5 minutes.
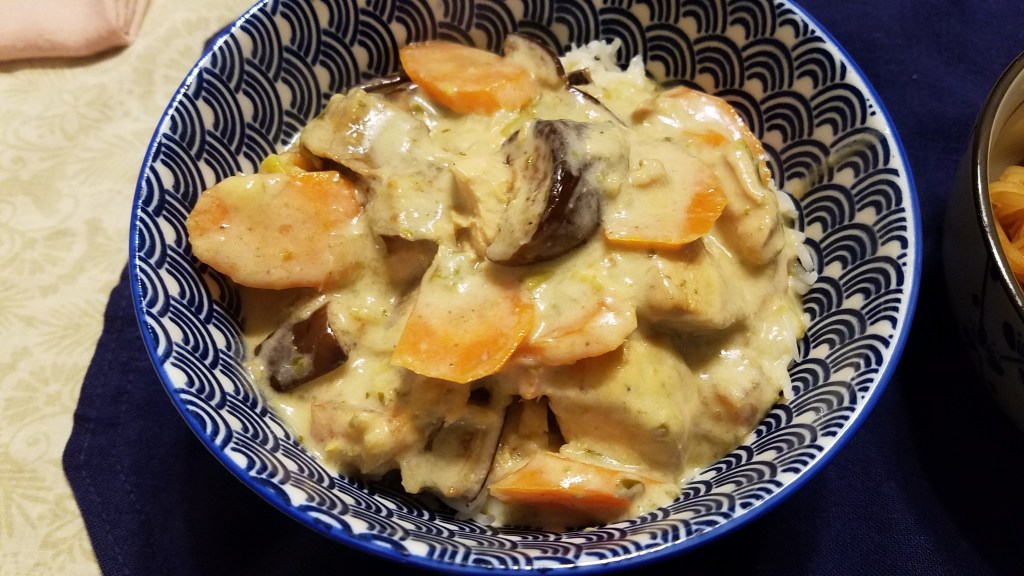
Remove to a serving bowl and keep warm until serving time. Serve in bowls, over basmati rice.
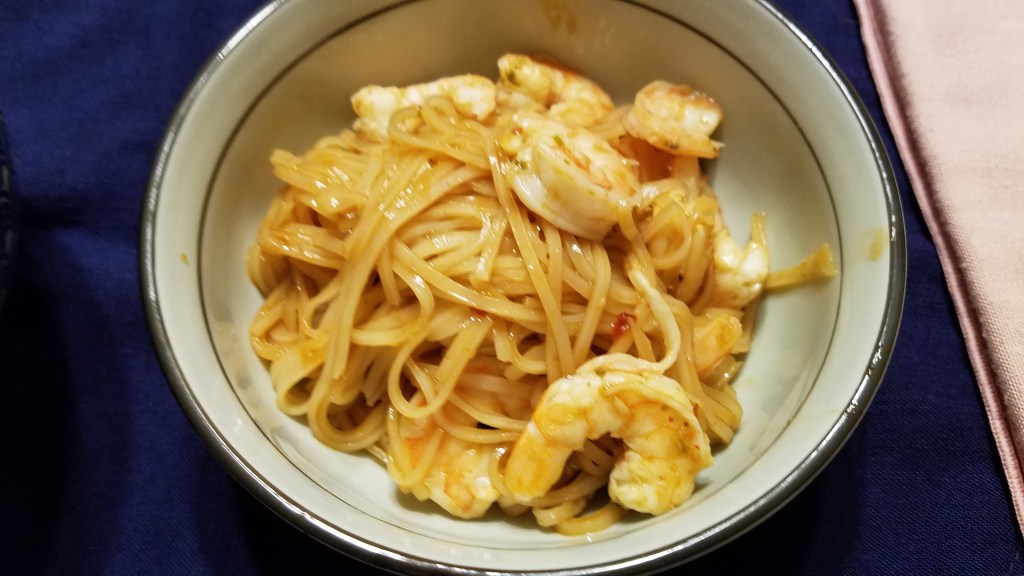
Spicy Shrimp Noodles
Ingredients:
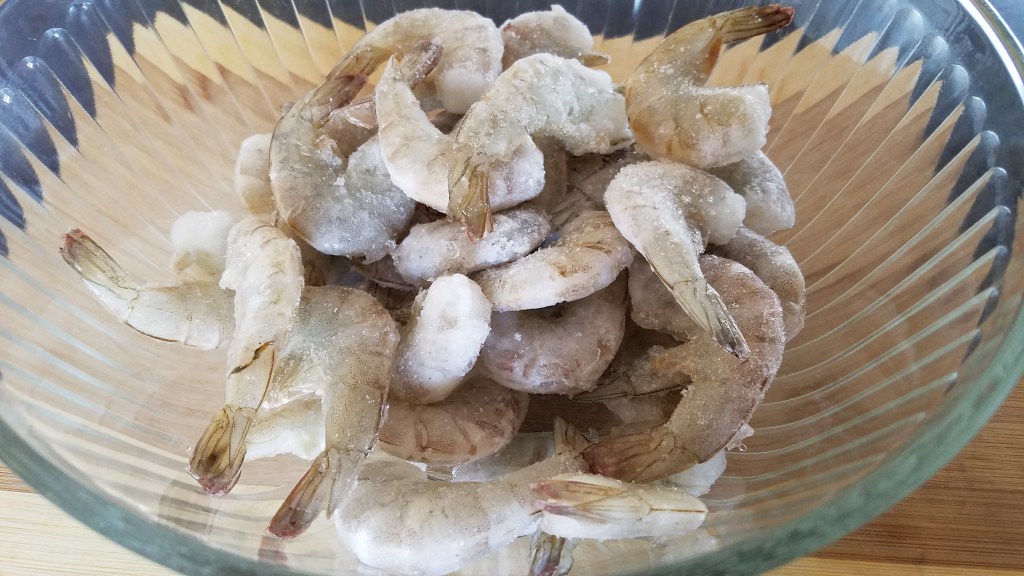
1 lb shrimp (I used frozen shrimp, in the shell, de-veined)
2 Tbs basil pesto sauce
1 Tbs chili powder
2 Tbs fresh ginger, minced
1 lime
1 Tbs cooking oil
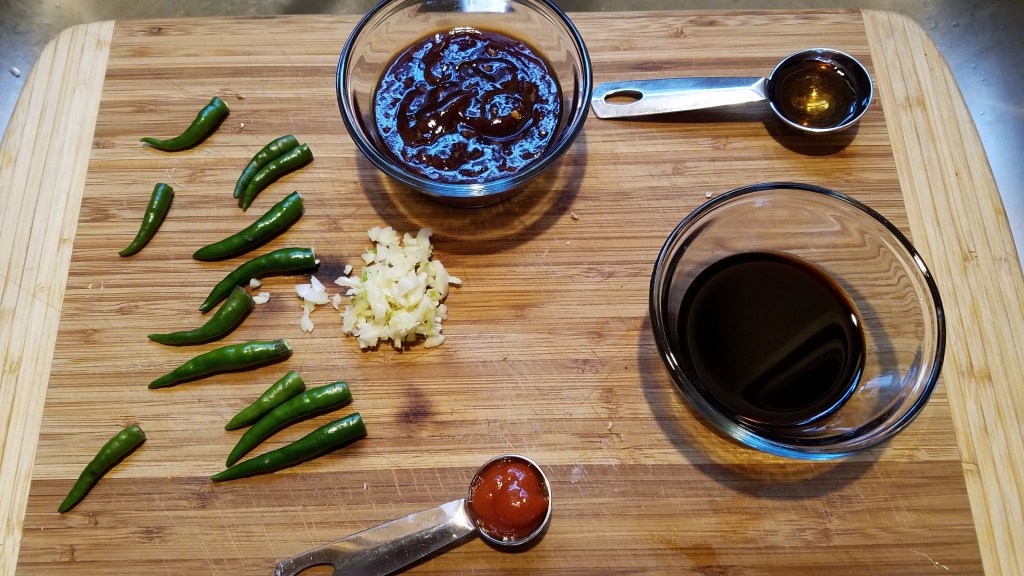
12 Thai chiles
5 cloves of garlic, chopped
¼ cup Asian stir fry sauce (I used General Tso sauce, but any kind will do)
1 Tbs Hoisin sauce
1 ½ Tbs oyster sauce
1 Tbs soy sauce
1 Tbs Vietnamese fish sauce
1 tsp Sriracha (or more, if you want it to be spicier!)
½ lb Vietnamese rice sticks
Directions:
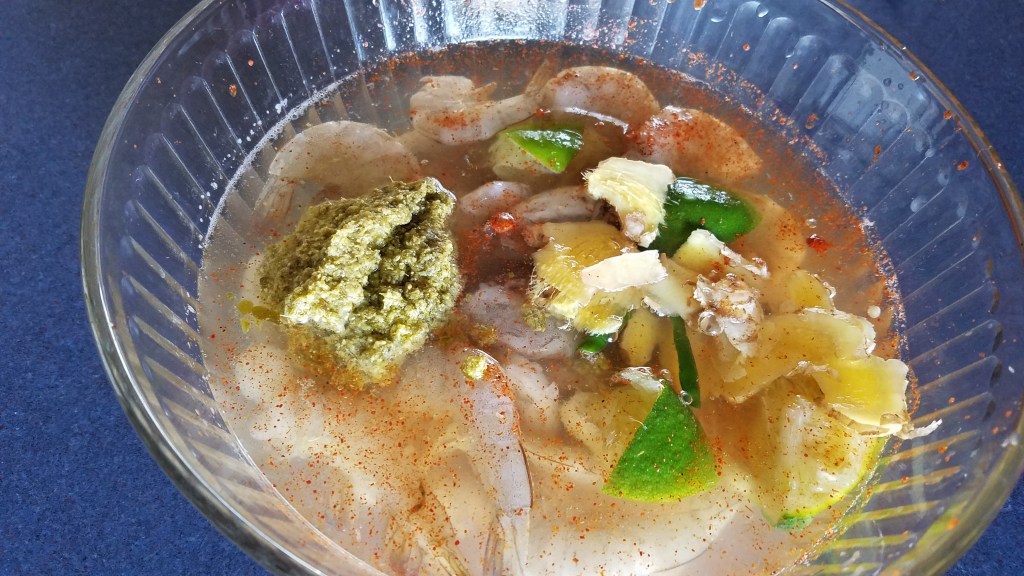
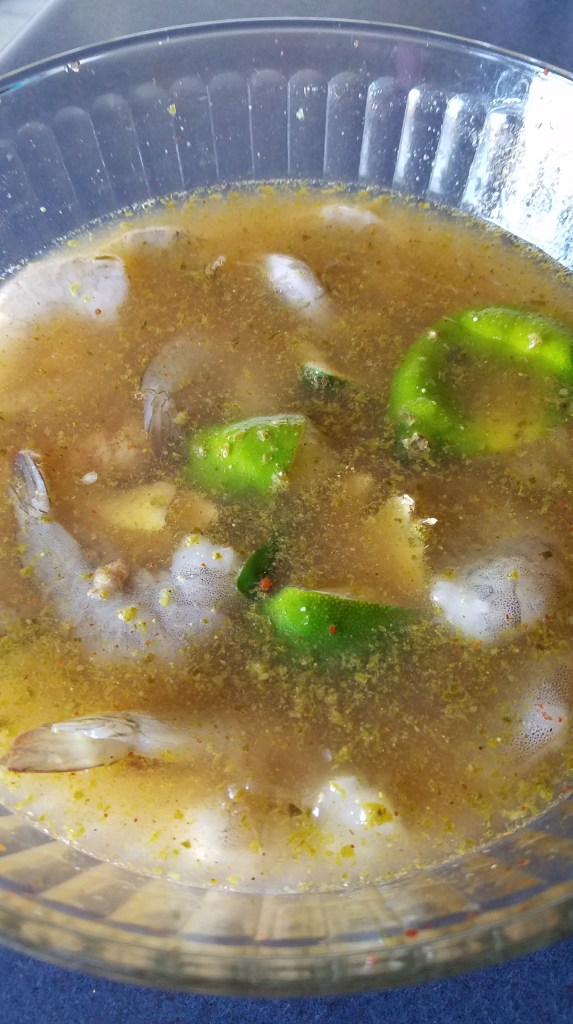
Put the shrimp in a large bowl. Add just enough water to cover the shrimp. Add the pesto sauce, chili powder and minced ginger. Quarter the lime and squeeze the juice over the bowl. Add the rest of the lime to the bowl. Marinate for at least 30 minutes. Since I started with frozen shrimp, I marinated for one hour.
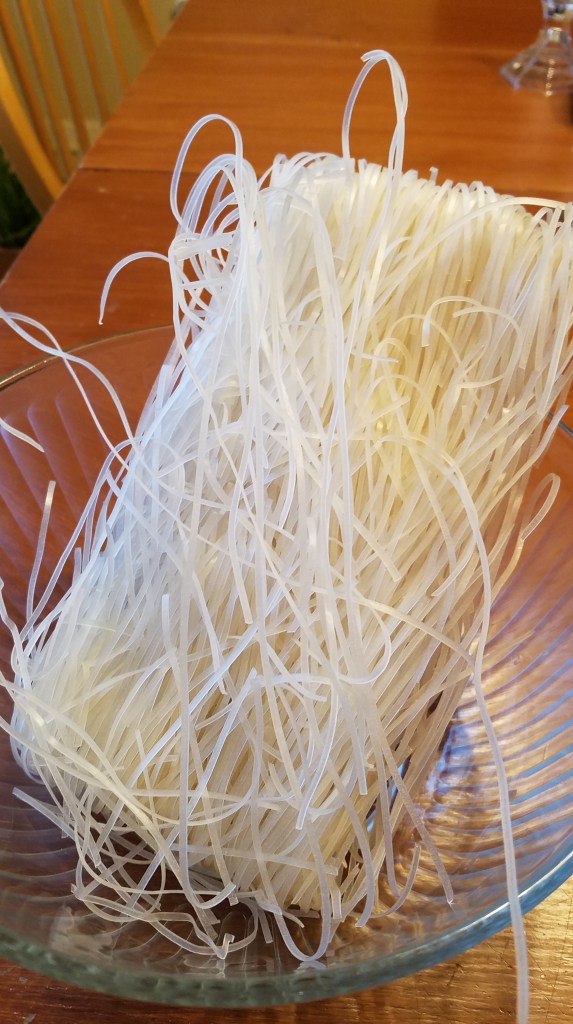
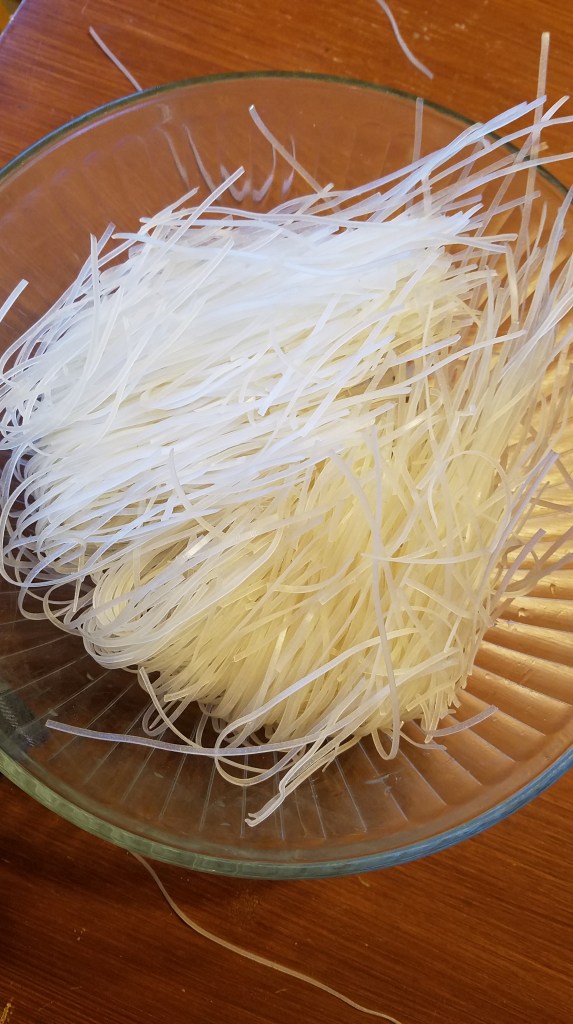
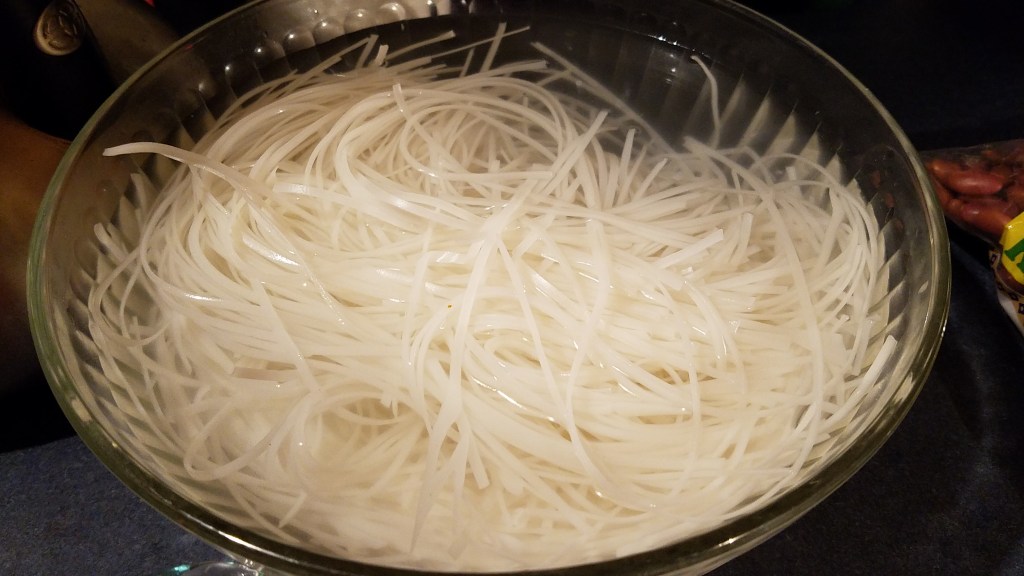
The rice sticks will need to soak in warm water for about 30 minutes, to soften. Vietnamese rice sticks tend to be very long so I broke them in half before soaking.
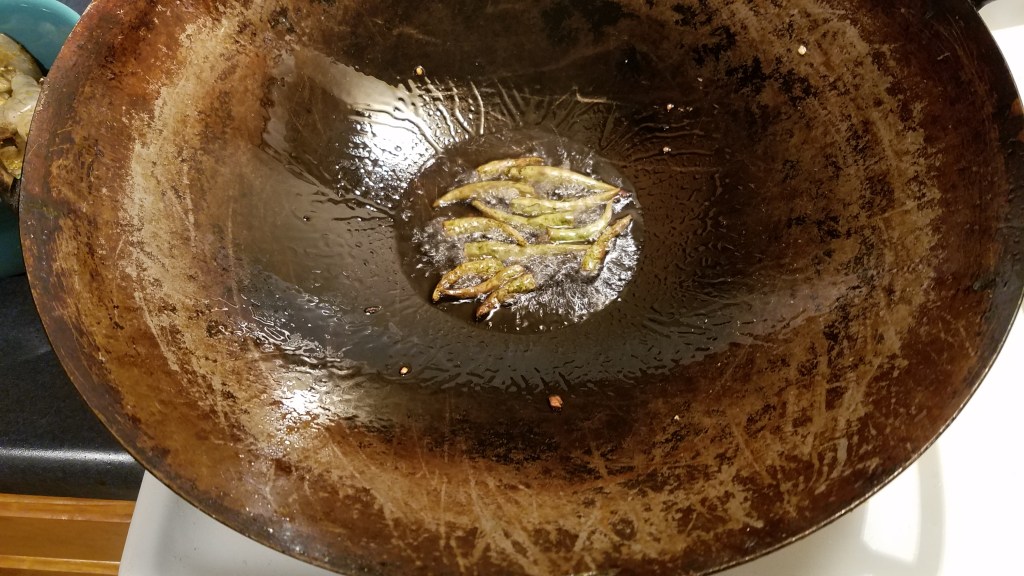
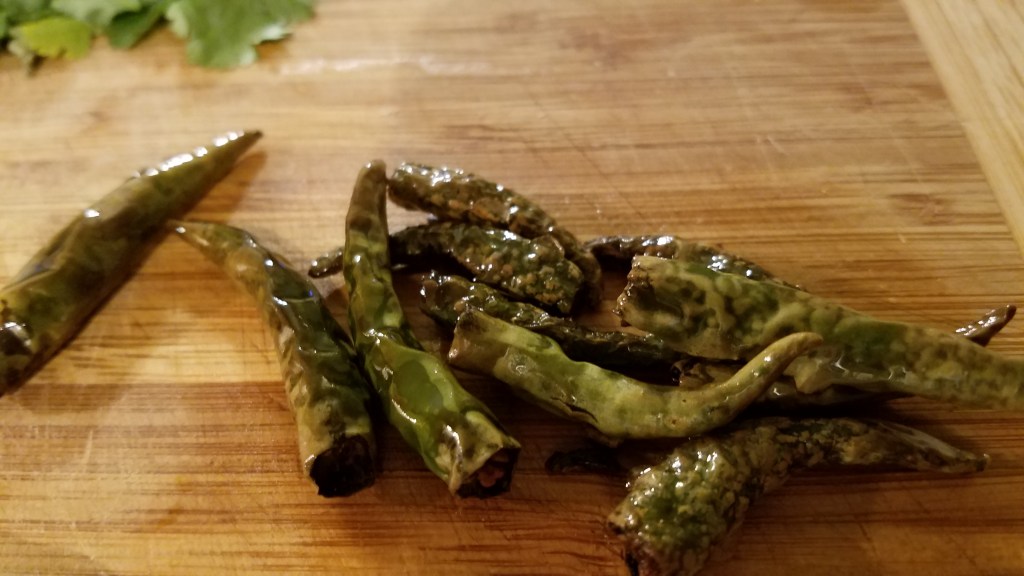
Heat a wok at high heat. Add the cooking oil and the chilies. Sear the chilies for about one minute, or until the outer skins begin to blister. Remove the chiles and set aside. I put them in a small dish to serve at the table.
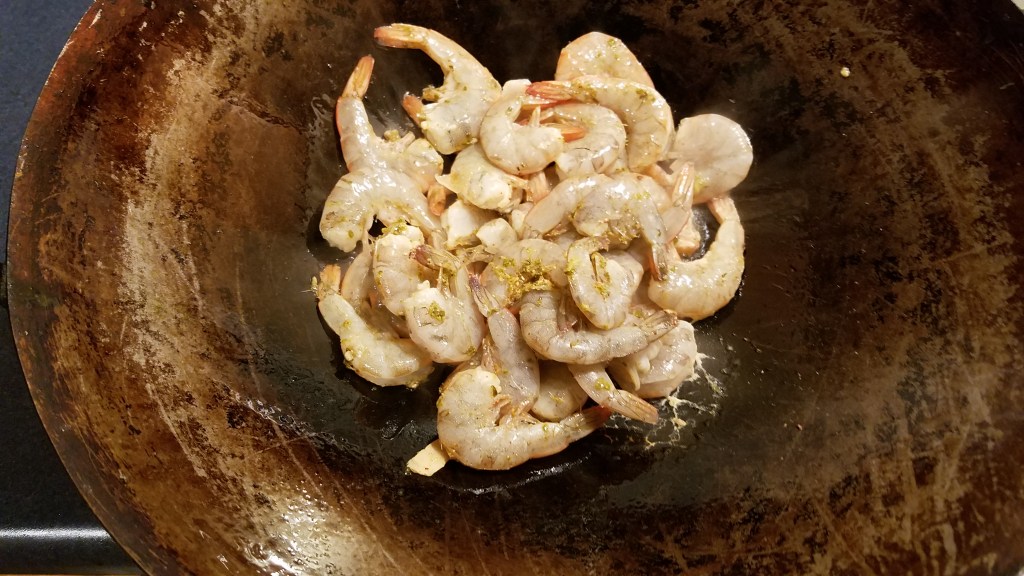
Add the whole, unpeeled shrimp to the wok and stir-fry for one to two minutes. Remove the shrimp and allow them to cool before removing the shells and tails.
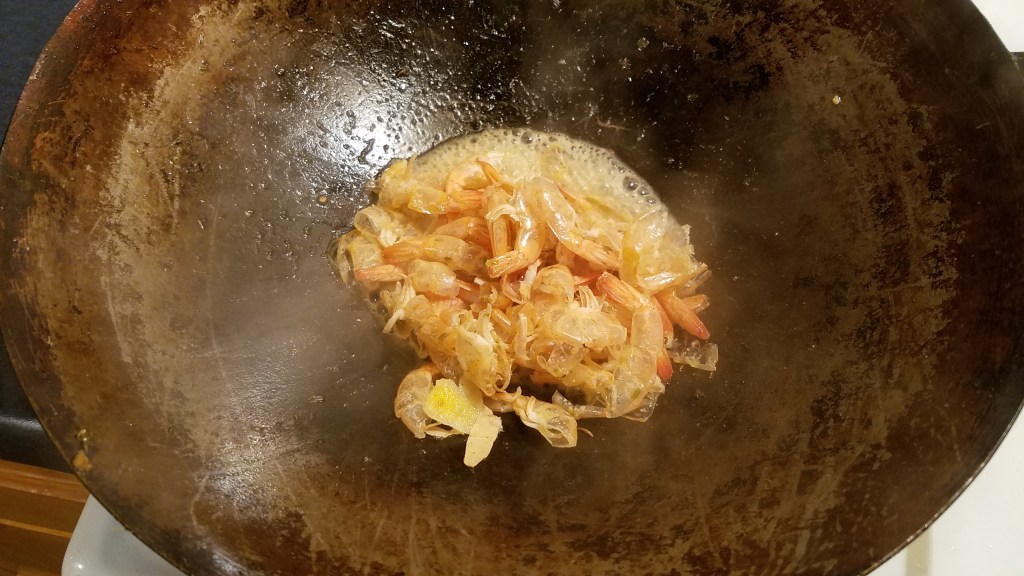
Set the shrimp aside and return the shells and tails to the wok. Stir the shells over high heat for about one minute, to extract their juices. Remove the shells and tails and discard.
Add the garlic to the wok and stir for about 30 seconds.
Add the Asian sauce, Hoisin sauce, oyster sauce, soy sauce, fish sauce and Sriracha. Turn the heat to low and stir to mix.
Drain the rice sticks in a colander and add the rice sticks to the wok. Stir to coat the rice sticks. Return the shrimp and mix briefly. Turn out to a serving bowl.
Between our New Year’s Day celebration and last weekend’s bridal shower party we amassed a lot of inexplicable leftovers. How we wound up with Camembert cheese left over, I’ll never know. That’s fancy French cheese from Normandy, for goodness sake! As I recall, we Americans fought our tails of to liberate that cheese! And the gouda! For pity’s sake everyone ignored the gouda! Other than tulips, legalized prostitution and hash bars gouda is the Netherland’s #1 attraction!
The leftover cauliflower and broccoli is easier to understand. They’re always the last stragglers on a veggie tray. The Kalamata olives went first and then the carrots. By the time the carrots were gone, so was the creamy ranch dressing dip. Poor cauliflower and broccoli always get left behind, like a scrawny kid who gets picked last during recess, when teams are chosen.
So, now it’s time to scrape together all of the those party leftovers and make a meal.
Rustic Chicken with Winter Vegetables and Whipped Potatoes
My first step was to make the puff pastry for the chicken dish. From there I prepped much of the rest of the meal in advance and kept it cool until nearly service time. I finished by roasting the vegetables and frying some matchstick onions.
Ingredients for the puff pastry:
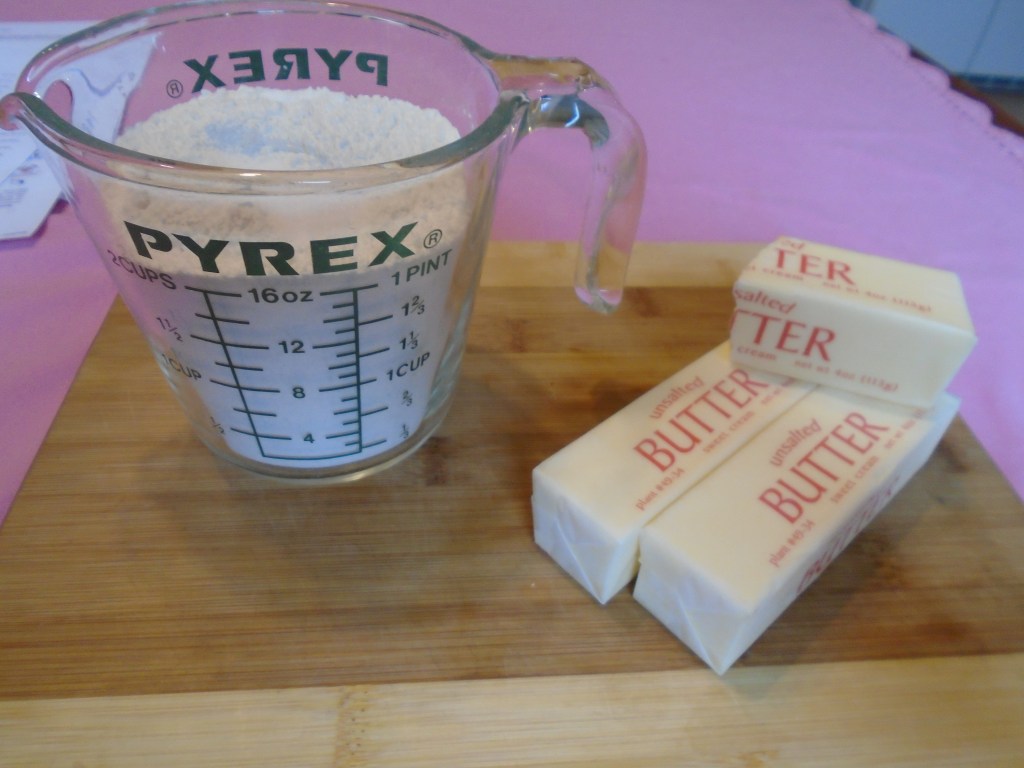
2 cups flour
1 tsp salt
1 ½ cup cold butter (2 and a half sticks)
½ cup ice cold water
Directions:
Puff pastry is really not too difficult to make at home as long as you adhere to a few rules. There are only a few ingredients but the important thing to remember while making the pastry is to keep all of the ingredients very cold during preparation. I chilled the flour, in addition to chilling the butter, and I put the water in the freezer, just prior to using it.
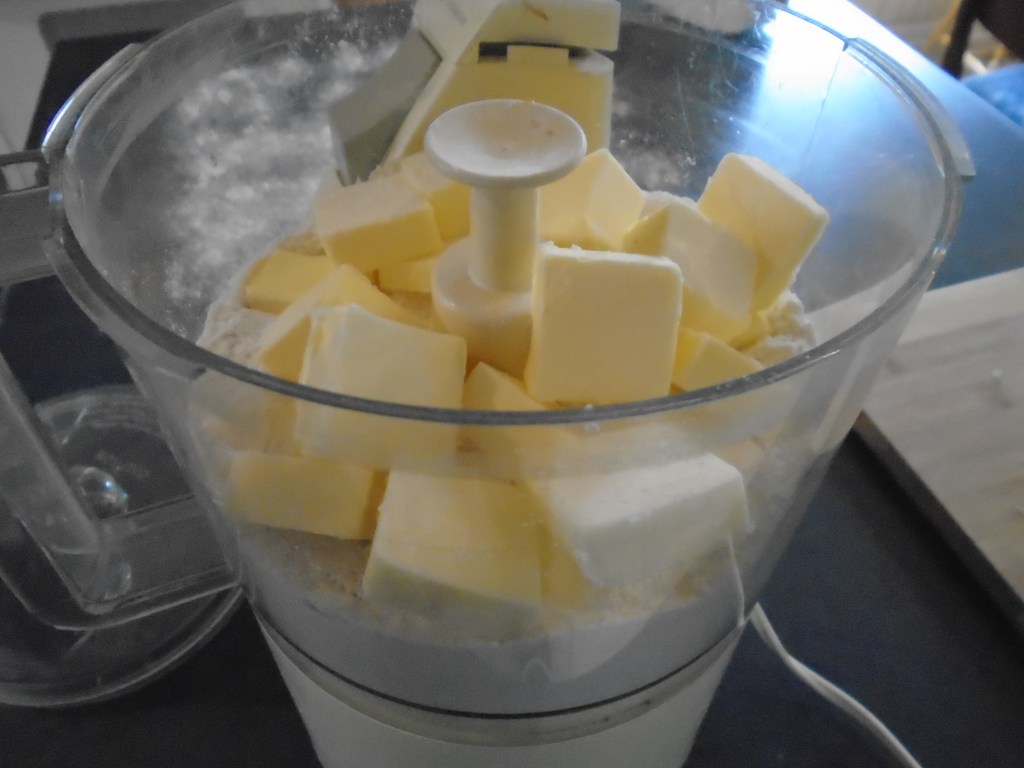
Since hands are warm, and warmth is a pastry killer, I added the flour, salt and butter to a food processor. I pulsed the food processor several times until the flour and butter combined to make a grainy mixture.
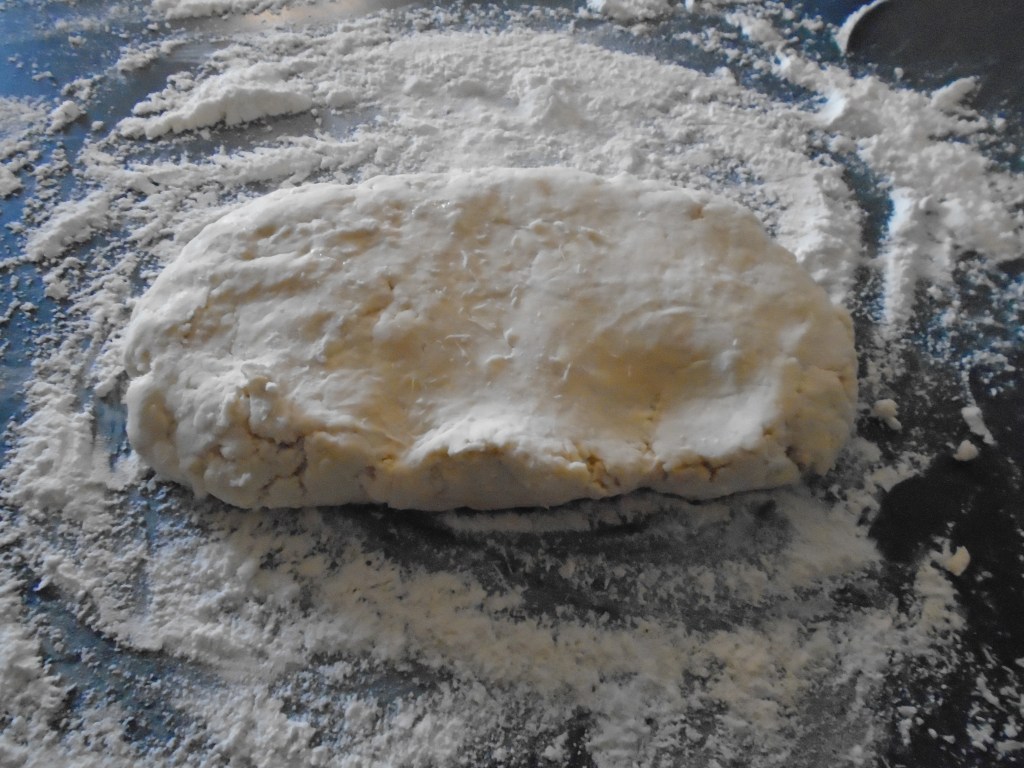
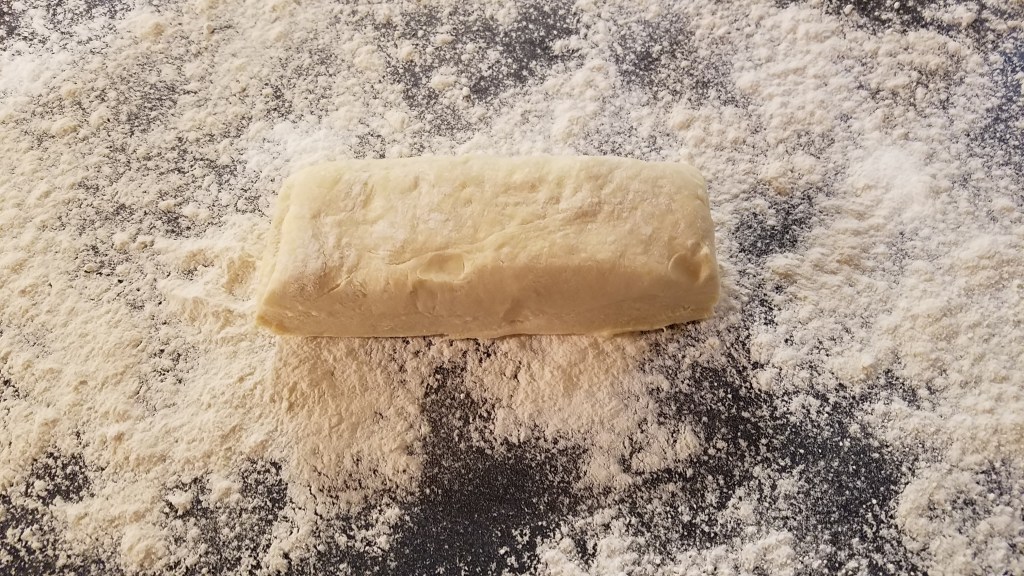
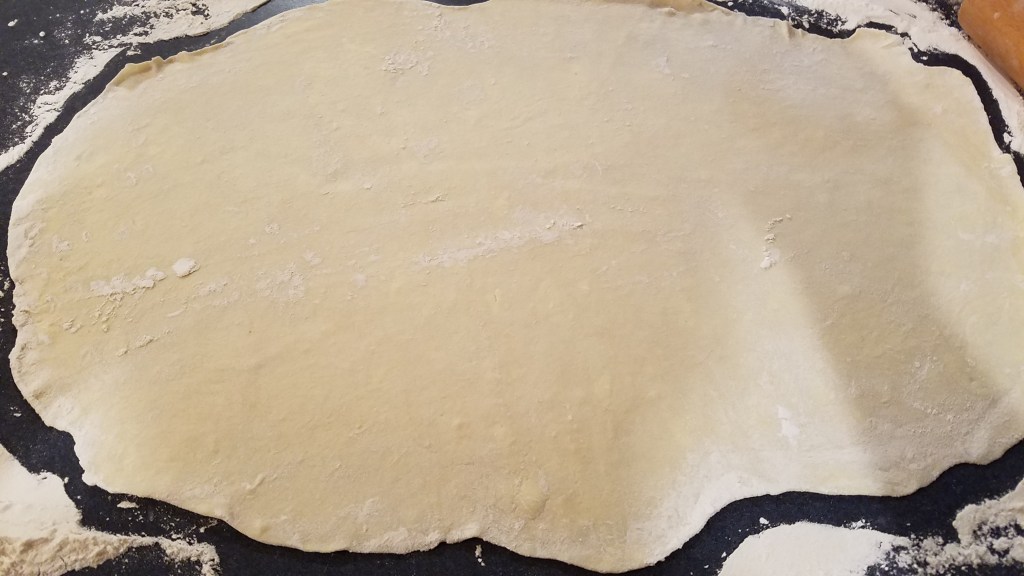
I added the ice cold water and pulse again, until the dough began to form a ball. I turned out the dough ball to a clean work surface and formed the dough into a 12” x 6” rectangle. I worked quickly, using the rolling pin.
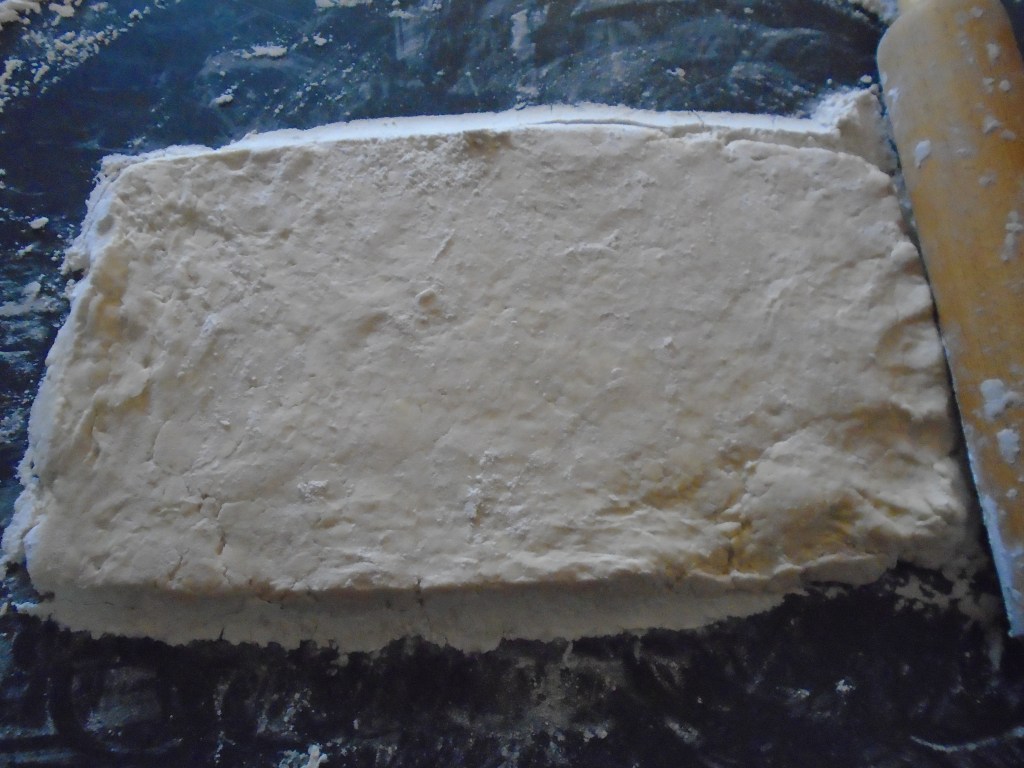
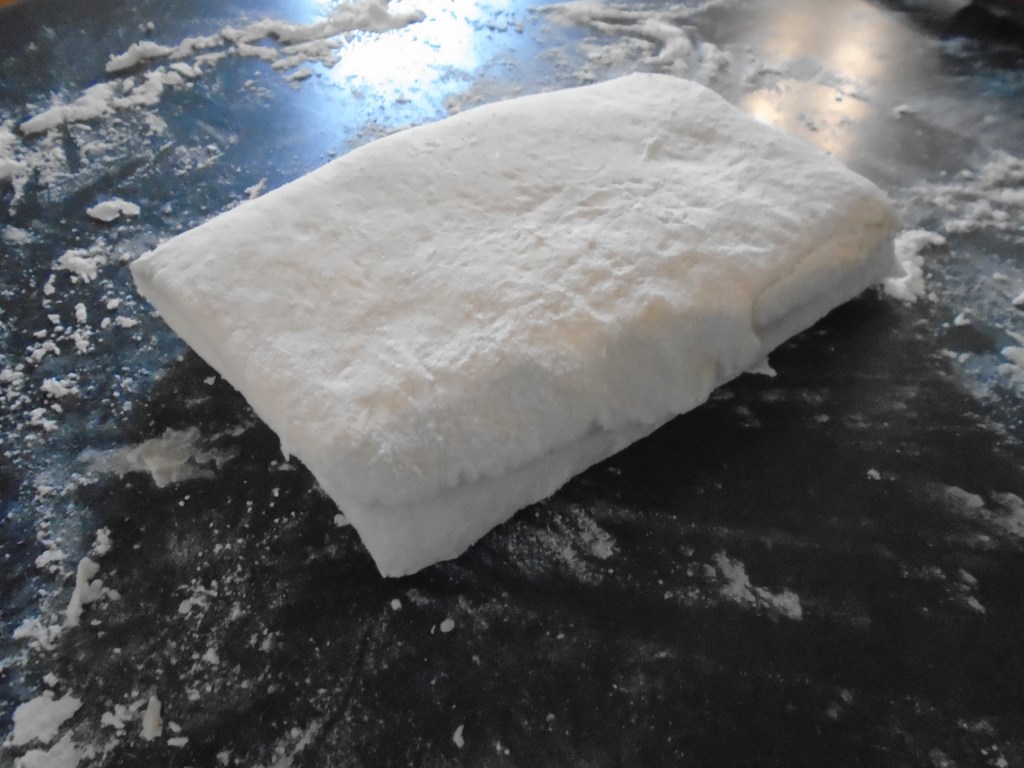
I folded the dough over into a tri-fold and squared the dough by pushing the edges with the rolling pin. I added a little more flour to the work surface to keep the dough from sticking to the surface.
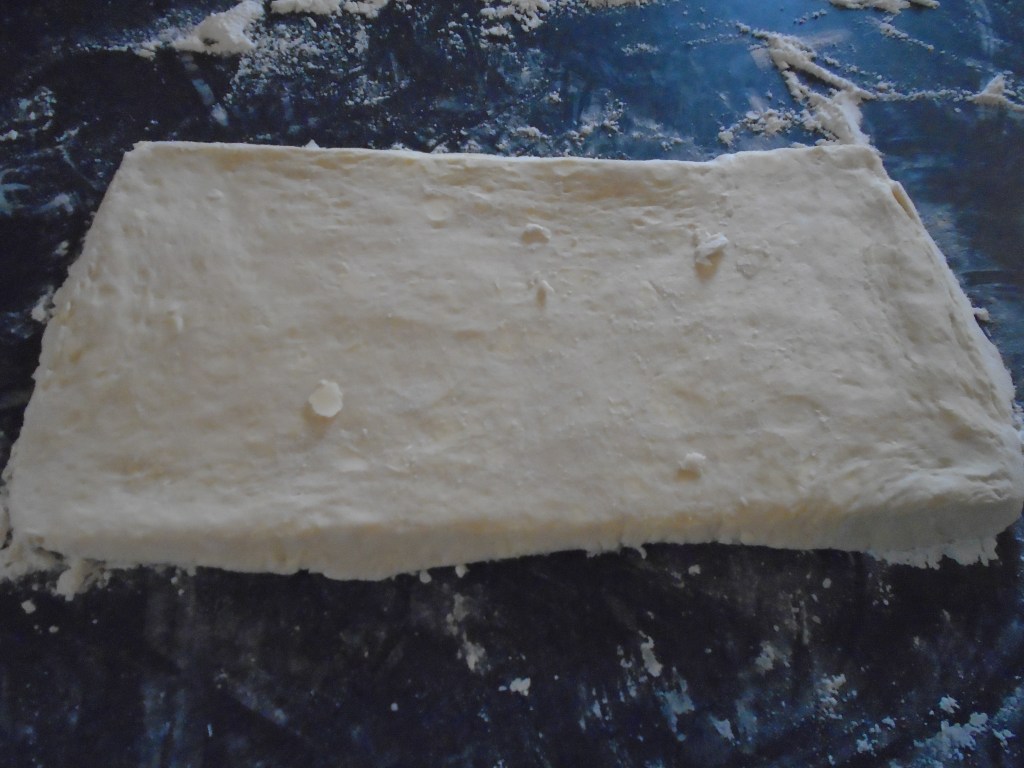
I rolled the dough out again to a 12” x 6” rectangle and folded it in thirds again. I repeated this process three more times. Rolling the dough multiple times increases the amount of flakiness of the finished puff pastry.
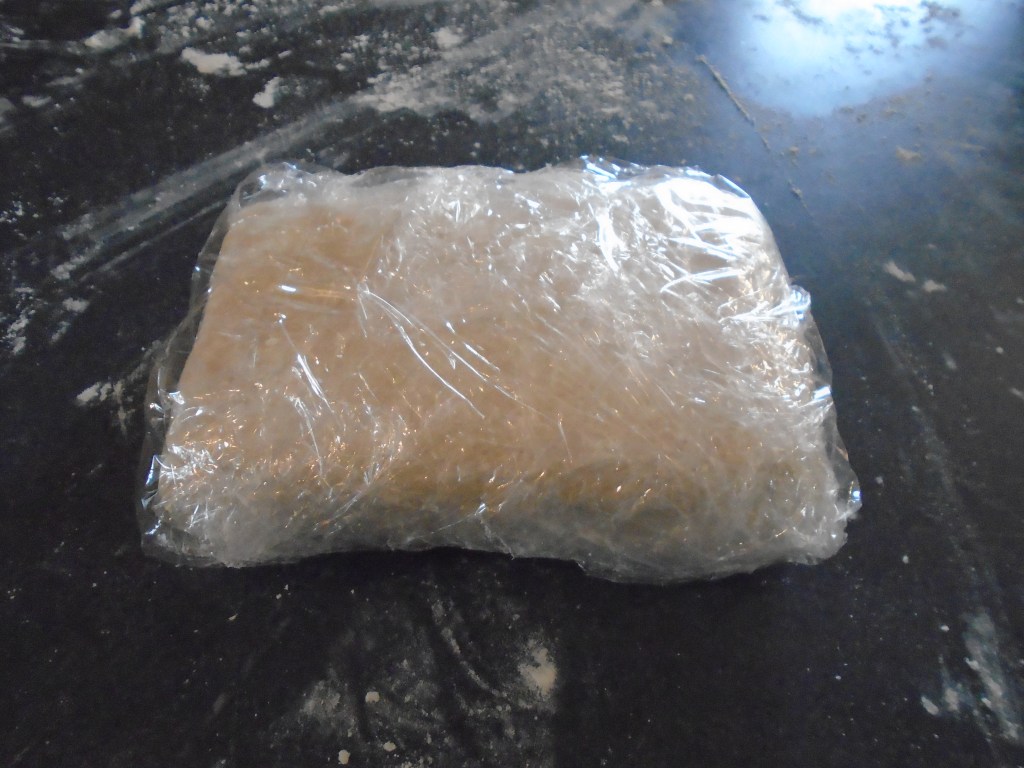
I wrapped the rectangle of dough in plastic wrap and kept it refrigerated until I was ready to use it.
This recipe makes enough dough for 24 pastry cups.
Ingredients for the rest of the meal:
Infused blueberries:
1 ½ cup water
2 tsp dried rosemary
½ cup blueberries
1 Tbs sugar
Roasted chicken:
4 chicken thighs (bone–in)
5 cloves fresh garlic, sliced thin
2 tsp dried rosemary
1 Tbs rendered bacon fat
½ cup roasted red bell peppers
4 oz sliced mushrooms (I used canned mushrooms)
1 Tbs olive oil
6 oz Camembert cheese (rind removed)
Whipped potatoes:
6 small russet potatoes
2 Tbs butter
¼ cup sour cream
¼ cup milk
5 cloves roasted garlic
Matchstick onions:
1 yellow onion, sliced into very thin rings
1 cup buttermilk (I used 1 cup milk and 1 tsp vinegar)
1 cup flour
1 tsp seasoning salt
Winter vegetables:
1 ½ cup carrots, sliced and chopped
1 cup broccoli florets
1 cup cauliflower florets
1 Tbs olive oil
½ cup gouda cheese, shredded
Directions:
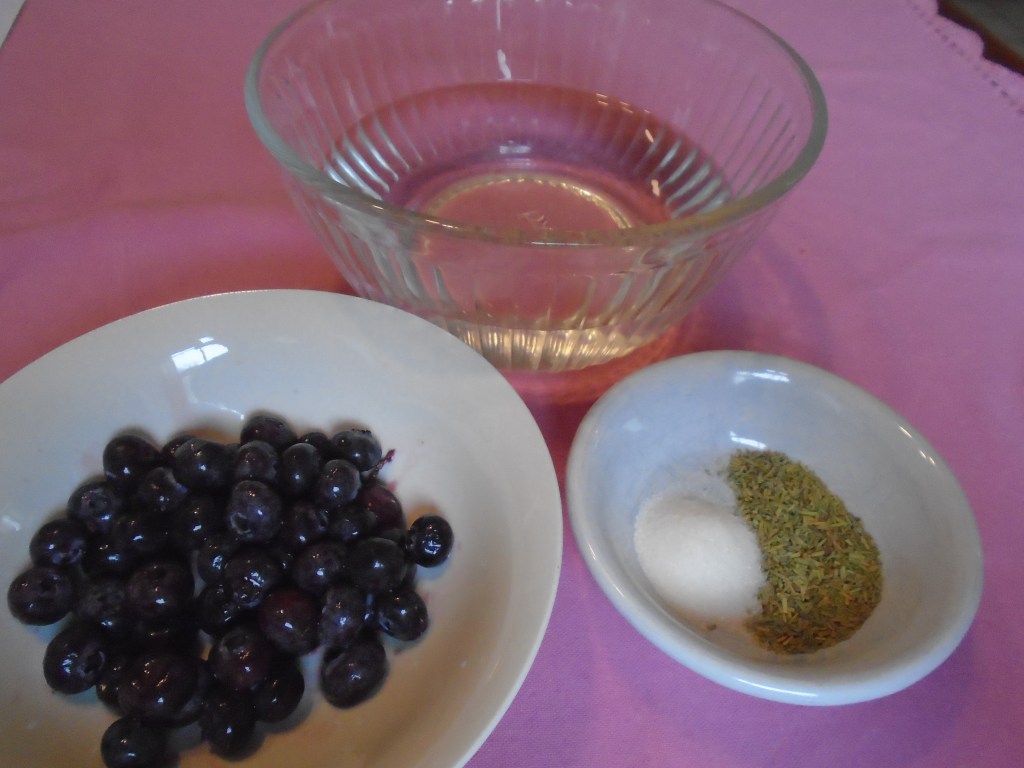
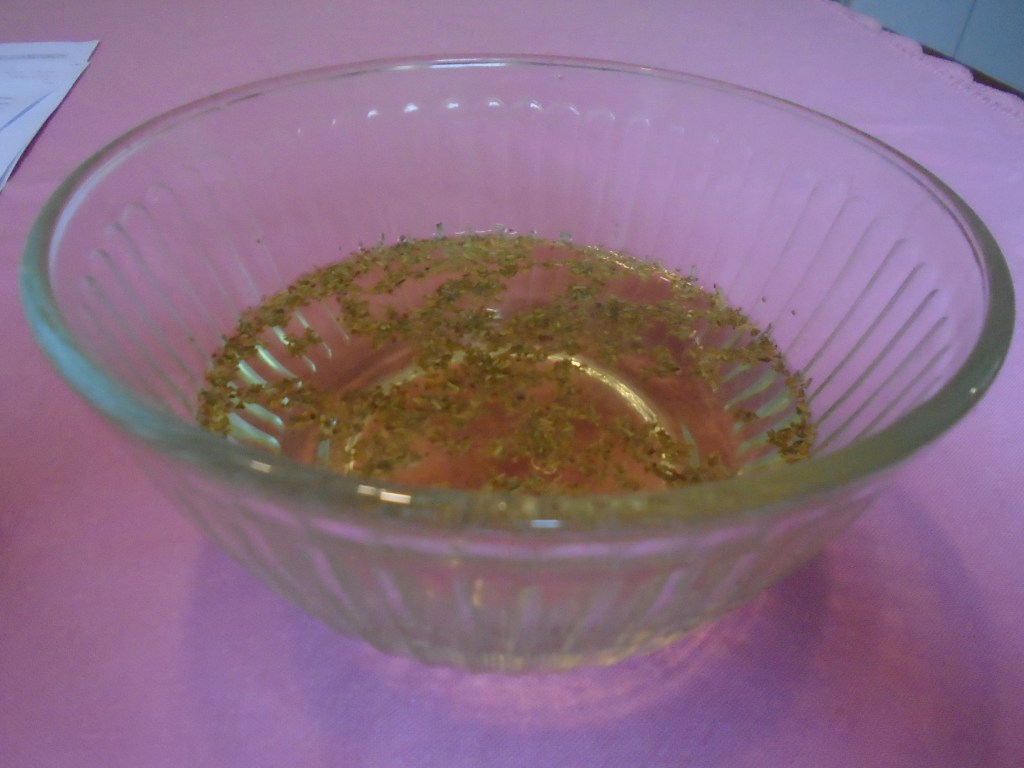
Fill a small bowl with 1 ½ cups of boiling water. Add the rosemary and sugar. When the water has reached room temperature, remove the rosemary and reserve for later.
Add the blueberries to the fragrant water and allow them to soak at room temperature for a few hours.
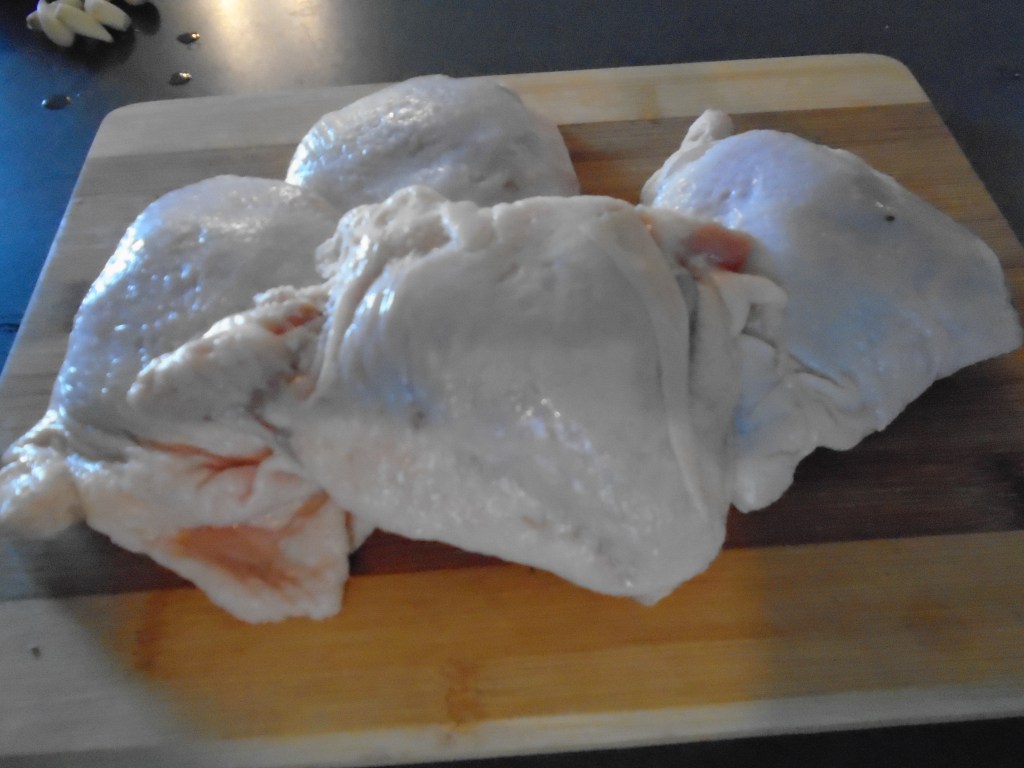
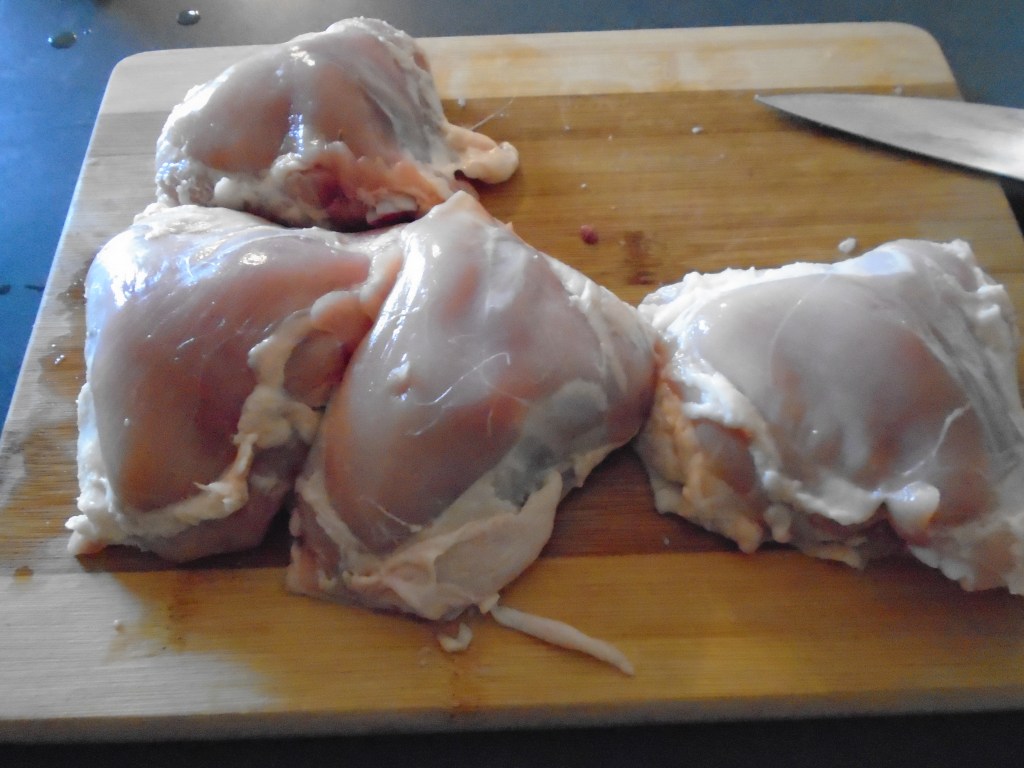
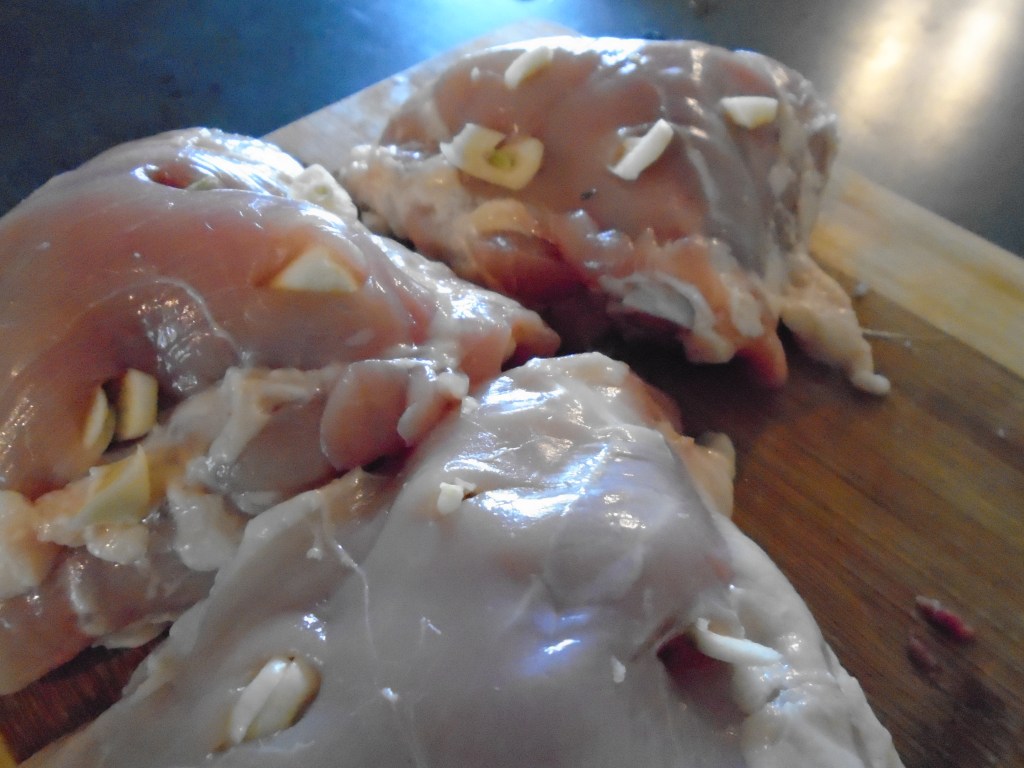
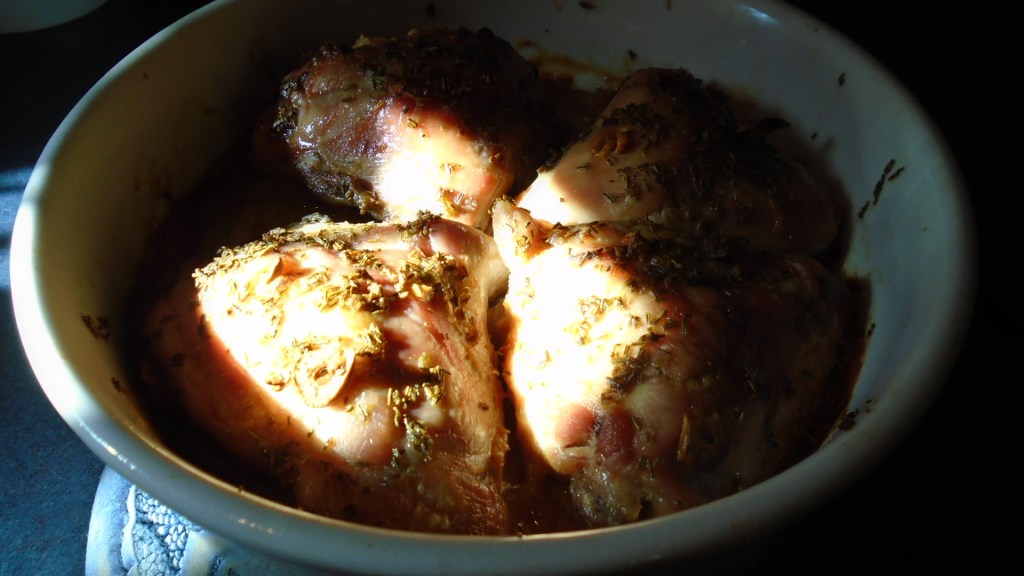
Remove the skin from the chicken thighs and discard. Using a small, sharp knife, make several incisions in the chicken and insert the slices of garlic.
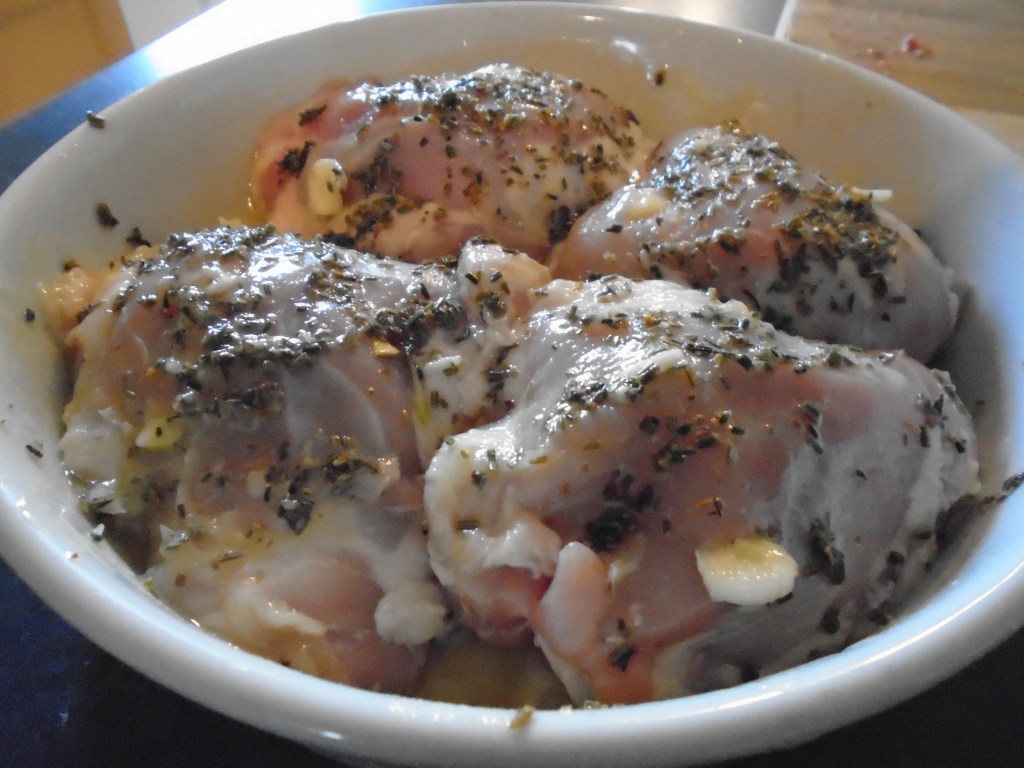
Add bacon grease and olive oil to a baking dish. Smear the chicken with the grease and oil and nestle the chicken in the baking dish. Sprinkle the reserved rosemary onto the chicken.
Roast the chicken, uncovered, in an oven at 350° for 90 minutes. Baste the chicken occasionally. Remove from the oven and allow to cool down to room temperature.
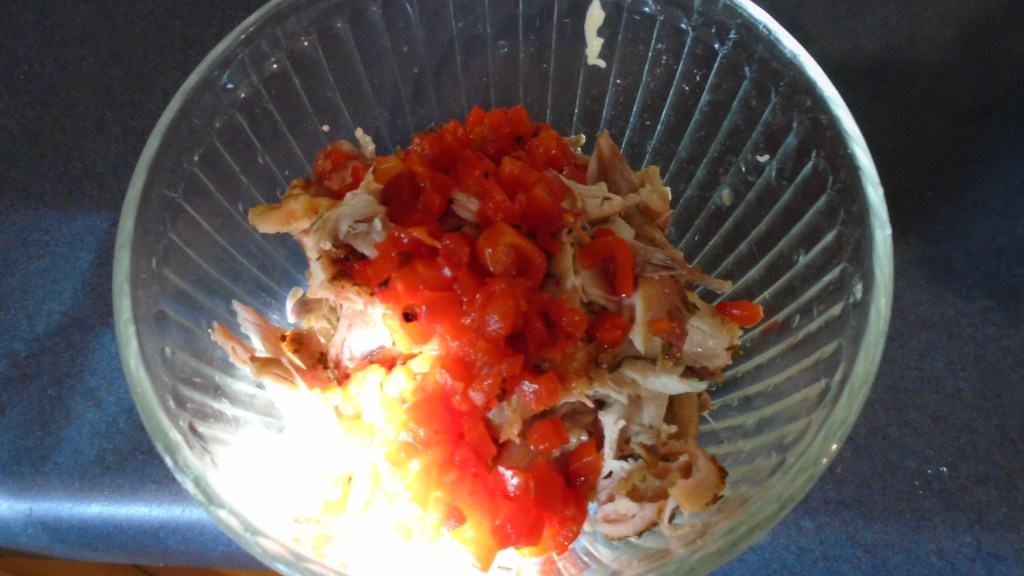
Once the chicken has cooled, shred by hand.
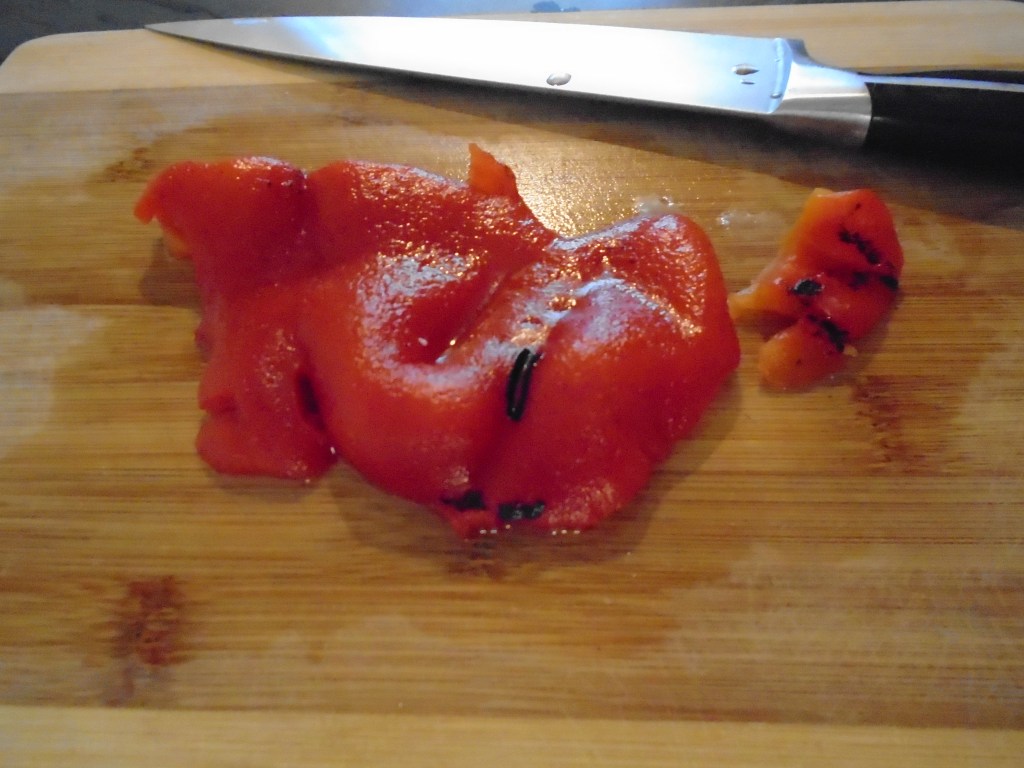
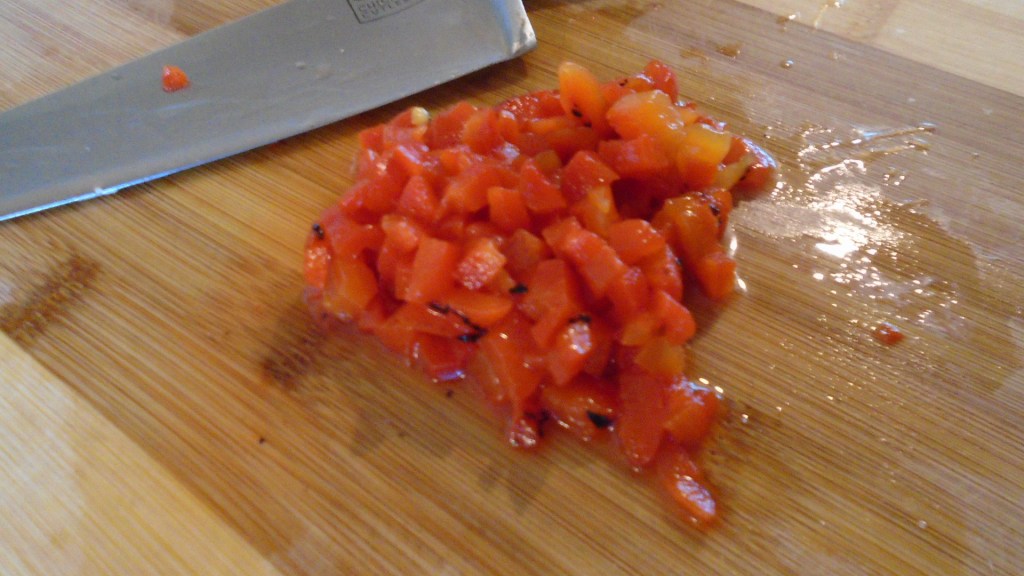
Dice the roasted peppers and add to the shredded chicken. Add the mushrooms to the chicken and mix to incorporate. Set aside.
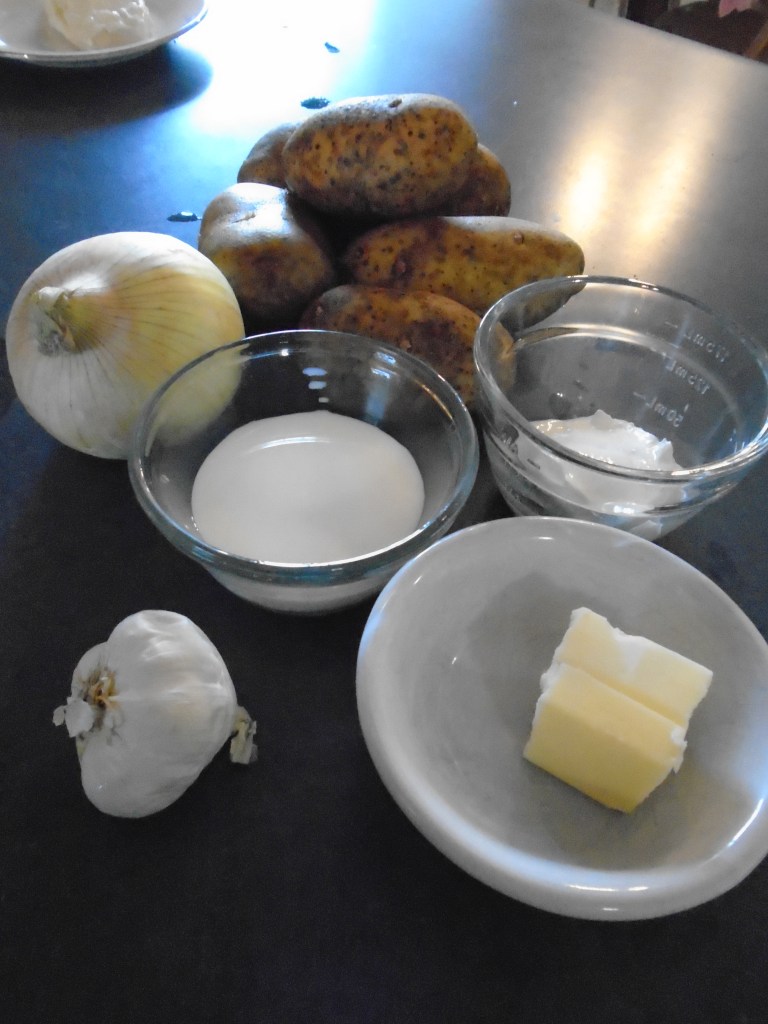
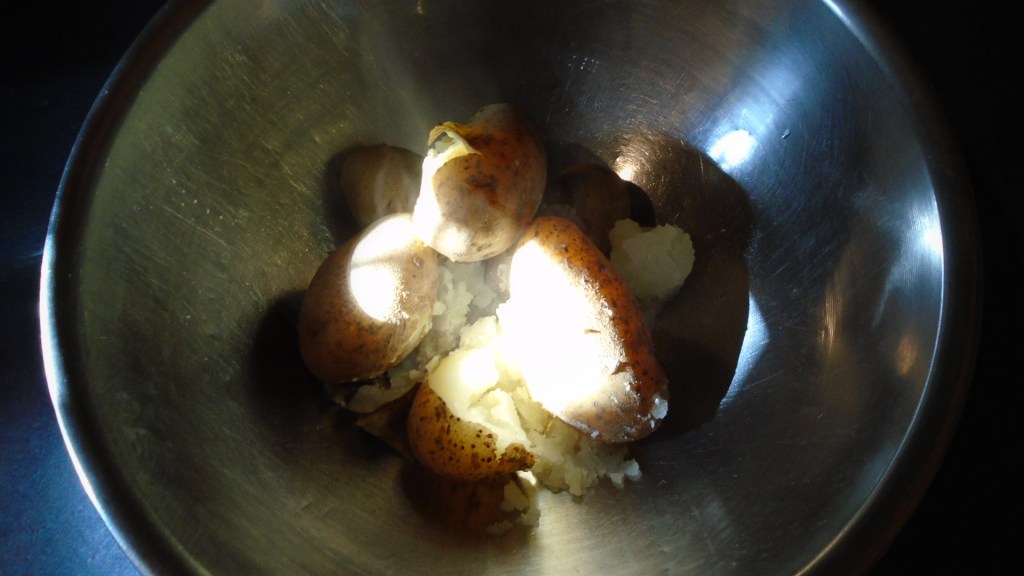
Wash and scrub the potatoes. Put the potatoes in a large pot and cover with water. Cover the pot with a lid and boil the potatoes at low heat for about one hour, or until the potatoes can be pierced easily with a fork.
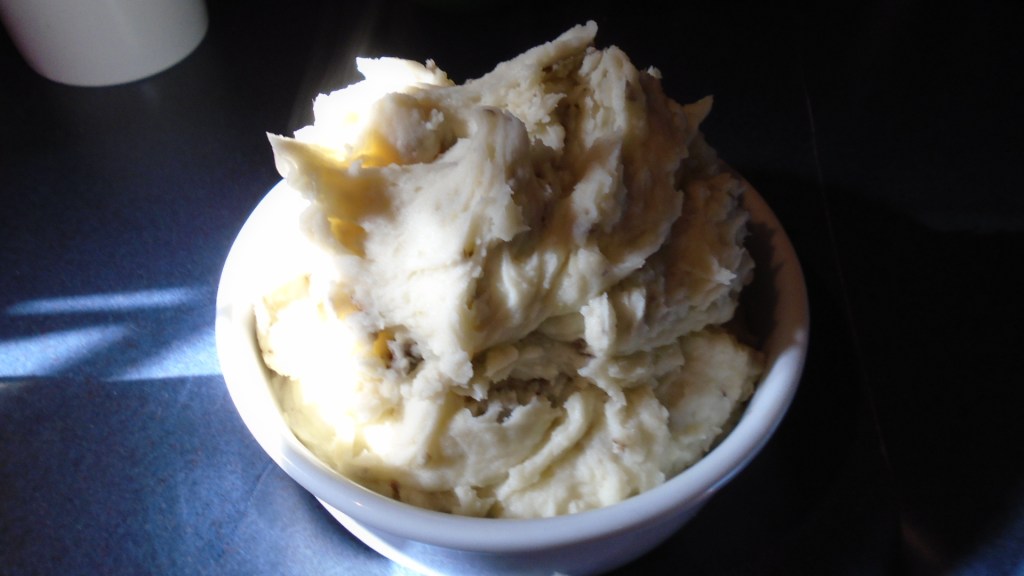
Using a hand-held mixer, blend the potatoes, including the potato skins, with the butter, sour cream, milk and roasted garlic. Store in warm place.
Drain the blueberries and set aside.
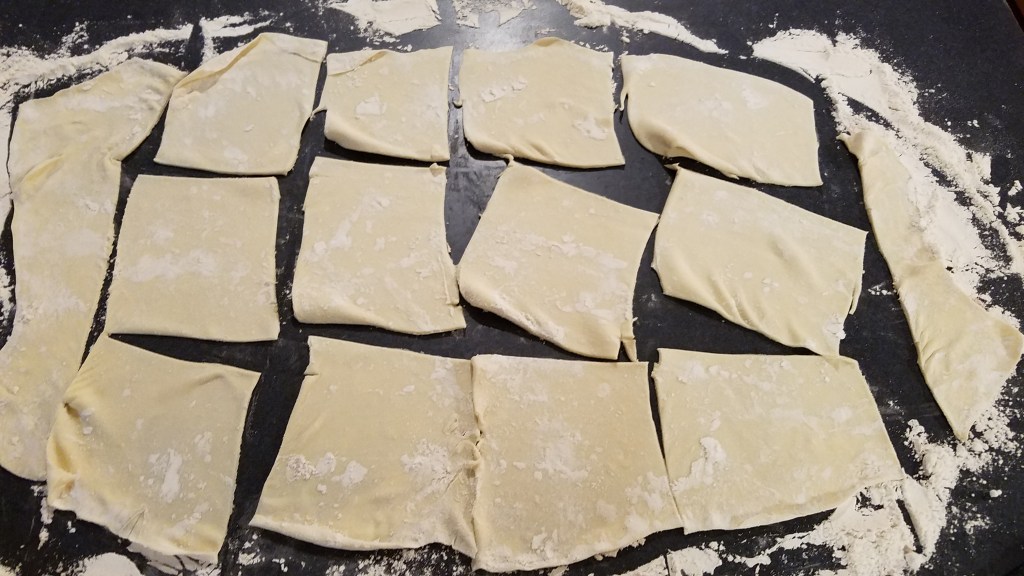
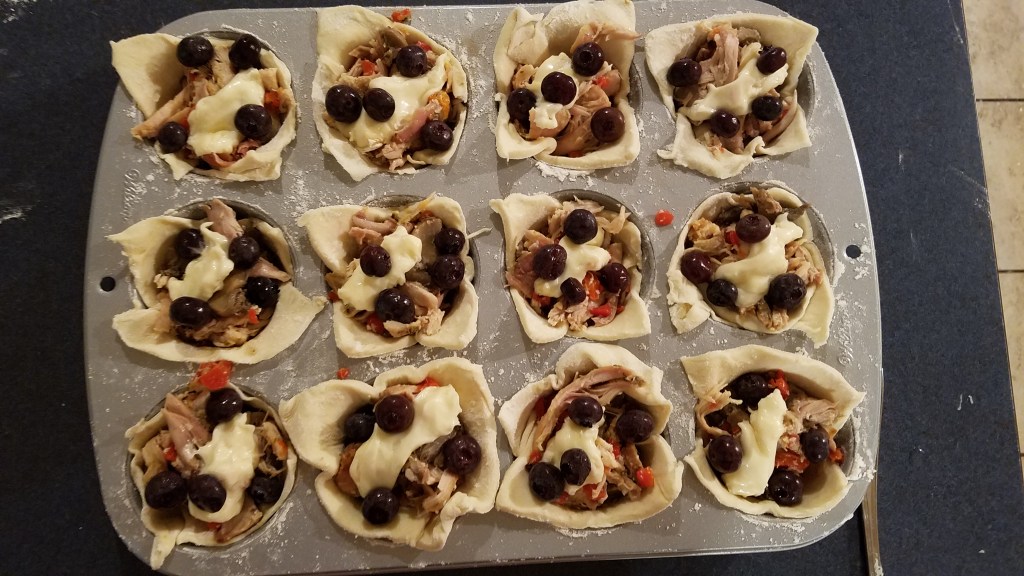
Remove the pastry from the refrigerator and place on a clean work surface. Divide the dough in half. Use one half for the chicken dish and reserve the other half for a dessert dish. Roll the dough out to about ¼” thick. Slice the pastry into 4” squares. Form fit the pastry into the muffin pan.
Slice dough into 4″ squares
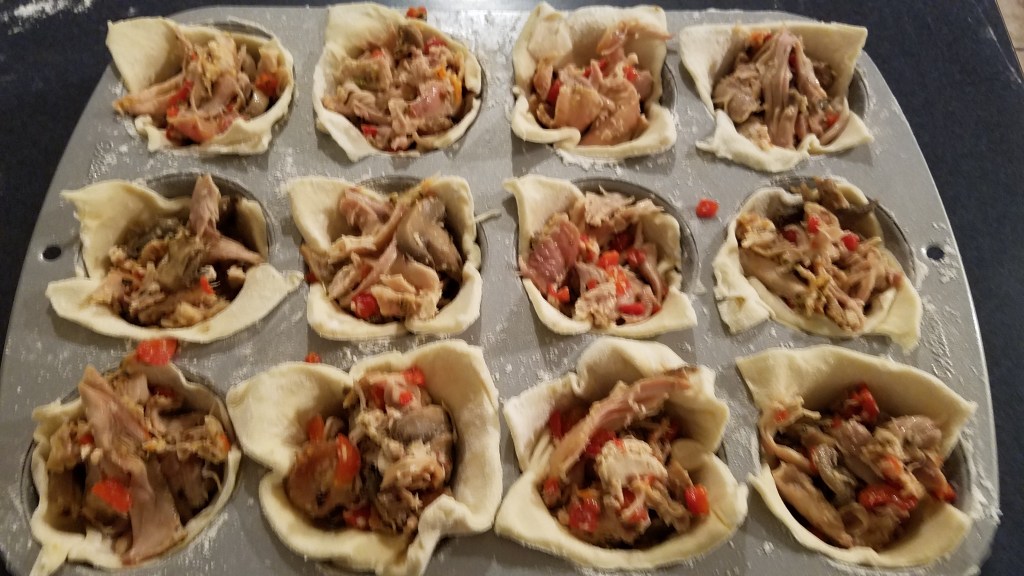
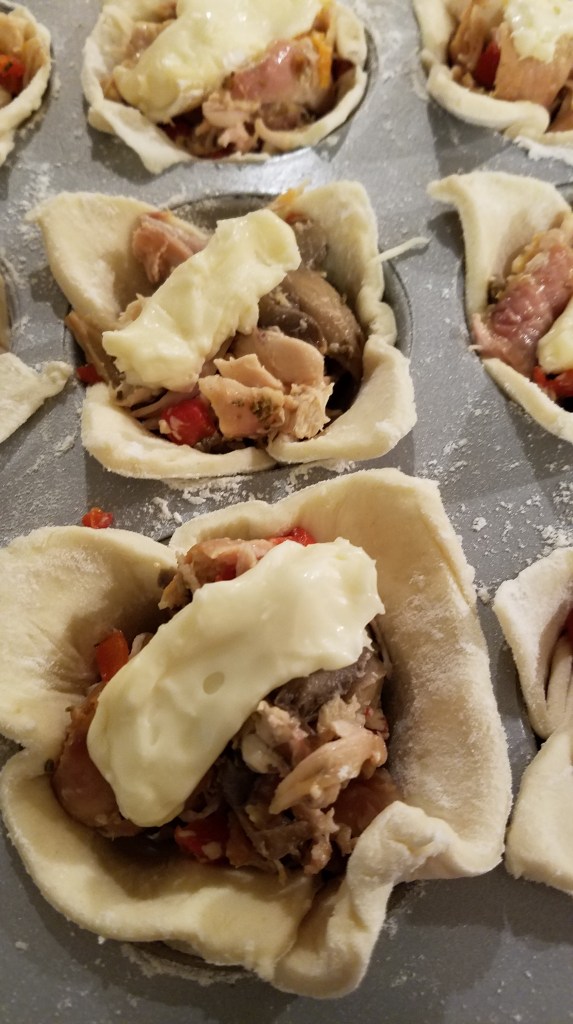
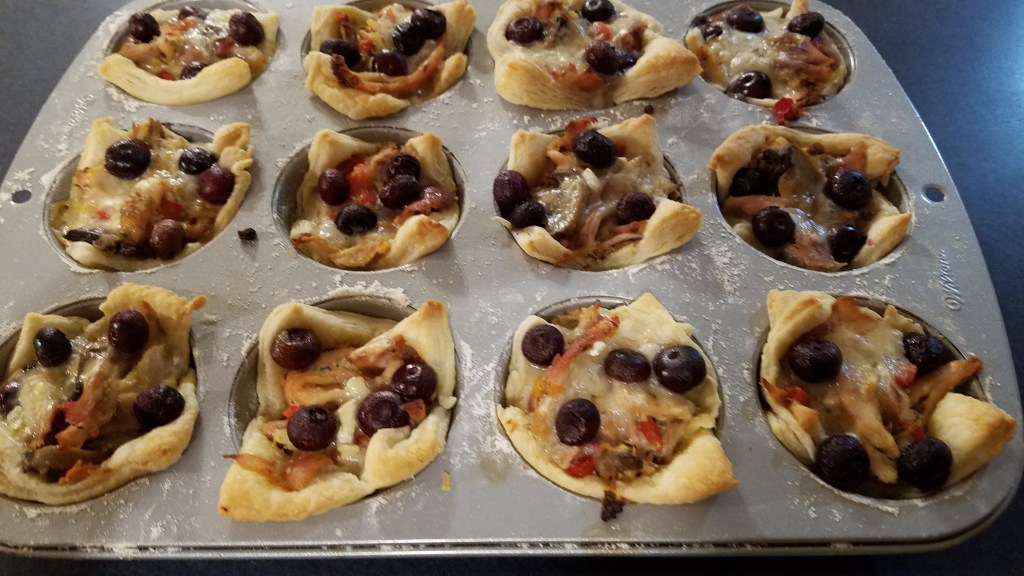
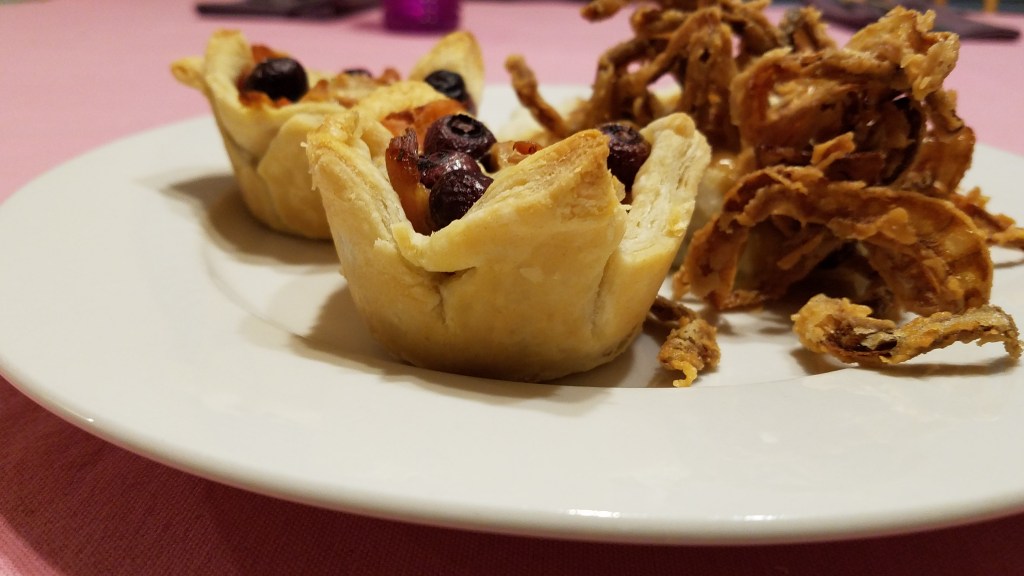
Place the squares in muffing pan and fill the pastry with the chicken mixture. Top with a teaspoon of Camembert cheese and a 3 or 4 blueberries.
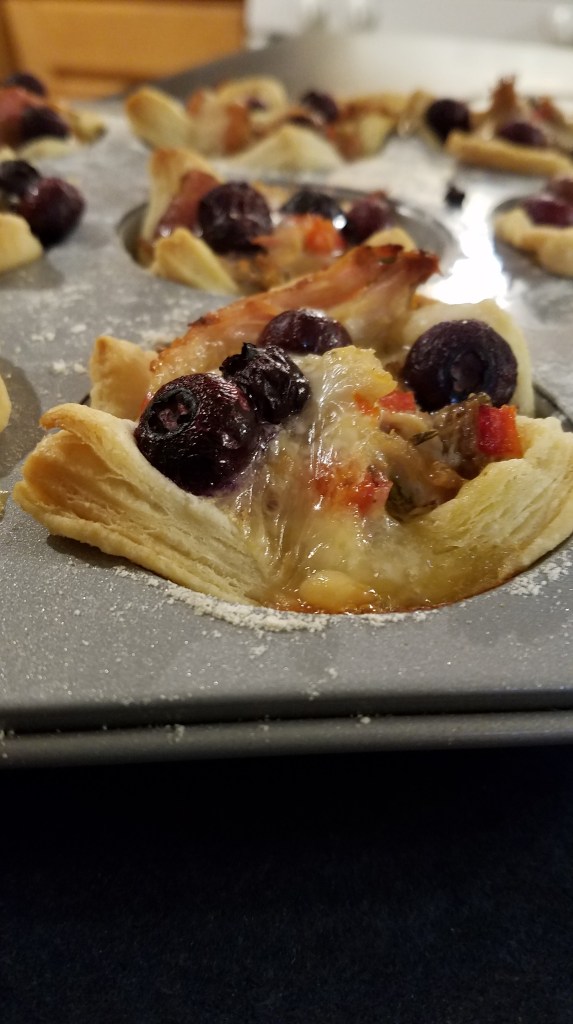
Bake at 400° for about 20 minutes, or until the pastry puffs and turns golden brown.
Roasted Winter Vegetables
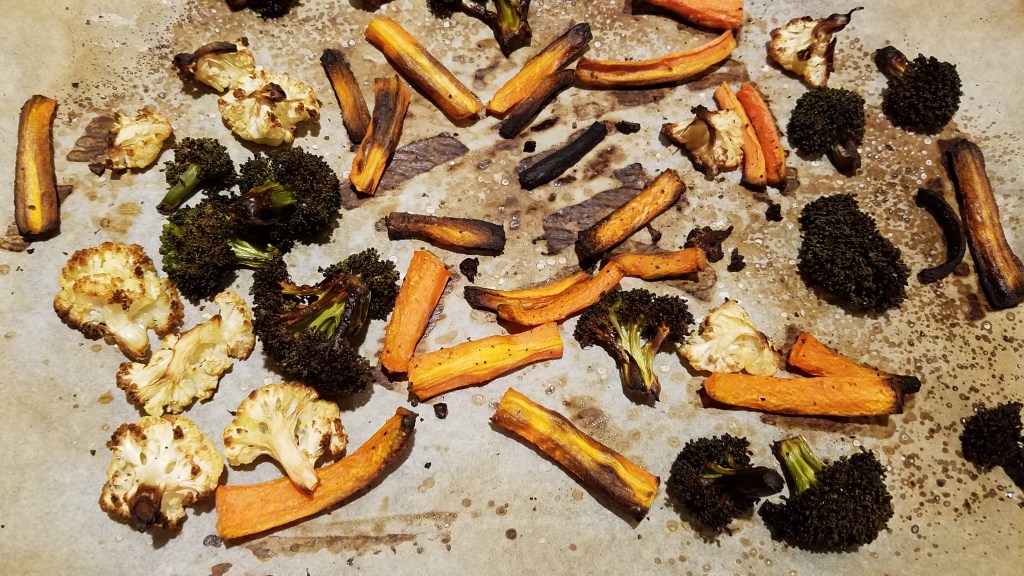
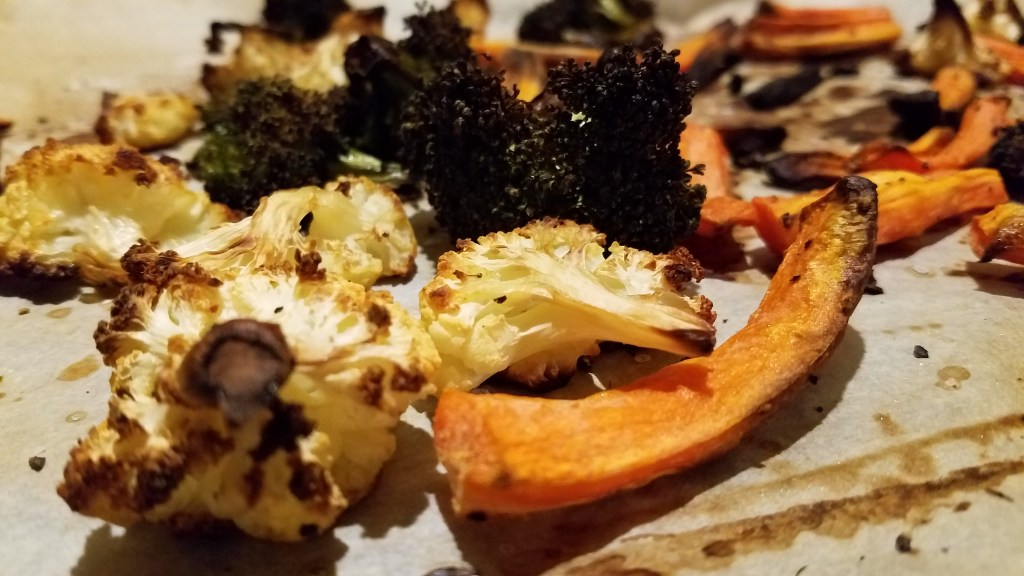
Toss carrots, broccoli and cauliflower in olive oil. Spread the vegetables out on parchment lined backing tray. Roast in the oven at 350° for 30 minutes. Remove and keep warm.
Or, if you want to burn them, leave them in a 400° oven for 45 minutes, like I did. There I was trying to salvage leftover vegetable tray fodder and I incinerated the whole lot. Oh well, that’s the way things roll in my kitchen, sometimes.
Matchstick Onions
Slice the onion very thin and set aside.
Mix the milk and vinegar together in a large bowl (this is a decent substitute for buttermilk). Soak the onions in the buttermilk for several minutes.
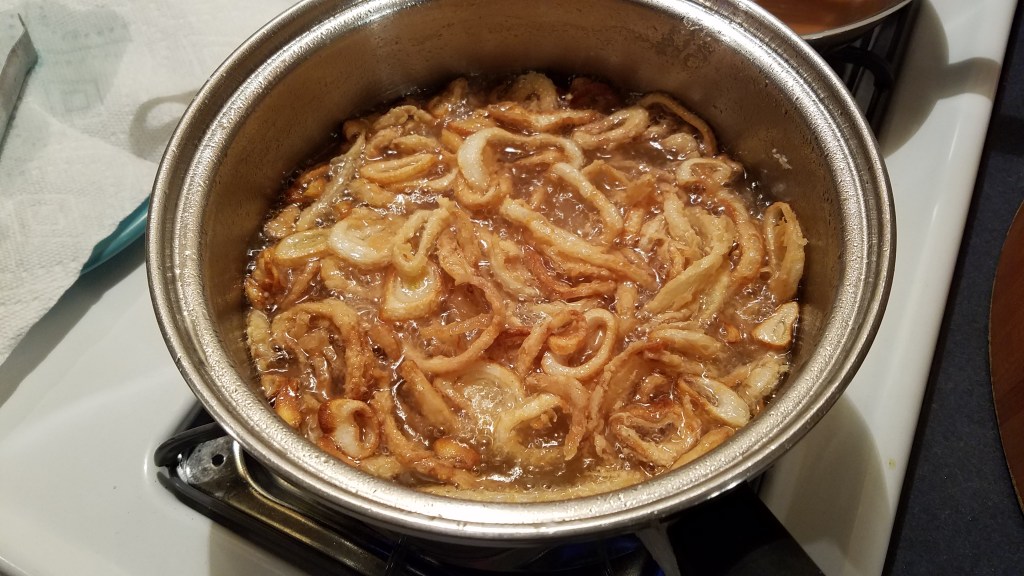
Heat a pot of oil on the stove at medium/high heat (325° to 350° works well.
Add the flour and seasoning salt to a large mixing bowl.
Toss the onions in the flour mixture to coat.
Add the onions to the oil and fry until golden brown and crispy. Remove to a paper towel-lined platter and keep warm.
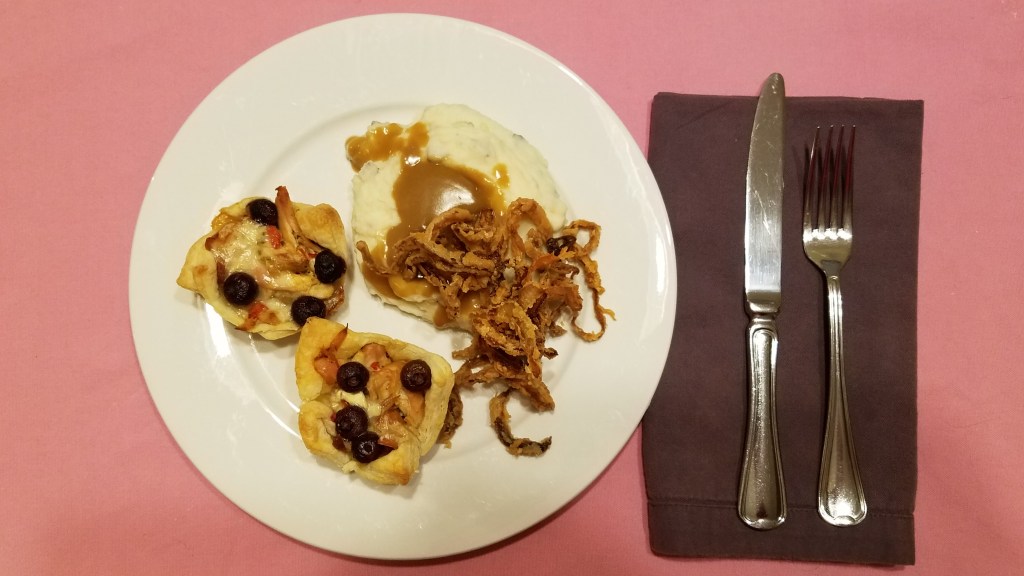
Serve two stuffed pastry shells with mashed potatoes, topped with turkey gravy and fried onions.
Dessert: Cherry and Cream Cheese Tarts
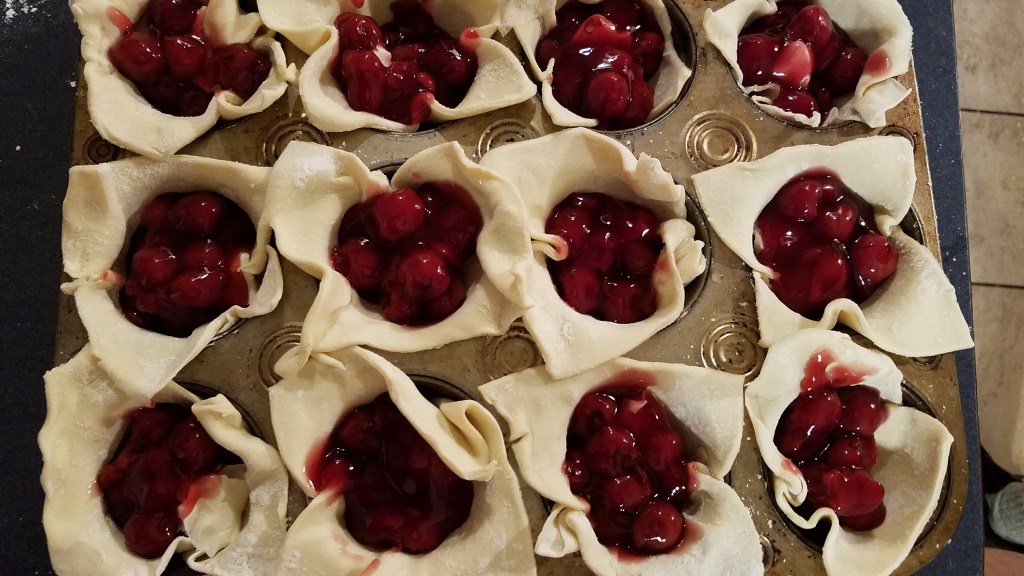
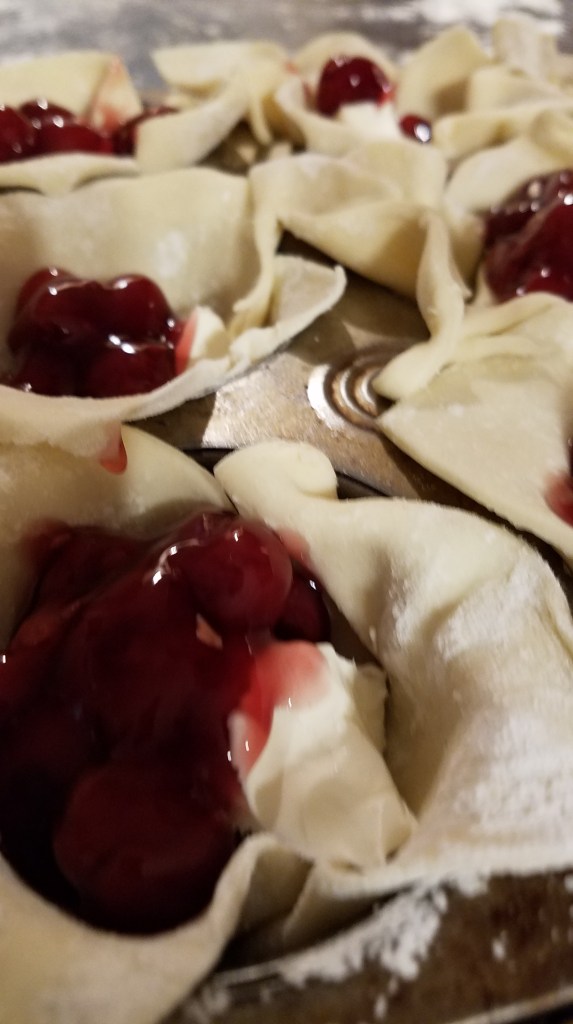
Assemble 12 pastry cups using the same method as before. Fill each one with 2 teaspoons of cream cheese and top with cherry pie filling. Bake at 400° for about 20 minutes, or until the pastry puffs and turns golden brown.
I’m still reeling after last week’s epic gumbo battle so please forgive me if I babble for a bit. For those of you who want to cut to the chase and see today’s recipe, scroll down until you find “Chicken Enchiladas”, in large, friendly letters. But, know that you are missing all of the fun and I pity you.
When I was young, and by young I mean elementary school age, I recall that many home cooked meals featured Hamburger Helper or Cream of Mushroom soup. I don’t know if it was because so many working parents didn’t have time to make dinner or if it was just clever marketing agents influencing those parents, but the fact was that those products found an indelible niche in American cuisine.
Campbell’s puts out about a zillion different kinds of soup but I swear I can only remember three from my childhood. Tomato soup, Cream of Mushroom soup and Chicken Noodle soup. Okay, to be fair, there was Chicken & Stars, but that was really just chicken soup with star shaped pasta, and it was marketed to parents of finicky and/or sick children.
Cream of Mushroom soup took center stage, back in the 1970’s. It found its way in many recipes. The ubiquitous green bean casserole is a testament to the long-lasting power of Cream of Mushroom soup. If you don’t have green bean casserole every Thanksgiving then,…well, you’re just not a real American.
Cream of Mushroom soup, “America’s béchamel”
Don’t get me wrong. I’m not bashing Cream of Mushroom soup. Cream of *Whatever* soup is instant béchamel in a can, and that’s a marvelous thing.
I remember having homemade chicken enchiladas for the first time. I was 17 years old and having fun, hanging out with a friend. His mother made us chicken enchiladas with Cream of Mushroom soup and canned green chiles. Canned green chiles, back then, didn’t have clever graphics printed on the label, showing a thermometer indicating the “heat” of the chiles. Canned green chiles were just that…canned green chiles. They were hot and spicy, and that’s all you needed to know. I loved those enchiladas. Thank you and bless you, Ginger!
But, when I discovered that I could make my own thickener from scratch, I felt a sudden rush, indeed, I felt a sense of empowerment! I realized that I could thicken sauces or soups and have total control of flavors and textures! A pad or two of butter and a spoonful or two of flour was the key that opened the door to an endless array of sauces.
For this recipe I used homemade green sauce and I made a homemade sauce from a simple roux and chicken stock. If you want to use canned green chiles and cream of mushroom soup, that’s fine with me. Just make sure you do it with love.
Chicken Enchiladas
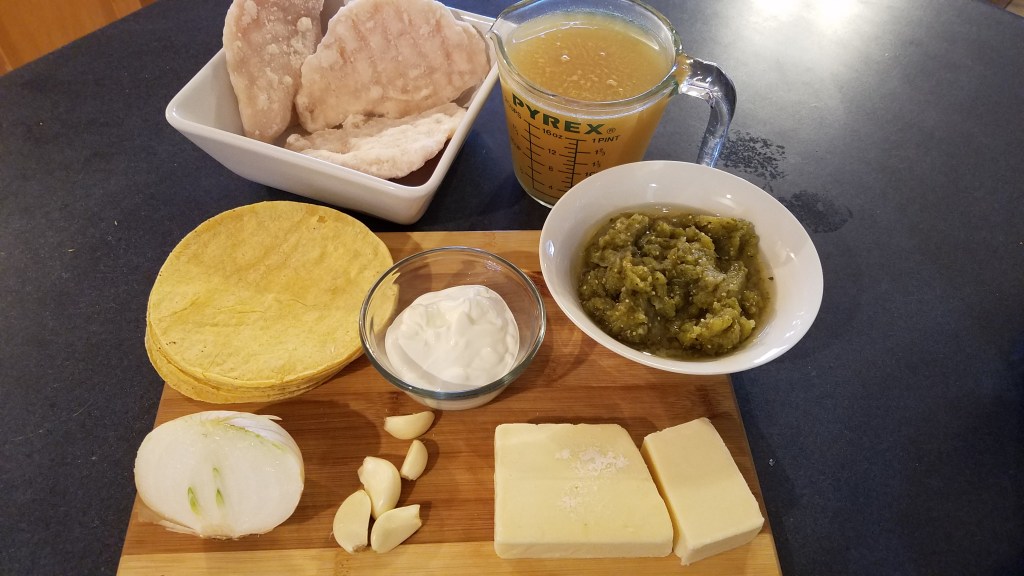
Ingredients:
3 chicken breasts (mine started out frozen)
2 ½ cups chicken stock
4 or 5 garlic cloves
½ onion, chopped
10 to 12 oz green chile sauce
½ cup sour cream
8 oz Monterrey Jack cheese, shredded
2 Tbs butter
2 Tbs flour
10 corn tortillas
¼ cup cooking oil
Directions:
Boil the chicken in water until the chicken is fork tender. Remove and allow to cool to room temperature.
While the chicken simmers, puree ½ cup chicken stock, green sauce and garlic cloves in a blender.
Add the pureed sauce to a small skillet and simmer on low heat, to mellow the garlic, for 15 minutes.
Add the chopped onions to the skillet and simmer for another 15 minutes. Turn the heat off and allow it to cool to room temperature.
Add ¼ cup cooking oil to pan and set heat to low. Soften each of the tortillas in the oil for a few seconds and remove to a plate.
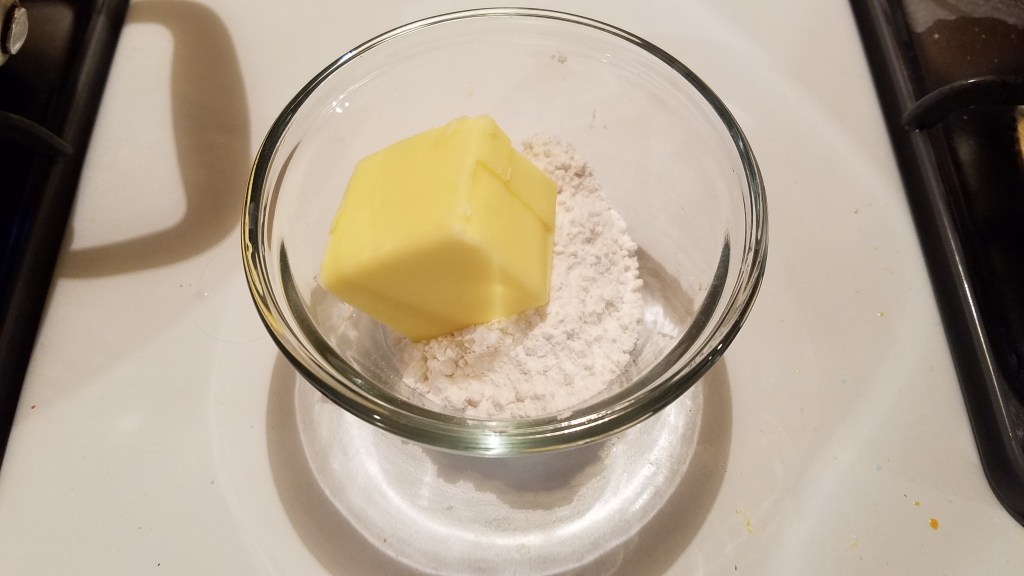
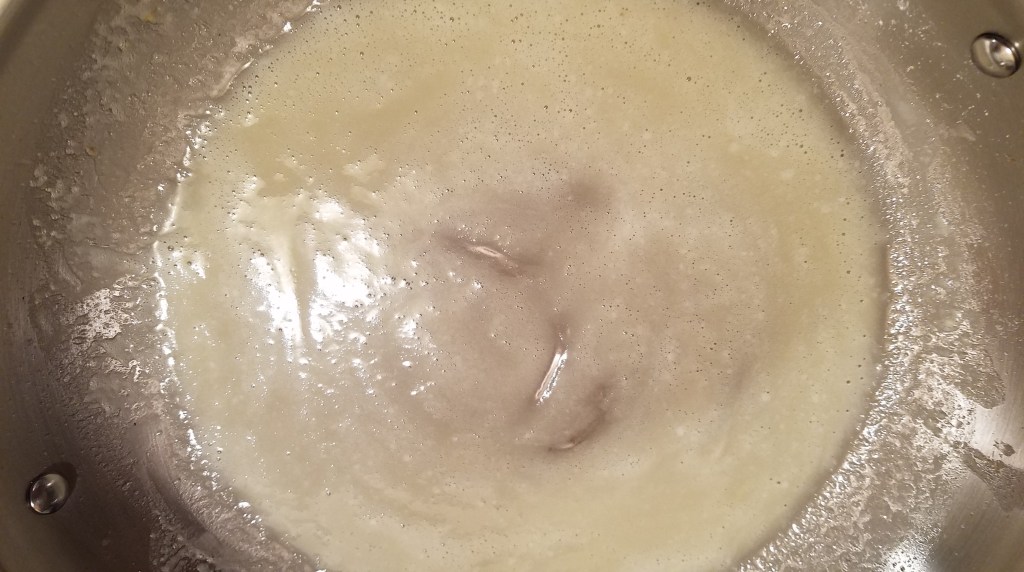
Wipe the skillet clean. Start a roux by adding the butter to the pan and set the heat to medium/low. Add the flour and whisk until smooth.
Once the roux is smooth, add the remaining chicken stock. Set heat to medium/high and whisk until the sauce has thickened.
Add the green chile mixture and whisk for a minute.
Pour about one cup of the sauce into a bowl. Leave the remaining sauce in the skillet and turn the heat off.
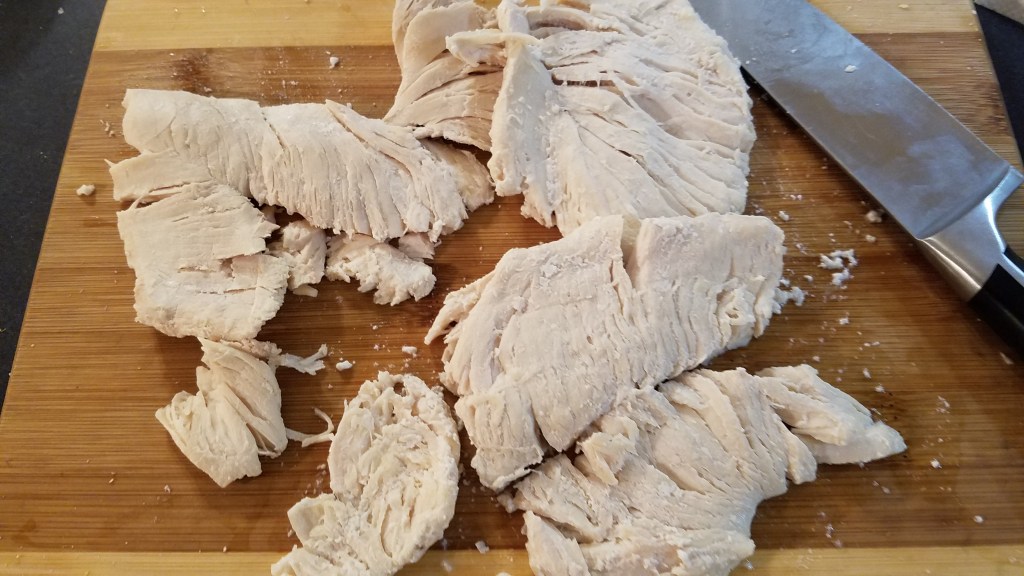
Lay the cooked chicken on a clean work surface and smash with the broad side of a knife. The chicken will break and fan out, making it easy to shred. Shred the chicken by hand.
Add the chicken to the cheese and mix by hand.
Lay the tortillas on a work surface and add the chicken and cheese. Roll the enchiladas and place in an oven-proof skillet, containing some of the sauce. Once all of the enchiladas are in the skillet, pour the remaining sauce over them.
Bake in a 350° oven for 20 to 25 minutes.
Serve warm with rice or fried potatoes and guacamole salad.