Salsa Verde

I like all kinds of food, but I turn to Mexican cuisine more often than not.  Mexican cuisine can be simple or complex.  As a home cook, I often head down the simple path…tacos, enchiladas, fajitas…   But, there are times that I want to go “all out” and make something special. 

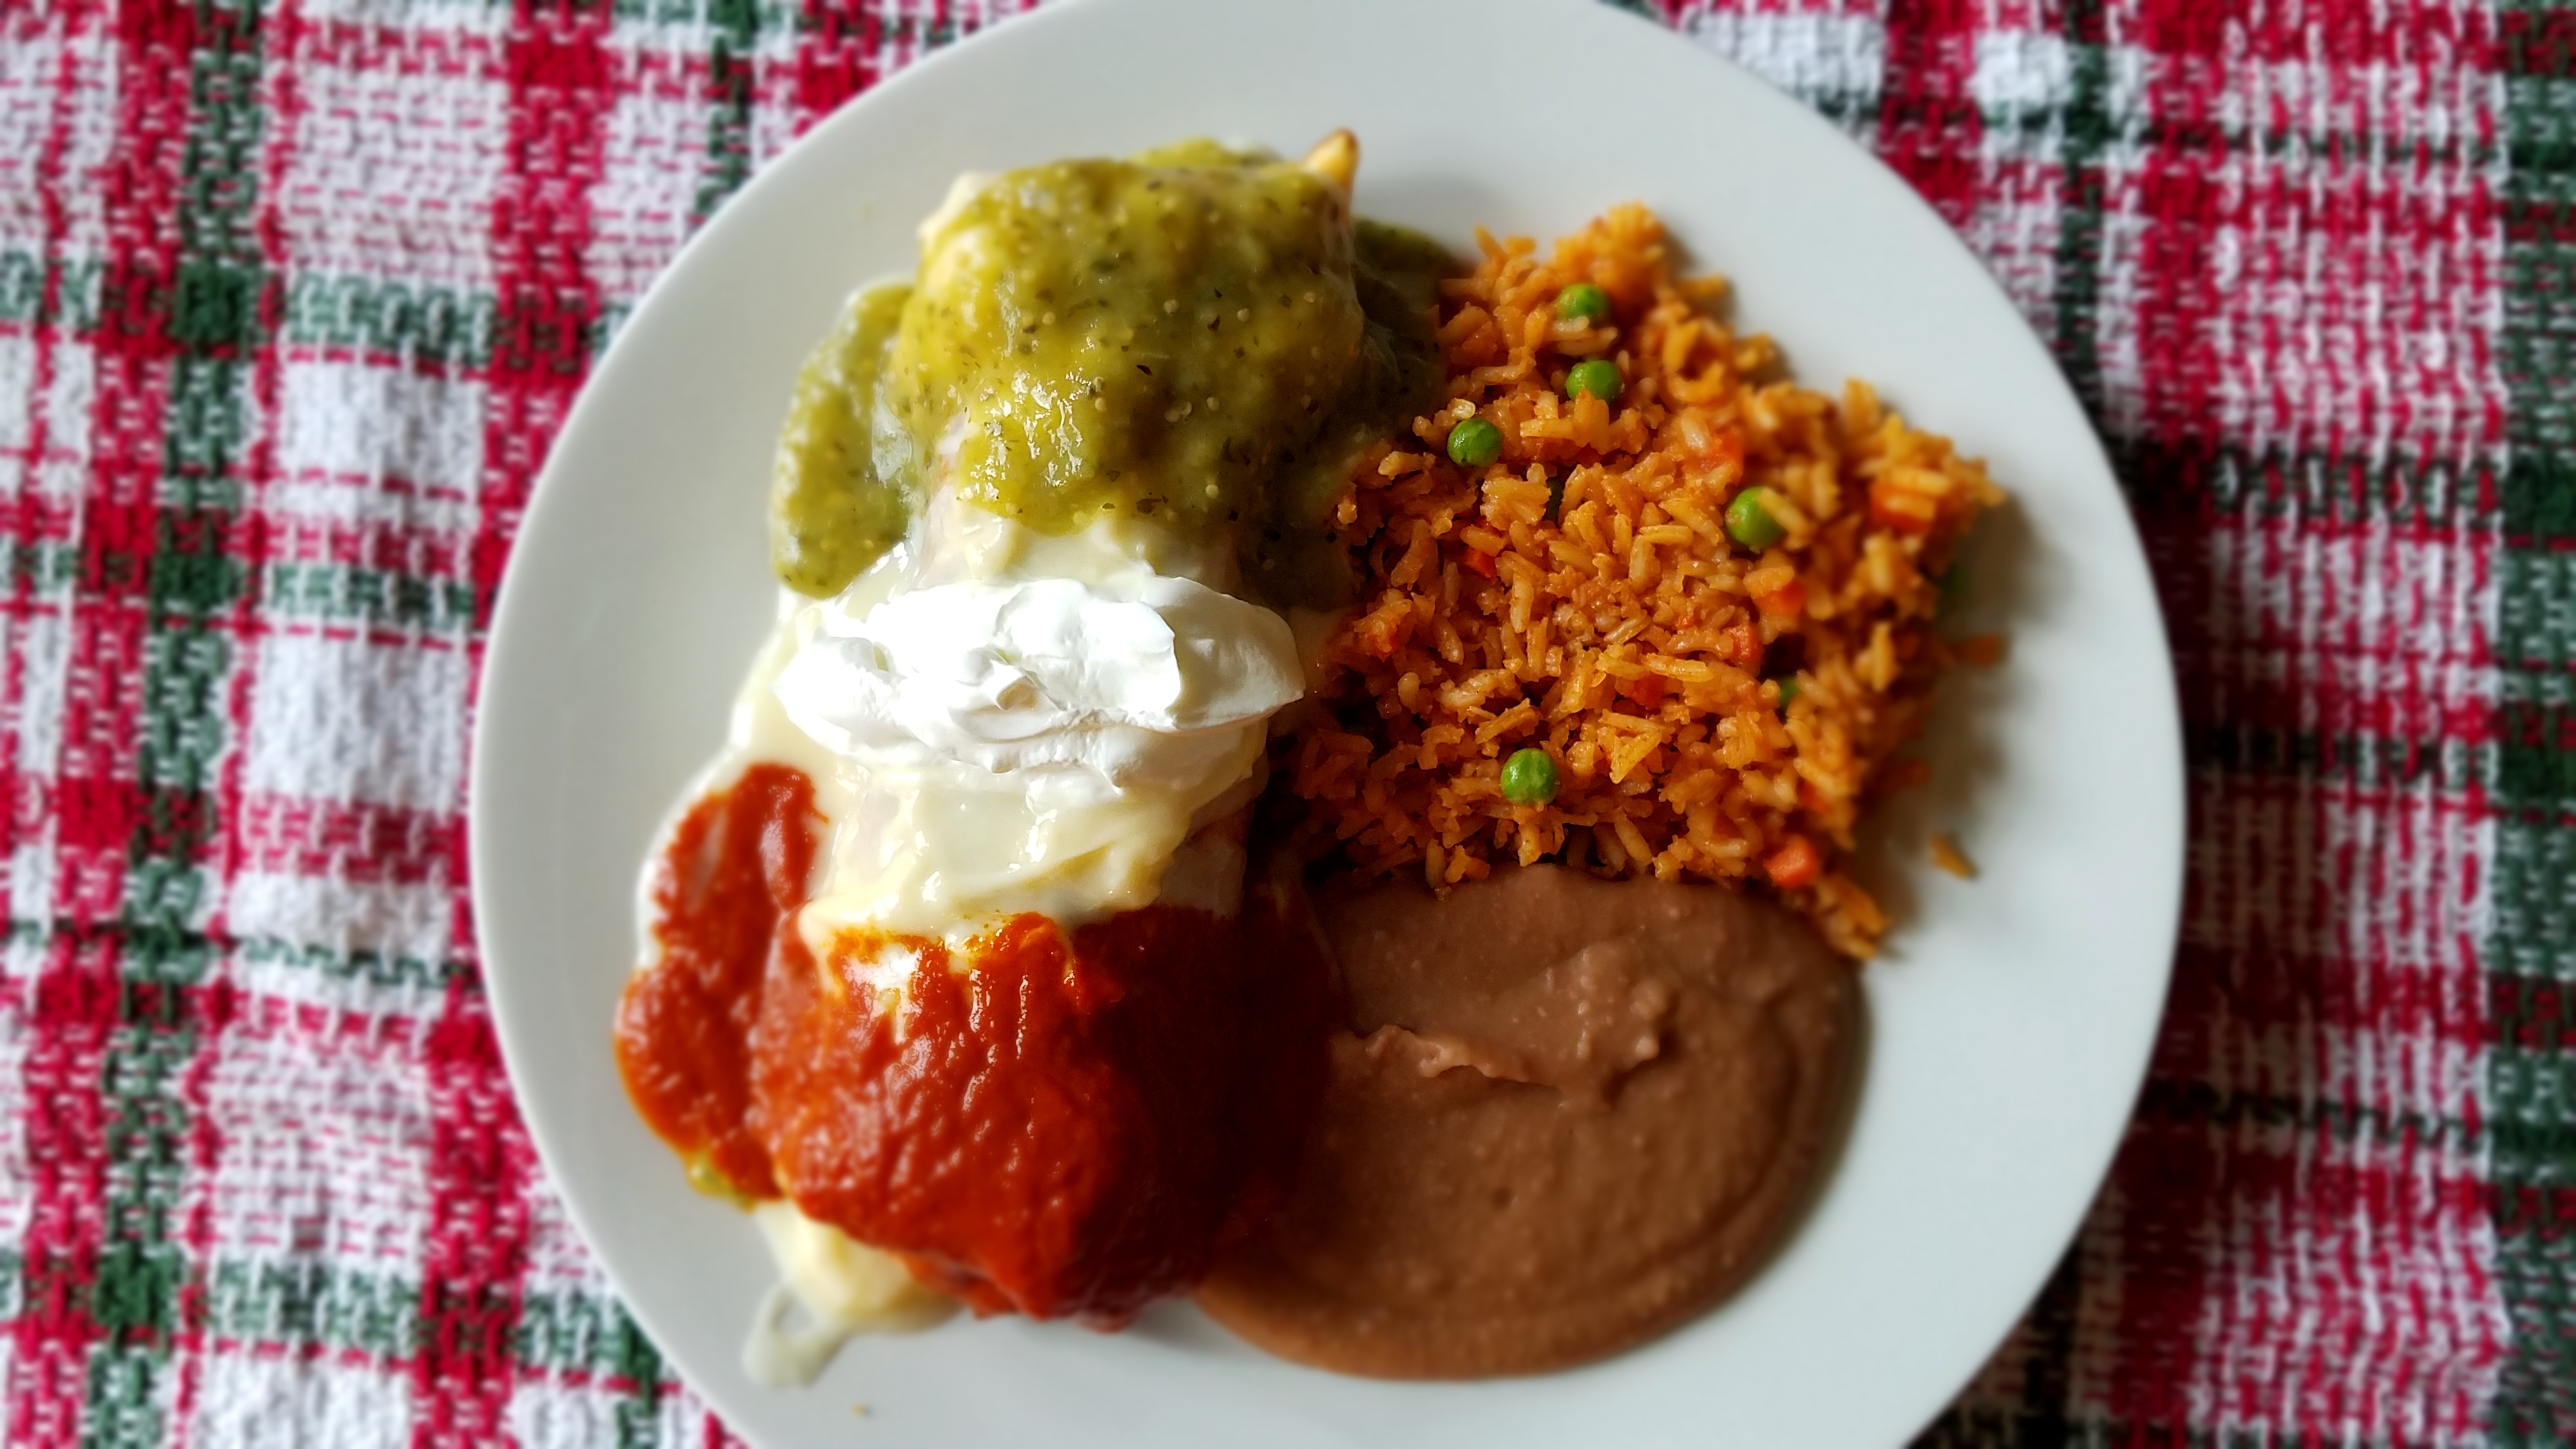
Salsa verde is one of those special things that I can’t resist.  It is an essential component in my Mexican Flag Chimichangas, which I will share with you soon.   

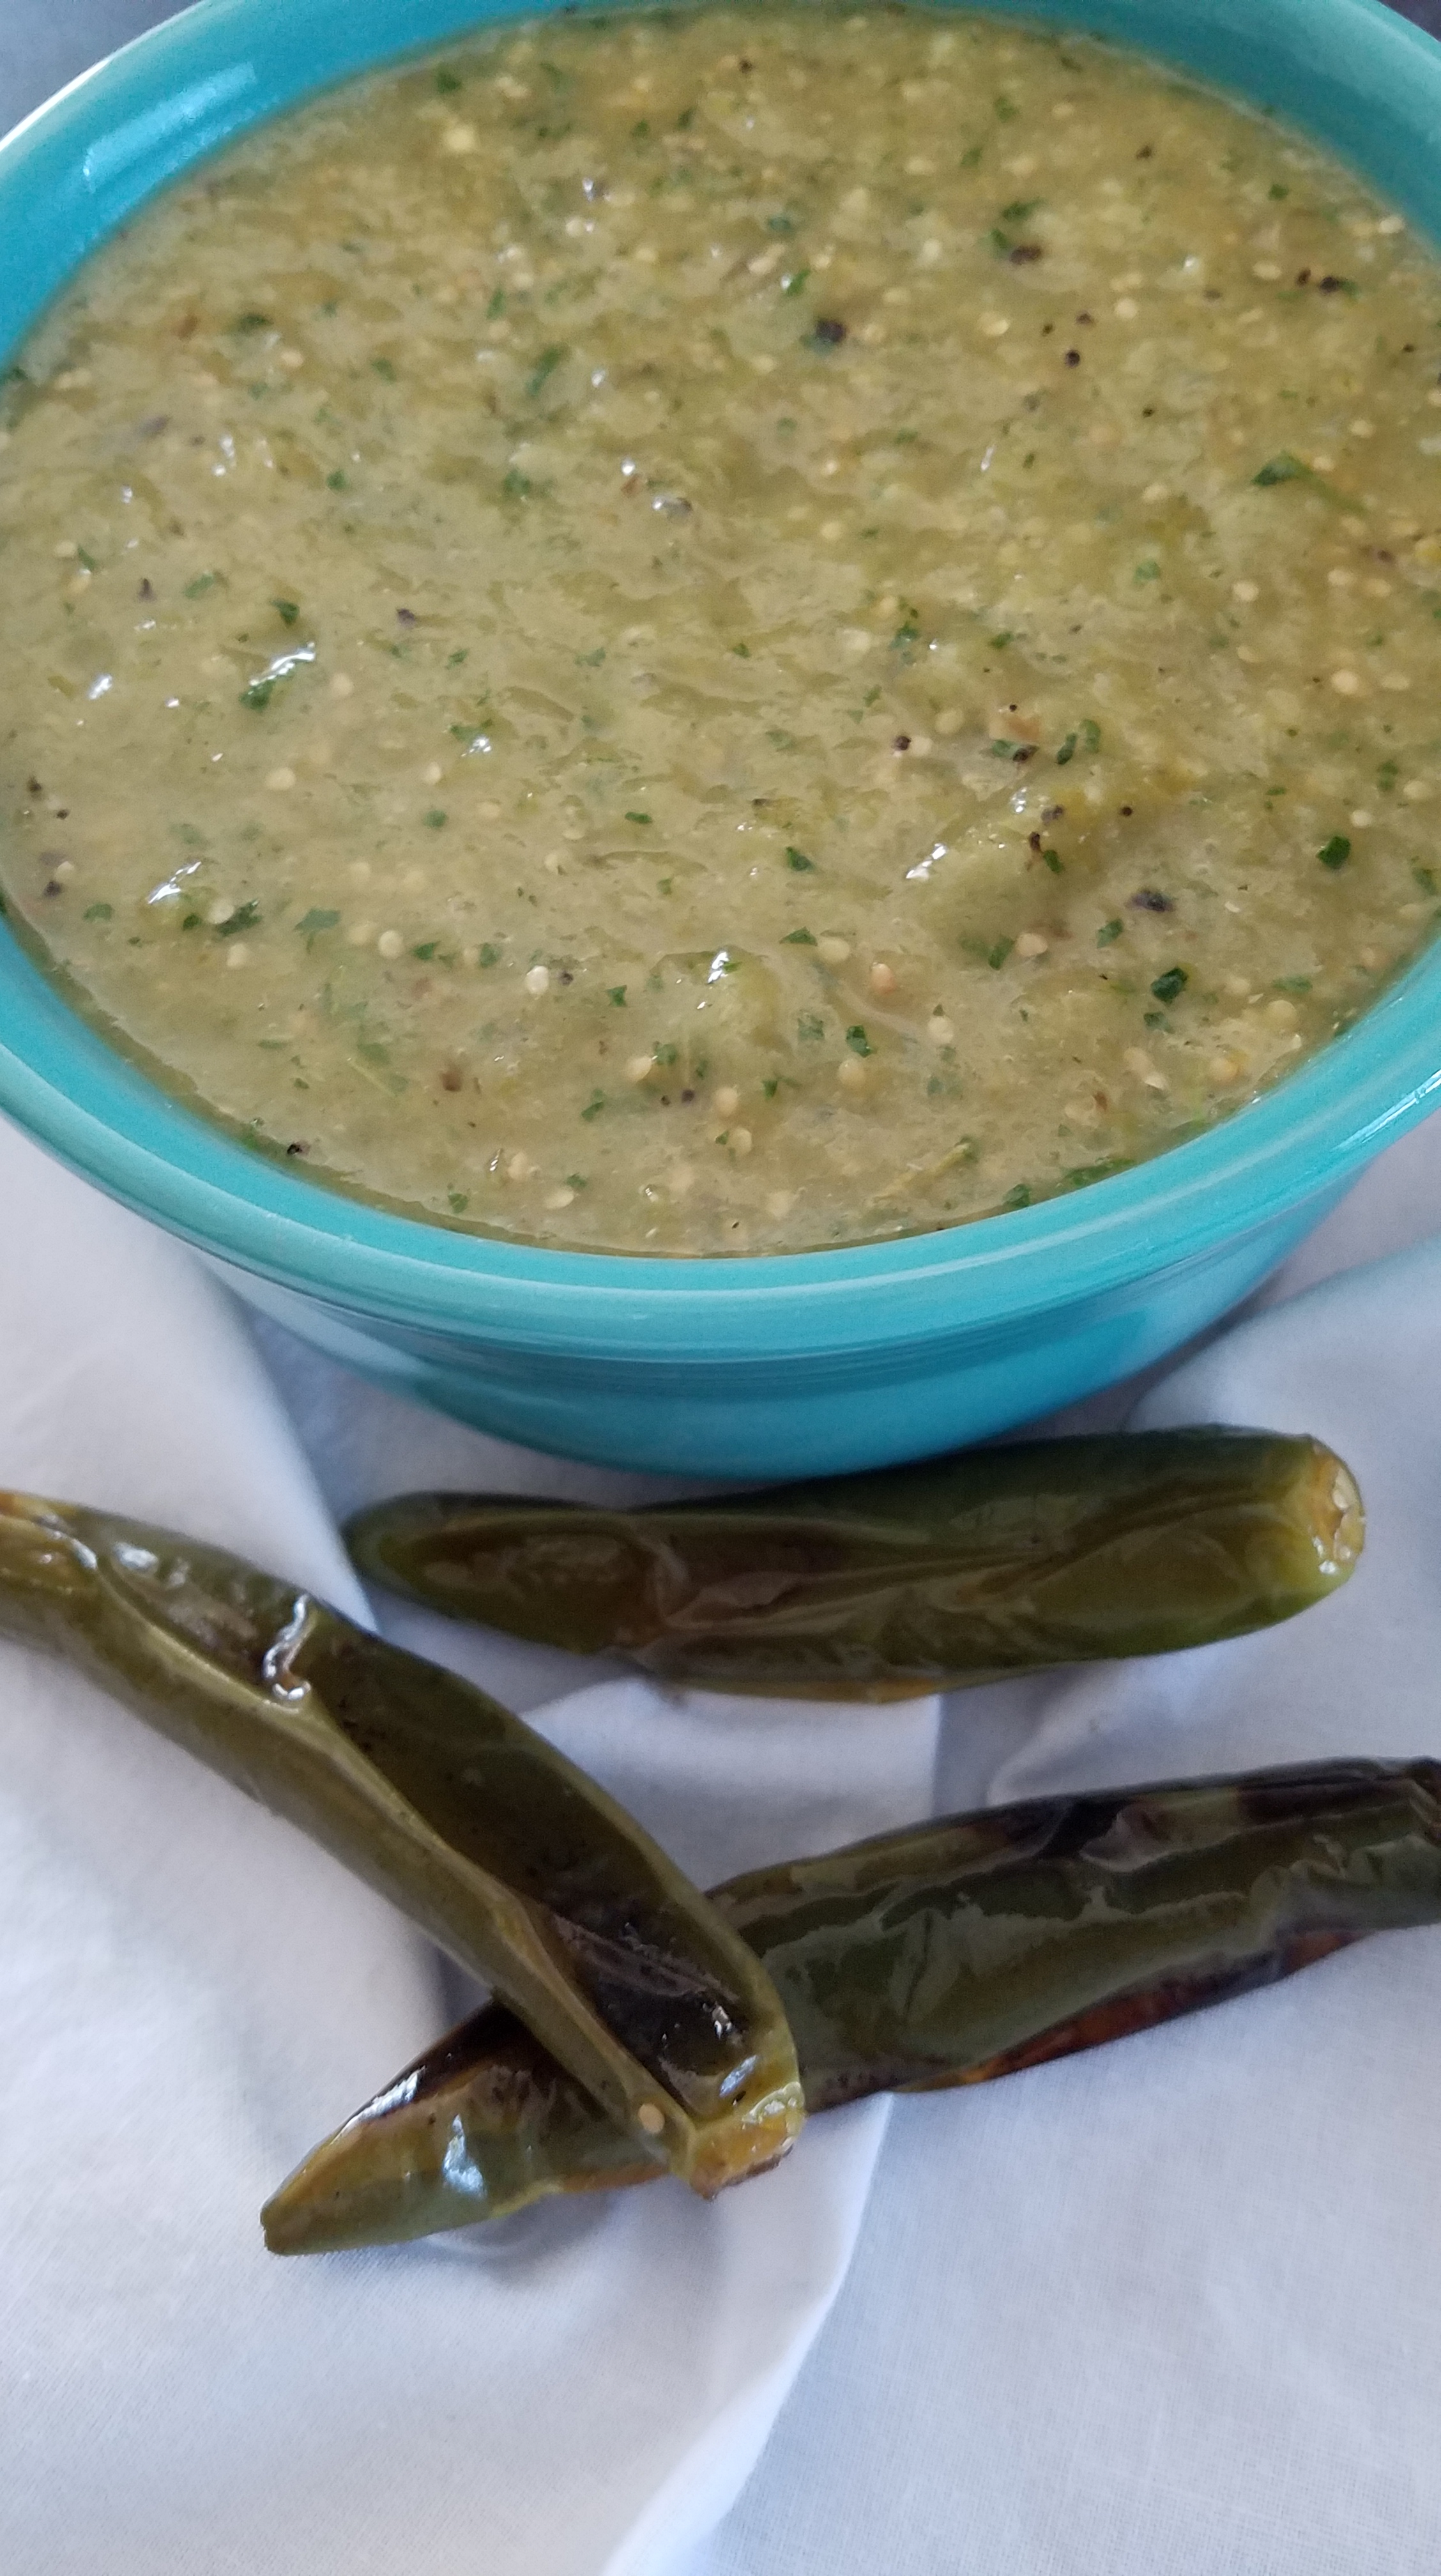
The salsa verde that I am making is comprised mainly of tomatillos and serrano chiles.  There are many types of Mexican green salsas but this particular one is common to many dishes.  The thing that I find funny about making salsa verde is that it can be prepared simply and quickly, or it can be a time consuming project.  I have chosen the time consuming variation, because I am poco loco, which is to say, a little bit crazy. 

First, let’s get something straight.  Tomatillos are not green tomatoes.  Although the tomatillo is in the same family as tomatoes, they are not the same thing.  Tomatillos can be found in grocery stores all over the U.S., due to an ever-growing population of Latinos.  And to that, I say gracias!  You can buy salsa verde in a jar, but homemade salsa verde is mas sabroso (tastier.)

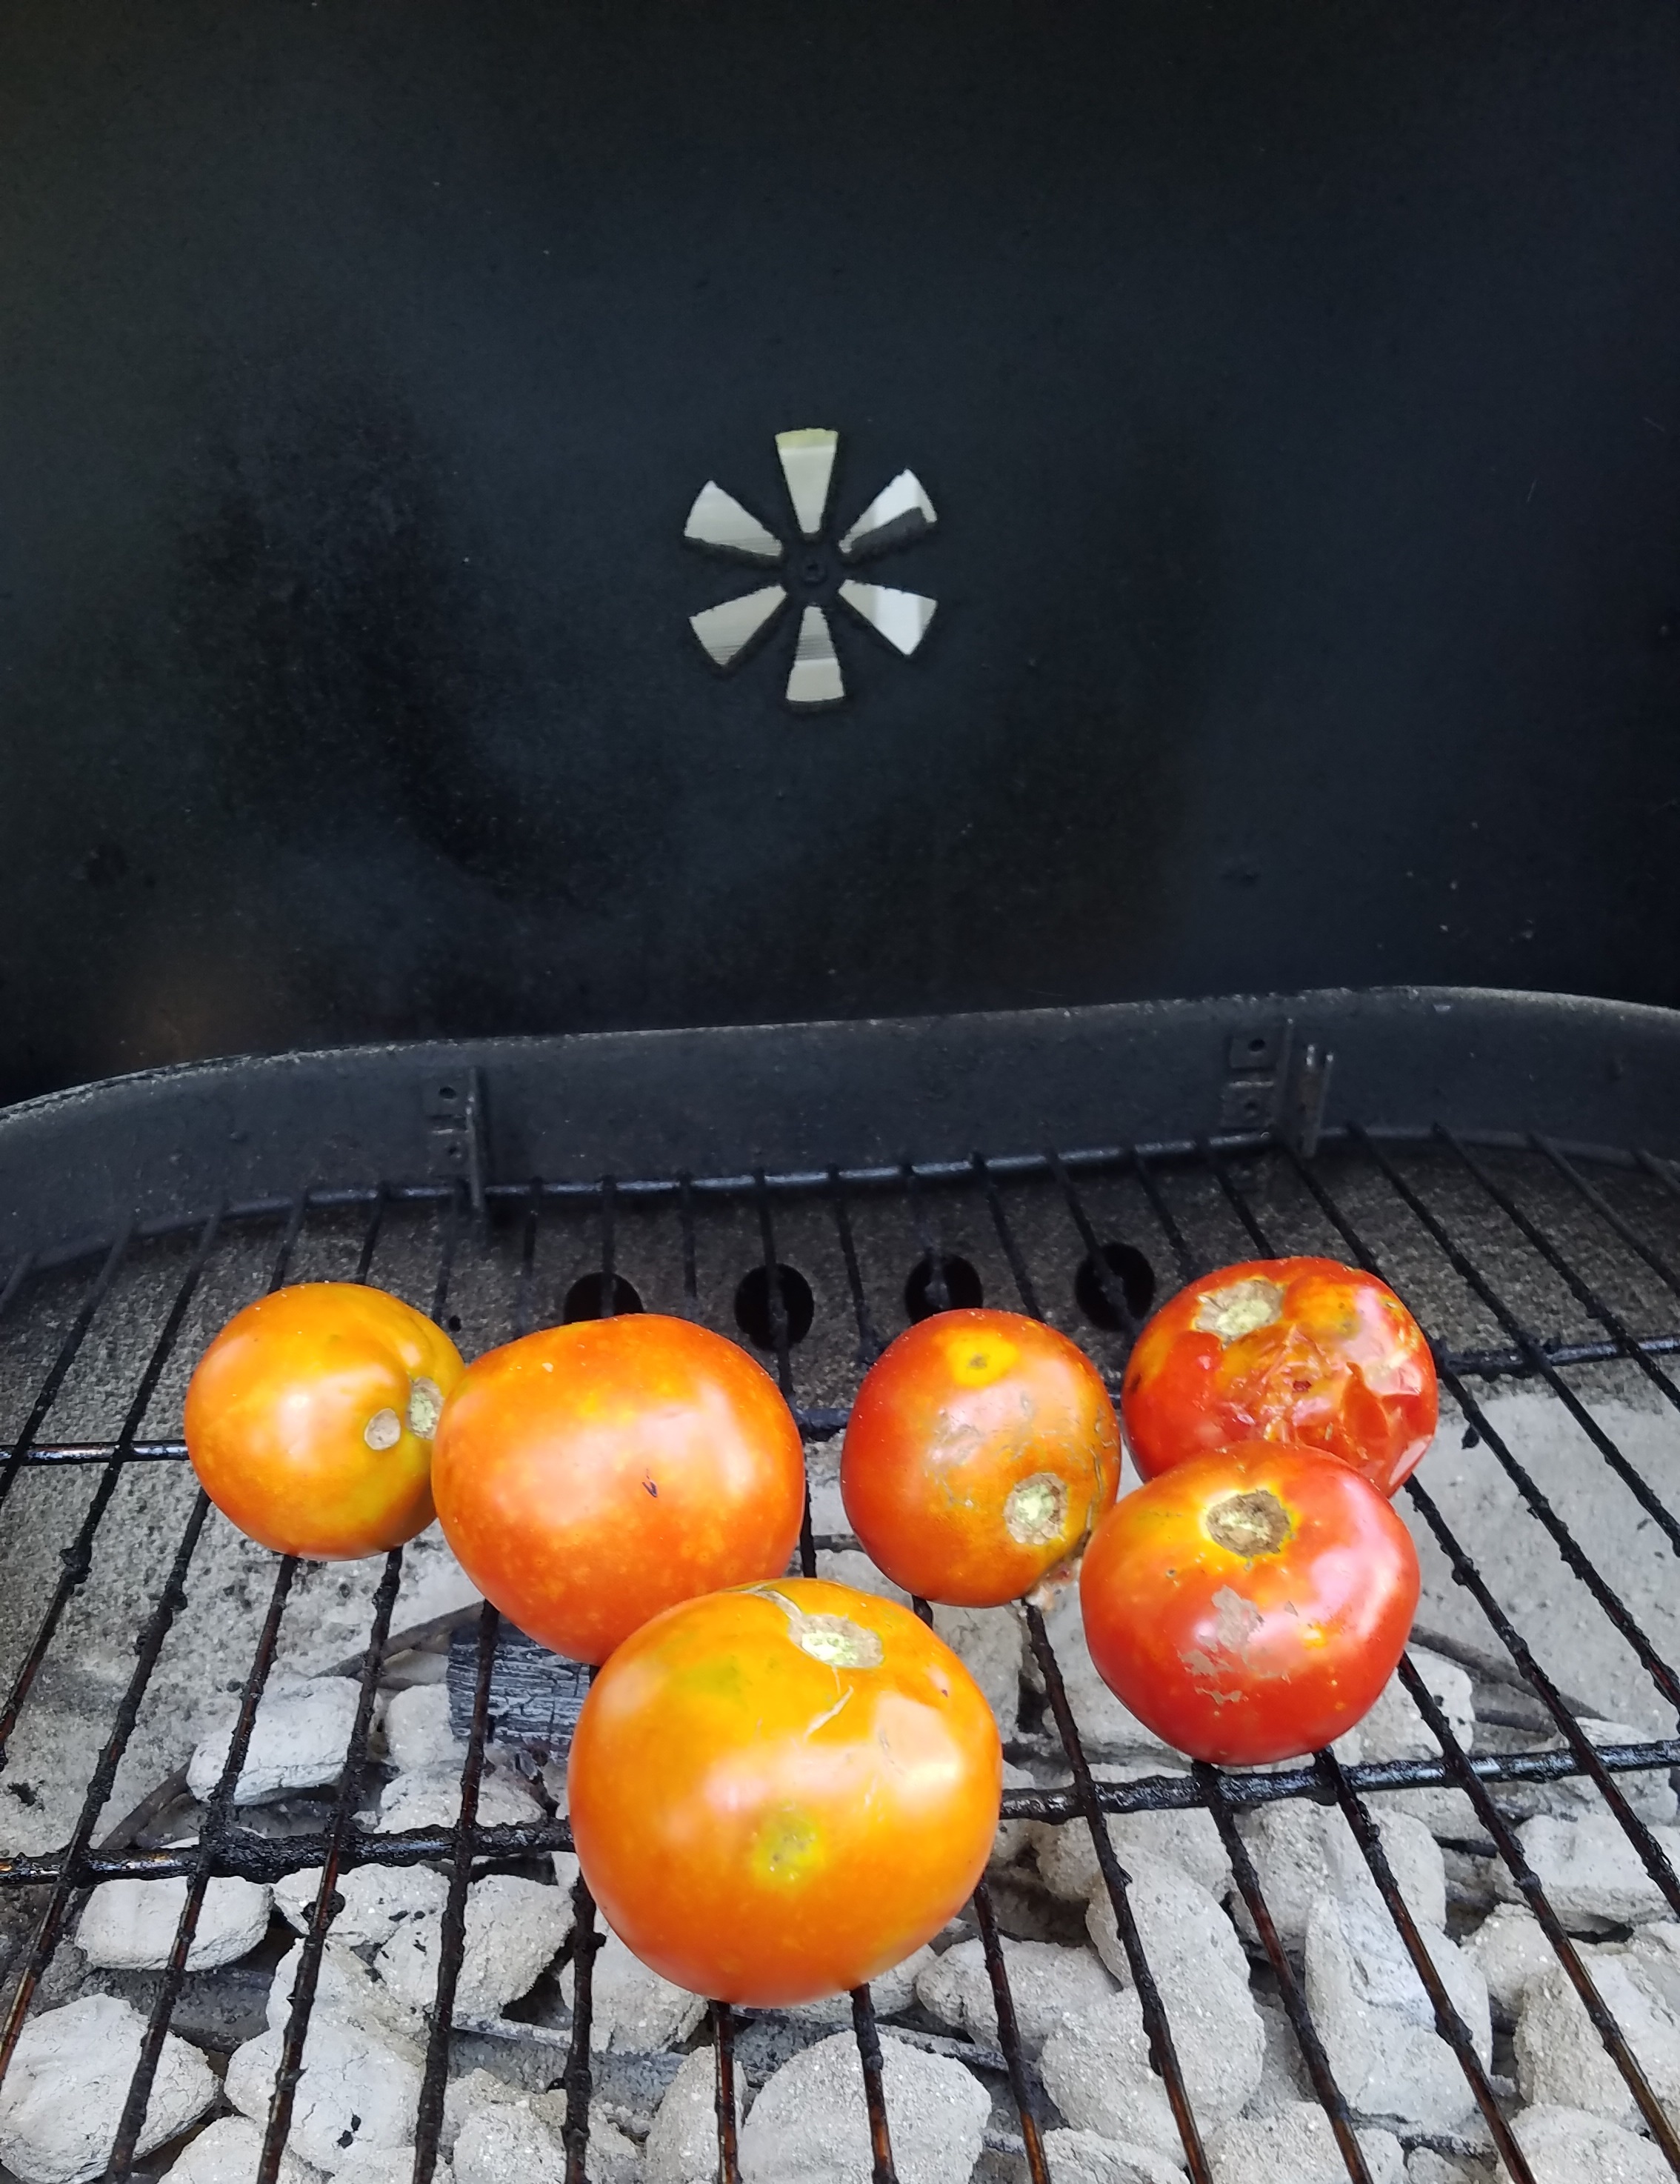
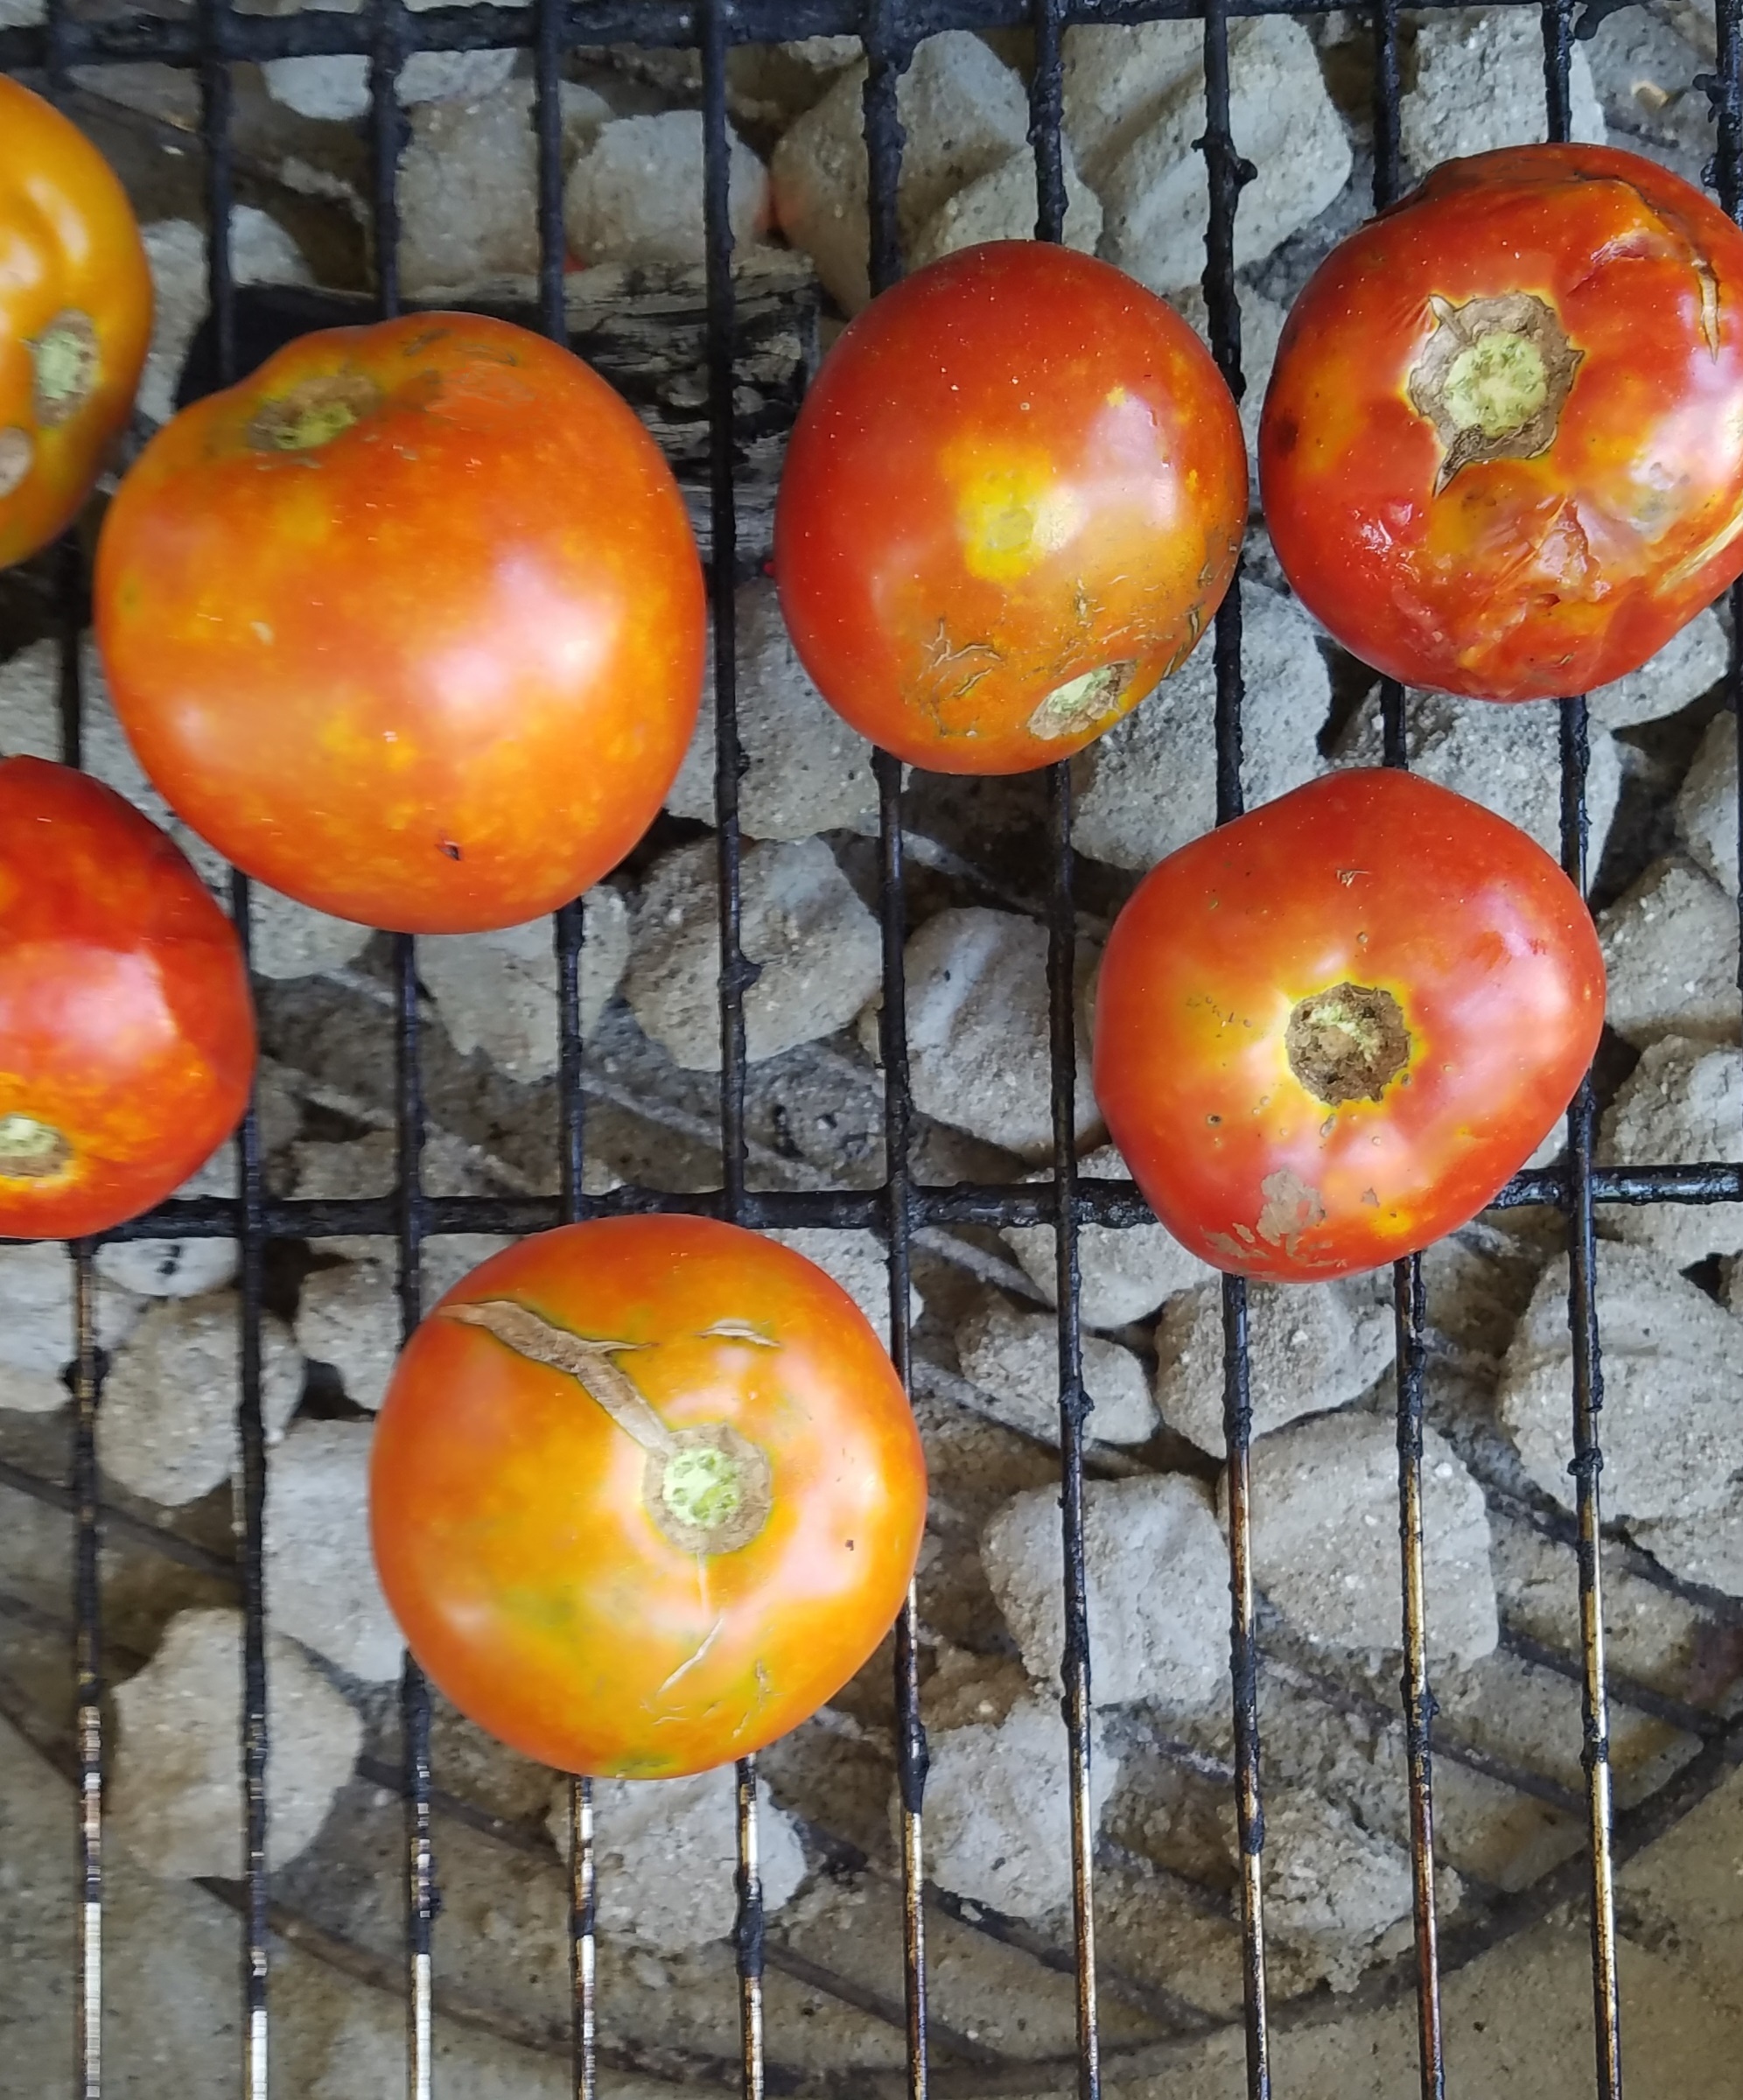
Smoking tomatillos on the grill makes it even better!  So, lets grill some tomatillos.

This recipe will yield about one quart of salsa. 

Ingredients:

12 tomatillos

5 serrano chiles

1 Tbs coarse salt

1 Tbs olive oil

3 garlic cloves

1 small onion

¼ cup chopped cilantro

1 tsp salt

1 tsp sugar

Directions:

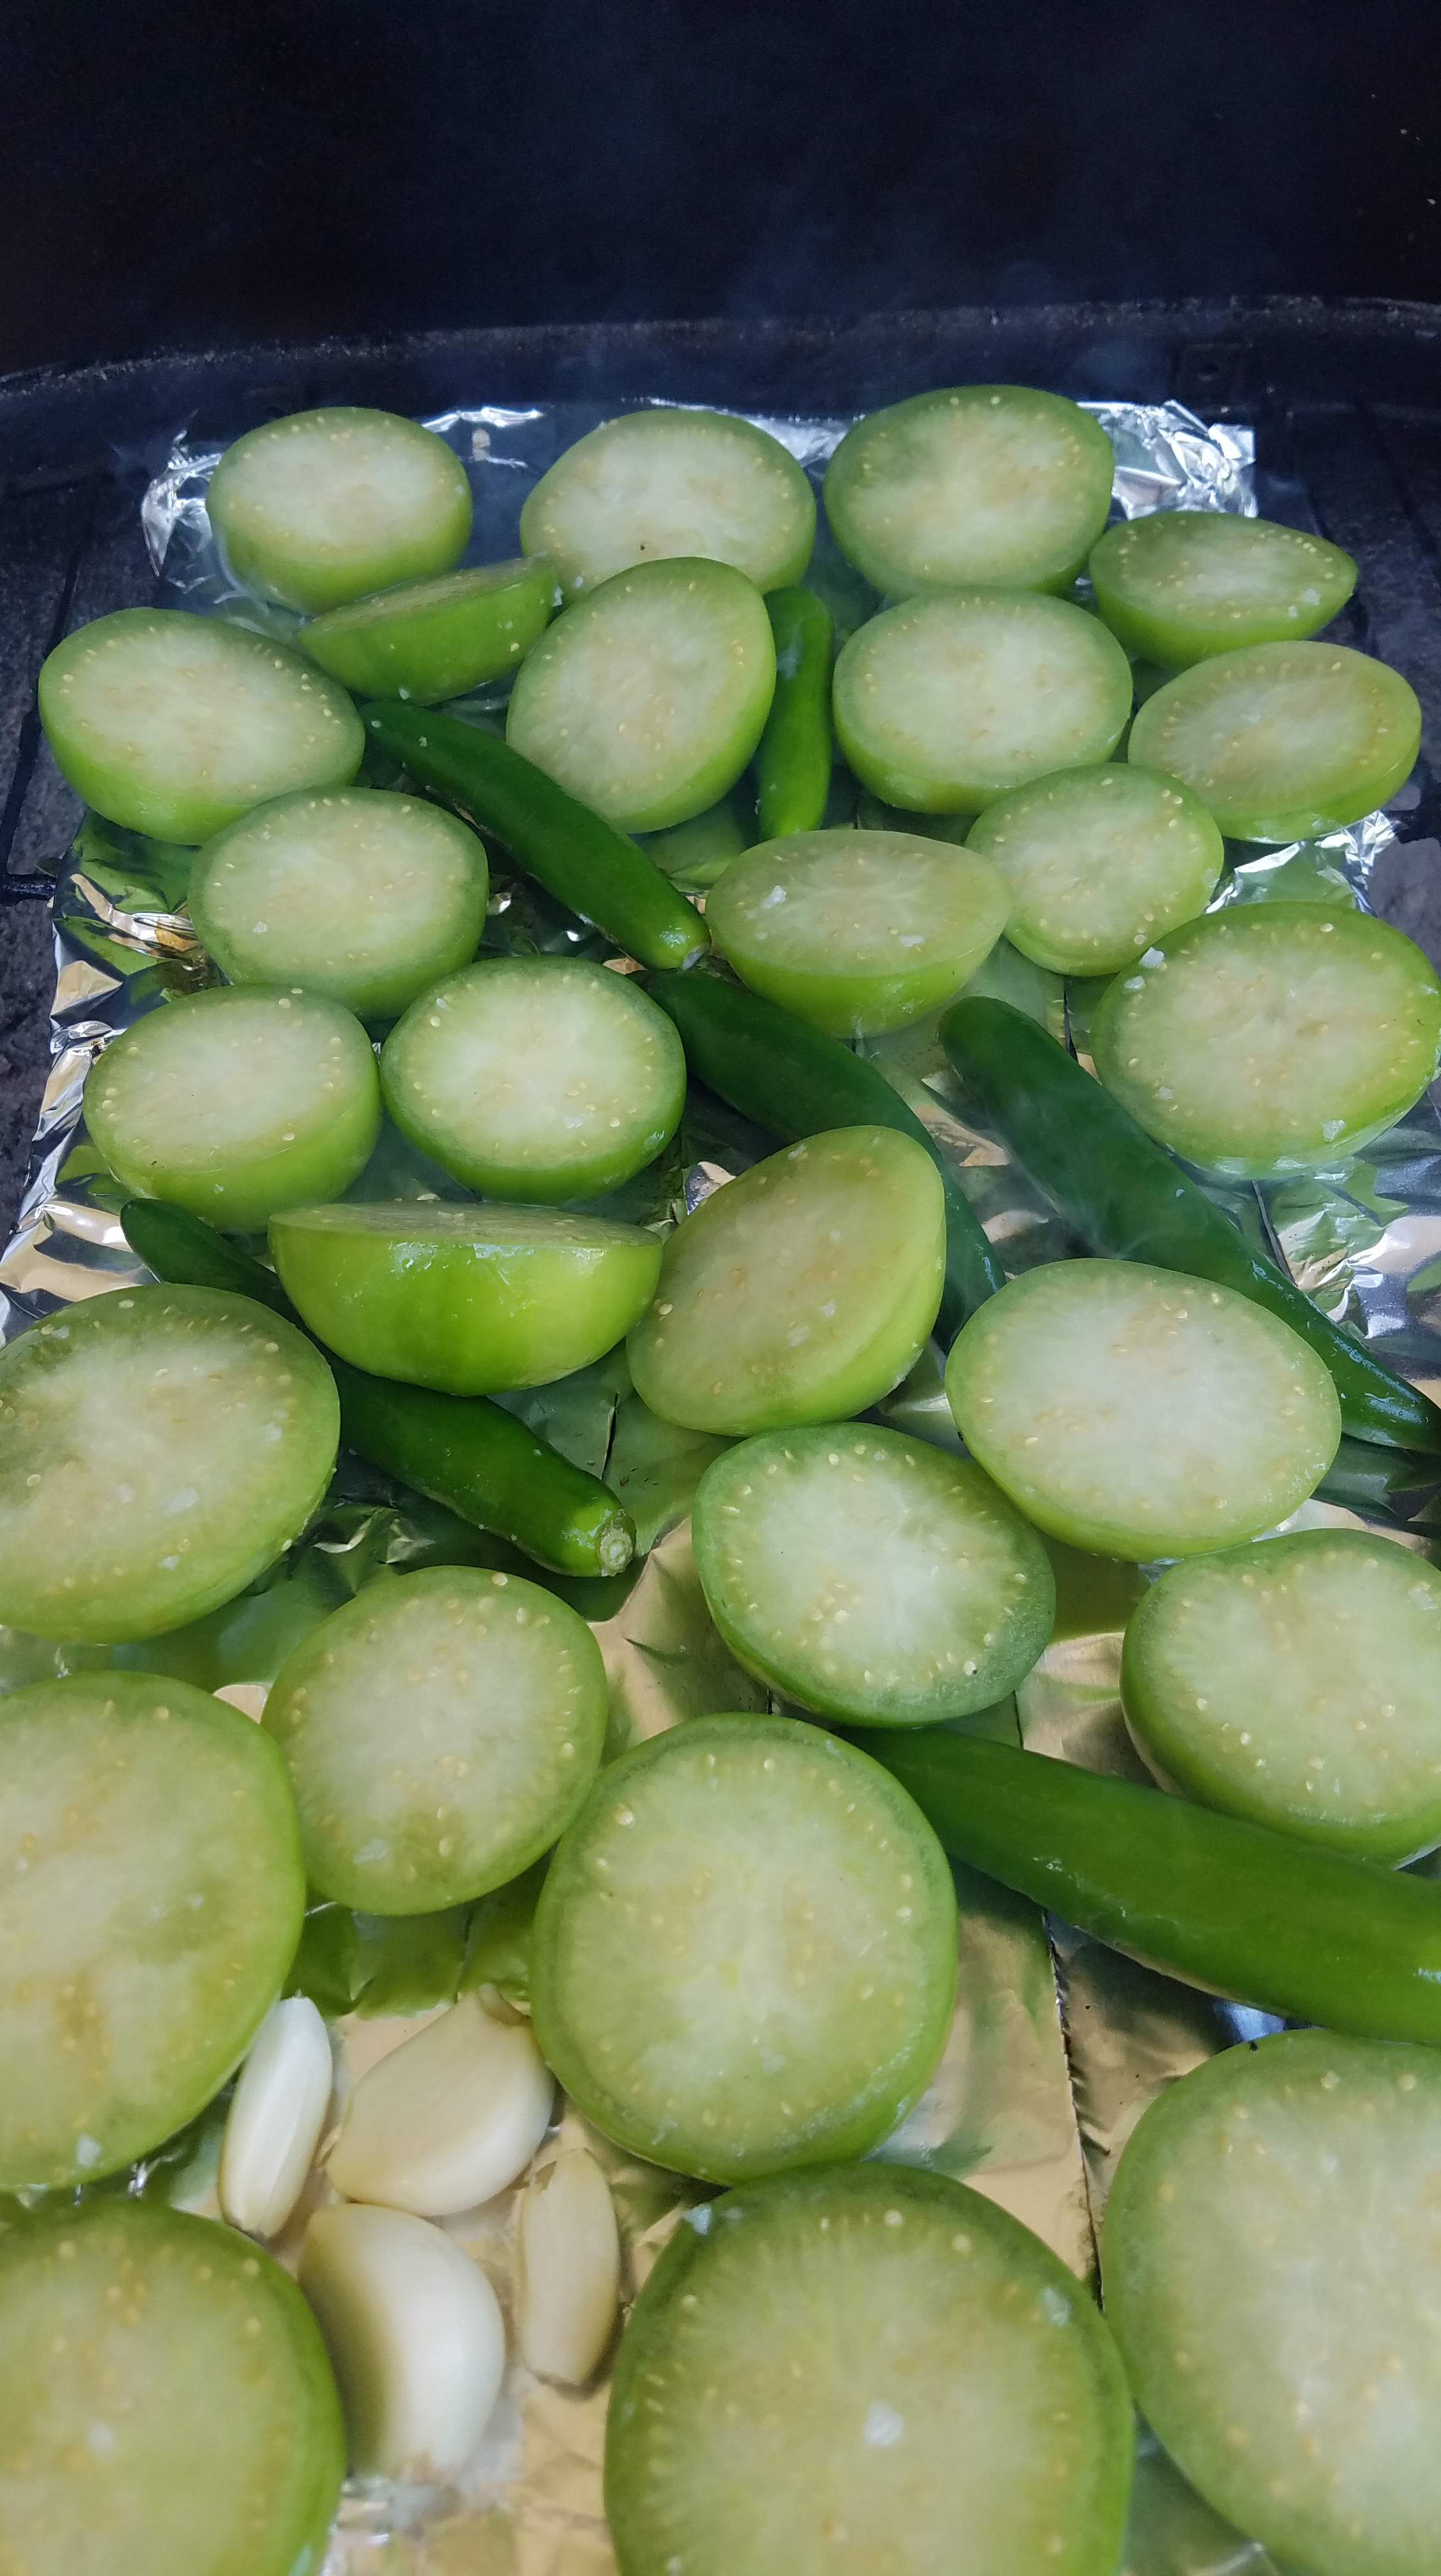
Peel the stems and husks off of the tomatillos and pull the stems off of the serranos.  Slice the tomatillos in half (along the equator, if you know what I mean).  Toss the tomatillos, serranos and garlic cloves in a bowl with the coarse salt and olive oil.  Set aside.

Directions for grilling:

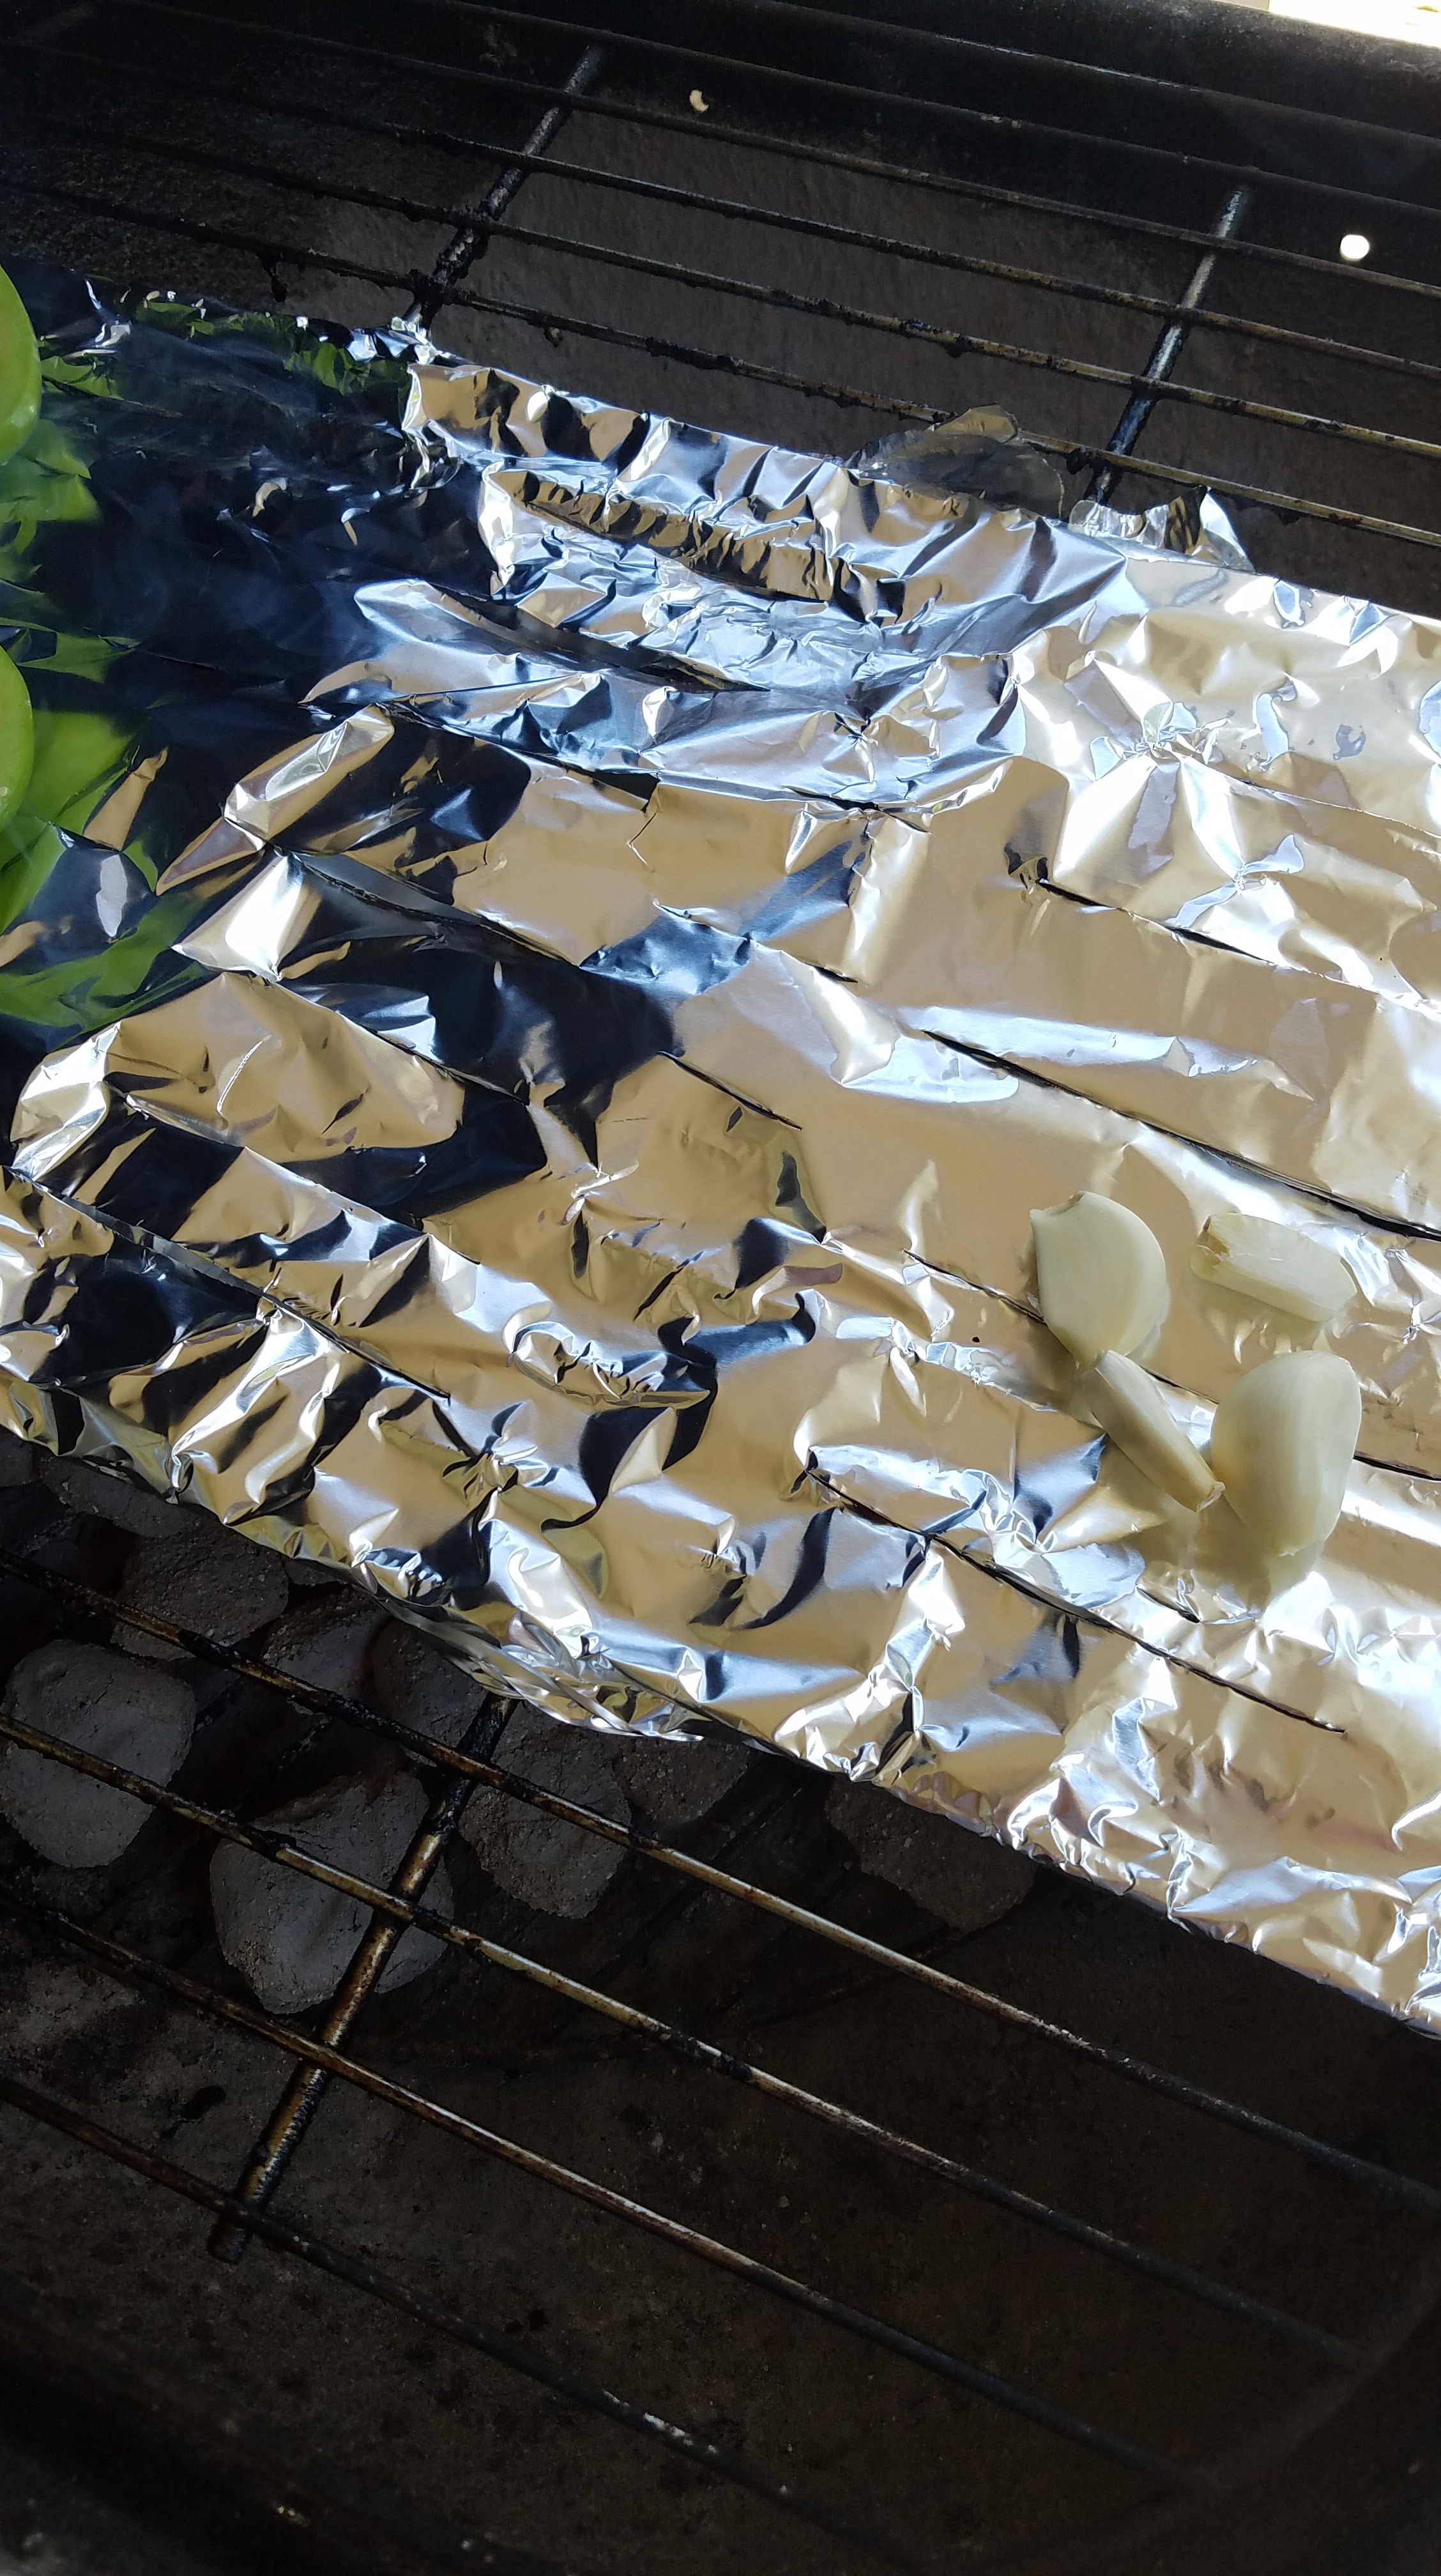
Wrap the grate with heavy duty aluminum foil, covering about ¾ of the grill.  Cut slits in the foil to facilitate air flow.  You can skip this if you feel lucky but, I know from past experience that little things, like peppers and garlic, can find a way to slip through grating before you know it!

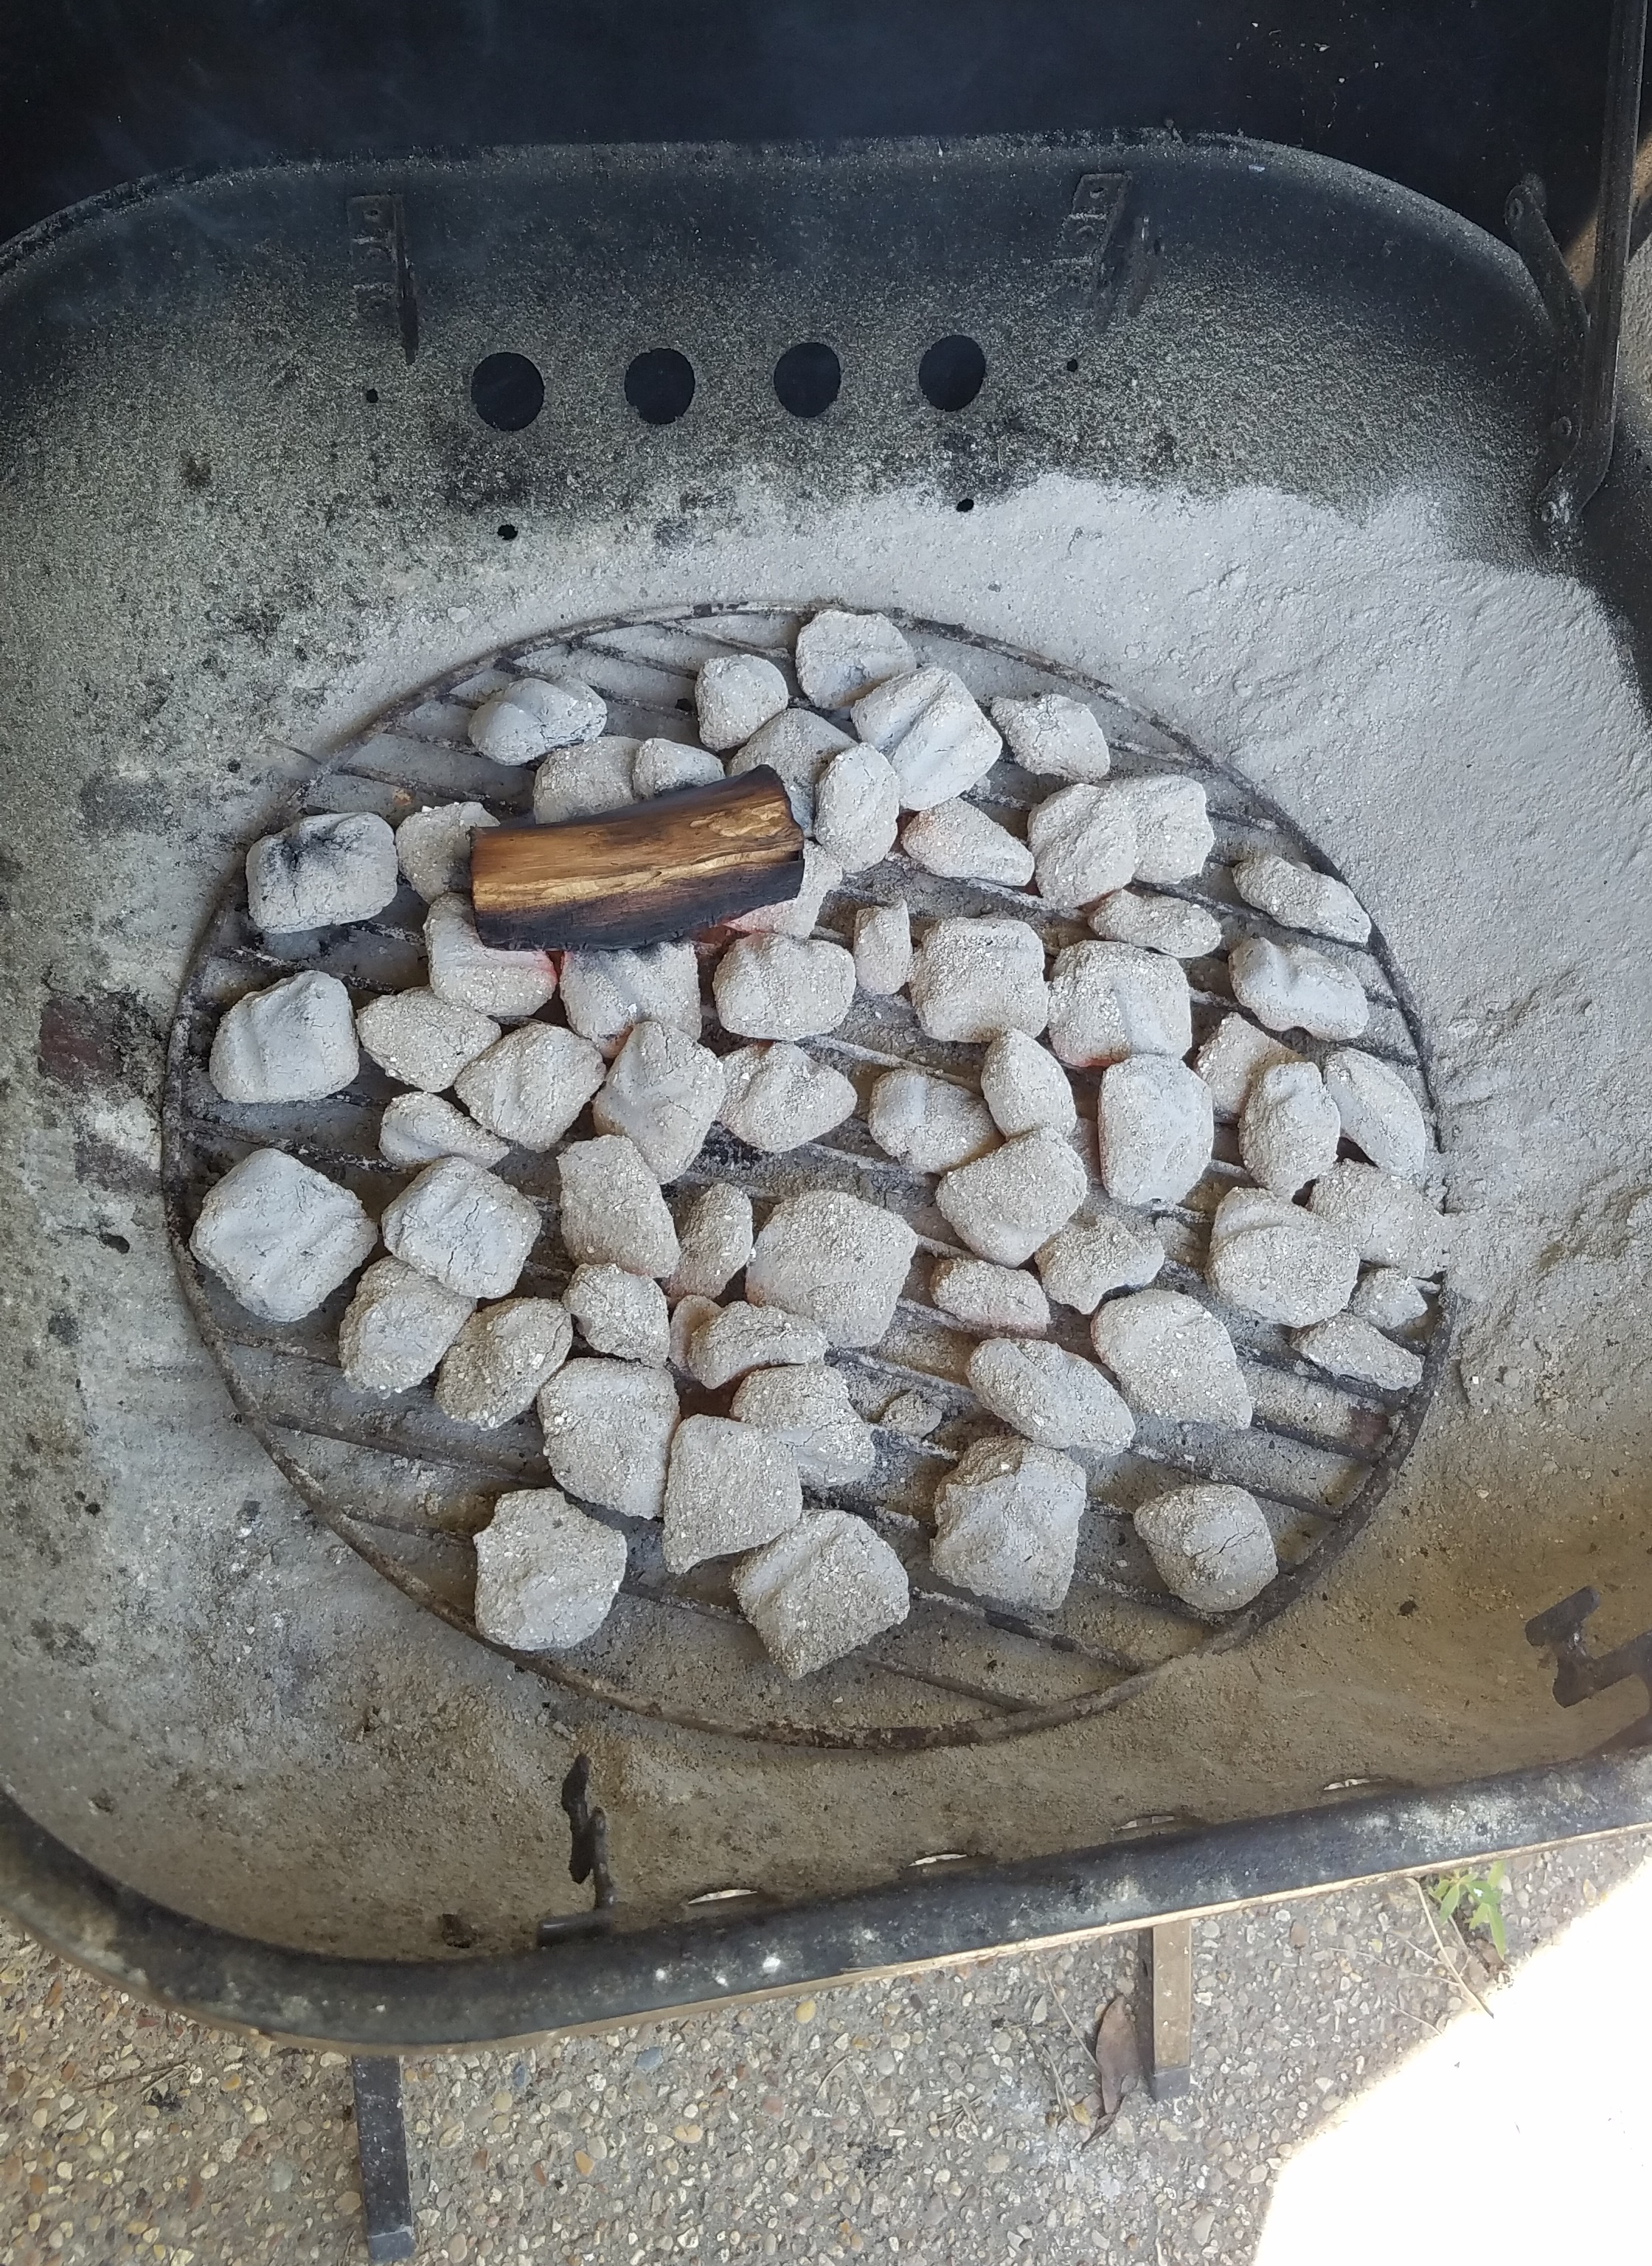
Heat charcoal briquettes and place them in the grill.  Lay a piece of piece of wood on top of the coals.  I used mesquite wood but hickory or oak is fine.  It’s all about your flavor preference.

Place the foil-covered grate on the grill and then place the tomatillos, serranos and garlic on the grate.  Close the lid of the grill and wait several minutes.   Open the grill and inspect the everything.  Once the bottoms have blackened, pull them off. 

Purée

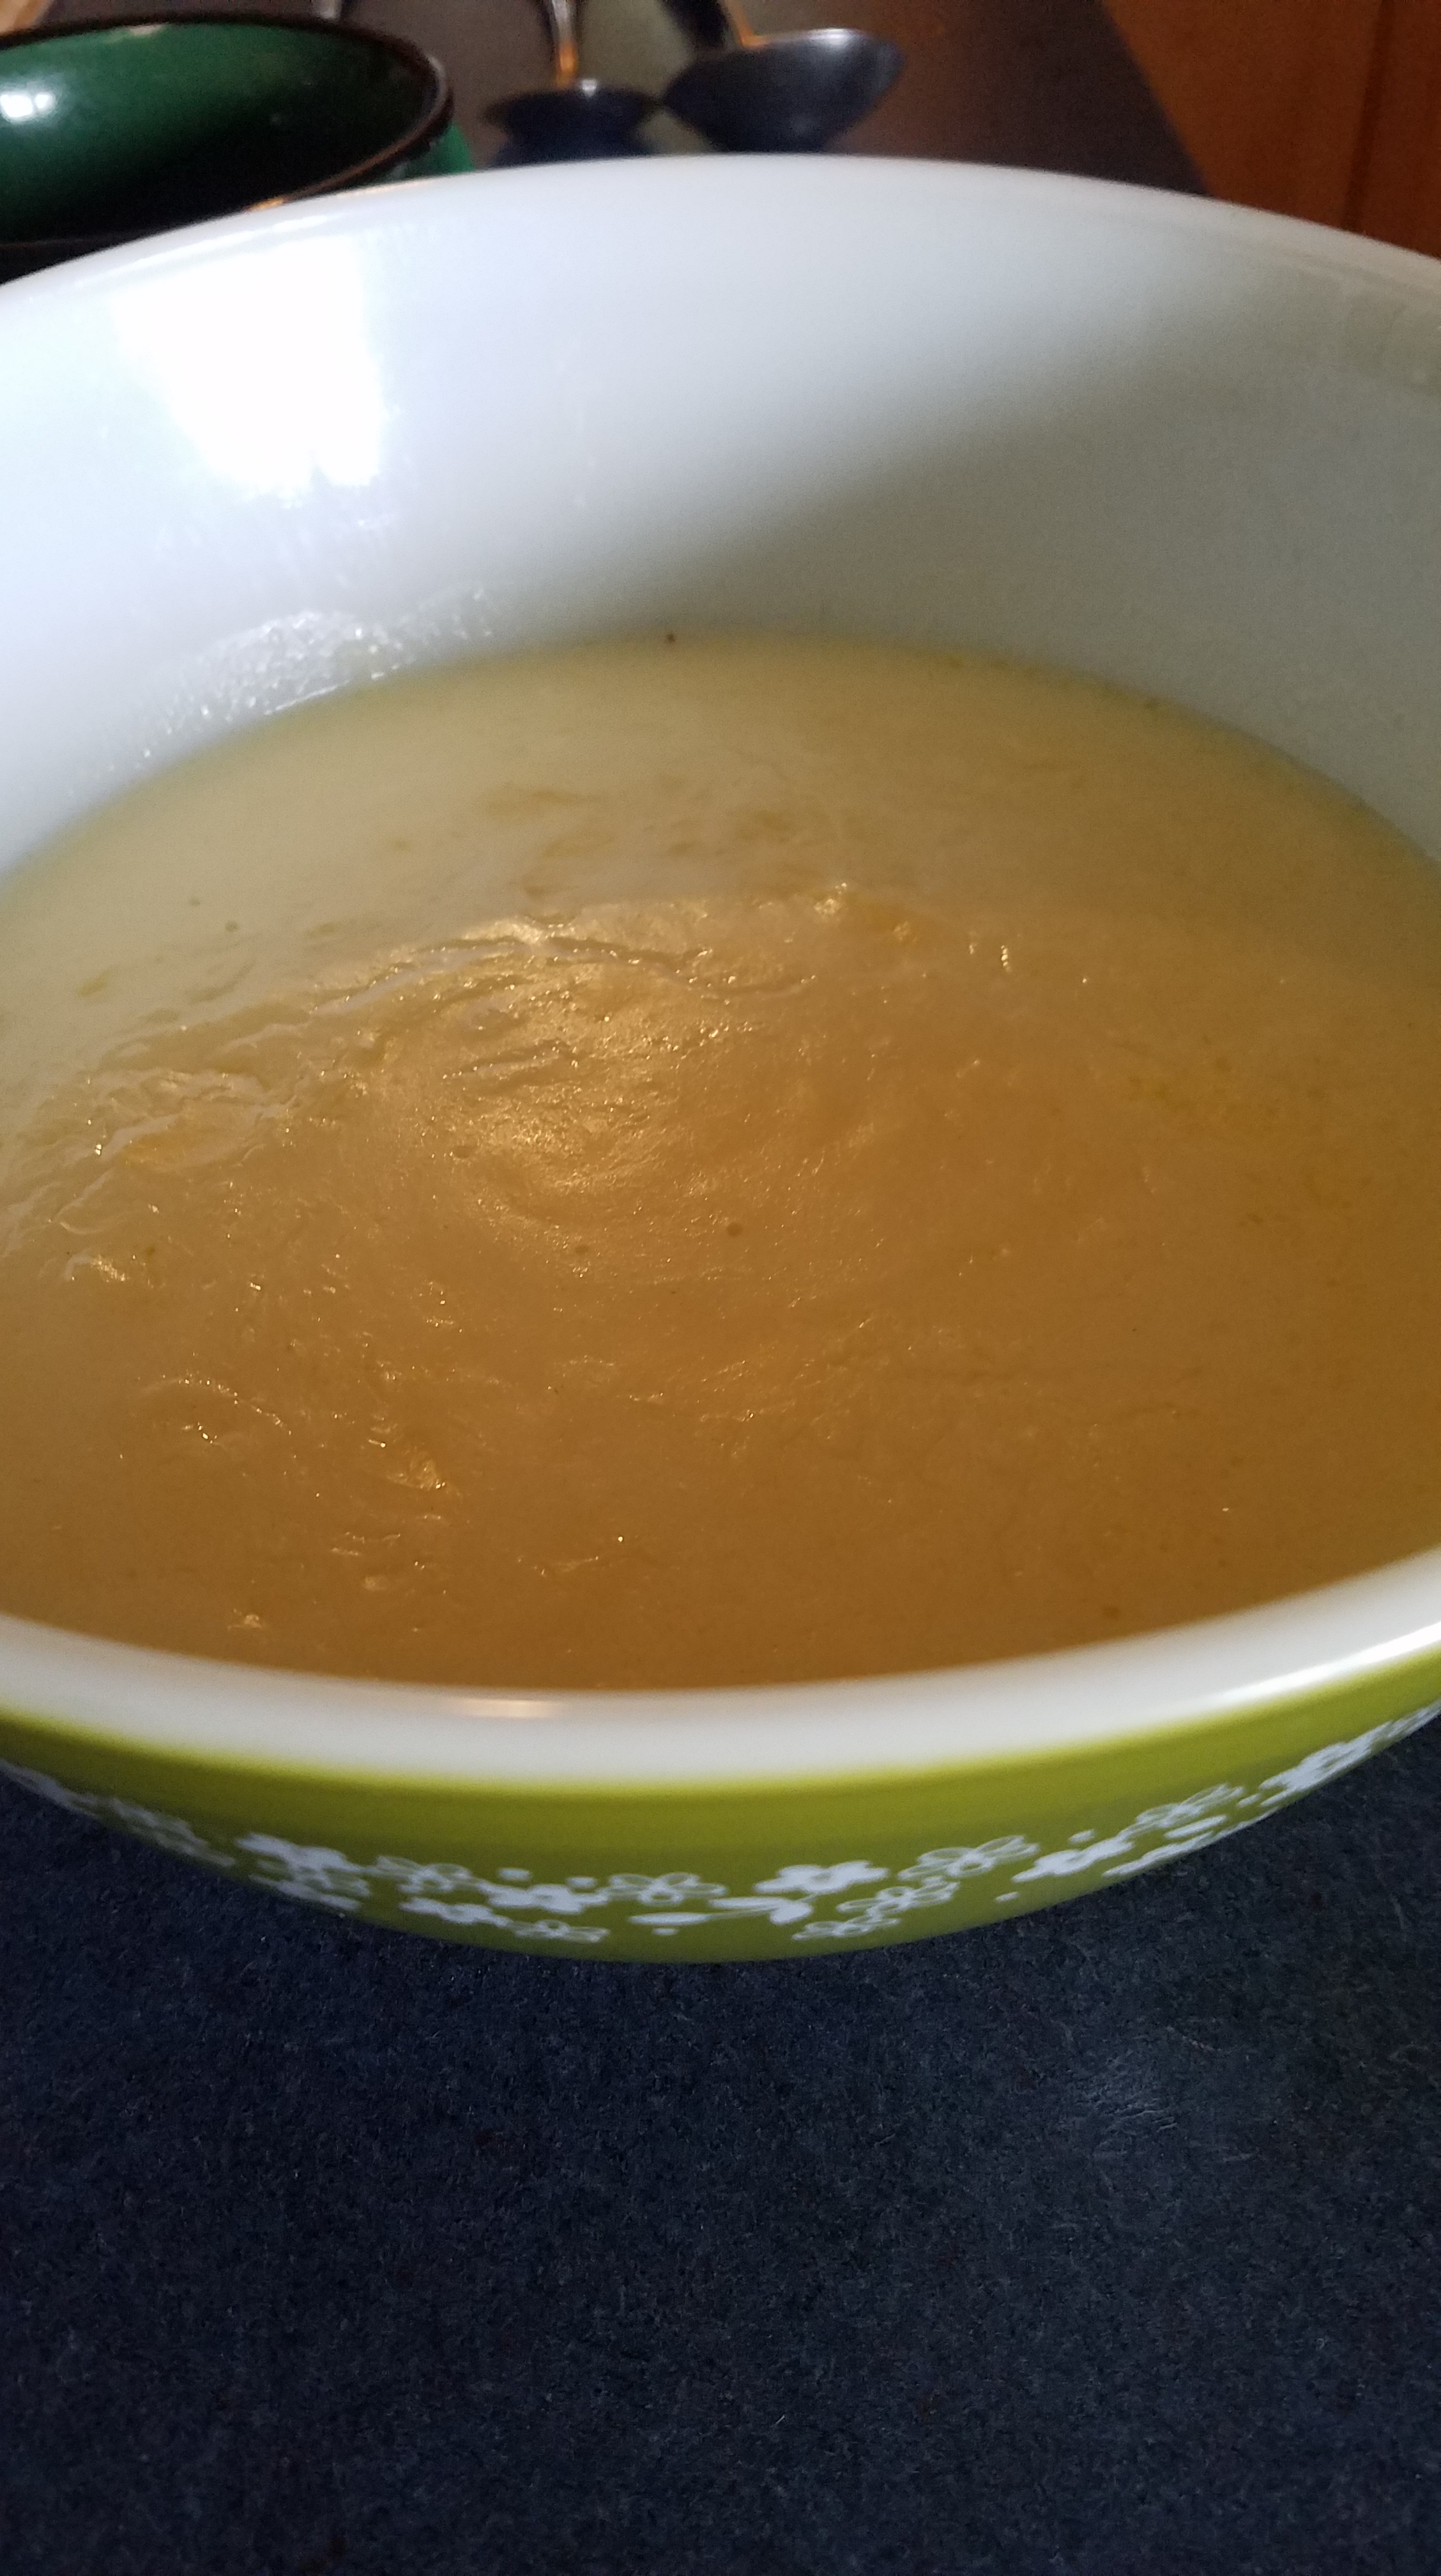
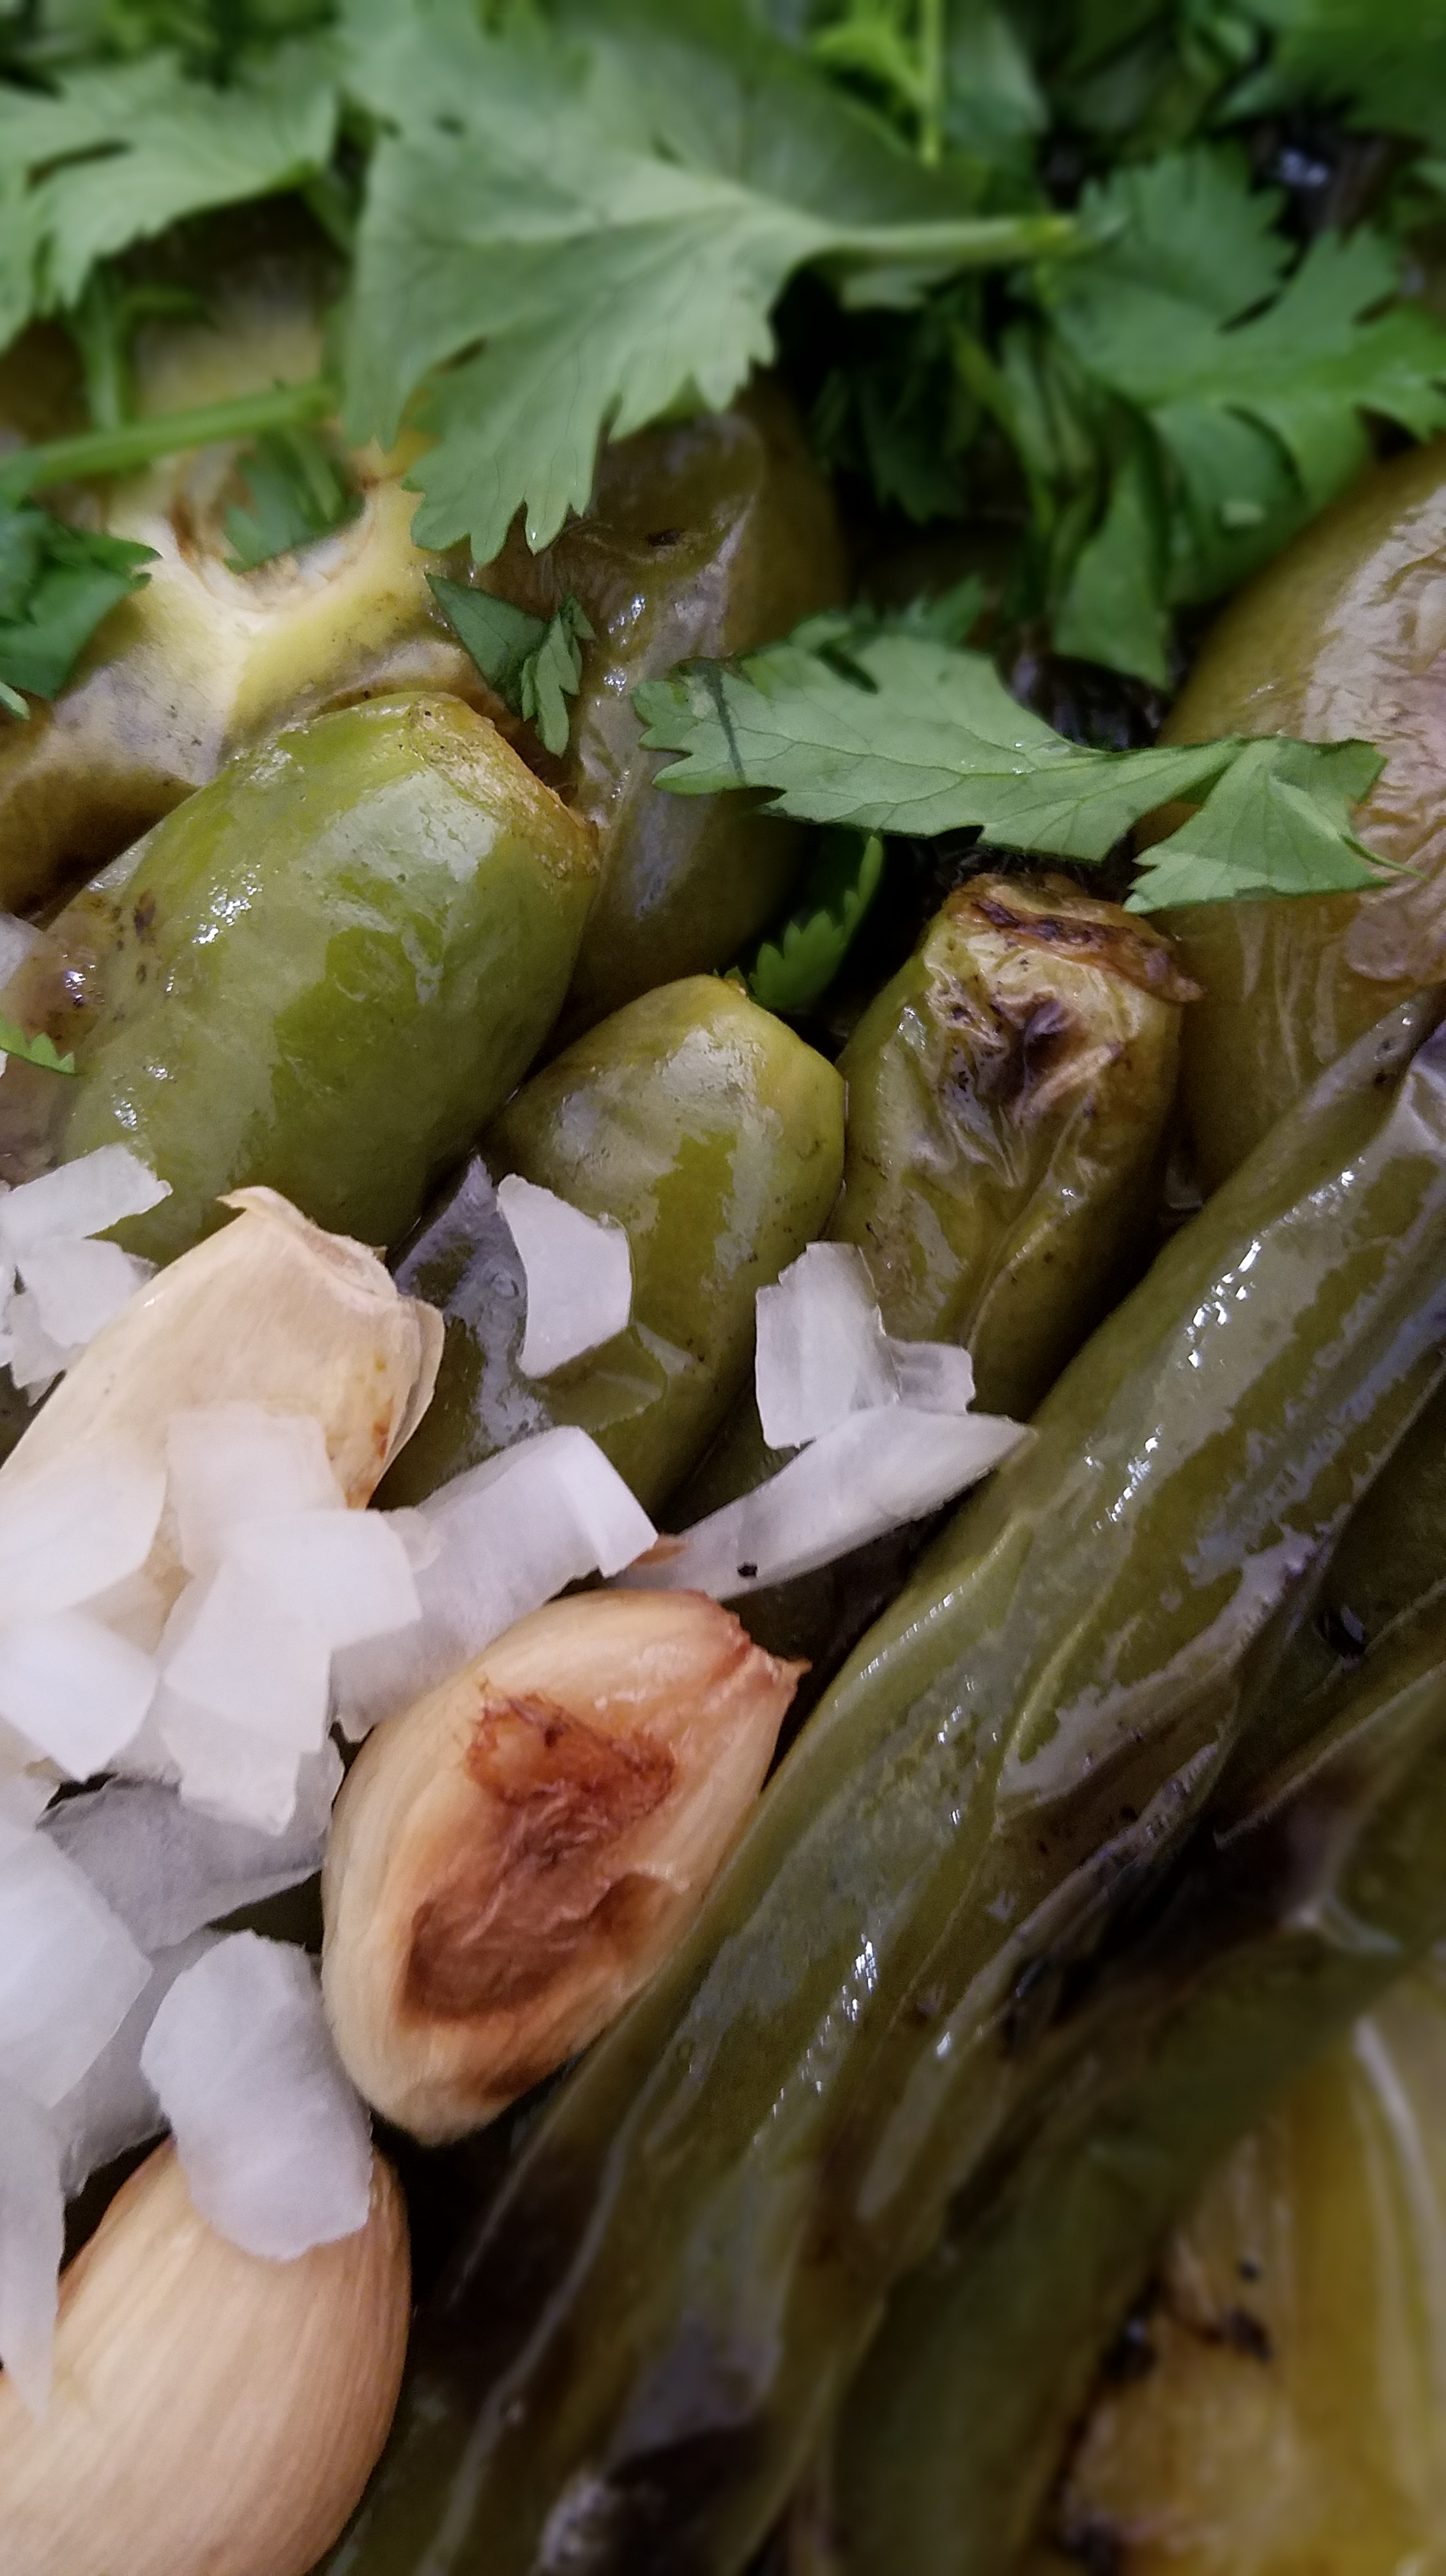
Drop the smoked tomatillos, chiles, garlic, the teaspoon of salt and the tablespoon of sugar in a blender.  Add the diced onion, cilantro and a splash of water.  Purée for several seconds.  That’s it.  You have made salsa verde!  Store in a mason jar and allow to cool before refrigerating.  The salsa will last about a week.  If you want to extend the life of your salsa add about 2 Tbs vinegar.

London Broil

If hearing someone say “London broil” conjures up mental images of a rustic steak house in merry old England I have some disappointing news for you.  London broil is an American concoction, used to describe a method of preparing lean and tough cuts of beef.  Specifically, flank steak or top round.  Now, there’s nothing wrong with lean or tough cuts of meat and one of the best methods to overcome the challenges that lean meat presents is to cook it at a very high temperature and for a very short period of time, hence, the appeal of broiling.  If broiling is not an option, a smoking hot cast iron skillet will work just as well.  In fact, one of the advantages to using a hot skillet rather than a broiler is that you can see and test the meat for doneness while it cooks.  If you prefer your steak cooked well done, don’t bother cooking a London broil.  You’ll wind up with something akin to leather.

So, I wanted steak tonight but I didn’t want to pay top dollar for a steak dinner.  Enter the London broil.  This recipe will feed up to 4 people, but I’m making it for 3.

Ingredients:

2 lbs London broil (top round steak)

1 Tbs coarse salt

1 Tsp finely ground salt

A pinch of cayenne powder

1 Tbs coarse black pepper

5 russet potatoes – wedge cut

2 cups cooking oil (I use canola oil)

1 lb fresh green beans

1/2 sweet onion – julienne cut

steak sauce (about 1/4 cup) – see recipe below

Directions:

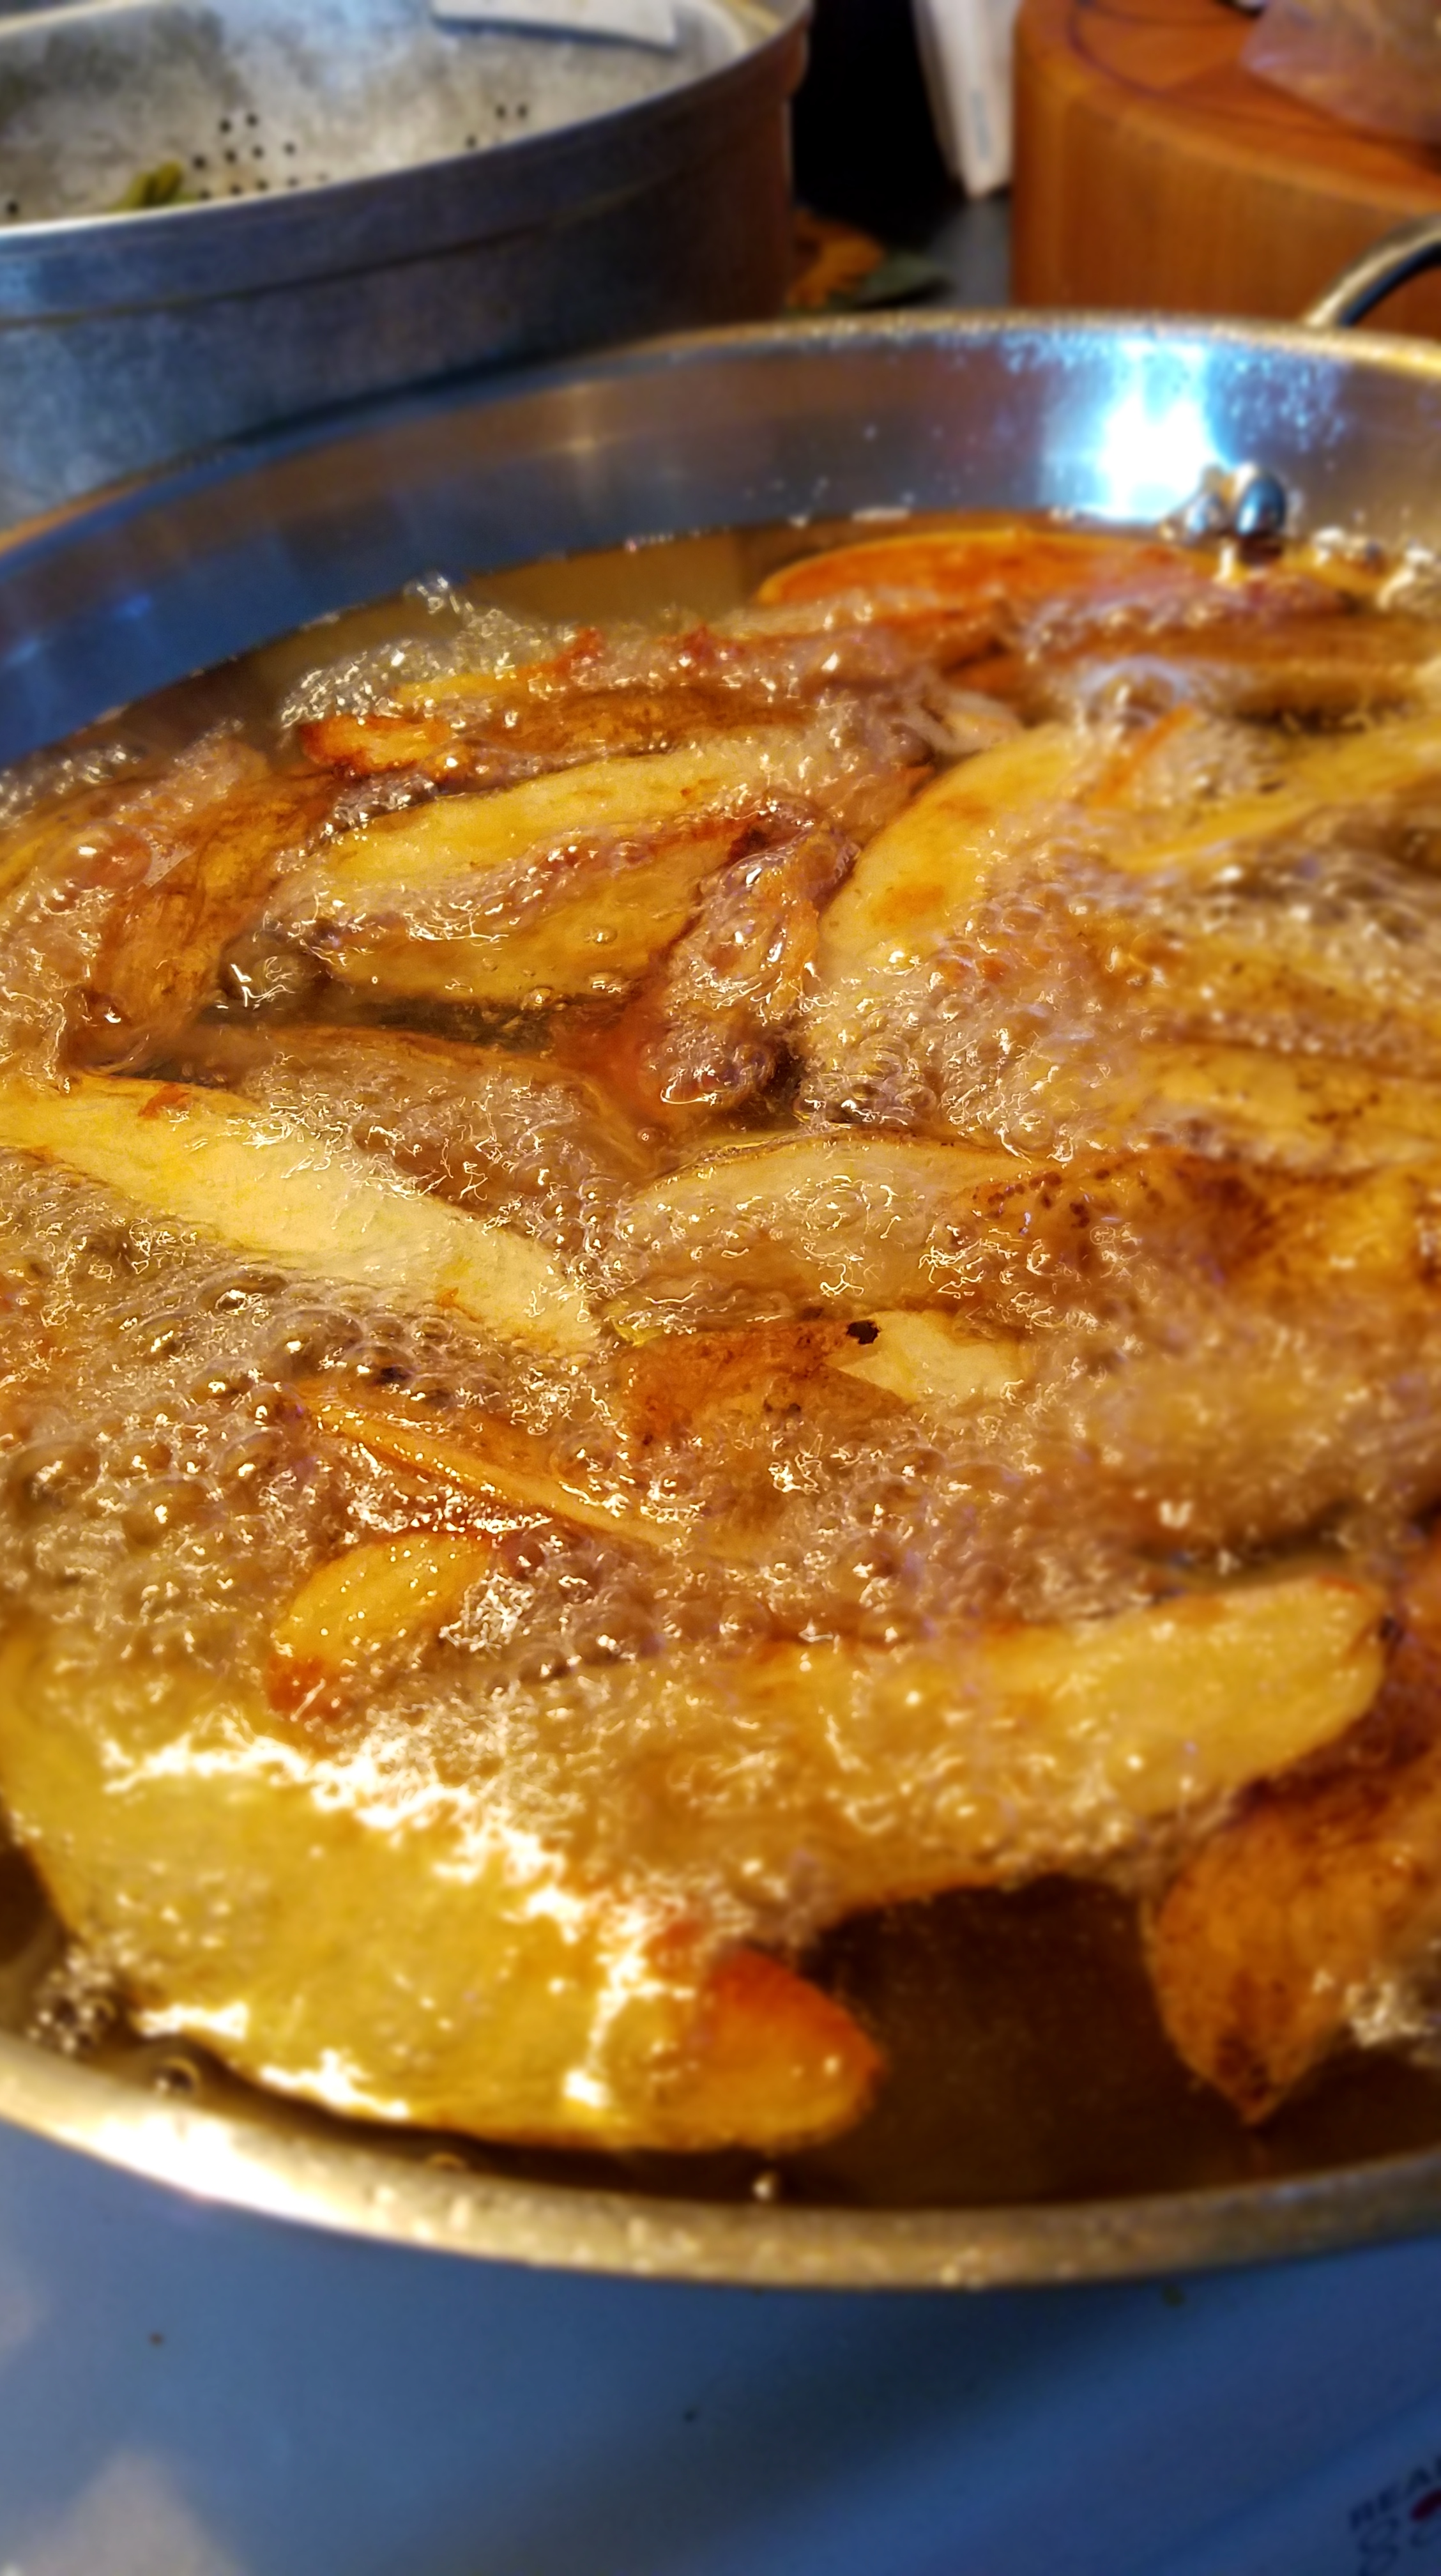
Fill a skillet with oil, nearly half way and turn on the heat to low/medium.

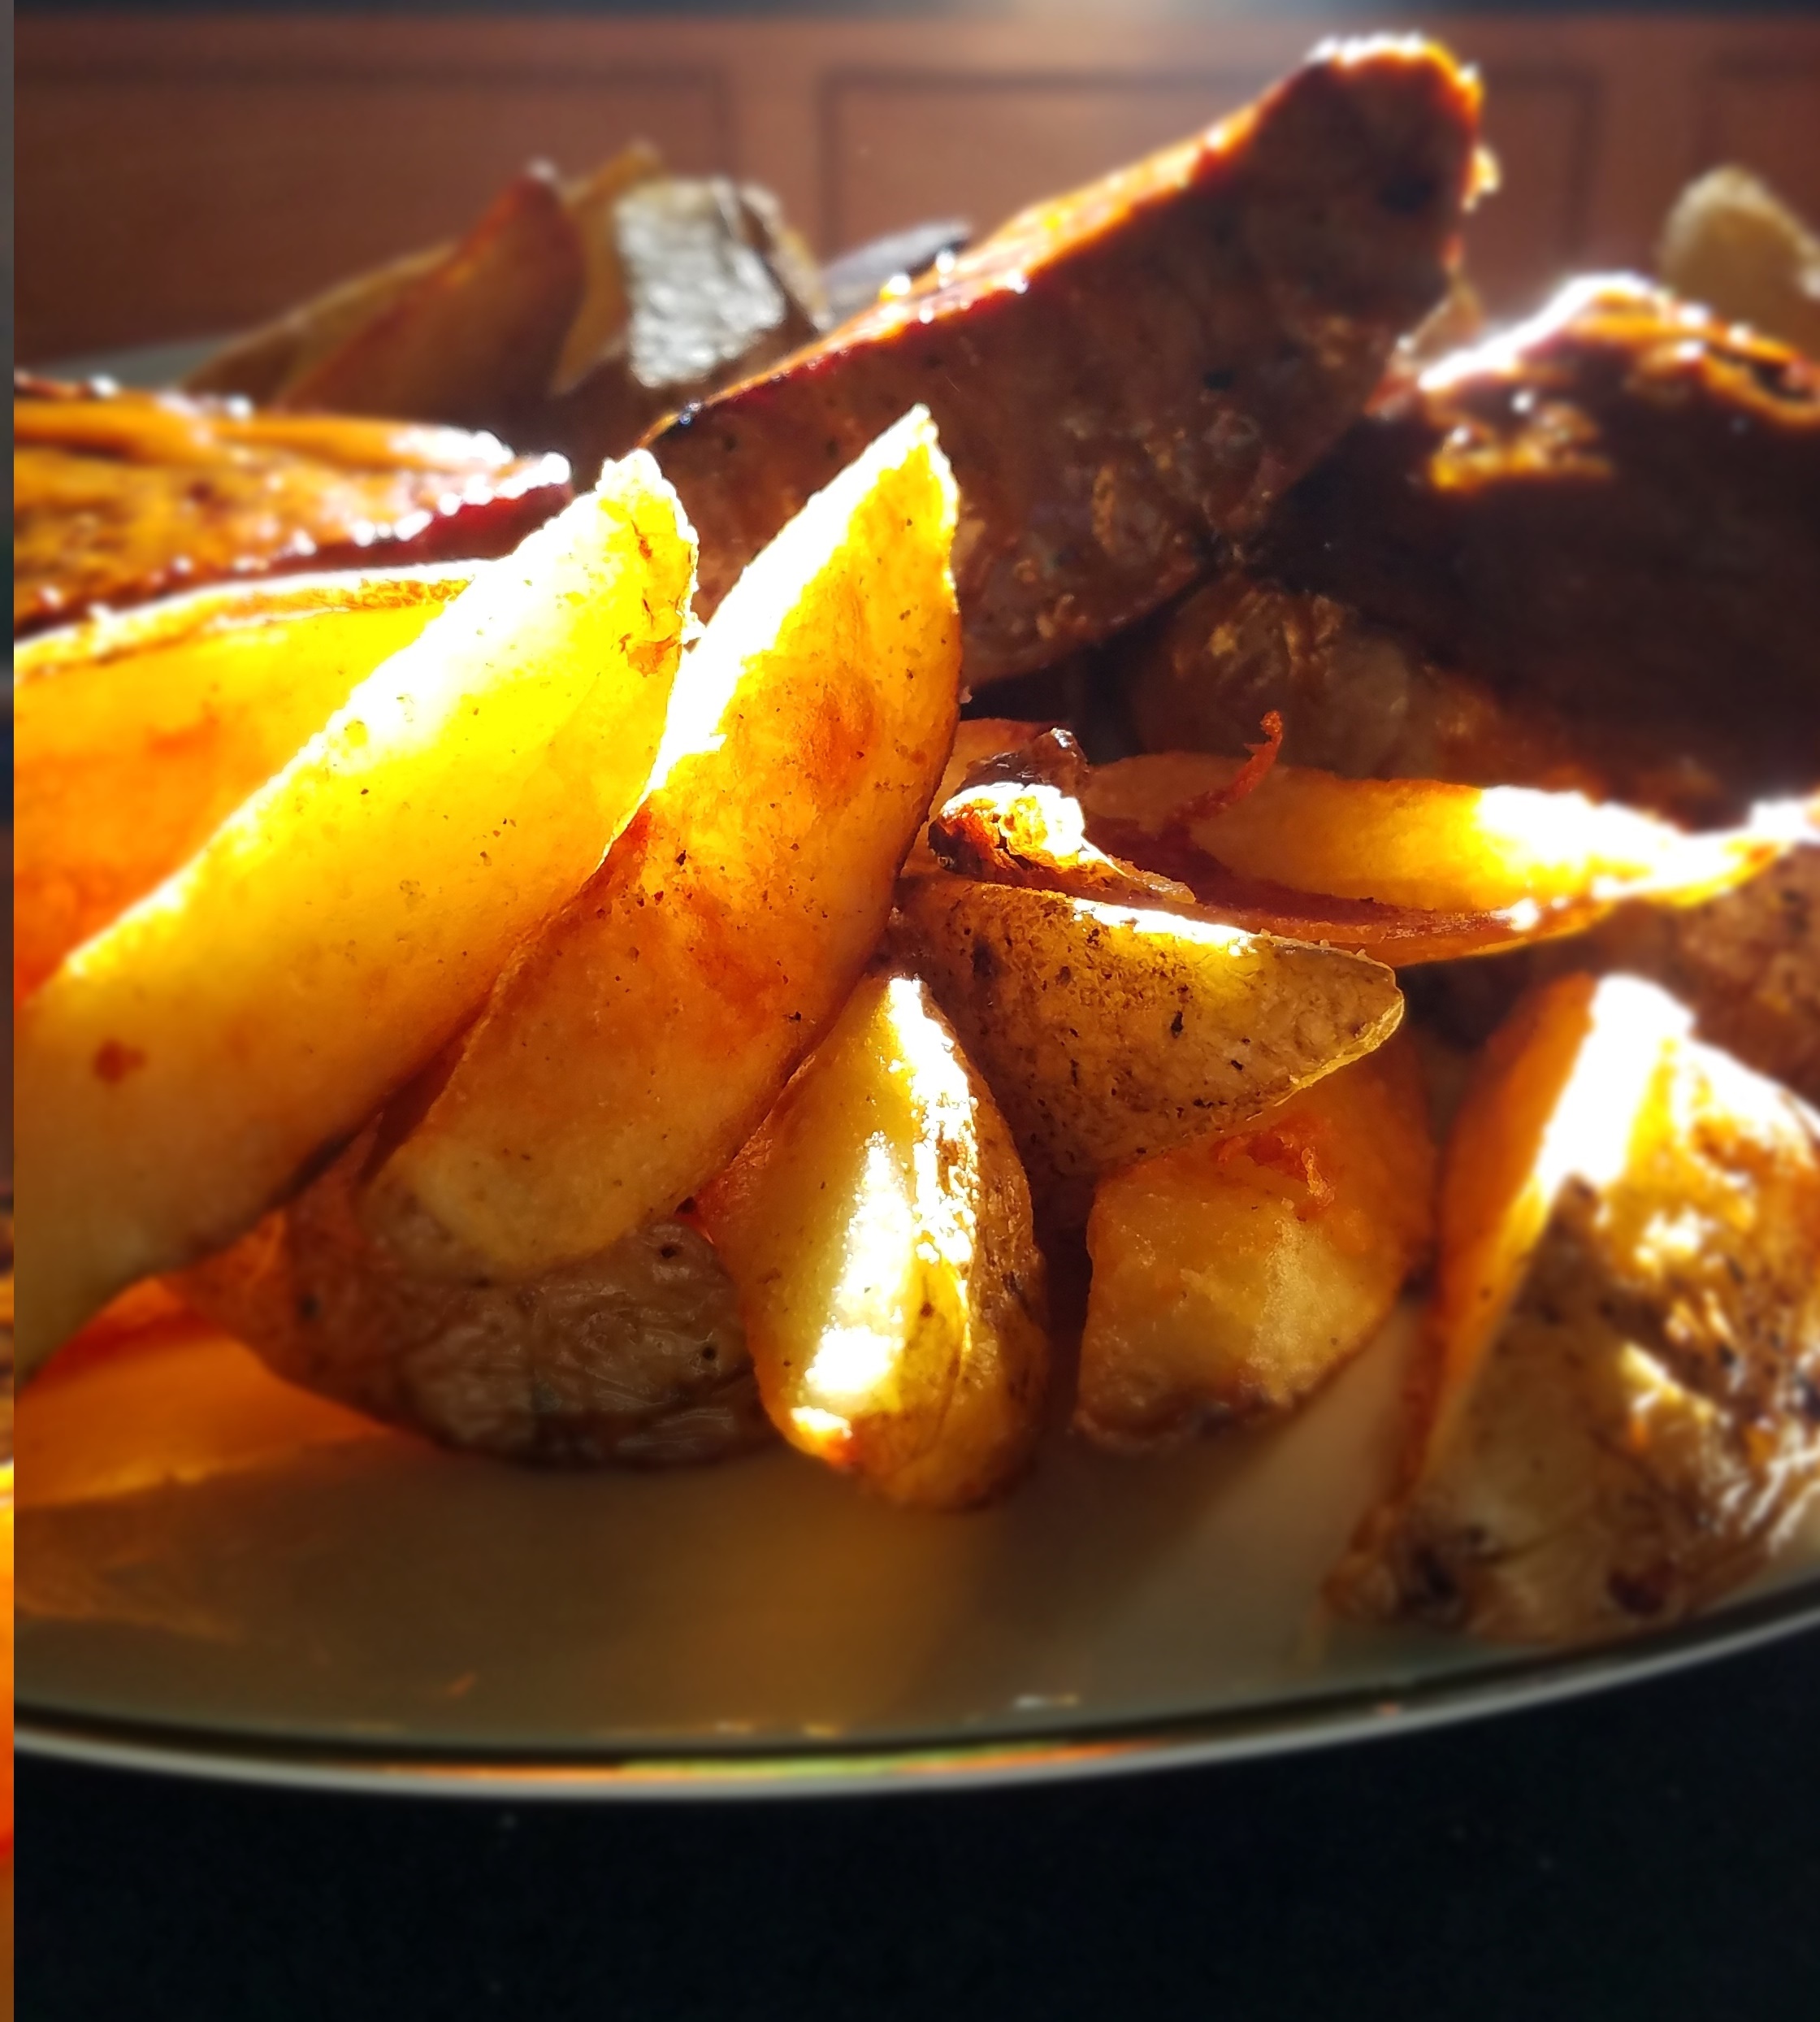
Wash the potatoes and cut into long wedges.  Add potatoes to the skillet and cook for about 1/2 hour, turning the potatoes occasionally, to avoid burning.  When the fries are golden brown, strain the oil, sprinkle with salt and a pinch of cayenne, and arrange them on a large oven-proof serving platter.  Keep warm in a 225° oven.

While the fries are cooking, let’s prepare the steak sauce and green beans.

For the steak sauce:

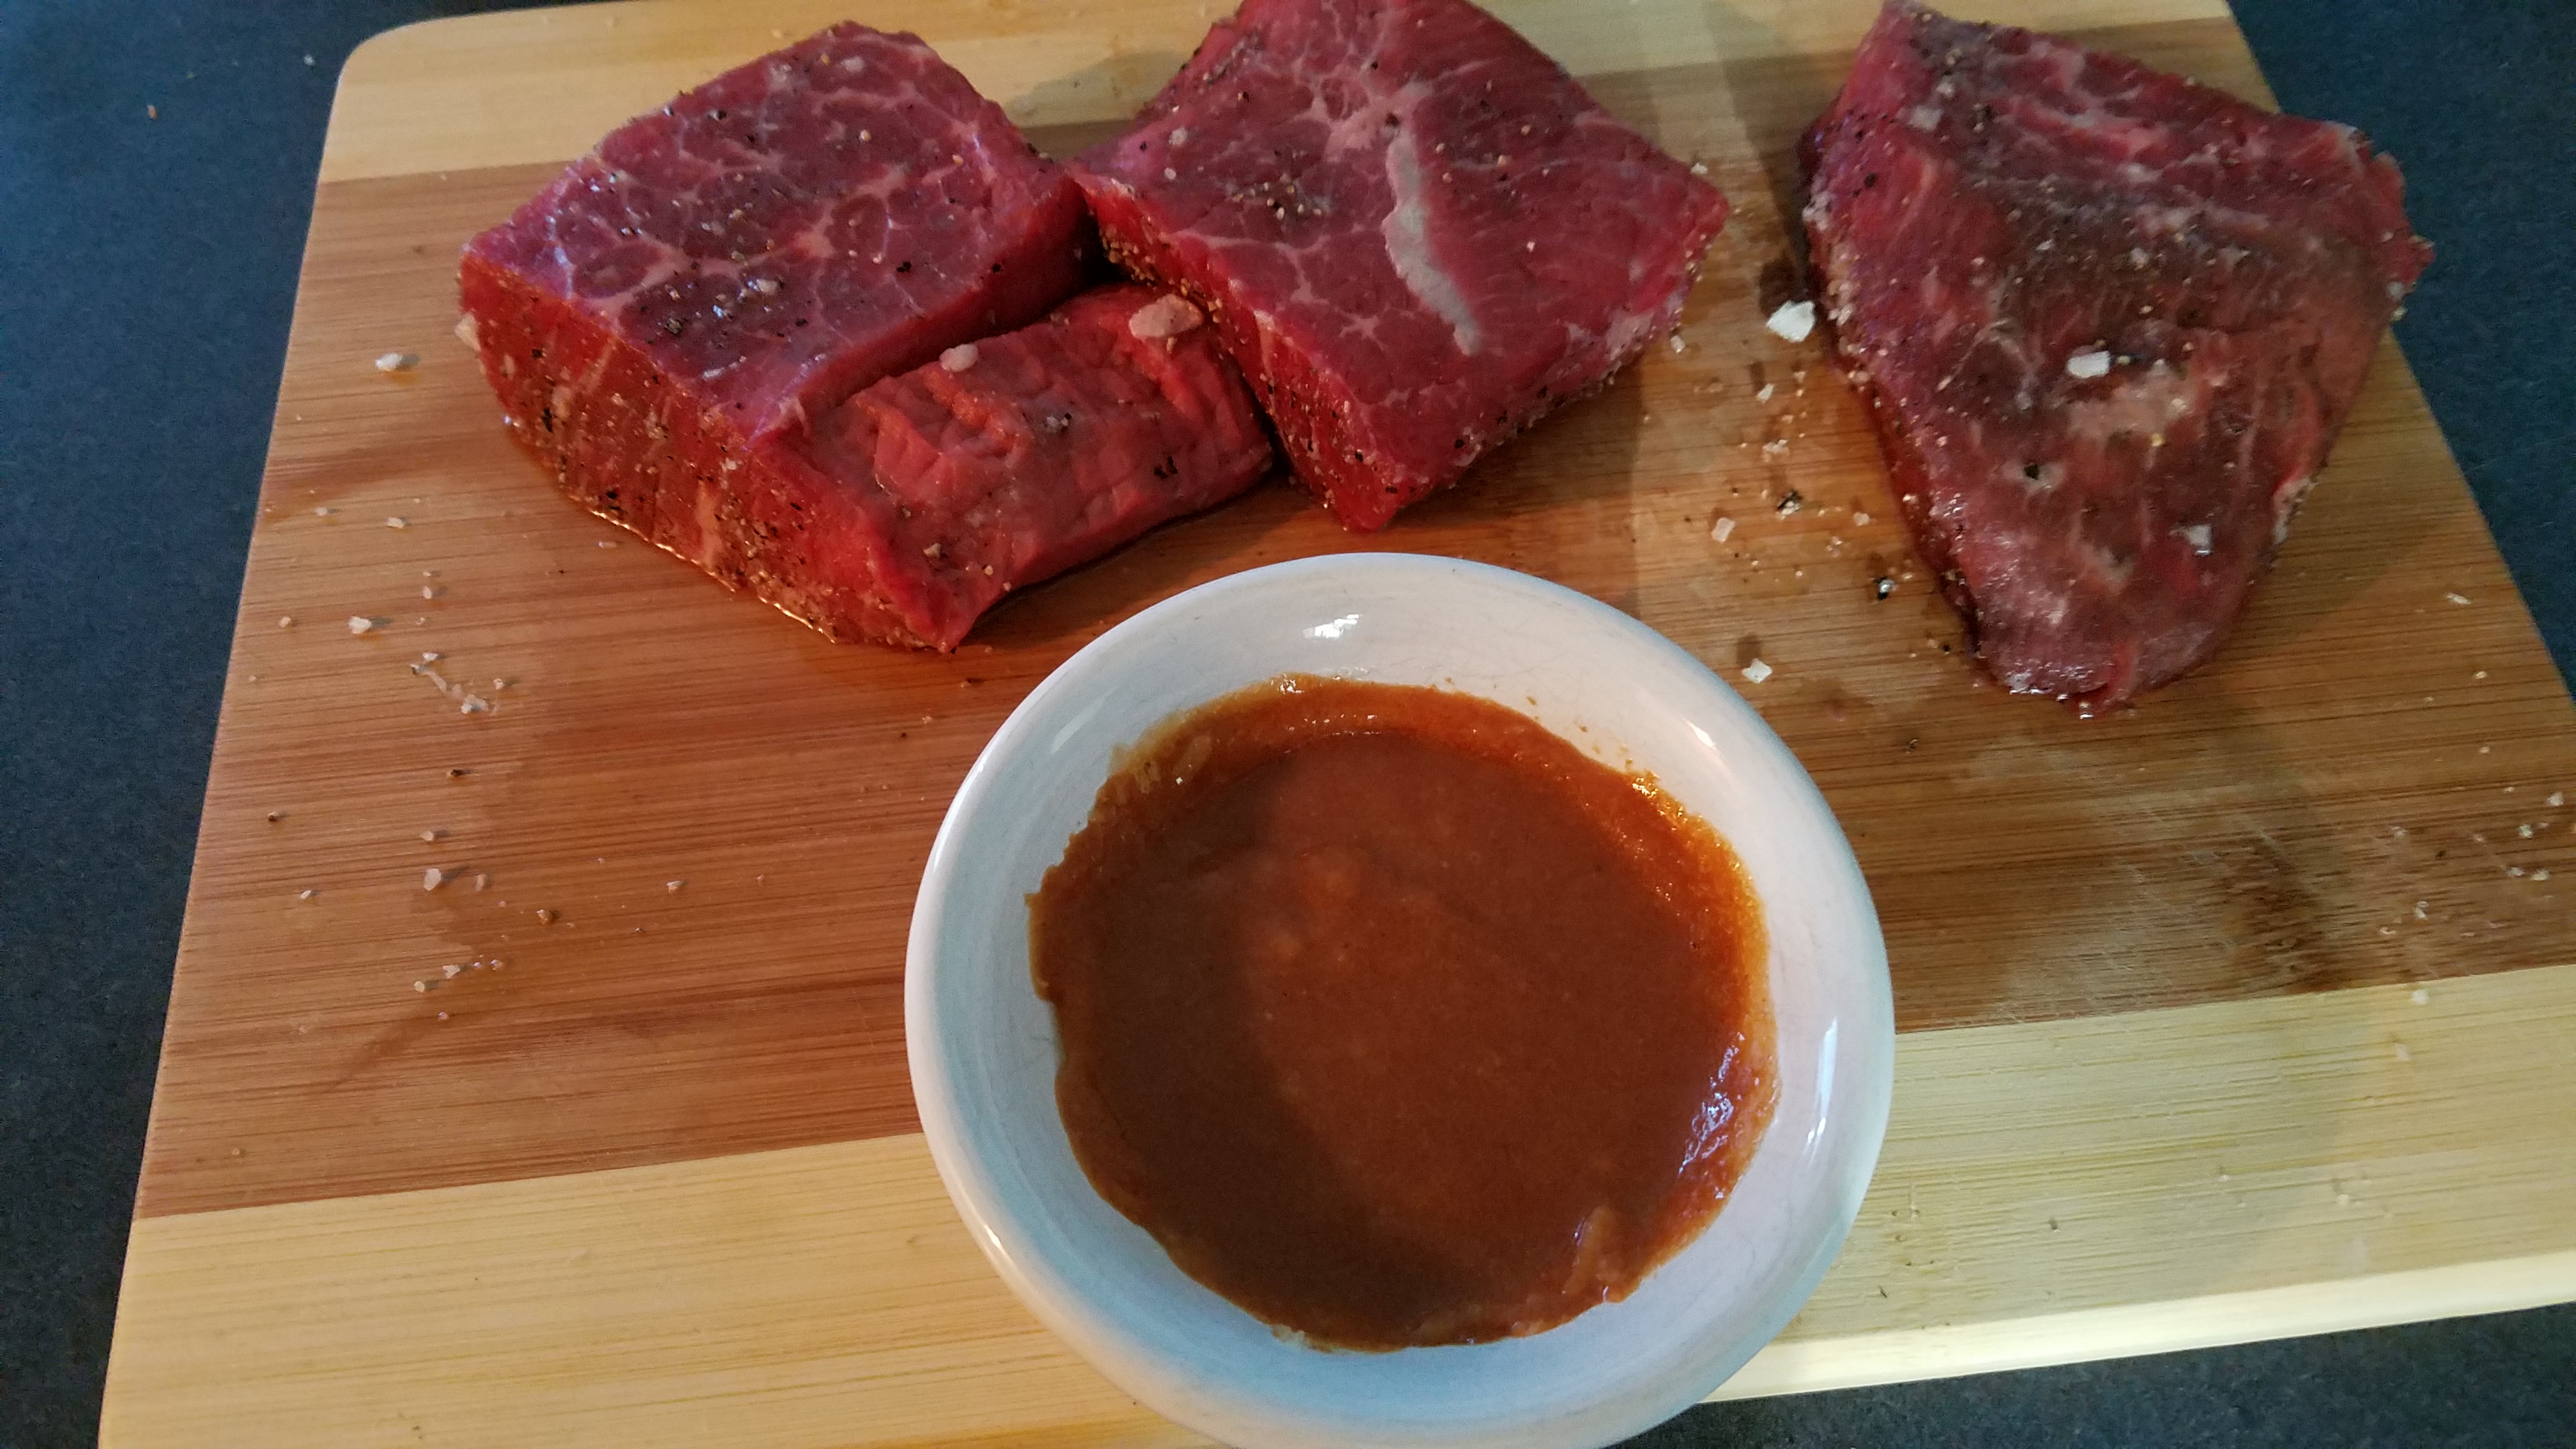
Mix the following items together:

2 Tbs ketchup

1 Tbs softened butter

1 Tbs Dijon mustard

1 tsp soy sauce

1/2 tsp Worcestershire sauce

1/2 tsp hot sauce

a pinch of brown sugar

For the green beans:

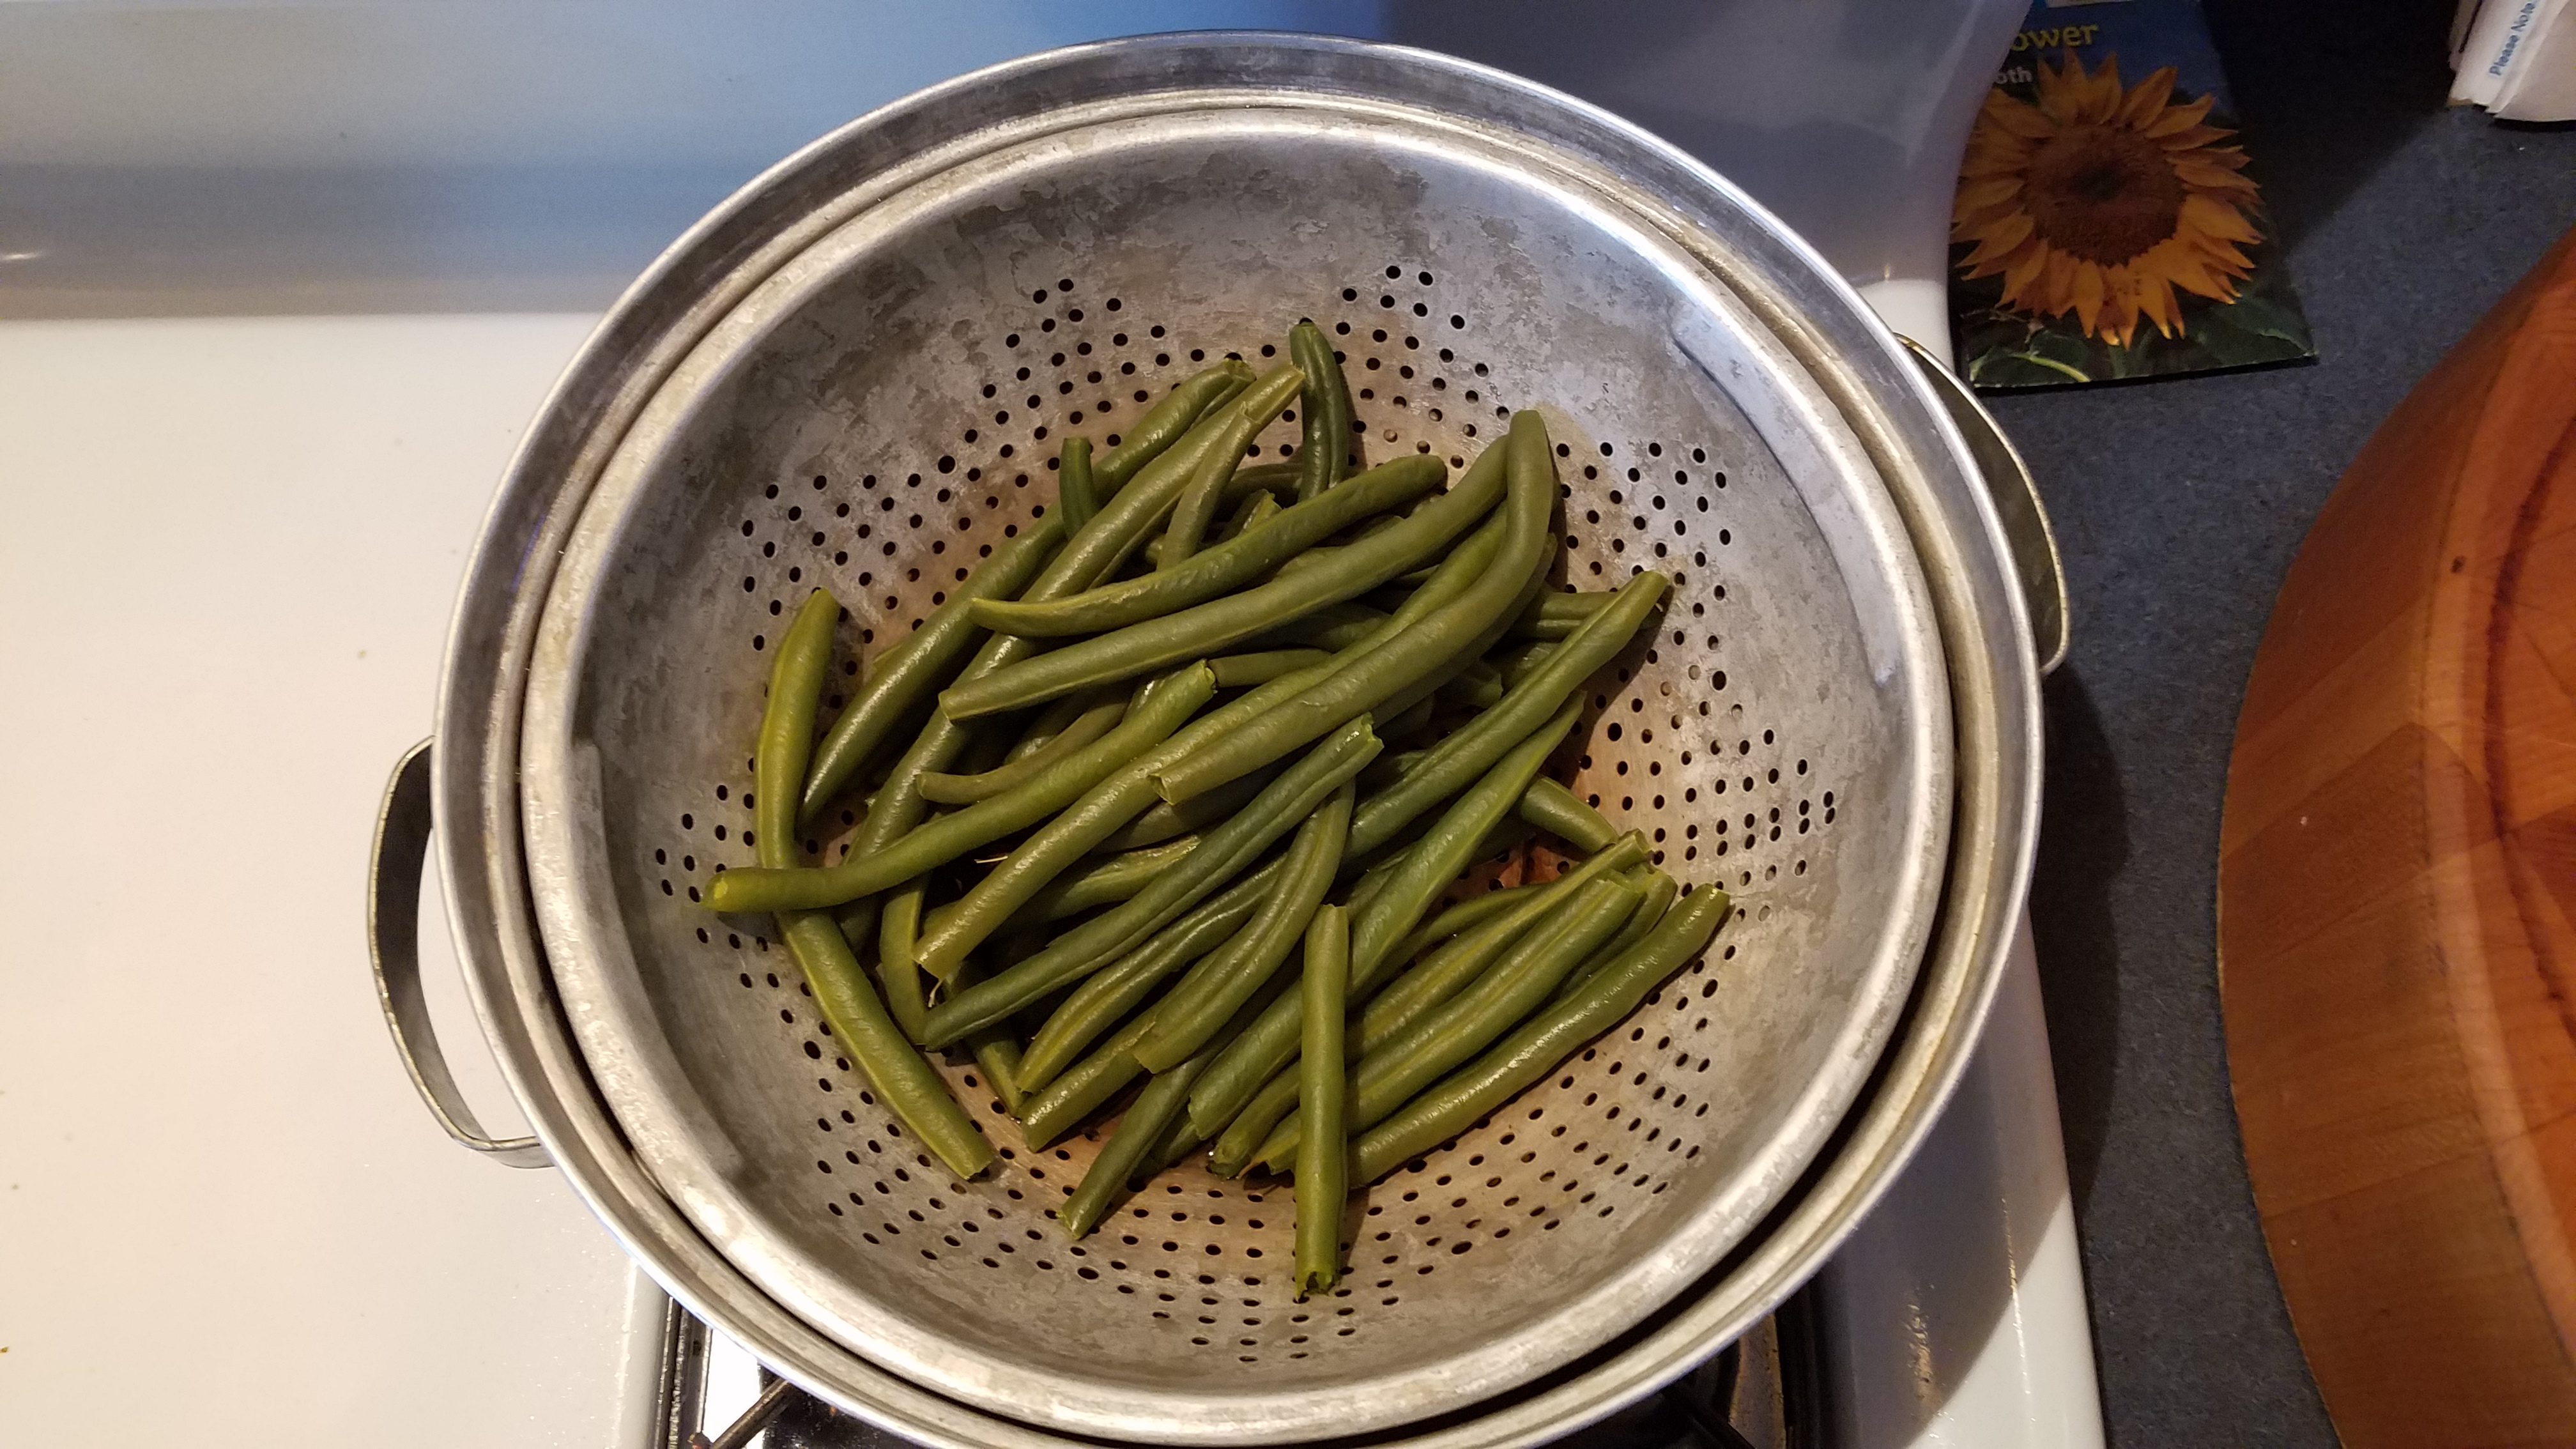
Steam green beans for about 15 minutes, or until they begin to soften.  Stage in a warm place.

On a clean cutting board, cut the raw steak into serving sized portions and remove any large, white portions of fat.  Sprinkle coarse salt and black pepper on each side of the pieces.

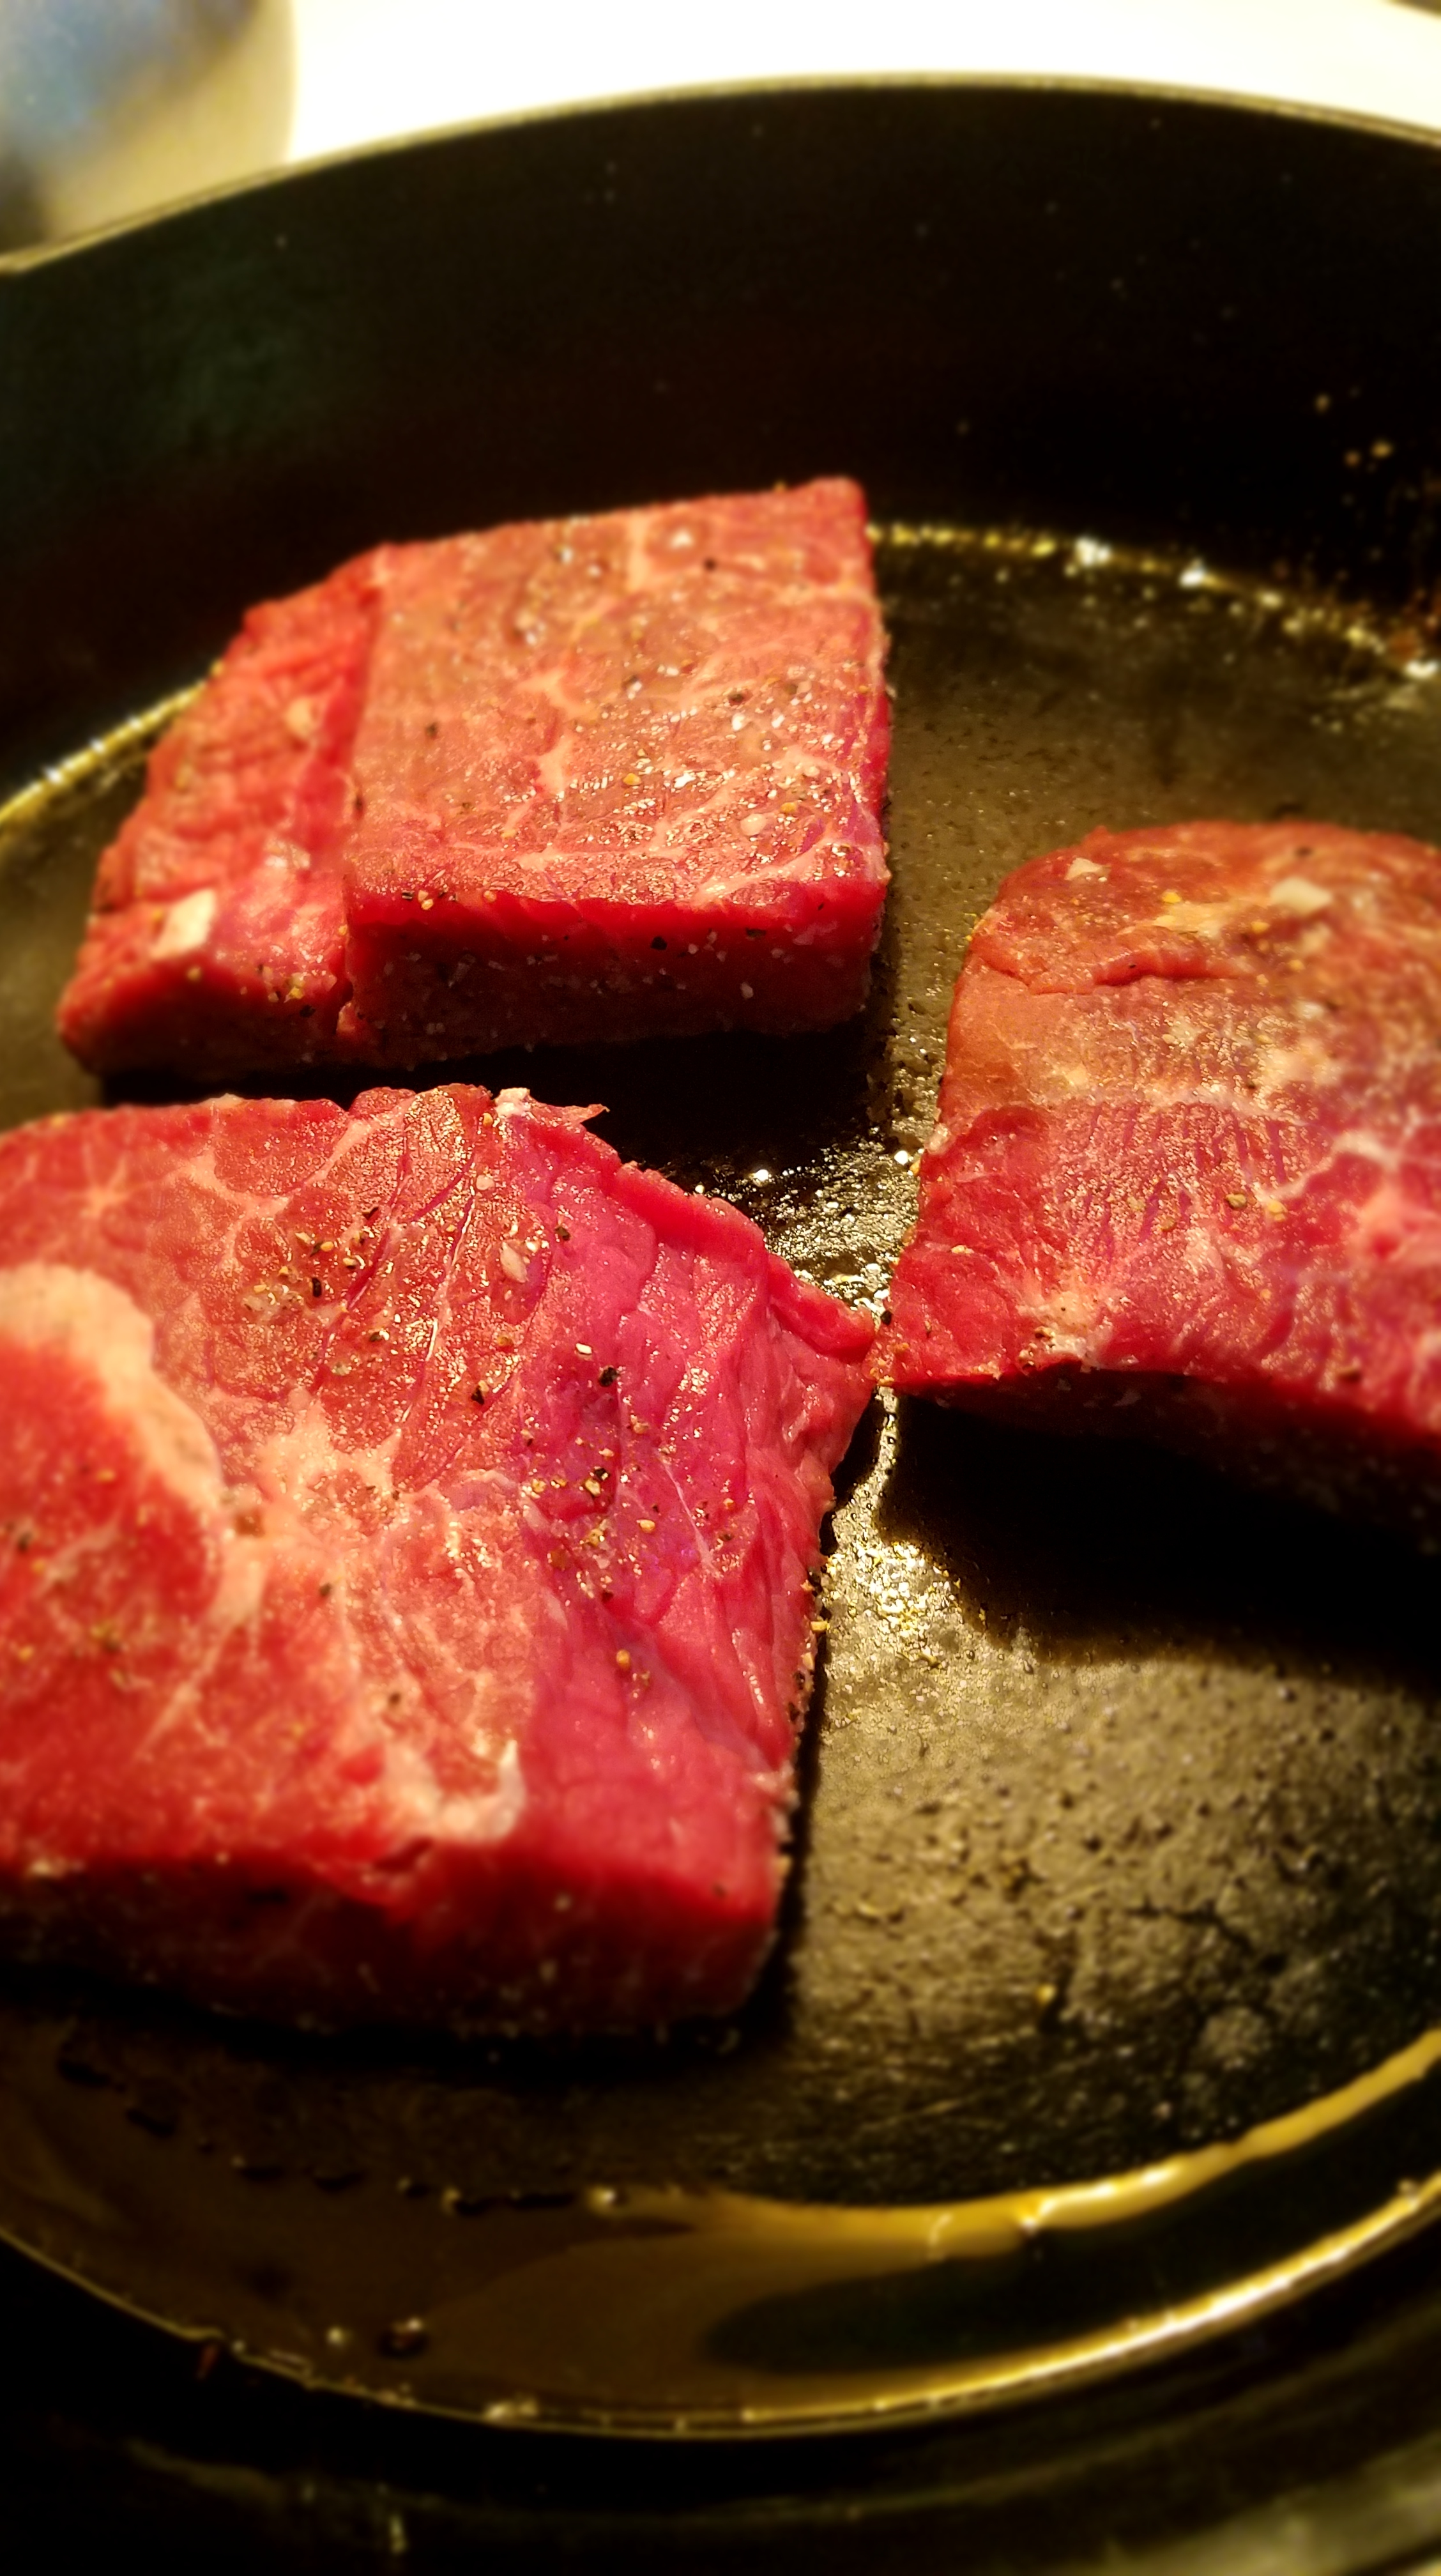
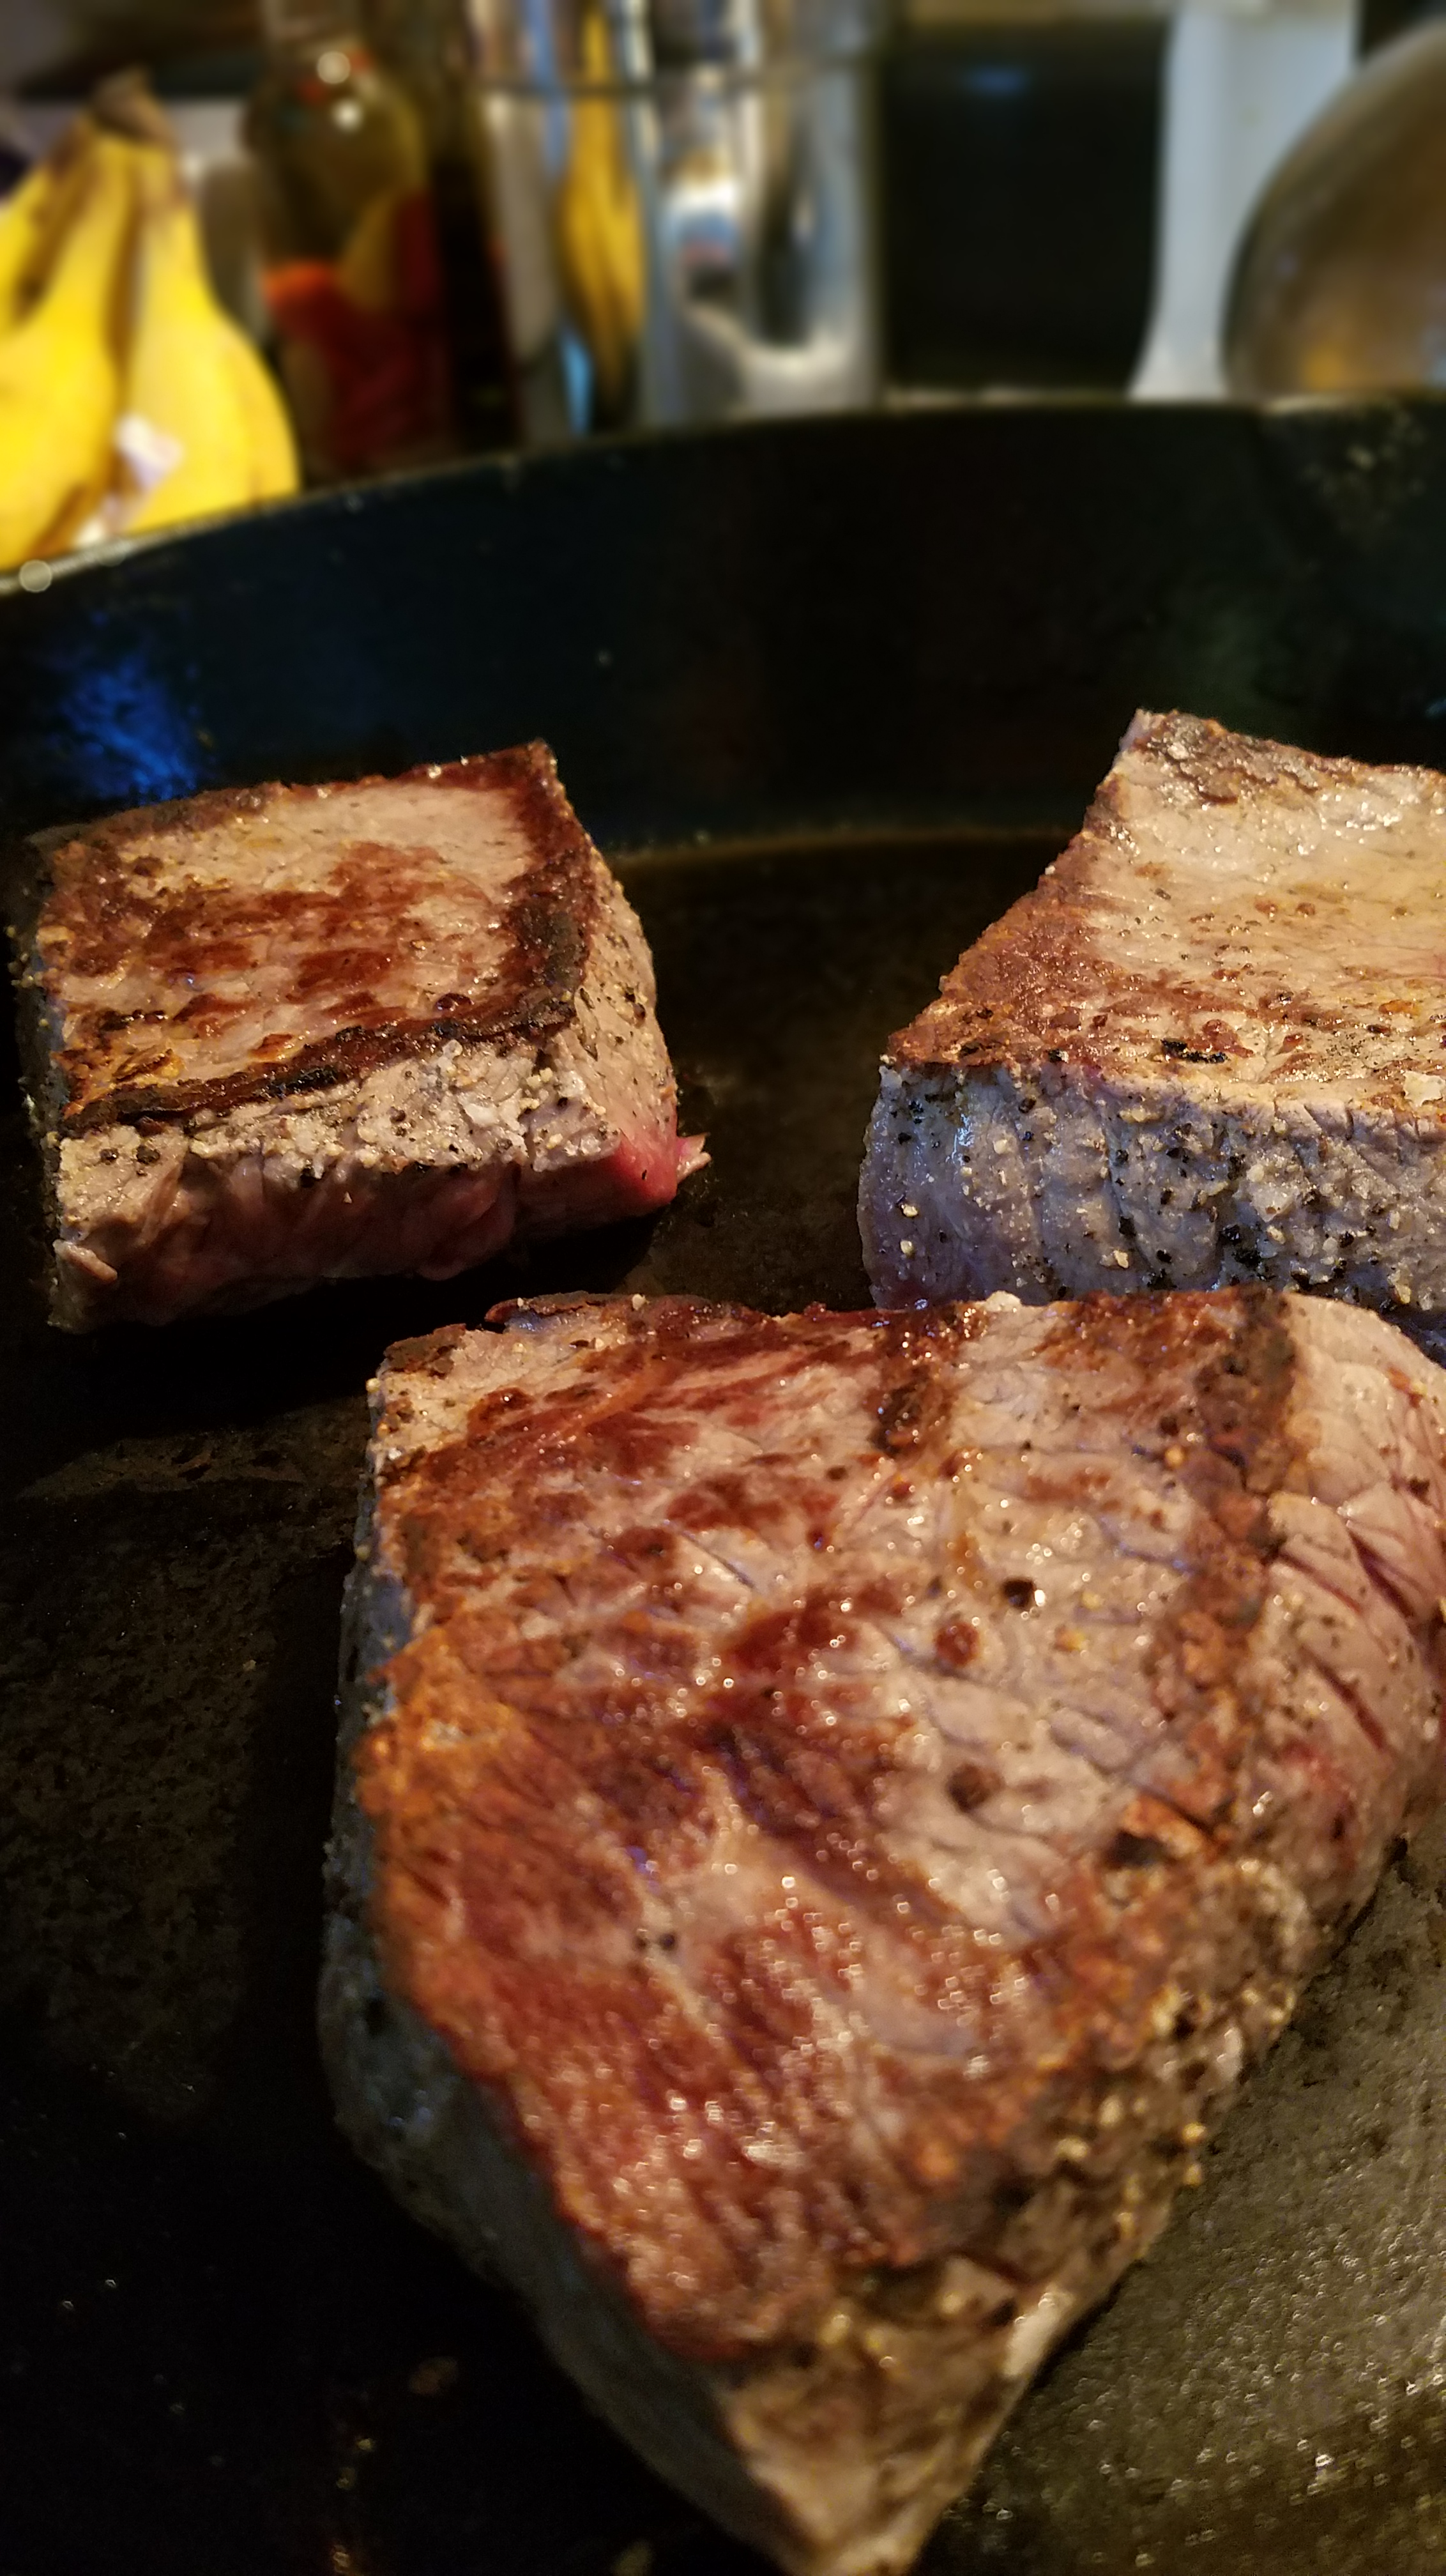
Heat a cast iron skillet on the stove to medium/high.  Add 1 Tbs oil.  When the skillet begins to smoke, it’s ready for the steaks.  Carefully add the steaks to the hot skillet.  Turn steaks over after 2 or 2 ½ minutes.  Cook for another 2 minutes, or until meat tests medium rare.  Turn the heat off and leave the residual steak juices in the skillet.

Pull the fries out of the oven and arrange the steaks on the platter, along with the fries.  Baste the steaks with the steak sauce.  Don’t worry about getting some of the sauce on the fries…your family and friends will thank you.

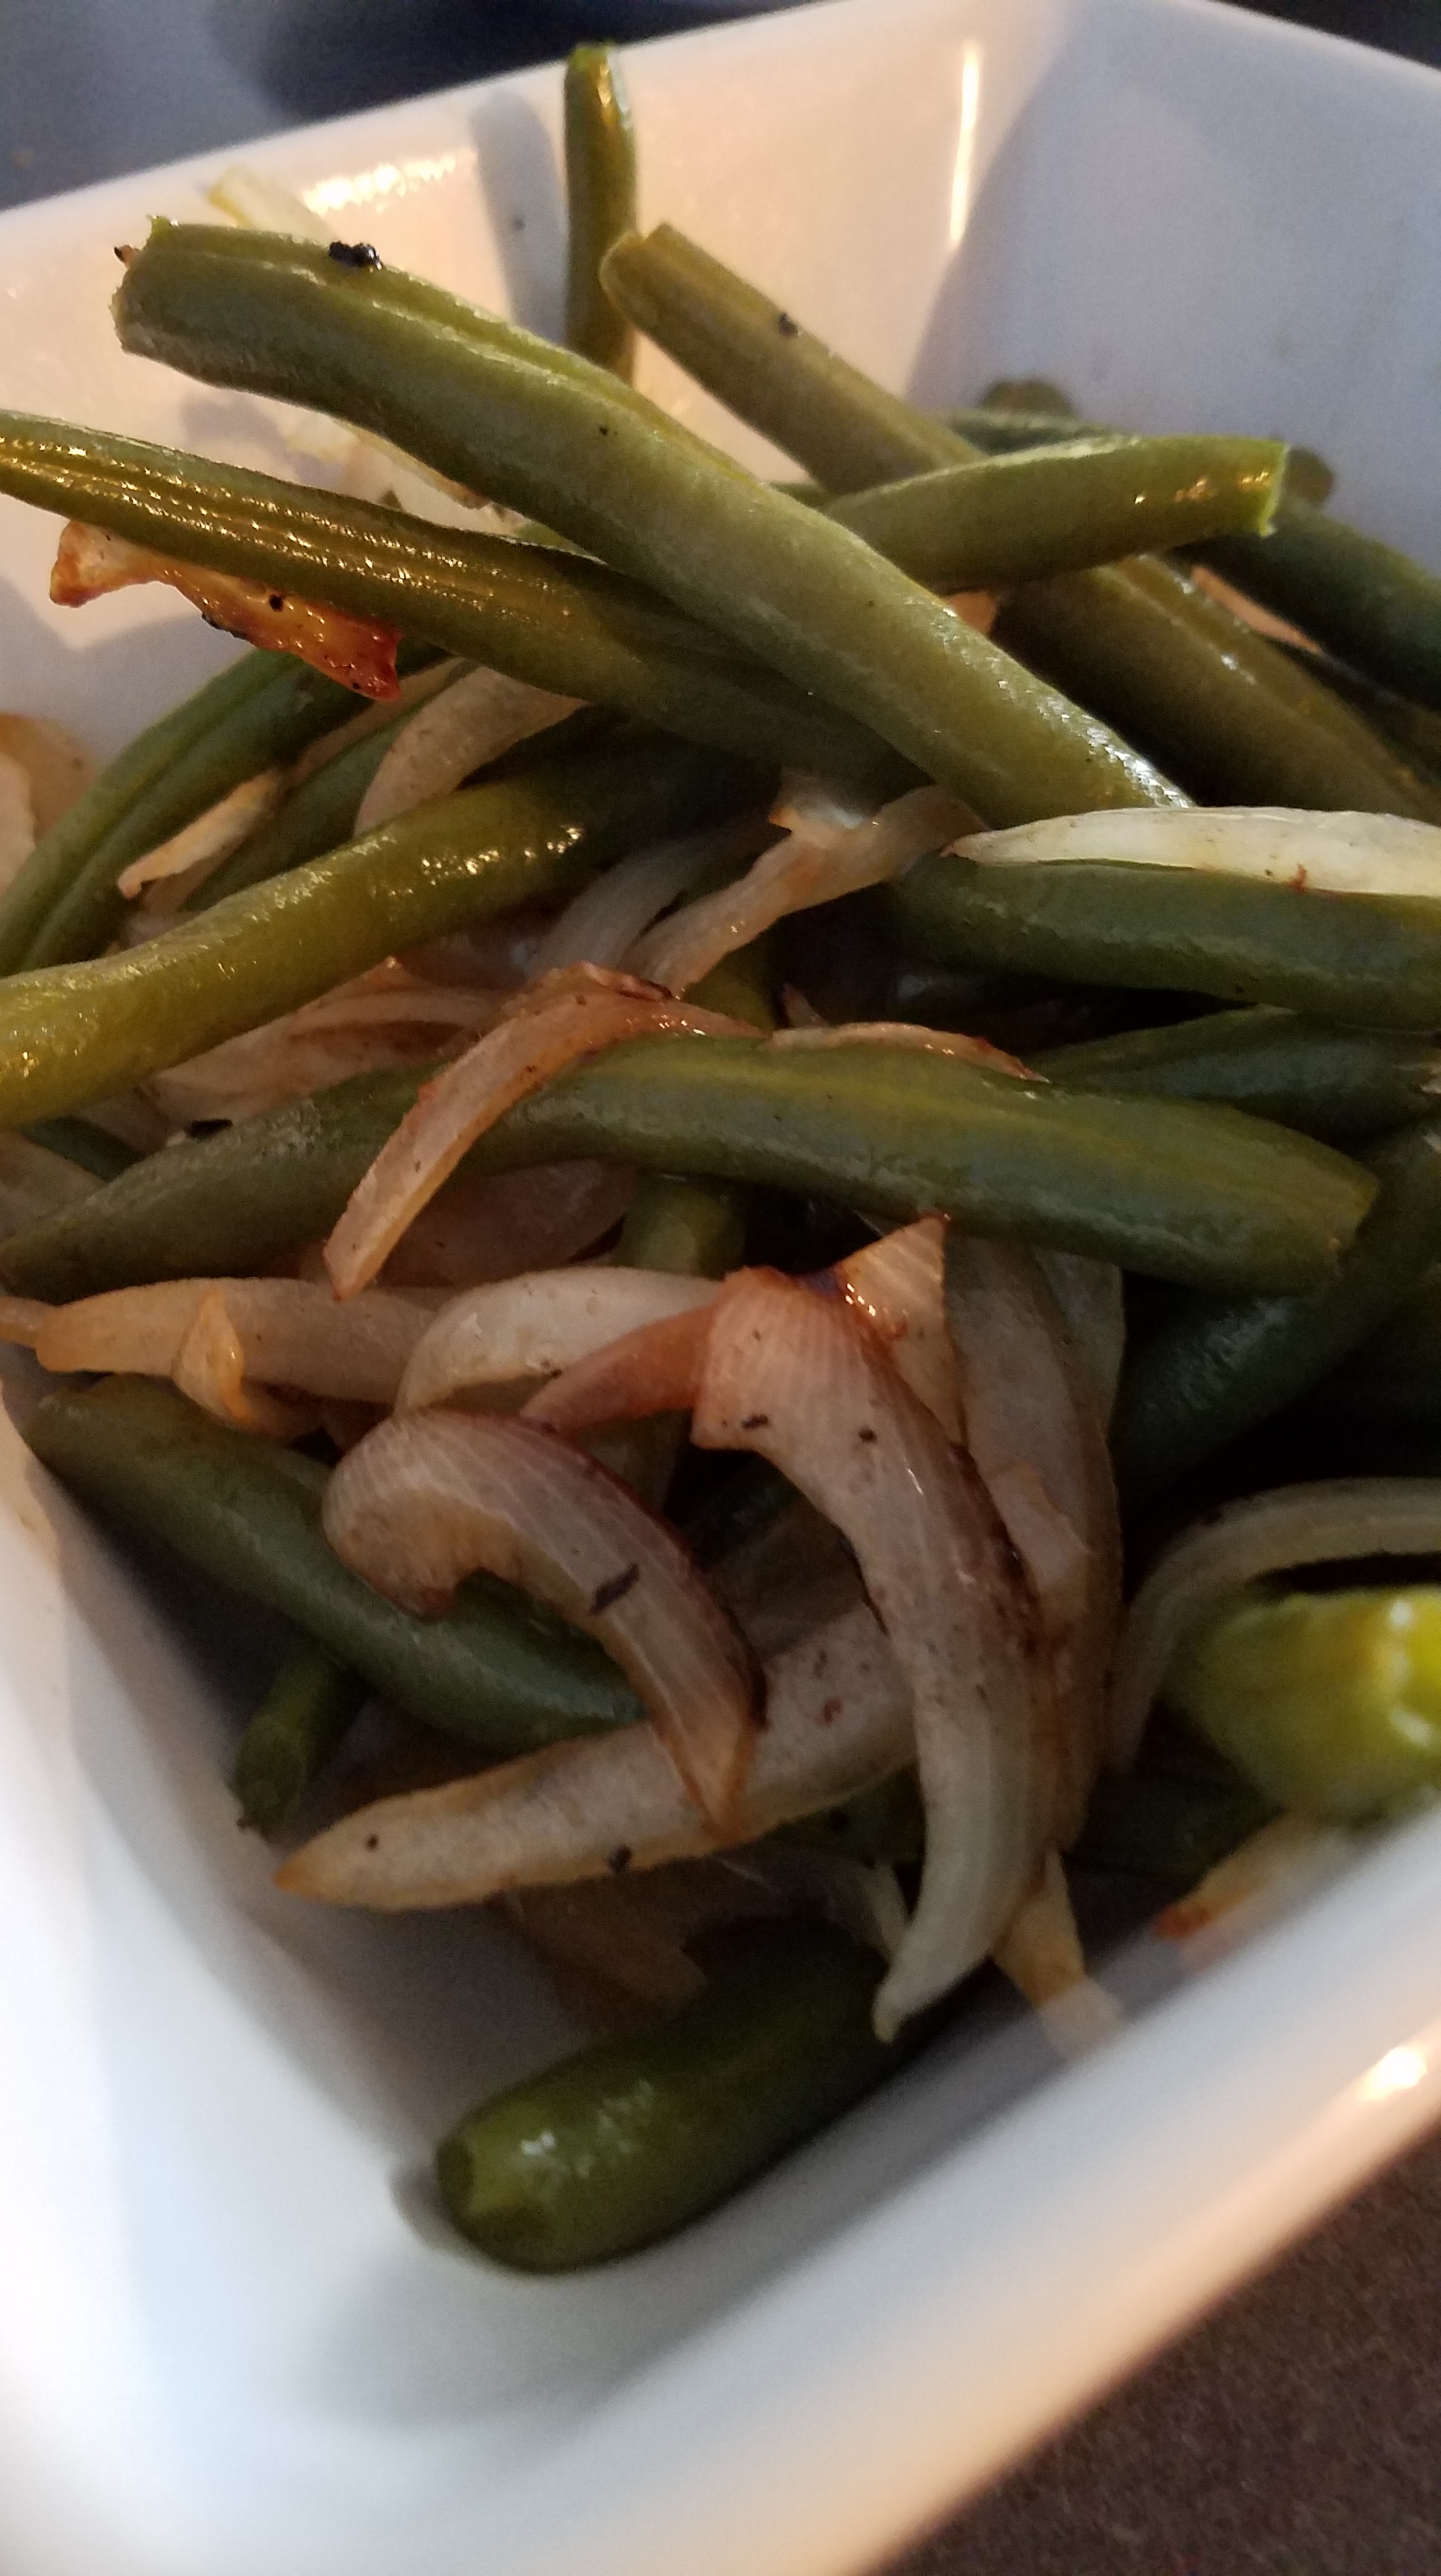
Turn the heat back on to low and add 1 Tbs of butter and the onions to the skillet and stir until the onions are softened.  Add the green beans and stir.  Once they are done, transfer to a serving dish.

For those of you still clinging to the mental picture of a merry old England, you might consider calling this dish London Broil and Chips.

Cheers, mate!

Pizza!

“Great pizza and bad pizza have one thing in common…they are both unforgettable.”

Suffice it to say that I am a big fan of pizza.  Any pizza can be a great pizza if it is made with passion and bravado.  New York, Chicago, Des Moines…it doesn’t matter which particular city or which style you prefer, pizza has become our Great Unifier.  Even when we argue about which type of pizza is the best, we are really acknowledging the existence of all forms of pizza.  The love of pizza embraces every culture, every race, every nation.  Pizza knows no boundaries.  Pizza brings us all together and we owe pizza a debt of gratitude.  Make pizza, not war!

Being a humble, home cook, I don’t have a wood-fire brick oven, I don’t make my dough with semolina flour and I don’t use buffalo mozzarella.  But, that doesn’t prevent me from producing some satisfying pizza pies.  I try to include at least one ingredient that elevates a common pizza to the next level and I put my heart and soul into each and every one.

Today’s pizza experience is somewhat typical for me.  By that, I mean that I used some ingredients that I have not used before and I employed some techniques that I did not see coming, until inspiration struck me.  Anyone who knows me knows that I rarely make a recipe the same way twice and pizza fits my philosophy perfectly. 

We’re making two pizzas. 

I usually use tomato sauce from a jar, and I’m not ashamed to admit it.  There are some really good sauces available and I use an inexpensive brand, flavored with basil and garlic.  But, now that I have fresh tomatoes from the garden, I am making my own sauce.

Ingredients for the pizza sauce:

2 cups diced ripe tomatoes

4 smashed garlic cloves

¼ tsp red chili flakes

Directions for sauce:

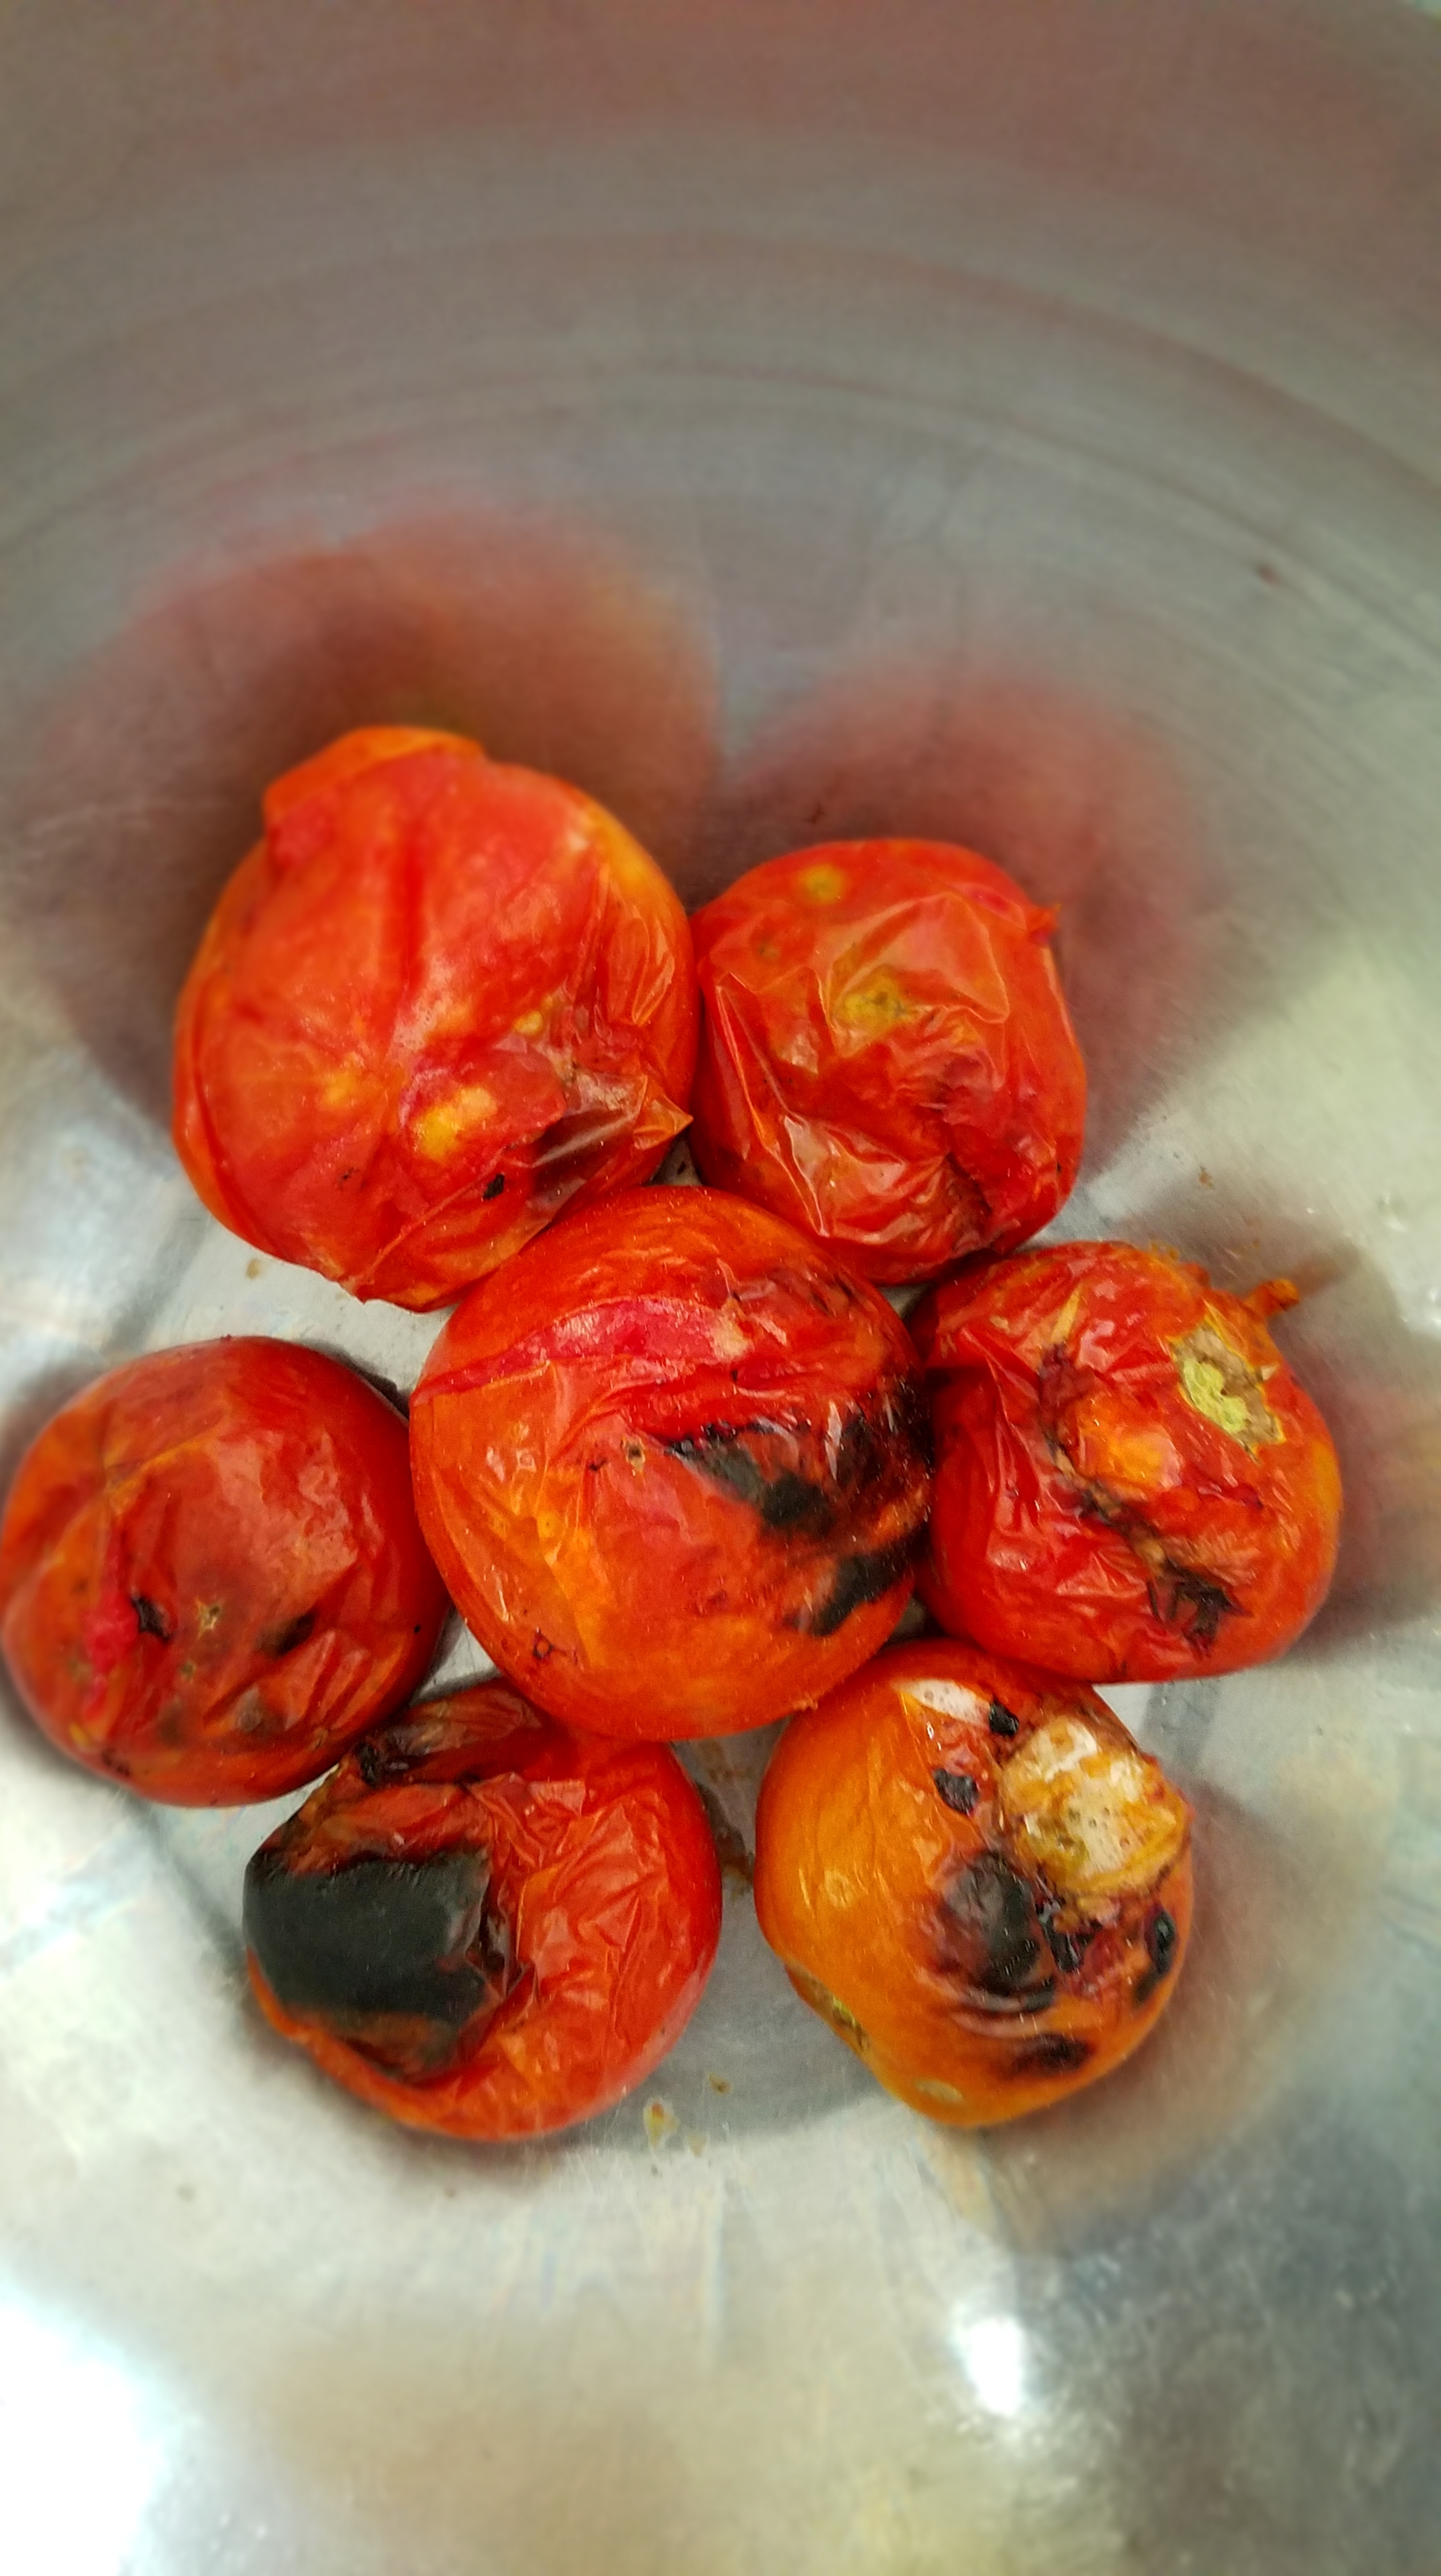
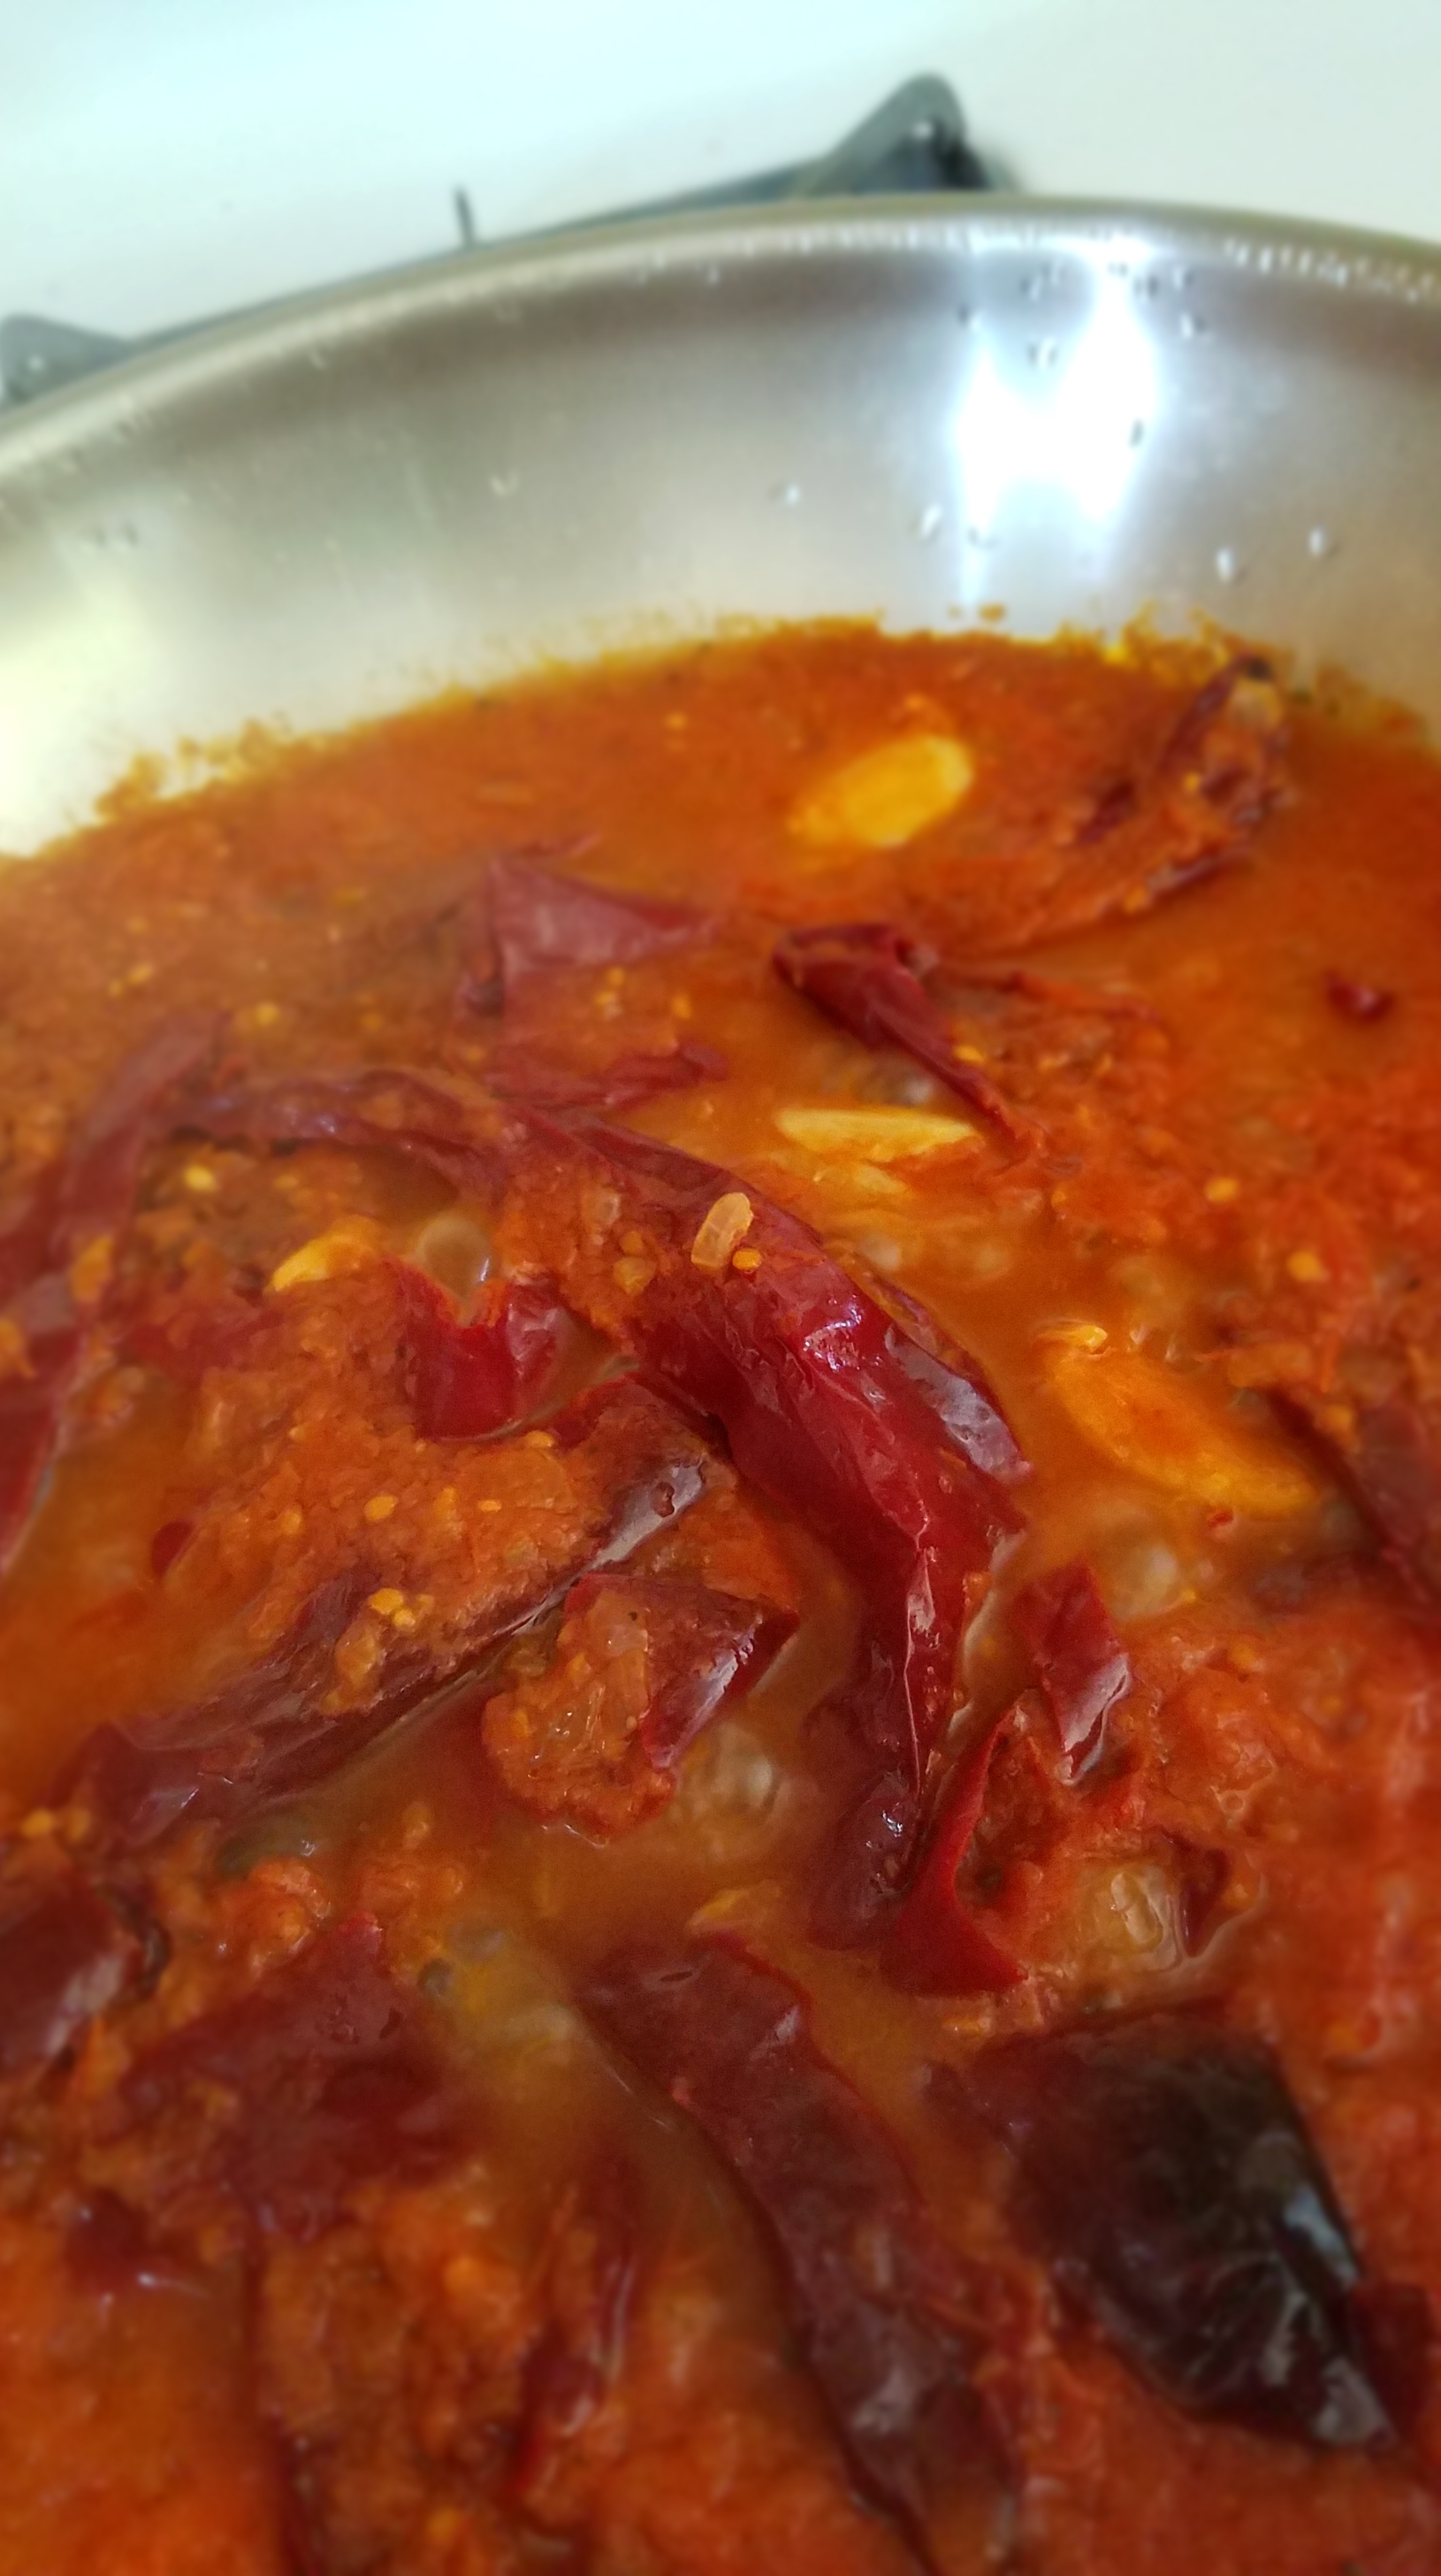
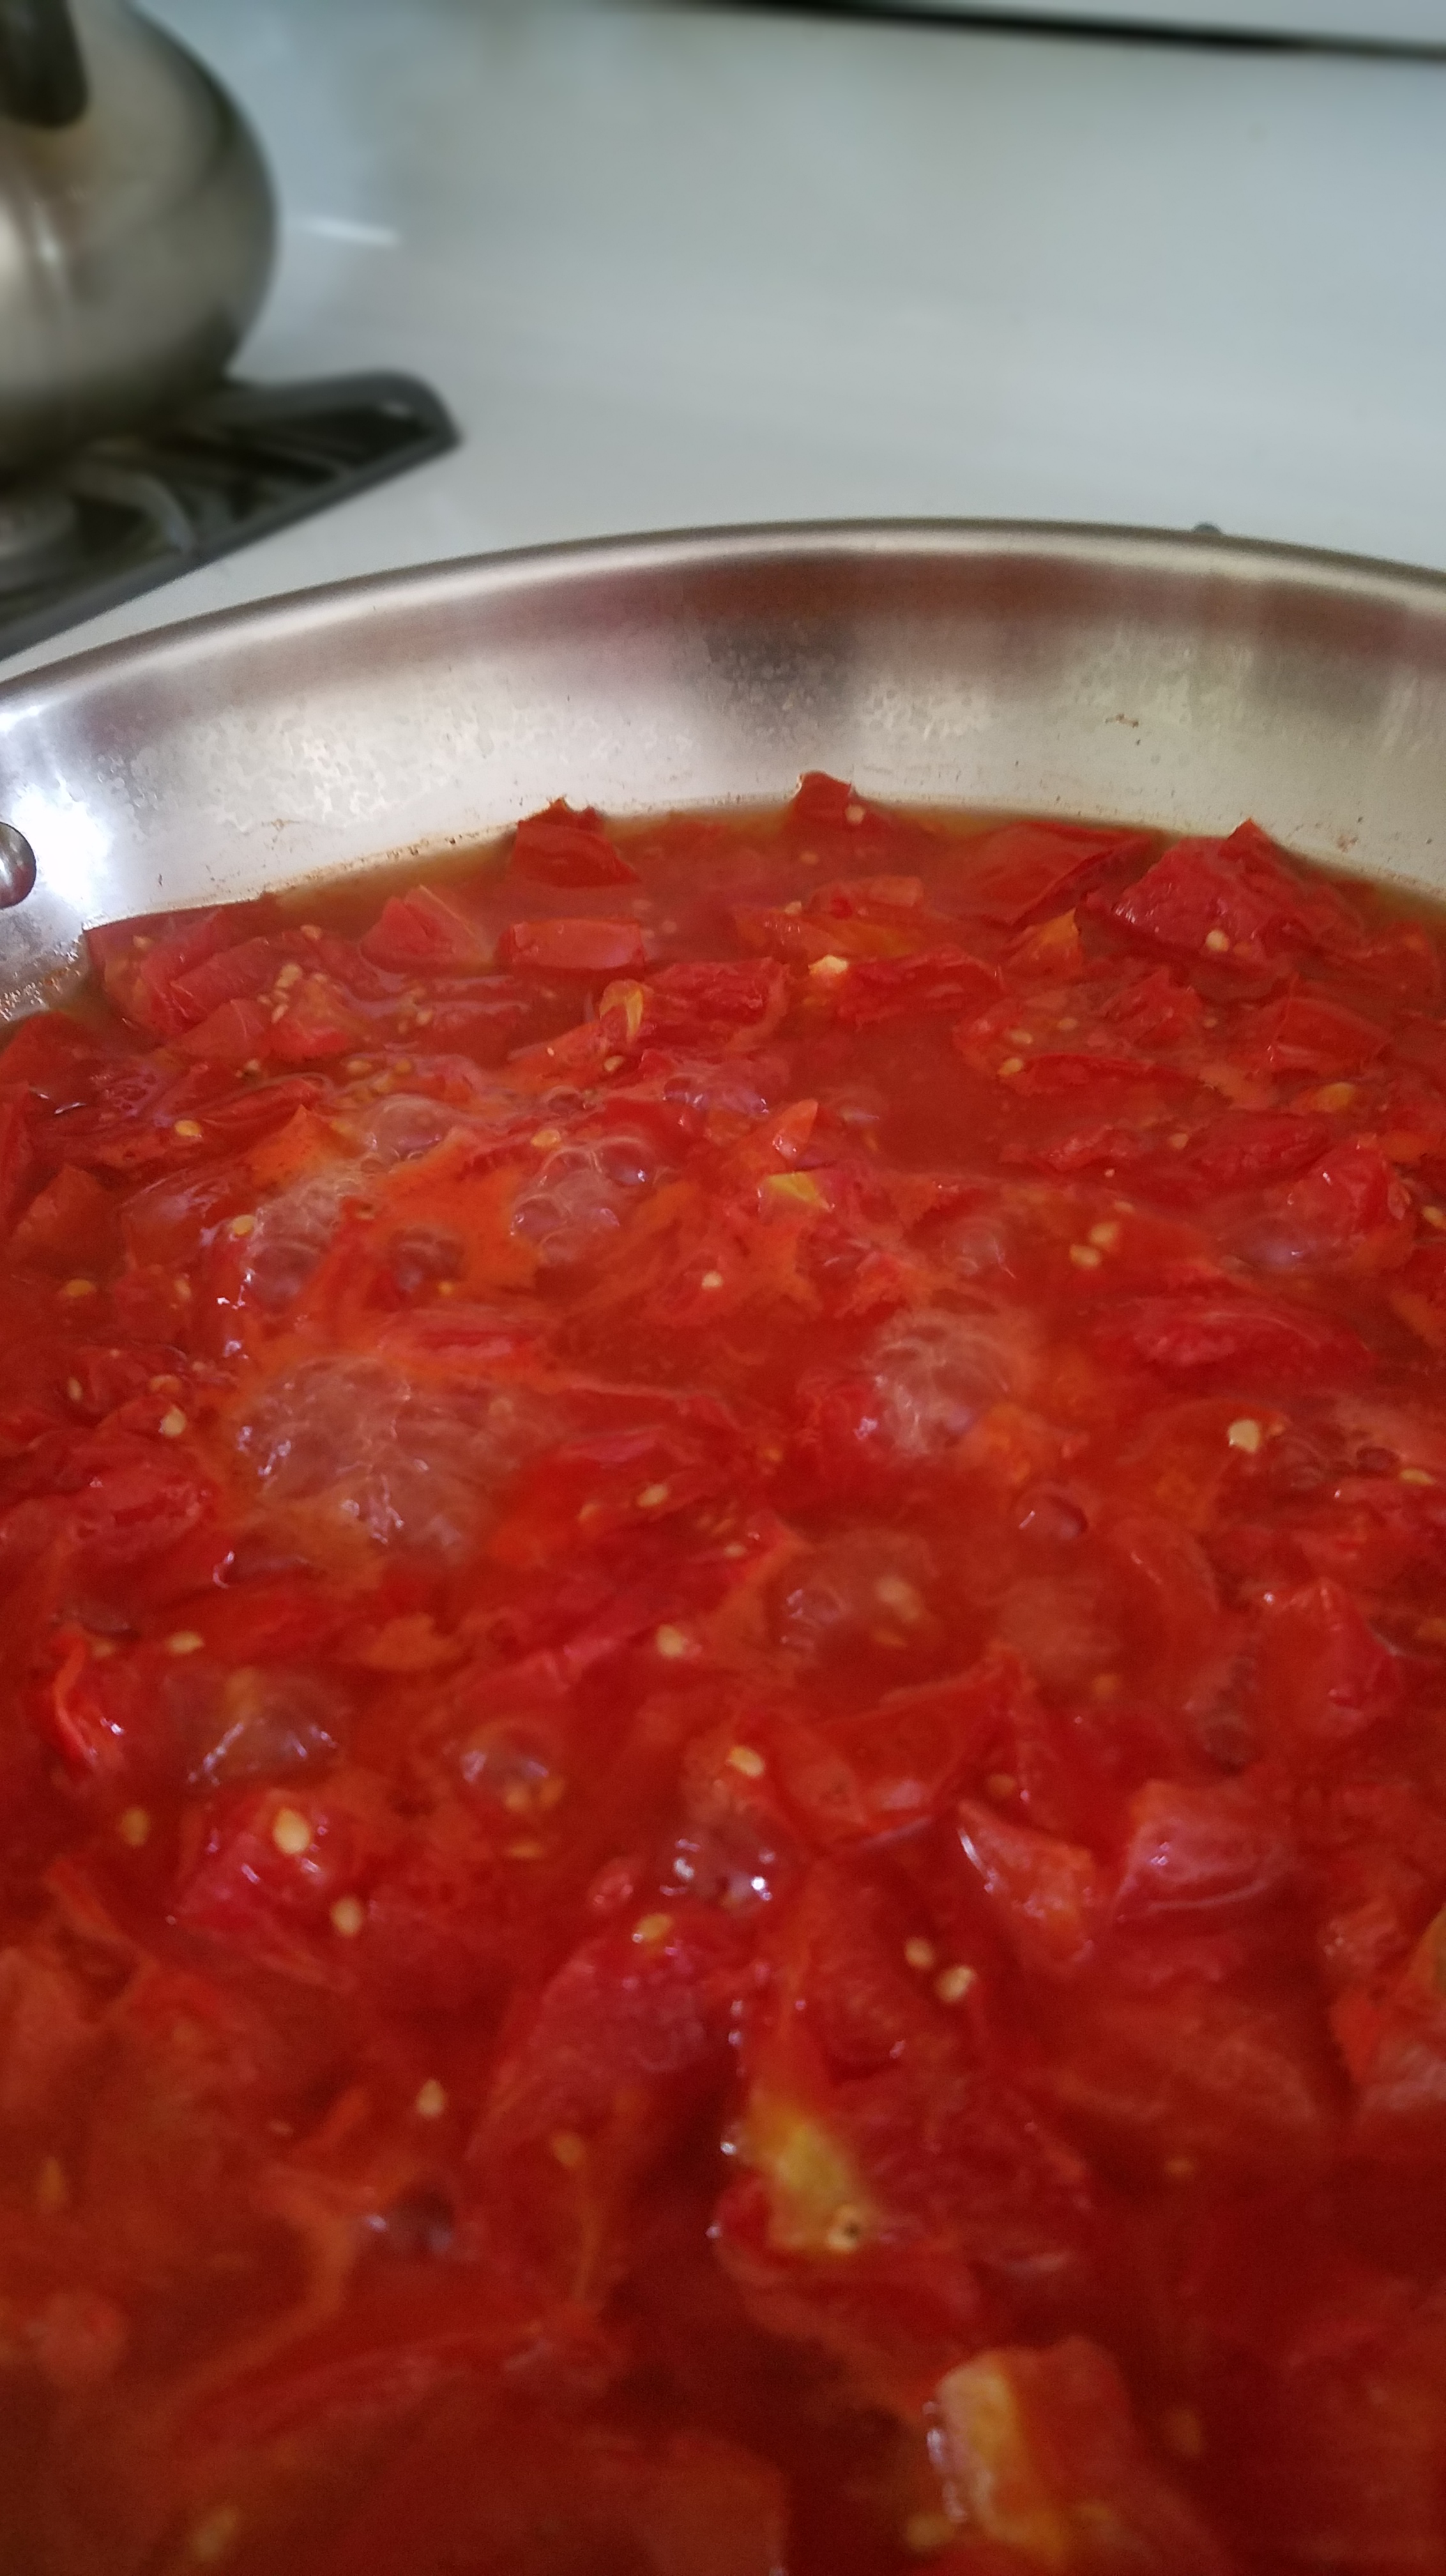
Cook the tomatoes, garlic and chili flakes in a large skillet until tomatoes are completely softened.  Strain the solids and reserve the sauce.  Reduce the sauce by half.  Set aside.

Prepare pizza dough.  See my recent post on pizza dough here:

https://wordpress.com/block-editor/post/toothpicktales.com/226

Heat oven to 400°.

Pizza #1

Ingredients for the toppings:

1 cup tomato sauce

1 small fresh tomato – thinly sliced

3 Tbs stuffed green olives – sliced

3 oz Italian Speck (similar to prosciutto)

2 oz baby Portobello mushrooms, sliced

4 oz sliced mozzarella cheese

½ sweet yellow onion – julienne cut

2 ounces grated Parmesan cheese

A big handful of fresh arugula

Directions for making pizza:

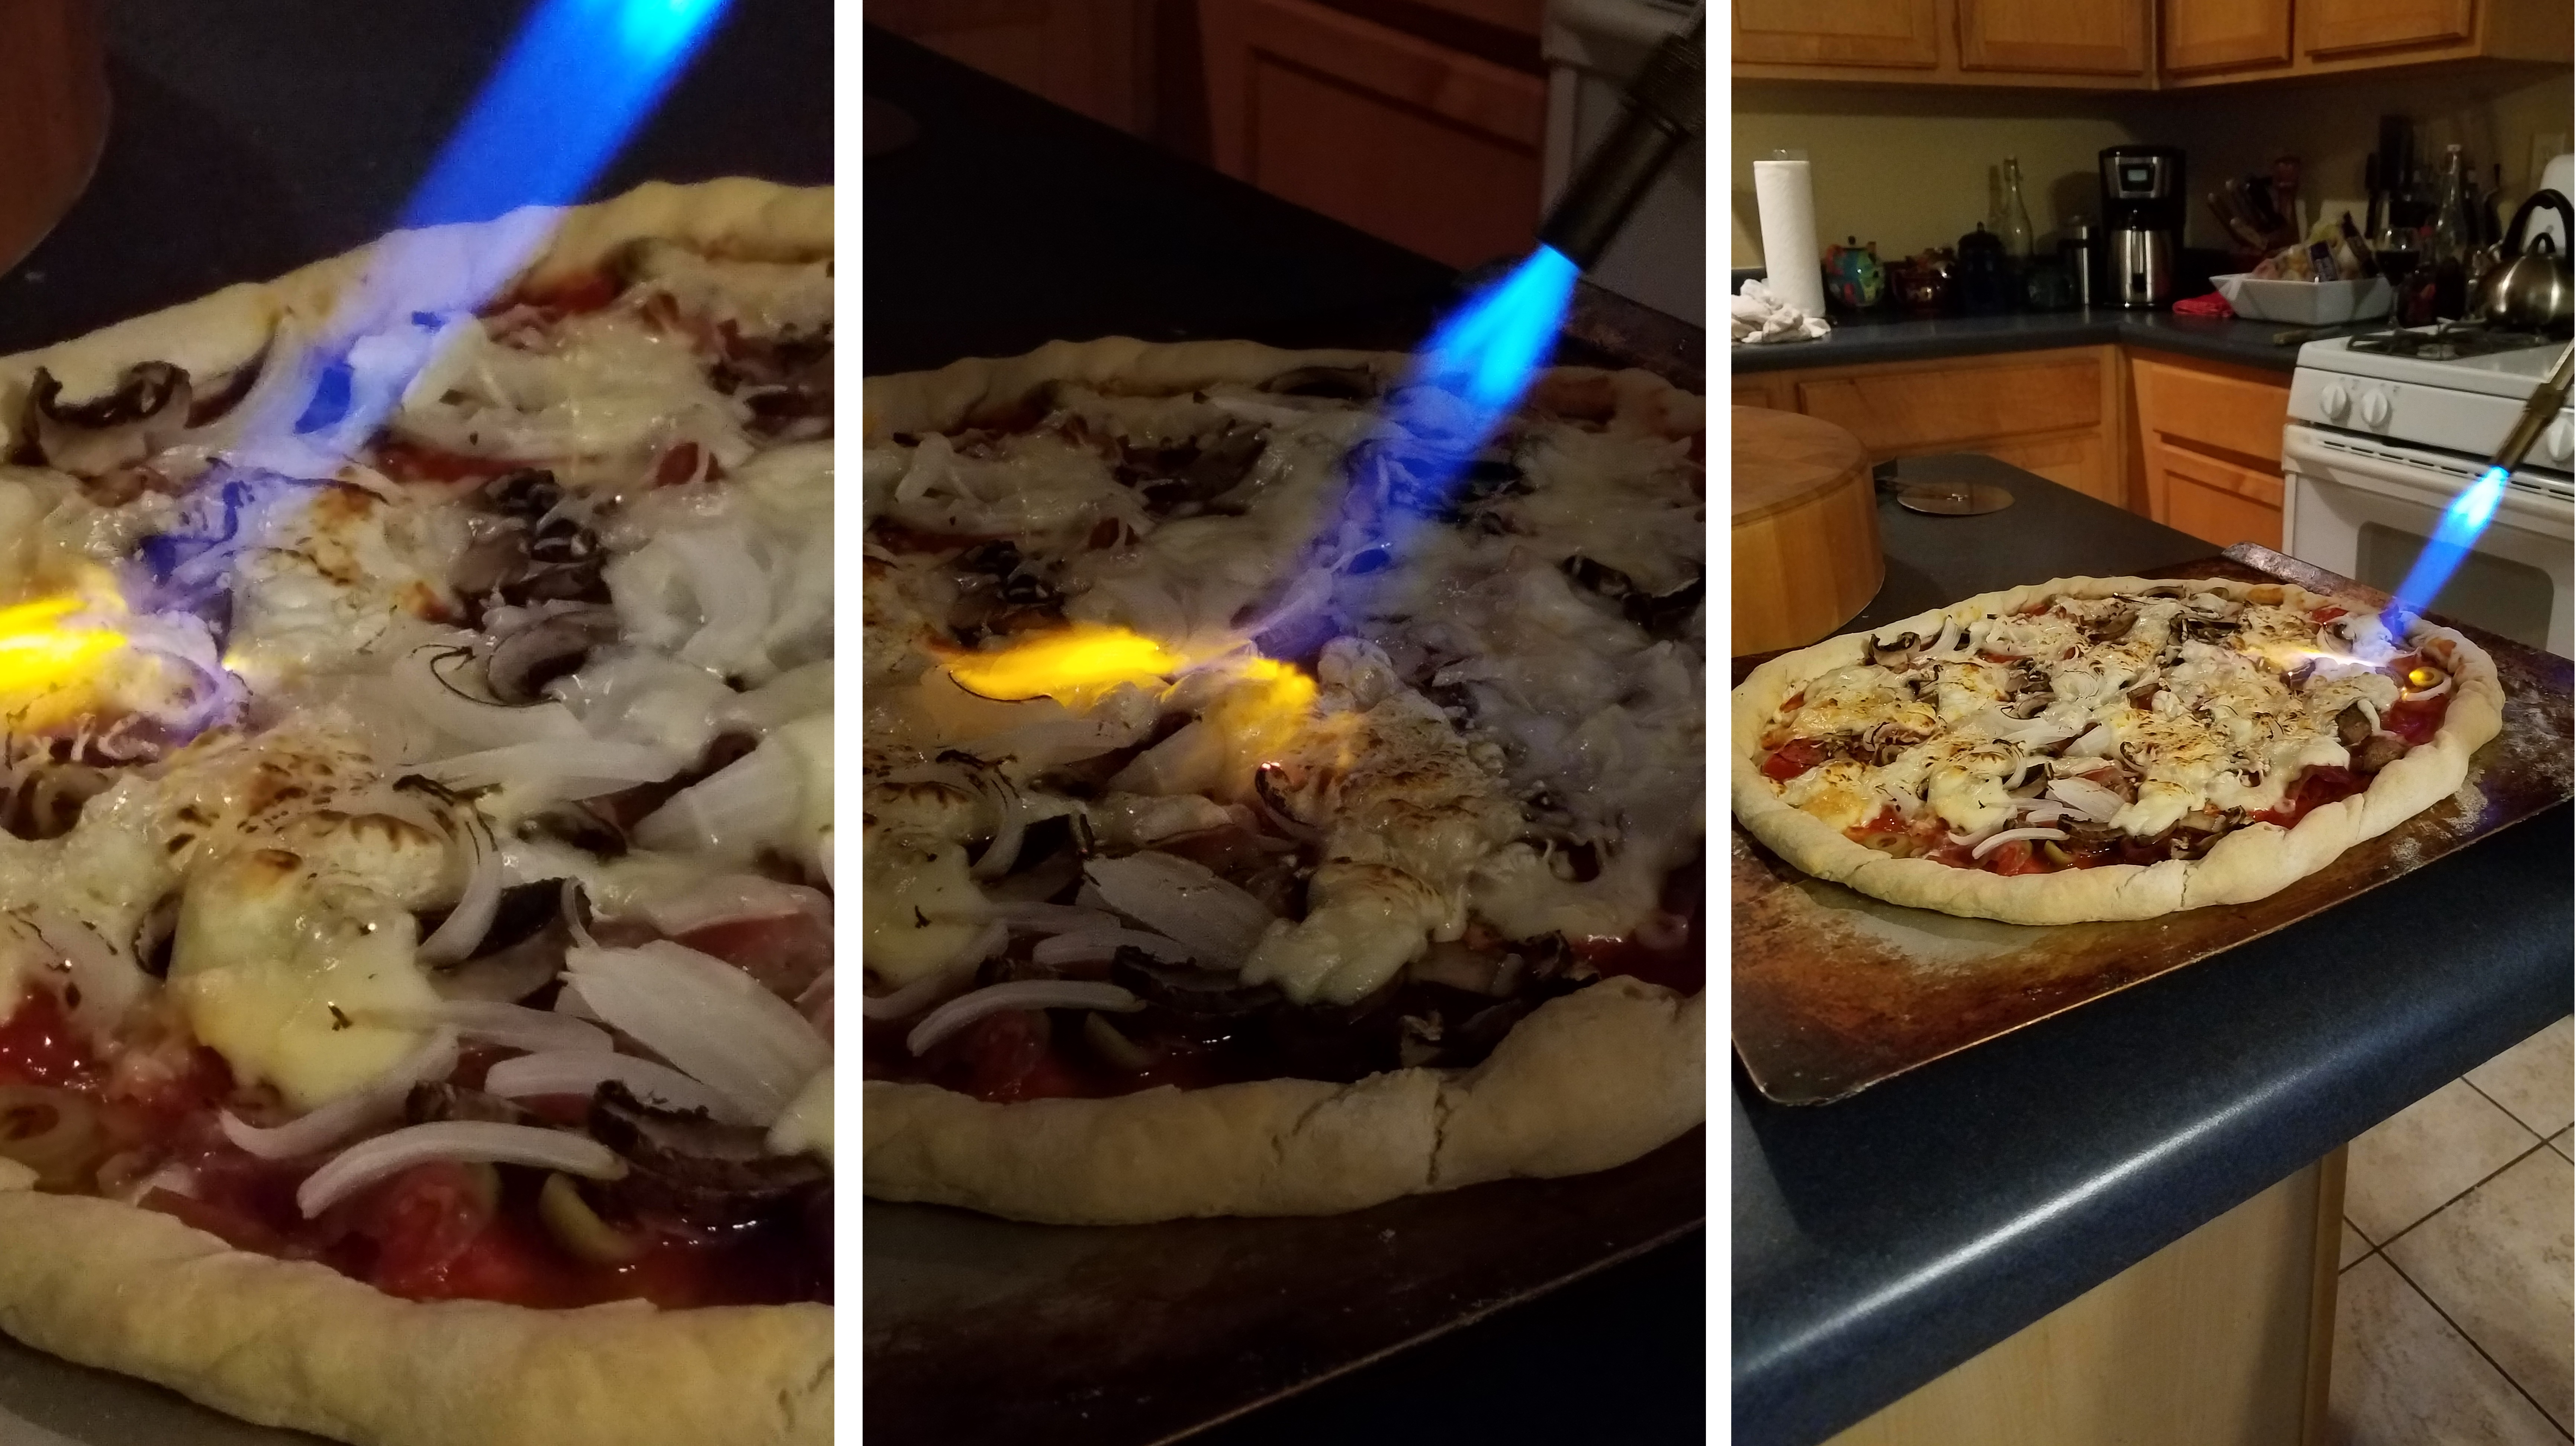
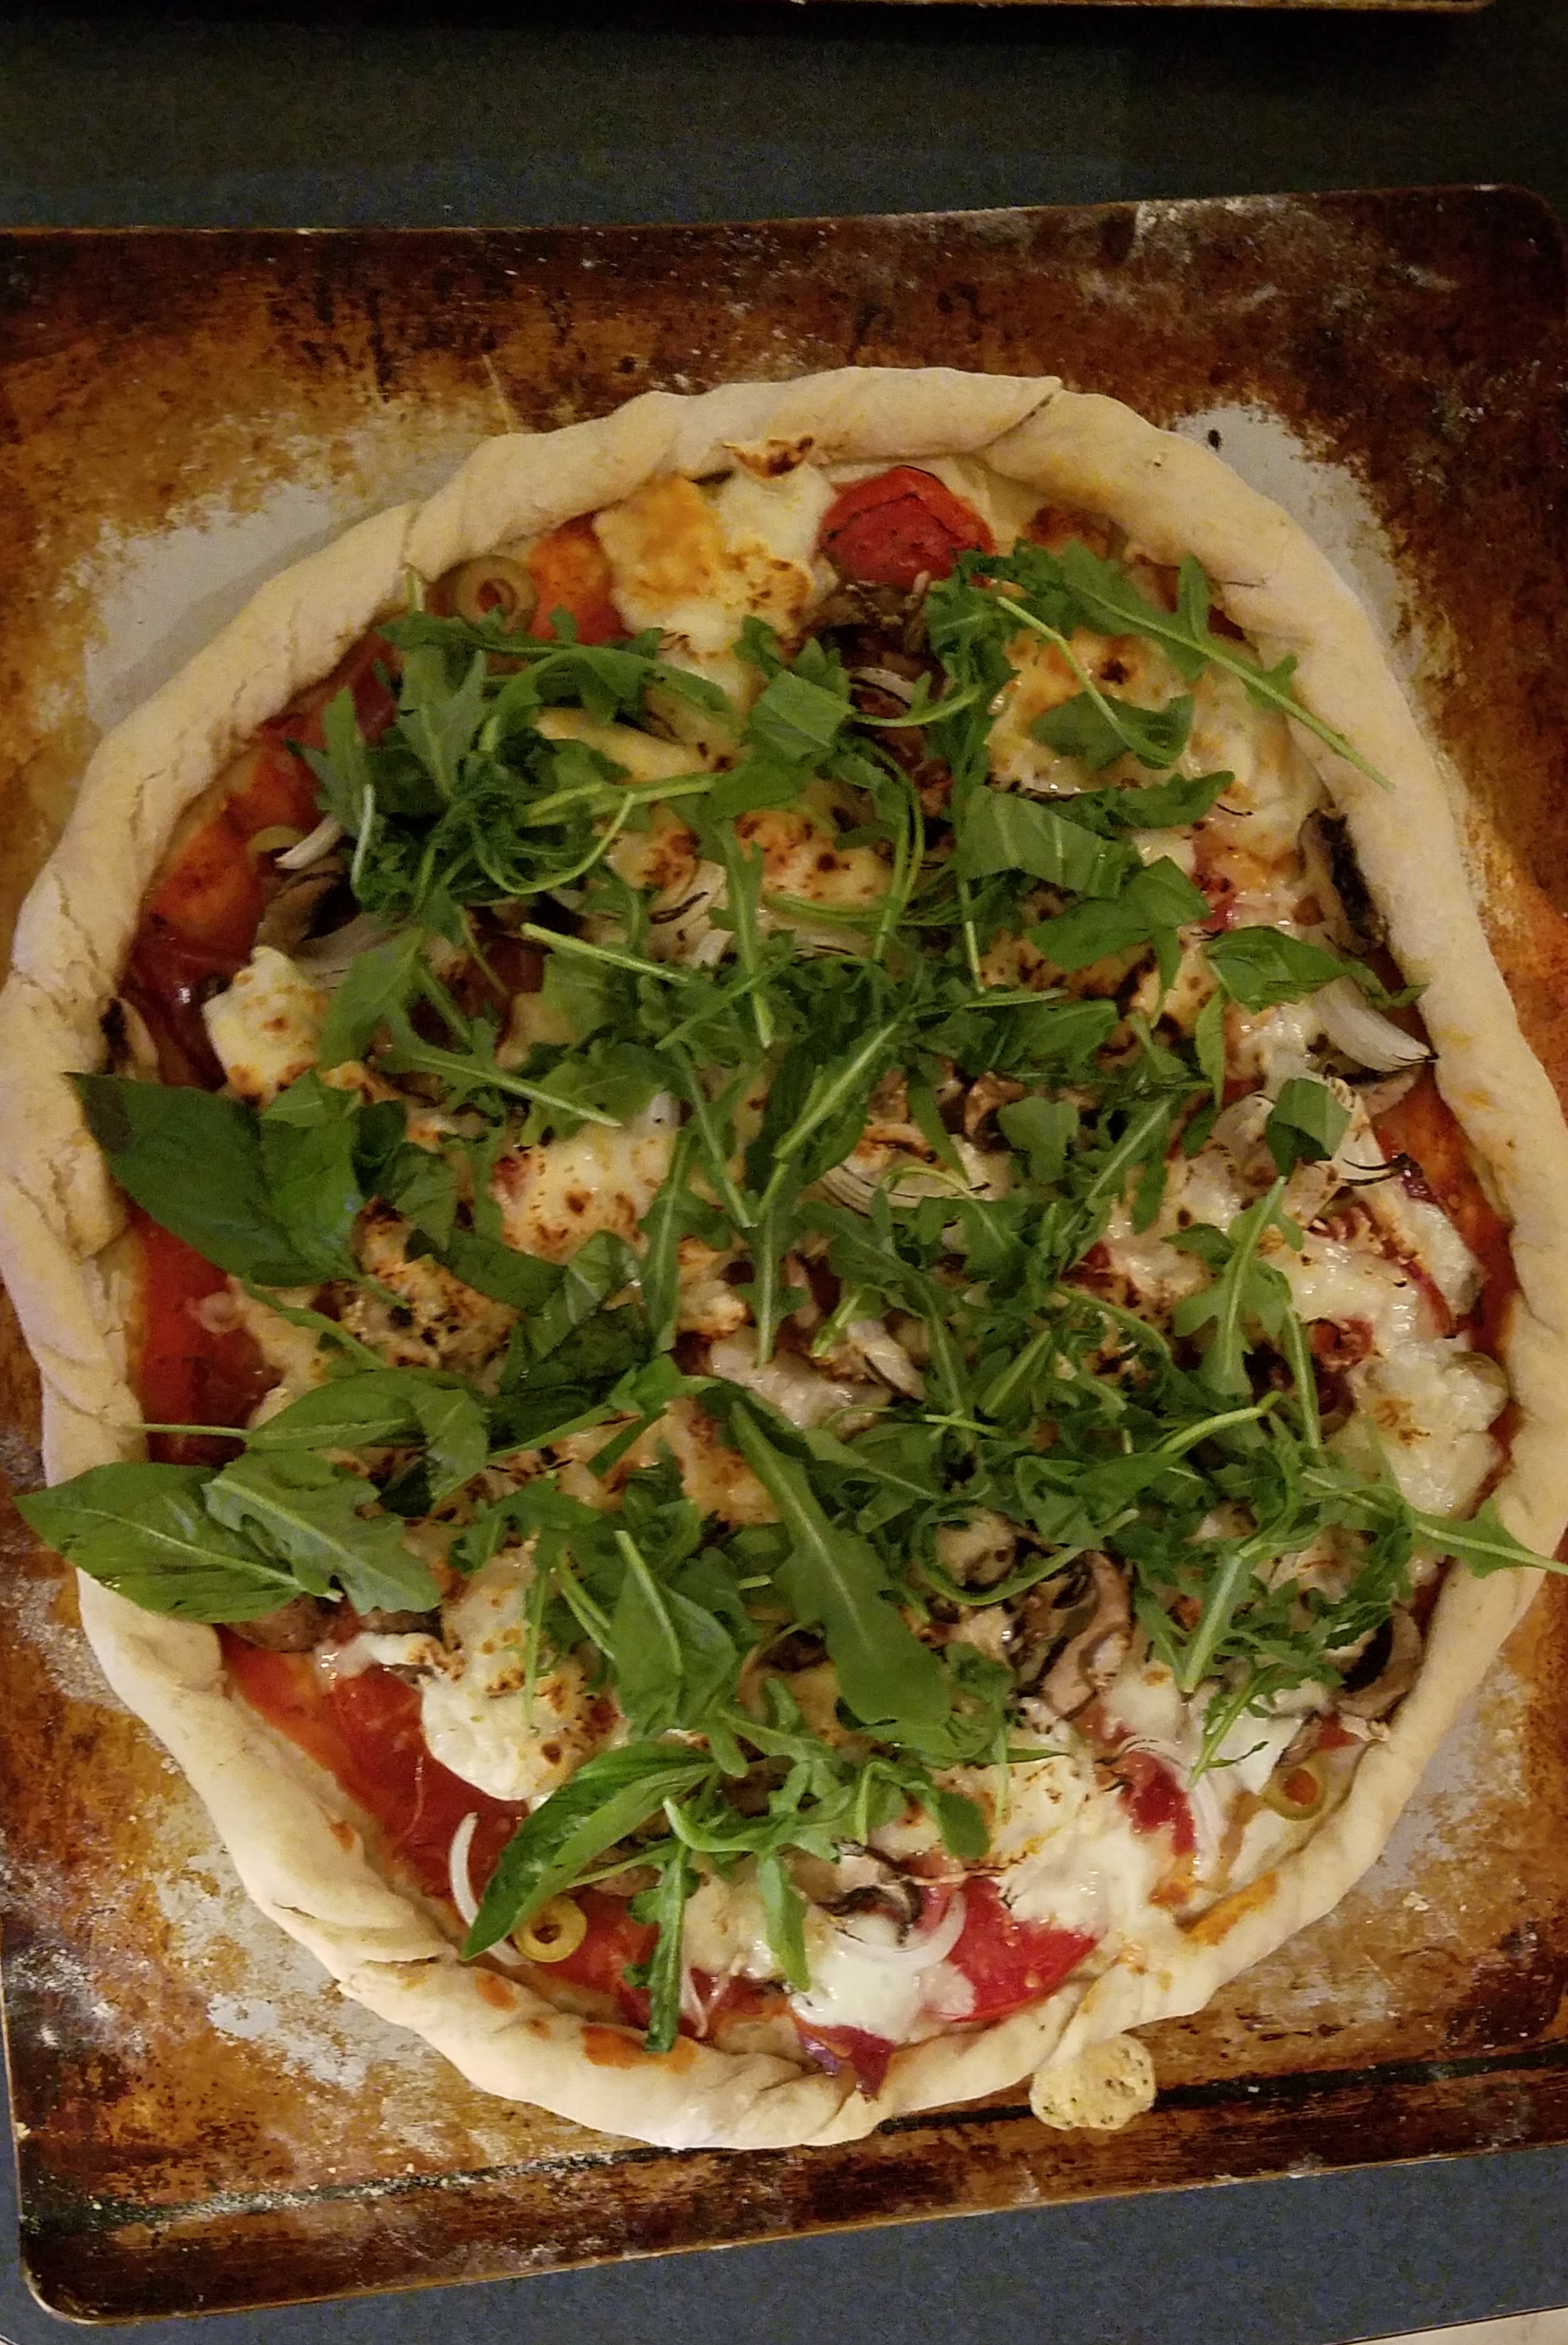
Spread tomato sauce on cooked pizza dough.  Lay tomato slices around the outer edge of the pizza.  Sprinkle olives across the pizza.  Drape the speck capriciously across the pizza, gently.  Allow the cured meat to rise and fall…resist the urge to press it down.  Distribute the mushrooms and scatter strips of mozzarella across the pizza and finish with the julienne onion and Parmesan. Bake for 10 minutes.  Remove from oven.  Use a blowtorch to blister the mozzarella.  Toss fresh arugula on top.  Cut and serve. 

Pizza #2

Ingredients for the toppings:

1 cup tomato sauce

3 oz pepperoni slices

6 oz sliced mozzarella cheese

2 ounces grated Parmesan cheese

Directions for making pizza:

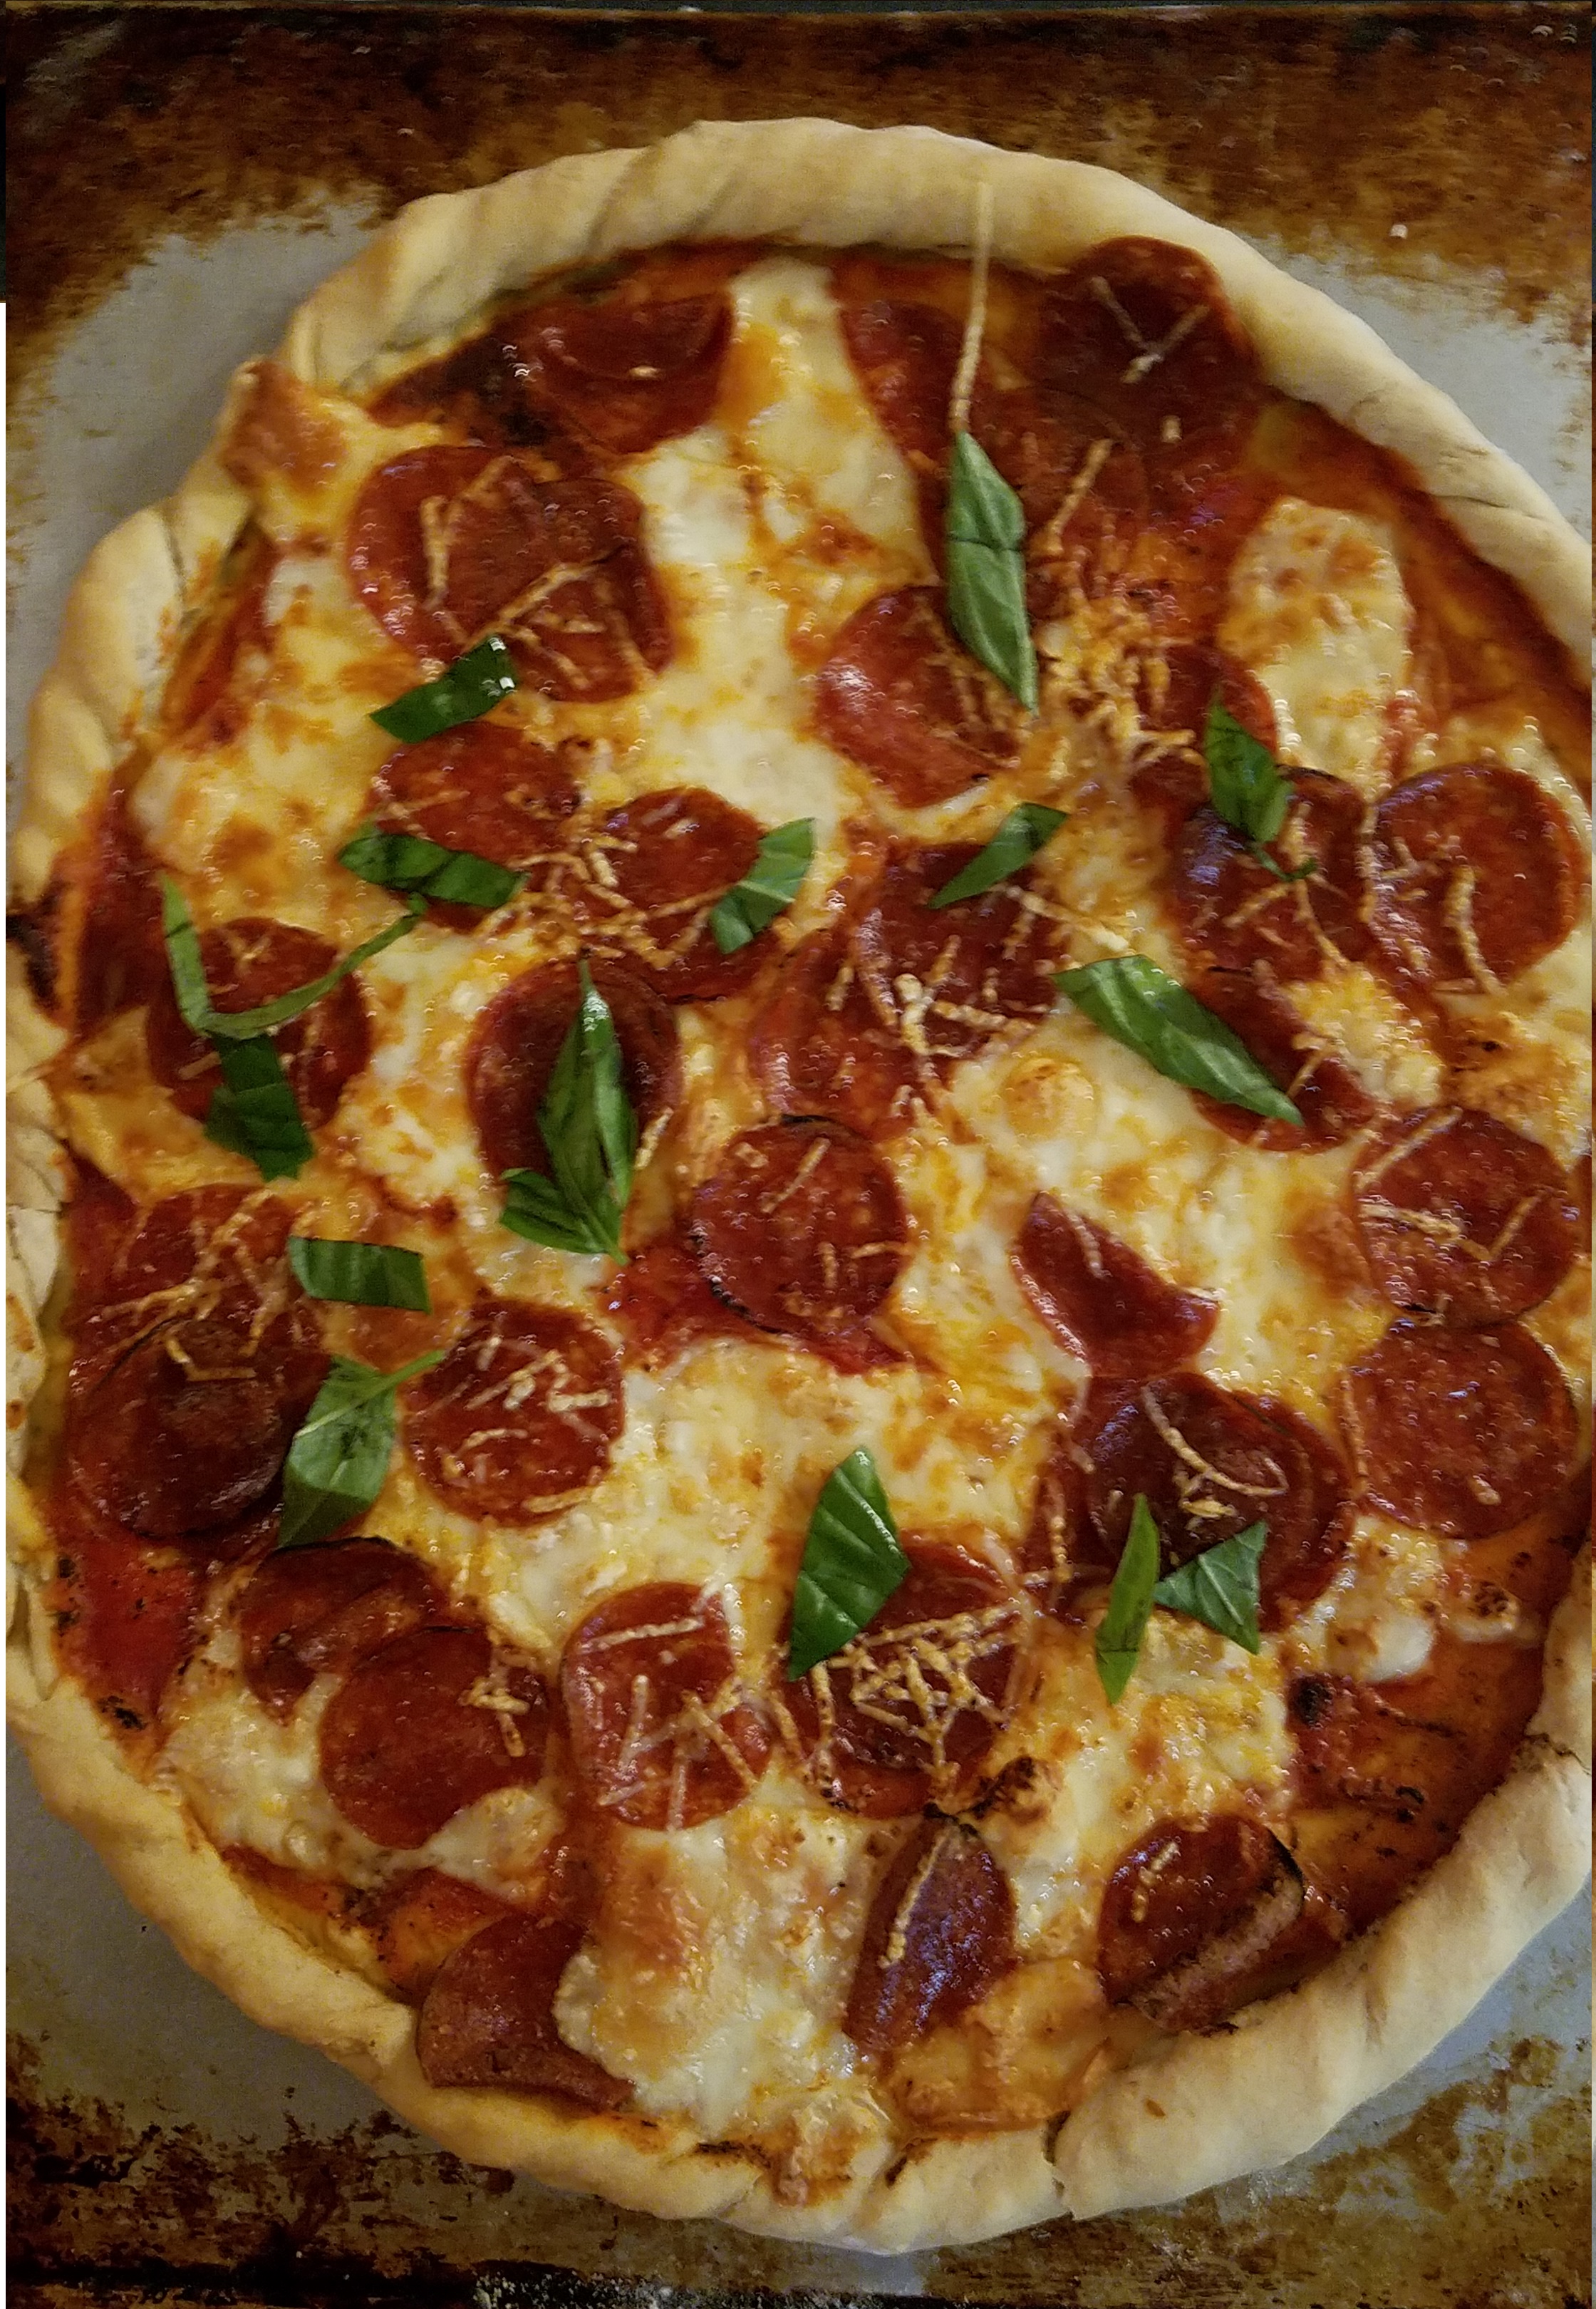
Spread tomato sauce on cooked pizza dough.  Scatter strips of mozzarella across the pizza.  Top with pepperoni.  Bake for 10 minutes and remove from oven.  Use a blowtorch to char the pepperoni.  Sprinkle with Parmesan cheese.  Cut and serve.

The homemade tomato sauce makes both pizzas special.  It is a straightforward sauce…sweet and simple. 

The speck and arugula was my favorite of the two pizzas but both pizzas benefited by the blowtorch. 

Since speck is a dry, cured meat I layered the mozzarella on top, to keep the speck from becoming too dry.  Blistering the mozzarella with the blowtorch made the mozzarella sizzle and gave it a special saltiness. 

For the pepperoni pizza, I laid the pepperoni on top of the mozzarella, giving me an opportunity to put a char on the pepperoni with the blowtorch, which made it as crispy as a brick-oven could produce.

Now, go make some pizza but, for goodness sake, make it good! 

Pizza Dough, a la Cucina di Toothpick

I thought I was going to submit a post about how I make pizza but I became overwhelmed.  And then, it occurred to me that when I make pizza I am really doing two things.  First, I make the dough and then I make the pizza.  As a result, I felt the need to break this topic up into two parts.  So, this post is about making pizza dough and I will make a separate post about dressing up the pizza.

I usually approach cooking with a sense of whimsy, as if whatever will happen, will happen.  But making dough is a different thing for me.  I am not a baker.  I’m just a home cook that wants to make something tasty for my family.  So, when I step into a baker’s shoes, I get a little bit nervous. 

When I make dough I become serious.  If you have ever seen a Marx Brothers movie you might recall how the clown of the troupe, Harpo becomes very serious when he sits down, to play the harp.

That’s how I imagine I look as I start to make pizza dough.   Intent.  Focused.  Resolute.

But, I don’t stay that way for very long.  At some point, during the process I begin to relax.  Maybe it happens when I start kneading the dough.  The sensation of the soft, pliable dough under my palms and fingers gives me satisfaction and I feel like a kid again.  Maybe that’s why I used to bring my young kids into the kitchen when I made pizza.  They would stand on a chair, next to me, and knead the dough on the counter top and then they would help me roll it out into a wide circle and they would “paint” the pizza dough with tomato sauce, smearing the sauce with a large spoon grasped by their tiny hands.

Pizza needs to be fun.  Making pizza should be a celebration.

Maybe that’s what Harpo Marx felt when he spent time with his kids.

This recipe will make 2 large, 14” thin crust pizzas

Ingredients for the dough:

3 cups all-purpose flour (you will need additional flour throughout the process)

1 packet of Instant Dry Yeast

1 ¼  cup warm water

2 Tbs olive oil

Note: I use Instant Dry Yeast, which can be added directly to the flour, rather than Active Dry Yeast, which is added to warm water.  Either way is fine, but I have found the Instant Dry Yeast method to be the easiest and most reliable. 

Directions:

Whisk the flour and yeast together in a bowl.  Set aside.

Heat the water to about 100°.  You can do this in a microwave oven or just use very hot tap water. 

In a separate large mixing bowl, add the water and add about ½ cup of the flour mixture.  Whisk until smooth. 

Gradually add more flour and mix with a spatula.  Keep adding flour and mixing until all 3 cups of the flour has been added.  At this point, you might want to mix by hand.  Keep adding flour in small amounts and mix by hand until the dough forms a ball and does not stick to your hands.  The additional flour needed might be anywhere between ¾ cup to 1 cup…you will know when the dough is ready to knead when the dough ball becomes easy to pick up and rolls around in your hands, without sticking.  Turn the dough out onto a floured surface and dust your hands with a little bit of flour.  Knead for about two minutes.  You should feel the dough becoming more pliable and supple. 

Put the dough ball back into the mixing bowl and cover tightly with aluminum foil.  Some people suggest covering with a damp towel but I prefer sealing it with the foil.

Put the bowl in a proofing cabinet and allow the dough to rise for at least a half hour. Oh, what’s that?  You don’t have a proofing cabinet?  Well, neither do I.  In warmer months, I put the bowl on the seat of my pickup truck and roll up the windows.  It works perfectly.  The dough should double in size within a half hour to an hour.

When I made pizza today the outside temperature was 91° with 64% humidity (heat index at 105°), which is perfect for dough that needs to rise but is miserable for anyone wanting to mow their lawn…which is why I chose to make pizza today, instead of mowing the lawn!

During cooler months, I set the bowl on my stove top and set the oven at 250°

I prepare the pizza toppings while the dough rises but I will skip that part for now…

When the dough has risen, heat the oven to 400°. 

At this point, I should mention that I use a standard, conventional oven.  In fact, my oven broiler stopped working over a year ago but the rest of the oven works just fine.  Since I don’t have a pizza oven, or any other fancy trappings, I use a two-bake method for the pizza dough.  I bake the dough first and then add toppings and bake again, to finish.  I use insulated aluminum cookie sheets…no fancy pizza stones, or perforated pizza pans for me!

Divide the dough in half and turn out one of the halves onto a lightly floured surface.  It’s time to get a feel for the dough again.  Roll the dough and knead it.  The dough will probably be a little sticky.  Add some flour and knead.  Bring the dough back to a silky and pliable consistency.  It should be easy to handle and feel sturdy, but not dense, or hard. 

Pat the dough down into a disc, with your hands.  Press the dough out and widen it.  Add a little more flour to the work surface and flip the disc over.  Press it again with your hands.  When you feel that the dough is ready, roll it out with a rolling pin.  If the dough falls apart or if you feel that something isn’t right, don’t worry.  Pick it up and start again.  Roll the dough out enough so that it is just a bit larger than your baking sheet.  (I have done this up to three times, just to get it right).  Gently fold the dough over in half and pick it up and place it on the backing sheet.  Unfold the dough onto the sheet and center it as best as you can.  It’s tricky work, to be sure.

Curl the edges of the dough with your fingers.  It’s not necessary but I like to have a definable crust.

Pic

Repeat the process with the other half of the dough and then, place both cookie sheets in the hot oven.  Bake for about 10 minutes.  Take the pizza crusts out and flip them over.  Brush a little olive oil on the back side of the pizza crust and bake for a few more minutes.  This will give you a nice, crisp crust.

We’ll make some pizza next time…

Quick Italian Something

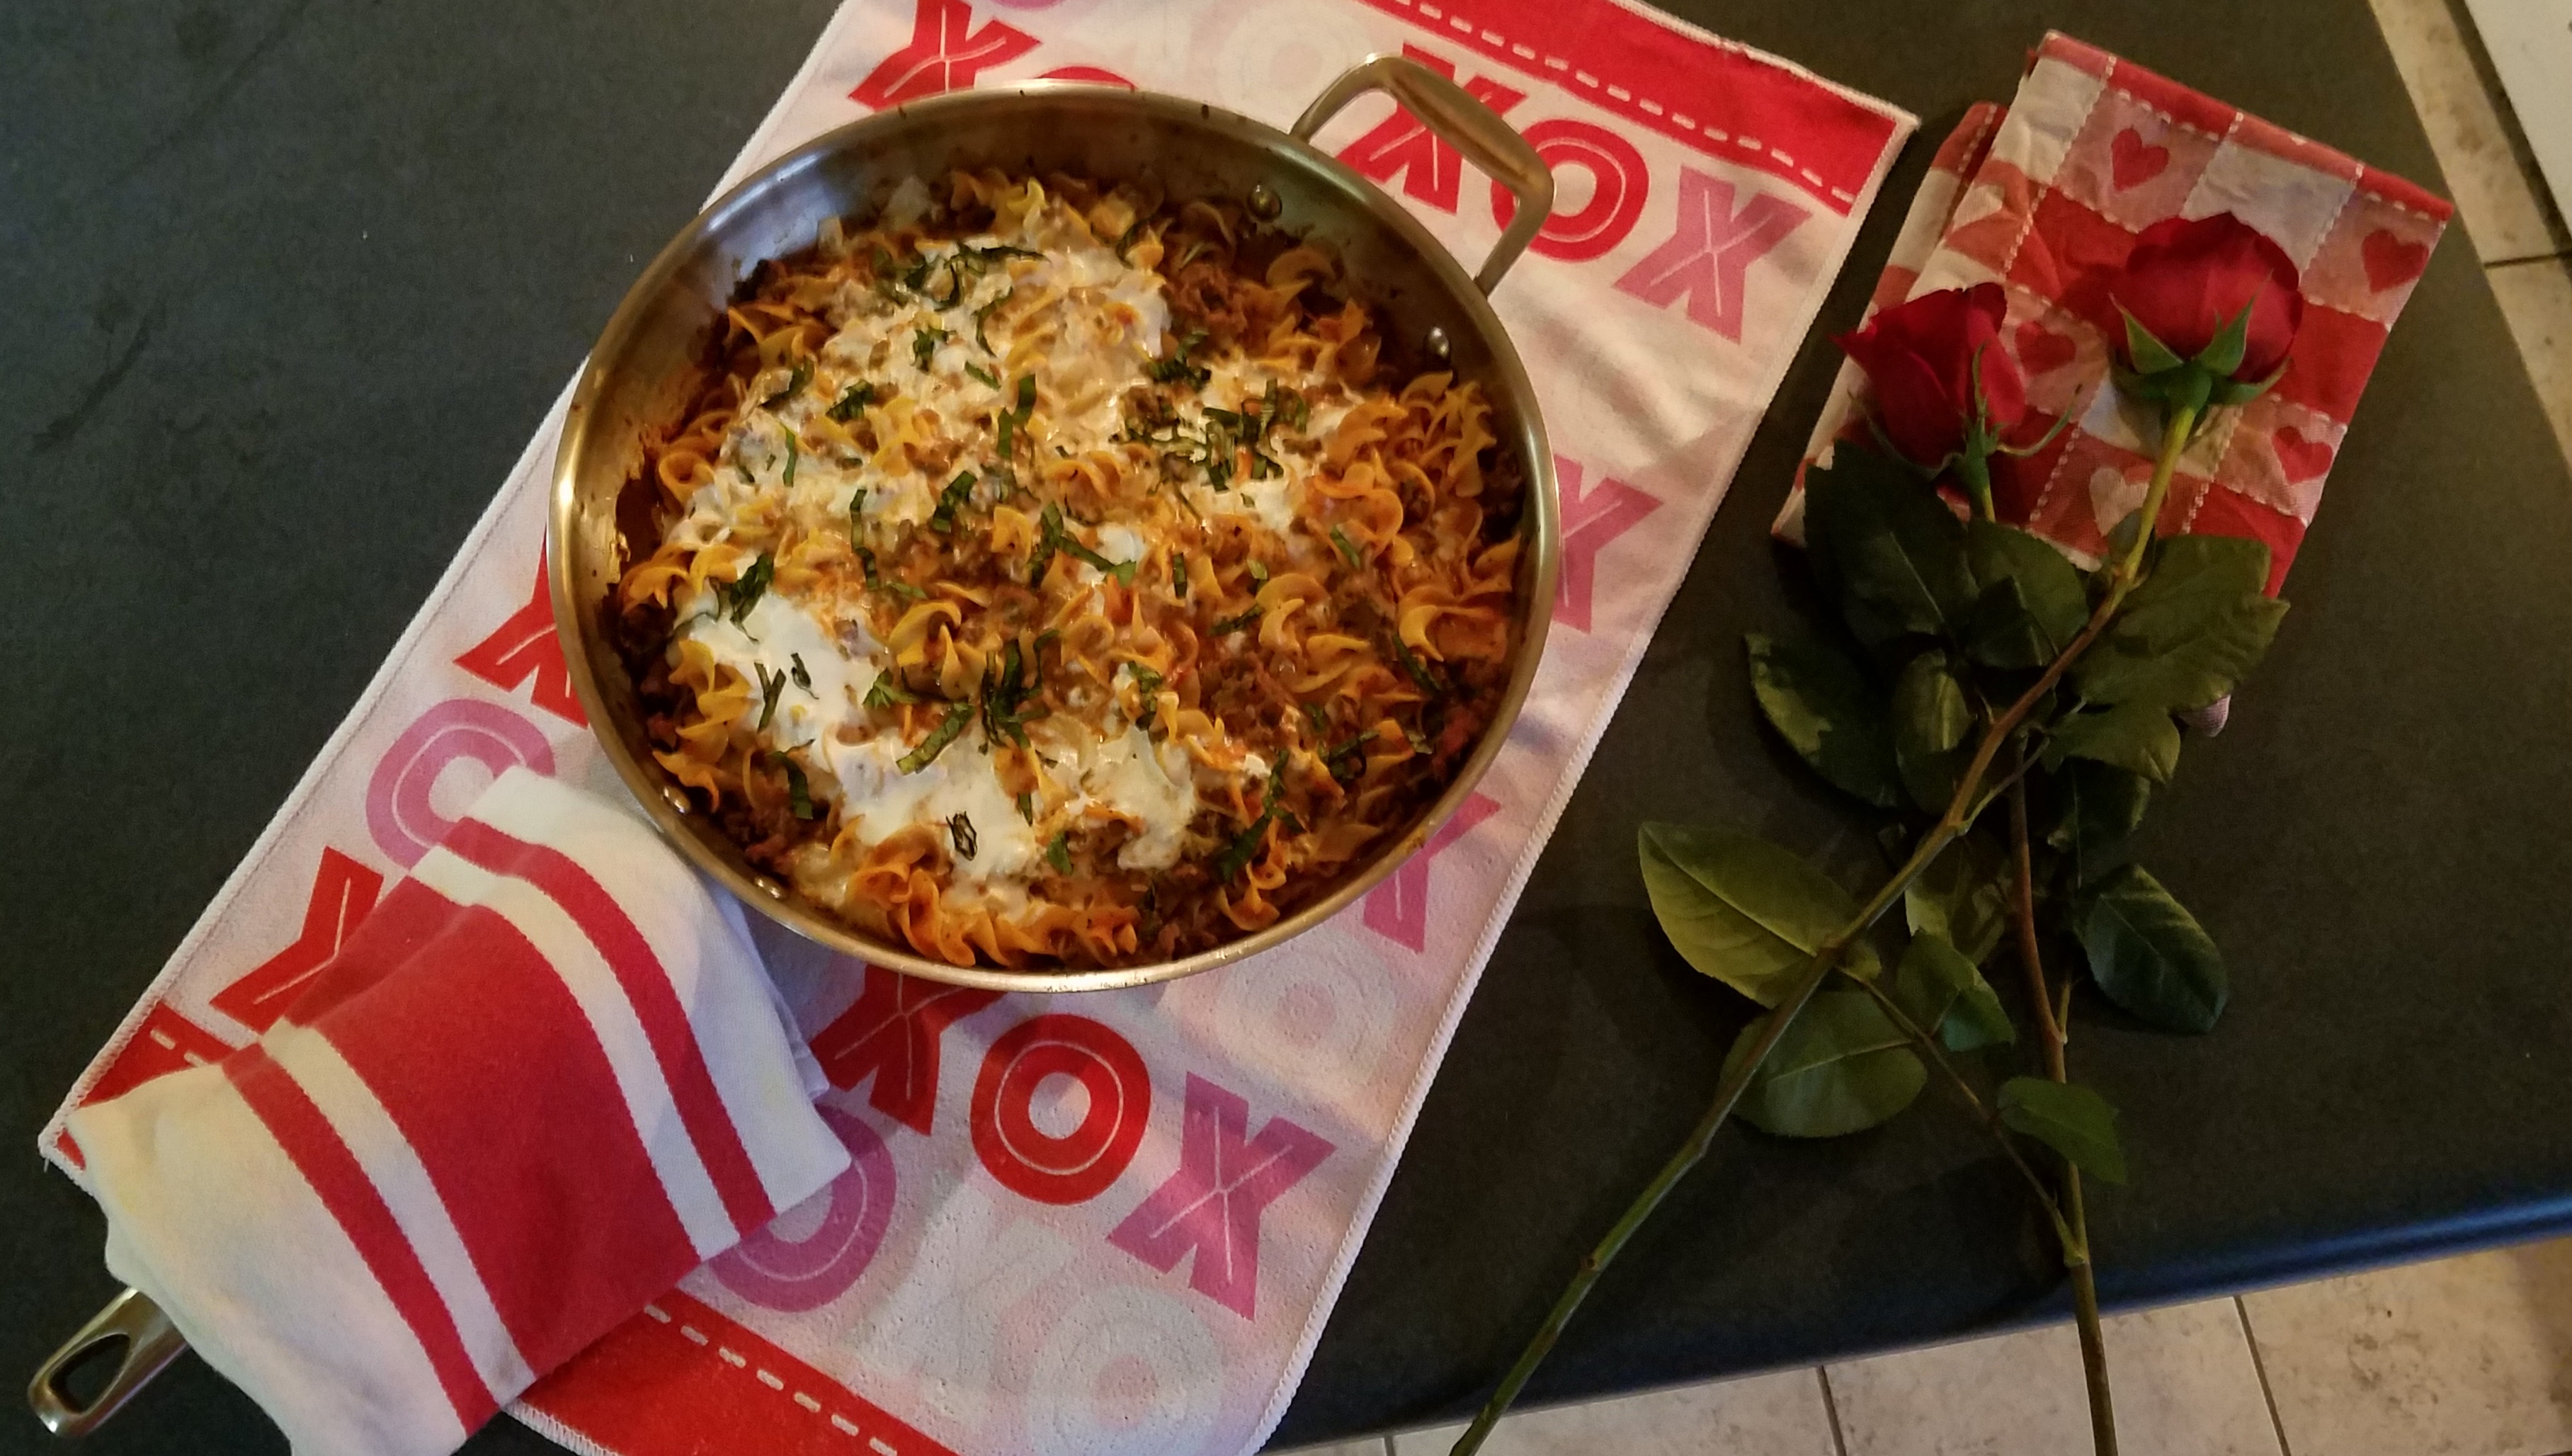
After spending most of the day in the kitchen, cutting vegetables and cooking sauces, the last thing I wanted to do was make an elaborate dinner.  But, I wanted a meaningful and heartfelt meal to end the day.  Since I still had fresh tomatoes and basil on the kitchen counter, I decided to make something Italian-ish. 

Most of the time, when dinner time rolls around, I don’t have anything planned, and this was no exception.  So I did what I normally would do.  I stared at the contents of my refrigerator and started grabbing things that would go well together.  Some ground beef, some cheese and oh, the little tub of ricotta that I kept overlooking.  I considered making spaghetti but I thought it might be a little boring so, I opted for a the partial bag of wide egg noodles in my pantry that looked particularly lonely. 

I had just finished cleaning a bunch of dishes, bowls and pots and pans and I didn’t want to do a lot of clean-up after dinner so I made the entire dish with one large ovenproof skillet and two bowls. 

Ingredients:

If preparing homemade marina:  2 cups cut, fresh tomatoes, ½ tsp garlic powder, ¼ tsp dried oregano, ¼ tsp dried rosemary, pinch of red chili flake, pinch of salt

2 cups marinara sauce (store-bought or homemade)

8 oz egg noodles

1 Tbs olive oil

¼ cup diced onion

1 lb ground beef

3 oz mozzarella

3 oz parmesan cheese

15 oz ricotta cheese (almost forgot, even though it was the reason I made this)

Directions for the marinara sauce:

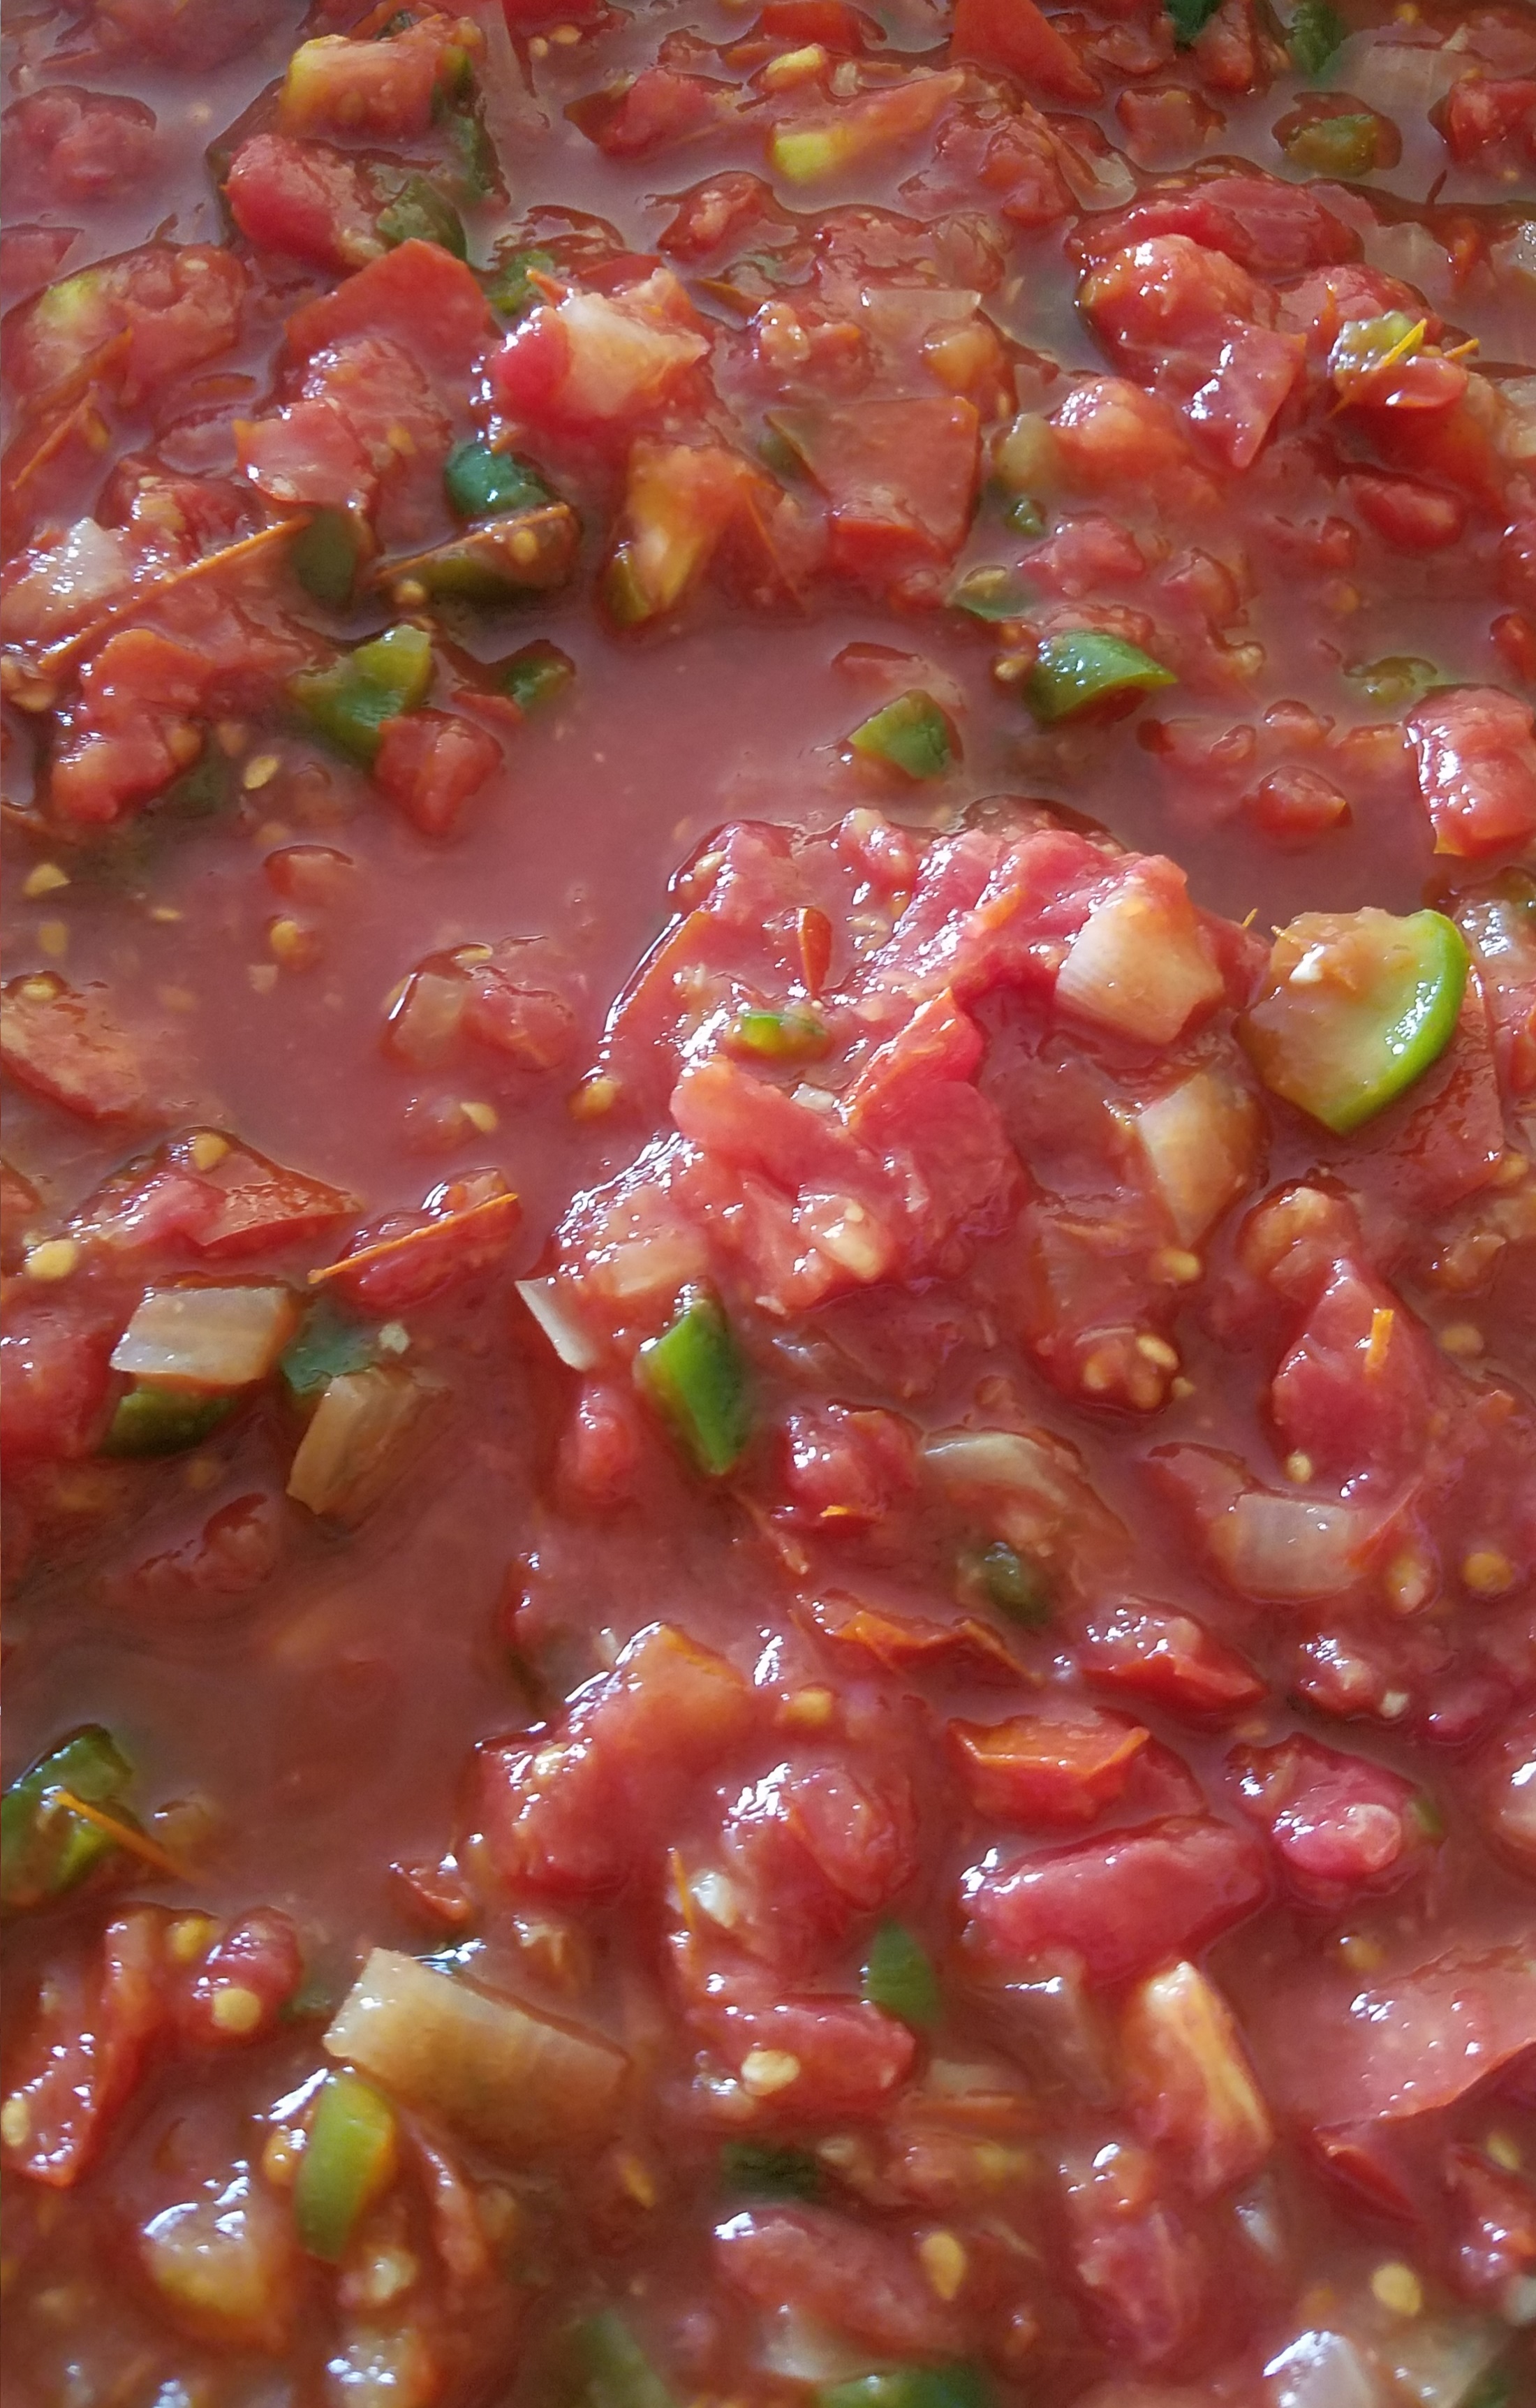
Core and remove the seeds from 5 or 6 medium sized tomatoes.  Cut the tomatoes into 1” pieces.  Cook tomatoes in a skillet over medium heat.  Add garlic powder, oregano, rosemary, chili flake and salt.  Mash the tomatoes every so often and reduce to about half, or until the tomatoes are completely softened and the sauce has thickened.

“Reduce the sauce and add spices to make the marinara”

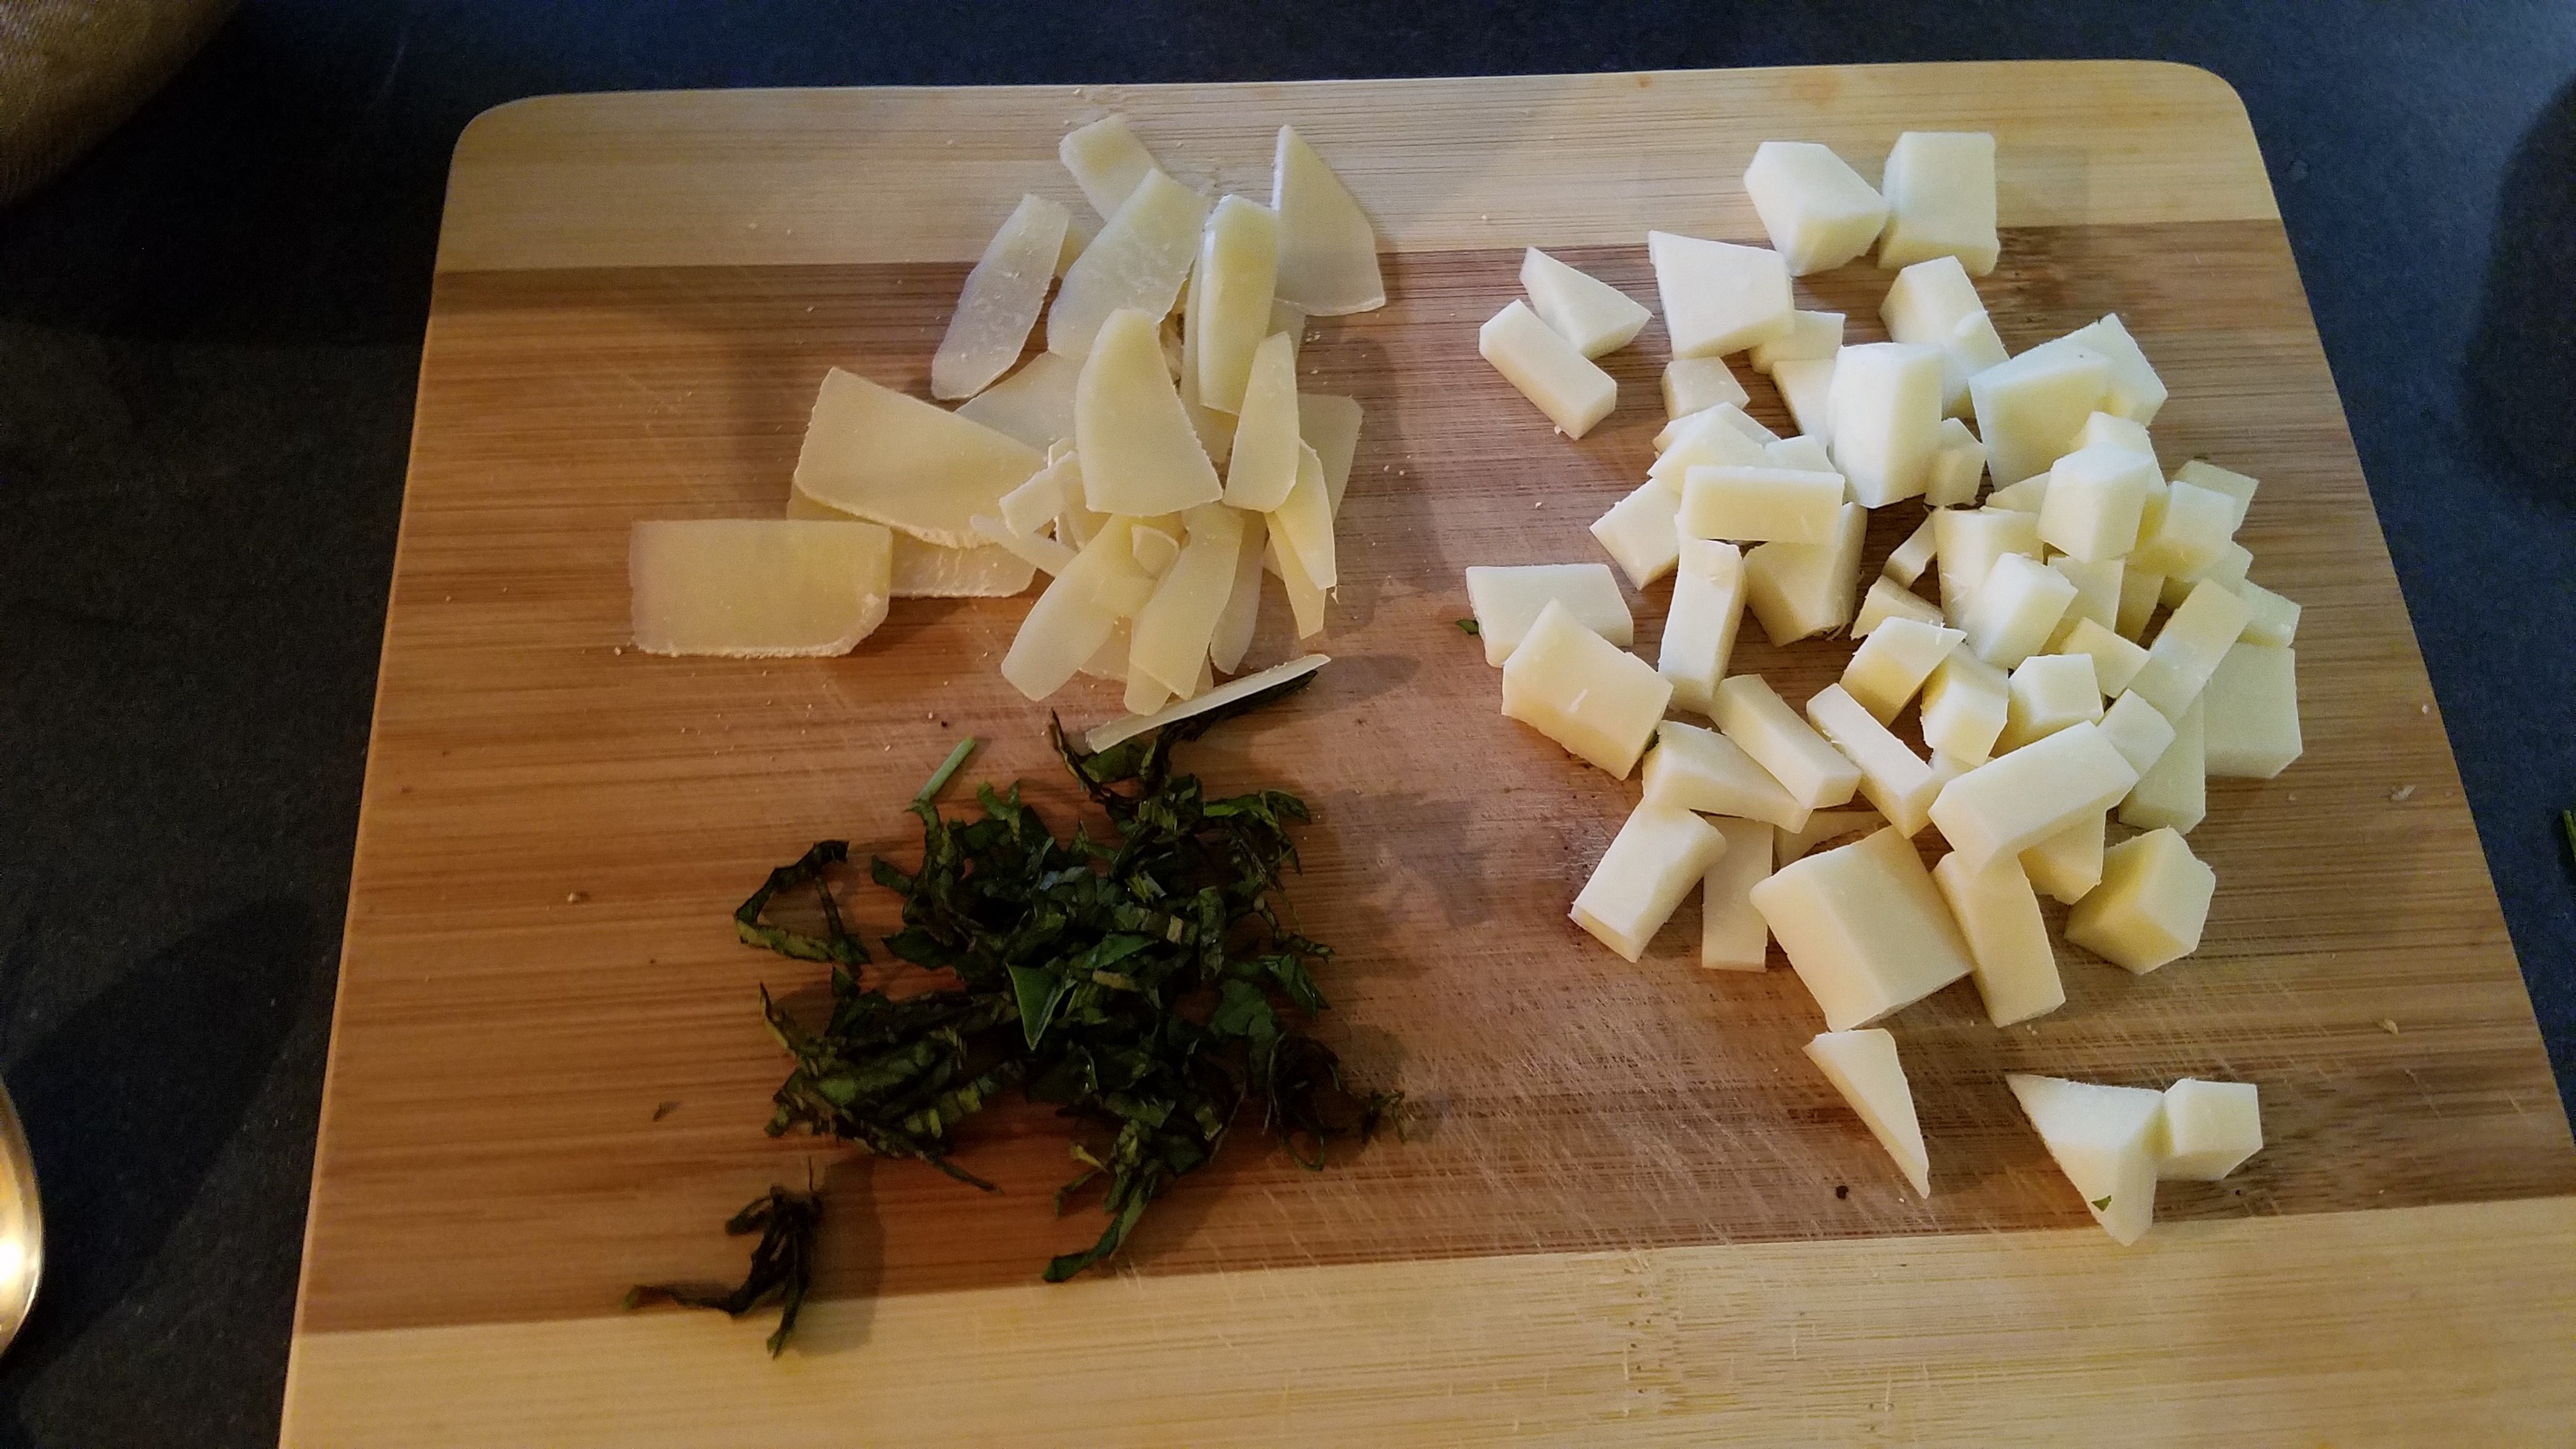
While the sauce reduces, cut the mozzarella into bite-sized chunks and shave the parmesan.  Cut the basil in thin strips (chiffonade).  Set aside.

Pour the finished sauce into a bowl and set aside. 

Directions for preparing the Italian Something:

Fill a skillet with water, about half way.  Bring the water to a boil and add the noodles.  They will cook quickly…maybe 8 to 10 minutes.  Strain the cooked noodles and put them in a bowl and set the bowl aside. 

Heat the oven to 350°.

Return the skillet to the stove and add heat the olive oil.  Add the onions and soften the onions for a few minutes.  Add the ground beef and sauté until the meat has browned. 

Add the marinara and noodles to the beef, in the skillet and mix.  Top with mozzarella and parmesan.  Bake in the oven at 350° for about 15 minutes, until mozzarella has melted.

Now here’s the interesting, and somewhat embarrassing part.  One of the main reasons I made this dish was to get rid of the ricotta cheese that had just recently passed its “Best if Used By” date.  I couldn’t stand for that so, I pulled the skillet from the oven and plopped the ricotta cheese on top and gently swirled it with a spatula.   

In case anyone might be concerned, such as the people who ate this dish, the “Best if Used By” date is not the same as an “Expiration” date.  “Best if Used By” means that the food might have lost some of its freshness, aroma or taste.  If it has passed its expiration date, don’t use it. 

Either way, I unsealed the ricotta and, after checking the aroma, I deemed it worthy!

Return the skillet to the oven for another 5 or 10 minutes.  Remove , top with basil and serve in the skillet. 

Serve with a glass of nice red wine.  You deserve it!

If I make this again, I will probably introduce the ricotta during the last few minutes again because it allowed the ricotta to stay slightly firm, instead of dissolving into the sauce.

¡Salsa Picante!

My garden is at its zenith.  This summer has provided a rare, but welcomed, balance of sunshine, heat  and rain.  I haven’t watered the garden in over two months and I haven’t used any pesticides or fertilizer.  Nature has been kind to me, this season!

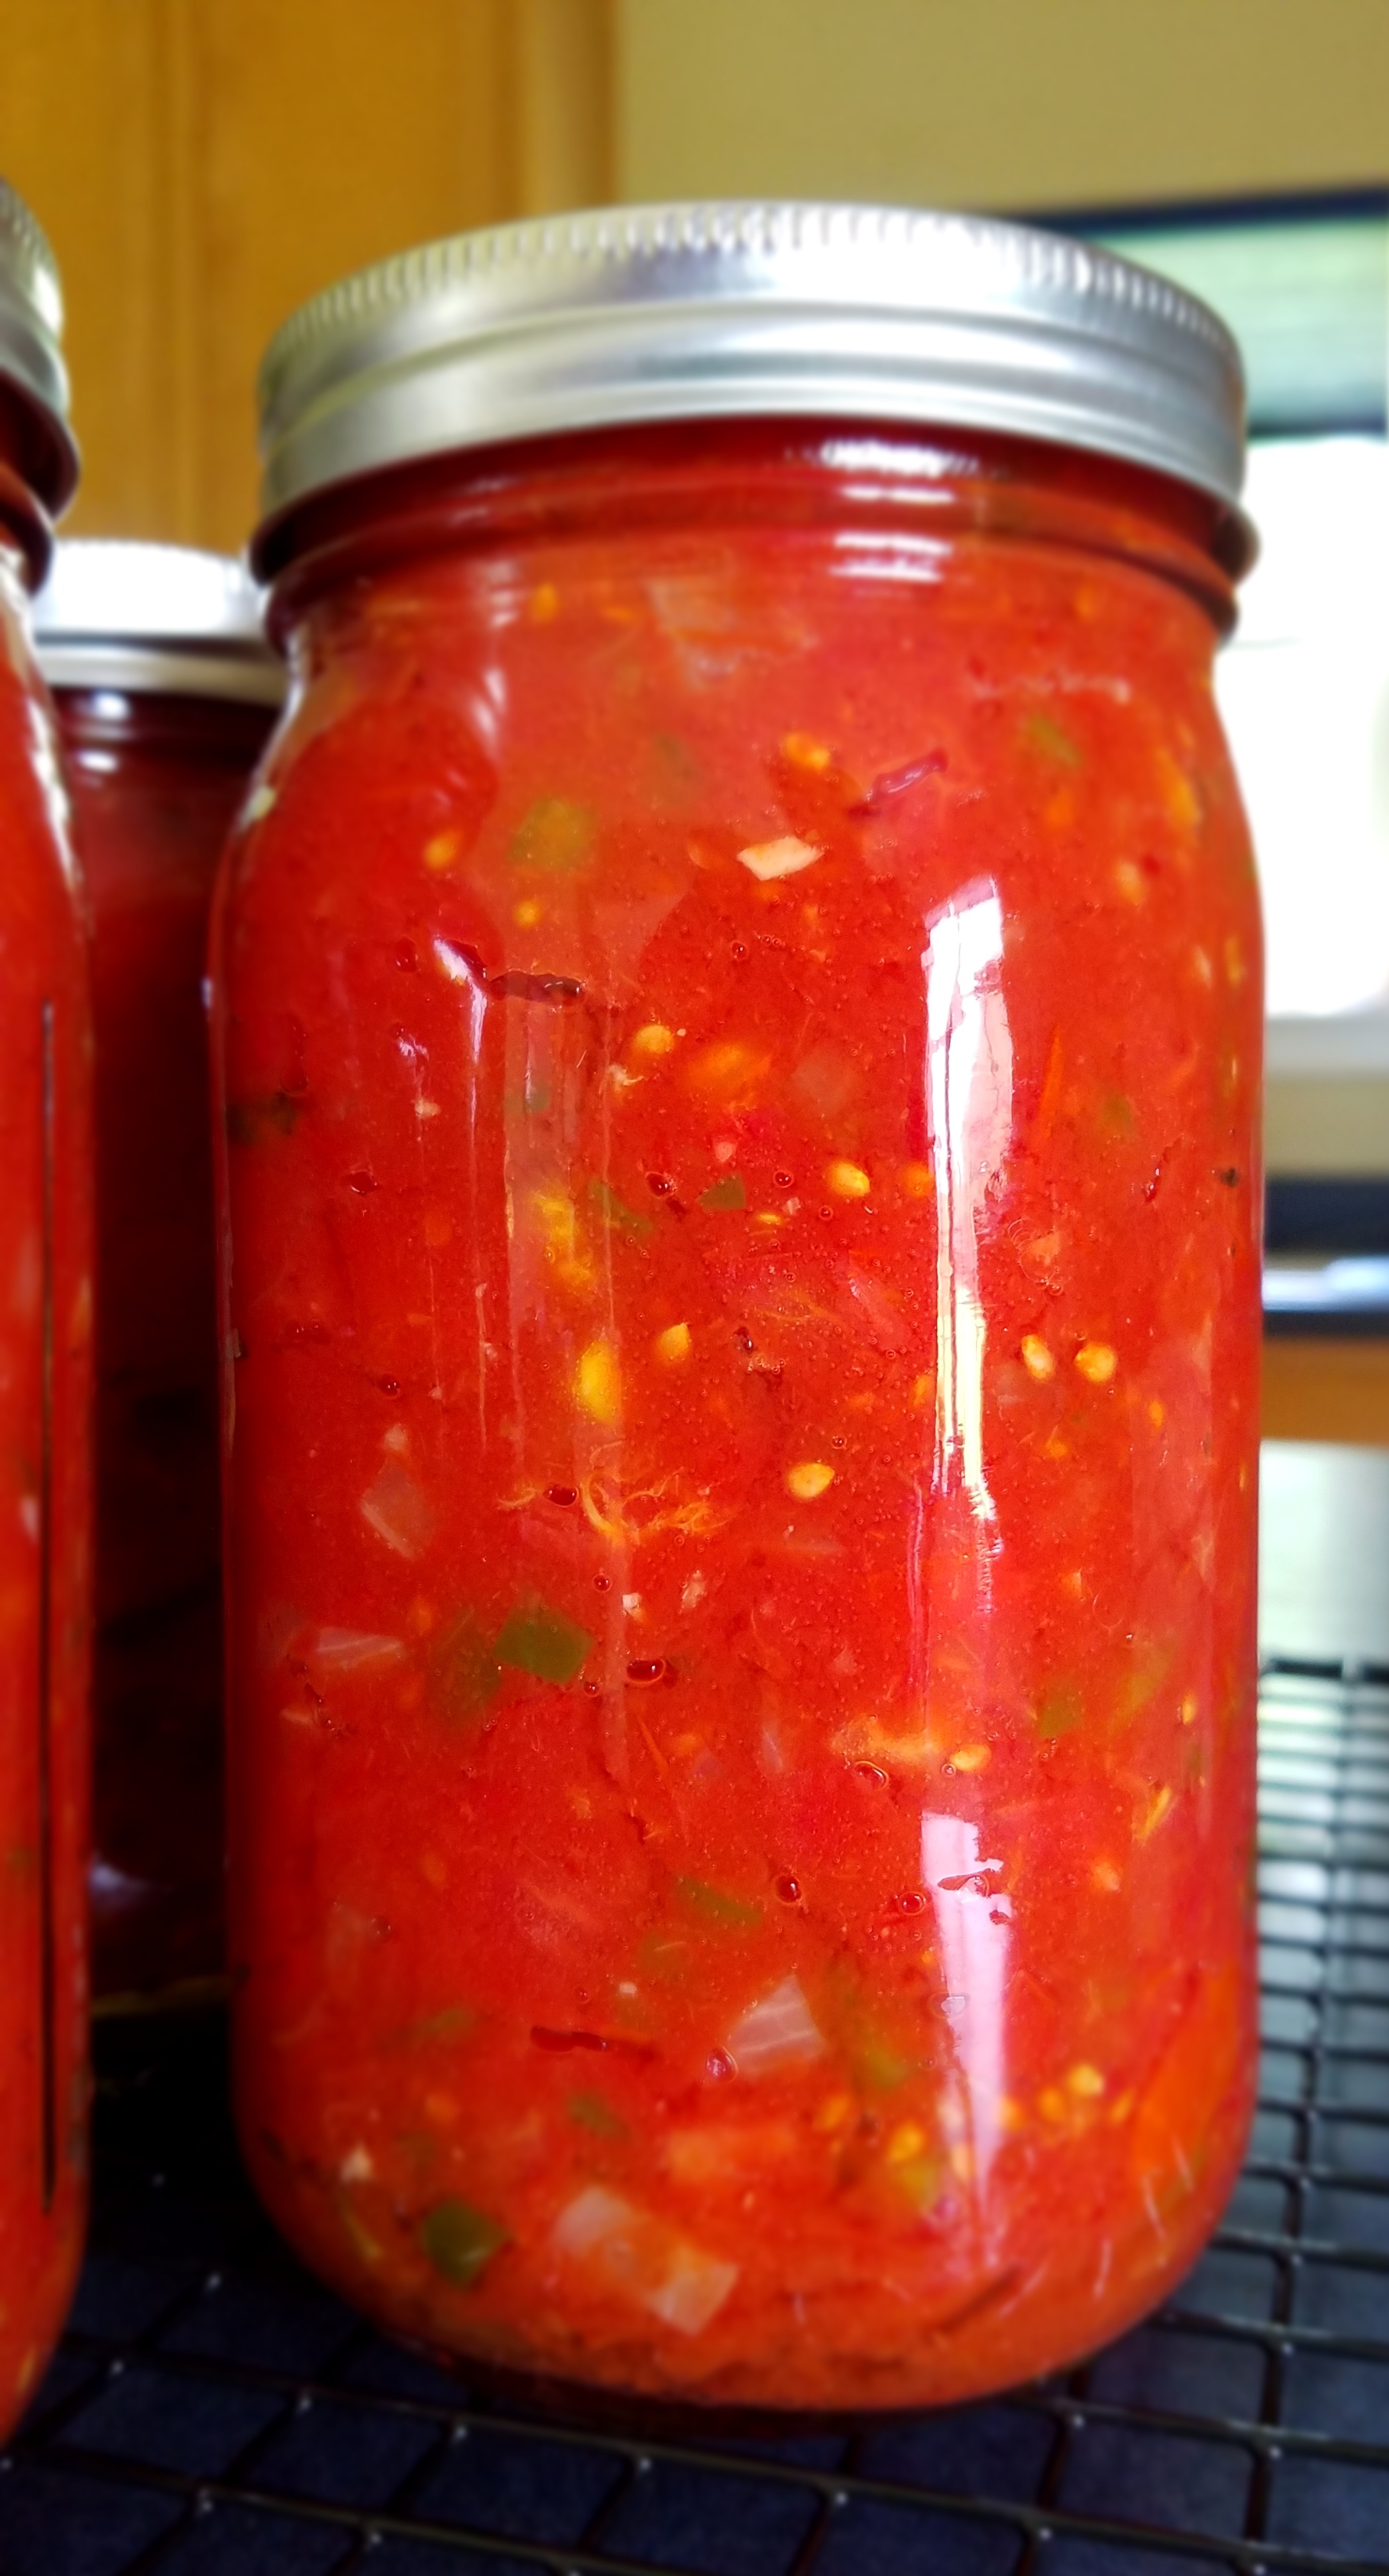
This week’s harvest provided four gallons of tomatoes and lots of different varieties of peppers.  That means it’s time to make salsa!   This recipe will make 4 quarts of salsa and, now that I have made it, I wish I would have doubled or tripled the batch.  This is not a quick process…be prepared to spend a more than a couple of hours prepping the vegetables and cooking sauces.  The end result is definitely worth the work.  I plan on giving one or two quarts away to friends and keeping the others for my family.  I don’t know why I even bother canning the stuff, since my family and I can gobble down a quart in a day or two.  But, I will try to hide a quart and bring it out as a surprise, long after summer has gone. 

Aside from the optional habanero and tabasco chiles, I consider this to be a basic salsa.  The proportions listed in the recipe should produce a “medium” heat salsa.  If you want to tweak this recipe, I suggest roasting or smoking one or more of the items.  For example, you could put the jalapeños on the grill and smoke with some mesquite wood, or you could char the onion and tomato over hot coals, or wrap the head of garlic in aluminum foil and bake for 15 minutes.  Any of these things will add a new, distinct profile to your salsa. 

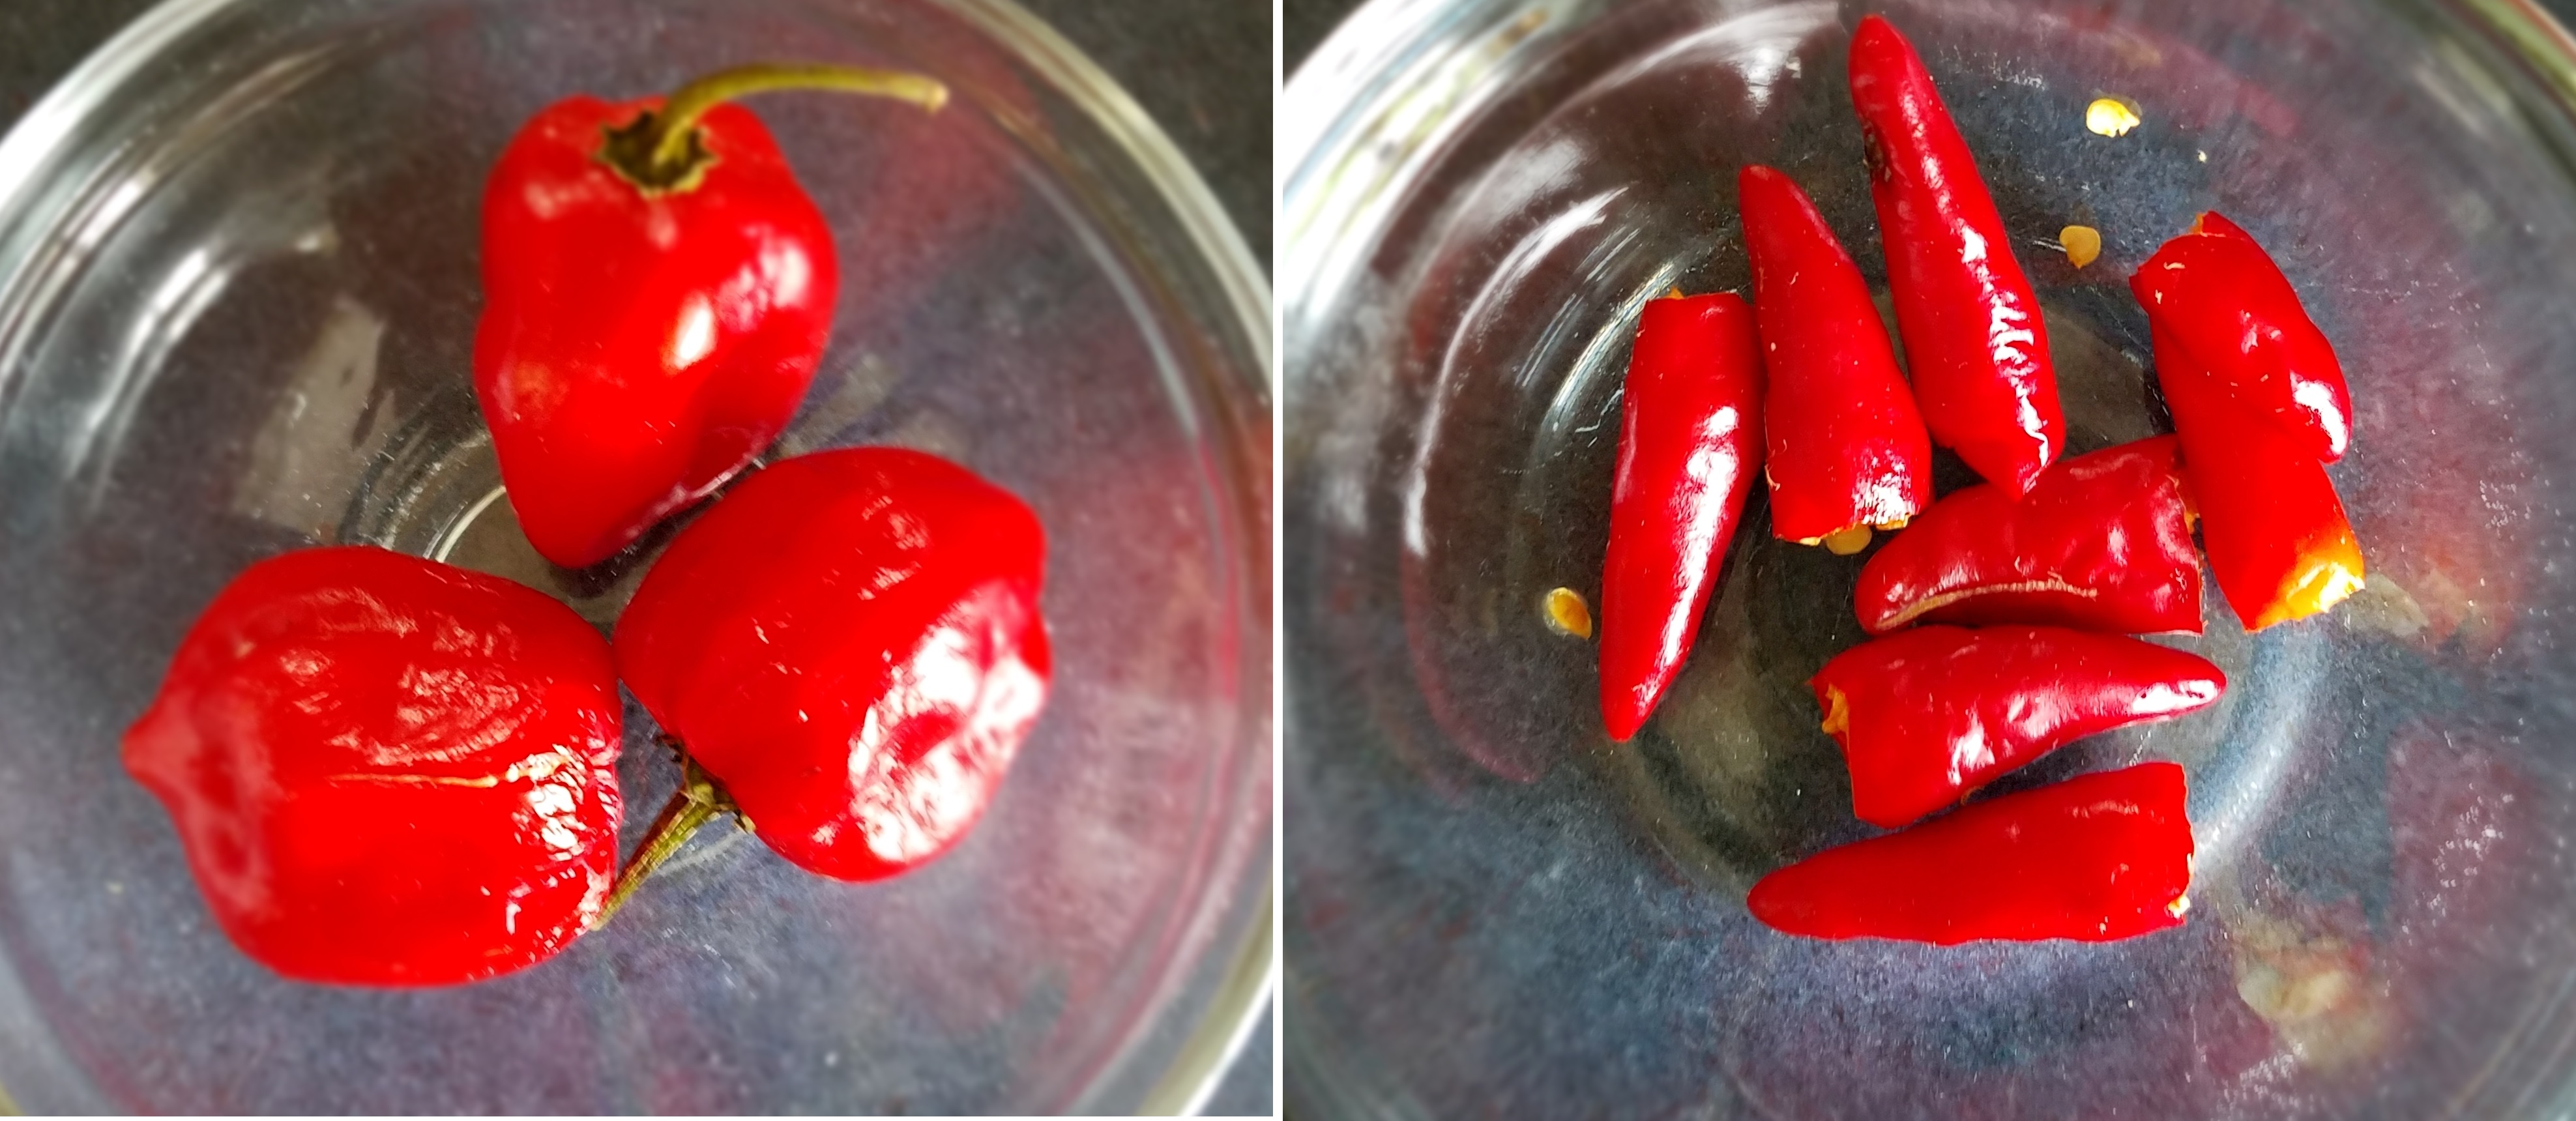
I stared at the habaneros and tabascos for a long time and finally decided to pass on them.  I would love to include them but I believe the end result would have been too spicy for some folks.  I will dice them and sauté them in a little tomato sauce and add it to my private reserve!

For this recipe, I made the tomato sauce from fresh tomatoes.  If you don’t have access to fresh tomatoes, canned tomato sauce will work just fine. 

Ingredients:

1 gallon diced tomatoes

2 cups diced onion

2 cups diced bell pepper

1 ½ cups diced jalapeño

Juice of 2 limes

1 head of garlic (about ¼ cup) minced garlic

3 habanero chiles (optional)

8 tabasco chiles peppers (optional)

½ gallon tomato sauce

2 cups vegetable stock (reduced to sauce)

Directions:

See my previous post to make the vegetable stock reduction: https://toothpicktales.com/2019/08/11/a-conversation-on-conservation-and-consideration/

Heat the tomato sauce in a large uncovered pot on the stove.  If you are using the vegetable stock, add it now.  Simmer at low heat while vegetables are prepared.

Chop vegetables into small pieces.  Tomatoes should be about ½” pieces and the onions and chiles should be cut into ¼” pieces.  Strain the juice from the tomatoes and set aside. 

Add all ingredients to the sauce.  Cook uncovered for one hour.  Turn the heat off and add the lime juice and stir to incorporate. 

I have to confess, I did not cook the salsa long enough and I forgot to add the lime juice when I made this.  Within a day after canning, juice started creeping out of the jars.  When I unscrewed the ring the lid popped off, from the pressure inside.  I dumped the salsa back into a pot and cooked it at a low boil for 30 minutes and then added the lime juice.  I have canned it again and I hope that does the trick.  If not, I will come clean and relay the sordid details!

Sanitize canning jars.  I use a bleach and water solution.  The bleach to water ratio should be 2 teaspoons of bleach to 1 gallon of water.

Lay empty canning jars, lids and rings in the kitchen sink, after plugging the drain.  Fill the sink with 3 gallons of boiling water.  Add 6 teaspoons of liquid bleach.  Remove the jars after two minutes and allow them to air dry. 

Fill the jars with salsa and leave about ½” air space at the top.  Cover the jar with the lid and secure by gently tightening the ring with your fingertips. 

Immerse the jars in boiling water and pull them out after 15 minutes and allow them to cool on a cooling rack. 

A Conversation on Conservation and Consideration

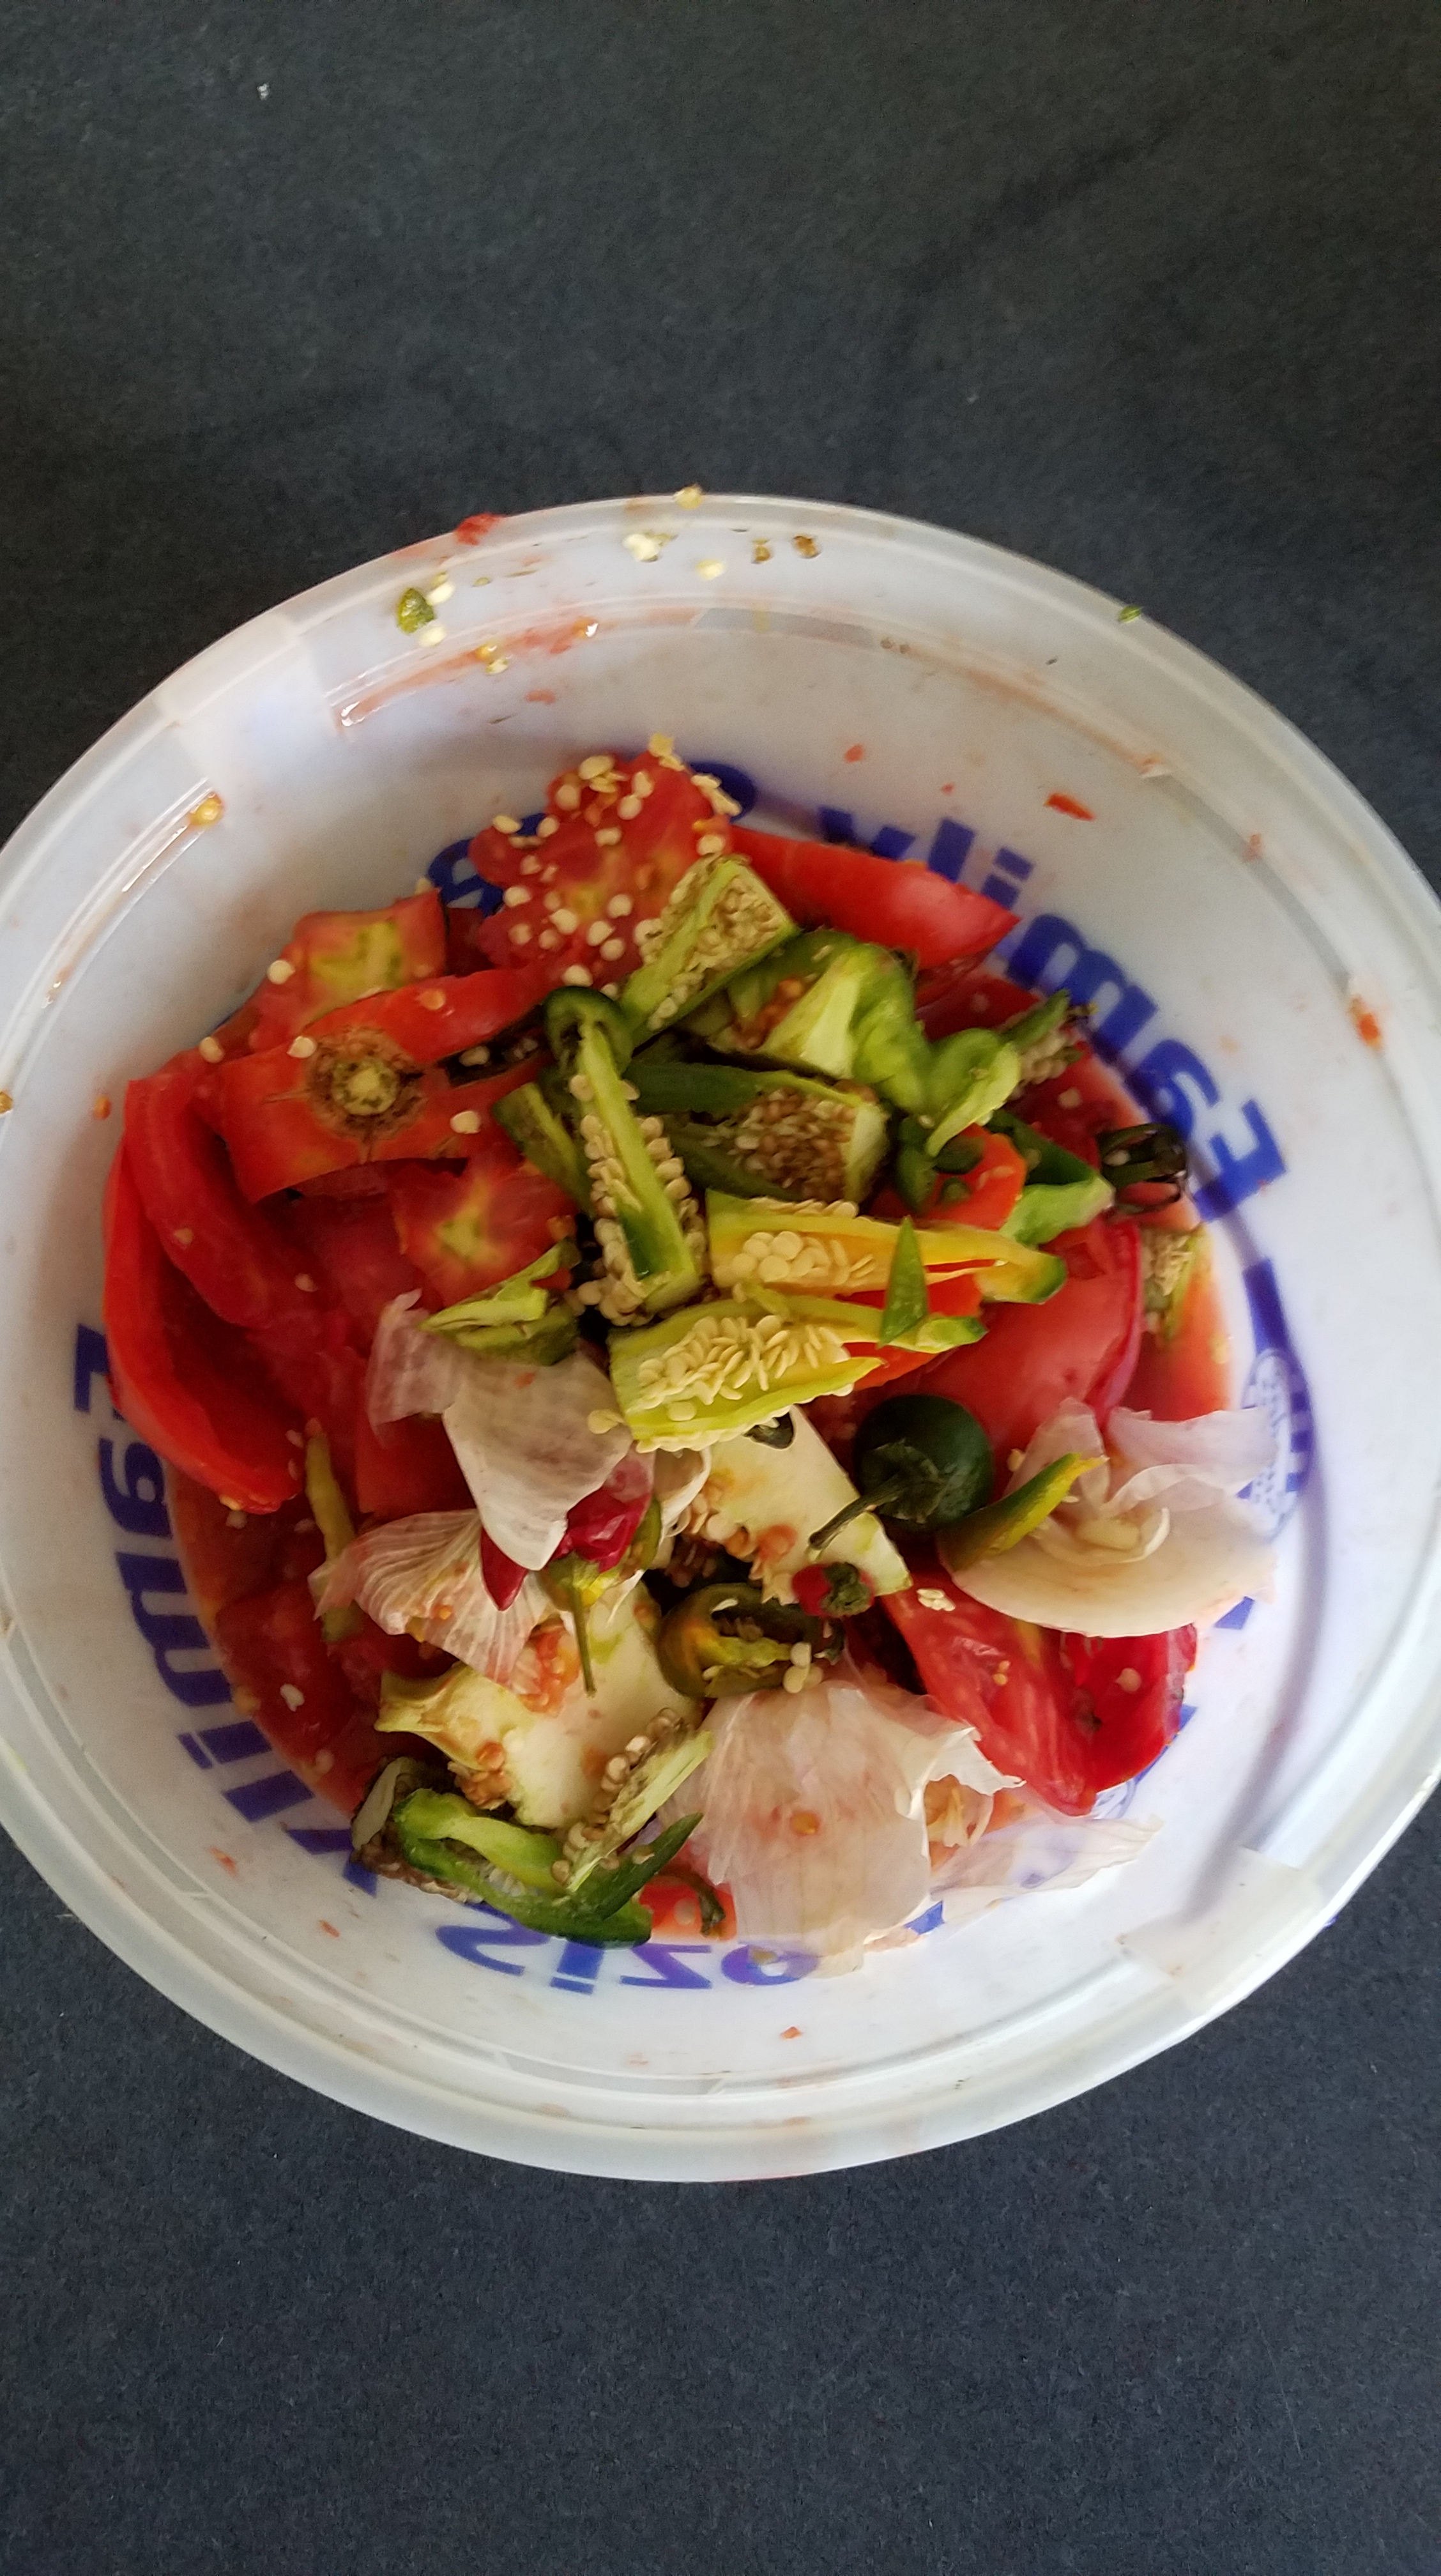
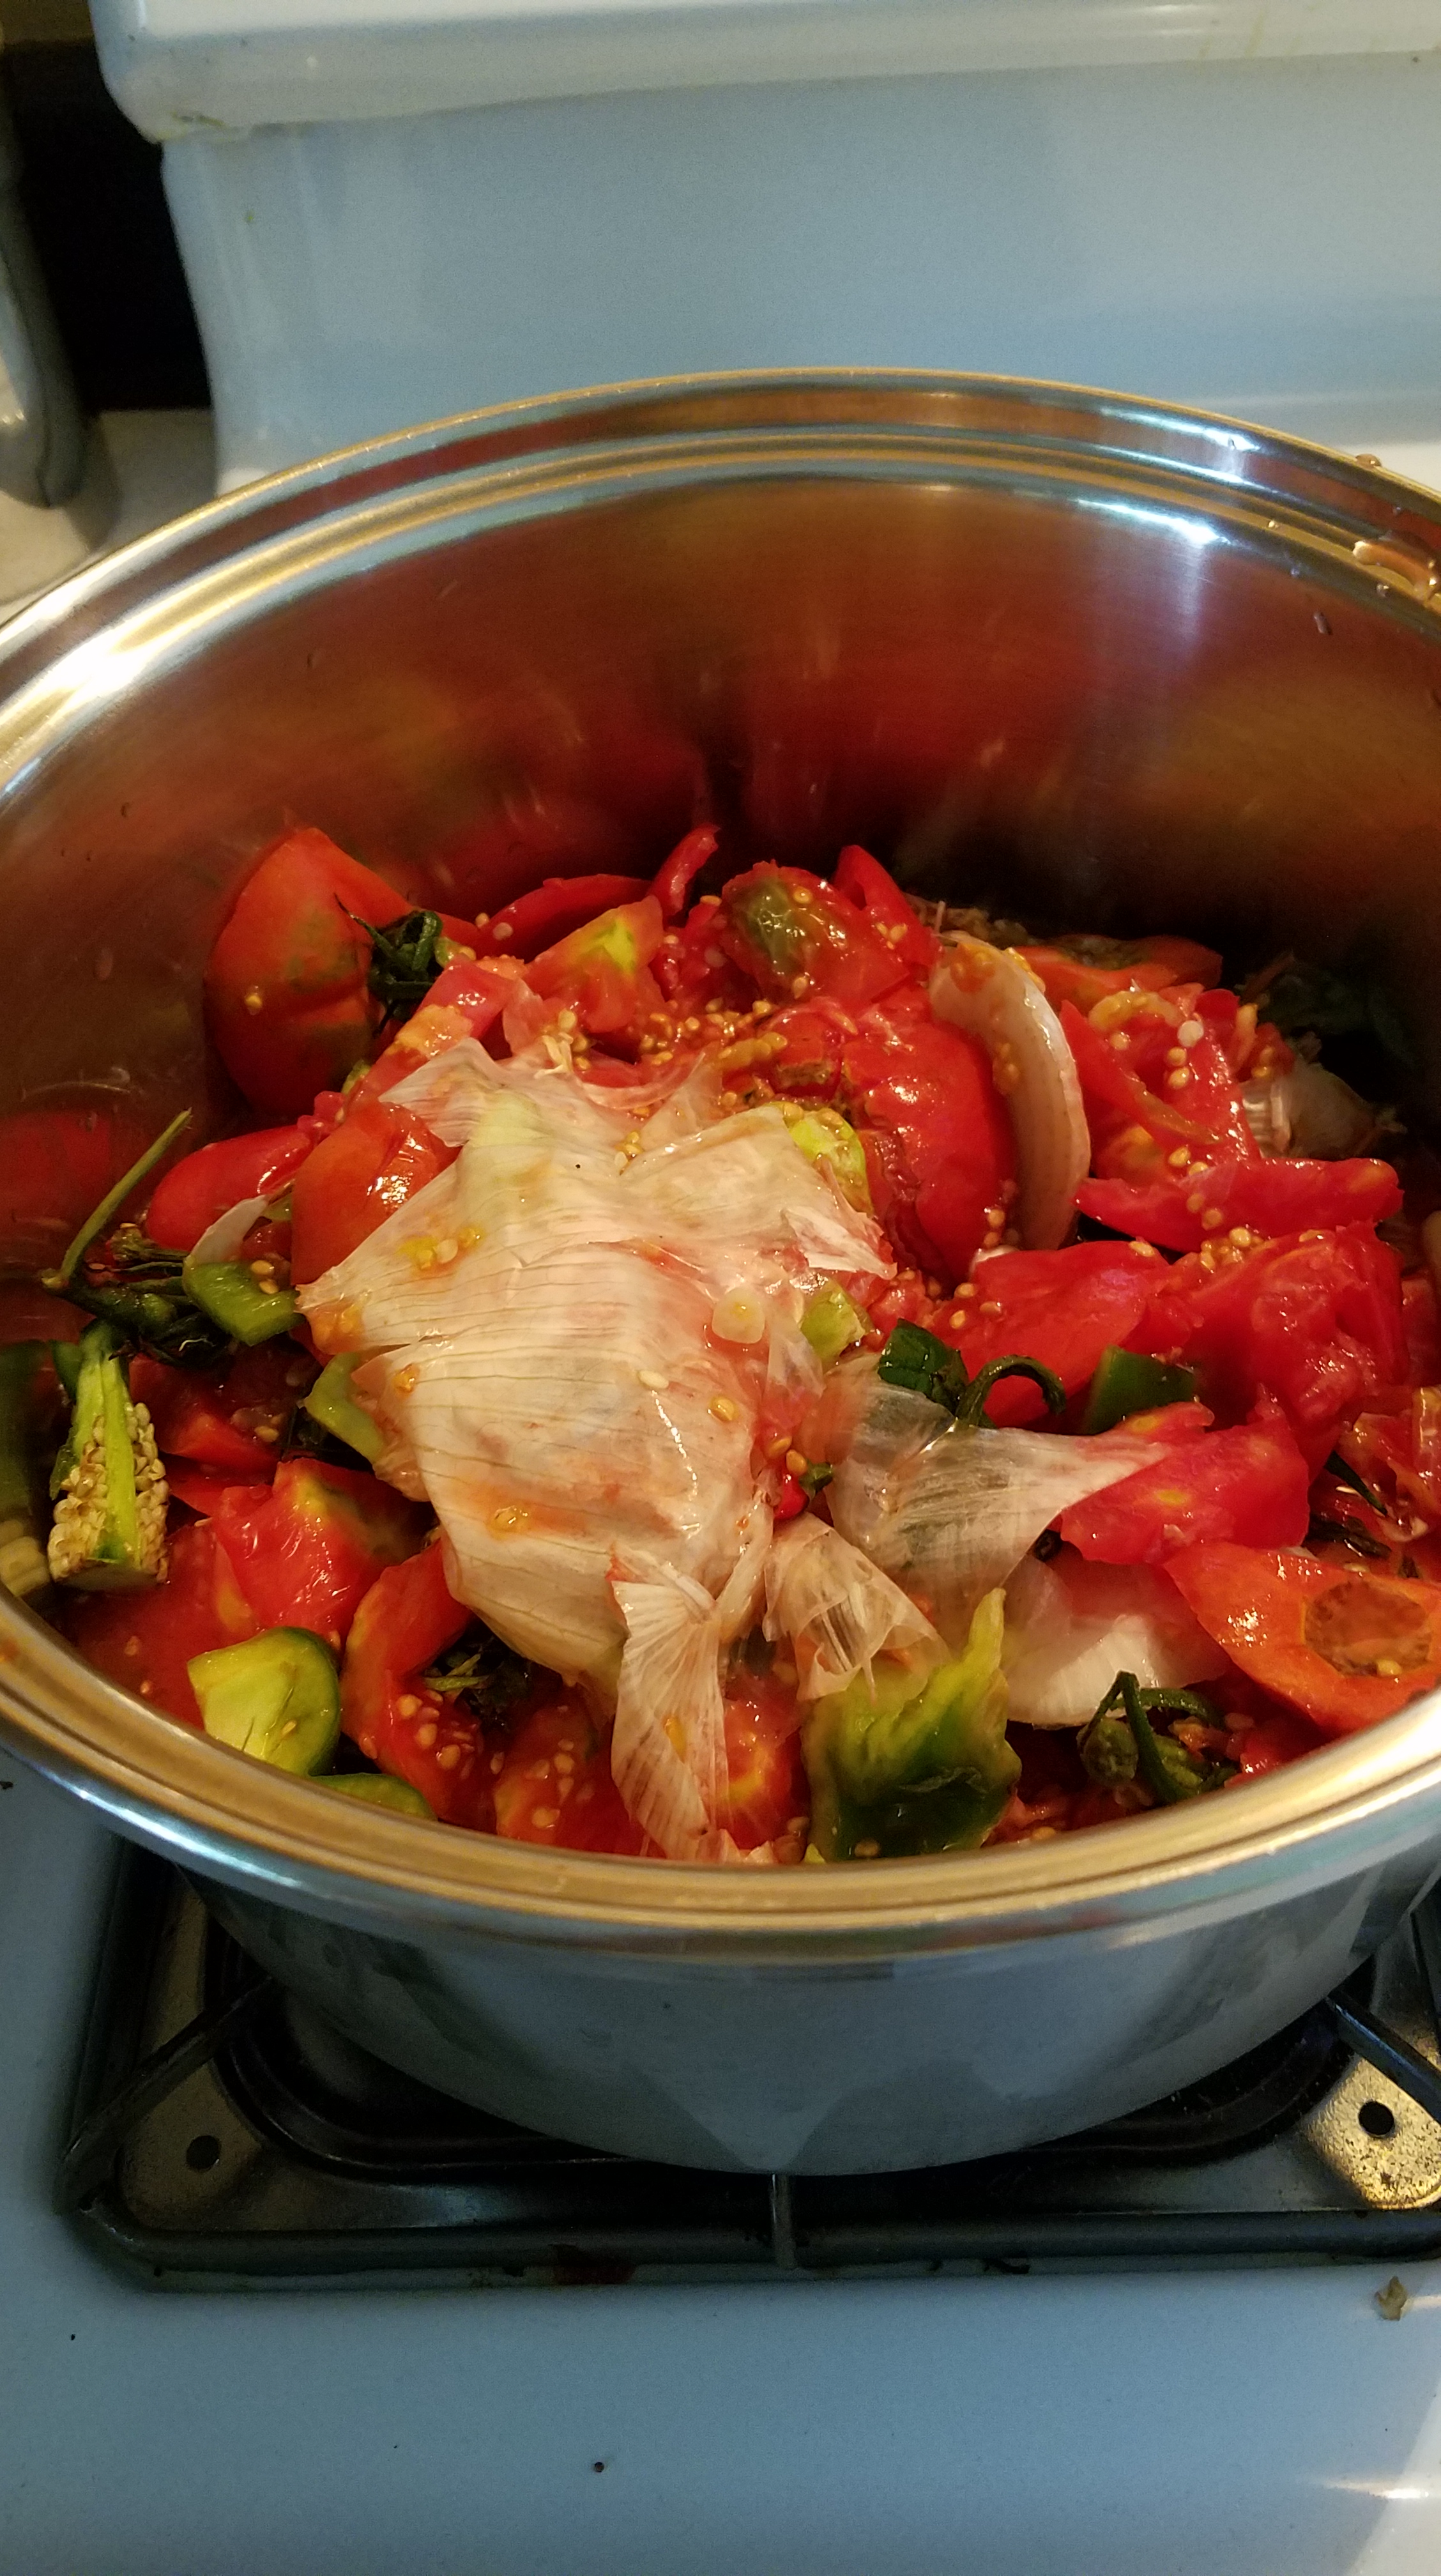
I like to keep a large bowl or pail next to the cutting board when I prepare vegetables for salsa.  I toss the undesirable parts of the vegetables in the pail as I slice and dice.  The tops of tomatoes, onions and chilies get tossed into the pail along with other unusable parts of tomatoes, outer onion skins and papery garlic peels.  

Consider using the discarded scraps to make a vegetable stock.  It is easy to do and the result provides a wonderful base for the salsa.  Now, I have to admit, there are times that I just dump the scraps in the trash but I always regret it when I taste the finished salsa.  The vegetable stock, when reduced to a sauce,  provides a concentration of flavors that adds harmony and richness to the finished salsa and I feel better, knowing that I am utilizing every part of the vegetables.  Conservation means better flavor and less waste.  You can’t beat that!

Directions:

Dump all of the contents of the pail into a large pot and simmer on the stove at low heat for about one hour.  Strain out the solids and discard. 

Return the liquid to the stove and reduce by one half.  This becomes the foundation for the salsa. 

Come back soon and we’ll make some salsa!

Chinese Stir Fry (or, How to Clean the Refrigerator)

I recently returned from a 3-day, mini vacation and while I was away, my thoughts turned to all of things in my refrigerator that would need to be used when I returned home.  I wasn’t preoccupied with those thoughts but, being the frugal person that I am, I imagined what I could do with the food that would likely be on the verge of spoiling when I returned.

Sure enough, upon my return, I opened the refrigerator to inspect the various vegetables and other odds and ends.   As I expected, the bell peppers were on their last legs.  The celery and green onions were going limp.  The red onion was holding on strong and the carrots were just fine, so no worries there.  And then, I remembered the unopened package of beef that I had left in the meat drawer.  I knew that it had been in the refrigerator for several days.  The solution was obvious.  A beef stir fry was the perfect remedy.

This was a meal made out of necessity and practicality but each of the components combined quite nicely and the quick stir fry allowed some items, that were past their prime, a chance to shine.

Ingredients for the stir fry:

3 cloves of garlic

2 Tbs thinly sliced ginger

2 Tbs canola oil

1 pound, thinly sliced beef

2 carrots

1 green bell pepper

1 red bell pepper

1 medium sized red onion

2 celery stalks

3 scallions

3 cups uncooked white rice

Ingredients for the marinade:

3 Tbs dark soy sauce

1 Tbs soy sauce

1 Tbs sambal (chili garlic sauce)

Ingredients for the sauce:

½ tsp sesame oil

1 clove garlic, minced

2 Tbs brown sugar

2 Tbs Hoisin sauce

1 Tbs honey

2 Tbs white vinegar

1 tsp hot sauce (your choice)

1 Tbs soy sauce

1 Tbs cornstarch

1 Tbs water

Directions:

Remove some of the starch from the rice by rinsing and scrubbing the rice by hand in a colander.  Put the rice in a large pot and cover with water.  Allow the rice to soak for 30 minutes. 

While the rice is soaking, marinate the beef and prepare a mise en place.

The beef that I used was a packaged roast that had already been thinly sliced.  It was marketed to be used for carne asada but, since it was not seasoned, it was suitable for my purpose. 

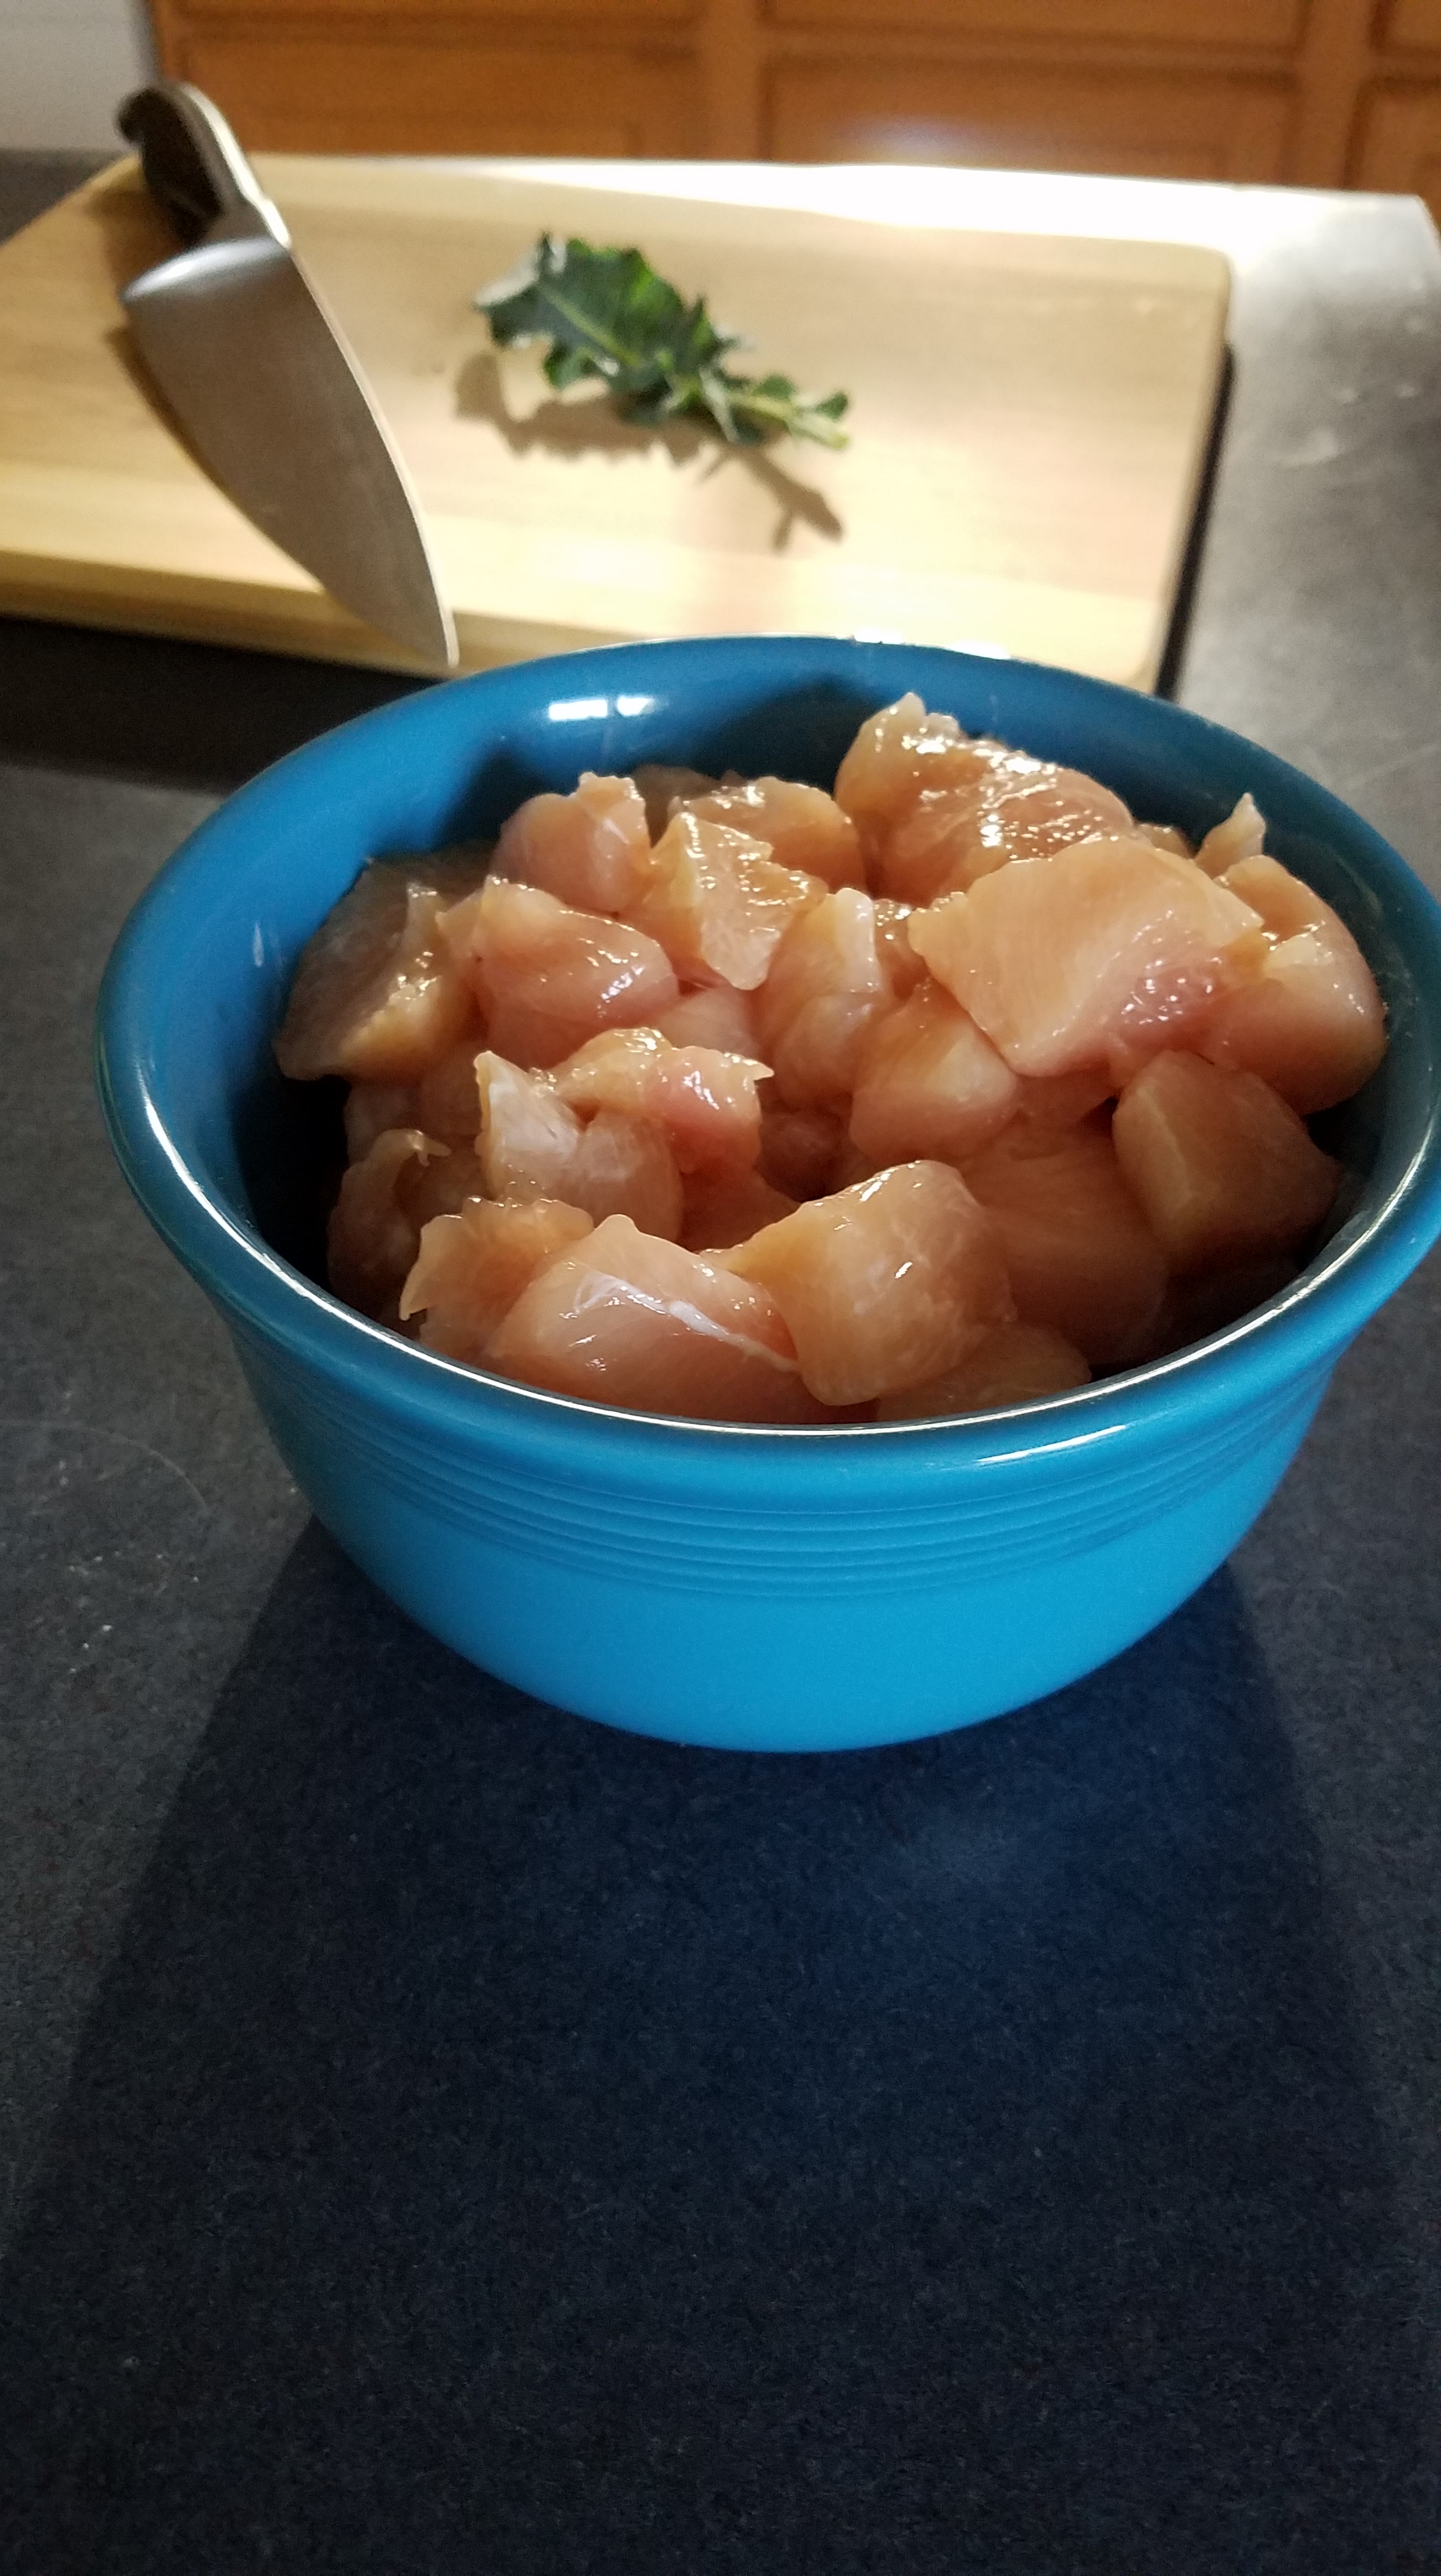
Slice the beef into ribbons and allow it to marinate for about 30 minutes.    

Peel, slice and chop the vegetables as you like.  Reserve some chopped scallion tips for the garnish. 

Preparing this mise en place took about 45 minutes.  I wasn’t rushed because I knew that the rice would take about an hour, from start to finish.

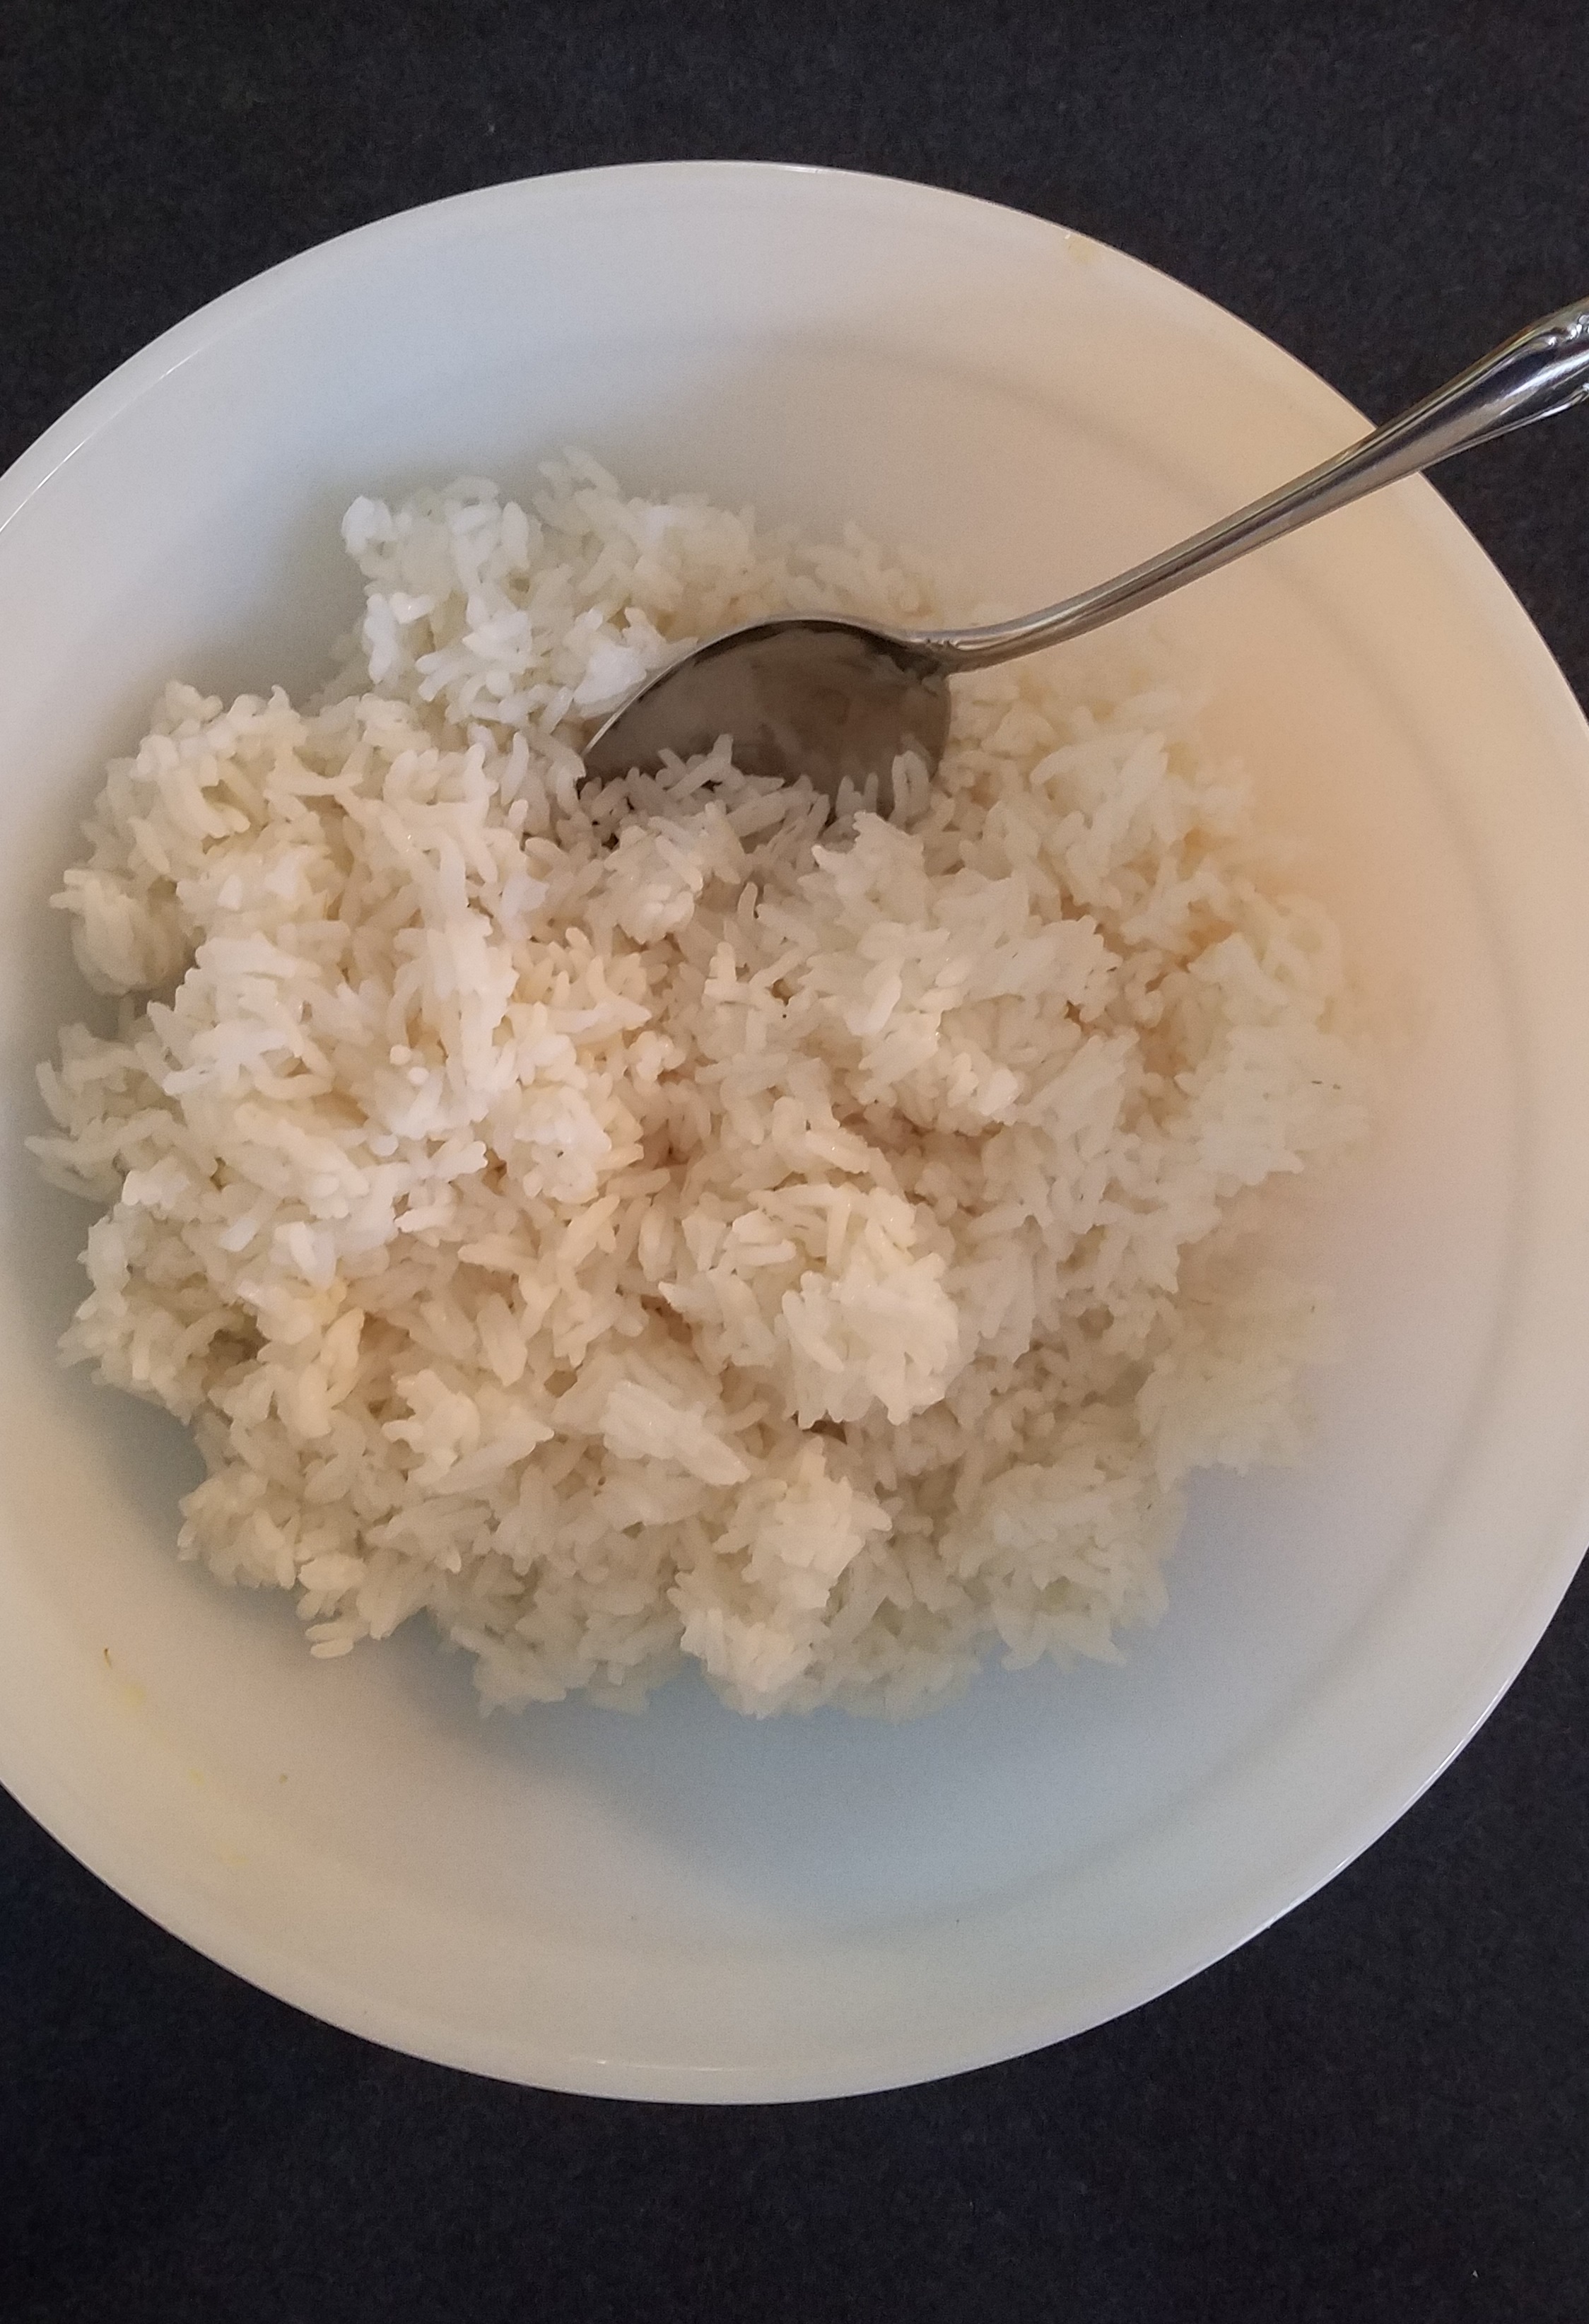
Cook the rice according to the directions on the package.  In this case, as I mentioned earlier, I soaked the rice for 30 minutes and then I cooked and steamed the rice for 20 minutes. I allowed the rice to steam for 10 additional minutes before fluffing with a fork.

I made the stir fry, while the rice finished steaming. 

Add the cooking oil to a hot wok.  Season the wok with ginger and garlic for one minute and then remove the ginger and garlic. 

Introduce the vegetables, starting with the ones that will take the longest to cook.  In this case,  I started with the carrots, followed by the bell peppers, red onion, celery and scallions.  Remove the vegetables to a bowl when they have softened but before they go limp.

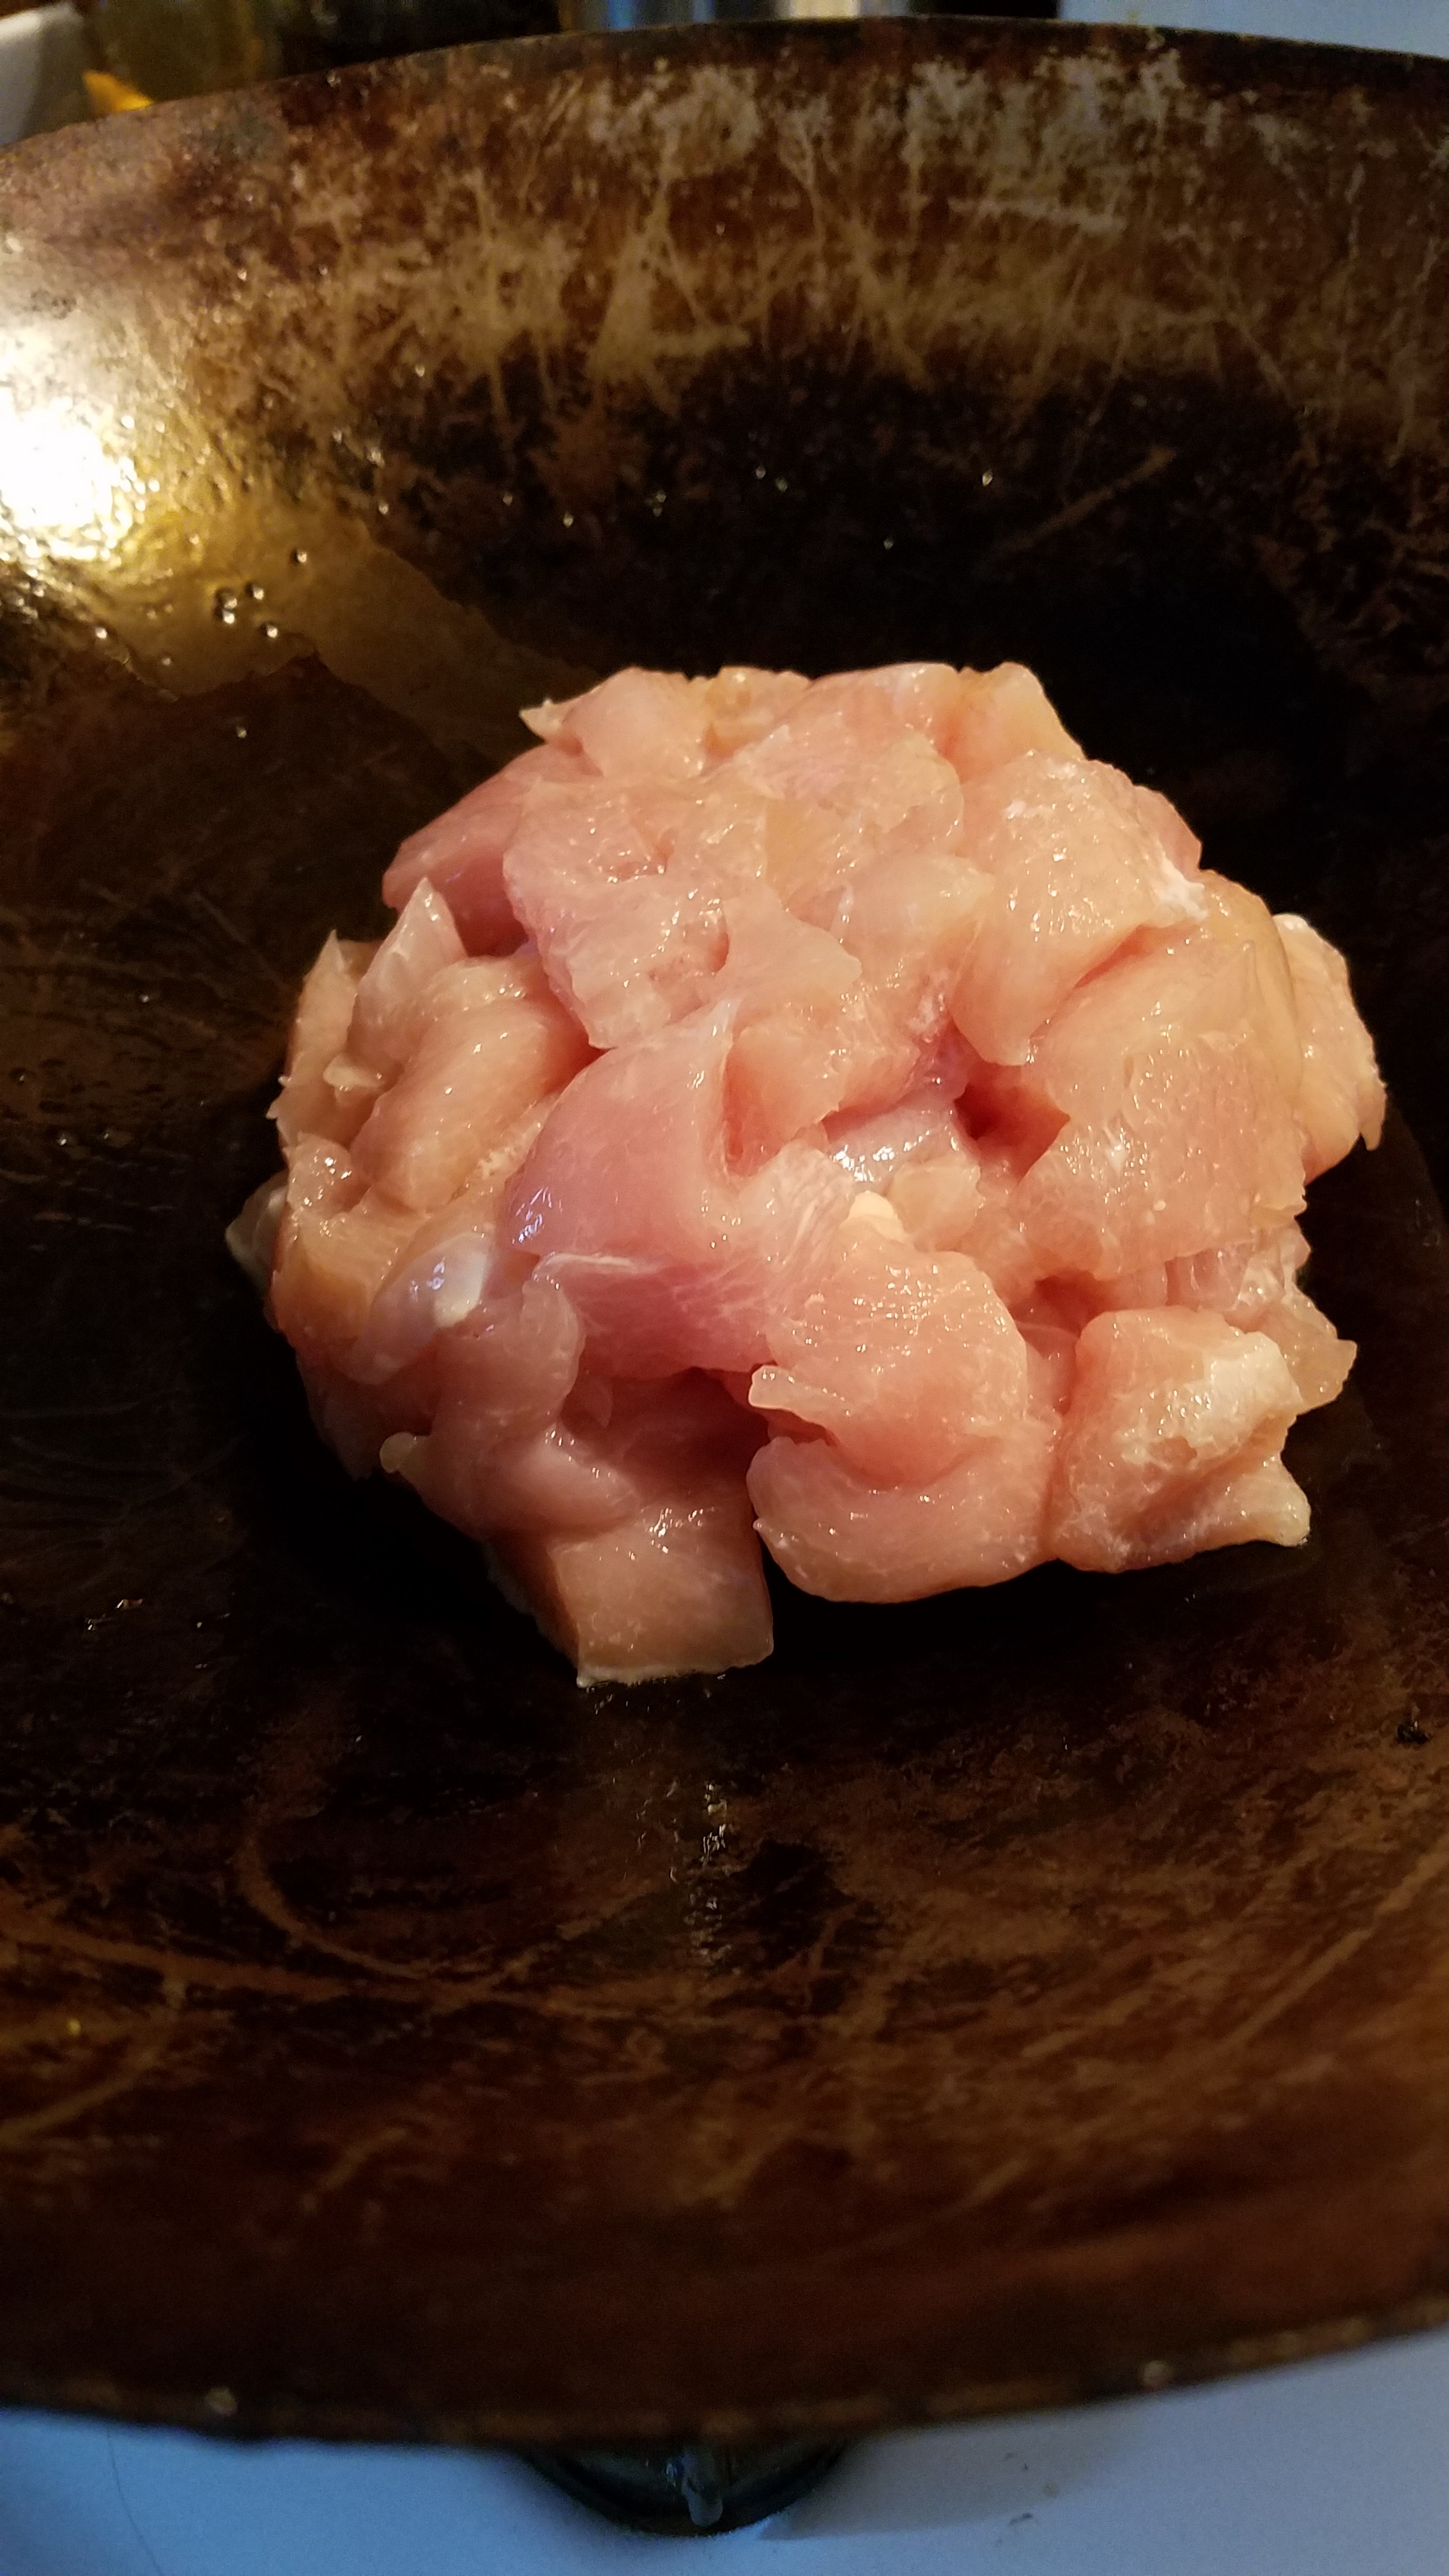
Add a splash of oil to the wok and stir fry the beef.  The beef will cook within a matter of a few minutes.  Remove the beef to the bowl containing the cooked vegetables.

Add the sauce to the wok and stir until thickened.  Add the beef and vegetables back to the wok and stir to incorporate the sauce.  Turn out the stir fry to a serving dish and top with scallions.

Everything in its place

And, the hoity-toity French phrase of the week is…mise en place.

What is it about the French language that annoys me so much?   Maybe it’s the way that the French don’t bother to pronounce many of the letters that make up their words.   Maybe it’s the haughty names they give to such simple things like, “béchamel”, which is really just milk gravyC’mon, it’s gravy for cryin’ out loud!

But, I have to admit, the French were on to something when they came up with mise en place, the phrase that means, “everything in its place”.  The concept, as it relates cooking, is that a cook can set up a kitchen by organizing  ingredients that are needed for a certain menu.  Mise en place is intended to be a time saver. 

If I am making a peanut butter and jelly sandwich, I need four things.  Peanut butter, jelly, bread and a knife.  (Yes, just one knife.  I can smear some peanut butter on one slice of bread and then clean the knife on the other slice of bread, thereby permitting the use of the same knife to scoop out the jelly, without tainting the jelly jar in the process.)

Okay, the point I was trying to make before I became distracted by my own silliness is that you don’t need to lay out everything in place before making a PB&J.  You might grab a loaf of bread and put two slices on a plate.  And then, you might go to the pantry to pick up a jar of peanut butter and then smear some of it on a slice of bread.  Then, you might go to the refrigerator to hunt for the jelly.  Oh no, all you see is boring, utilitarian grape jelly…now, you have to search the depths of the fridge to find the delicious strawberry preserves.  Ah, there it is…that’s better!  Then, you finish the sandwich with a smear of strawberry preserves.  Even though you had to take time to search for the strawberry preserves, you didn’t really waste that much time.

But, there are times that you will want to have everything you need already in front of you, ready for action.  I find myself needing this sort of preparedness when I make a stir fry. 

Stir frying with a wok requires high heat and speed and it requires having the many vegetables and meats prepared, in advance.  You will want to have the menu items peeled, sliced or chopped and ready to introduce to the wok.  And, you will want to have everything within arm’s reach as you work your magic with the wok.  For this, you need to utilize mise en place.

I say all of this because I didn’t always understand the advantages that mise en place had to offer until I started cooking for parties and family gatherings.  Nothing can kill the spirit of a party like having to wait for hours and hours while a meal is being prepared.  Even if your goal is to immerse your guests in the act of preparing a meal, do you really want to have everyone tripping over themselves in your kitchen while they peel, grate, and cut? 

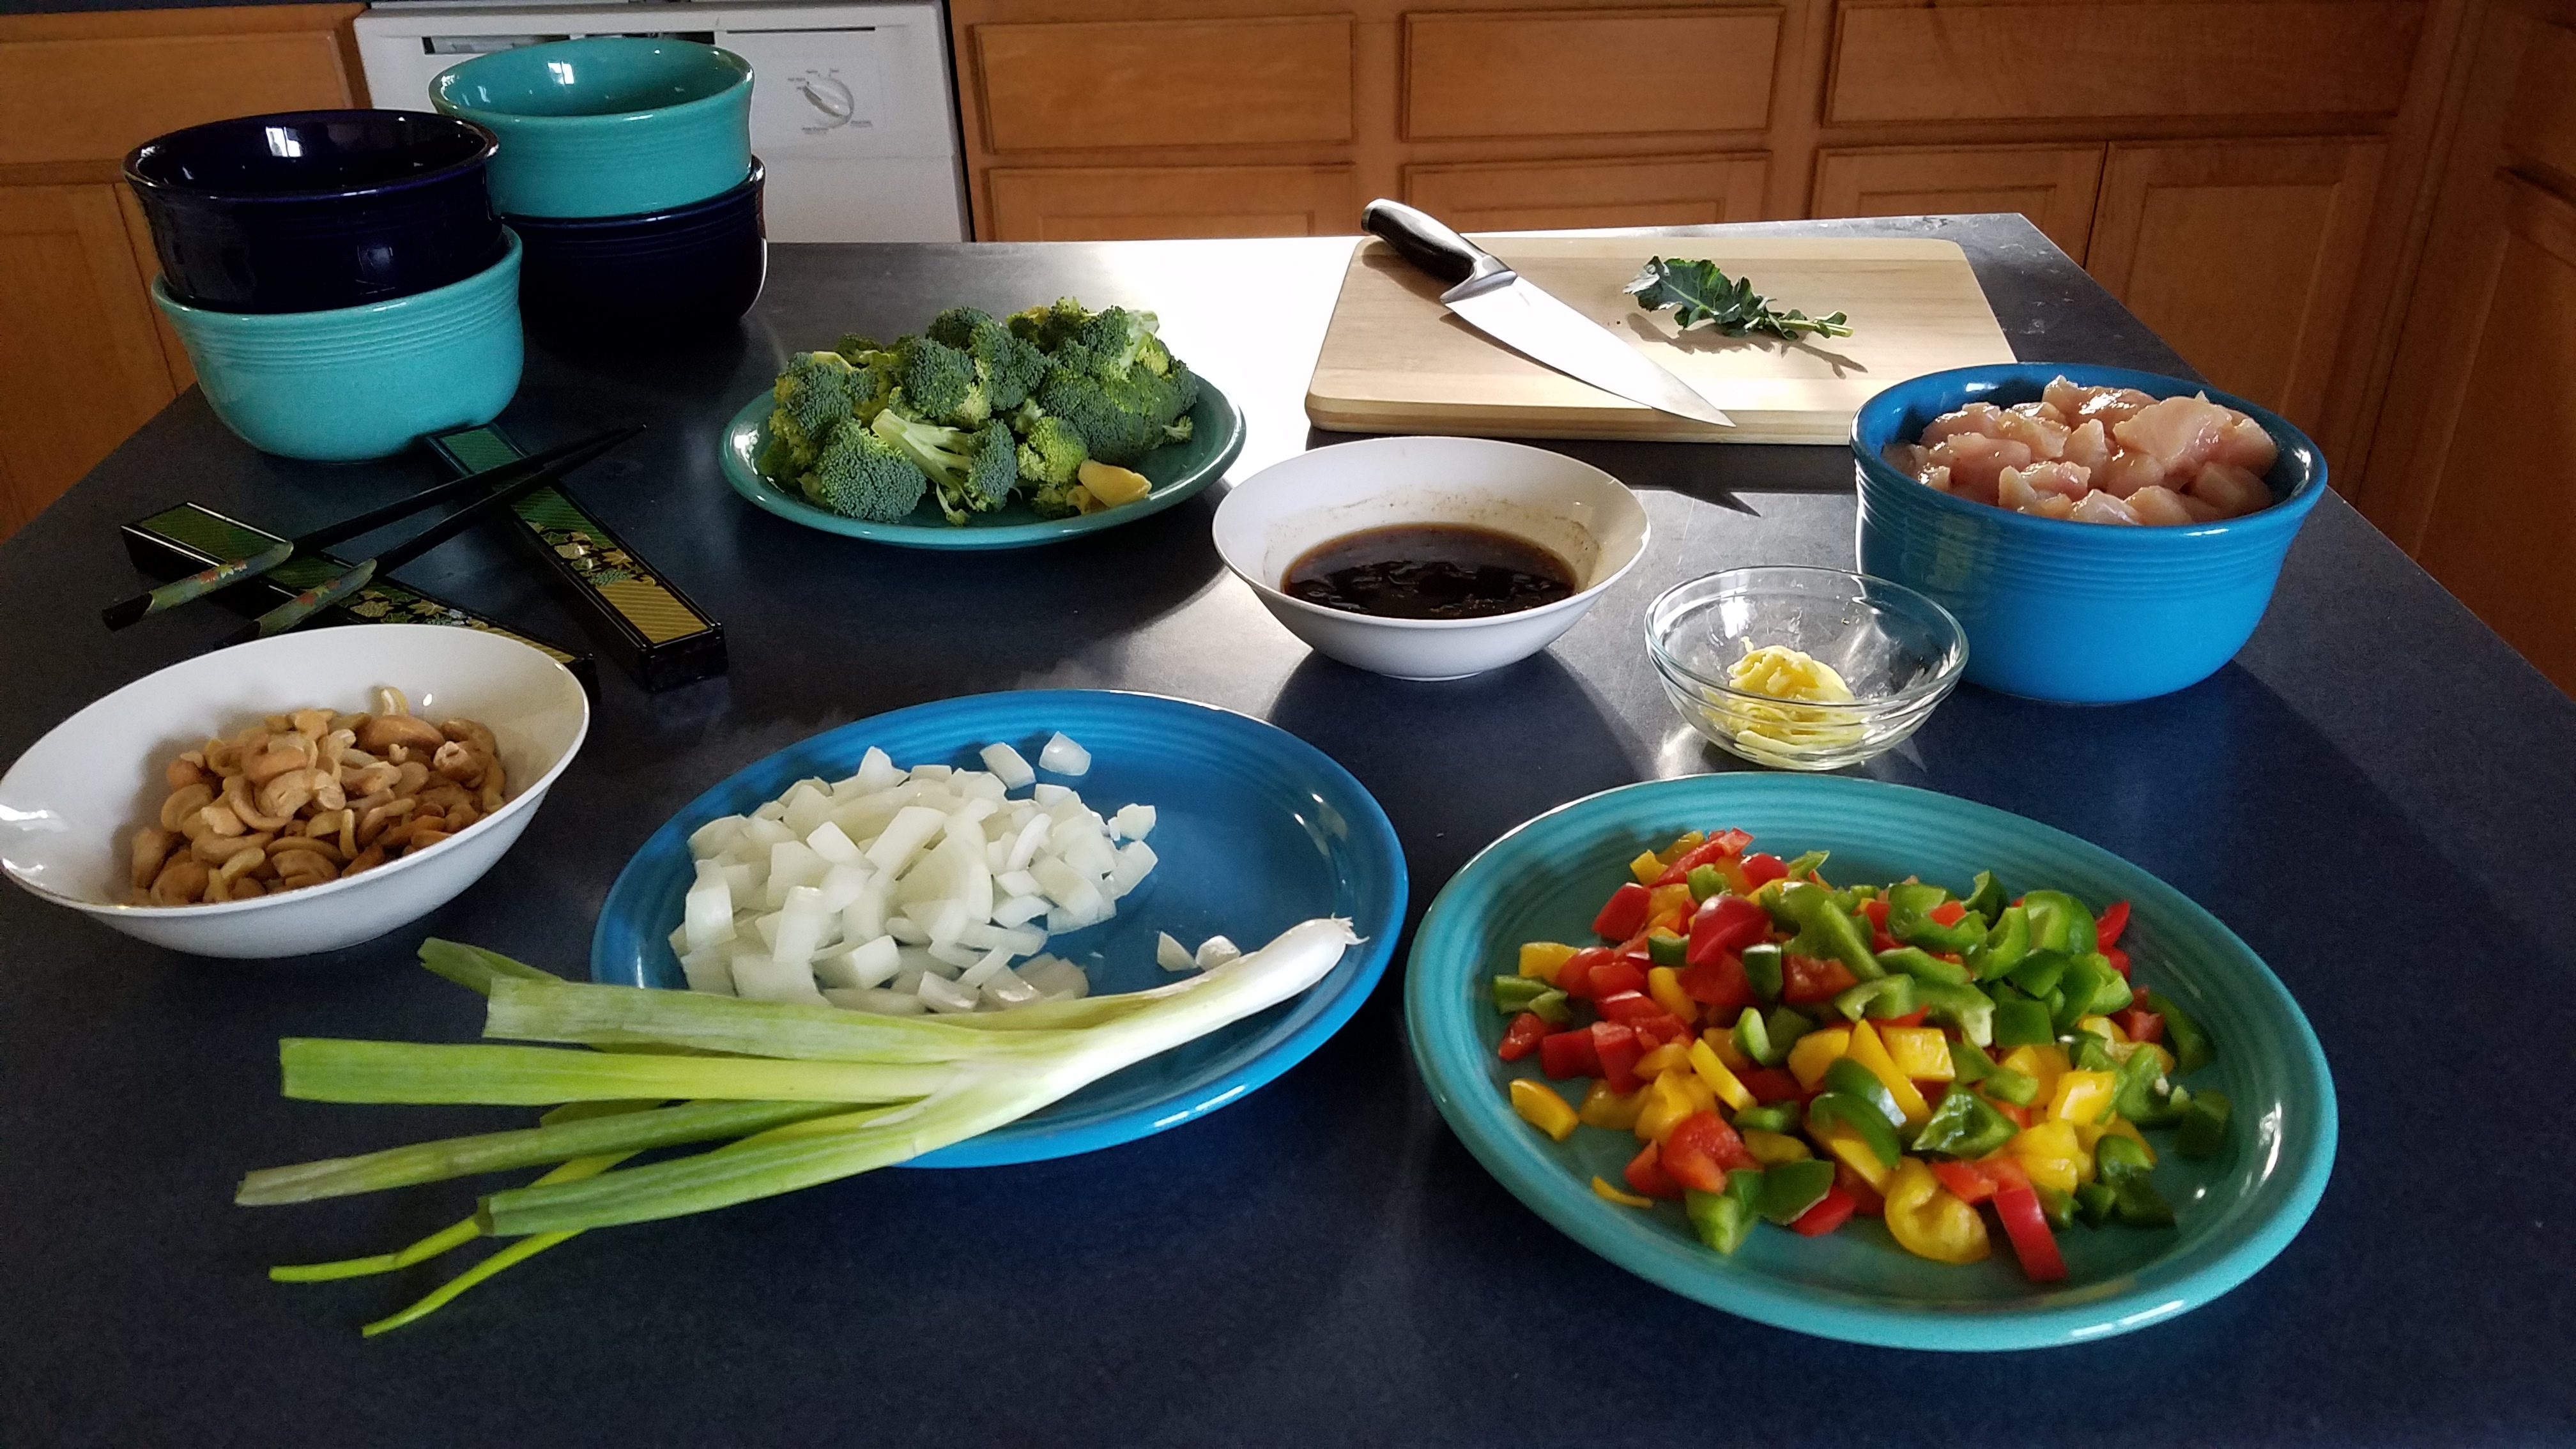
Here is an example of mise en place in practice, as I prepared for a recent stir fry dish. 

Now, I don’t always use this many prep bowls when I utilize mise en place.  Most of the time I just use one or two large, shallow bowls to hold the different items.  I grab what I need from the bowl and toss it in the wok, when I need it.  It makes for a quick clean-up.  But, for this particular culinary adventure, I decided to use lots of little prep bowls.

The rice is steaming on the stove and I am ready to crank up the wok!  After a few minutes of fire and frenzy, it will all be ready to serve.

Chicken and Biscuits with Gravy

This is comfort food at its highest level.  As a stress reliever, it is on a par with yoga, neck massages and Xanax.  It is most appreciated during the cold, damp days of autumn and winter but it can warm your heart on any day of the year.  Serve this to your family when you, or any member of your family has had a particularly difficult day.  Your family might not talk much during meal, but that’s okay.  Sometimes we all need a quiet time to heal together.

Ingredients:

2 Tbs. cooking oil (I like to use canola oil)

2 lbs. chicken skinless chicken breast

4 cups of chicken broth (32 ounce boxed broth or stock works well)

1 ½ cups whole milk

6 Tbs. butter

6 Tbs. flour

3 tsp. dried onion flakes, crushed

1 ½ tsp rubbed dry sage

½ tsp coarse ground black pepper

½ tsp salt

1 can of large buttermilk or home-style biscuits (8 count)

Directions:

Add oil to hot, oven-proof pan.  I like to use my trusty cast iron skillet.  Pan fry the chicken breasts at low to medium heat, turning every few minutes. 

While the chicken is simmering, bake the biscuits.  Pull the biscuits out of the oven just as they puff up and before they brown.  They will go back into the oven after they have been added to the chicken and gravy.

Remove the chicken when golden brown.  Cut or shred the chicken into bite-sized pieces.  Set aside.

Let’s pause for a moment to talk about roux.  When I was just a young, fledgling cook I was curious about roux.  I realized that many recipes called for a roux.  I saw chefs on TV, like Paul Prudhomme, prepare roux using intense heat.  They heated the pan, added oil and just as the oil began to smoke, they added the flour and whisked constantly. – – – And, they warned us that a beautiful roux could turn into a burnt mess if it was overcooked. 

By the time I got up the nerve to make a roux, I burned it.  The next time, I under-cooked it and I was left with a gritty roux that tasted like flour.  I couldn’t seem to find a way to control the roux.   I was at a loss.  I didn’t know if I would ever produce a good roux.  And then, I attempted to make a roux by using low heat.  Wow…instant success! 

I discovered that the entire process could be done with low heat.   Melt the butter or oil very slowly.  Whisk the flour in until it becomes a soft paste.  Whisk until all of the graininess of the flour is gone.  Add liquid, little by little, and whisk to remove any clumps.  In fact, I often turn the heat completely off as I add the liquid, to avoid clumping.  I turn the heat off when the roux reaches a white or blonde color.  I don’t push it to a peanut butter or dark chocolate color.  Most of my dishes that require a roux need it for thickening more than flavor and I am happy with that.

Prepare a roux by deglazing the pan with a splash of chicken broth.  Turn the heat down to low and add butter.  When the butter has melted, add flour and whisk until the flour becomes silky, smooth.  Add chicken stock, a little at a time and whisk.  Add the crushed onion flakes, dry sage, black pepper and salt and stir.  Add the remaining chicken stock and milk and continue whisking while the gravy thickens.  Once the gravy has reached your preferred thickness, turn the heat off.

Add the chunks of chicken to the pan and mix with the gravy.  Split the biscuits in half and pack them tightly together on top of the chicken and gravy.  Dab some gravy on top of the biscuits, to prevent them from burning.  Heat in a 350° oven for 10 to 15 minutes.

Serve warm.